
Tom Clancy's Ghost Recon Future Soldier Guide Walkthrough Invisible Bear
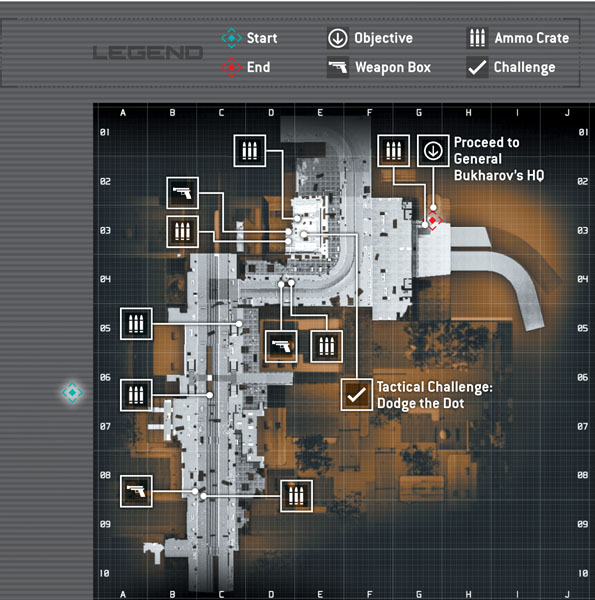
Proceed to General Bukharov's HQ
Proceed to General Bukharov’s HQ
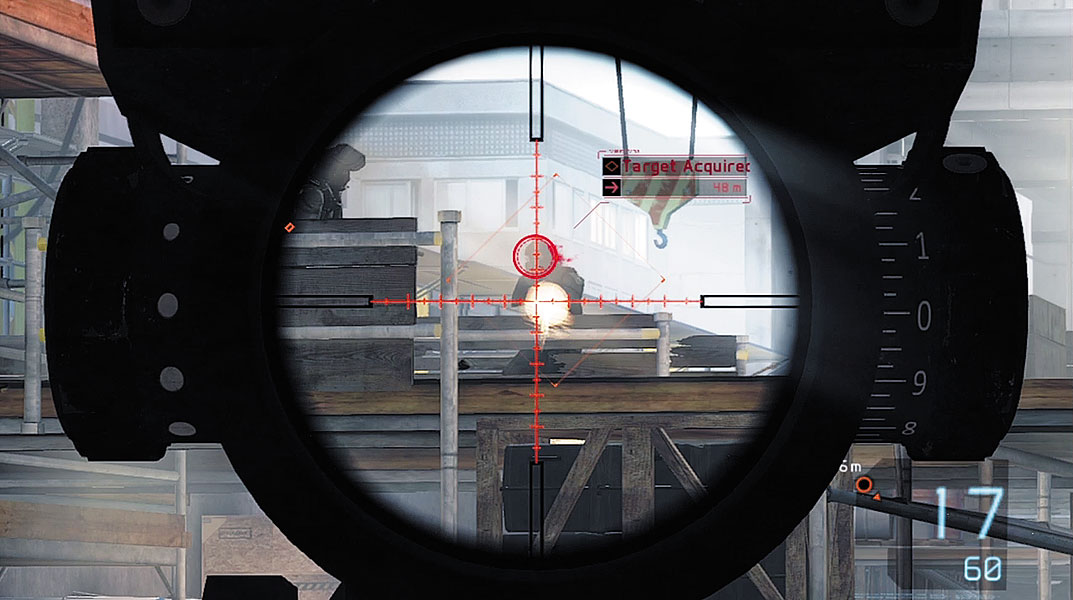
Following the cinematic, stack up on a door with your team and prepare to enter a large floor of the apartment building still under construction. Just ahead, a Mi-24 hovers in the distance and unloads several enemy troops—prepare for an attack. Take cover behind the low crates straight ahead and lob a couple of Sensors out, throwing one to the right and another to the left. The overlapping detection radii of the Sensors allow you to spot incoming troops. Deploy the UAV as well, leaving it hovering just ahead of your position. Once you’ve spotted enemies, issue focus-fire orders for your teammates while helping them engage. Using your sniper rifle, engage the hostiles on the scaffolding in the center.
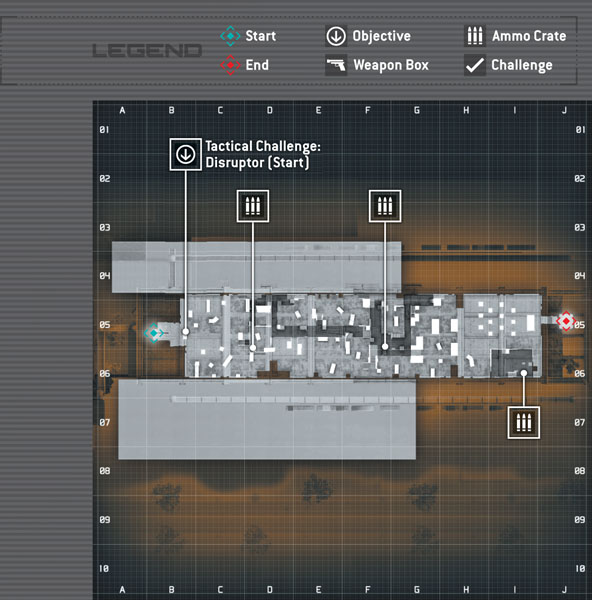
Tactical Challenge: Disruptor
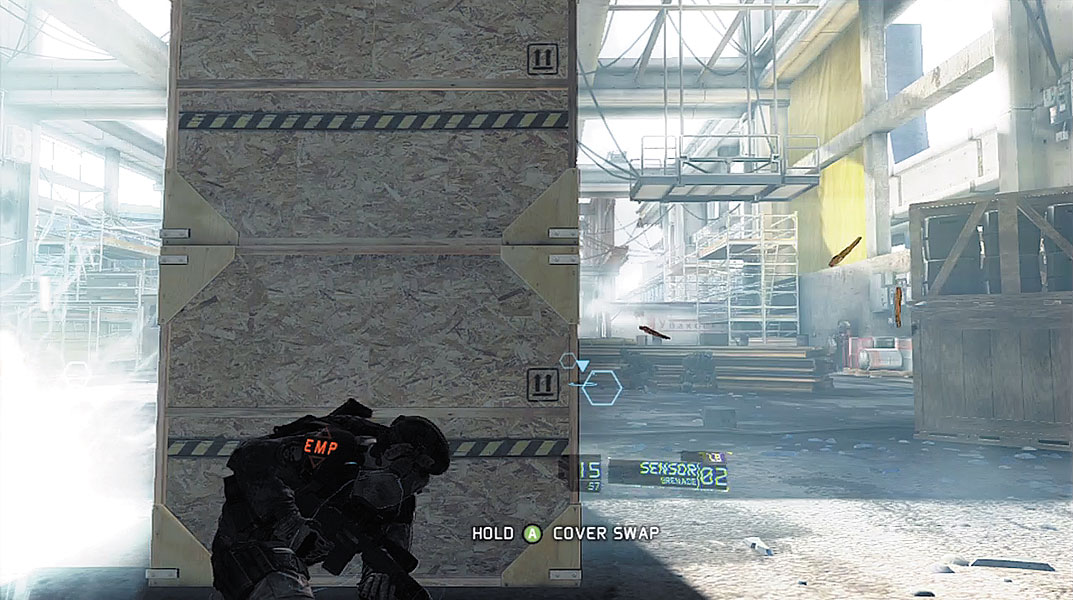
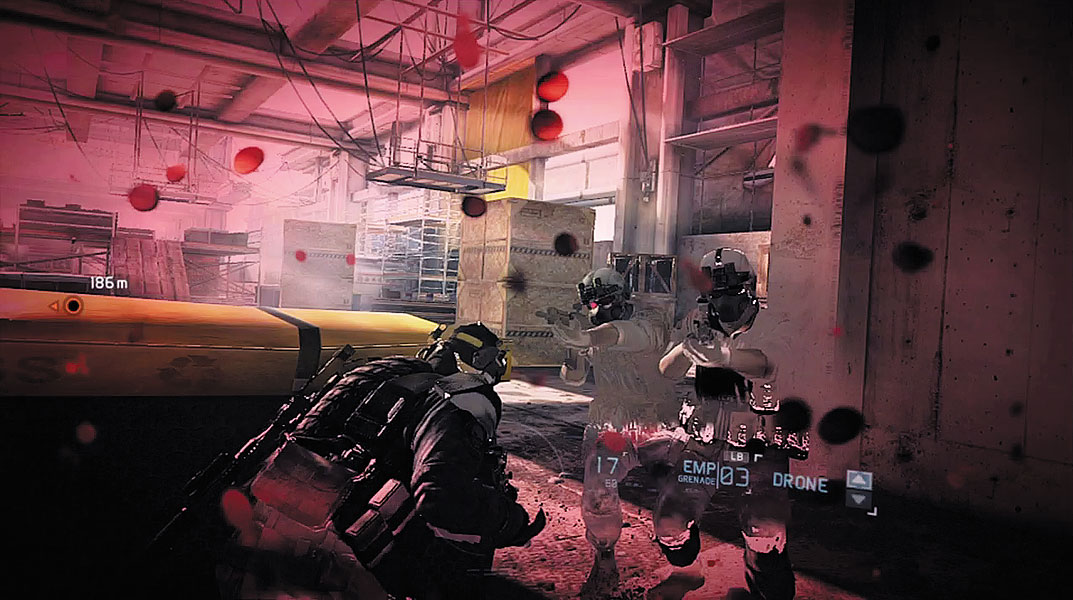
Hold behind cover and continue deploying fresh Sensors to detect incoming enemies. The hostiles throw a variety of objects in your direction, too, including Flashbangs and EMP grenades. If an EMP grenade goes off nearby, your Cross-com system is temporarily disabled along with your Optical Camo. When this happens, all your HUD elements disappear, essentially leaving you blind. Stay behind cover and wait a few seconds for the Cross-com system to come back online.
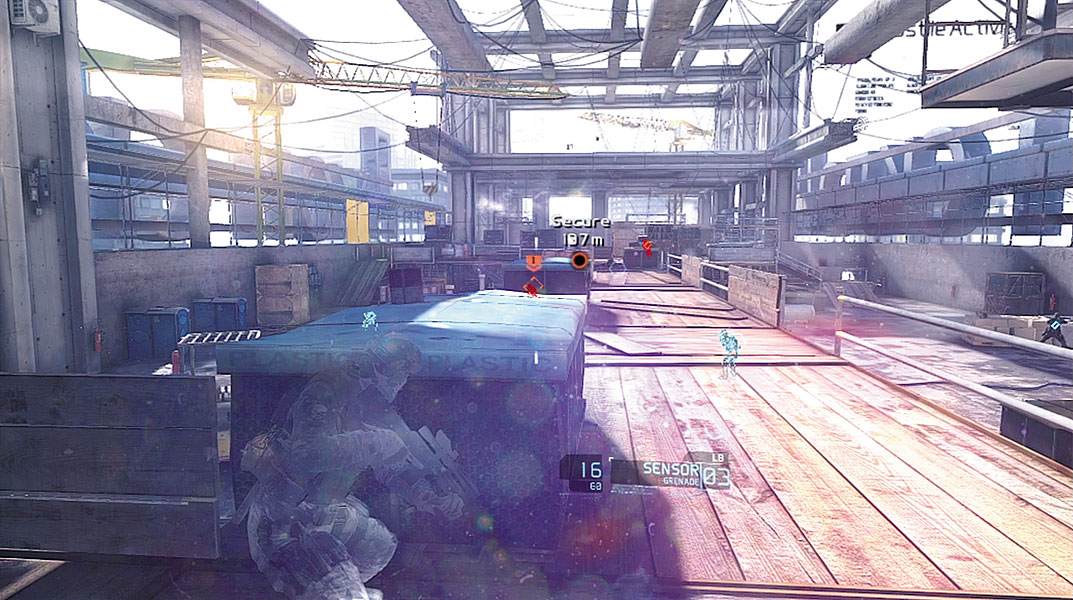
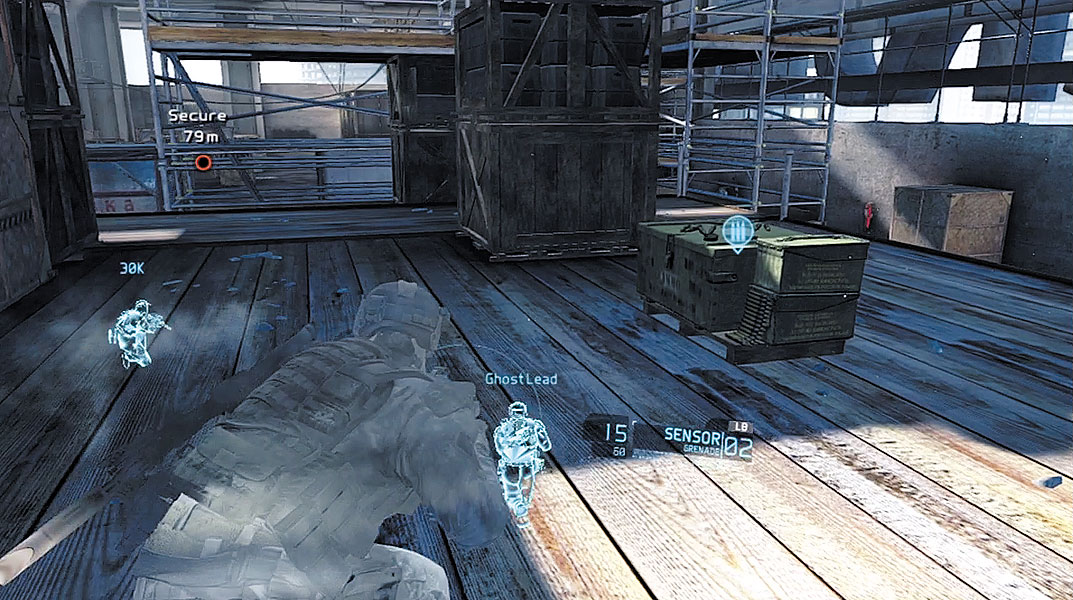
After defeating the first wave of enemies, advance onto the large scaffold in the center of the construction site by ascending the nearby ramp. Interact with the ammo crate at the top of the ramp to resupply, then seek cover while deploying a couple more Sensors—the next wave of attackers is on the way. Instead of taking cover behind the wooden slats lining the perimeter rails of the scaffold, seek cover behind one of the large crates. A few of the hostiles here are equipped with LMGs. If you becomes suppressed by LMG fire, stay behind cover and issue focus-fire orders on these enemies and allow your teammates to deal with them. Once the construction site is quiet, advance along the scaffold toward another ammo crate. Take a moment to stock up on Sensors and EMP grenades before the next wave of enemies arrives.
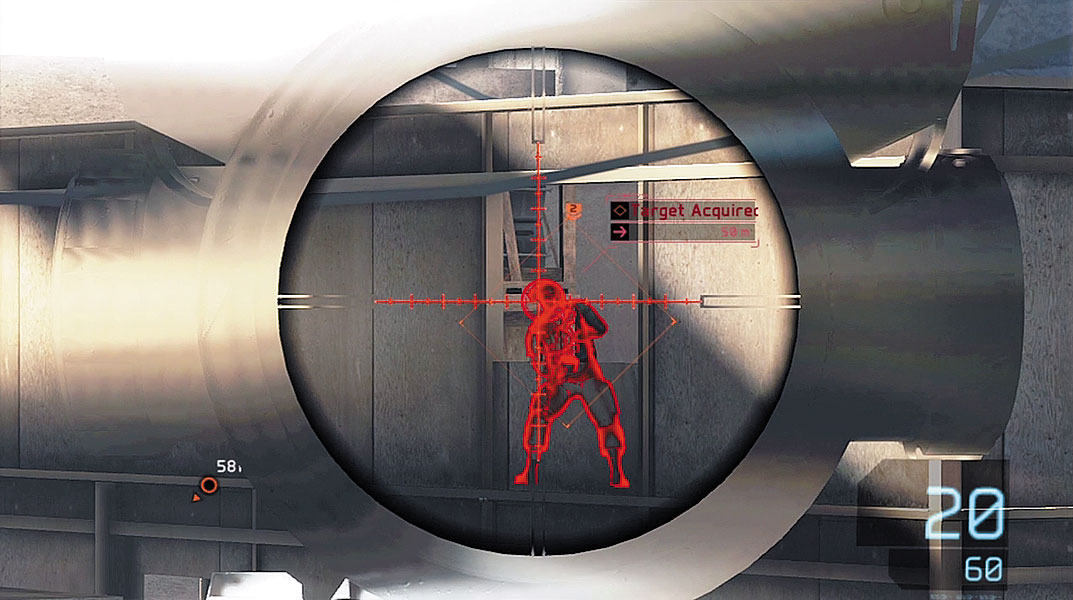
After resupplying at the ammo crate, move to the far left side of the scaffold system and take cover behind a cluster of metal barrels. As your team announces the arrival of more hostiles, toss Sensors ahead, including at least one toward the large two-floor wooden structure on the right. Multiple hostiles are holed up in this small building, firing at your team through windows. Fortunately, you don’t have to wait for them to peek their heads out. Using your sniper rifle, engage these enemies directly through the wooden exterior walls. But don’t let the enemy troops in the wooden structure distract you from the Bodark units scurrying along the floor. Lob EMP grenades in their direction in an attempt to halt their aggressive advance, then pick them off one by one as they scramble for cover. Hold your position on the scaffold and help your team engage the hostiles until the word “Clear” appears across the top of the HUD. Before exiting the construction site, resupply at one of the ammo crates, then regroup with your teammates at the waypoint marker. If it’s still deployed, don’t forget to recall your UAV.
Moscow Streets

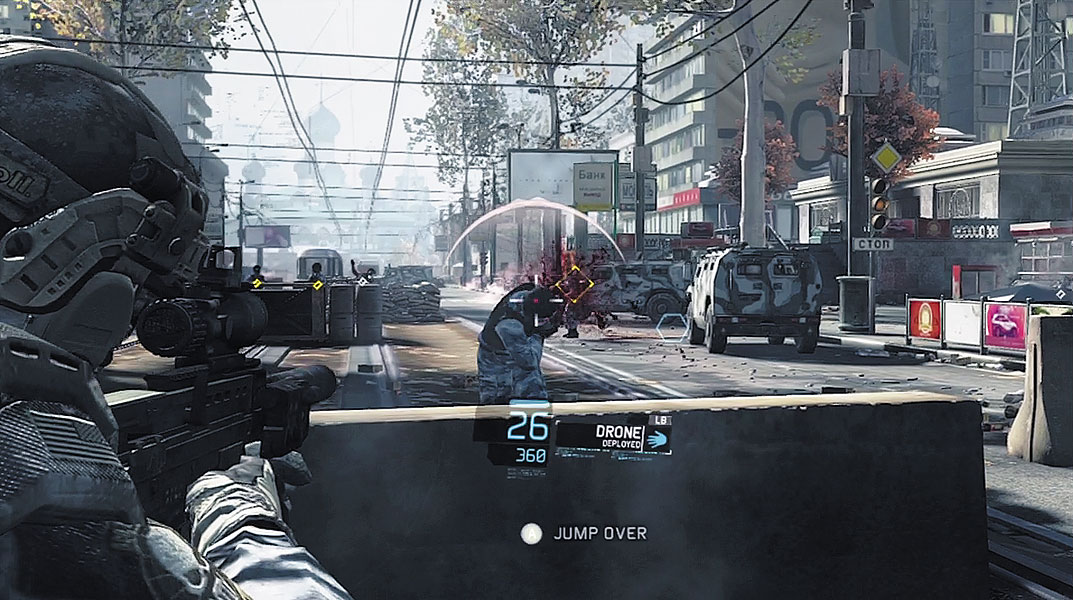
Following a brief cinematic showing an irate President Sergei Makhmudov breathlessly criticizing the demonstrations, the Ghosts finally emerge from the apartment building. Activate your Optical Camo and creep outside—be careful to avoid the numerous enemy troops loitering in the street. Take cover behind the concrete barrier in the center of the street and deploy the UAV. There are a total of nine enemy soldiers here. You can’t take them out silently, but you can whittle down their numbers significantly with a sync-shot. Before marking targets, identify the two soldiers carrying LMGs in the distance—mark them first. Next mark other distant enemies, including the lone rifleman standing on the right side of the street. Exit the UAV view and shoot any of the marked targets to initiate the sync-shot. Immediately after hitting your target, while time is still slowed, open fire on as many other nearby enemies standing in the middle of the street as possible. If you’re quick, you can score three more kills.
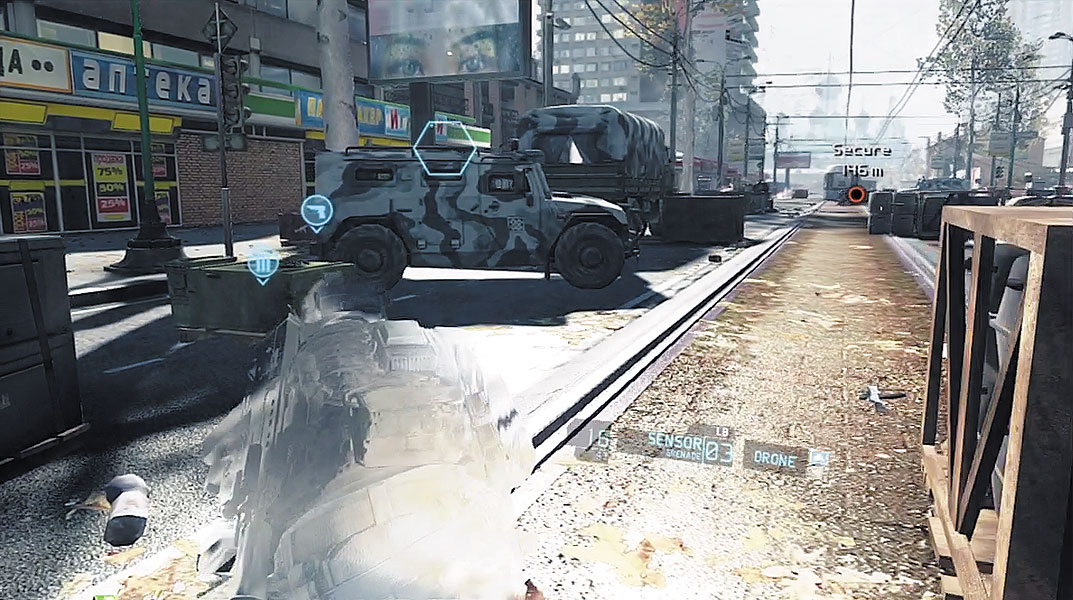
Once you’ve initiated the attack, reinforcements appear in the distance. Immediately deploy Sensors, tossing one to the right side of the street and another to the left side. This helps you keep tabs on incoming enemies, making it easier to issue focus-fire orders, even if the hostiles are hiding behind cover. When the street falls silent, cautiously swap cover, advancing toward the parked GAZ-2330 on the left side of the road. There’s an ammo crate here as well as a weapon box. The weapon box contains an LSAT LMG, an M110 sniper rifle, an AK47 assault rifle, and an L22A2 PDR. If you don’t have a sniper rifle, consider grabbing the M110 in an effort to complete the Master Sniper tactical challenge. Otherwise, the LSAT LMG is a good option for the fight ahead.
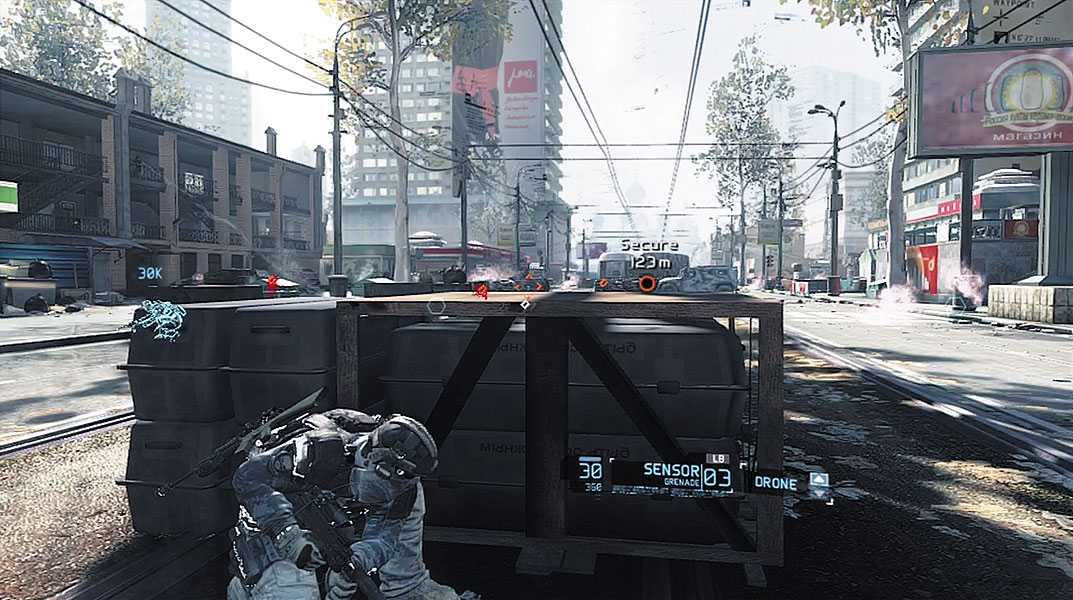
Now move back to the center of the street and take cover behind the large crates just beyond the GAZ-2330. Here, you come under attack by another wave of enemy troops. Once behind cover, deploy a couple of Sensors ahead to detect the incoming enemies. In addition to the enemy troops in the street, there are two snipers posted on the apartment balconies to the left. Given the amount of incoming fire, it’s a bit risky to peek out of cover and try to take out these snipers on your own—especially if you’re trying to earn the Dodge the Dot tactical challenge. So issue focus-fire orders on these enemies. If you have trouble spotting them, use the UAV to scout their positions and mark them. But while focusing on the snipers to the left, don’t neglect the sidewalk on the right. Make sure you have adequate Sensor coverage here to spot enemies attempting to flank you.
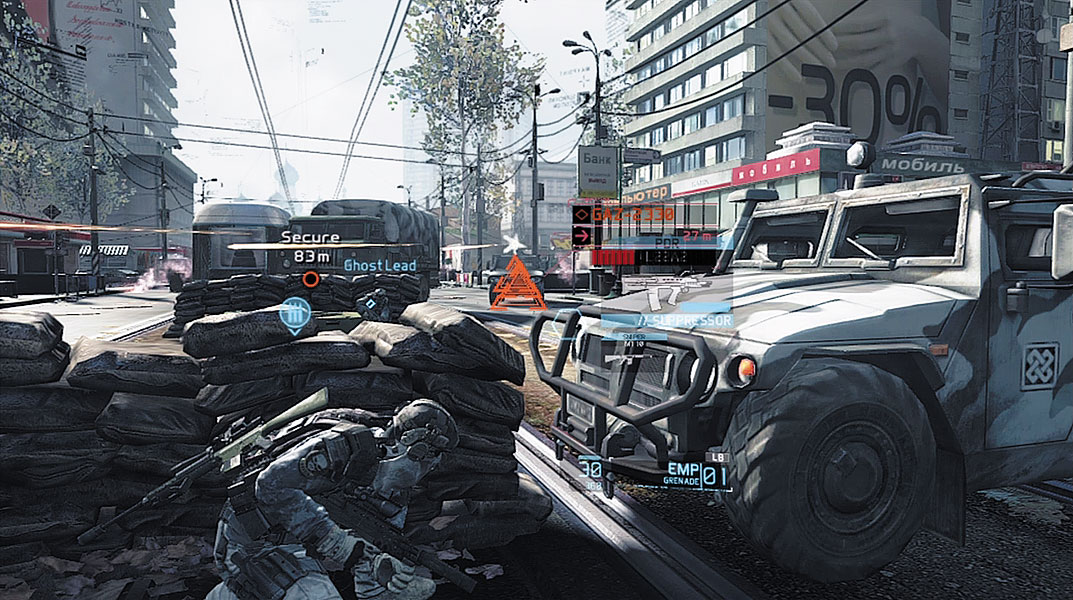
Hold behind cover until no more threats can be spotted—conduct a quick patrol with the UAV to ensure that the street is clear. Continue advancing down the center of the street toward a row of sandbags next to another ammo crate. Just ahead, a GAZ-2330 pulls into view and begins firing with its machine gun turret. Issue a focus-fire order on the vehicle then help your team destroy it. Peek out of cover when the turret isn’t firing and shoot the vehicle with automatic fire. But don’t get greedy. Be ready to duck back down behind cover before the turret resumes firing. If you have a grenade launcher, you can take out this vehicle quickly.
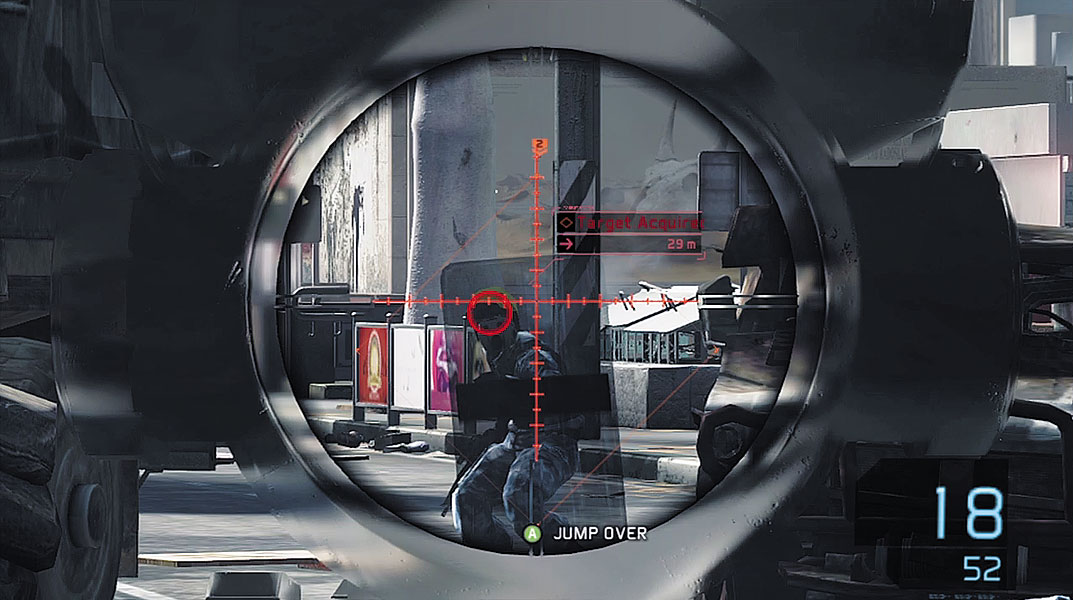
After taking out the GAZ-2330, a GAZ-66 arrives in the distance and unloads more enemy troops. Toss more Sensors in the direction of the truck and issue focus-fire orders on the new arrivals. Some of these troops are equipped with ballistic shields—make these enemies your priority. Even your sniper rifle won’t penetrate these shields, so don’t even bother trying. If you don’t have Frag grenades (or a grenade launcher), a frontal attack does no good. Instead, issue focus-fire orders on these guys and try to flank them before they get too close for comfort.
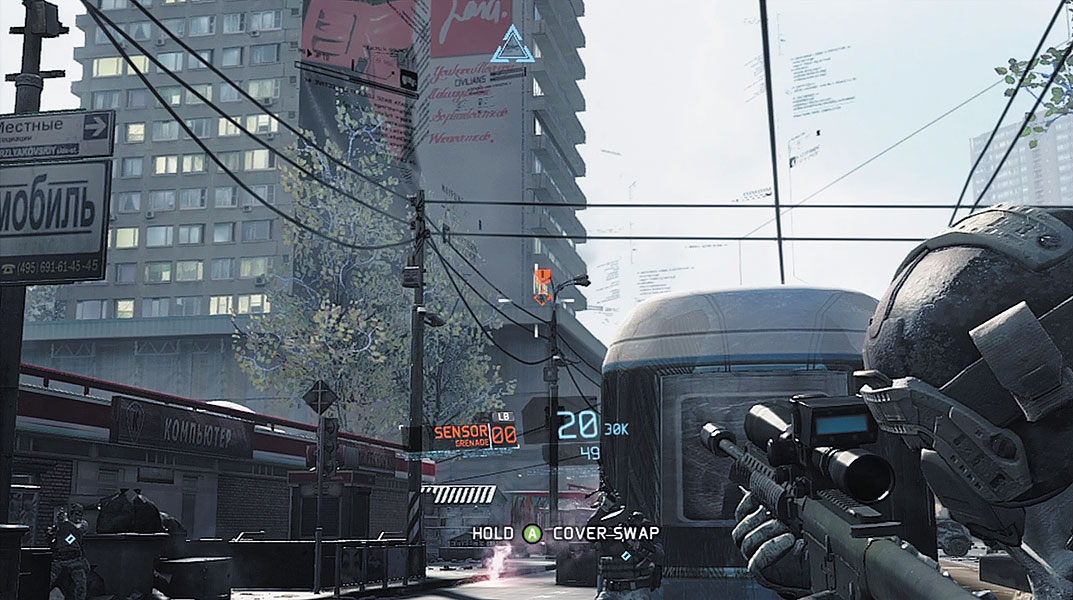
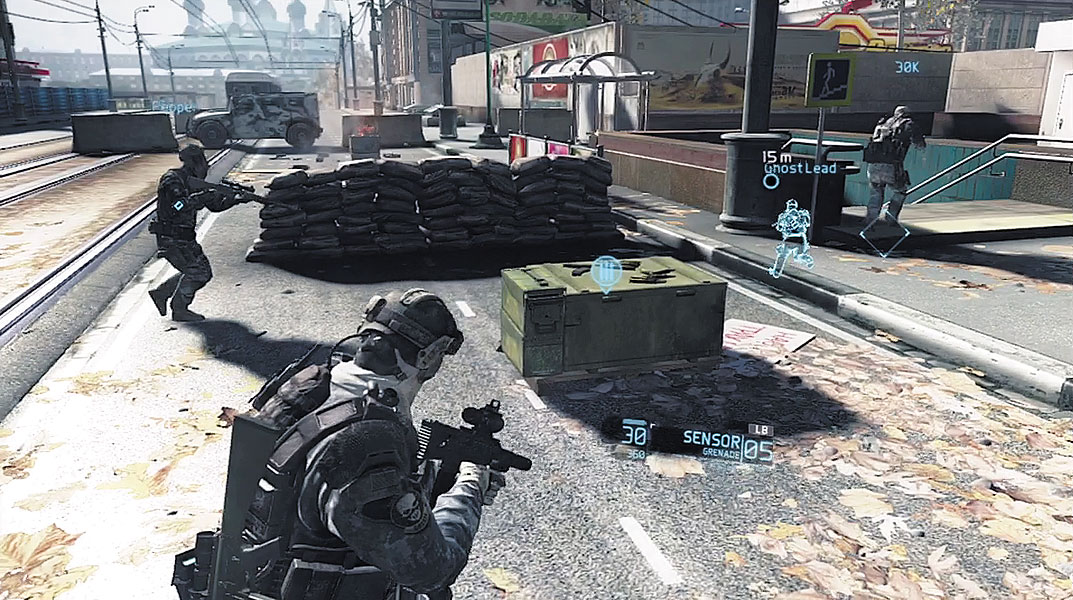
The tram in the center of the street blocks your line of sight, so move toward the sidewalk on the left side of the street to resume the advance. Stay behind cover at all times, using the cover swap method to advance from one piece of cover to the next. There are a few more enemy troops hiding among the vehicles in the street. Deploy Sensors to locate them, then issue focus-fire orders. There’s also one more sniper at the far end of the street on a balcony to the right. Once you’ve located him, issue a focus-fire order and let your teammates score the kill. The sniper is usually the last enemy standing in the street. But wait for the word “Clear” to a appear on the HUD before leaving cover. There’s an ammo crate on the right side of the street where you can resupply. Afterward, regroup with your team in the underground stairway nearby.
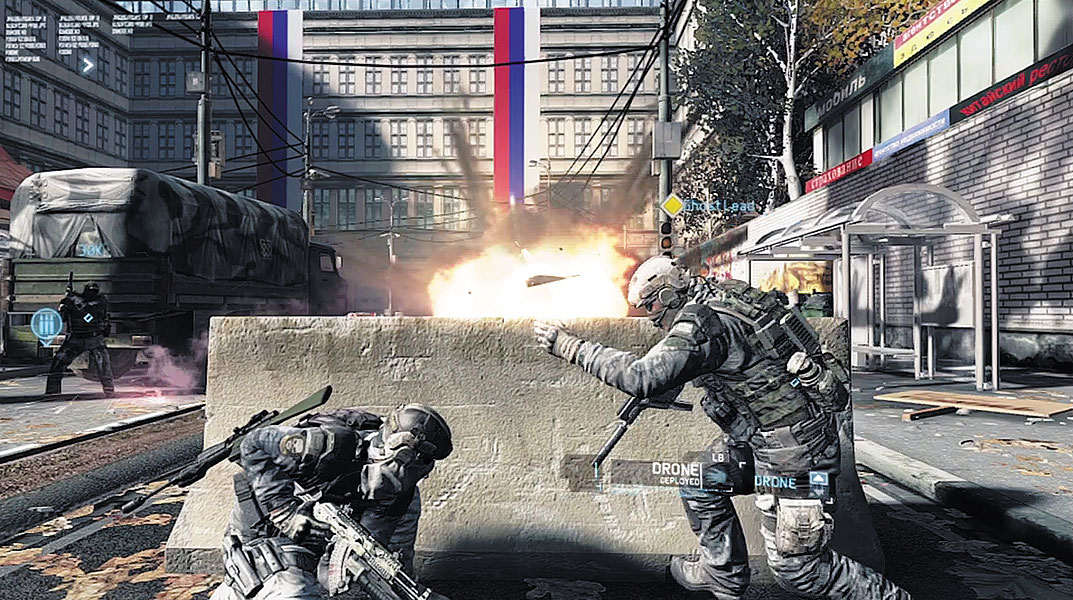
Your team emerges from the underground stairway near the adjoining intersection, across the street from an Admiral Burgers fast food restaurant, and only meters from the former FSB building where General Bukharov was last spotted. But as you emerge from the stairway, make sure your Optical Camo is active—otherwise you’ll be spotted by a BTR-90 parked in the street just ahead. Unless you have a grenade launcher, you don’t have adequate firepower to take out this vehicle. Fortunately, you can find a grenade launcher in the weapon box behind the truck on the left side of the street. The grenade launcher is attached to an AK47 assault rifle. With the AK47 in hand, take cover behind one of the concrete barriers in the street and begin launching grenades at the BTR-90. After your first shot, the BTR-90 retaliates, firing its cannon in repetitive bursts. Wait to return fire until the BTR-90 stops firing, then peek out of cover and fire another grenade. Repeat in this fashion until the BTR-90 explodes. Overlord reports that General Bukharov has dispatched a convoy to deal with the demonstrators. Keep the AK47 with the grenade launcher attachment—it will come in handy. But make sure to stock up on ammo before regrouping with your team.
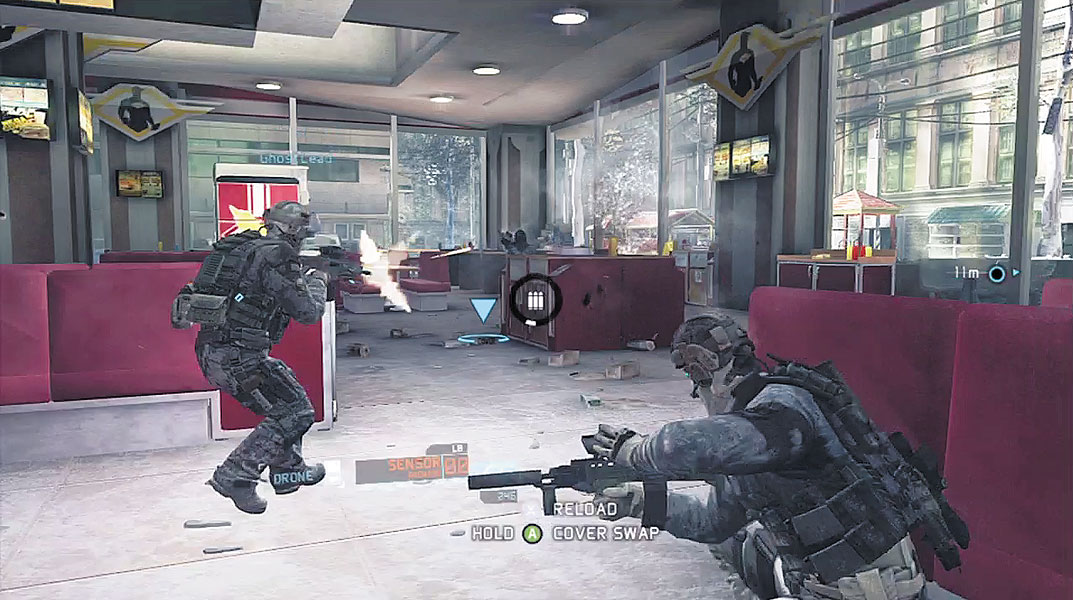
Follow your team into the Admiral Burgers restaurant and seek cover as enemy units emerge from Bukharov’s HQ across the street. The attack is lead by a GAZ-2330, which sprays the restaurant with automatic fire. Issue a focus-fire order on the vehicle, then attack with your grenade launcher. When you’re taking cover, deploy Sensors in the street to keep tabs on the enemy troops outside. If you’re not careful, enemy troops will enter the restaurant and attempt to flank your team at close range. Stop these flanking advances before enemy troops can gain a foothold in the restaurant. If enemies do gain entry, hunt them down quickly. During the attack, a second GAZ-2330 opens fire. Stay behind cover and fend off the infantry attacks first, then eliminate the GAZ-2330 with your grenade launcher.
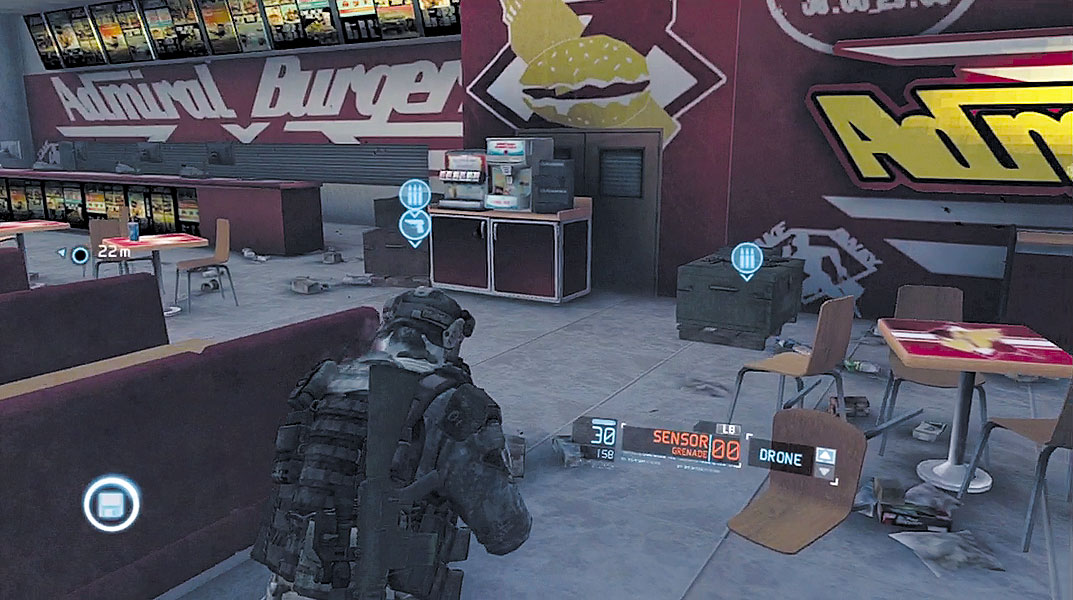
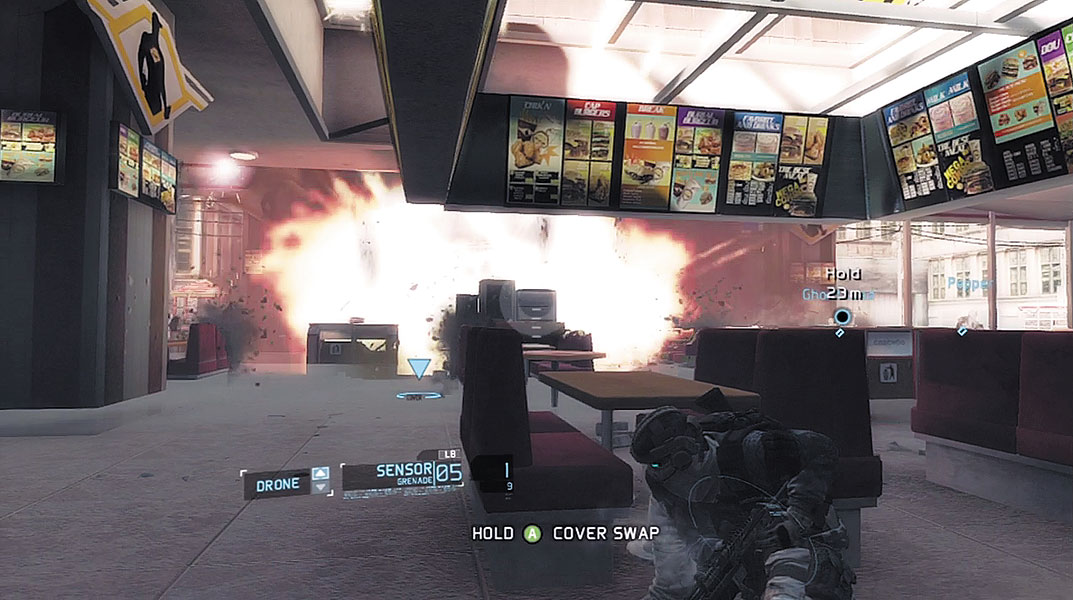
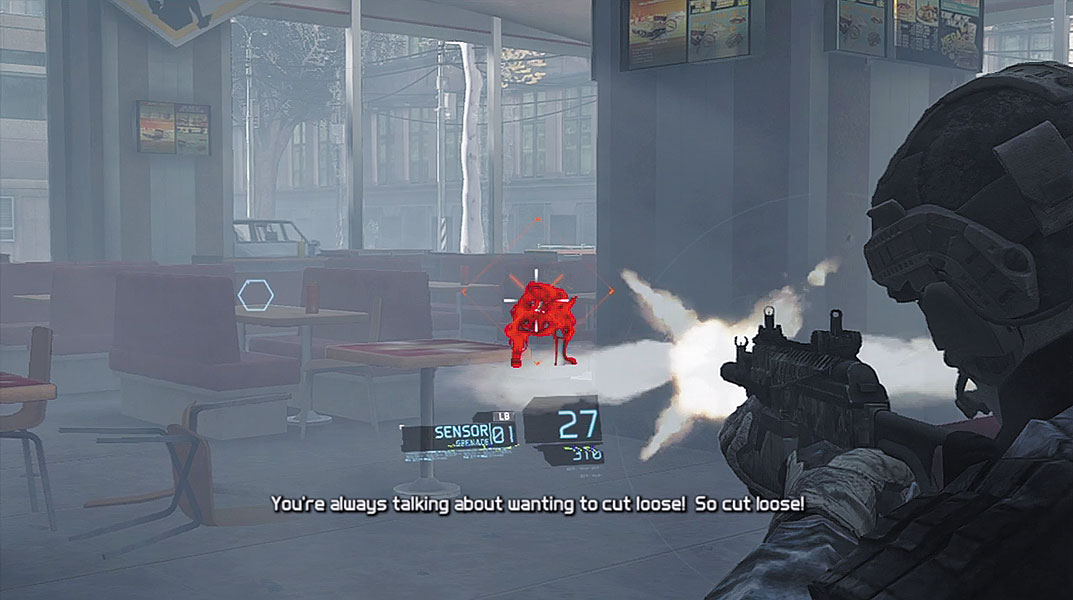
Watch out for a GAZ-66 truck to come crashing through the front of the restaurant. Immediately fire a grenade at the truck to destroy it before enemy troops can get out. But there are plenty more enemy troops in the street. Deploy more Sensors to get a reading on the latest group of attackers. Once again, keep an eye on the left and right flanks to prevent enemy troops from infiltrating the restaurant. If enemies manage to breach the restaurant, engage them through their cover—your bullets will pass right through the flimsy tables and booths.
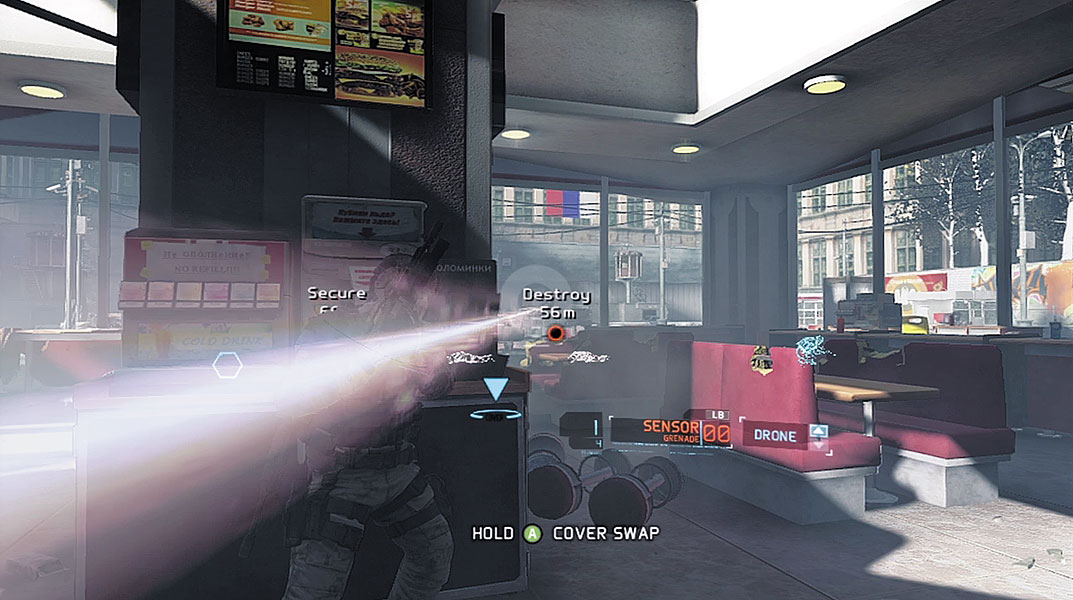
Another BTR-90 appears outside the restaurant and begins bombarding the interior with its cannon. As long as you stay behind solid cover (such as one of the pillars), the BTR-90 can’t hurt you. In the meantime, turn your attention toward the infantry swarming around you. A few are equipped with ballistic shields. Target the shield soldiers directly with your grenade launcher. When the bulk of the infantry are down, focus your fire on the BTR-90, pounding it with your grenade launcher until it explodes. When the word “Clear” appears across the top of the HUD, the enemy attack is over. Resupply, then join your team at the waypoint across the street. It’s time to pay General Bukharov a visit.
Tactical Challenge: Dodge the Dot