
Tom Clancy's Ghost Recon Future Soldier Guide Walkthrough Firefly Rain
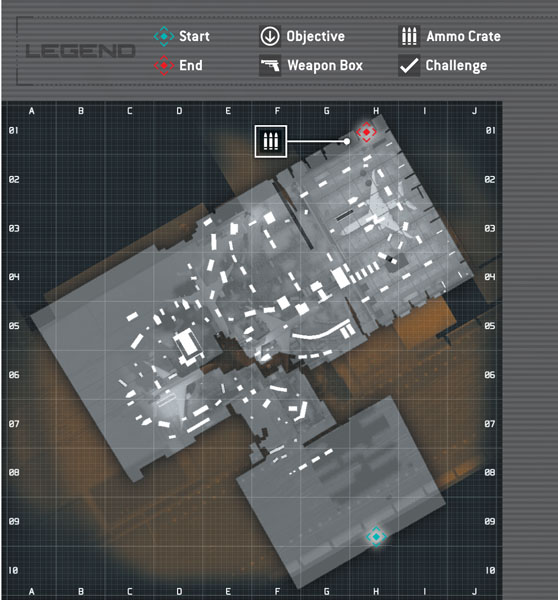
Infiltrate Airport
Infiltrate Airport
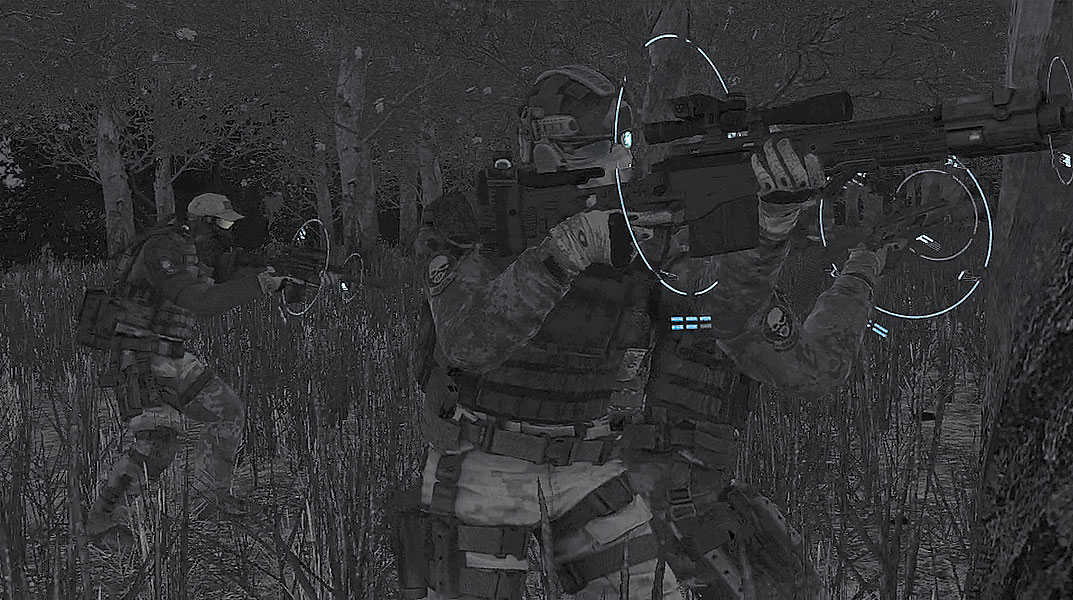
Katya Prugova’s involvement with Raven’s Rock only ups the ante. The CIA has determined that Raven’s Rock is in the process of transporting a cutting-edge missile guidance system to some unsavory characters. This intel has brought the Ghosts to a heavily guarded airfield within Russia, where they must covertly infiltrate the facility and prevent the weapons shipment from leaving. Overlord reports that the airfield is guarded by military personnel. If the Ghosts are detected, the response will be swift and deadly. Therefore it’s vital to the mission’s success to reach the cargo and destroy it without being heard or seen—suppressed weapons are a must.
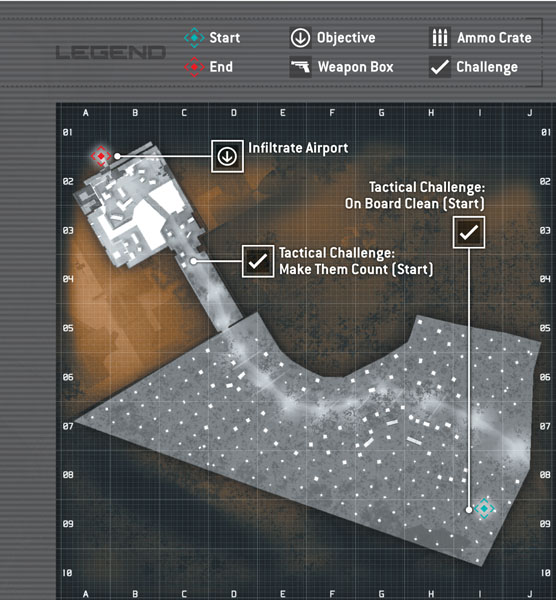
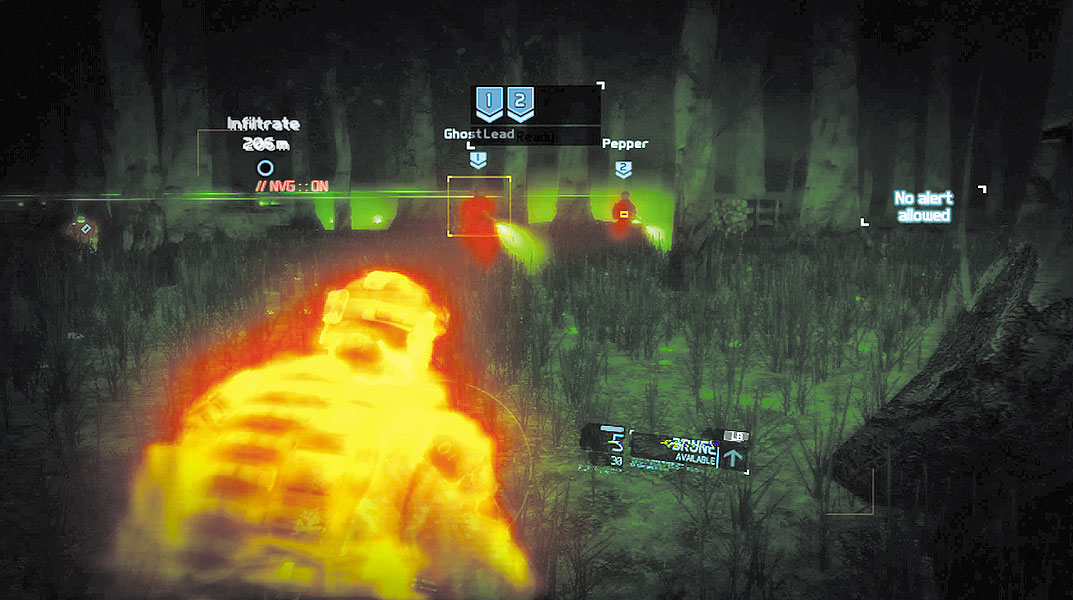
The Ghost team inserts within a small forest, approximately 200 meters from the airfield’s checkpoint entrance. While moving through the woods, Ghost Lead detects movement nearby. Remain crouched to keep your Optical Camo activated. Next, switch on your Night Vision Goggles (NVGs) to get a better view of your surroundings. Just ahead you can spot the heat signatures of two riflemen moving in your direction. Stay low and creep away from them. Once you’re a safe distance from the patrol, mark both riflemen and take them out with sync-shot. This clears the forest, but there are plenty of hostiles nearby, advancing along a road outside the airfield. Stay in the woods to avoid being spotted and resume your advance to the airfield’s checkpoint, which is marked with a waypoint.
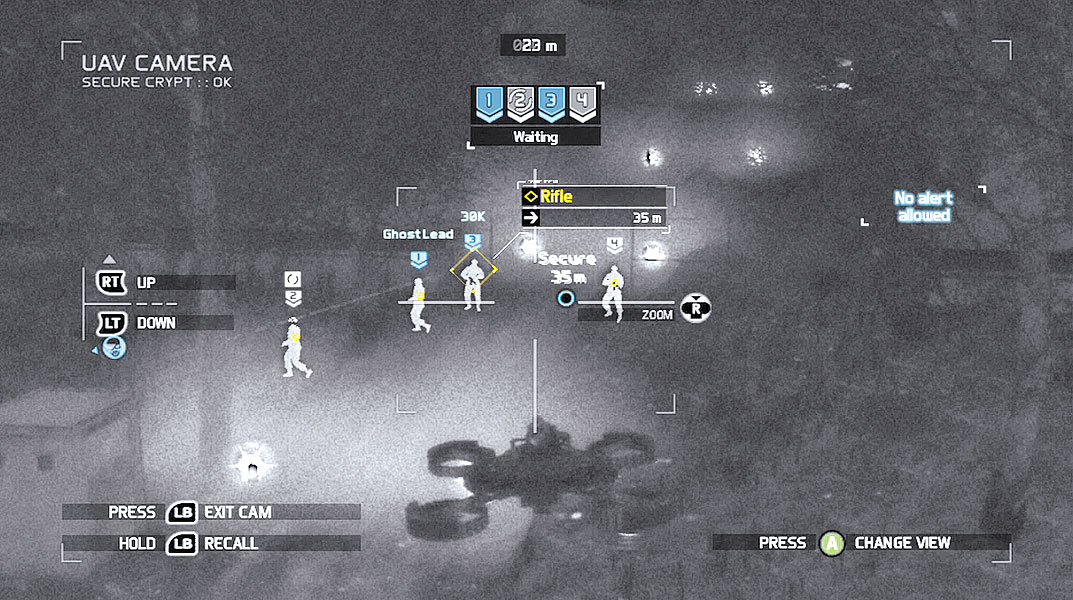
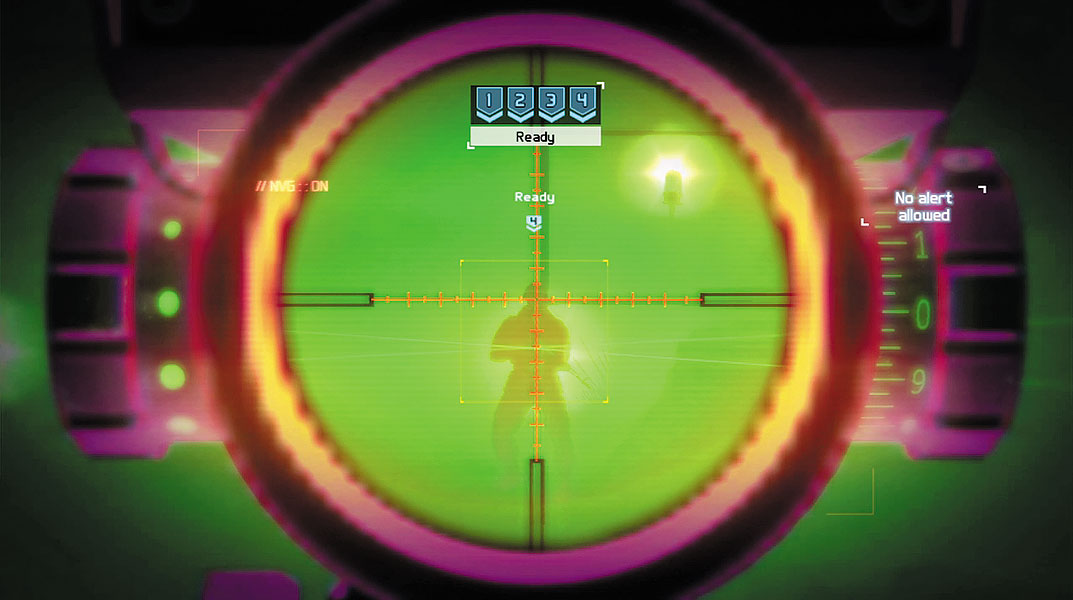
When the checkpoint comes into view, deploy the UAV to scout ahead. The UAV detects four riflemen guarding the checkpoint—two of the riflemen patrol while the other two stand still. Make sure you can spot all four enemies and mark them all. Exit the UAV view and prepare to perform a sync-shot. Find your target and aim through your weapon’s scope to guarantee a hit. When your team is ready, squeeze the trigger to initiate the sync-shot, dropping all four hostiles simultaneously. Your team can now infiltrate the airfield. The lighting conditions within the facility differ, but for the most part, you won’t need your NVGs.
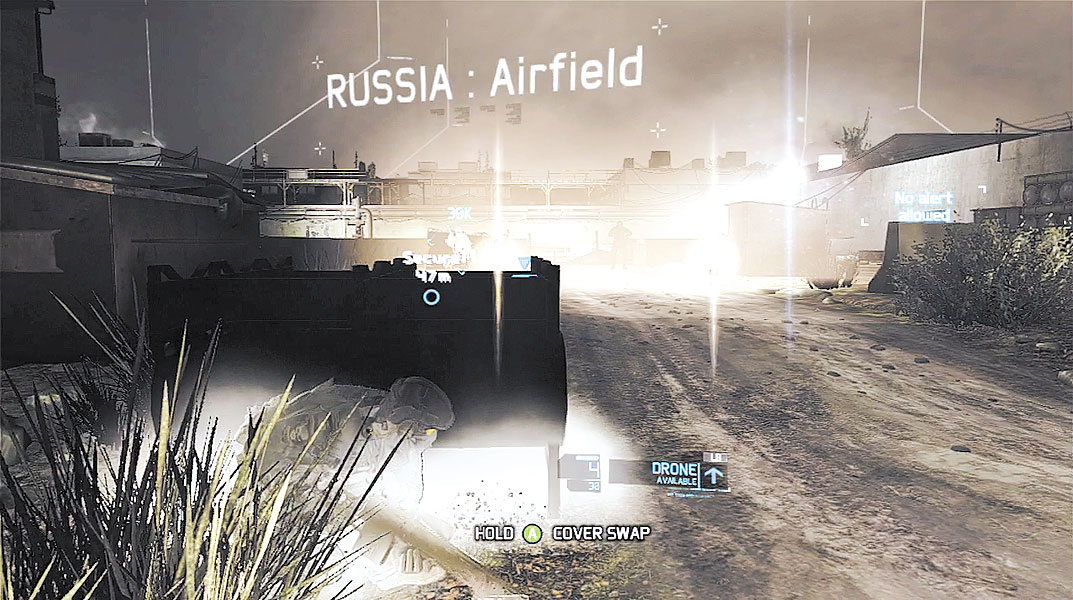
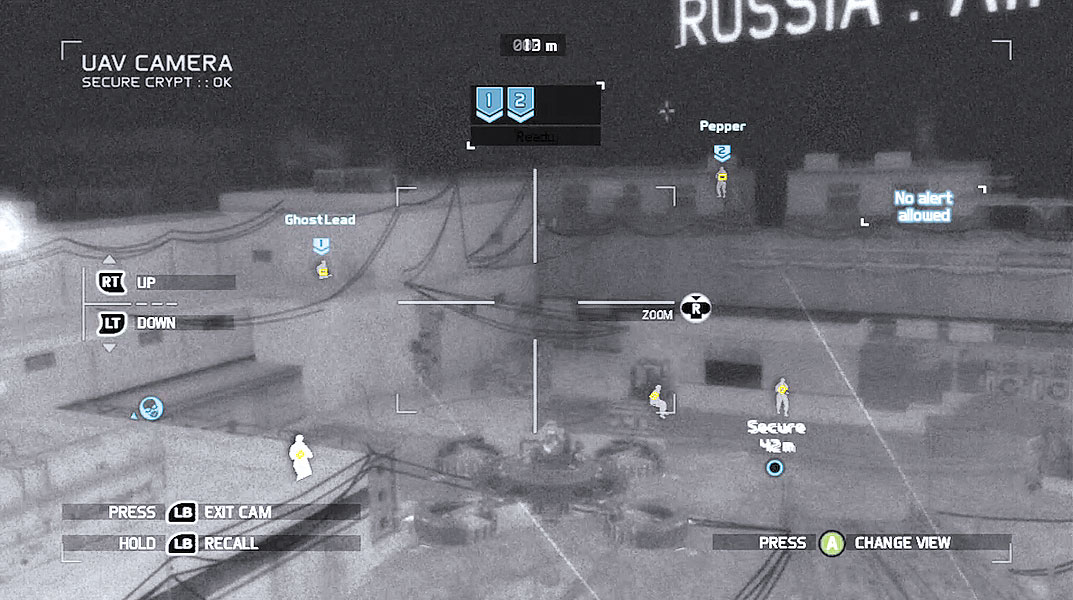
Follow your team past the checkpoint, but don’t let your guard down. Keep your Optical Camo active by remaining crouched. When the word “Contact” appears atop the HUD, seek cover on the left side of the road and deploy the UAV. This next area is guarded by an eight-man squad, mostly consisting of riflemen. But there’s also two snipers watching from elevated positions. You need to attack this area in three layers, working from the top down. Start by identifying both snipers on the top layer—mark them, then order your team to take them out with a sync-shot.
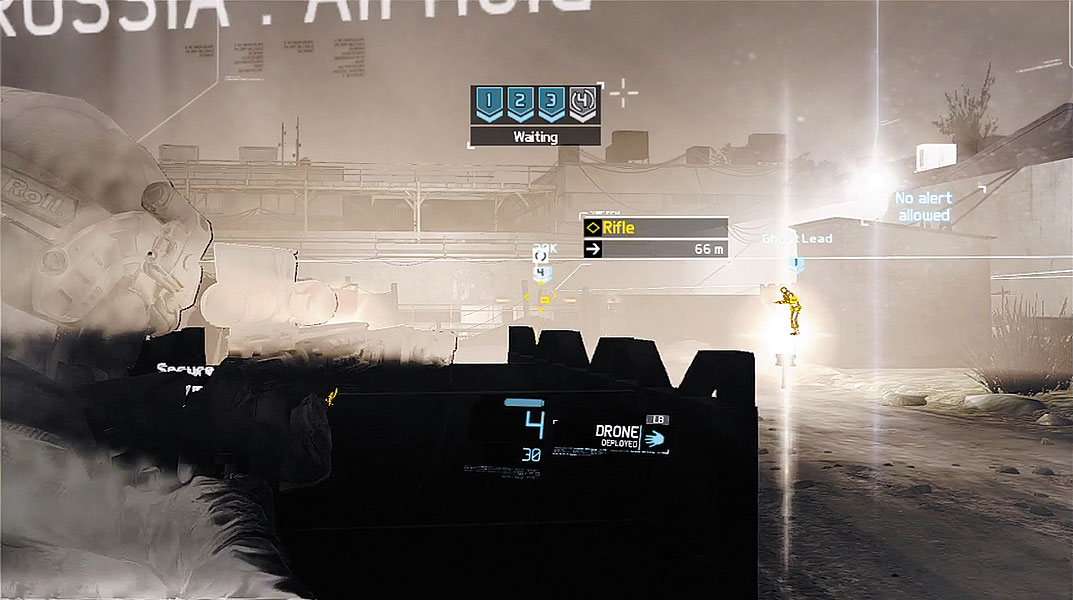
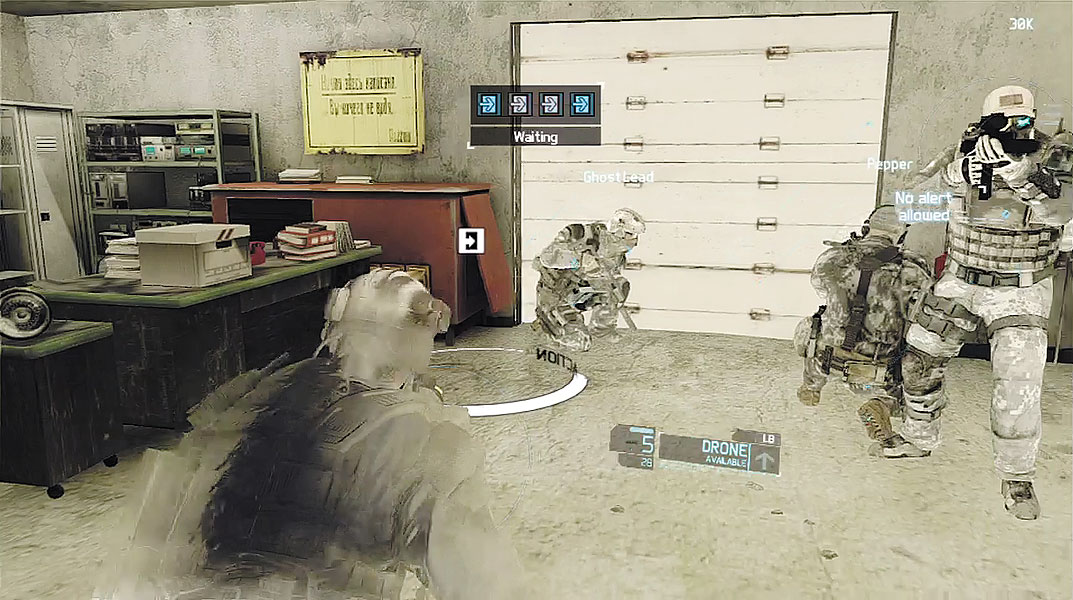
Next, mark all four riflemen in the middle layer. This group consists of two stationary riflemen (on the left and right) as well as a pair of patrolling riflemen that are walking along a catwalk in the distance. Once all four enemies are marked, exit the UAV view and take aim at one of the hostiles. Once again, use your weapon’s scope to line up your shot before initiating the sync-shot. The final two riflemen, on the lower level, can now be eliminated with a simple sync-shot. Return to the UAV view to mark both targets, then order your team to drop them with a sync-shot. The area is now clear. Regroup with your team at the sliding door by the waypoint marker and prepare to breach.
Tactical Challenge: Make Them Count
Airshaft
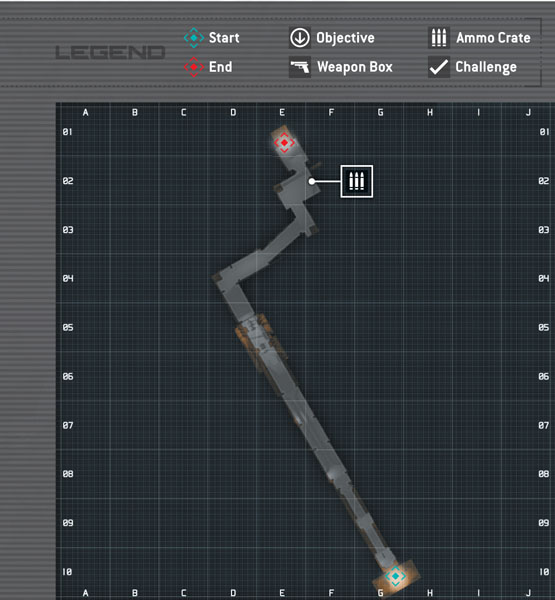
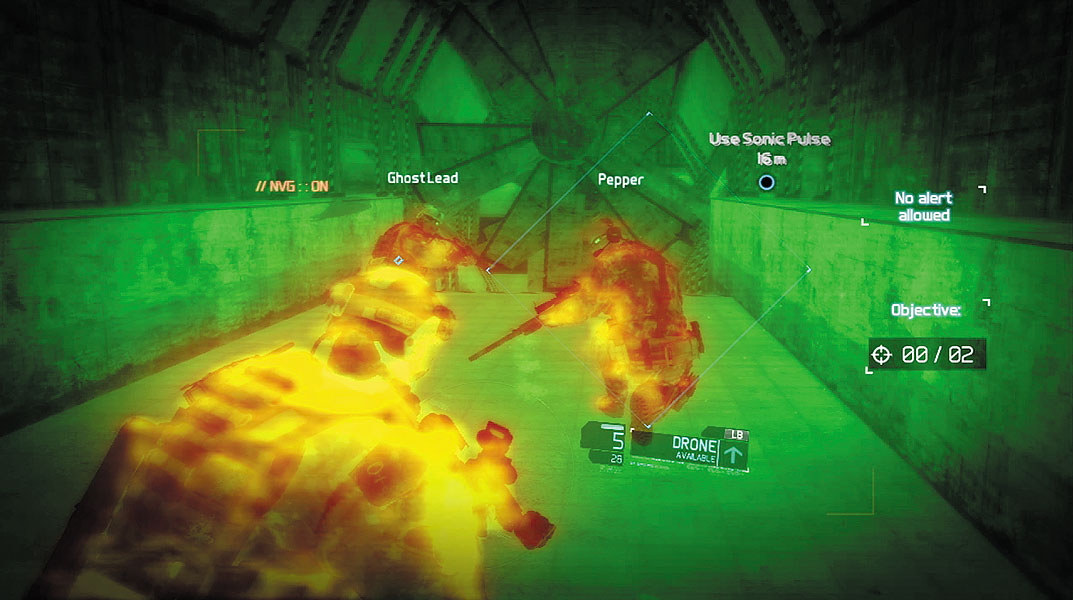
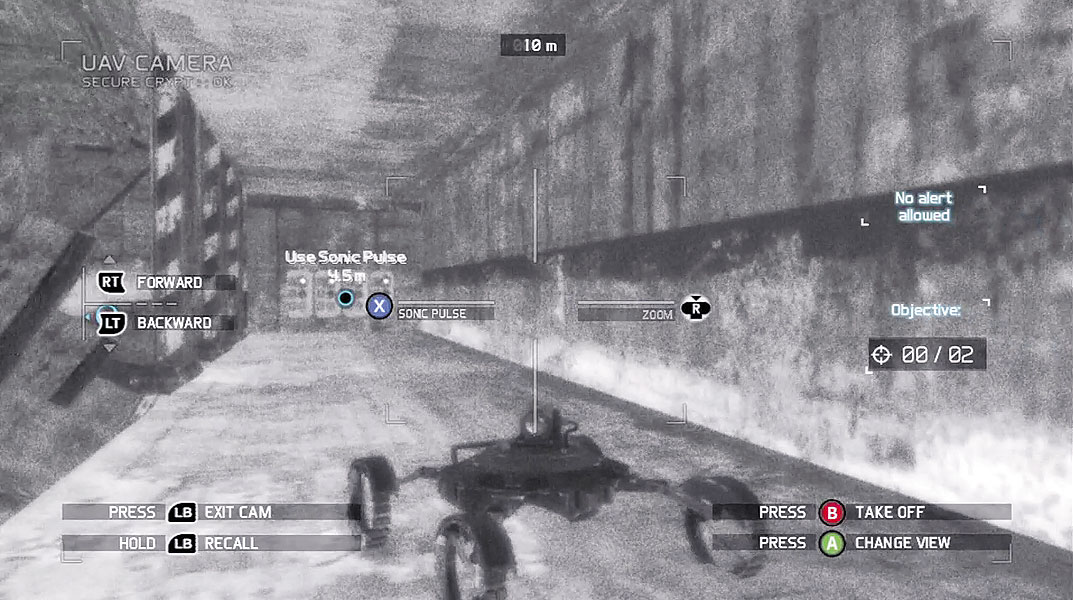
Beyond the sliding door is a dark maintenance tunnel—consider activating your NVGs. The tunnel eventually turns into a large airshaft. These shafts run beneath the airfield. The Russians pipe hot air through them to keep ice off the runways. Your team’s path through the shaft is blocked by a pair of large fans. You need to find a way to deactivate these fans. Deploy the UAV and fly it to the right side of the shaft, where there’s a small ledge. Land the UAV on the ledge to transform into Crawler mode. Drive the Crawler through the adjoining tunnel on the right. At the end of the tunnel is a control panel. Drive the Crawler next to the control panel and emit a sonic pulse—this deactivates the first fan. Recall the Crawler to return the UAV to your hand.
Next, deploy the UAV a second time. Fly past the deactivated fan, then veer to the left side of the shaft where there’s another ledge. Land the UAV on the ledge to enter Crawler mode, then drive the Crawler through the nearby tunnel. Just like with the first fan, emit a sonic pulse near the control panel at the end of the tunnel to deactivate the second fan. Recall the UAV and follow your team past the two disabled fans. While you are moving through the adjoining corridor, Overlord reports that you’re approaching a stretch of runway with a heavy enemy presence. There’s another airshaft on the opposite side that will get you closer to the target. At the end of the corridor is an ammo crate and a ladder. Stock up on ammo before moving toward the ladder.
Regroup at the Ventilation Shaft

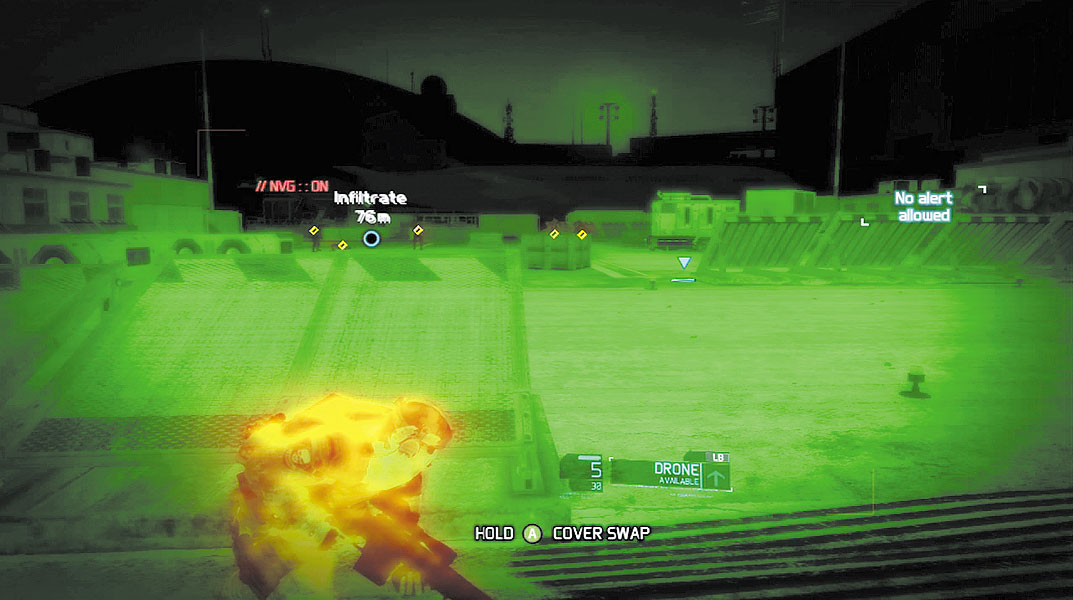
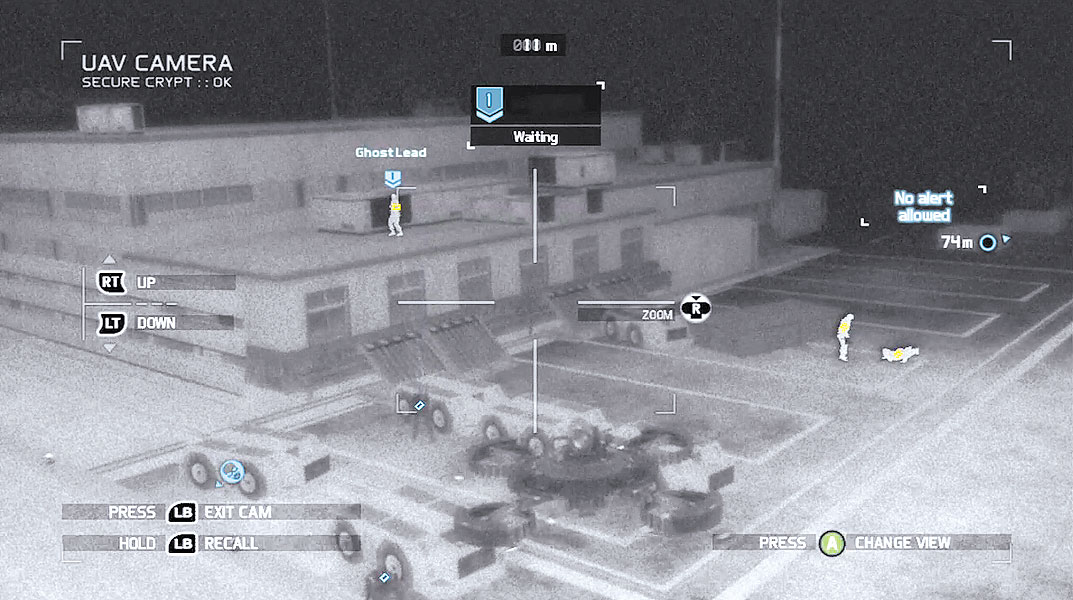
The ladder leads up to a small hatch that opens next to a large runway. Activate your NVGs and follow your team across the runway. Contacts are detected just ahead. Take cover behind one of the exhaust barriers to avoid being spotted—even with the Optical Camo active, you’re not completely invisible. To get a better view of the hostiles, deploy the UAV. There are a total of seven riflemen here. You’ll need to take out these guys in groups, beginning with the lone rifleman on the rooftop to the left—mark him and order one of your teammates to take him out. Next, wait for the two enemies on the far right to isolate themselves; they move behind some trailers. Mark both enemies on the right, and order your team to take them out with a sync-shot—three down, four to go. The final group of riflemen, in the center of the tarmac, can be taken out with one sync-shot. Mark all four targets, then exit the UAV view to take aim at one of the hostiles. When all your teammates are ready, initiate the sync-shot by squeezing your trigger.
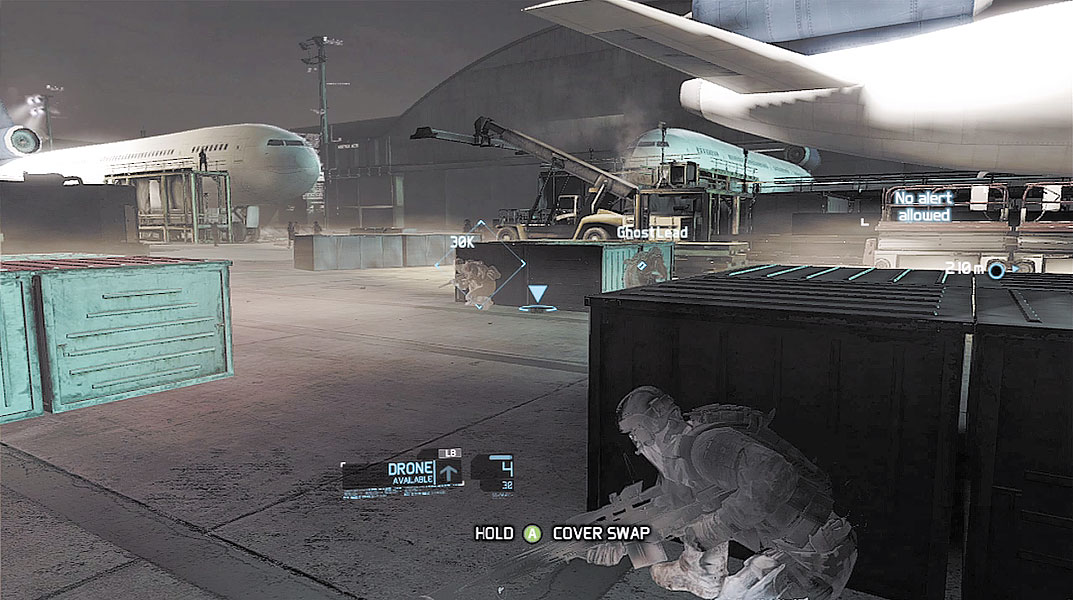
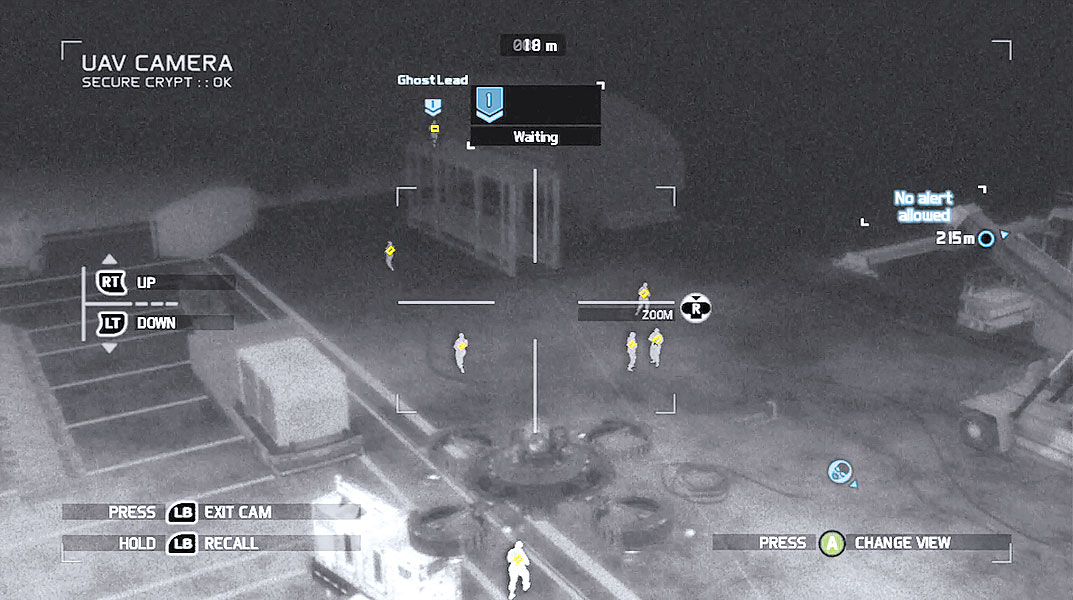
Follow your team toward another group of hostiles. Stay low and take cover near one of the crates on the tarmac. Get the UAV into the air to identify seven more riflemen. Once again, it’s important to take out these guys in isolated groups. Start by shooting the lone rifleman standing on the scaffold in the distance—this guy must die first to prevent him from spotting the bodies of his comrades on the tarmac. Next, wait for two of the patrolling rifleman to move toward the scaffold where you took out the first hostile. When these two riflemen are a safe distance from the other four, mark them and order your team to take them out with a sync-shot. Quickly mark the remaining four hostiles, including the group of three that is chatting between the two large planes. Exit the UAV view, take aim at one of the hostiles, and drop all four enemies with a sync-shot.
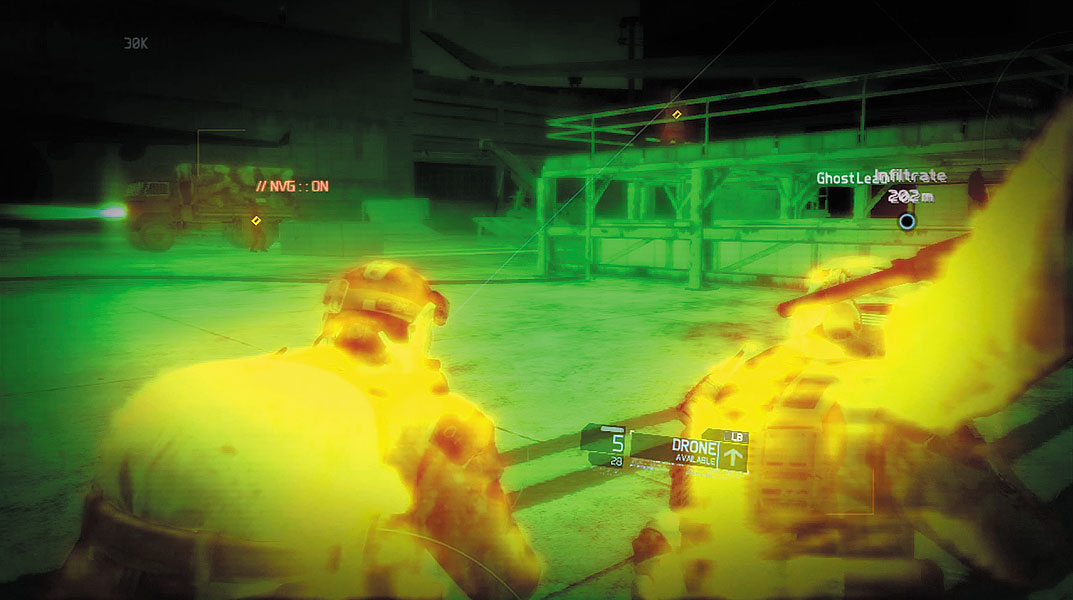
While still crouched, creep between the two planes on the tarmac while moving toward the next waypoint marker. There are multiple hostiles in this next area. They are guarding access to the massive hangar that your team must infiltrate to reach the next ventilation shaft. Don’t get overwhelmed by the large enemy presence. If you’re careful, you can isolate these enemies and pick them off in small groups. As you pass between the planes, glance to the right to spot your first victim standing on a scaffold. This guy is stationary and has a clear view of the tarmac in front of the hangar. Even at this close range, don’t take any chances. Take aim with your weapon’s scope, and center the target’s head in the crosshairs—this will prevent you from hitting the railing around the perimeter of the scaffold. Don’t shoot until the sound of a jet engine can be heard, which help to mask the sound of your weapon.
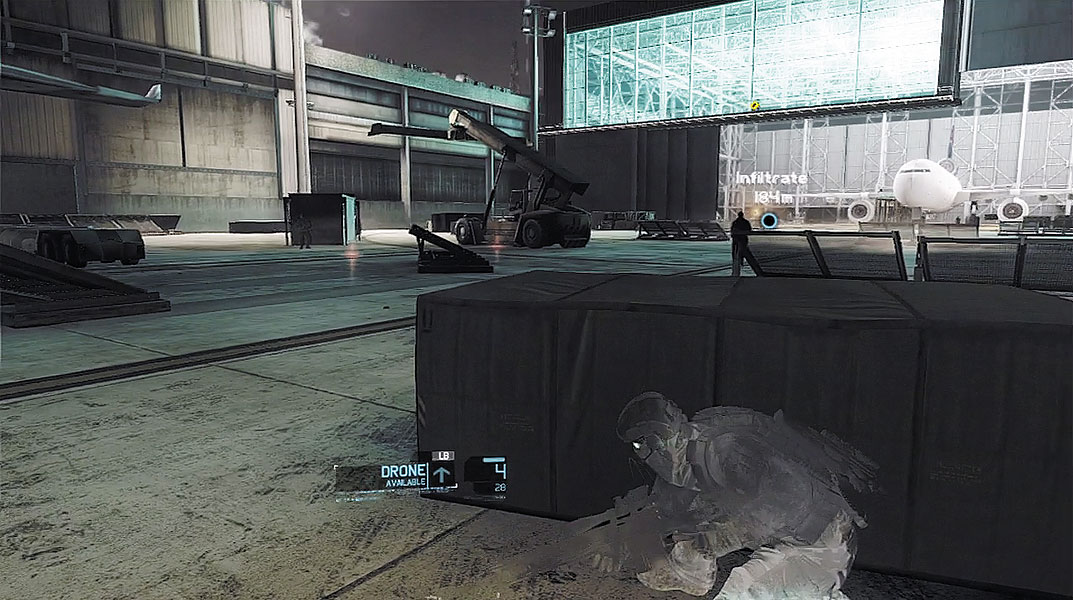
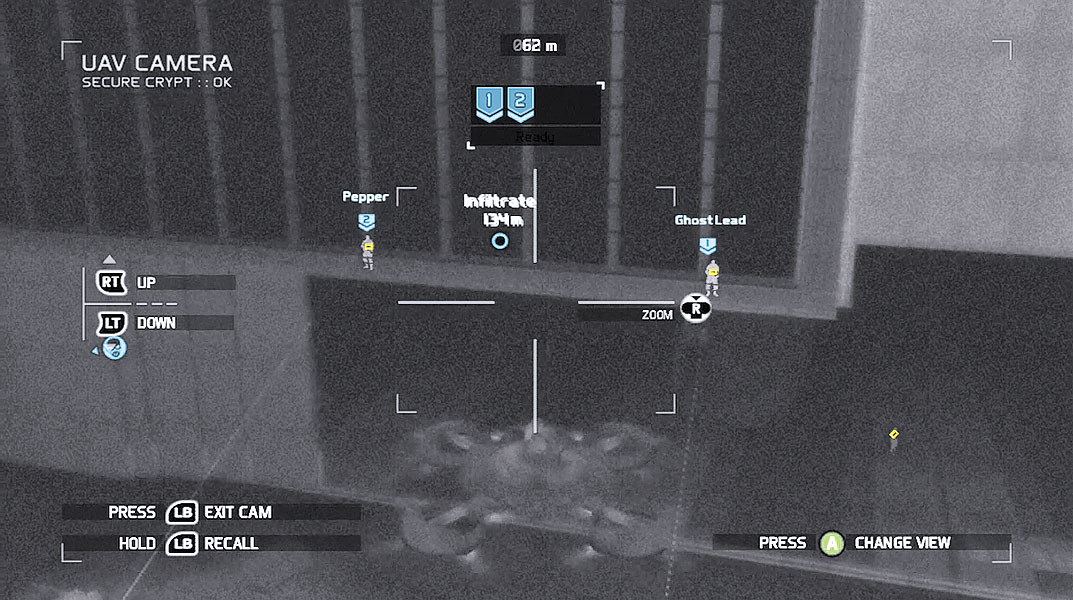
With the first enemy down, creep forward and take cover behind a crate on the tarmac. Keep your Optical Camo active and stay behind cover to avoid being spotted by the two riflemen patrolling nearby—but these guys aren’t your next targets. Deploy the UAV and fly it directly toward the large hangar. Just above the hangar door is a catwalk occupied by two snipers. Mark both snipers and order your team to take them out with a sync-shot. If you want to take out one of the snipers yourself, be sure to wait for the sound of a passing jet to muffle your shot. With the snipers down, clearing the remaining hostiles on the tarmac is far less dangerous.
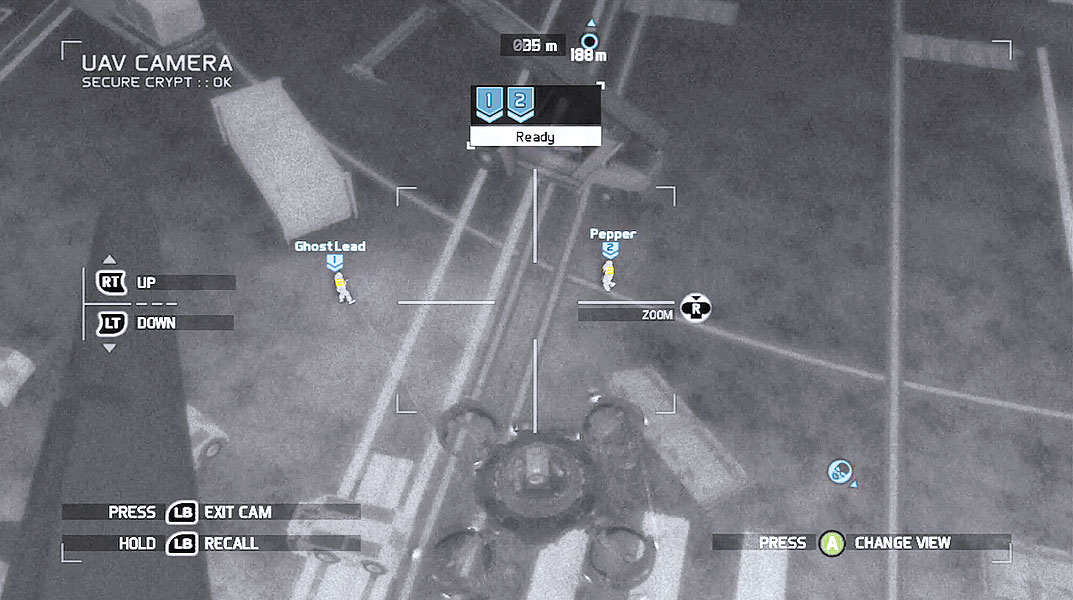
Fly the UAV back toward your position and mark the two hostiles patrolling nearby. Order your teammates to take them out with a sync-shot. Next, fly the UAV to the right side of the tarmac to locate two more riflemen near the port-side wing of the large aircraft. Mark these guys and have your teammates drop them with another sync-shot.
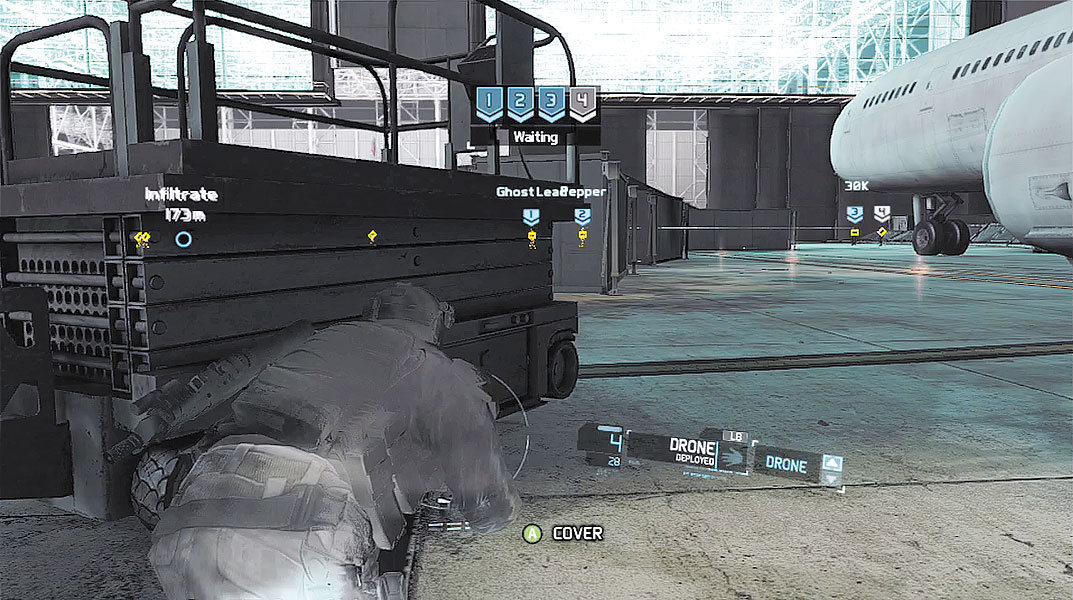
Four more riflemen are on the tarmac, and all are located on the right side of the hangar’s entrance. Mark all four enemies with the UAV, then move to a position closer to the hangar. The scissor lift near the aircraft’s port engine is a good cover spot for engaging this next group. Assume a position along the scissor lift and target one of the stationary riflemen on the far right. Once again, peer through your weapon’s scope and line up the rifleman’s head in the crosshairs to guarantee a clean kill. When all teammates are in position and ready, squeeze the trigger to initiate the sync-shot. This clears the tarmac, but there are still a few more enemies you need to deal with in the hangar.
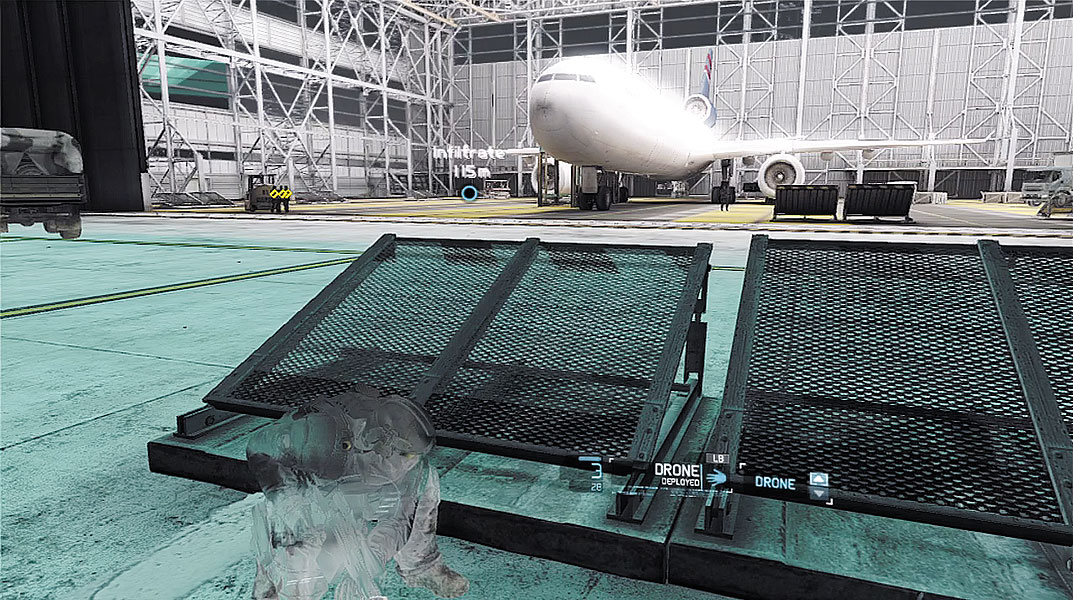
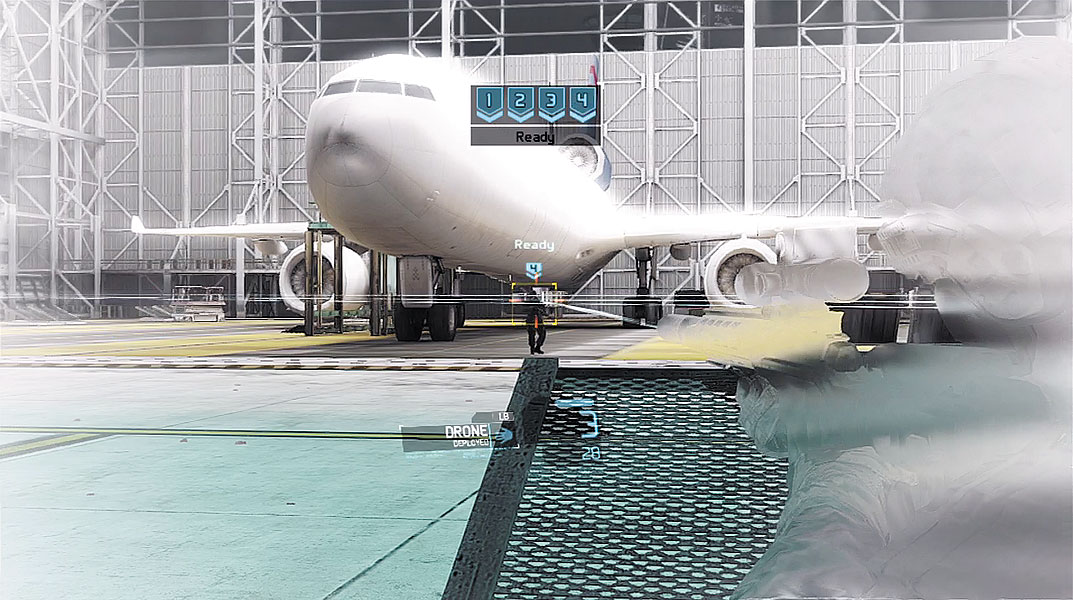
Cautiously advance toward the hangar and take cover behind one of the exhaust barriers near the entrance. From here, you have a clear view of all five enemies inside the hangar. For good measure, deploy the UAV to scout ahead. Your first target is the rifleman on the scaffold next to the plane inside the hangar—he’s standing on the left side. Mark this guy and order one of your teammates to take him out. Even when his body crashes to the hangar floor, the remaining hostiles don’t take notice. Immediately mark the remaining four riflemen—there are three hostiles chatting on the left side of the hangar and a lone rifleman patrolling on the right side. Once all four targets are marked, exit the UAV view and take aim at the patrolling hostile on the right side of the hangar. Initiate the sync-shot once all teammates are ready and on target. When all four targets are down, recall the UAV and prepare to move out.
Ventilation Shaft
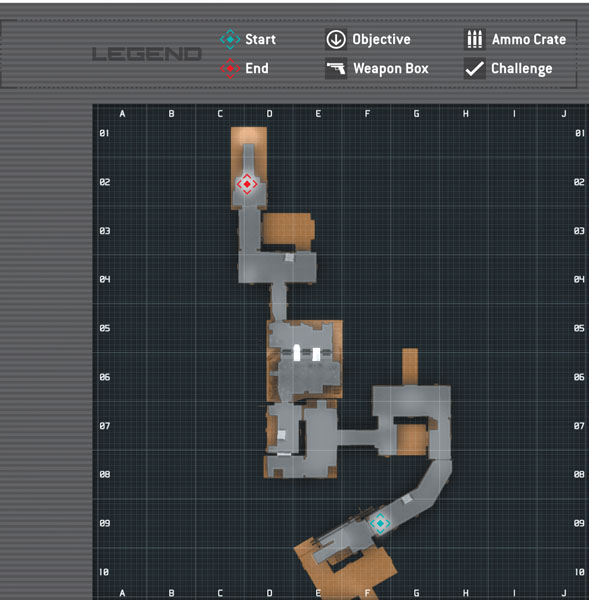
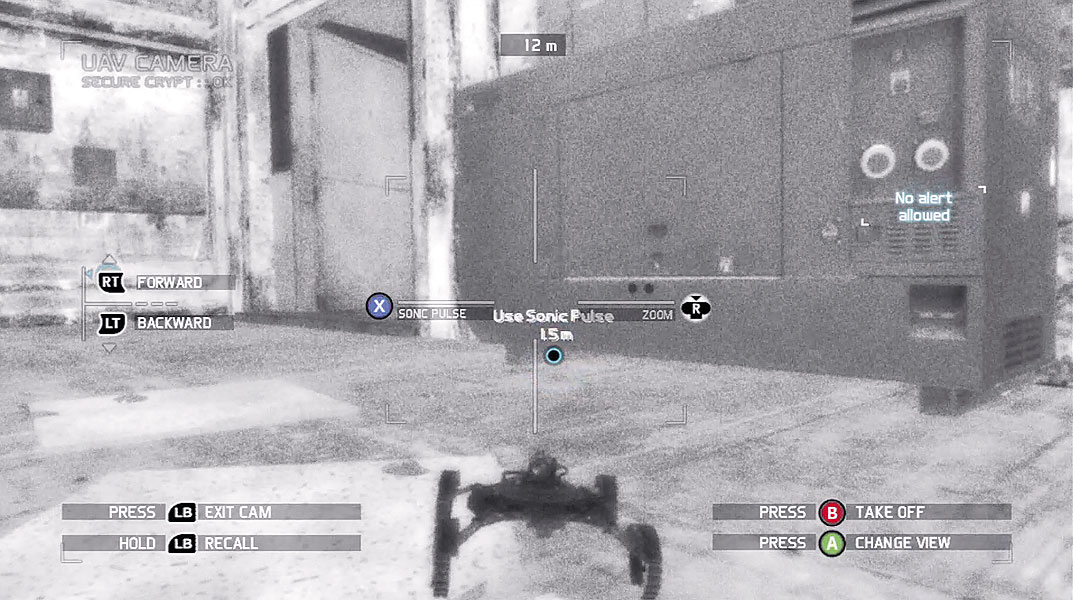
The hangar is now clear. Rush inside and move toward the stairs on the left side; they are marked with a waypoint. Just beyond the stairs is a blast door, leading into a maintenance corridor. Regroup with your team at the blast door and enter the corridor together. The corridor leads you to the next ventilation shaft, which is blocked by three parallel fans. Deploy the UAV and fly it through one of the small openings above the fans. Land the UAV behind the fans on the waypoint marker to enter Crawler mode—a large transformer box is next to the waypoint marker. While in Crawler mode, emit a sonic pulse to knock out power to the fans. Recall the UAV, then drop prone to crawl beneath one of the three disabled fans. As you regroup with your team at a blast door, Overlord reports that the missile guidance system has been loaded onto a cargo plane.