
Tom Clancy's Ghost Recon Future Soldier Guide Walkthrough Tiger Dust
Locate Arms Dealer
Locate Arms Dealer
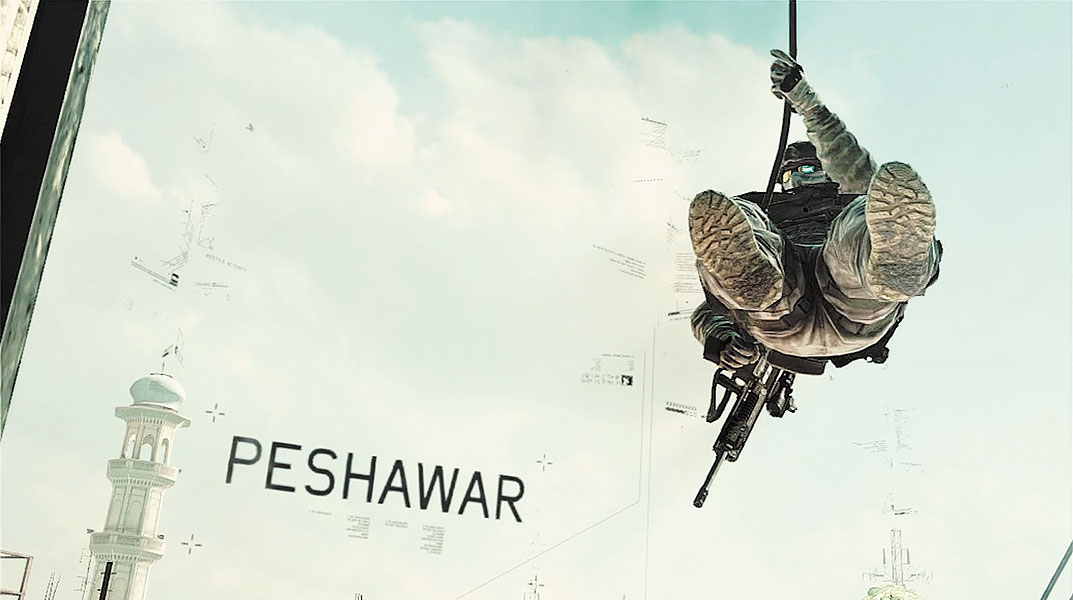
Officer Sykes’s intel has lead the Ghosts to Peshawar, Pakistan, where they’re tracking a high-end arms dealer. The dealer is operating out of a nearby compound under heavy guard. The Ghosts are tasked with quietly infiltrating the compound and extracting the arms dealer. Intel also reports that the dealer is arranging a sale with a buyer. The buyer is off-limits during this operation—the Pakistanis want him alive.
Peshawar is a crowded city filled with civilians. Overlord advises to keep a low profile in an effort to avoid potentially dangerous engagements where innocents may be caught in the crossfire. It’s also important to remain undetected to maintain the element of surprise. If the dealer has any clue of the Ghosts’ presence, he’ll bug out. The plan is to reach the target area by advancing across a series of rooftops. But the arms dealer is either paranoid or extremely prudent. The path to the arms dealer’s compound is filled with hostiles occupying rooftops and towers.
Mission Map
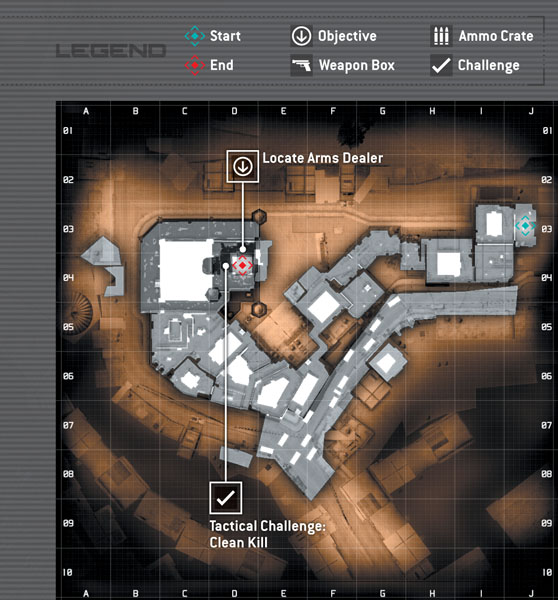
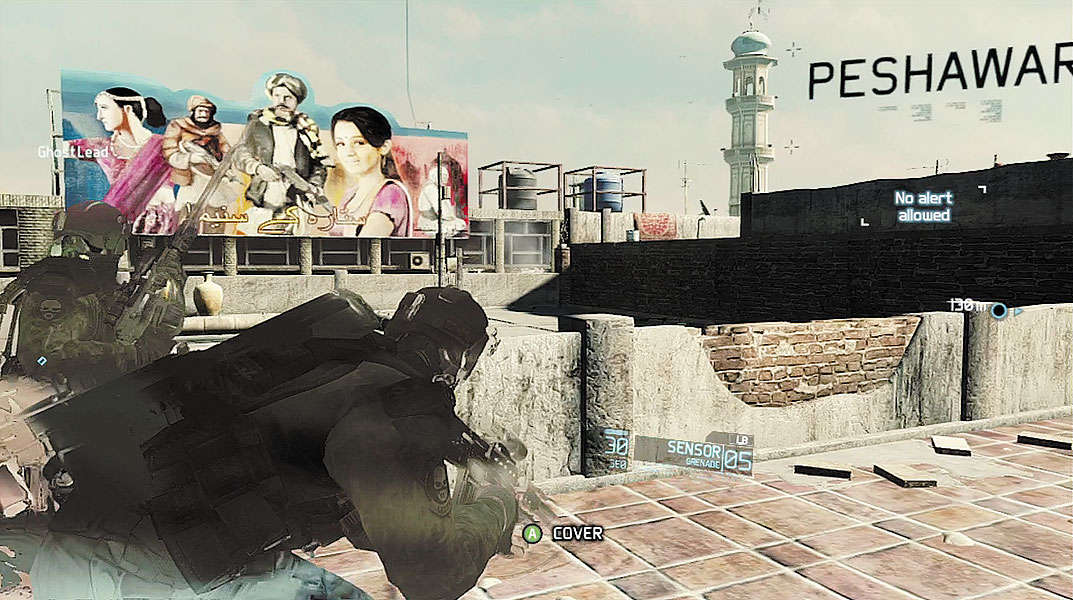
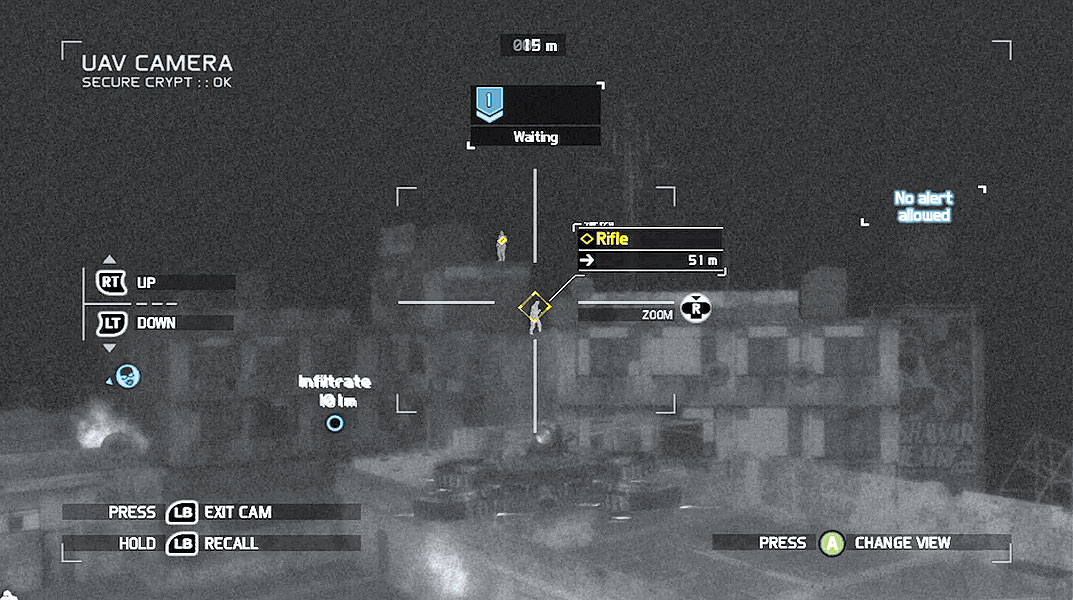
Start by climbing through the window where you begin the mission. Immediately after passing through the window, assume a crouched stance to activate your Optical Camo. There are five hostile gunmen nearby. The Optical Camo allows you to access the nearby rooftops without being spotted. Before moving too far, deploy your UAV to scout ahead. Veer to the left to spot a riflemen patrolling a rooftop near a minaret across the street—mark him. Two other riflemen are nearby on a lower rooftop, but ignore them for now—you need to take out the three hostiles on the high ground first. Instead, locate two other riflemen on a distant rooftop and mark them. Once your team has acquired the three marked targets, issue a sync-shot order to take them out. The remaining two hostiles on the lower rooftop can now be eliminated with a second sync-shot; mark them and give the shoot order. After eliminating these five hostiles, the immediate area is clear of threats. Recall the UAV and move out.
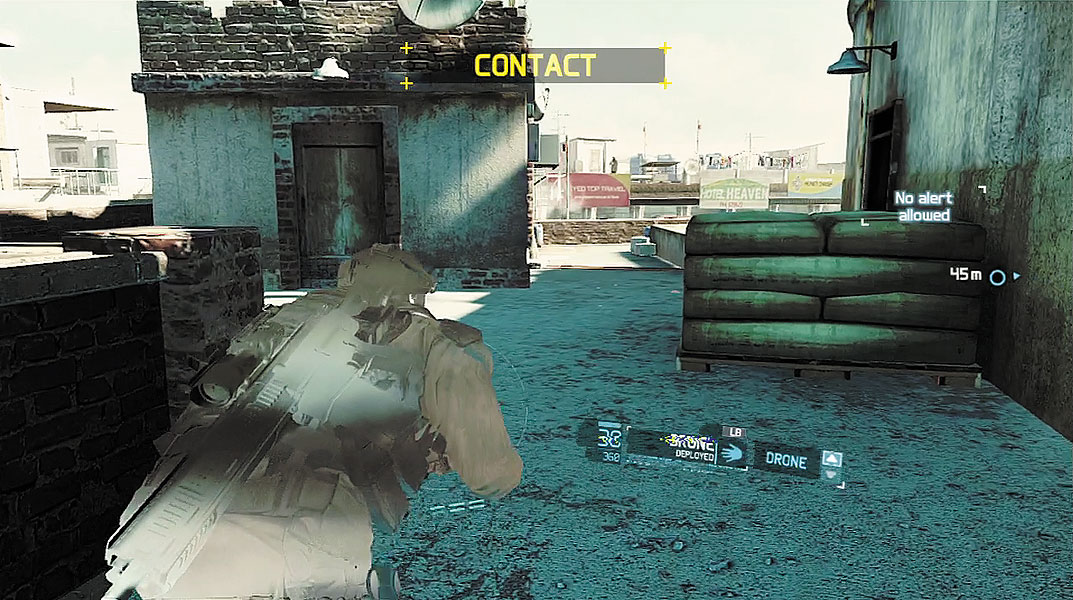
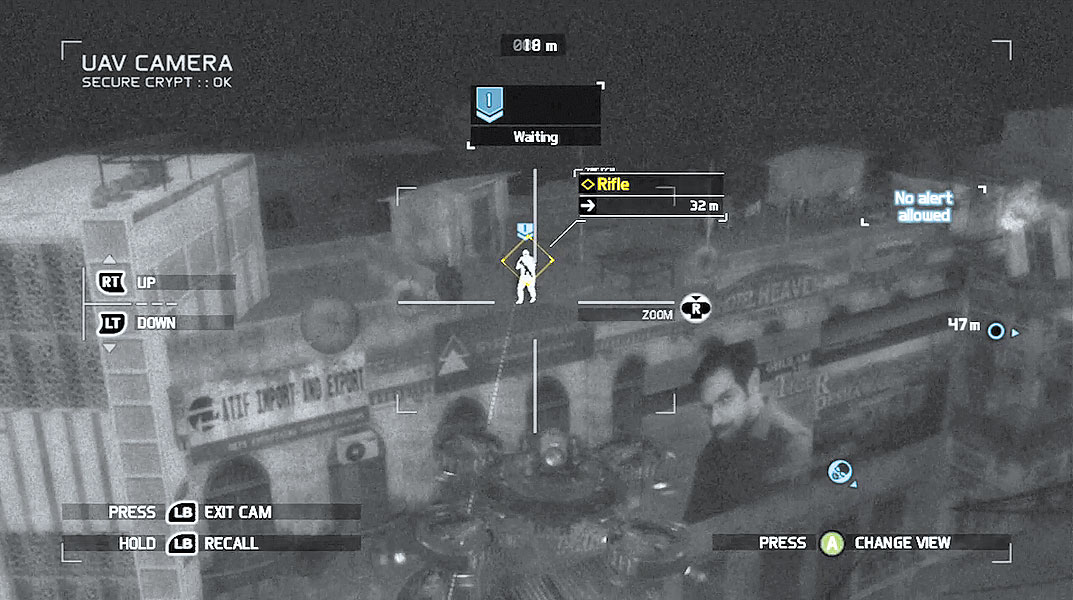
You can now stand up and advance along the rooftops for a few meters without being spotted. Locate the waypoint marker in the distance and begin moving toward it. The rooftops are uneven and you may need to climb over certain objects and low walls along the way. Remember, you must take cover next to wall before you can climb over it. Continue advancing toward the waypoint until the word “Contact” appears at the top of the HUD—this indicates that a hostile is nearby. Immediately assumed a crouched stance to activate your Optical Camo and find a piece of cover. A lone riflemen patrols a rooftop across the street. Deploy the UAV to get a better view. You can either mark this guy for your teammates or take him out yourself. There are no other hostiles within view to see this guy die, so don’t worry about triggering an alarm. If you do take the shot yourself, use your weapon’s scope view to score a headshot. If you miss or inflict a less than lethal injury, the rifleman may trigger an alert. So if you’re not confident in your marksman skills, have a teammate take him out.
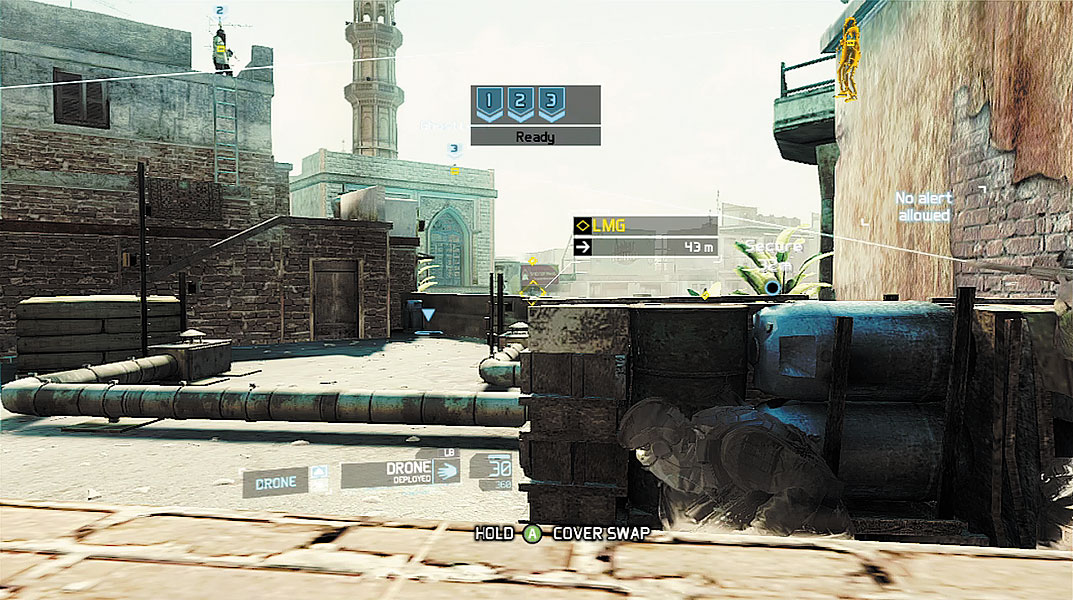
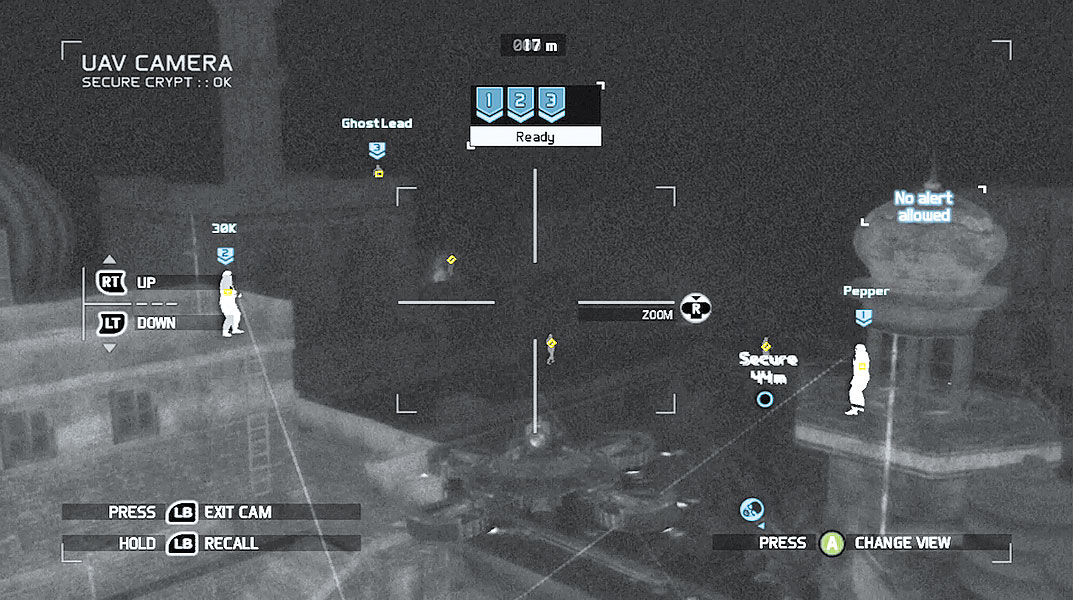
Keep your Optical Camo active and creep toward the waypoint marker. You’re not just outside the arms dealer’s compound. As expected, the compound is guarded by multiple hostiles. There are a total of eight guards in the area. Before you can deal with the four guards on the compound’s rooftop, you need to take out the four guards around the perimeter. These guys have elevated views of the compound from neighboring rooftops and towers. Mark all four of these hostiles and perform a sync-shot to take them all out simultaneously. When picking a target for yourself, choose one of the nearby hostiles, especially if you don’t have a sniper rifle.
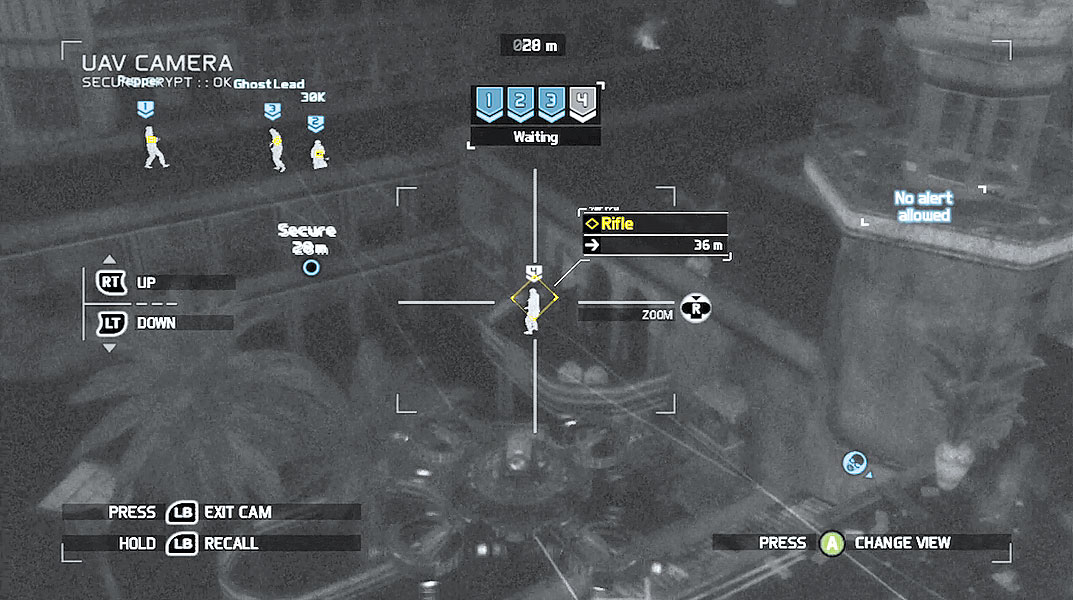
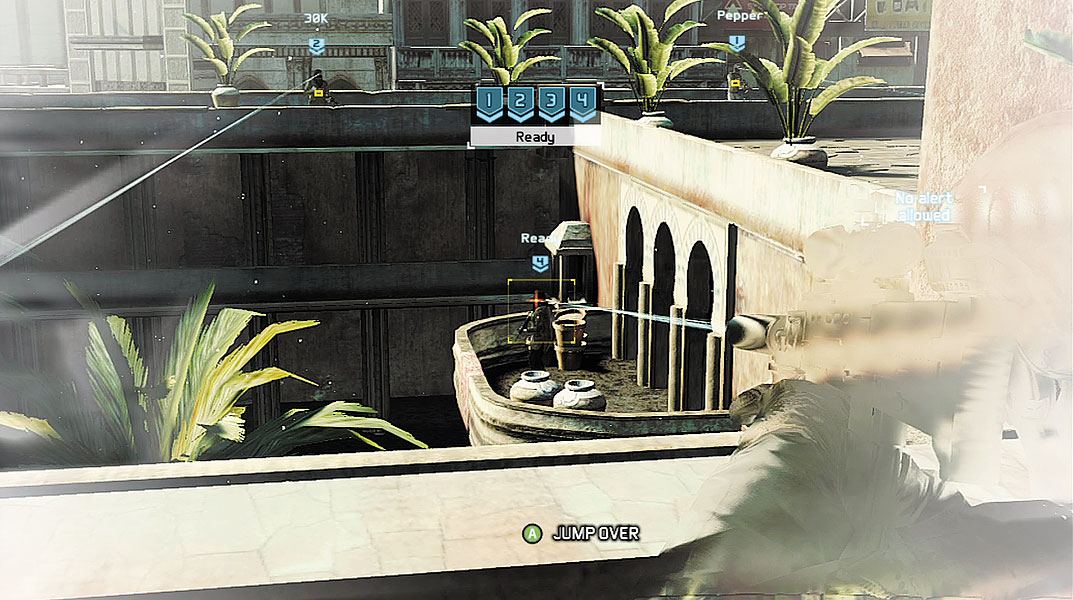
Next, mark the four guards on the compound’s rooftop, including the guy on the balcony. Once all four targets are marked, move closer to the compound so that you have a clear view of the marked hostiles. From a covered position, take aim at the marked hostile on the balcony. This guy paces in and out of the compound. You need to wait until he steps out onto the balcony to get a clear shot. Once you have your shot lined up, squeeze the trigger to initiate the sync-shot. Within an instant, all the hostiles are down. You now have a clear path to the compound and can prepare to infiltrate.
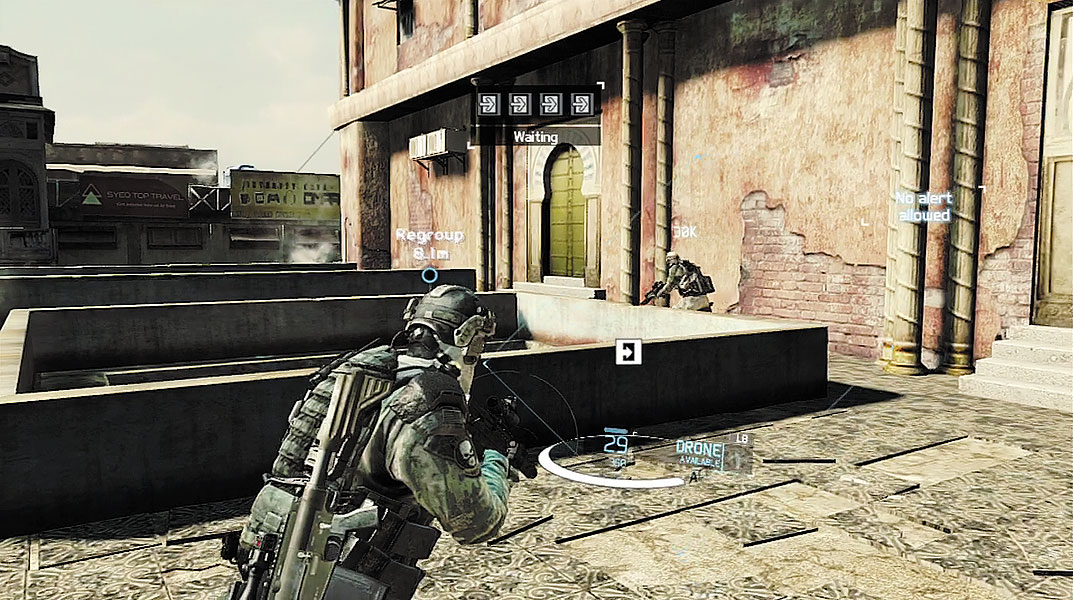
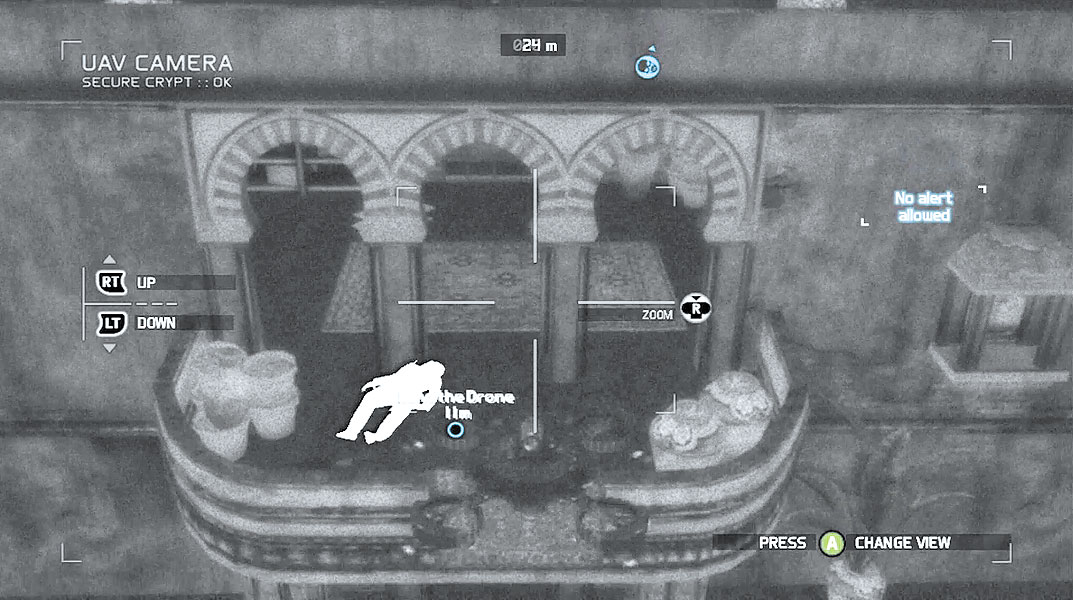
Follow your teammates down onto the compound’s rooftop and take a position along the skylight—move into the white ring to prepare for the breach. Before you can crash through the skylight and apprehend the arms dealer, you need to get a clear picture of exactly what you’re jumping into. Chances are the dealer has surrounded himself with more guards. Once again, deploy the UAV and fly it toward the new waypoint marker on the balcony below, where you just eliminated the hostile. Descend onto the balcony and press the button shown on-screen to land the UAV. Once landed, the UAV is in Crawler mode. This transforms the UAV into a device that operates like a remote-controlled car.
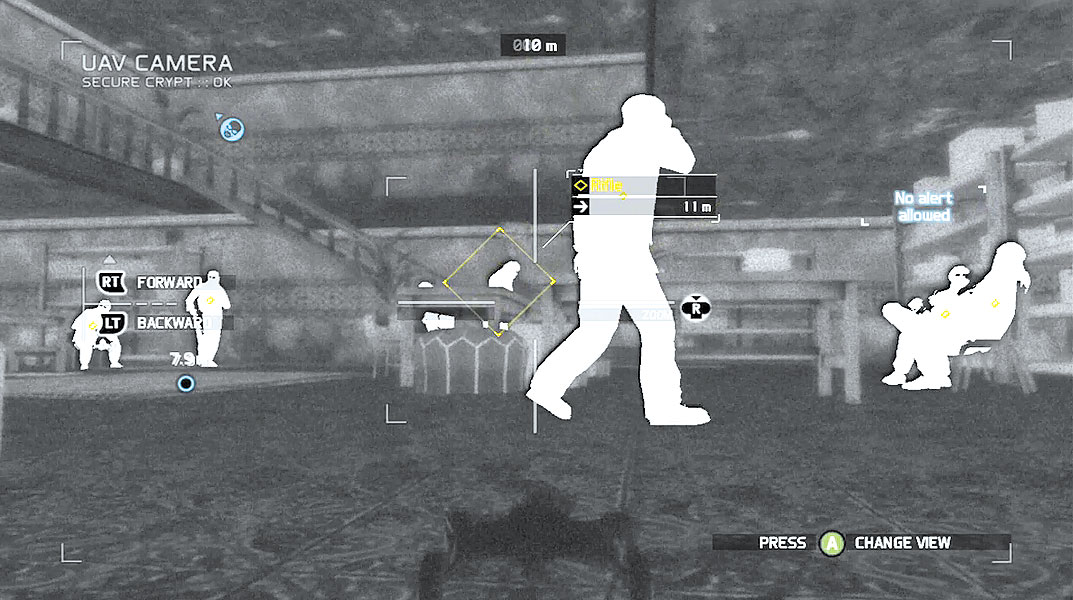
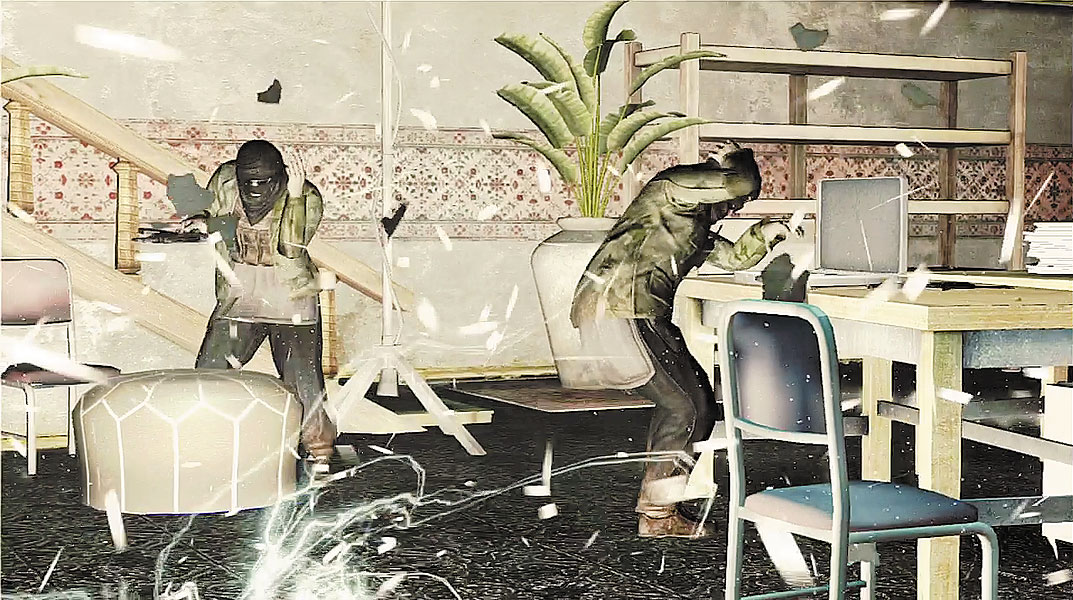
Drive the UAV into Crawler mode through a small vent in the wall opposite the balcony. This gives you access to the room where the deal is taking place. But there’s one problem. You’ve located the buyer, but the arms dealer is nowhere to be found. After passing through the vent, turn right and drive the Crawler down the nearby staircase. The floor below is filled with riflemen. Judging by their relaxed postures, they don’t expect anything. Although the arms dealer isn’t present, Ghost Lead suggests following through with the assault. Drive the Crawler toward the center of the floor, marked by a waypoint. As you near the waypoint, make sure not to move too close to the guy pacing the floor while talking on a cell phone. Wait until his back is turned, then drive the Crawler to the waypoint marker. When you reach the waypoint, you’re prompted to press the button shown on-screen to emit a sonic pulse.
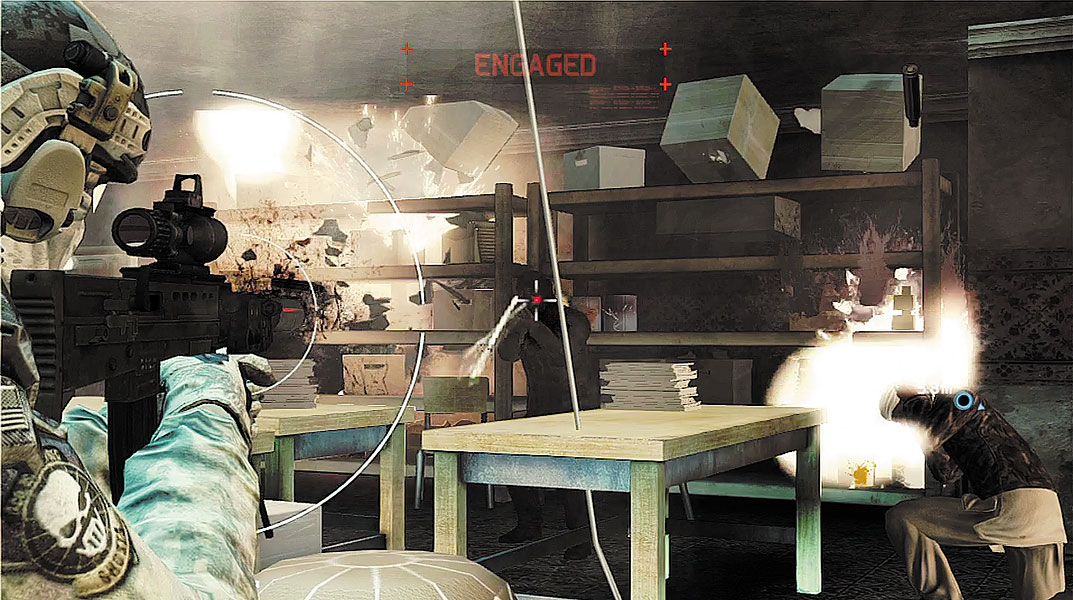
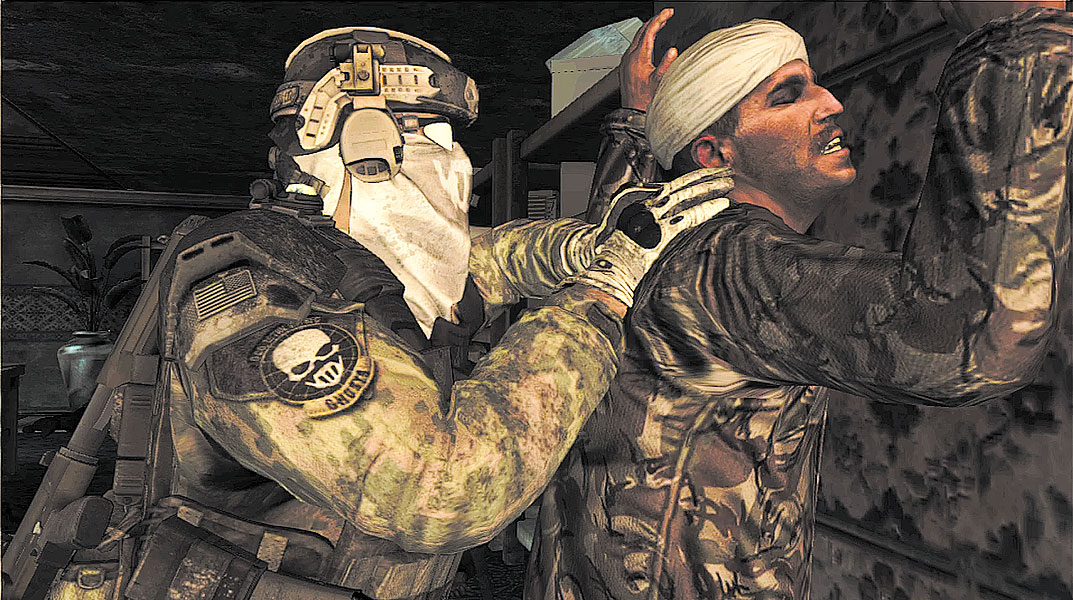
The sonic pulse serves as the perfect tactical aid, temporarily deafening the hostiles, giving your team the opportunity to crash through the skylight and attack. Although the room is filled with hostiles, during this sequence, you need to worry about only two. Upon entry, there are three targets within your view—you need to shoot the two guys on the left. Do not shoot the third guy on the right—he’s the buyer! If you accidentally shoot the buyer, the mission ends in failure and you are forced to restart from the previous save checkpoint. Once you’ve gunned down the two hostiles, Kozak grabs the buyer and shoves him against the wall, frisking him for weapons before knocking him out. With the room secure, Ghost Lead checks in with Overlord for a mission update.
Tactical Challenge: Clean Kill
Overlord Intel Update:
Arms Dealer Located