Tom Clancy's Ghost Recon Future Soldier Guide Multiplayer Adversarial
Introduction
Adversarial
The ultimate measure of your skills not just as a lone Ghost, but as a squad, were put to the test throughout the Campaign. Now it’s time to put that tested mettle to use against actual living, breathing combatants. Ghost Recon Future Solider’s Adversarial modes pit you against the rest of the world in ten wildly different maps across four distinct game types, each with its own nuances, quirks, and strengths. Mastering not just the basics of the modes, but the ins and outs of each of the maps is key to securing objectives before hostiles on the other team can do the same. Make no mistake; this is just as team-oriented as the Campaign ever was. To come out on top, you’ll have to work together with other members of your squad and team to ensure victory. Those that seek singular glory will find themselves at the bottom of the leaderboard at best, and kicked out of the squad as a likely consequence. Communicate, collaborate, and concentrate. Adversarial modes are where good Ghosts go to become great.
Modus Operandi
Conflict
A decidedly objective-based approach is required for all Conflict maps, meaning it’s not enough to just shoot the other guys, you have to beat them to the punch in gaining control of objectives and then hold those objectives until the timer runs out. Objectives are randomized, and can offer a variety of side effects, including intel on hostile players, the ability to shut down their HUDs with an EMP blast, being able to restock ammo and deployables and more. Kill counts aren’t the goal here; only by taking and holding more valuable sites on the map will your team come out on top. Most objectives are two-sided, meaning if an attacking team is trying to destroy or capture an objective, it is marked as a defensive objective for the opposing team.
EMP Blasts
Repelling demolition attempts on the EMP generator until it can unload affords defenders a huge advantage for about 30 seconds, effectively turning the normally high-tech operations of the attacking team’s HUD dark. That means no radar, no advanced optics (even when aiming through scopes), no Optical Camo, no objectives markers, no UAVs, no deployables. ... You get the idea. Needless to say, if you’re on the attacking team, planting a demo charge on the EMP is of the utmost importance.
Intel Sensor
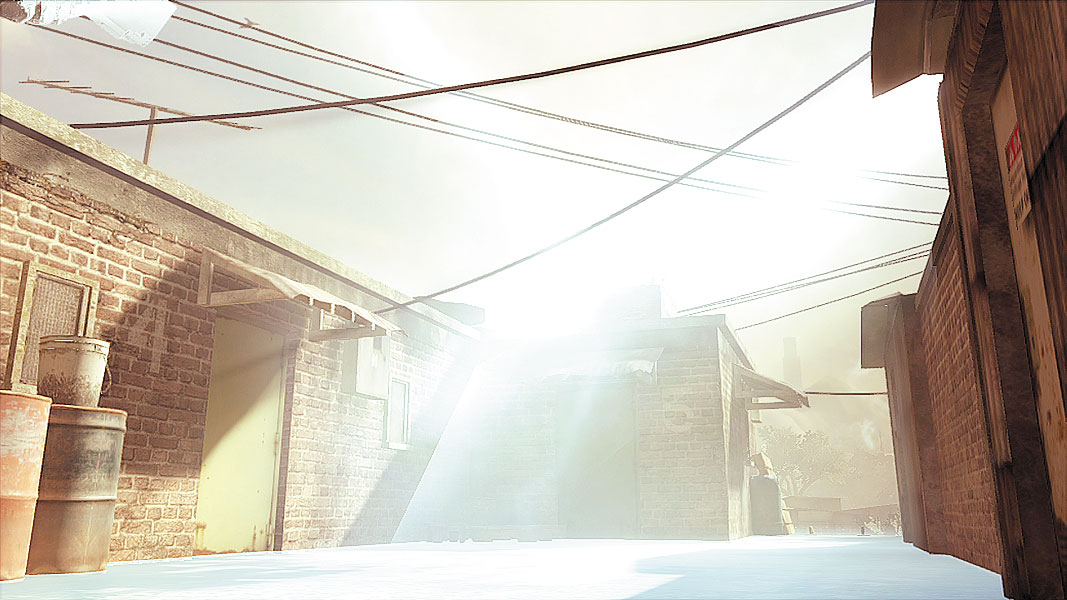
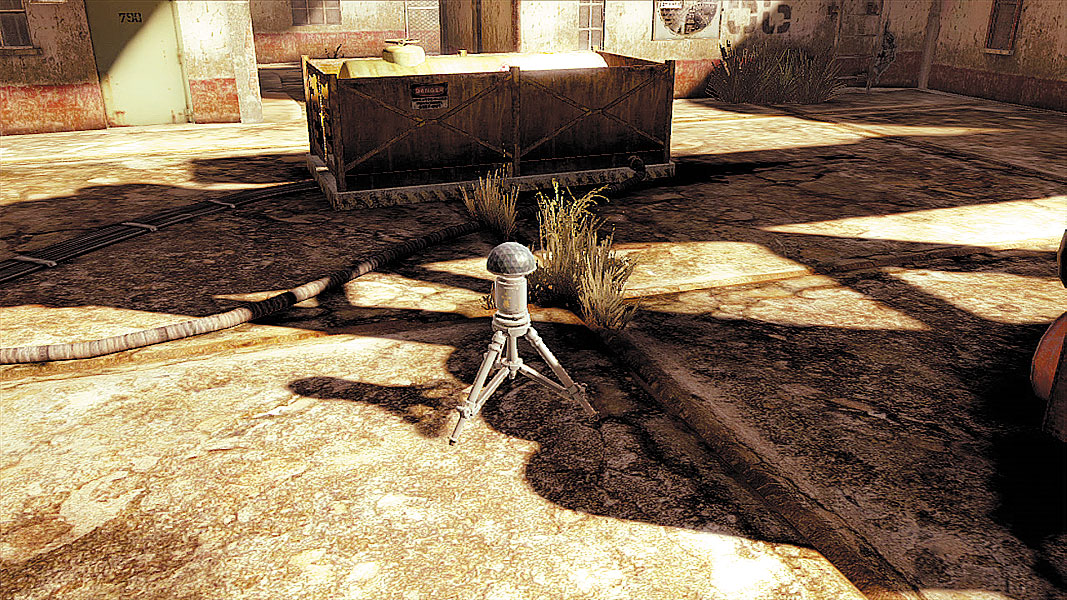
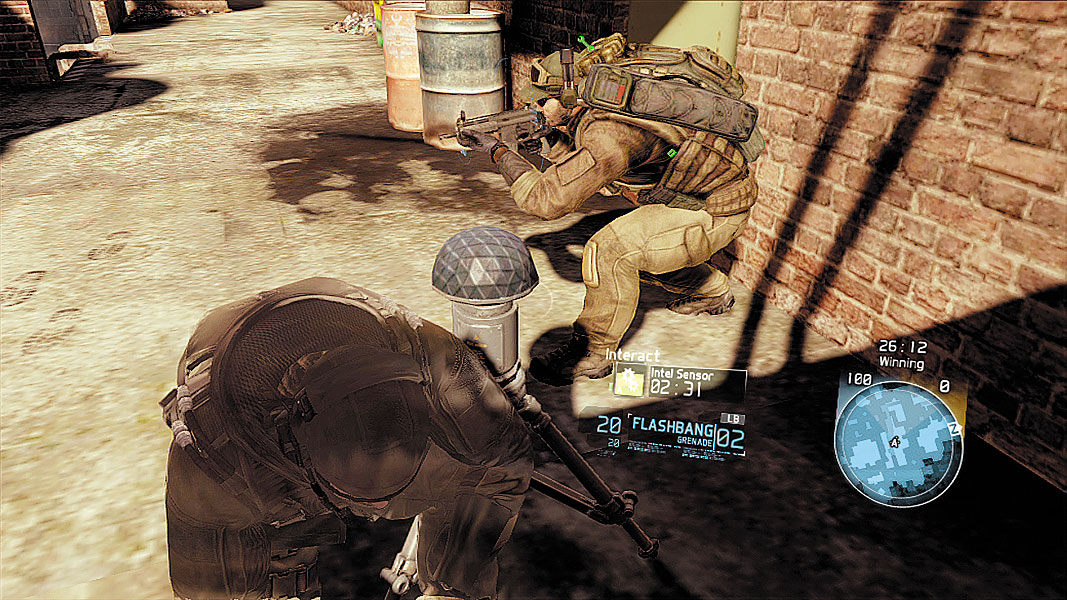
Having knowledge of the enemy’s position and direction is the single most important deciding factor in getting the drop on the other team. Intel Sensors can reveal location data on key members of the opposing team, but they have to be powered up and defended. It’s not a one-way objective, however; if the enemy can clear out defenders and recapture a Sensor, the data is flipped, revealing information on your team’s whereabouts and movement.
Intel Sweeps
The data you view on enemies is always being collected for distribution to the rest of your squad, but it needs to be uploaded from time to time. Though it is a team-wide objective, only one carrier has the information necessary and must bring it to a laptop to transmit the information. The carrier is marked as a High Value Target. Protect the HVT on the way to the upload location. The enemy needs only to kill the carrier to fulfill their objective, while your team must reach the objective and then defend it as the data is uploaded. Doing so successfully sends out a level-wide pulse that reveals information about the other team.
Resupply Points
With no way outside of a Rifleman’s Ammo Box to restock on ammo short of looting weapons off fallen enemies, and no way to grab more deployables like grenades, Sensors, cameras, and UAVs without respawning, Resupply Points are an invaluable means of allowing the whole team to replenish their stores after protracted firefights. Just capturing the Resupply Point isn’t enough, however. Denying the other team the spoils is a key way to leave them ill-equipped for the race to the next objective, so be ready for attempts by the opposing team to capture it for themselves. If you do manage to take an enemy’s Resupply Point, stock up quickly before they can retaliate. Whatever team is in control should be making the most of their bottomless supplies by lobbing every deterrent possible while the Resupply Point is active.
Assassination
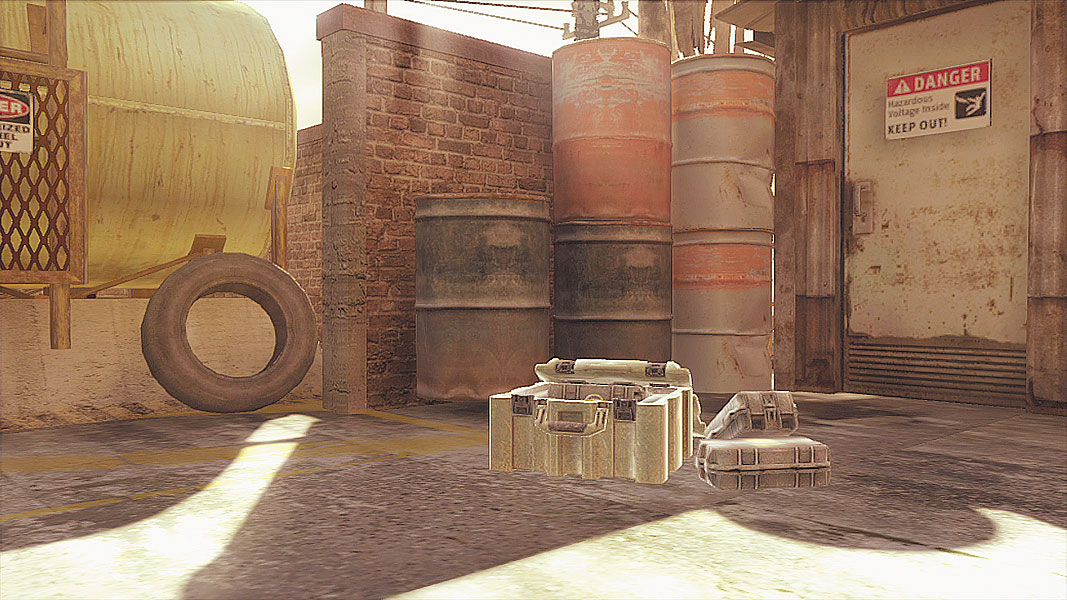
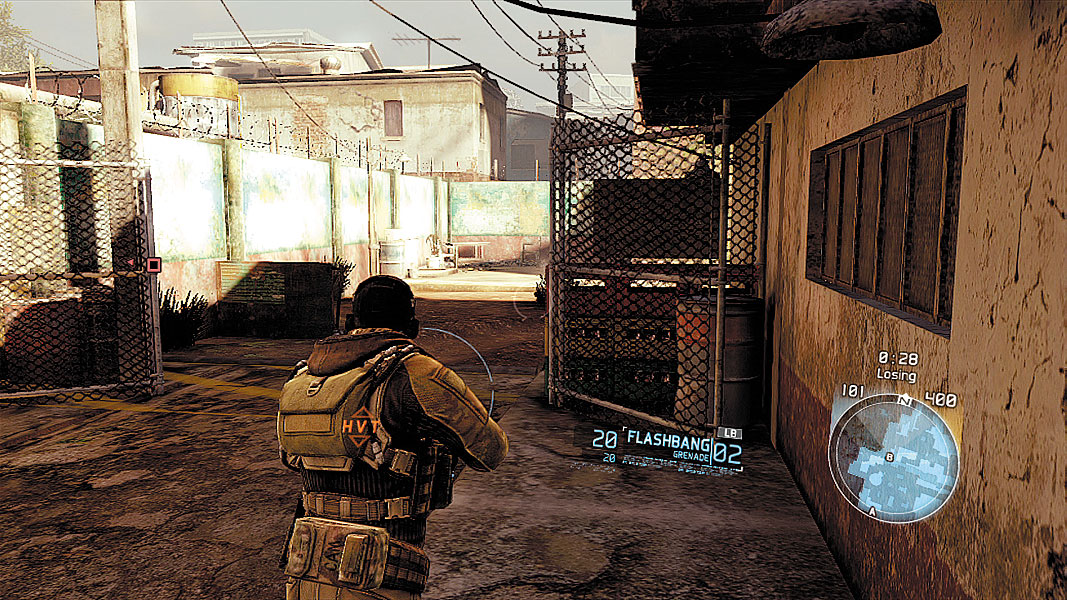
High Value Targets aren’t limited to Intel Sweep carriers. Occasionally, members of a team will be singled out as targets for assassination. HVTs must be protected (or killed) at all costs.
Decoy
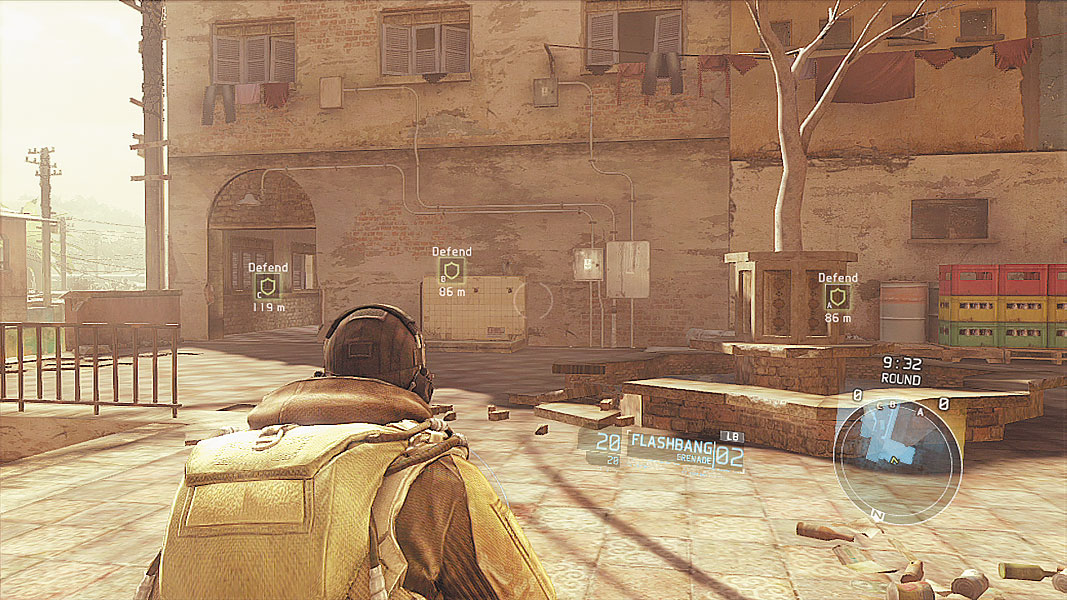
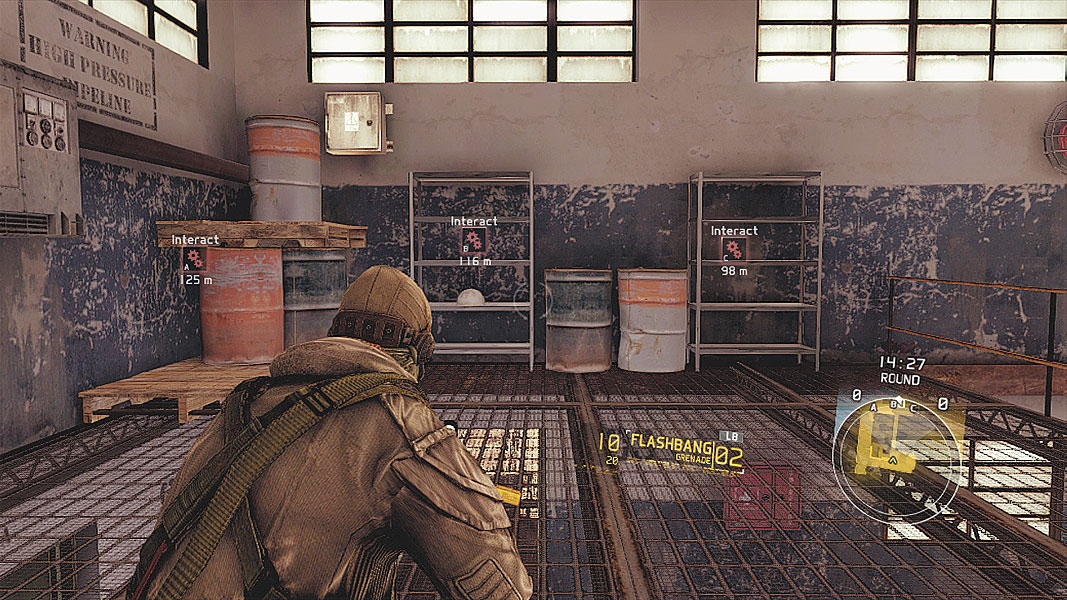
For this, teams are tasked with attacking or defending a trio of objectives. Decoy puts a new spin on the familiar bomb-planting modes seen in other competitive online games by randomizing a “true” objective. If successfully hacked, the “true” objective will reveal a final bomb plant location for the attacking team. Neither team knows which of the three main objectives holds the key information, making strategy a key part of picking targets.
Attackers
The team seeking to capture the objectives has an interesting dilemma: Since neither team knows which of the objectives will reveal the final bomb site, is it better to divide and conquer, seeking to spread the defense’s resources as thinly as possible, or is a unified rush from one target to the next more warranted? It only takes finding the right objective, but that could be the first or the last. Deception here can be as important as outright firepower; popping a smoke grenade at one objective while chasing another, using guerrilla-style hit-and-runs to divert attention as well as full-on rushes are all equally viable strategies. The key is understanding how the other team will react to each.
Defenders
Defenders have the most to lose during their rounds, as they must hold all three positions as long as possible to drain the clock. Careful use of triggered explosives, cameras, Sensors, and more can help provide valuable intel that can then be shared with the entire team. Be wary of decoys and hit-and-run tactics. Often it can be wise to employ a few “floater” squad members to run to the nearest objective under siege. Communication is absolutely crucial to holding back the enemy for the full round.
Saboteur
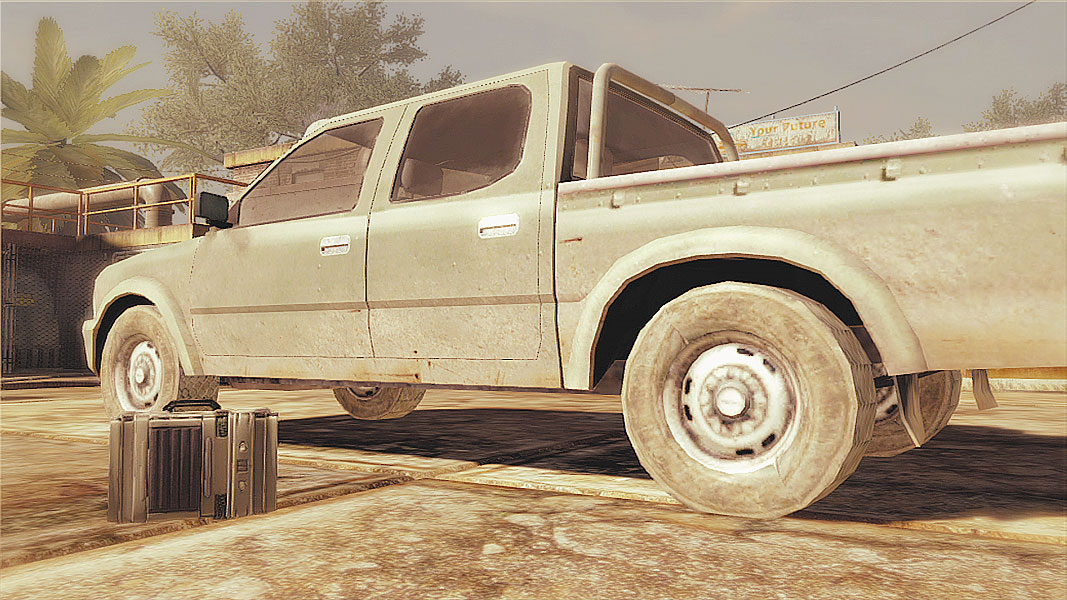
If Decoy represents a new take on the familiar, Saboteur is the old standby. Two teams race to pick up a bomb and plant it in the enemy’s designated space. Expect plenty of seesaw battles here. And woe be unto any foolish player thinking they can just grab the bomb and run it in. Team tactics are incredibly important, since neither side has an advantage and the bomb placement areas are usually equidistant from the central bomb location. Working as a tactical unit is paramount, but so, too, is putting effects like suppression from LMGs for covering fire and real-time observational feedback from cameras and Scope Detectors to good use. The shared intel between squads will make or break any attempts to move the bomb, so learn the level layouts well before attempting to strike.
That intel is doubly important once the bomb has been picked up, as it disappears from view for the opposing team. Only by collecting intel on the bomb carrier (or forcing him to drop his package) can your team keep track of the bomb’s location. If discovered as a carrier, beware: you have just become an objective on the enemy team’s HUD.
Siege
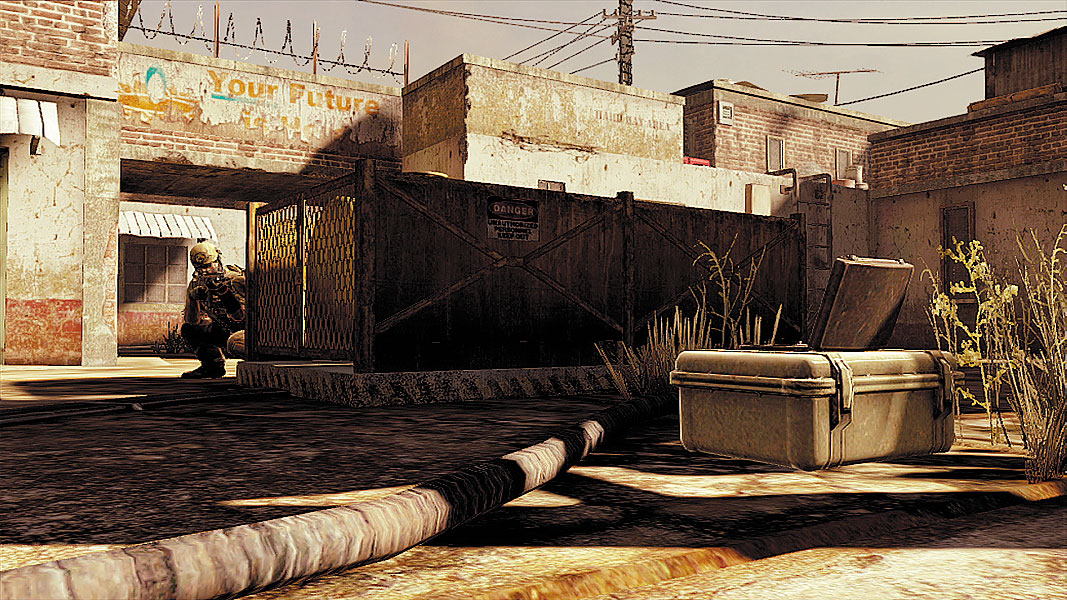
One of the best time-tested modes available, Siege challenges defenders to protect a key capture point, while attackers must break through the enemy defenses and capture the objective. This has one important difference from any other modes: You get one spawn, and one spawn only. If you go down, your team is left without you. Defenders are given a slight advantage; they spawn a few seconds earlier near the objective to set up for the incoming attack wave, which makes high-ground, pre-planted devices and coordination core tenets. Attackers, on the other hand, have the challenge of not only infiltrating the capture point from a random location, but also staying alive long enough to capture the objective itself.
Battlefield Effects
Confidence
Just as the name implies, confidence is a measure of your team’s ability to complete an objective. By sticking close together, capturing that objective becomes progressively quicker, the more teammates that are nearby. For every additional teammate in range, a pip will be added to the objective meter, helping to fill it more quickly. Moving as a group and making concerted pushes toward objectives isn’t just sound defensive strategy, it’s literally beneficial to the overall objective.
Data Hacking
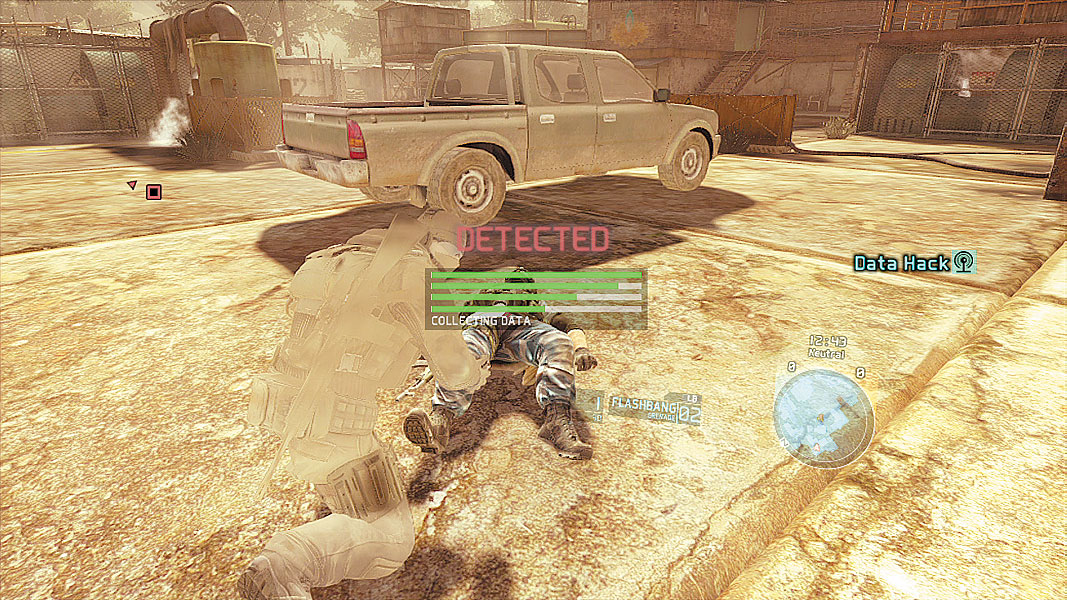
Not every takedown has to be a lethal kill. Using less-than-lethal attacks like the Stun Pistol or Stun Mines make for incapacitation rather than outright death, and that means you can jack into the enemy network by “capturing” an incapacitated enemy and mine data on where other players are. Be forewarned, however, that the process isn’t instantaneous, and you’re open to getting killed while hacking. Still, the benefits of being able to see the other team through walls without the need for Sensors, UAVs or cameras can be momentum-shifting.
Coordination
Even vets get a little turned around now and again, but both they and rookies have the same tool at their disposal: the Coordination System. Pulling up the Coordination Dial or Tac Map and selecting an objective, teammate, ammo supply, or inteled enemy from the list of available options draws a line in the level itself, showing the most direct route to that location. Make extensive use of Coordination when exploring a map for the first time to learn the shortest route to that objective, then exploit that intel by placing explosives or cameras along the most traveled routes in tighter areas for maximum effect. Generally speaking, if an object is marked by one player, others on the team can use the Coordination System to navigate to that object, so even silent players can communicate with their team.
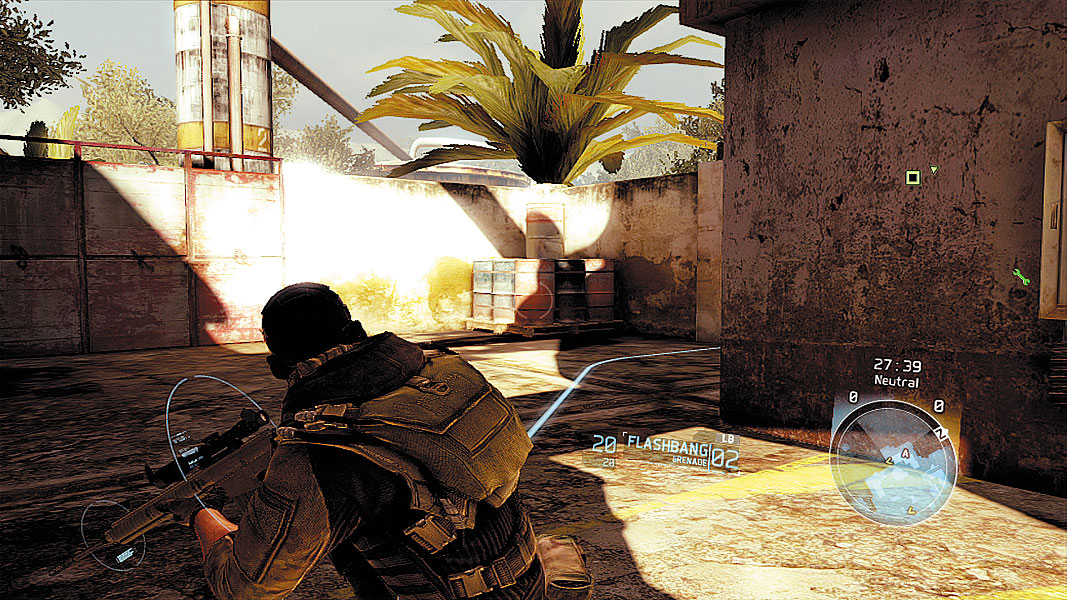
Shared Vision
Thanks to advanced information networks, what one of your squad sees, you all see, marking enemies on your HUD and broadcasting their position in the world whenever they’re targeted. Although this information can be turned against you with data hacking, it’s far too valuable to waste. Planting cameras, lobbing Sensors, and using UAVs not only allows you mark targets or track incoming threats, but also shares the intel with your team. Use this to your advantage in modes like Saboteur by serving as lookout without engaging the enemy so that your entire team can see the bomb carrier and prepare an intercept.
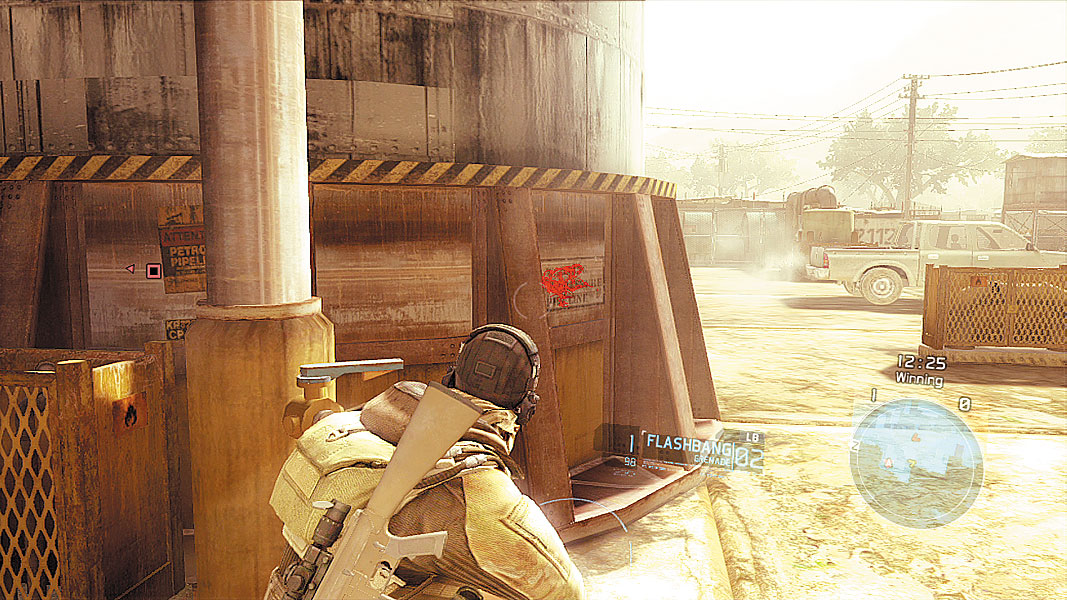
Detection
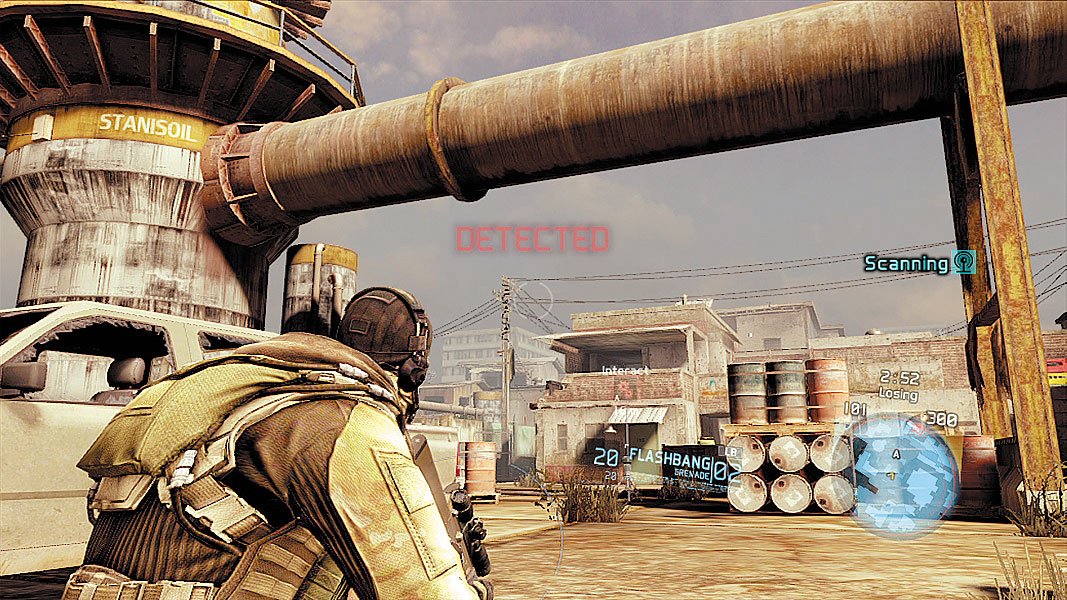
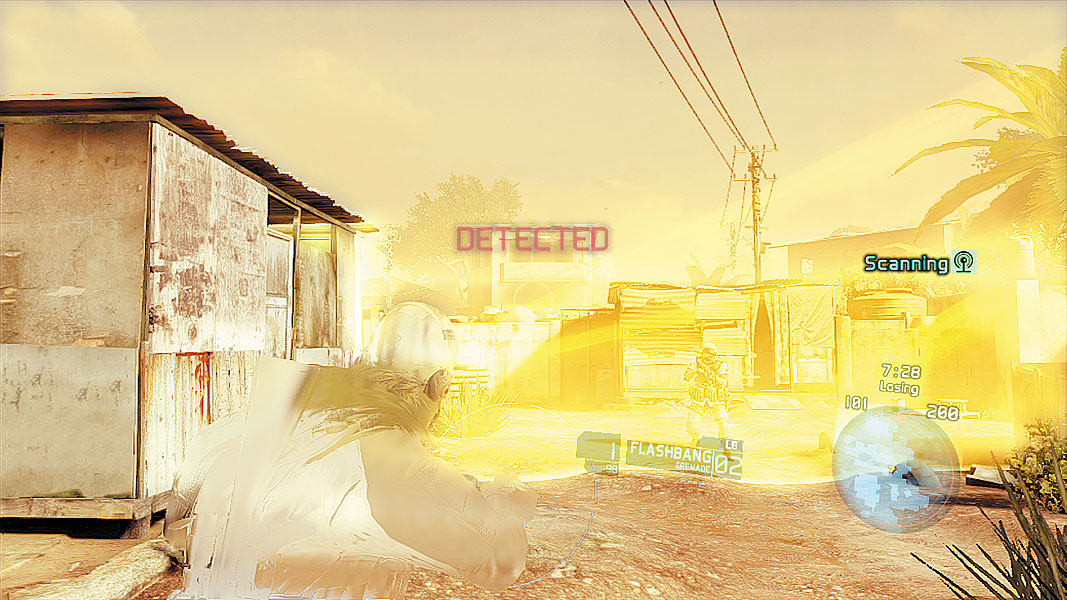
Thanks to the laws of cause and effect, the same systems that allow someone to peek through walls also emit a signature that often lets the person being seen know it’s happening. If the enemy has intel on you, your screen will flash with the word “Detected” indicating that your position has been compromised. In addition the equipment name and type (heat or X-Ray) will appear above your minimap, giving valuable information to counter the enemies’ intelligence.