
Tom Clancy's Ghost Recon Future Soldier Guide Multiplayer Adversarial
Sand Storm
Sand Storm
Situation Report
There’s no telling when blinding gusts of wind will blow in and obscure almost everything in this desert encampment. Those caught without thermal or backscatter scopes are going to be left trusting their instruments, which is precisely why this map is such an EMP-lover’s paradise. Intel is more important here than on any other map when the winds kick up, so stay on your toes at all times. When things are clear, a few elevated bunkers can make sniping shots rather favorable, but as soon as the storm blows in, visibility is severely hampered.
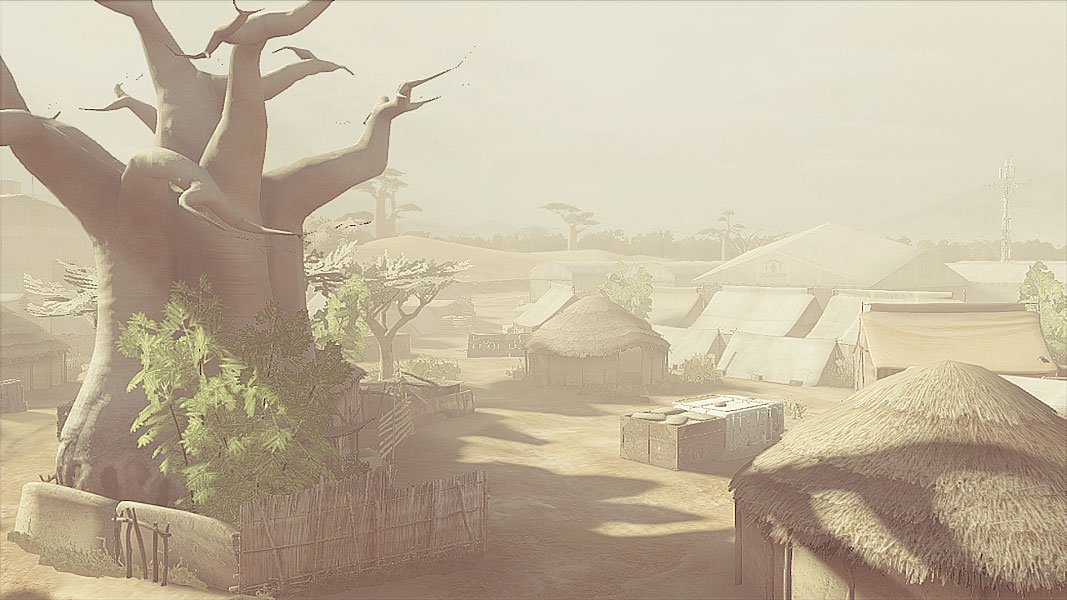
// Spawn Points (Conflict, Decoy, and Saboteur)
Even for a map in the desert, the Ghosts’ spawn area is pretty bleak, necessitating a push into the camp proper. Longer-range shooters can take up cover on a slightly elevated platform to try to catch enemies flanking the bunker position in the middle of the map, but sight lines here are regularly disrupted by tents. Be sure to make the most of cover-to-cover movement whenever changing to a new area to avoid ambushes, especially during storms. There’s plenty of low cover here, so weapons with Bipods are a smart choice.
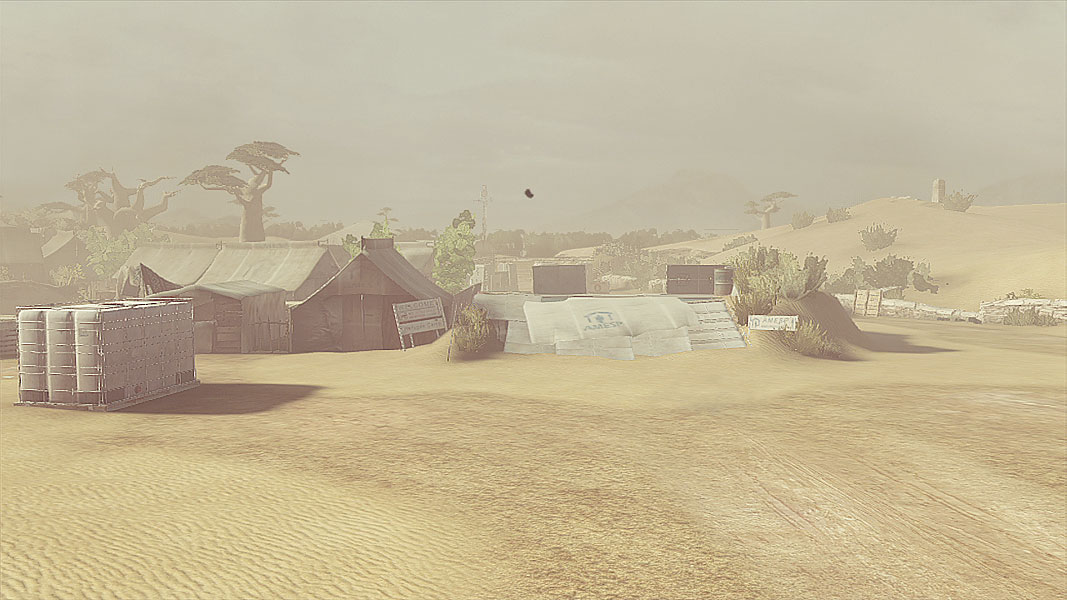
Bodark squads have a bit more in the way of interesting clutter near their spawn point, but the actual usable cover here isn’t really worth a whole lot. Therefore, like the Ghosts, they’ll have to push into the middle of the map to start engaging. Remember to snap to cover as much as possible and keep out of sight when conditions are clear. When the storms move in, Scouts with Advanced Camouflage that lets them skulk around without breaking their Optical Camo are going to have a field day, so make sure a few are on your team.
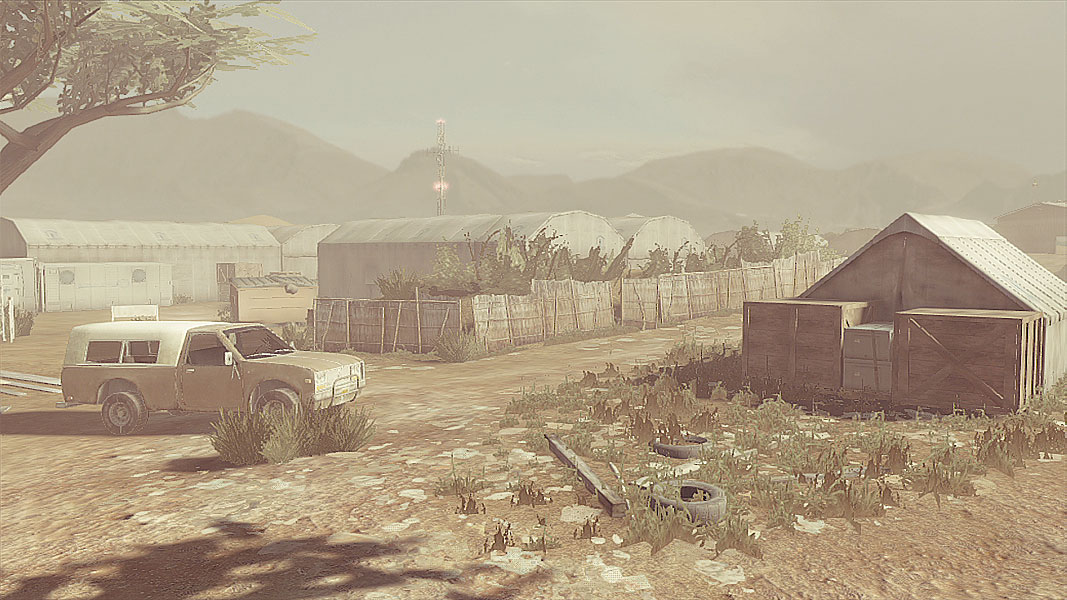
// Points of Interest
High Ground
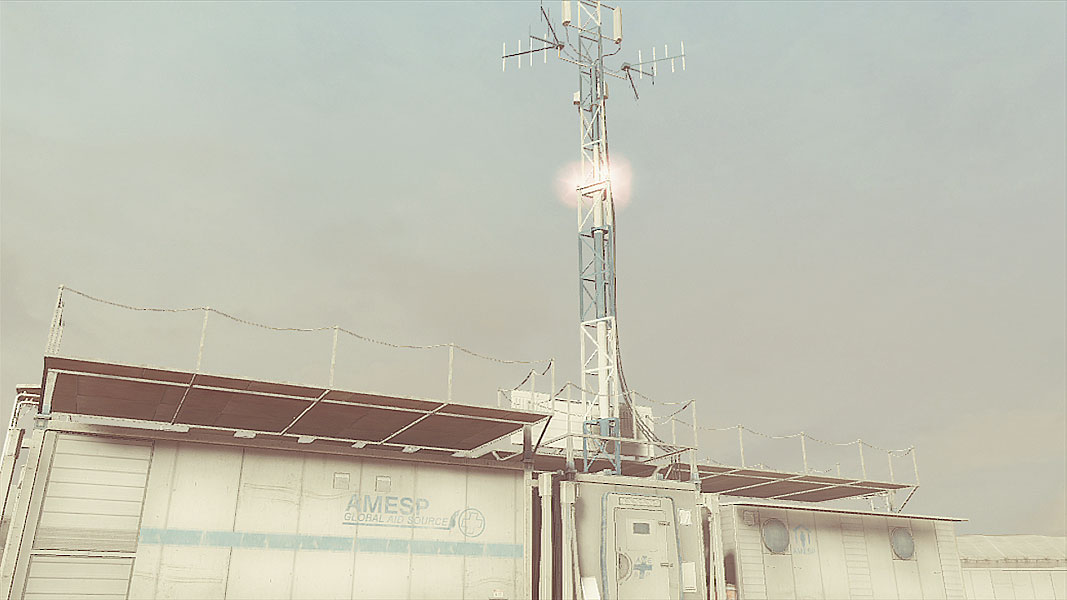
Two locations provide limited views over a decent portion of the camp: a bunker up on a ridge that overlooks all the low cover in the center of the map, and an radio building with a wide enough roof to allow for some cloaked sniping. Neither is particularly secure, but under the cover of the storm and with a properly scoped weapon, snipers can make a literal killing by just staying patient and watching their backs. Eventually, some poor rookie is going to go trotting through the middle of the camp and that will be the time to strike.
The Hangar
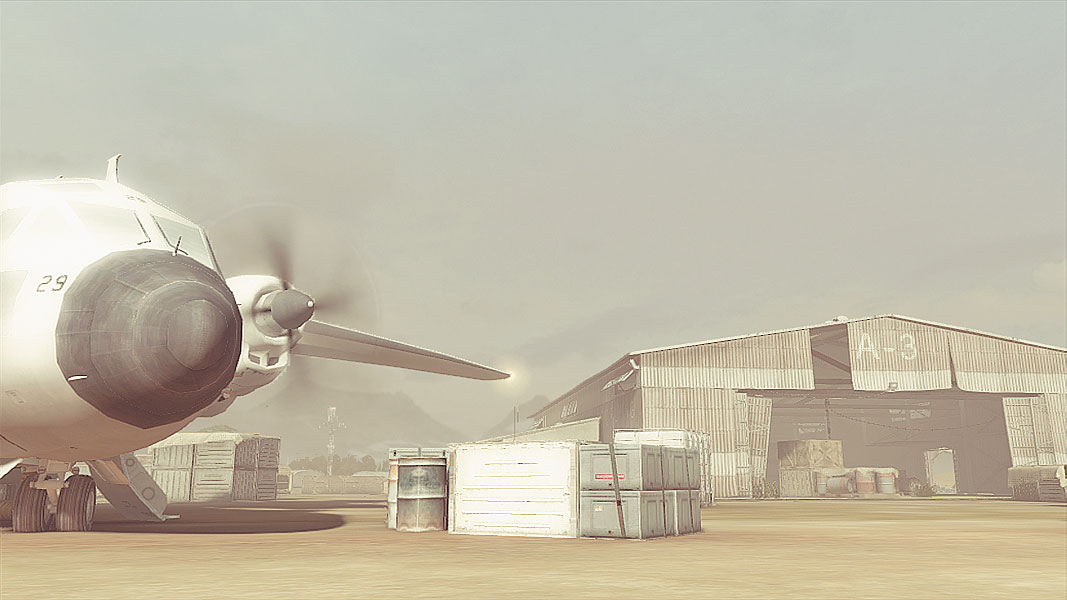
The plane prepping to take off is the source of more than a few objectives across the various modes, but controlling the hangar nearby can mean the difference between slipping onto the plane unseen and having a massive shoot-out every time you take a step toward the plane’s rear. Lock down the hangar whenever possible. It has an objective hot spot of its own, but it’s also one of the few covered areas on the map and a great place to regroup where squadmates can respawn on you (or you on them).
The Large Tree
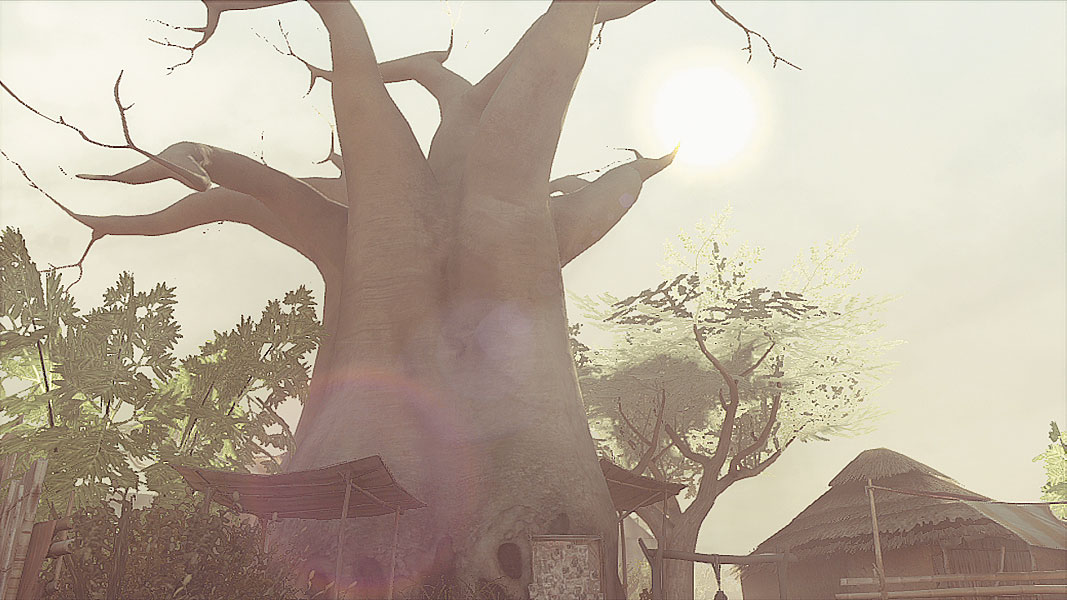
Simply named, sure, and littered with the doleful reminders of what can happen to children in war-torn areas like this, the Large Tree also stands in as a landmark that can be used for regrouping during the storm. Its backside is one of the few true bottlenecks in this level, with a forward cover point in the middle and a rear that faces the Ghost spawn point (so if you’re a Bodark trooper, be sure to keep your weapons trained back toward that camp). The fact that it is marked on the TacMap means it’s an easy point for everyone to use the Communication System and head back toward even at the height of a sandstorm.
// Conflict
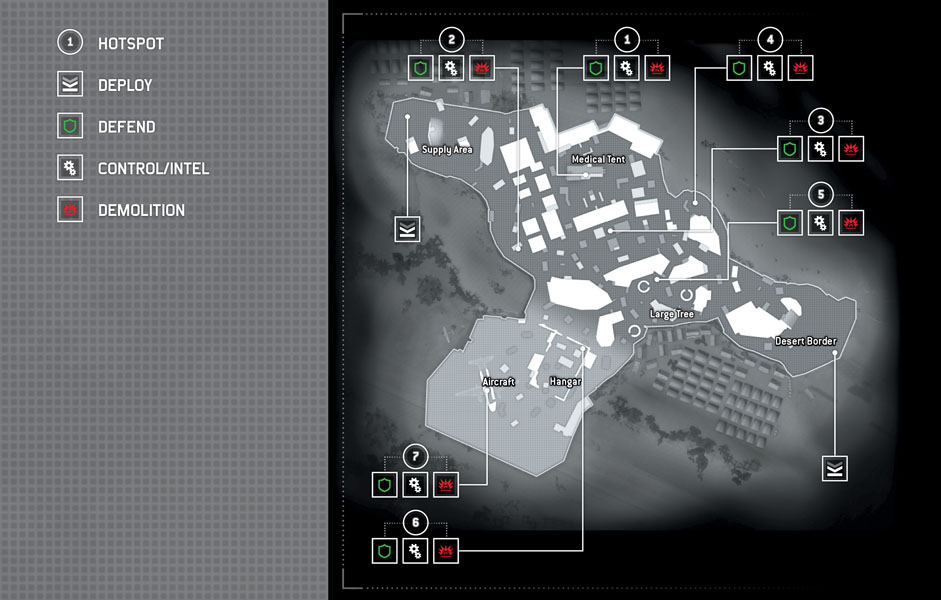
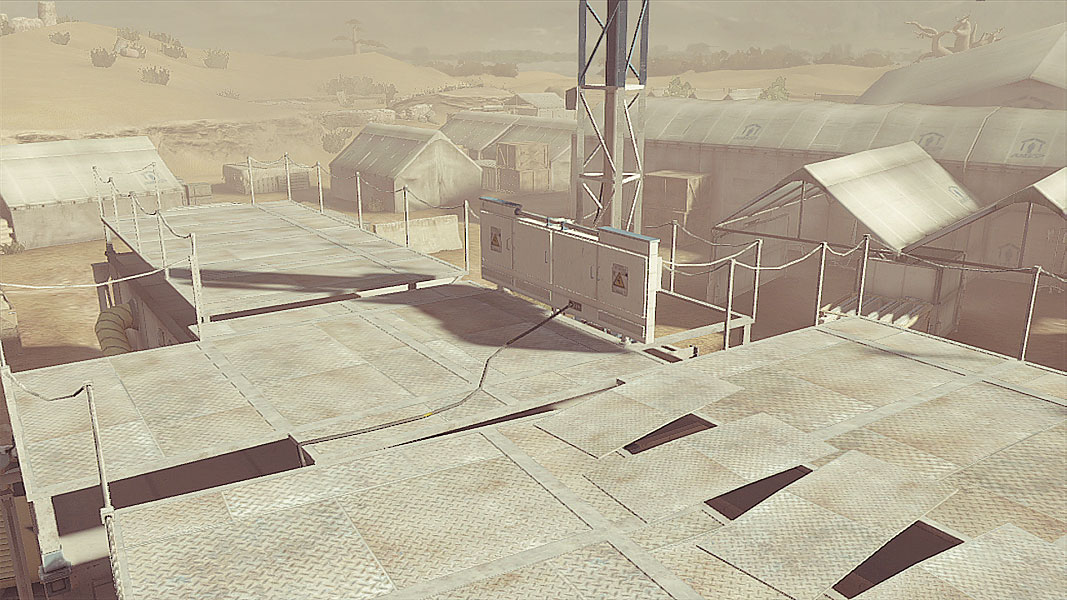
Expect to head back to this radio building often to capture objectives, and get used to not feeling terribly safe while up there, too. Without a ton of cover and with two ladders leading up, it can be a daunting task to keep this location out of enemy hands. Use what cover there is to mount a forward assault, with your squadmates staying on the ground to repel attacks from flanks and behind the top-mounted cover.
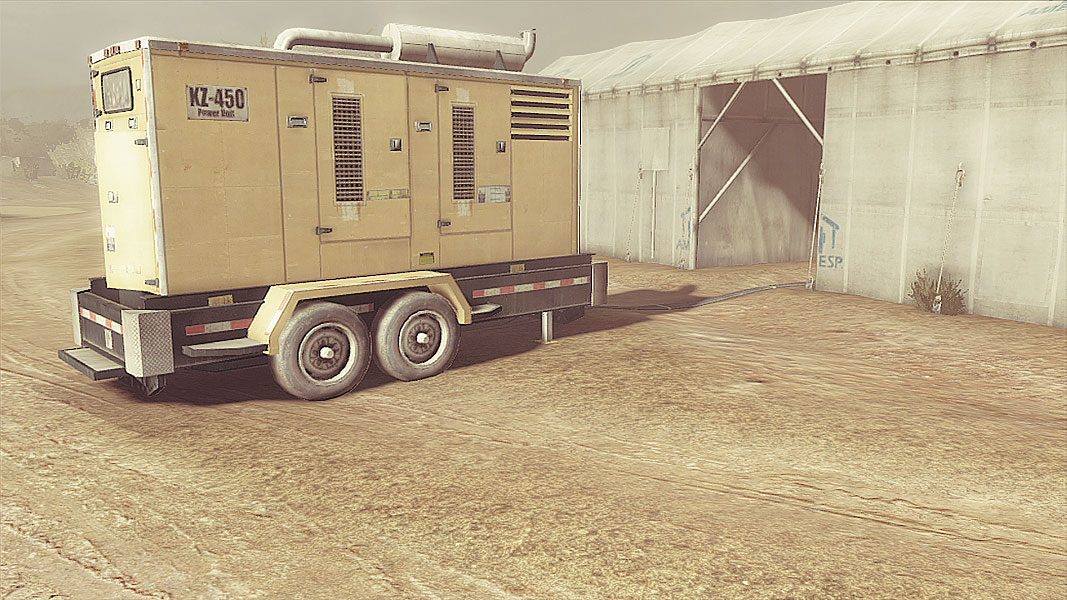
The massive generator truck makes for a pretty lousy place to grab cover. The rear is exposed and all it takes is an enemy slipping around the vehicle to make a mess of any capture attempts. Have your squadmates grab cover long the nearby structures to hold off assaults from the direction of the Bodark spawn and the area leading in from the airplane and hangar. Using Confidence and a Field Computer can ensure that the objective is taken quickly to allow you to set up to push back against incoming enemies.
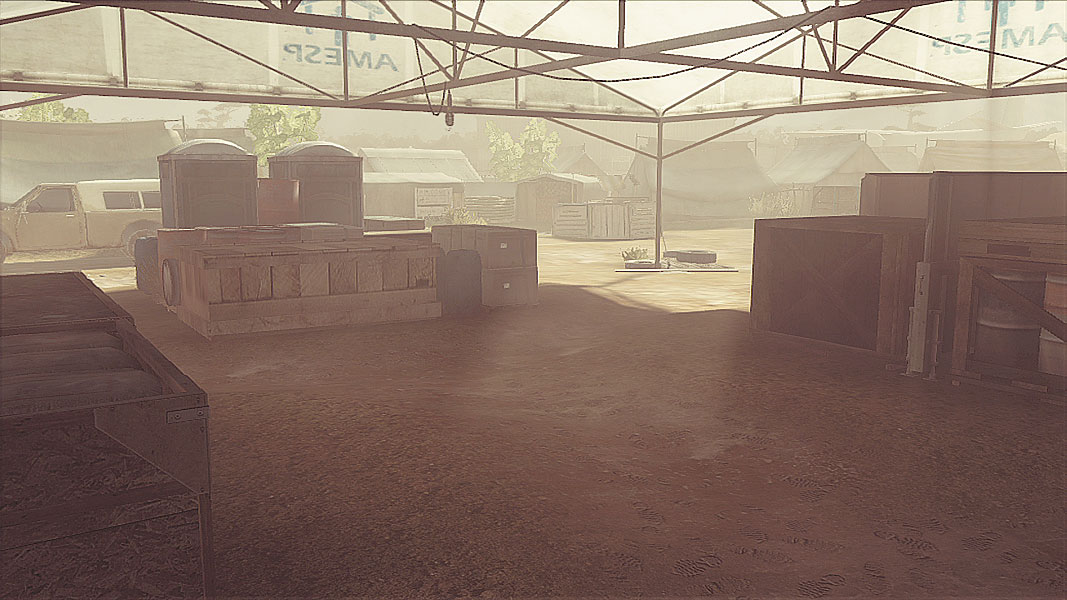
This large tent offers one of the better pieces of cover you’re going to find in this dusty camp. Make sure to capture the objective from the direction of the long back wall to ensure as much protection on the flanks as possible, while the rest of your squad grabs cover along each of the three crates to hold off enemies and maximize Confidence. Attackers will likely find that a well-thrown grenade can break up the party rather well, so if you’re defending, be ready to quickly move to adjacent cover to avoid the blast.
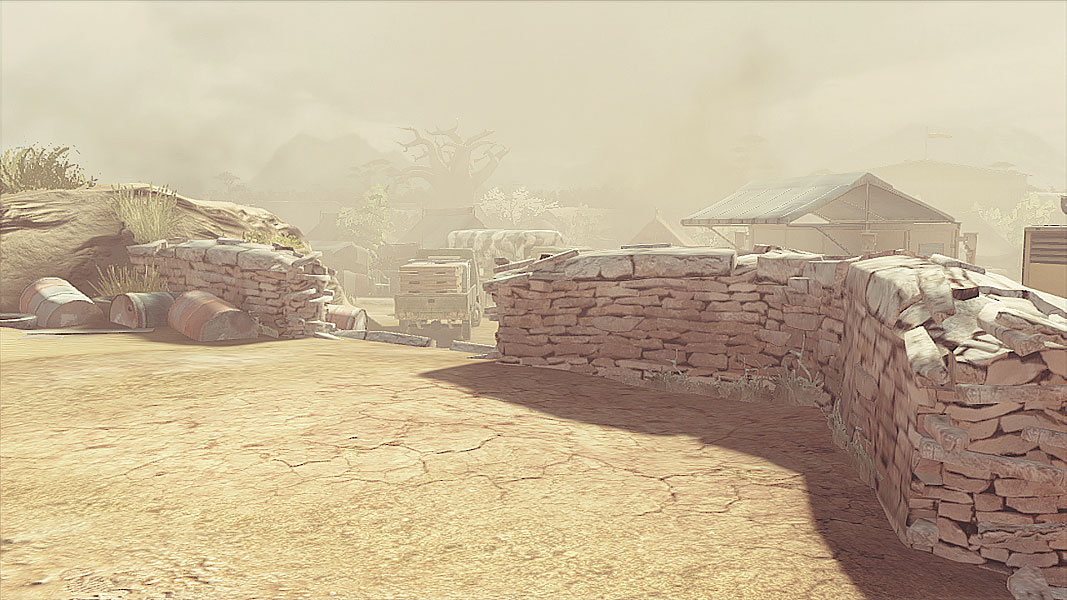
The forward-facing part of this bunker is a fantastic place for LMGs to set up a cone of suppression, but the unprotected back area has absolutely no cover, making it difficult to contain when the objective hot spot moves here. Be agile, shifting fire to the rear as needed, but don’t be afraid to unload the LMG to pin down forces that would attempt to move toward the bunker from the front and left flank.
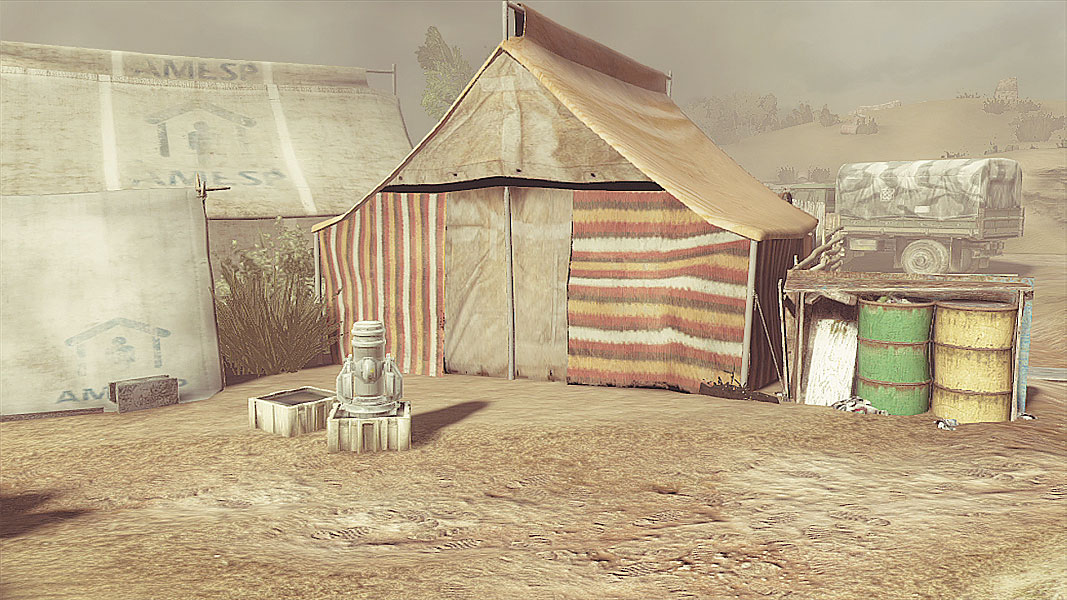
This little cluster of village huts offers very little in the way of defensible cover, but it can at least put something between you and an attacker in a pinch. Unfortunately, the objective sits in a rather open area, so try to form a perimeter to guard against incoming threats from the east, west, and south. A Stun Mine or Claymore facing north can turn the capturing squad member into a bit of bait if you’re looking to data hack an enemy (and with the sandstorm getting as bad as it does, it always pays to have that kind of intel).
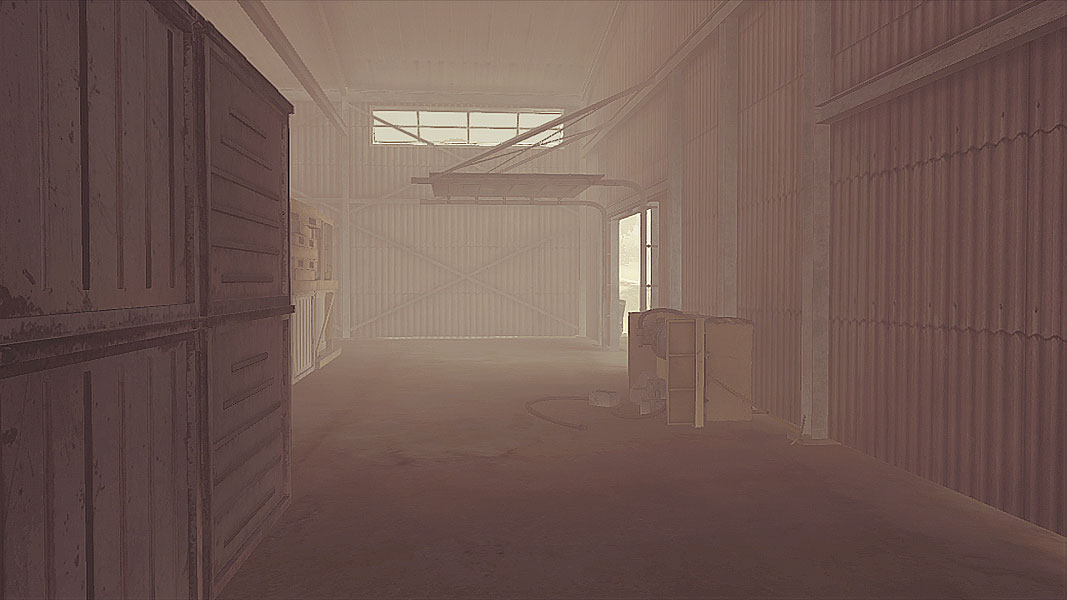
The hangar’s objective is shoved right into the corner of the building, making infiltration from one of the four doorways fairly easy. Unfortunately, that also means it’s difficult to guard once it’s taken, so stack up near the doors and use intel-gathering equipment like a UAV pointed out toward the main camp to help catch would-be enemies trying to sneak into the hangar. As a prime area for capturing and holding strategically, this is bound to experience heavy fighting.
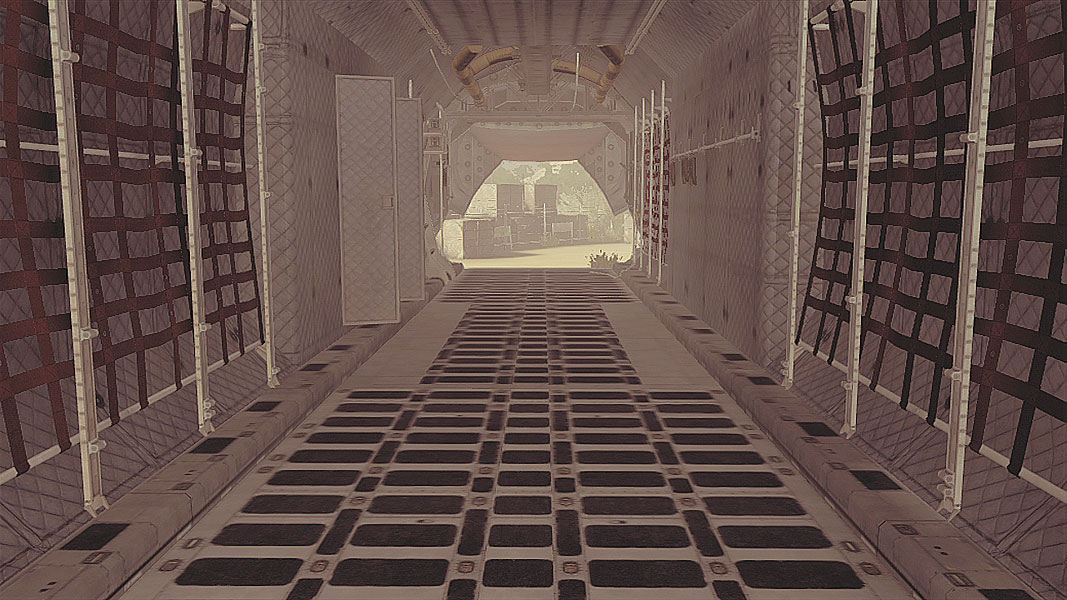
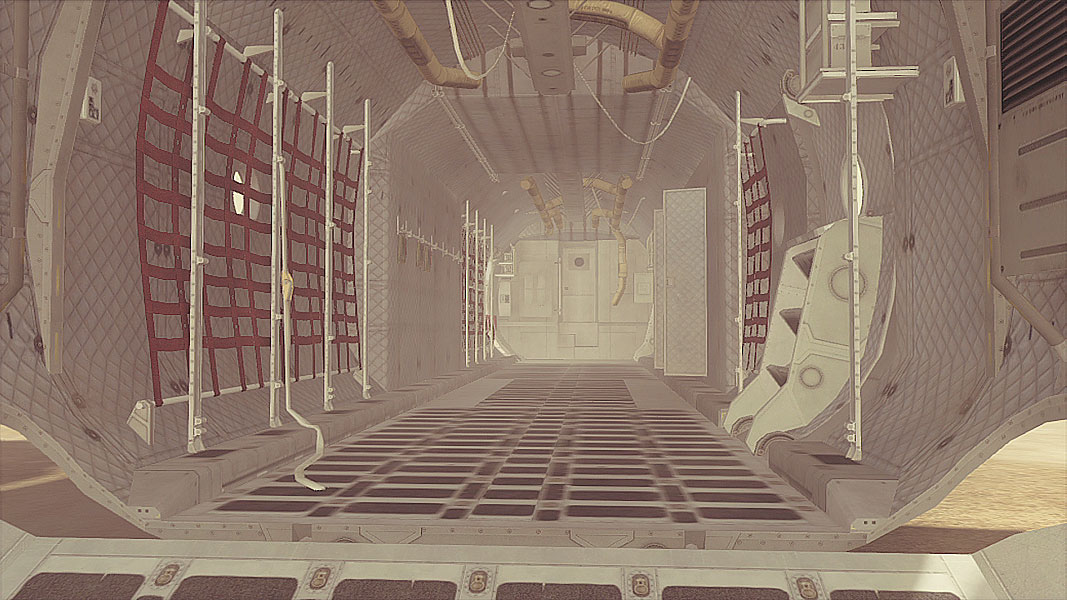
Gassed up and waiting to taxi down the runway, the transport plane’s belly holds an objective hot spot. Well protected from the outside, the plane’s cramped quarters mean it’s a favorite of Frag and Incendiary Grenades, both as a deterrent and an interruption for those already capturing the objective. It’s best not to hang out in the plane if possible, but nearby, since the other way toward the plane is on either side of the hangar (or moving through it).
// Decoy
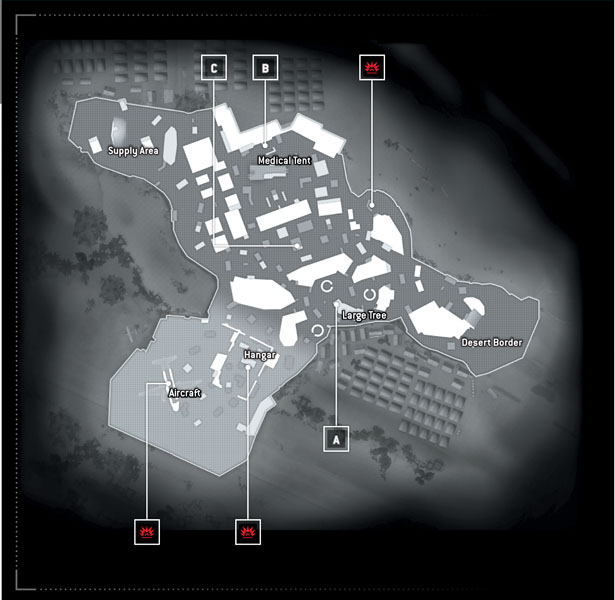
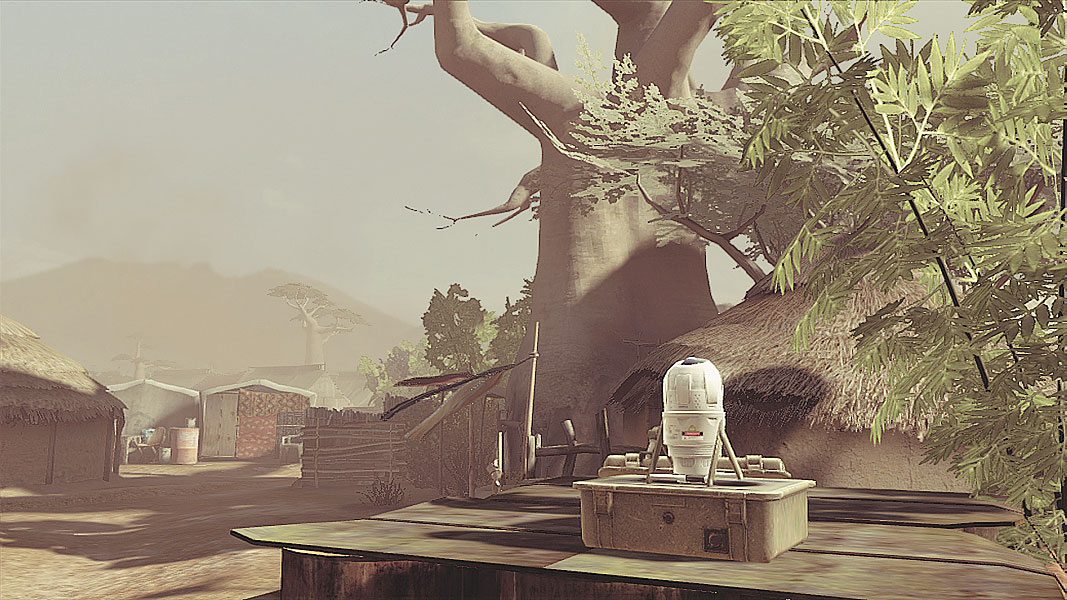
The Large Tree overlooks the first objective, which is exposed from three sides by easy cover that will make taking the objective a pain. Smoke will help here, as can the cover of the sand storm, but a UAV high enough can help establish some semblance of overwatch while trying to infiltrate. The crates nearby make for an easy way to skirt around incoming attacks, so if you’re defending, don’t be afraid to pop out of cover and slip around to catch a quick breather.
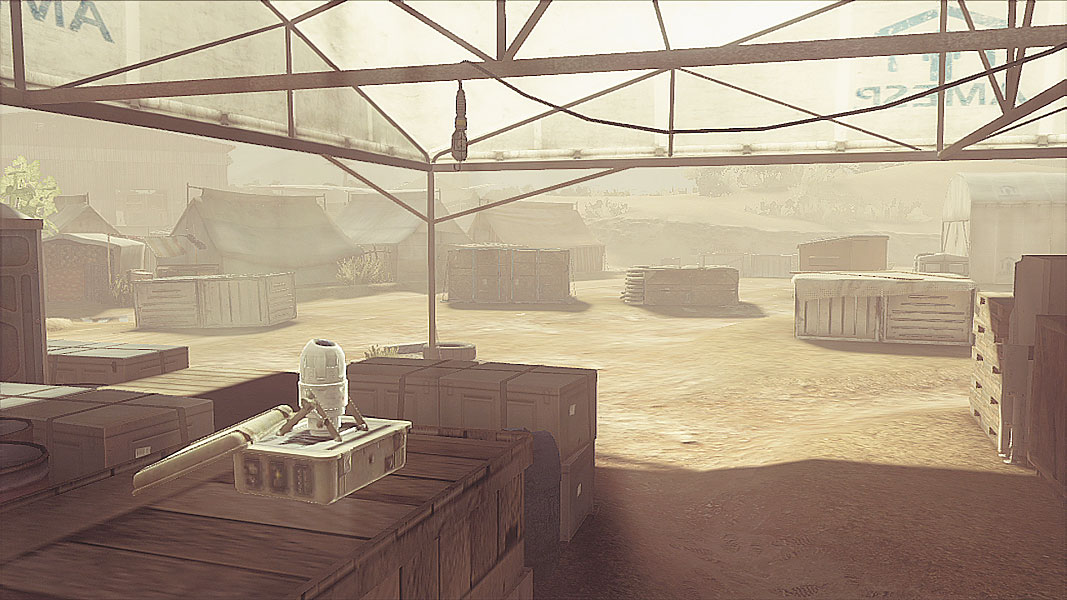
The cover scattered around this big tent, again, makes it a great place to dig in and repel incoming waves (though a well-thrown grenade works great to disrupt those that are using the crates for cover). Because the objective is sitting on one of those crates, capturing it can be difficult, as the flanks are exposed to fire coming from the bits of cover outside the tent.
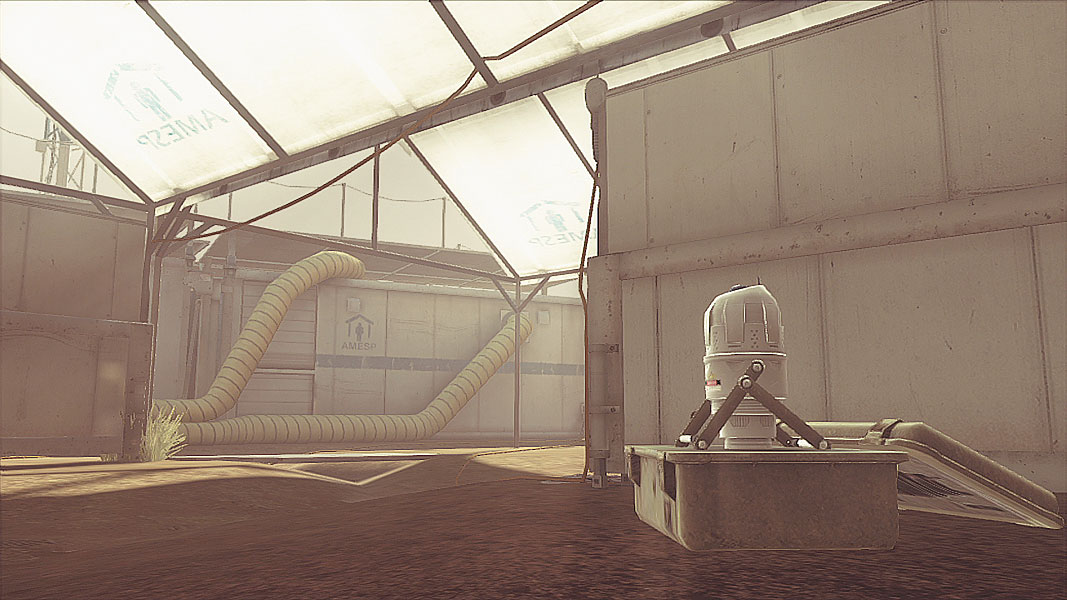
The final objective waits behind the radio building, which of course means that elevated position is great for overwatch while on defense. Thanks to support walls, the tent that holds the objective can be occupied to hold off invaders, but grenades can be snuck in rather easily, too. Keeping attackers on the other side of the radio building is important, as there are wide areas from which to slip in and flank.
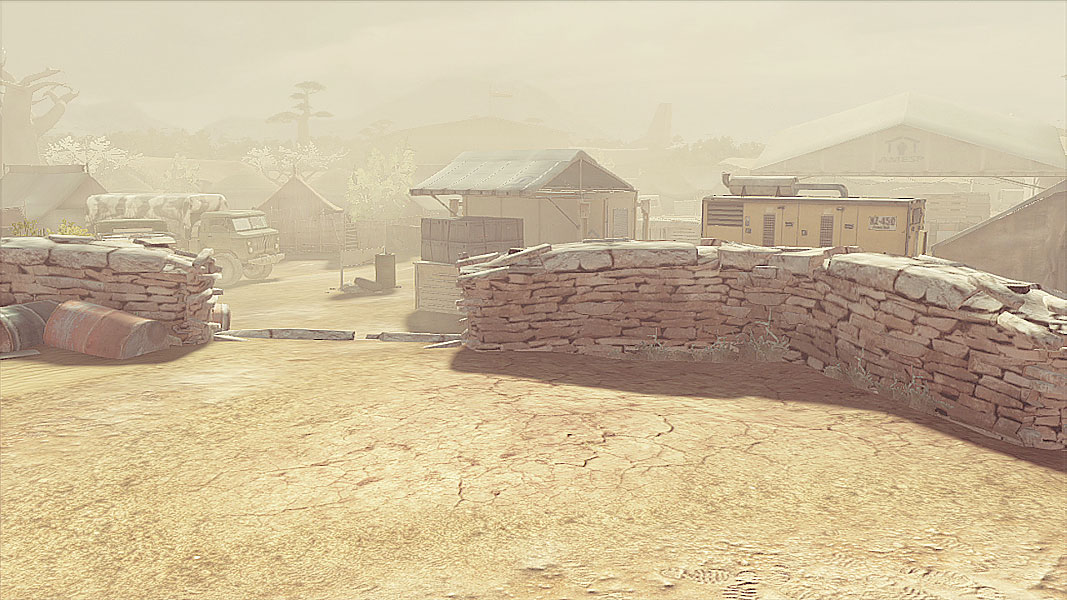
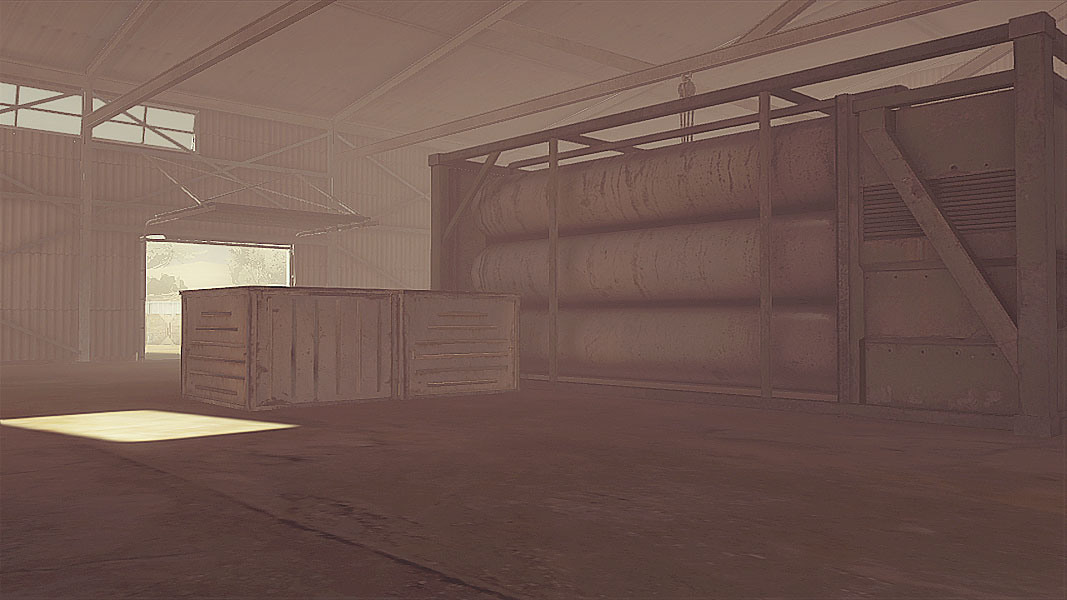
The bunker ready-made for LMG suppression serves its purpose well, keeping attackers from planting the bomb if they attempt a frontal assault. That likely means the best route in will come by way of slipping up the back, so have plenty of defenders ready to hold the attackers back. Attackers can make use of Sensors and UAVs to scope out the situation before charging in, but it’ll be a hard-fought position to take no matter what.
The hanger once again proves its usefulness by being the site of the second bomb placement spot. Defenders can prep by dropping Claymores and Stun Mines if there are enough high-level squadmates to command those tools, while attackers should attempt a breach from multiple angles to spread out the defense as much as possible.
The final location is, of course, the plane, meaning even if the hangar isn’t the actual bomb spot this round, it’s still a position worth holding decisively. Sitting inside the plane on defense isn’t necessary, but making sure both entrances into the belly of the beast are covered most definitely is. Drop a sensor inside for an easy way to alert your squad to enemy attempts to sneak aboard.
// Saboteur
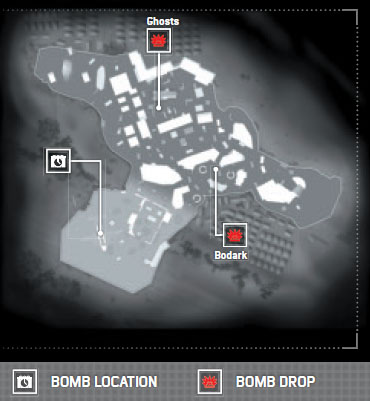
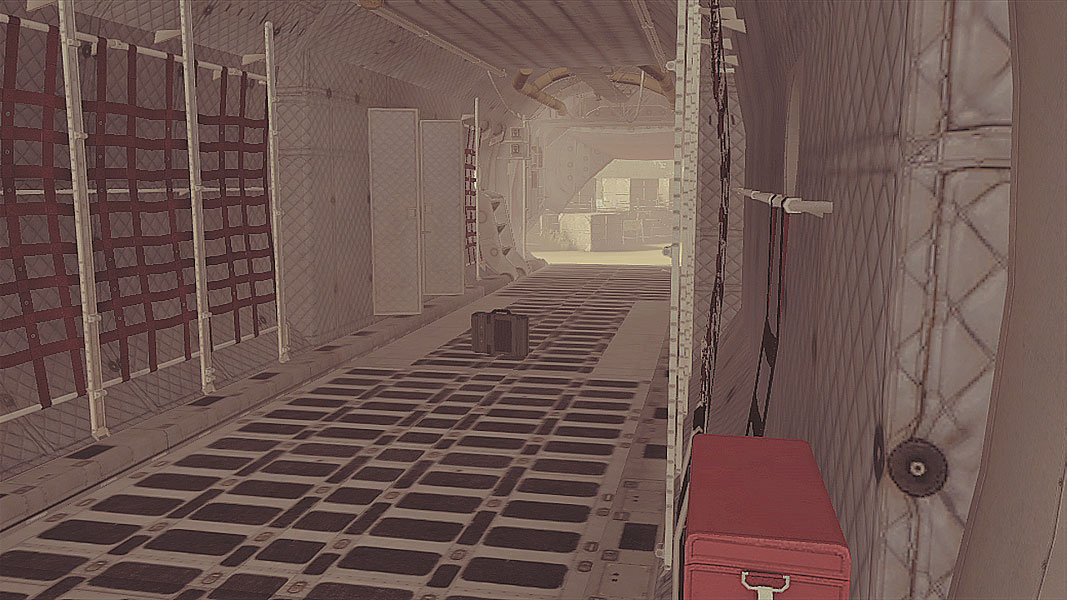
It’s time to return to the plane to grab the bomb, taking care not to alert the other team to your presence once you’ve done so. The hangar can provide cover while moving to secure the bomb drop locations (which are startlingly close to each other in the village).
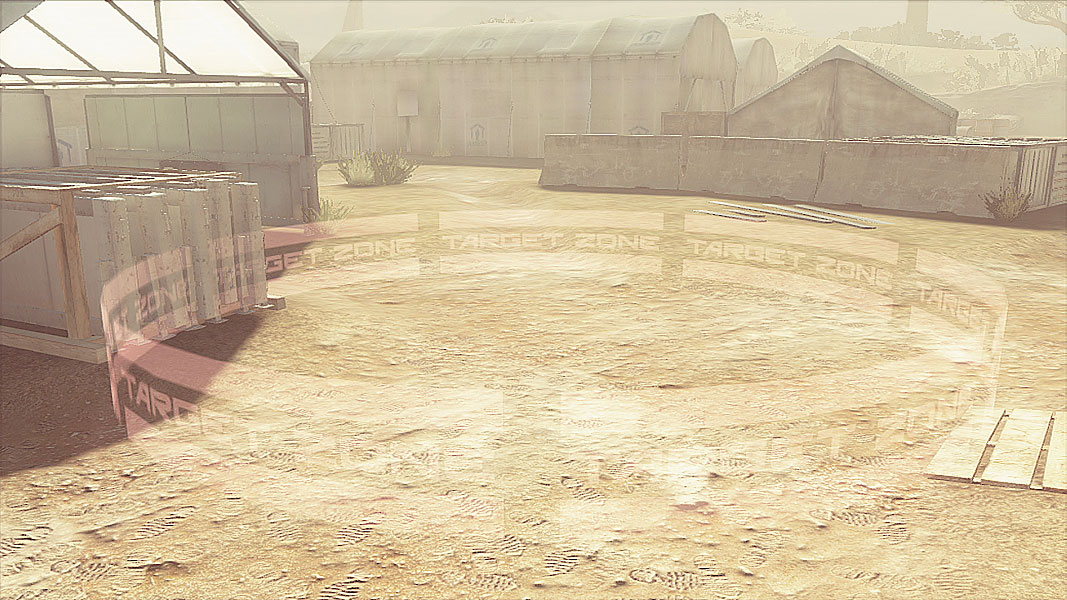
Ghosts must make their way back over toward the radar building, skirting the left side of the hangar. It’s a longer trip than the Bodark drop, but it’s also packed with more cover, making a stealthy approach all the more important. Send scouting teams out to scour the tents; all that cover makes for good hiding spots for hostiles too.
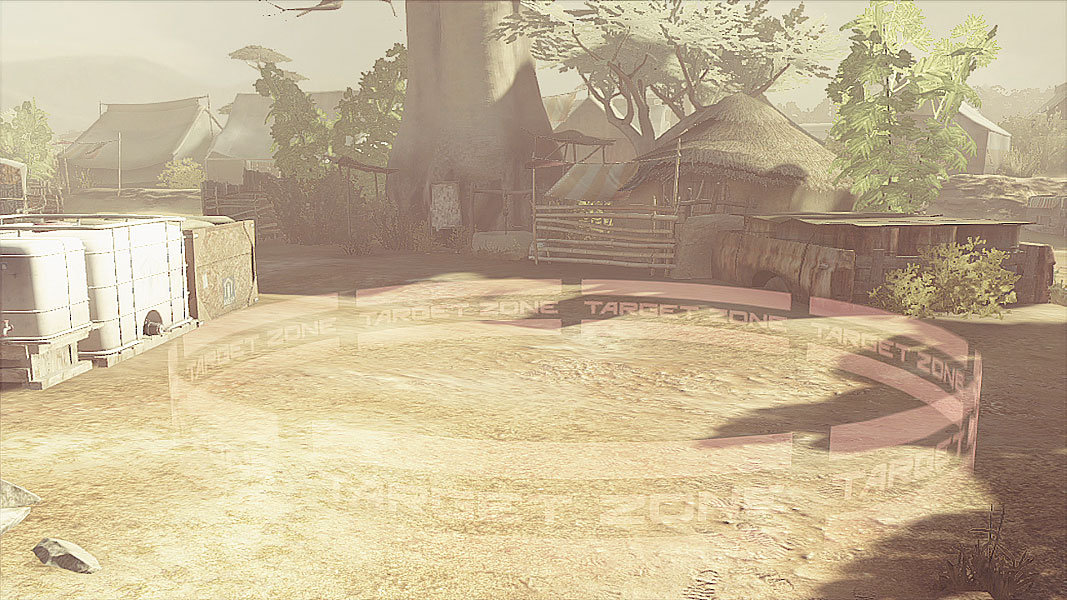
Bodark attackers will have to carry the bomb a bit farther into the village and drop it right in the middle. The round huts should be cleared on all sides (and insides) before attempting any sort of movement into the village. Crafty players can try popping smoke along one of the side routes into the village to pull defenders away, but the key here is taking out hostiles before they can mount a counterattack, then quickly moving in to secure the location.
// Siege
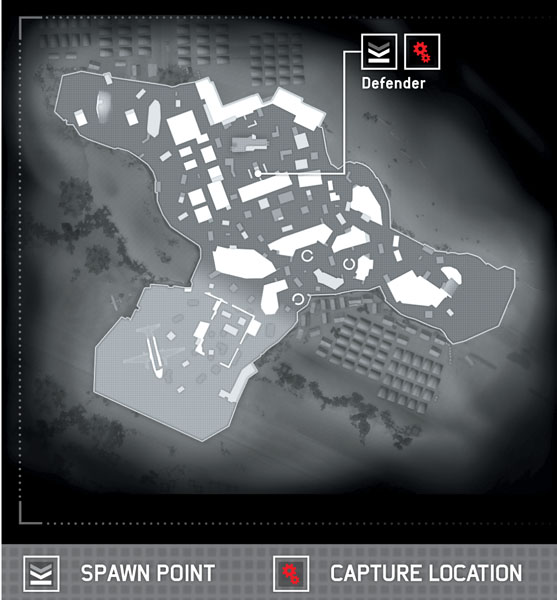
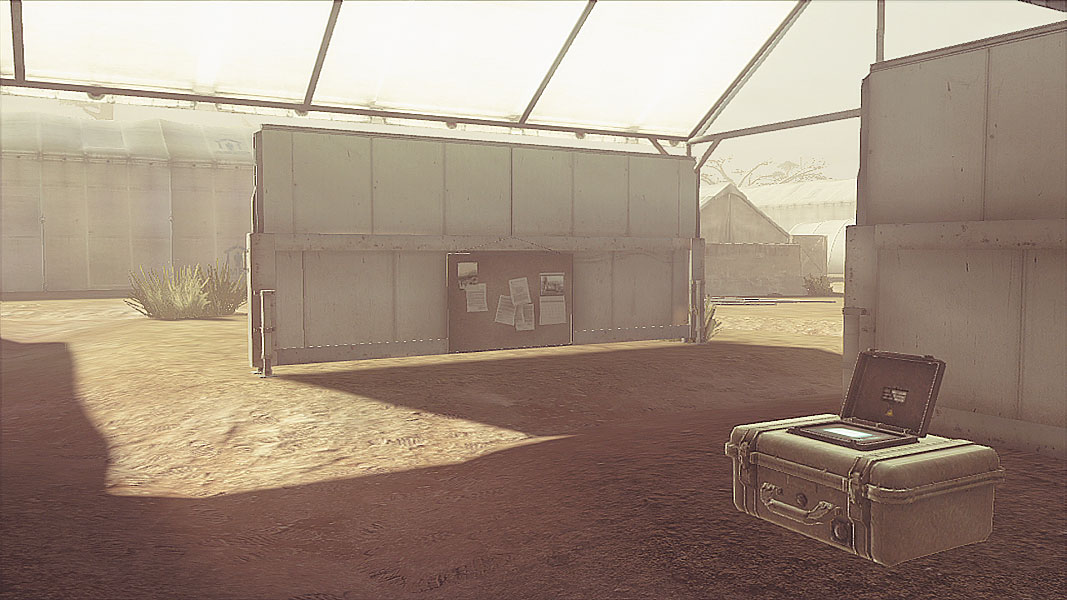
Defenders spawn around a tent that is well-protected against threats from the sides. At least one squad member should take up a position on top of the radio building for maximum sight lines, and deploying UAVs and Sensors to watch the left and right flanks is a great way to keep tabs on anyone trying to sneak through. There’s quite a bit of cover throughout this part of the camp, so watch for attackers trying to take a wide route and slip in from behind the radio building.
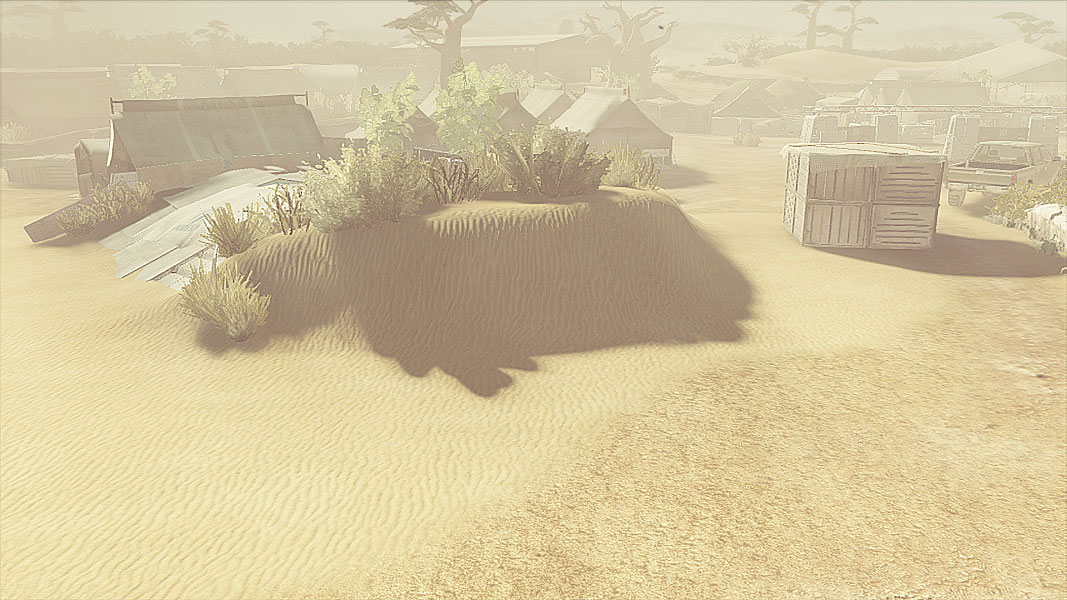
Attackers have plenty of options when choosing to move in, but should split forces to help confuse and spread thin the defenders. Work toward the end goal by using guerrilla attacks, whittling down the defense one at a time to slowly thin their numbers until a combined assault from both sides helps punish any defenders still lucky enough to have avoided your drawn-out offensive. Slowly moving up the left side and getting around to take out any defenders on top of the radio building is a great way to limit their ability to attack from the building’s sides.