
Tom Clancy's Ghost Recon Future Soldier Guide Walkthrough Deep Fire
Infiltrate Drilling Ship
Infiltrate Drilling Ship
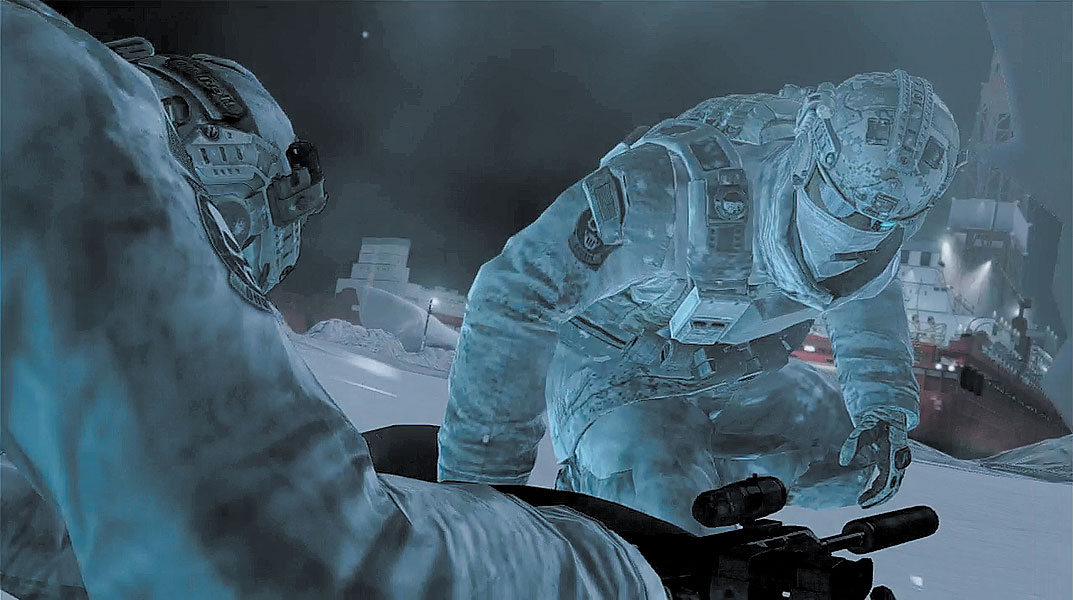
The majority of Russia’s oil supply has been secured by Raven’s Rock, leaving resistance forces critically short on fuel. High command has decided to make a play in support of the fledgling resistance movement. A pair of oil drilling ships in the Norwegian Sea have been seized by Russian troops loyal to Raven’s Rock. The Ghosts are tasked with securing both ships, placing them back in freezing Arctic temperatures. As night falls, Ghost Lead, 30K, Pepper and Kozak dig themselves out of a snow cave, not far from one of the drilling ships. Overlord advises to infiltrate the first ship. Once the Ghosts gain access to the control room, they should be able to lock both ships down.
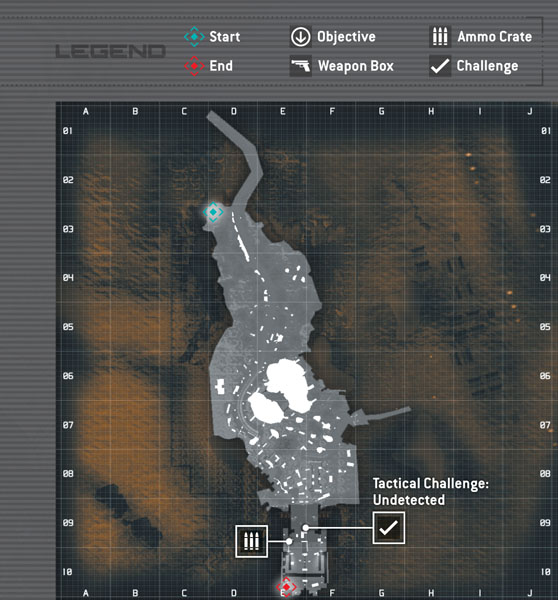
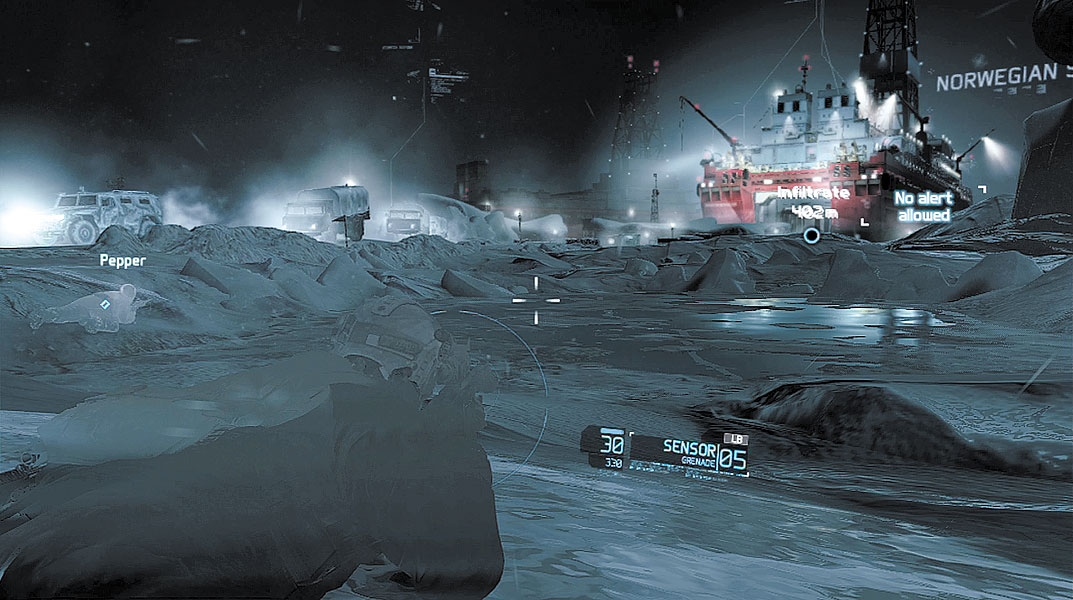
From the insertion point at the snow cave, the entrance to the drilling ship is over 400 meters away. As expected, multiple Russian troops are in your path. The Ghosts must make it aboard the ship without triggering an alert. With your Optical Camo active, creep forward, in the direction of the drilling ship. A few paces into your journey, you see a convoy of vehicles appear in the distance, heading your direction. Immediately drop prone, and make sure you’re a safe distance from the road on the left. Stay down and motionless while the convoy passes to avoid being detected. Once the convoy passes, rise to a crouch and continue the stealthy advance toward the drilling ship.
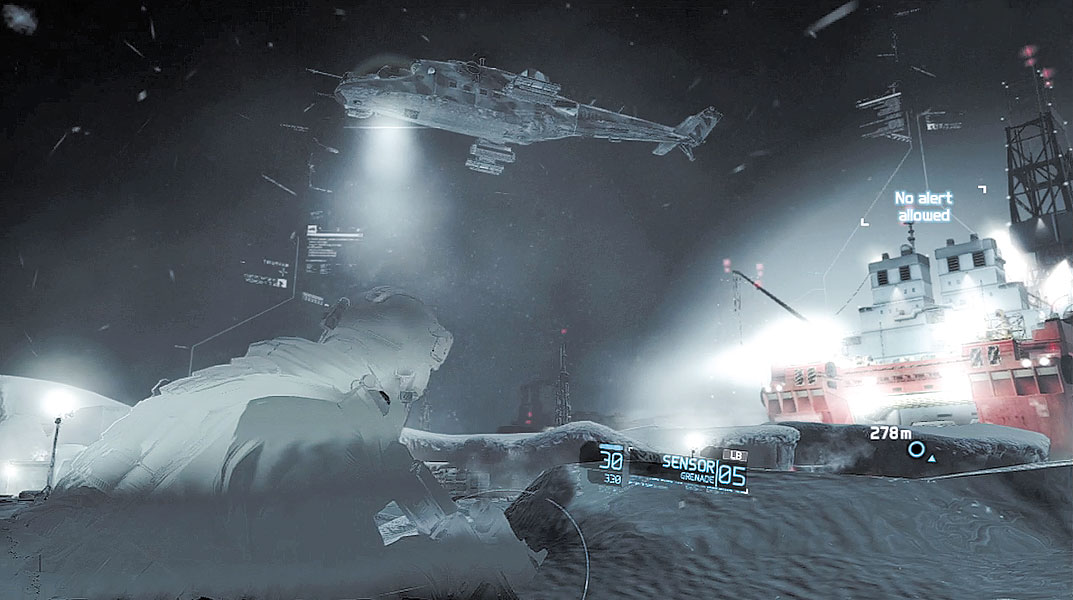
Most of the Russian troops guarding the drilling ship are posted along the road to the left. Therefore, stay to the far right to avoid detection. While it’s possible to silently eliminate most of the guards you encounter, it’s entirely possible to reach the drilling ship without firing a shot. This nonviolent approach is necessary if you wish to complete the Undetected Tactical challenge. For this mission you’re equipped with Night Vision Goggles (NVGs). These can help you see the heat signatures of nearby enemies. It also helps illuminate the landscape. Don’t let the Mi-24 attack chopper flying overhead make you panic. As long as you keep your Optical Camo active, it can’t spot you. So stay low and keep moving.
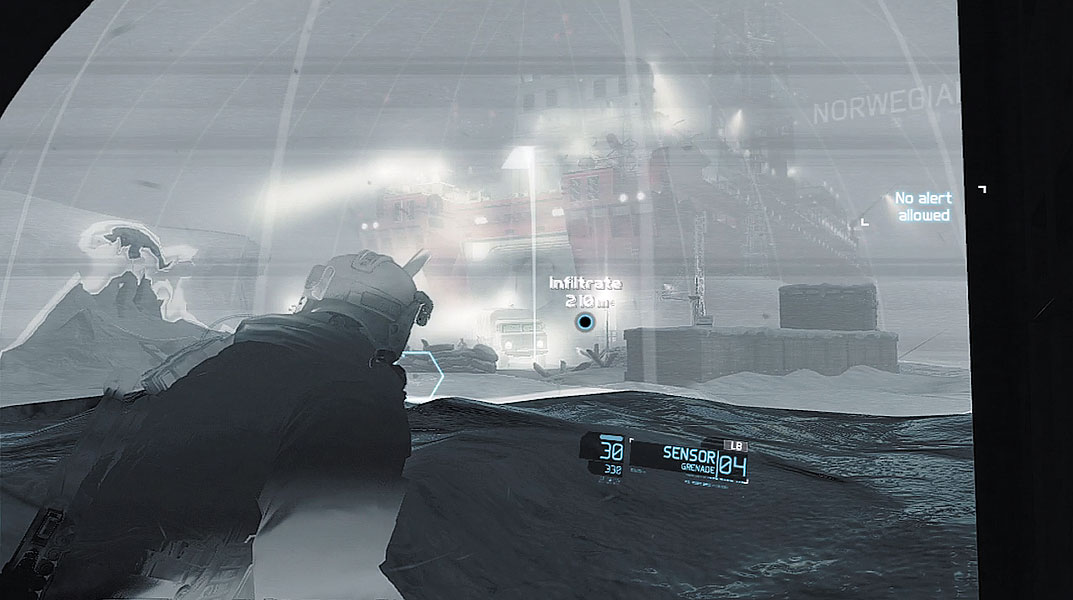
As you near a set of shipping containers, you can see a truck pull up near a checkpoint. Creep just past the shipping containers and toss a Sensor toward the checkpoint. There are four enemies here—two patrolling riflemen, the truck’s driver, and a mounted machine gunner on the roof of the guard post. Don’t bother engaging these enemies. Instead, stay to the far right and slip past the checkpoint undetected. This requires you to move directly behind the hostile manning the mounted machine gun. As long as you keep your Optical Camo active, you can sneak past him without being spotted.
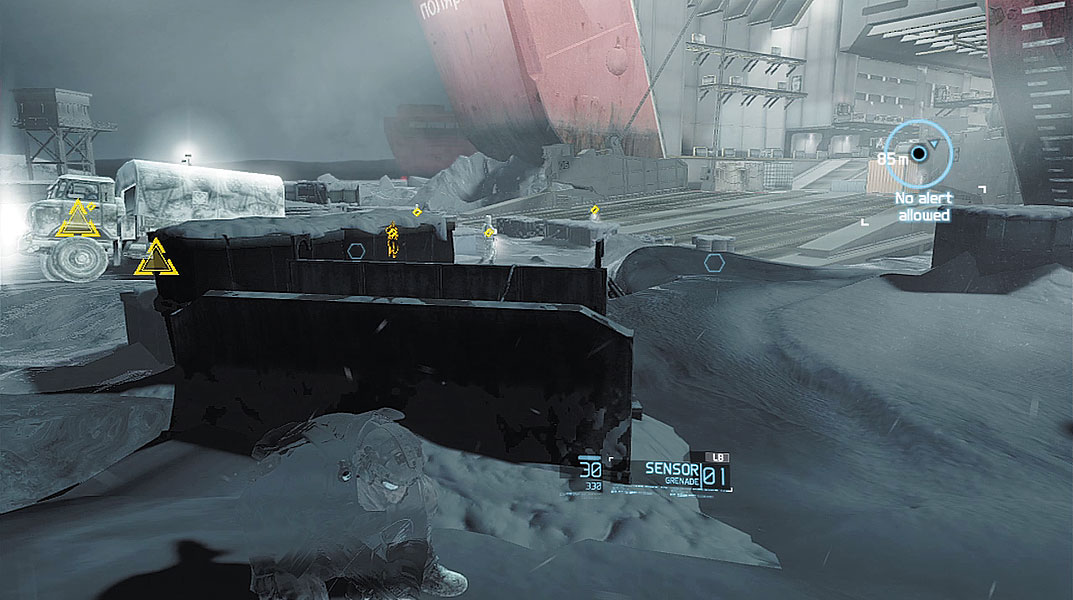
Beyond the checkpoint are several clusters of crates you can utilize for cover while advance toward the drilling ship. But there are also multiple hostiles guarding the path to the ship. Stay to the right and assume a covered position approximately 85 meters from the waypoint. Once in position, toss a couple of Sensors near the entrance to the ship. Four riflemen are guarding the entrance—three of the riflemen patrol, while the fourth stands stationary in the center of the massive ramp-like door. Monitor the nearby rifleman patrolling the right side. When he moves away from the ship, make your move toward the entrance. Utilize cover during this advance because even your Optical Camo may not be enough to prevent you from getting detected at close range. If you find yourself caught in the open near an enemy, immediately drop prone and remain still. Make your way to the barrels on the right side of the ship’s ramp. From here, you can advance along the right side of the ramp without being detected. Once onboard, wait for your teammates to join you before dealing with any of the enemies in the ship.
Tactical Challenge: Undetected
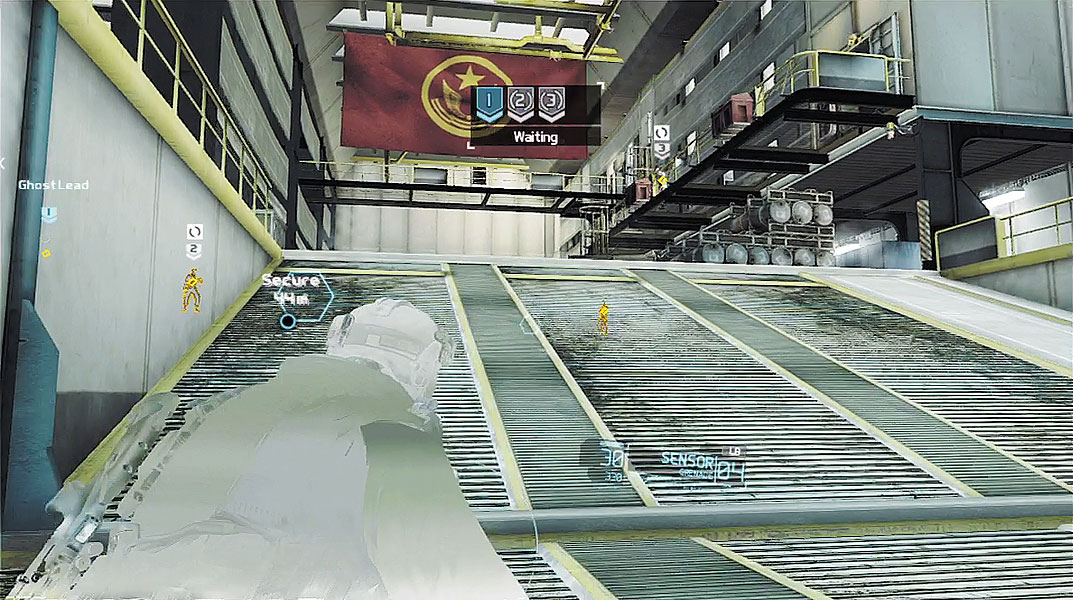
Shortly after your team boards the ship, the massive door closes behind you—from now on, an alert will no longer cause a mission failure. Take cover among the crates in the cargo hold and deploy a couple of Sensors in the direction of the next waypoint marker. The Sensors detect four enemy riflemen patrolling the cargo hold. Mark all four enemies, including the rifleman on the catwalk to the right. Next, move into position to set up a sync-shot. While still crouched, creep to the left side of the cargo hold until you have a good view of the rifleman on the catwalk. Take aim at your target and wait for your teammates to follow suit. Once everyone is ready and on-target, squeeze the trigger to initiate the sync-shot.
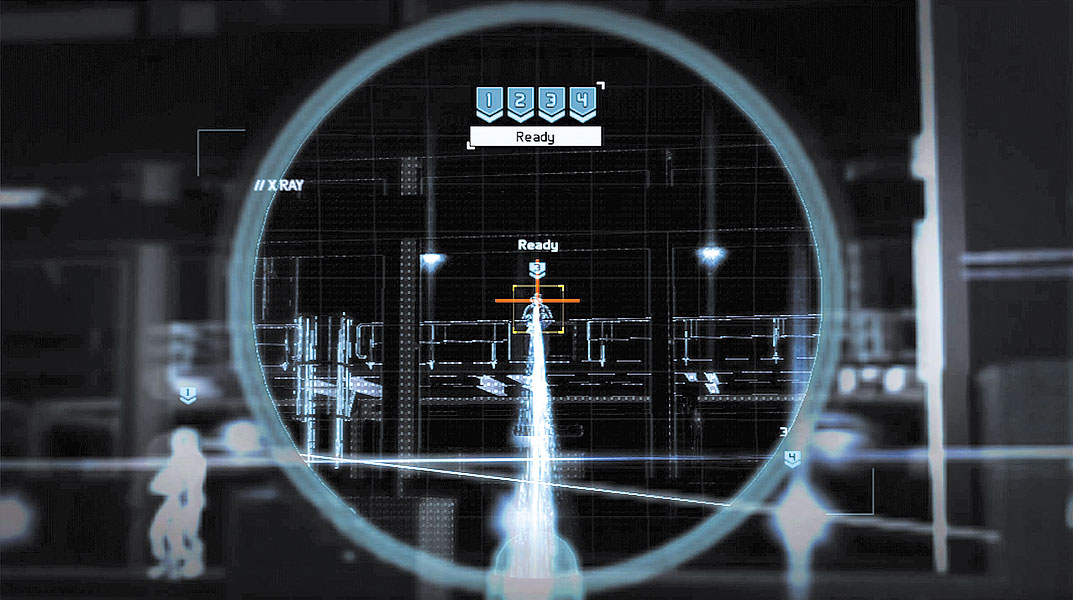
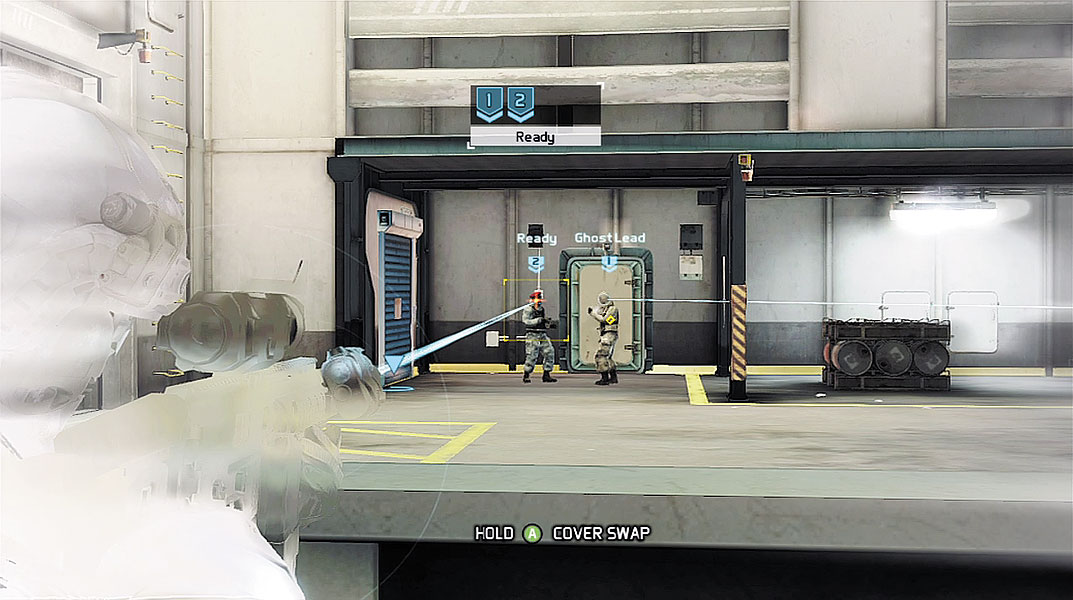
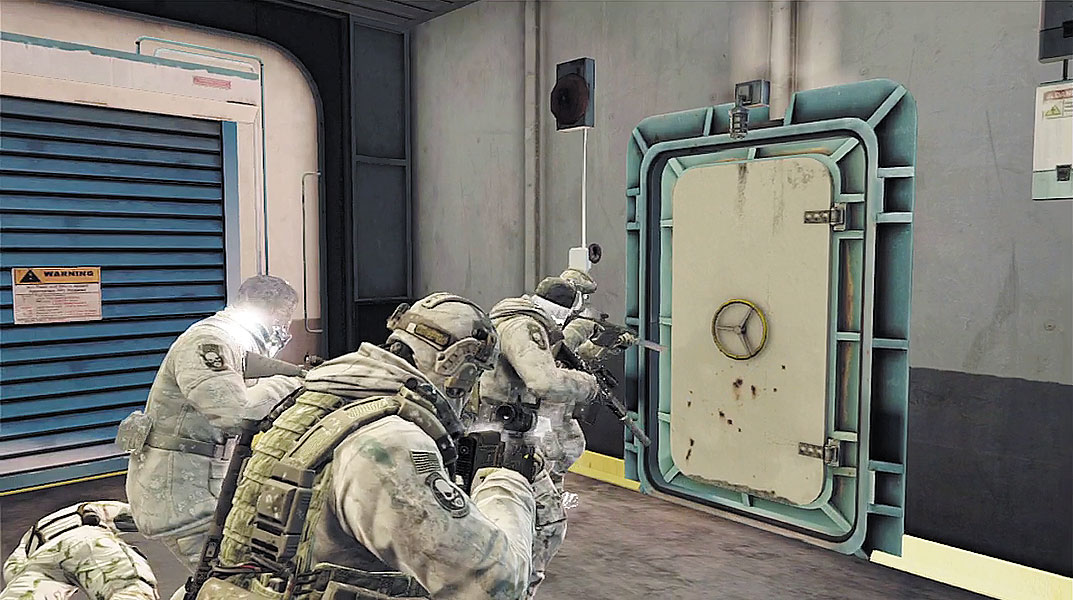
The cargo hold isn’t clear after the team eliminates the four riflemen with the sync-shot. Two more hostiles are standing near the cargo hold’s exit, on the far right. If you have trouble spotting them, toss a Sensor to the far back right corner of the cargo hold. Mark both riflemen and take them out with a sync-shot. Now the cargo hold is clear. Rush past the bodies of your latest victims and regroup with your team at the metal door.
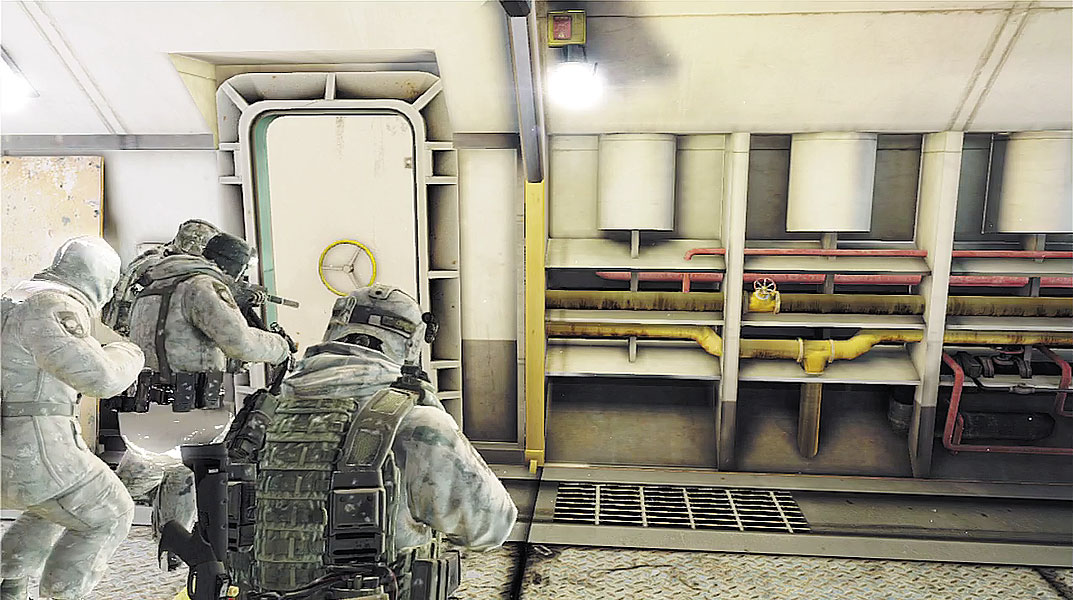
As you advance through the adjoining corridor, Overlord advises that you must pass through the nearby generator room in order to reach the control room. You can expect plenty of resistance along the way, but Overlord has no intel on the number of hostiles—the mechanical equipment is wrecking havoc on the thermal readings. In other words, tread lightly and stay on your toes. Advance to the white ring icon near the end of the corridor and prepare to enter another door with your team.