
Tom Clancy's Ghost Recon Future Soldier Guide Walkthrough Noble Tempest
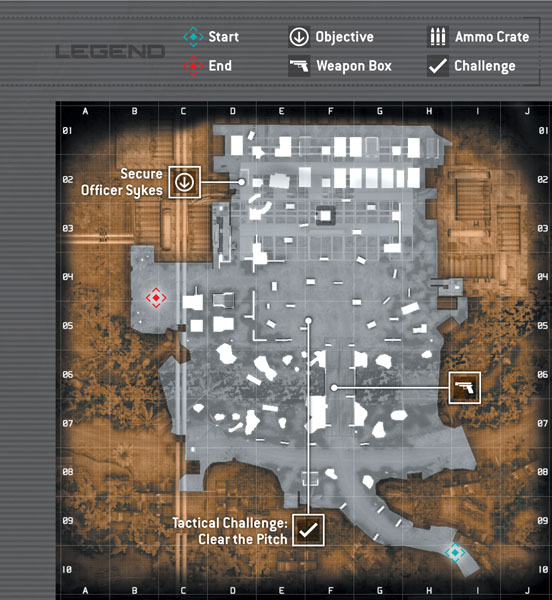
Secure Officer Sykes
Secure Officer Sykes
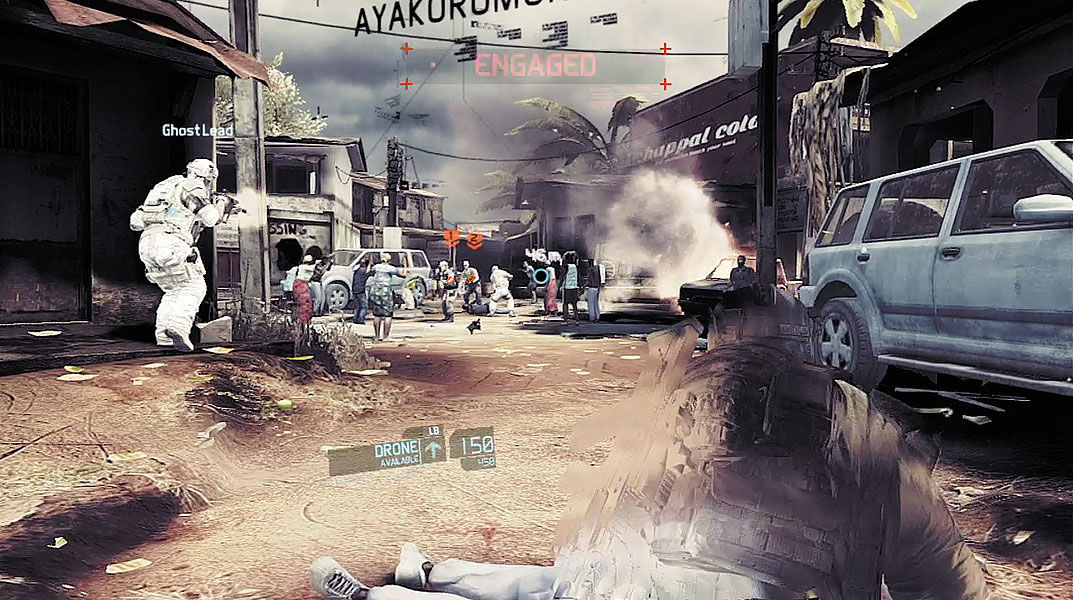
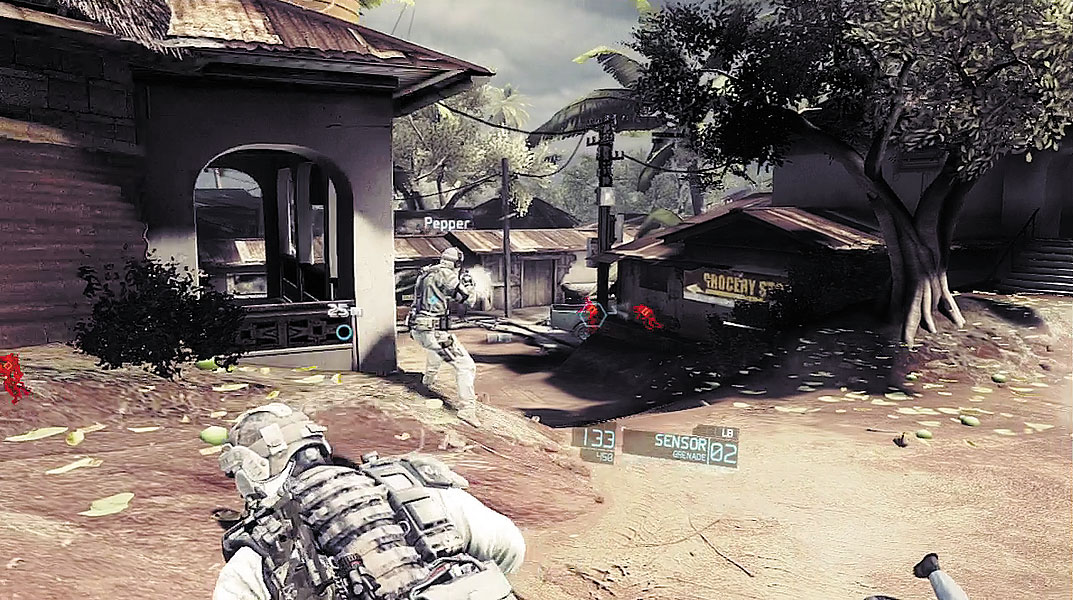
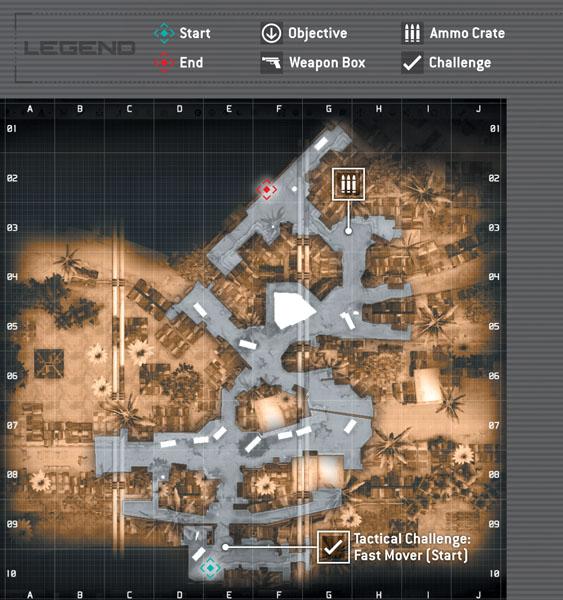
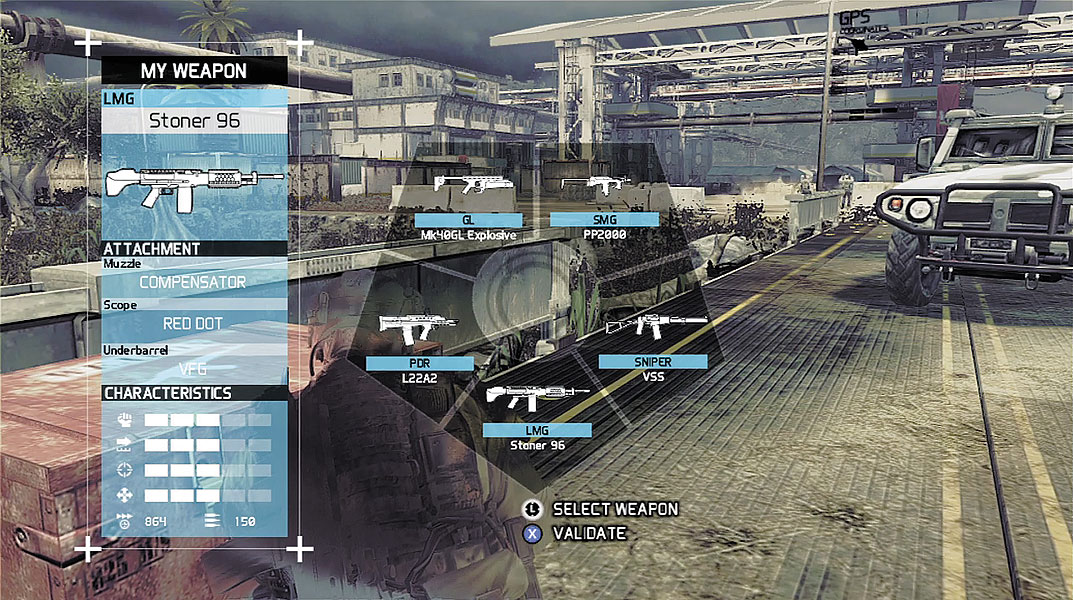
Before you can reach the refinery, you must first pass through the Yakoromor village, which is occupied by Watchgate mercs. You can’t pass through the village undetected so prepare for an intense firefight. Just ahead, three mercs are harassing some villagers. Toss a Sensor toward the mercs to highlight them amongst the crowd, then open fire with your LMG, being careful not to hit any civilians as they scramble for cover. During this sequence, let your team lead the way through the village while you provide fire support (and deploy Sensors) from the rear. Don’t be stingy with the Sensors. They’re the best way to reveal the positions of mercs hiding behind objects like vehicles and structures. Avoid using the UAV here, as it pulls your view away from the action, potentially leaving you vulnerable to attack. As your Sensors detect enemies, issue focus-fire orders to overwhelm the hostiles with firepower. Continue the advance until the village is clear of threats. Shortly after downing the last enemies, you can stock-up on ammo and Sensors by interacting with an ammo crate near the village’s exit.
Tactical Challenge: Fast Mover
Overlord Intel Update: Refinery
Refinery
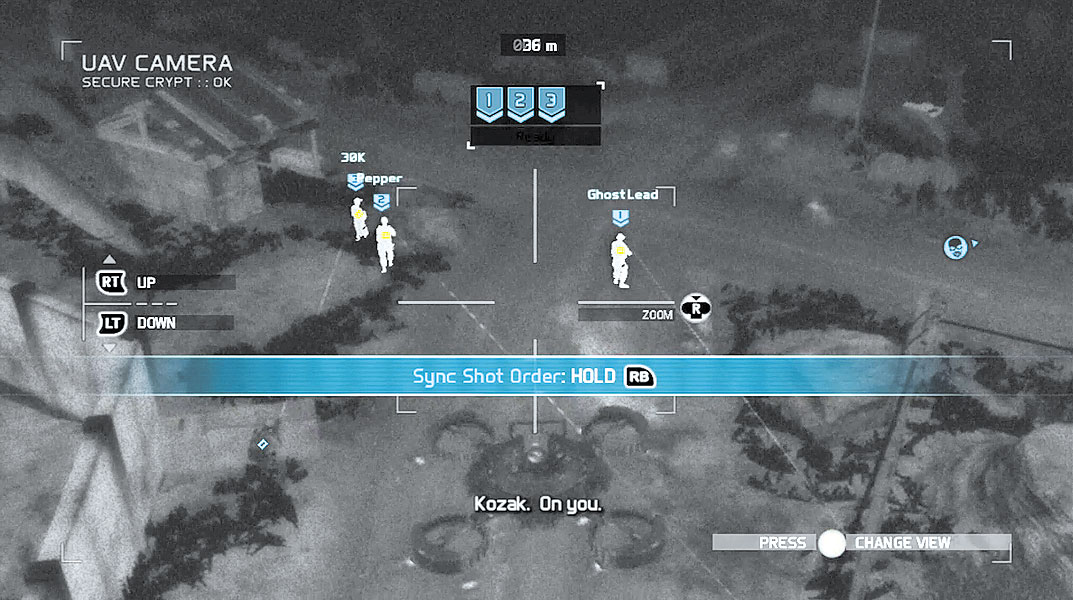
Following Overlord’s intel update, Ghost Lead announces the presence of hostiles. Deploy the UAV to scout ahead. Fly the UAV toward the enemy contacts. Three mercs are patrolling nearby, each armed with a rifle. While still in the UAV view, mark all three targets to set up a sync-shot. Once all three mercs are marked, wait for your team to move into position and line up their shots before giving the shoot order. The UAV allows you to hold back and orchestrate elaborate takedowns through the use of sync-shots. This is a very effective tactic that will come in handy throughout this mission and many others. The path leading to the refinery is now clear. Exit the UAV view, then hold down the button shown on-screen to recall the UAV. This causes the UAV to return to you position, landing in Kozak’s hand.

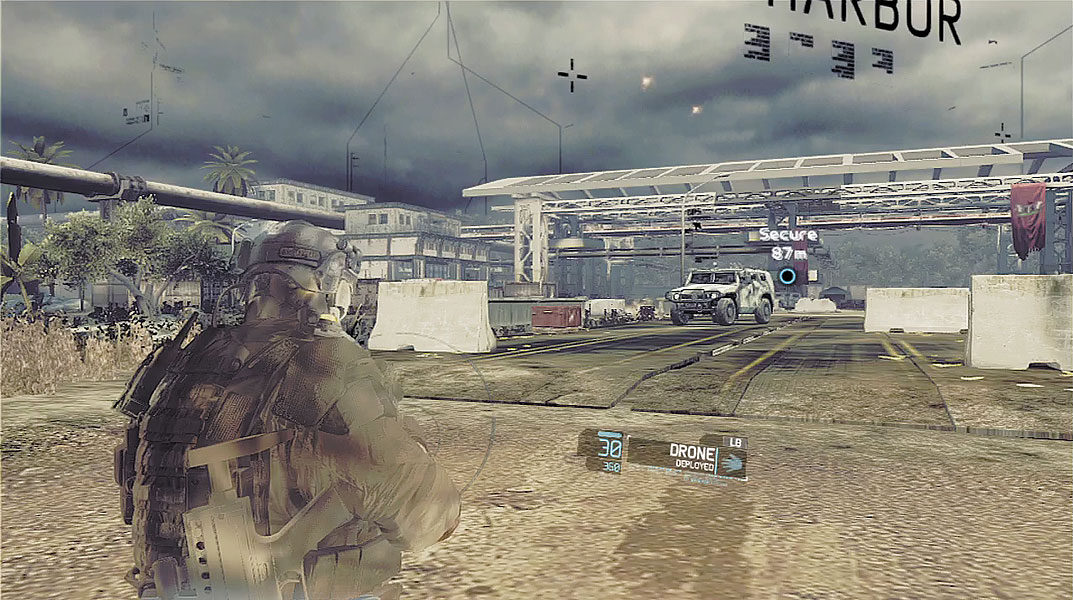
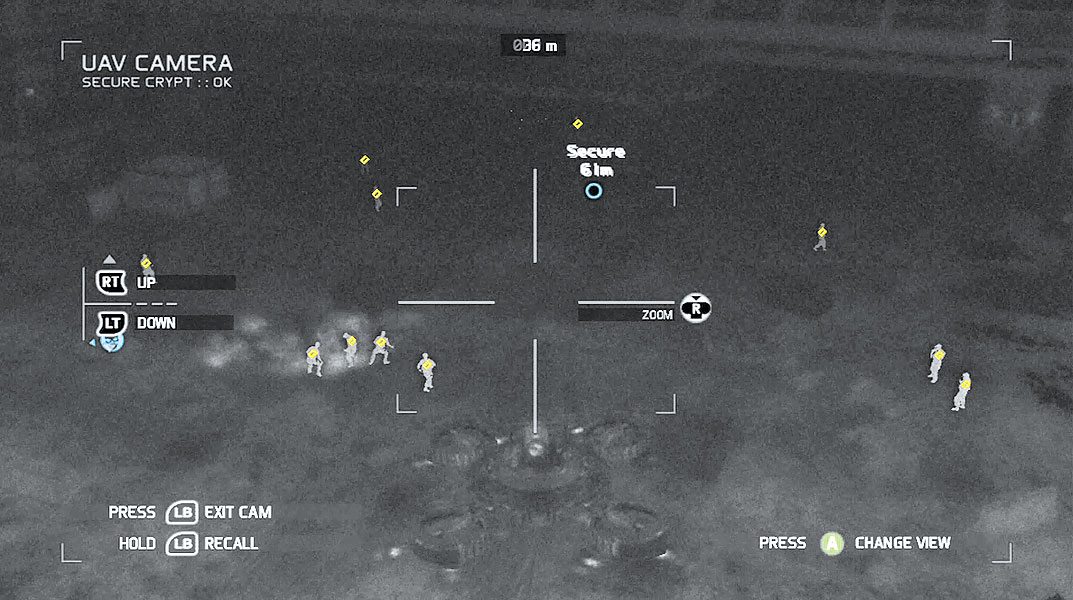
Now cautiously move toward the refinery, which is marked as a waypoint on the HUD. Assume a crouched stance to activate your Optical Camo then creep toward the bridge on the outskirts of the facility. From this position you can spot several mercs at the refinery. But to get a better picture of the resistance, deploy the UAV. Fly the UAV directly over the facility to identify 12 enemy contacts, including a group of four mercs playing an impromptu game of soccer. You can’t reach Sykes until you’ve completely neutralized all the hostiles in this area. You don’t have to take out the mercs silently, but it’s a good idea to whittle down the enemy’s numbers before launching an all-out assault. This will help even the odds when the shooting starts. Leave the UAV hovering above the facility. Keeping the UAV in the air allows it to continually update the positions of enemies. This makes it easy for you to keep tabs on all enemy contacts as you set up your attack.
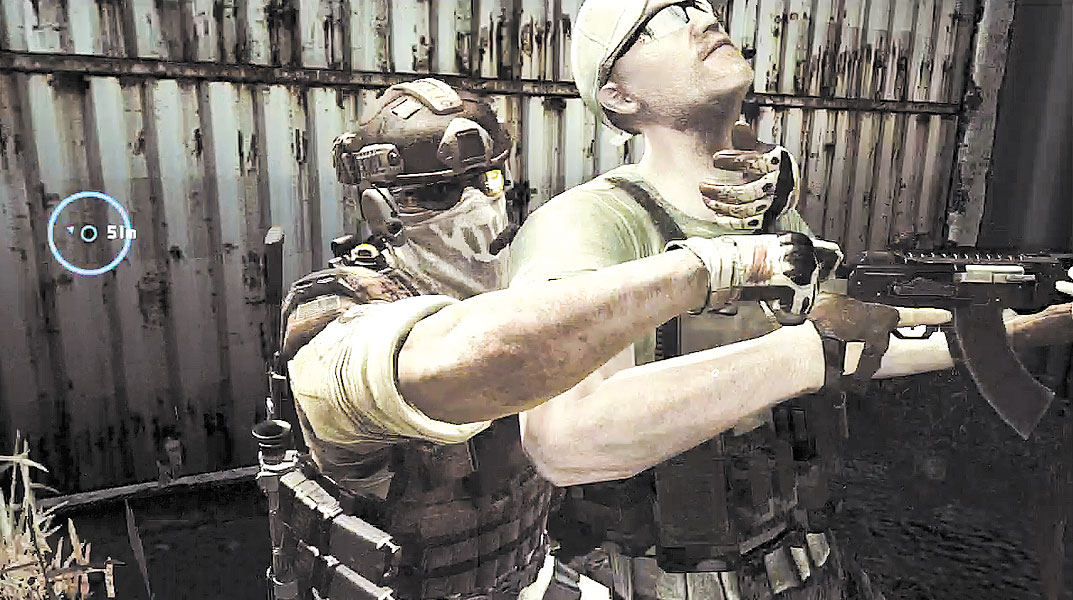
With your Optical Camo active, drop off the left side of the bridge to drop into the shallow ravine below. Once out of the water, assume a crouched stance and creep along the left side of the facility. The mercs playing soccer and the other hostiles won’t see you thanks to your Optical Camo. However, make a habit of utilizing cover as you advance into the facility. A lone guard patrols on the left side of the refinery. Unlike the other mercs, this guy is completely isolated so he is easy to take out. Instead of shooting him with a suppressed weapon, simply sneak up behind him and perform a stealth kill—his body won’t be spotted by any of the mercs.
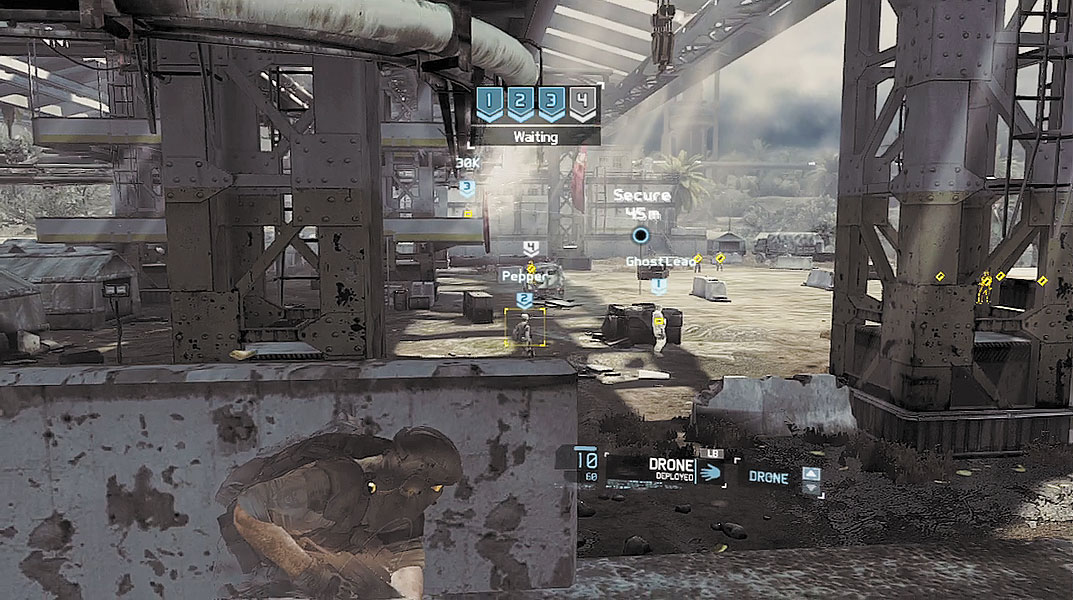
Continue advancing along the left side of the facility and assume a position on the raised platform outside the hangar-like structure. From here, you have a clear view of the facility, including all hostiles. Take cover along one of the low walls on the perimeter of the platform. Peek over the wall and begin marking targets. Mark the four hostiles at the back of the facility, including the merc with the LMG on the central platform. When your team has established lines of sight on their targets, take aim at the fourth merc and line up your shot using the weapon of your choice. A suppressed weapon doesn’t make a difference here since the four targeted mercs will be spotted by their comrades when they drop to the ground, resulting in an alert. So initiate the sync-shot to trigger the firefight.
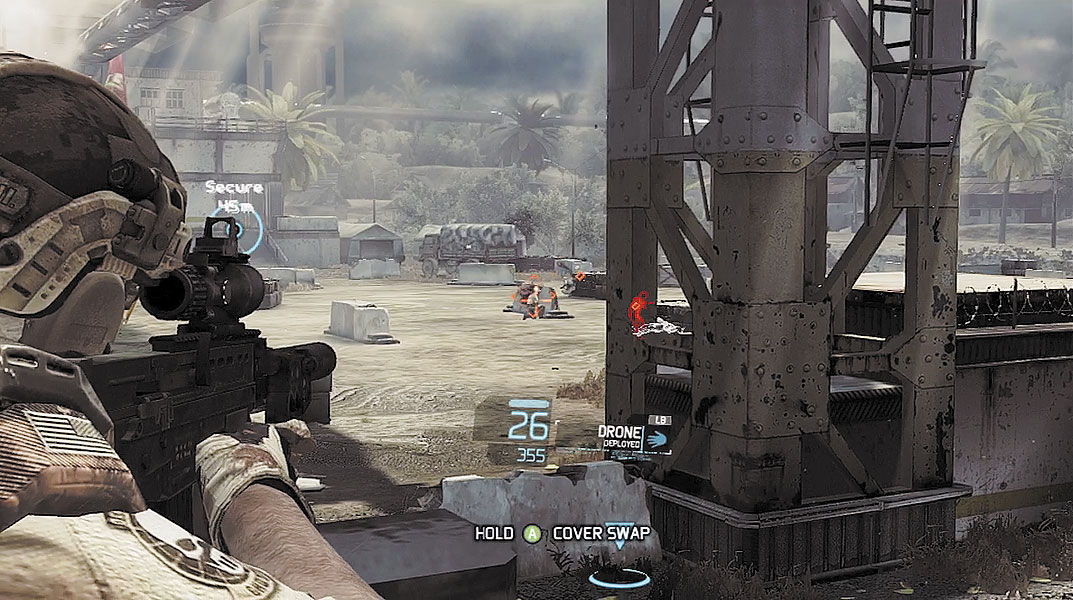
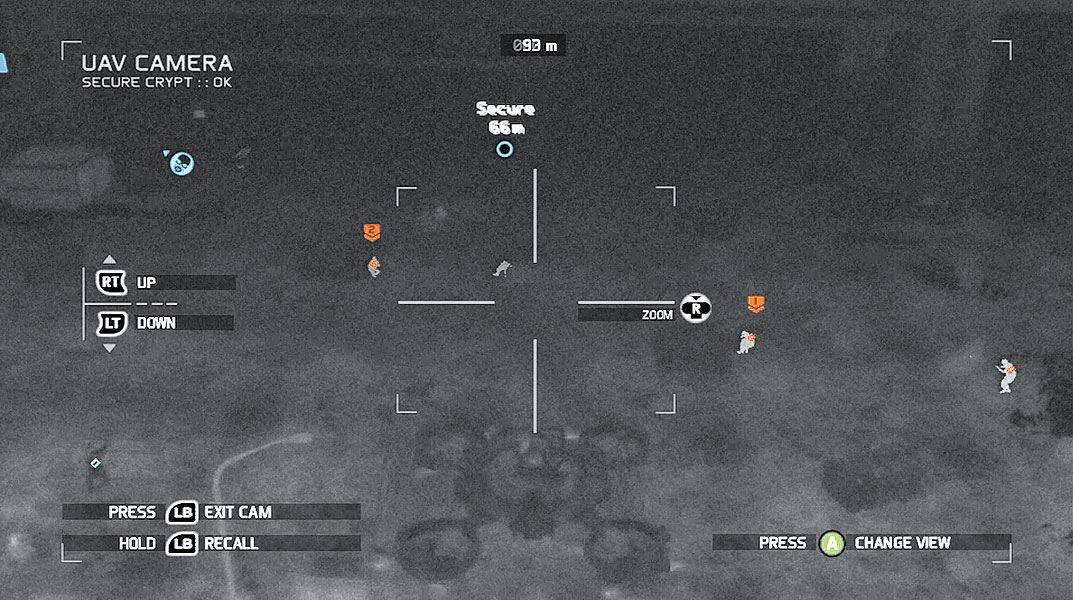
After dropping the first four mercs, take cover and issue focus-fire orders for your team. Given your position at the rear of the facility, you can catch the remaining mercs in a crossfire. If you can’t get a line of sight on the enemies, return to the UAV view and orchestrate the attack from the air. From the UAV view you can watch the fight from above and issue focus-fire orders for your teammates. Although outnumbered, thanks to some careful planning and maneuvering, your team can secure the refinery within a matter of seconds.
Tactical Challenge: Clear the Pitch
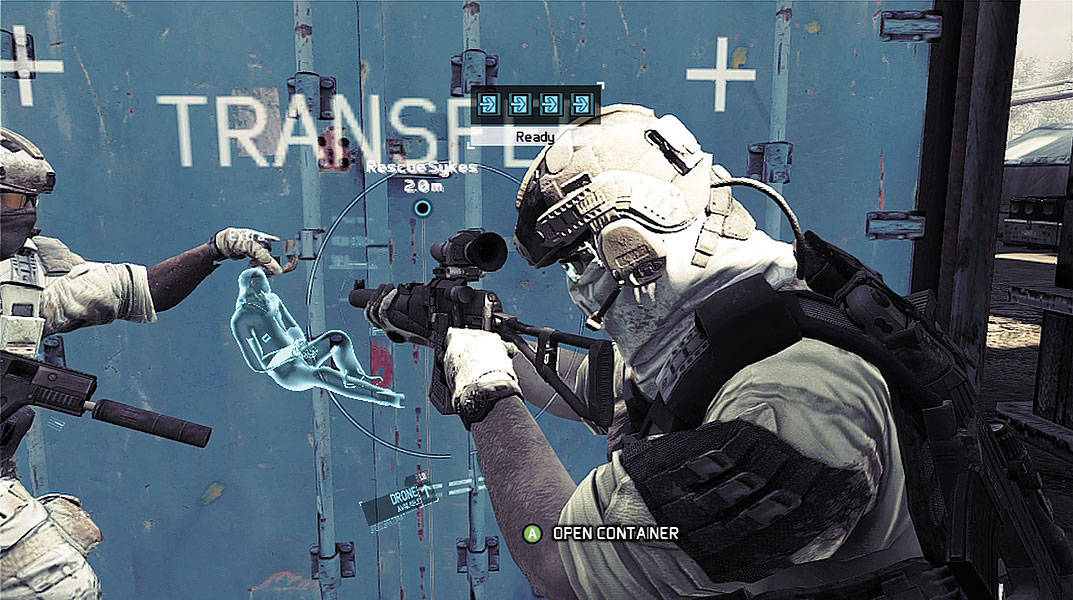
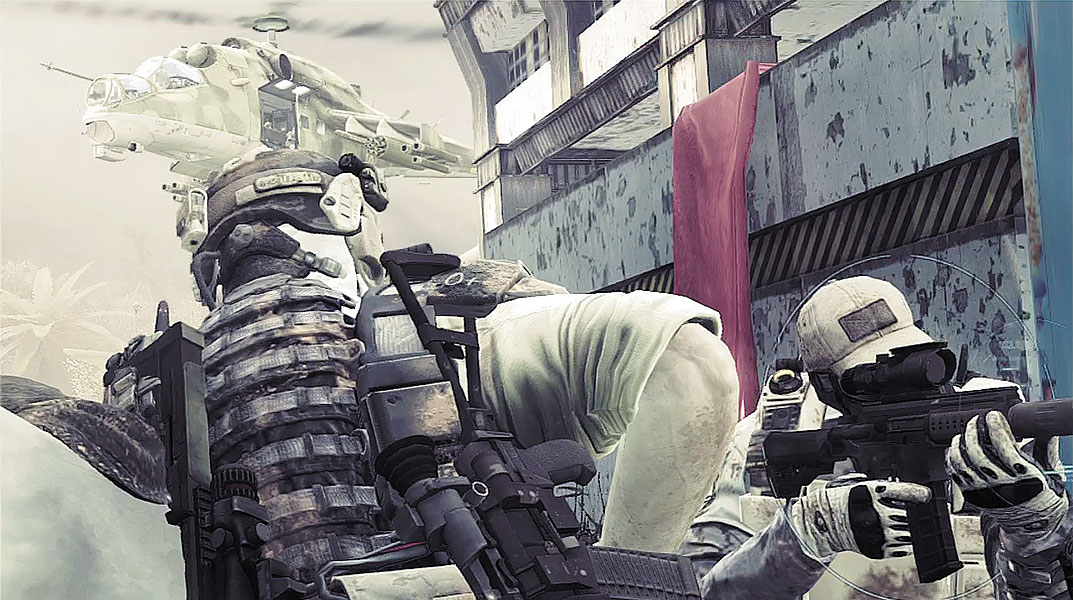
Following the assault on the refinery, regroup with your team at the shipping container marked with a waypoint—Officer Sykes is inside. Once your team is in position, open the container and rescue Sykes. He isn’t in great condition, but at least he can walk. While you’re inside the container securing Sykes, all hell breaks loose outside as two Mi-24 Hind attack choppers arrive at the refinery and drop off merc reinforcements—these are the same choppers that Overlord warned you about earlier. Ghost Lead orders the team to assume a diamond formation in an effort to protect the VIP.
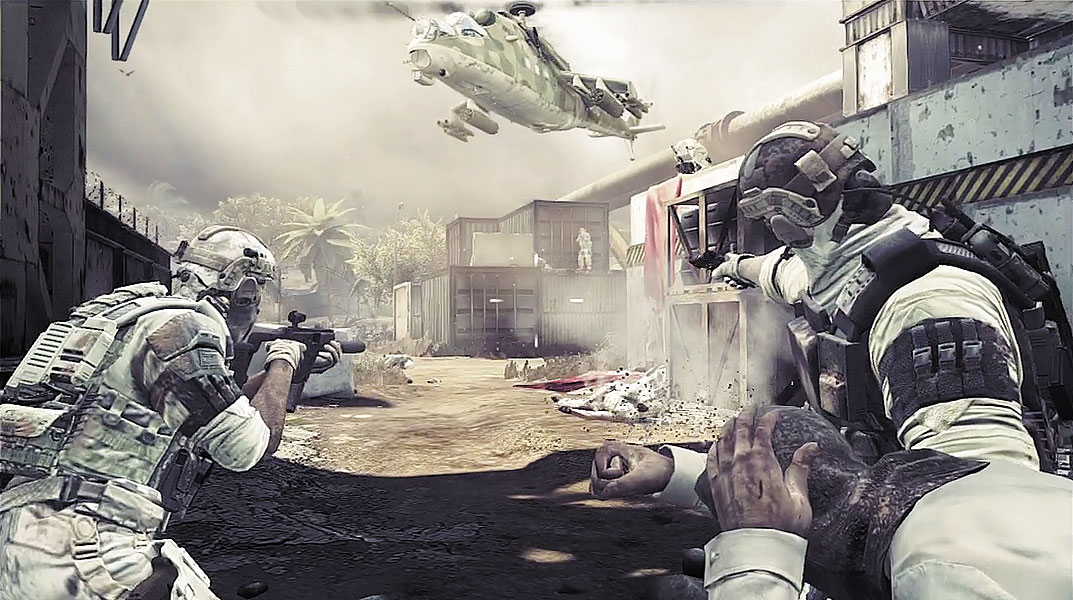
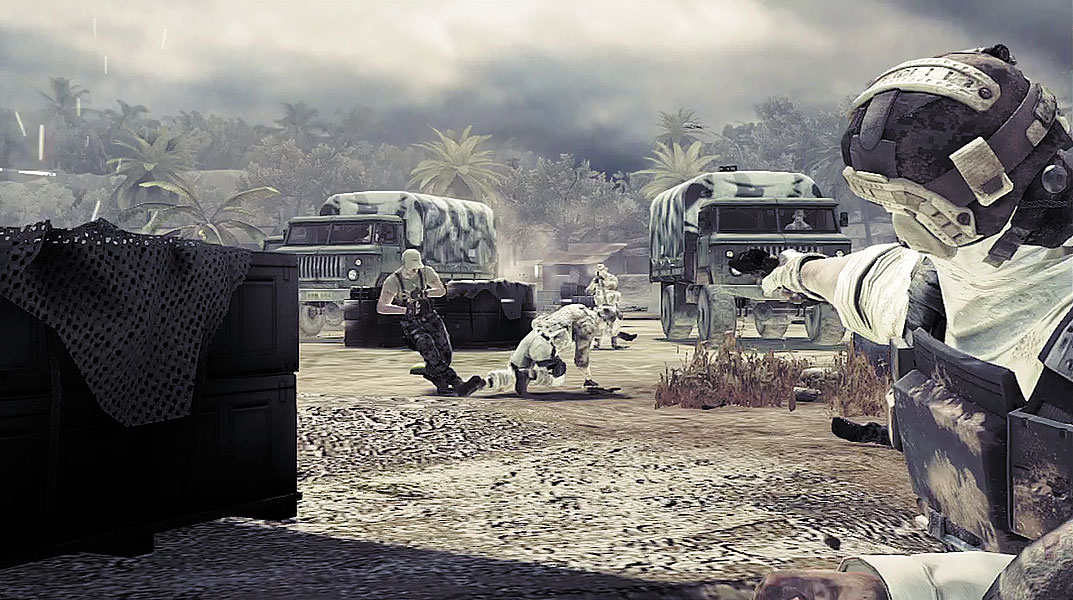
As the diamond formation sequence begins, take aim with your pistol and start drilling mercs as fast as you can. This sequence plays out much like the one in Bolivia, when you were escorting Paez. You don’t need to worry about moving. Simply aim and shoot. All it takes is a single hit to kill each merc, so conserve your ammo to prevent frequent reloads. Simply pan the aiming reticle over a target and squeeze the trigger. Prioritize enemies who are stationary and shooting at you. Mercs who are running around pose less of an immediate threat.
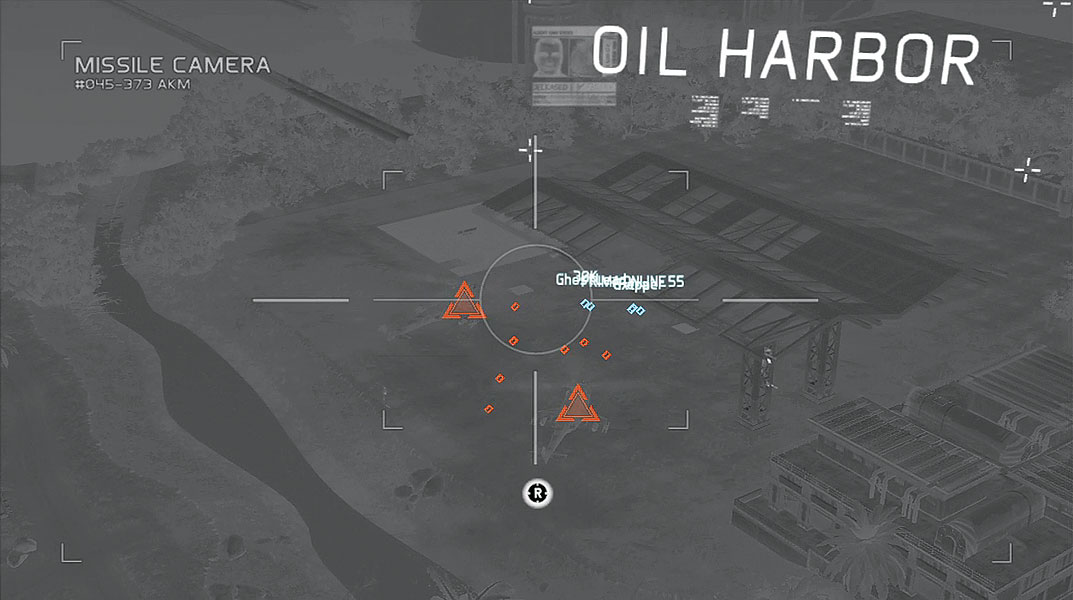
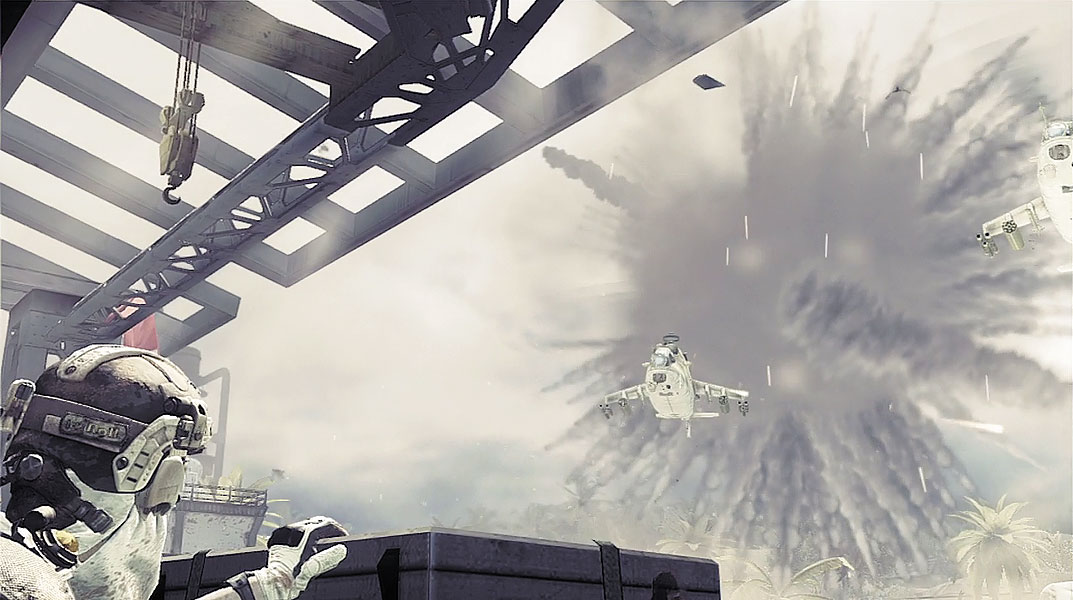
It soon becomes clear that you’re not going to get out of this mess without help. Overlord reports that an air strike package is available for close support. When Kozak huddles next to crate with Sykes, press the button shown on-screen to initiate the air strike. Your view suddenly changes to a camera fixed to the nose of an incoming missile. Using the right control stick, guide the missile toward the refinery, aiming it between the two choppers. The missile explodes just above the choppers. The powerful air-burst warhead flings the choppers around like toys, causing them to crash. The explosion also wipes out the remaining merc reinforcements.
Enemy Profile: Mi-24 Hind