
Tom Clancy's Ghost Recon Future Soldier Guide Walkthrough Valiant Hammer
Destroy Artillery Units
Destroy Artillery Units
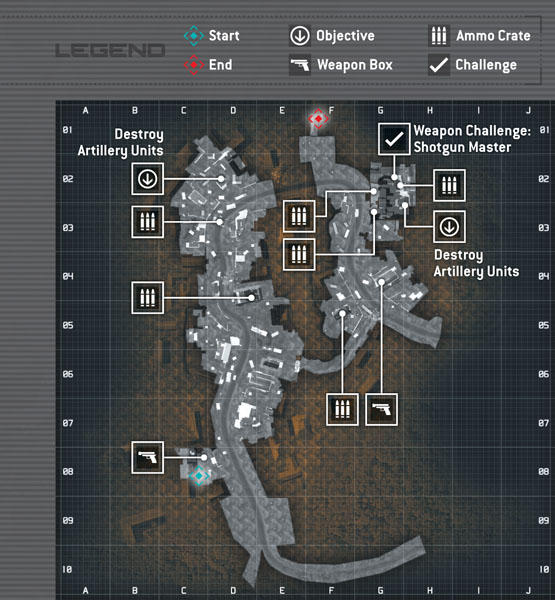

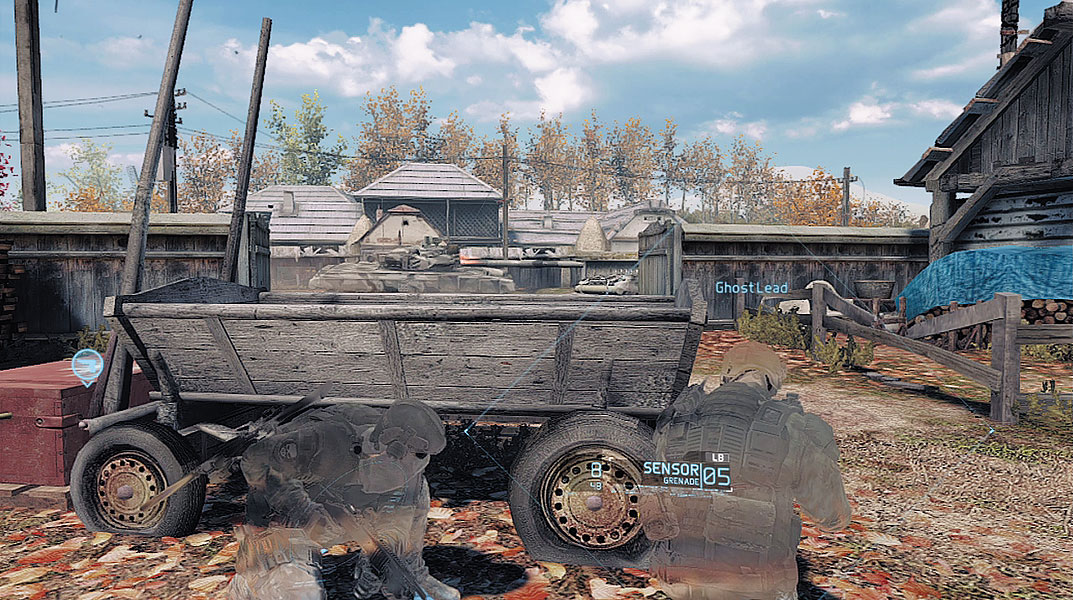
Following the brief conversation with General Douka, step outside and immediately take cover behind the trailer, next to a weapon box. A T-90 tank pull into view on the road ahead and stops only a few meters away. As long as you stay behind the cover of the trailer, the T-90 crew won’t spot you. Hold behind cover while a convoy of tanks and trucks roll along the nearby road. Don’t try to access the nearby weapon box until all enemy vehicles have passed by and are safely out of sight. Like the previous weapon box at the enemy field HQ, this one contains an MSR sniper rifle, an Mk48 LMG, an AK-47 assault rifle, an M110 sniper rifle, and an M1014 shotgun.
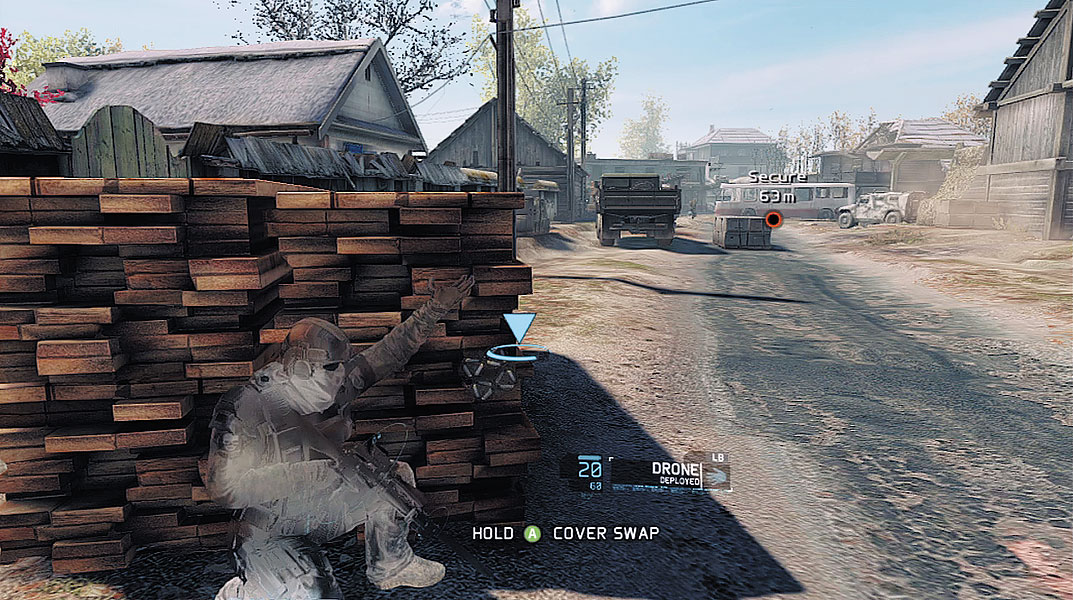
With your Optical Camo active, follow your team toward the next waypoint marker—artillery guns can be heard in the distance. Take cover behind one of the stacks of wood on the left side of the road to avoid being detected by nearby hostiles. The abandoned town ahead has been occupied by Raven’s Rock forces. You’ll need to clear out several enemy troops before you can reach the first artillery unit. Deploy the UAV and conduct a quick flyby to detect a mix of stationary and patrolling enemies—there are 12 in this area. Start by marking the three hostiles in the distance standing on elevated platforms. The guy on the far left is equipped with an LMG and standing on the roof of a bus. Another soldier equipped with an LMG paces along a balcony on the far right. Then there’s a rifleman on a balcony in the middle. You need to take out these three hostiles before you can begin picking off the enemies on the ground. Mark these targets and have your teammates perform a sync-shot.
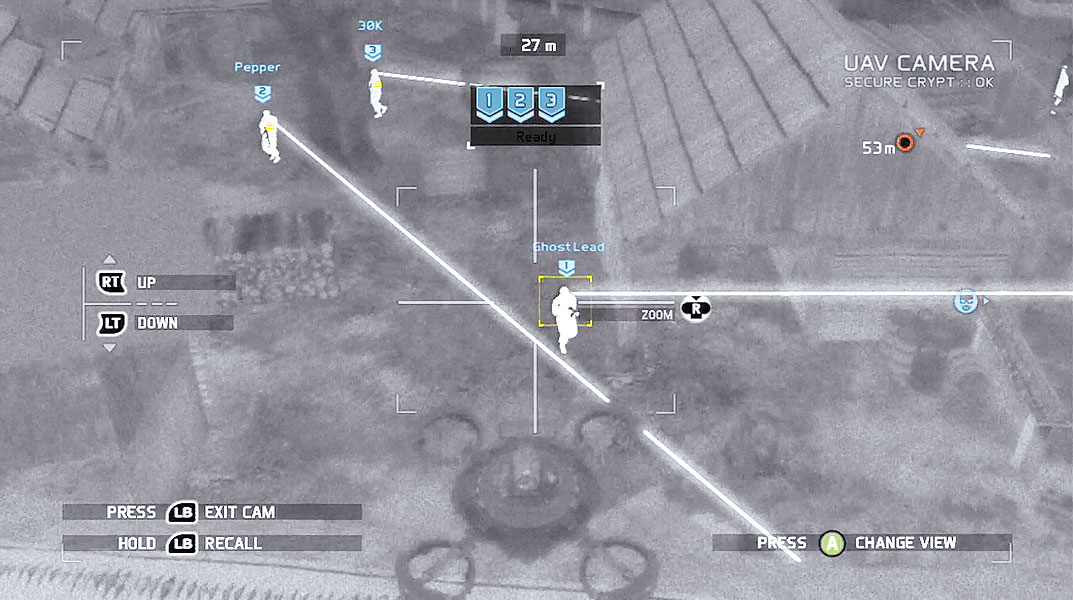
Next, turn to the enclosed courtyard on the left side of the road. This area is isolated from the rest of the town, making it the perfect kill zone to ambush unsuspecting enemy patrols. Wait until at least three patrolling riflemen enter this courtyard, then mark them for a sync-shot. But once you’ve killed enemies in this courtyard, you don’t want anyone else to enter, or they’ll discover the bodies of their comrades. So continue monitoring movement around this courtyard and quickly eliminate any enemies that get too close for comfort.
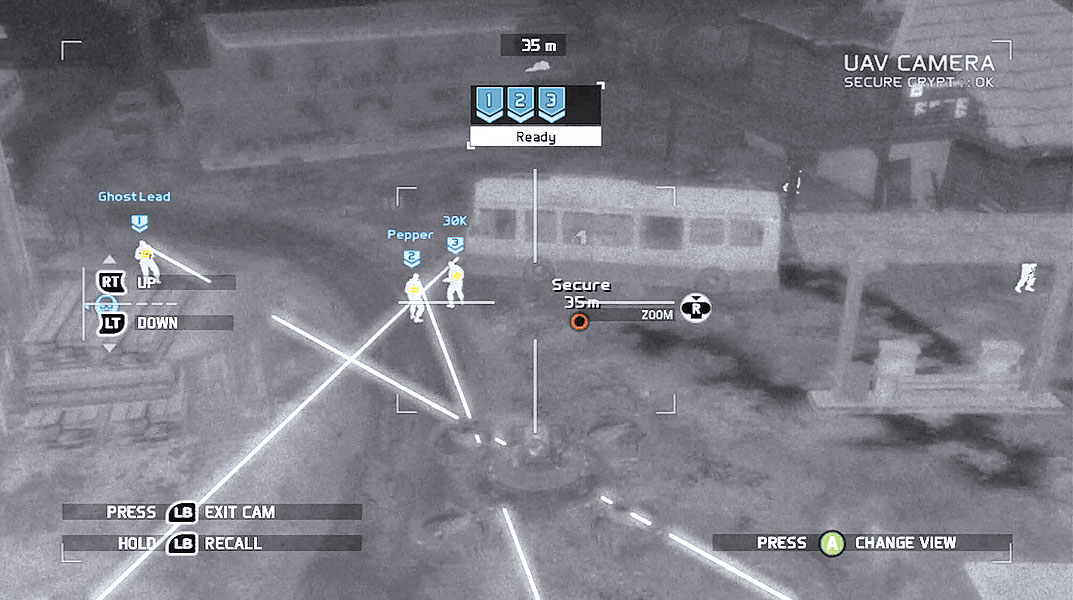
There are six more riflemen, mostly patrolling around the bus by the gas station. The bus is equipped with a mounted machine gun, but there’s currently nobody behind it. However, that will change if your team is detected. Watch the movements of the remaining hostiles and pick them off in groups of three. Usually three enemies gather near the front of the bus, and another three loiter around the back of the bus and gas station. These areas are close together so you need to rush these sync-shots to avoid triggering an alert. If you’ve lost count of how many enemies you’ve taken out, perform a thorough search with the UAV before moving out. You can also deploy Sensors or activate your Magnetic view to locate enemies you may have missed.
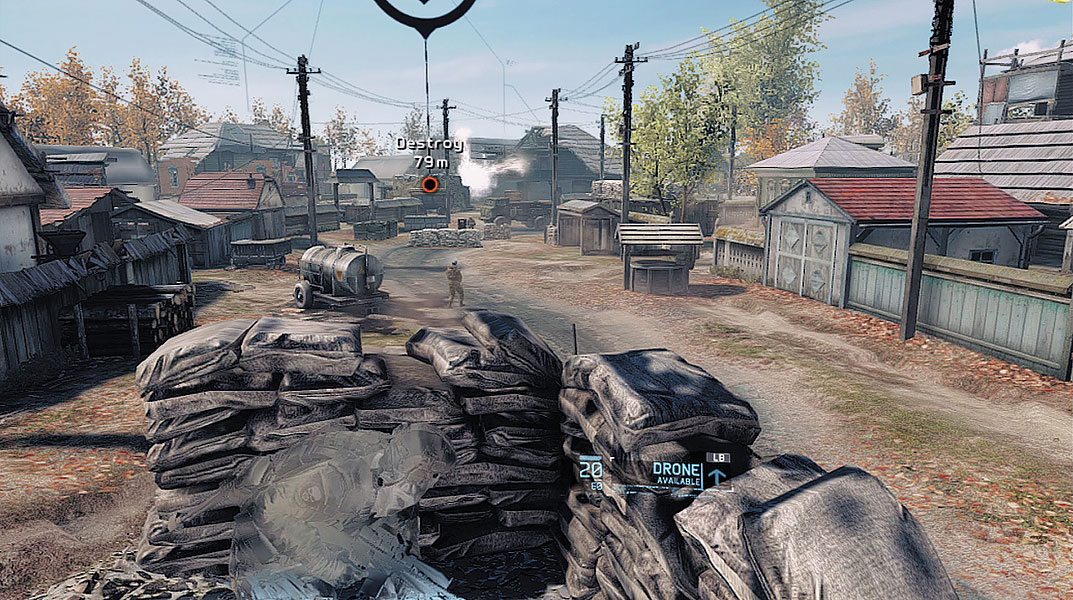
Once you’ve cleared out the enemy troops guarding the town’s entrance, creep toward the next waypoint, marking the position of the first artillery gun. As expected, more hostiles are gathered around the gun—you’ll need to take them all out before you can destroy the gun. While moving along the road, and past the gas station, veer toward the left side. There’s a bus parked along the road. You can access the roof of the bus by climbing the nearby slope. The bus’ rooftop is lined with sandbags, making it the perfect spot to hide while scouting for enemies. Deploy the UAV and search the area for enemies. There are 11 enemy soldiers here as well as three more manning the artillery gun. A rifleman stands next to a mounted machine gun in the center of the road. But ignore this threat for now. Instead, slide to the right side of the road and locate two more riflemen standing on a slight hill—one is stationary and one patrols. Mark both enemies and drop them with a sync-shot.
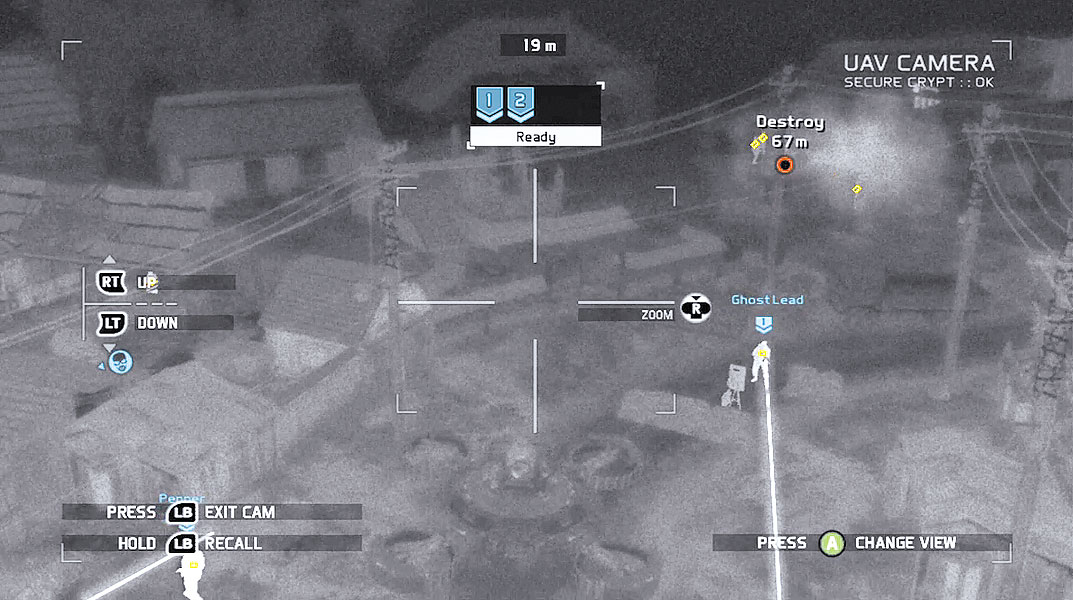
To eliminate the remaining enemies, you need to carefully monitor the patrols and wait for enemies to isolate themselves from their allies. You can pick off individual riflemen in the courtyard on the left side of the road and within the house beyond the courtyard. There is one stationary enemy standing guard in the courtyard that you cannot eliminate with a sync-shot due to limited sight lines. You can sneak up behind him and take him out with a stealth kill instead. The two riflemen guarding the road near the mounted machine gun must be eliminated carefully. Mark both enemies then watch the patrolling rifleman near the artillery gun. Wait until he turns his back and walks away behind the artillery gun before giving the sync-shot order.
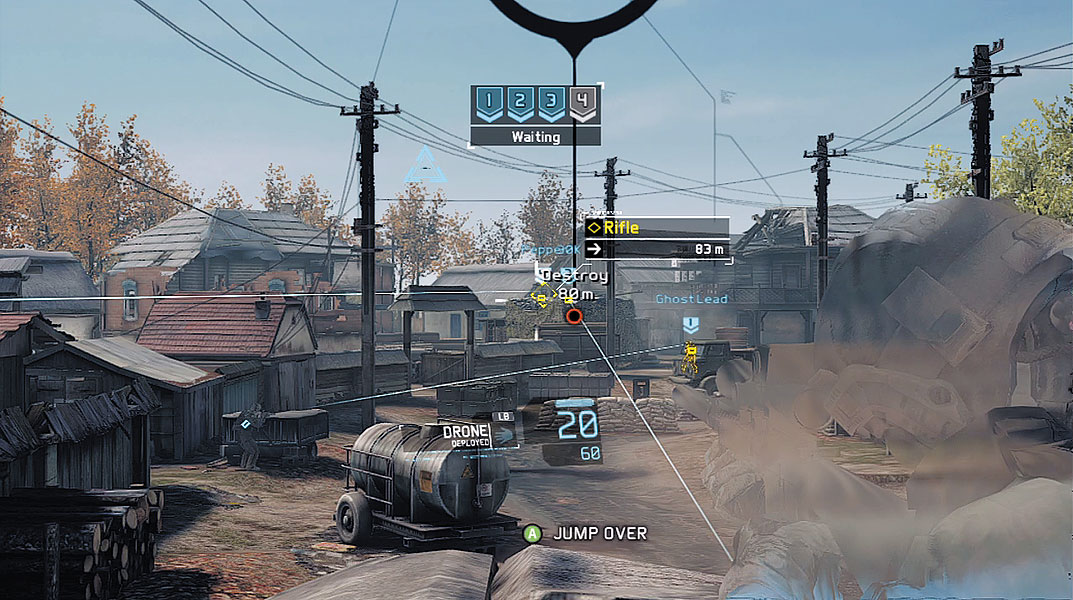
Once you’ve cleared out most of the enemies in the area, focus on the artillery gun. There are three riflemen standing directly behind the gun. They are responsible for loading and firing artillery shells. There’s also a lone rifleman patrolling around the platform on which the artillery gun is placed. Mark all four enemies and prepare to initiate a sync-shot. Exit the UAV view and take aim at any of the marked enemies—squeeze the trigger to initiate the sync-shot, causing the gun to fall silent. You can now approach the artillery gun and destroy it.
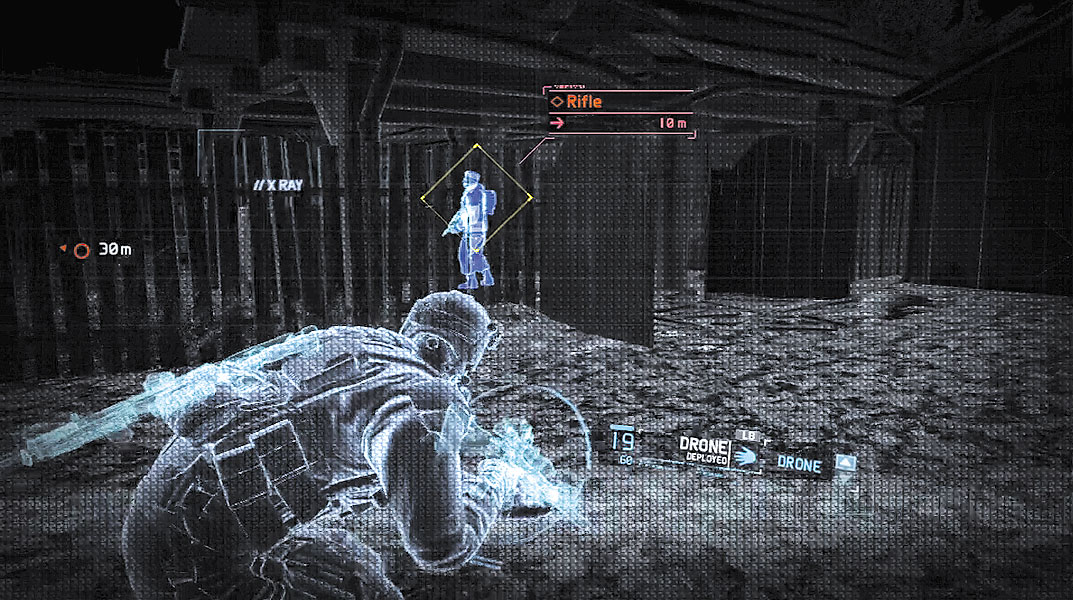
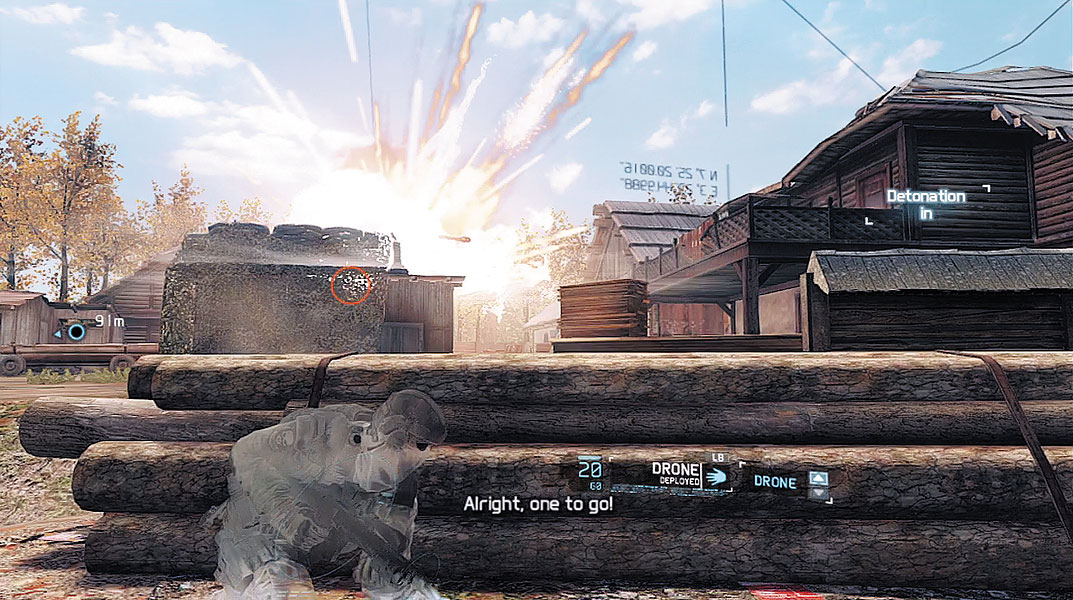
To reach the artillery gun you must climb a ladder on the left side of the platform. From there, you can plant a C4 charge on the gun—step into the white ring icon next to the artillery gun and press the button shown on-screen. Once the charge is placed, you have five seconds to get away before it detonates. Instead of climbing down the ladder, simply drop off the side of the platform and seek cover nearby. The C4 charge’s detonation knocks out the artillery gun. But another gun can be heard firing in the distance. You’ll need to silence it, too.

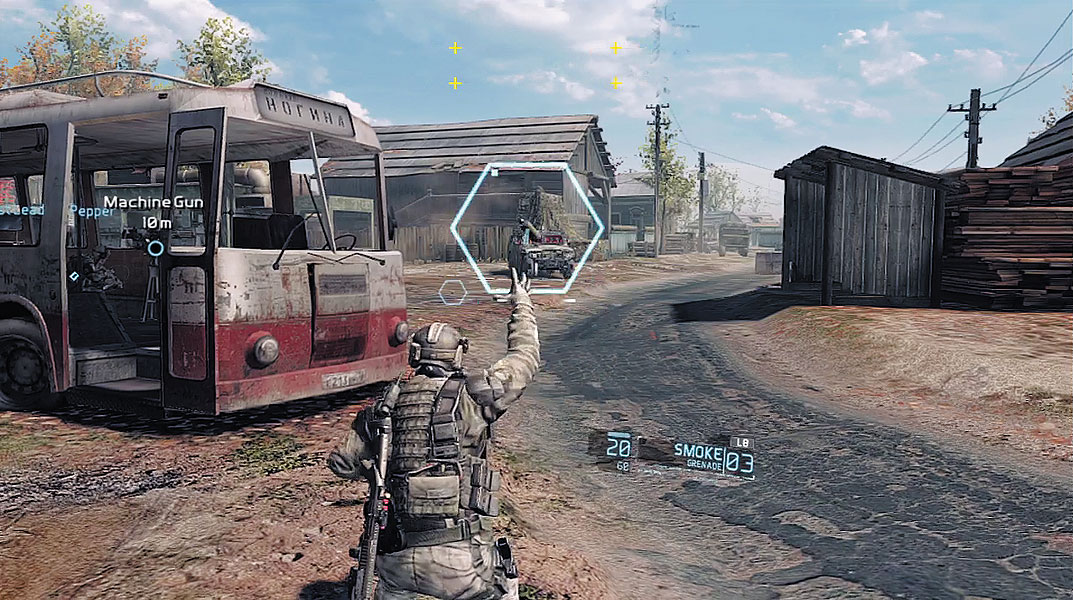
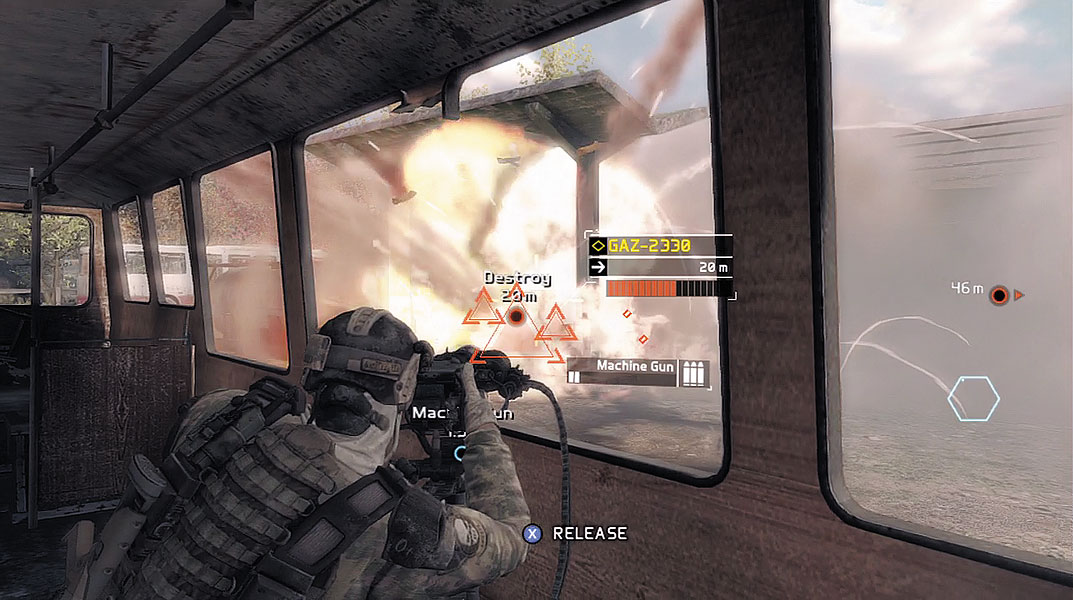
Follow your team back toward the gas station. Be sure to resupply along the way. There are ammo crates next to the mounted machine gun in the road as well as within the nearby building. When you near the bus by the gas station, your team comes under attack by enemy reinforcements that arrive in GAZ-2330s and GAZ-66 trucks. Immediately toss a couple of smoke grenades on the driver’s side of the bus to create a smoke screen. Next, enter the bus and take control of the mounted machine gun. To see through the smoke screen, activate Magnetic view. This helps you see the enemies, but they can’t see you as long as the smoke screen is up. Sensors can also help you identify targets through the smoke. Destroy the enemy vehicles, then focus your fire on the infantry. The machine gun in the bus does not have a protective steel plate. So once your smoke grenades have been depleted, take cover within the bus and help your teammates fend off the attackers. The attack is over when the word “Clear” appears across the top of the HUD. Following the attack, resupply from the nearby ammo crate in the building, then follow your team through the bus on the left side of the gas station—you’ll need to hop through the window of the bus to access the next area.
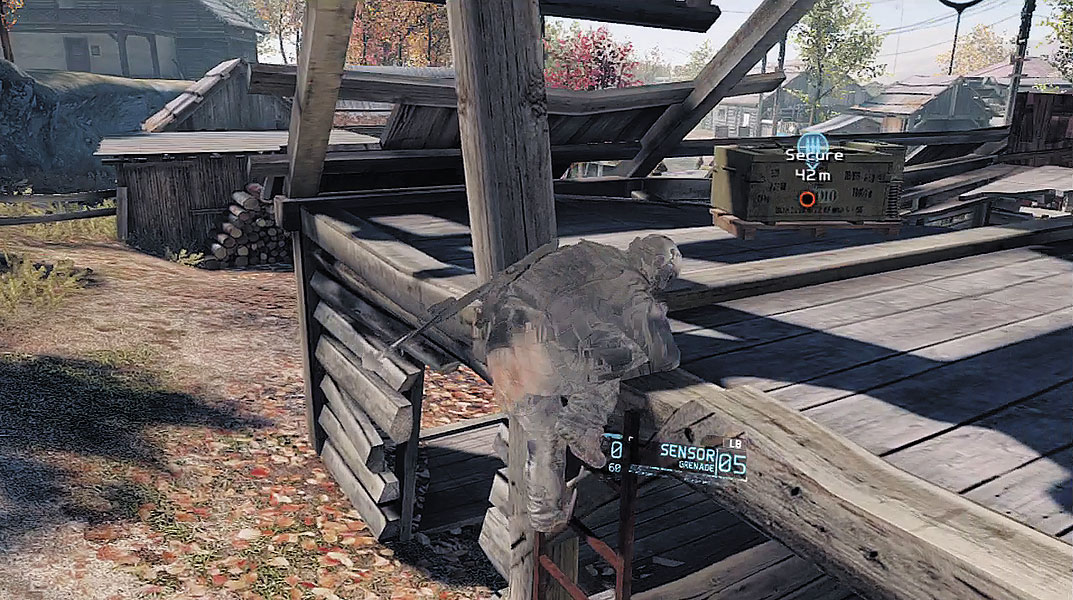
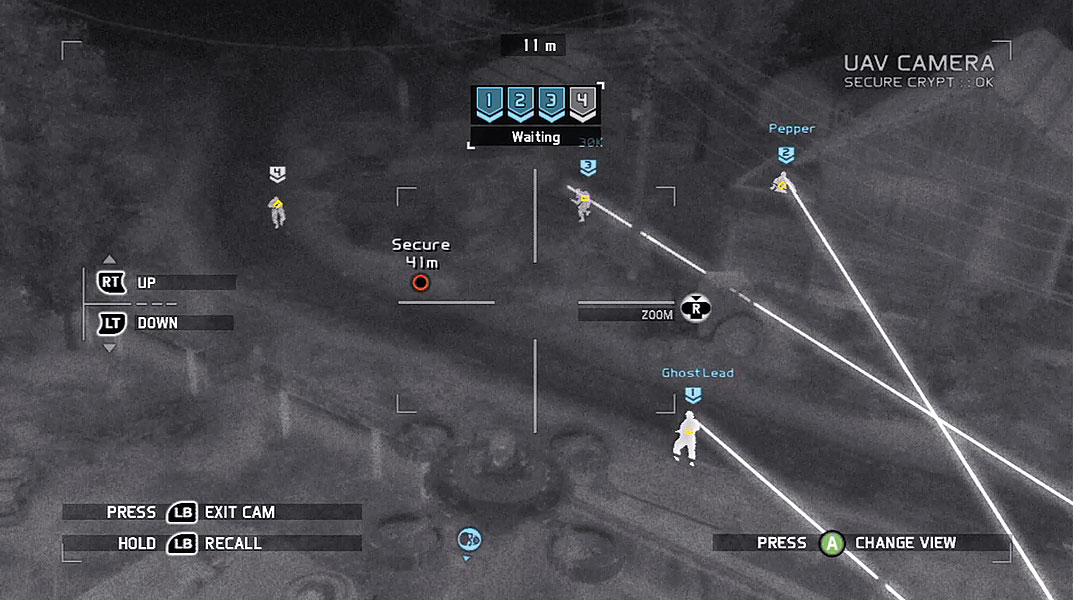
After passing through the bus, you come to another section of the town where the second artillery gun is positioned. But before you assault the gun, you must clear out the enemy troops. Keep your Optical Camo active and creep along the road, then move toward the damaged barnlike structure on the left side of the road. Climb the ladder on the left side of the structure to access the barn’s loft. The loft offers an ammo crate as well as a great view of the area. Lob Sensors all around the barn to get a good picture of the enemy presence. Send the UAV up to get an even better view. Five riflemen are patrolling the nearby road and a sixth is standing on a balcony across the road. Two of the patrolling riflemen can be picked off with a sync-shot as they patrol the area beneath your position in the loft. That leaves four more by the road that you can eliminate with a sync-shot.
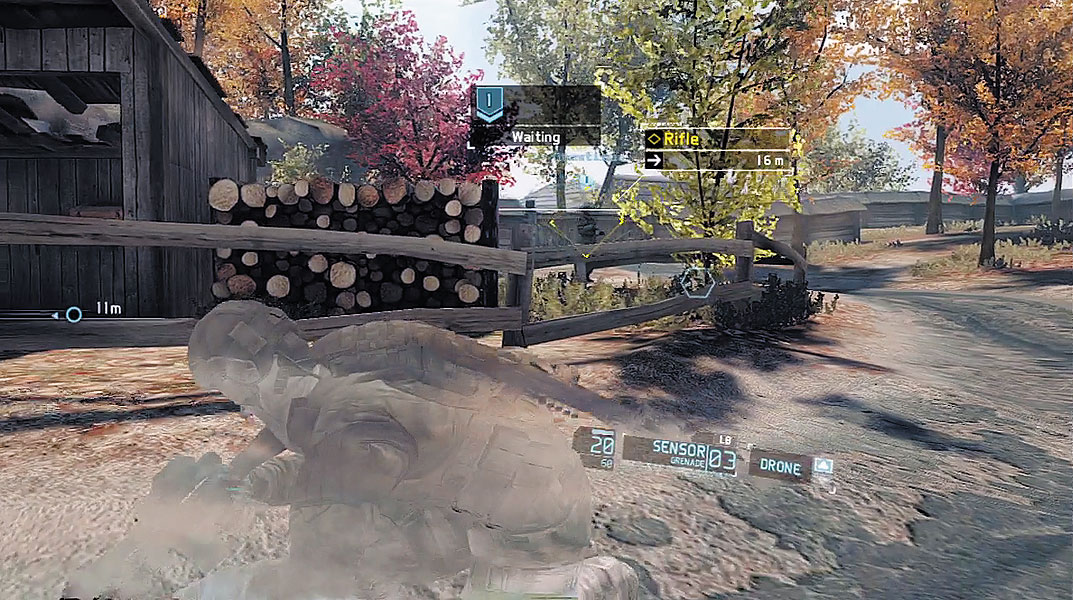
Before approaching the cabin structure marked with a waypoint, search for one more rifleman patrolling nearby—use the UAV or Magnetic view to locate him. You don’t want this guy flanking your team as you assault the next artillery gun, so track him down and take him out.
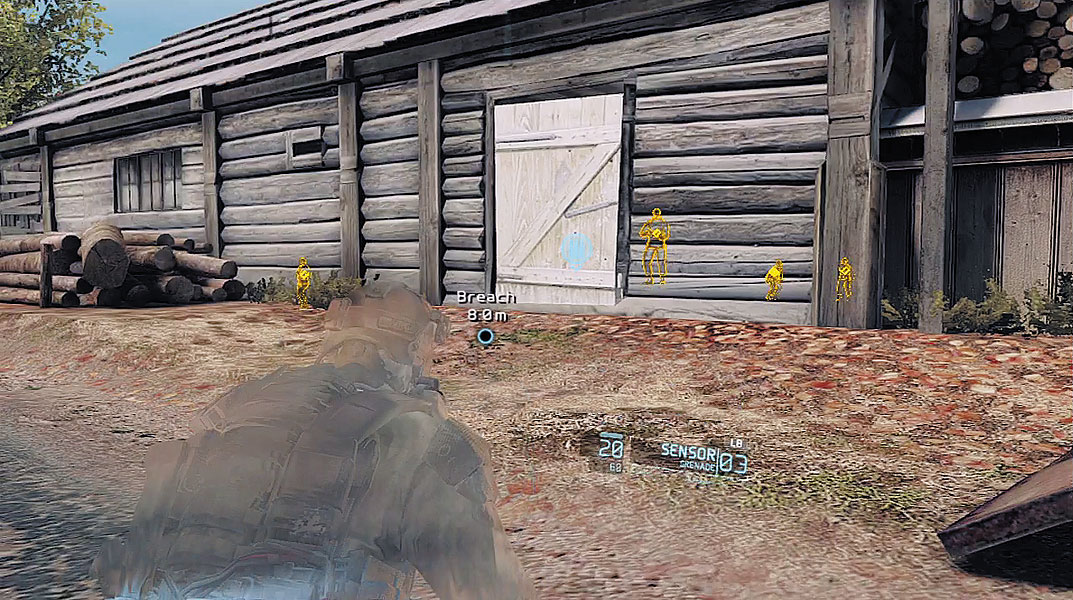
The second artillery gun is located in a fenced-off courtyard behind a cabin structure. The only way to reach the gun, is through the cabin. There’s no quiet way to do this so prepare for an aggressive assault. Start by tossing Sensors over the cabin’s roof to identify enemy soldiers around the artillery gun and within the cabin. Fly the UAV over the artillery gun to provide your team with an updated feed of enemy movements during the attack. When you’re ready to begin the assault, stack up on the cabin’s door and activate your Magnetic view. This reveals a rifleman inside the cabin staring right at the doorway you’re about to enter. You’ll need to take this guy out fast before he can raise his weapon.
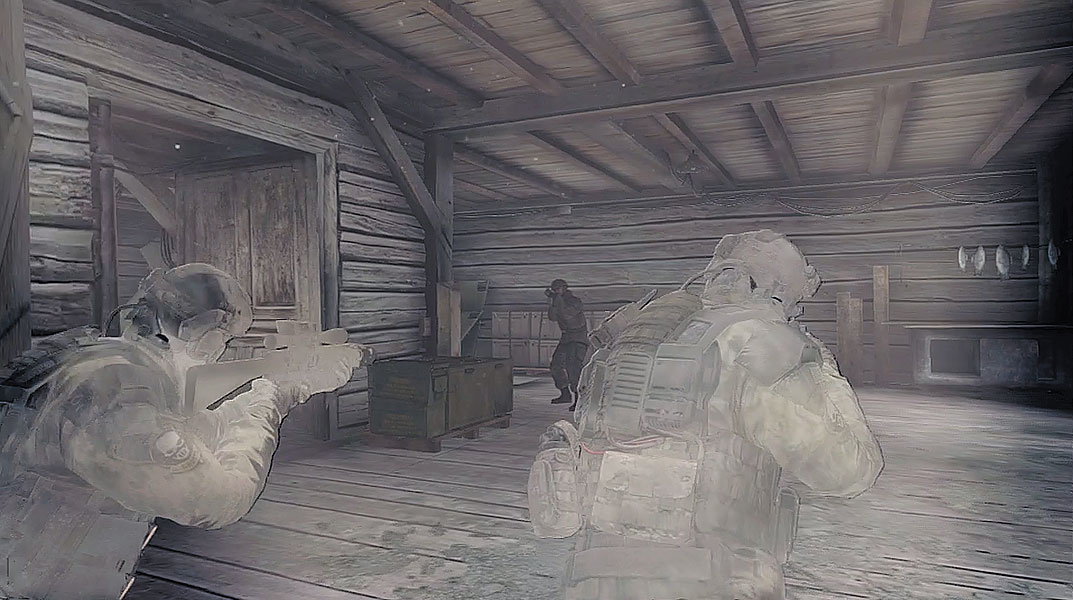
Give the breach order and drop the rifleman inside the cabin, preferably with a quick shotgun blast. Next, move to the left side of the cabin’s interior and approach the back door leading out to the courtyard. Toss a smoke grenade into the courtyard, then open fire on the large group of enemy troops scrambling for cover. Use Magnetic view to engage the hostiles through the smoke screen. But watch out for enemies attempting to rush inside the cabin. Be ready to take them down with a point-blank shot or a melee attack. From the cabin’s back door, continue lobbing smoke grenades into the courtyard during the attack. This hinders the enemy’s visibility, making it difficult for them to target your teammates. You can always grab more smoke grenades from one of the two ammo crates in the cabin. There is a mounted machine gun on a hill overlooking the courtyard behind the cabin. Use Magnetic view to spot this gunner through the cabin’s walls and issue a focus-fire order on him. Continue blasting enemies from the cabin’s back door until the word “Clear” appears across the top of the HUD.
Weapon Challenge: Shotgun Master
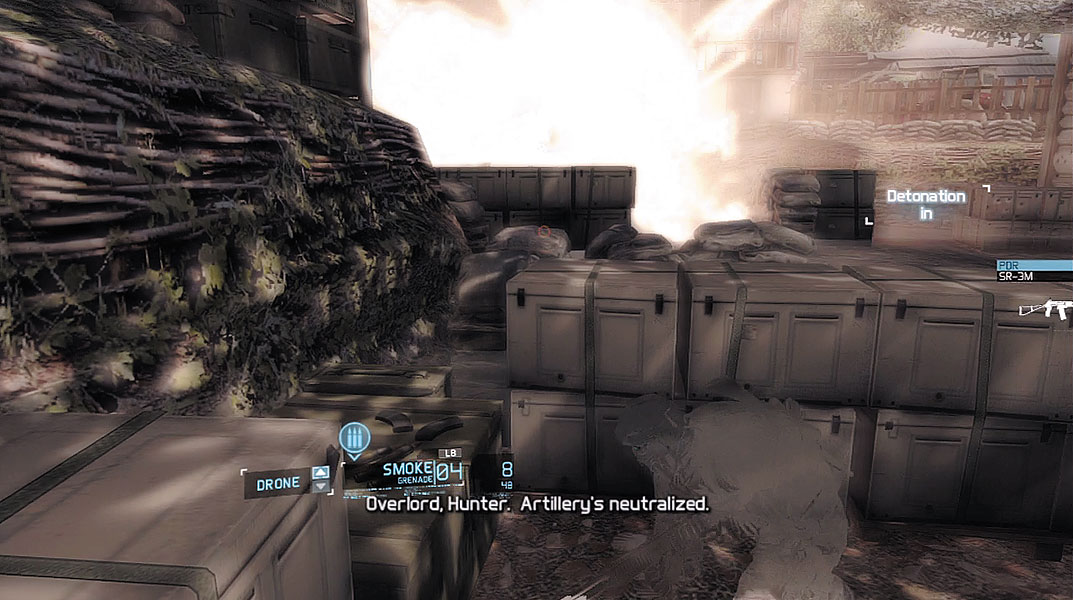
Now it’s time to take out the second artillery gun. Approach the gun and plant a C4 charge on it. Once again, you have only five seconds to move away before the charge detonates. Seek a piece of cover in the courtyard and wait for the boom. Ghost Lead reports the success to Overlord. Overlord feels General Douka should be able to handle things on his own now that the artillery guns have been silenced. It’s time to find a way out of this war zone. Ghost Lead relays the team’s plan to head east, toward the river. In the meantime, Overlord will arrange ground transport for the Ghosts’ extraction. Follow your team through a doorway leading into a garage. Once inside, Kozak contacts General Douka, reporting the destruction of the enemy artillery. Douka is grateful for the assistance but warns Kozak of enemy troops still in the area along the town’s perimeter. It sounds like it won’t be a relaxing walk to the extraction point.
Breathing Room