
Tom Clancy's Ghost Recon Future Soldier Guide Walkthrough Firefly Rain
Proceed to Extraction
Proceed to Extraction
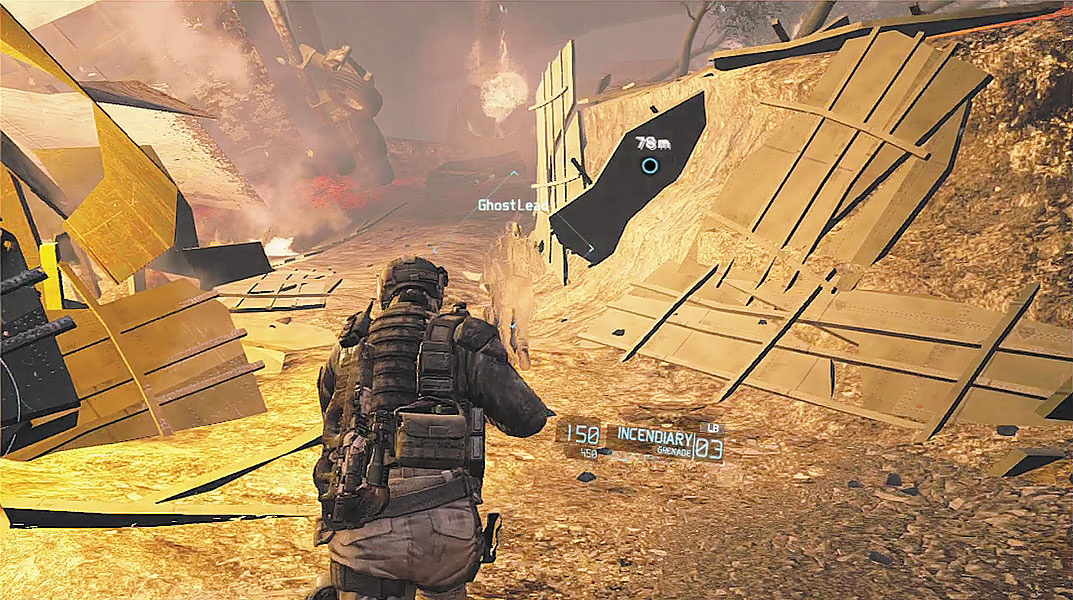
Ghost Lead verifies that the guidance system has been destroyed. Pass through the trench ahead. You’re surrounded by the flaming wreckage of the cargo plane. As you emerge from the trench, your team comes under attack by two snipers posted on a distant catwalk. Ignore the nearby ammo crate and rush to cover before you get shot—you can resupply later. Without access to the UAV, the snipers can be tough to spot. But they are within range of a Sensor. Lob a Sensor in the direction of the catwalk to highlight the sniper positions. Now you can issue a focus-fire order on both snipers, allowing your team to overwhelm them. Once both snipers are down, proceed to the double doors marked on the HUD and regroup with your team. There’s another ammo crate by the door you can access to resupply.
Drainage Tunnel
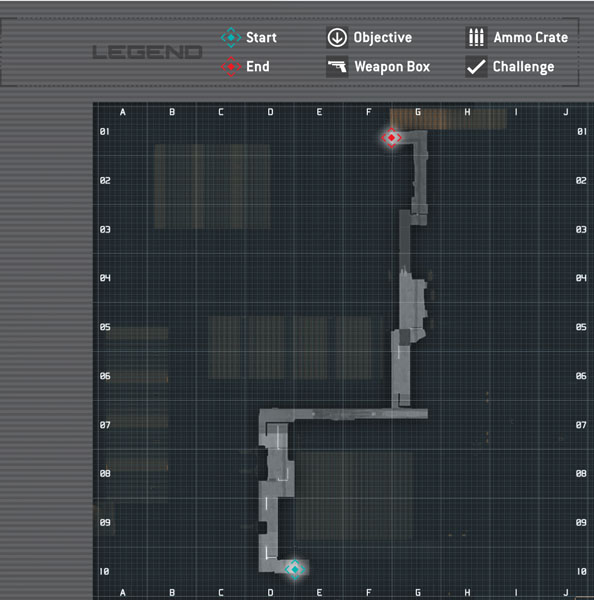
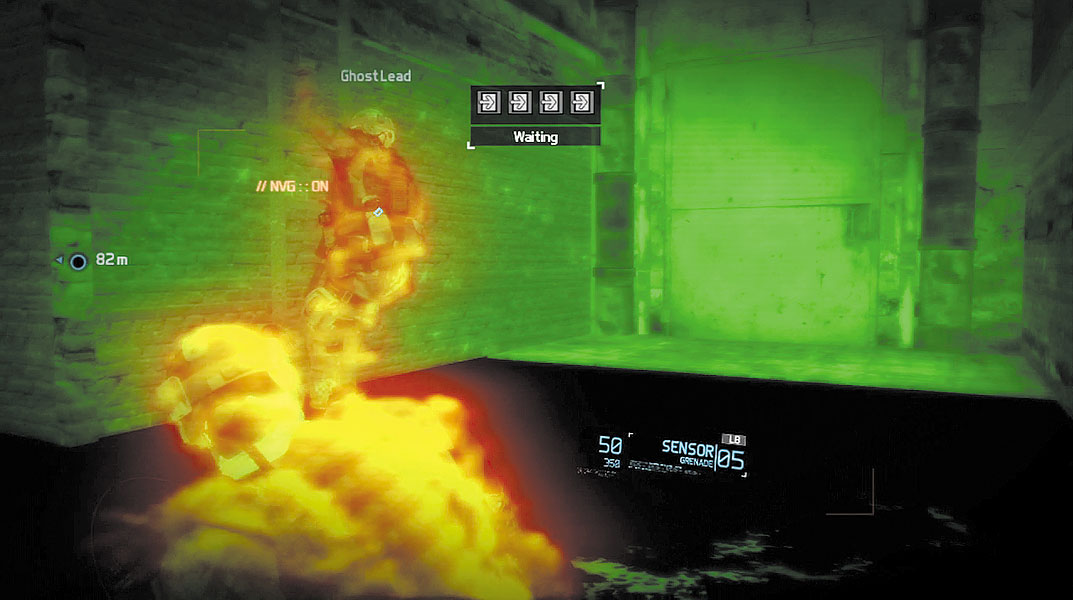
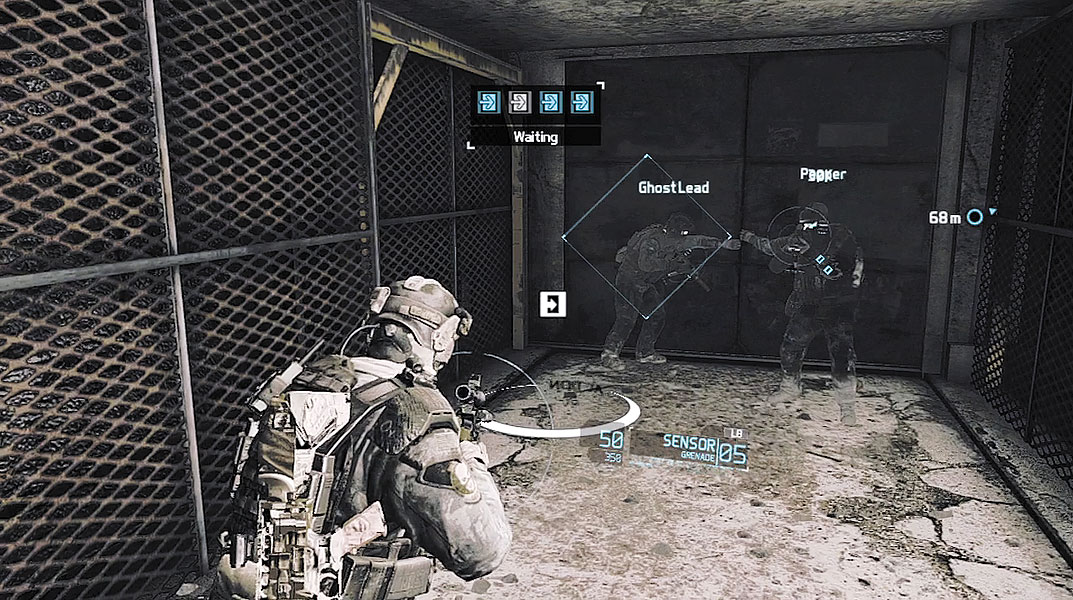
Beyond the double doors is an underground drainage system. Activate your NVGs and advance through the tunnel. Along the way, Overlord reports that fast movers are on standby for close air support if needed. Above the tunnel, heavy vehicles can be heard moving about—they’re looking for you. But there are no enemies in the tunnel, so don’t worry about being detected. When you reach the end of the tunnel system, turn to the right to locate a ladder. Climb to the top of the ladder and regroup with your team near a set of double doors.
Extraction Point
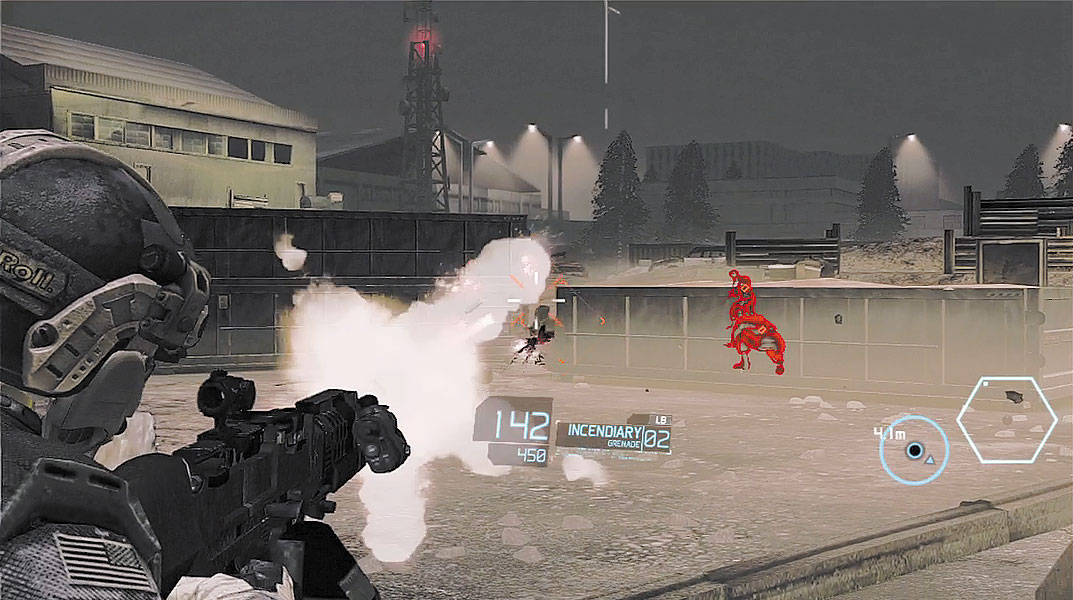
As the Ghosts move through the double doors, the extraction point can be seen only a few meters away. But you’ll need to secure the area before you can hitch a ride out of here. In the distance, a GAZ-66 truck is moving into view and unloading troops. Immediately rush to cover near the weapon box and ammo crate. From this position, toss Sensors in the direction of the enemies. This makes it possible to spot the enemies hiding behind cover, allowing you to issue focus fire orders on them. Most the cover used by the enemies is solid and cannot be penetrated by bullets. So wait for the enemies to peek out of cover before firing. You can help flush them out of cover by tossing incendiary grenades in their direction.
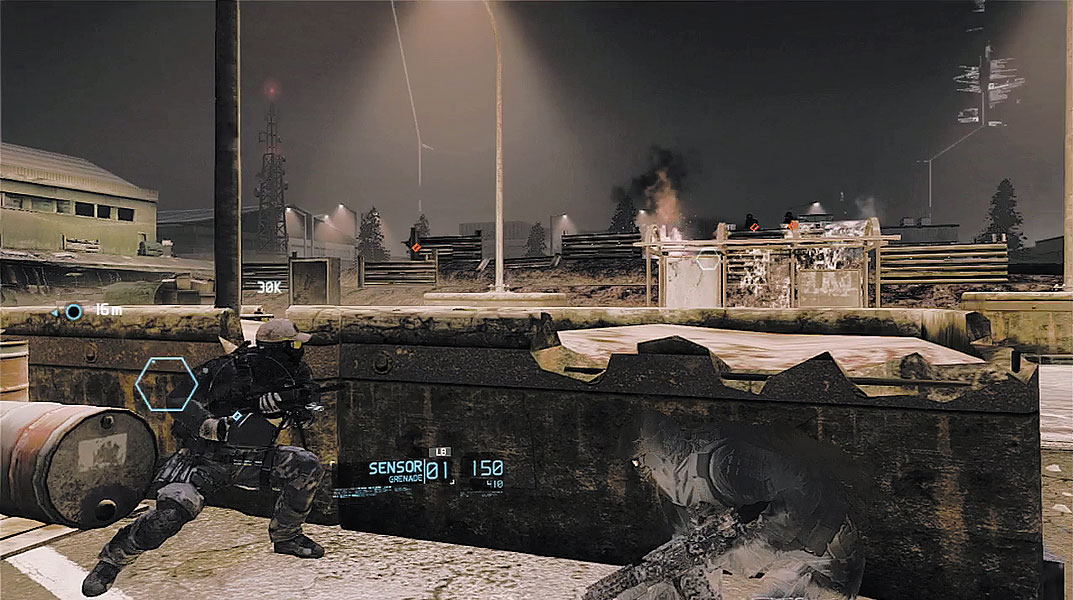
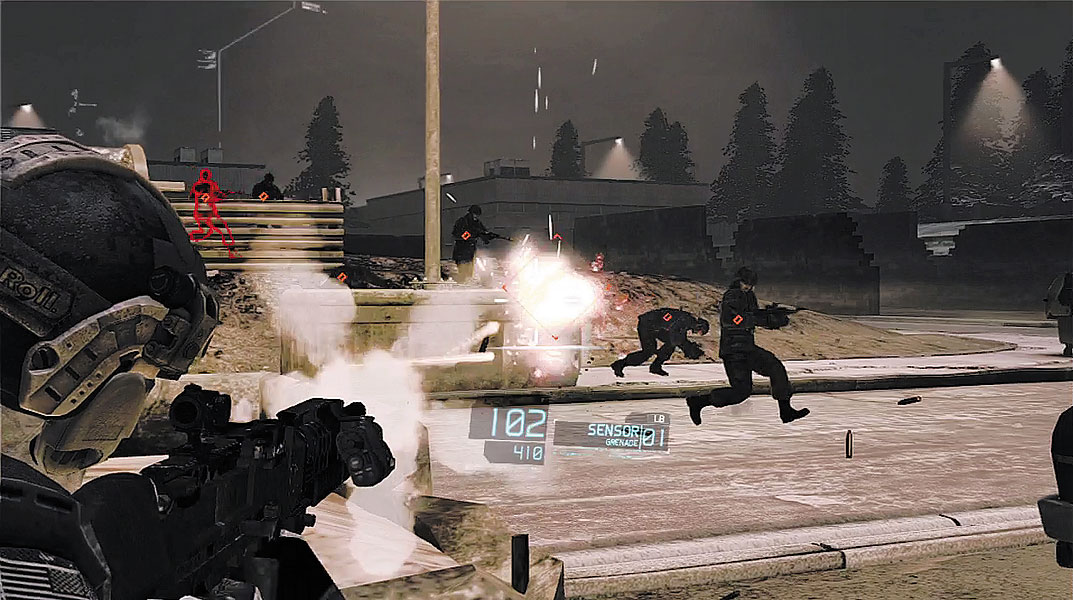
While engaging the first group of enemies, watch for reinforcements arriving on the right side from the nearby hill. At this point you must shift to a new covered position to avoid being flanked—watch where your teammates move and follow them. Once again, lob a few Sensors in the direction of the reinforcements on the hill. If you’re running low on Sensors, carefully make your way to the ammo crate and resupply. Watch out for LMG fire coming from the hill. Identify the LMG-toting enemies and place a focus-fire order on them. During this engagement, keep an eye on your right flank. Placing a Sensor here will allow you to spot flanking attempts by enemy troops. Mow them down as they try to encircle your team. Their advance can be slowed by tossing incendiary grenades along their path.
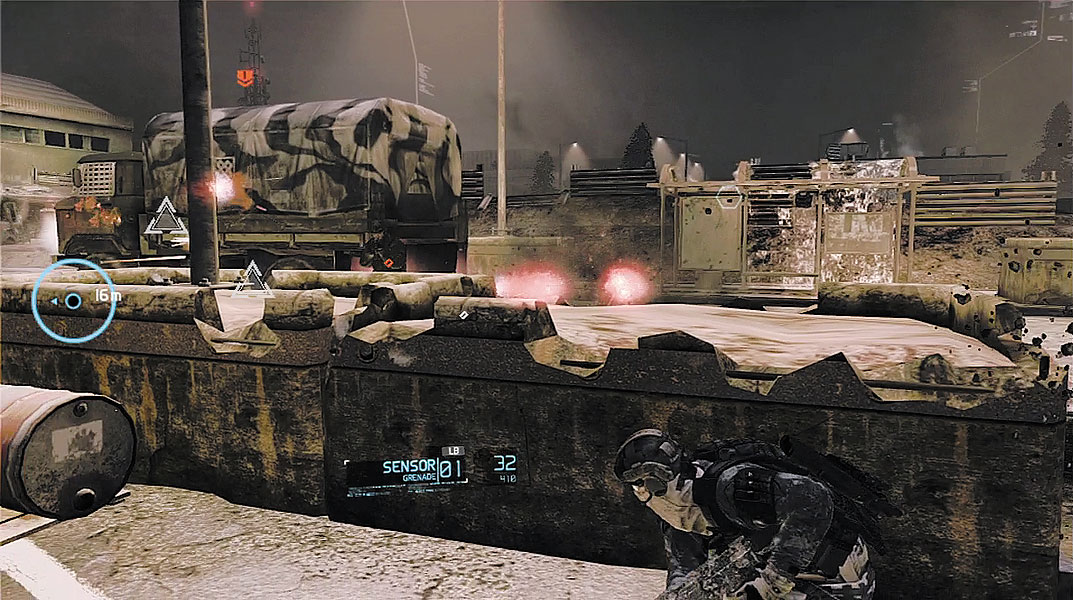
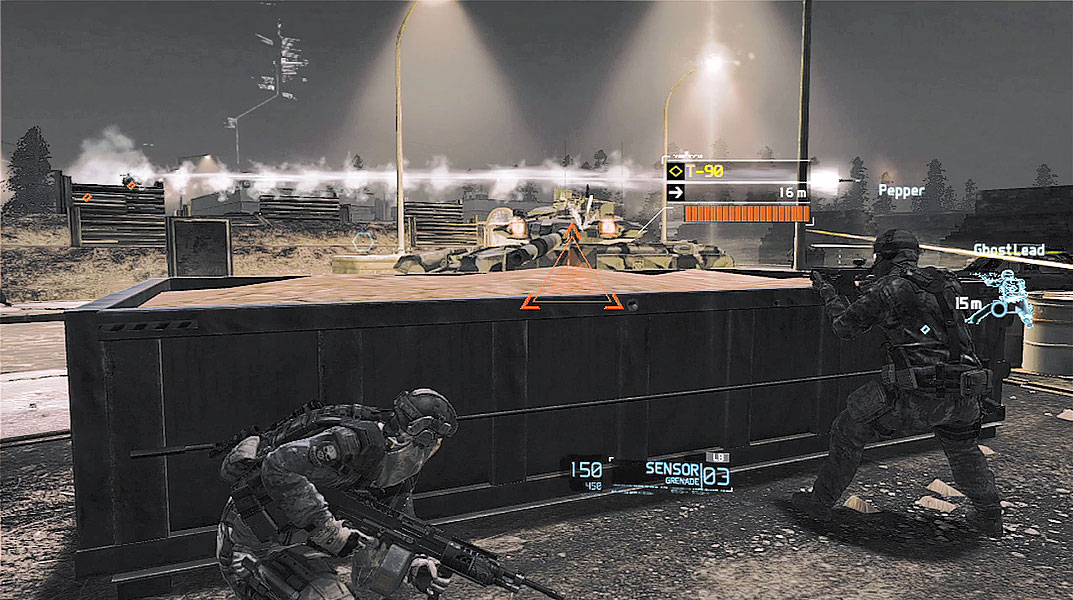
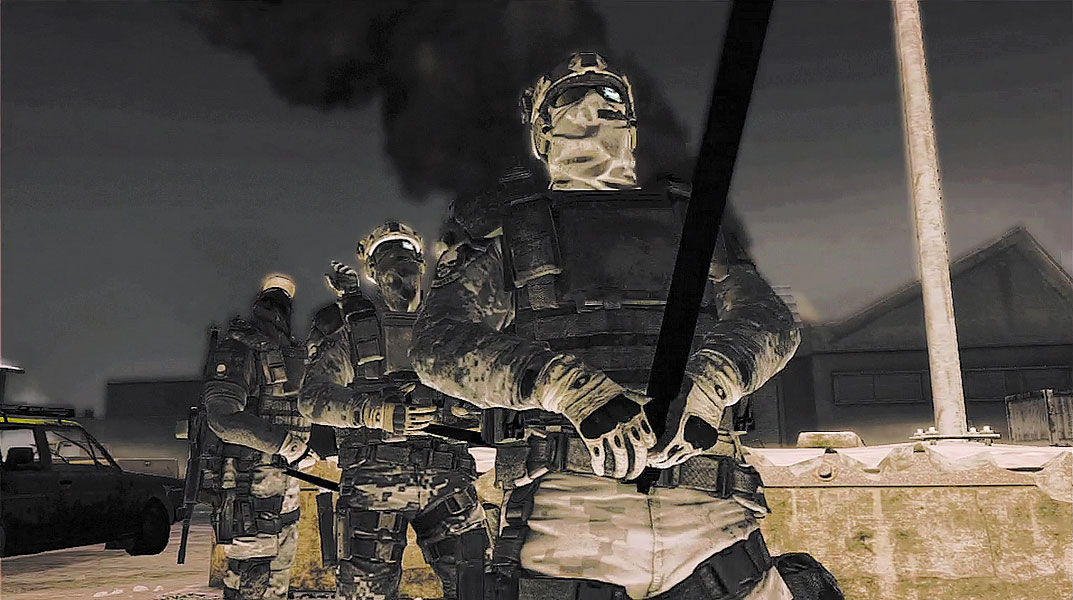
The action is briefly interrupted by a cinematic showing the arrival of a T-90 tank. You don’t have enough firepower to take out this tank, so stay behind cover to avoid getting killed. Eventually that air strike Overlord promised becomes available. Press the button shown on-screen to initiate the strike. This switches the view to a missile camera, allowing you to guide the weapon toward the tank—you don’t need to hit the tank directly to destroy it. The enemy attack ends with the destruction of the T-90. As a Blackhawk hovers overhead, the Ghosts attach themselves to a line suspended from the chopper before being yanked out of the extraction point. While the missile guidance system has been destroyed, it’s unclear what the fallout of this mission will be.
Tactical Challenge: Ghost Escape
Firefly Rain: Completion Unlocks
| Type | Category | Item |
|---|---|---|
| Weapon | Assault Rifle | ACR |
| Weapon | Shotgun | M1014 |
| Attachment | Optic | Magnified HWS |
| Paint | Weapon paint | Air Force ABU |