
Tom Clancy's Ghost Recon Future Soldier Guide Walkthrough Ember Hunt
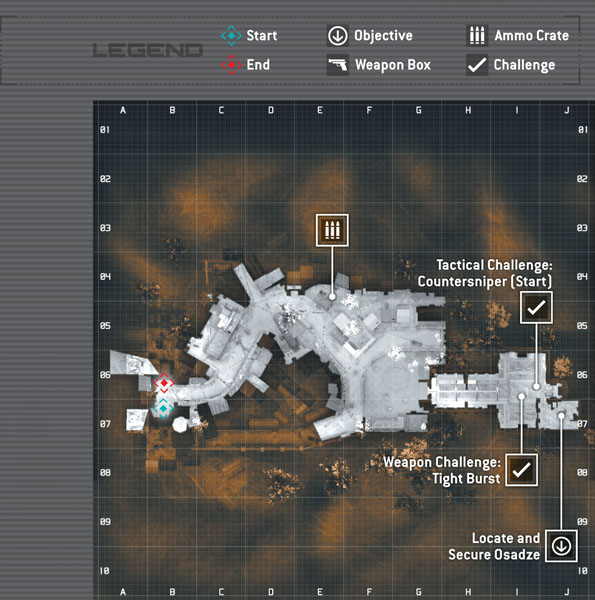
Locate and Secure Osadze
Locate and Secure Osadze
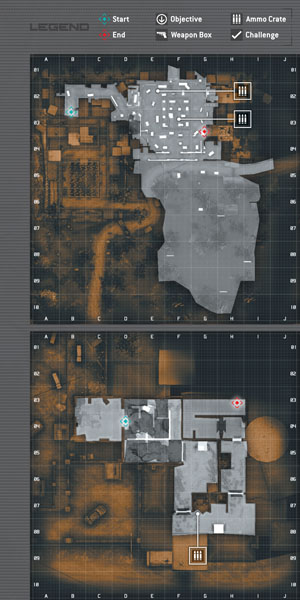
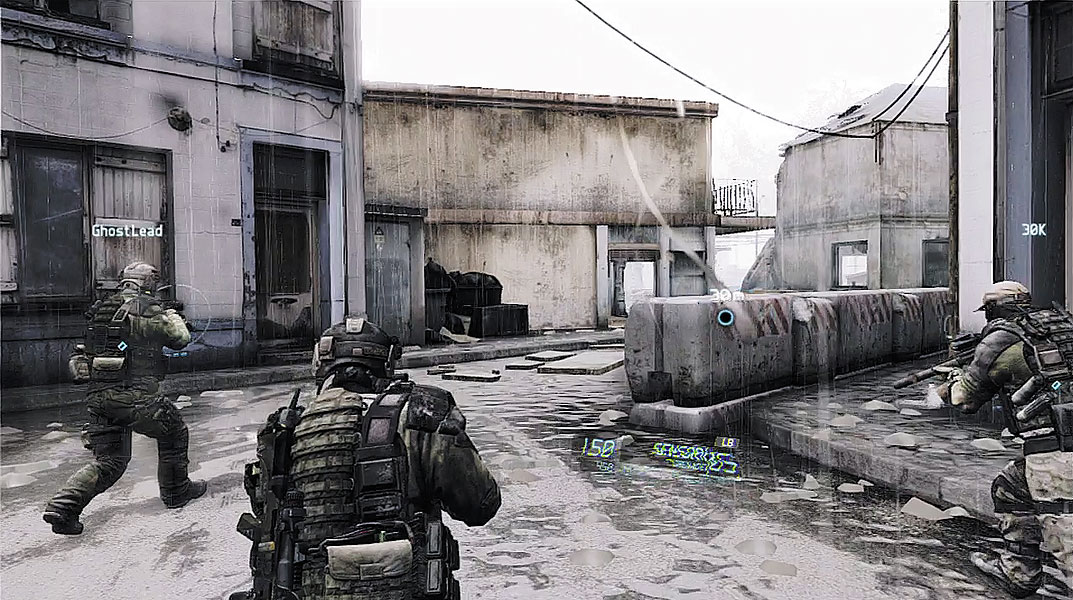
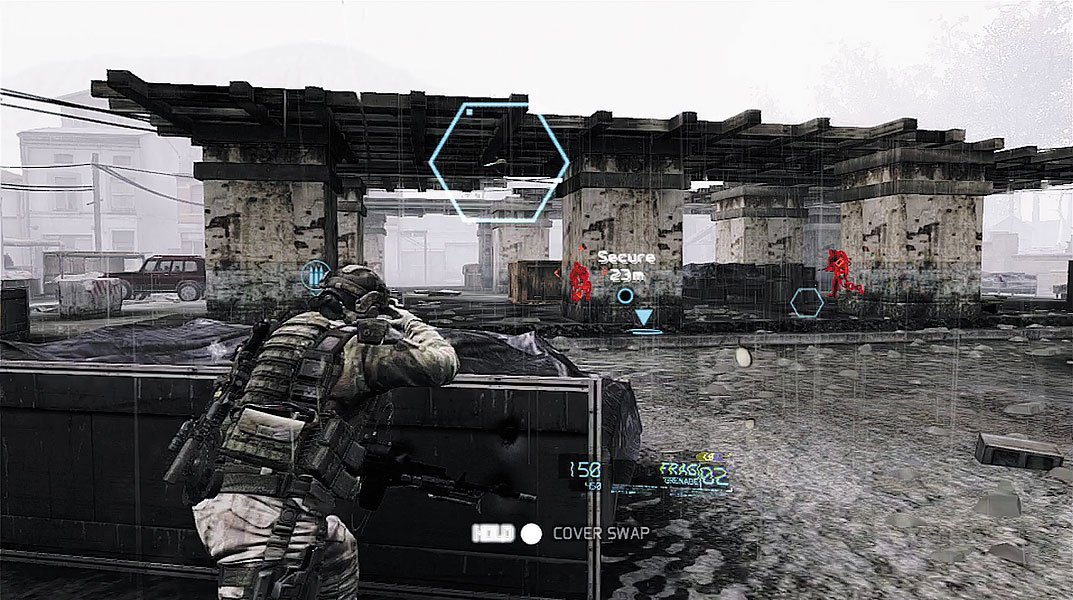
Back outside, regroup with your team and follow them through the city street toward the next waypoint. Interference continues to plague the Ghosts’ Cross-coms, as false enemy readings appear on the HUD. But don’t let these false readings tempt you to let your guard down. When you reach a large plaza, a few Russian troops ambush your team. Immediately take cover and toss a Sensor toward the center of the plaza. There’s no need to be quiet, so don’t worry about going loud. Frag grenades are particularly effective at taking out enemies hiding behind cover in the middle of the plaza. Once the plaza is clear, resupply from one of the two ammo crates, then regroup with your teammates at the double doors in the nearby building.
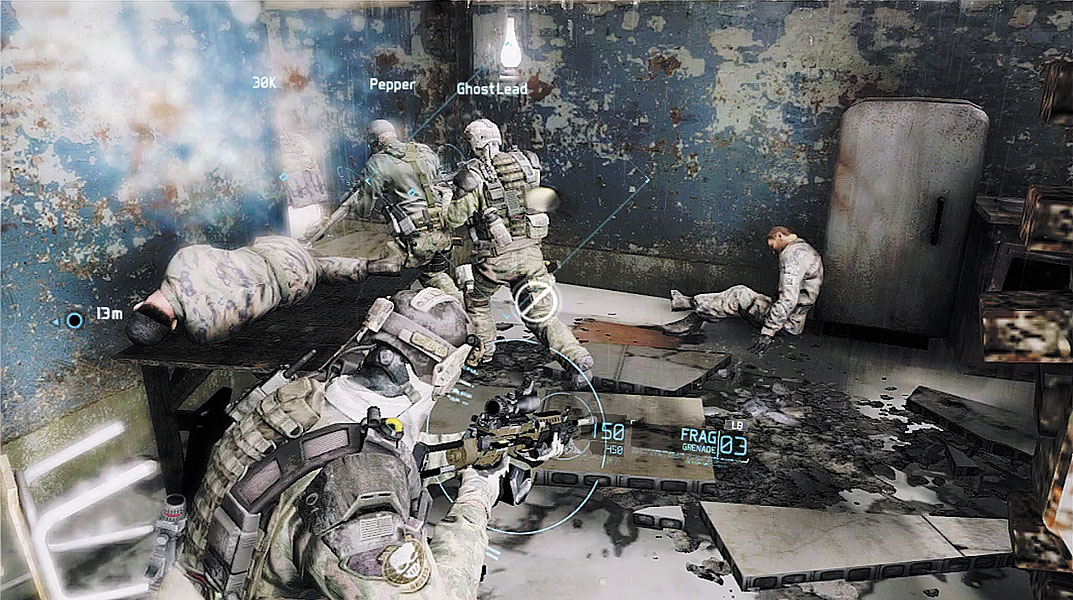
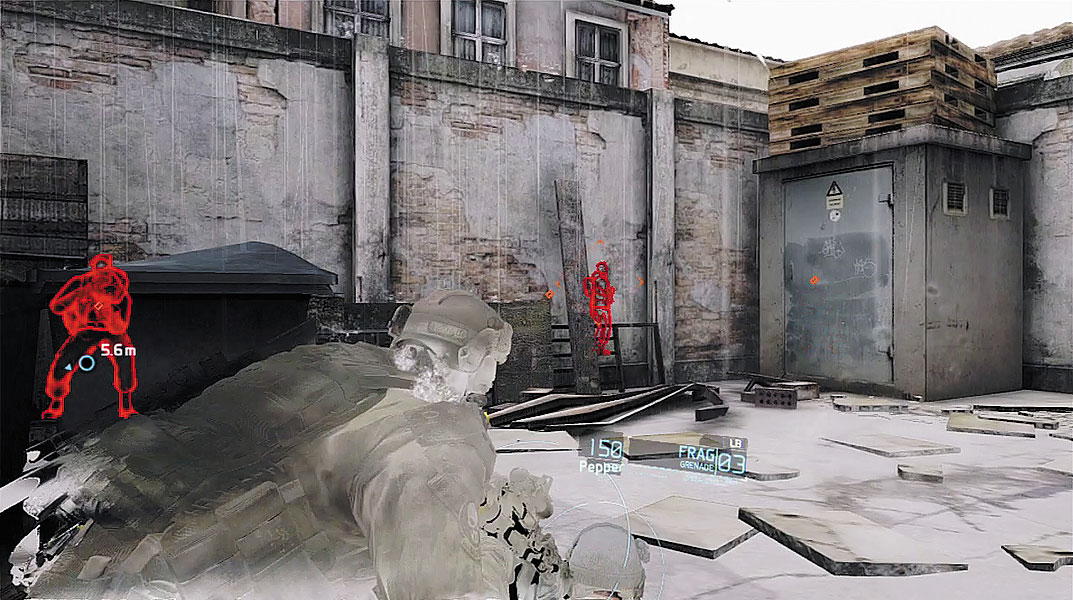
Upon passing through the double doors, your team’s Cross-coms continue showing signs of interference. Follow your team through the cramped building. Along the way you encounter the bodies of two Georgian spec-ops team members. Apparently the Russians aren’t taking prisoners. If Osadze is still alive, he probably doesn’t have much time. Continue advancing through the damaged structure, hopping over obstacles and crawling through low openings. Despite what your Cross-coms show on the HUD, there are no enemies nearby. So don’t let those red and yellow silhouettes make you panic. Near the building’s exit, Overlord reports that they’re still trying to clear up the interference your team is experiencing. In the meantime, Overlord suggests checking out a nearby church the hostiles are using as an outpost. It’s believed Osadze is being interrogated in this church.
Rescue Osadze
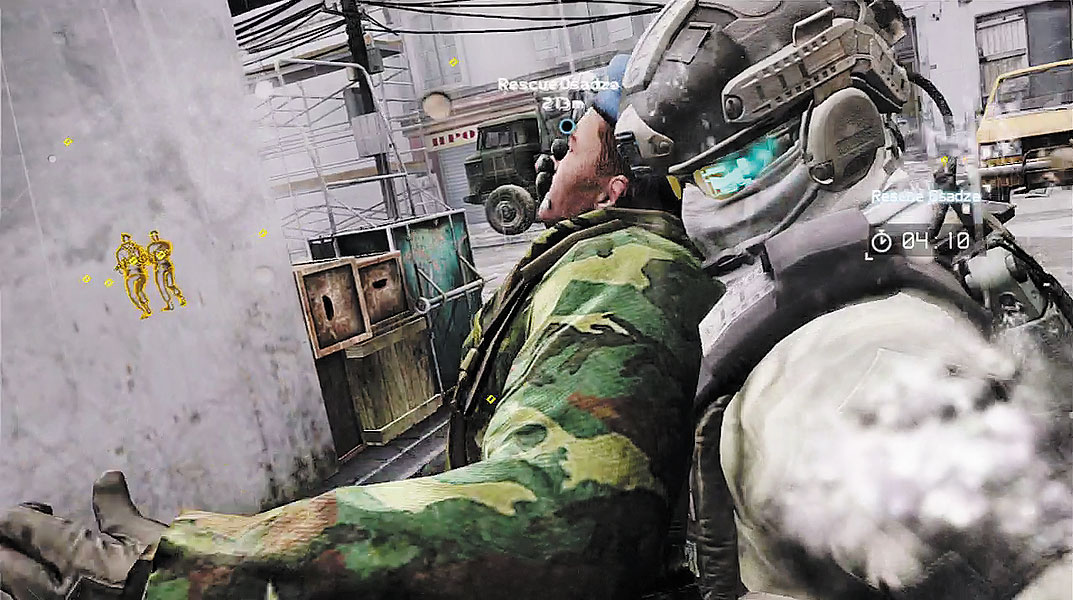
Shortly after Overlord’s transmission, a timer appears on the HUD, giving you four minutes and thirty seconds to reach the church where Osadze is being held. Assume a crouched stance to activate your Optical Camo, then creep outside into a city street. This time when the word “Contact” appears on the HUD, your Cross-com isn’t lying. Stay low and creep up the street until you spot four enemies patrolling up ahead—toss a Sensor in their direction to guarantee detection. Hold back and wait for two of the riflemen to enter an alley on the left. This allows you to creep up behind them and take both out with stealth kills, one at a time.
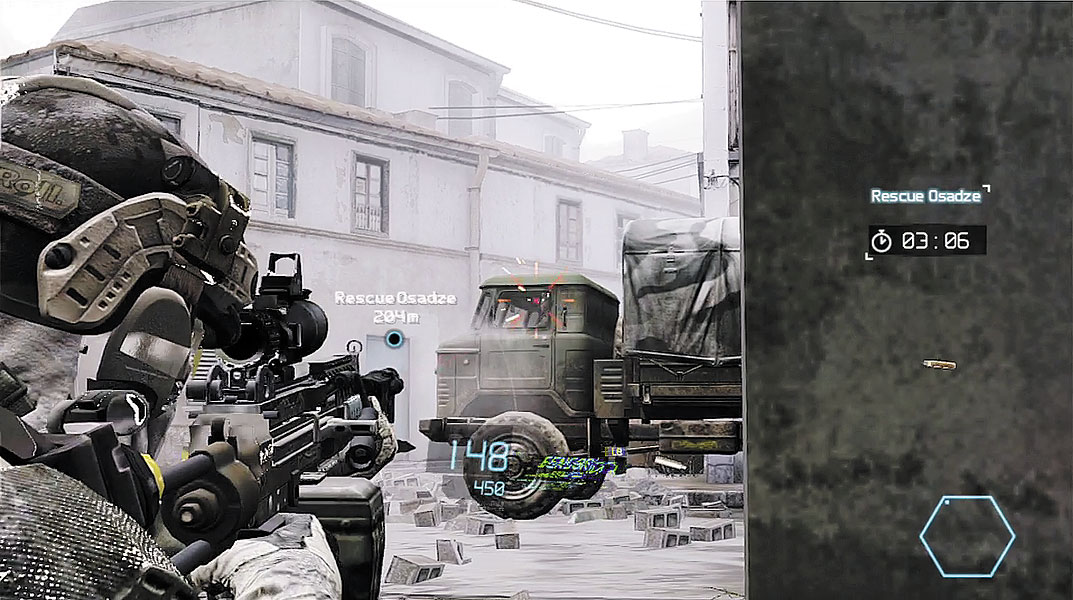
Return to the street and take cover behind a crate on the left side. Just ahead you can spot the two other patrolling riflemen moving toward a GAZ-66 truck. There’s also a shotgunner standing on the left side of the street just ahead—mark all three enemies. Return to the alley and take cover in the small shop, not far from the shotgunner’s position. While behind cover, take aim at the driver inside the truck. You can’t mark the driver inside the truck, but you can shoot him through the driver-side window. Take aim at the driver and issue the sync-shot order to your team. As soon as your team takes their shots, put a few bullets through the driver’s left ear. If you’re detected, a couple of enemy troops may hop out of the back of the truck, so be ready to deal with this possibility. Being detected here will not alert the enemy troops posted near the church.
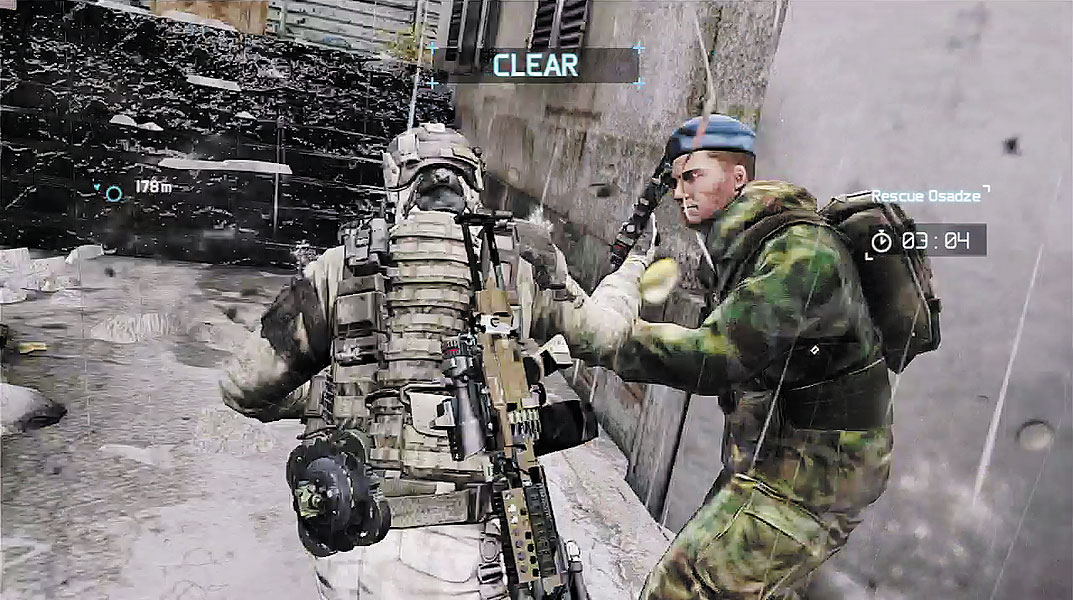
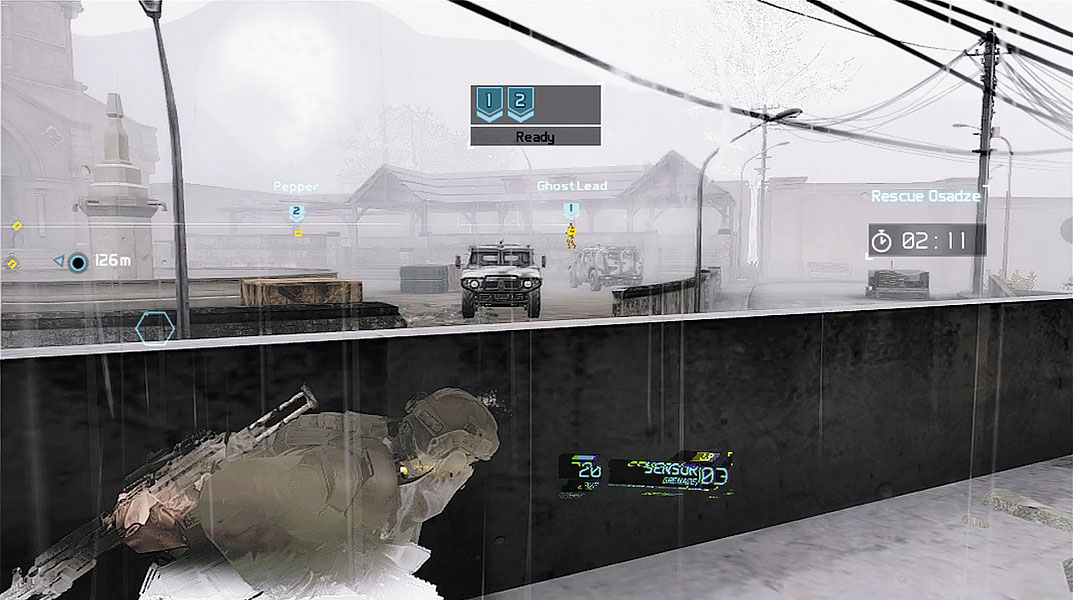
The clock is ticking, so don’t waste any time making your way toward the church. Continue the advance along the street until new enemies are detected. Move through an alley on the left side of the street and resupply from an ammo crate. Just beyond the ammo crate is a narrow staircase leading up to a balcony overlooking the church’s courtyard. Take cover along the balcony’s low wall and saturate the area outside the church with Sensors. Two riflemen patrol a covered walkway on the right side of the courtyard—mark these guys first and order your team to take them out with a sync-shot. Next, mark the two riflemen patrolling the street below the balcony.
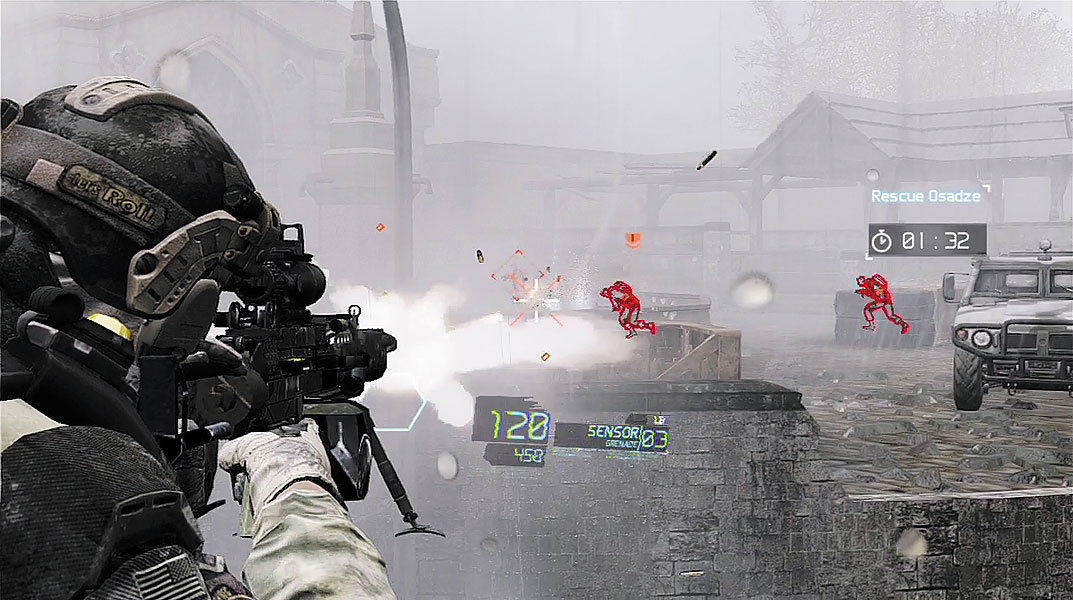
Chances are, there isn’t much time left. At this point there are five more enemy soldiers outside the church. Mark four of them and issue a sync-shot to take them out. Quickly located and gun down the last soldier to clear the courtyard. If a firefight breaks out, deploy your LMG’s bipod on the balcony’s low wall and rake the courtyard with automatic bursts. With the support of your team, it doesn’t take long to eliminate this last group of enemies. Don’t worry about using unsuppressed weapons at this point. The sound of gunfire (and grenades) won’t alert the enemies inside the church.
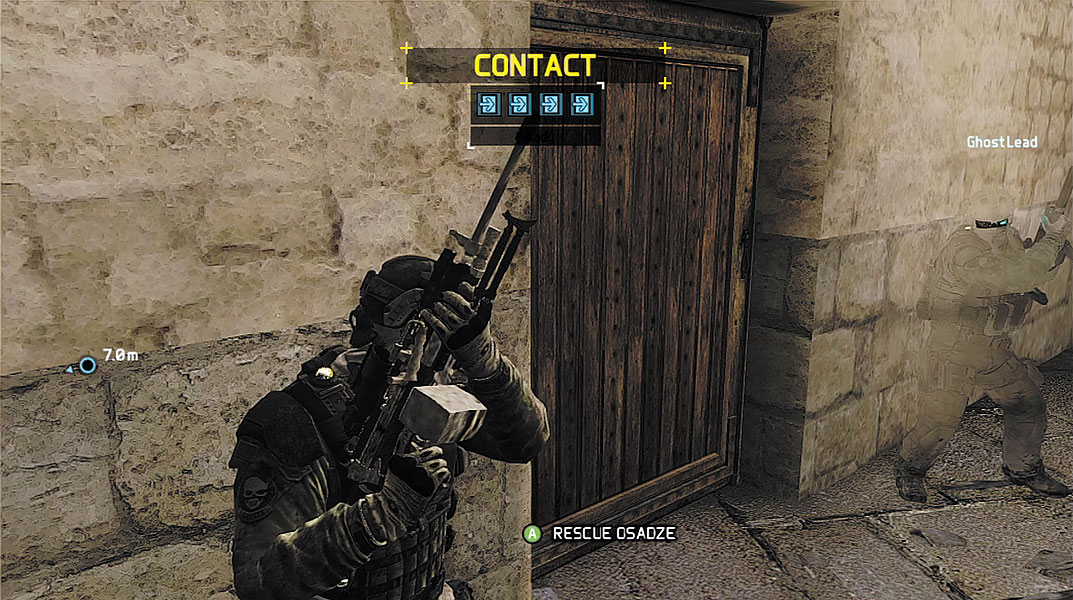
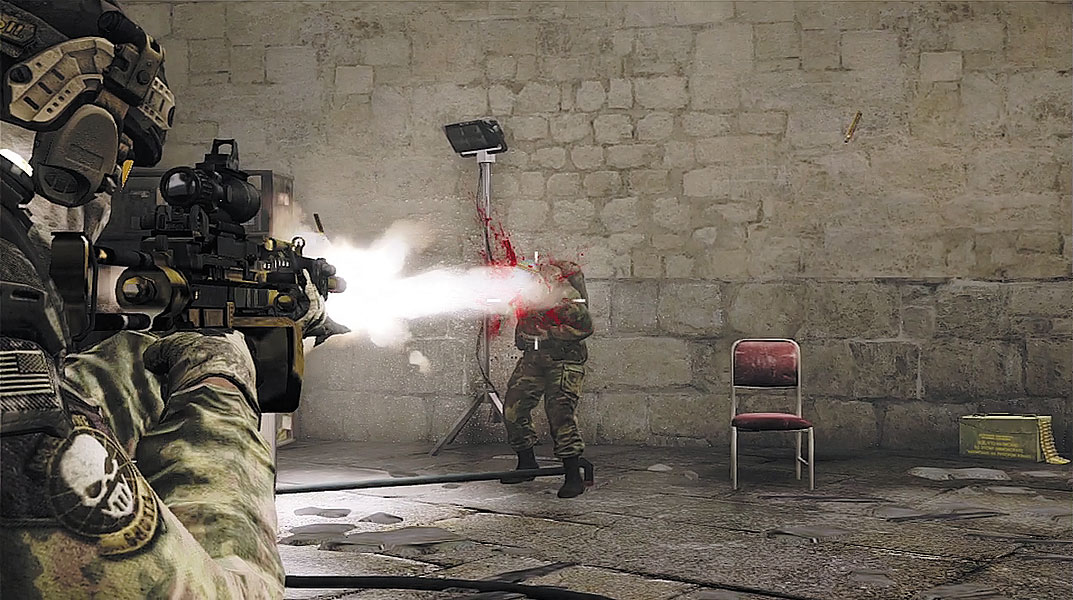
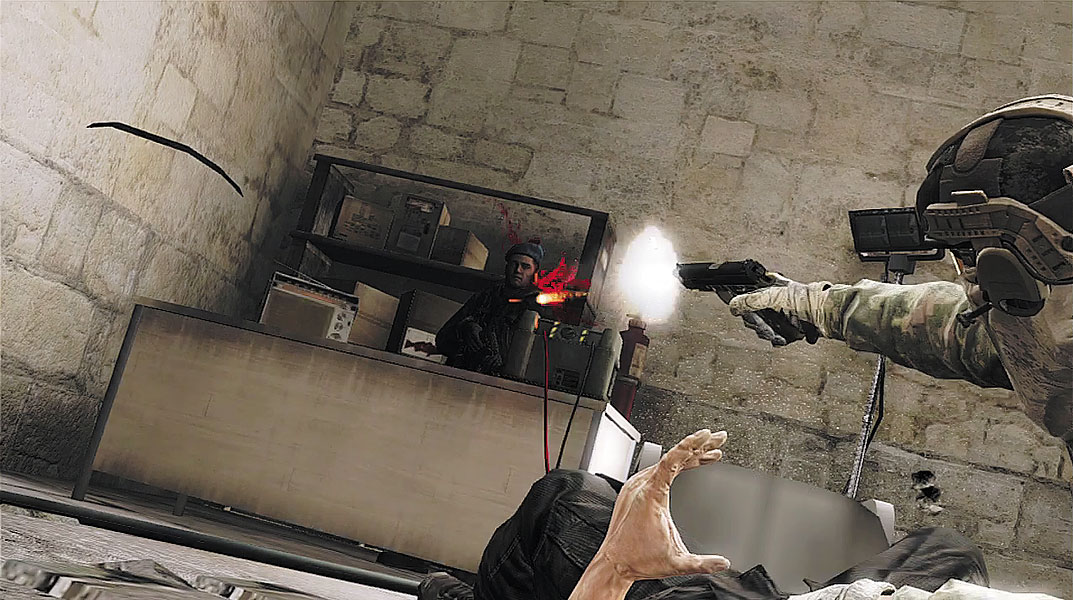
With the courtyard clear, sprint to the church. There are no enemies inside the chapel, so don’t waste any time getting to the waypoint marker. Along the way, Overlord reports that they need to bring the whole Cross-coms system down. At this point, all details on the HUD disappear, along with the interference. The timer stops once you step into the white ring icon next to a wooden door. Ghost Lead stacks up on the same door while Pepper and 30K set up on a door around the corner. Magnetic view reveals four hostiles inside along with Sergeant Osadze sitting in a chair in the middle of the room—it looks like he’s being tortured with some sort of electrical device. Give the breach order, then target the enemy opposite the door, panning your aim slightly to the right.
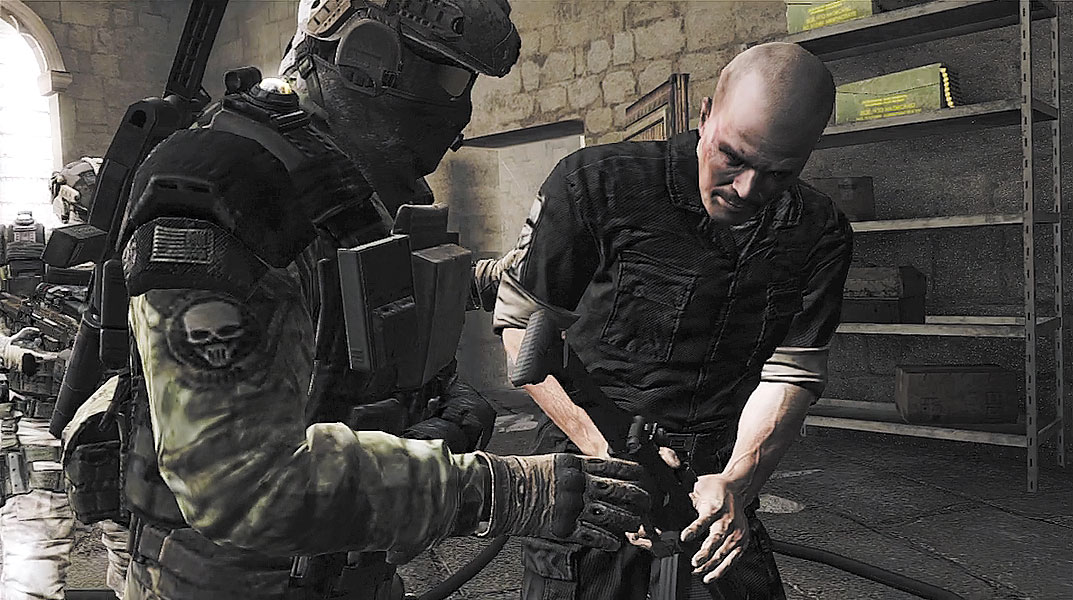
One of the enemy soldiers ducks behind a cabinet in the left corner of the room. Don’t try to shoot him upon entry, as you might hit Osadze in the process. Kozak automatically throws Osadze to the floor and covers him with his own body while drawing a pistol. Take aim at the soldier behind the cabinet and fire multiple pistol rounds at him until the room is clear. If you miss or fail to take out the enemy soldier in time, he will kill you, forcing you to restart the entry. Once Sergeant Osadze is safe, Ghost Lead hands him a weapon pulled off one of the dead soldiers. Osadze will now move and fight with your team. Overlord reports that the Georgians are sending a chopper to extract Osadze and your team.