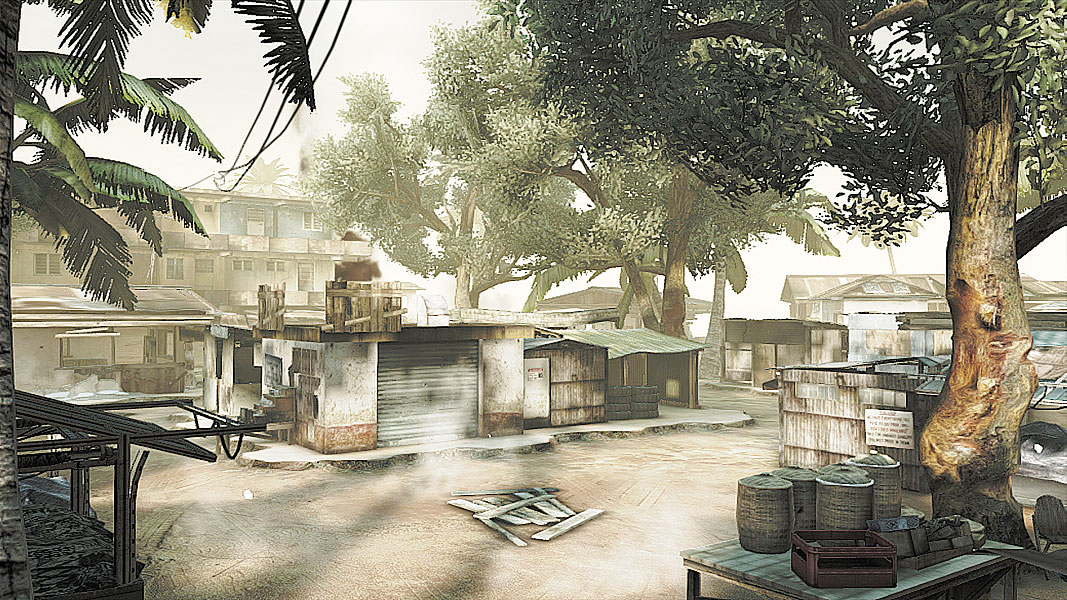
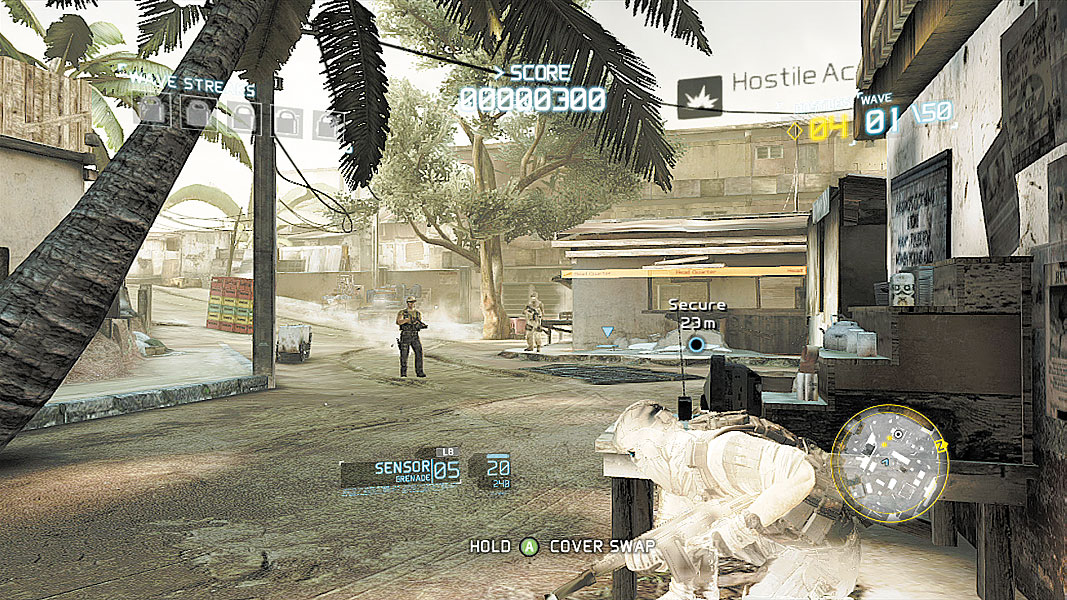
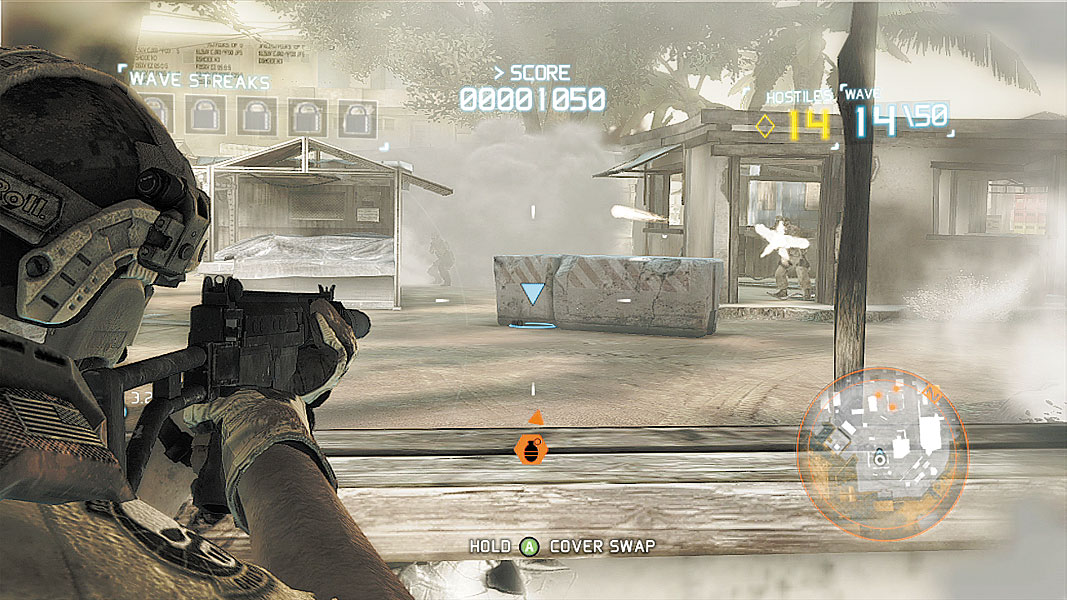
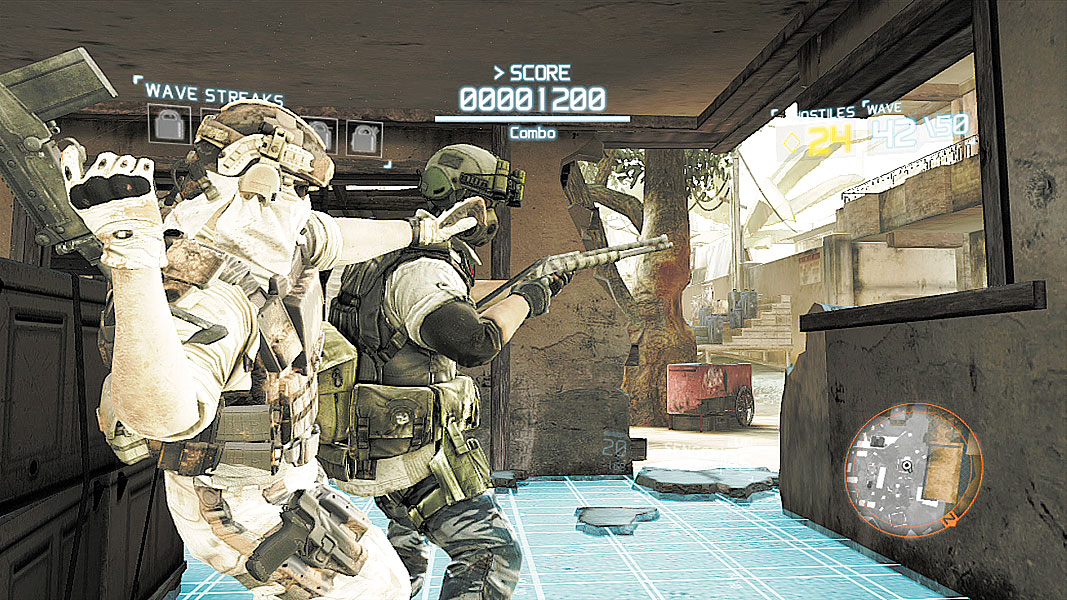
Gun-toting thugs muscling in on a once-bustling village have a way of lowering the local population. Though this shanty town was never overflowing with money, all that’s left now are seemingly endless numbers of enemies intent on holding it. You and your fellow Ghosts are to infiltrate as quietly as possible, secure two headquarters, and hold them when reinforcements arrive. With plenty of well-covered structures, the approach is fairly easy, but remember that when reinforcements arrive, they’ll have just as many places to hide, if not more.
// Phases 1–10
Infiltration
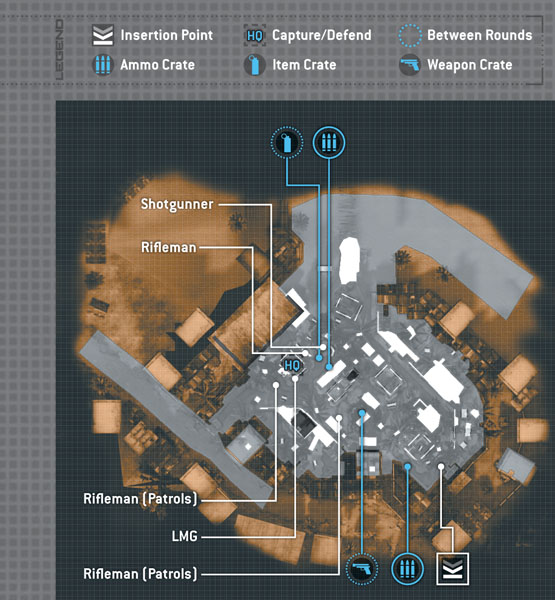
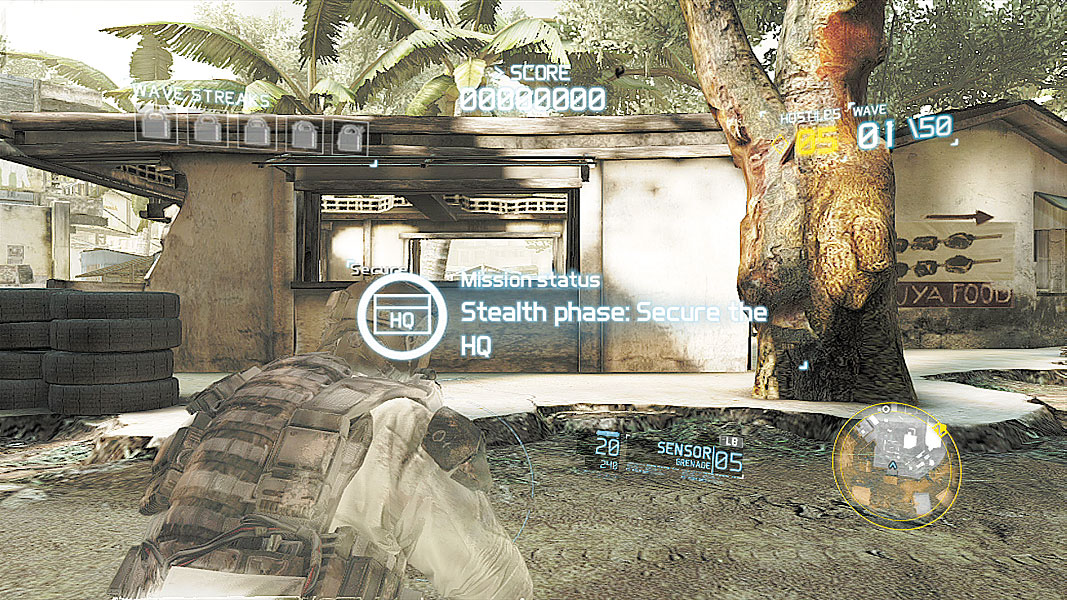
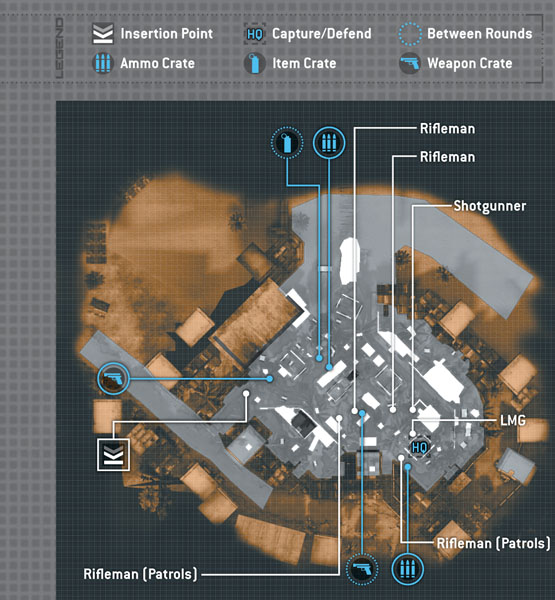
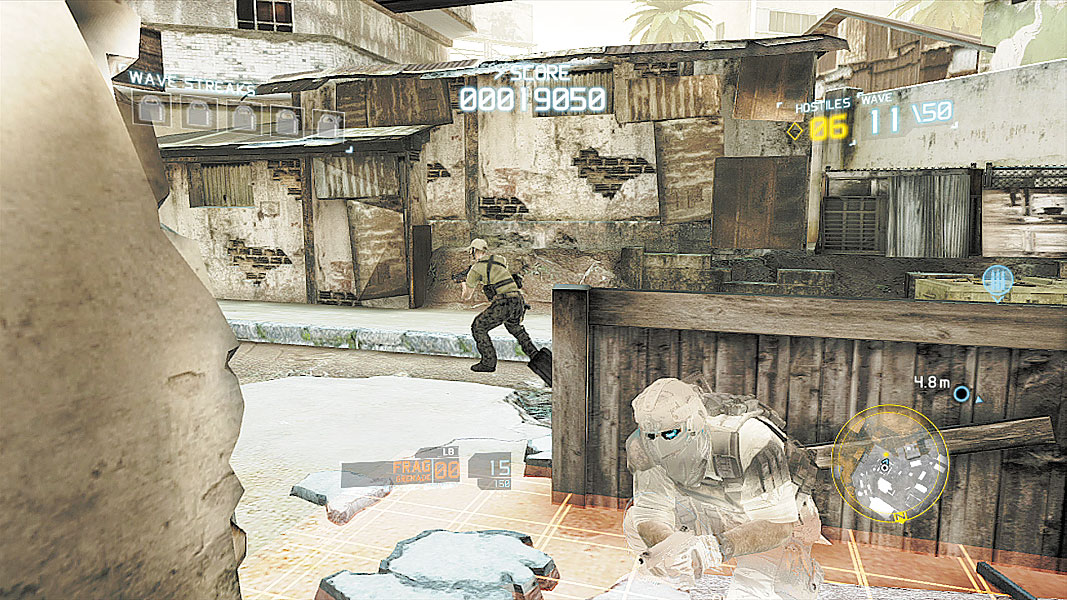
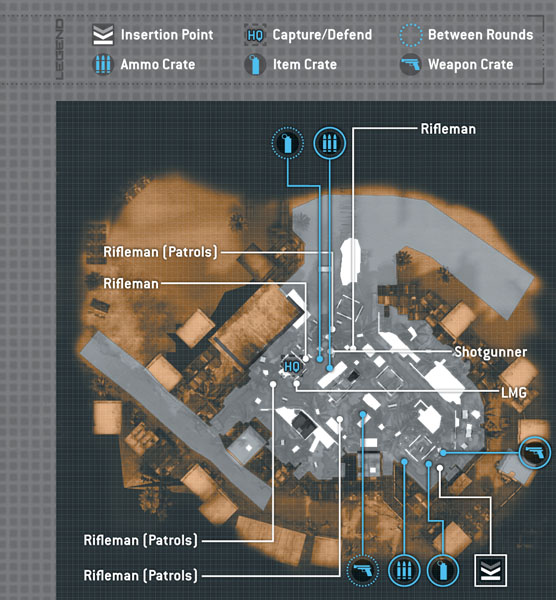
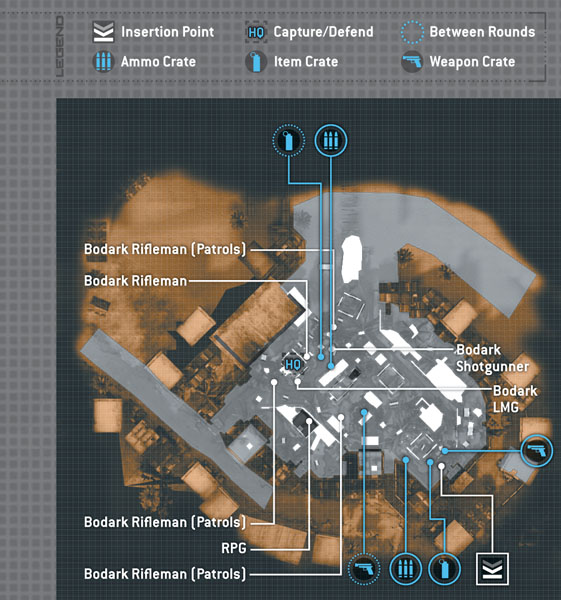
Your squad drops in away from the central market and must push through just five guards to secure the HQ. The low amount of resistance means a single Ghost (crouching to stay cloaked with Optical Camo) can execute all guards before they can raise an alarm.
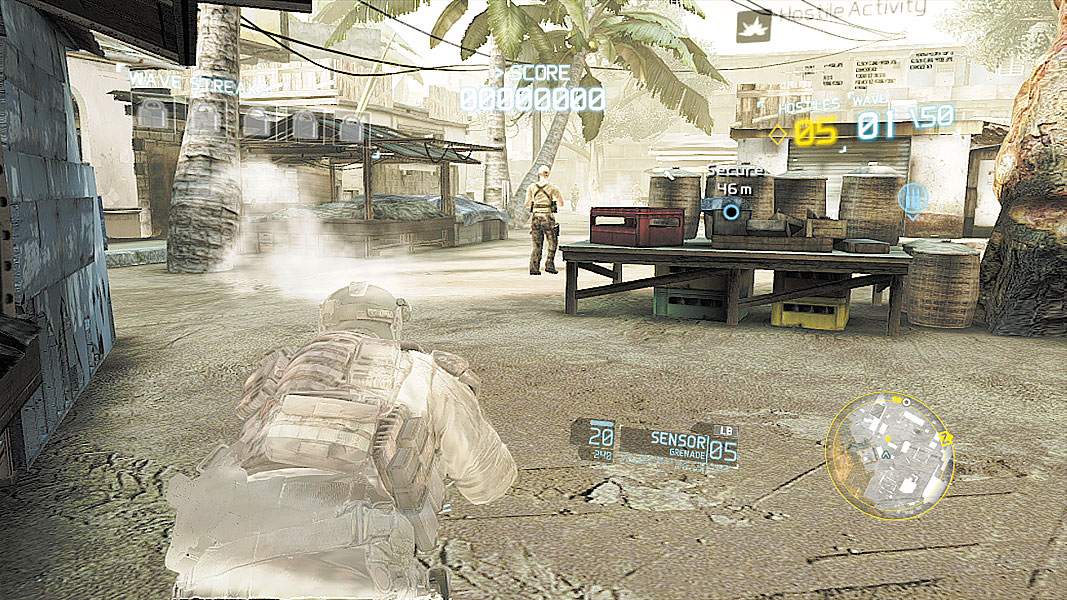
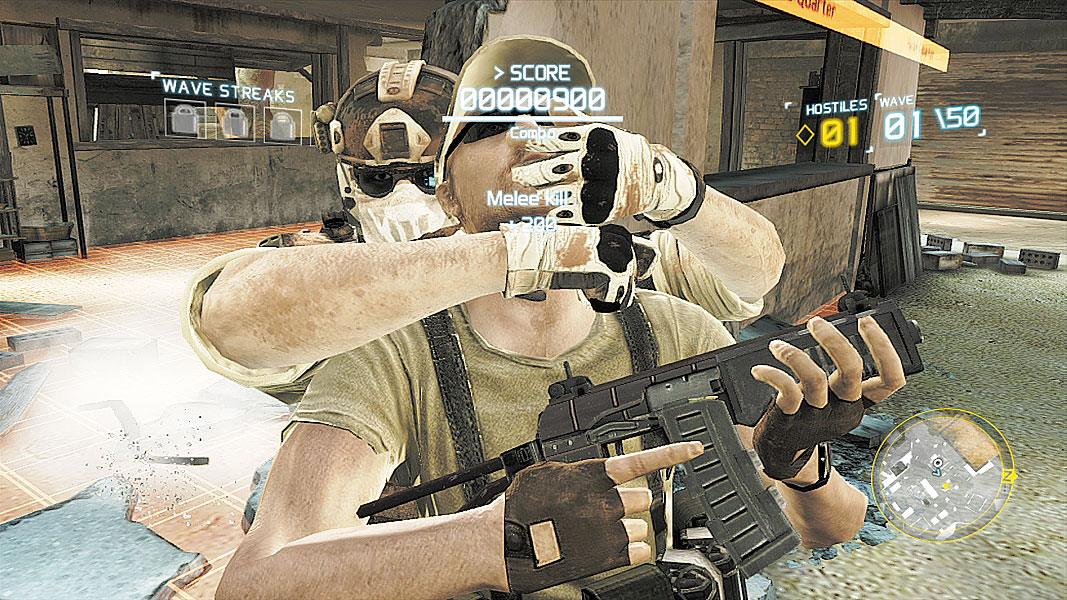
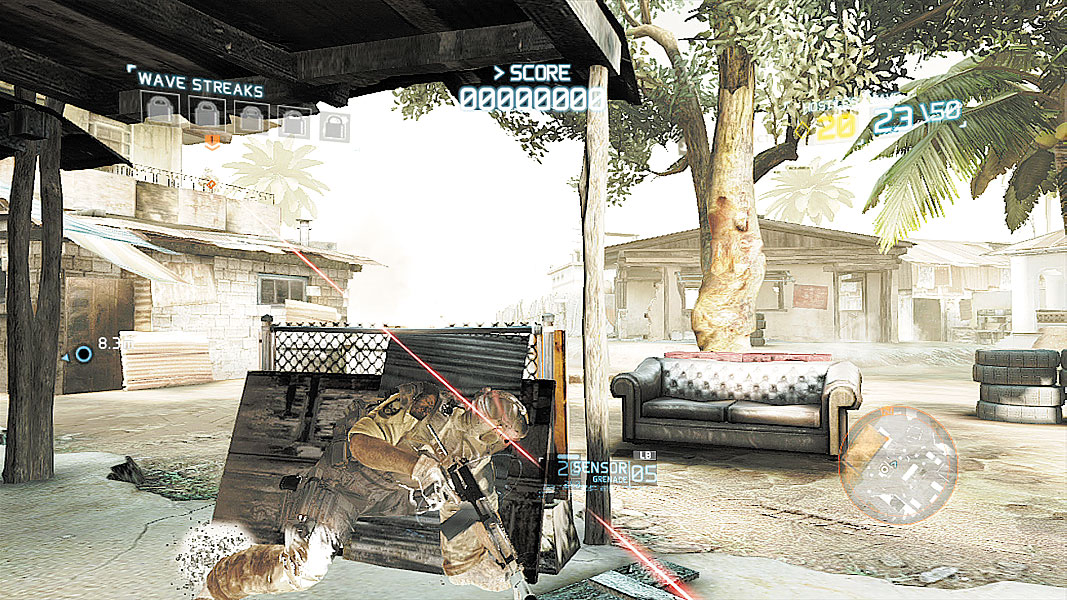
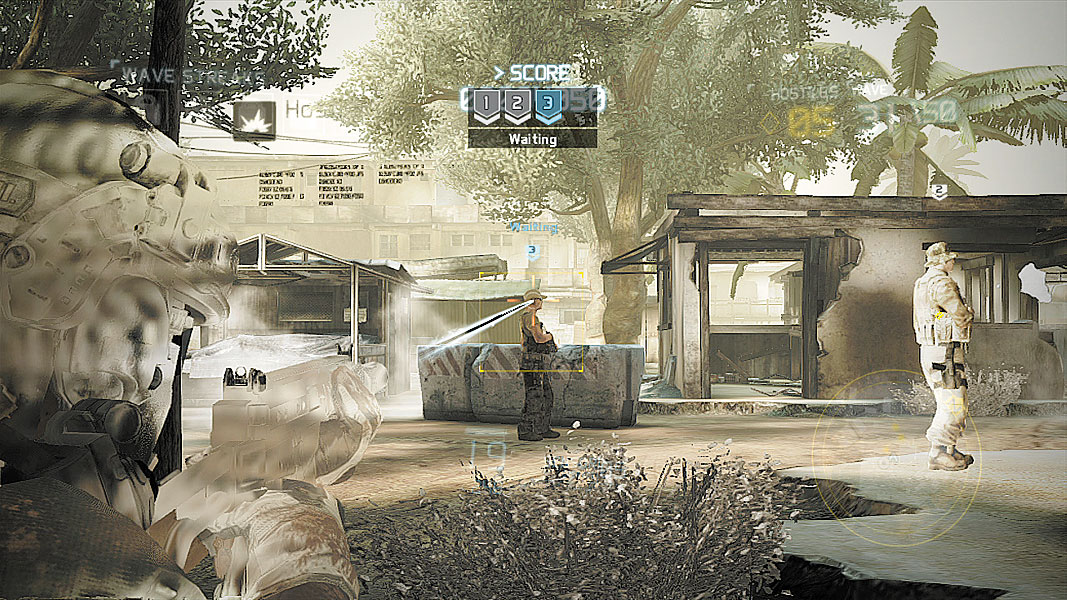
Start by moving left, hugging the wall to avoid being spotted by a patrolling rifleman that moves through the central area. Use the abandoned food stand for cover and, when the rifleman’s patrol route turns him back toward the HQ, either slip out behind him and stealth kill or shoot him at close range, or make a quick headshot with a suppressed weapon.
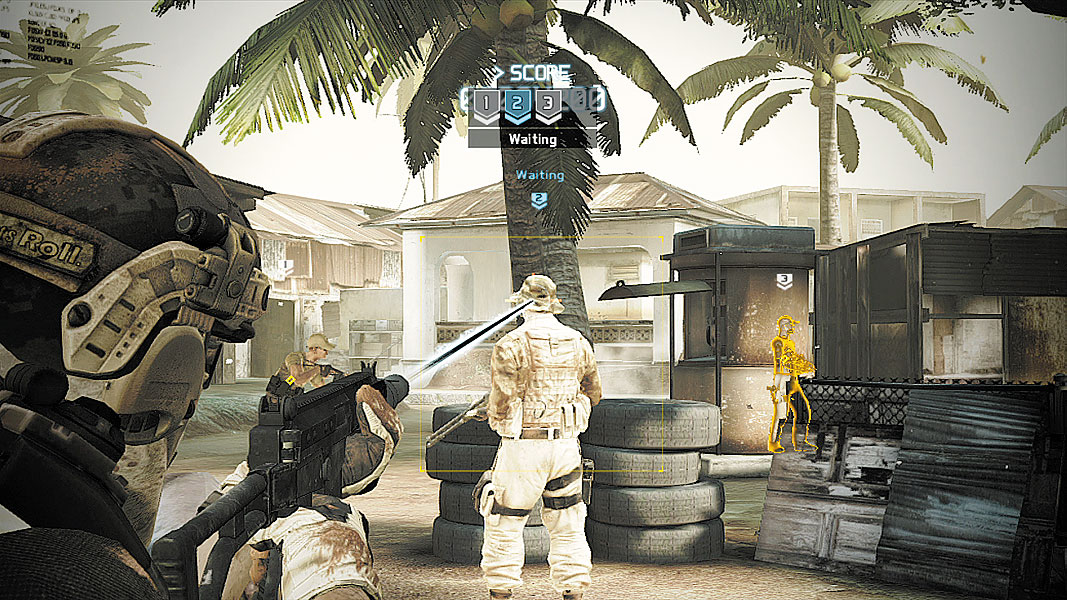
Take cover against the nearby wall and wait for another patrolling rifleman to begin walking toward your squad’s position. Long before he is in range, he’ll turn and start to head back along his patrol route. Around the same time, the stationary guard nearby turns to look behind him. Slip out and move quickly to dispatch the stationary guard, then quickly move to take out the patrolling hostile before he has a chance to become alerted. Multiple squad members make this move a breeze, just remember to pick your targets first.
The final two guards are all that stand between your squad and a secure HQ. Move through the HQ and dispatch of the stationary rifleman before quickly moving to take out the final shotgunner waiting just beyond. With the area clear, return the HQ to wait for the next wave while pocketing the It’s Only A Box Trophy/ Achievement.
// Phases 11–20
Infiltration
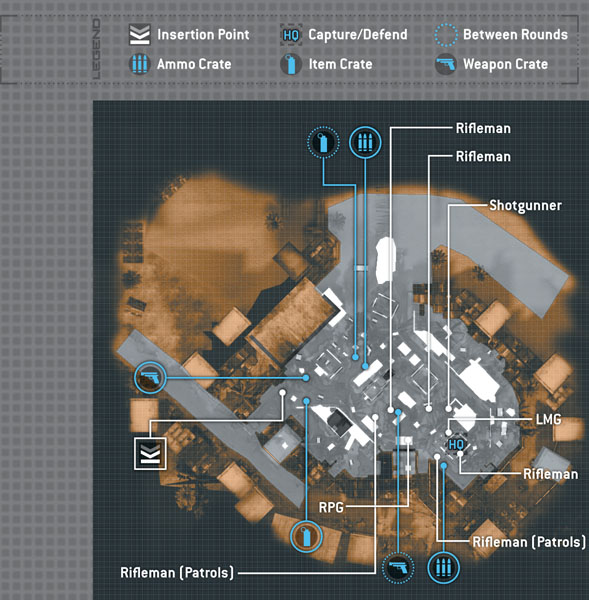
You and your fellow Ghosts begin near the old HQ and must now move back through the town toward the original insertion point. There’s just one more guard this infiltration phase, but it’s a dangerous one: an LMG-carrying trooper that packs a punch, and he’s surrounded by friends. Be careful not to alert the guards or you’ll end up witnessing the LMG’s stopping power first-hand.
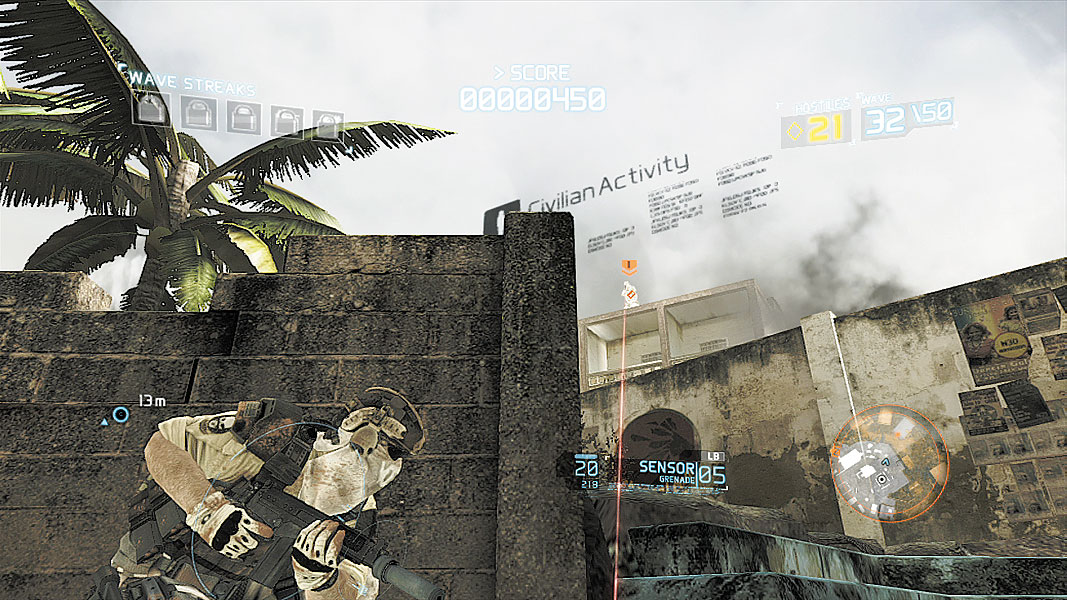
As you and your squad will discover when defending the HQ you’re moving toward, there’s a wide-open flank to the left of your spawn position. Proceed up and through the back alley, skirting the entire area, then slip in behind the HQ and plan your attacks. A single guard patrols the left side of the HQ, so take him out quietly when he turns to move back toward the front of the HQ.
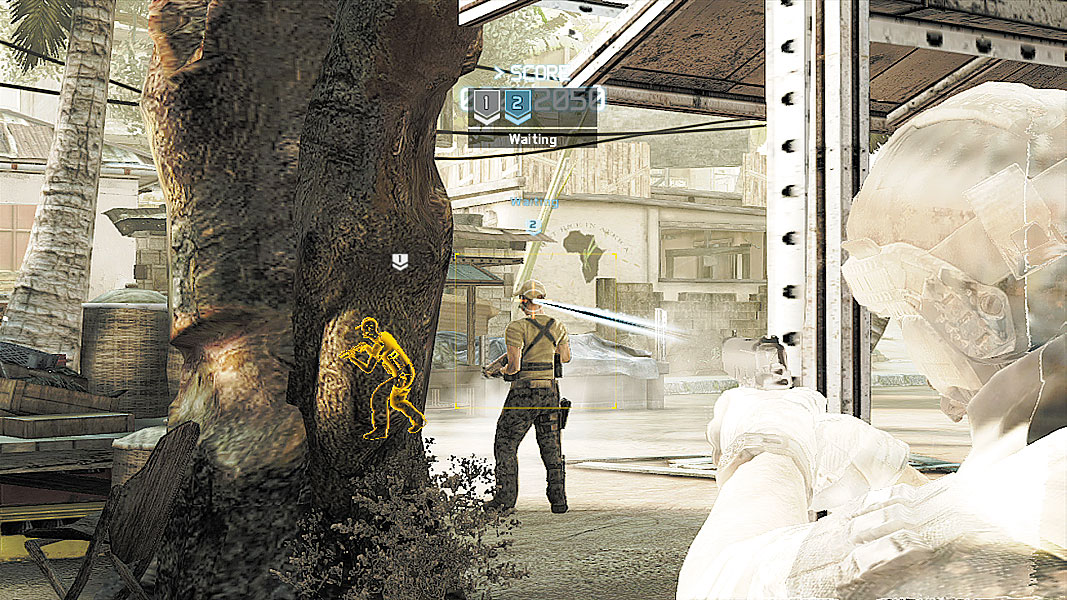
Slip inside the HQ and prepare to take out the guards in the area to the front. This is the perfect opportunity to set up a sync-shot, which works exactly as it does in the campaign. Mark your targets, then line up a headshot and wait for your squadmates to do the same. When the patrolling guard in the central area turns around and while the stationary guard is looking his way, let loose with your shots, hitting the LMG guard, the shotgunner to his right, and the rifleman to the shotgunner’s left. If this is done cleanly, only two guards will be left to take out in the central area. Perform another sync-shot on them.
// Phases 21–30
Infiltration
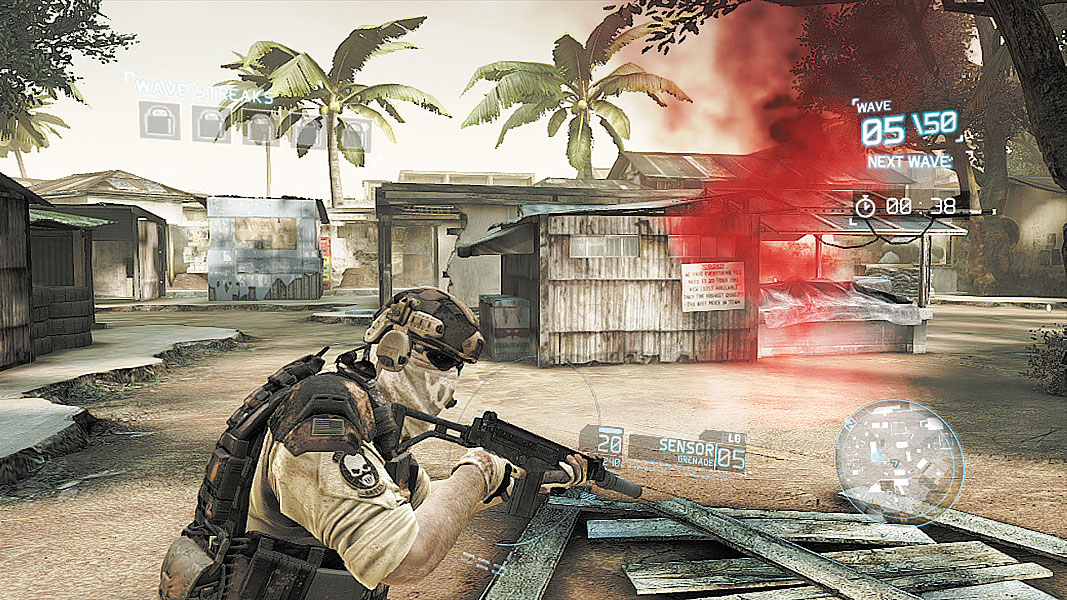
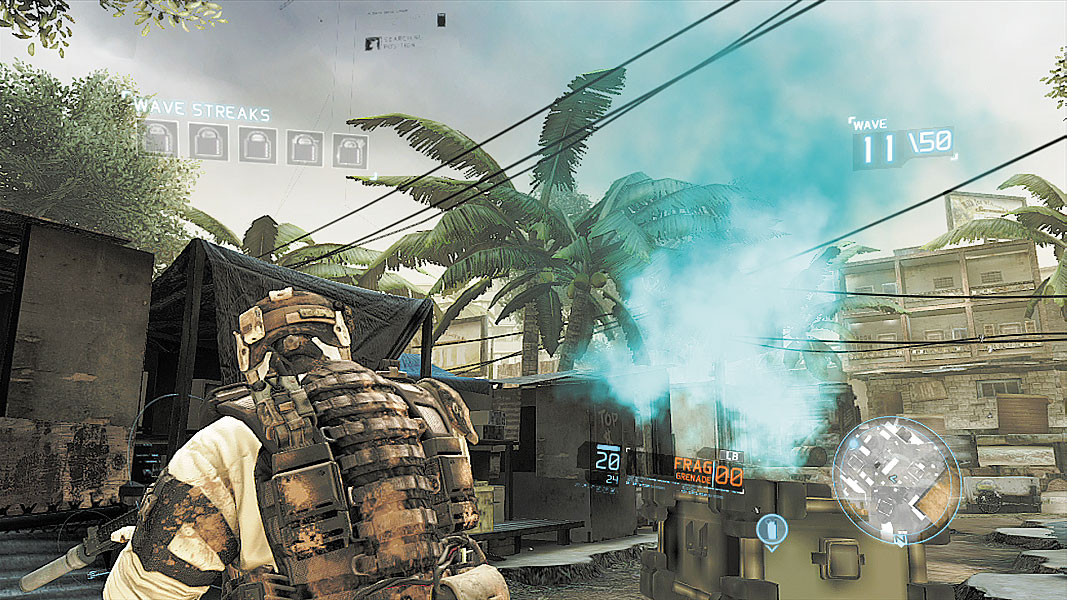
It’s back to the original HQ (now obscured by two clouds of smoke). The same plan of attack will still work, but note the appearance of two new threats past the stationary shotgunner. One, a rifleman, patrols the nearby house, while a second stationary shotgunner looks toward and away from the patrol route of rifleman. After dealing with the stationary threat standing near the HQ, line up a sync-shot to take out the last three targets at once. If you’re short on fellow Ghosts, you can take the HQ solo, but this requires more patience. Wait for the new patrolling rifleman to pass by the stationary shotgunner, then take him out silently. Either wait for the rifleman’s patrol to loop back around so that he’s moving away from the other stationary shotgunner or quickly move to take out the rifleman before finishing off the last shotgunner to clear the HQ.
// Phases 31–40
Infiltration
By now, the HQ back-and-forth is probably starting to feel fairly familiar. Take the same route as last time, skirting the bulk of the threats by taking the side alley, then pop out and carefully slip into the HQ to attack the guard looking out the back window. Take care to time it so that the patrolling guard nearby doesn’t see the kill. Although it can be tempting to want to take out the patrolling rifleman just as swiftly, take note of the RPG trooper up on the roof. When he’s looking back toward the HQ, he’ll see a stealth kill of the patrolling guard, so wait until his back is turned, then put an end to the patrol.
With the patrol gone, you and your squad are free to dispatch the RPG guard with a well-timed, suppressed headshot. So long as the shot is quiet, the remaining guards in the courtyard won’t see. Sneak back into the HQ and wait for the guards to look away from the LMG trooper, then take him out silently, or line up a three-Ghost sync-shot on the three nearby targets. Another sync-shot on the two remaining will take them out.
// Phases 41–50
Infiltration
It would appear the enemy has decided normal troops just aren’t going to do the trick anymore. To that end, they’ve called in Bodark units, which won’t show up on a sensor sweep due to their optical camouflage and are hard to spot at a distance. Thankfully, they’re positioned in exactly the same places as previous infiltrations into this HQ, with one major exception: Instead of a second shotgunner, an RPG-toting grunt sits atop a roof overlooking the HQ. With a few changes, though, even a single Ghost can silently eliminate them all.
Begin by taking the same route used the last two infiltrations. Grab cover near the food stand and wait until the camouflaged patrolling Bodark rifleman turns to head back toward the HQ, then quickly stealth kill him out of the sight of the RPG grunt. Head into the alleyway with the burning vehicle and take cover behind the crates near the HQ. Wait for the second patrolling rifleman to turn and begin moving back toward the HQ, just like the first. Quickly kill him, then head back toward the crates and wait for the stationary Bodark LMG enemy to look away from the RPG goon. With a single precision (suppressed) headshot, take out the RPG-wielder, then wait for the LMG guard to turn back around. Sneak up behind him, stealth kill him, move through the HQ, and then do the same to his buddy. All that remains now is for the patrolling Bodark rifleman to turn and walk away from the clueless Bodark shotgunner so that you can take both out and clear the HQ.