
Tom Clancy's Ghost Recon Future Soldier Guide Walkthrough Silent Talon
Locate Weapons Cache
Locate Weapons Cache
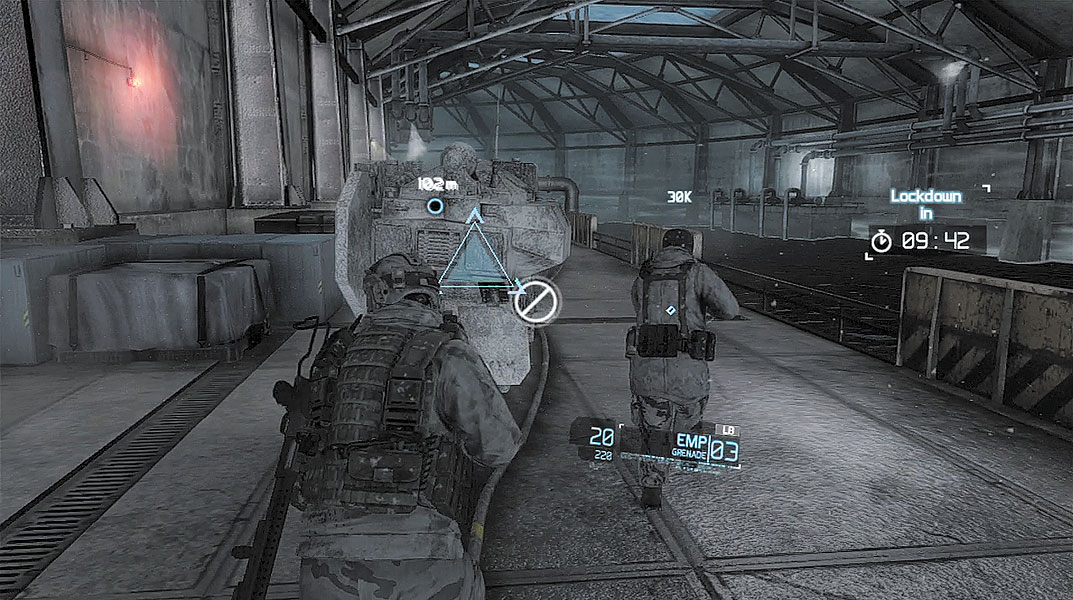
When the Ghosts arrive at the submarine pen, an alarm sounds. There’s no need to be sneaky—the enemy already knows you’re here. The alarm is accompanied by a countdown timer, which gives you exactly 10 minutes to reach the base’s mainframe. If you’re late, the base will go on lockdown, preventing you from accessing the critical data on the weapons cache. Follow closely behind the Warhound as it advances along the walkway. You can access two weapon boxes and an ammo crate along the way if you want to change your weapons or stock up on ammo. For the fight ahead, assault rifles and LMGs are recommended. When the word “Contact” appears at the top of the HUD, switch to Magnetic view to spot the hostiles waiting around the next corner. Find some cover and engage the hostiles with your own firearms—don’t launch the Warhound’s mortar at this close range.
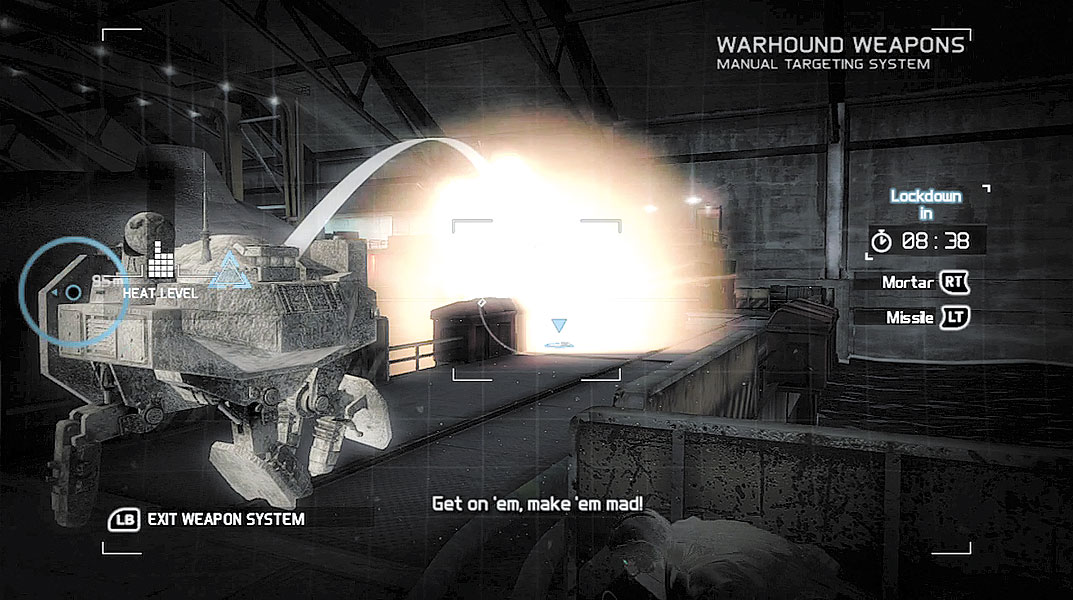
When you reach the footbridge spanning the sub pen’s central channel, take cover on the right side and access the Warhound. Multiple hostiles rush into view on the opposite side of the bridge, scurrying along the lower and upper walkways. Hold behind cover and pound these hostiles with mortar rounds. As the Warhound advances across the bridge, follow closely behind and seek cover. More enemies appear on the upper level walkway ahead. The walkway is lined with vertical steel plates, giving the hostiles plenty of cover. If you’re having trouble spotting these enemies activate your Magnetic view, then target them with the Warhound’s mortar.
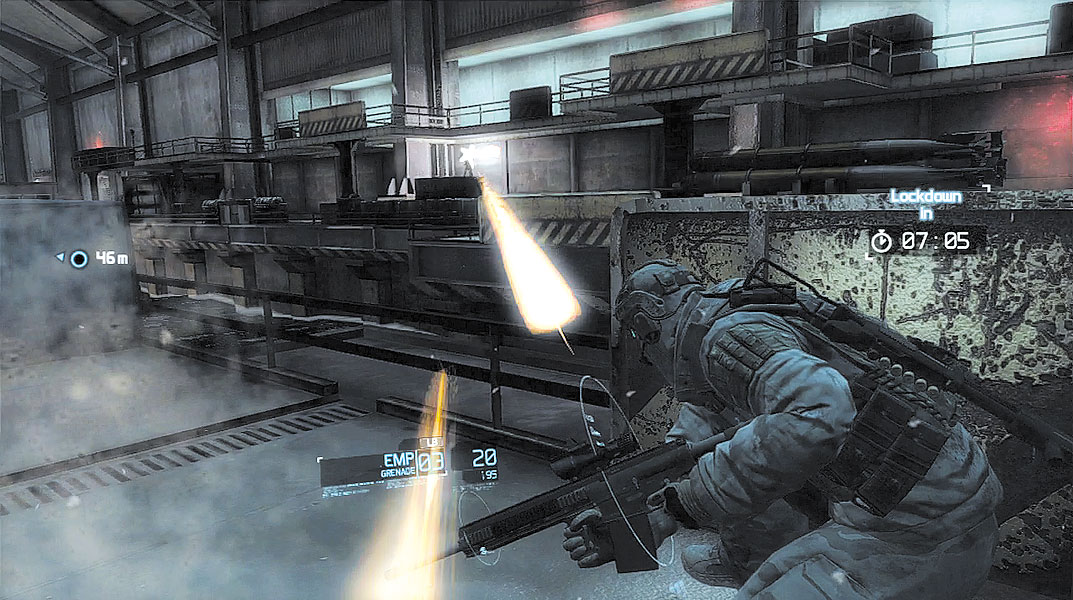
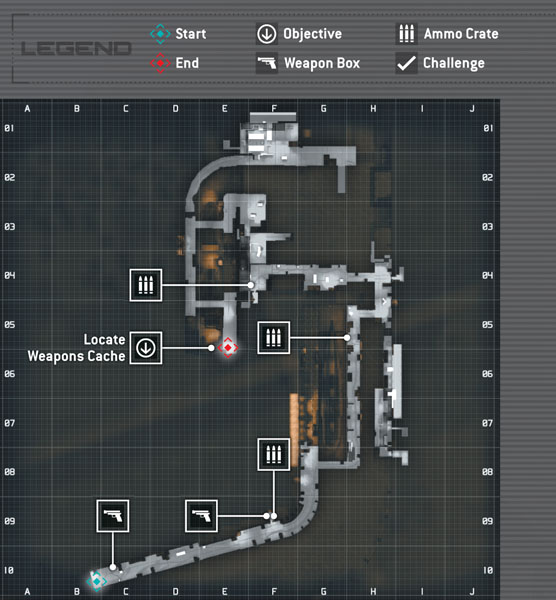
While advancing along the central walkway, your team comes under fire by an automated machine gun turret on the right side of the sub pen—immediately take cover before you’re hit. Once you’ve reached safety, use a guided missile fired from the Warhound to knock the turret out of commission. Compared to targets you’ve attacked with guided missiles thus far, the turret is quite small, making it a little difficult to score a direct hit. Fortunately, the guided missile’s blast radius is quite large, so you don’t need to hit the turret head-on. Instead, fly the missile as close to the turret as possible. Even slamming the missile into the wall behind the turret results in an explosion big enough to do the job. Just make sure the turret is down for good before moving out of your cover.
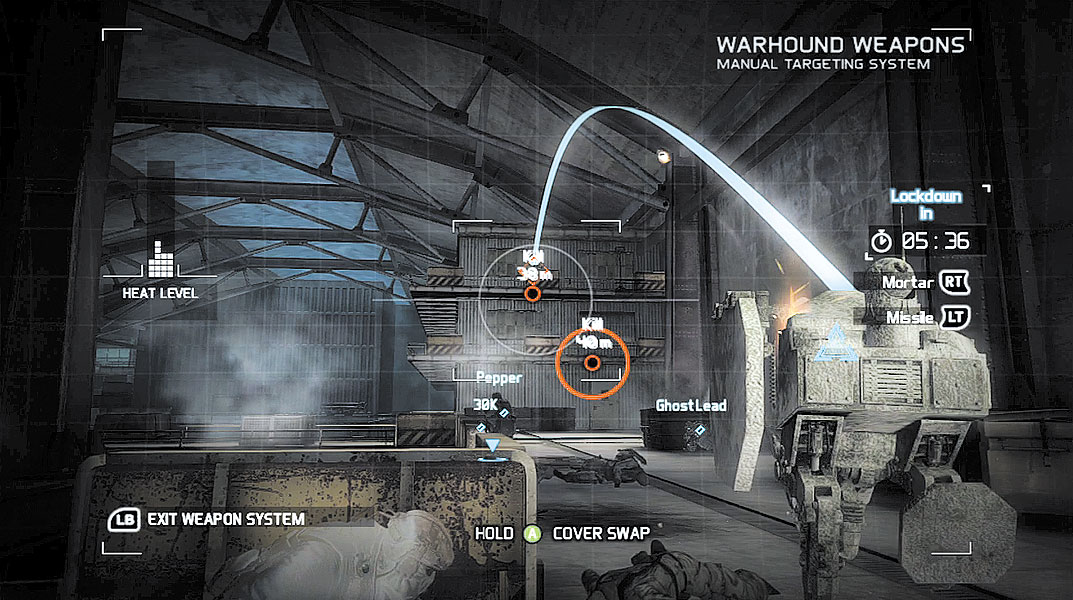
Keep an eye on the countdown timer as you advance through the sub pen. You need to carefully balance aggression and prudence to eliminate the hostiles while keeping yourself and teammates alive. Fortunately, the Warhound makes the advance much easier and faster. Stay closely behind the Warhound and always seek out cover. When you spot hostiles ahead, immediately target them with mortar rounds. Shortly after crossing another short bridge, your team comes under attack by two hostiles armed with RPGs—their positions are marked on the HUD. While holding behind cover, quickly target both of these hostiles with mortar rounds. The explosions trigger a large explosion, collapsing a few catwalks in the distance. Some enemies may be difficult to hit with mortar rounds, due to objects hanging from the sub pen’s ceiling. So if you can’t get a clear shot at enemies with the mortar, don’t be afraid to target enemies with guided missiles.
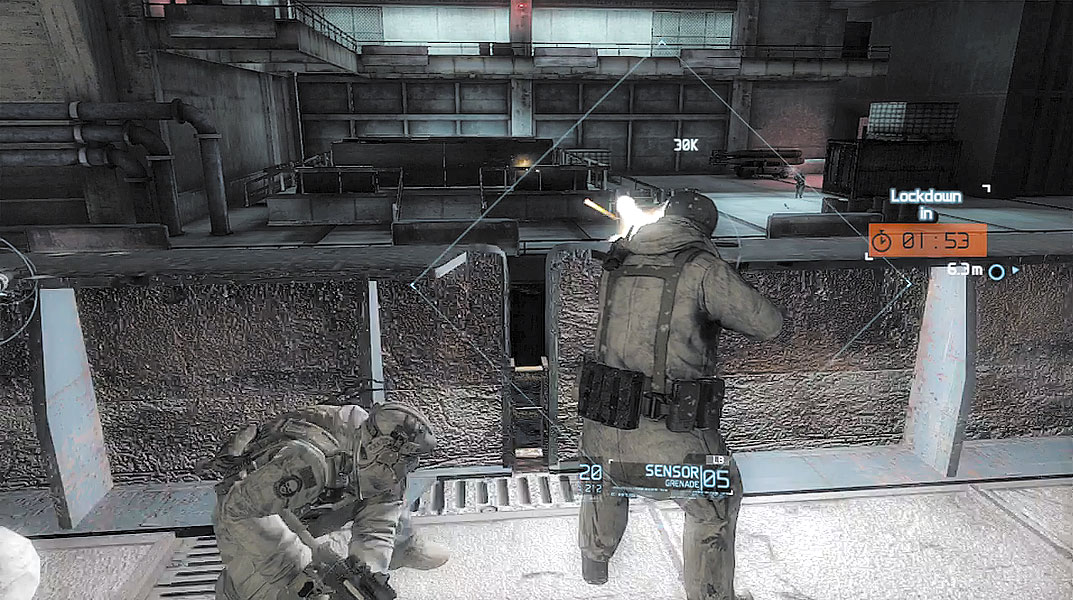
The hostiles in the sub pen make their last stand on a loading dock. Sprint to cover near your teammates and the Warhound so you can get a clear view of the loading dock as well as the catwalk above it. While behind cover, target the enemies with the Warhound’s mortar. If you’re having trouble spotting enemies hiding behind cover, lob a few Sensors toward the loading dock. Likewise, watch out for incoming grenades tossed by the enemies. Also, pay close attention to the enemies on the catwalk. Two of these enemies are armed with an RPG and an LMG. Identify and neutralize these enemies as soon as possible.
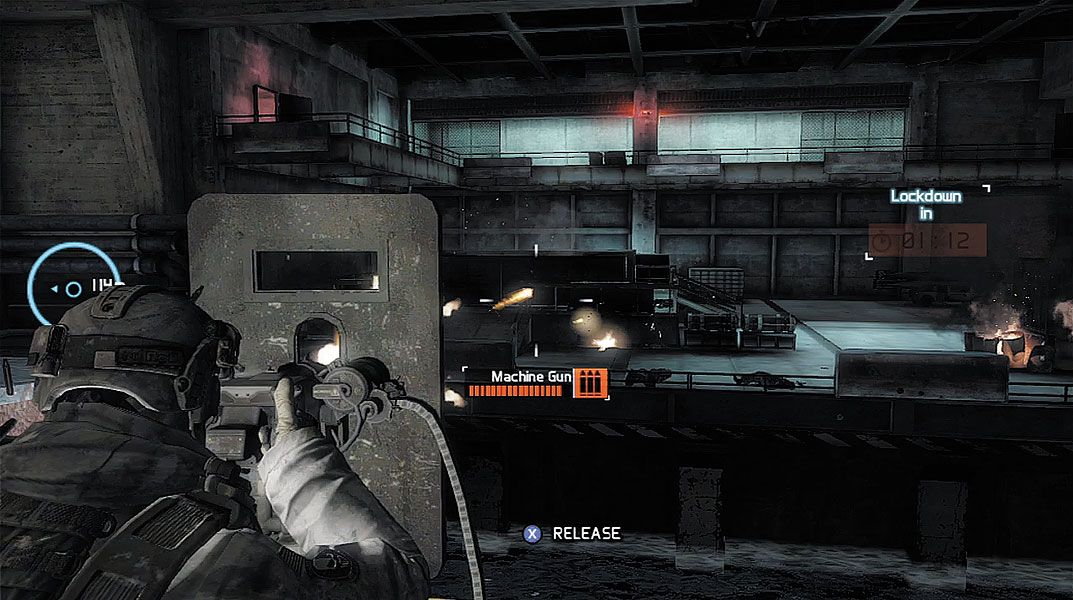
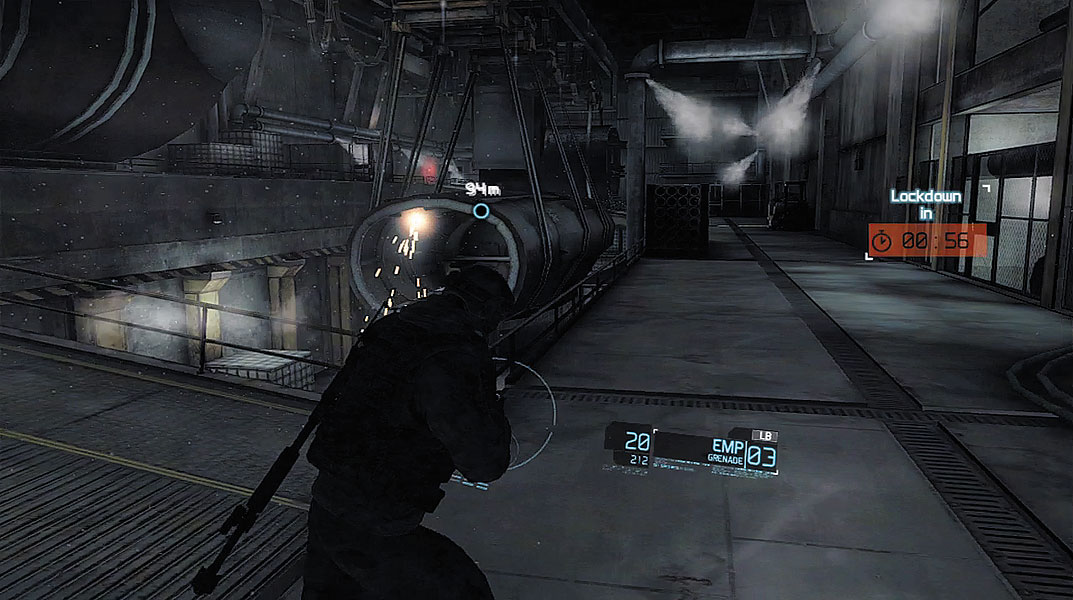
When the Warhound turns away from the loading dock, the sub pen is clear. Since you no longer have to worry about threats, don’t linger behind the Warhound, especially if time is short. Instead, sprint along the walkways where a submarine is under construction. You must reach the next waypoint before the countdown timer expires. The door beyond the waypoint contains a terminal. Ghost Lead orders Kozak to upload the mainframe’s data. Upon analysis of the data, Overlord reports the presence of what could be a cavern. Perhaps this is where the weapons cache is located? It’s up to the Ghosts to check it out. With the Warhound in tow, the team boards an elevator and heads for the surface.