
Tom Clancy's Ghost Recon Future Soldier Guide Walkthrough Silent Talon
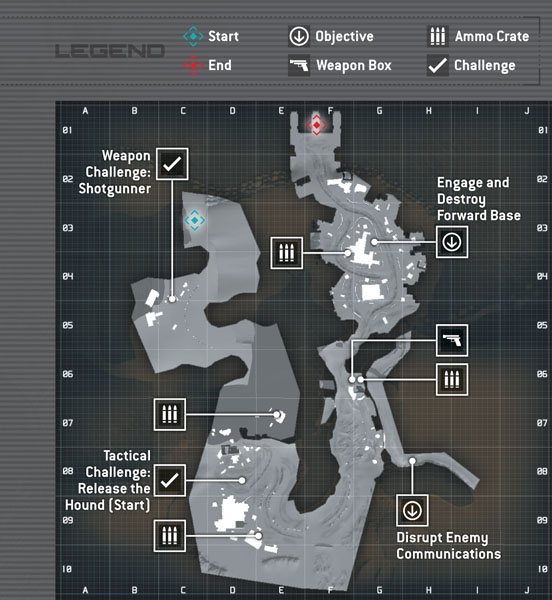
Disrupt Enemy Communications
Disrupt Enemy Communications
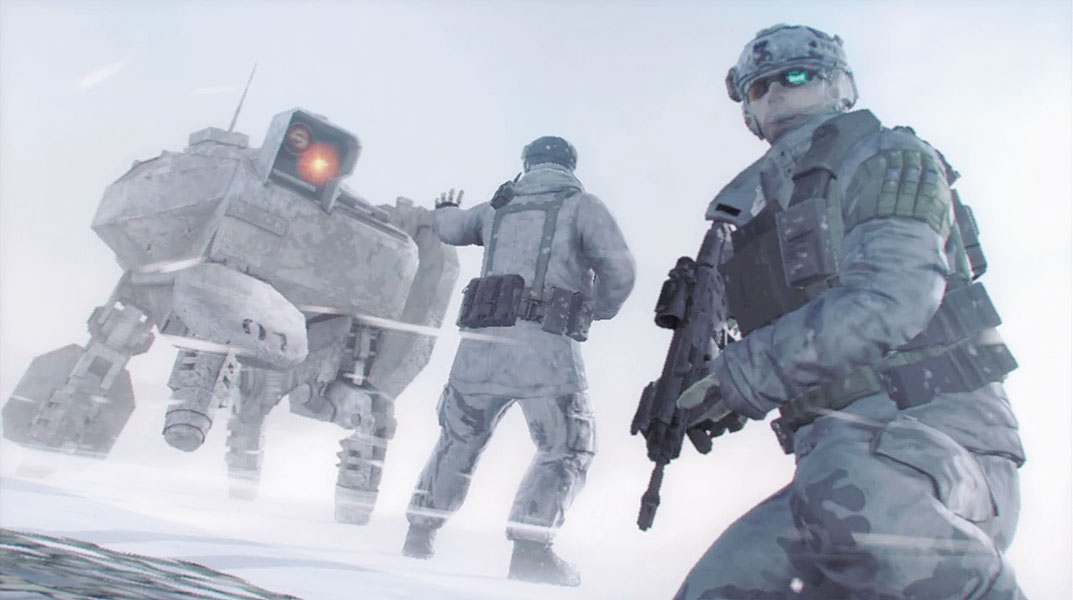
Getting information out of Katya Prugova hasn’t been easy. She’s more scared of her own people back home than she is of her captors—and for good reason. Prugova has been connected to a vast network of unsavory organizations, including everything from the private sector to organized crime syndicates. But Prugova has revealed one piece of actionable intel that leads the Ghosts to an abandoned weather station in Russia, not far from the Norwegian border on the Barents Sea. According to Prugova, this weather station is being used as a transfer point for weapons. The Ghosts are tasked with gathering intel and destroying the operation. But before they can move in on the weapons cache, the Ghosts must sever the enemy’s communication system. As a secondary objective, the Ghosts are also responsible for field-testing the Warhound. This four-legged semi-autonomous weapon system won’t play fetch, but it is capable of taking out hostile vehicles and personnel thanks to its mortar and guided missiles.
Mission Map
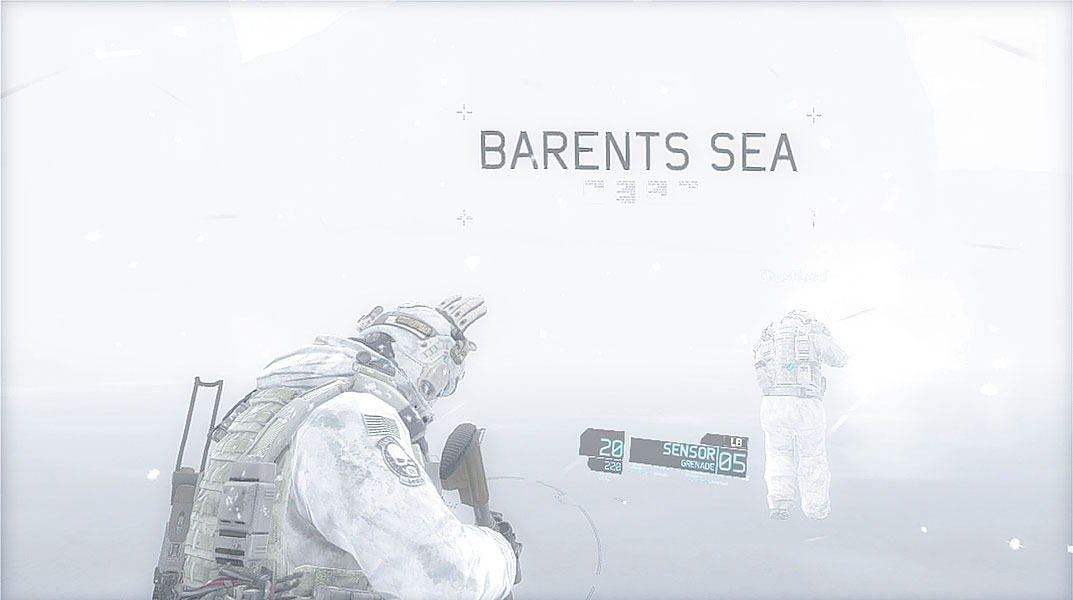
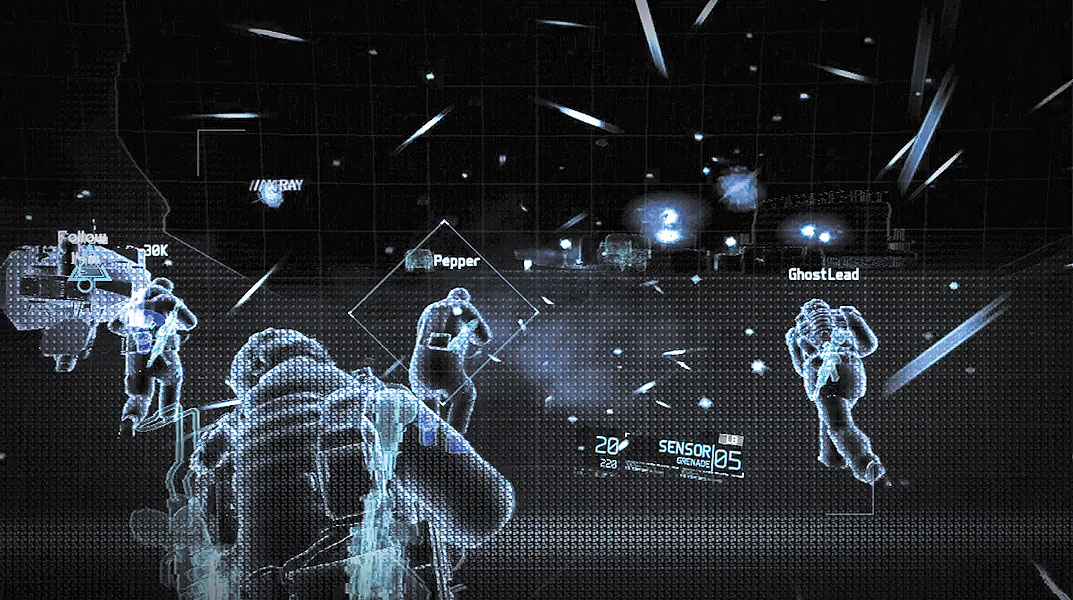
At the insertion point, blizzard-like conditions have dropped the visibility to nearly zero. This could actually work in your team’s favor, making it nearly impossible for hostiles to detect your approach. During this phase (and most of the mission), the Warhound leads the way, automatically advancing from one waypoint to the next. Rely on the Warhound to guide you through this snowstorm. To maintain visual contact with the Warhound and your team, activate Magnetic view. While Magnetic view doesn’t have great range, it can still cut through the falling snow, allowing you to see distant objects (and enemies) before you trip over them.
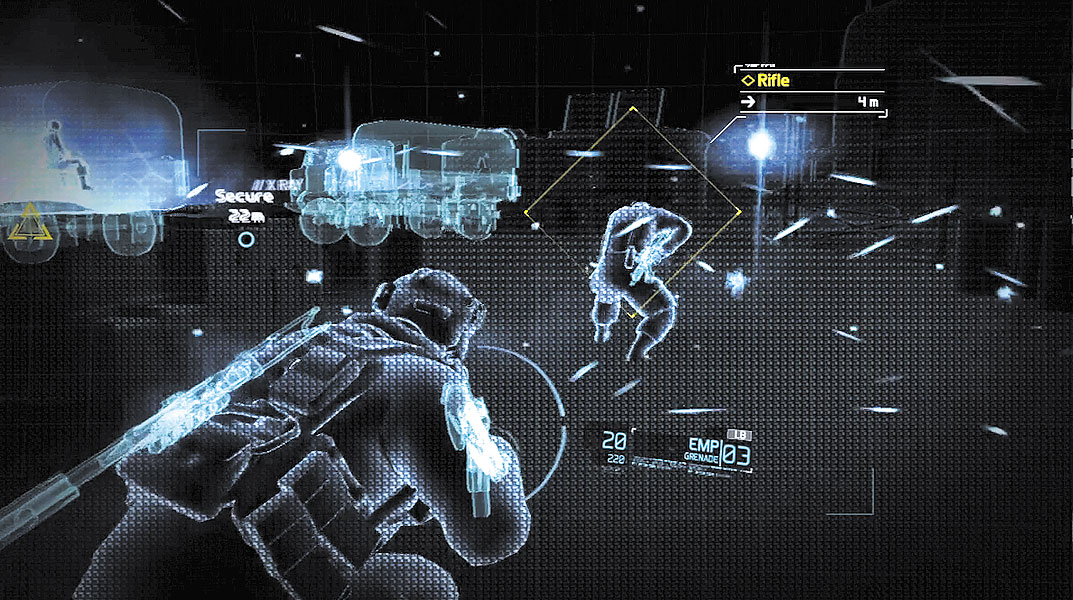
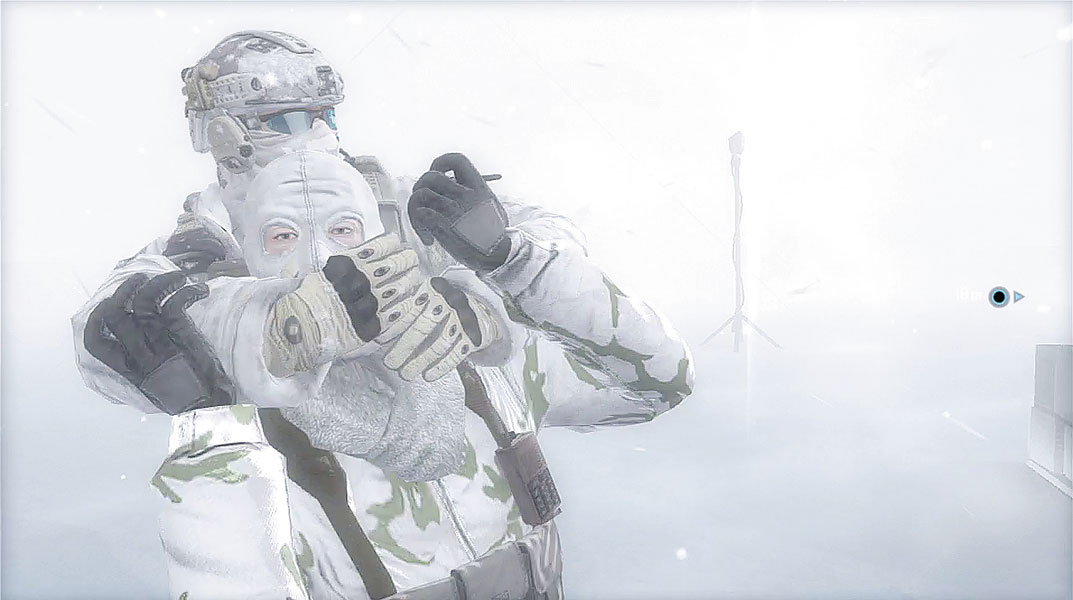
Enemy contacts are detected in the distance, near a supply area. Your team must neutralize all enemies in this area before proceeding. While your team (and the Warhound) holds back, drop to a crouched stance to activate your Optical Camo. The combination of the blizzard and your Optical Camo makes you almost impossible to see. As you creep toward the supply area, you can spot one enemy rifleman pacing nearby. Although your Optical Camo decreases your visible profile, don’t take any chances. Stay a safe distance from the hostile until he turns his back. Creep up behind the rifleman and take him out with a stealth kill. It doesn’t matter where his body falls—the snow will make him hard to spot. Anyway, his comrades don’t have long to live.
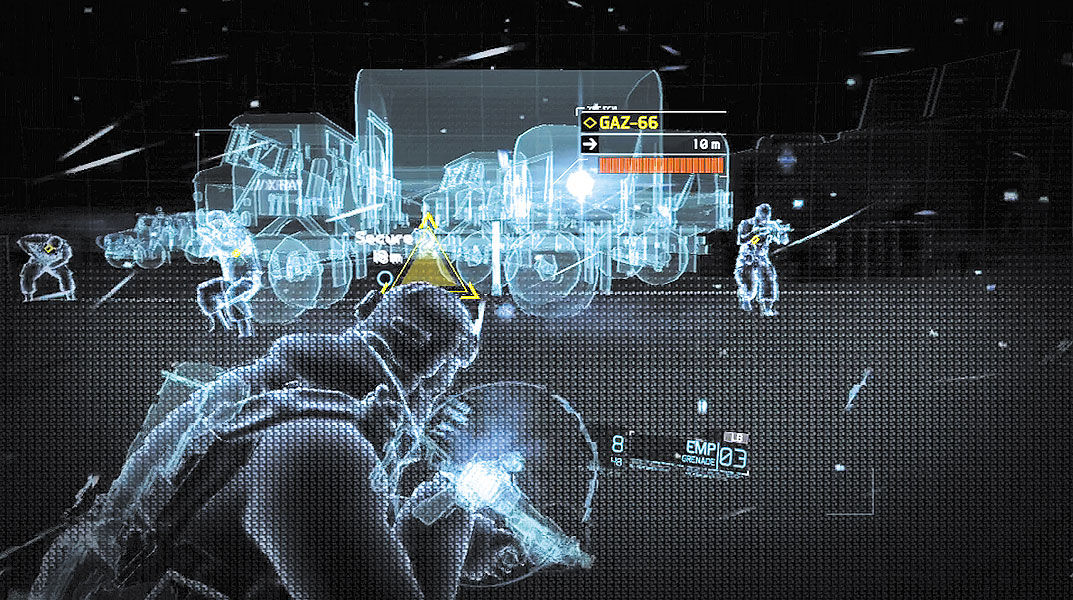
Shortly after eliminating the first hostile, a GAZ-66 truck pulls up nearby and two more hostiles get out. They gather near the front of the truck, standing near a third rifleman. A fourth rifleman can be spotted in the distance, patrolling the supply area on his own. This is the perfect opportunity for a sync-shot. Mark all four riflemen, pick out a target of your own, then initiate the sync-shot. If you don’t have a suppressed weapon, don’t worry. Nobody will live long enough to detect the report. Eliminating all four riflemen clears the supply area, allowing Warhound to proceed to the next waypoint.
Weapon Challenge: Shotgunner
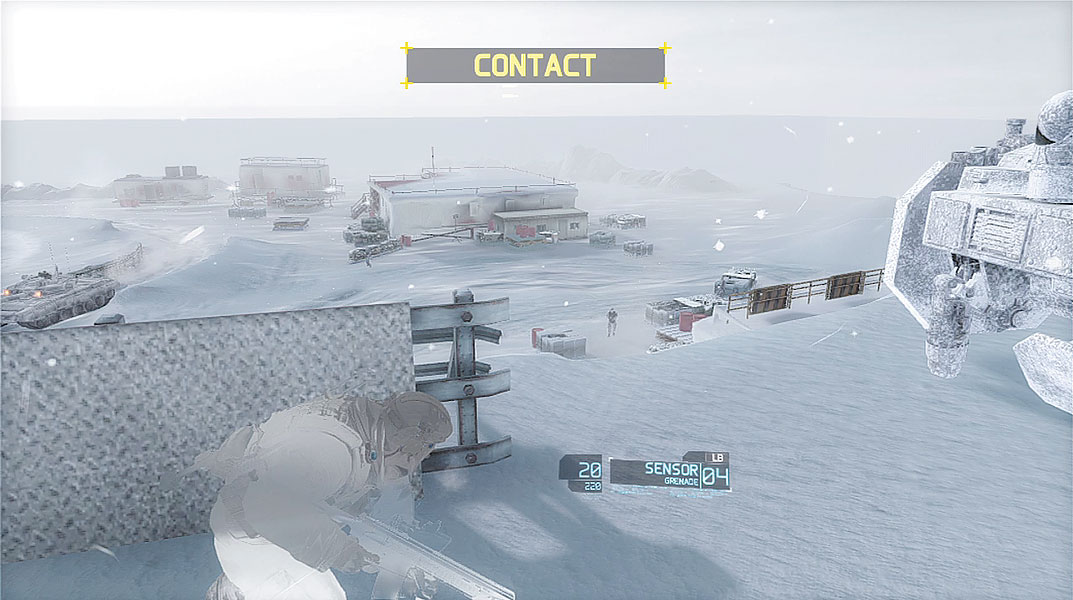
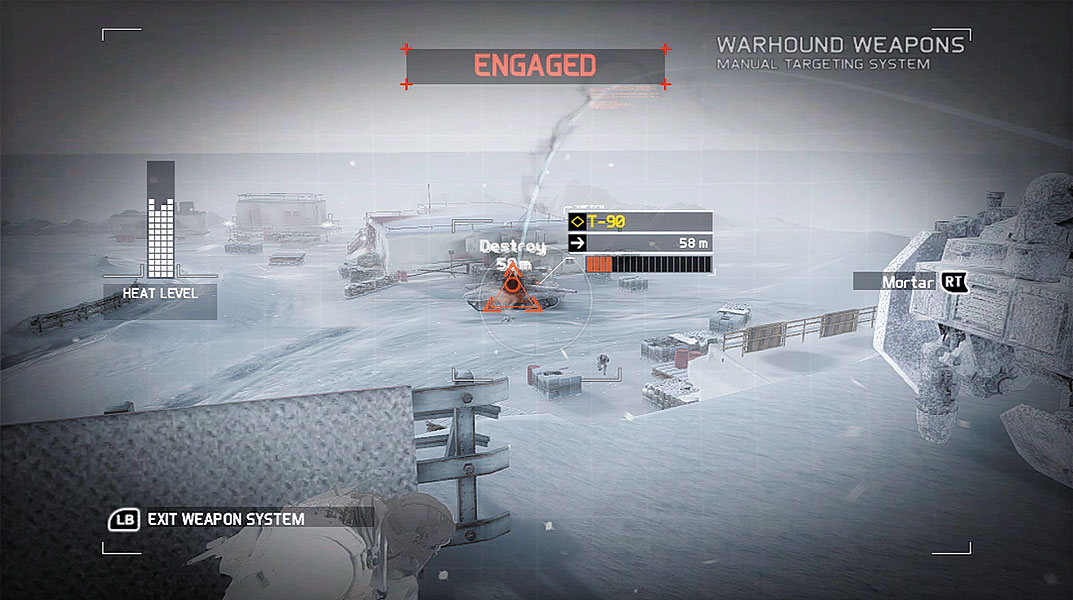
Warhound leads the Ghosts to a low hill overlooking a motor pool. Take cover behind the steel vertical plate that is marked with a waypoint marker. From here, you have a clear view of the motor pool. Several enemy riflemen patrol the motor pool along with a T-90 tank. The priority target is the T-90. Follow the on-screen directions to gain access to the Warhound. The Warhound interface is overlaid on the HUD, allowing you to target and engage enemies using the Warhound’s mortar. Place the Warhound’s circular aiming reticle over the T-90 tank to aim the mortar. A white arc line appears on the HUD, similar to when you throw a grenade. This arc represents the trajectory the mortar round will take to reach the target. With the T-90 targeted, open fire with the Warhound’s mortar.
It takes multiple mortar hits to destroy the tank, so keep lobbing mortar rounds to whittle away the tank’s orange health meter, which is shown on the HUD. However, don’t fire the mortar rapidly. Pay close attention to the Heat Level meter on the left side of the HUD. After each mortar round is fired, the Heat Level increases. If you fire multiple mortar rounds in quick succession, the mortar will overheat and go temporarily offline. To prevent overheating, fire mortar rounds slowly, at the rate of approximately one per second. This will allow you to keep hammering the tank without the risk of overheating.
Enemy Profile: T-90
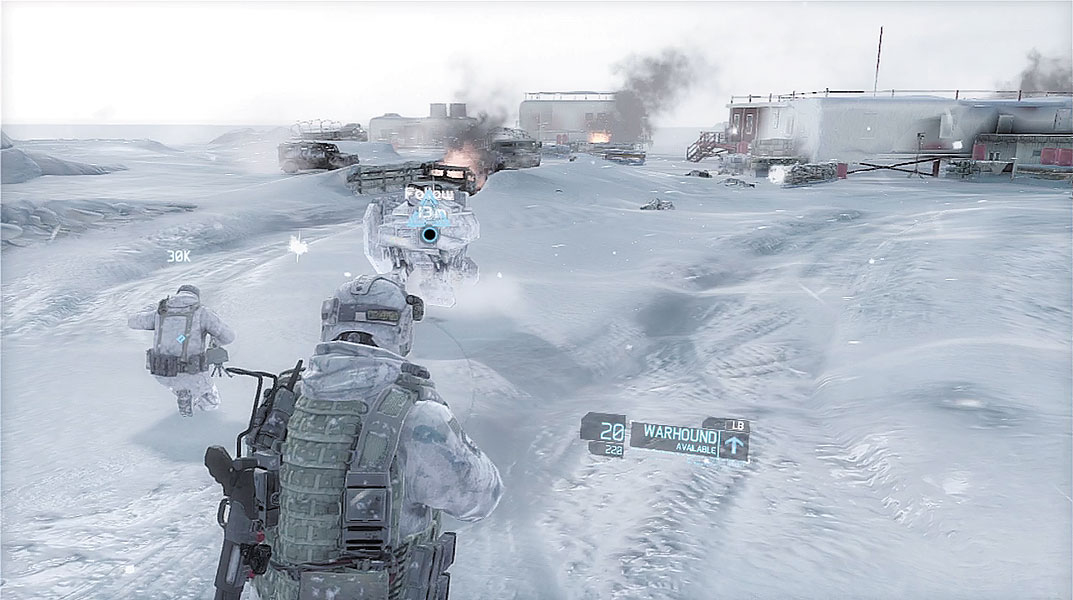
After destroying the T-90, focus the Warhound’s firepower on the enemy infantry scurrying for cover in the motor pool. The Warhound’s mortar automatically snaps to targets, highlighting them with an orange diamond icon. Once a target is acquired, fire a mortar round. Mortar rounds are not guided and impact at the point where they’re aimed. As a result, enemy infantry may escape incoming mortar rounds by running away. So if the first mortar round doesn’t kill your target, follow up with more shots.
Eventually a GAZ-2330 light vehicle and GAZ-66 truck roll into view in the distance. Target the GAZ-66 truck first and destroy it with multiple mortar rounds before the infantry inside can unload. With the truck destroyed, bombard the GAZ-2330. A second set of vehicles arrive next. Prioritize the targets in the same fashion—take out the GAZ-66 first, then target the GAZ-2330. Once you’ve destroyed all the vehicles, hunt down any surviving infantry until the motor pool is clear. As you can see, the Warhound is an extremely powerful ally, capable of laying waste to a wide range of threats. Exit the Warhound view and follow your team through the smoldering wreckage at the motor pool. There is an ammo crate at the motor pool you can visit to replenish your stock of ammo and grenades.
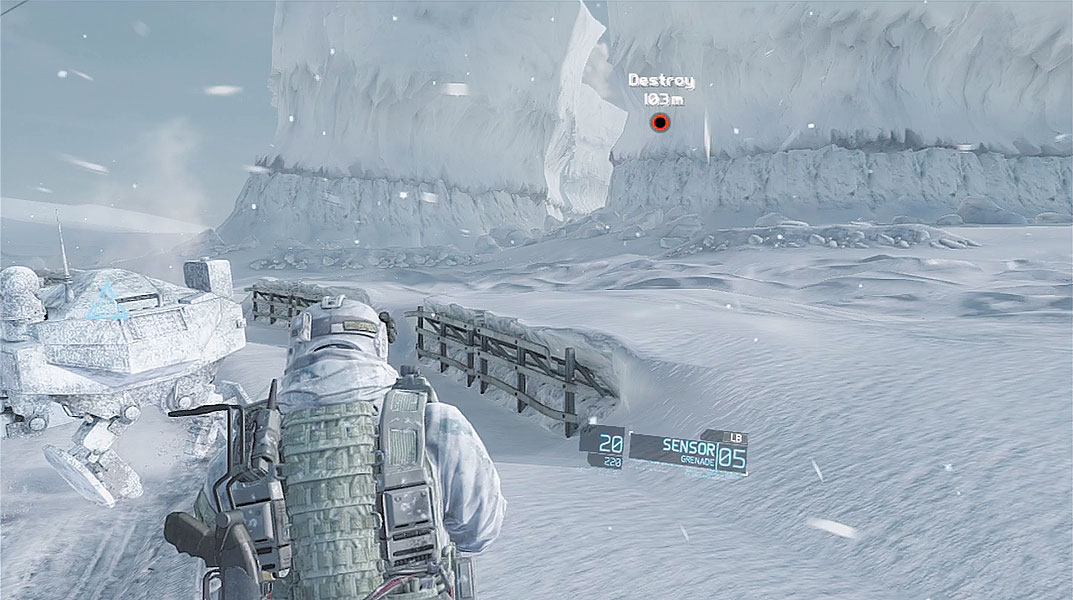
Follow the Warhound out of the motor pool and advance along the adjoining road. The Warhound comes to a stop when the nearby commo array is detected in a nearby icy canyon. Access the Warhound and follow the on-screen instructions to launch a guided missile. When you fire the Warhound’s guided missile, your view switches to a camera attached to the missile. From this view you can guide the missile toward the target, using the right control stick to steer. Start by steering the missile slightly to the left, then veer to the right so that you can line up with the narrow canyon, where the commo array is located. Once the commo array is within view, steer the missile straight ahead, through the canyon and directly into the array. If you miss, you can fire a second missile and try again. When you score a hit with the guided missile, the commo array collapses. The enemy is now cut off from the outside world. You can now assault the nearby forward base without setting off an international incident.