
Tom Clancy's Ghost Recon Future Soldier Guide Walkthrough Subtle Arrow
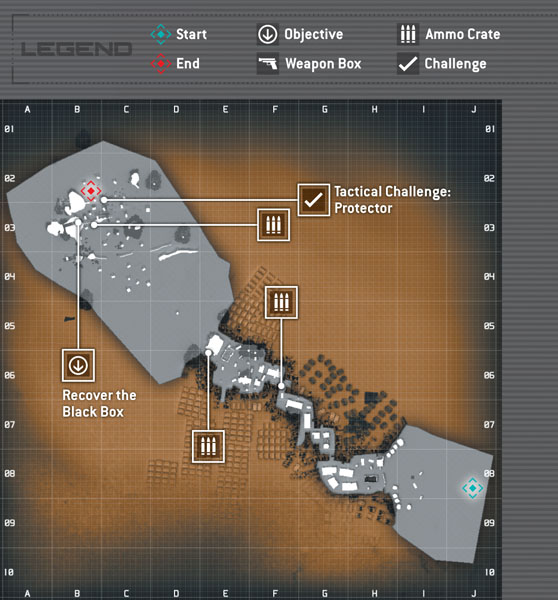
Recover the Black Box at the Crash Site
Recover the Black Box at the Crash Site
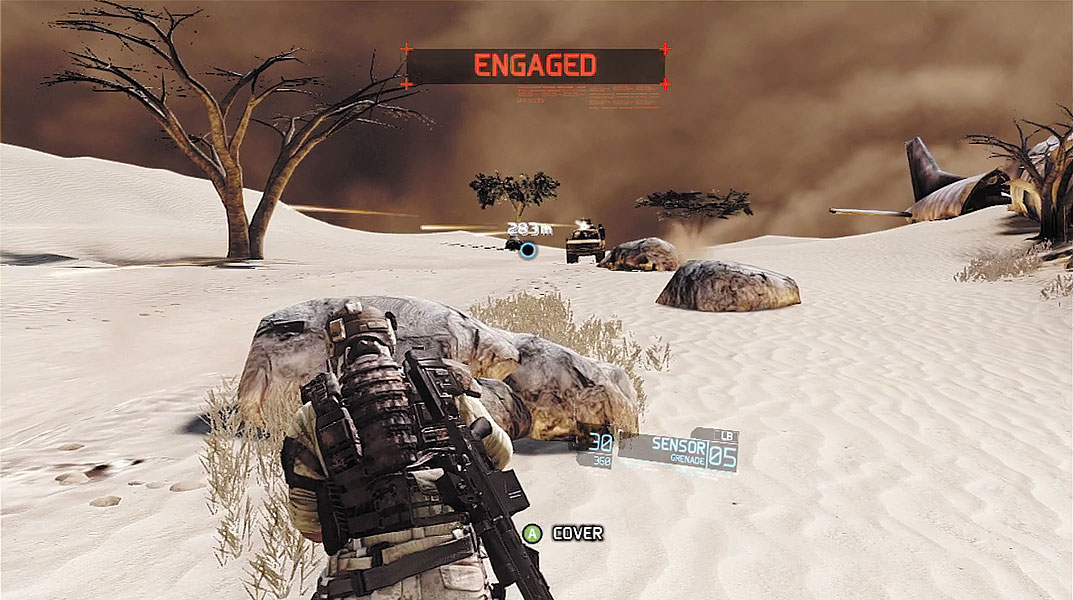
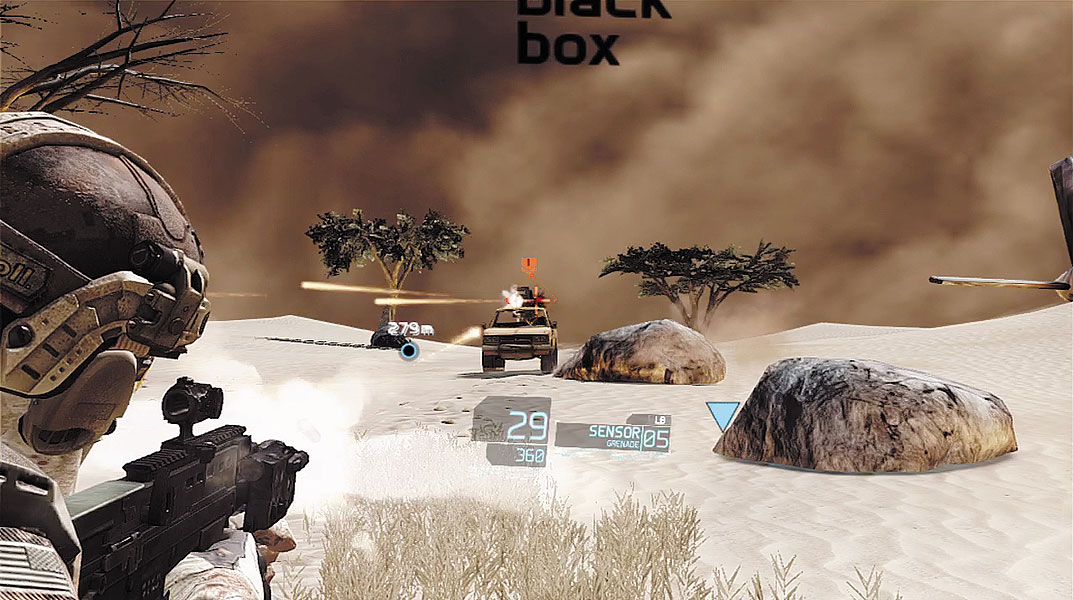
Your team must now reach the crash site to recover the cargo plane’s black box. As you follow your team toward the next waypoint marker, a pickup truck armed with a mounted machine gun comes racing down the road toward you. Immediately take cover behind a rock and mark the machine gunner. When you mark an enemy during a firefight, an orange icon appears above his head. This instructs your team to focus their fire on the target. Issuing focus-fire orders is a good way to quickly eliminate dangerous threats such as this gunner. Once the gunner is down, track down the two riflemen that scrambled out of the truck. Once the area is clear, resume your advance toward the crash site.
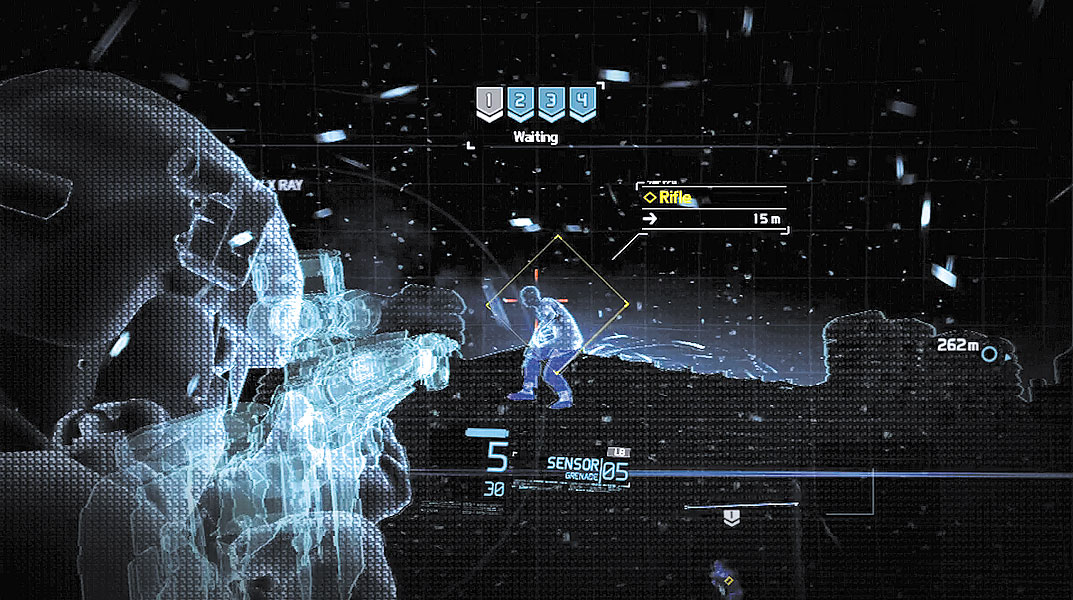
By now, the sandstorm is upon you. But there’s no time to hunker down and ride it out. You must continue moving toward the crash site. Activate Magnetic view and stay close to your teammates. Before you can reach the crash site, you must pass through the refugee camp, which has been reinforced by more gunmen. When you come to the outskirts of the refugee camp, there are five hostiles you need to take out. Start by picking off the rifleman patrolling the rooftop. The wind can make it difficult to stabilize your shot. But the sandstorm also works in your favor by reducing visibility for your enemies. This allows you to get relatively close to your targets without being detected. So creep up toward the building where the rifleman is patrolling and take him out with your suppressed weapon of choice.
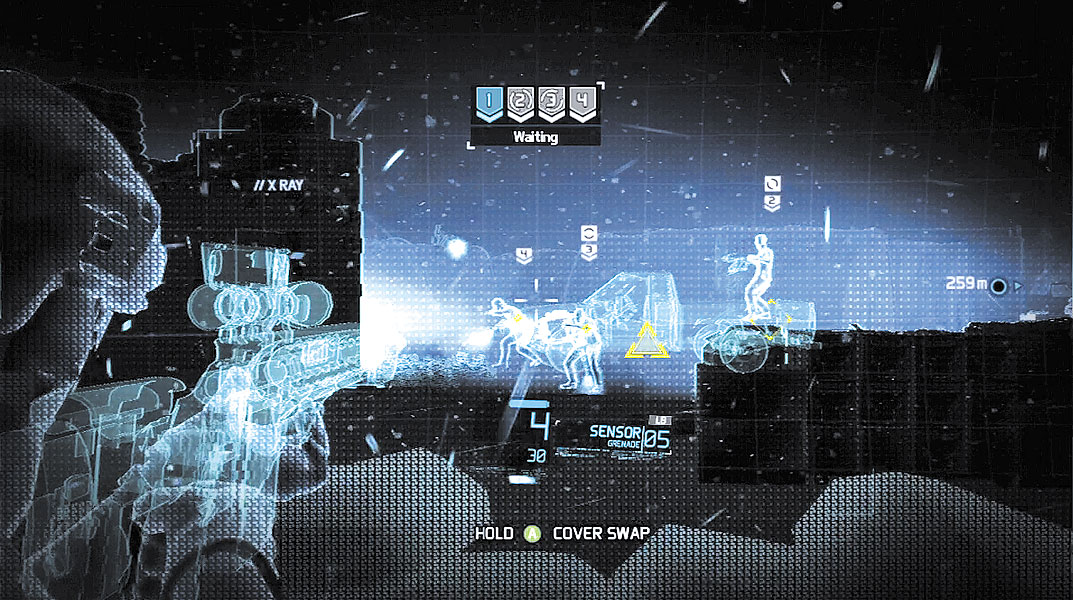
Now set up a sync-shot to eliminate the remaining hostiles, including a machine gunner in a pickup truck. If you’re having trouble spotting all four hostiles in this area, deploy a Sensor. When you’ve located all four enemies near the pickup truck, mark them all. Now pick a target from the four, take aim, and squeeze the trigger to initiate the sync-shot. You can now infiltrate the refugee camp. If you need to restock ammo or Sensors, there’s an ammo crate on the rooftop of the building where you dropped the first rifleman.
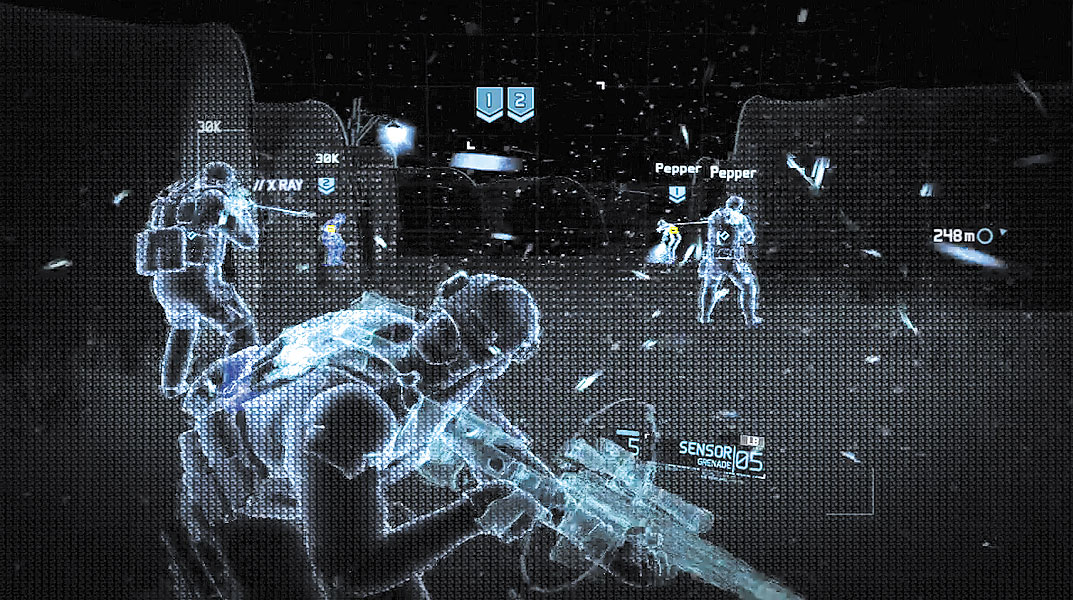
Keep the Magnetic view active while advancing through the refugee camp. This makes it easy to spot the rifleman patrolling around the nearby tents. Due to the poor visibility, you can pick off these threats with little difficulty. Either take them out yourself, or mark them for your team and drop them with sync-shots. Continue advancing through the refugee camp, picking off enemies as you encounter them. The sandstorm helps hide the bodies so you don’t worry too much about raising an alert.
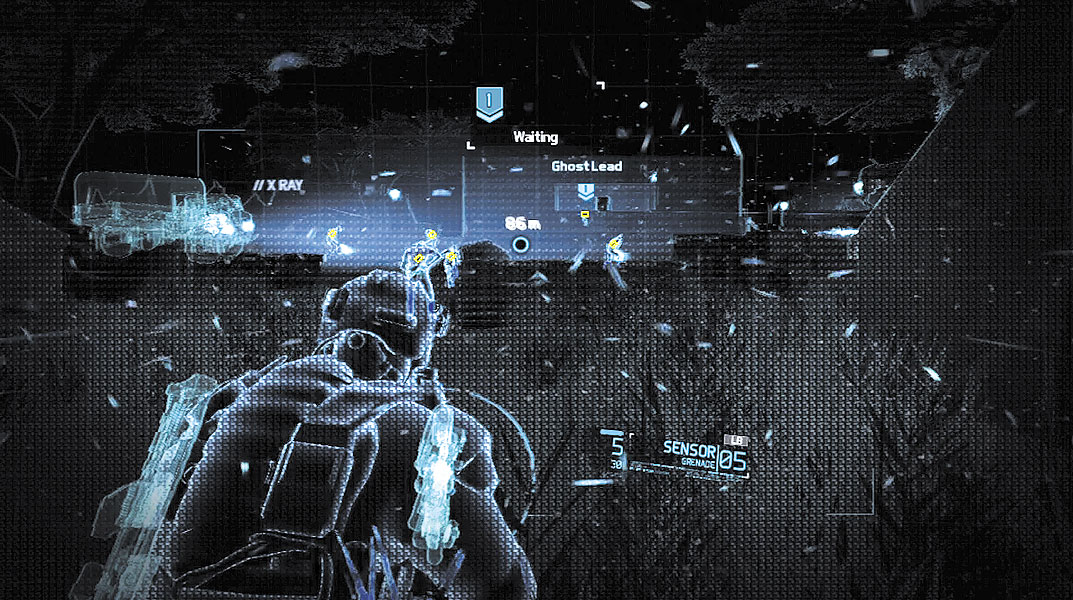
As you near the exit to the refugee camp, a large truck pulls up in the distance and two riflemen get out. They join a group of four other hostiles, making a total of six targets. You need to approach this situation delicately to avoid setting off a firefight. Start by marking the hostile in the building ahead—he’s armed with an LMG. Since this guy is inside a building, none of his friends will notice he’s gone when you give the shoot order. One down, five to go.
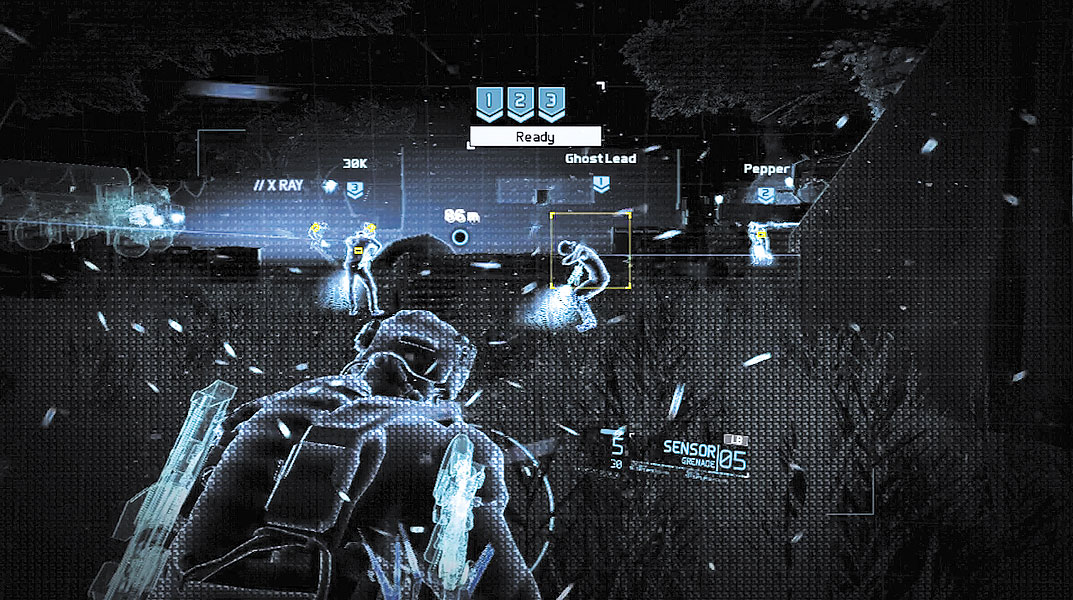
The next five enemies can be taken out with two separate sync-shots. First, identify the three enemies closest to your position and mark them. Before giving the shoot order, make sure all three targets are a reasonable distance away from the other two hostiles near the truck. The sandstorm helps to hide the bodies, so you can drop the first three targets without raising an alert. Finally, mark the last two hostiles near the truck and take them out with another sync-shot. The refugee camp is now clear. You can proceed to the crash site. Be sure to visit the ammo crate near the camp’s exit to stock up on ammo and Sensors.
Secure Crash Site
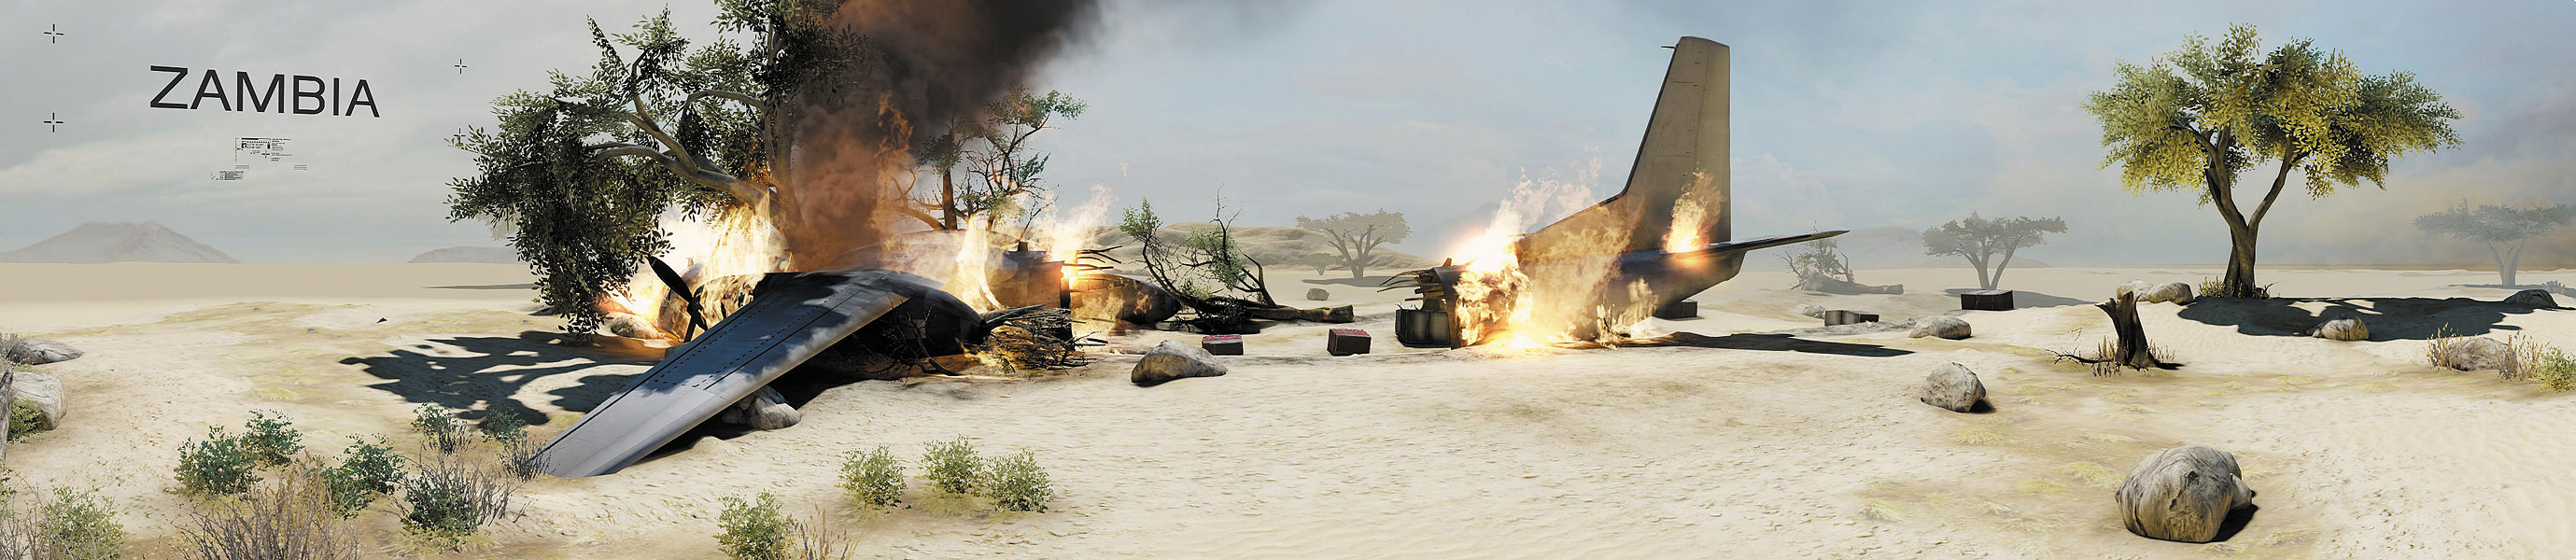
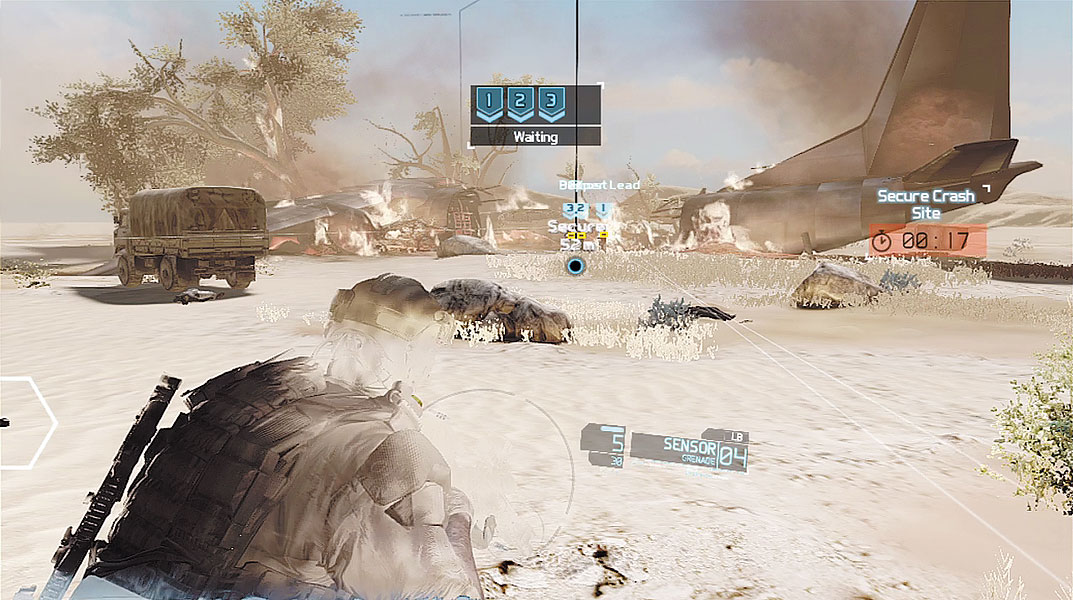
The crash site is located approximately 200 meters beyond the refugee camp. Overlord chimes in with news that hostiles have closed in on the site. Fortunately, enemy activity at the site is currently light. At this point, you’re given 90 seconds to secure the crash site before reinforcements arrive. Drop to a crouched stance and approach the crash site with your Optical Camo active. By now, the dust storm has subsided, greatly improving visibility. So make sure you utilize cover and the Optical Camo to avoid being detected. There are a total of five enemies at the crash site—deploy a Sensor near the crash site to spot them. Start by marking the two riflemen near the truck and order your team to take them out with a sync-shot. The remaining three riflemen standing near the airplane wreckage can also be eliminated with a second sync-shot. If you act quickly, you can easily eliminate all five threats without triggering a firefight.
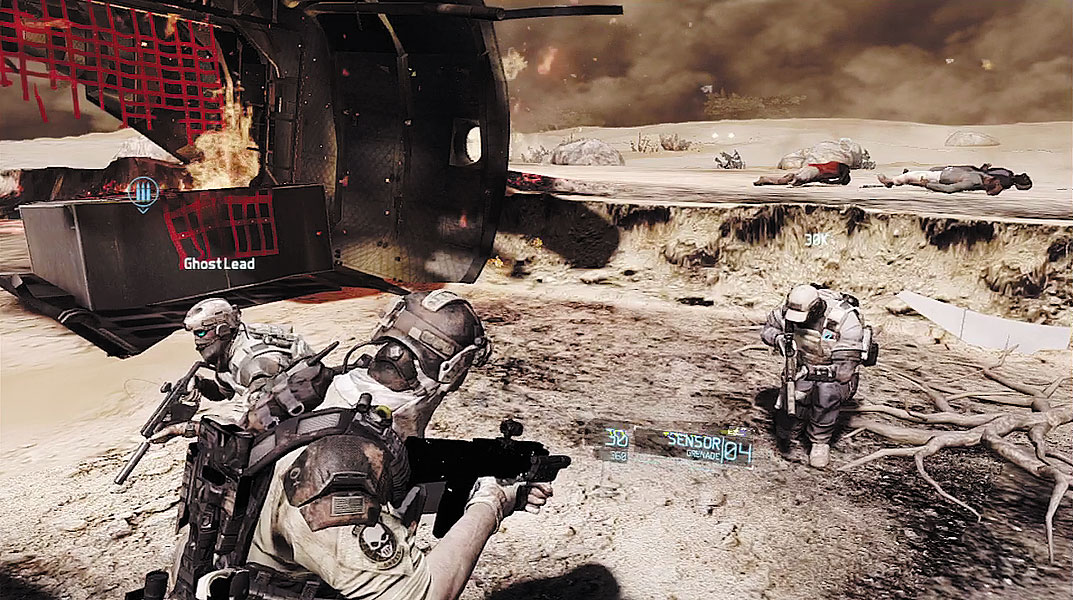
Time to move in on the crash site. Regroup with your team at the waypoint in the middle of the aircraft wreckage. Overlord reports that a Quick Reaction Force (QRF) is inbound and will establish a perimeter upon arrival. Until then, it’s up to your team to defend the area against approaching hostile forces. Not long after the report from Overlord, a pickup truck filled with hostiles arrives on the scene. Immediately mark the machine gunner in the back of truck with a focus-fire order. This instructs your team to focus their fire on the gunner, eliminating this threat before he can dish out too much damage. Toss a Sensor toward the truck to highlight the positions of other hostiles that may be concealed behind the high grass. Once they are revealed, you can fire through the grass to hit these obscured enemies. You can acquire more Sensors from the ammo crate near the plane’s fuselage.
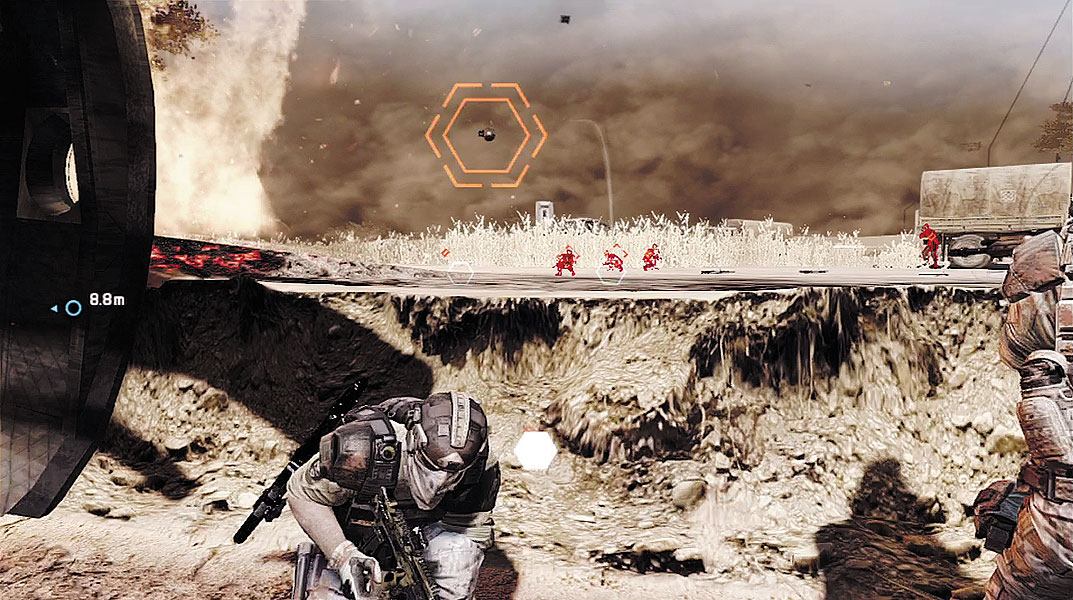
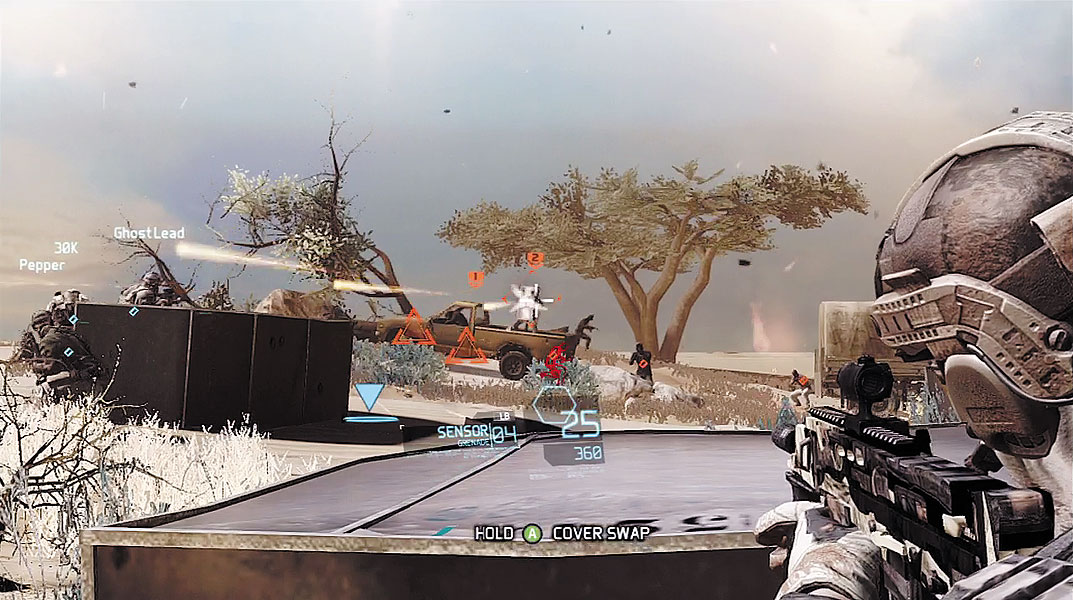
During this defensive action, more reinforcements arrive in pickup trucks armed with mounted machine guns. Fortunately, there’s plenty of cover among the wreckage, including several steel crates. So monitor the arrival of new threats and make sure you put a solid piece of cover between yourself and the attackers. You will need to constantly move around and seek new cover as new threats arrive from different directions. Continue deploying Sensors around the perimeter of the crash site to reveal the positions of enemies hiding behind trees, rocks, or high grass.
Continue engaging the attackers while seeking cover among the wreckage. The QRF eventually arrives in two Blackhawks, raining down automatic fire from their door-mounted miniguns. Help the Blackhawks mop up any resistance at the crash site and wait for a report from Overlord. Your work here is complete. The QRF will establish a perimeter and recover the black box. Hopefully the black box will reveal where Macaba’s weapons shipment originated.
Subtle Arrow: Completion Unlocks
| Type | Category | Item |
|---|---|---|
| Weapon | PDR | L22A2 |
| Weapon | LMG | Stoner |
| Attachment | Muzzle | Muzzle Brake |
| Attachment | Underbarrel | Bipod |
| Items | Drone | UAV |
| Paint | Weapon paint | Libyan |