
Tom Clancy's Ghost Recon Future Soldier Guide Walkthrough Firefly Rain
Sabotage the Shipment
Sabotage the Shipment
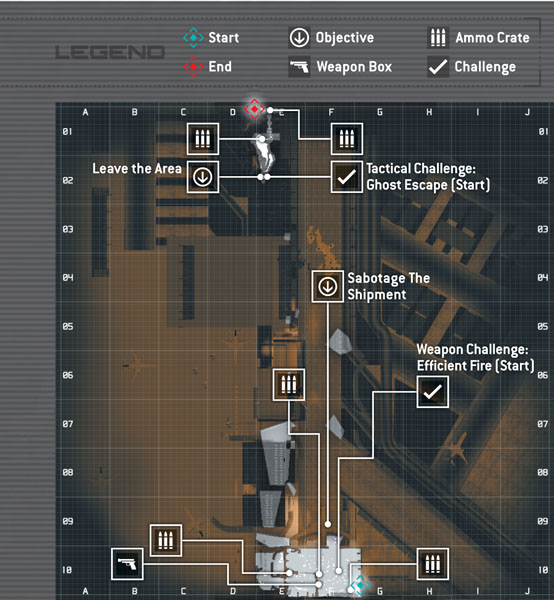
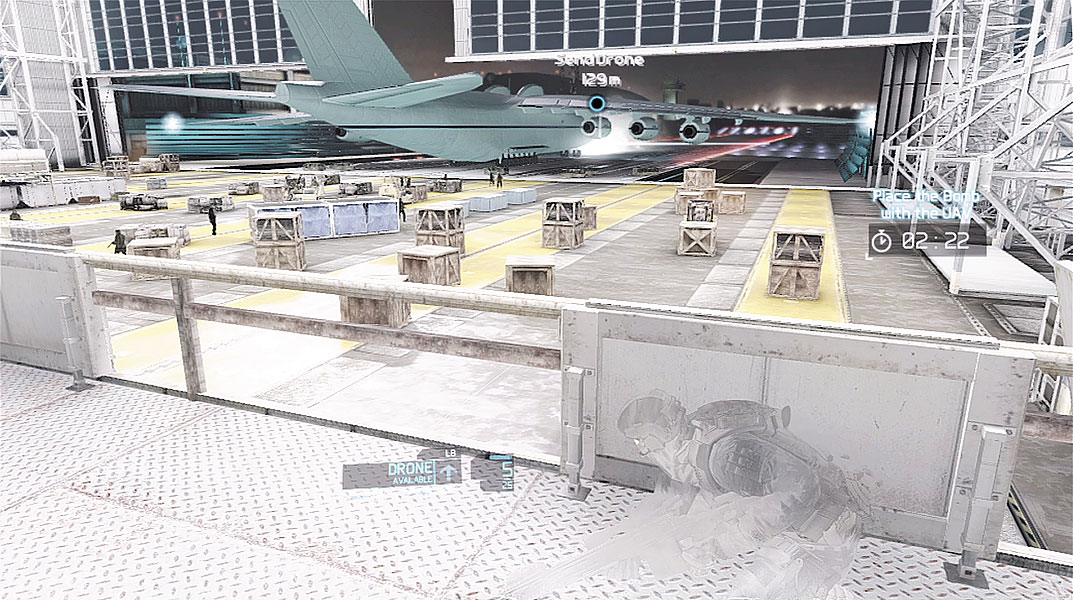
After passing through the blast door, activate your Optical Camo by crouching. Follow your team up a series of steps to enter another hangar filled with hostiles. There’s an ammo crate near the top of the stairs you can visit to replenish your ammo and grenades. Take cover along the low catwalk overlooking the hangar. You can worry about the enemies on the floor later. For now, you need to get a bomb aboard the cargo plane as it taxis out of the hangar. You have exactly two and a half minutes to complete this task before the hangar doors close and the cargo plane gets away. For this mission, your UAV has been fitted with a small bomb. So get the UAV into the air and chase after the cargo plane as it pulls away. Fly the UAV through the hangar door and toward the cargo plane’s starboard wing, which is marked with a waypoint marker. Close in on the waypoint marker until Ghost Lead announces that the bomb is on target. At this point you lose access to the UAV.
Tactical Challenge: On Board Clean
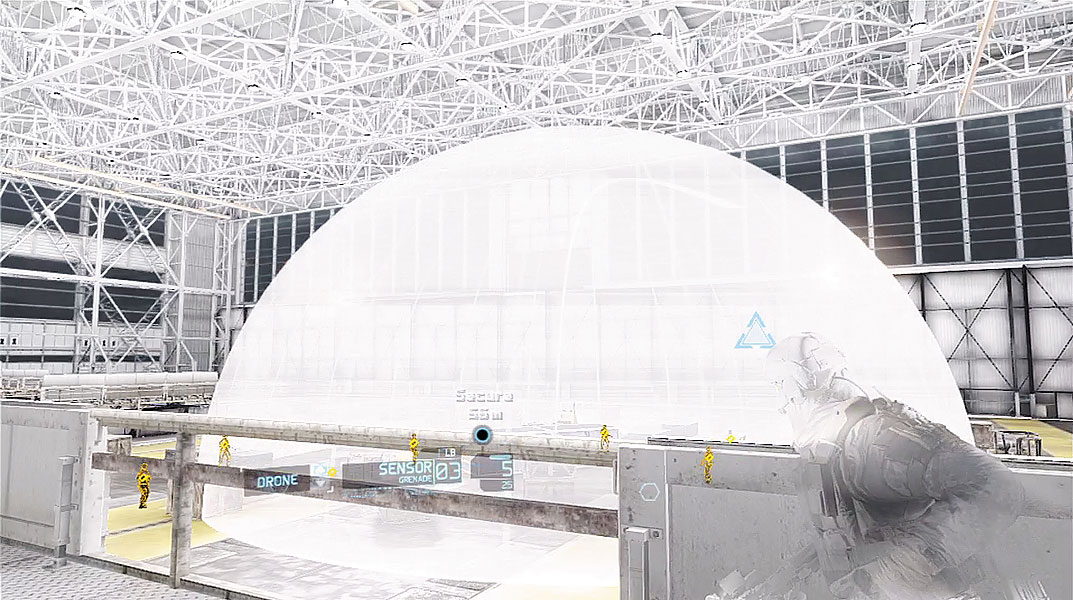
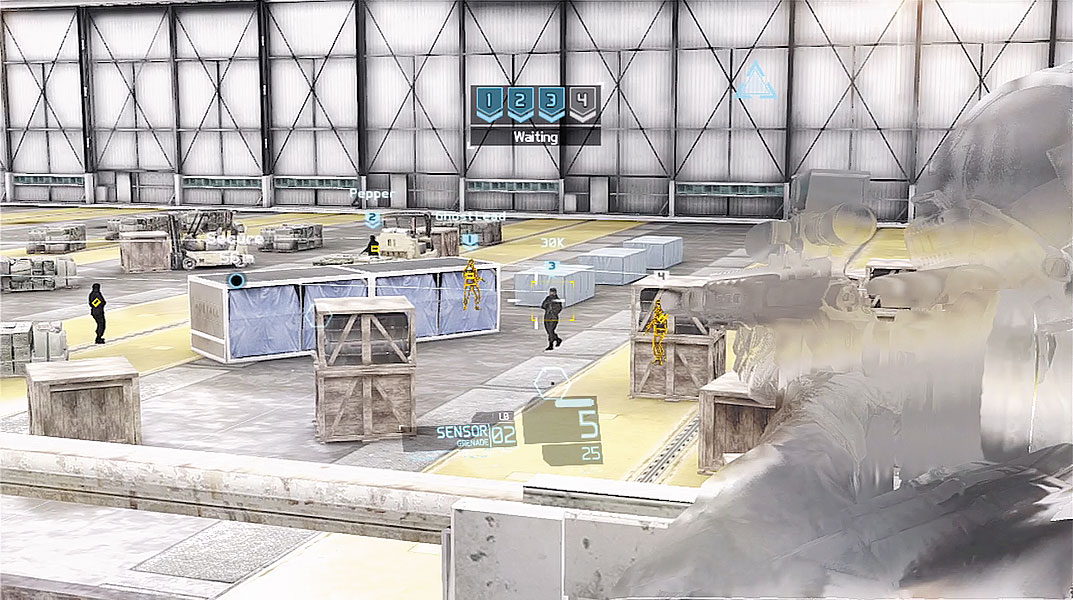
Now that the mission’s key objective is completed, you don’t have to worry about tiptoeing through the airfield. This is good news, since you won’t get out of this hangar without engaging in a heated firefight. As the hangar doors close, take inventory of the threats on the floor below. To better monitor the resistance, deploy a few Sensors. There are eight riflemen on the hangar’s floor. You can’t take them all out, but set up a sync-shot to begin your attack—it makes little difference which four enemies you take out first. By simultaneously eliminating four of the hostiles, your team cuts the enemy number in half. As the word “Engaged” appears the top of the HUD, duck behind cover and plan your next shot while issuing focus-fire orders on the remaining hostiles. As the firefight begins, watch for more hostiles rushing in from the left side of the hangar. Deploy more Sensors to keep tabs on the new targets—if you need more Sensors you can acquire them from the nearby ammo crate.