Tom Clancy's Ghost Recon Future Soldier Guide Walkthrough Silent Talon
Engage and Destroy Forward Base
Engage and Destroy Forward Base
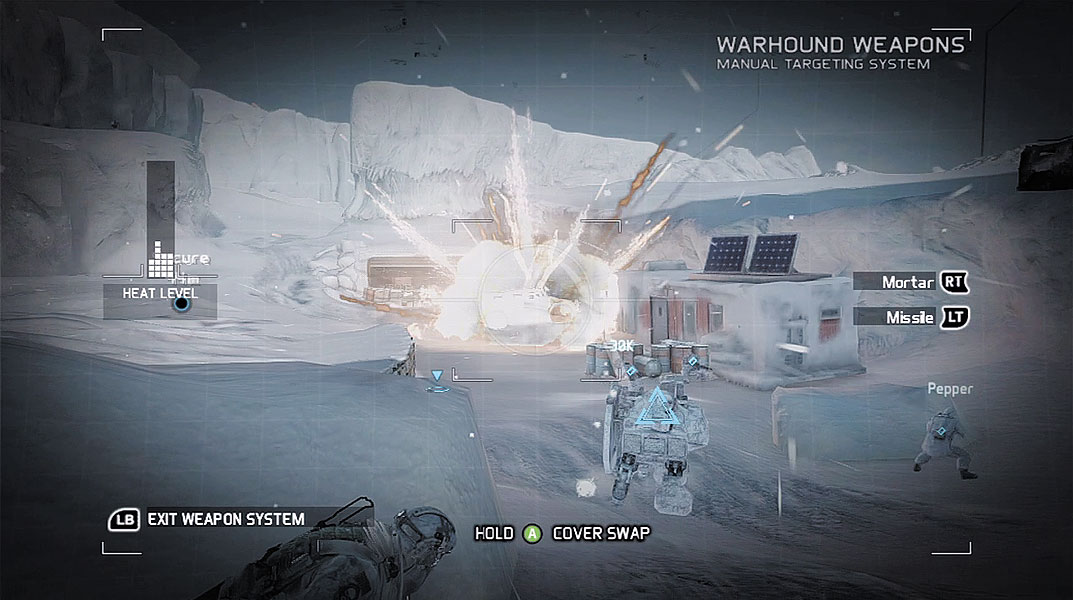
Beyond the fallen commo array is a small supply depot. As the Warhound leads the way, your team comes under attack by several vehicles, including two GAZ-66 trucks full of infantry. Immediately take cover, then access the Warhound. Target the GAZ-66 trucks first before they can unload their troops. While the Warhound’s mortar is sufficient for taking out these vehicles, guided missiles are very effective, too—it takes only one guided missile to destroy each vehicle. More infantry and vehicles attack from the distant pass and cliff side. Hammer the infantry with mortar rounds, then take out the vehicles with guided missiles. Hold behind cover until you’re certain all hostiles are down at the supply depot.
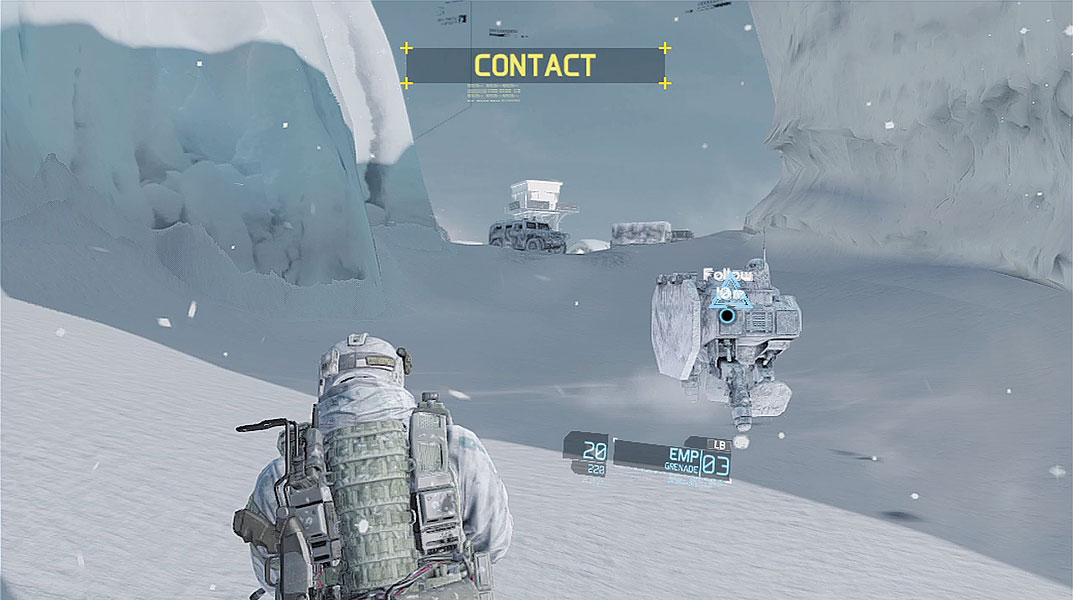
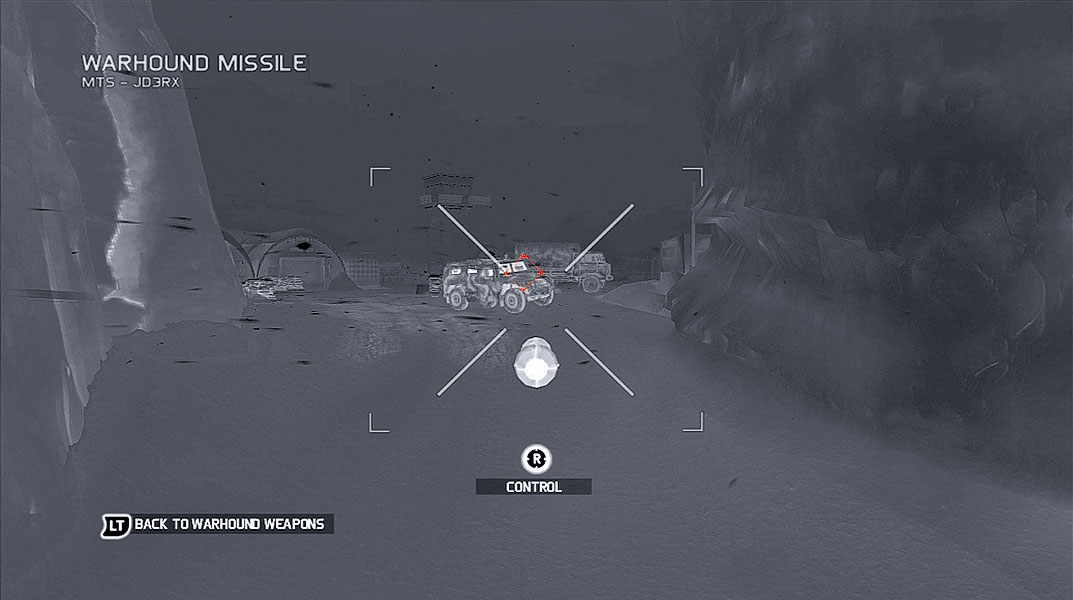
As the Warhound ascends the nearby slope leading to the forward base, a hostile GAZ-2330 pulls into view. Facing off against a hostile vehicle while traversing this open terrain is dangerous. So rush behind the Warhound for cover and engage the vehicle. You can take cover behind Warhound just like any other solid object. Now access Warhound and target the enemy vehicle with a guided missile. Follow up by firing some mortar rounds at any hostiles who may have exited the vehicle. The path to the forward base is now clear. But the enemy is ready for you. You’ll need to assault with overwhelming force and aggression to overcome the loss of the element of surprise.
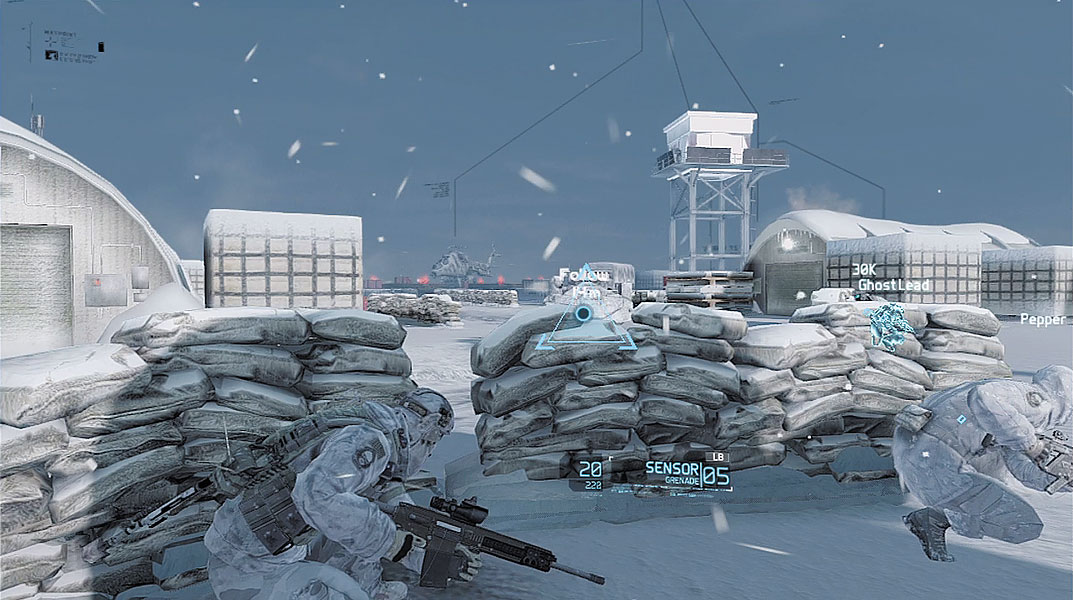
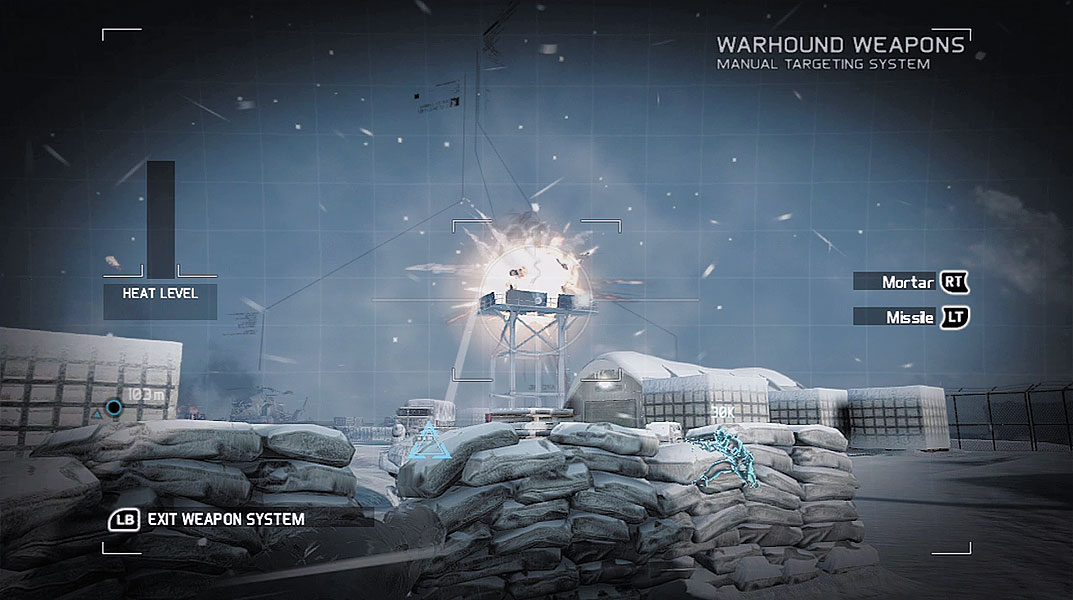
Sprint toward the forward base, and take cover behind the low sandbag wall on the perimeter. An Mi-24 Hind attack chopper can be seen in the distance, parked on a helipad—don’t let it take off. Access the Warhound and immediately launch a guided missile toward the chopper—one hit prevents the Hind from taking off. After neutralizing the Mi-24 with a guided missile, focus the Warhound’s attention on the enemy infantry scurrying about. Target the enemy troops with the Warhound’s mortar. Don’t let the intense action make you overheat the mortar. Fire the mortar at a steady and even pace, engaging one target at a time.
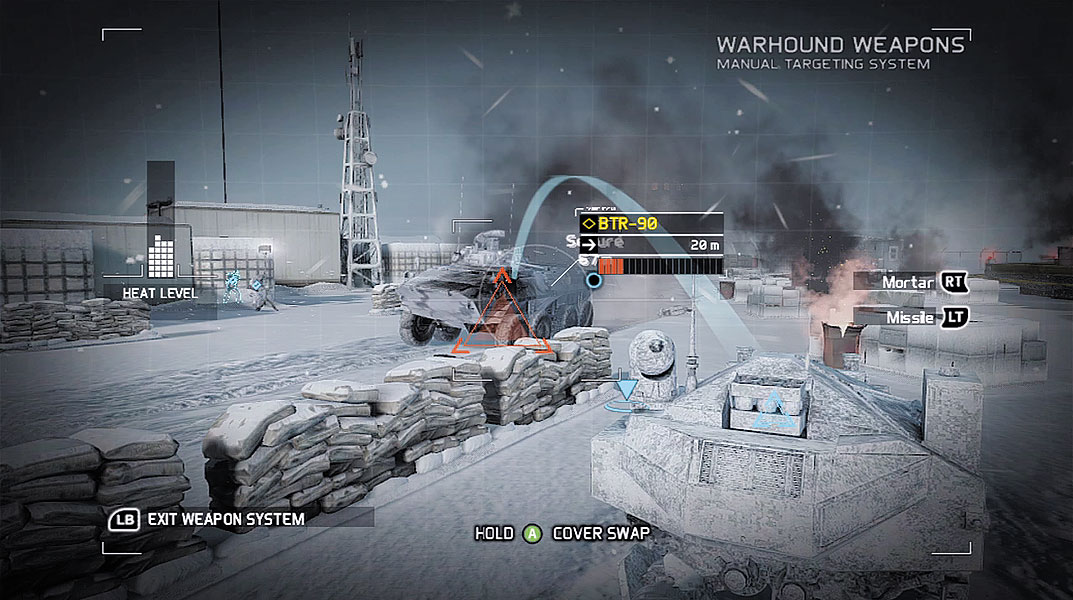
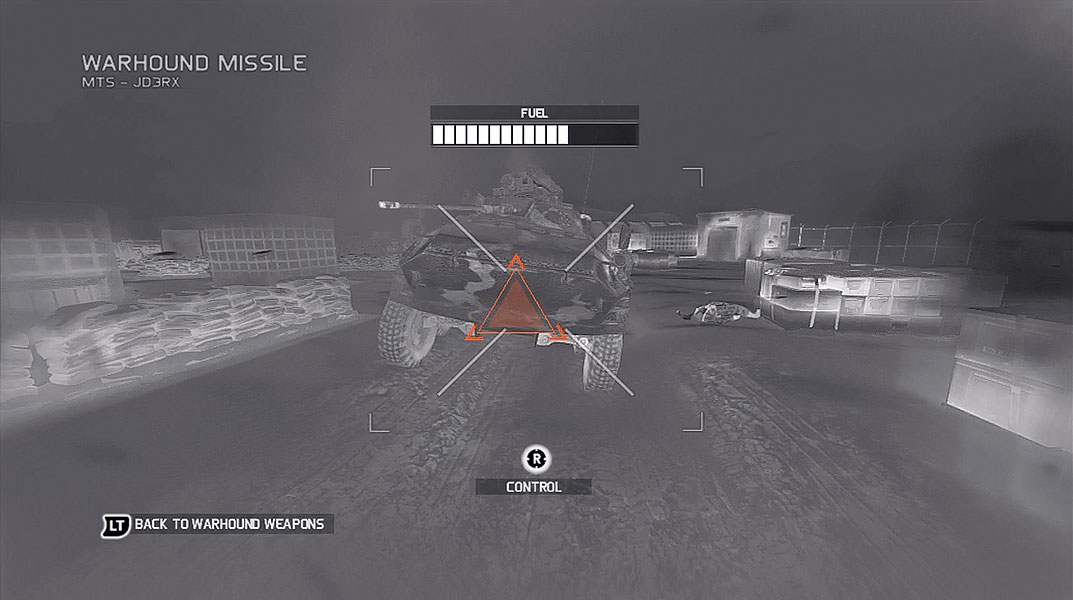
The Warhound automatically moves into the forward base during the attack. While enemies are still visible, stay behind cover. But when you can’t spot enemy activity, cautiously advance toward the Warhound’s position. Even if you can’t see enemies, always assume a threat is present. Use the swap cover feature to advance, sprinting from one piece of cover to the next. If you can’t find suitable cover, remember that you can also take cover behind the Warhound. Eventually a BTR-90 rolls into view in the center of the forward base. This Armored Personnel Carrier (APC) is like a miniature tank, covered in thick armor. Start by hammering the enemy vehicle with two guided missiles fired from the Warhound. But these only damage the BTR-90. If necessary, scramble to new cover as the BTR-90 continues its advance. But it’s best to keep up the pressure, hitting the BTR-90 with a constant barrage of mortar rounds until it explodes. Beyond the BTR-90 is another GAZ-2330 parked in the middle of the forward base. If you can’t spot the GAZ-2330 from your current position, simply launch a guided missile. While steering the guided missile through the camp, locate the enemy vehicle and pilot the missile directly into it.
Enemy Profile: BTR-90
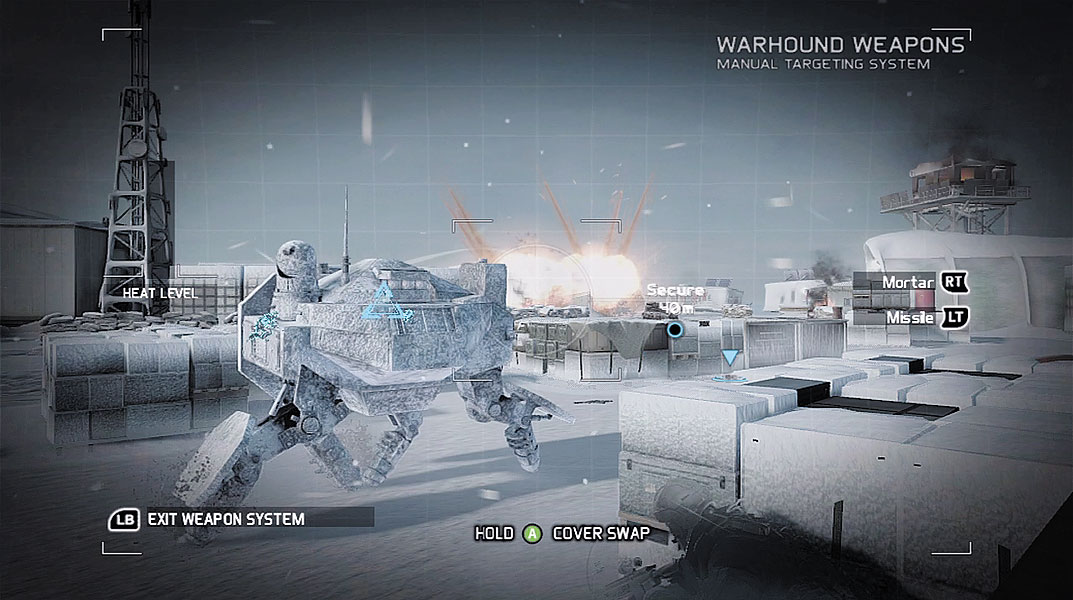
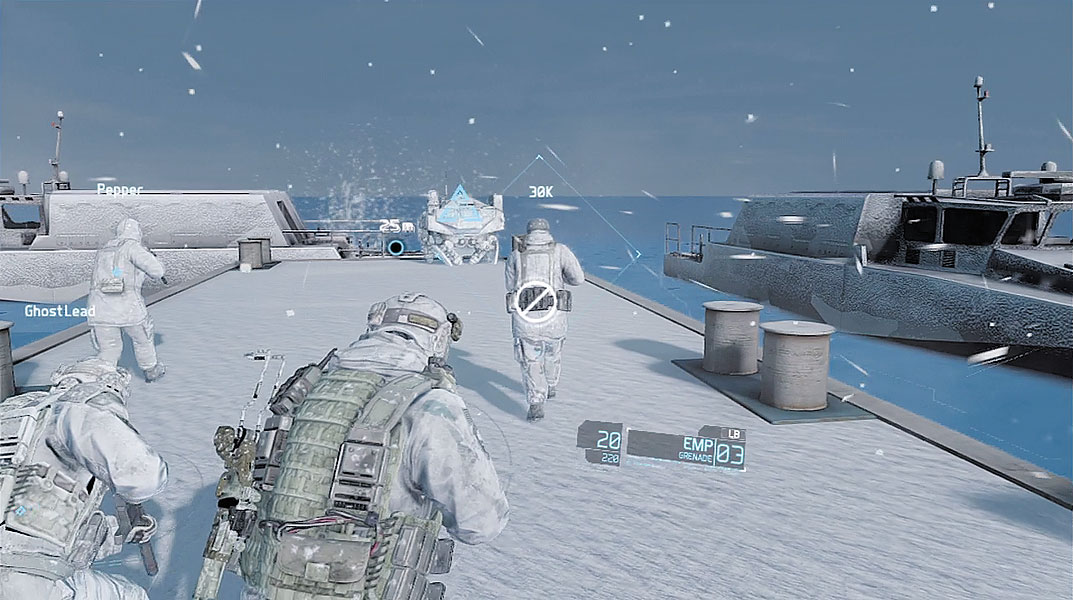
Help your team mop up the remaining enemies at the forward camp, utilizing the Warhound’s mortar to clear a path. As the Warhound moves ahead, you need to keep up to establish a line of sight with the new enemy contacts. Always use the cover swap feature when moving. There are several stacks of crates near the helipad that offer excellent cover during the final stages of the assault. By taking cover near the helipad you can get a clear view of the remaining hostiles and therefore engage them with the Warhound’s mortar. When the word “Clear” appears at the top of the HUD, all enemies at the forward base have been neutralized.
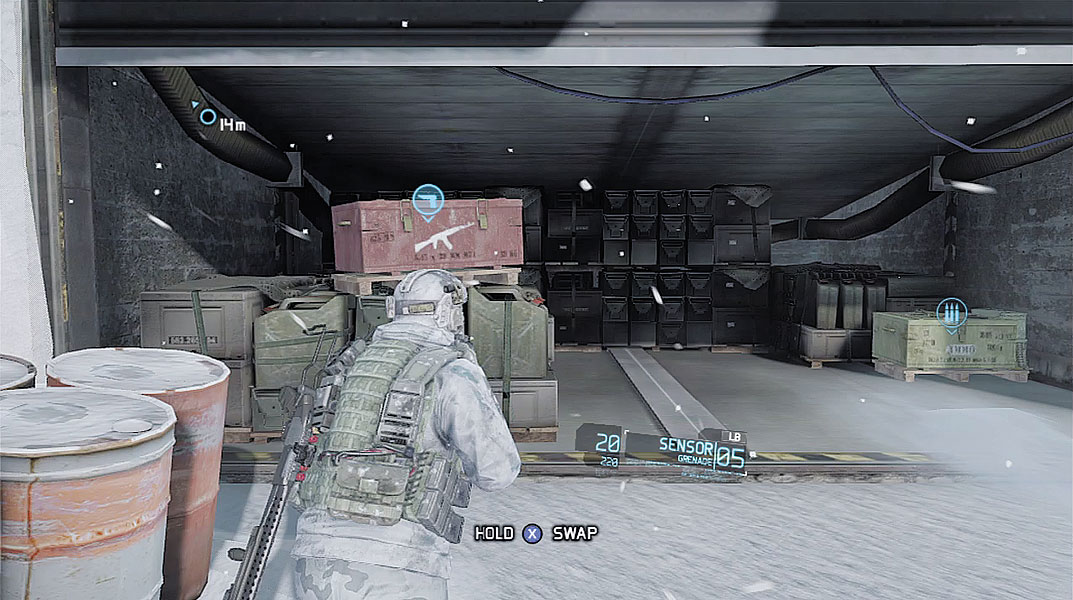
The Warhound automatically advances to a nearby dock, where a boat is waiting to take your team to a hardened submarine pen. Regroup with the Warhound to begin the boat ride to the target area—there isn’t much left at the forward base, with the exception of an ammo crate. You can always stock up on supplies when you reach the sub pen.