
Tom Clancy's Ghost Recon Future Soldier Guide Walkthrough Ember Hunt
Reach Georgian Unit
Reach Georgian Unit
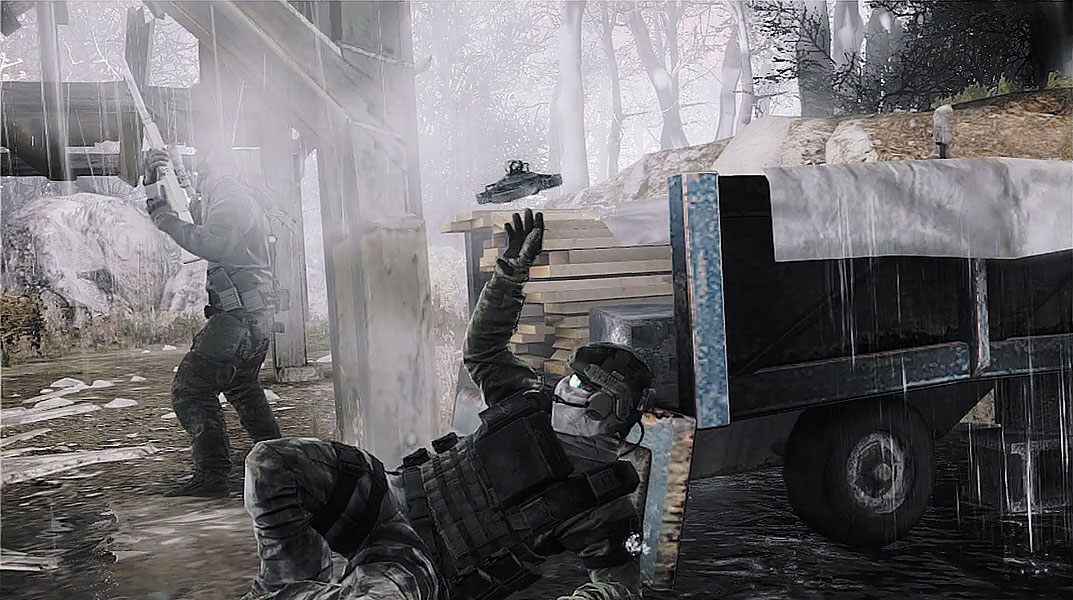
An attempted nuclear missile attack on London has the international community on edge. Public panic has been avoided by declaring the incident a “satellite collision.” The missile defense shield was capable of rendering the nuclear warhead inert, but the falling debris resulted in multiple civilian casualties on the ground. If an incident like this happens again, it will be difficult to keep things under wraps. The missile launch site has been traced back to Dagestan. Initially, Georgian Special Forces were tasked with investigating. But the Georgian spec-ops team has been out of contact. Overlord confirms that some members of the Georgian team are still alive, but they’ve been unable to establish contact. Russian troops, possibly affiliated with Raven’s Rock, have been spotted searching nearby.
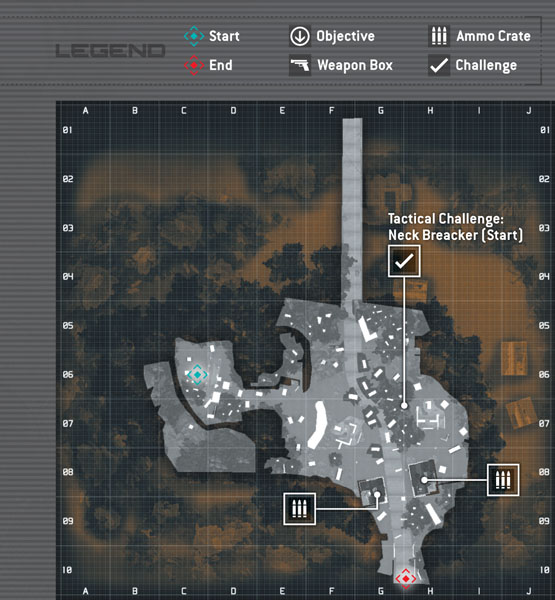
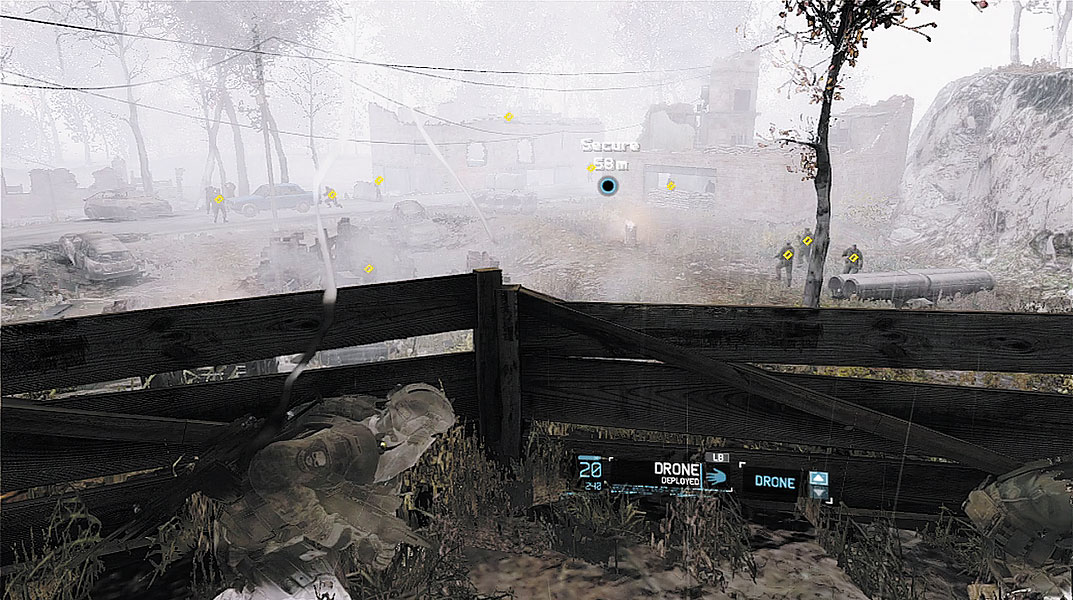
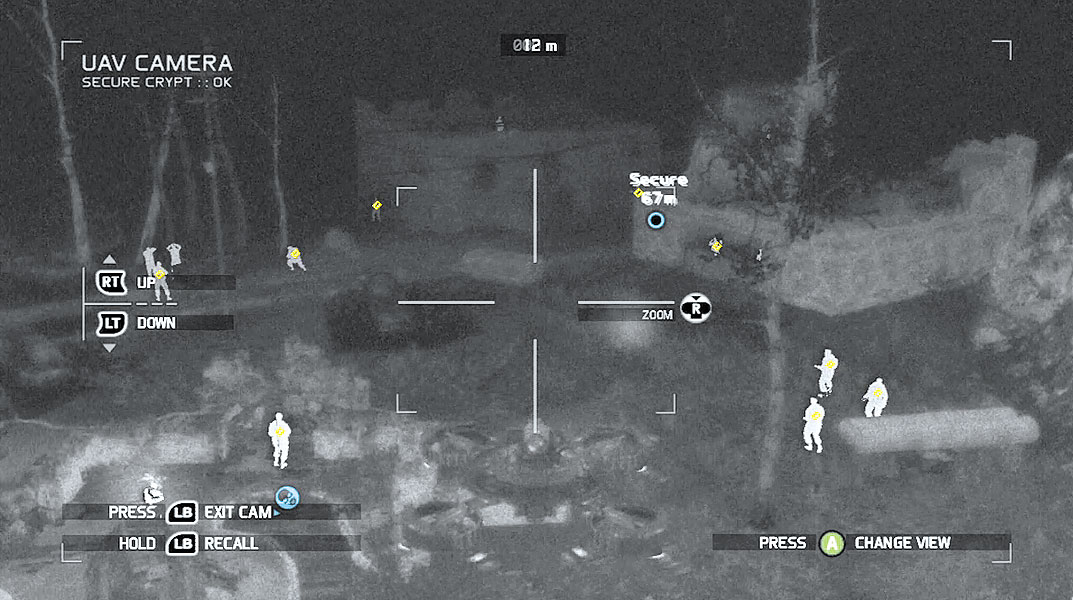
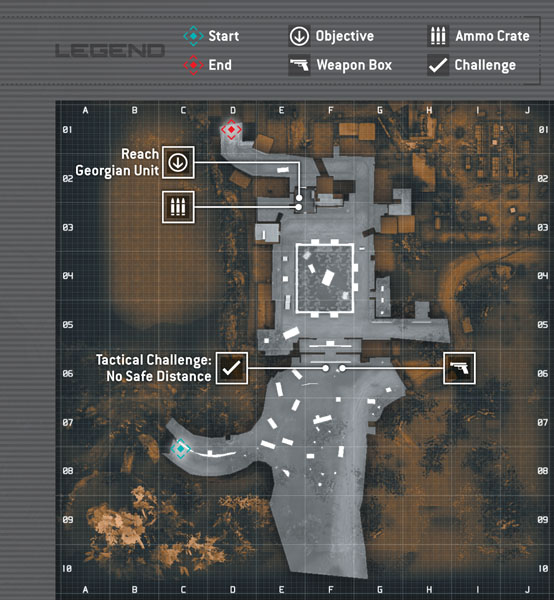
From the insertion point, remain crouched to keep your Optical Camo active while creeping toward the distant waypoint marker. Along the way, the word “Contact” appears across the top of the HUD, indicating enemies have been detected. Keep moving toward the waypoint and take cover behind the wooden fence. From this elevated position, you can observe a large number of Russian troops gathered around the ruins of a small bombed-out settlement. Deploy the UAV to get a better view of the area. Most of the enemies are riflemen. But there’s an RPG soldier on the rooftop to the left and a mounted machine gun on the rooftop to the right—you’ll want to take these guys out before a full-blown firefight breaks out. But before devising a frontal assault, consider pushing forward on your own in an attempt to silently eliminate a few hostiles.
Tactical Challenge: Neck Breaker
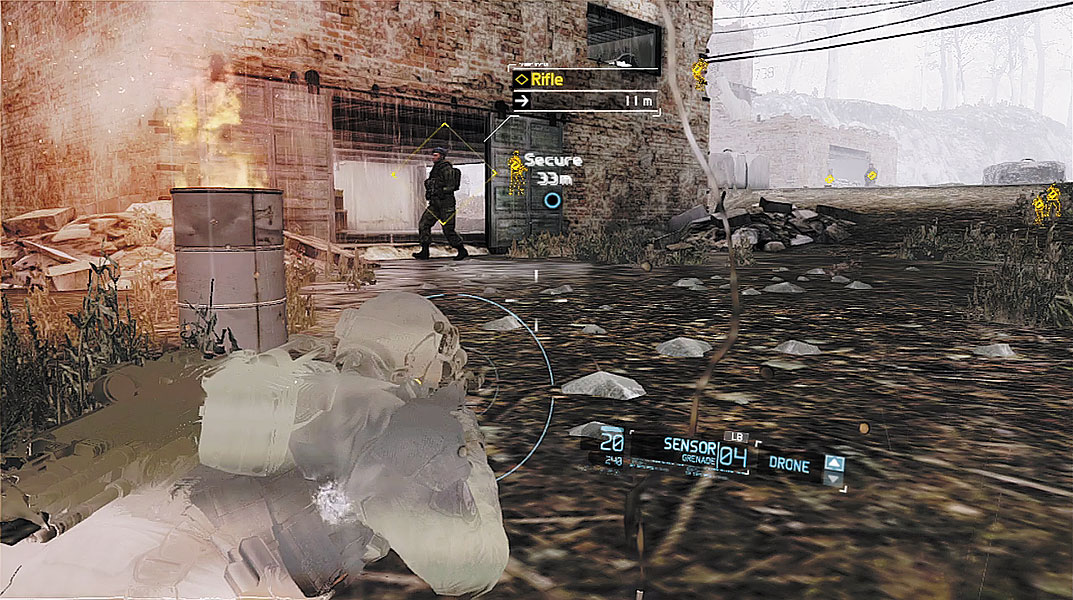
After taking out the patrolling rifleman on the left, avoid the road and creep toward the building where the RPG soldier is positioned. There is another rifleman pacing on the front side of this structure. Get as close as you can to this guy without being spotted. Given his tight patrol pattern, it may be necessary to drop prone and crawl toward him. But when he turns his back, sneak up behind him and perform a stealth kill.
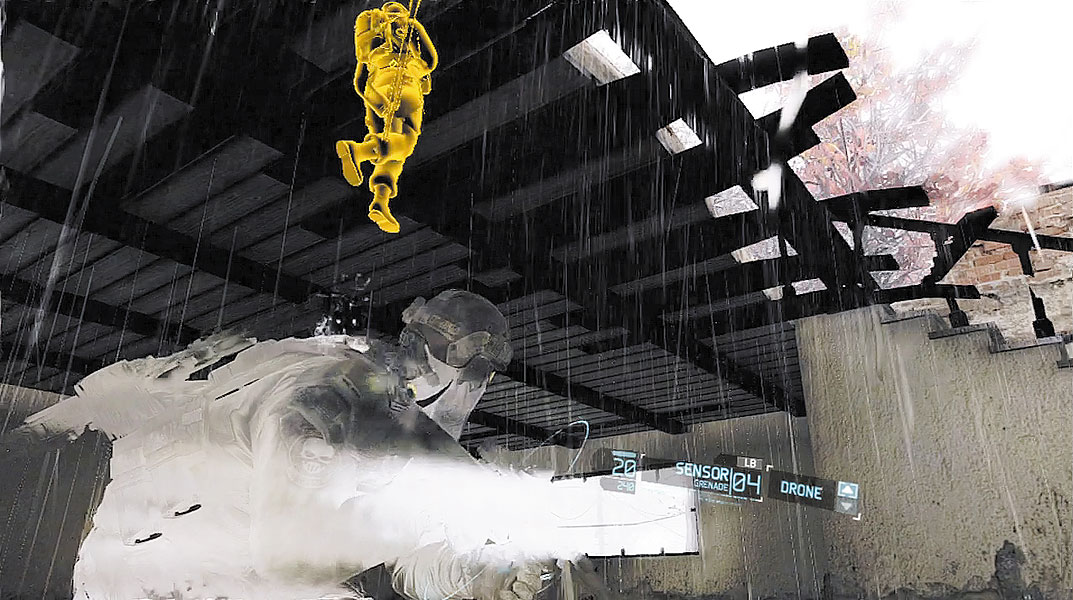
Now enter the building and head upstairs. The RPG soldier is pacing on the rooftop. While on the second floor, glance up at the ceiling to spot the RPG soldier’s position. If the UAV is still deployed overhead, you can see him through the ceiling, appearing as a yellow silhouette. If the UAV isn’t deployed, you can spot this soldier through the ceiling by activating Magnetic view. When the RPG soldier moves away from the staircase leading to the rooftop, creep up the stairs and take him out with a stealth kill. The rooftop is home to an ammo crate, as well as a great view of the mounted machine gun on the neighboring rooftop. Using a suppressed weapon, take out the machine gunner or order one of your teammates to do it. You cannot kill the machine gunner with a stealth kill, as there is no way to climb up to his perch. This rooftop is a good spot from which to stage an assault on the remaining enemies. But, you don’t need to attack yet—there are more stealth kills you can score.
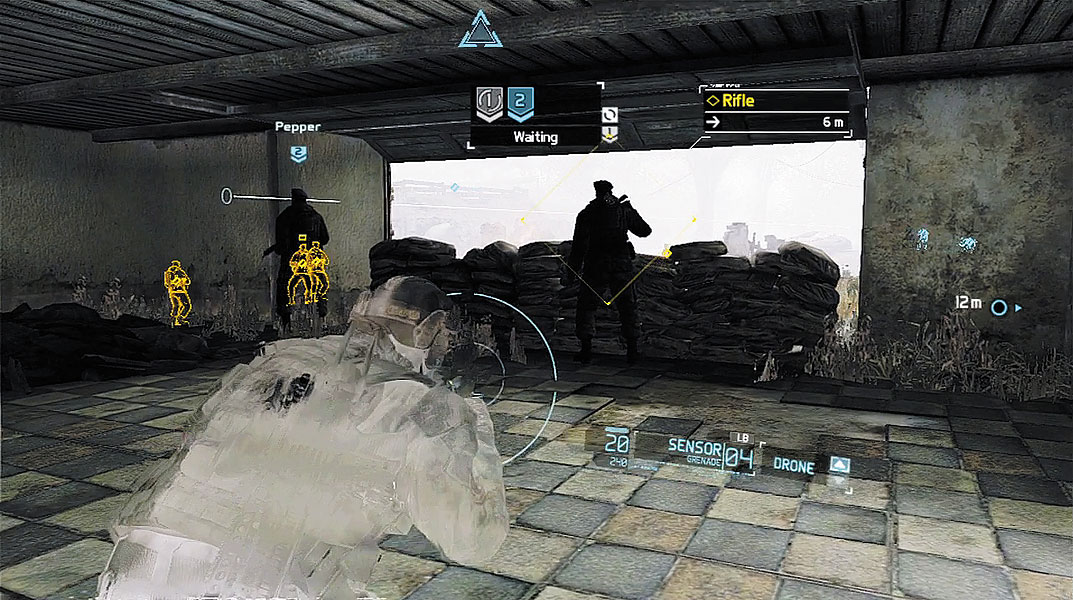
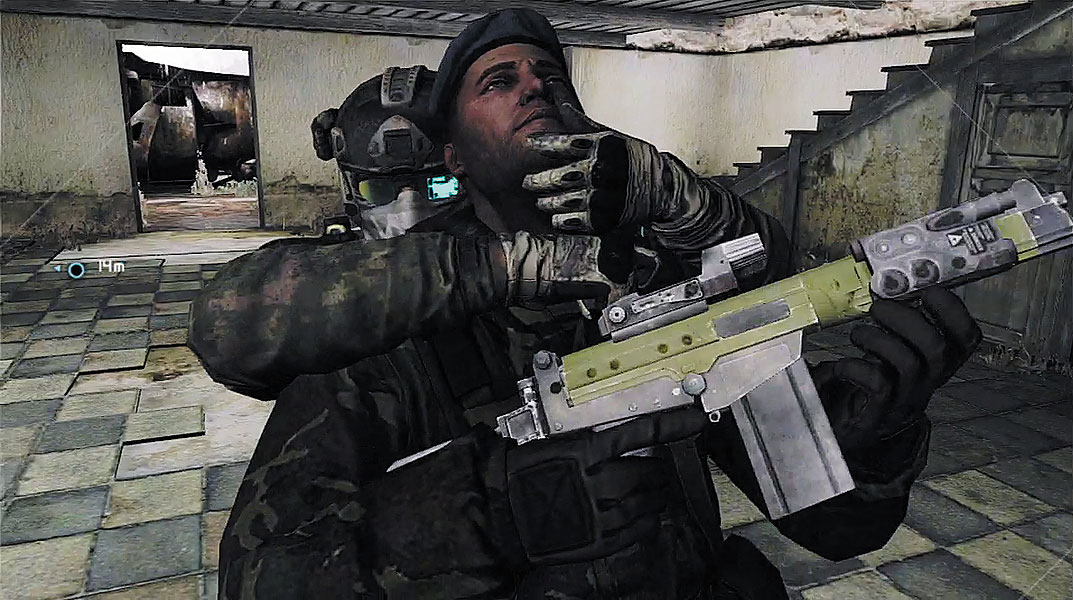
Head downstairs and advance toward the building where the mounted machine gun is positioned. As you exit, notice the one stationary guard standing near the road. Carefully sneak up behind him and take him out with a stealth kill. You can now cross the road and enter the neighboring building where the now-vacant mounted machine gun is positioned. On the first floor, two riflemen are staring out a window, both with their backs turned. Since they’re standing so close to one another, it may be tough to take out one hostile without being spotted by the other. So mark both riflemen and take out one with a stealth kill. The second you perform the stealth kill, one of your teammates shoots the other marked rifleman—you don’t even have to issue the sync-shot order.
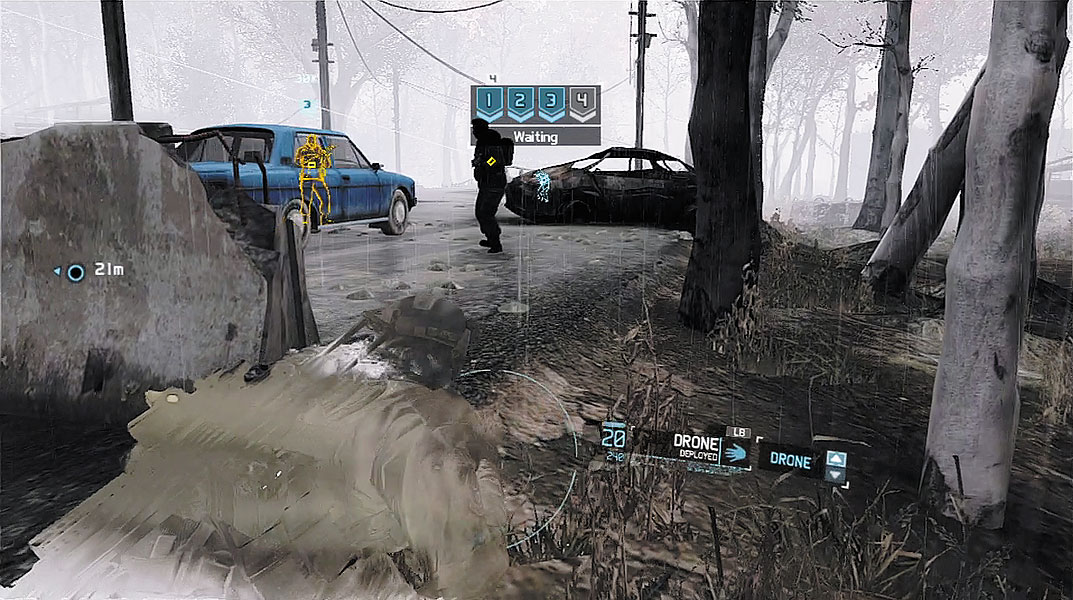
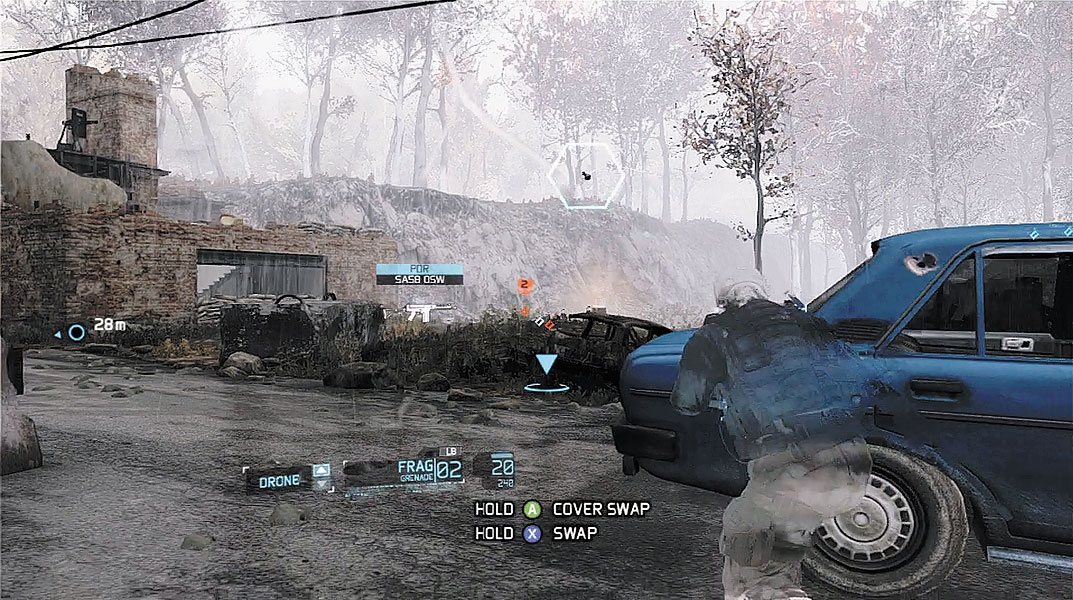
At this point, there are six more enemies in the area—two on the road, and four standing among the ruins. You can easily eliminate the remaining hostiles with a pair of sync-shots. If an alert is raised, you don’t have to worry about reinforcements showing up. So consider sneaking around and trying to eliminate a few more hostiles with stealth kills—if you want to complete the Neck Breaker Tactical challenge, never pass up the opportunity to score stealth kills. Keep nearby targets marked as you stalk your prey. If you run the risk of being detected, immediately issue a sync-shot order to give your team the attack order. Depending on where the bodies fall, an alert may be raised. But no reinforcements arrive—you must simply contend with the remaining hostiles. If the word “Engage” appears on the HUD, forget about being quiet. Find cover and aggressively attack with grenades and unsuppressed weapons while issuing focus-fire orders for your team. Once the area is “Clear,” resupply at one of the nearby ammo crates located in the buildings by the road. Afterward, regroup with your team at the waypoint marker down the road.
Ravine
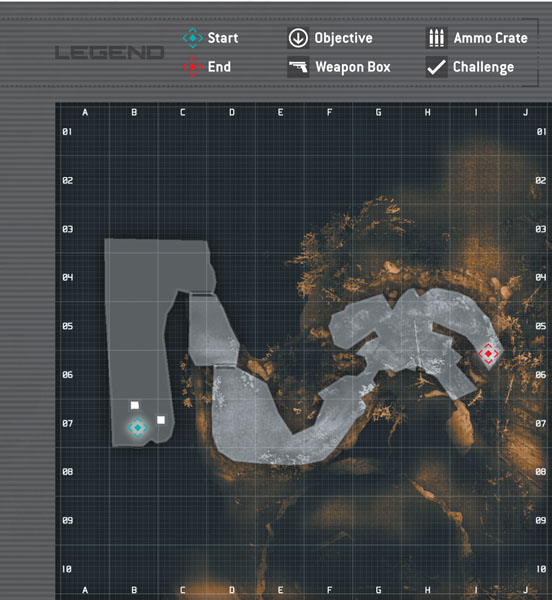
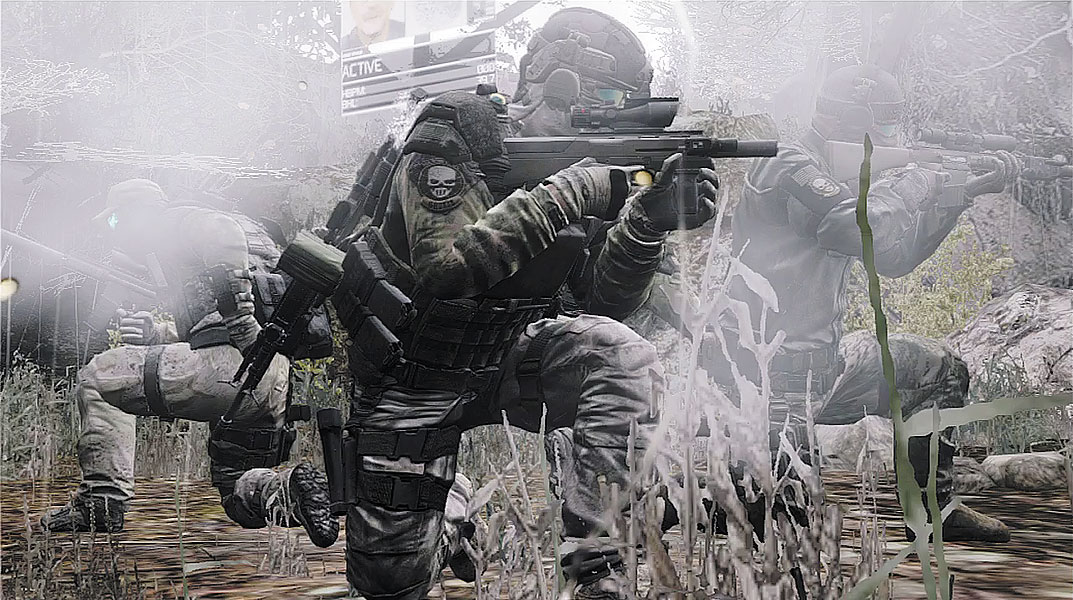
From the road, drop down into the ravine on the left and move to the next waypoint marker. The Ghosts take a short break as Overlord connects the team with the Georgian spec-ops. Sergeant Osadze from the Georgian Special Forces reports in. Osadze is the last living member of his team and he’s surrounded by Russian troops—you need to reach him soon. After speaking with Osadze, advance through the ravine. Along the way, the team encounters a few glitches in their Cross-coms, causing details on the HUD to flicker on and off. Overlord has no solutions but suggests that the terrain may be causing interference.
Rescue Osadze
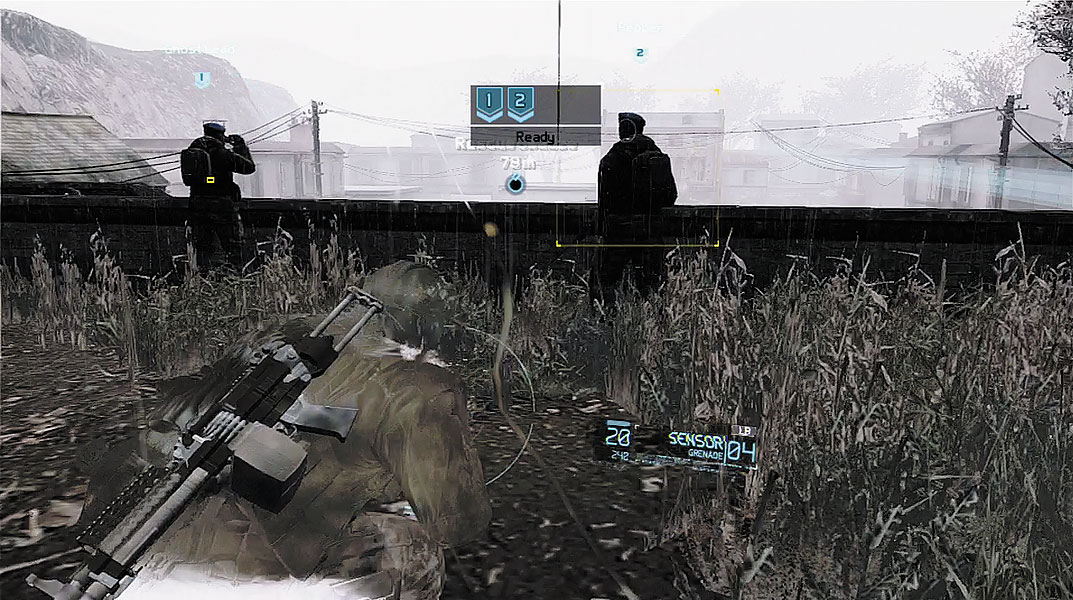
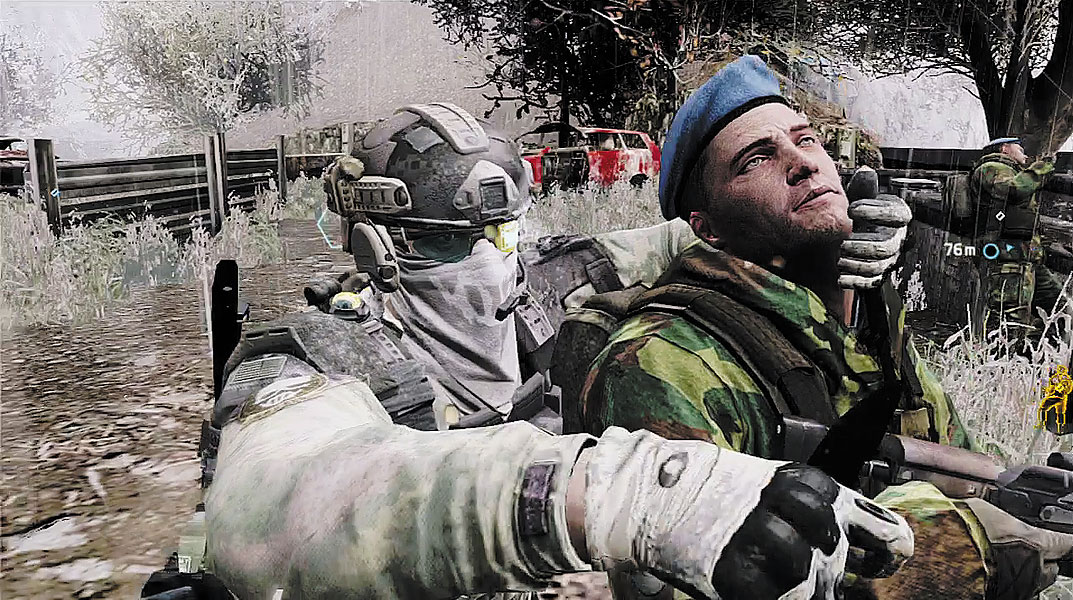
As the Ghosts continue the advance through the ravine, enemy contacts are detected just ahead. At approximately the same time, Sergeant Osadze reports that he’s been discovered by Russian troops—you need to get to him before the enemy does. With your Optical Camo active, creep toward the waypoint marker. Just ahead you can see multiple enemy troops scurrying about. Two of the enemies assume a fixed position on a hill overlooking a courtyard—the enemy on the left is a rifleman and the guy on the right is a sniper. Mark both targets and keep your eye on the rifleman as he peers through binoculars. This enemy occasionally shifts positions. When the rifleman has his back turned to you and raises his binoculars, sneak up behind the sniper and perform a stealth kill—a teammate shoots the rifleman at the same time.
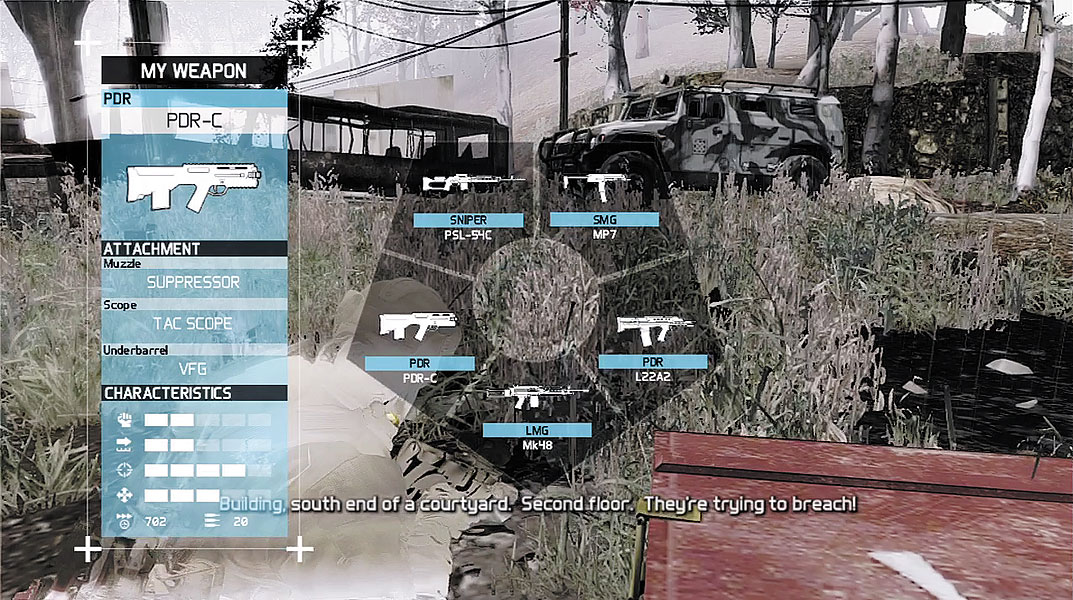
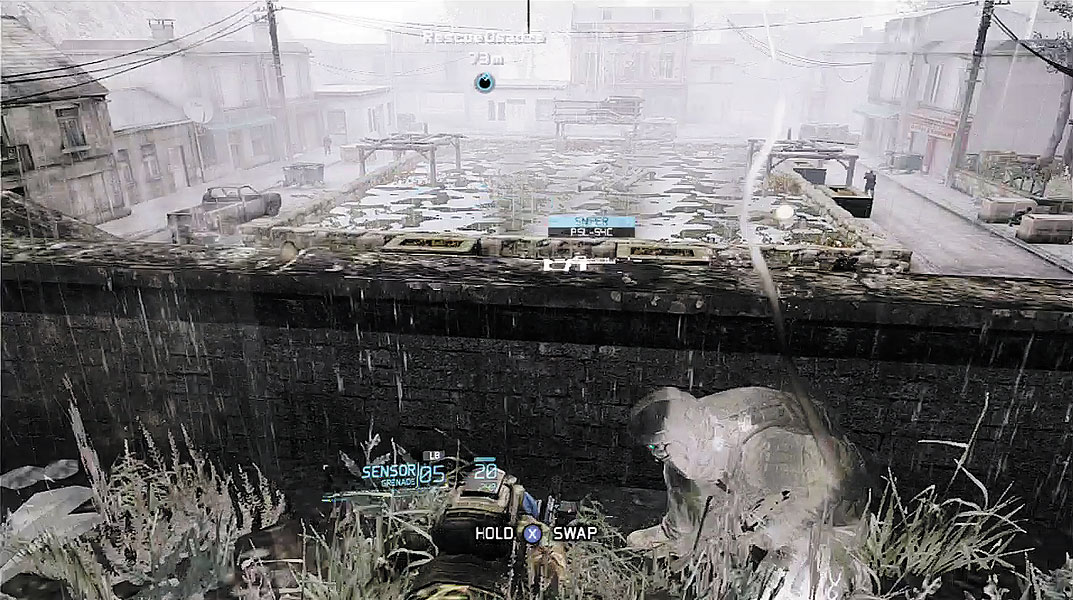
Sergeant Osadze has barricaded himself in a house on the far side of the courtyard. Take cover along the low wall where the sniper was positioned to get a better view of the situation. Osadze is holding off a group of 13 Russian troops. Deploy the UAV to get a better view of the courtyard. Despite the urgency in Osadze’s voice, you don’t need to rush this rescue effort. All of the hostiles currently have their backs turned to your team, making it possible to eliminate all of the enemies with a series of carefully orchestrated sync-shots. Start by marking the three enemies closest to your position. There’s one rifleman on the left side of the courtyard, and two enemies on the right. Order your team to take the sync-shot to eliminate these enemies.
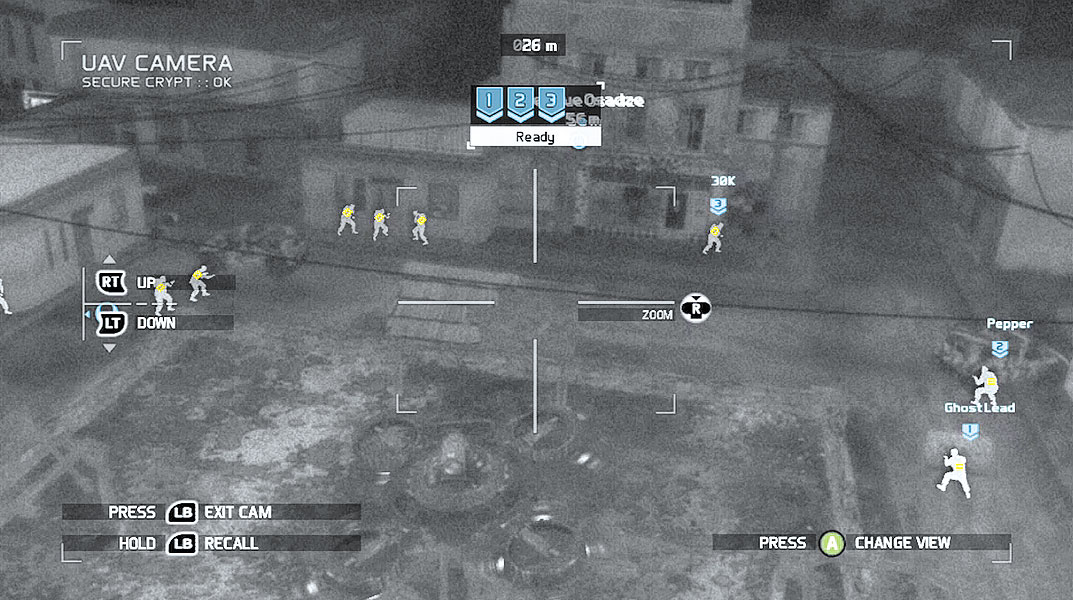
Next, target the three remaining hostiles on the right side of the courtyard—two are standing in the street, and one is pressed up against a building not far from the Osadze’s position. You can kill these three enemies with a sync-shot without alerting the other troops on the left side of the courtyard.
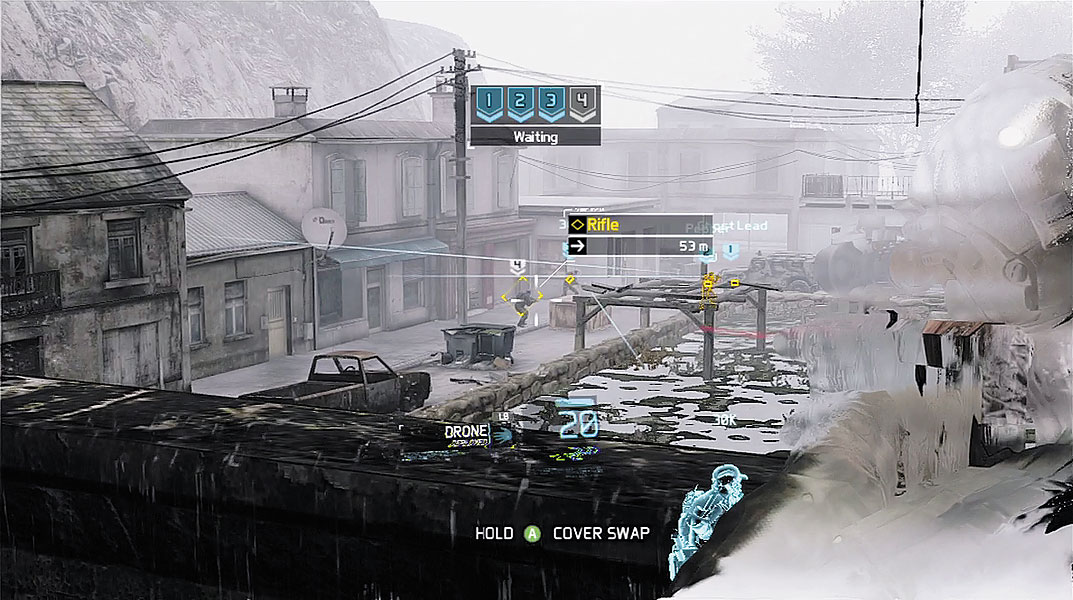
Now swing back to the left side of the courtyard and mark the four enemies in the street—ignore the three soldiers standing next to the house for now. Once your team has acquired their target, exit the UAV view and line up your own shot. If using a suppressed PDR or SMG, aim at the enemy closest to your position. For greater accuracy, you can even creep down into the courtyard to reduce the range to your target. Once you have your target sighted, squeeze the trigger to initiate a sync-shot, dropping all four enemies at once. Now all that remains are the three enemies outside the house where Osadze is holed up. Mark all three hostiles and order your team to take them out with a sync-shot.
Tactical Challenge: No Safe Distance
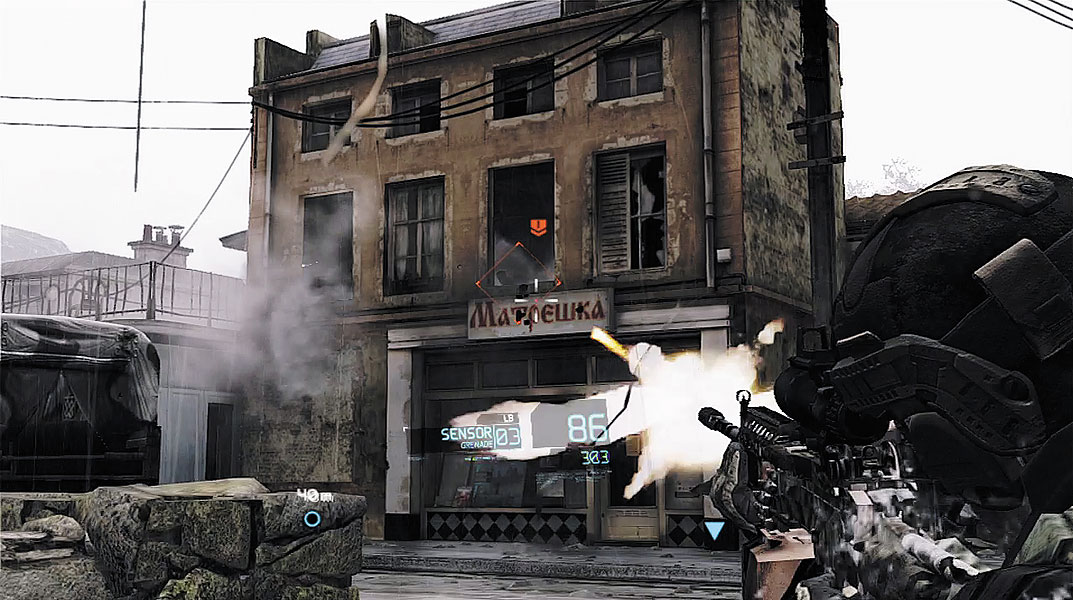
Once the courtyard is clear, cautiously approach the Osadze’s position, which is marked with a waypoint. As you advance through the courtyard, a GAZ-66 truck pulls up near the house and multiple enemy troops pour out. They’re joined by more hostiles appearing on the rooftop of the house and within the second-story windows of the adjoining building—some of these guys have LMGs. When the truck pulls into view, immediately take cover behind the low stone wall running parallel with the street. Toss a Sensor toward the truck to get a better read on each enemy, then open fire. Toss grenades toward the truck and other vehicles in an effort to deprive the enemy of cover. If you have an LMG, you can explode vehicles with prolonged automatic bursts. Watch out for enemies attempting to flank. While your team holds one side of the courtyard, cross to the other side and confront these threats head-on.
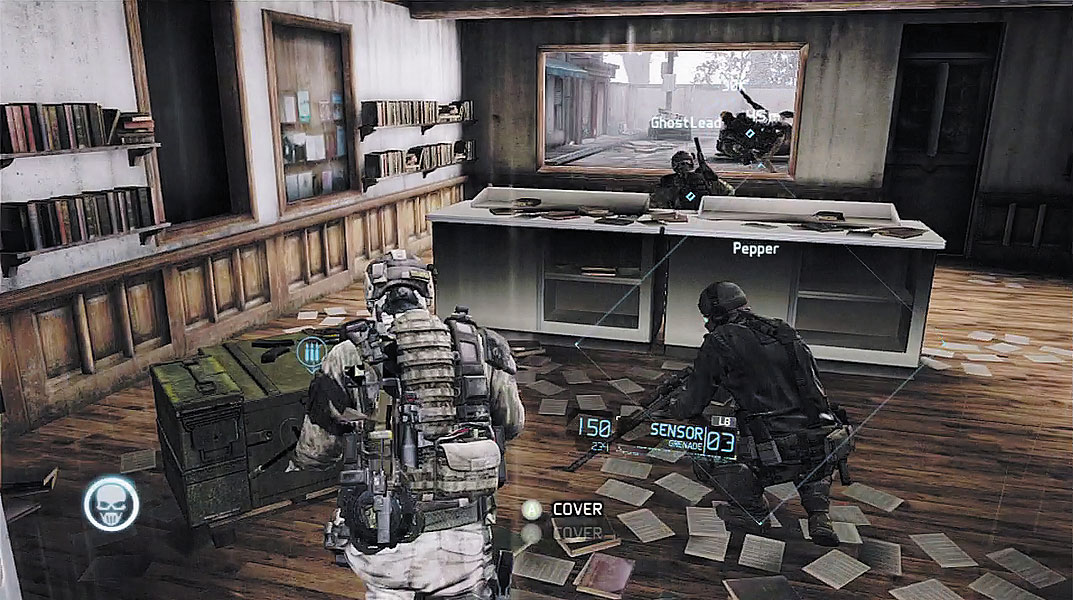
Shortly after wiping out the enemy reinforcements, the sound of squealing tires is heard in the distance, as a vehicle speeds away. When you reach the house where Osadze was hiding, it becomes apparent what just happened—the Russians have taken Osadze captive and driven away with him. Before moving on, interact with the ammo crate inside the house to resupply. Once you’re well stocked with ammo and grenades, follow your teammates by hopping through the window at the back of the house.