
Tom Clancy's Ghost Recon Future Soldier Guide Multiplayer Adversarial
Underground
Underground
Situation Report
A stark reminder of what fear and the threat of nuclear annihilation did to parts of the world, this Cold War relic has survived largely because it was forgotten. New military powers have restarted the operation and the full might of its diabolical construction can be felt along every lengthy tunnel and dusty alcove. Underground is as mechanically rigid in design as one would expect from Cold War construction, which leads to a level that is almost completely symmetrical and utilitarian as can be.
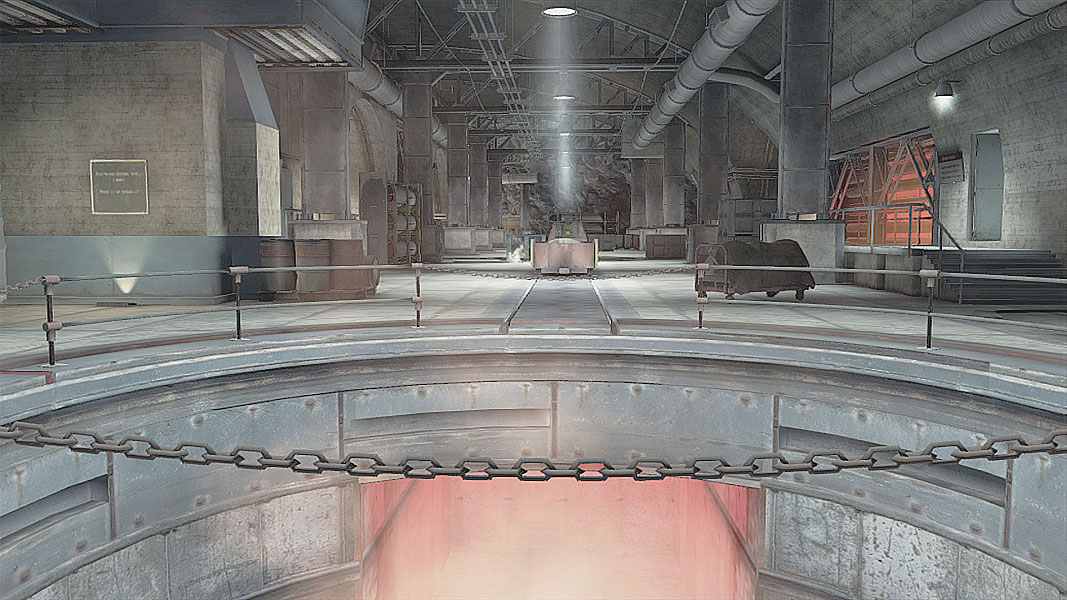
// Spawn Points (Conflict, Decoy, and Saboteur)
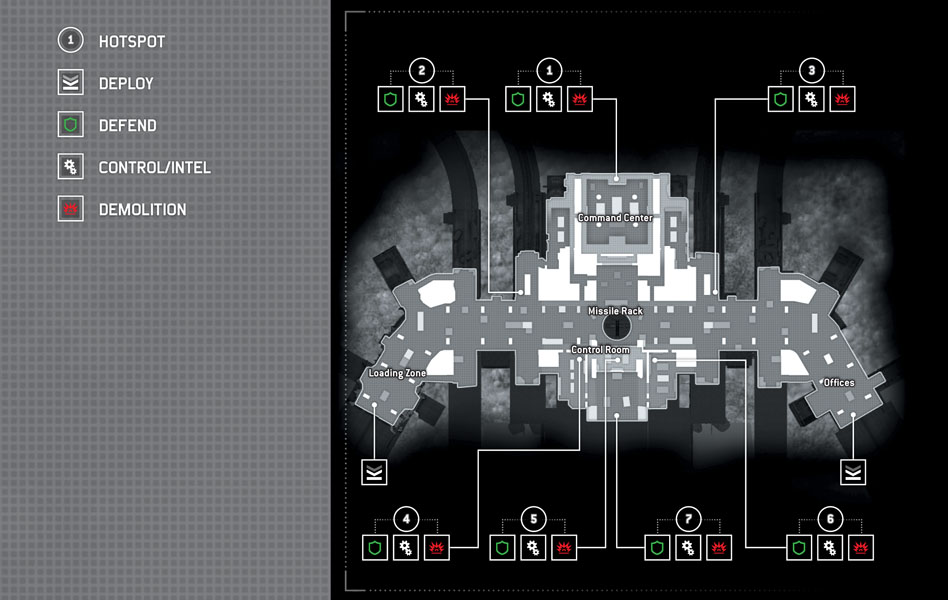
Ghosts spawn in a small alcove adjacent to the Offices a militaristic set of closed rooms leading away from the facility proper. The route to the Command Center and other central areas is littered with these little alcoves that make perfect places to hide and let hostiles slip by. Note the side entrances into both the Command Center and upstairs Control Room. These can be used by both teams to make a more roundabout way into some of the objectives.
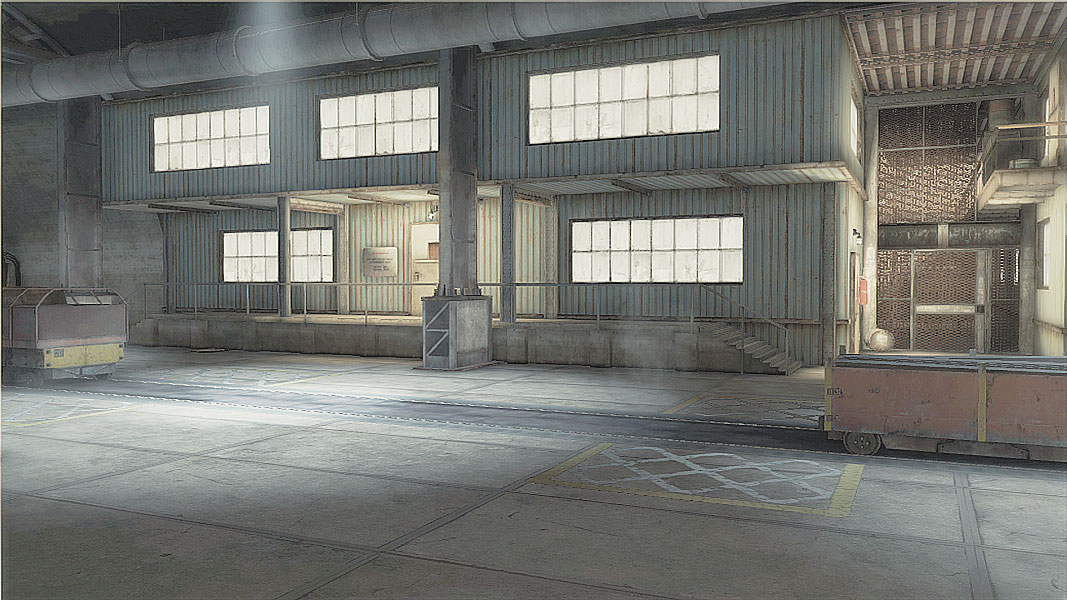
Flip the entire level and the Ghost spawn in the Offices becomes the Bodark spawn in the Loading Zone. Layout-wise, the approach to any of the central objectives is identical, but mirrored. Try to memorize the side routes to head off attacks by the other team that’s attempting the do the same and to cut off any flanking maneuvers.
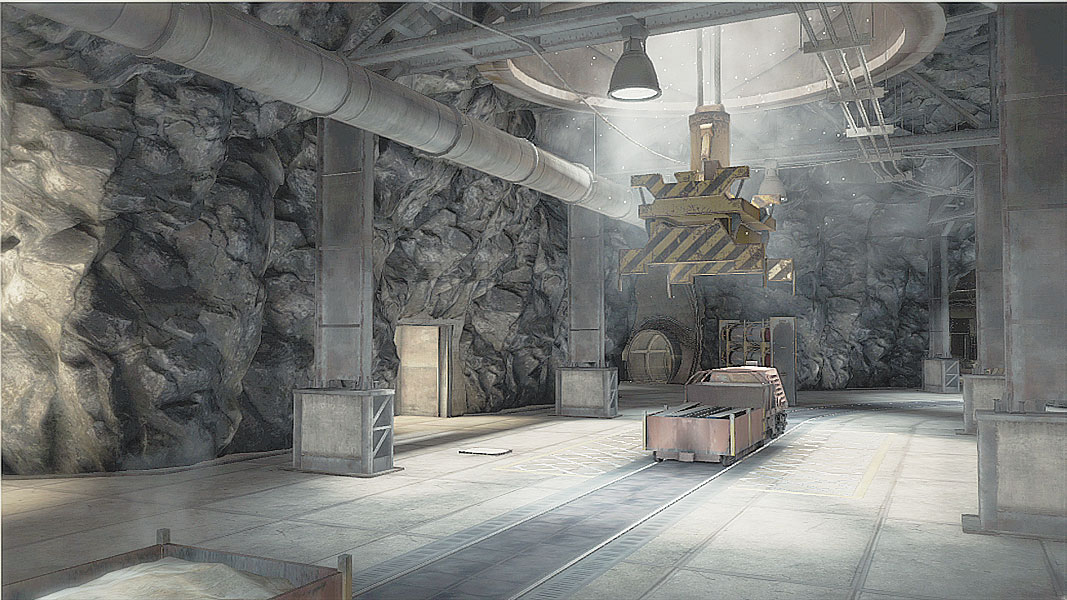
// Points of Interest
Overwatch
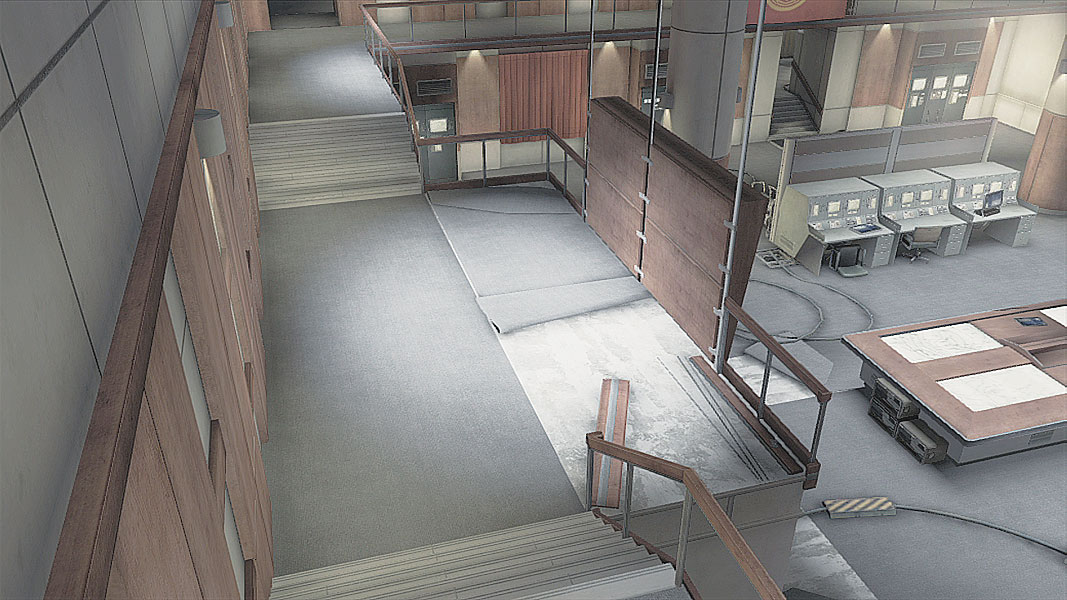
The Control Room overlooking the ever-spinning Missile Rack is a great place to hole up even when there isn’t an objective nearby. There are only two routes in, and although the windows that look out over the areas below are fodder for grenades of every type, the fact that direct attacks must be funneled up the stairs means it’s one of the few areas where you can be certain of enemy routes of entry.
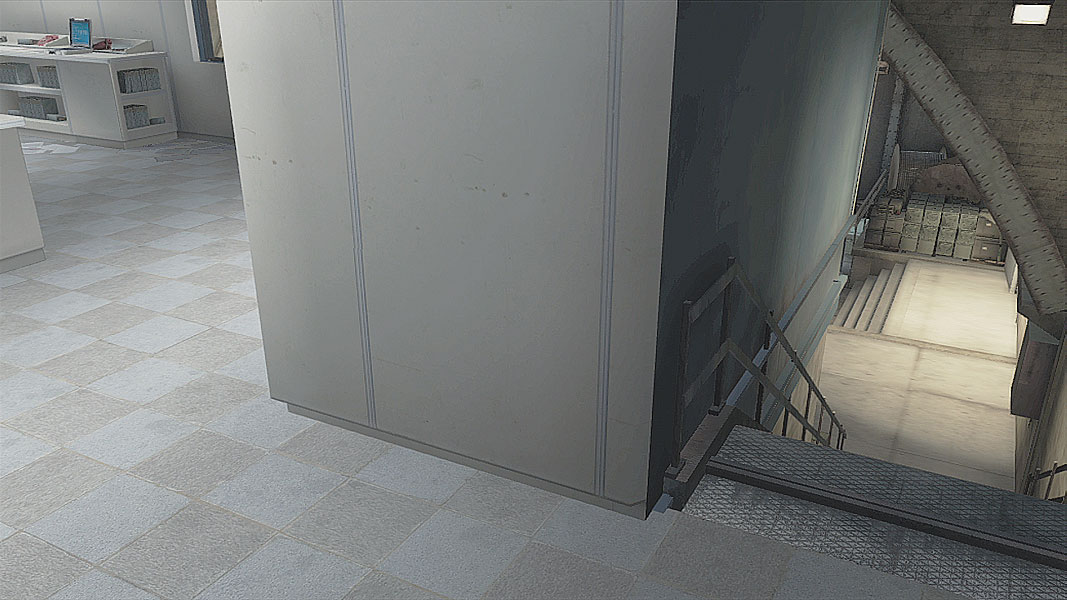
Command Central
The Command Center is the home of an objective, but it’s also a hardy installation in this base that serves as a great place to fall back to when under fire. By using the side rooms’ staircases, it’s also possible to take up a position on top of the Command Center, which is a great spot to snipe. So long as the entrances from those adjacent rooms are covered, this is a surprisingly safe place from which to annoy and eradicate hostile forces.
Side Salad
Both of the other two Points of Interest offer locations that let you and your squad dig in and repel incursions, but they’re flanked by rooms that are rife with cover and ready for ambushes or lures away from the main combat zones. The ones next to the Control Room are in fact objective hot spots of their own, so expect plenty of traffic in and out of these rooms across all the various modes found in Underground.
// Conflict
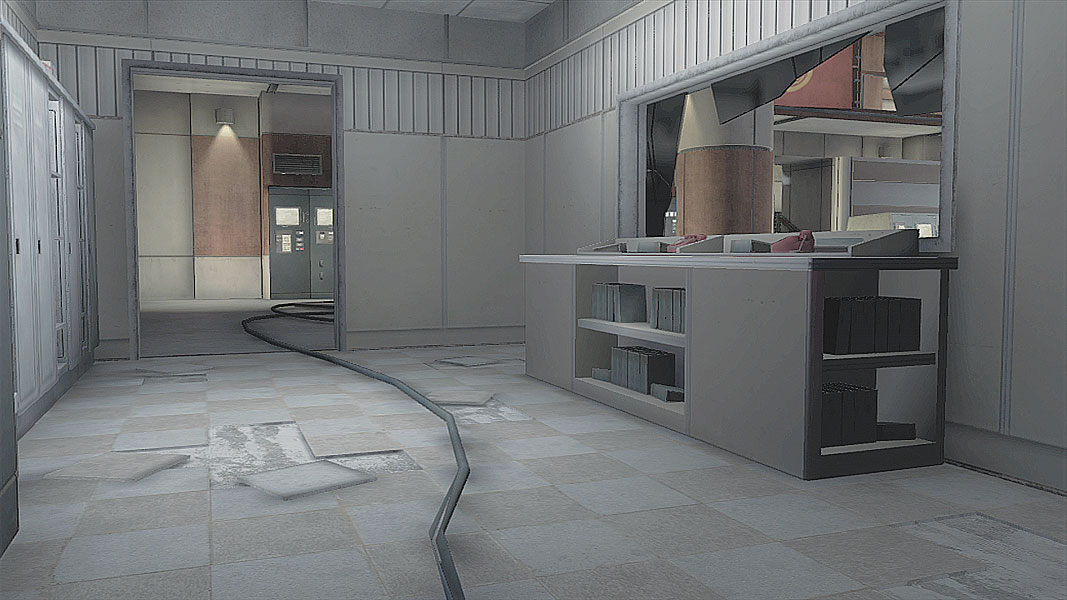
The Command Center’s withering 1960s computer banks and musty shelving aren’t much in the way of proper cover. Grenades can be lobbed through the broken window, and the sides are open to attacks from enemies taking cover on just the other side. The key is to keep any attackers back and occupied by the easy cover along the long tables and computers in the center of the room.
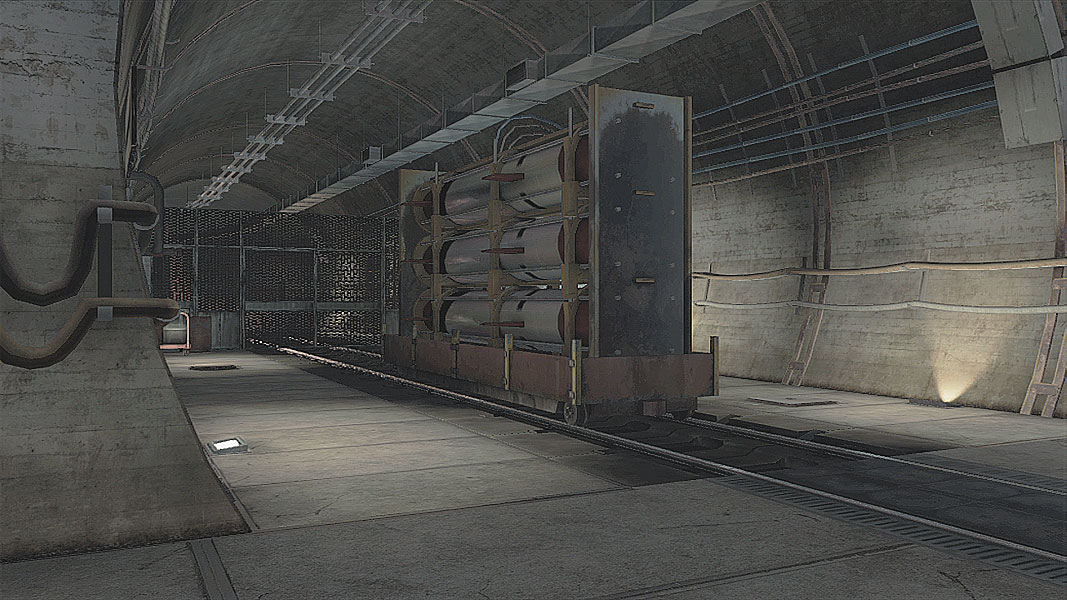
Just a few steps outside the offices that flank the Command Center are twin objective hot spots. The first is to the left of the main area, next to a stationary rack of missiles. Cover here is minimal, and directly behind the objective is a long rail car of cover that defenders can attack from. If your squad can get there first, they have a good chance of overwhelming the defenders before they can get to the player capturing the objective. That person capturing should approach from the back of the missiles to give as much side cover as possible.
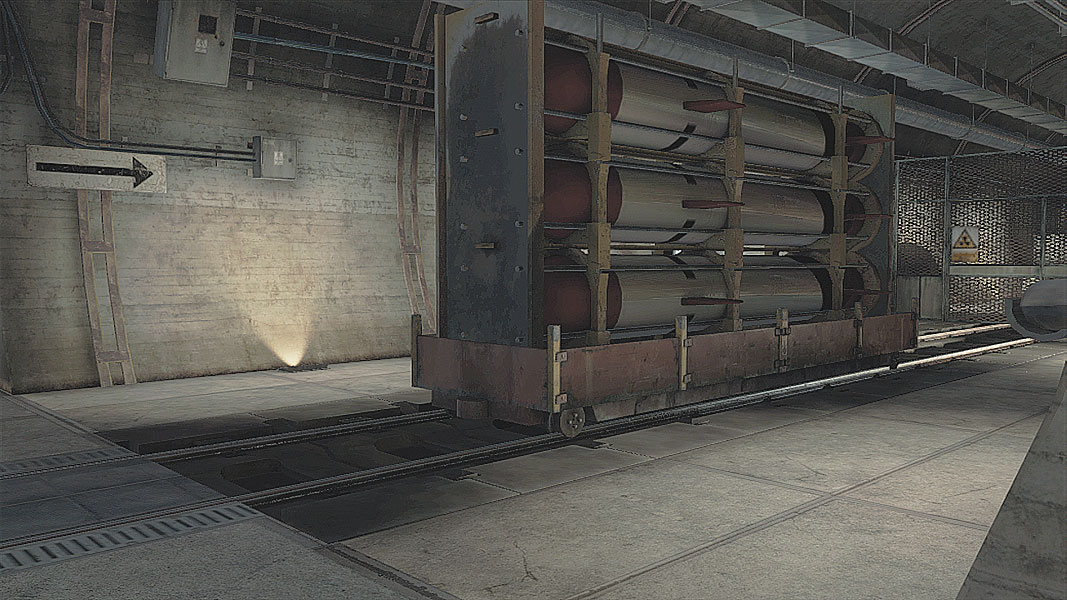
Second verse, same as the first. Hug the right side of the missiles and capture from the rear to ensure there’s a decent amount of flanking cover, and make sure your squad is keeping an eye out for attacks coming from the right and left as defenders try to cut short the capture operation.
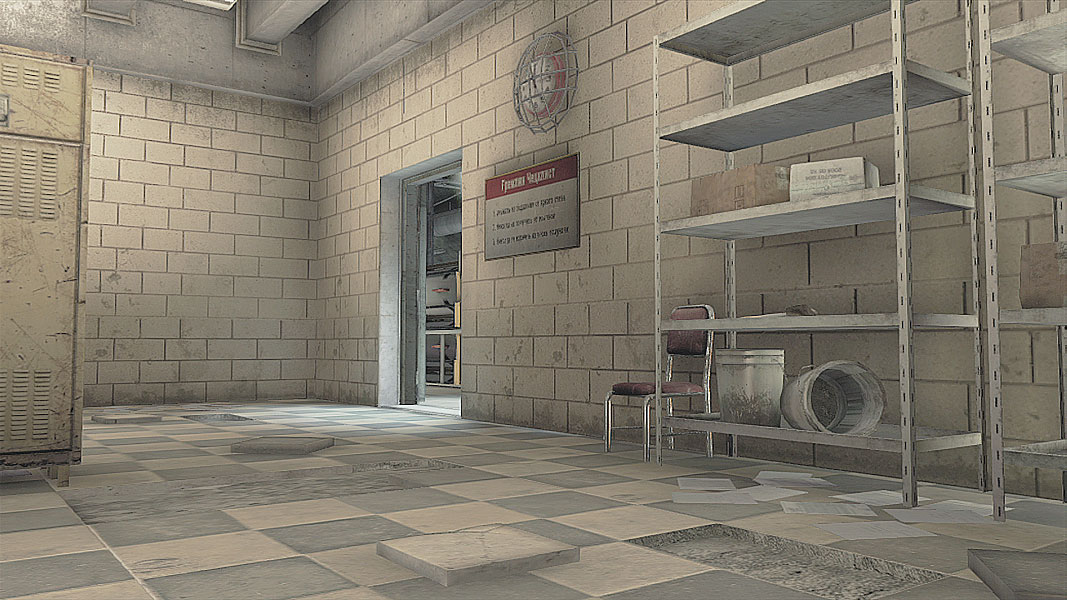
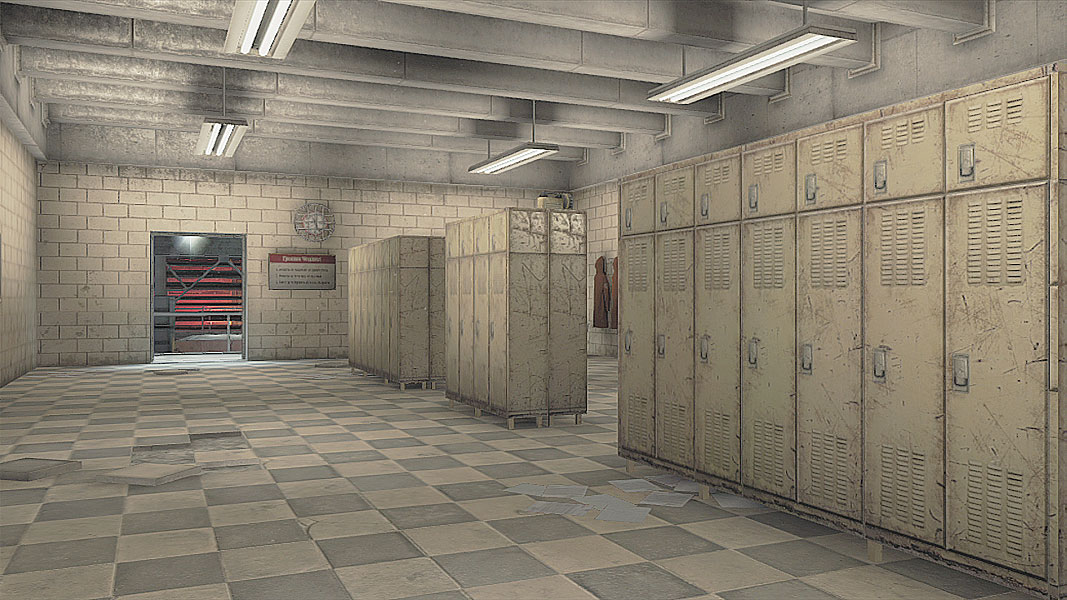
This locker room adjacent to the stairs leading up to the Control Room can be accessed by way of a side tunnel to the west, a raised walkway to the north, and from a doorway facing east out into the center of the map. So long as all three are covered (and a Sensor is thrown out for good measure), this objective shouldn’t be too hard to tackle.
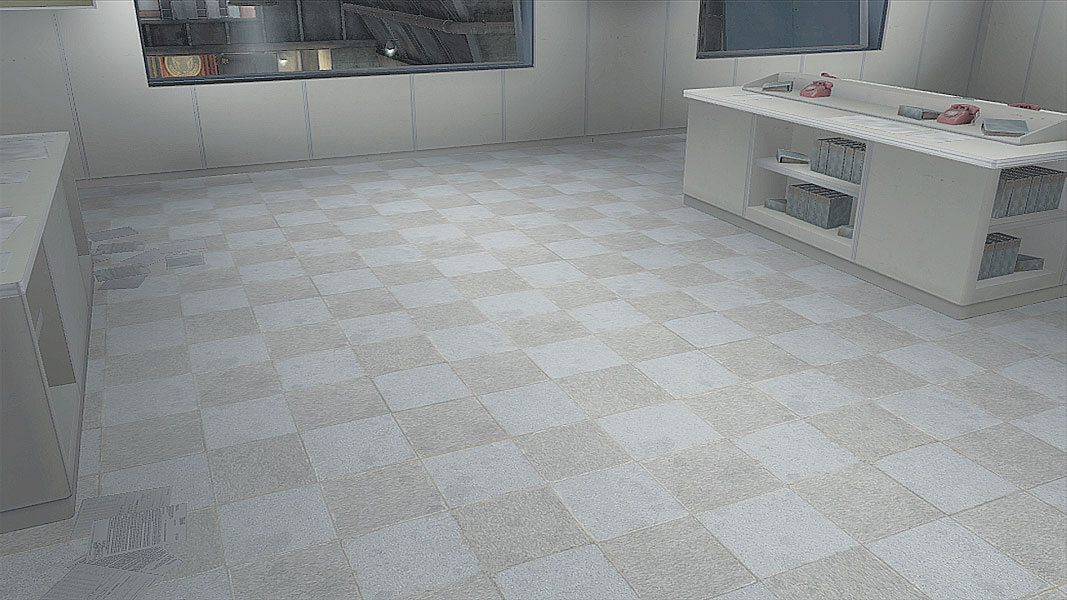
The Control Room is one of those areas that just seems to pull activity toward it, and not just because it’s such an advantageous place to regroup. When an objective appears here, chances are the first group to get to it is going to be the one that holds it, unless the attacking team can, say, toss a Flashbang up into the room right as two teams of attackers charge up the stairs. Even then, the bottlenecks formed by the staircases make this a hard position to retake.
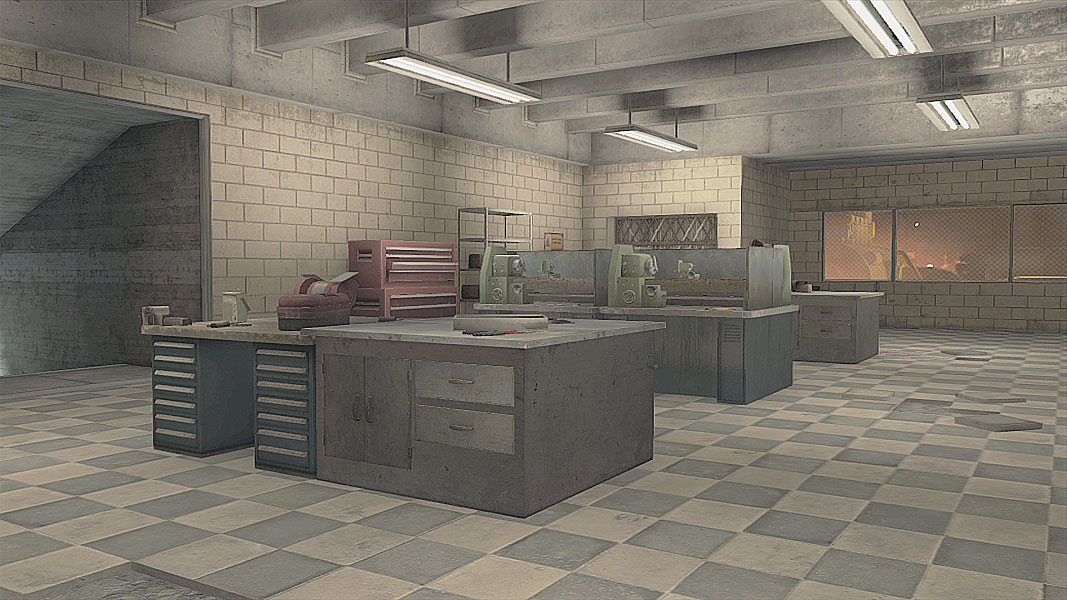
Take the same advice offered for objective four and apply it here, and you’ll have a pretty good idea of what to expect. The only difference is that the cover in this room is low, and rotated 90 degrees so that it’s easier to defend against attacks coming from the north and west. If you and your squad are trying to take the room, try approaching from the eastern entrance, where anyone inside will have to huddle along the shorter ends of cover.
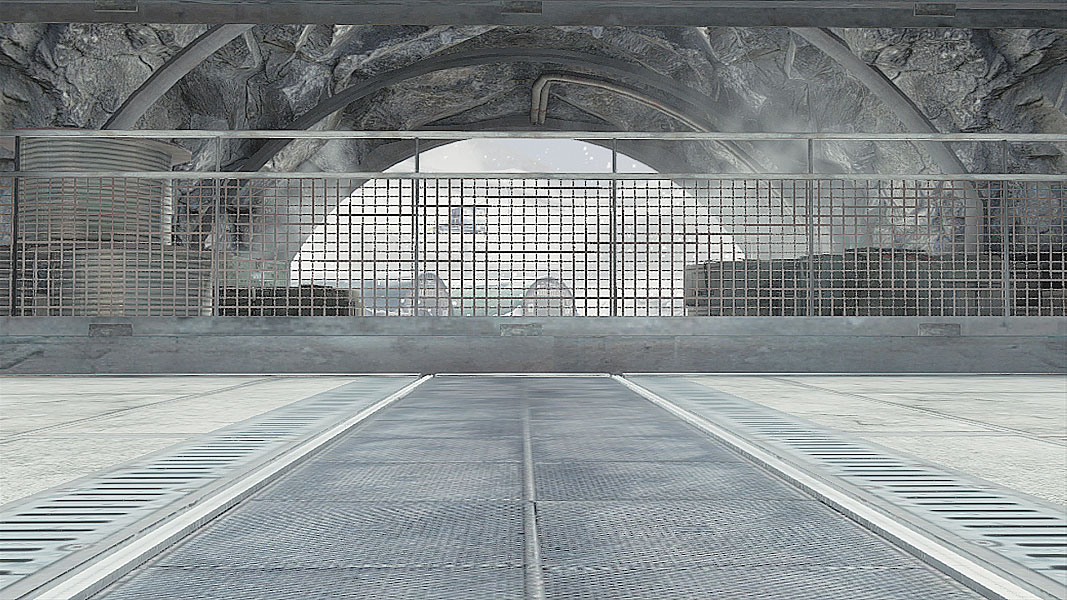
The final objective of the level looks out into a snowy field just outside the missile facility. There’s absolutely nothing in the way of cover for someone trying to take the objective, so it falls to the captor’s allies to repel incoming forces. Keep eyes trained on the Control Room’s twin strips of window, as well as the side rooms to the left and right. A frontal assault from below the Control Room isn’t unheard of either, though that’s slightly easier to hold off, thanks to the forward-facing crates that serve as cover.
// Decoy
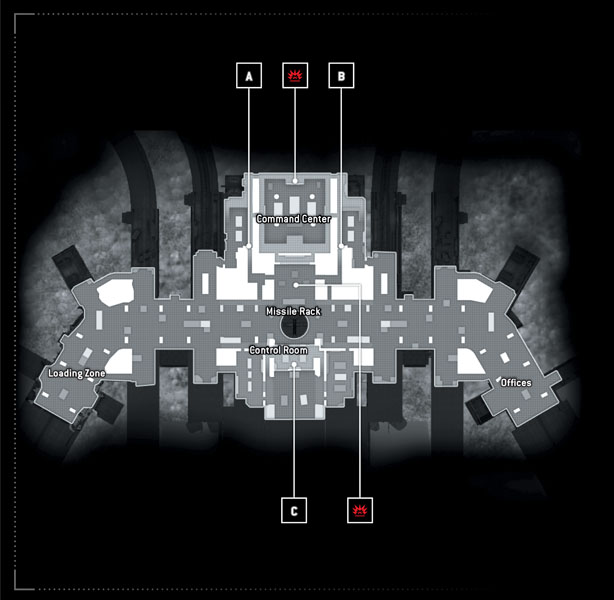
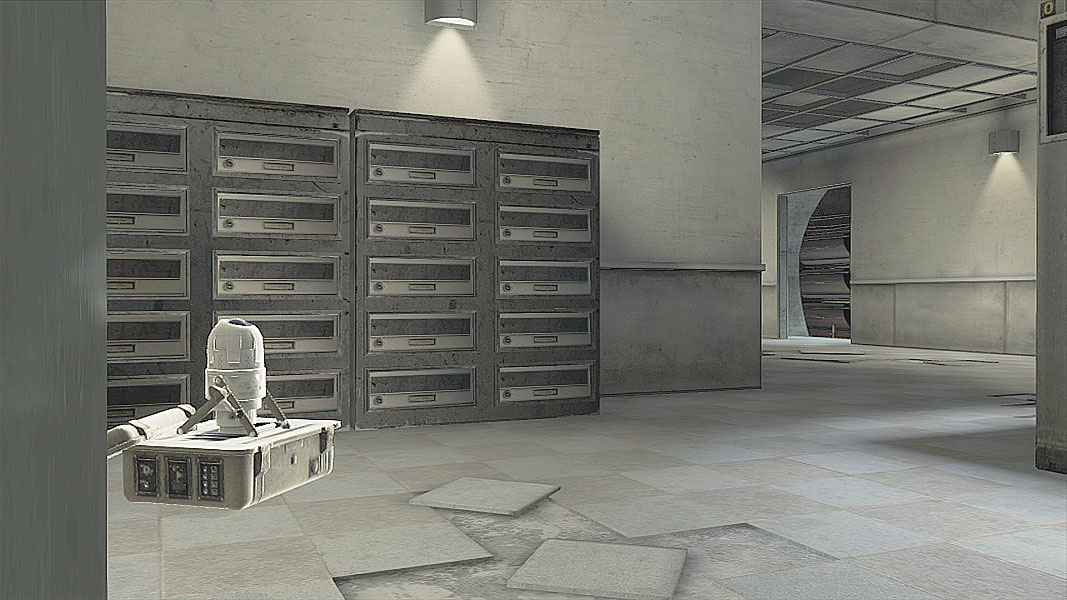
Like the second objective in this list, the potential “key” target here is located underneath the walkway that leads to the upper perch of the Command Center. Access the room either by way of the entrances from the small stairs leading up from the Command Center, or the tunnel that housed the missile racks seen during Conflict mode. Because of the upper walkway in this room, getting over to the objective can be a little hairy, but there’s plenty of cover in here to return fire. If defending, set Stun Mines or Claymores near the entrances and watch the stairs for any sneak attacks.
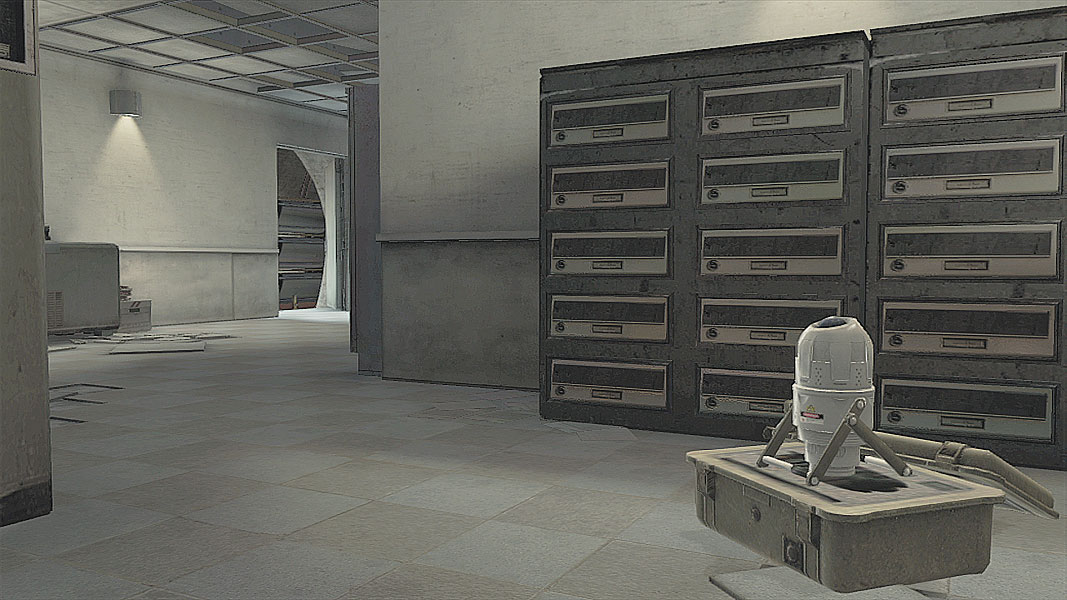
Exactly like the first objective, the rooms filled with whirring tape-style hard drives offer just a few routes of entry, so plan accordingly. If working with your team’s other squad, you can coordinate an invading first attack team to distract, and a second that launches to take the defenders by surprise.
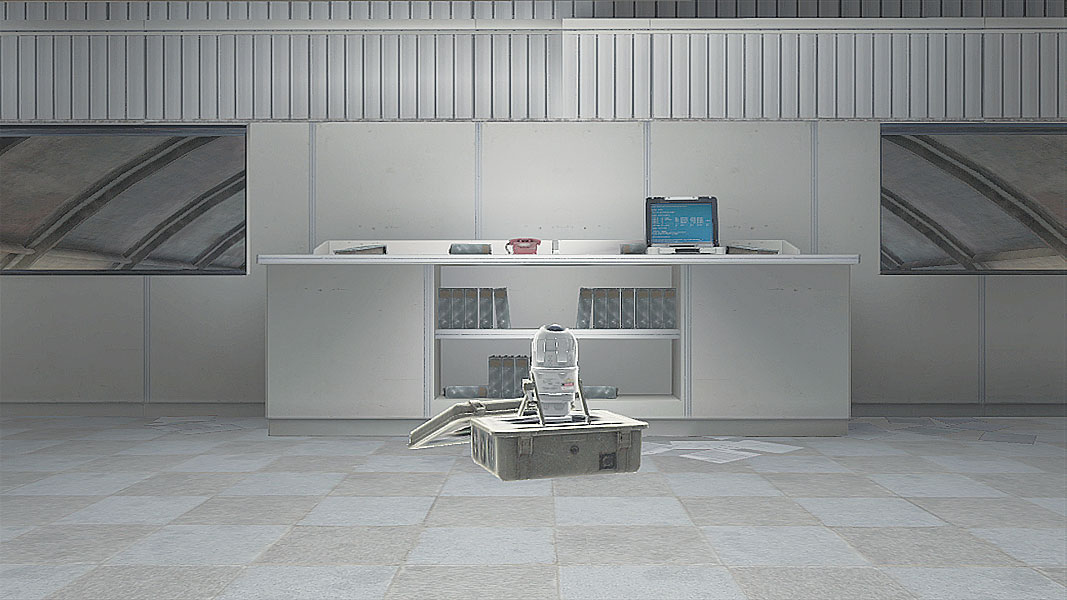
No surprise here, the Control Room houses the third possible capture point. By now you should have a fairly good idea of how to proceed: Frag, Flashbangs and firepower are go-to resources when charging up the stairs. Throwing out an EMP and then smoke, in that order, will shut down special scopes that normally see through smoke.
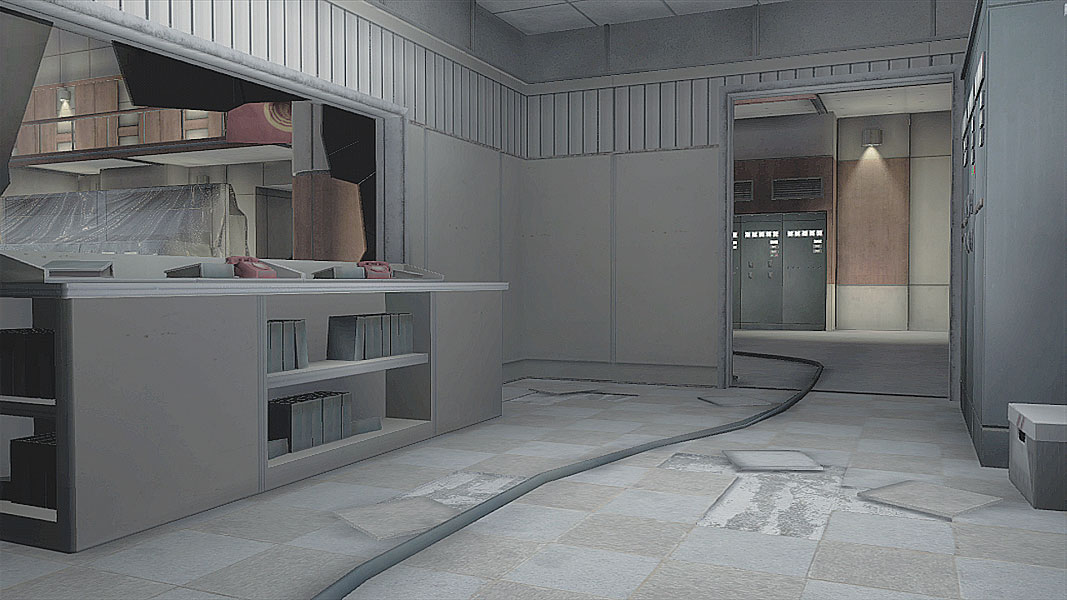
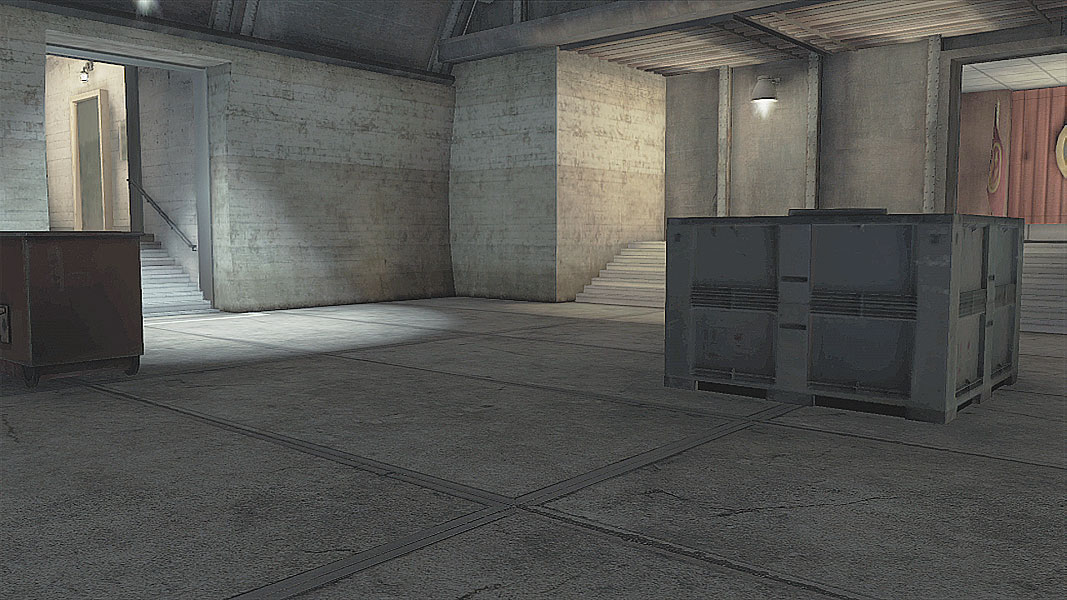
The Command Center awaits! The same reasons that made securing the location difficult during Conflict objectives hold true here: a window just begging for a grenade meal, wide open doors on either side, and plenty of opposition in the Command Center’s main room. Sensors can help paint a picture of the defense when you’re attacking, and can help warn of incoming attackers when defending. Dig in and get ready for a big firefight.
The open room just outside the Command Center is the second potential bomb site. With flanking doorways looking right toward the bomb plant site, the whole of the complex behind the site, and no doubt plenty of opposition from the Command Center room’s twin exits, obscuring the area with smoke may be one of the best ways to halt an advance or slip through to begin planting.
// Saboteur
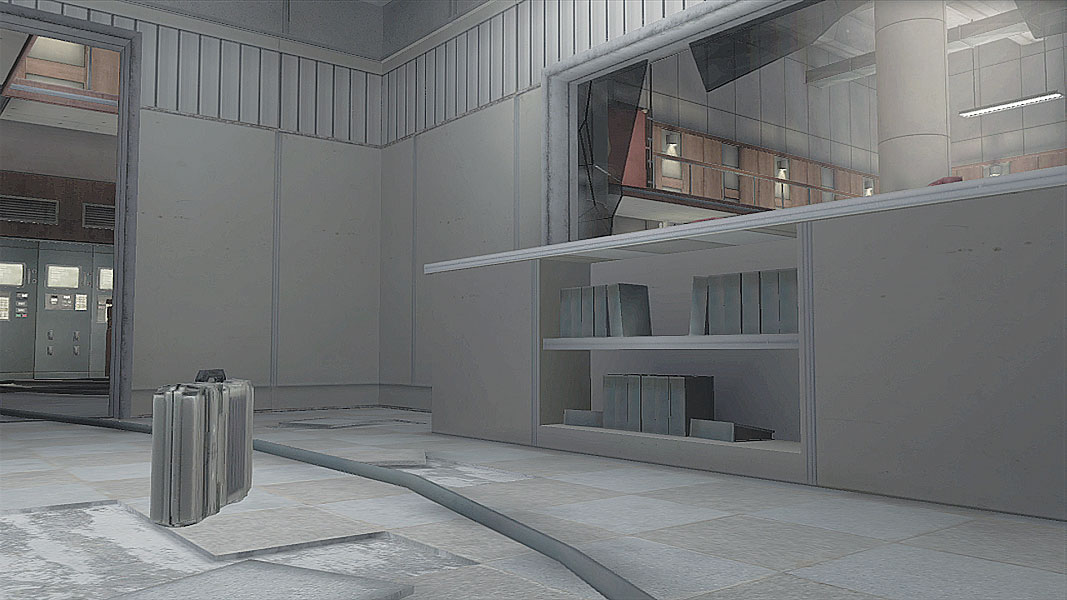
It’s a long trek from the Command Center where the bomb waits all the way back to the bomb placement location, but just getting to the bomb is a struggle in and of itself. Expect some teams to just hunker down, if they make it into the room, while trying to hold off the first wave of forces from the opposing team. It’s a sound strategy, as they can then slip out with the bomb. Sensors and Cameras are big help in pinging the main room of the Command Center before entering, and popping smoke can obscure flanking moves while moving toward the bomb.
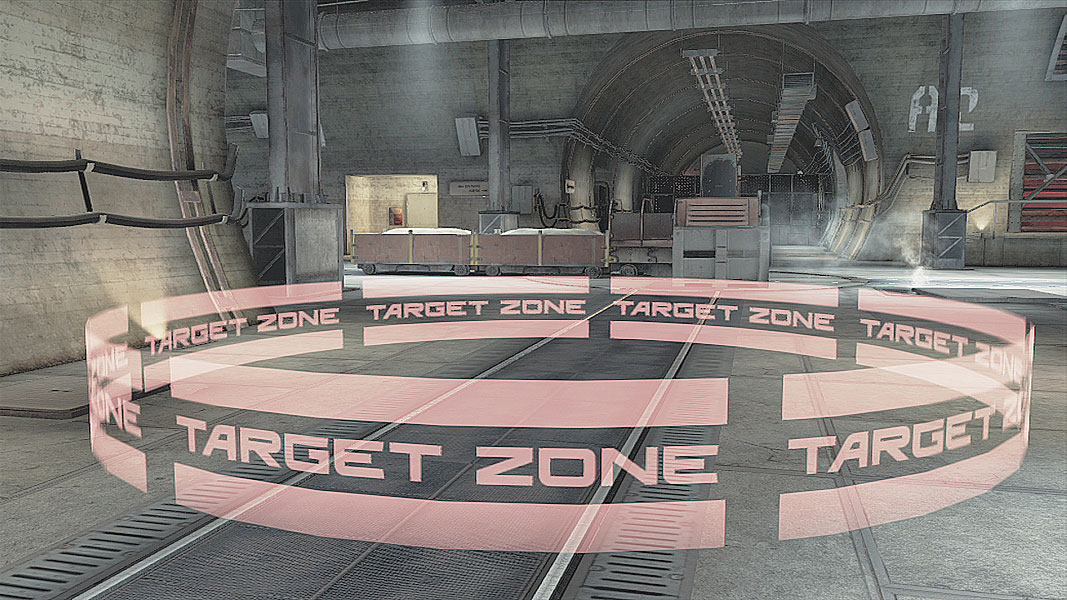
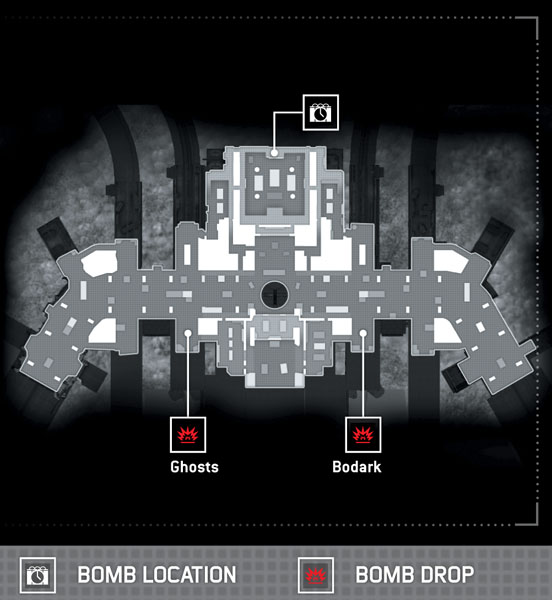
Given the near-perfectly symmetrical nature of this map, it shouldn’t be a huge surprise that the bomb plant locations for either team are in similar places on opposite ends of the underground bunker. The long tunnels are sniper-friendly, so pick bits of high cover to stick to as the bomb carrier and move slowly from one place to the next, trying to stay out of sight. Remember, if intel pegs you as the bomb carrier, you become an objective, making it that much more likely that you’ll get overrun by the entire opposing team.
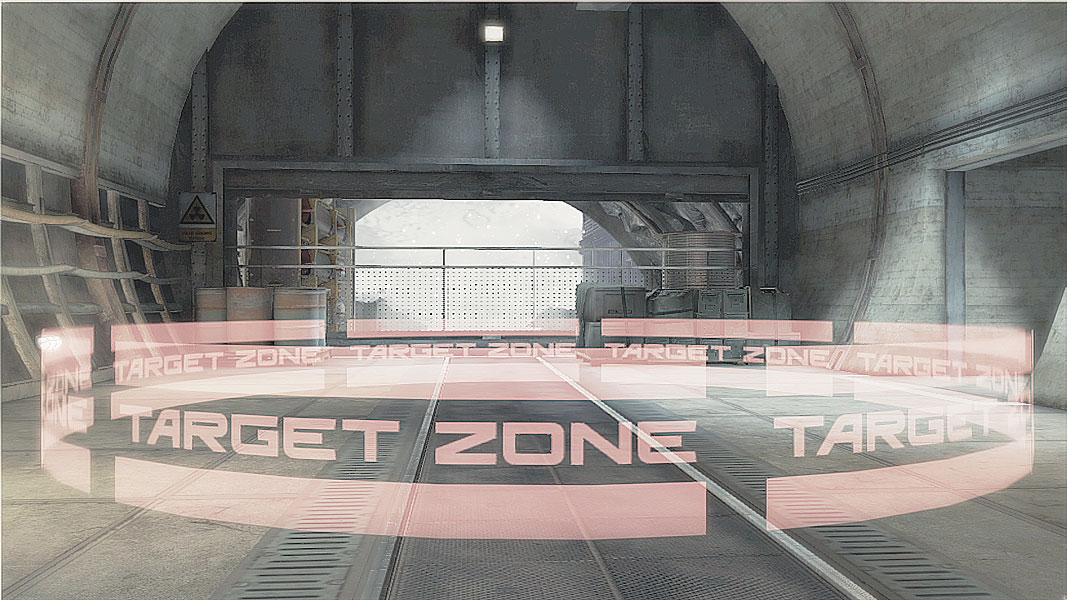
There’s not much that needs to be done differently if you’re on the Bodark team, just remember to stick to cover here, avoiding long sight lines where possible and moving as a team, making sure to collect as much intel as possible before leaving cover.
// Siege
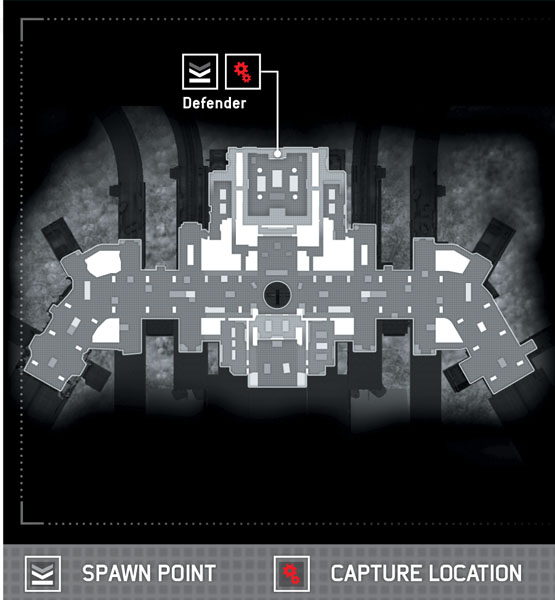
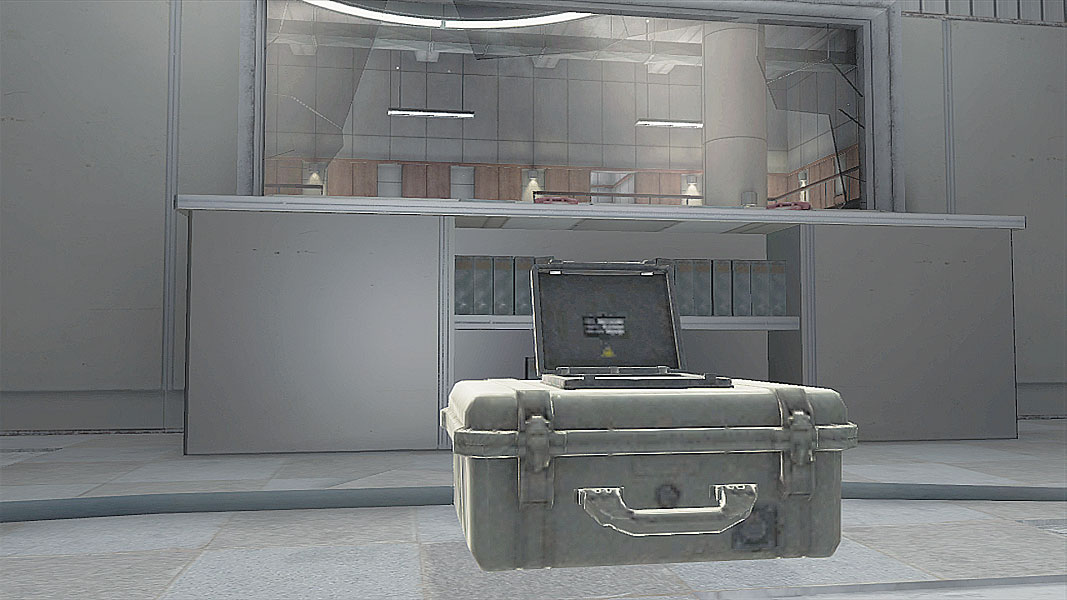
The almighty Command Center is once again the place to be for defenders, spawning near the control point at the back of the room. Use the few seconds while the attackers are waiting to spawn in to quickly run up and grab some elevated positions to add a bit more variety and oversight to the room. A UAV parked high up near the ceiling can help light up intruders as they sneak in, and with all the fighting, the attackers may never see it there giving away their position—a valuable means of snuffing out those single enemy lives everyone has in this mode.
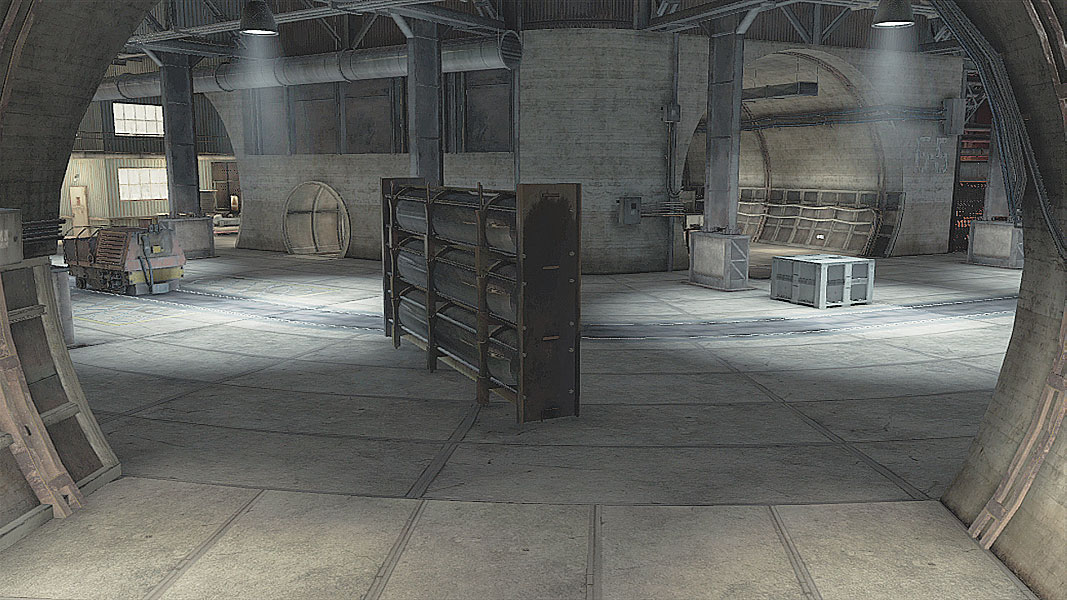
Given the advantage that height has in this room, it’s a smart call to try to head off those upper defenders before charging into the room. But that doesn’t mean a well-place smoke grenade and small force of a couple of distractions isn’t a great way to throw the defense for a loop. Cover is your best friend, and with how close the fighting can be in the close quarters, heavier firepower like LMGs or shotguns can really make quick work of the defenders.