
Tom Clancy's Ghost Recon Future Soldier Guide Multiplayer Adversarial
Rig
Rig
Situation Report
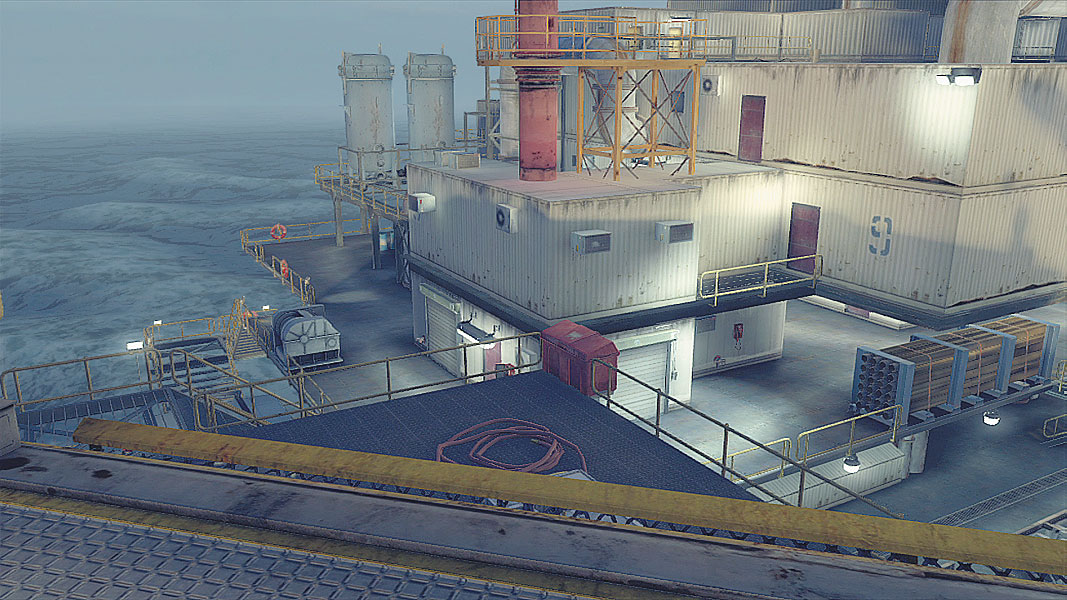
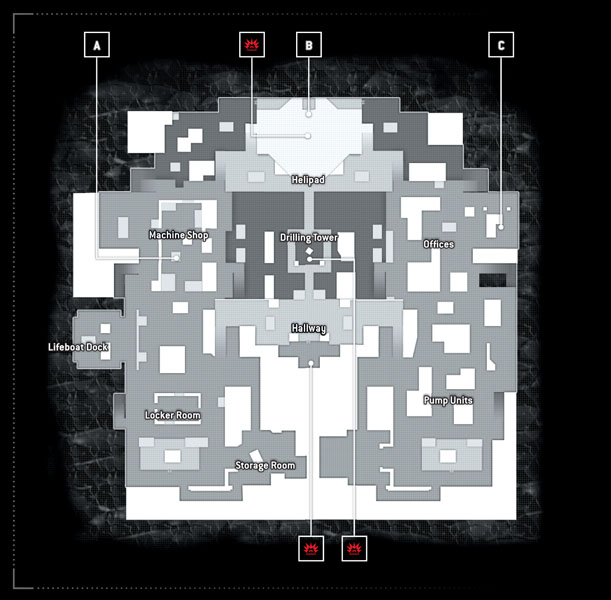
A drilling platform in the middle of the ocean, drinking everything it can from the sea floor below, Rig is by design the most square of all the maps available in Adversarial Mode. It’s not nearly as symmetrical as Cargo was, save for the central areas making up the drill itself, the command center, and some of the rear areas. The outlying areas are filled with multiple elevations and a confusing set of rooms and open-air passageways that offer plenty of cover and ambush points. Data hacks are incredibly valuable here due to the lack of clear sight lines, so make the most of that stunning equipment.
// Spawn Points (Conflict, Decoy, and Saboteur)
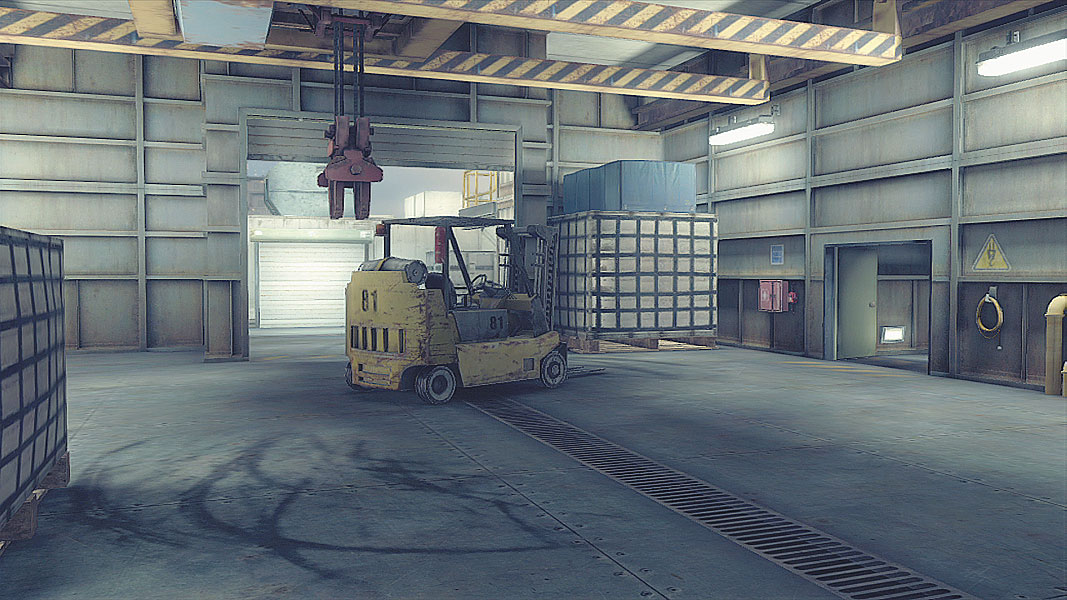
Interestingly, the Ghost and Bodark deploy locations are quite close, but they’re separated by a huge bulkhead that forces deployment out and around the main spawn. Ghosts move out from a Cargo Lift area into a set of Pump units. Stairs lead to multiple floors both above and below the starting location. To keep from losing your squad, make sure everyone is using the Command System to follow a similar path toward an objective, and be ever-vigilant about checking flanks as you move through the many open areas.
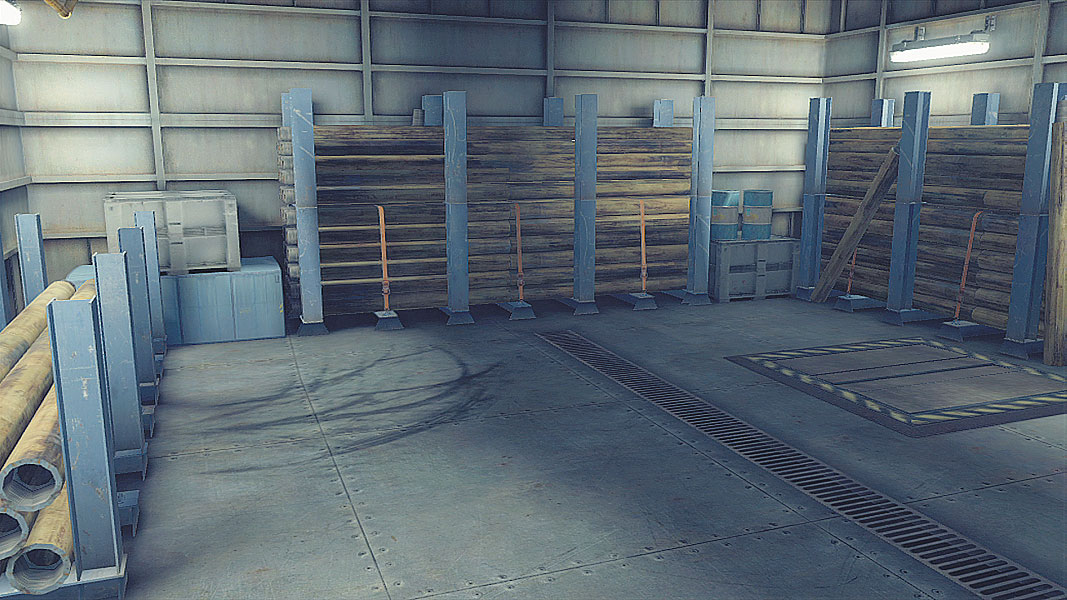
On the other side of the bulkhead, Bodarks mass their forces out from the Storage Room into a wide-open area, including a Locker Room just beyond the spawn area. Like the Ghosts’ area, there are plenty of places to change elevations, and though some of the walkways can be shot through for sneaky kills, the multi-tiered nature of the level means most firefights will happen on the same plane. Command System waypoints are a key way to learn the lay of the land here, as the pathways can become quite convoluted if one isn’t paying attention.
// Points of Interest
The Drill
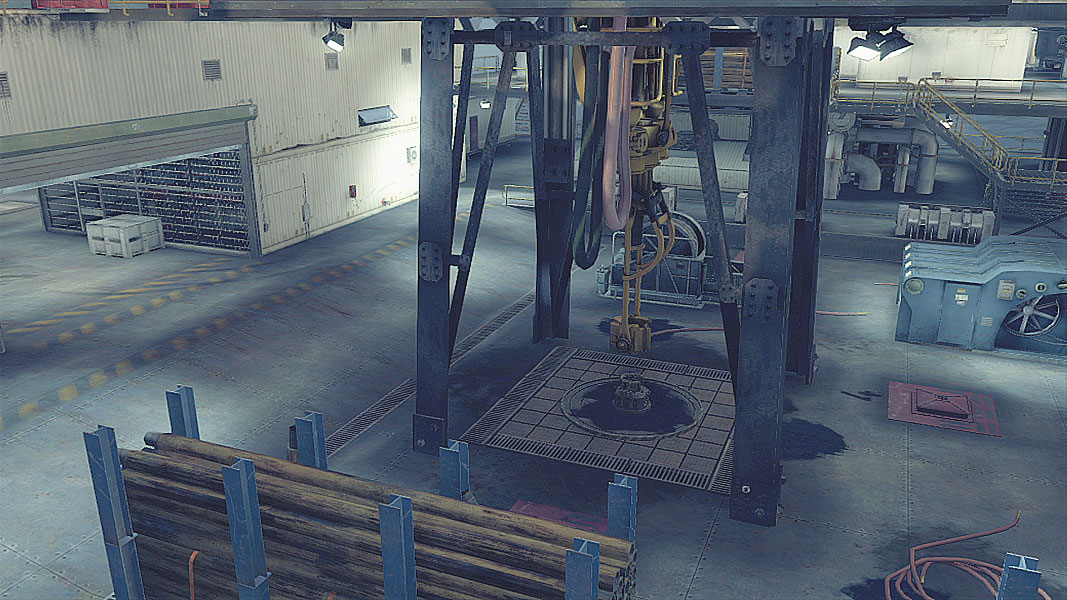
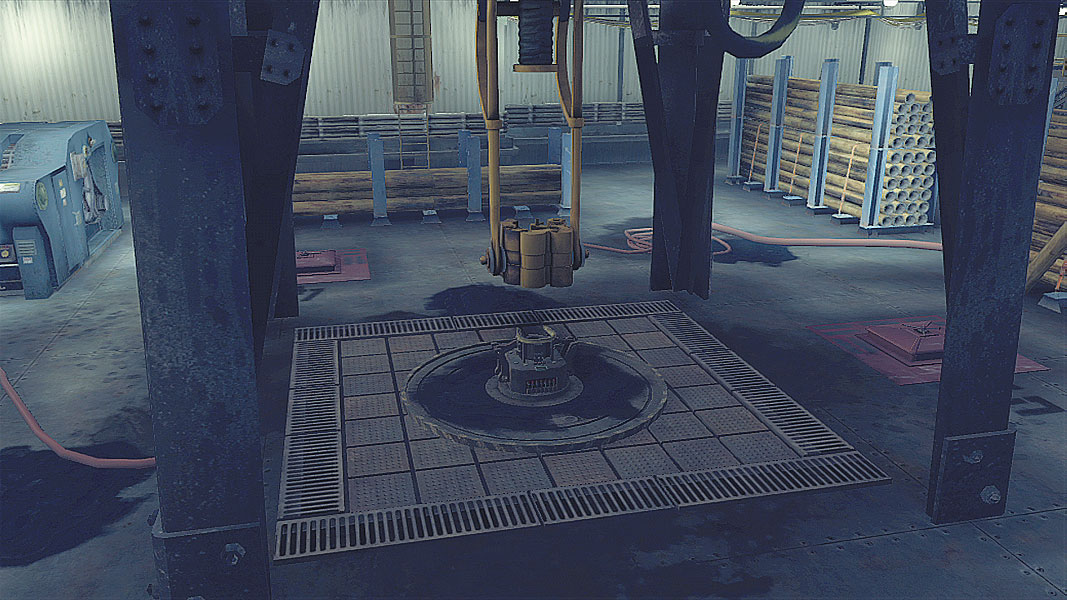
At the Rig’s core, on the bottom floor, lies the now-dormant drill, decoupled from the boring shaft. This area is a hotbed of potential sniping and multitiered fighting, as multiple floors have some form of a vantage point. Move quickly through this area to avoid being spotted, using it for more stealthy access into the main control room.
The Helipad
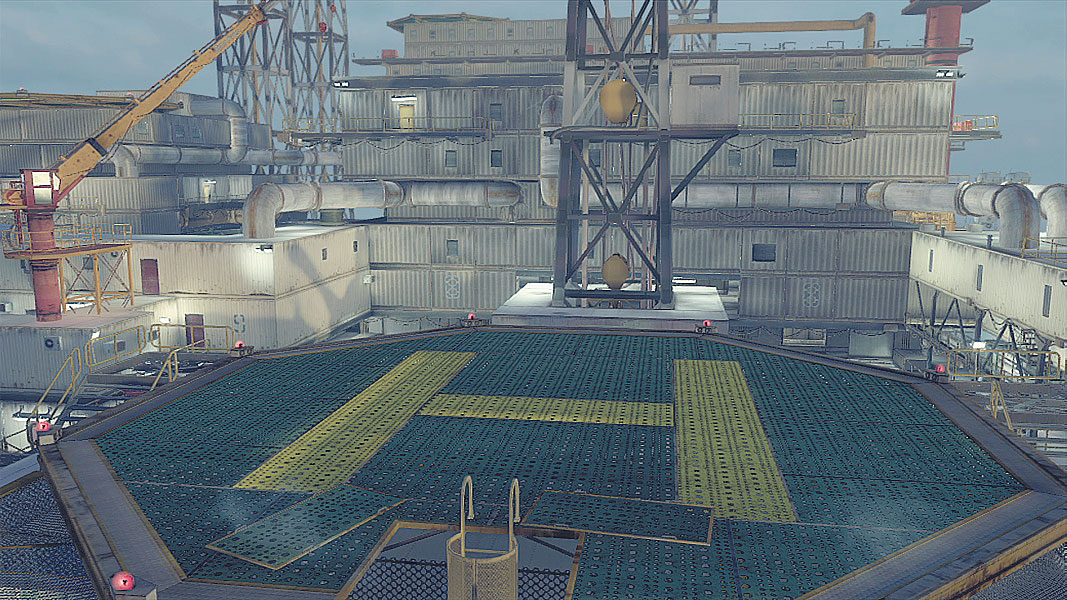
The topmost level of the Rig might seem like a sniper’s dream come true, but there’s literally zero cover (aside from the floor, of course), and sneak attacks from the rear are common. Still, a suppressed sniper rifle from on high has the ability to strike foes running around on almost any level without them realizing where the attacks are coming from. A UAV launched from up here also has a great view of the action down below, making the Helipad a great place to build intel.
Highways and Byways
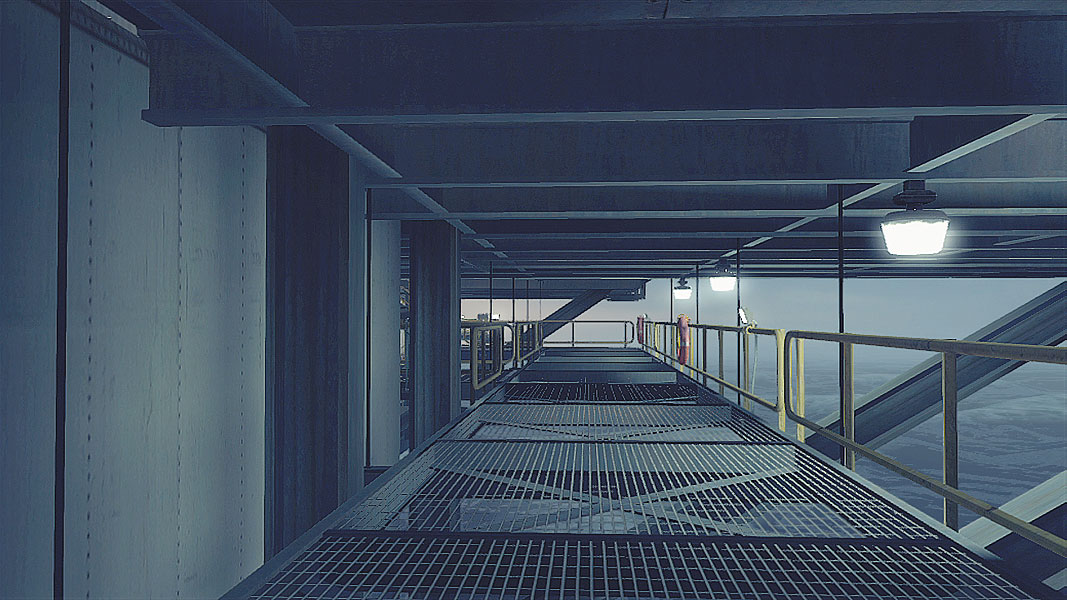
Trying to list the myriad levels and connecting crossways that litter the different levels of the Rig would make your head spin, but suffice it to say there’s often more than one way to traverse a particular section of the Rig. When in need of some fast travel, try taking the side routes that skirt the lip of the rig’s main floor, or use the causeway just below the helipad to slip into the Drilling Tower to take shots at enemies. Learning where walkways end up spitting a player out can mean heading off some forces before they can reach their destination—or skirting around them completely to gather more intel.
// Conflict
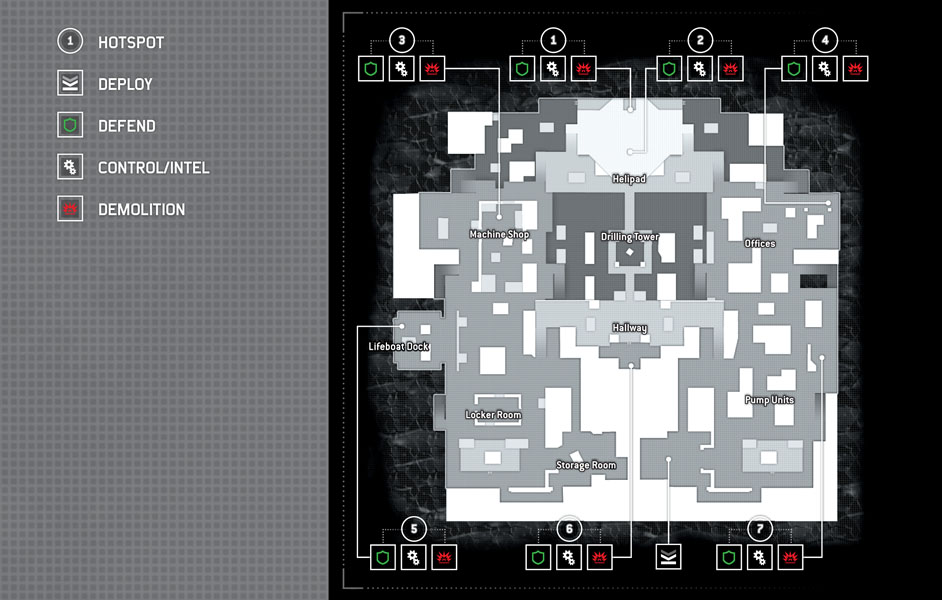
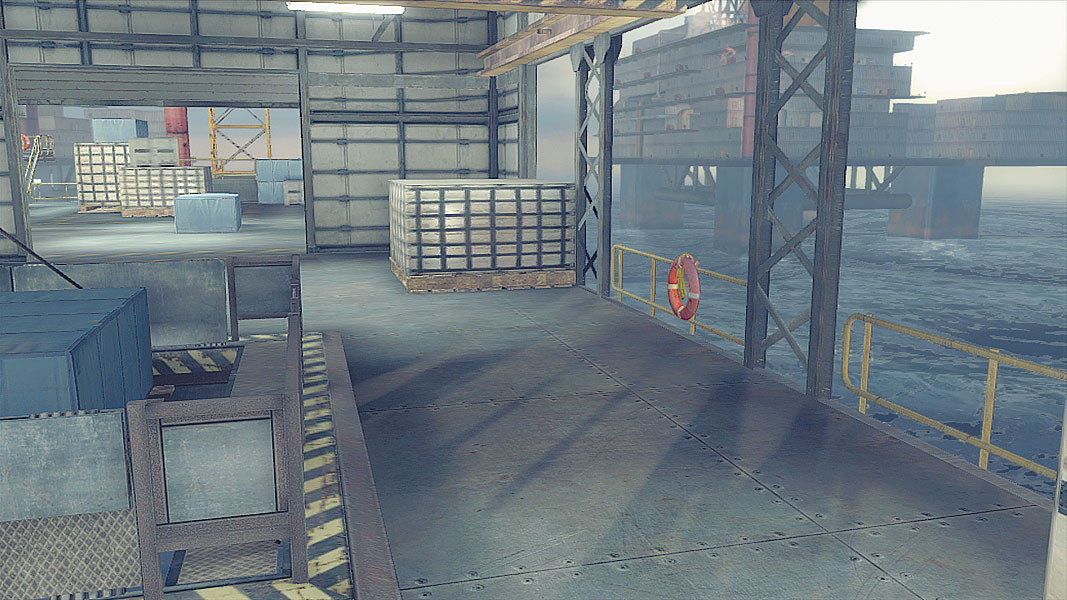
The first objective hot spot can be a little difficult to locate at first. It appears directly under the ladder leading down from the Helipad, but it’s actually a full two floors below that level, behind a pulley holding a crate. This area has wide-open flanks that make captures difficult. Those on support duty should grab low cover near the barriers surrounding the suspended crate.
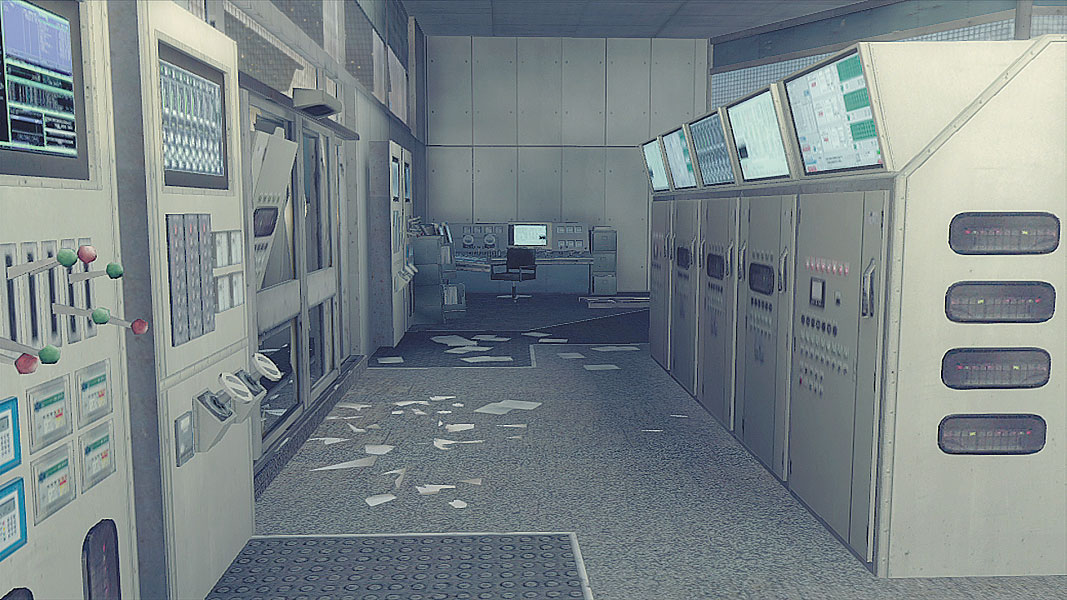
Just above the first objective, in a command center that has seen better days, lies the second objective. This area is tight, flanked on either side by doorways that can create pincer attacks with quite a bit of effectiveness. Because there’s so little room to move, grenades tossed in here have a great way of flushing enemies out.
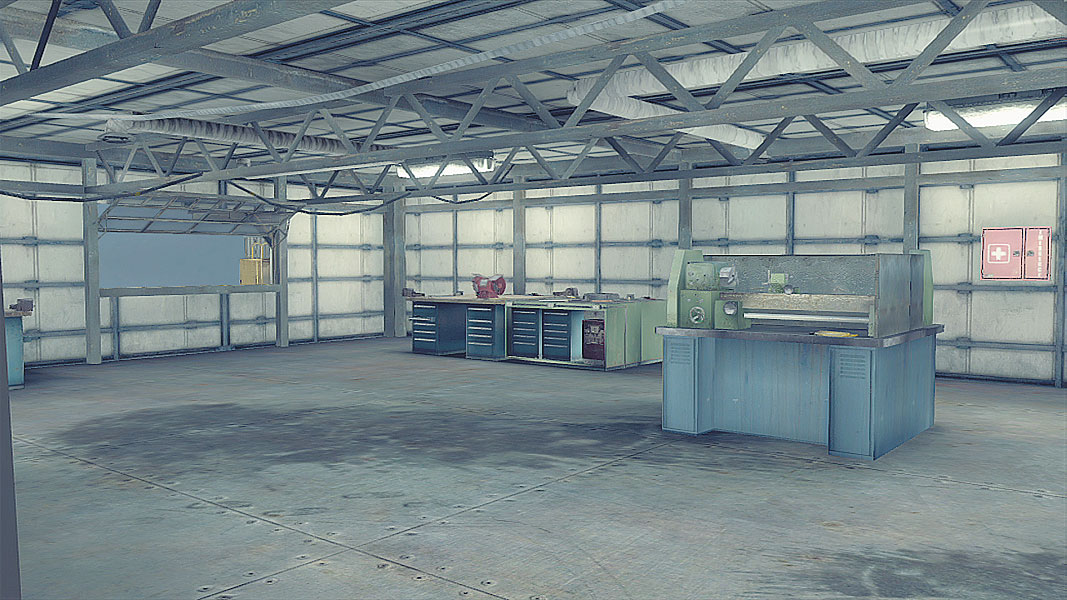
The Rig’s Machine Shop serves as base for the third objective hot spot. There are entrances into the area from three of the four directions, and a window looks in from the forth, which make it hard to hold the position without incurring a few losses. Stacking up outside the three entrances and window and then unloading from all angles has a huge benefit, but be warned that a Sensor dropped in the middle of the room will allow those inside to see what’s happening outside all four potential firing positions.
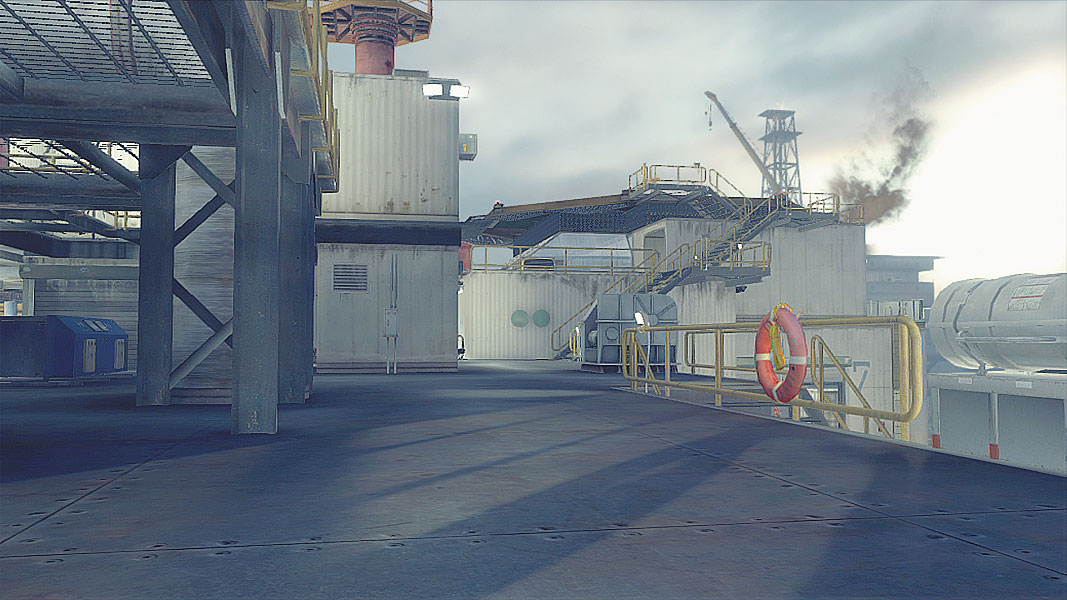
The offices play host to the fourth location, with an objective that is woefully unprotected from fire coming from the direction of the Helipad. This can be an extremely hard position to infiltrate, with good snipers finding plenty of fodder while sitting prone on the Helipad. If you have an LMG in your squad, make sure they’re suppressing as often as possible to allow the person capturing the objective to survive unscathed.
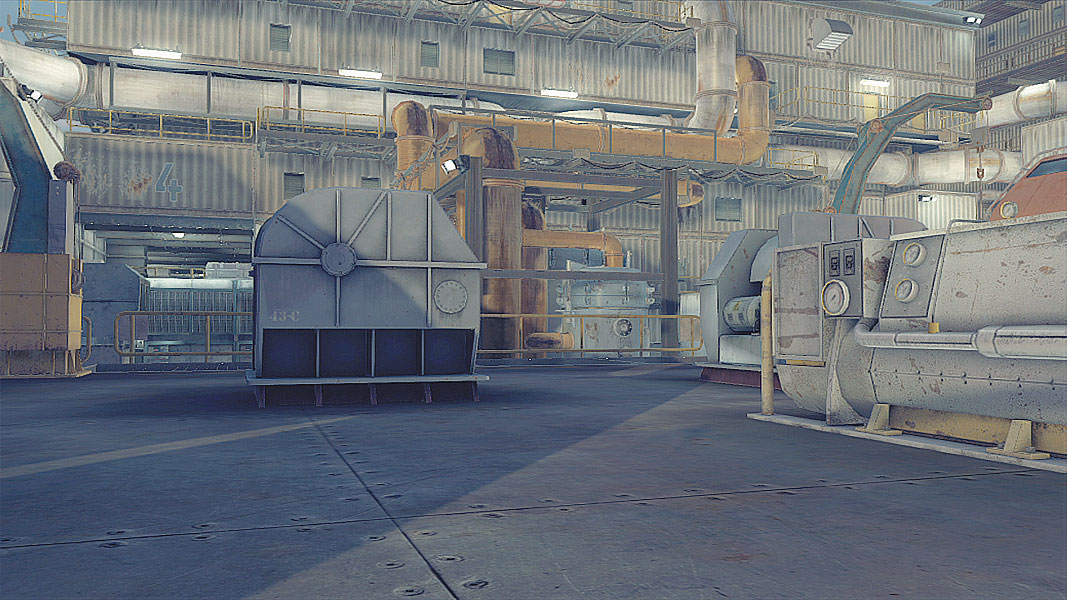
The open-air Lifeboat Dock contains yet another objective, and while this one is still painfully exposed from some angles, it’s not as prone to easy sniper fire as the last objective hot spot. Grab cover where possible to quickly eliminate those that would seek to put down your squadmate trying to capture the area, but stick close so the Confidence bonus can be applied.
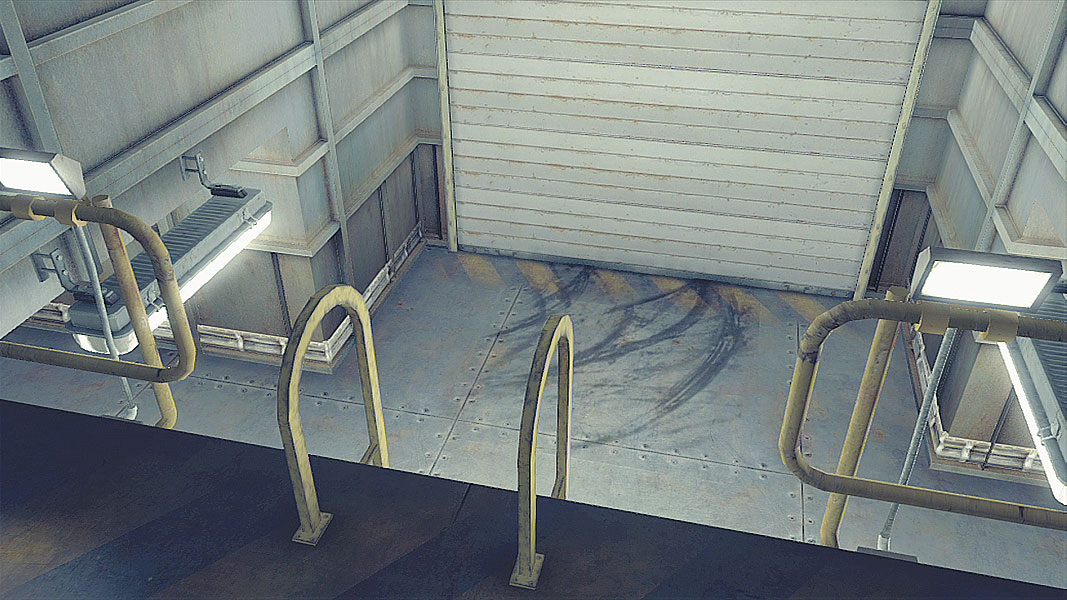
Tucked into a tiny back room on the middle floor of the Rig, the sixth objective hot spot seems fairly easily defendable—until one realizes there a ladder up to a floor that looks right down on the objective. Train your view toward this platform whenever defending or risk having your squadmate take a bullet to the face. There’s no reviving a guy with ammo lodged in his dome.
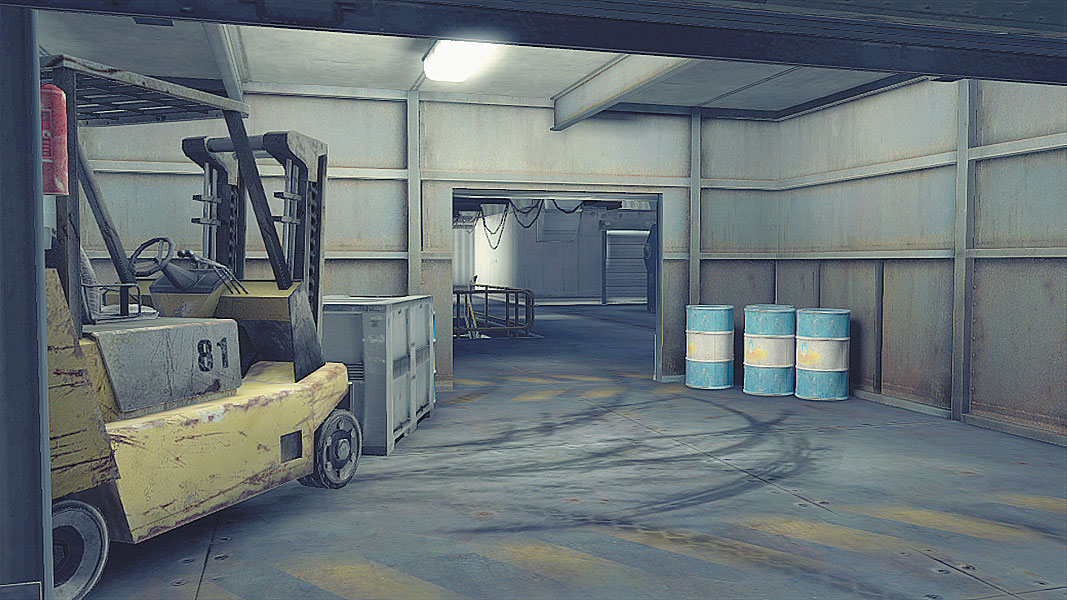
Situated fairly close to the Ghosts’ spawn point, the final objective waits in a room just off the Pump units that is vulnerable to attacks from the north and south. Large doorways make it difficult to contain fire, and since enemies can grab cover behind a pump to the north and pop up from a stairwell to the south, it’s important to use as many intel-gathering pieces of equipment as possible.
// Decoy
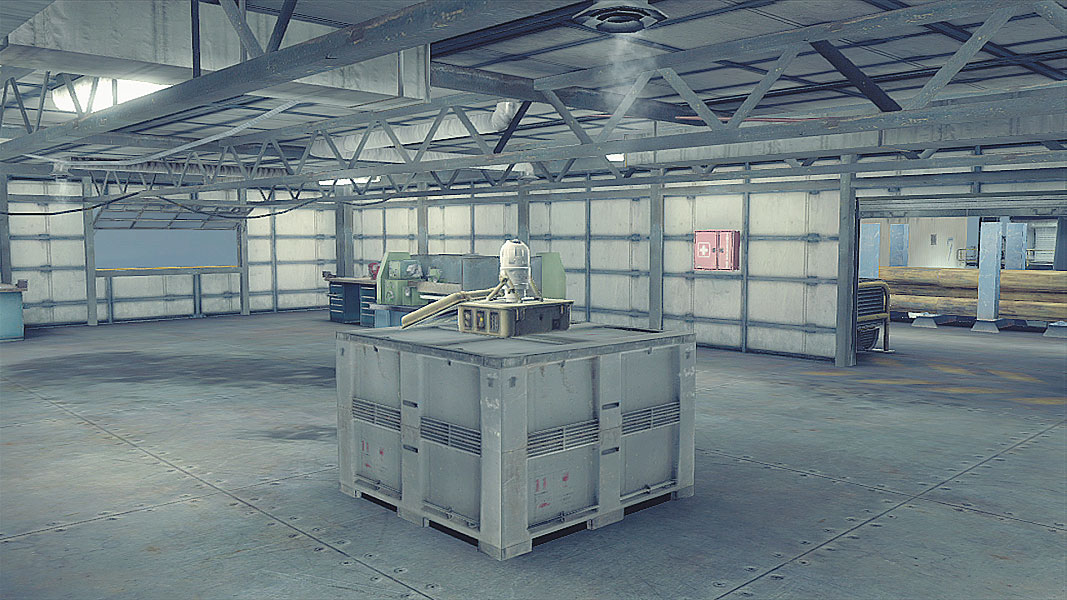
The Machine shop holds the first of the three possible locations for capture and defense. As mentioned before, a Sensor in the center of the room can reveal immediate threats, but the number of attack angles means retaliation could come from anywhere. An LMG suppressing from the window can keep enemies pinned behind cover that’s accessible from the sides, so either pop smoke before entering, or deal with the defenders on all sides before attempting to capture.
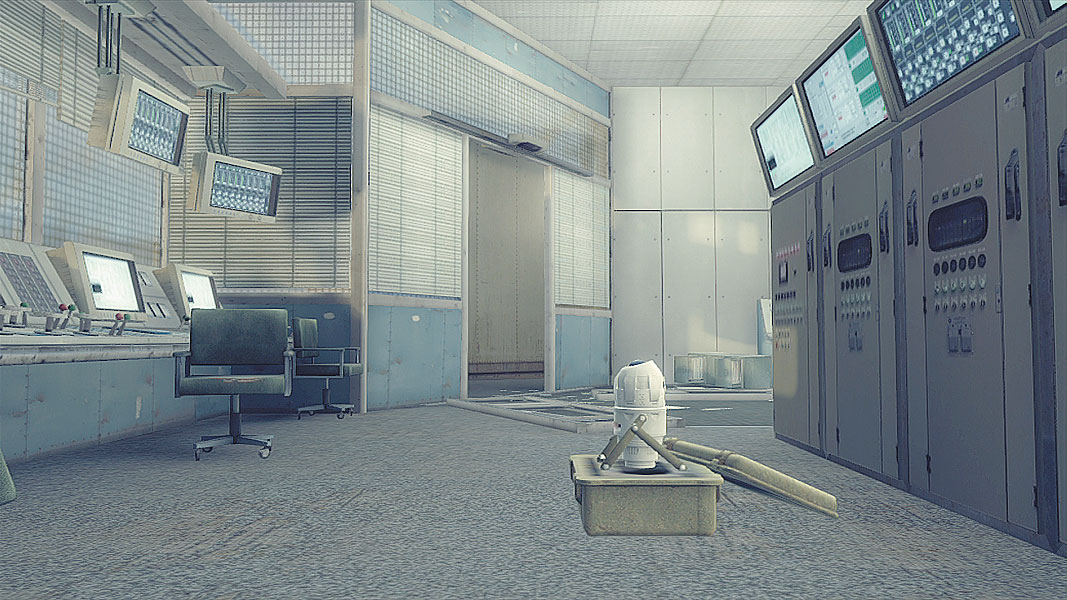
The control room holds the second objective, with clear views from the outside of anyone trying to hack the location. While it’s possible to mask this to a degree with smoke (if the enemy doesn’t have thermal scopes), the near-straight firing lines mean just spraying into the general area can negate the usefulness of the smoke. Try to position defenders on either side of the two routes toward the objective to hold off advances, but don’t neglect the ladders. One leading down from the helipad and two coming up from the floor below could catch defenders by surprise if they aren’t paying attention.
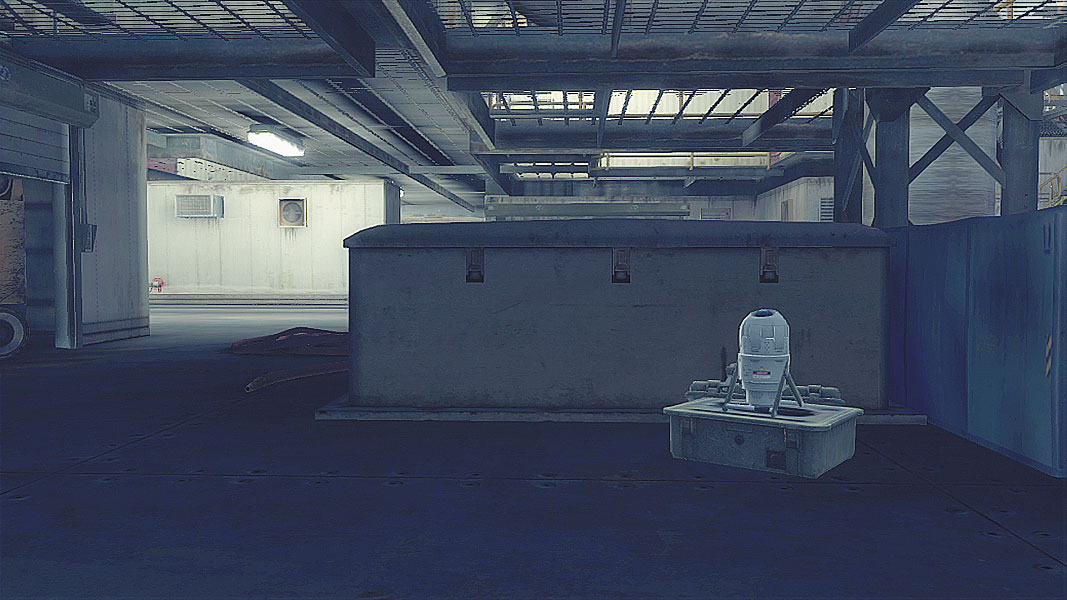
Unlike the Conflict objective in this area, the final of the three potential key locations is protected by some light cover. There’s even a decent amount of room to move around should a grenade drop in, and those attacking the location have to sweep around two primary directions to get a firing angle. Taking cover from here and unloading can repel those invasions quite handily—at least until the grenades start flying.
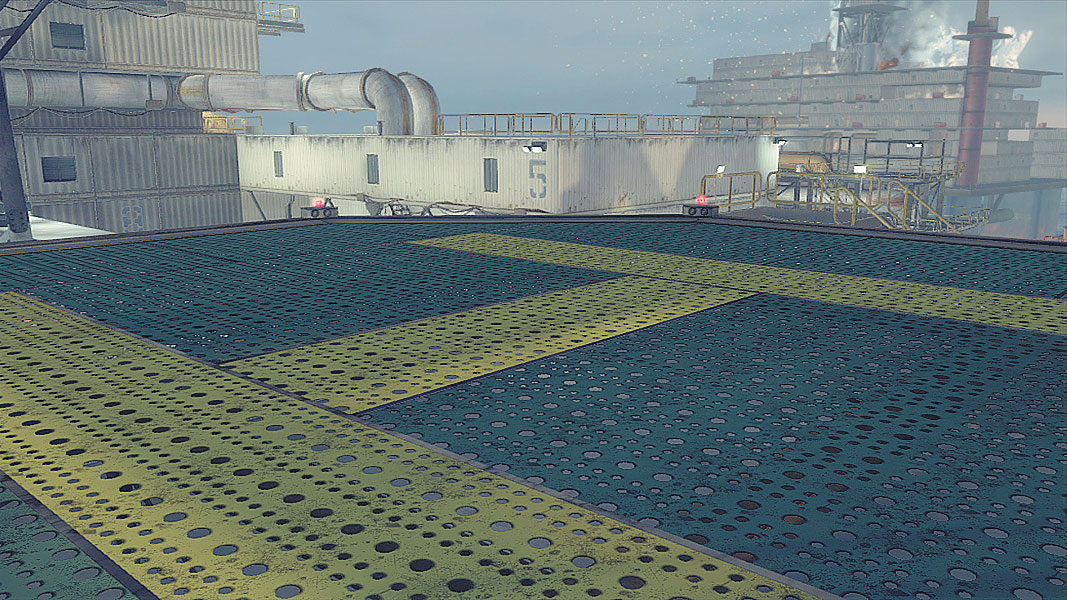
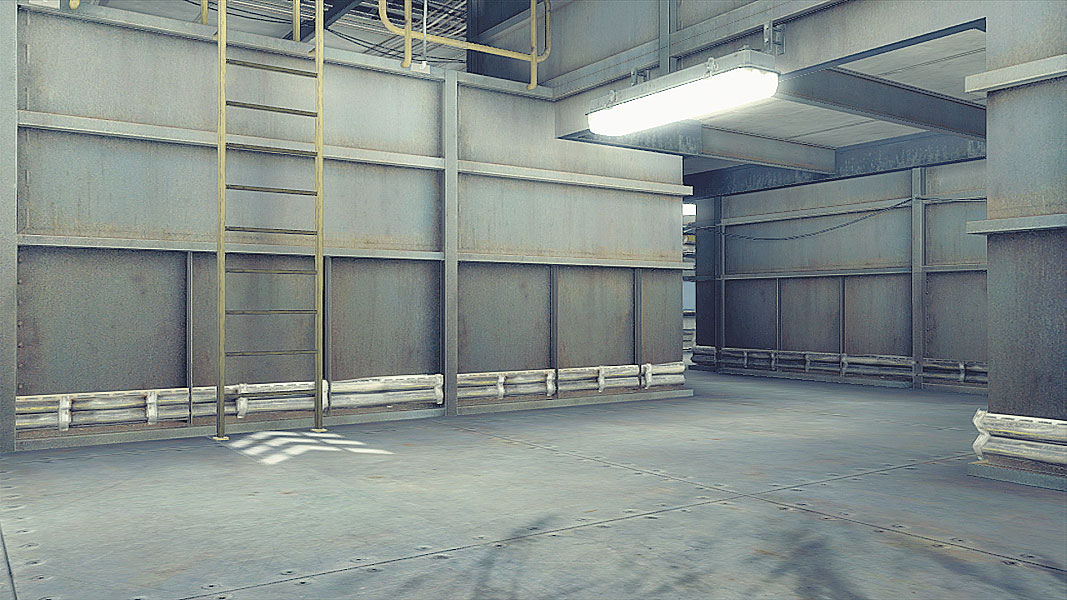
The great big H of the Helipad may as well be a B, for it’s exactly where one of the bomb locations appears. Holding this area is extremely difficult due to the lack of cover, but Stun Mines, Claymores and other deployables can help to a degree. In most cases, the side with a more coordinated effort is going to win—which usually means a pincer attack from both sides at once to spread out the defense.
The drill itself serves as the waiting recipient of another bomb plant location. Due to the sheer number of angles from which defenders can fire in on those trying to plant the bomb, intel here is essential. Having a UAV flitting around to mark targets before actually charging in could make all the difference.
Just through the Drilling Tower and down a ladder is the final bomb placement location. Just as in the case of this Conflict hot spot, the ladder is both a means of getting to the location and a great way to defend it or kill would-be bomb planters. Keep eyes up and to the sides to avoid getting overrun while the bomb planter does his thing.
// Saboteur
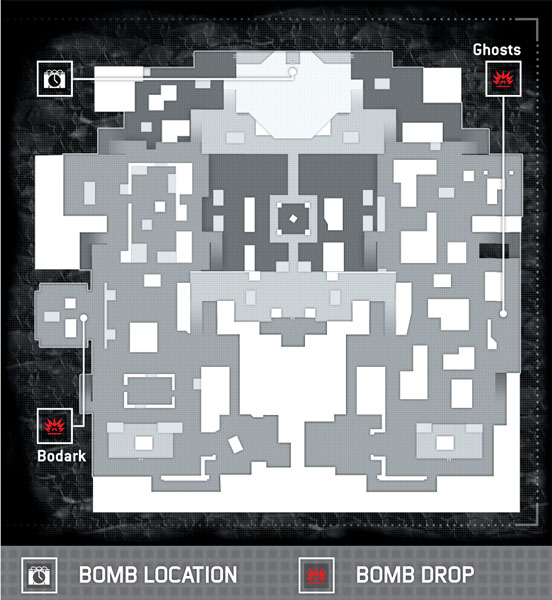
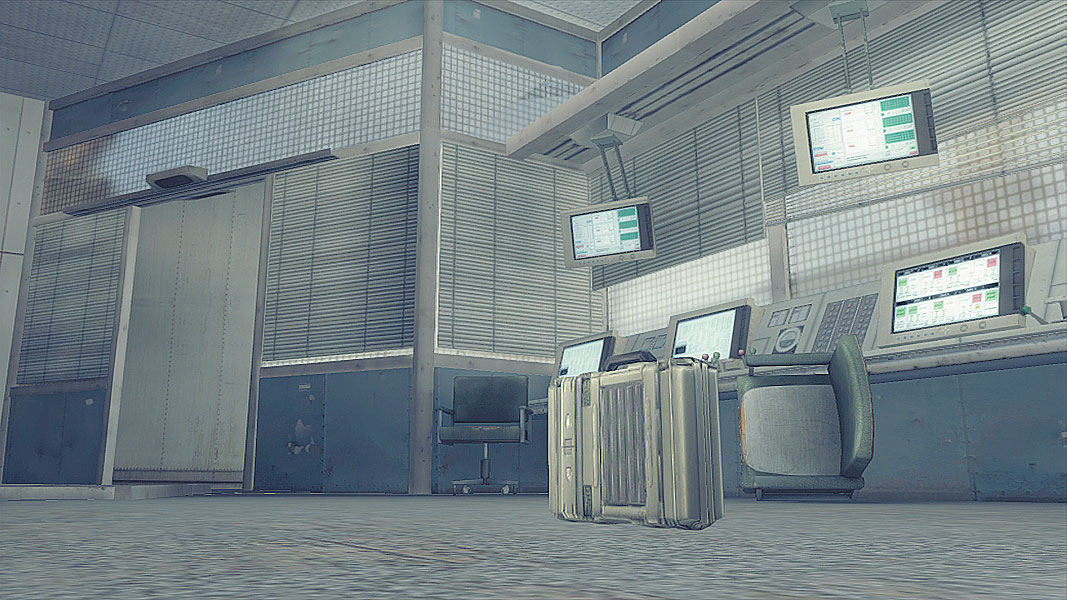
The bomb sits waiting for its captor inside the command center. Those seeking to capture it would do well to make sure the return route is clear before grabbing the bomb, as there’s quite a bit of open space that needs to be crossed on the way to either bomb plant location.
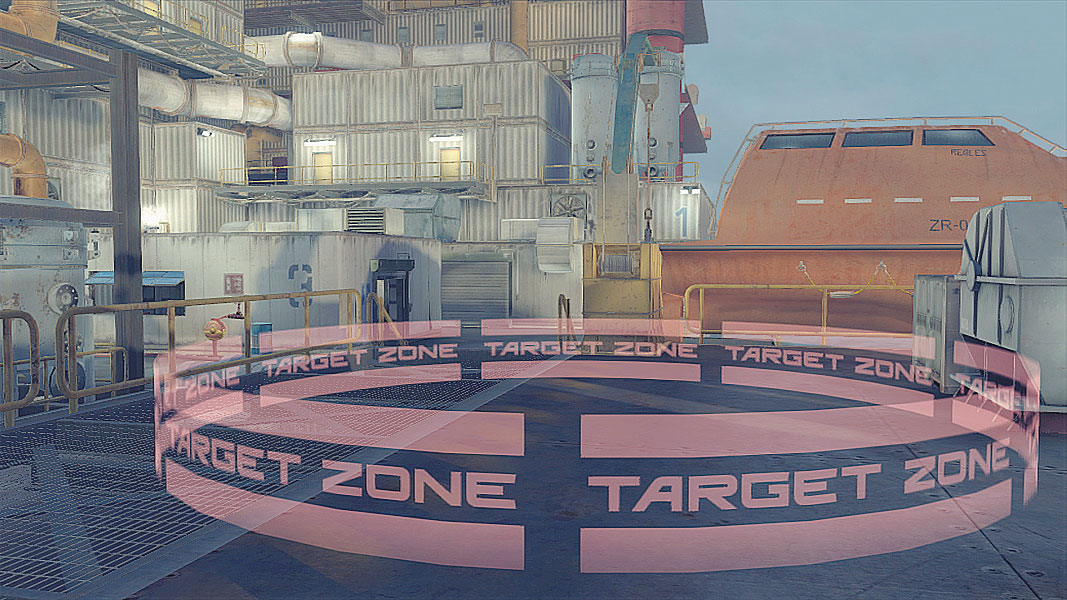
Ghosts have to place the bomb on the open platform that serves as the Lifeboat Dock—and not in a locale that offers a whole lot of cover. Smoke, intel-grabbing equipment, and sharpshooting escorts can help overwhelm defenders. Sticking close to the bomb carrier or using a Field Computer can speed up the process of actually setting the bomb.
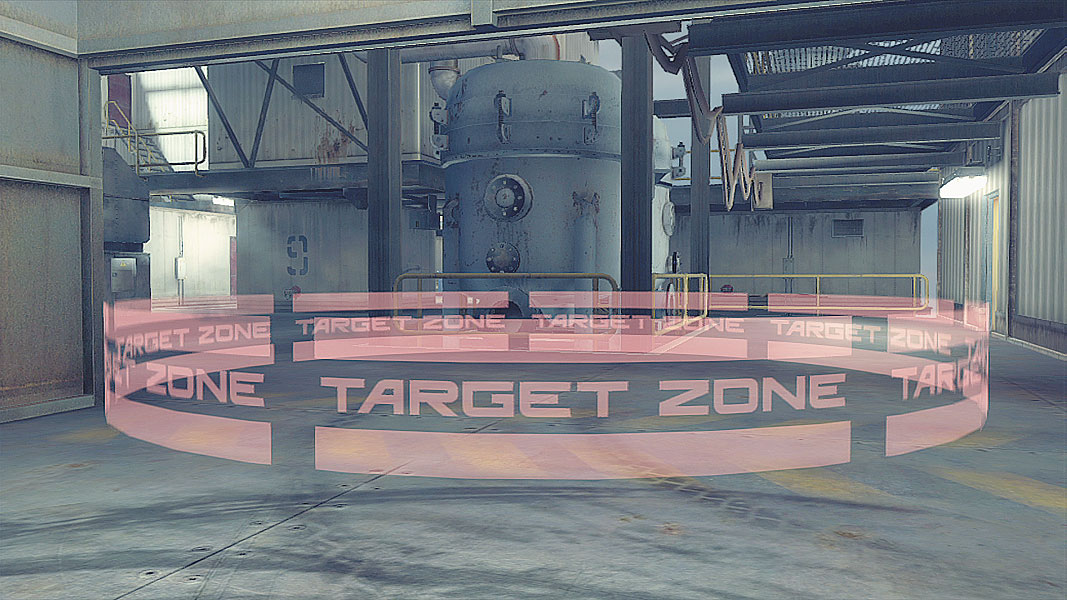
Sneaking the bomb into the Pump Units is the task set forth for any Bodark bomb carriers. Consider taking the lower level side catwalk to avoid too many enemies, but remember that there are plenty of angles for flanking fire around the Pumps, so speed is the key to beating defenders to the punch. As always, a UAV sent out into the area beforehand can help to spot all but cloaked Scouts, and it can be parked somewhere to watch flanks while the carrier moves into position.
// Siege
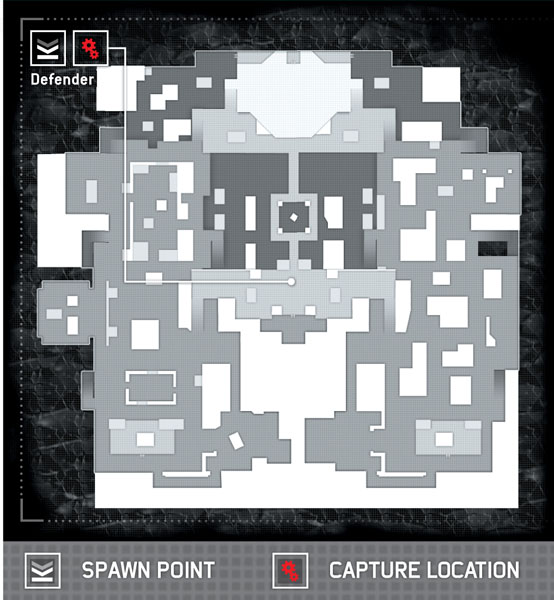
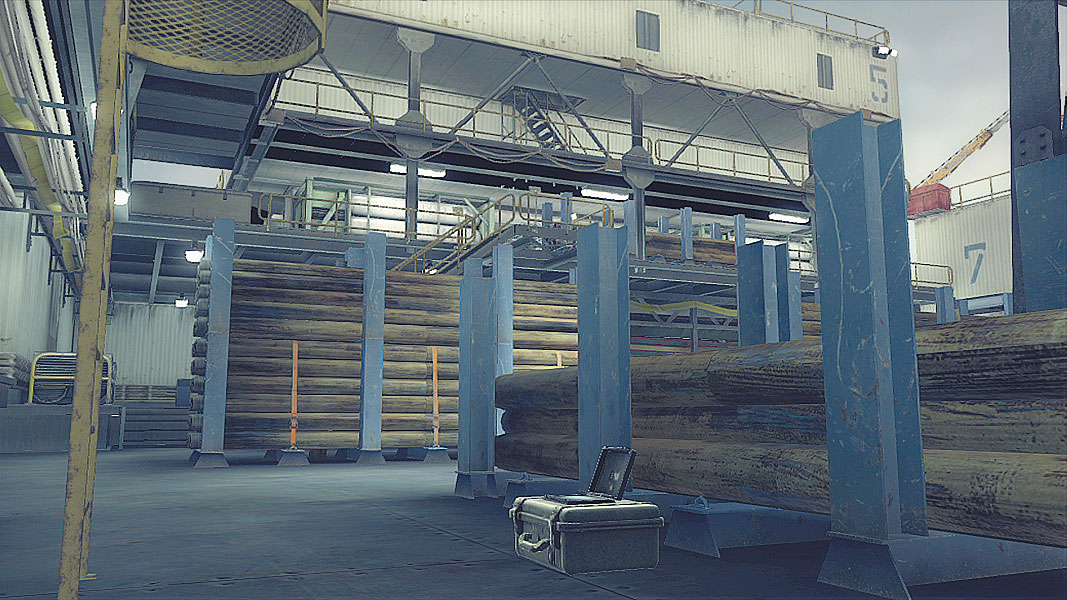
The dangerous domain of the drill holds the location of the capture point and the spawn area for defenders. Quickly grab elevated positions to cover the flanks, but keep a few defenders down on the ground floor to sweep the area of threats. Note that an attacker trying to capture the location is protected by the nearby logs and must be taken out from the widely exposed flanks. The defenders have the advantage here, but there are quite a few routes of entry. Be ready for intel-gathering devices, EMPs, and smoke attempting to mask entries.
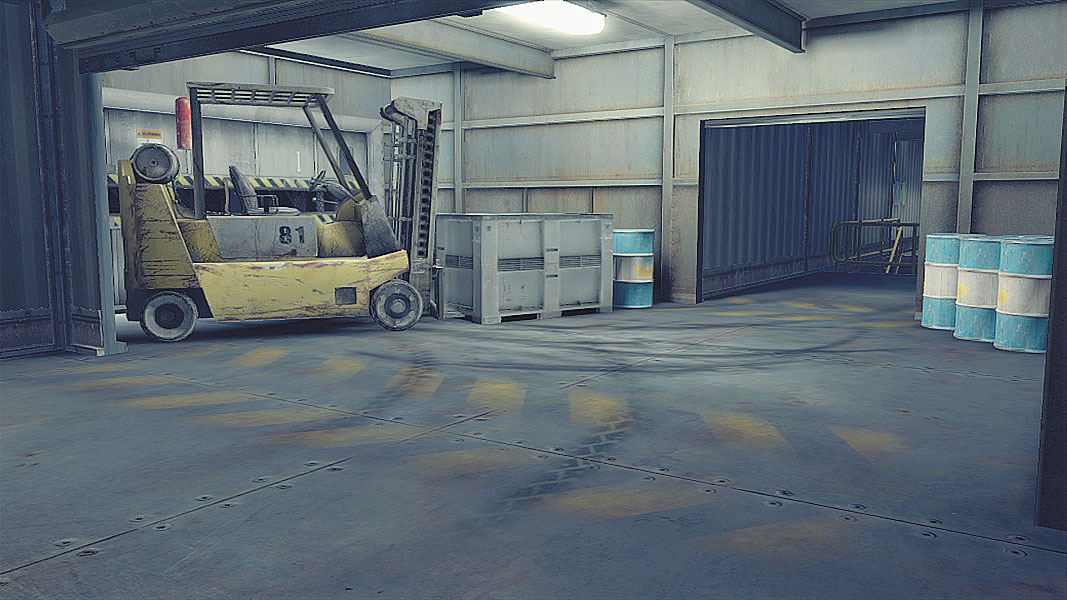
If protecting the attacker, make sure to keep eyes trained toward those nearby bits of cover at the flanks and up toward areas where a well-placed headshot could end everything. Popping smoke in a location other than the actual attack vector is a wise move, given how many multitiered routes of attack there are. Above all else, take things slowly and try to pick off the defenders one at a time.