
Tom Clancy's Ghost Recon Future Soldier Guide Walkthrough Deep Fire
Reach the Helipad
Reach the Helipad
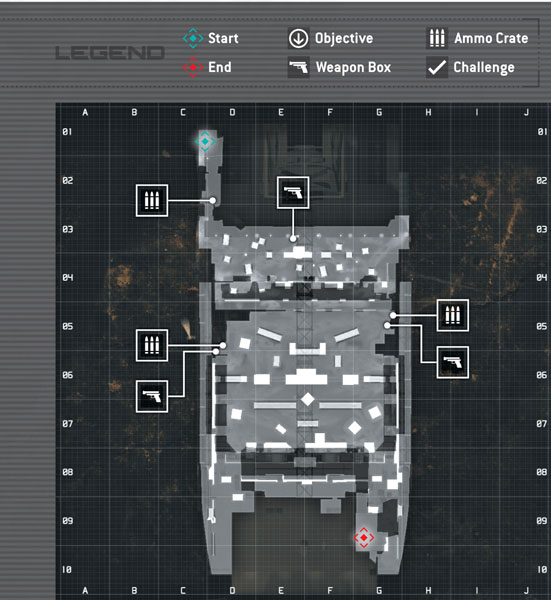
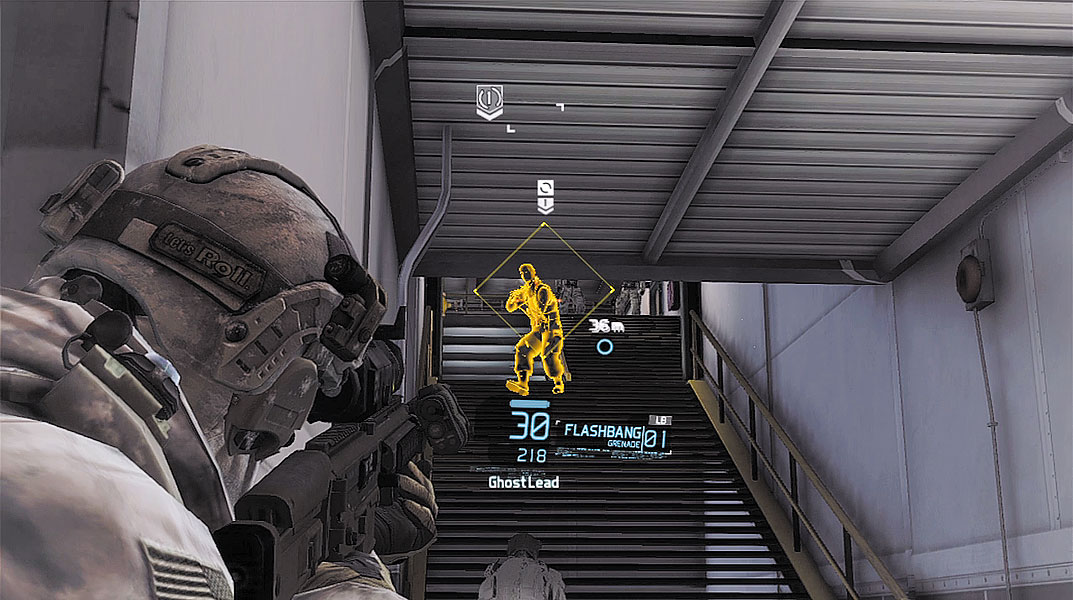
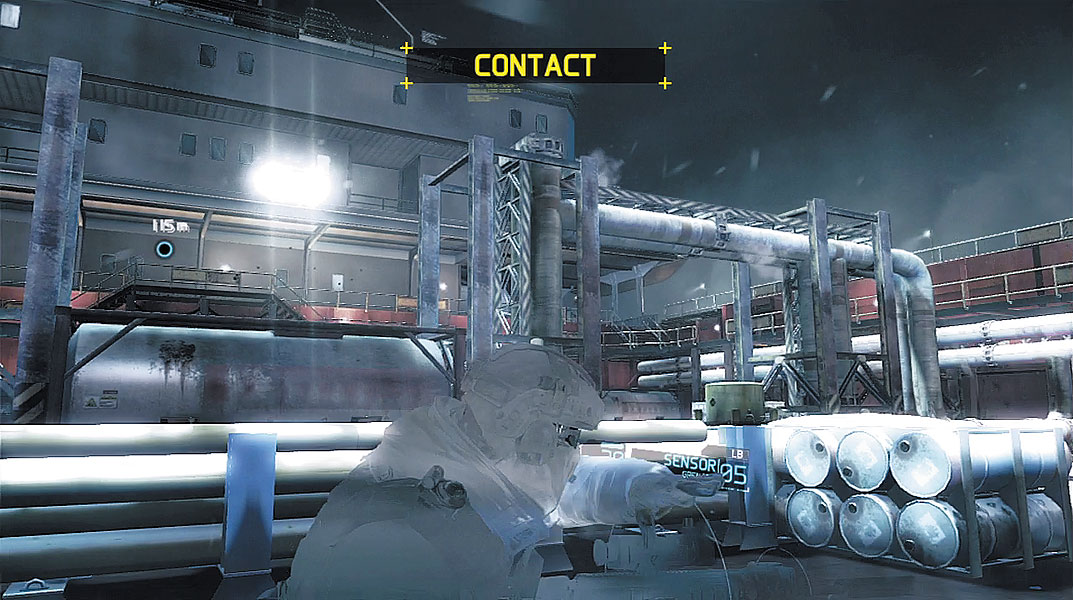
Apparently your work on the ship hasn’t gone unnoticed by Raven’s Rock. As the Ghosts enter the corridor beyond the control room, Overlord warns that multiple hostiles are closing in on your location—the Russians have deployed a Quick Reaction Force (QRF) in an effort to stop your team. You need to fight your way through the reinforcements to reach the helipad at the aft of the ship. Friendly choppers are inbound and will provide fire support upon arrival. In the meantime, you need to hold out as long as you can. Advance toward the waypoint marker, but drop to a crouch when the word “Contact” appear across the top of the HUD. Just ahead, there’s a staircase guarded by three riflemen. Take cover along the wall on the left, and peek around the corner to the right to spot all three enemies—deploy a Sensor if you still have one. There’s no need to for an elaborate takedown here. Simply peek around the corner and mow down all three riflemen before they have a chance to seek cover. Even if you’re spotted, it won’t trigger a wide-scale alert. Once the riflemen are down, approach the metal door and wait for your teammates to breach.
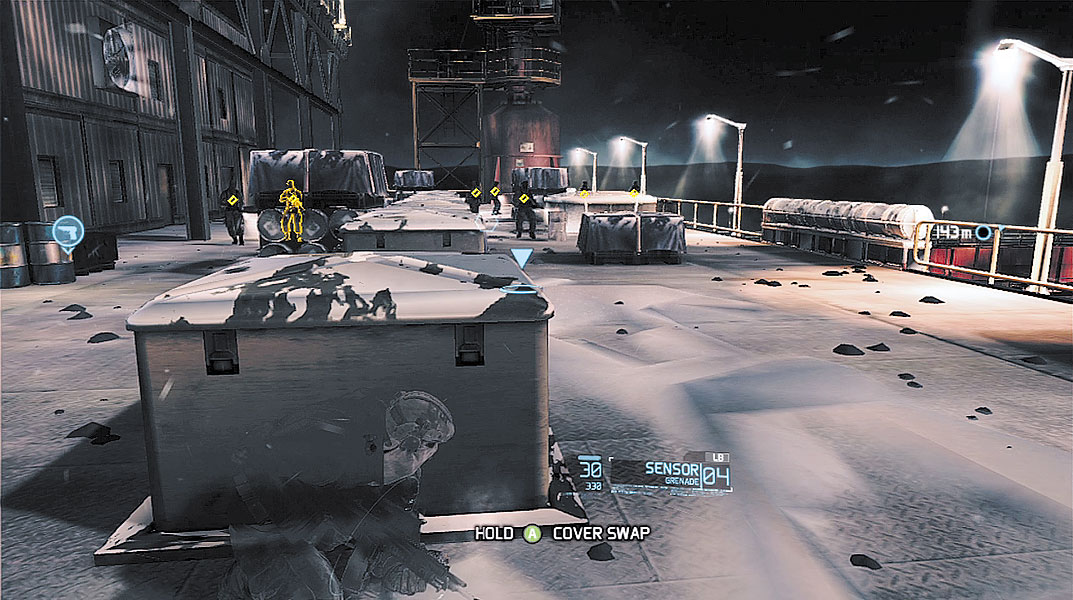
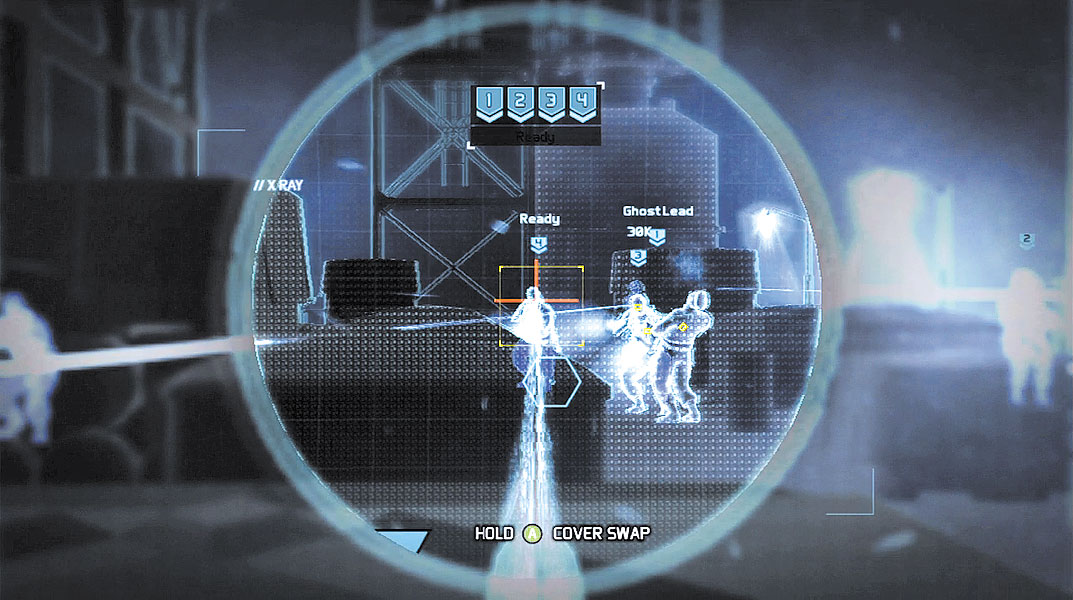
You’re now on the deck of the ship. In preparation for the fight ahead, access the ammo crate to the left to stock up on Sensors and Flashbangs. As your team advances, more enemies are detected patrolling nearby. Take cover behind one of the crates and toss a Sensor toward the patrolling riflemen. There are a total of seven enemies here—make sure all seven are detected by your Sensor. Mark the four enemies farthest from your position and setup a sync-shot. When all your teammates are ready, select a target and squeeze the trigger to initiate the sync-shot. Killing four of the riflemen leaves three more standing. You need to take these guys out fast before they can realize what happened. If the remaining riflemen are nearby, you can quickly mow them down before they spot the bodies of their dead comrades and trigger an alert.
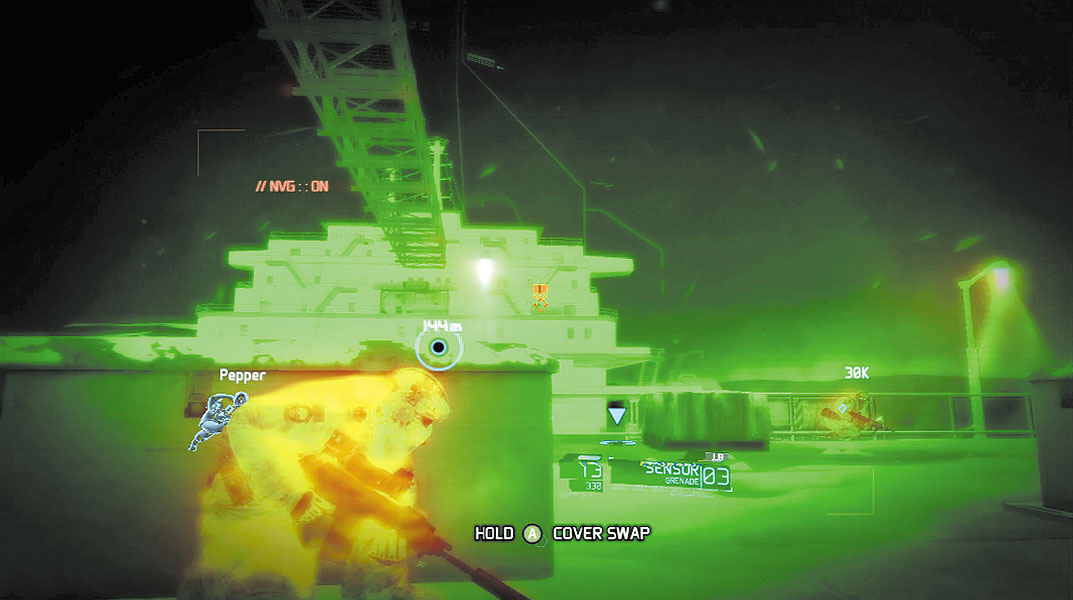
Even if you eliminate all seven riflemen on the deck without triggering an alert, it doesn’t prevent your team from coming under attack by four snipers posted on the ship’s conning tower. Immediately put a solid piece of cover between yourself and the snipers. At this distance, it’s tough to see the snipers, and they’re way beyond the range of your hand-thrown Sensors or Backscatter scope. So activate your NVGs and watch for incoming tracers. While behind cover, issue focus-fire orders on each sniper and let your team take them out.
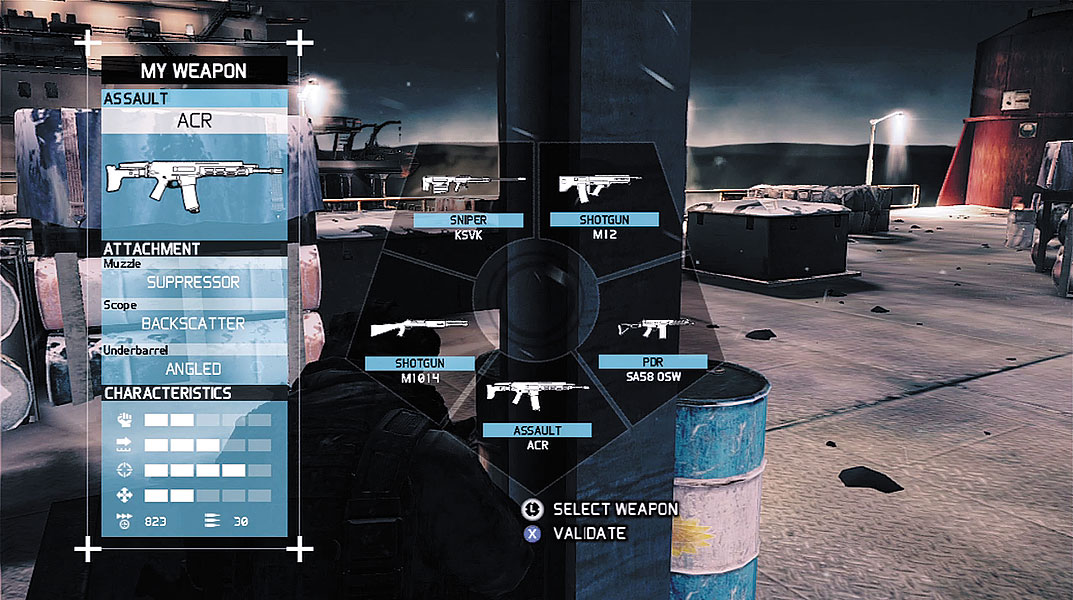
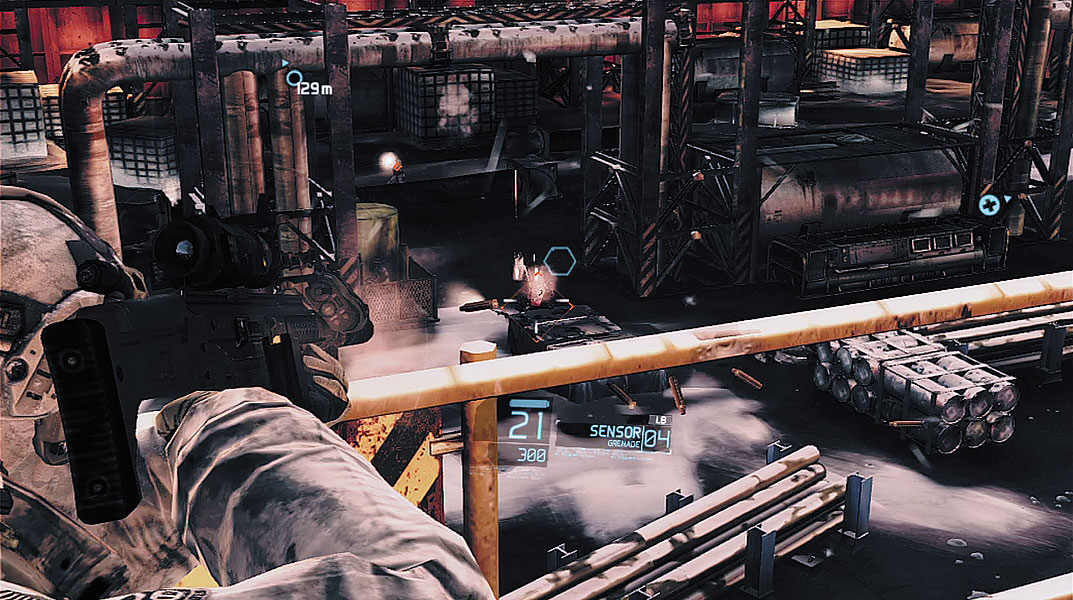
With the four snipers down for the count, follow your team down a short ramp leading to a walkway. When you reach the bottom of the ramp, your team comes under attack by more enemies, including two more snipers. Immediately take cover along one of the crates or steel plates on the edge of the walkway. The snipers are posted on the walkways just beneath the conning tower—there’s one on the left and one on the right. Stay behind cover and issue focus-fire orders on both snipers. Once your team has dispatched both snipers, deal with the riflemen on the lower part of the deck. Toss a Sensor toward them to make them easier to spot, then help your team pick them off one by one. Although your team has the height advantage in this fight, the riflemen below outnumber you and can unleash a lot of lead in your direction. So don’t get overconfident. Issue focus-fire orders, then peek over the railing and engage one target at a time.
Once all enemies are eliminated, follow your team down to the lower deck of the ship. When you drop off the walkway, immediately move to the left side of the ship to access an ammo crate—the nearby weapon box contains the same weapons you encountered in the previous box. When you’re resupplied, join your team near the center of the deck. Suddenly several spotlights on the ship’s conning tower bathe the deck in blinding light while a Russian voice can be heard saying something over a loudspeaker—it looks like you just walked straight into an ambush!
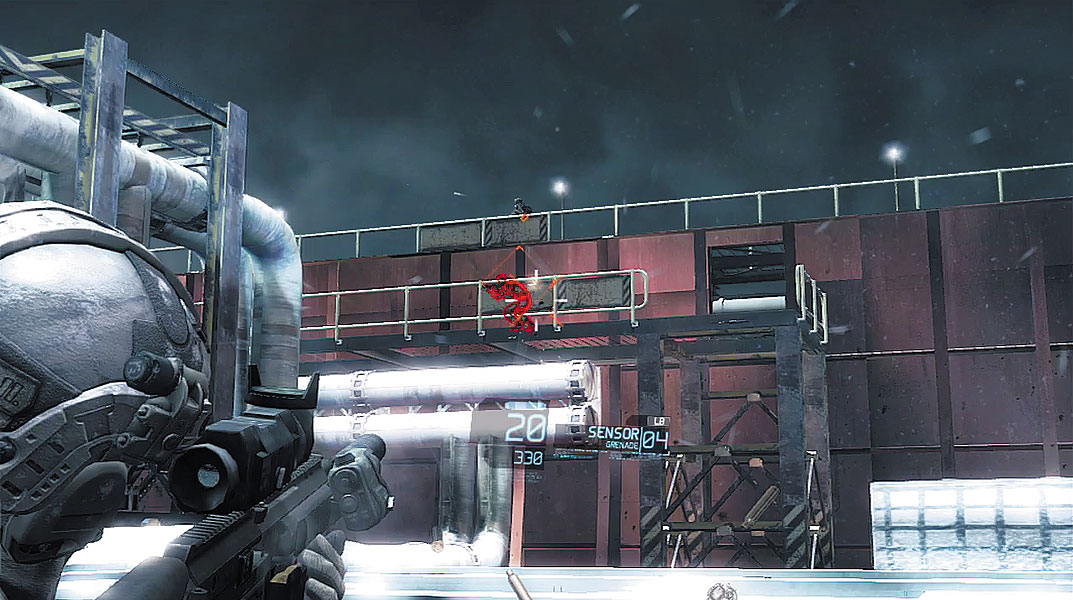
Take cover behind the cluster of pipes in the center of the deck. The adjoining stacks of barrels on each side create a handy U-shaped defensive position, which helps to provide cover from three directions. The first group of enemies attack from the right side, moving along the catwalk. Toss a Sensor in their direction and begin opening fire. Most of the enemies take cover behind the metal plates beneath the catwalk’s railing. Fortunately your assault rifle can punch through these metal plates. If your Sensor hasn’t revealed these hiding enemies, your Backscatter scope will.
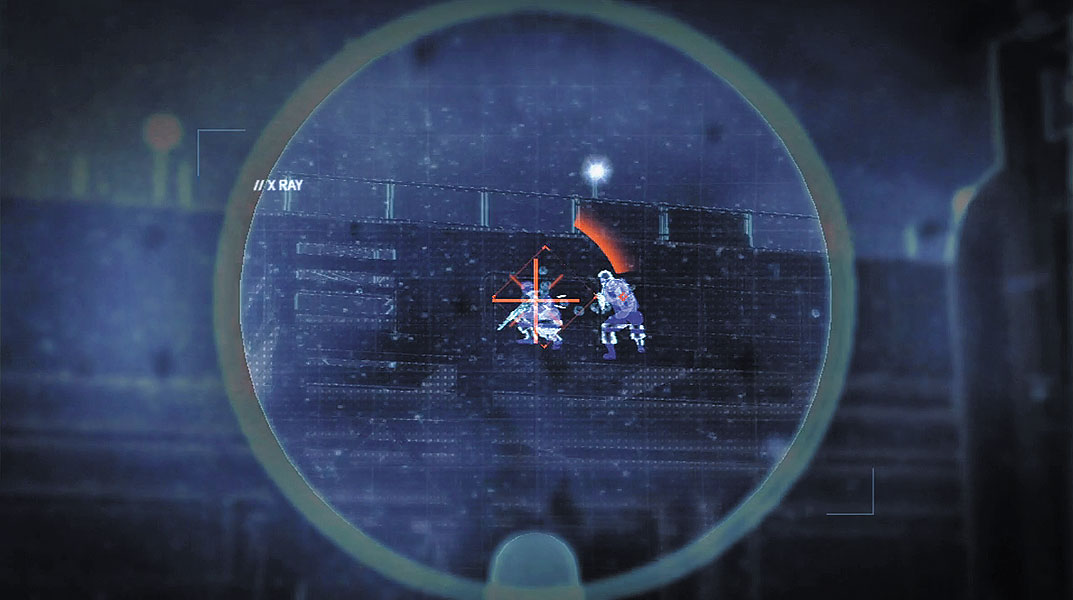
Listen to the chatter of your teammates during this attack. They often provide helpful cues as to where the enemy is attacking from. When they announce the enemy is flanking from the left, move to the left side of your defensive position, taking cover behind the stack of barrels. Toss a Sensor toward the catwalk on the left side of the ship to reveal the next wave of attackers. Once again, identify the enemies hiding behind the metal plates beneath the catwalk’s railing and engage them through cover.
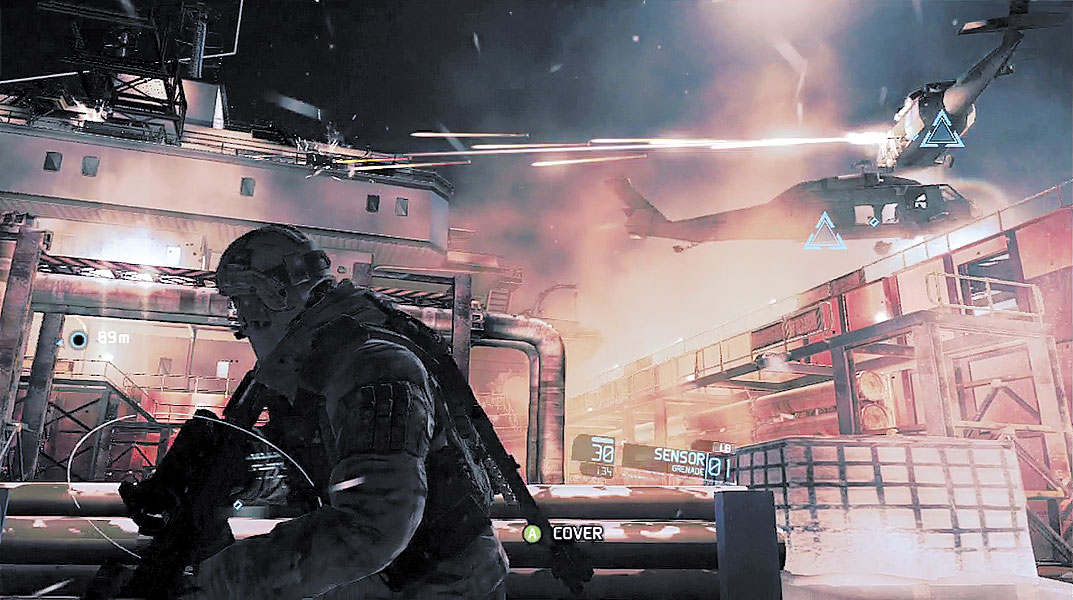
After you’ve dealt with the enemies on your flanks, focus on the hostiles firing from the catwalk straight ahead, beneath the conning tower. Some of these enemies are armed with LMGs that make them particularly deadly. Stay behind the cluster of pipes at the center of the deck and issue focus-fire orders on these enemies. As the enemy attack intensifies, your team is saved by two Blackhawks flying overhead that rip into the enemies with their miniguns. There’s no need to risk injury during the Blackhawk attack. Stay behind cover and let them mop up the rest of the enemies. When the word “Clear” appears across the top of the HUD, it’s safe to move out of cover. The path to the helipad is now clear. Follow your teammates up a ladder and regroup at a door leading into the ship’s conning tower.
Helipad
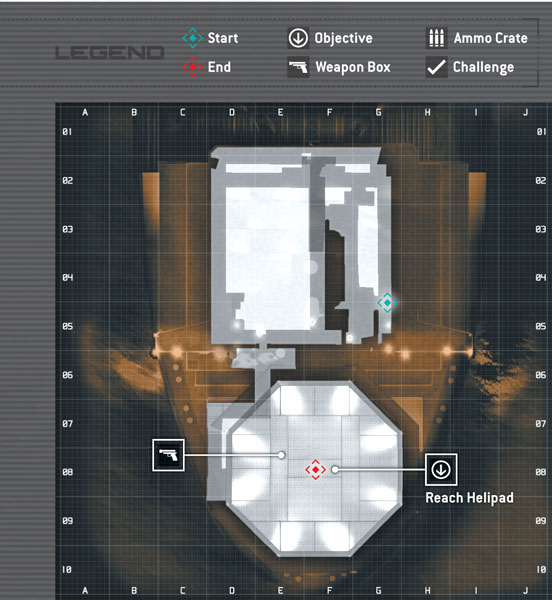
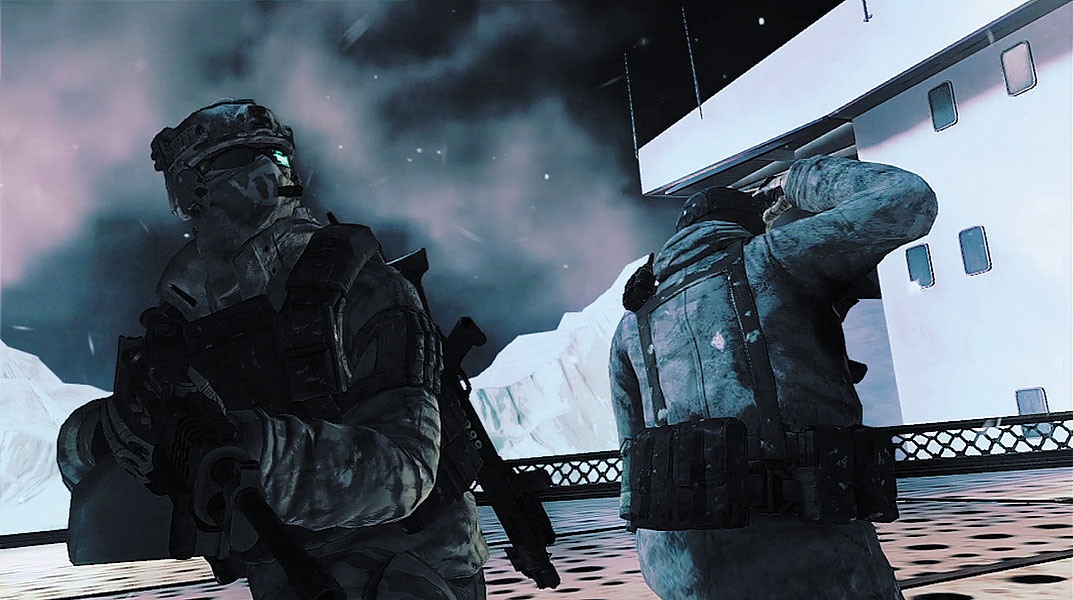
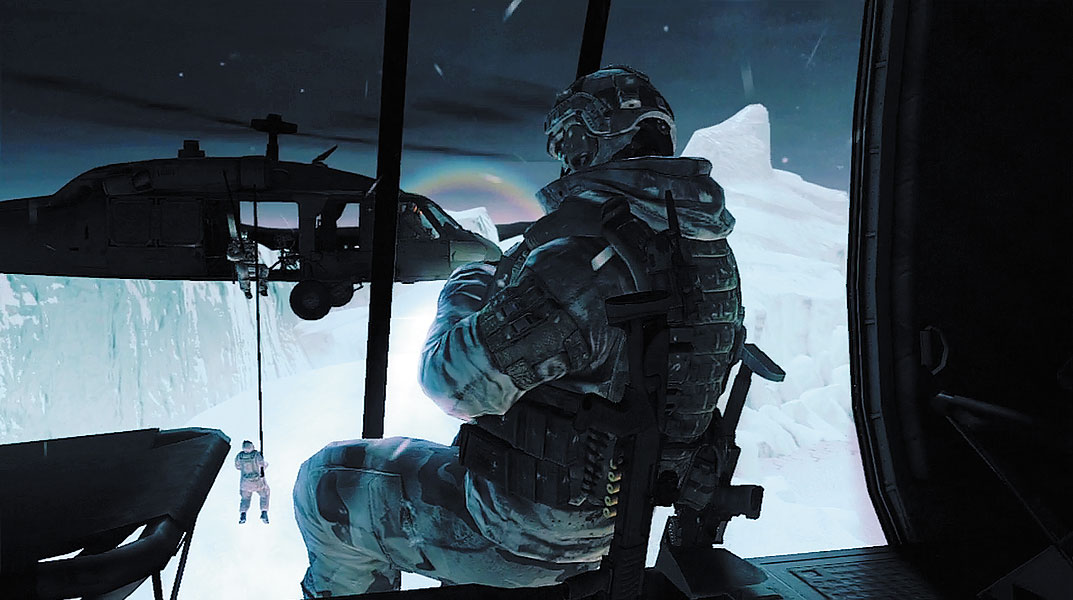
Pass through the corridors behind the door and proceed to the helipad, which is marked on the HUD with a waypoint. A weapon box on the helipad contains a Stoner 96 LMG, but you won’t be needing it. Instead, move to the white ring icon on the helipad and prepare to climb aboard one of the Blackhawks. Kozak and 30K board one chopper while Ghost Lead and Pepper are hoisted onto the other Blackhawk. Once onboard, Overlord reports that US decryption analysts have managed to lock down the control system of the second ship remotely, preventing any tampering by the enemy. However, realizing they’ve lost control of one ship, Raven’s Rock is moving large numbers of reinforcements to secure the second ship.