
Tom Clancy's Ghost Recon Future Soldier Guide Multiplayer Adversarial
Pipeline
Pipeline
Situation Report
- Left deserted when local oil fields were depleted, this sprawling refinery is made of concrete and corrugated tin. Empty structures provide plenty of places to hide, while a dry pipeline cuts a clear path through the center of the complex.
- Precious natural resources are precious for a reason: they’re limited. Eventually, all oil fields run dry, and when they do, the only option left is to move on to more plentiful fields. The locals here did just that, leaving behind a sand-blasted hovel nestled along a pipeline that slices right through the middle of what used to be a town. Far from abandoned, the mix of crumbling masonry and slapdash tin walls ruin any long lines of sight in this hot spot. That makes this an almost exclusively close-quarters engagement, with rare moments of medium-range fire. Gear up accordingly.
// Spawn Points (Conflict, Decoy, and Saboteur)
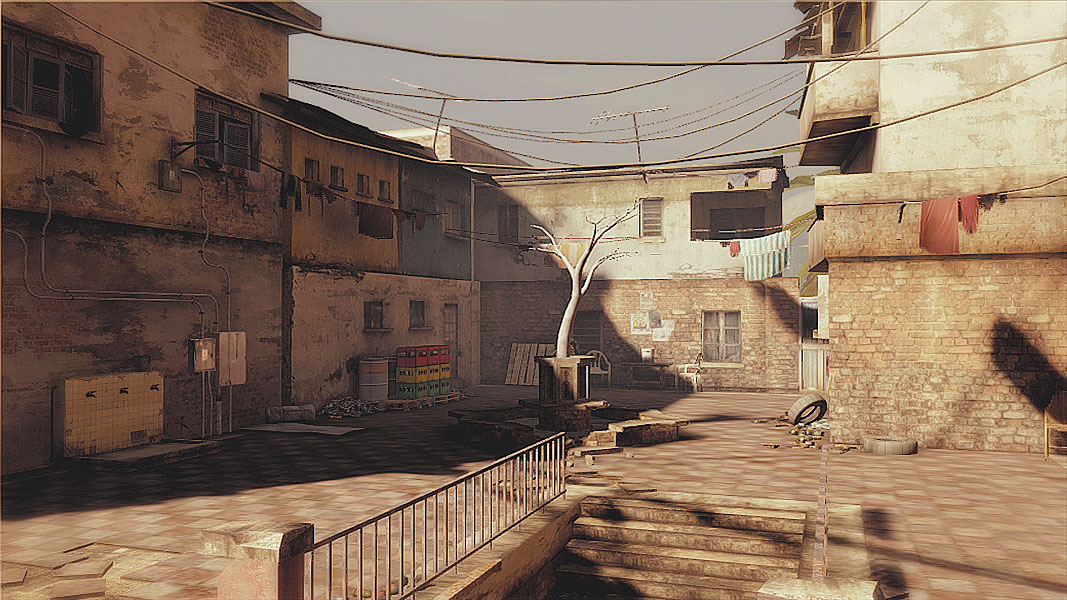
Ghosts spawn outside what’s left of the town’s Hotel, with a ramp downward and out into the main combat zone, which is littered with low cover, or a long tunnel that leads to either a set of stairs down through a door or a limited vantage from which to snipe. In Conflict, Decoy, and Saboteur modes, this area is completely protected, but in Siege, it’s left open to either team. Keep this in mind when moving back toward the spawn point, and use the other side of the wall to flank enemies that might snipe from the relative comfort of the hallway. Once flanked, anyone still foolish enough to be caught in the hall will likely get gunned down with ease; there’s no cover inside the long, narrow stretch, and only one way out if one end is covered.
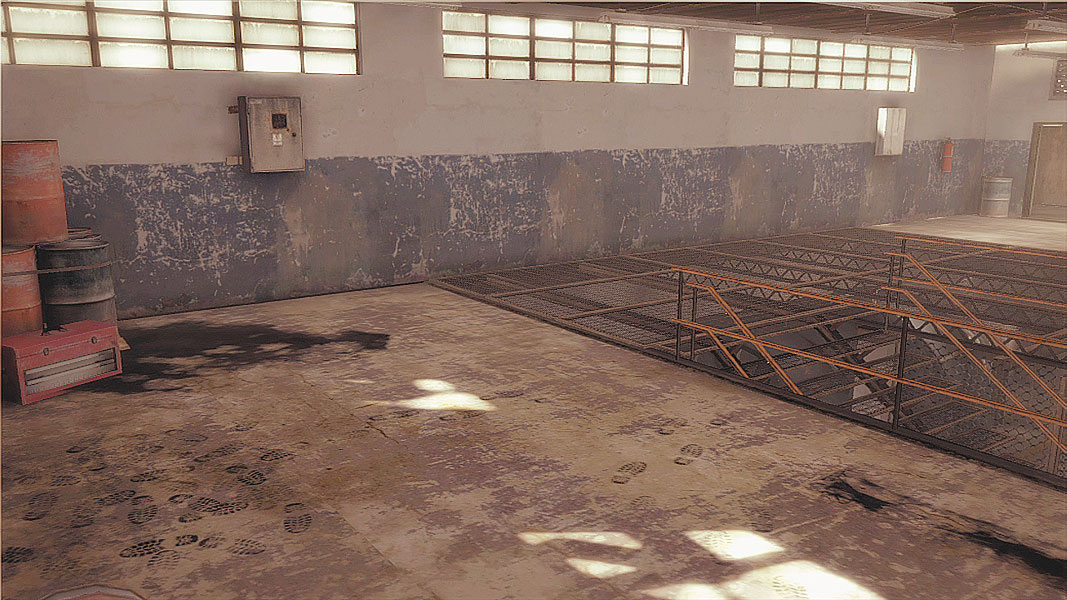
The Bodark team begins in and around the Maintenance area for the nearby bridge, which offers small bits of low cover, plus a much more protected side route that parallels the bridge and exits out into plenty of cover to the left. Be wary of the Maintenance building’s multiple levels; during Siege matches, they offer multiple routes of entry and elevations to cover. Unlike the hallway on the Ghosts’ side, there’s bits of cover along the approach from the bridge, which also offers a vantage point to fire down on enemies trying to sneak along the side path.
//Points of Interest
Elevated Positions
Pipeline’s raised platforms aren’t exactly plentiful, but they can be deadly. A trio of them face inward toward the center pipeline area that forms the basis of both the bomb location in Saboteur and the central capture point being defended in Siege. Control of the center forces opposing teams to skirt the edges of the map, so expect plenty of tug-of-war fights over these key spots.
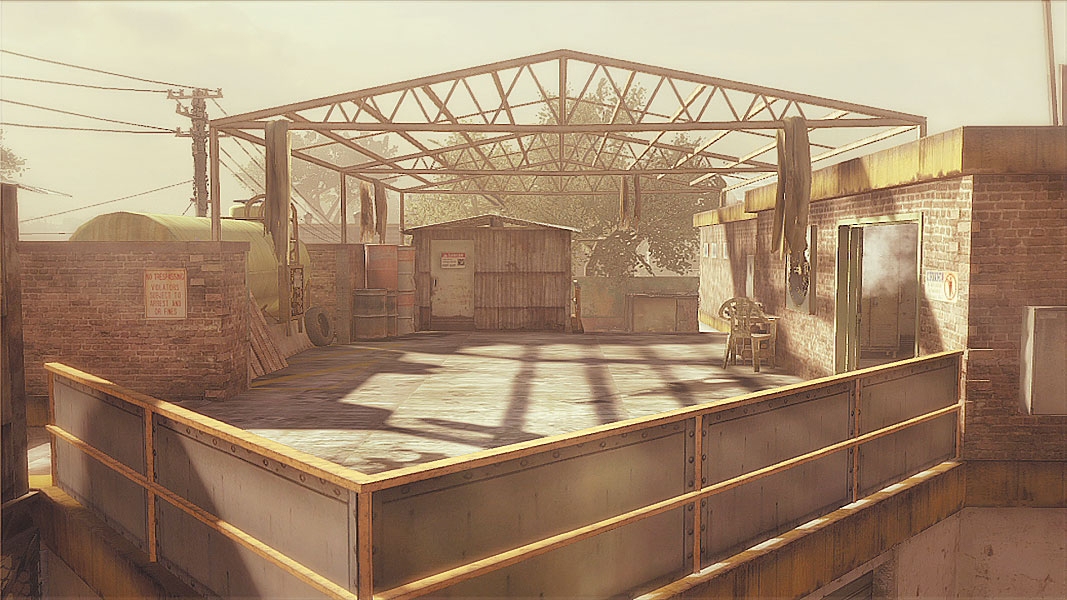
Of the three elevated platforms, only this Garage overlooking the center of the camp offers multiple routes of entry that are entirely ramp-based. While it’s a solid spot for brief sniping, the fact that there are no less than three separate entrances means the position should only be held by an entire squad, which allows teammates to cover all the ramps leading up to the rooftop, where a sniper can take out enemies trying to sweep through the middle of the map.
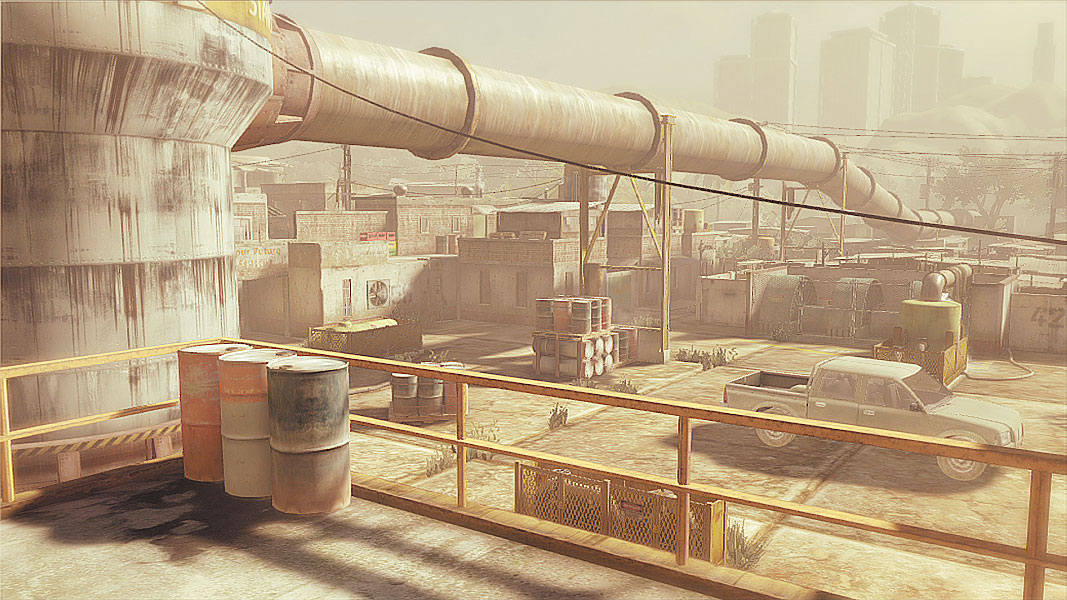
This upper area offers limited angles to fire down into the center of the action, and has at least one ladder that can slow down approaching attackers. The other end, however, is a long, sloping ramp with decent amounts of cover on the approach so multiple attackers can approach at once. Use this to your advantage while attacking and keep it in mind if you’re defending the position.
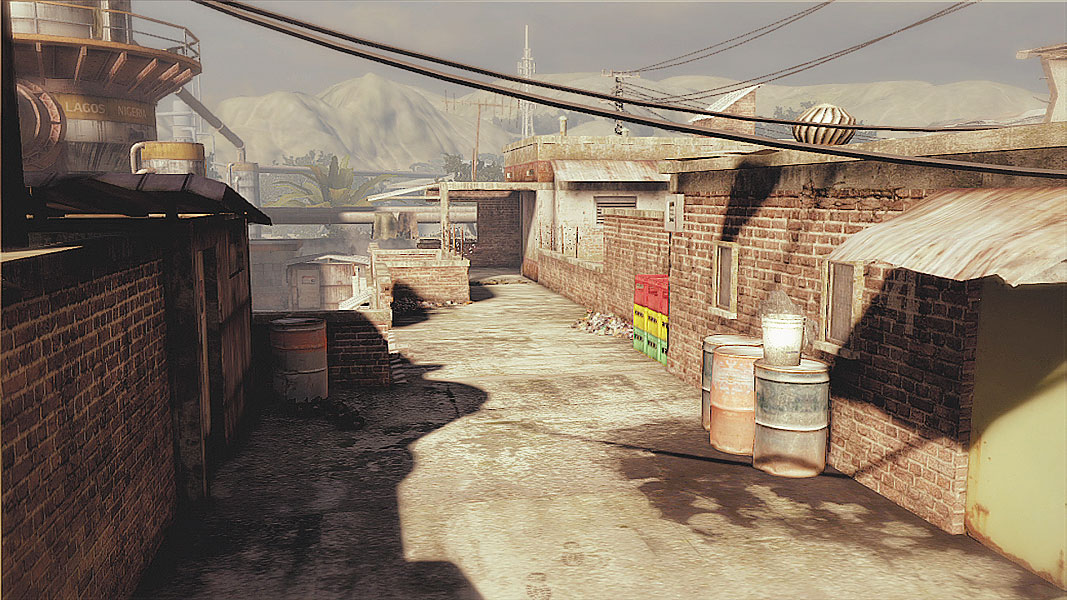
Like the elevated position tucked into the corner of the map, the Admin building will be a source of more than a few firefights thanks to its prominence as a very common hot spot for objectives in Conflict mode. The long, narrow walkway is bookended on one end by a ramp that can allow sneak attacks and, at the other end closer to the objective, a ladder with very little cover. Use this to your advantage when assaulting: Use the ramp area’s limited cover to take out enemies at the far end, or placing claymores near the ladders to catch those trying to sneak up from ground level. Like the other elevated positions, most of the cover-based sight lines are focused on the center of the map.
//Conflict
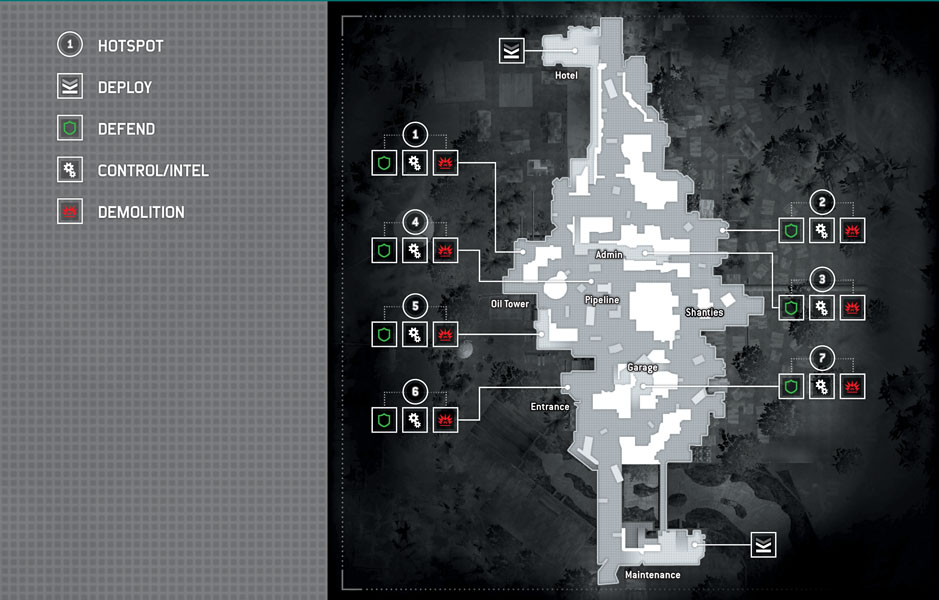
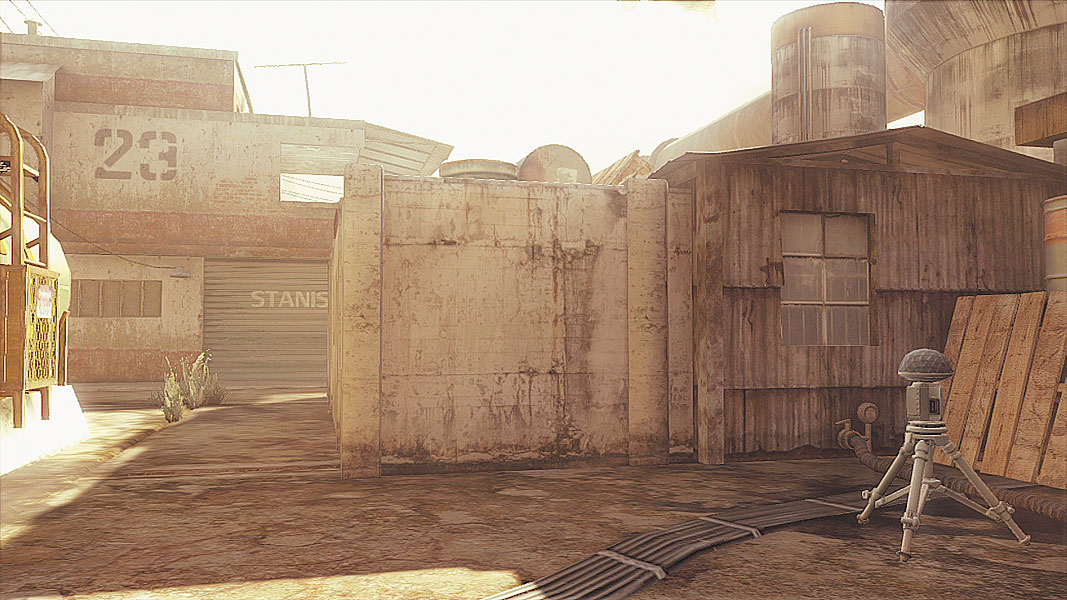
One of the most dangerous hot spots on the map, this objective looks out into the large central Pipeline area and can be easily covered by way of the nearby L-shaped set of walls opposite a large gas tank. Running directly toward the objective through the open areas of the map is foolhardy, as there’s simply too many sight lines into the courtyard area. When capturing, be sure to cover the rear; enemies in the long elevated walkway can make their way down the ramp and sweep around the corner to take out a would-be capturing enemy.
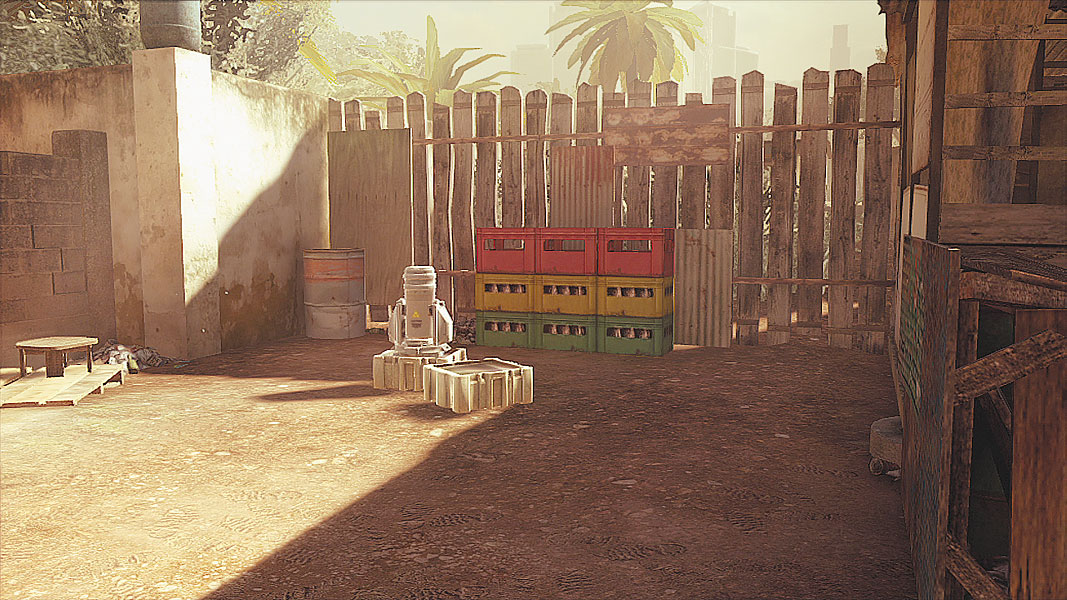
Although it looks relatively unprotected, the sight lines on those trying to capture or destroy an objective here mean attacks will likely come from the cover of the nearby sandbags. The small stitch of corrugated metal can provide some low cover for defenders, but this is not an objective that should be attempted alone by either team.
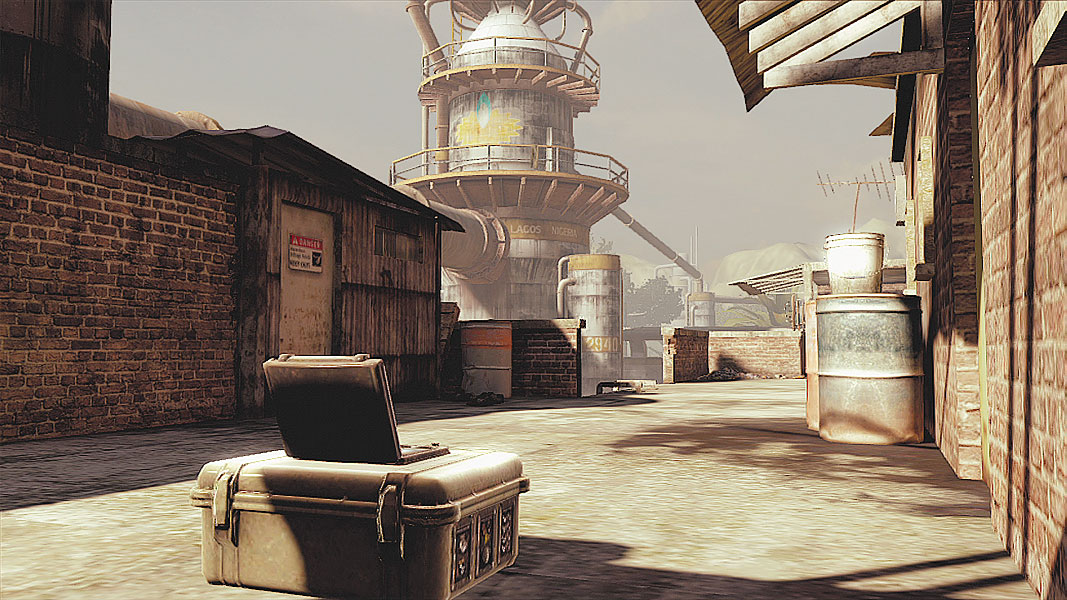
For the very same reasons that make this spot such a dangerous sniping spot, it also can mean death for those rushing to capture the objective. The corridor-like nature of the platform offers only one means of escape if opposing forces attempt a pincer attack by coming up the ramp and climbing the latter at the other end: a sprint toward the ladder in the middle. Remember, though, that jumping down can immobilize you for a few seconds—often the difference between a clean getaway and adding to the enemy’s kill count.
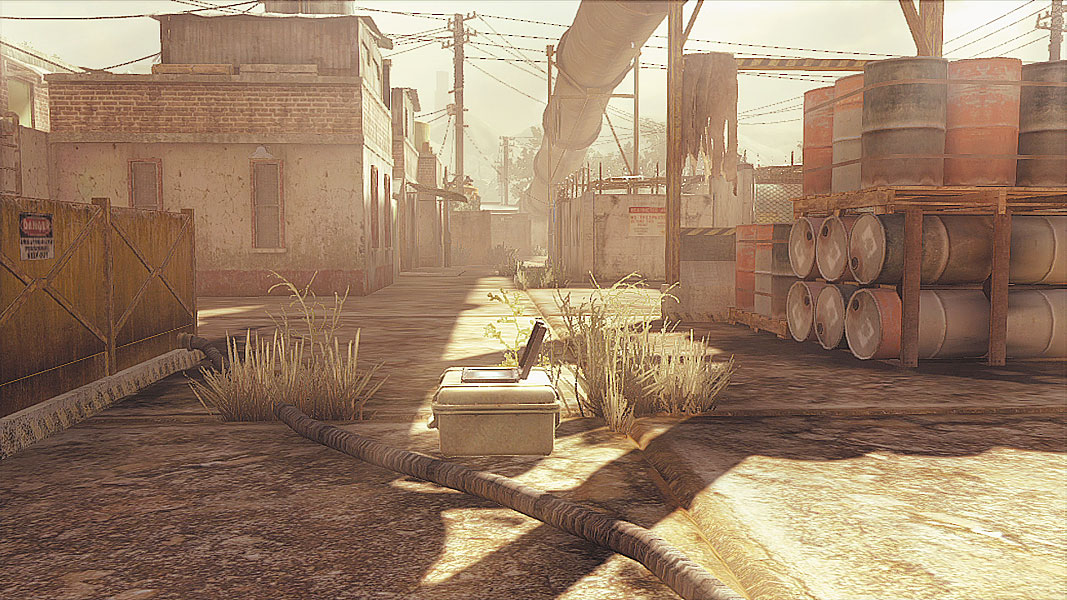
With all elevated positions looking in at this spot, making a run without a coordinated offense amounts to suicide unless opposing squads are being distracted. Avoid approaching from the open area near the truck if possible and slip in from the sides or after scouting the nearby elevated areas. Defenders need only line up their shots or throw a well-timed grenade.
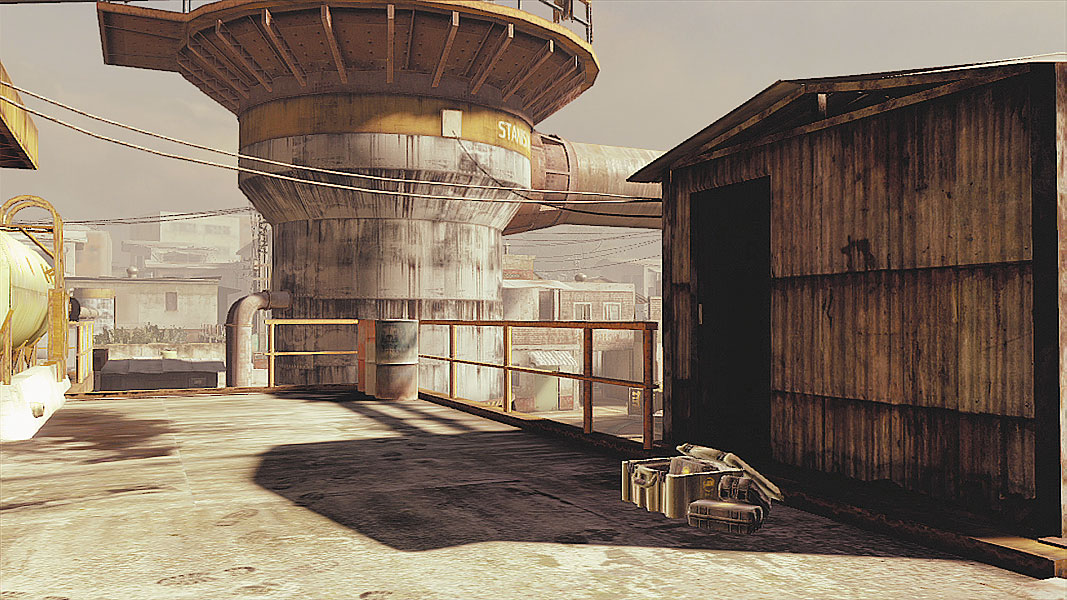
This upper area has two key advantages for those already occupying it: the ladder can slow down approaches and the cover looking out over the ramp leading in from the other side makes assaults difficult.
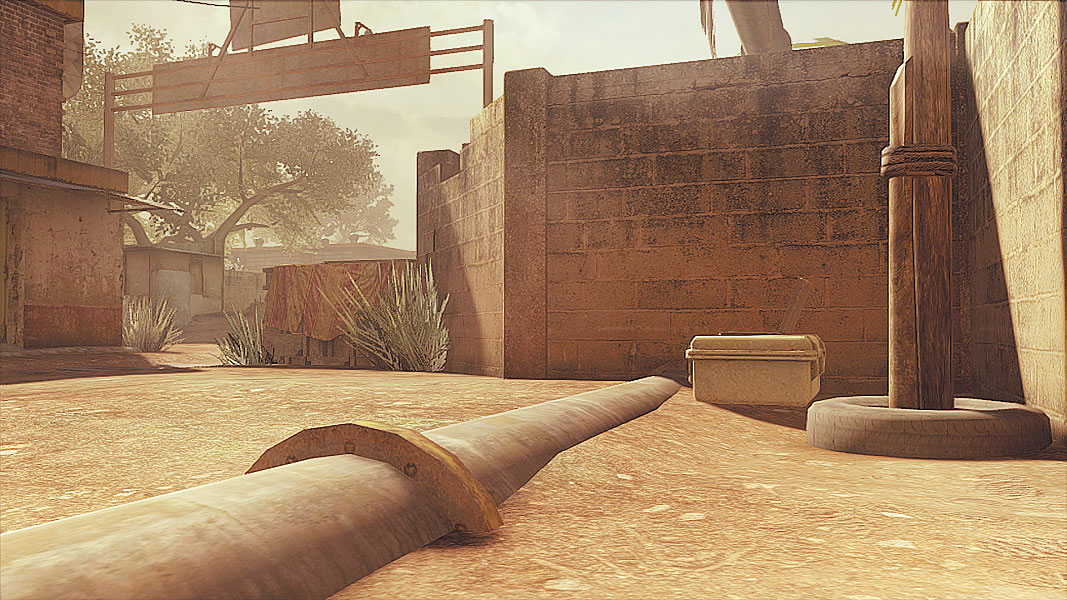
Like the objective on the opposite side of the map, this one is largely unprotected and has clear lines of sight from the elevated walkway opposite and the more open central part of the map. Attempt a capture only as a unit or suffer the consequences.
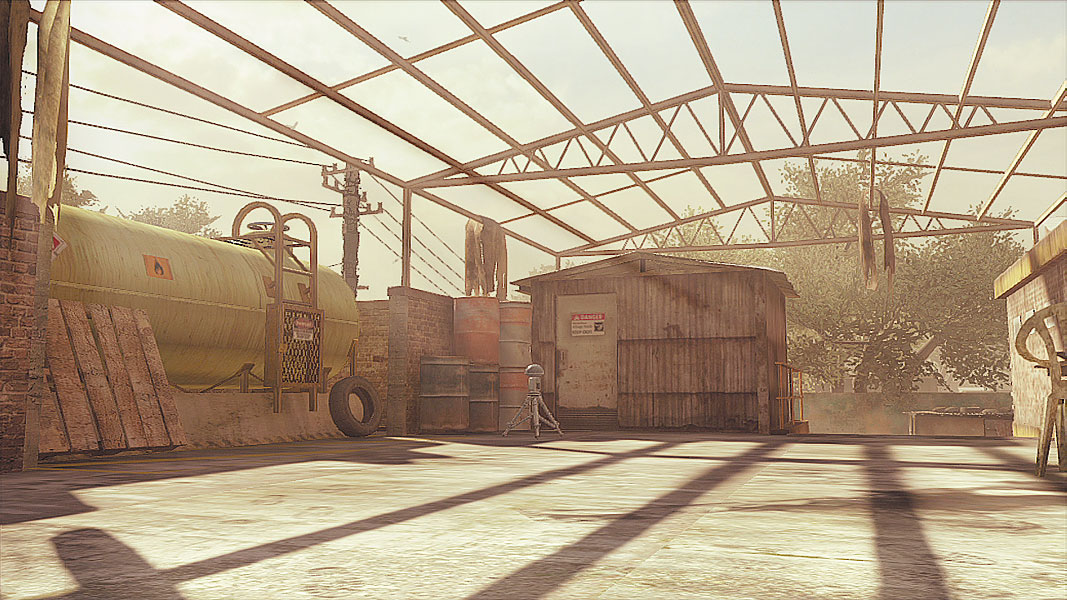
Although there is limited cover to mount a counteroffensive, the sheer number of routes up to this platform can make surprise attacks inevitable. If you are stuck under heavy fire with no way out, running off the edge facing toward the central part of the map is an option, but probably the only way this objective will be taken or held is by coordinating with teammates.
//Decoy
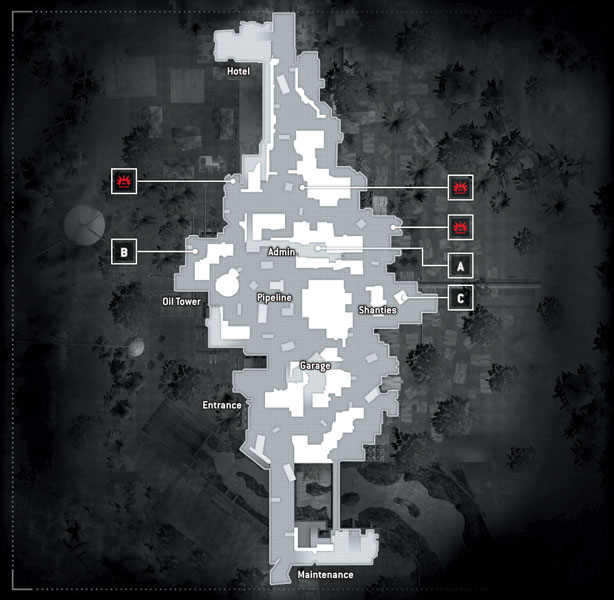
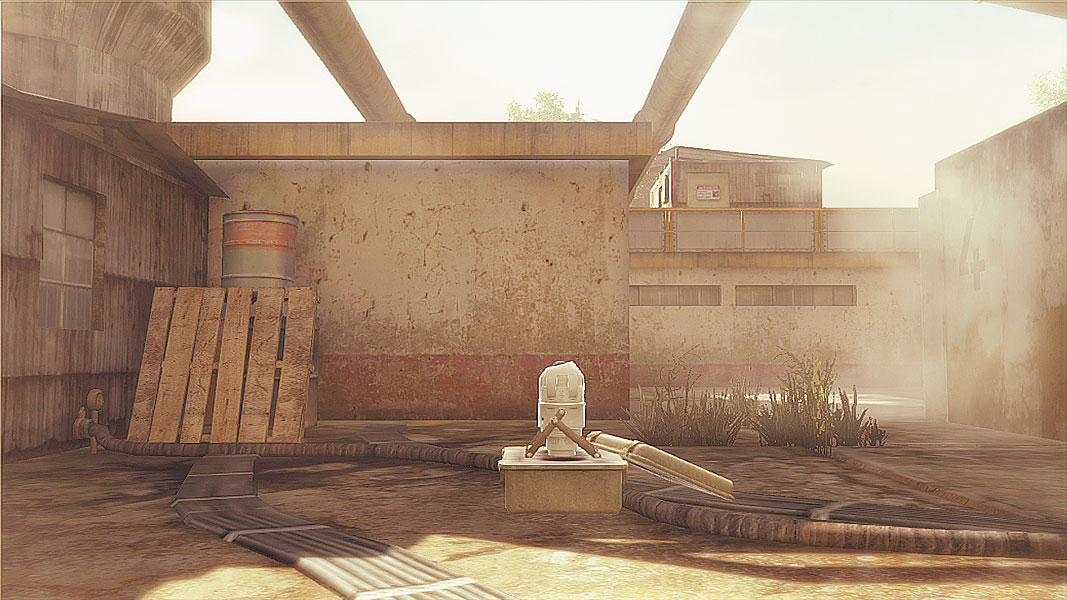
Objective A has only two routes of entry, which can make a pincer attack by invading forces a hugely effective technique. Likewise, when defending or capturing the area, be sure to position support with eyes on both routes of entry. There’s precious little time to react to enemies that swoop in.
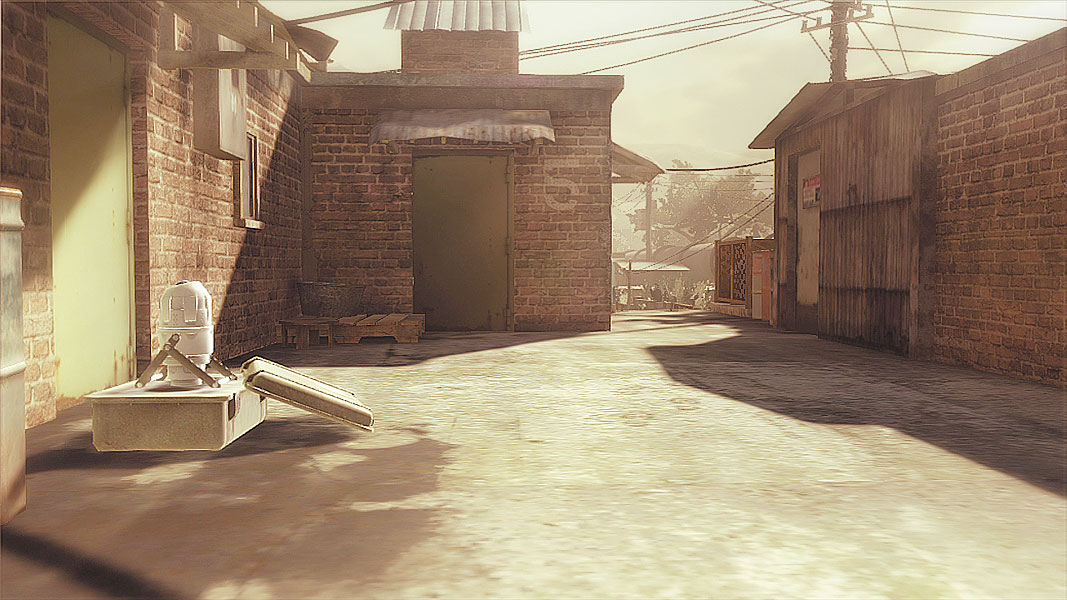
Once again, the upper walkway where Objective B rests is fraught with multiple entry routes and nothing in the way of cover if you are trying to capture. Those repelling a capture should approach from the ramp to avoid surprise claymores at the top of the stairs and eagle-eyed sharpshooters firing from ground level near the large tower connected to the oil pipeline. Get in and out as fast as possible, as there’s little room to escape if things go south.
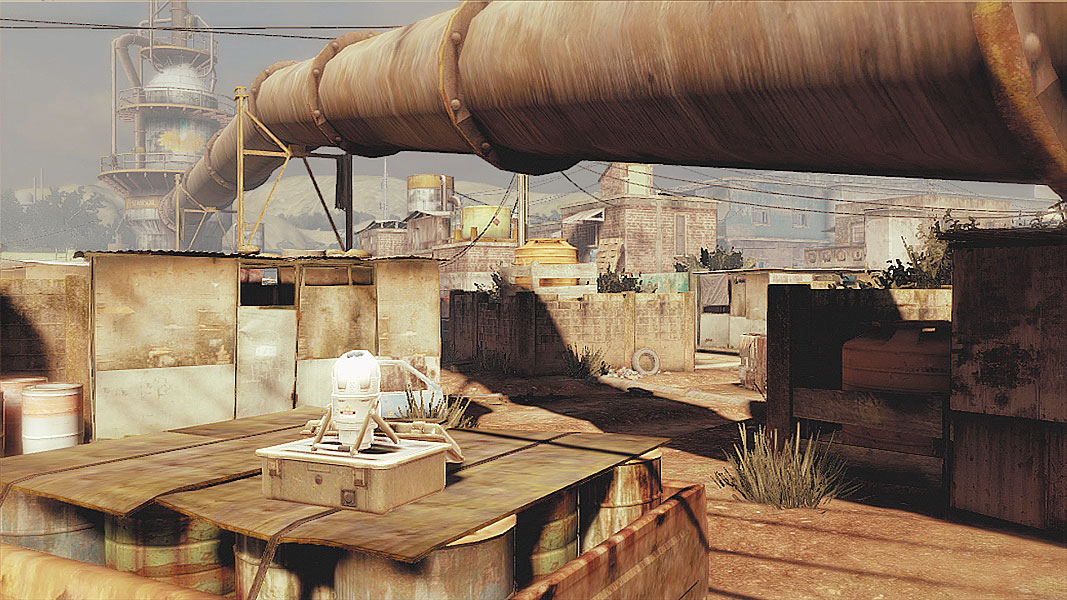
Objective C is closest to the attackers’ spawn point in Maintenance, so it’s likely to be a first strike for beginning players. Use this to your advantage: Take cover on the opposite side while waiting for the enemy to try to capture the objective. Scoot around the truck bed to take them out quickly, then head back to the relative safety until your cover is blown. Likewise, attacking players should be wary of those laying in wait, though the short distance to the objective may allow them to get there first.
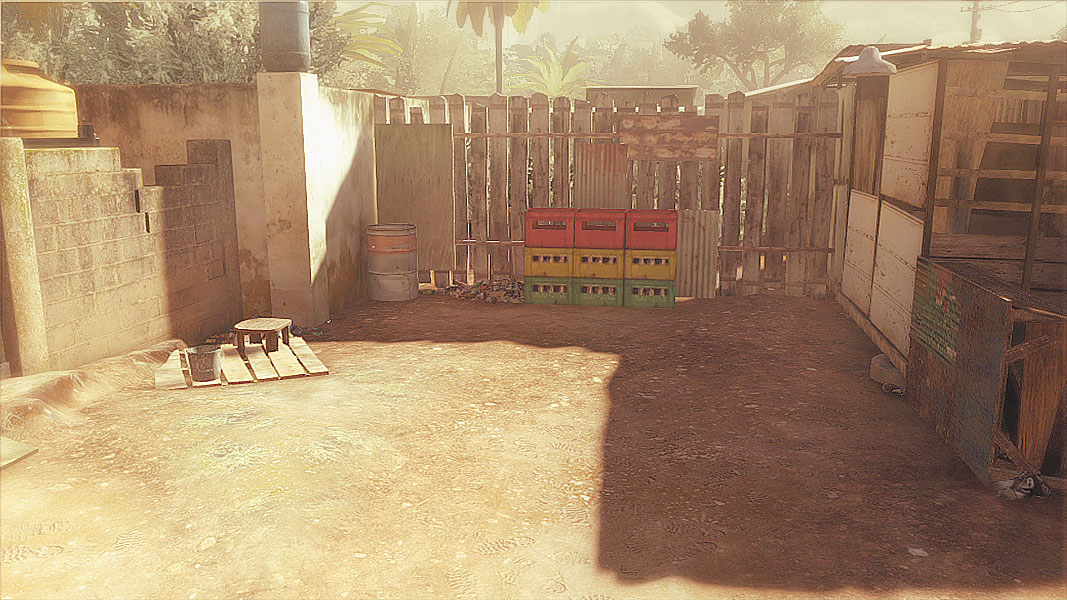
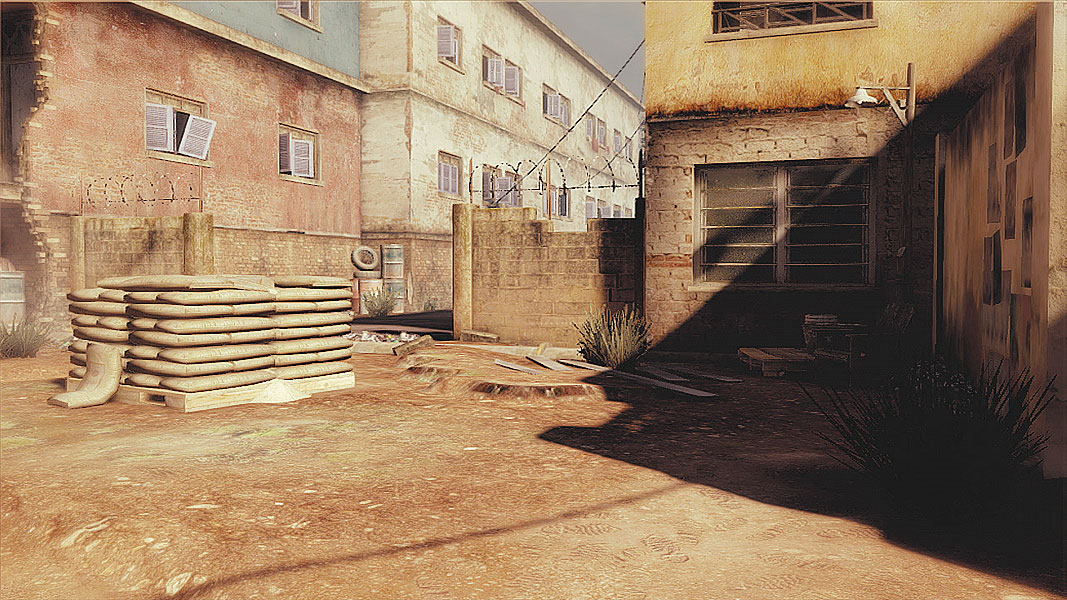
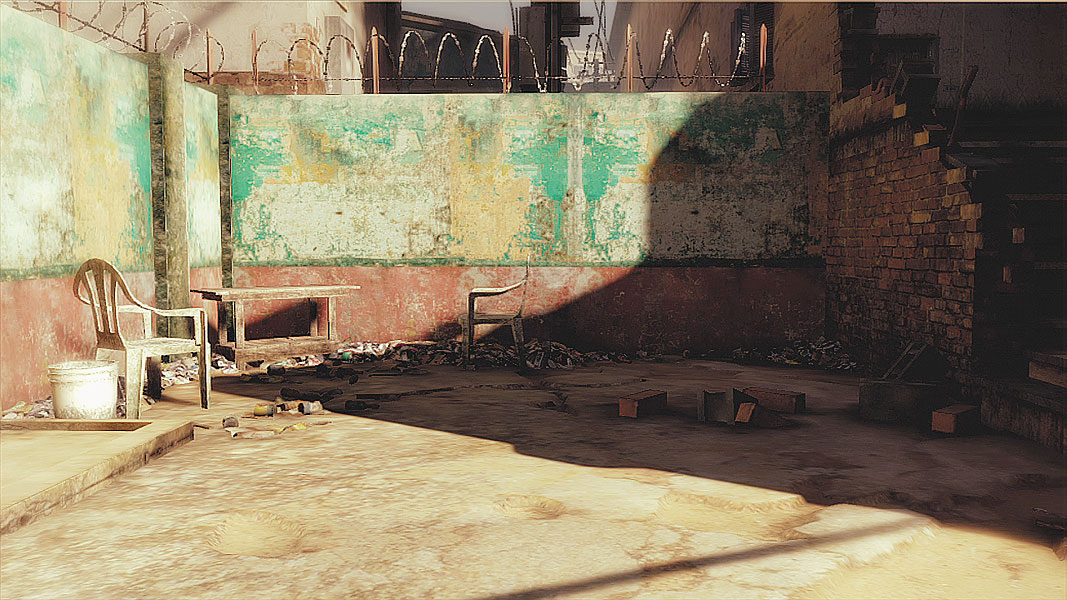
When the “proper” objective has been secured, the task quickly turns to bombing one of three locales. The first, the familiar, scarcely protected corner of the map with only a low bit of metallic cover is left wide open for attacks from the direction of the nearby sandbags. Those seeking to defend the position should approach from there to maximize sight lines.
Just past the sandbags is the other possible planting location, which is a bit more generous on cover. Although the two most obvious angles of attack are from the direction of the stairs leading down from the elevated platform and nearby alleyway or the sandbags near the other demo location, remember that the defenders’ spawn point allows them to drop right in from the relative protection of the long hallway.
Past the slightly more protected second plant location is a third, far more deceptive area that faces back toward the Admin area and its narrow choke point. While it’s easy to assume that most defenders attempting to stop bomb placement will come from this area or the second bomb plant location’s direction, there’s a far more dangerous route of entry: the staircase leading directly to the long hallway connected to the defenders’ spawn point. The entire route to this third bomb plant location is completely protected, and Team Bodark can’t move toward the staircase as it’s the enemy spawn location. Be wary of shots raining down from above; this will likely be the toughest of the locations if it’s not seized as quickly as possible.
//Sabotage
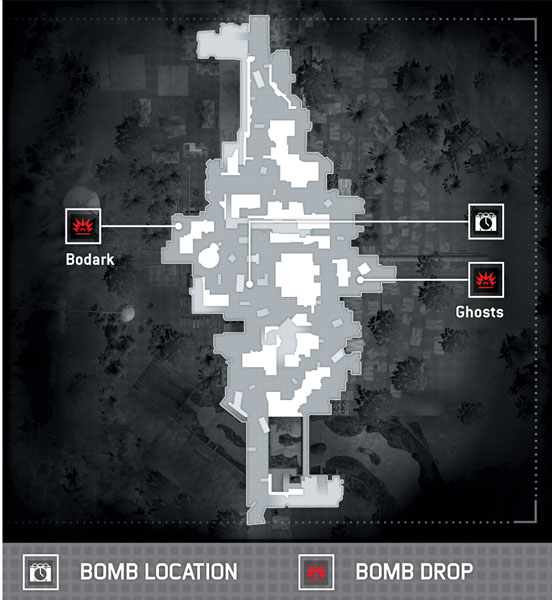
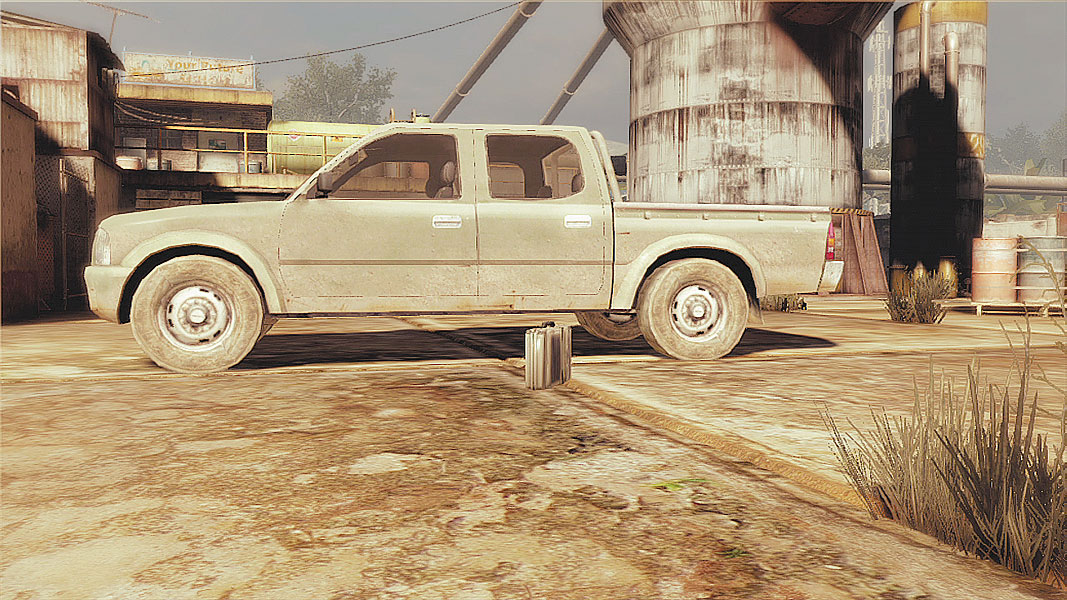
The central location of the bomb near a dusty truck means it’s sitting smack-dab in the middle of plenty of crossfire.Both elevated areas at either end of the map have clear sight lines and should be cleared out first, if possible. Even if you manage to make it to the bomb unscathed, there's little guarantee that a Rambo-style dash to plant it will go as smoothly.
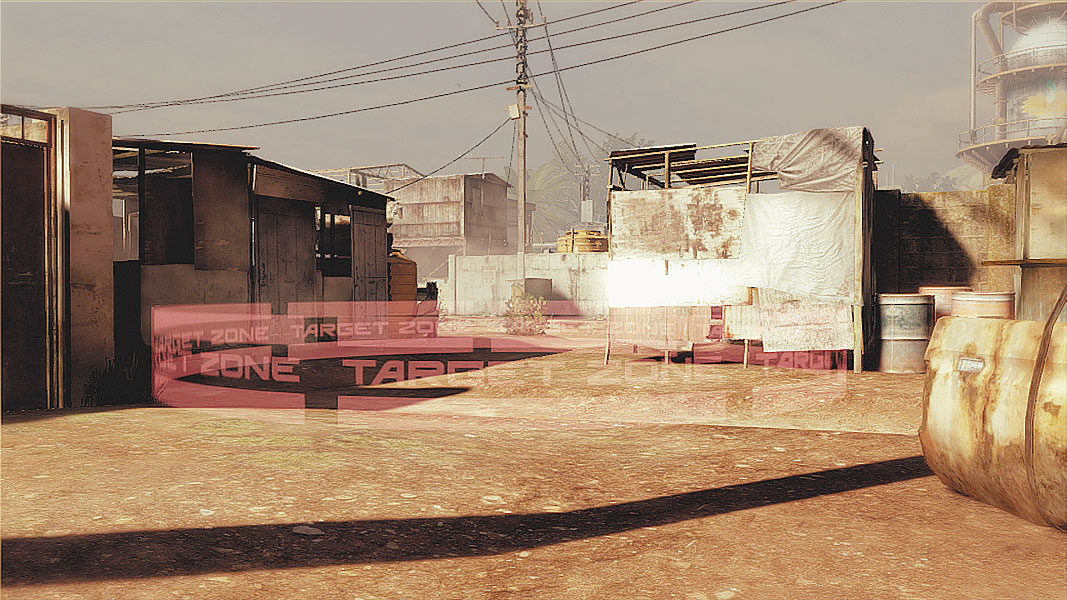
It’s tempting to make a beeline for the enemy demolition location, but there’s a bottleneck when squeezing through that opens into two wide-open flanks. If you must head straight for the plant location, have a teammate pop smoke to cover your approach. (Remember, while carrying the bomb, you’re limited to your secondary weapon.) Alternatively, you can have them do it from another location to lure the enemy away. Keep in mind that smoke works both ways; you won’t be able to see out and they can’t see in with normal weapons, but a enemy with the right scope can see right through the fog and mow you and your buddies down before you know where the gunfire is coming from.
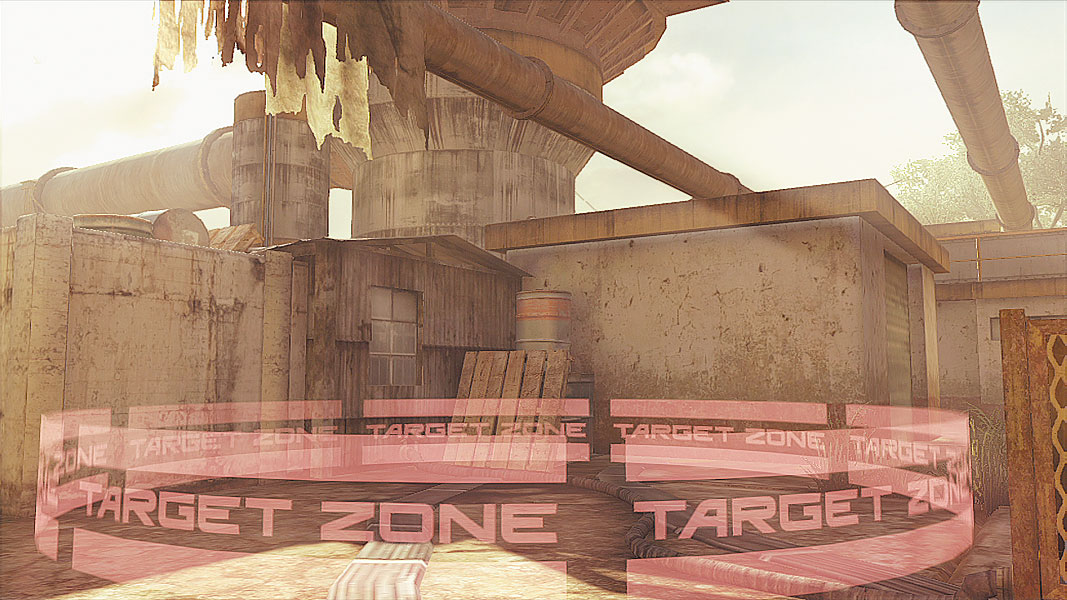
Unlike the Ghosts’ bomb planting location, both the approach and planting area for Team Bodark is fairly well protected from crossfire. Tuck into the corner of the bomb planting area to avoid sticking out too much, and remember to cover both routes in. Keep an eye out for grenades, too, as there’s very little room to maneuver in here.
//Siege
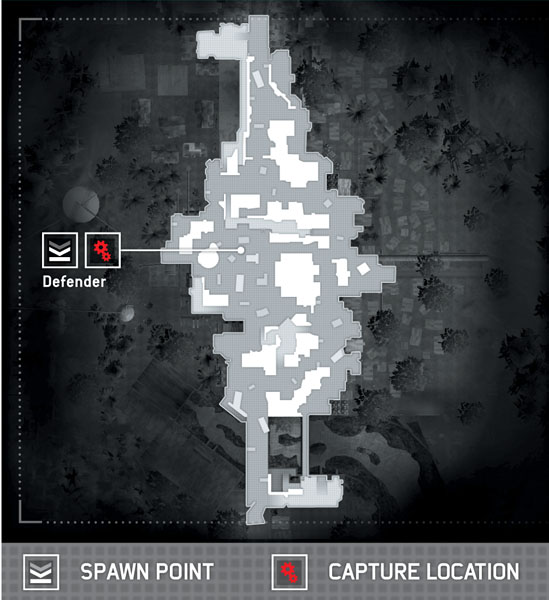
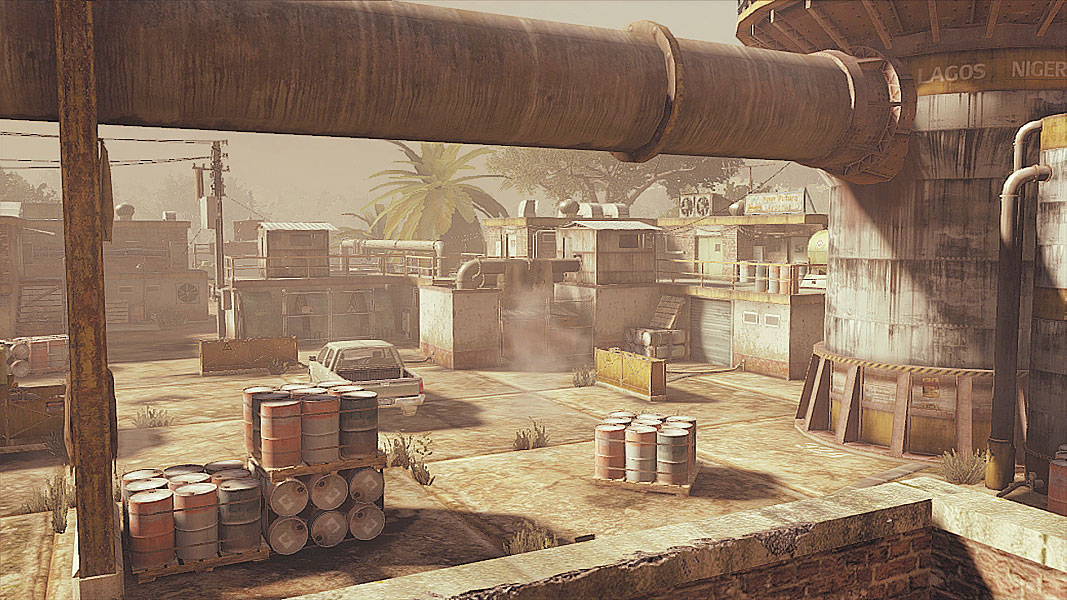
Those defending the central capture point have just a scant few seconds to set up their defense before the attacking team approaches. Use the combination of nearby elevated positions and high cover to deal with those that would rush toward the objective blindly, but beware of sneak attacks from the many alternate routes up to those elevated positions. Remember, you get only one life in Siege mode, so be sure to make it count; stay in constant communication with other defenders to prevent being overwhelmed and, where possible, use the buddy system to cover flanking positions.
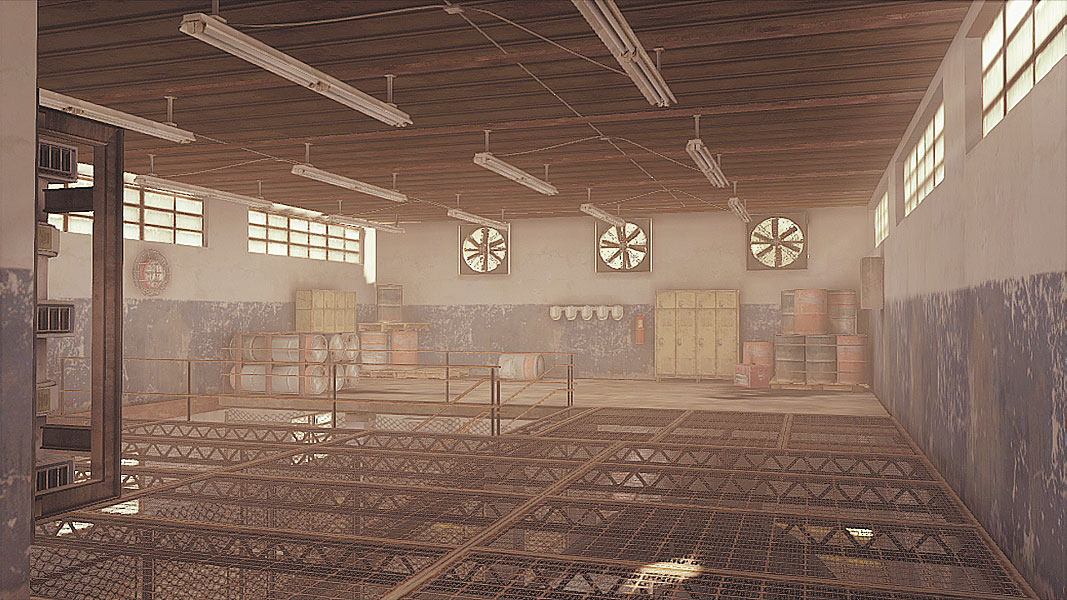
Avoid heading directly for the objective on ground level unless you have an overwhelming amount of force. More patient players will realize that they have the whole map to play with, and keeping in mind that there are no respawns can shift the momentum toward the attacking team if defenders can be dealt with one at a time. Scout out the elevated positions, and use guerilla hit-and-run moves; the defenders can’t leave the objective unprotected for long, so avoid running through the middle of the map and stick to the sides, pulling back if needed to regroup around the one-time Bodark spawn near the bridge.