
Dragon Age Inquisition Guide The Inquisitors Path Wicked Eyes and Wicked Hearts
Halamshiral: The Winter Palace
The Winter Palace
The Emerald Crown
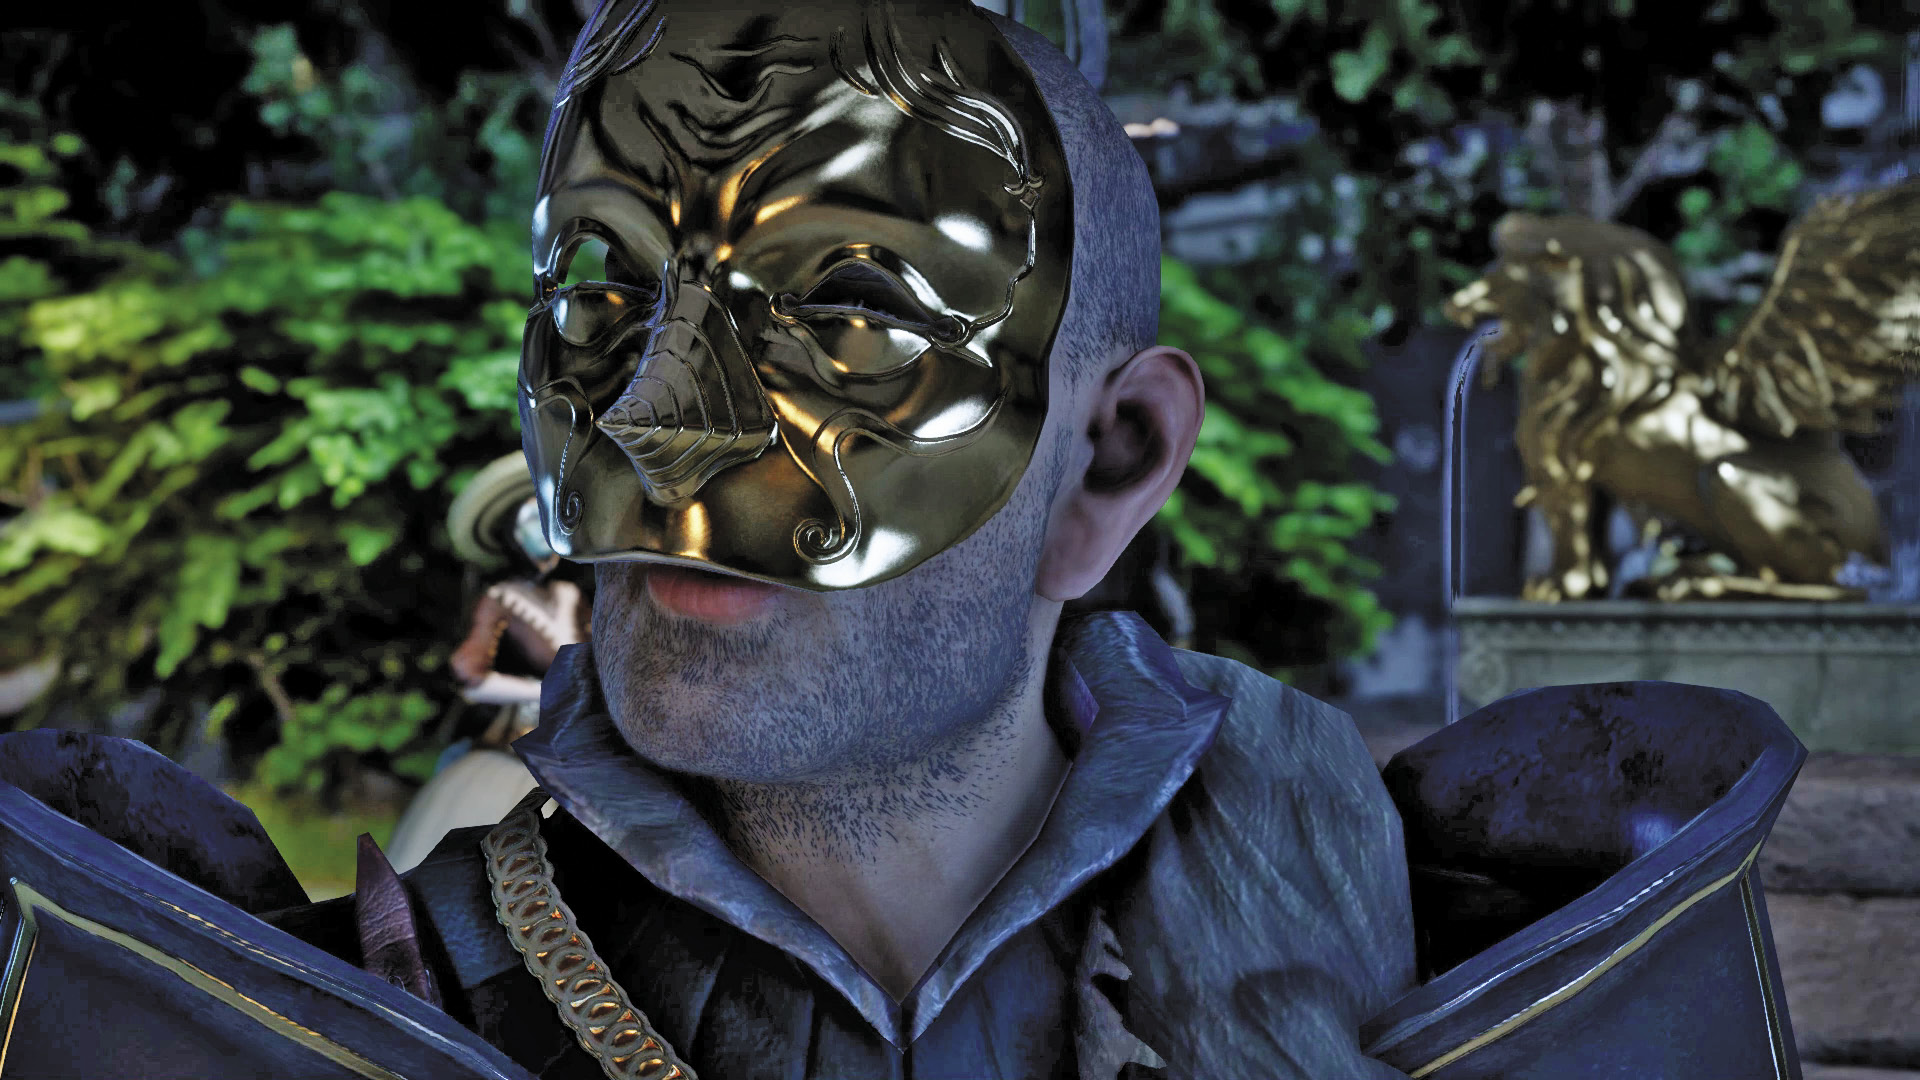
Sporting formal attire, the Inquisition’s delegation arrives at the Winter Palace in Halamshiral and is greeted by Grand Duke Gaspard, cousin and political rival of Empress Celene—it was the duke who extended an invitation to the ball. Gaspard’s ambition is no secret, and he promises to be a strong ally of the Inquisition once he becomes the ruler of Orlais. But he’s concerned Ambassador Briala will disrupt the peace talks.
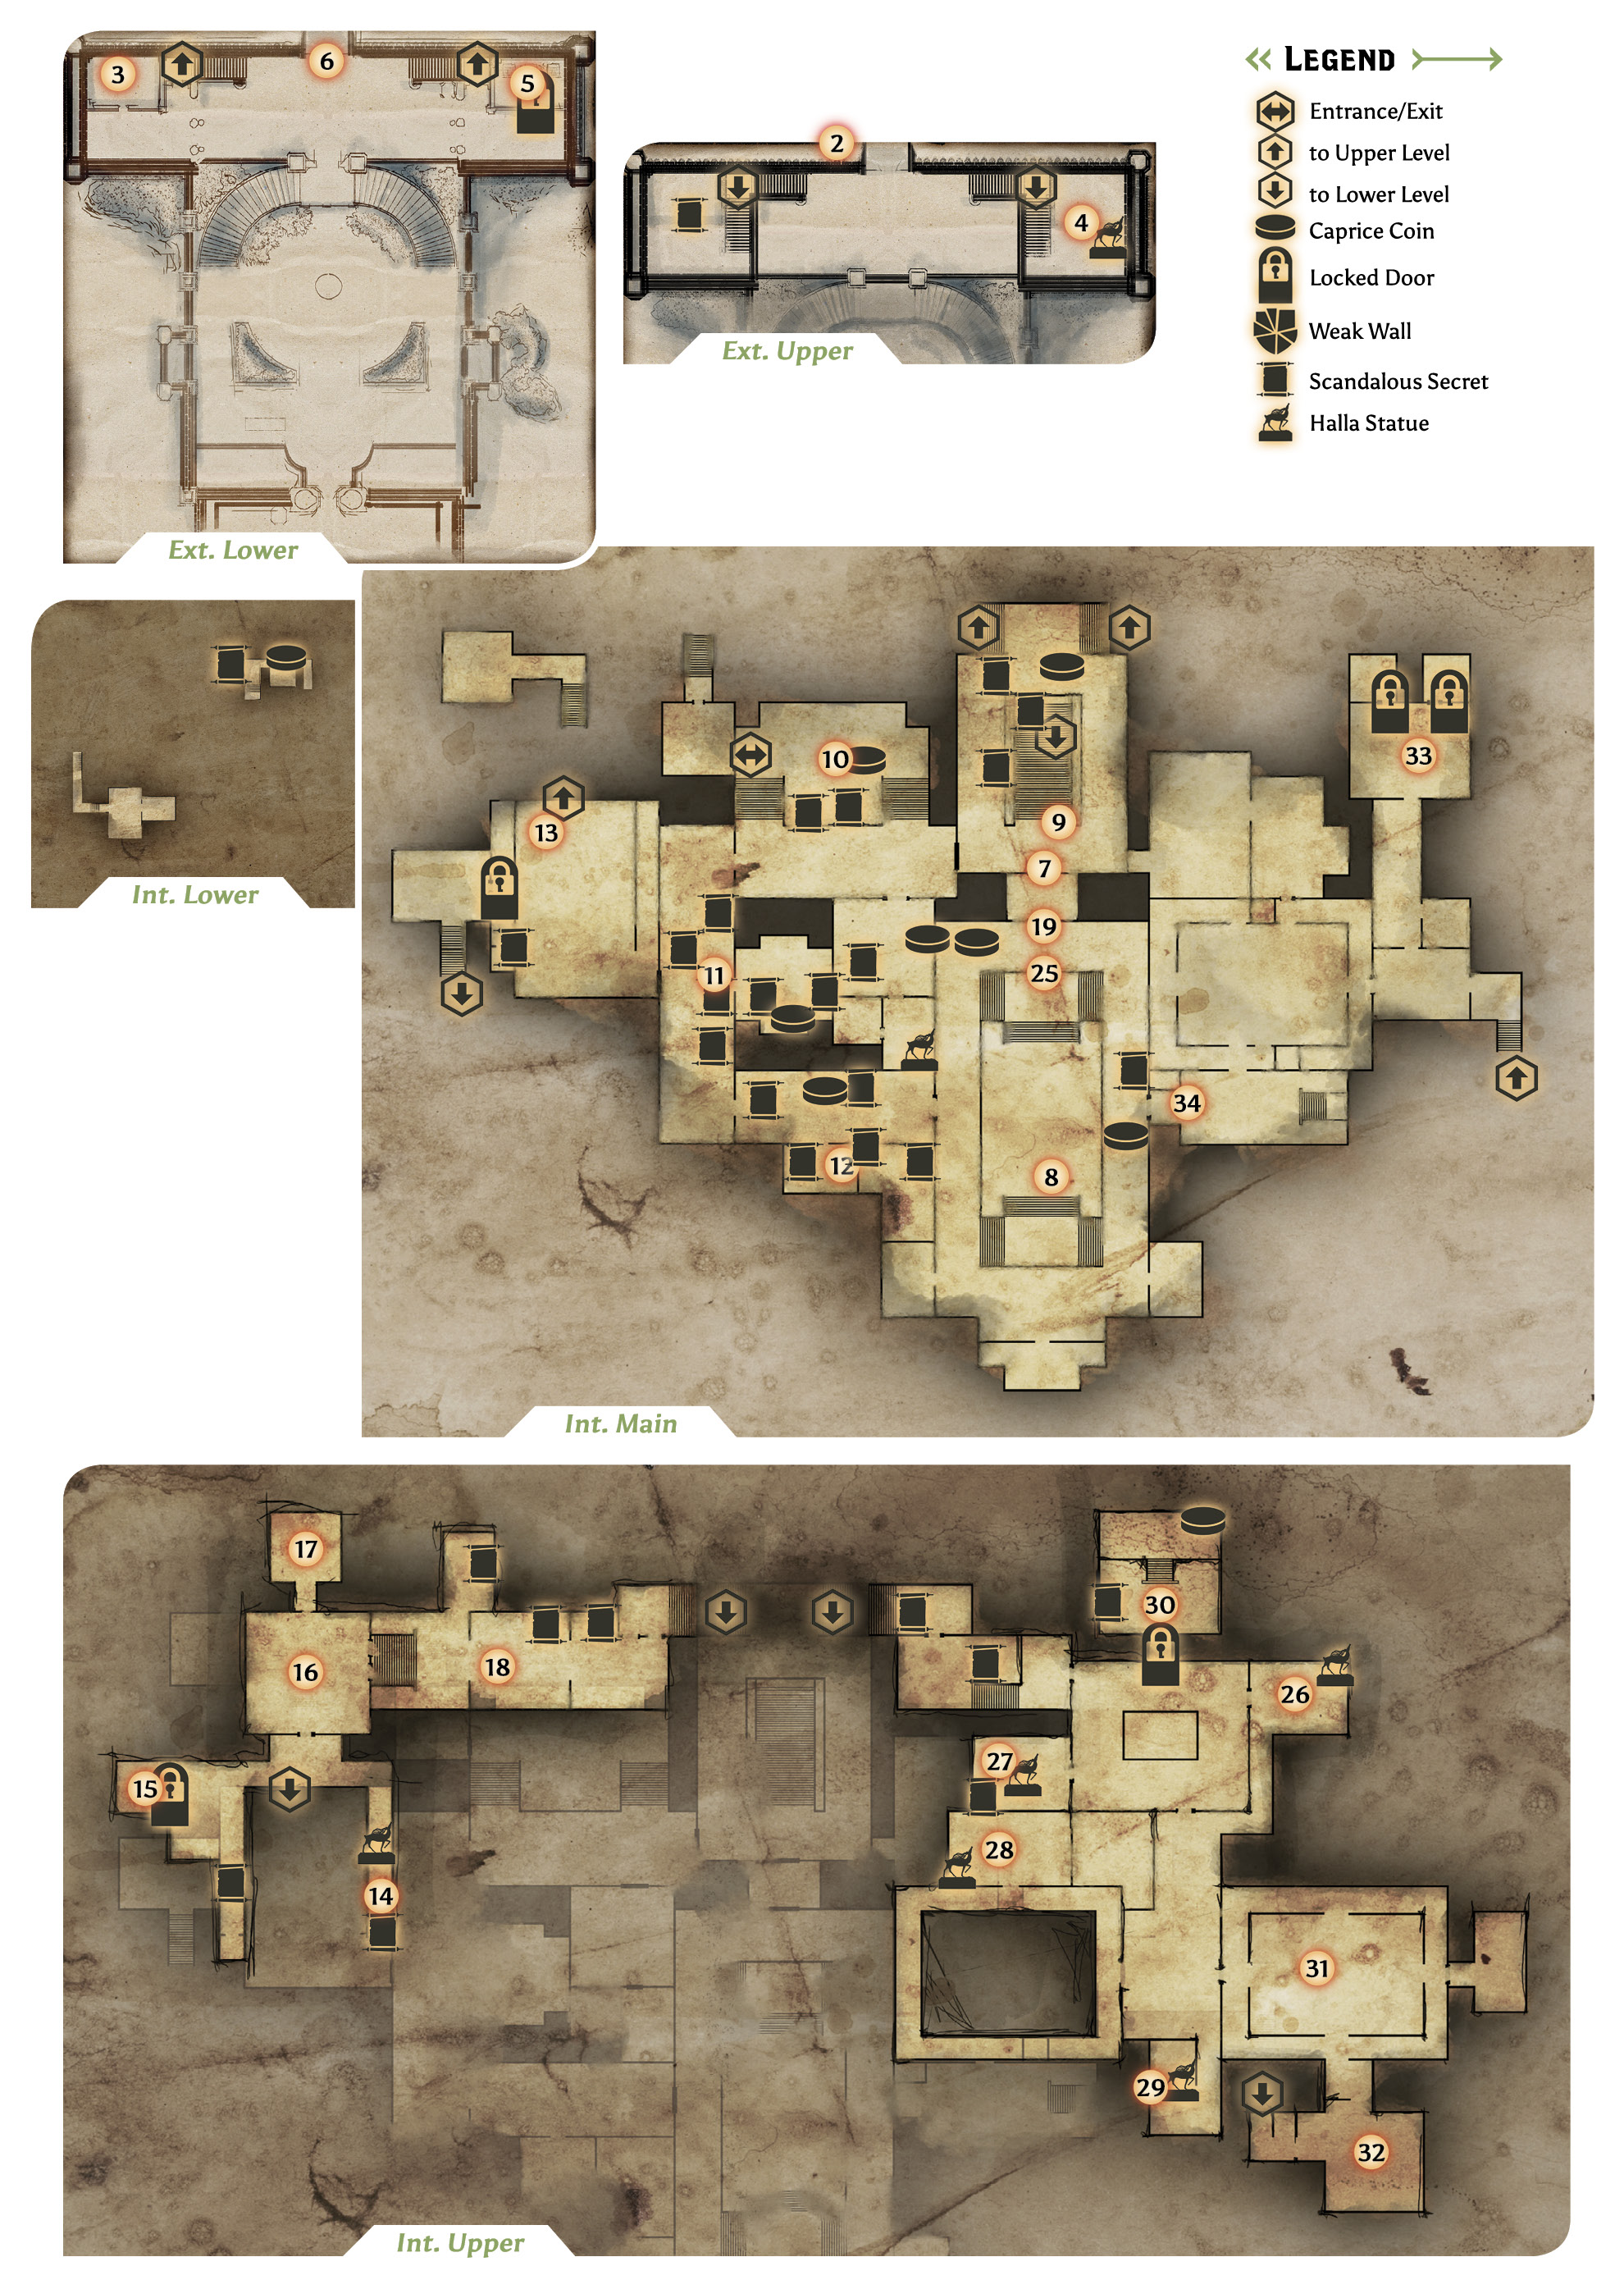
1. Following the conversation with Gaspard, search this corner to recover a ring—it belongs to the noblewoman nearby. Return the ring to the noblewoman to gain court approval. The court approval meter, visible in the upper right corner of the screen, indicates how favorably the Inquisition is seen by the Imperial Court—you start with 50 court approval. Approval can be lost by saying the wrong thing or exploring restricted areas of the palace. If the approval meter is depleted, you’ll be asked to leave the ball and the mission is a failure. Look for opportunities to gain approval with the court—being agreeable and nonconfrontational during conversations is a good start.
2. Don’t enter the palace just yet. Search a planter on this upstairs balcony to uncover the storage key. This opens the door downstairs.
3. Use the storage key to open this door. Search the table next to the door to find a scandalous secret. This is the first of 30 scandalous secrets scattered across the palace. Collect all 30 scandalous secrets, shown on the map, and give them to Leliana to complete The Great Blackmail Hunt quest, gaining a huge boost in court approval. A second scandalous secret is on the table to the west. Search the pot along the north wall to uncover a caprice coin—find all 15 and toss them in the fountain in the garden to complete the Throwing Away Money quest. The locations of all caprice coins are marked on the map.
4. Search this balcony for a halla statue. These statues unlock doors throughout the palace. There are 10 statues—find them all to complete the Herd of Stone Halla quest. This statue can be used to unlock the eastern storage room downstairs.
5. Use the halla statue you found upstairs to unlock this door, giving you access to two loot stashes.
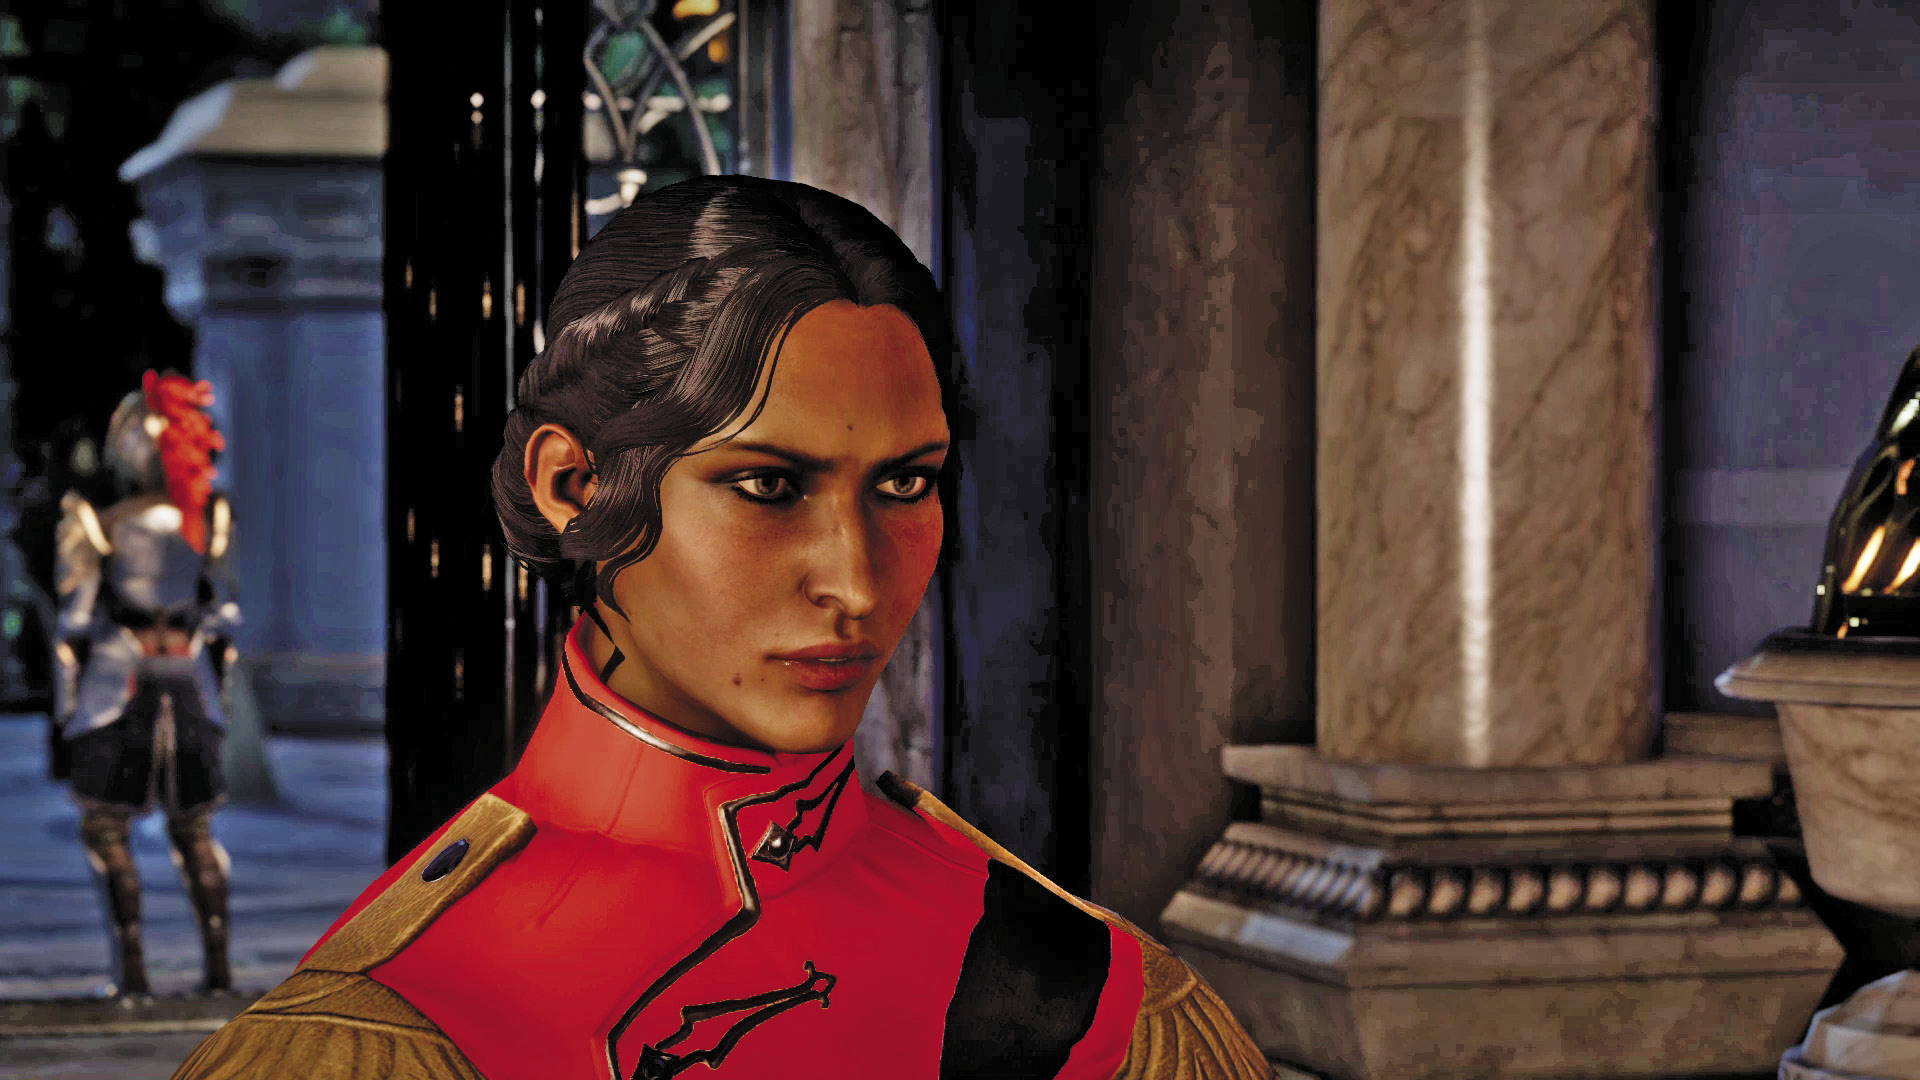
6. Interact with the gate to enter the palace. Josephine has a few words of advice—she stresses the importance choosing your words carefully. Every word you say will be scrutinized by the court, potentially leading to a loss or gain of court approval.
 The Great Blackmail Hunt

Quest Giver: N/A
Description: Scandalous secrets are everywhere at the grand masquerade. Listen in on conversations to gather gossip and scour the palace for incriminating items and notes. The secrets learned could be used to gain power for the Inquisition and the upper hand in the Grand Game of Orlesian society.
Requirements: Available after finding the first secret
Reward: 128 XP, 80 Influence, 50 Court Approval
Recommended Level: 10-12
Objectives:
 Gather 30 scandalous secrets.
 Deliver secrets to Leliana.
Scour the palace for scandalous secrets, in the form of either notes or gossip. When interacting with some nobles, they will rudely walk away from you. Take this as a cue to listen for gossip. Watch where the nobles relocate, then position yourself within the red circle on the floor to eavesdrop. Sometimes gossip is just that, and reveals no useful information. But sometimes you might gather some juicy details. Keep an eye on the compass too. When it pulses, commence a search to locate scandalous notes. You need a total of 30 scandalous secrets to complete this quest—reference the map to find them all. Talk to Leliana once you’ve found them all—she can put them to good use, gaining 50 court approval. But you don’t have to find them all. Turn in what you have to Leliana to get a boost in court approval. You only have to find all the secrets if you want to complete the quest.
 Throwing Money Away
Quest Giver: N/A
Description: Orlesian nobles have been known to toss caprice coins into fountains as a symbol of status. Doing this may strengthen one’s social standing
Requirements: Available after finding the first coins
Reward: 15 Court Approval
Recommended Level: 10-12
Objectives:
 Find 15 caprice coins.
Reference the map for the locations of all 15 caprice coins—you’ll need to perform a search at each location to reveal the hidden coin. Tossing each coin in the fountain in the guest garden nets you one court approval—collect and toss all 15 coins in the fountain for a gain of 15 court approval.
 Herd of Stone Halla
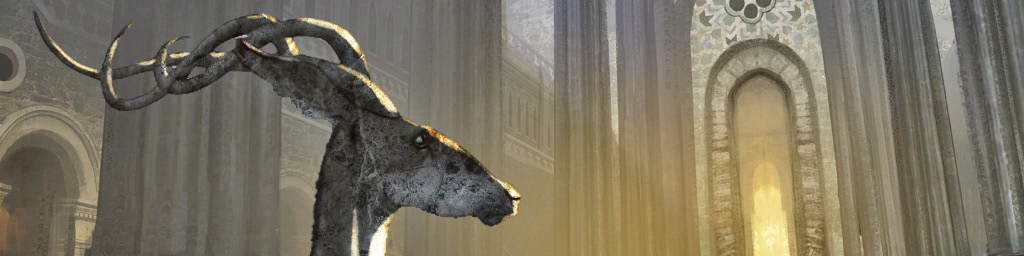
Quest Giver: N/A
Description: There’s a veritable herd of halla statuettes scattered around the Winter Palace. They stand out a little too much to be simply decorative.
Requirements: Available after finding the first halla statue
Reward: 242 XP, 80 Influence
Recommended Level: 10-12
Objectives:
 Find 10 halla statuettes.
Halla statues are used to unlock special doors in the palace. Some doors require multiple statues to be unlocked. Reference the map for the location of all 10 halla statues. Note that you can’t open all the locked doors in the Winter Palace with just 10 statues. You must carefully choose which doors to open and which ones to leave locked.
Vestibule
7. At the moment, there isn’t much to do in the vestibule. The perimeter doors here are all locked and cannot be picked—they must be opened from the other side. Feel free to speak to your party members and eavesdrop on a conversation to uncover a secret. After you’re finished exploring this area, interact with the door on the south side to enter the grand ballroom.
Grand Ballroom
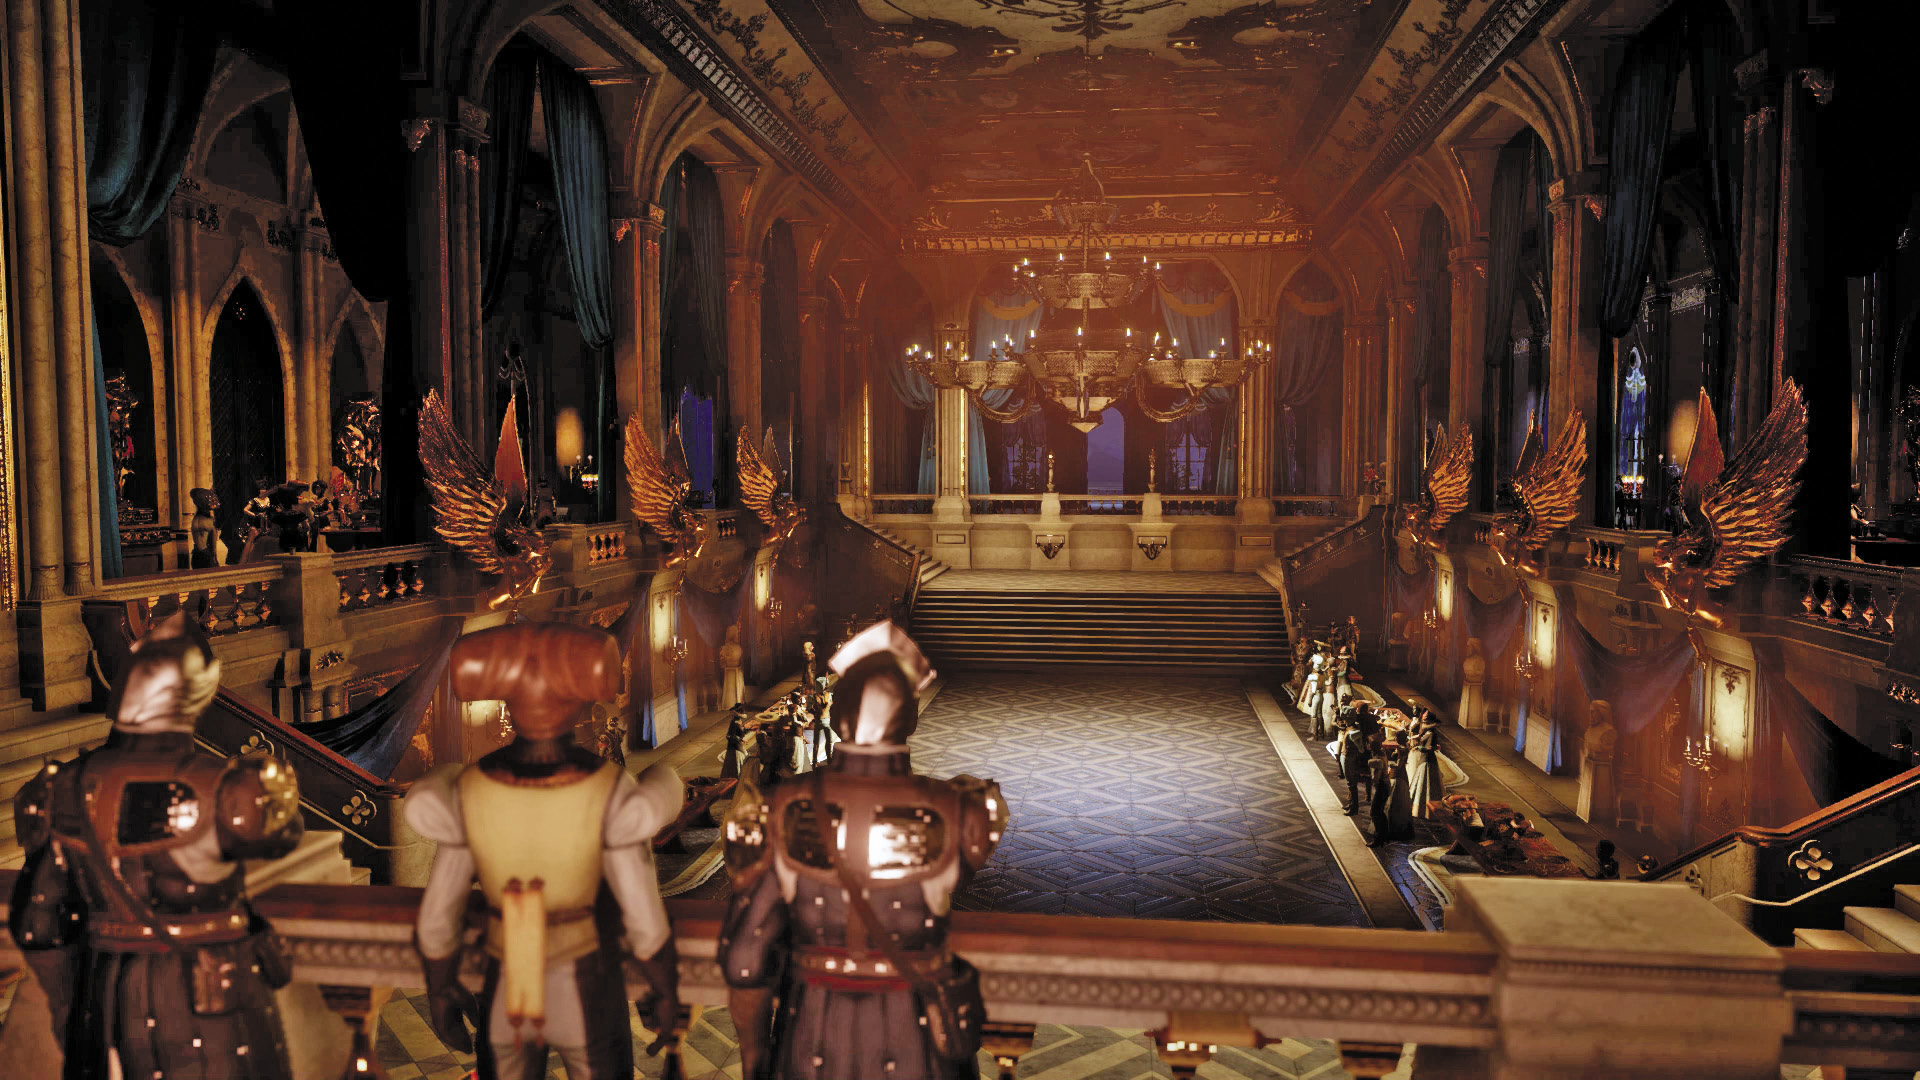
8. It’s time to make your entrance. Follow Grand Duke Gaspard across the ballroom to greet Empress Celene and Grand Duchess Florianne. You have the opportunity to warn Celene of the danger to her life, but it won’t do any good. It’s better to play it cool and conduct a thorough investigation of the palace before making any allegations. Following the conversation with Celene, Leliana asks to have a word with you in private.
Vestibule
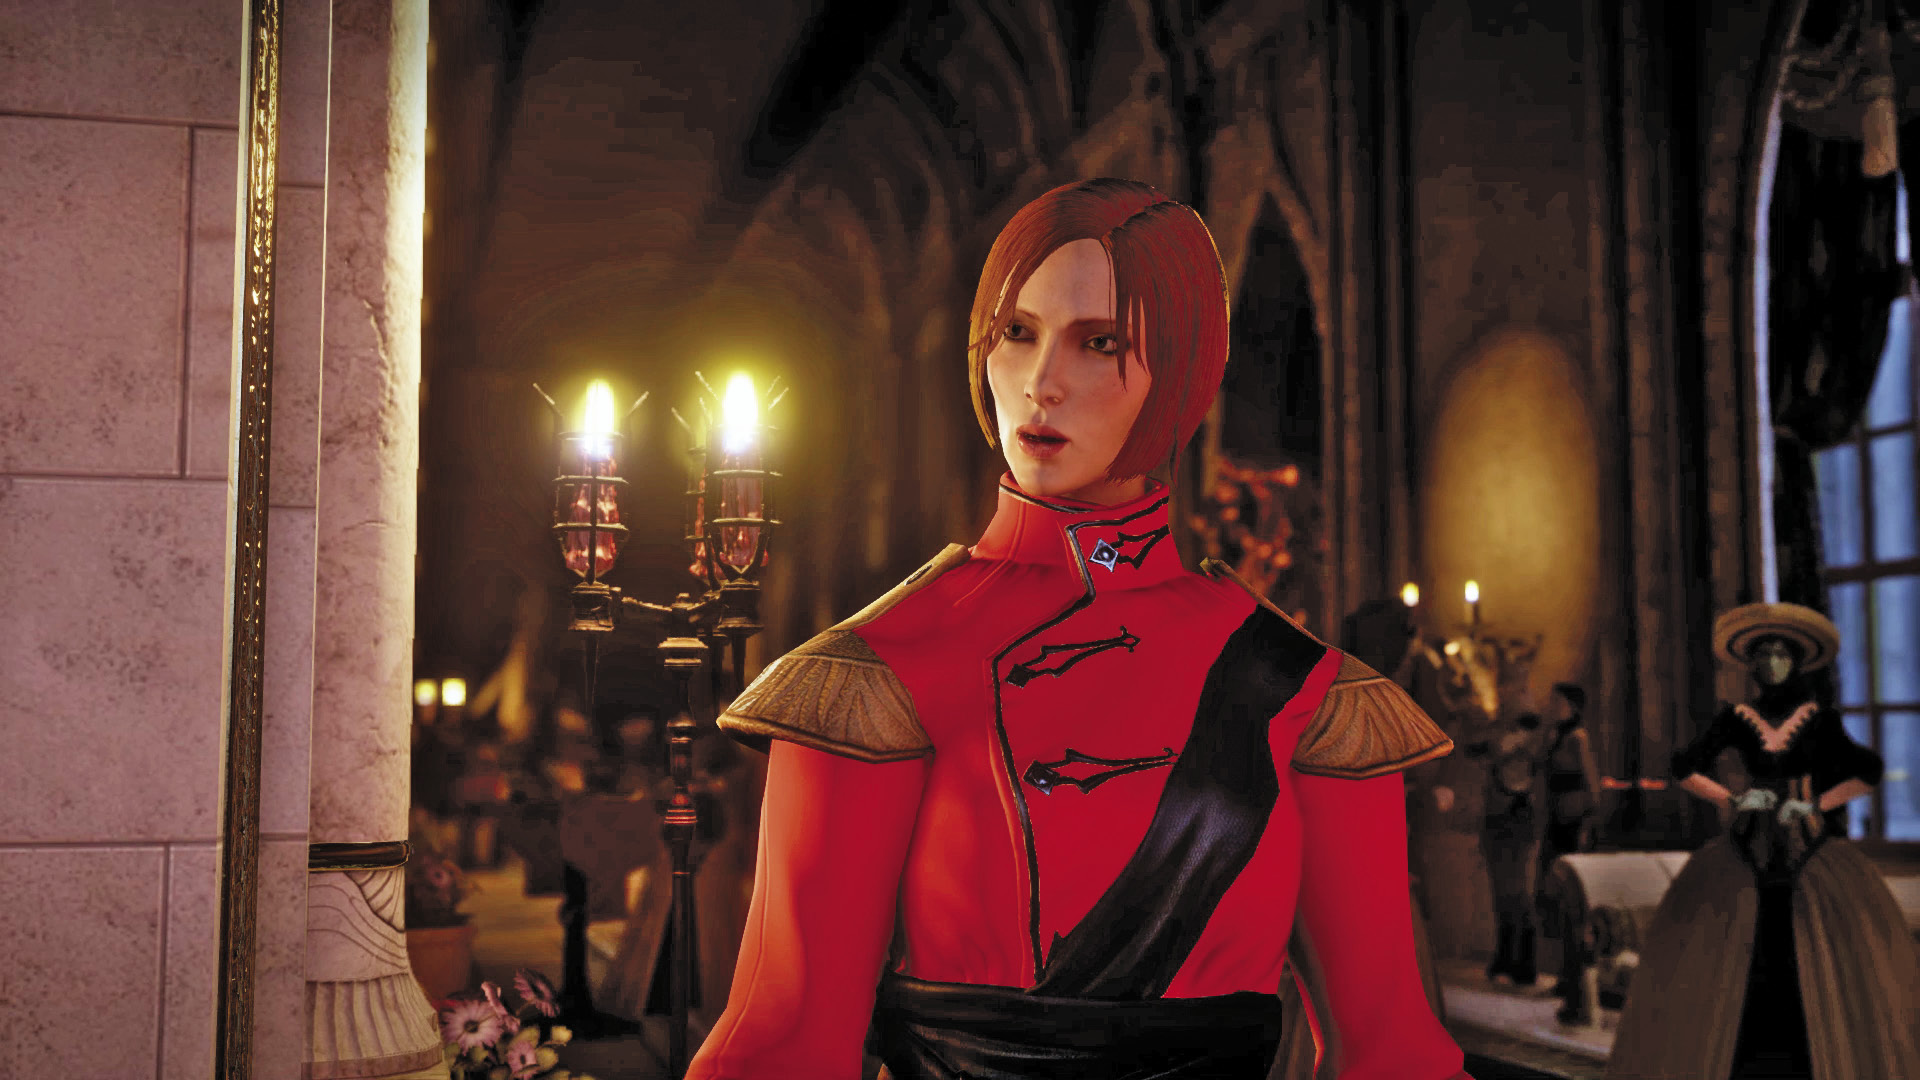
9. Back in the vestibule, Leliana engages you in a conversation. She reveals Celene has a fascination with mysticism and consults with an occult advisor. In addition to investigating Gaspard and Briala, Leliana suggests looking into this mage who gained favor within the Imperial Court. She suggests starting your search in the guest wing.
Hall of Heroes
10. This part of the guest wing is a restricted area. While you’re in this room, you’ll lose court approval at a slow but steady pace, so limit your time here. You can find a caprice coin in the lower level and eavesdrop on a conversation between two elf servants on the west side—they mention something about a package in the upper guest wing. Also, make note of the servants’ quarters doorway—you’ll be coming back here.
Guest Wing
11. There are a couple of nobles you can speak to in the guest wing—saying the right things will lead to a gain in court approval. Duke Germain likes being asked questions. And when speaking to the Council of Heralds’ vassal, agree that Phillipe is a jerk. While exploring this area, don’t forget to listen for gossip and conduct searches for more scandalous secrets.
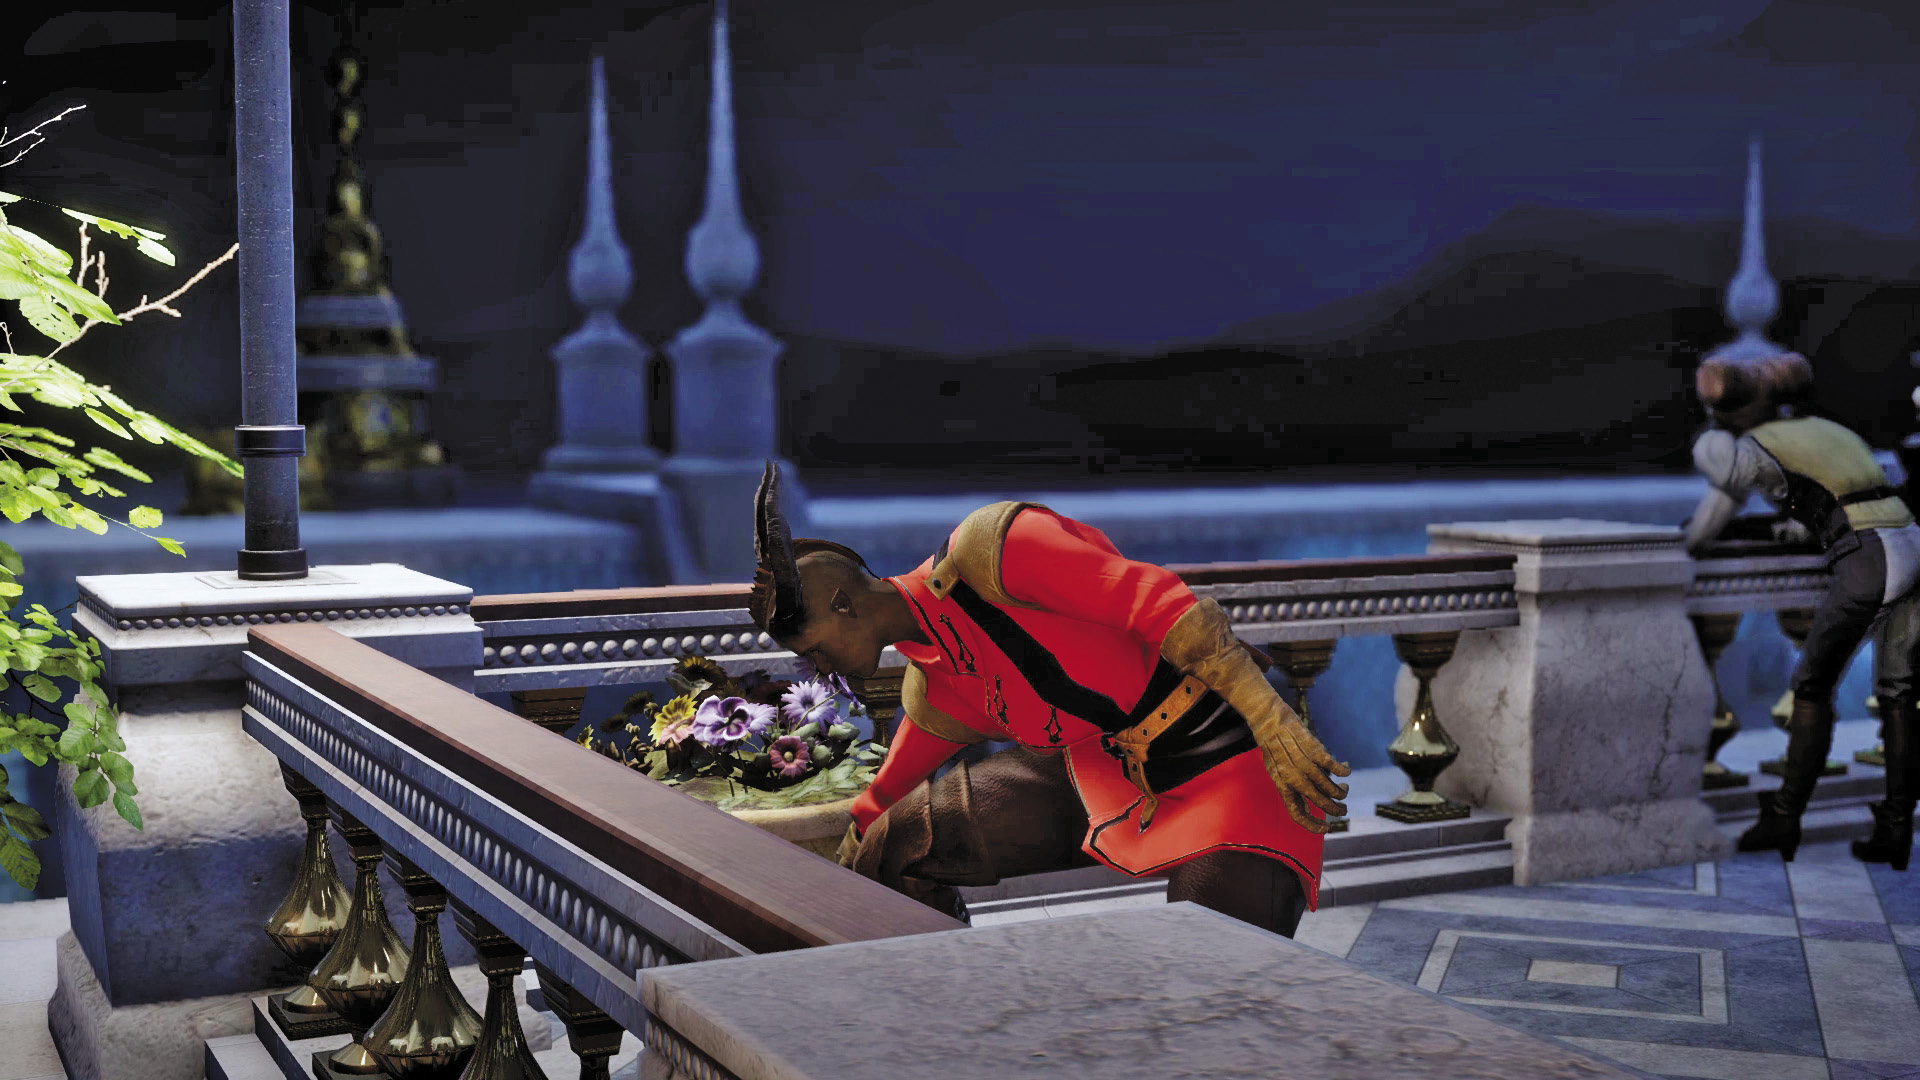
12. Make your way to this balcony, off the guest wing, and conduct a search to recover a cylinder seal. This is a message from one of Briala’s agents. Apparently something is happening in the servants’ quarters. Finding this clue nets you 60 influence. But before heading for the servants’ quarters, you need to find some more clues. Head for the guest garden.
Guest Garden
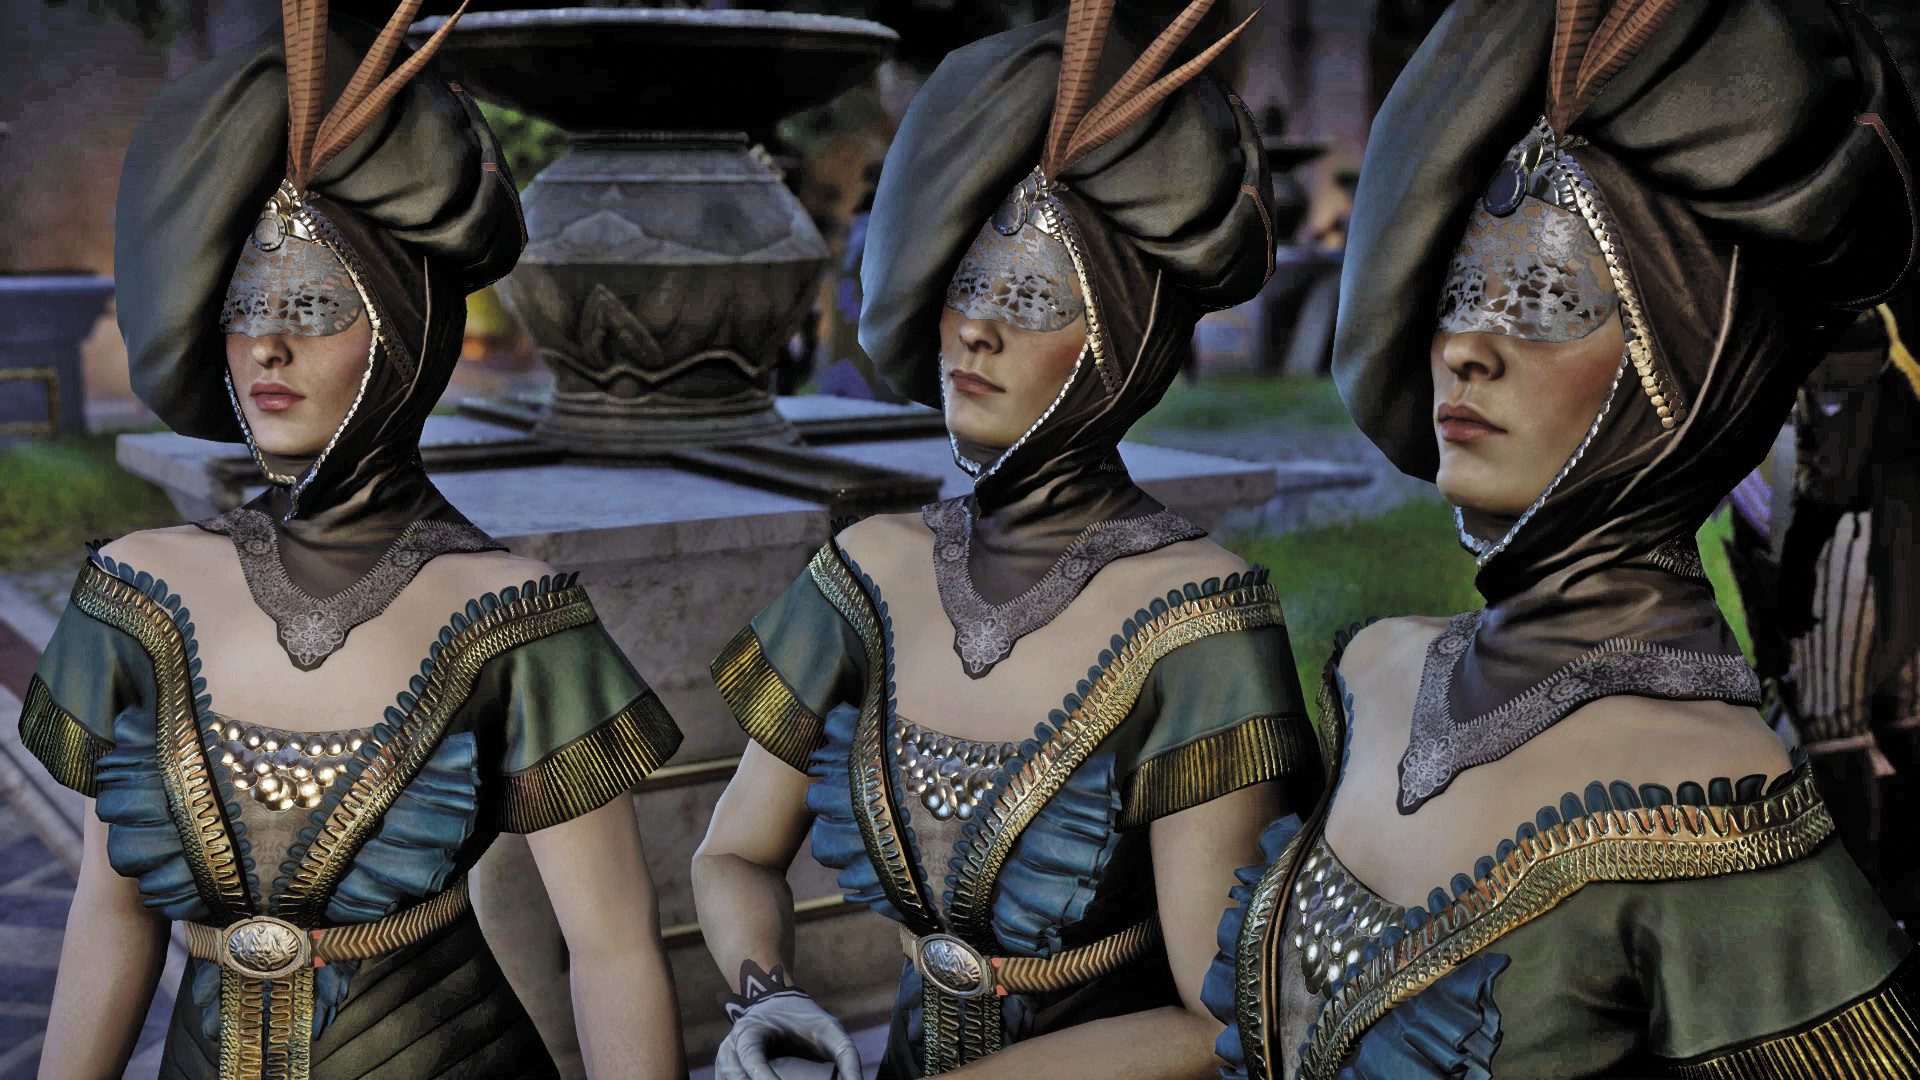
13. Upon entering the garden, you’re greeted by three of Celene’s ladies-in-waiting. They report that Empress Celene will pledge her full support to the Inquisition as soon as Gaspard is defeated. After the conversation, explore the garden. There’s a fountain on the north end—toss in any caprice coins you’ve found to gain approval. Next to the fountain is a trellis—climb it to the balcony above.
14. This upper garden walkway is off-limits, and you’ll lose approval by being up here. So move quickly to complete the following tasks. Collect the halla statue, then search for a nearby scandalous secret.
15. Using the halla statue, enter this room to discover a ghastly crime; several bloody bodies line the floor. Retrieve the negotiations document lying next to the bodies. The document is signed by Gaspard and addressed to Empress Celene. Apparently Gaspard wants to work together with Celene to stop Briala.
Grand Library
16. Search the shelf in the northwest corner of this room and interact with the book to open a secret chamber. Make note of the six urns in the center of the room—these can be lit with veilfire to reveal another secret chamber. You can acquire veilfire in the secret room to the north.
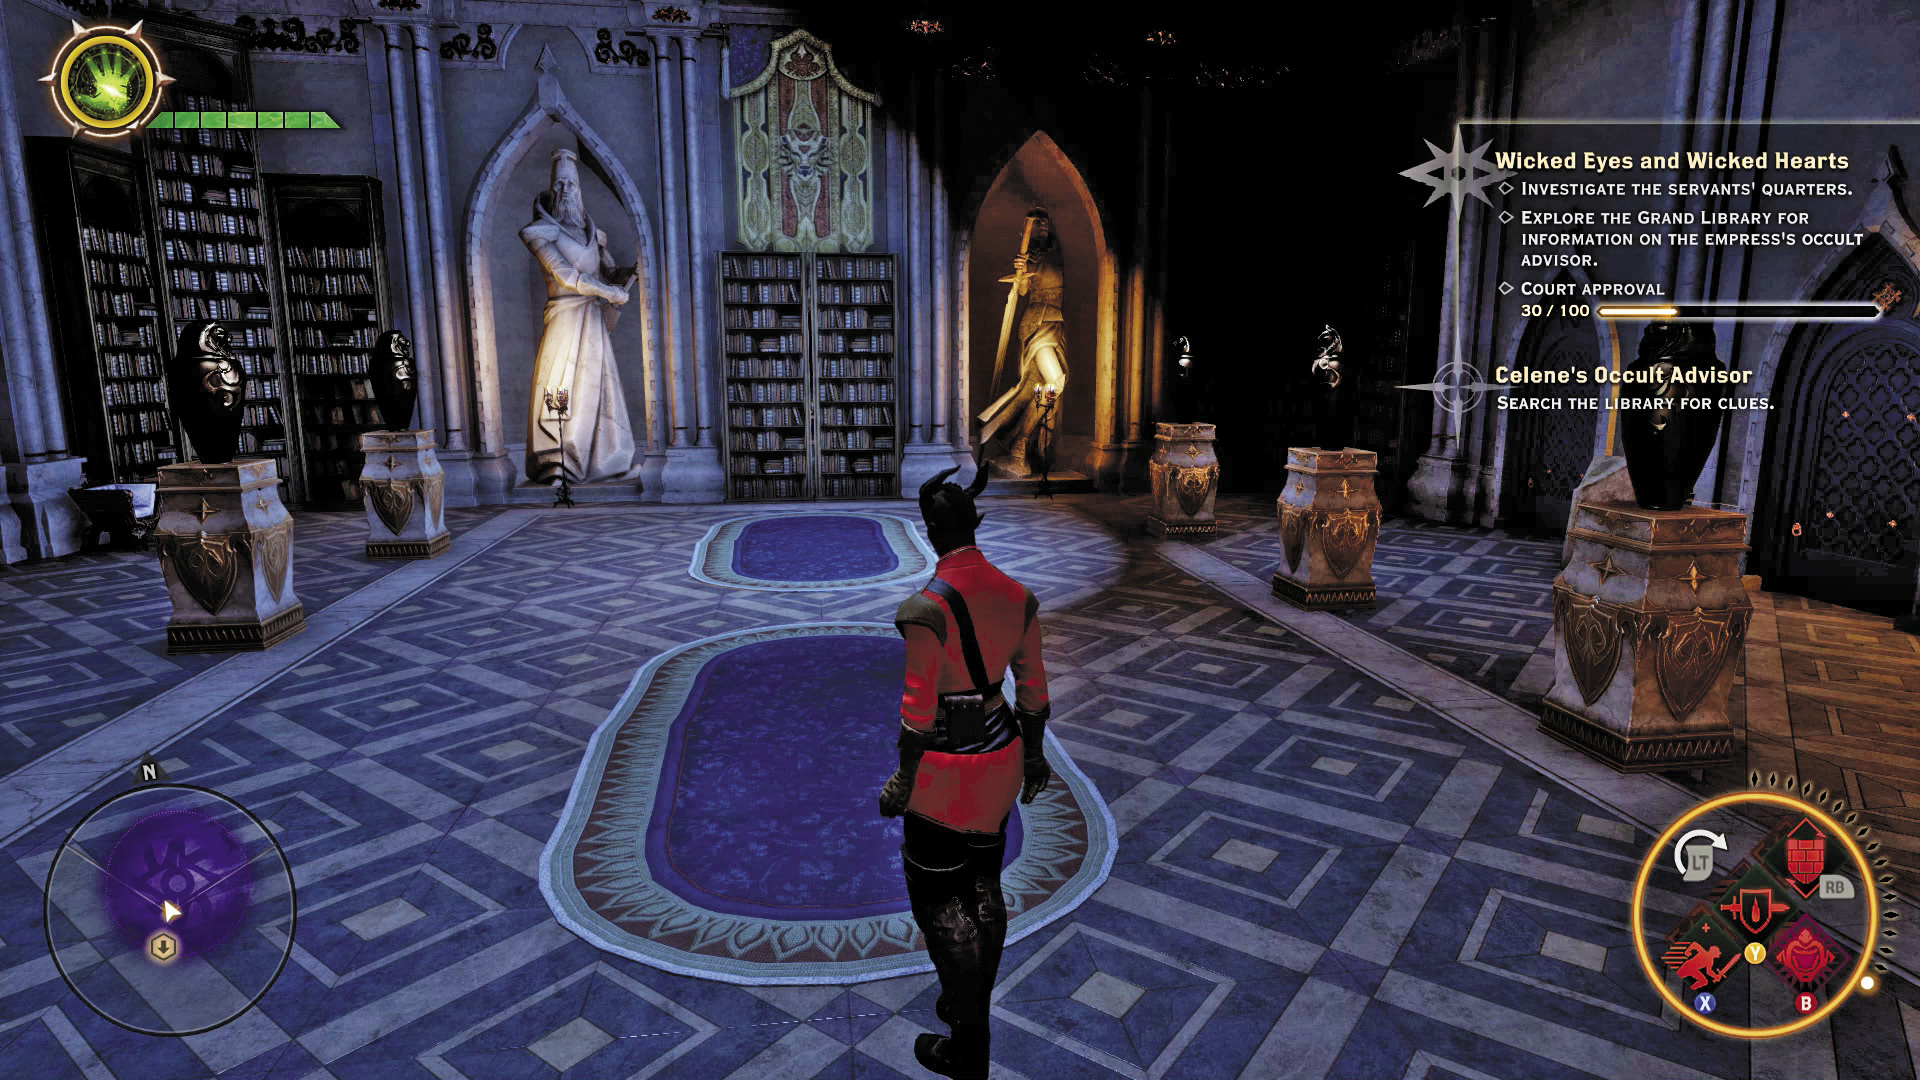
17. Enter this small room and retrieve the letter from the desk. It is a letter from Celene to her occult advisor. In the letter, Celene requests the accompaniment of her occult advisor during the ball—Celene fears that Gaspard may persuade others to use magic against her. Ignite a veilfire torch and return to the previous room to light the six urns.
Valmont Urns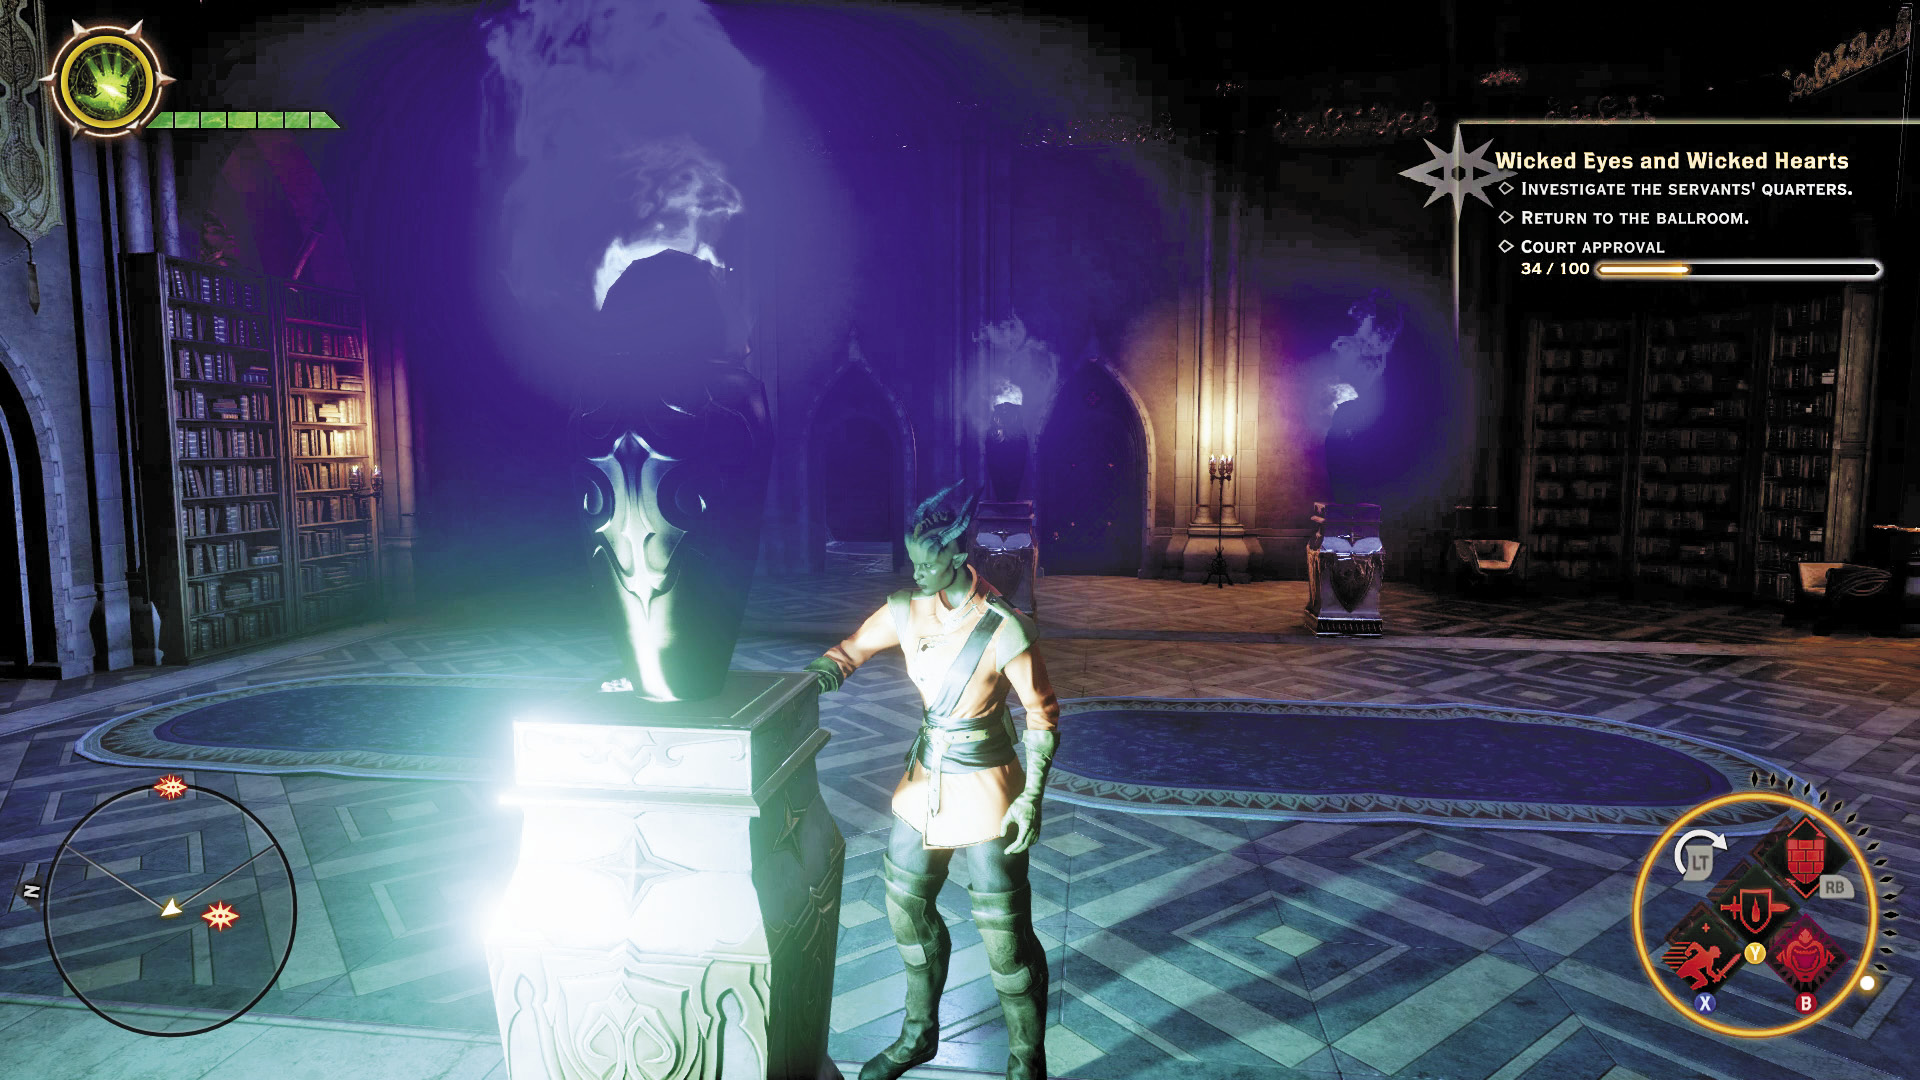 The six urns in the grand library have markings that represent the Valmont emperors. A plaque hints that chronological order is important: “The arrow of time flies in only one direction. Its path lights our way forward.” Scattered through the palace are six unique paintings dedicated to the Valmont emperors, which also note the years they ruled—interact with the plaque beneath each painting to see this information. Using veilfire, acquired in the office of Celene’s occult advisor, light the urns in the following order to reveal a secret room containing some loot:
|
18. Search this wing of the grand library for loot and more scandalous secrets. When you’re finished searching, exit through one of the doors to the north to return to the vestibule.
Vestibule
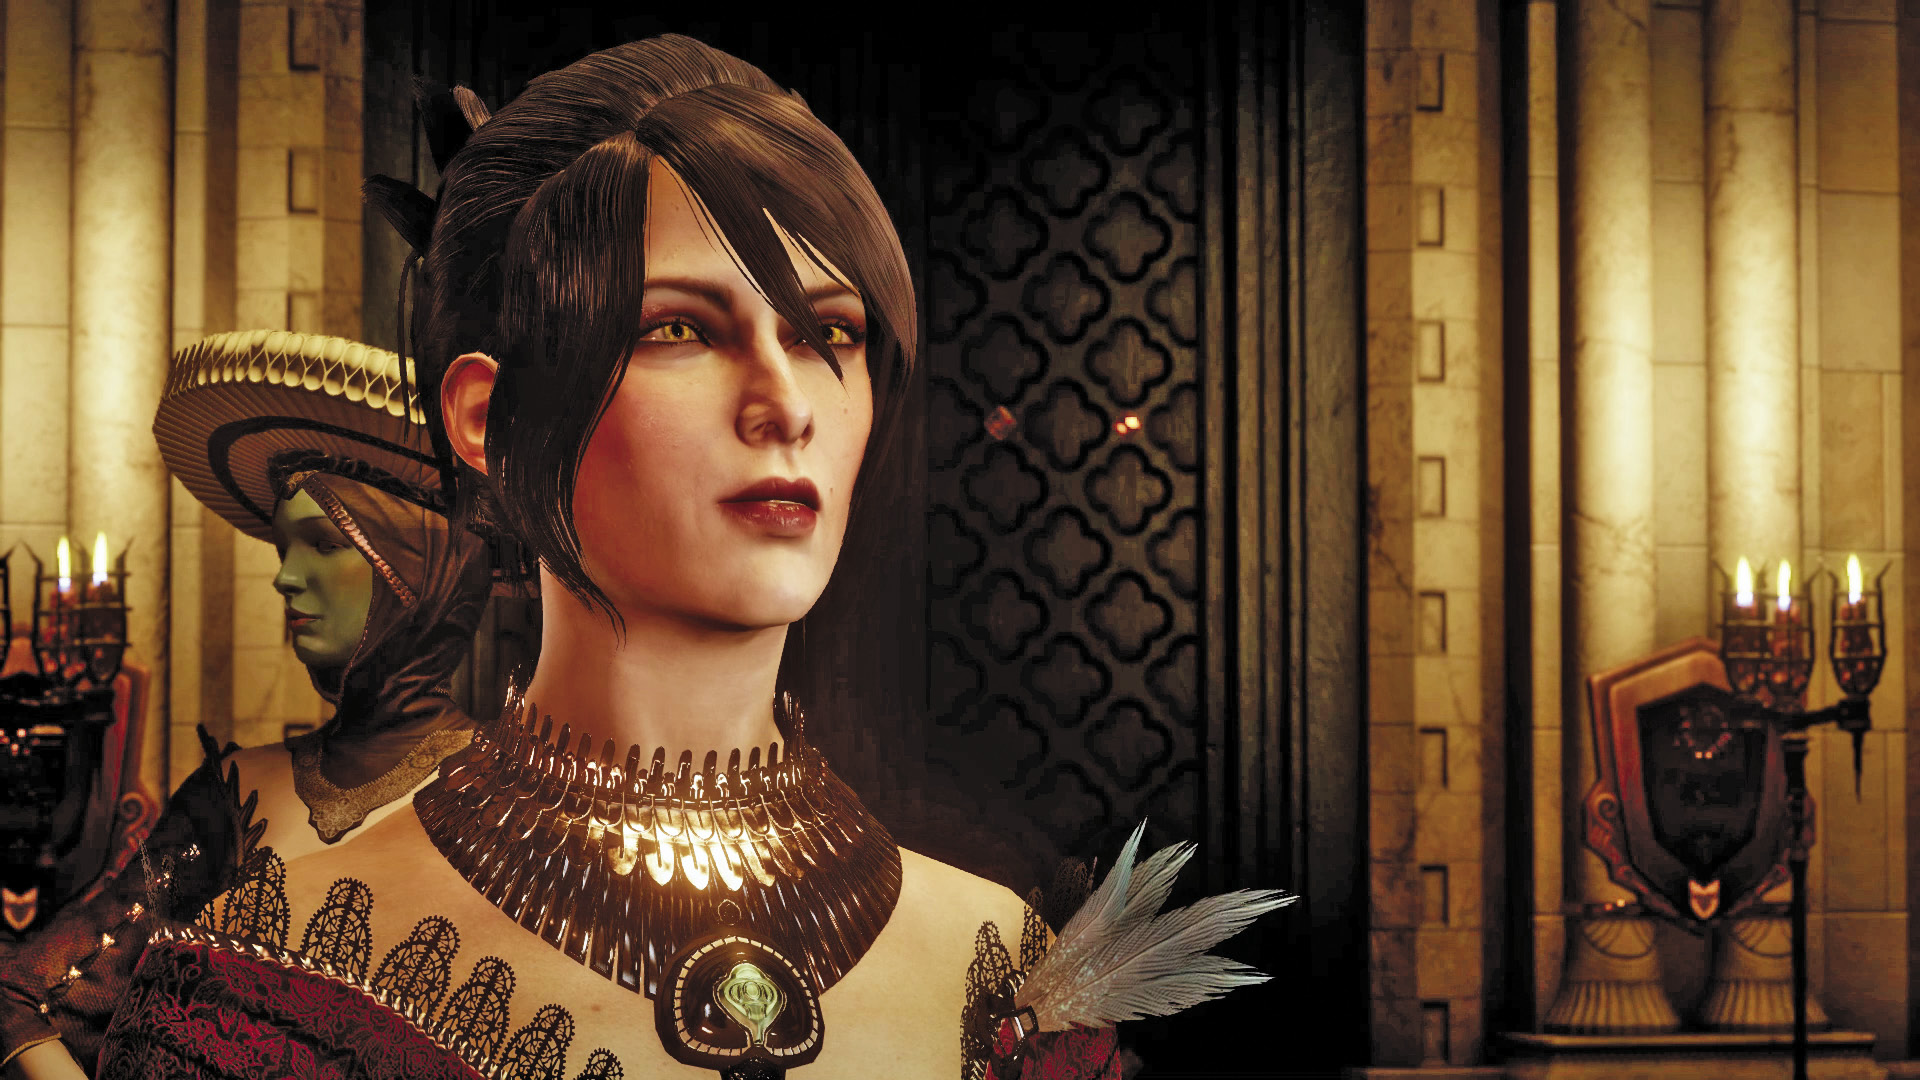
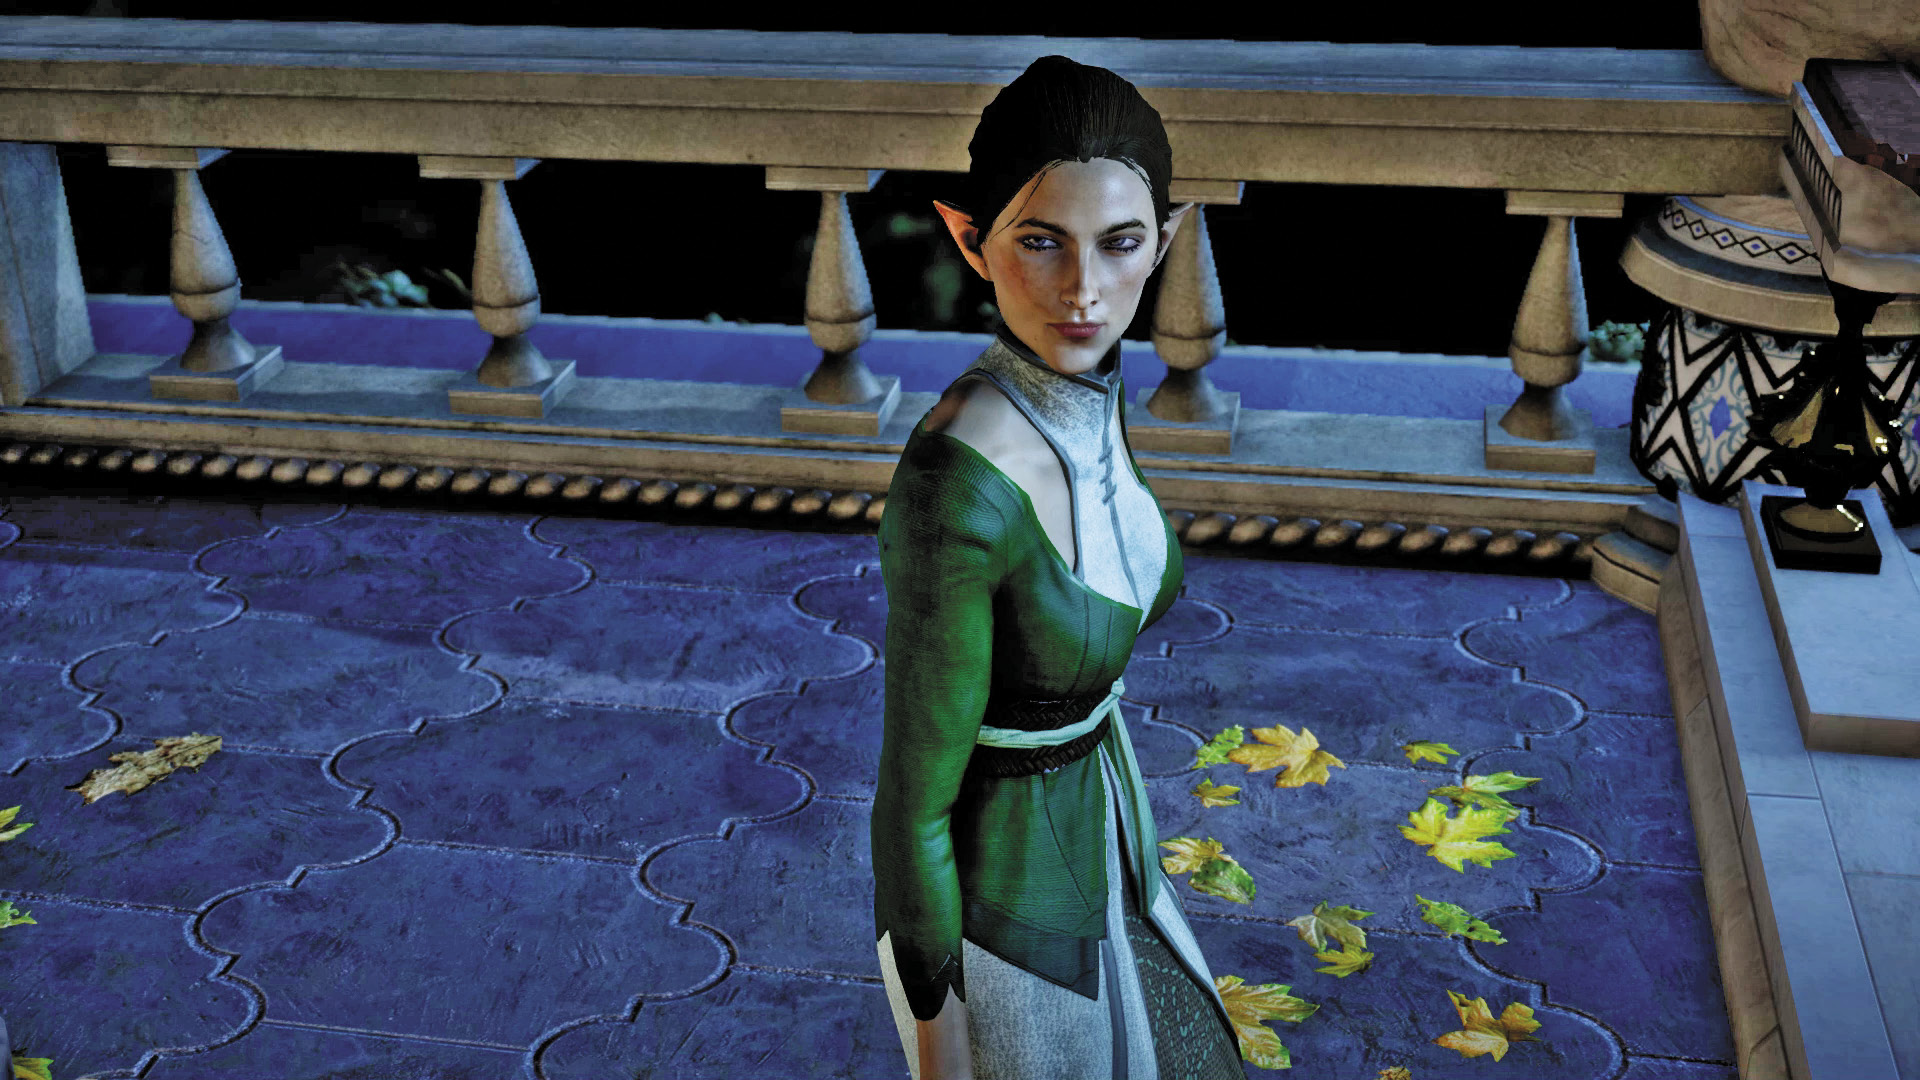
19. Interact with the door leading into the grand ballroom to trigger a conversation with Celene’s occult advisor, Morrigan. She seems to be well aware of your activities in the palace. It turns out Morrigan has the same concerns as the Inquisition. She recently discovered and eliminated an agent from Tevinter and retrieved a key from the body. Morrigan cannot leave Celene unattended this evening, so she asks you to investigate, handing over the key. Following the conversation, return to the Hall of Heroes and use the key to access the servants’ quarters.
Servants’ Quarters
Servants’ Quarters
Legend
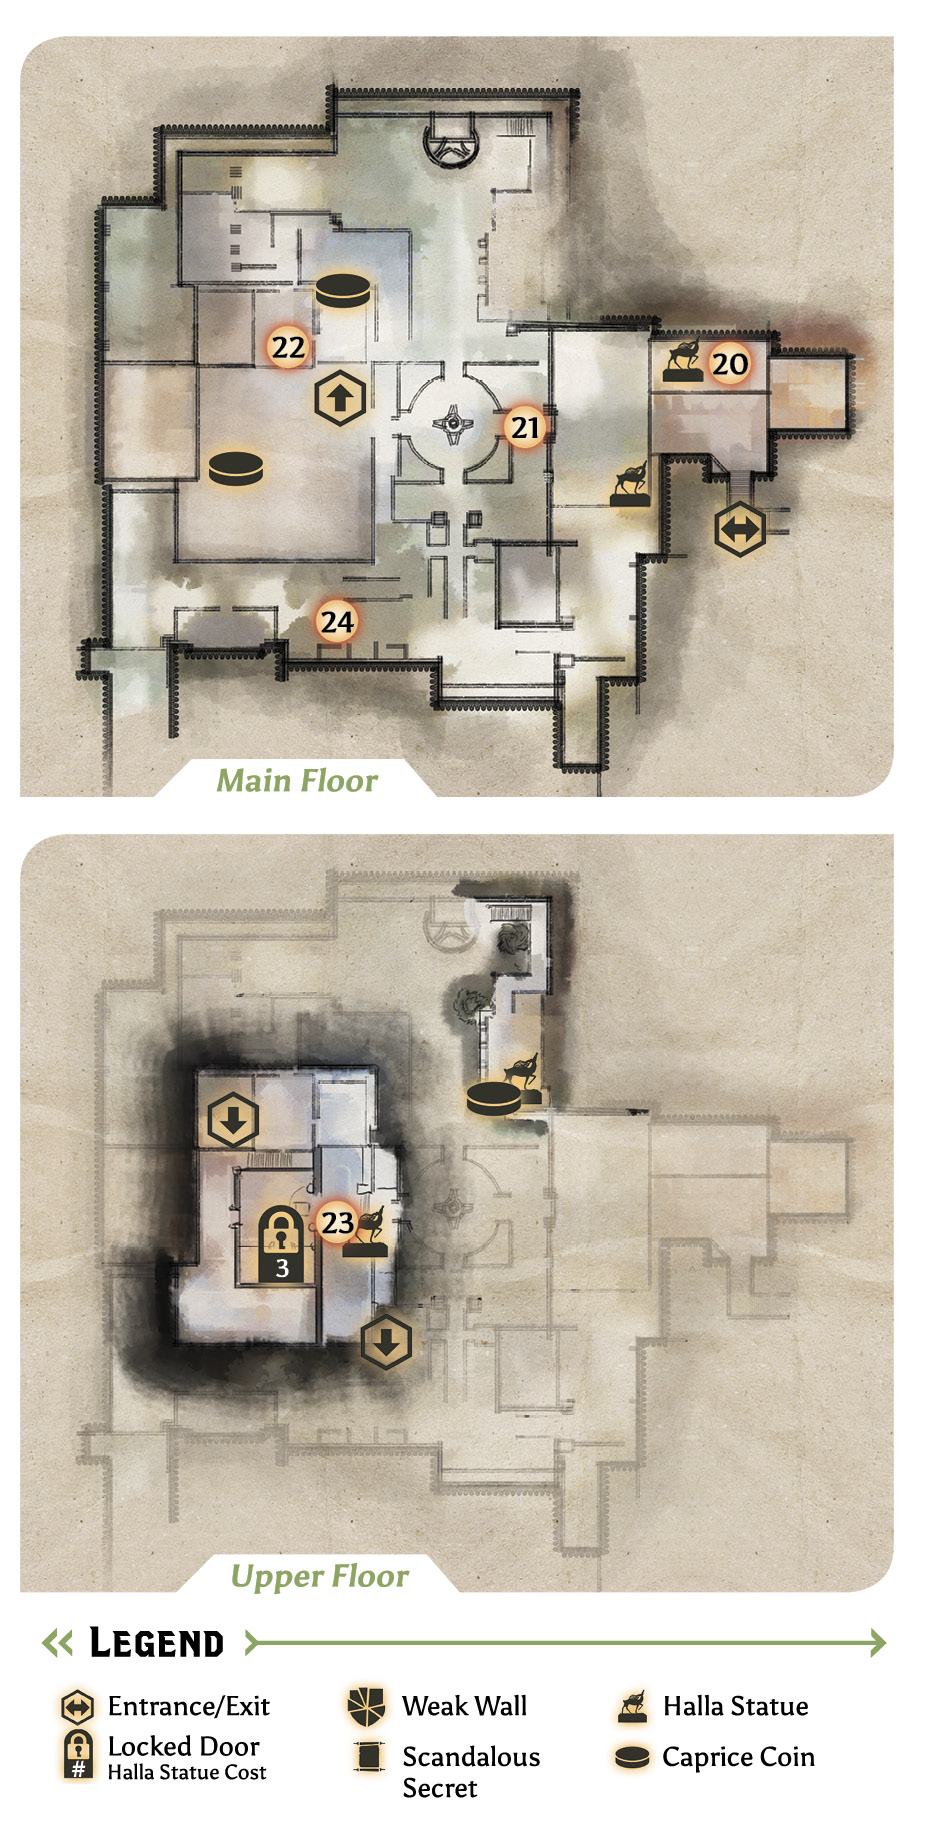
20. You’re joined by your party in the servants’ quarters, and it’s immediately clear something dastardly is afoot. The bodies of two servants lie at your feet upon entry. Before you engage in any combat, take a moment to equip your armor—it offers much better protection than the formal attire. A halla statue can be found in the adjoining kitchen—you’ll have to stand on the table to reach it.
Gardens
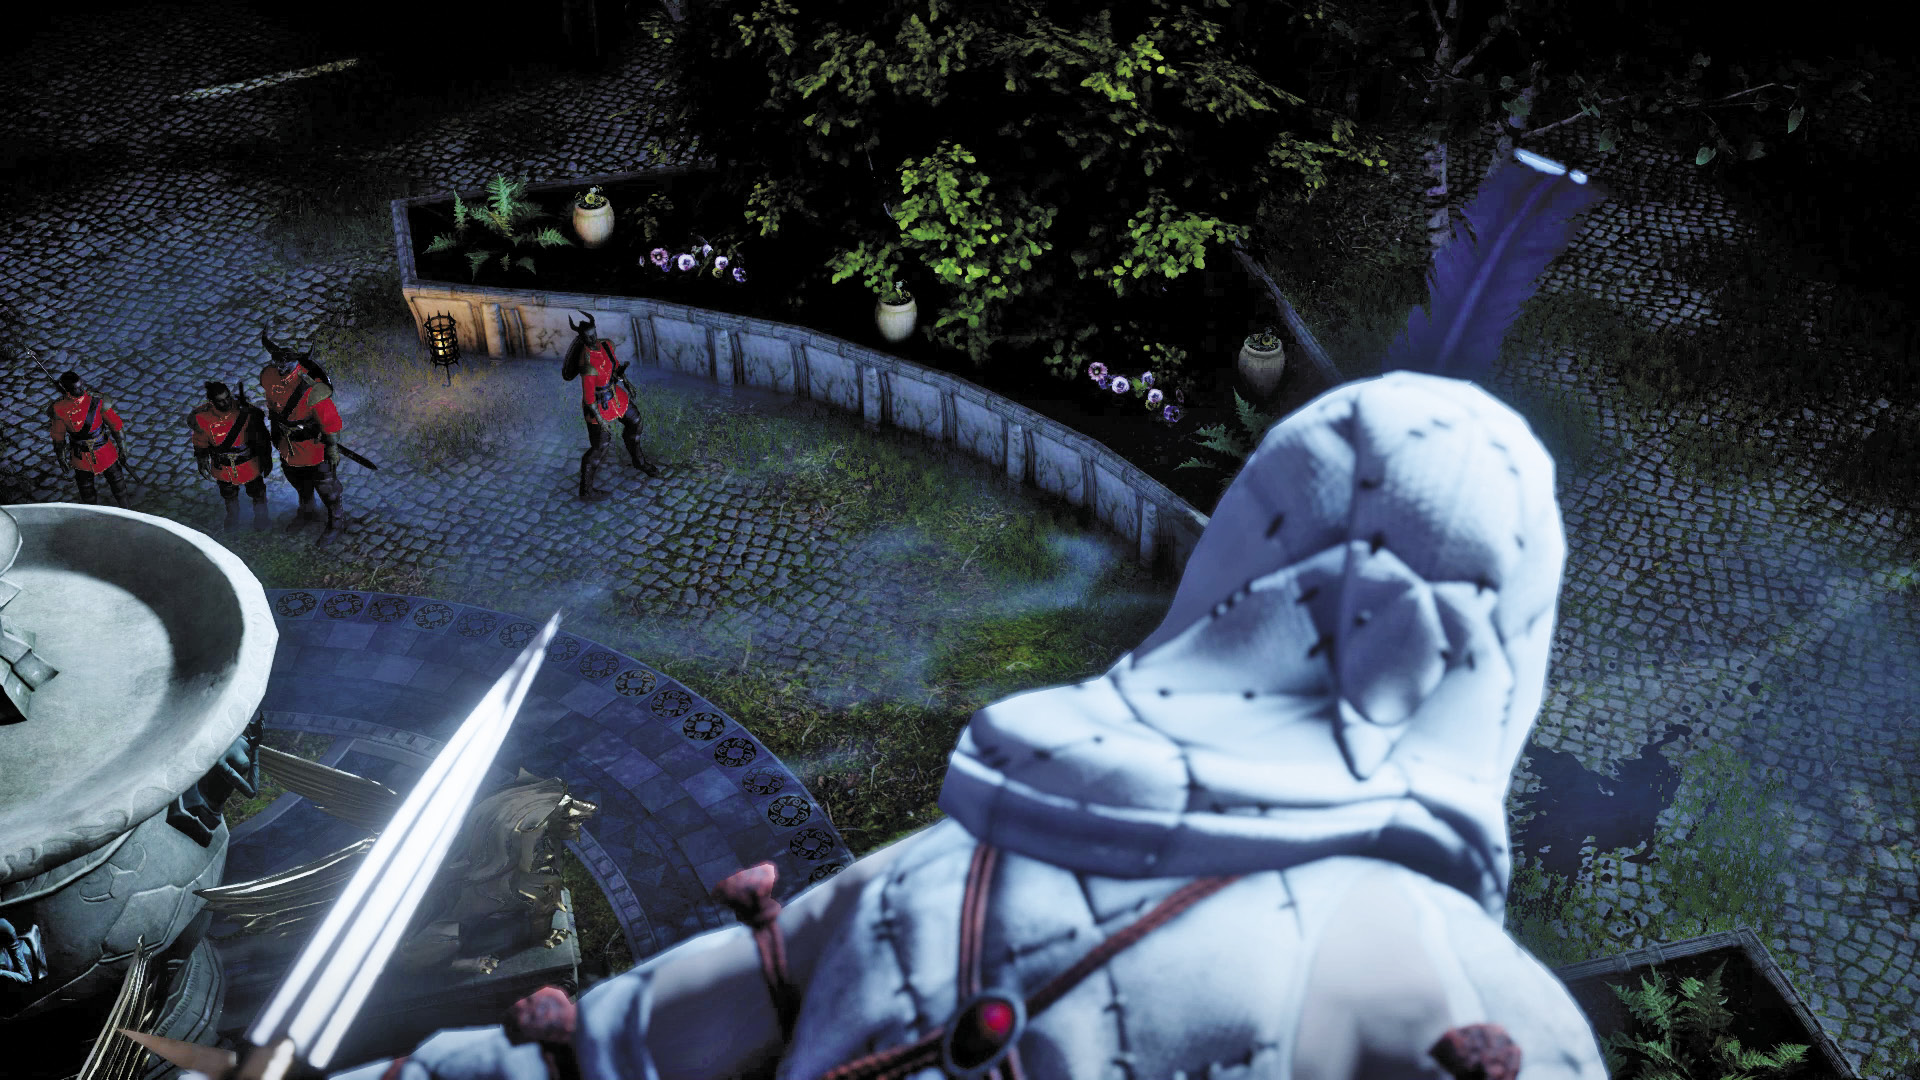
21. Here you encounter the body of a noble—with a dagger bearing Gaspard’s crest protruding from his back. Suddenly a harlequin appears in the distance, cutting down a servant before retreating to a balcony above. Following the cinematic, engage a trio of Venatori zealots. Next, travel north and then west. Fight your way into the grand apartments, eliminating more Venatori zealots and Venatori mages along the way.
Grand Apartments
22. More Venatori agents occupy the first floor of the grand apartments. Move room by room, eliminating resistance while gathering loot. Once the ground floor is clear, use these stairs in the dining hall to reach the second floor.
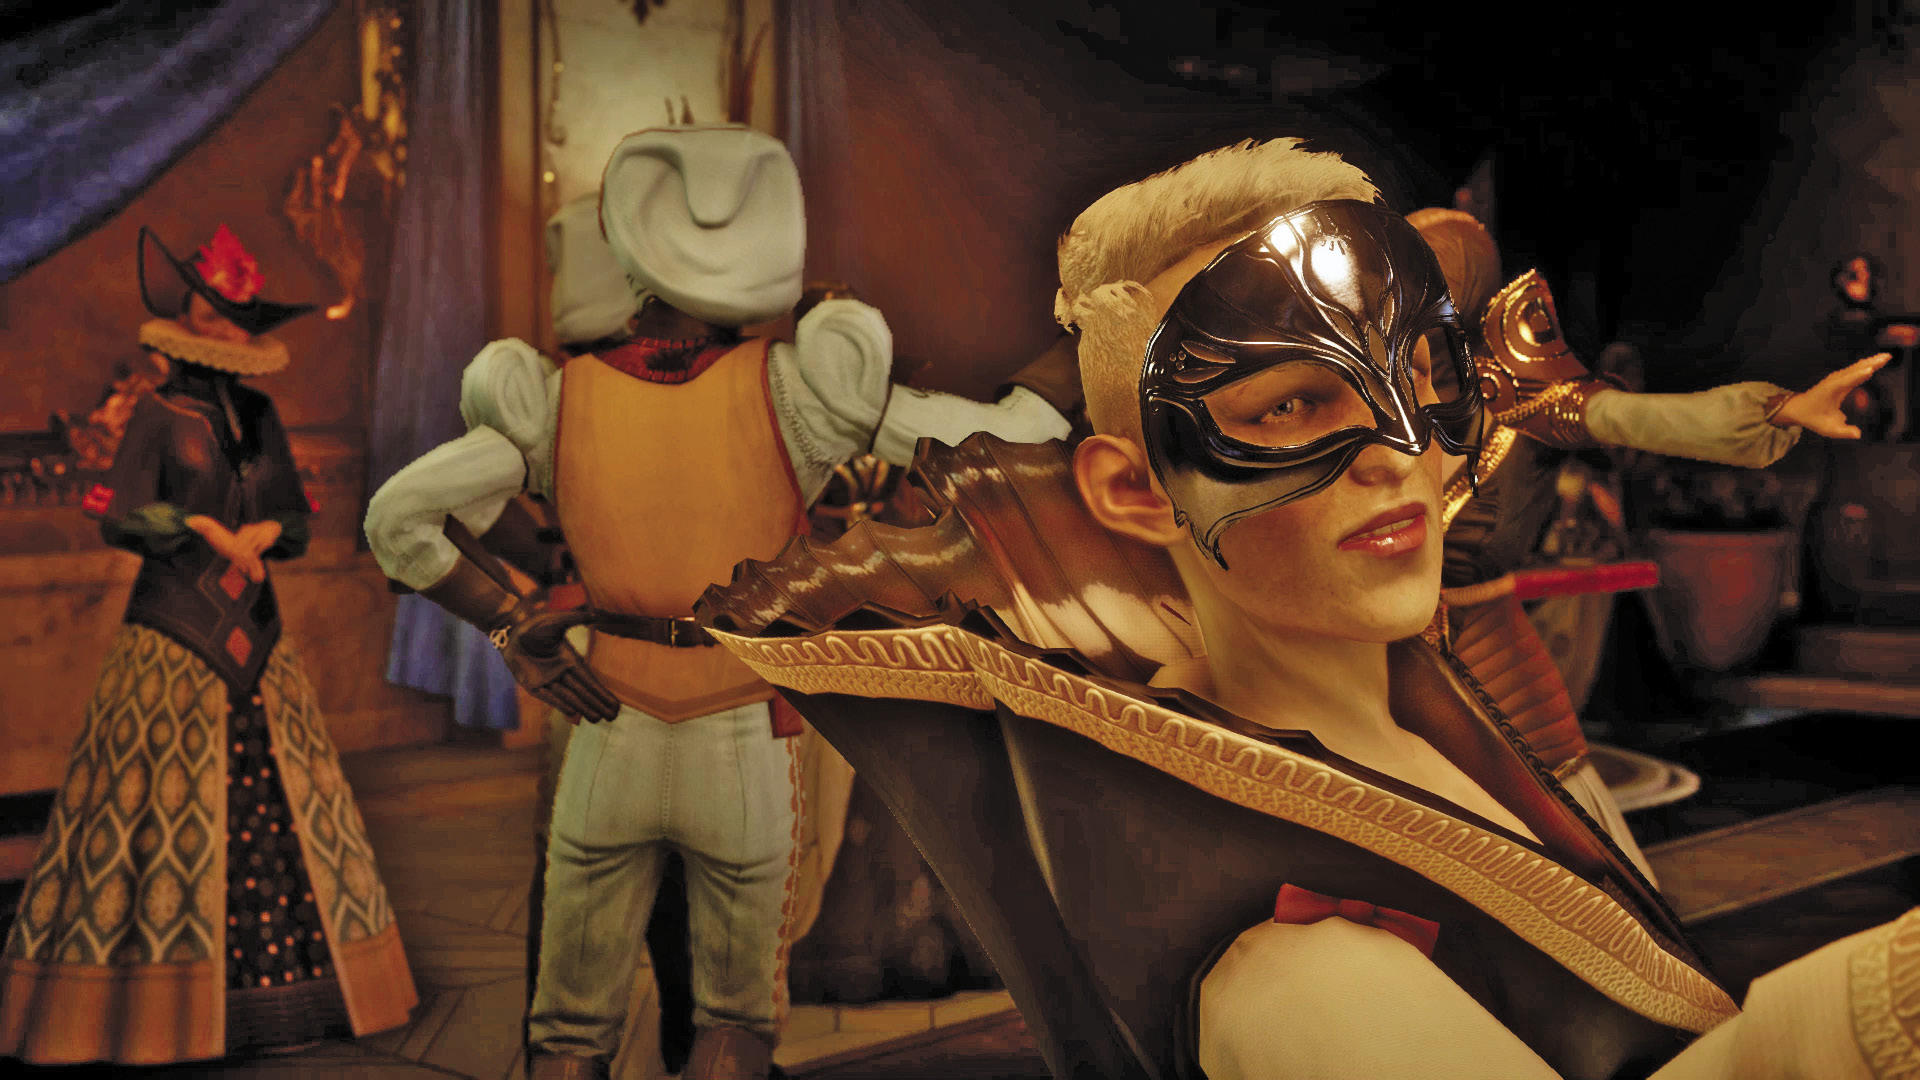
23. Fight through more Venatori agents upstairs until you reach this hallway. Here you encounter the harlequin responsible for murdering the servant outside. The harlequin is accompanied by several Venatori zealots and a Venatori marksman—this is a good opportunity to use Mark of the Rift. But if you don’t have enough focus, rely on other AoE attacks to take advantage of the cramped quarters. The harlequin is highly mobile, so pile on status effects that restrict his movement. After the fight, Ambassador Briala makes an appearance. She’s pleased with your work—she came here to avenge the deaths of her agents, but you beat her to it. Given the evidence, Briala feels these Venatori agents are working for Gaspard. Following the conversation with Briala, collect the halla statue nearby.
Gardens
24. Return to the ground floor and exit through the south side of the grand apartments. You come under attack by more Venatori enemies in this alley. Eliminate them, then proceed to the gate to the east to return to the palace. Briala’s elven agents will stay behind and secure the rest of the servants’ quarters.
Grand Ballroom
25. Upon your return from the servants’ quarters, head straight for the grand ballroom—you have the chance to dance with Grand Duchess Florianne. Here’s your chance to regain some of the court approval you lost while conducting your investigation in the servants’ quarters. Florianne urges you to search the royal wing garden for the leader of Gaspard’s mercenaries. After the dance, you have a quick meeting with the war council. Leliana suggests letting Celene die during the assassination attempt and choosing from Gaspard or Briala as the next ruler of Orlais. Josephine is not supportive of this plan, but you don’t need to make a decision just yet. Return to the vestibule and then enter the royal wing.
Royal Wing
Royal Quarters
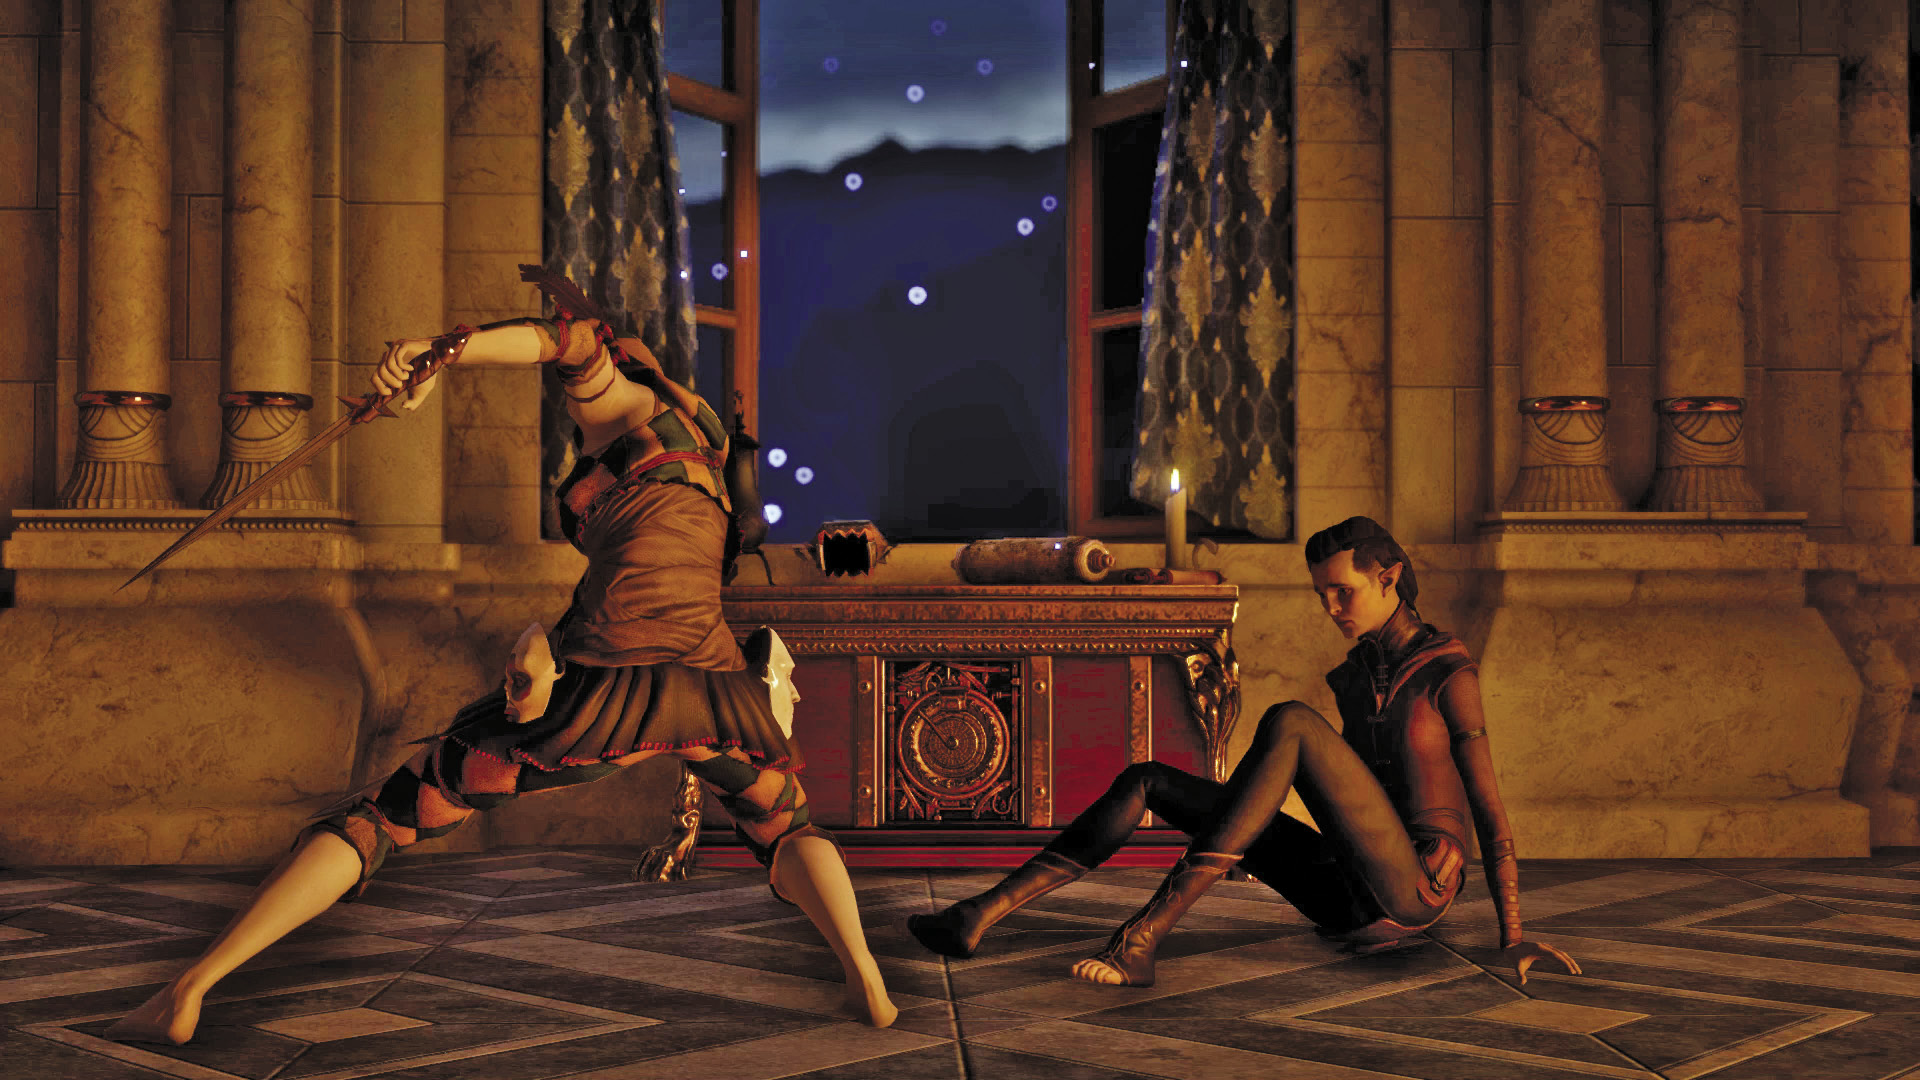
26. Enter this room to stop an attack on one of Briala’s spies—the Inquisitor kicks the attacking harlequin out a window. The spy is convinced Briala set a trap for her and is willing to spill some dark secrets to get her revenge; ask her to testify. You can use this information to blackmail Briala. After talking to the spy, grab the halla statue near the window.
27. Another halla statue can be found in this room, sitting on the table next to the chair. Search for a scandalous secret while you’re here.
28. Climb through the open window to enter this room. Inside is another halla statue. You must conduct a search to retrieve this halla statue, located in the southwest corner. Stock up on potions from the supply cache in this room.
29. Conduct a search near the bookshelf here to retrieve another halla statue.
Empress’s Private Quarters

30. It takes five halla statues to open the door to Celene’s private quarters—reference the map for their locations. Inside, one of Gaspard’s agents is stripped naked and tied to Celene’s bed. He was tricked into giving Celene details of Gaspard’s plans—Celene is prepared to arrest Gaspard as soon as he strikes. Ask the agent to testify in an effort to gain some leverage over Celene. After freeing the agent, search the room for loot, a scandalous secret, and a caprice coin.
Jardin de Rêverie
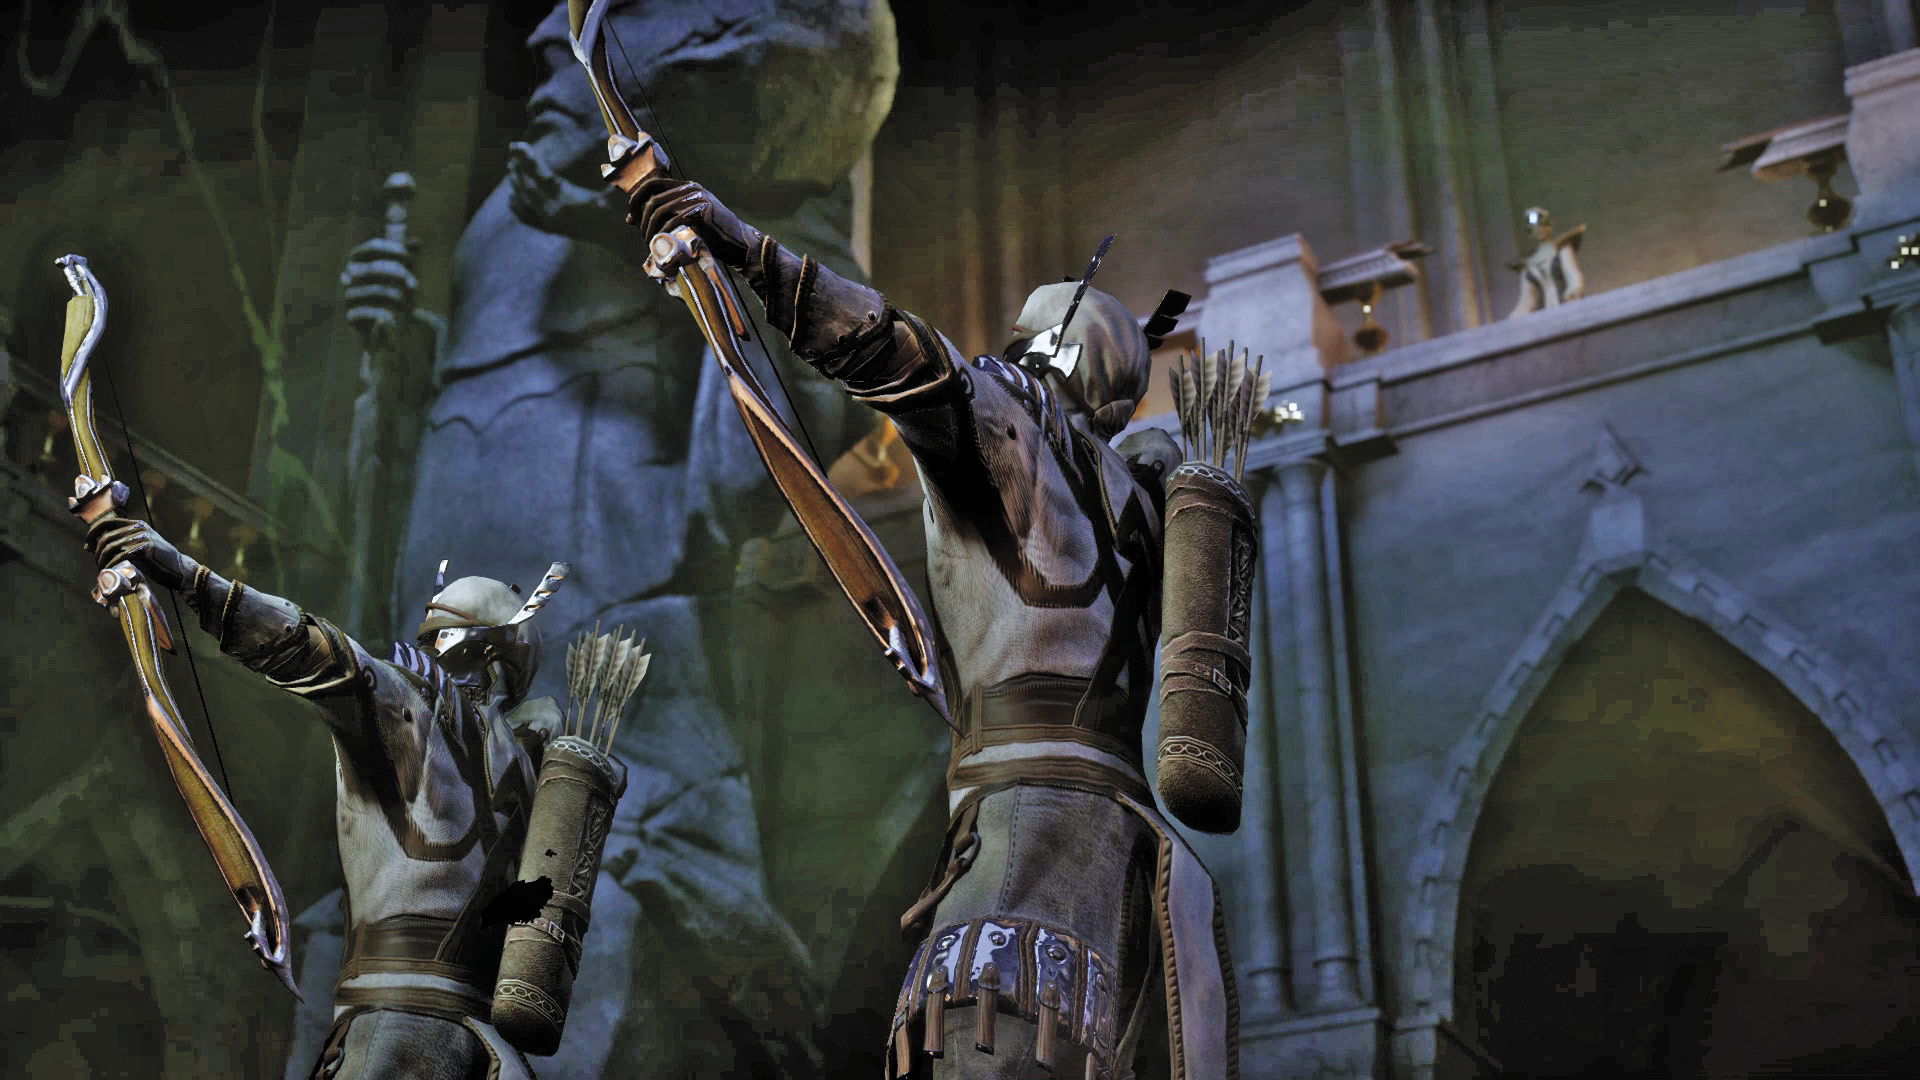
31. If you haven’t already, equip your armor before entering this area. Grand Duchess Florianne has caught you in her trap. She’s been working with Corypheus and is the one behind the plot to kill Empress Celene. Her intent is to keep you busy here while she returns to the grand ballroom to assassinate Celene. After Florianne leaves, work with your party to close a Fade rift, defeating demons and Venatori marksmen. Once the rift is closed, your party frees Gaspard’s mercenary captain. The captain is convinced Gaspard is the mastermind behind all of this. Ask the captain to testify to gain some leverage against Gaspard. Now that you have evidence against Celene, Gaspard, Briala, and Florianne, head back to the grand ballroom to make your decision.
Le Requiem
32. Defeat the Venatori zealots and Venatori marksmen in this chapel-like room. The pews restrict mobility, making AoE attacks very effective. Once the room is calm, gather loot and exit to the west.
La Serrure
33. Fight your way past more Venatori agents to access this room. One door is marked with a warrior icon, the other with a mage icon. Each door requires five halla statues to open. There aren’t enough halla statues to open both doors—and if you opened the door to Celene’s private quarters, you don’t have enough halla statues to open either door. But if you have enough statues to open a door, expect some nice loot on the other side.
34. Enter this hallway, then interact with the door to the west to return to the grand ballroom.
Grand Ballroom
Decision Point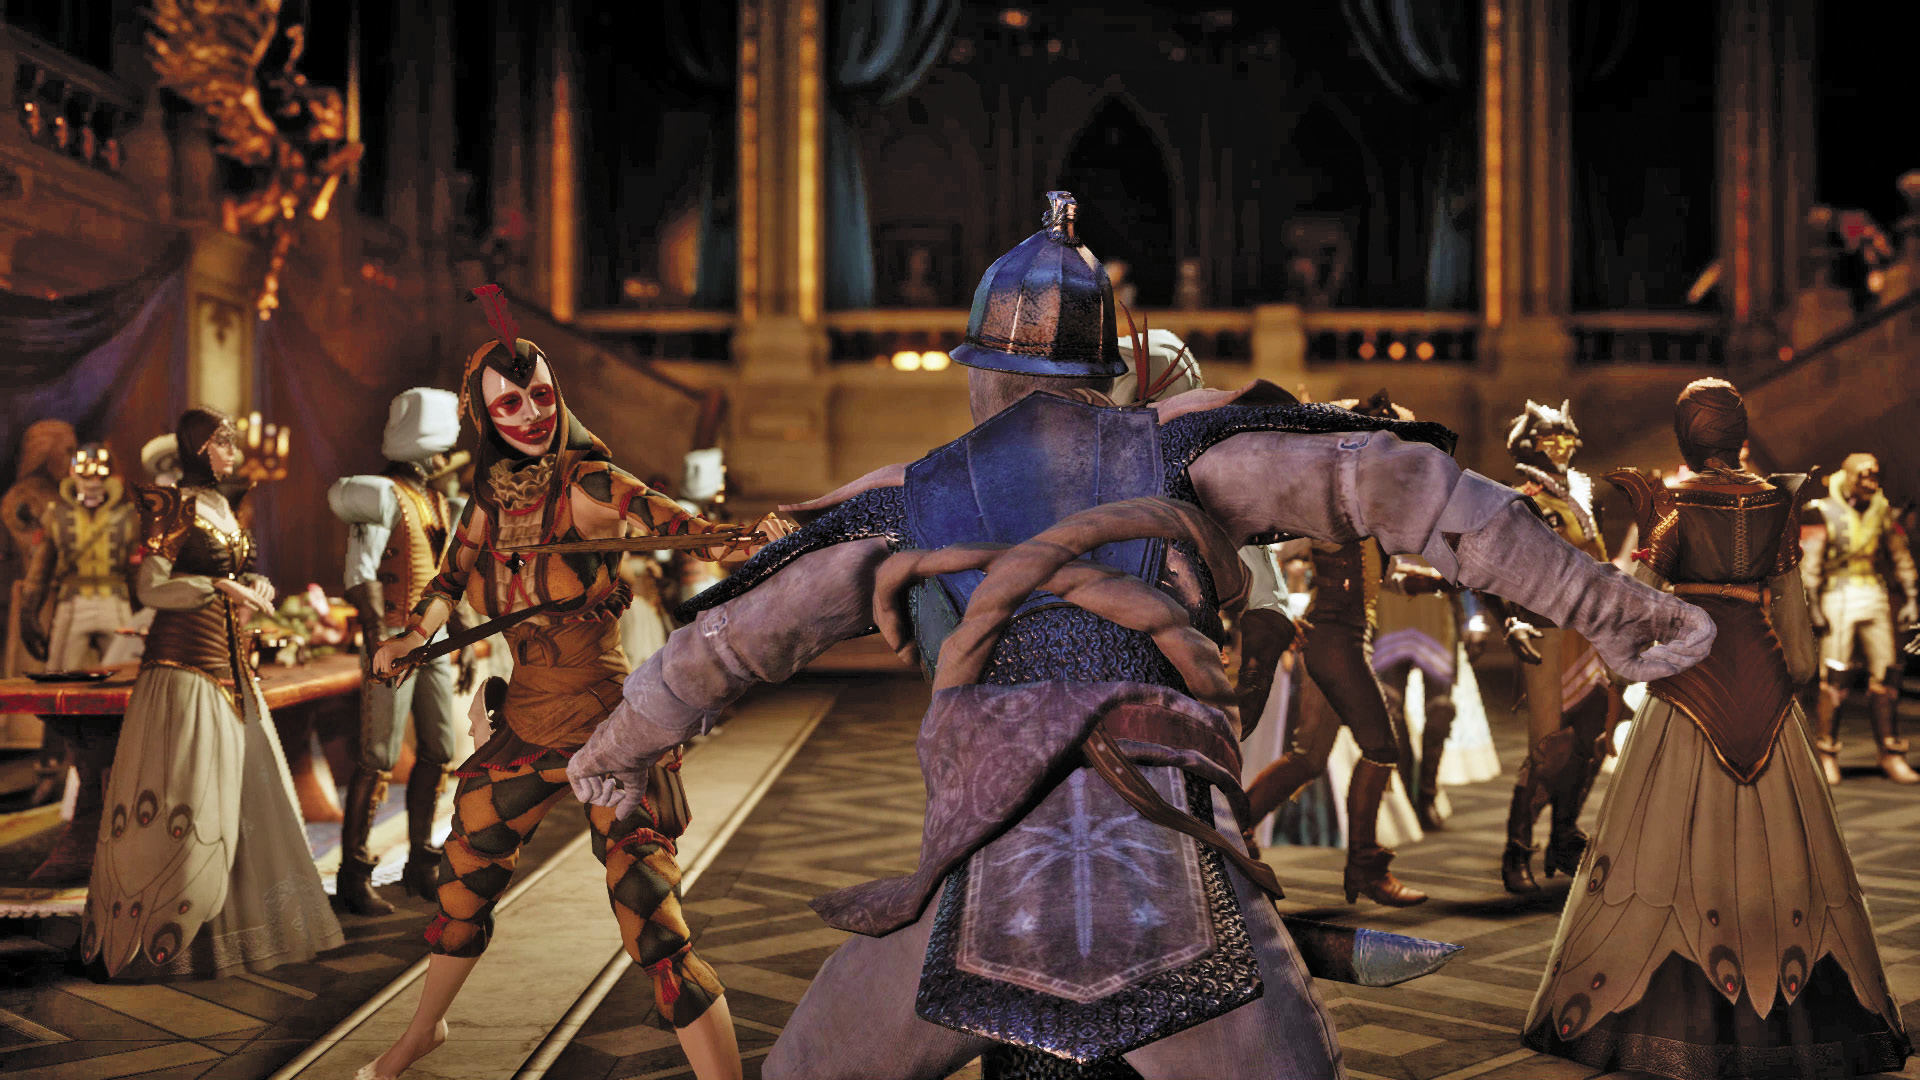 Upon your return from the royal wing, Cullen approaches you—Empress Celene is about to give her speech. Your decision here will determine who will rule Orlais. There are three possible options:
|
Grand Duchess Florianne Battle
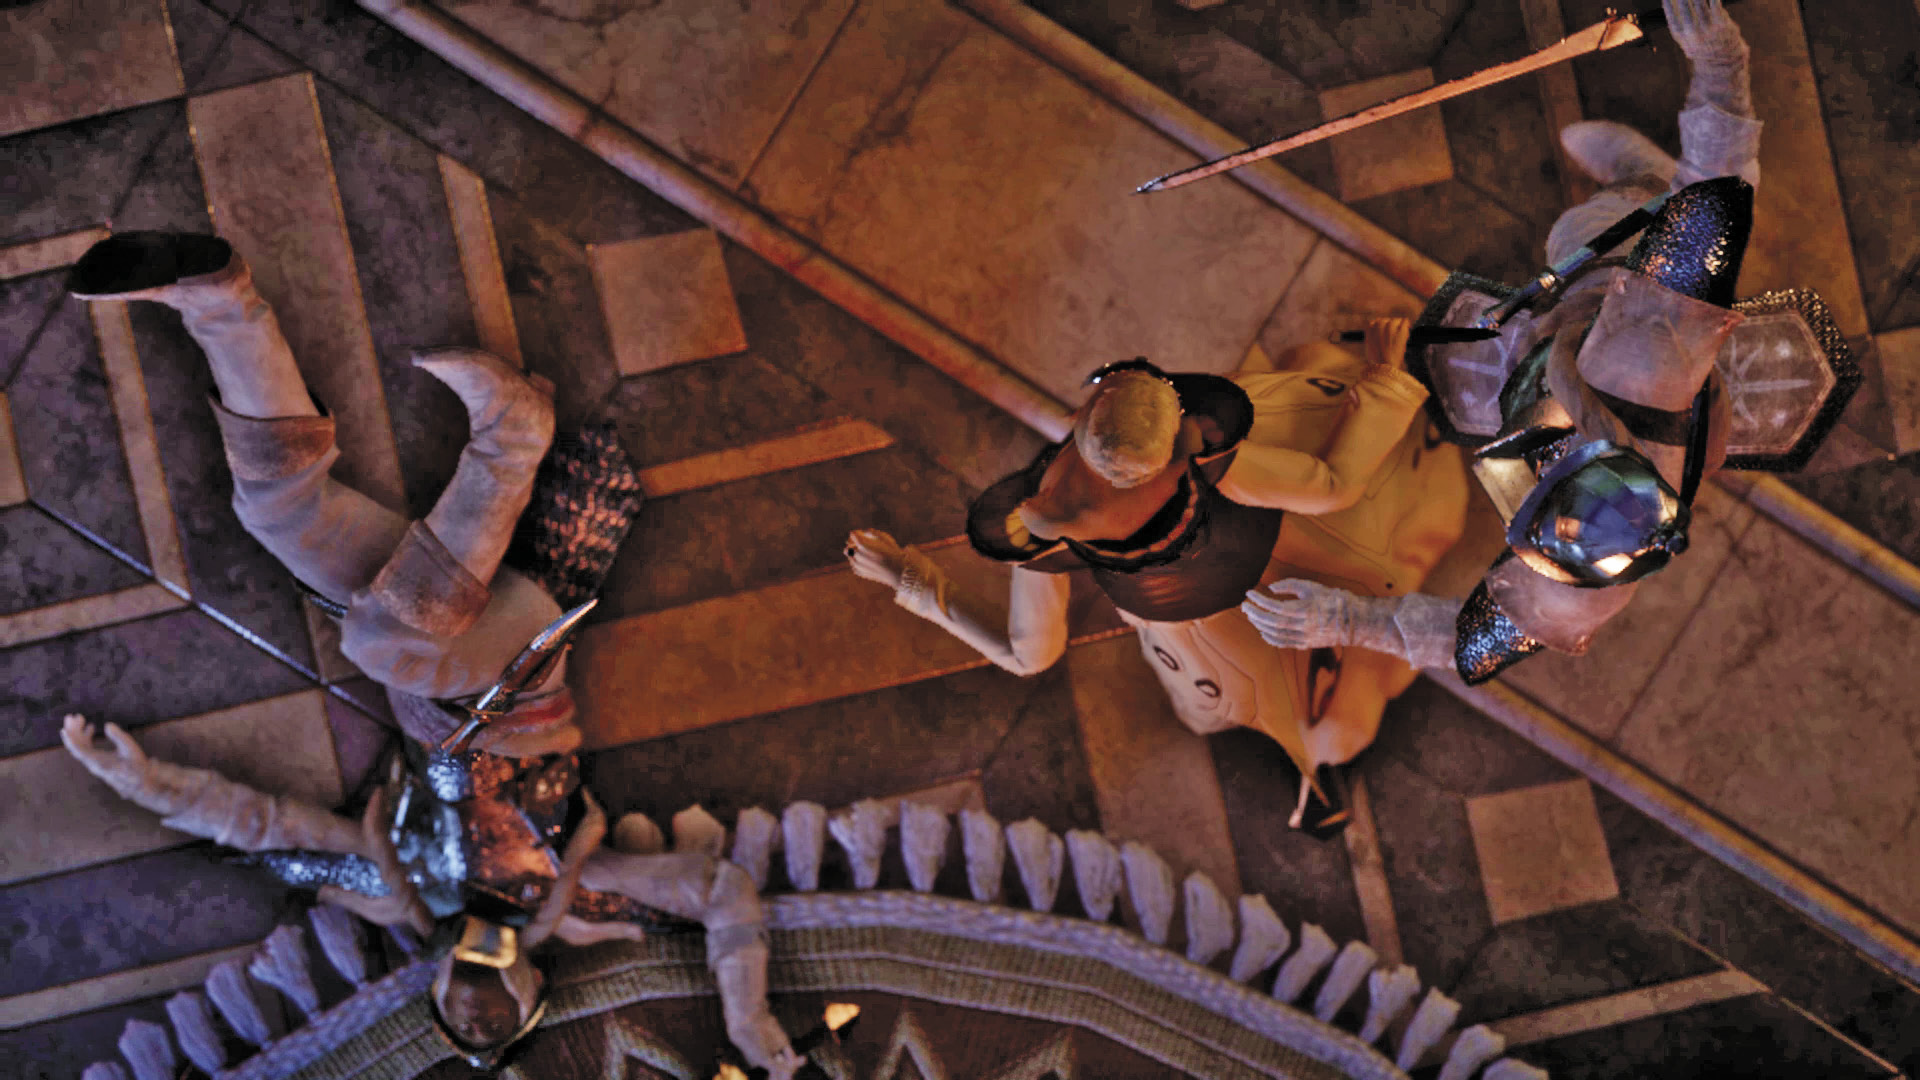
If you were unable to expose Florianne’s plan before the court, you must defeat her in combat as she escapes to the Emerald Crown courtyard outside the palace, ditching her dress for attire more appropriate for combat. Florianne is a highly mobile archer. As a result, your ranged party members will have an easier time engaging her as she jumps and flips around the courtyard. Florianne is joined by several Venatori zealots. Wait until she is positioned near a group of her allies, then initiate Mark of the Rift, killing the zealots and inflicting heavy damage on Florianne. Also, utilize abilities that restrict or slow Florianne’s movement—cold-based attacks work well. This will allow your melee party members to close in and land some heavy hits. The warrior’s Grappling Chain ability is particularly helpful during this battle, ideal for pulling Florianne to melee range.
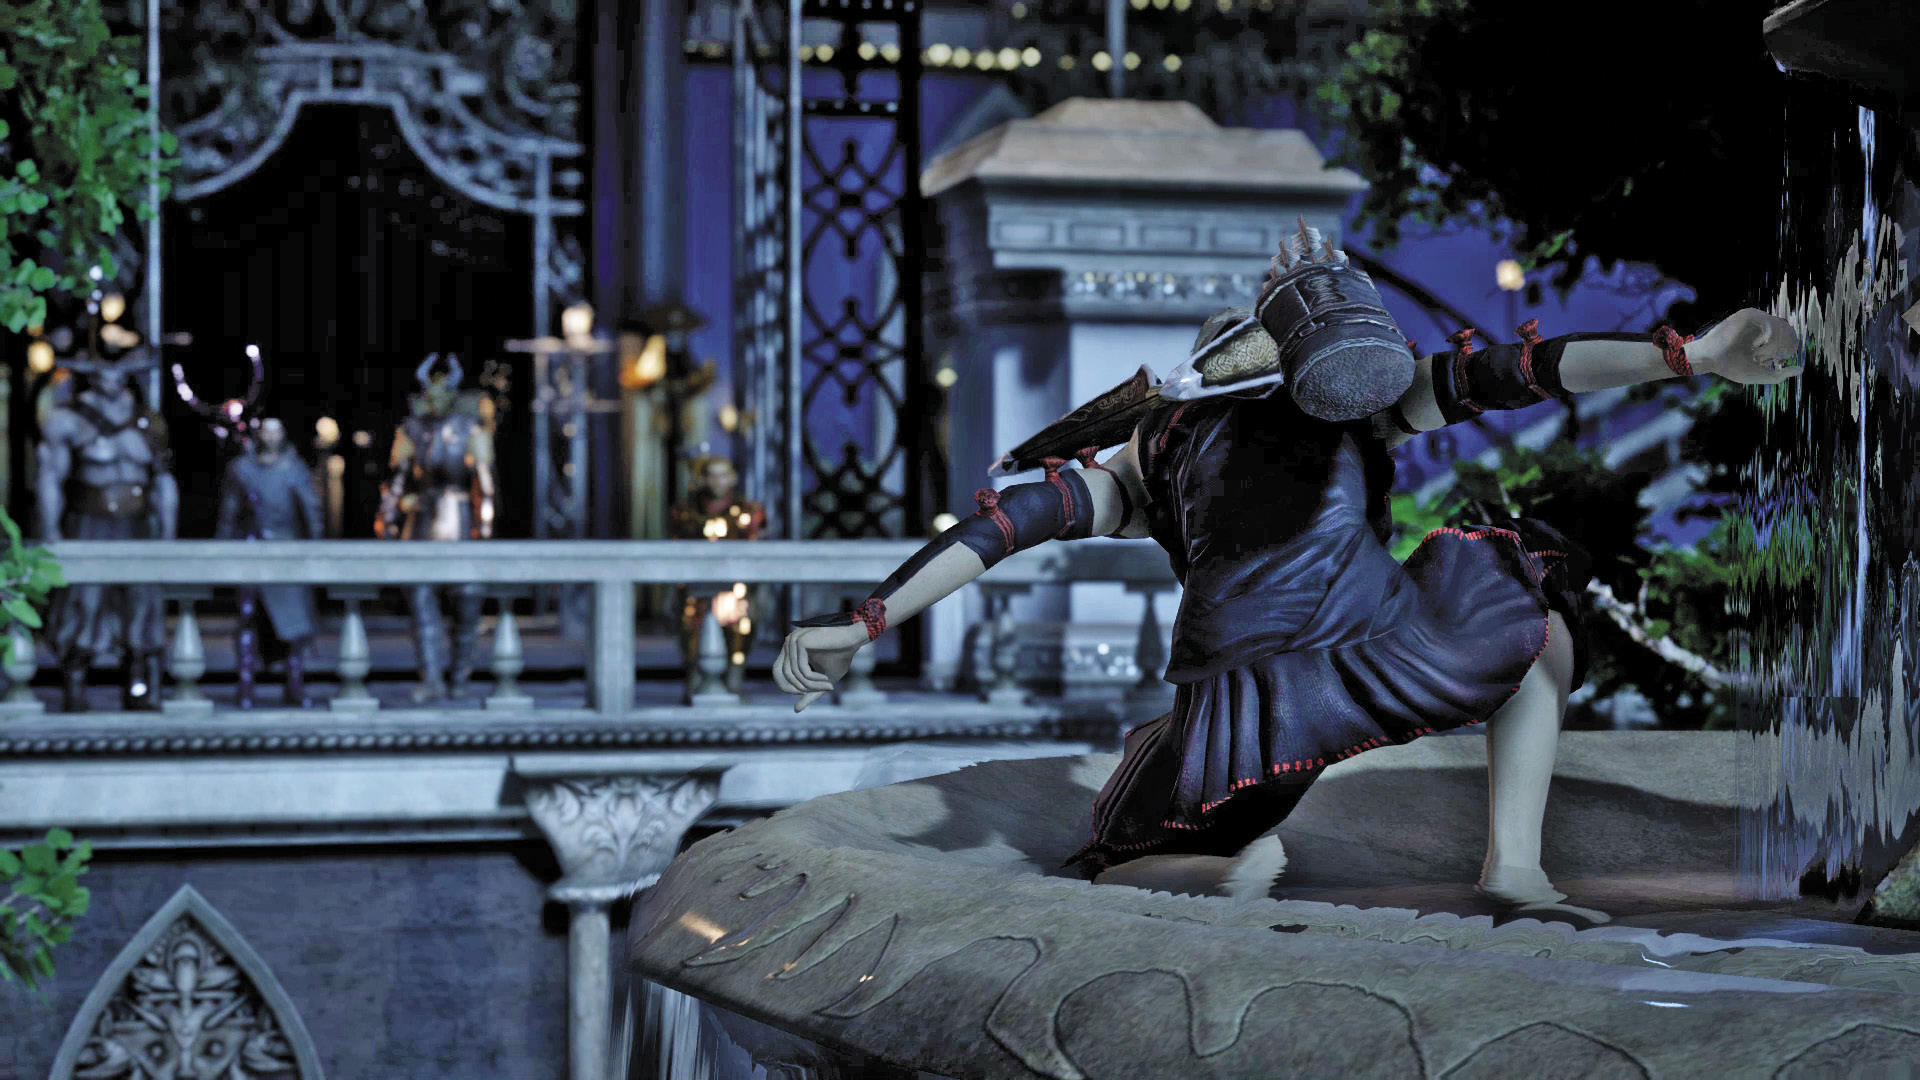
As Florianne’s health drops, she retreats to the walls on the east and west sides of the courtyard. At this point, only your ranged party members can engage her. But there are plenty of her allies on the ground for your warriors to hack and slash. Turn your attention to defeating these lesser enemies before resuming your attacks on Florianne. In addition to firing arrows, Florianne can temporarily put your party to sleep, making them vulnerable to attacks. She also has the ability to build a guard, significantly prolonging her life. But as long as your party keeps on the pressure, you’ll eventually whittle down her health until she’s dead—be sure to loot her body afterward to score some rare loot. Once you’ve defeated all the enemies, return to the grand ballroom by opening the gate to the north.
Aftermath
Decision Point After dealing with Florianne, you’re engaged in a heated conversation between Briala, Gaspard, and Empress Celene—assuming she survived. If Empress Celene is alive and you’ve collected blackmail evidence, you have the option of implicating Briala or Gaspard—the traitor will be executed unless you intervene. Or you can forget the blackmail and suggest that all three work together. You even have the chance to patch things over with Celene and Briala, urging them to reconcile. But if Empress Celene died, you must choose the next ruler of Orlais. |
Approval: New Orlesian Leadership
| Follower | Support Gaspard | Support Briala | Support Celene | Celene/Briala Reunited | Everyone Lives | Florianne Arrested | Save Celene | Celene Dies |
|---|---|---|---|---|---|---|---|---|
| Blackwall |    |
  |
— | — |  |
  |
  |
   |
| Cassandra |    |
   |
— |   |
 |
— | — |   |
| Cole |    |
   |
— |    |
   |
— |    |
  |
| Dorian |   |
 |
— |    |
— |    |
— |   |
| The Iron Bull |    |
— |   |
— | — |   |
— |   |
| Sera |  |
  |
— | — |   |
— |   |
   |
| Solas | — |  |
— | — | — |    |
— | — |
| Varric | — | — | — | — | — | — | — | — |
| Vivienne |  |
   |
— | — | — | — | — | — |
Next, the Inquisitor joins the leader during a speech to the court, confirming Orlais’s alliance with the Inquisition. Following the speech, you’re approached by Morrigan. She has been assigned as liaison to the Inquisition and will be joining you in Skyhold. If you’ve been romancing a character, you have the chance to dance with your romantic interest after speaking to Morrigan. Following the dance, you’re automatically transported back to Skyhold.
Halamshiral Specifics
Speaking with the faction leaders
Once you’ve met Gaspard at the entrance, Briala in the Servants’ Wing, and Celene’s trio of ladies-in-waiting in the garden, you can speak to them at any time in the ballroom. Celene’s ladies are stationed near the back of the room. Briala and Gaspard are each in their own isolated balconies off the main room. Here, you can question them about their plans for the negotiations, their politics, and any evidence you’ve found while skulking around. Speaking to the leaders in the ballroom is the only way to open up some options for the end of the negotiations.
Endings
You get the most direct benefits from having a single person in power: Celene, Gaspard, or Briala as Gaspard’s puppetmaster. These options give the largest rewards in terms of loot and power. The more the throne is divvied up, the less reward there is for you and the Inquisition.
If Celene lives, she will remain in power. Gaspard cannot be given the throne in this case (and will lose his head unless you intervene on his behalf), and Briala can only gain influence if she is reunited with Celene.
If Celene dies, you can either throw all your support behind Gaspard or Briala. Briala can’t take the throne openly, but she can use all the dirt you’ve found on Gaspard to render him little more than a puppet in a crown while she rules Orlais from the shadows. If you back Gaspard, he will have Briala executed to make sure she can’t threaten his reign.
Reuniting Celene and Briala
In the Grand Apartments, on the second floor around the corner from the harlequin battle is a door that requires three halla statuettes to open. Inside this room is some loot as well as an elven locket – picking up the locket will trigger a comment from the Inquisitor and the party about how it must have been a gift from Briala to Celene.
When you return to the ballroom, find Celene’s ladies-in-waiting. Talk to them and tell them you found Celene’s locket. They will immediately get the Empress herself for a private chat. When you speak to Celene, suggest that she still has feelings for Briala.
You can find Briala on one of the balconies that comes off the ballroom. Ask her about the locket, and she will be surprised that Celene kept such a potentially incriminating token. Suggest that Celene still cares for her.
After Celene’s life has been saved, when the three leaders meet, tell Celene that Briala helped you to stop Florianne. Present all the dirt you found during your investigations throughout the palace to paint Gaspard as a traitor to Orlais. Then ask Celene, “What about Briala’s reward?” to make sure the couple reconciles their differences. You cannot try to save Gaspard’s life and reconcile the lovers in the same playthrough.
Celene will address her court. She will tell the nobility that Gaspard is being executed as a traitor and that she is elevating Briala to nobility – making her Marquise of the Dales. The assembled crowd of nobles is… less than pleased by the news. You get less of a reward for this than for supporting Celene alone.
Everyone Lives
If you opened the halla-statuette-locked door to the Empress’s private quarters in the Royal Wing, and asked the general to testify against her, then after you save Celene’s life, the option “All of you are at fault.” will open up in the talk with the three faction leaders. You must have at least 85 Court Approval for this to option succeed. This lets you reveal that you have incriminating evidence in your possession against all three of them, and you can blackmail them into a truce. Taking this path results in the least rewards for the Inquisition in terms of loot and power, and the three factions are likely to start warring again the moment the Inquisitor isn’t looking.