Dragon Age Inquisition Guide The Inquisitors Path In Your Heart Shall Burn
Haven
With the Inquisition’s hard-won allies, it is time to march on the Breach and close it.
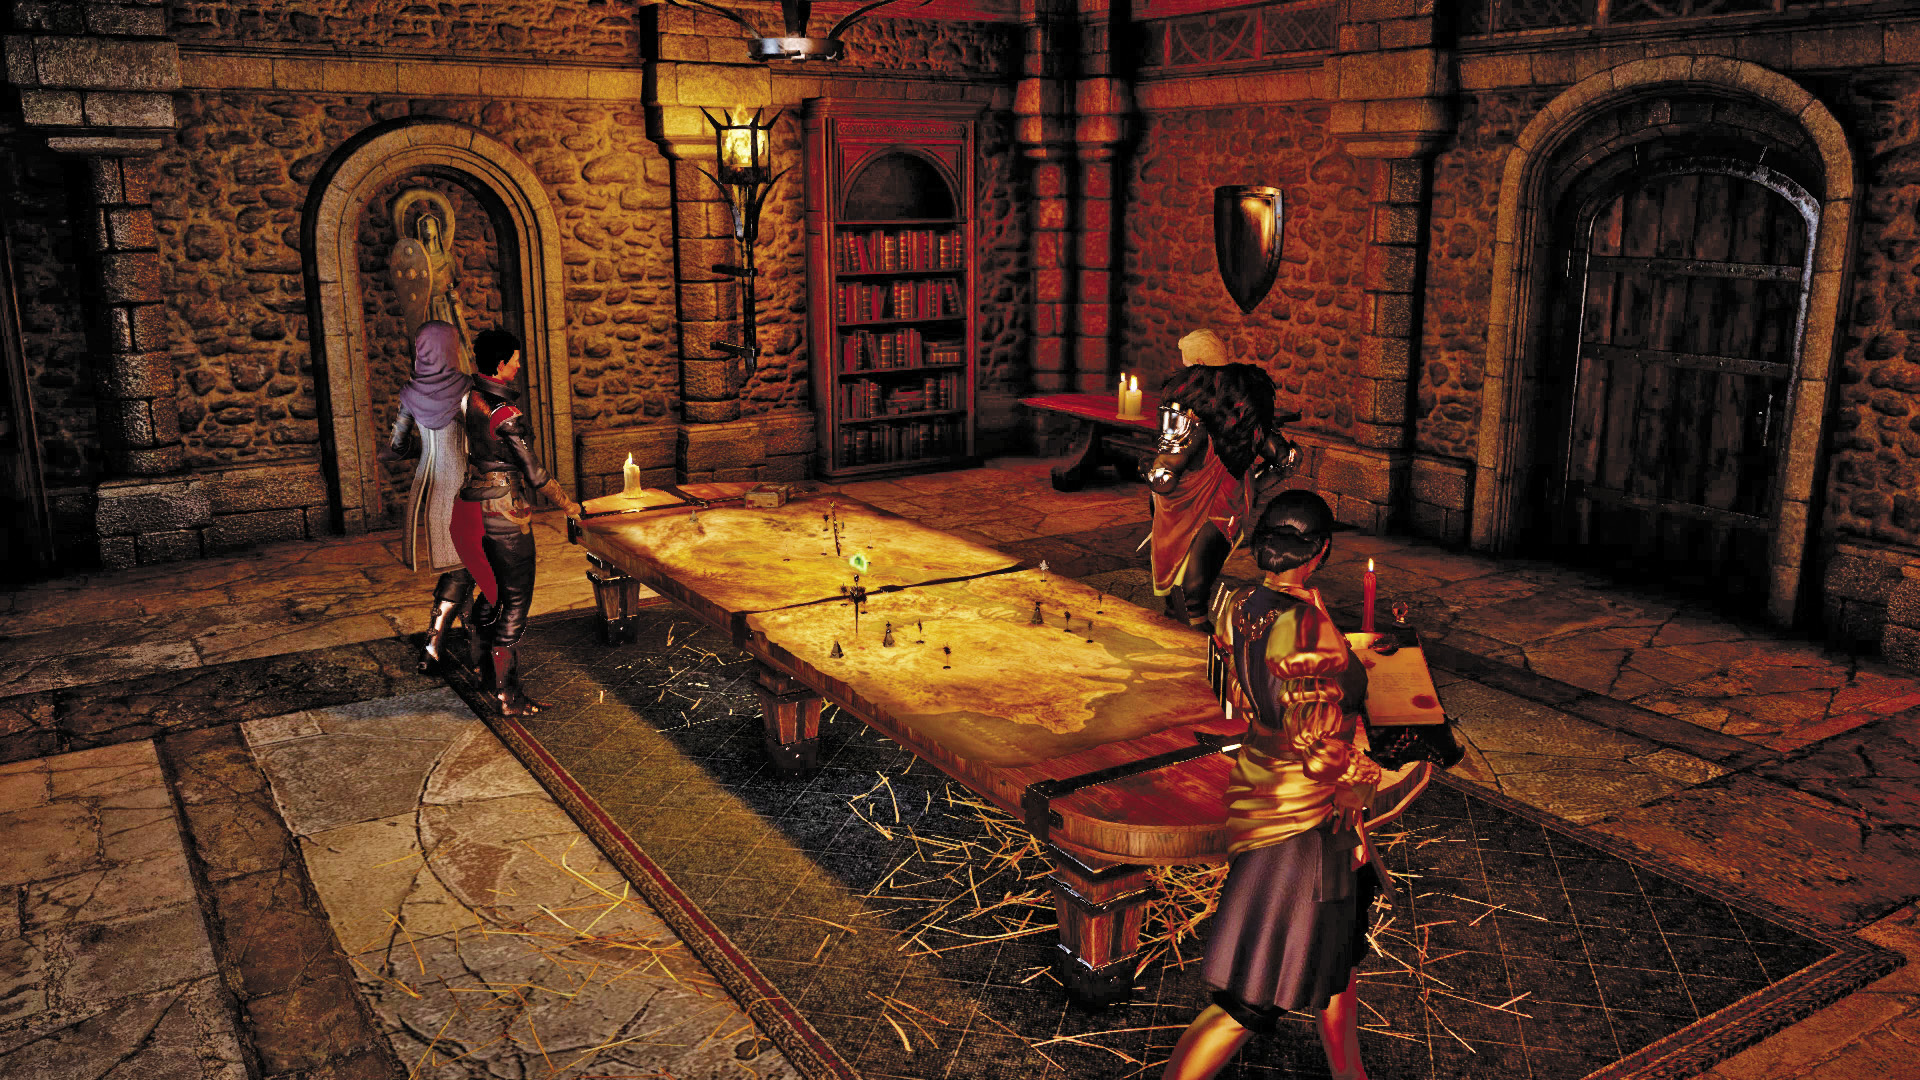
Following the conclusion of In Hushed Whispers or Champions of the Just, the Inquisition now has the support it needs to attempt closing the Breach. It only takes one power to gather your forces and make a move on the Breach. Chances are you have enough power simply by completing previous quests. Whether you have the power or not, now is the perfect time to fully explore locales like the Hinterlands, Storm Coast, Fallow Mire, and Forbidden Oasis. These locales not only give you more power-building opportunities, but also provide your character and party members with the XP required to level up—try to reach level eight before attempting to close the Breach. This is also a great time to check in with your party members to see what they have to say—some may even provide inner circle quests. Once you’ve gathered enough power and XP, return to the war room and select the In Your Heart Shall Burn operation on the war table. After selecting the operation, choose your party. Party selection here determines who joins you at the Breach, as well as who fights with you for the duration of this quest. As usual, a balanced approach is best. A party consisting of two warriors, a rogue, and a mage should give you the balance you need to survive the upcoming encounters.
Sealing the Breach
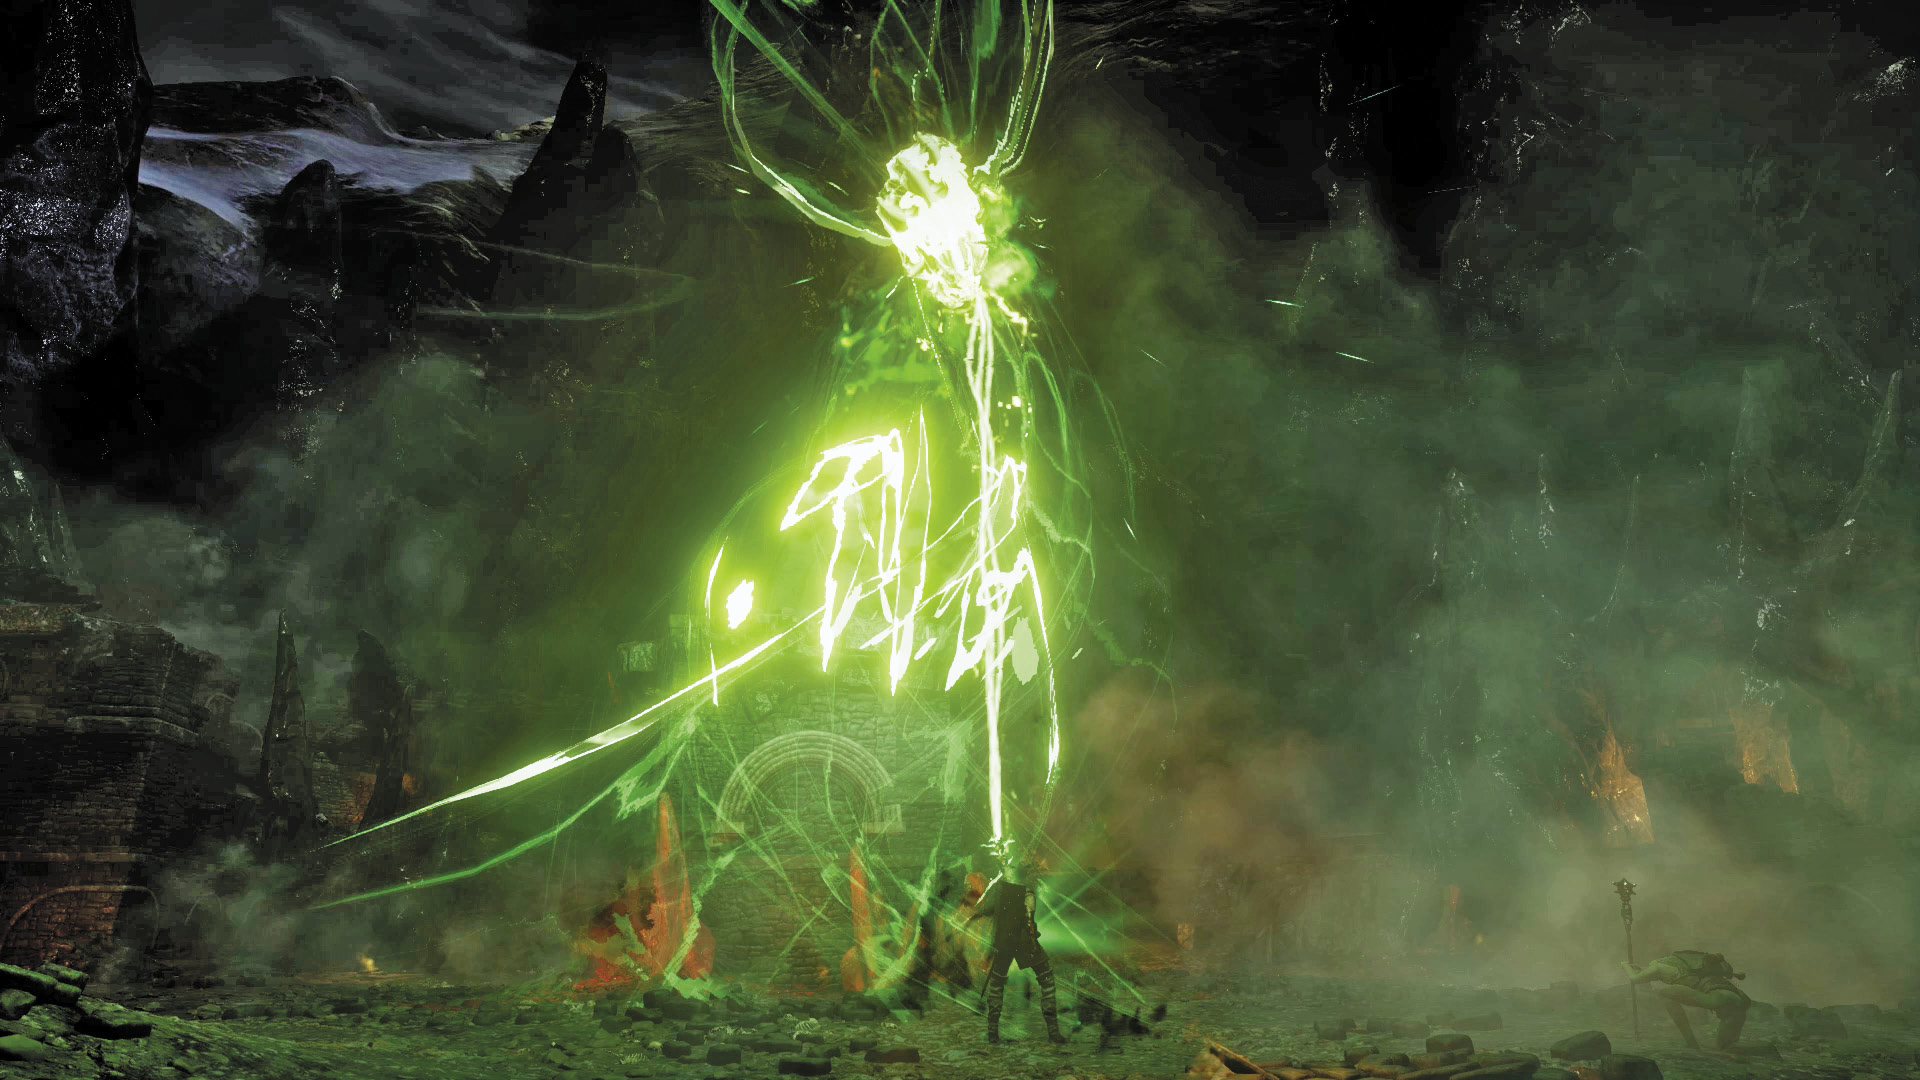
With the support of your party, loyal soldiers, and the templars or mages you acquired in the previous quest, the Inquisition returns to the Temple of Sacred Ashes. The Breach still lingers ominously above the ruins of the temple. Your character slowly approaches the Breach and uses the mark to reach out and seal it once and for all. As it closes, the Breach emits a powerful blast of energy, knocking everyone off their feet. But the task is complete—the Breach has been sealed, yet a scar remains in the skies above the Frostback Mountains.
Under Siege
_opt.jpeg)
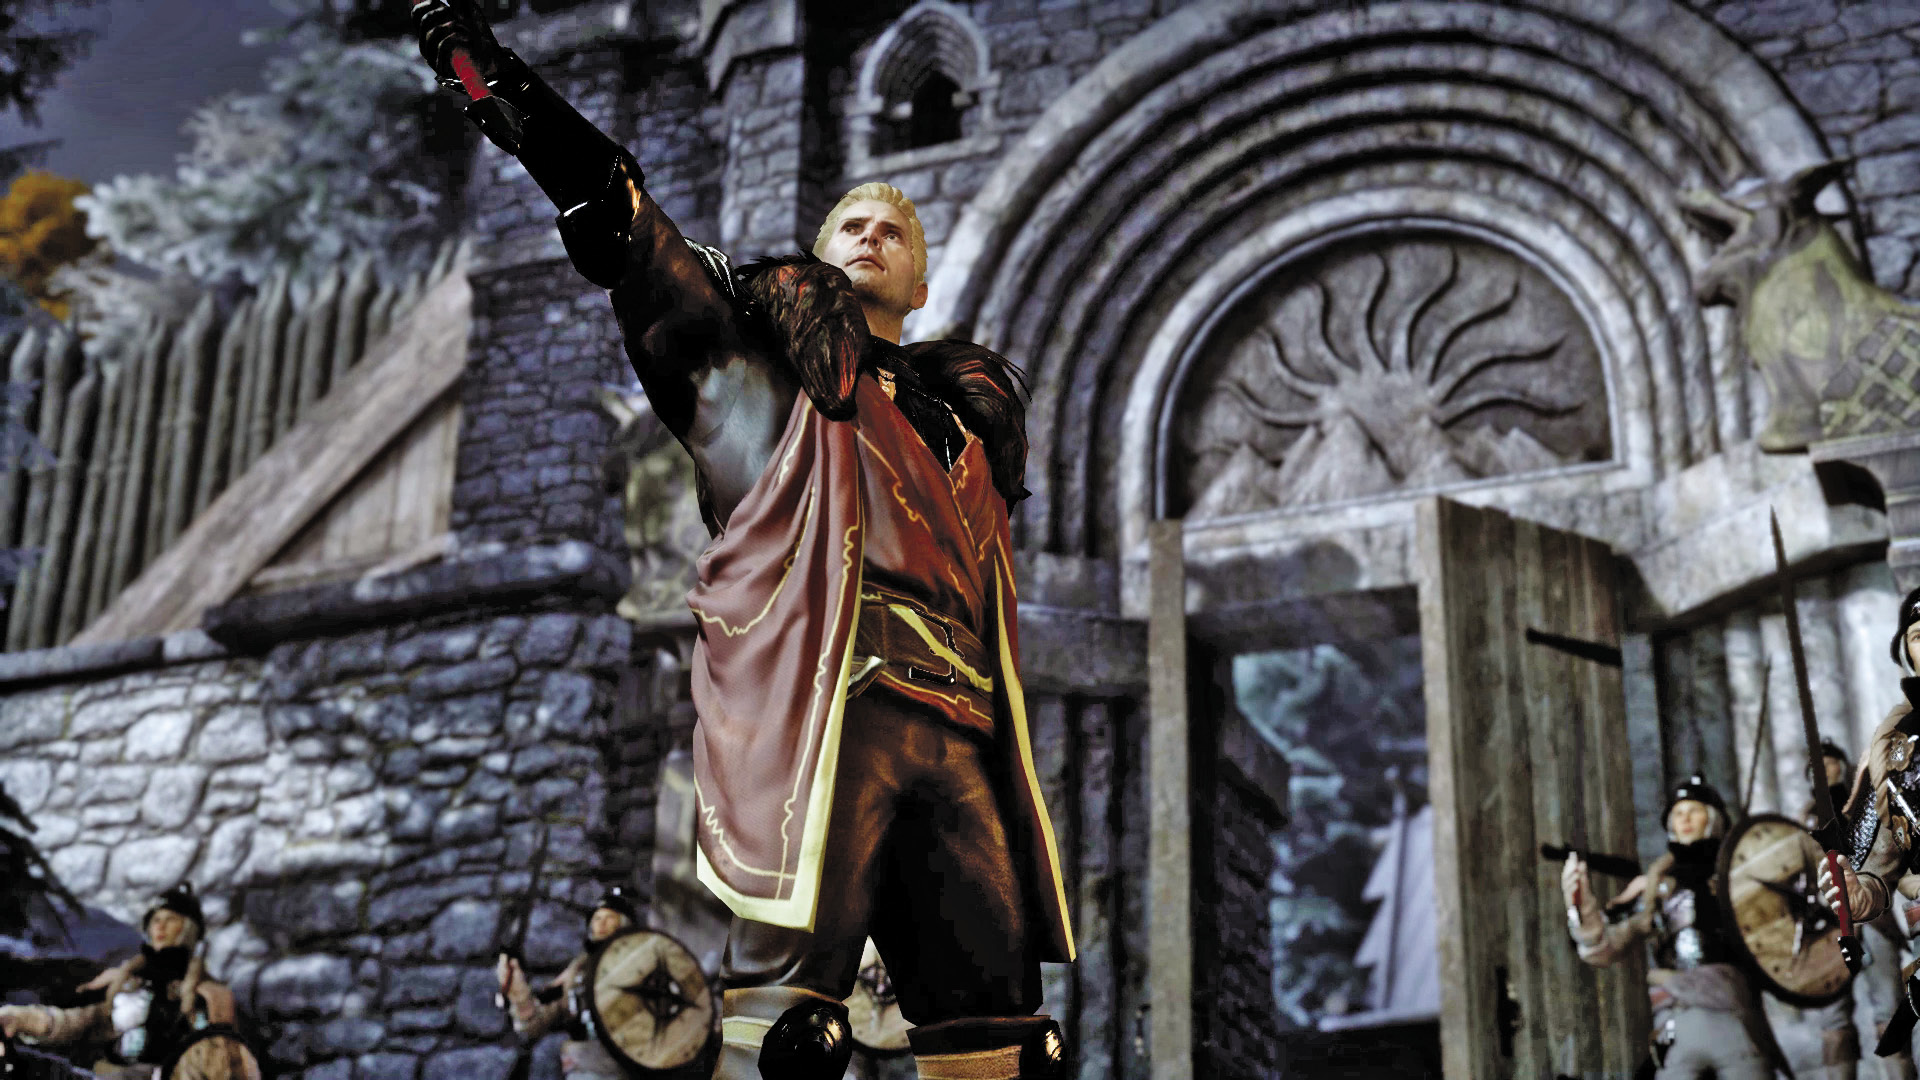
Back in Haven, a festive mood has spread across the camp. Cassandra confirms that the Breach is sealed but reports that several Fade rifts linger. While many questions still remain, Cassandra is comfortable declaring this a victory for the Inquisition. But the celebration is cut short when Cullen reports that an unidentified enemy is marching on Haven. Head for the gates on Haven’s north side. This is also a good time to update your party’s inventory. At the gate you’re introduced to Cole or Dorian. If you completed In Hushed Whispers, Cole arrives to warn you of the incoming red templar threat. If you completed Champions of the Just, Dorian identifies the incoming attackers as the Venatori. Whatever the case, Haven is in great danger as a figure known only as the Elder One looks on from a distant mountain peak.
North Trebuchet
As Cullen prepares his soldiers for Haven’s defense, lead your party to the northern trebuchet. When you arrive, the trebuchet is surrounded by enemies—you must fend off the attackers while Inquisition soldiers prep the trebuchet. The enemies you face during this battle differ based on whether you chose the rebel mages or templars as allies. If you chose to ally with the rebel mages, you’ll face a mix of red templar swordsmen and archers. If you chose to ally with the templars, the enemies consist of Venatori swordsmen, archers, and mages. Make an effort to deal with the ranged threats first, eliminating archers and mages while taunting the swordsmen with your warriors. You will also face red templar guards or Venatori gladiators. Taunt these shielded enemies with your warriors while your ranged party members move to flank. Hold back wave after wave of attackers until the trebuchet can fire. The low, narrow areas of terrain on the east and west sides of the trebuchet serve as natural choke points, ideal for launching devastating area-of-effect attacks. After the trebuchet fires, head for the south trebuchet.
South Trebuchet
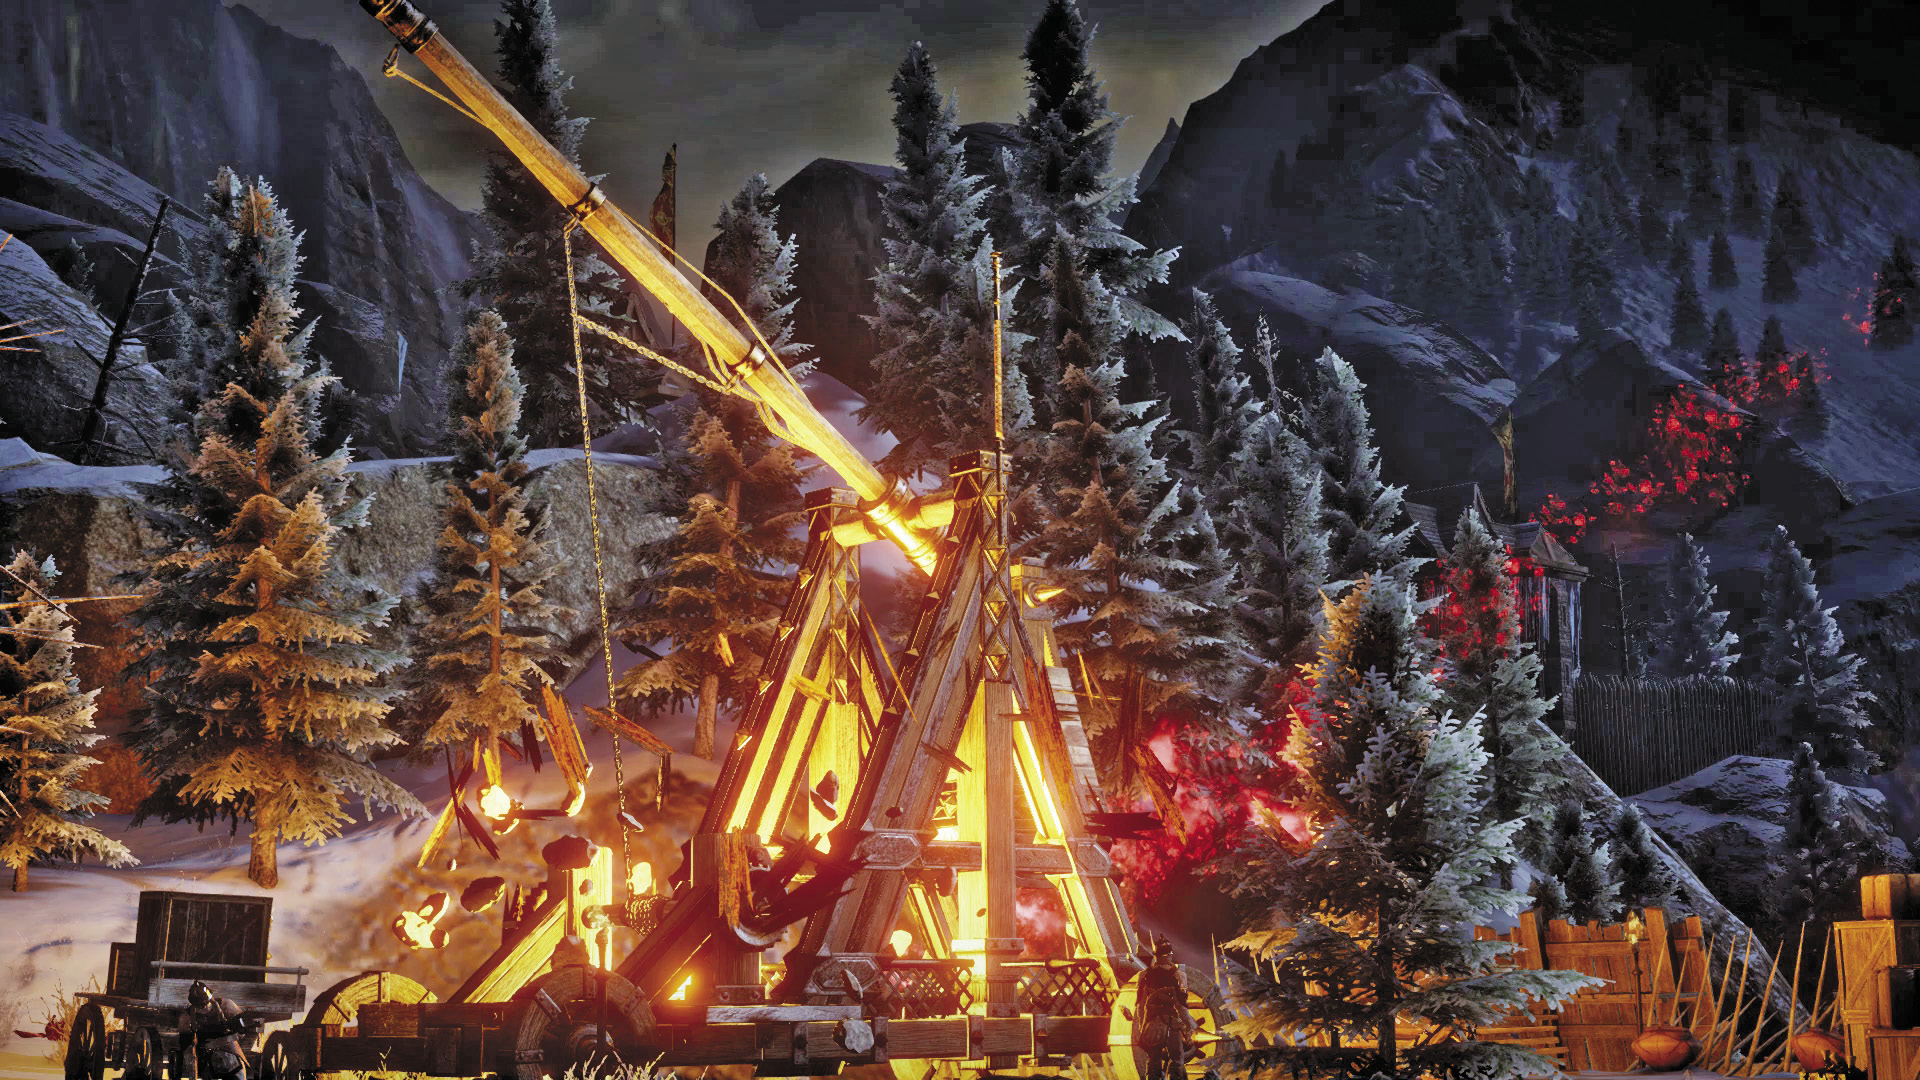
The south trebuchet has been overrun by enemies. Eliminate all the hostiles, then approach the trebuchet. The crew has been killed, so it’s up to you to fire it. Interact with the wheel-like crank on the trebuchet’s east side to prepare the weapon for firing. For best results, position your party members around the eastern platform so they can defend you—the faster you fire the trebuchet, the sooner this battle is over. A status bar in the upper right corner of the screen indicates how much progress is needed before the trebuchet is ready to fire. While your party defends you, keep turning the crank until the trebuchet fires. The trebuchet seems to misfire, hitting the slope instead of the enemy, triggering an avalanche and burying many enemy soldiers in thick, heavy snow. This proves unexpectedly effective and could be a winning tactic that changes the course of the battle. But there’s little time to celebrate. A dragon swoops in from above, spewing a fireball that reduces the trebuchet to charred splinters. The dragon’s arrival changes everything, and it’s obvious to all in the Inquisition. It’s time to retreat. Return to Haven’s gates immediately—you’ll need to take shelter in the chantry.
 Evacuate Haven
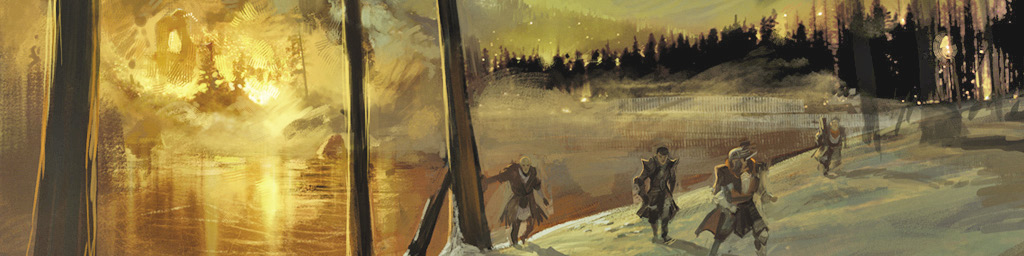
Quest Giver: N/A
Description: On your way to the chantry, help evacuate the inhabitants of Haven.
Requirements: Available after firing the south trebuchet
Reward: 128 XP, 80 Influence
Recommended Level: 6-8
Objectives:
 Help Harritt.
 Rescue Lysette.
 Rescue Seggrit.
 Rescue Flissa.
 Rescue Adan.
 Rescue Minaeve.
 Rescue Threnn.
Before reaching Haven’s gate, stop at the structure adjacent to the blacksmith—Harritt needs help breaking down the door. Use a warrior in your party to smash the wooden crate blocking the door, allowing Harritt to gain entry and gather some supplies.
After passing through the gate, turn west to find Lysette fighting off several enemies. Help her finish off the attackers to give Lysette a clear path to the chantry.
Climb the central stairs and eliminate more enemies. Afterward, turn to the burning building to the east—Seggrit, the merchant, is trapped inside. Climb the ladder on the north side of the building and drop in through a hole in the roof to rescue Seggrit. Bust down the blocked door to escape.
Cross to the west and head toward the tavern. Eliminate the enemies surrounding the tavern, then enter the structure to save Flissa, trapped beneath a fallen beam.
West of the tavern, Adan and Minaeve have been injured. You must act quickly to help them to their feet before the approaching flames trigger an explosion, detonating the flammable trebuchet pots. If you hesitate, they’ll both die.
Before entering the chantry, fight off the enemies on the east side—they’ve trapped Threnn. Eliminate all the attackers to save Threnn, then enter the chantry—there is nobody else left to assist.
The Chantry
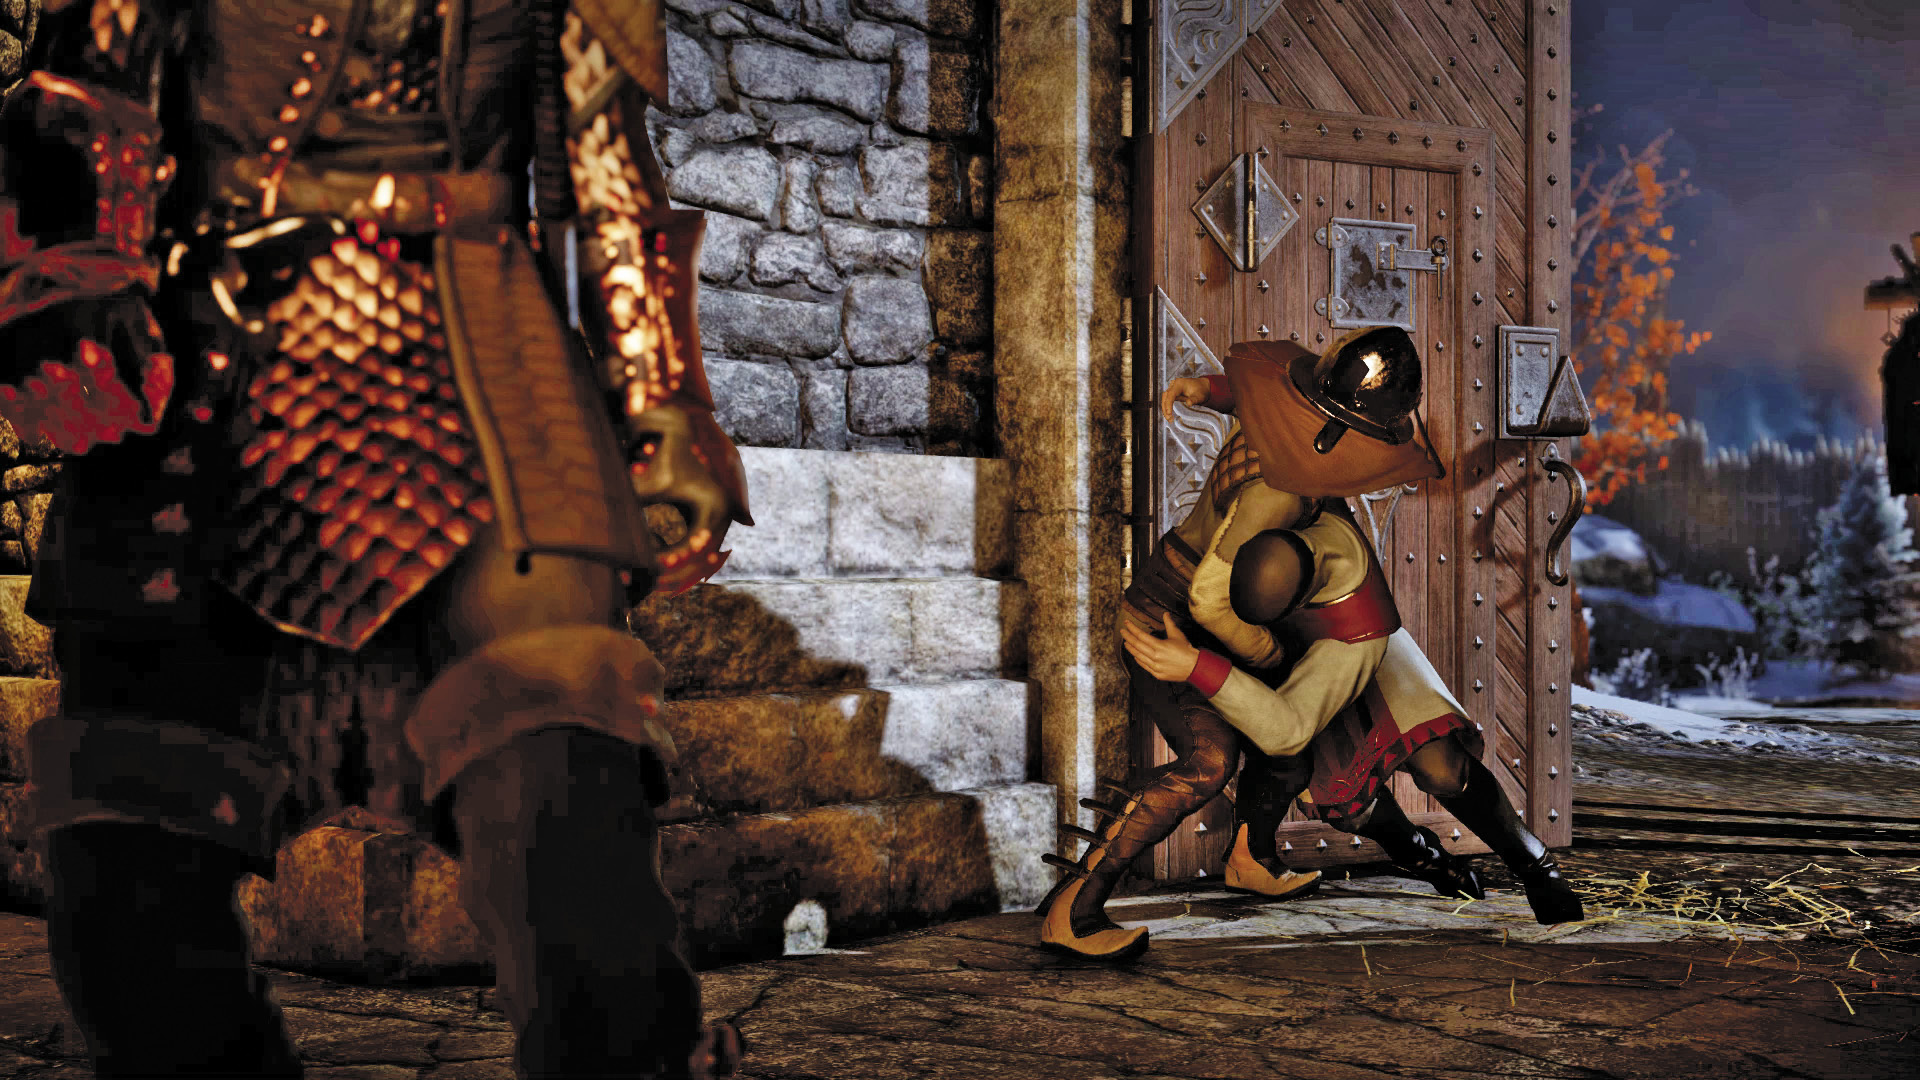
Having retreated to the chantry, there isn’t anywhere else to go. Cullen is inspired by your shot with the trebuchet—another shot could bury Haven, the attackers... and the Inquisition. Although Cullen is willing to sacrifice himself and the Inquisition, Chancellor Roderick, severely wounded during the attack, mentions a little-known path that could serve as an escape route. But if this plan is going to work, your party will need to stay behind and distract the dragon while the survivors of Haven escape.
Haven Finale
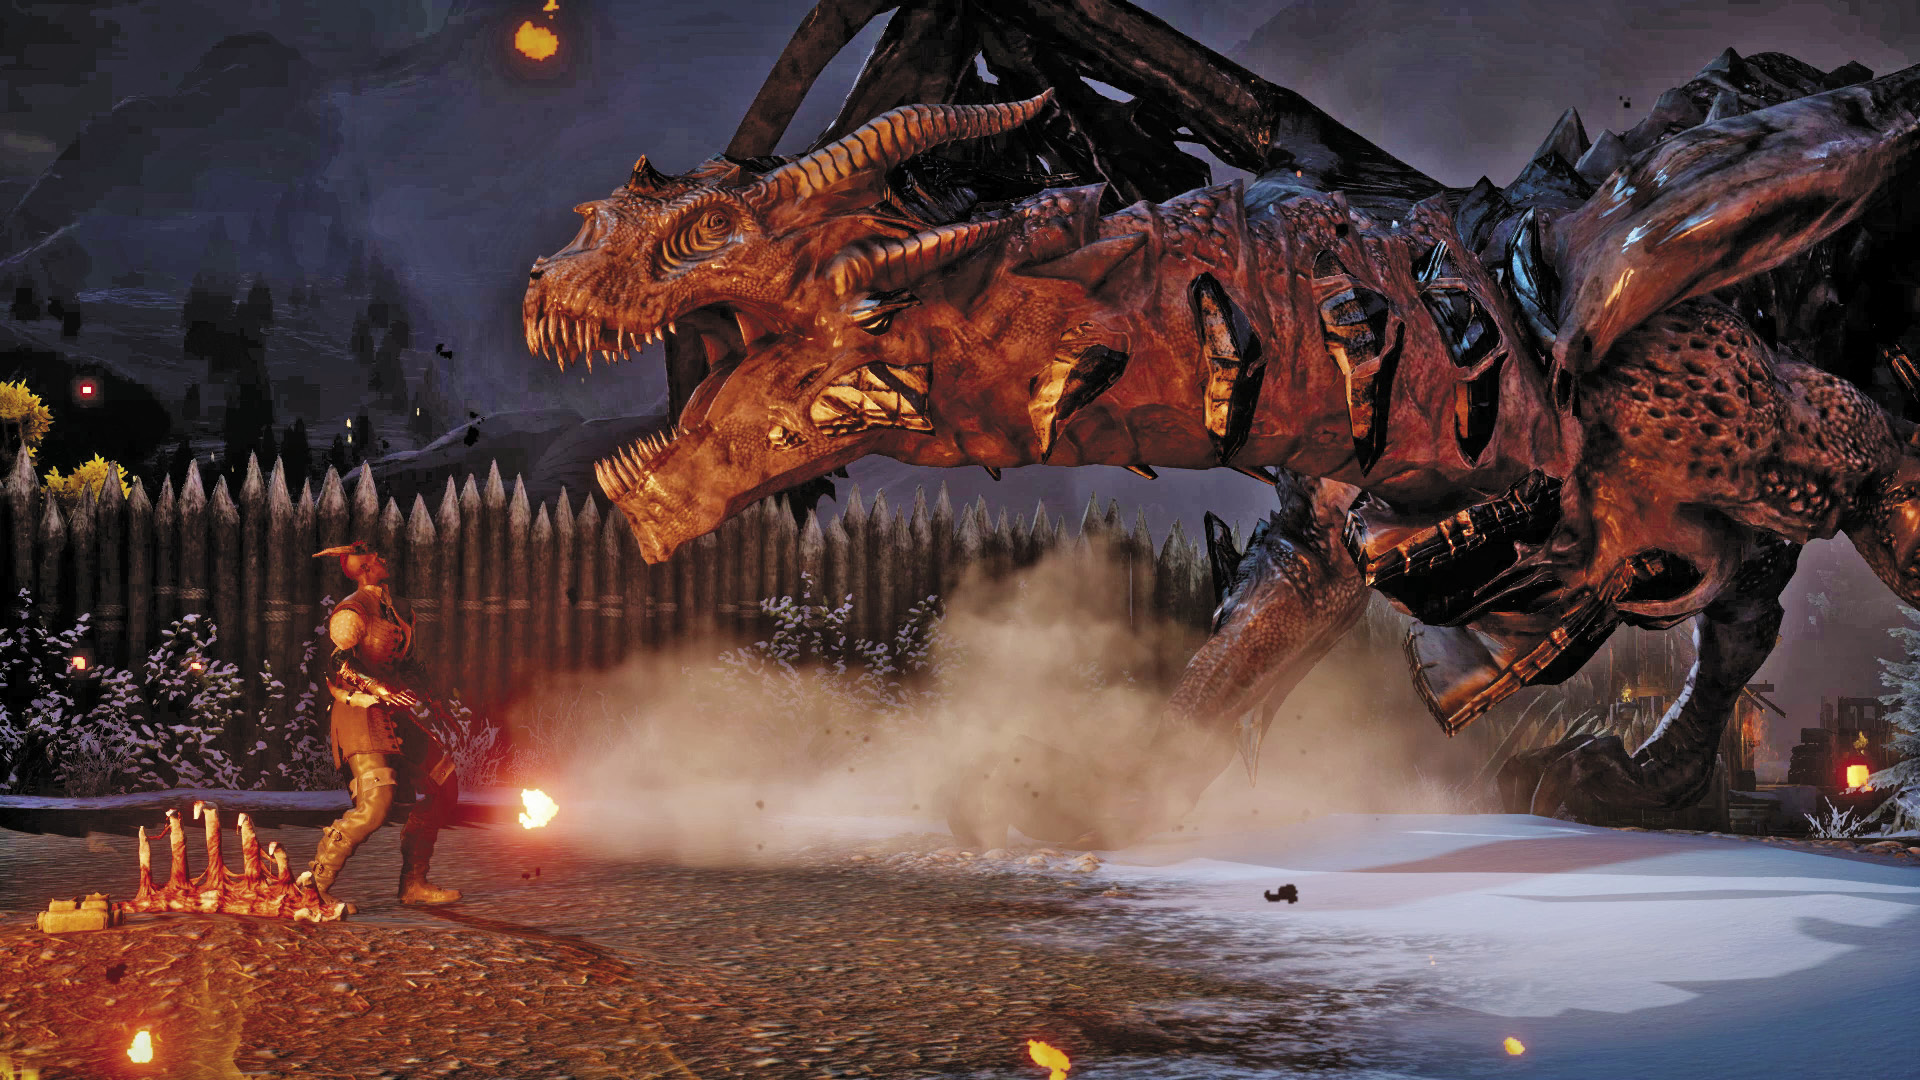
With your party in tow, fight your way back north to the lone trebuchet within Haven’s wall. Expect heavy resistance along the way, so take your time. Despite the sense of urgency, there is no need to rush through these skirmishes. Prepare for an even larger battle at the trebuchet. This trebuchet must be rotated and aimed at the mountain behind the chantry. Upon your arrival, immediately interact with the wheel-like crank on the trebuchet’s south side. Once again, position your party members around you so they can fend off attackers while you manually turn the crank. Rotating the trebuchet takes a while, and you may need to stop interacting with the crank to help your party members. But as soon as there’s a lull in the fighting, return to the crank. This is most likely the toughest battle you’ve faced thus far, so constantly monitor the flow of the battle, occasionally using the tactical camera to reposition your party members. Among the standard enemies is one of two possible mini-bosses. If you sided with the mages, you’ll face corrupted Knight-Templar Denam. If you allied with the templars, you’ll encounter a brainwashed Grand Enchanter Fiona.
Knight-Captain Denam
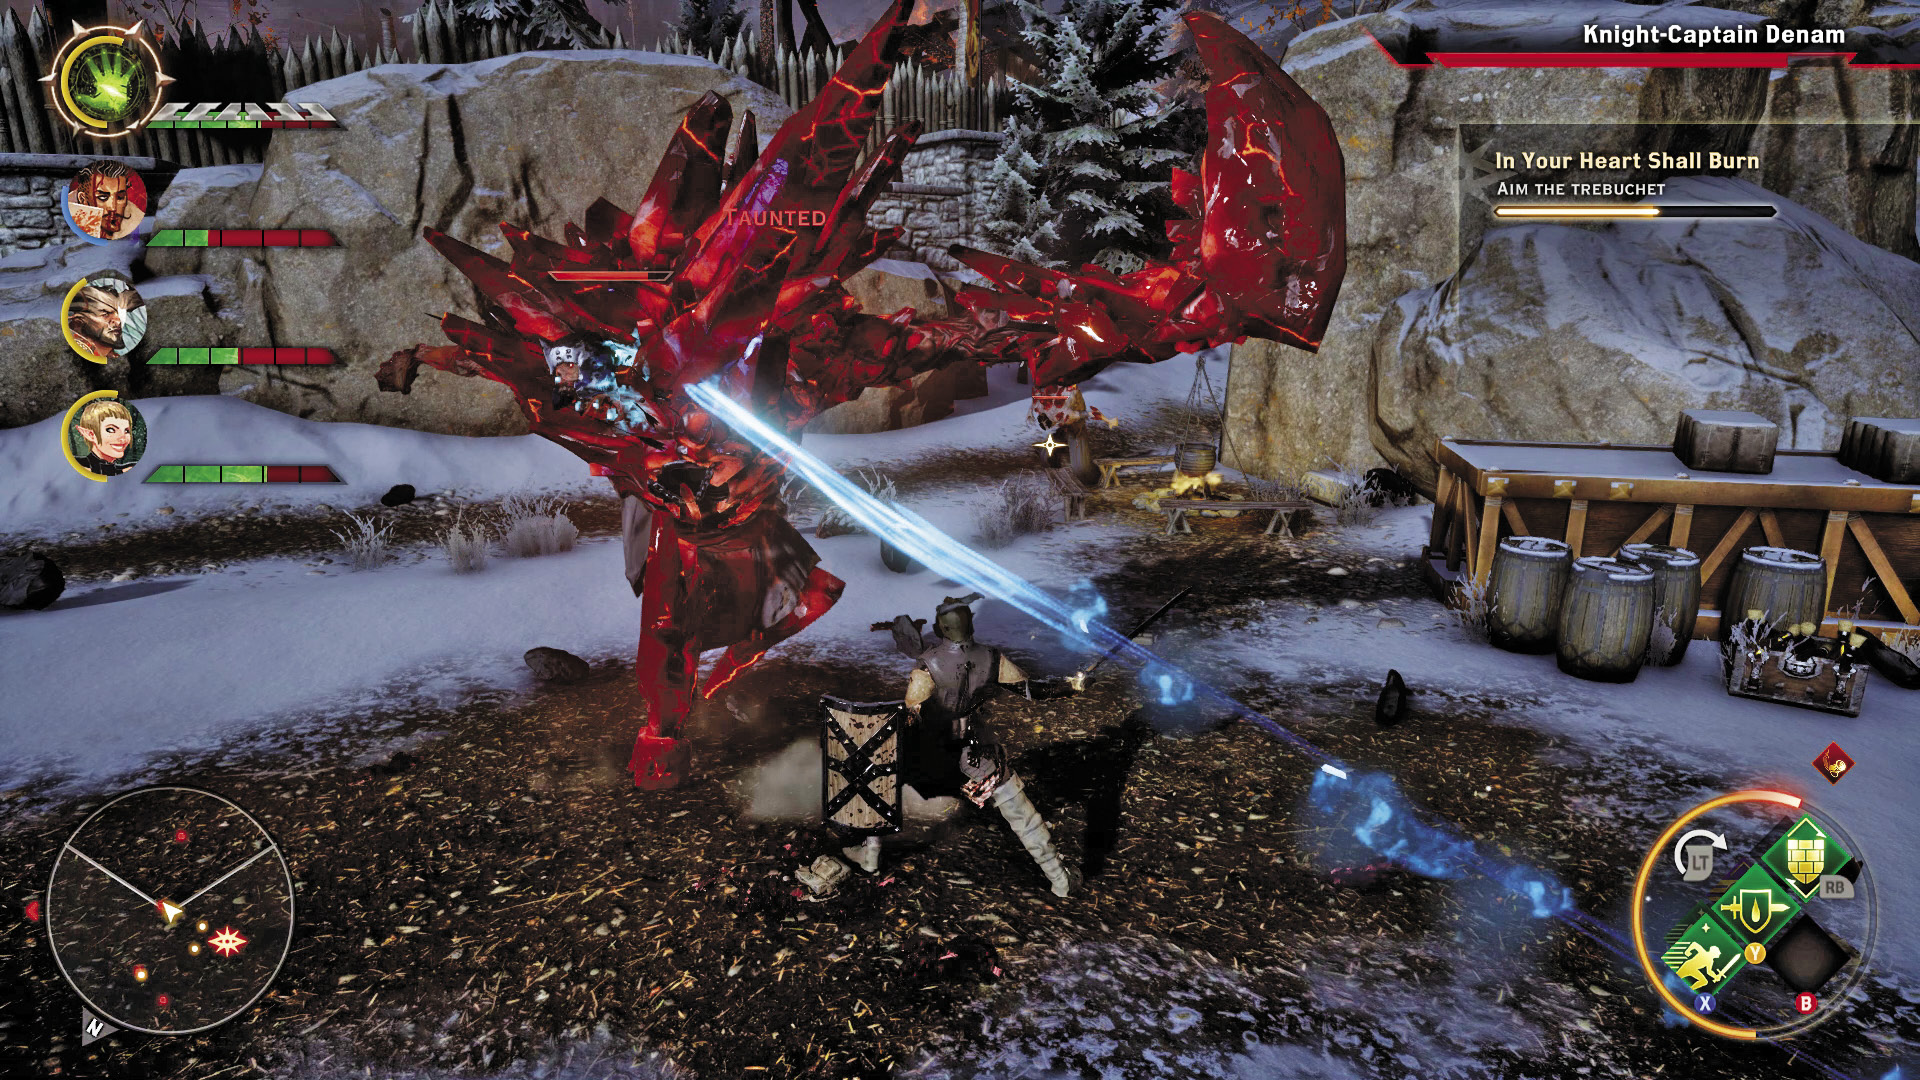
Red lyrium has transformed Knight-Templar Denam into a grotesque behemoth. When he appears, turn your party’s full focus to defeating him. Cold-based attacks are the most effective, so try to keep him chilled and frozen for the duration of the fight. Knight-Templar Denam is capable of dishing out heavy melee attacks. He can also create walls of red lyrium, potentially separating your party from one another. If a wall of red lyrium is deployed, make sure your ranged party members still have line of sight on Knight-Templar Denam. The red lyrium wall can be destroyed, but it’s much better to focus your firepower on Knight-Templar Denam.
Grand Enchanter Fiona
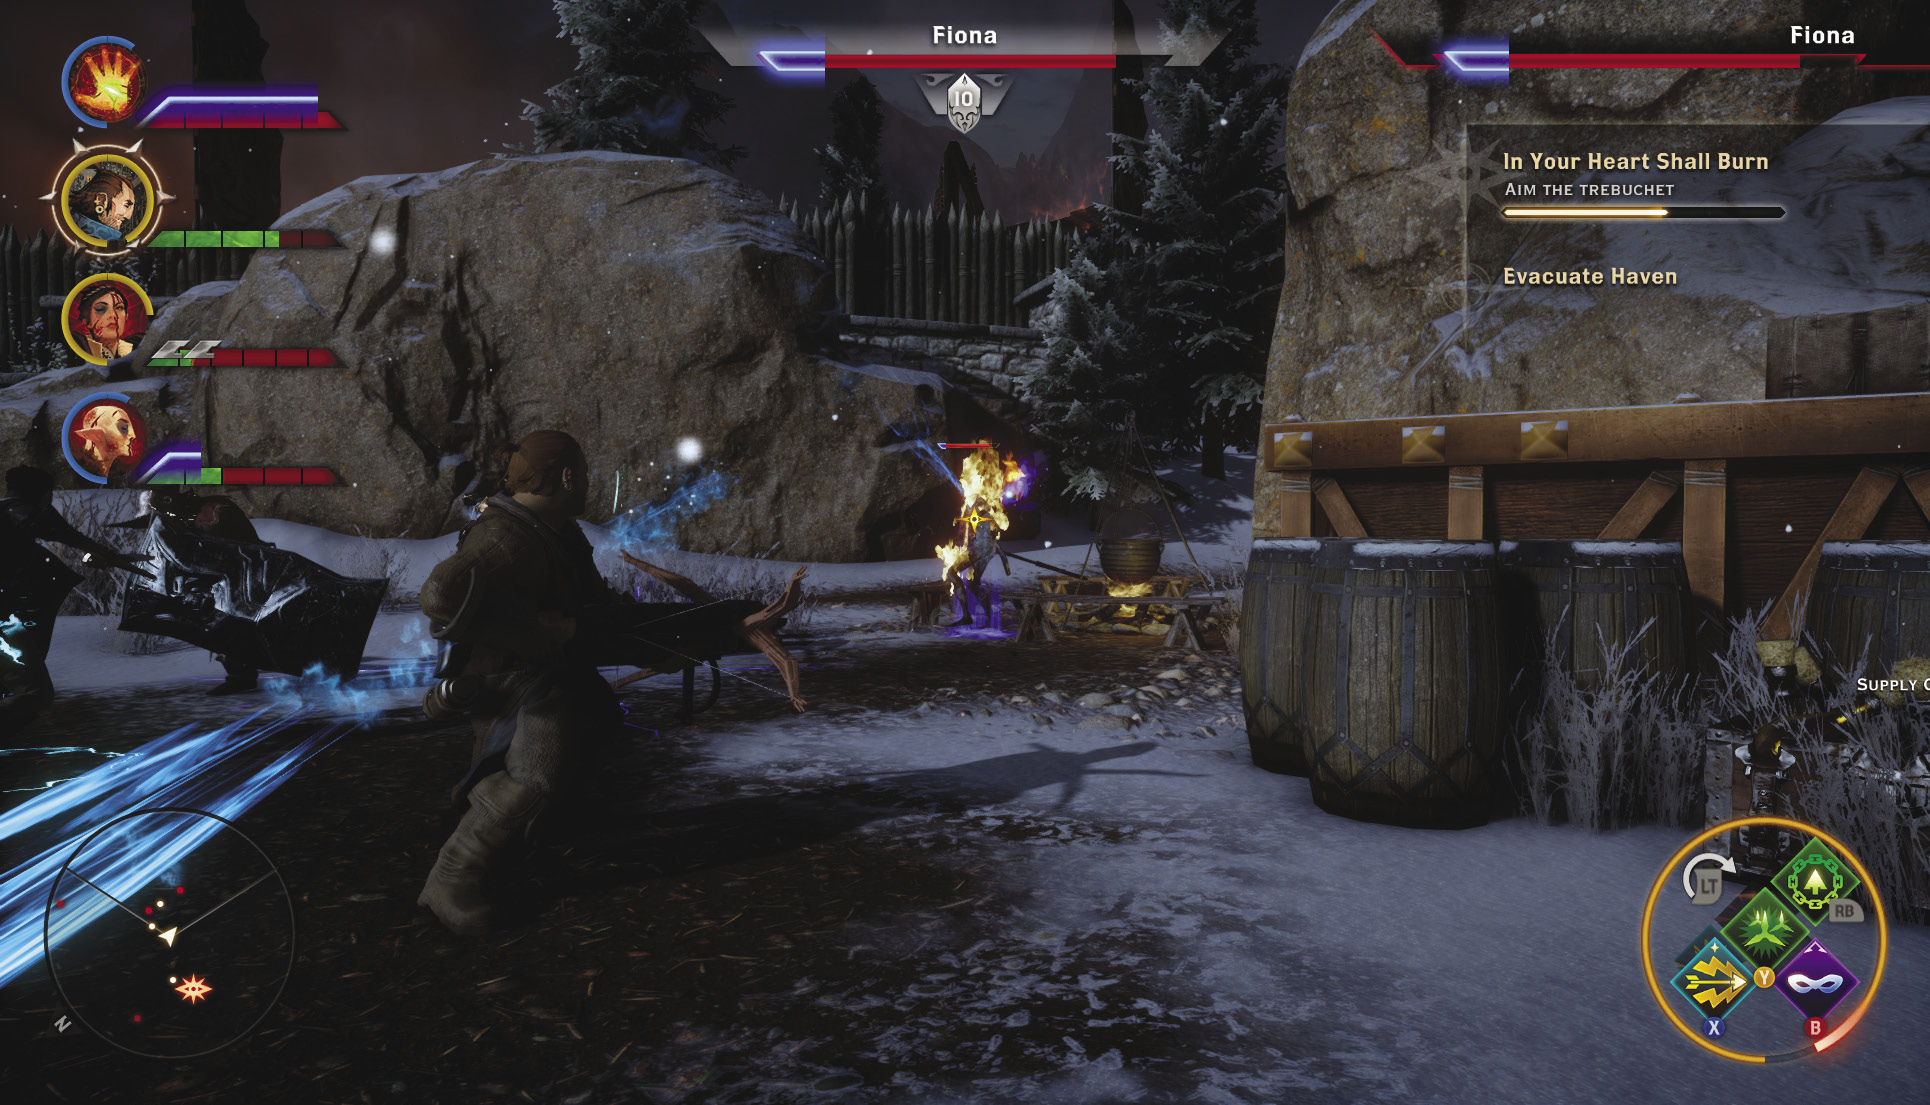
As the leader of the rebel mages, and brainwashed by the Venatori, Fiona is a formidable threat, capable of casting a variety of offensive and defensive spells. She’s most vulnerable to physical attacks, so waste no time tanking her with your warriors. Fiona is also resistant to electrical attacks, so consider hitting her with cold- or fire-based spells. Freezing her in place with Winter’s Grasp works well, allowing your warriors to move to close range and land some heavy blows.
The Elder One
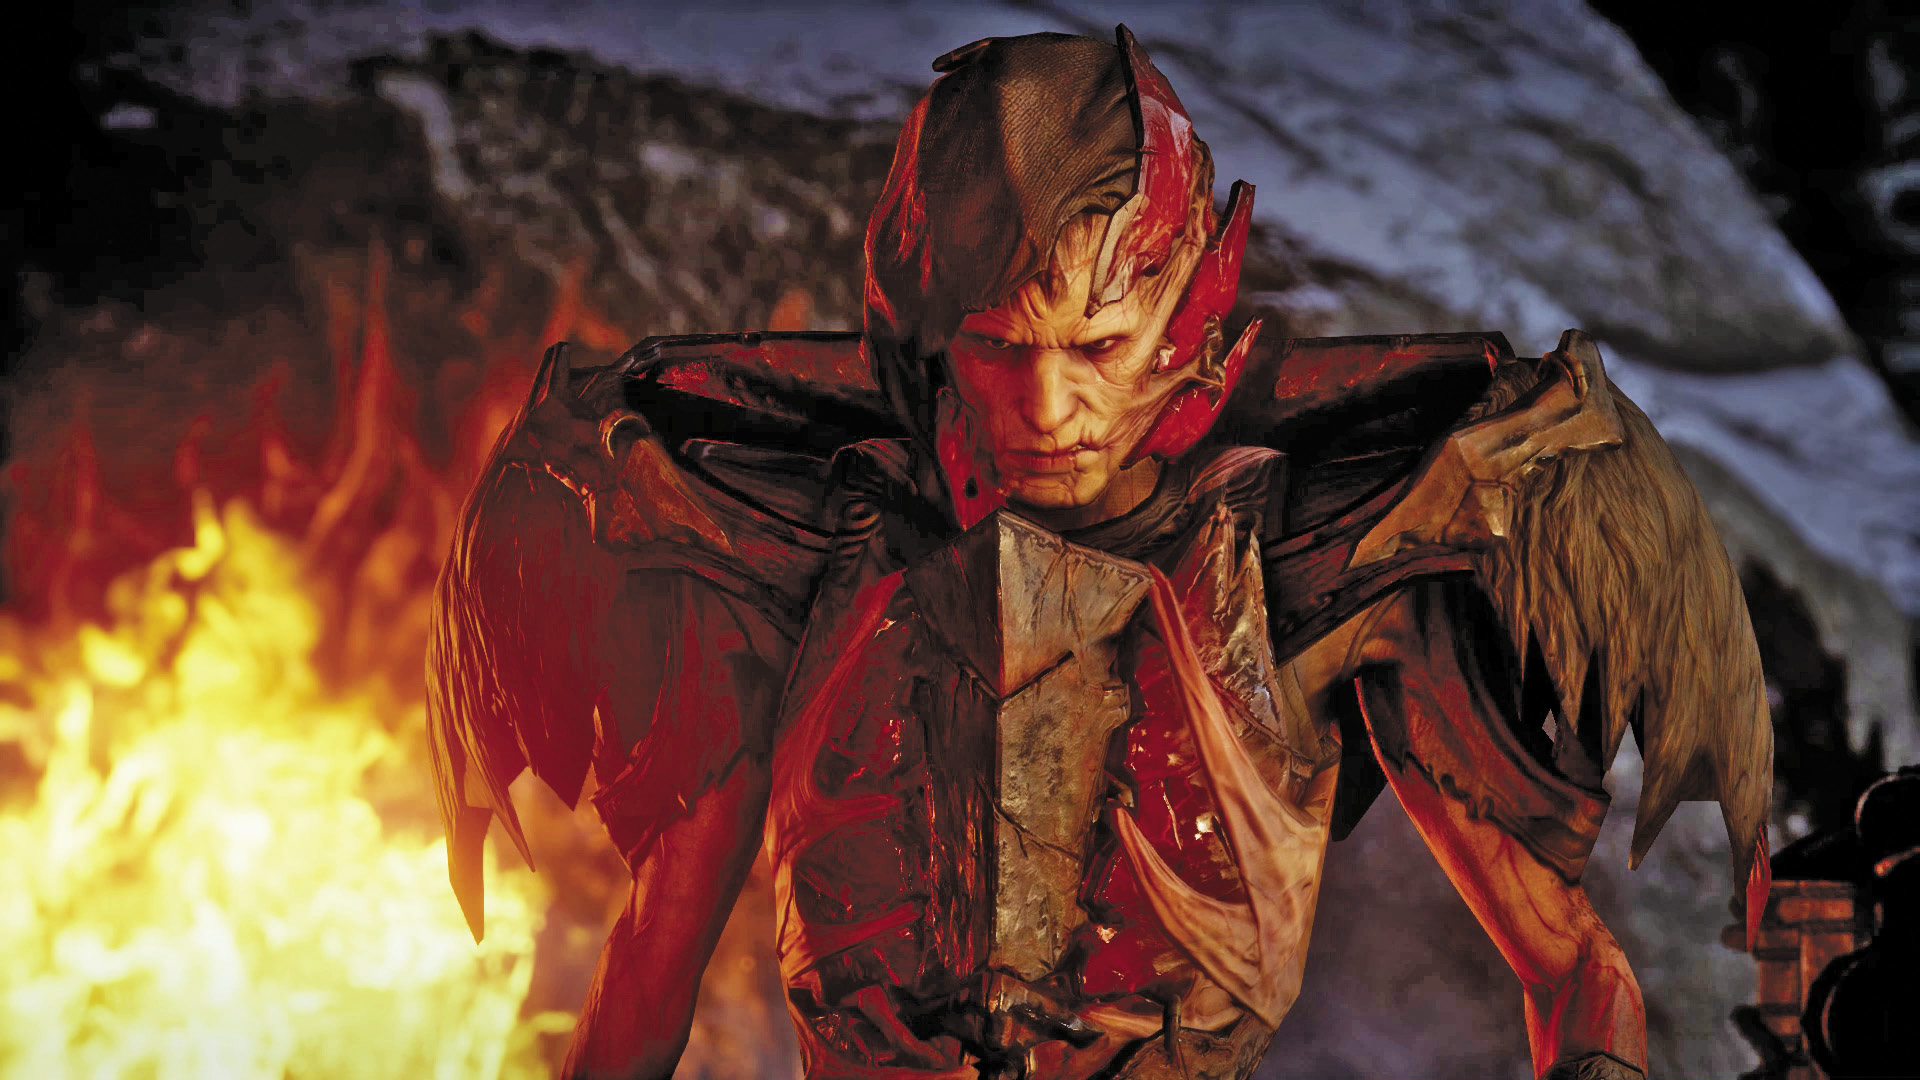
Once you’ve aimed the trebuchet, the dragon swoops down and performs a fiery attack, knocking you off your feet and separating you from your party. The dragon’s master, the Elder One, approaches through the flames and begins a conversation. It turns out the Elder One is actually Corypheus, thought to have been killed by Hawke, the Champion of Kirkwall. But somehow Corypheus has returned and is very interested in the mark upon your character’s hand, calling it the Anchor. Holding a mysterious orb in his hand, Corypheus tries to remove the mark. But despite his best efforts, Corypheus cannot remove the Anchor. Before Corypheus and his dragon can kill you, your character fires the trebuchet, triggering another avalanche. Corypheus and his dragon manage to escape the incoming wall of snow and ice as your character flees into the wilderness, dropping into an icy subterranean passage.
Mark of the Rift
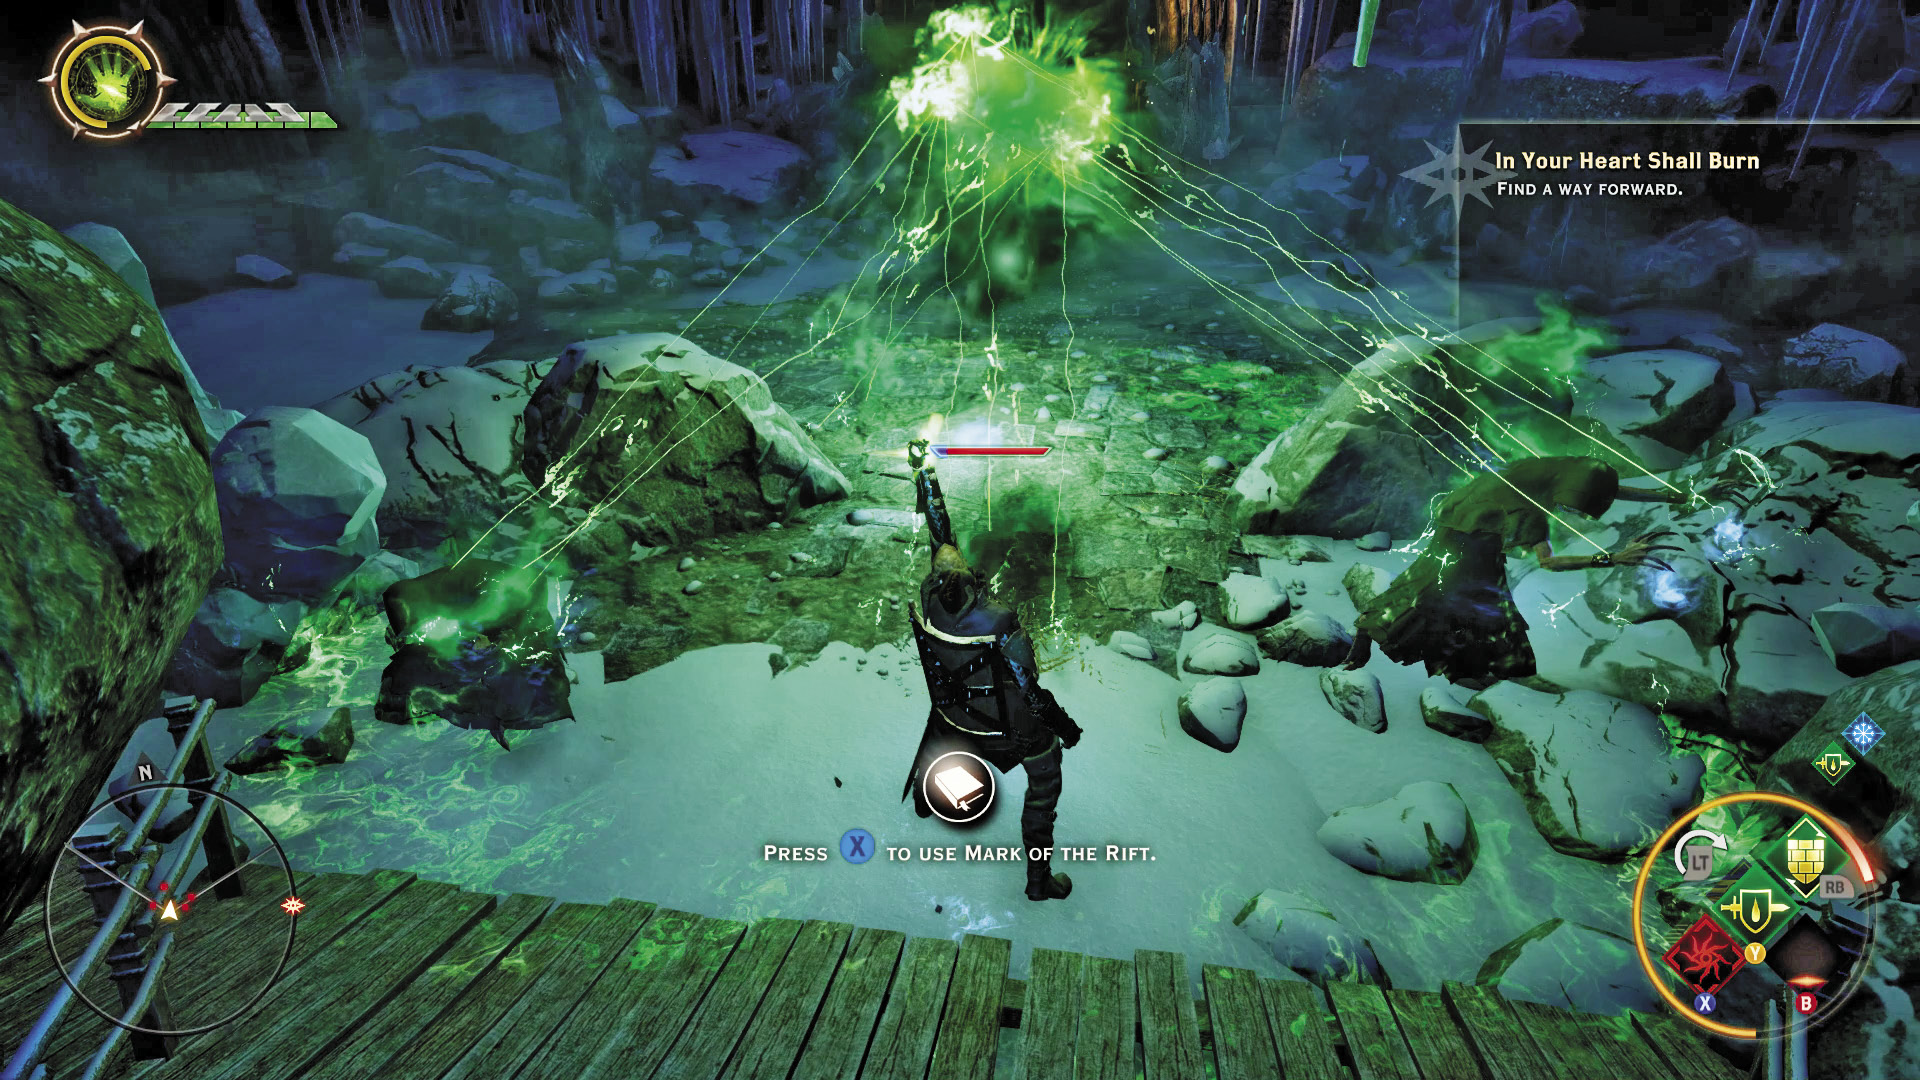
You find yourself in a tunnel somewhere beneath Haven. Walk toward the objective marker on the compass to find the exit. Along the way you come across a group of four despair demons. Since your encounter with Corypheus you’ve attained a new ability—Mark of the Rift. This is a powerful area-of-effect (AoE) attack, creating a rift and sucking all nearby enemies into the Fade. Activate the Mark of the Rift ability and place the AoE marker in the middle of the despair demons. If you manage to open the rift close enough to all four enemies, they’ll be eliminated, clearing a path to the tunnel’s exit. Mark of the Rift is the single most devastating ability in your arsenal. But before you can use it again, you must build focus. Focus is gained every time you and party members inflict damage on enemies. Once enough focus is gained, Mark of the Rift (and other focus abilities) can be activated. Outside the tunnel, head east through a blinding blizzard until you find Cullen, Cassandra, and some Inquisition troops—they’ve come back to find you.
The Dawn Will Come
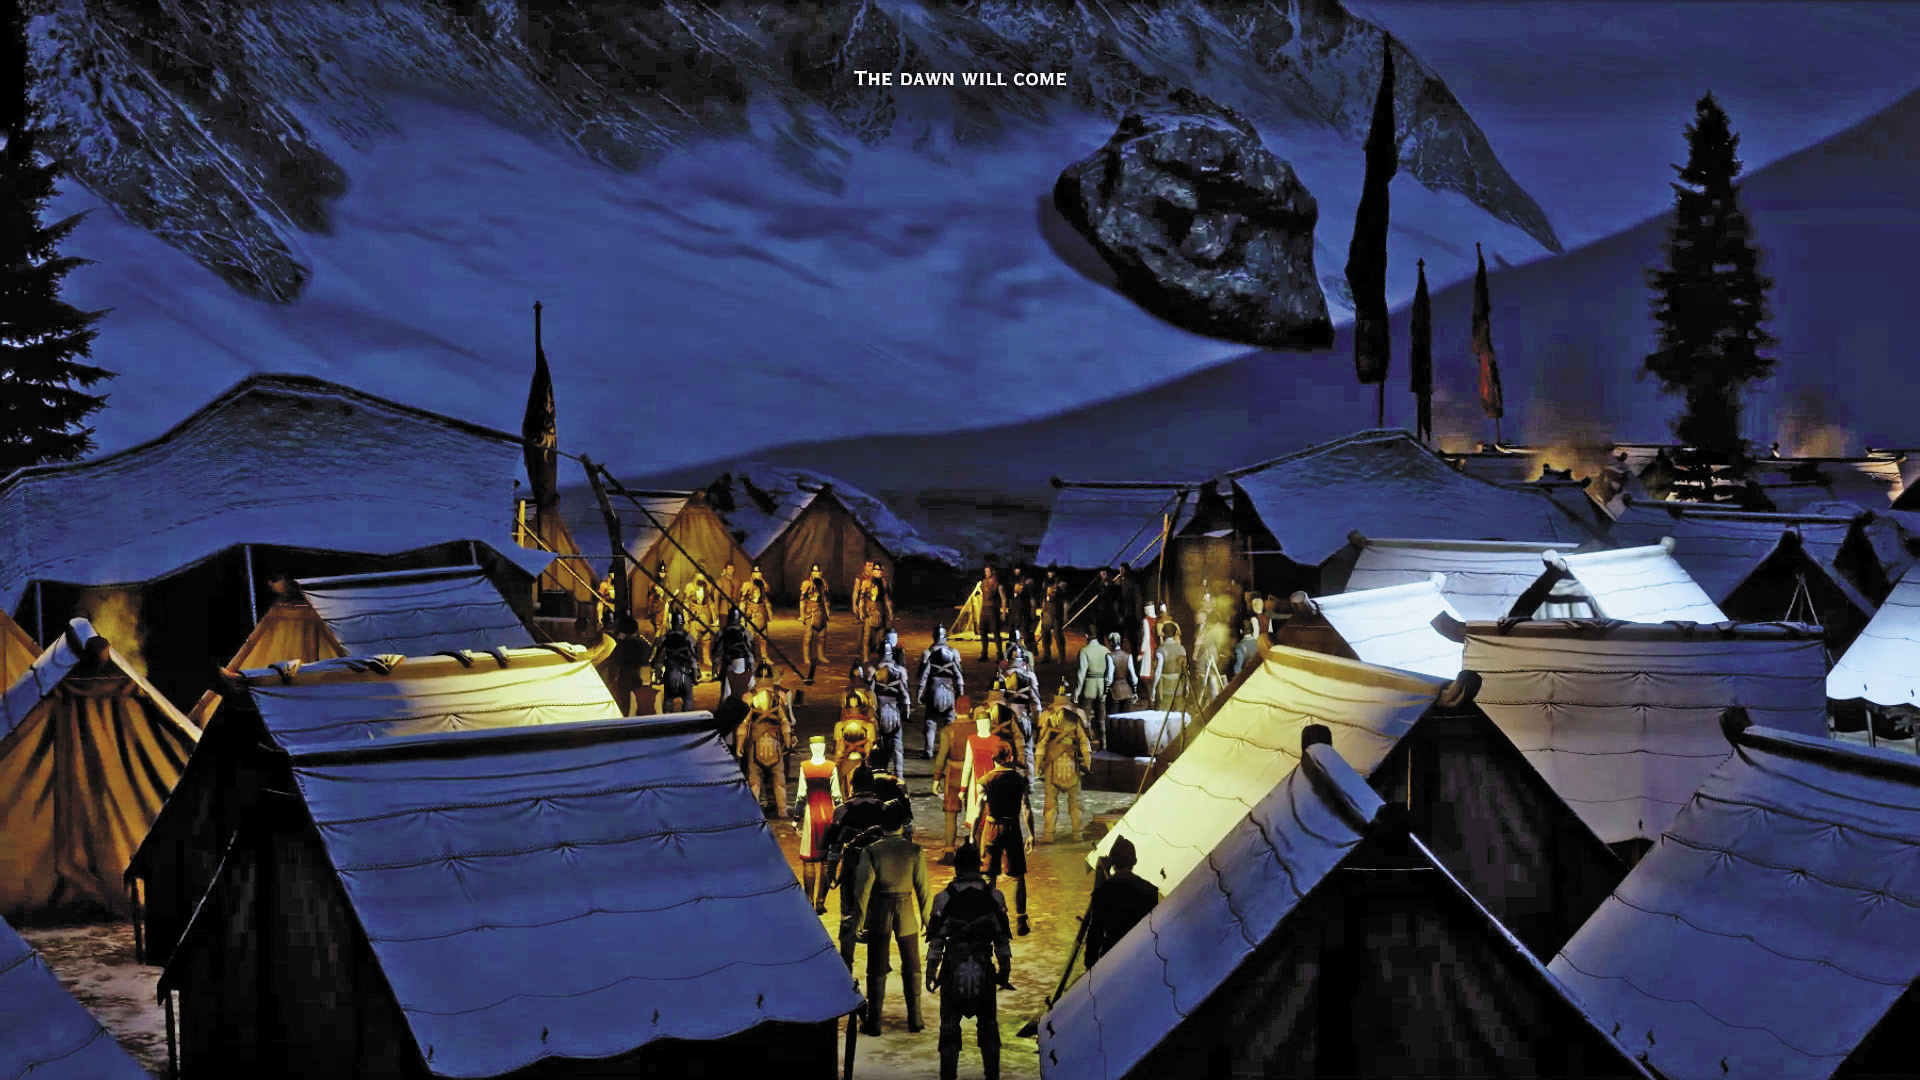
Your intervention back in Haven bought the survivors enough time to escape before the avalanche buried the chantry. With nowhere to go, the Inquisition has established a temporary camp in the Frostback Mountains. As your character recovers, members of the war council argue about the next course of action. But Mother Giselle manages to rally the faithful with an old chantry hymn. Solas requests a private audience with you, revealing that the orb Corypheus was holding is of elven origin. He doesn’t know how Corypheus could have found such a thing, but he’s worried that the Inquisition will think elves are involved—he’s especially concerned if your character is an elf. Despite these concerns, Solas offers to help the Inquisition find a new home, urging you to head north.
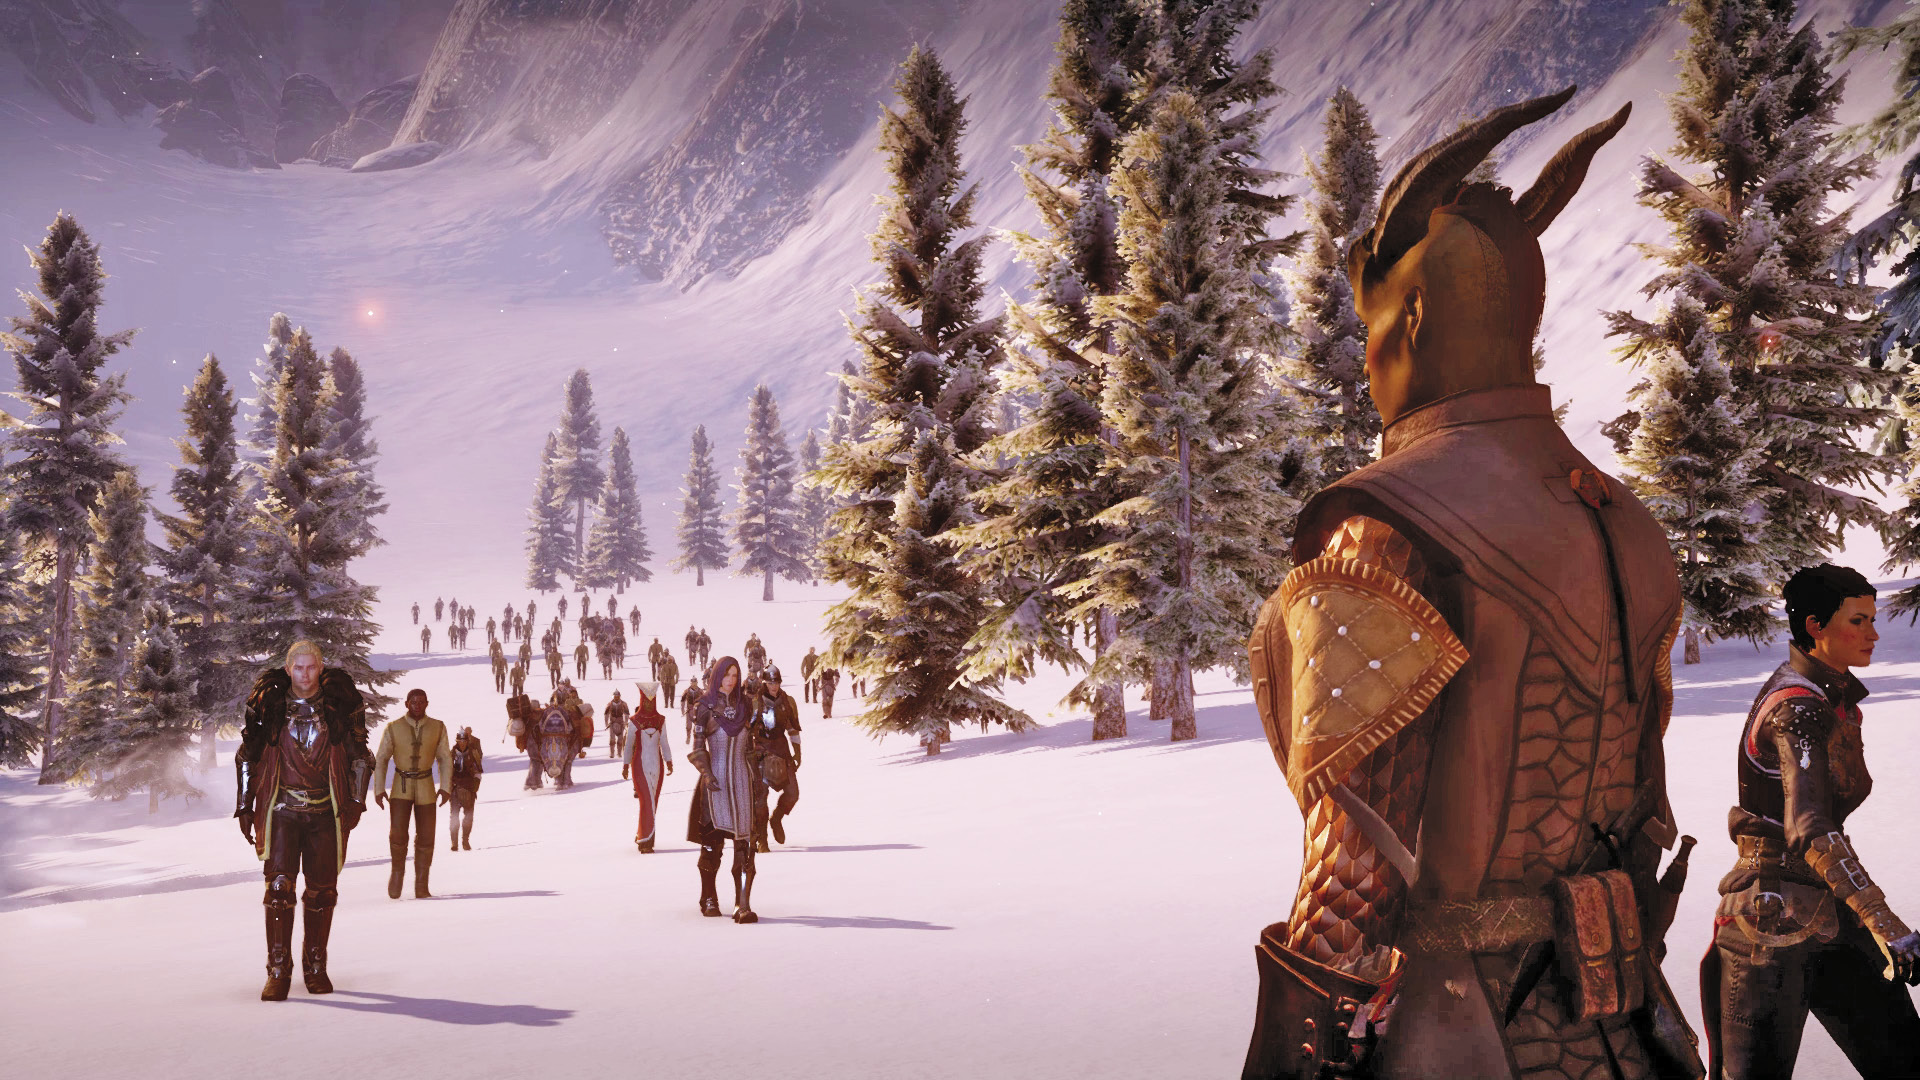
As Solas advised, your character leads the Inquisition through the Frostback Mountains to an abandoned fortress on the rocky terrain. This is Skyhold—the Inquisition’s new home.