
Dragon Age Inquisition Guide Exploration The Hissing Wastes
Side Quests (Recommended Level 19-23)
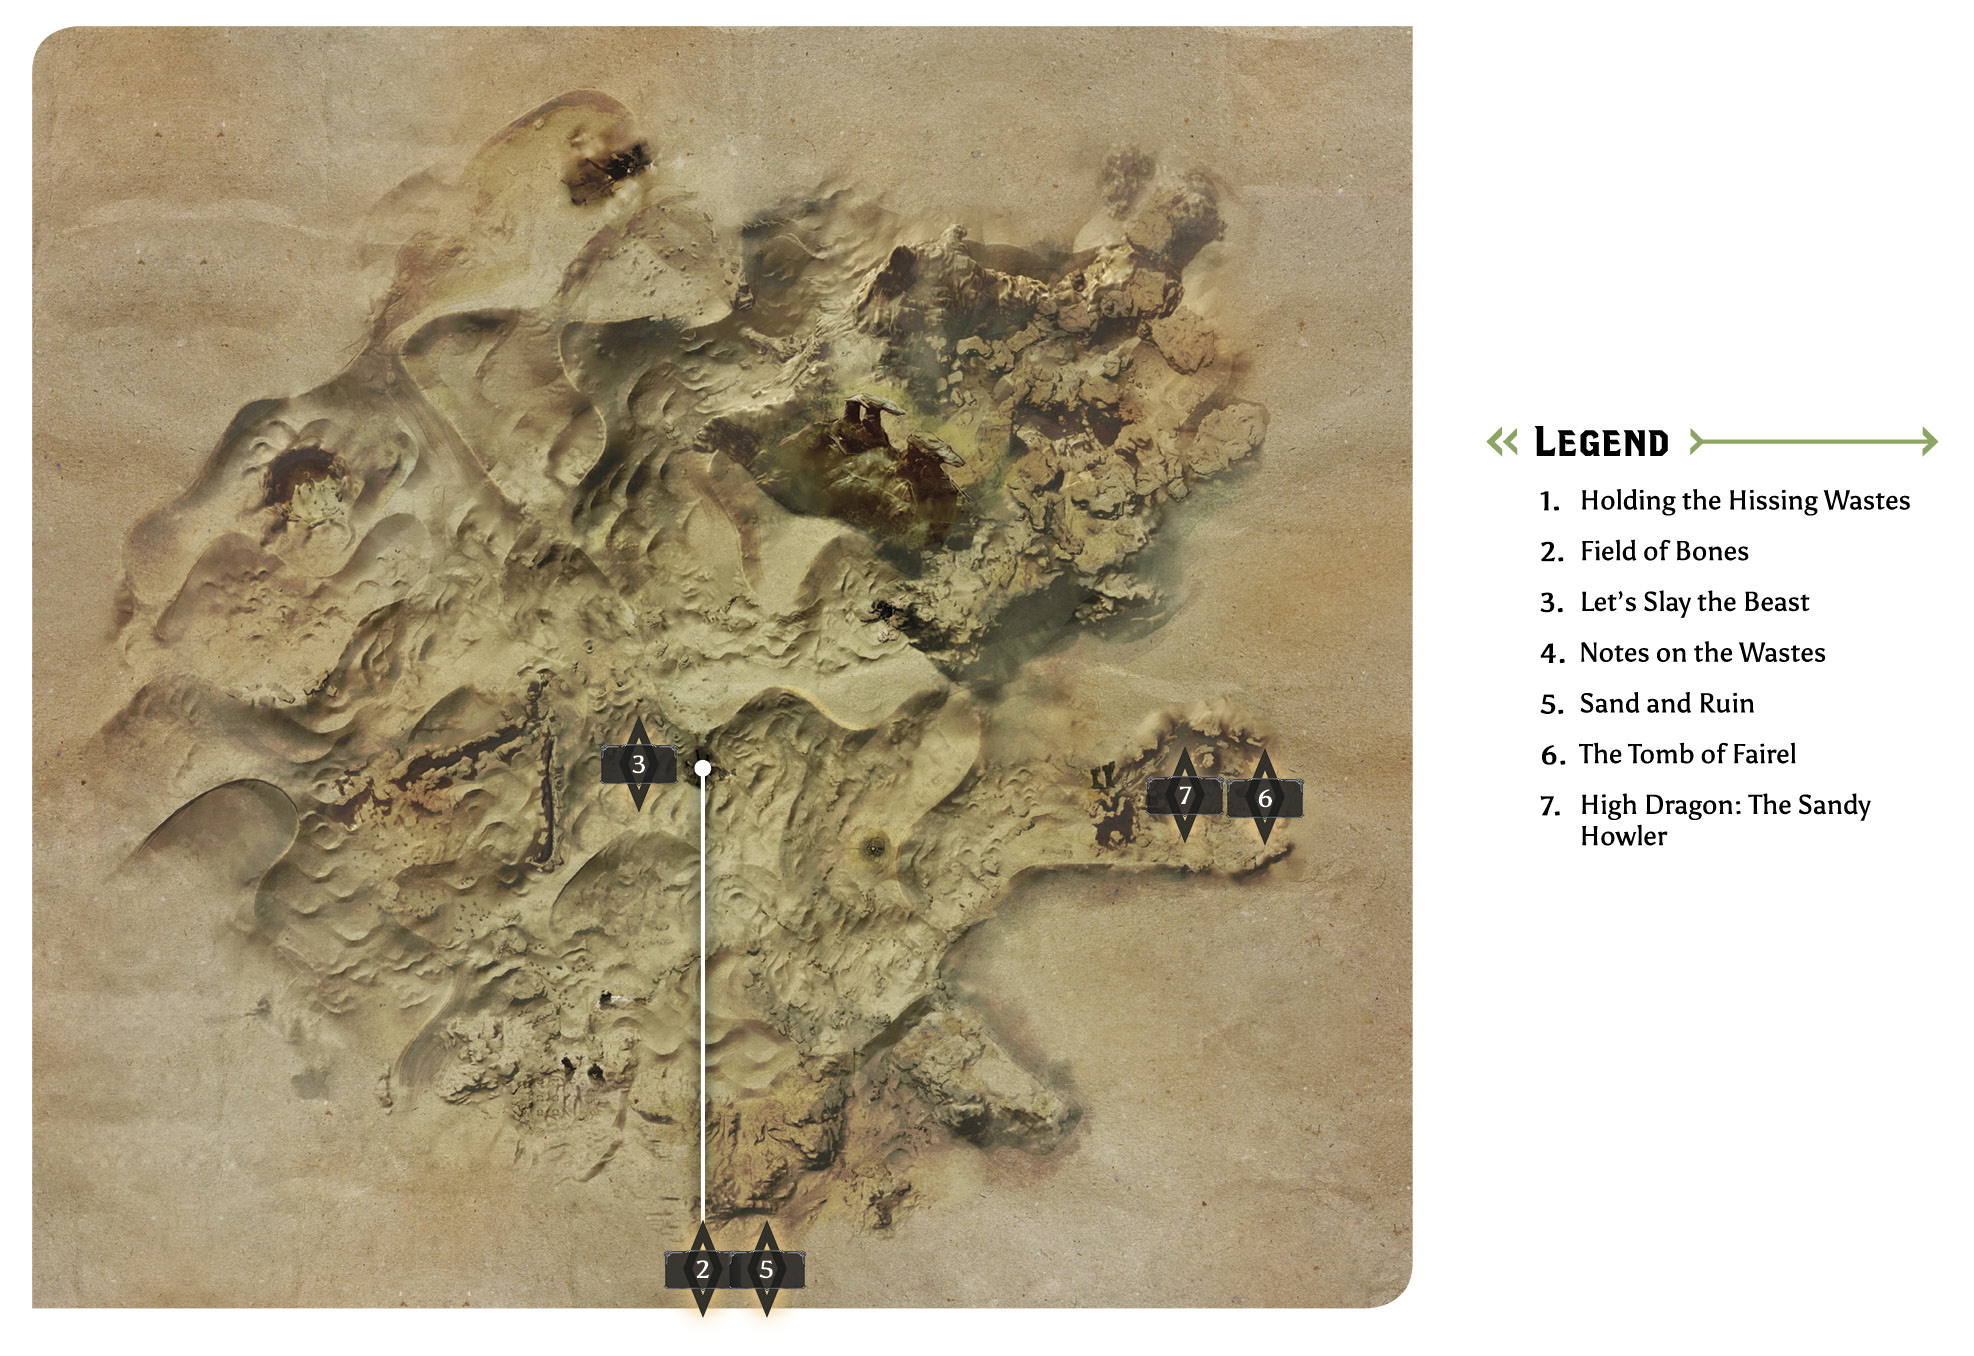
1: Holding the Hissing Wastes
Quest Giver: Scout Harding
Description: Establish camps to hold the Hissing Wastes and support Inquisition activity in the region.
Requirements: Available when you arrive in the Hissing Wastes
Reward: 200 Influence and 1 Power per camp, except for the starting camp
Objectives:
 Establish seven camps.
Scout Harding says that the wastelands are vast, and she’s not joking. A brief look at the map suggests that many of the camps are packed close together. The map doesn’t quite convey the real size of this place. Expect to be on horseback often and for long periods of time, even with all the camps established. Having them taken care of early in your travels through the wastes can save you a lot of time.
2: Field of Bones
Quest Giver: Journal found near the Four Pillars landmark
Description: A patrol has gone missing in the bone fields between the Canyon Camp and the Four Pillars.
Requirements: Available upon entering the Hissing Wastes
Reward: 331 XP, 150 Influence
Objectives:
 Locate the missing patrol.
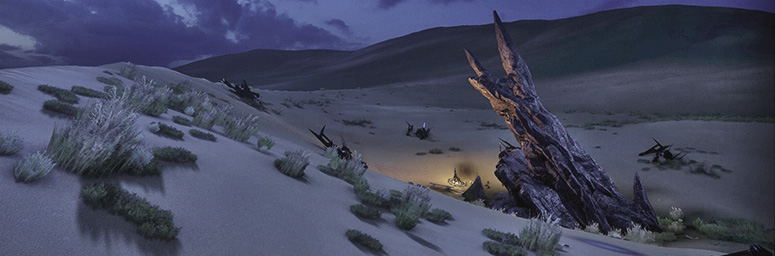
Near the Four Pillars landmark, you set up one of the seven camps of the region and explore a sand-covered tomb. Near the camp, you can find a note that describes a missing Venatori patrol. It also warns of spiders in the region where they were assigned.
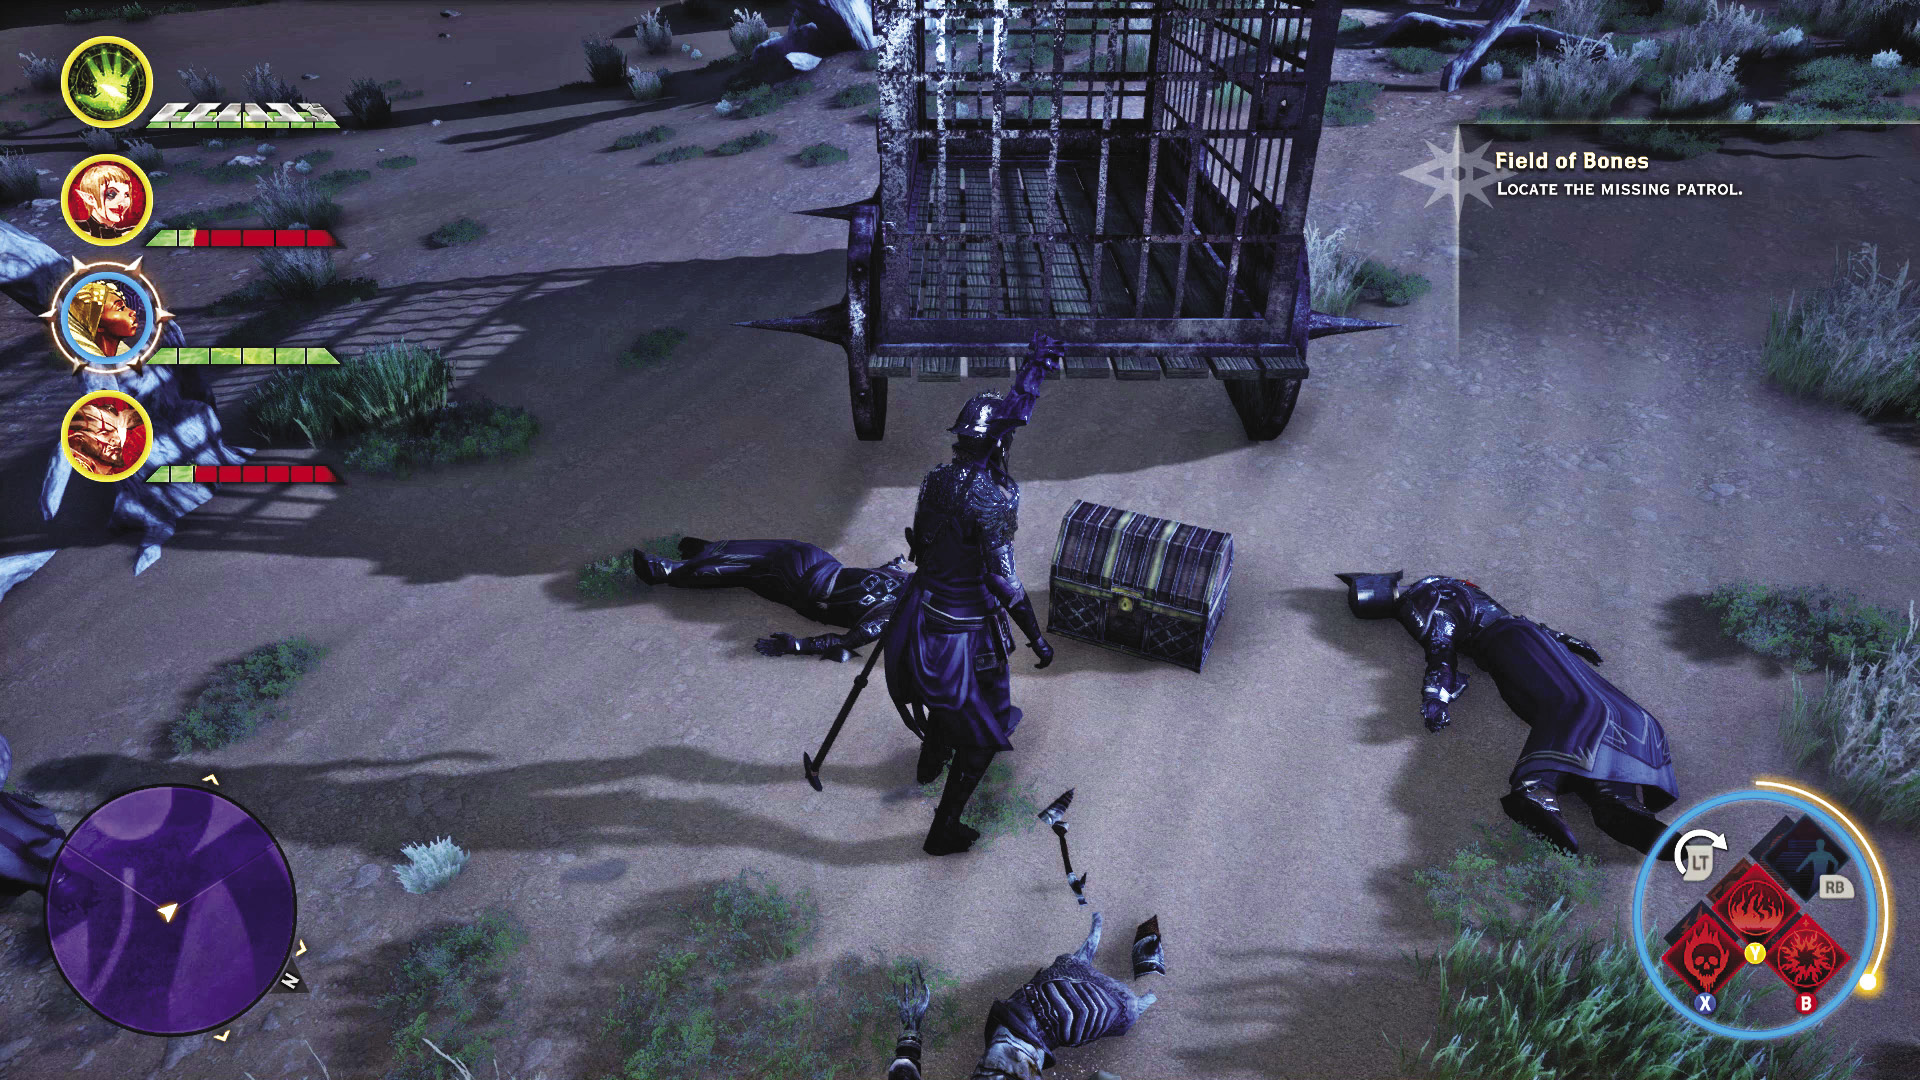
When you do reach the patrol’s location, they are long dead, and the field is dominated by bones, corpses, and poison spiders. Always with the spiders! Put them down, then search around the cage the soldiers had been guarding. It’s empty, but you can find a chest next to it. Taking its contents completes the quest.
3: Let’s Slay the Beast
Quest Giver: Hunter
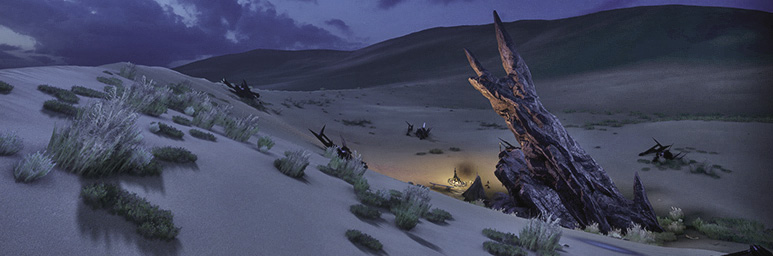
Description: Hunting is a popular pastime in the often desolate Hissing Wastes. While varghests in particular are prized, there are rumors of a rarer breed out there, one legendary varghest known for its intimidating stature. Any hunter able to slay it would surely earn respect.
Requirements: Speak with the hunter to start the quest, or go to the Golden Oasis and slay the varghest.
Reward: 5,076 XP, 600 Influence, 2 Power
Objectives:
 Find and kill a legendary beast.
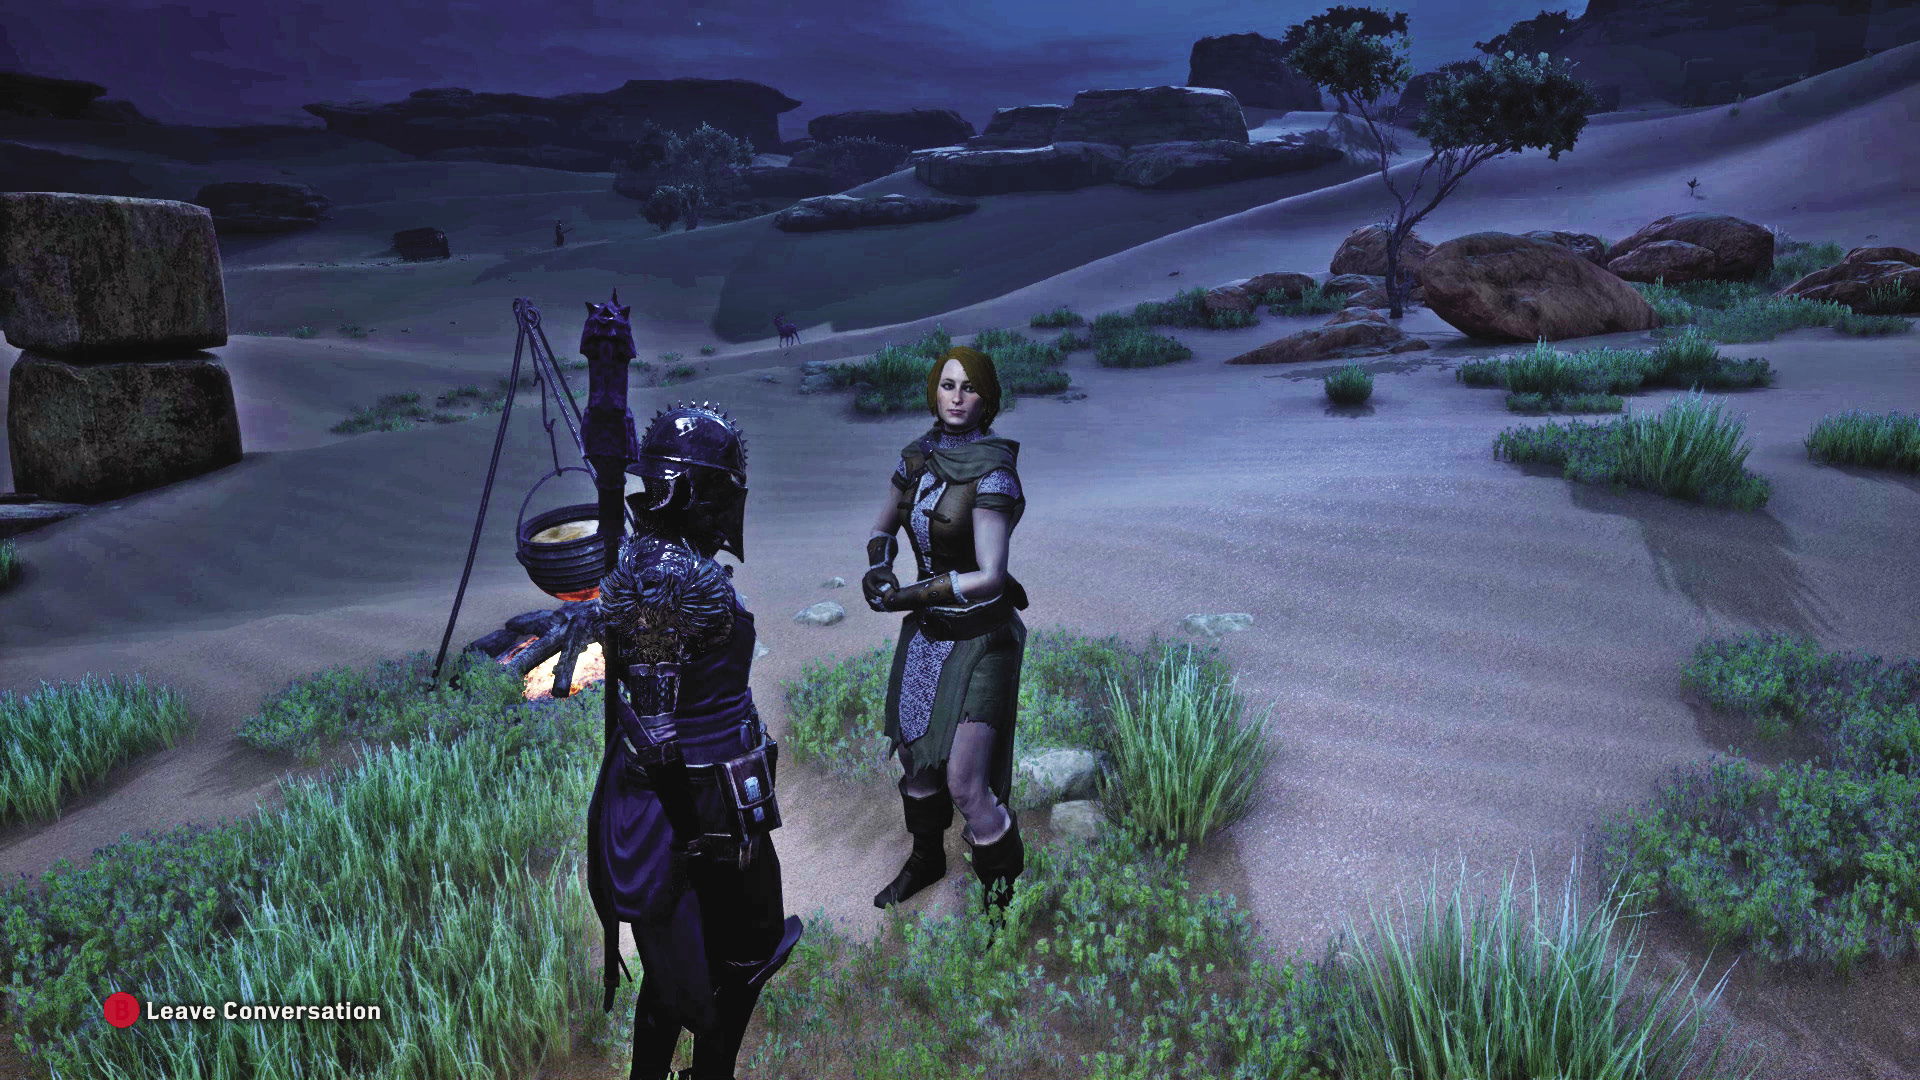
The friendly hunter met wandering the wastes has no real agenda but to pass advice to travelers and make money off valuable materials found while on the hunt. She does warn you about a beast stalking the Golden Oasis, to the far northwest of the Hissing Wastes.
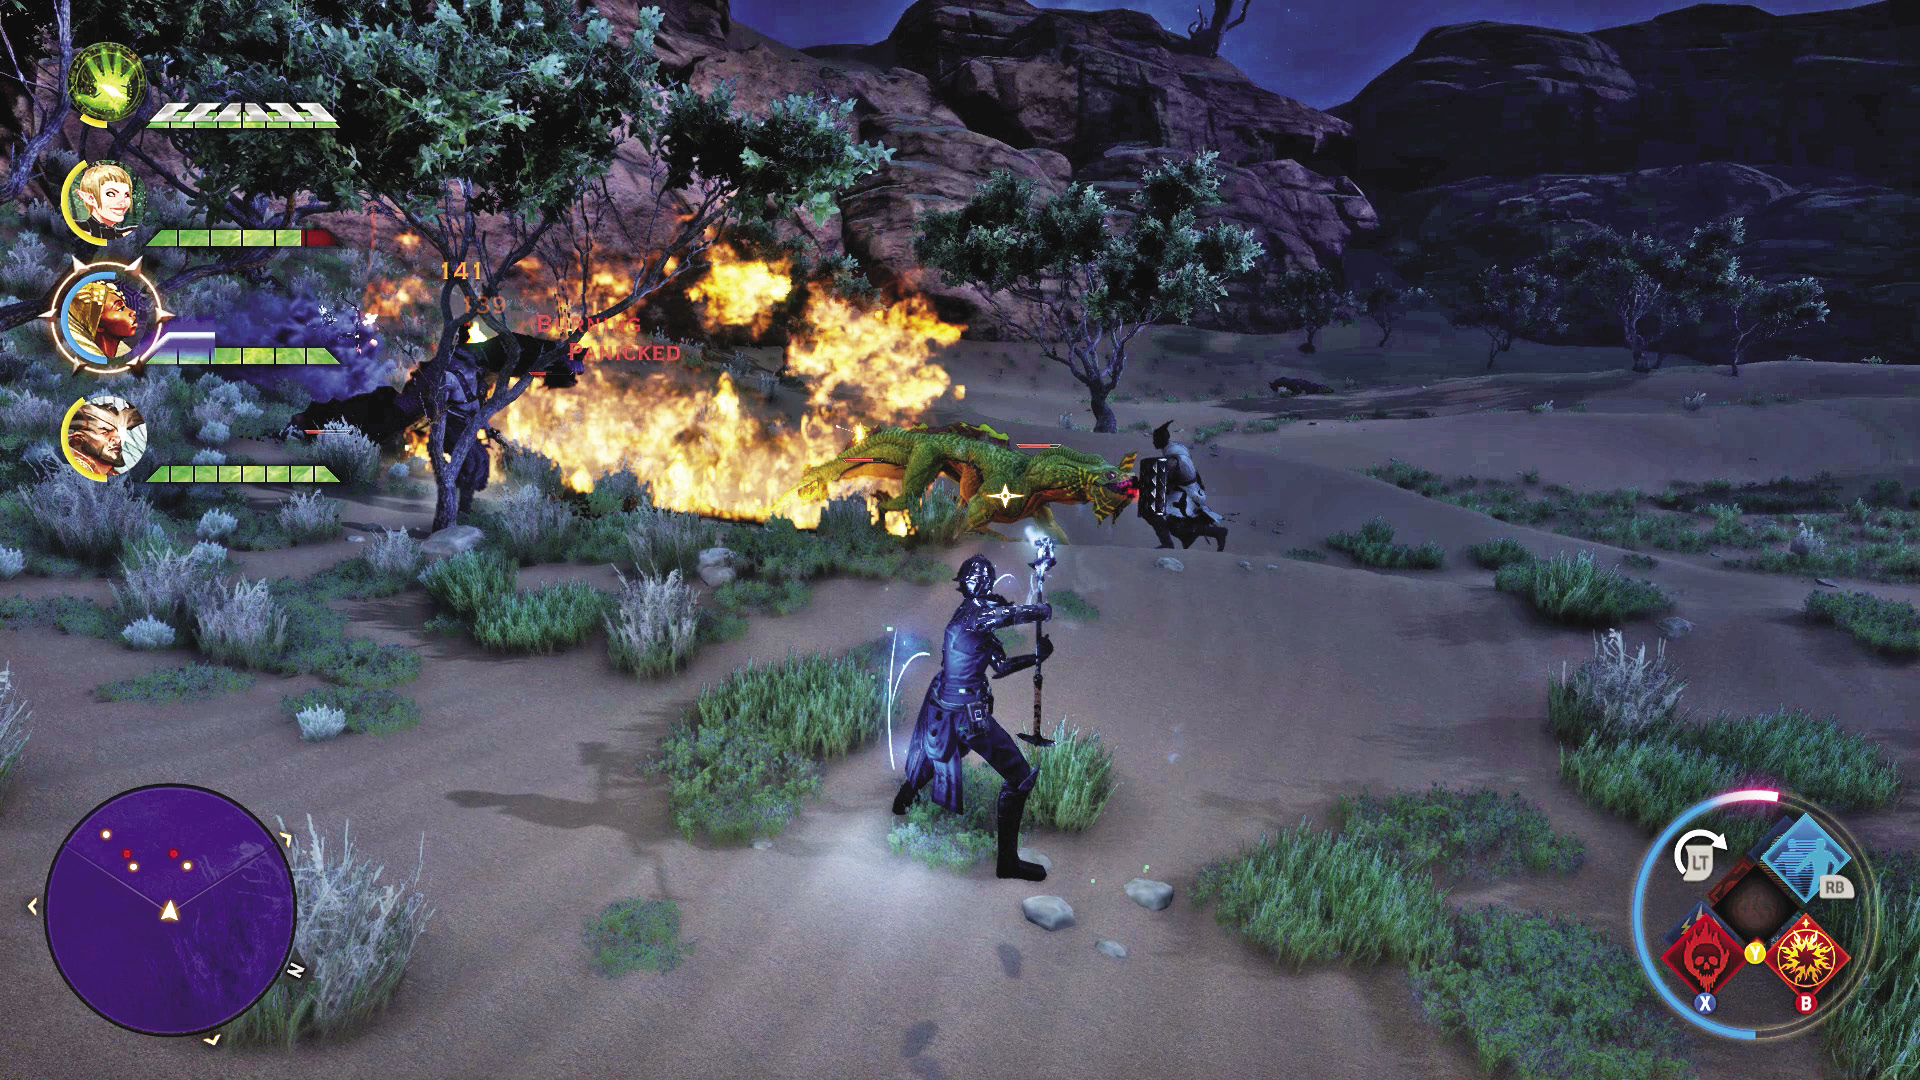
The beast in question is a brightly colored varghest, among the young wyverns also infesting the place. By now, your party should be able to pick apart a lone varghest, regardless of its color. With the varghest slain, the quest is complete.
4: Notes on the Wastes

Quest Giver: A journal found in the wastes
Description: A page was recovered from a log book that was apparently kept by someone studying old dwarven ruins. Perhaps there are additional pages to be found deeper in the Hissing Wastes.
Requirements: Find one of the notes in the Hissing Wastes.
Reward: 1,269 XP, 150 Influence
Objectives:
 Find eight journal pages.
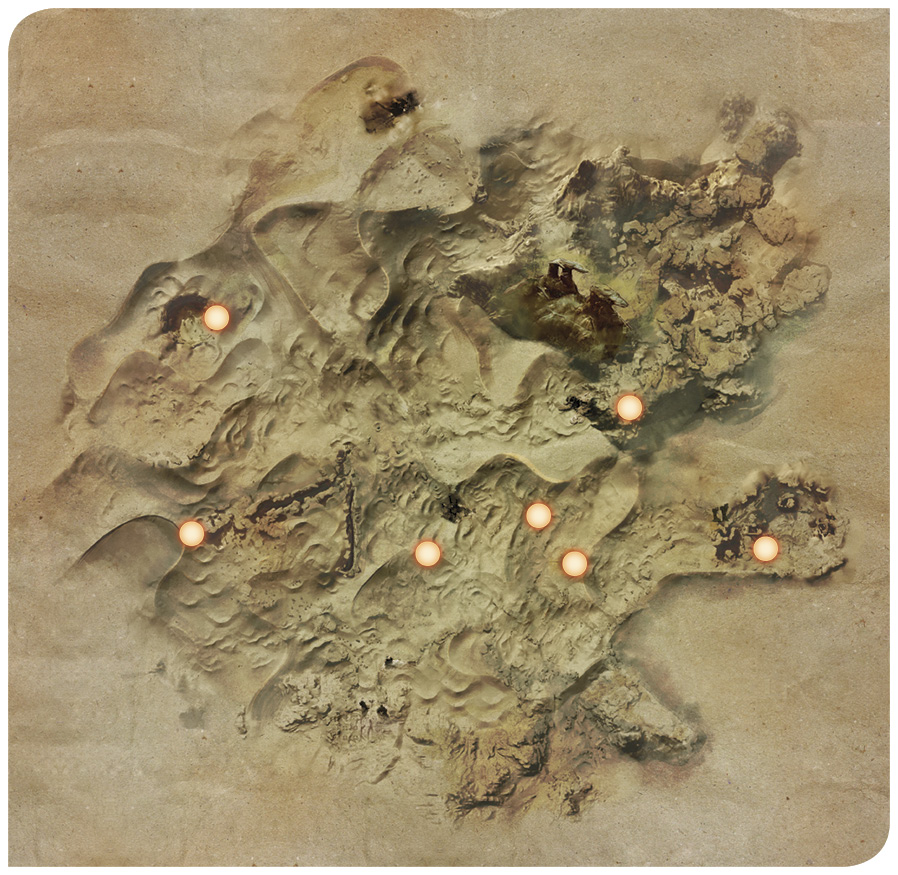
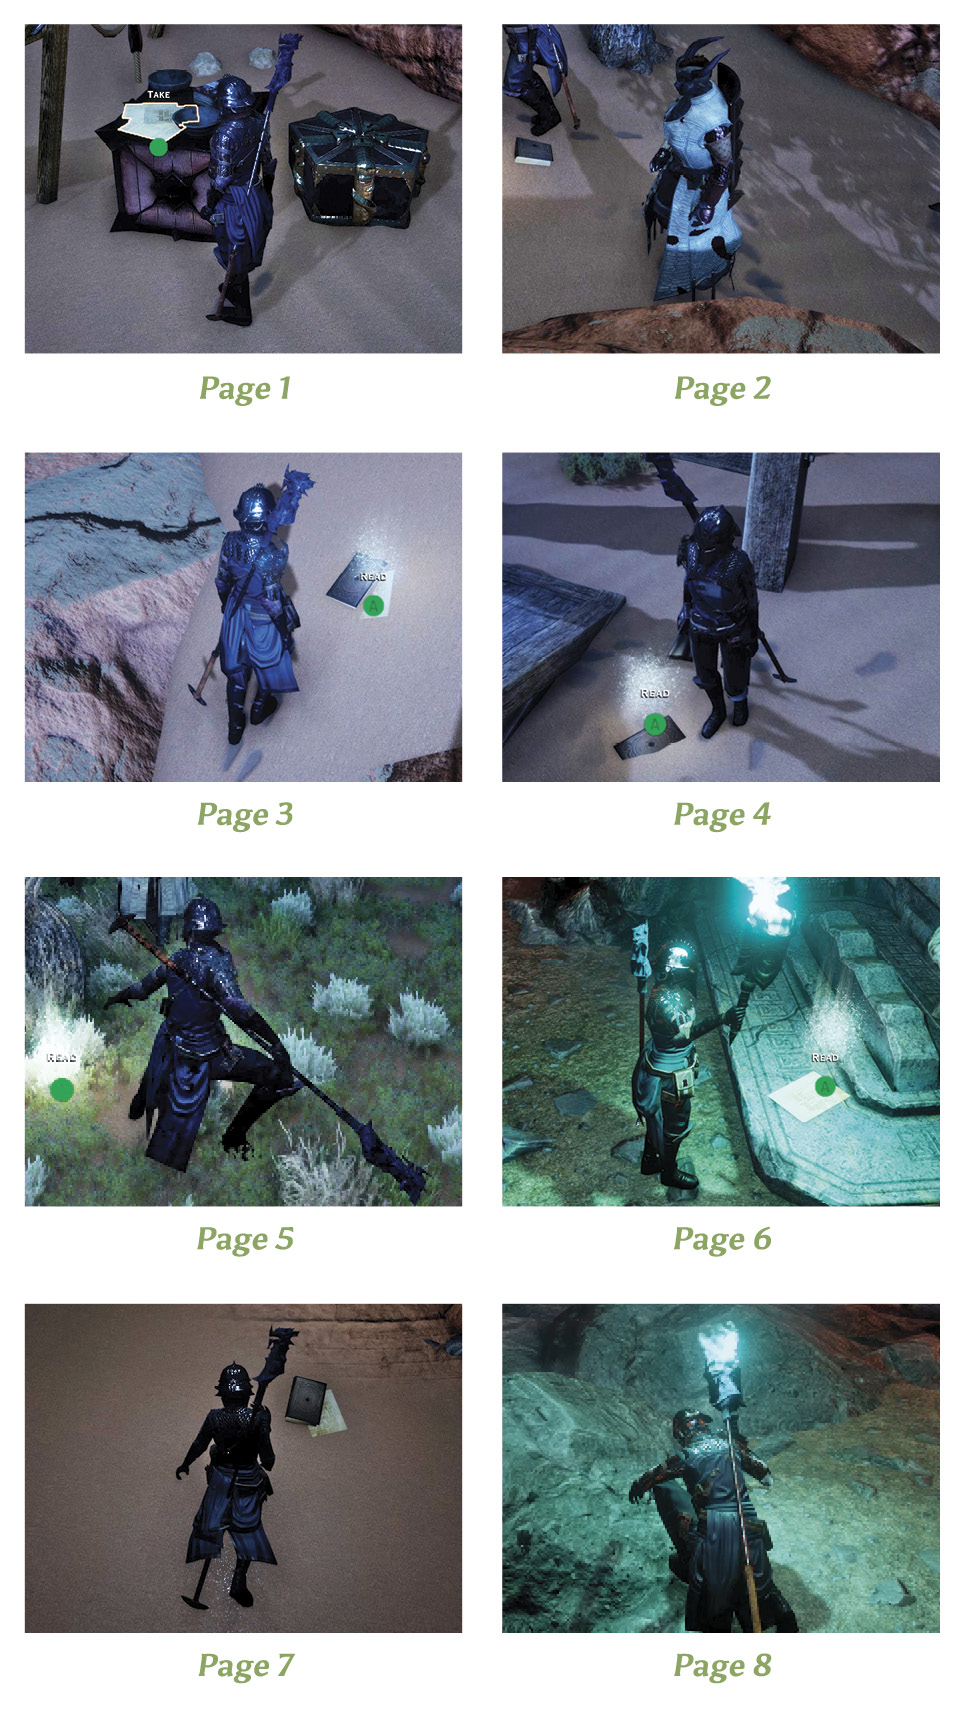
As you travel the wastes, you might start receiving pings on your mini-map. If you search about, you may discover you have randomly come across one of eight journal pages left behind by a dwarven explorer, who made interesting observations of the ruins in the wastes as well as the Venatori excavation efforts.
Searching for all eight journal pages without assistance can be difficult, as you’re not even given general search locations for the pages, nor are any called out on your in-game maps by any special icons. However, you can reference the map we have provided, along with the images showing more exact locations.
5: Sand and Ruin
Quest Giver: A sand-covered note
Description: There is a sizable Venatori presence in the Hissing Wastes. It is an odd place for them to be dispatched at all, let alone in such significant numbers.
Requirements: This war table mission is unlocked after establishing Skyhold.
Reward: 5,076 XP, 600 Influence, 2 Power
Objectives:
 Go to the war table to stop the Venatori advancing in the west (20 power required).
 Search the Venatori camp north of the cove.
 Search the Venatori camp near the canyon.
 Search the Venatori camp known as the Watchtower.
 Search the Venatori camp in the mountains.
As soon as you enter the Hissing Wastes and receive Scout Harding’s briefing on the situation, you’re told to start scouting out Venatori positions and establishing camps throughout the desert. You’re given a location to start, but you can head to any one of the potential campsites. Among the closest to your starting camp is one near a landmark called the Four Pillars.
Expect the Venatori to be ready for a fight. They will defend their own camps vigorously and with plenty of numbers on their side.
Four Pillars Camp, North of the Cove
After defeating the Venatori force outside of the camp, establish your own Inquisition camp, then delve into the nearby ruins. You can find notes on the campgrounds that will help reveal more information about the Venatori operation throughout the Hissing Wastes, including a sketch of another tomb located somewhere in the wastes.
Venatori Camp near the Canyon
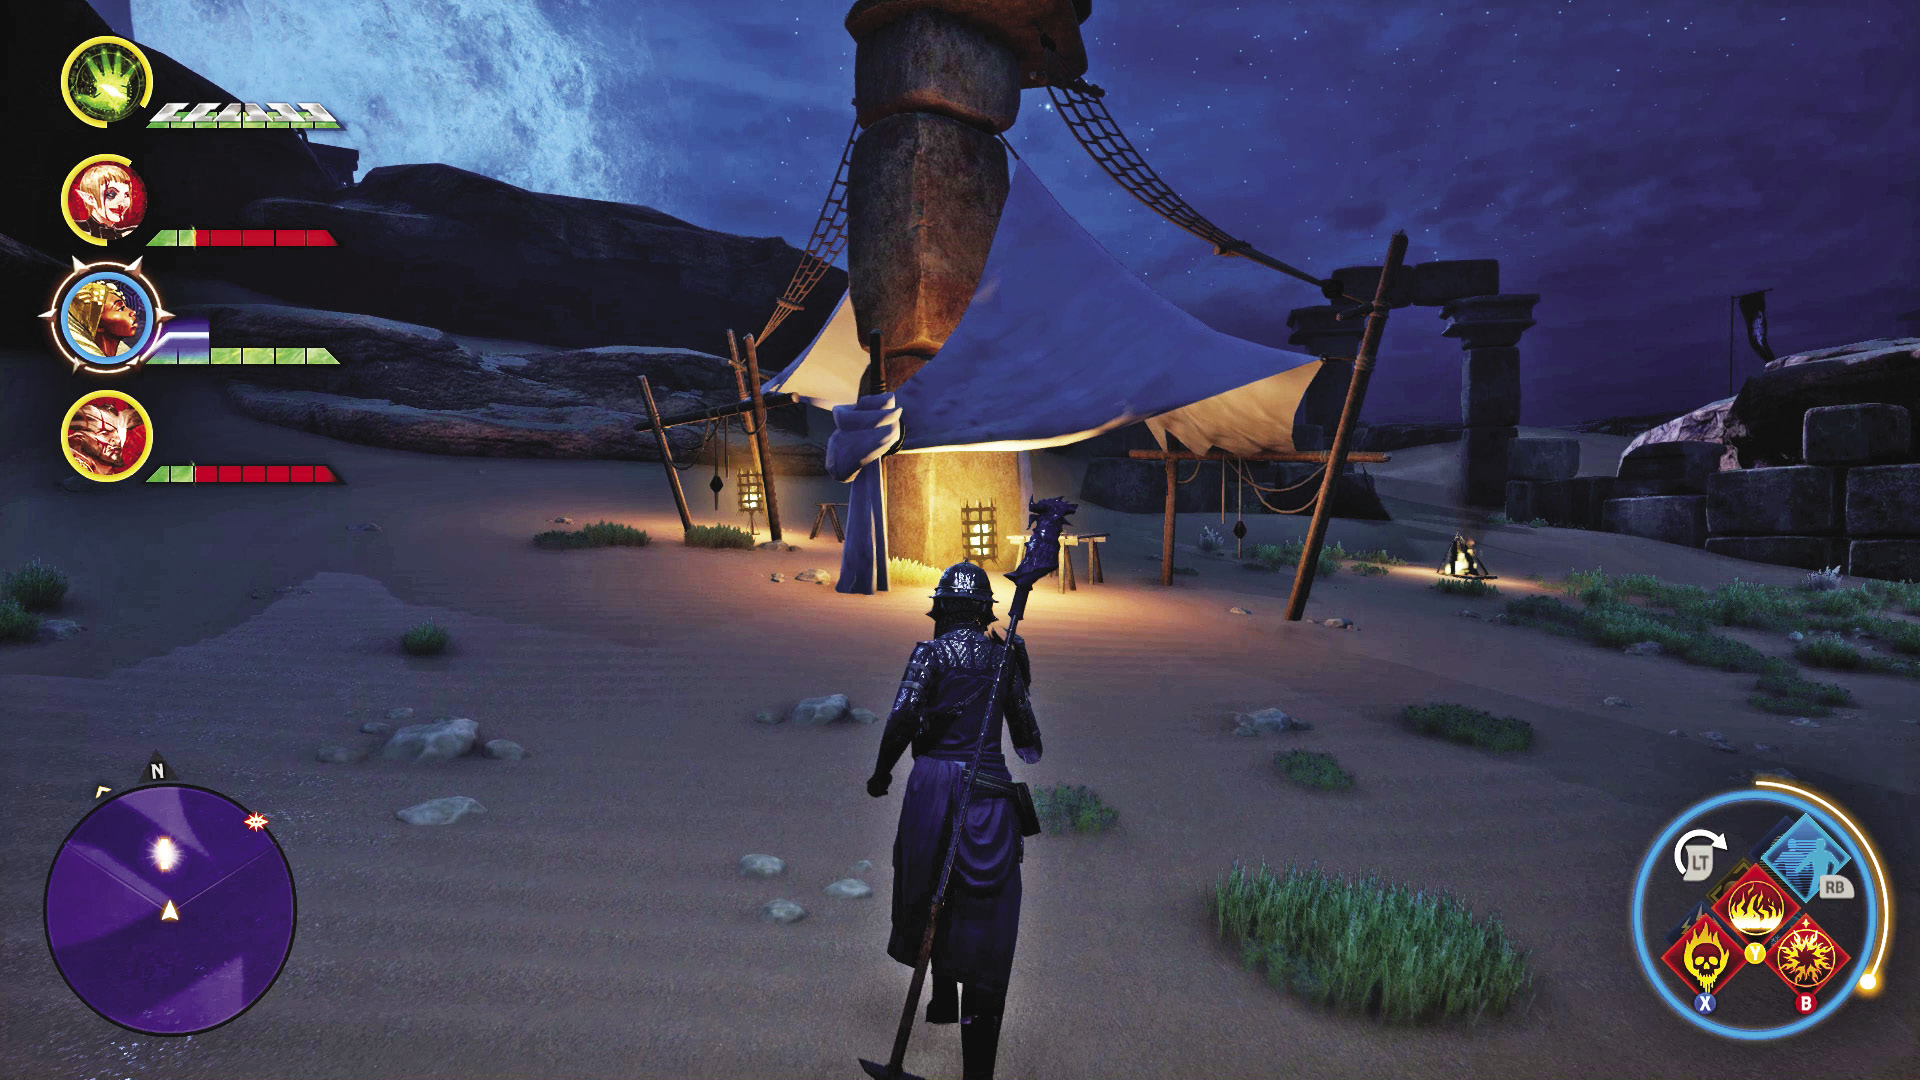
West of the canyon is a sizable Venatori campsite near another dwarven ruin. You can find another sketch that shows the location of a tomb inside the canyon, as well as a sketch of the burial grounds tomb, at the southern end of the wastes.
Venatori Watchtower Camp
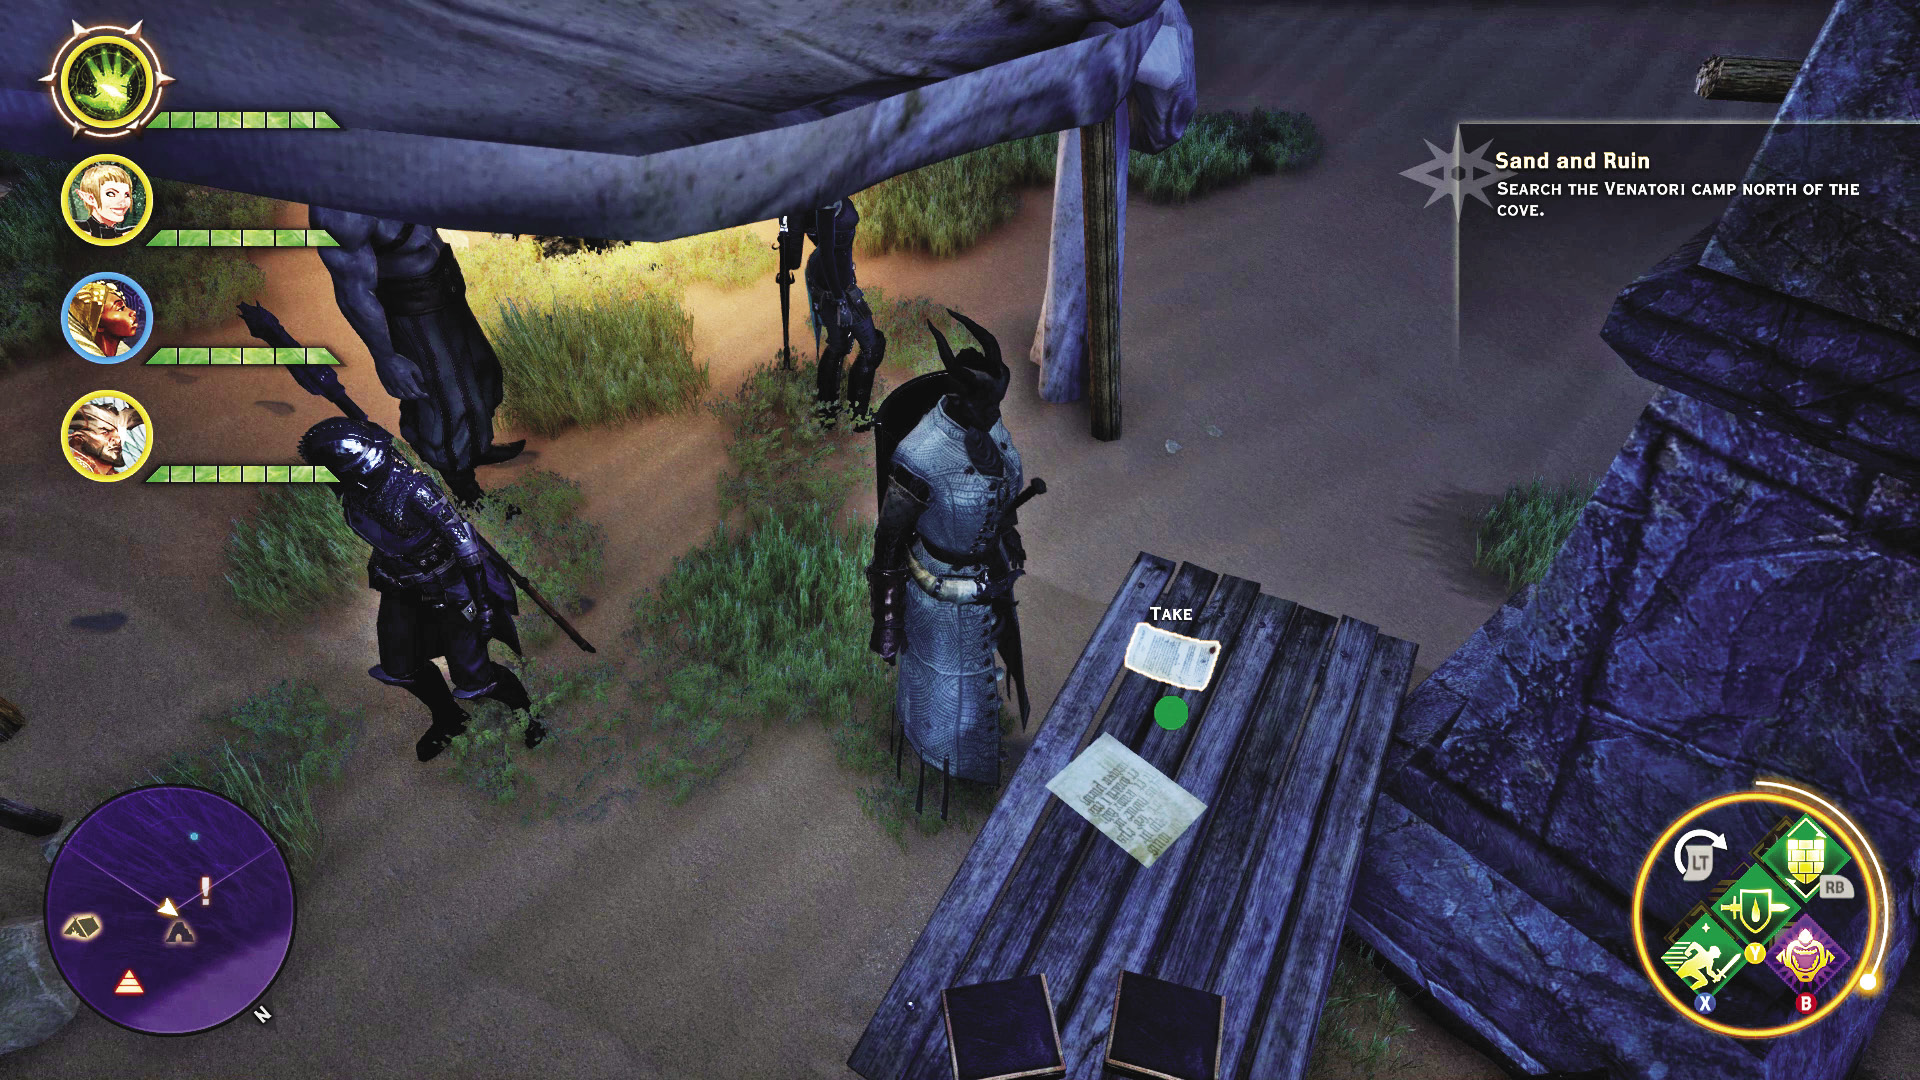
After taking this camp from Venatori foes, you can read the books on a nearby workbench. One contains a sketch showing the way to enter the Colossus tomb. The other provides additional information about a large camp behind the Sunstop Mountains region.
Sunstop Mountains Camp
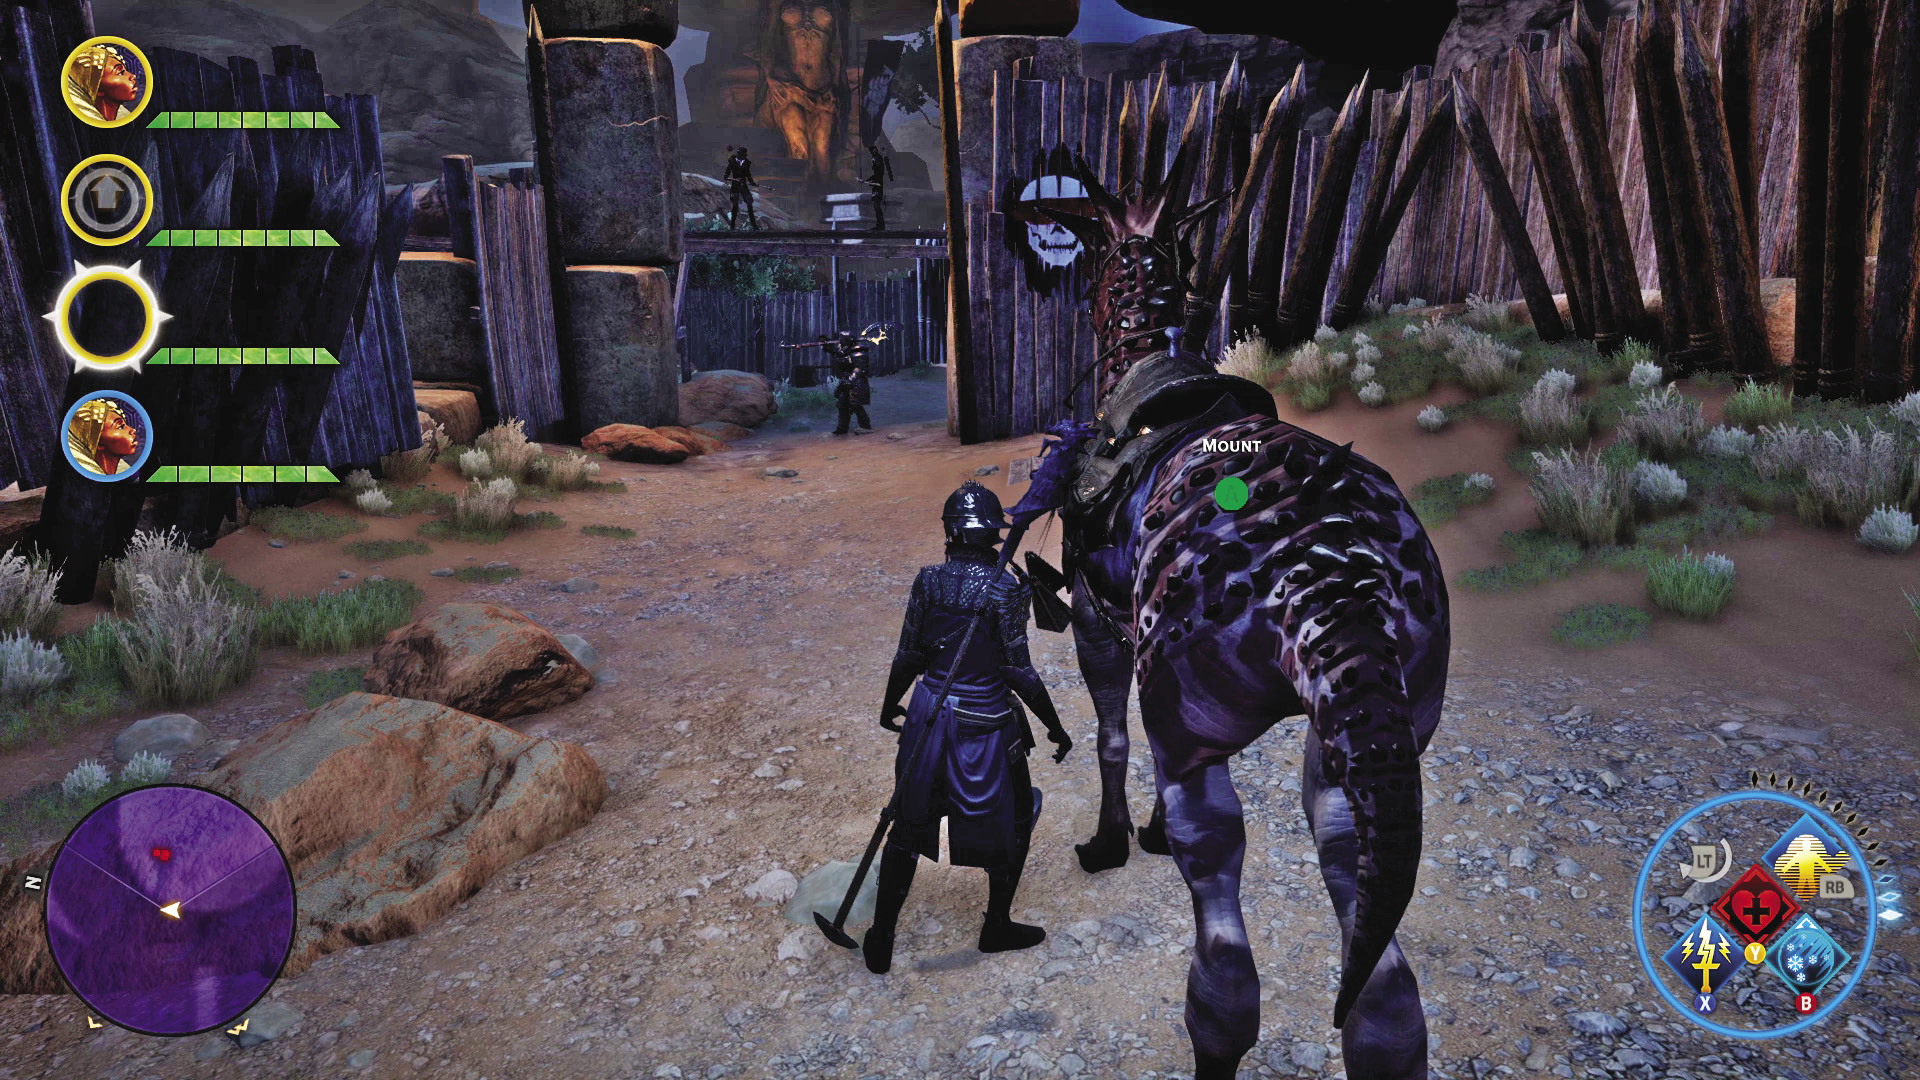
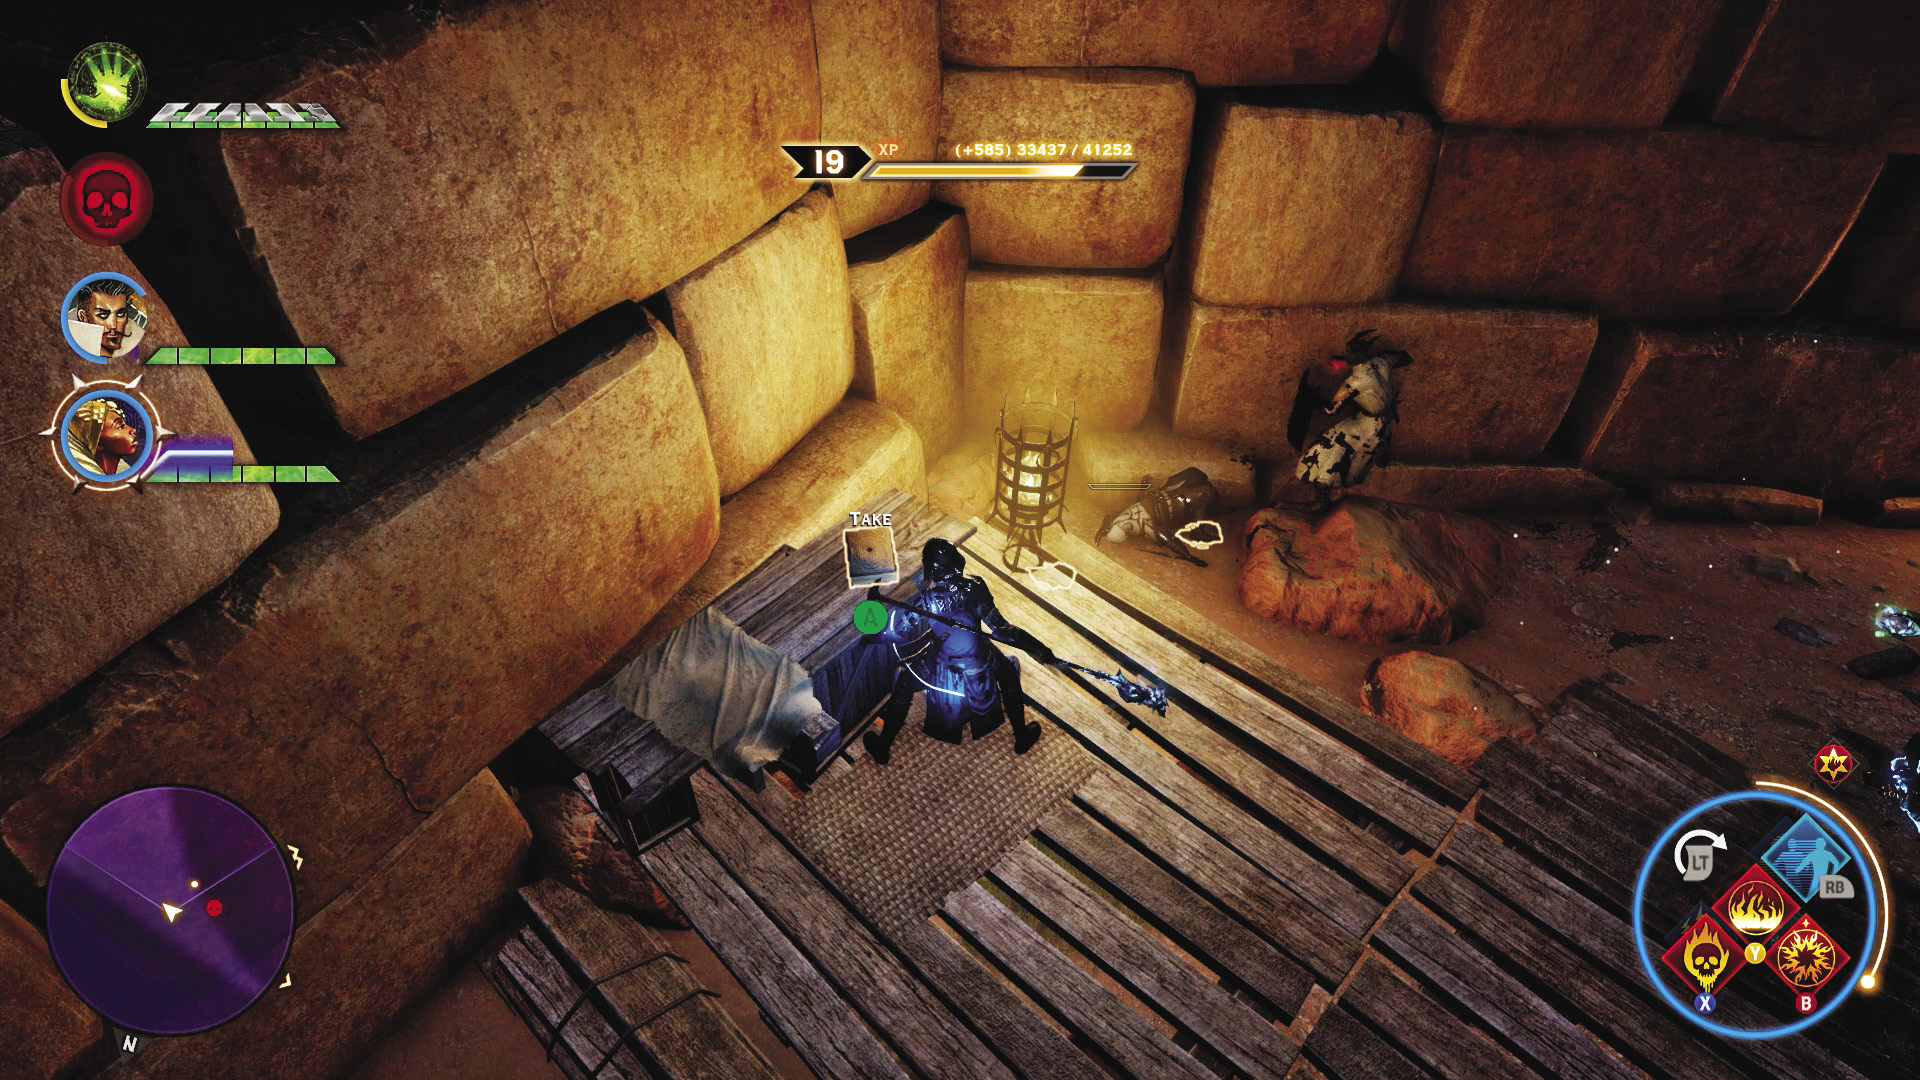
The largest Venatori camp in the wastes is not lacking in manpower! Try to take on small groups of enemies, as opposed to alerting the whole camp at once. While you sweep the camp for foes to put down, keep an eye out for the Overseer! This mage is the most powerful of all the Venatori enemies in the region, and he protects another missive that further details their purpose in the region.
Once you have found all the documents of value from the four designated camps, this quest is complete, and you should have a good idea of where many of Fairel’s tombs are located all across the wastes.
6: The Tomb of Fairel
Quest Giver: Quest starts as soon as you find a key fragment in a ruin somewhere in the Hissing Wastes.
Description: Rumors tell of a grand treasure buried in a tomb in the Hissing Wastes. Explore the wastes, using any available clues and maps to find it.
Requirements: Find a key fragment in one of the ruins in the Hissing Wastes.
Reward: 10,152 XP, 2,000 Influence, 3 Power
Objectives:
 Find five Tomb of Fairel key fragments.
 Follow the treasure map to the tomb.
 Find the statue tomb’s treasure.
 Find the mountain fortress tomb’s treasure.
 Find the graveyard tomb’s treasure.
 Find the canyon tomb’s treasure.
 Enter the tomb of Fairel and retrieve the dwarven relics.
The first order of business is to locate the five key fragments scattered across the Hissing Wastes. Even if you find the Tomb of Fairel immediately, you won’t be able to open it without the five key fragments. And there is the issue of the Sandy Howler, a high dragon. It has taken up residence in the valley before the tomb. Recover the fragments first, so you can do everything in one trip.
You can find the key fragments in the following locations.
Four Pillars Camp Ruins
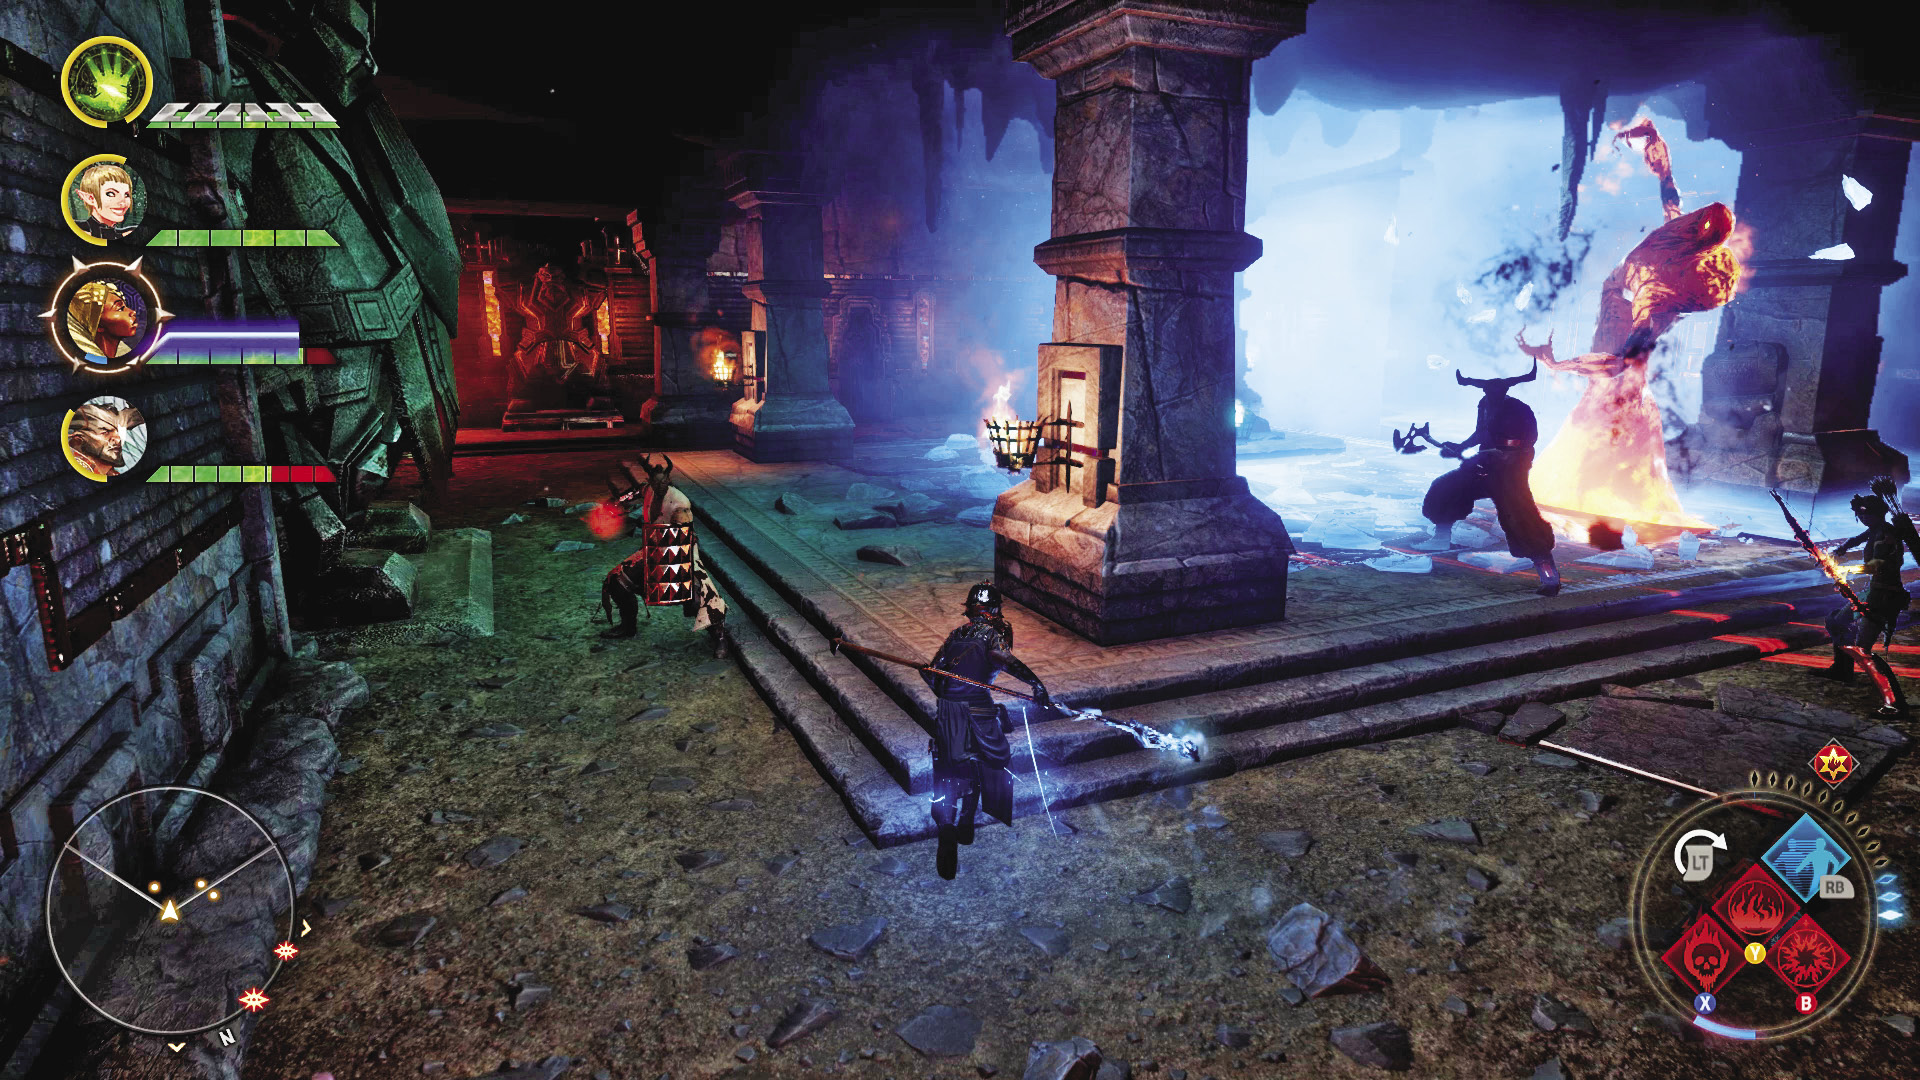
This key can be found in the Four Pillars tomb treasure room. There is a veilfire torch puzzle in these ruins. Should you light the pillars out of order, you will face demons, and any torches you did light in the correct order will be snuffed out. The correct order can be established by reading the passages on the pillars and lighting the torches in the order that allows the passages to be read in the correct order, as follows:
This is the tale of Fairel, Paragon among Paragons, father of two sons,
Who, against their father’s wishes, fought from foolish words and foolish pride.
For pride these halls were made—to honor a father’s deed, and grieve his loss.
And for loss these halls were made, to honor a brother mourned.
The Colossus of Orlais
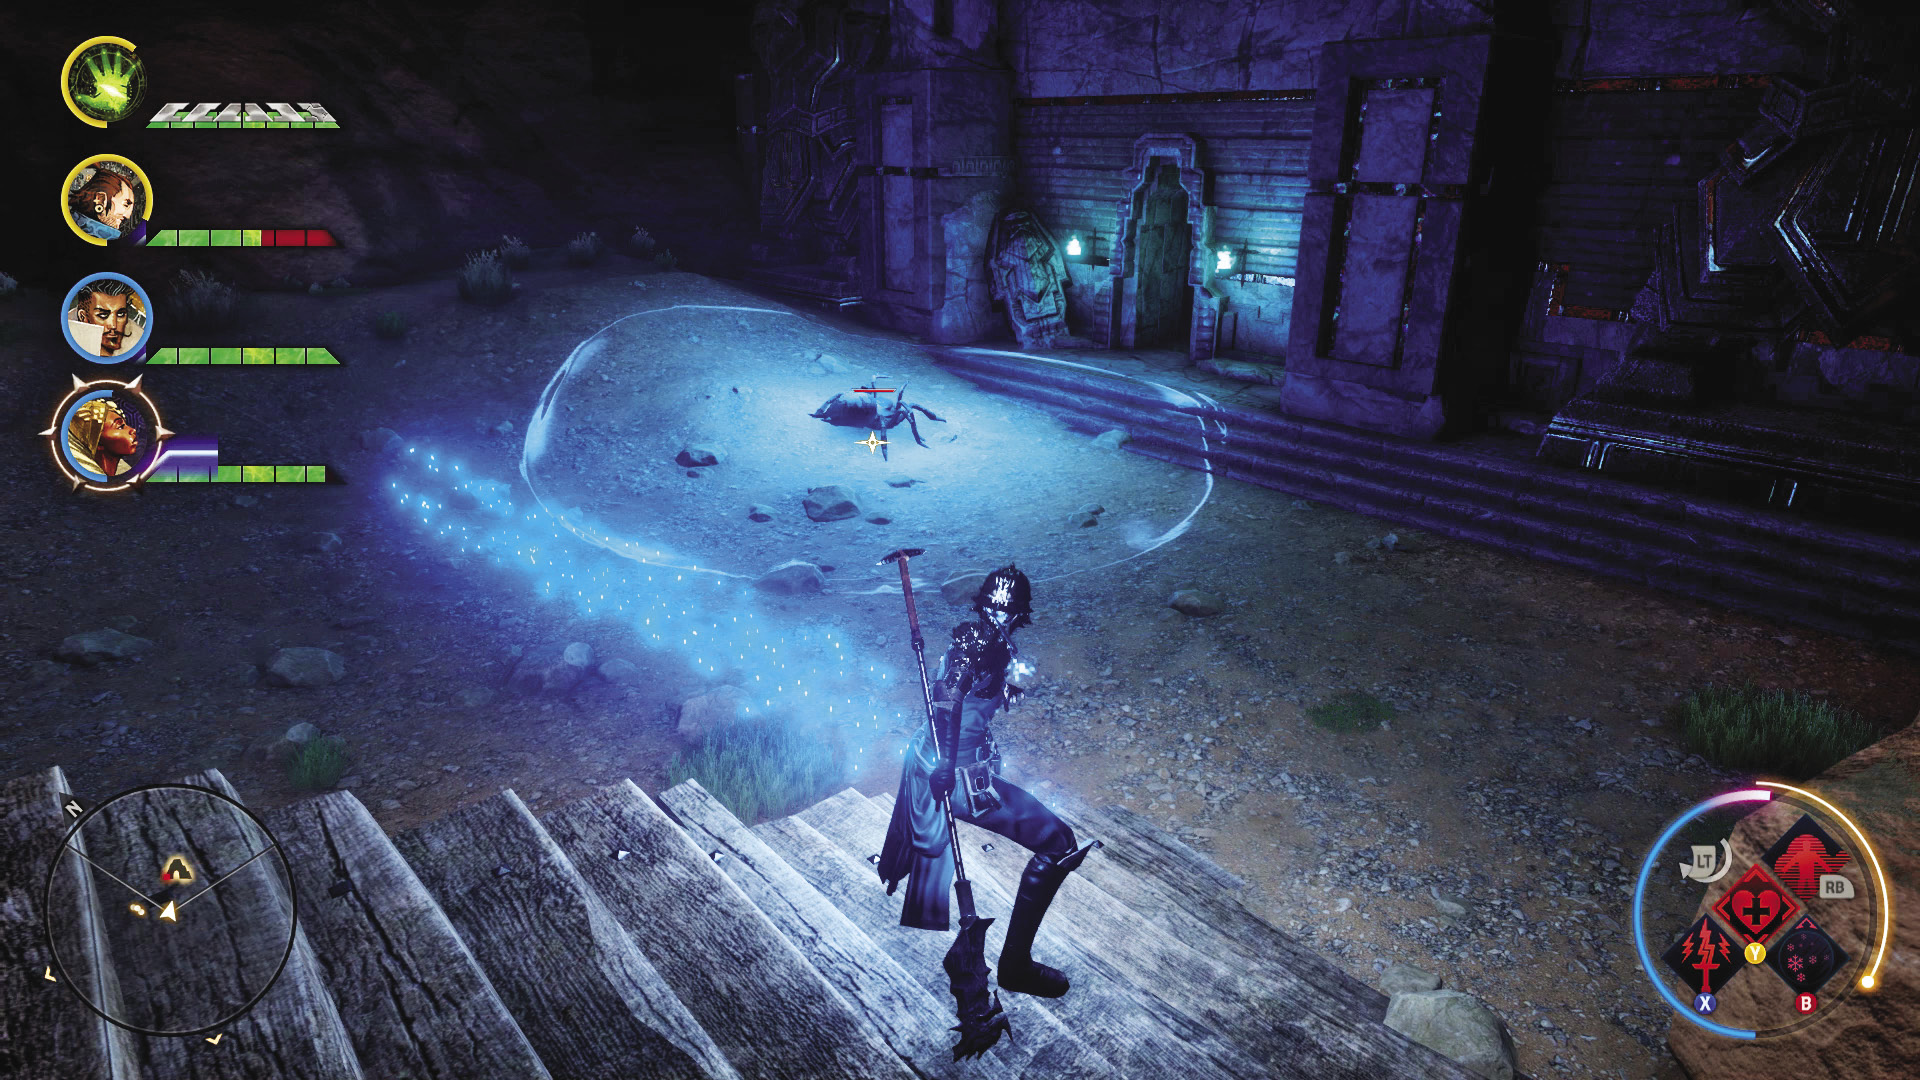
The Colossus of Orlais is a massive stone monument in the northwest part of the wastes. Once you cut your way through the spiders nesting in the front hall, you’ll encounter a another veilfire torch puzzle, similar to that found in the Four Pillars Camp ruins. Don’t forget to loot the key fragment from the large chest inside the tomb’s treasure room!
Fairel, Paragon, fled from the strife his brilliance created,
The strife that destroyed thaigs, sundered houses, from weapons that clan used against clan.
His own clan and two sons followed Fairel to the pitiless surface,
The surface where they would hide from the war that took their home.
The Tomb in the Canyon
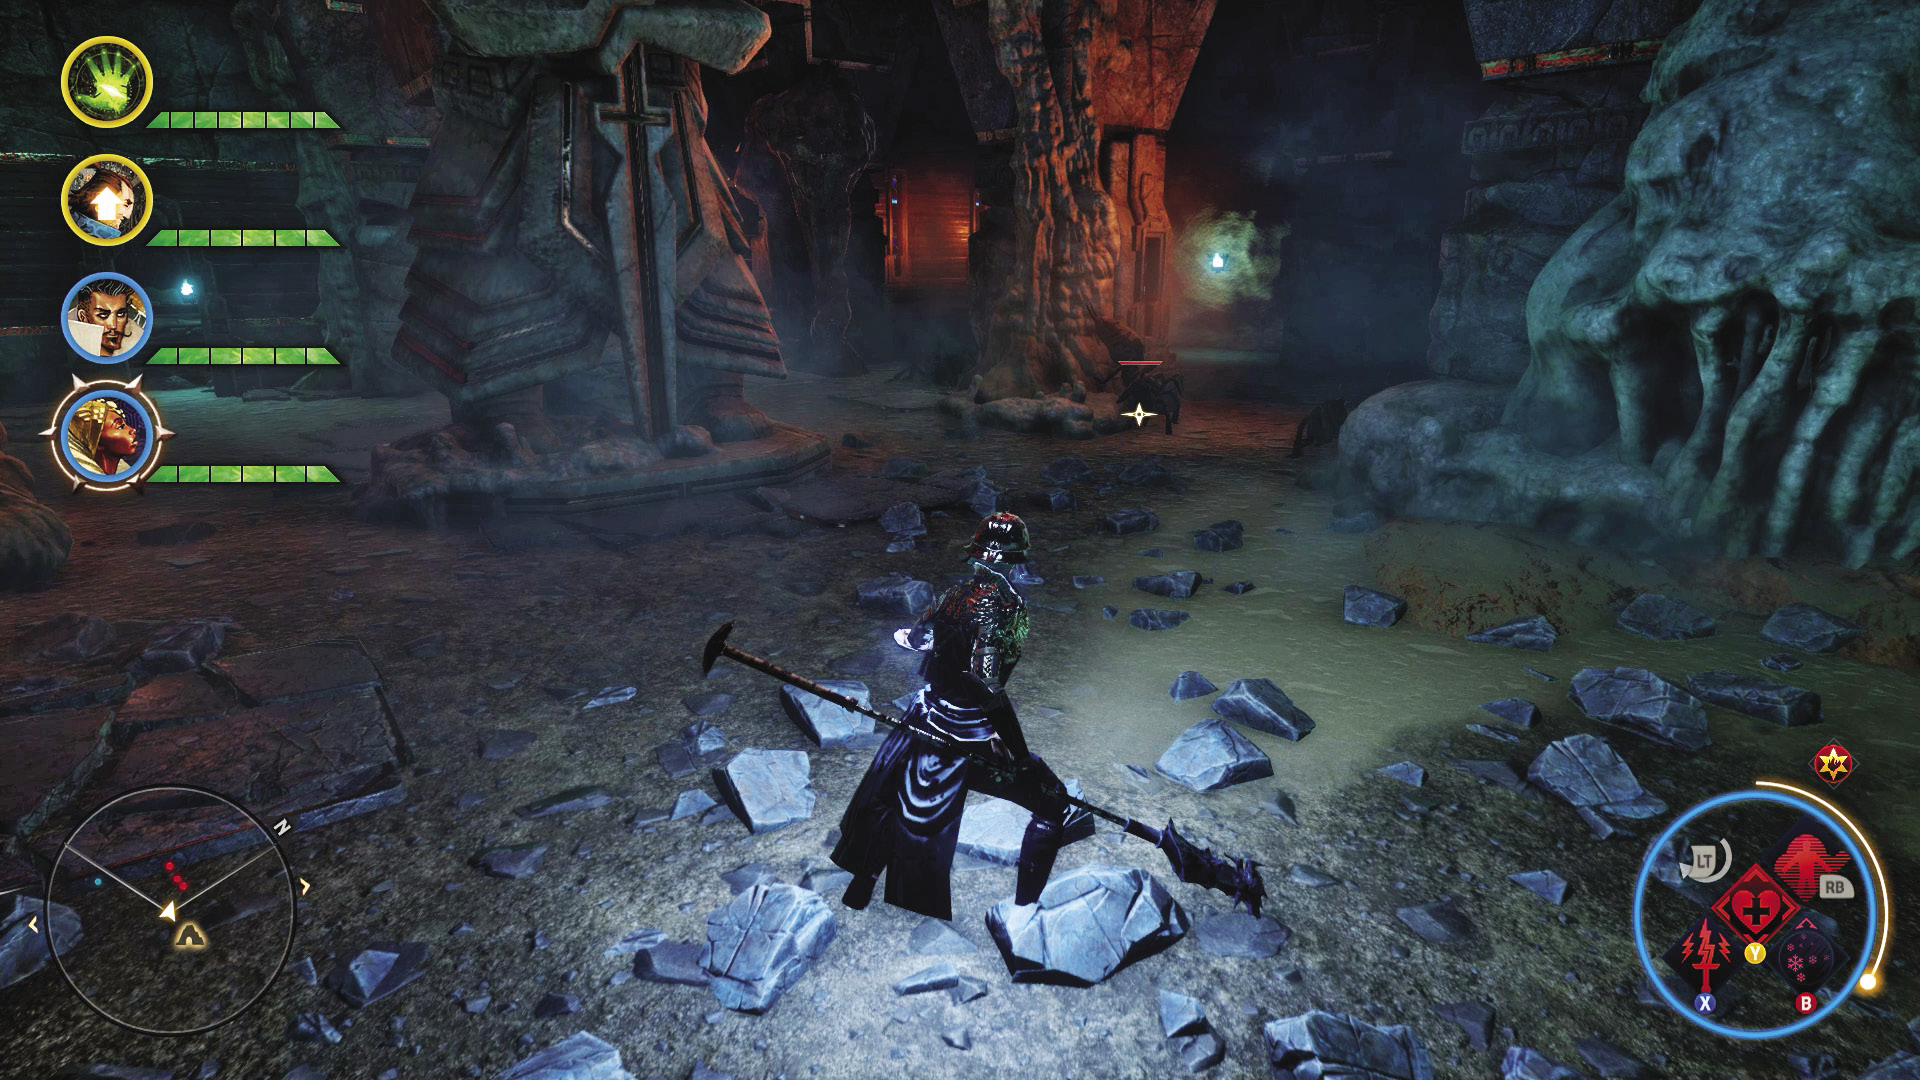
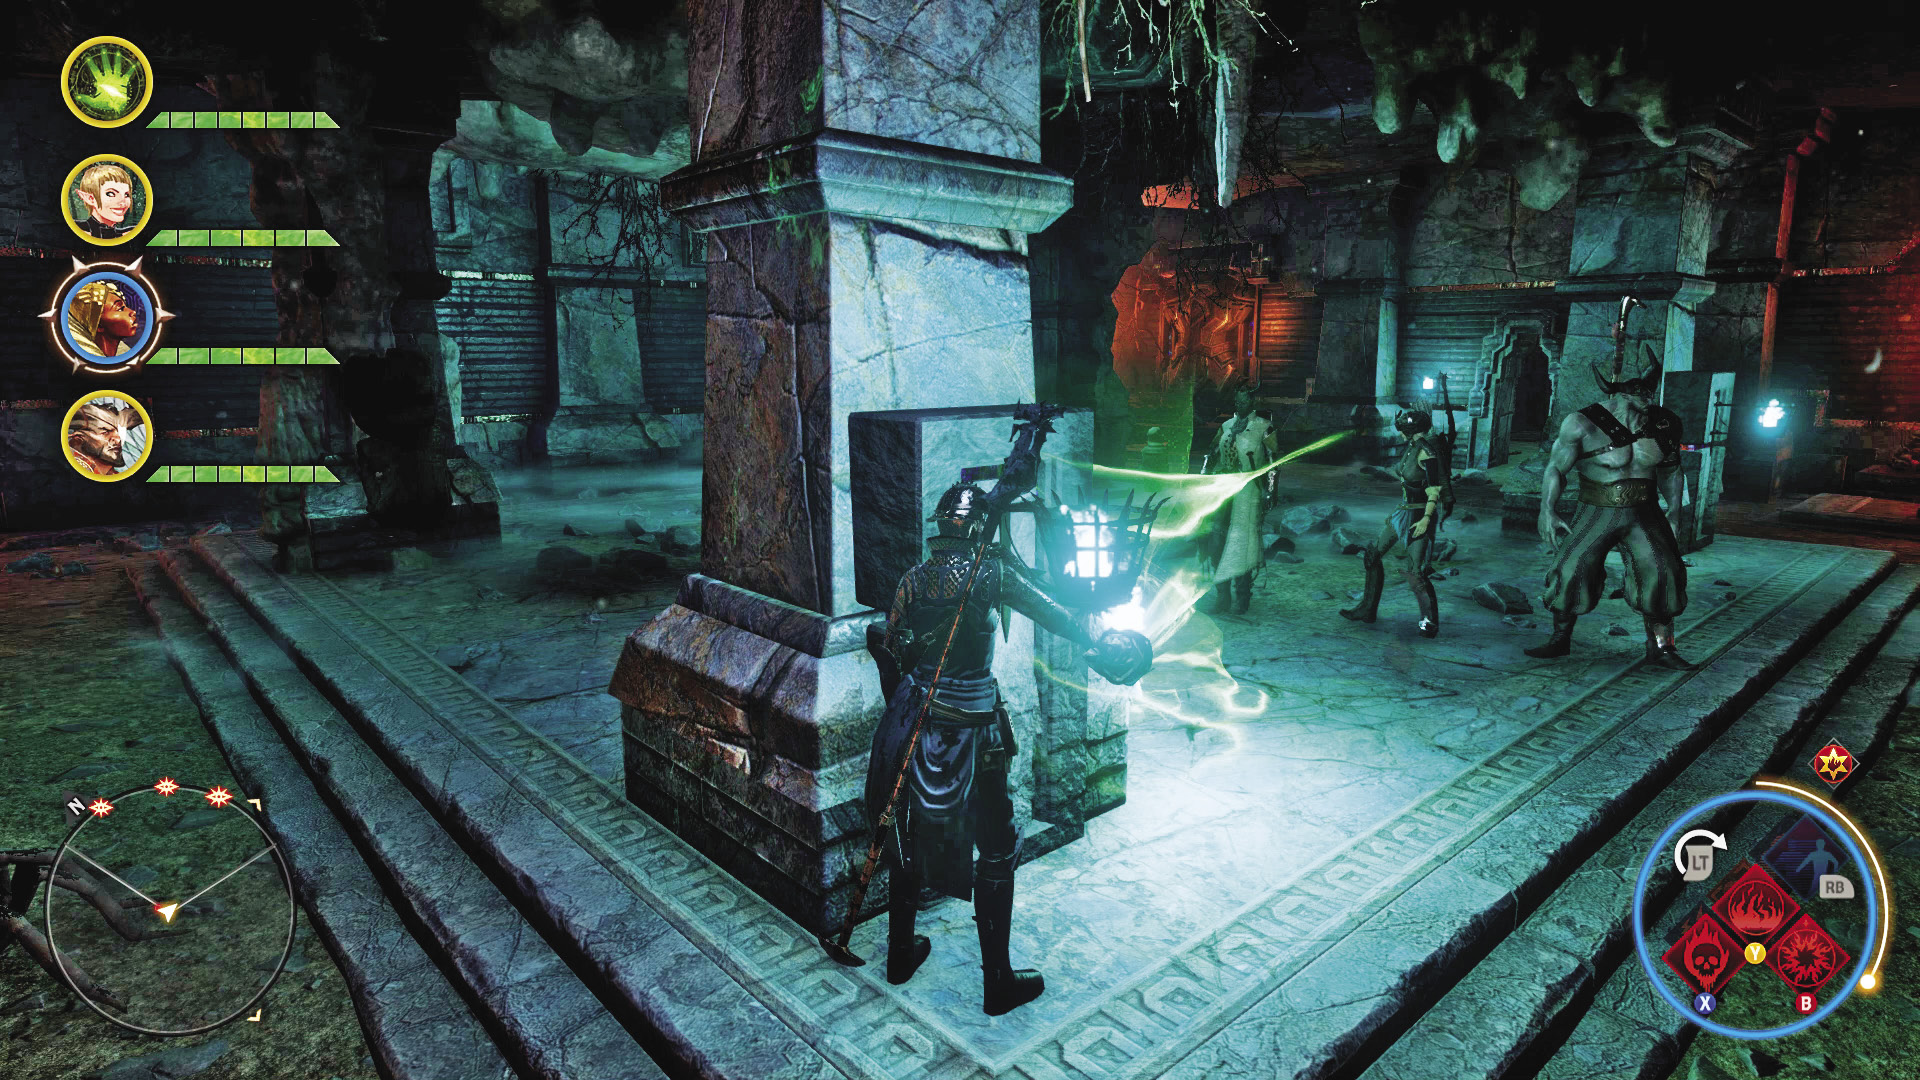
The canyon region contains one of the few vendors in the Hissing Wastes. It also contains another of the tombs with another veilfire puzzle to solve:
After many years Fairel, greatest of Paragons, could not bear life’s burden.
And with the burden growing, he called his sons to his bedside.
He bade each son swear he would take care of his brother,
And the brothers swore, and mourned when their father returned to the Stone.
Burial Grounds Tomb
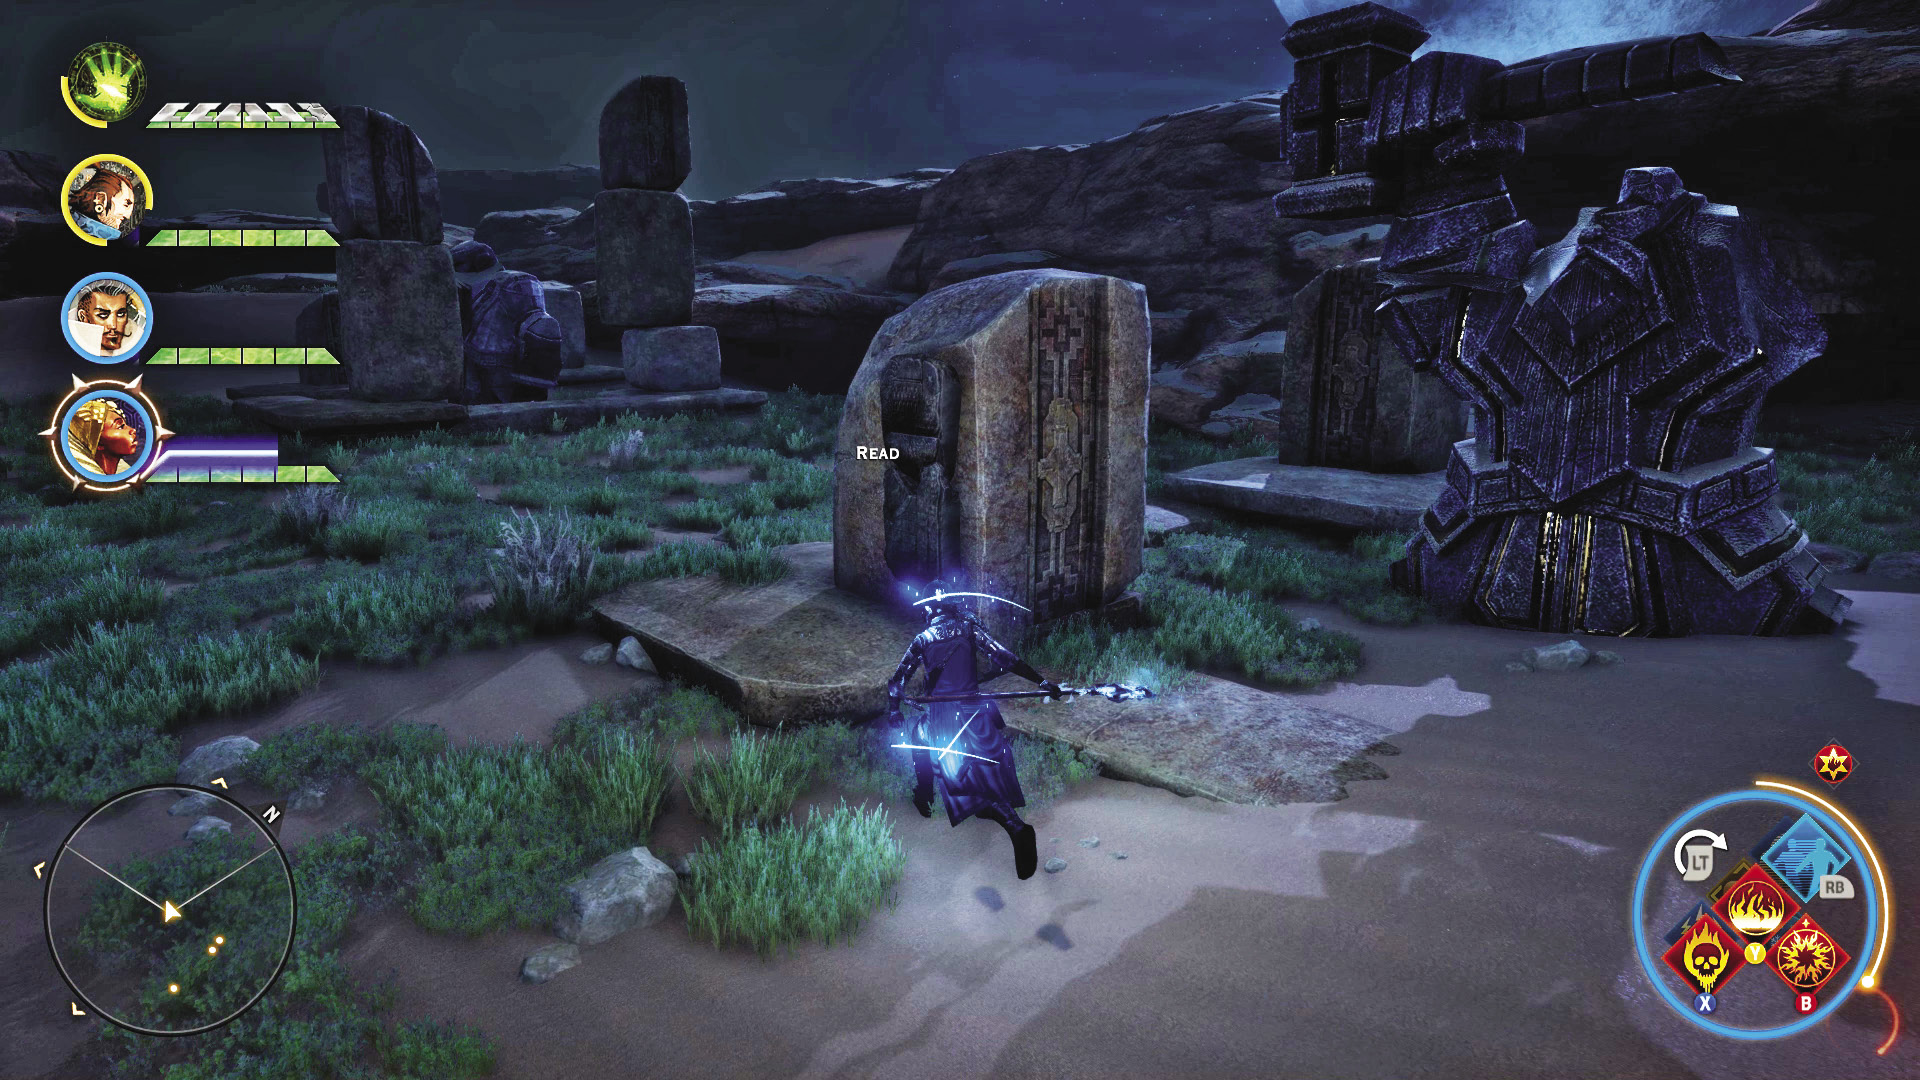
Nestled in the southwestern portion of the wastes, the burial grounds tomb is but a mere shadow of itself. Thankfully, the torch pillars, along with their passages, are still around. Use the veilfire near the sealed treasure chamber to make a torch, then light the torches in the correct order to undo the seal. The pillars are scattered around the burial grounds, so be sure to read the passages on them to ensure you’re following the correct order.
Fairel’s sons built monuments to their father, locking away his great works,
And worked together, for a time, side by side. Each ruled half the thaig,
But each ruled differently. They argued, and heated words made the brothers duel,
And where one brother fell, the other raised bloodied axe in hand, alone.
The Mountain Fortress Tomb
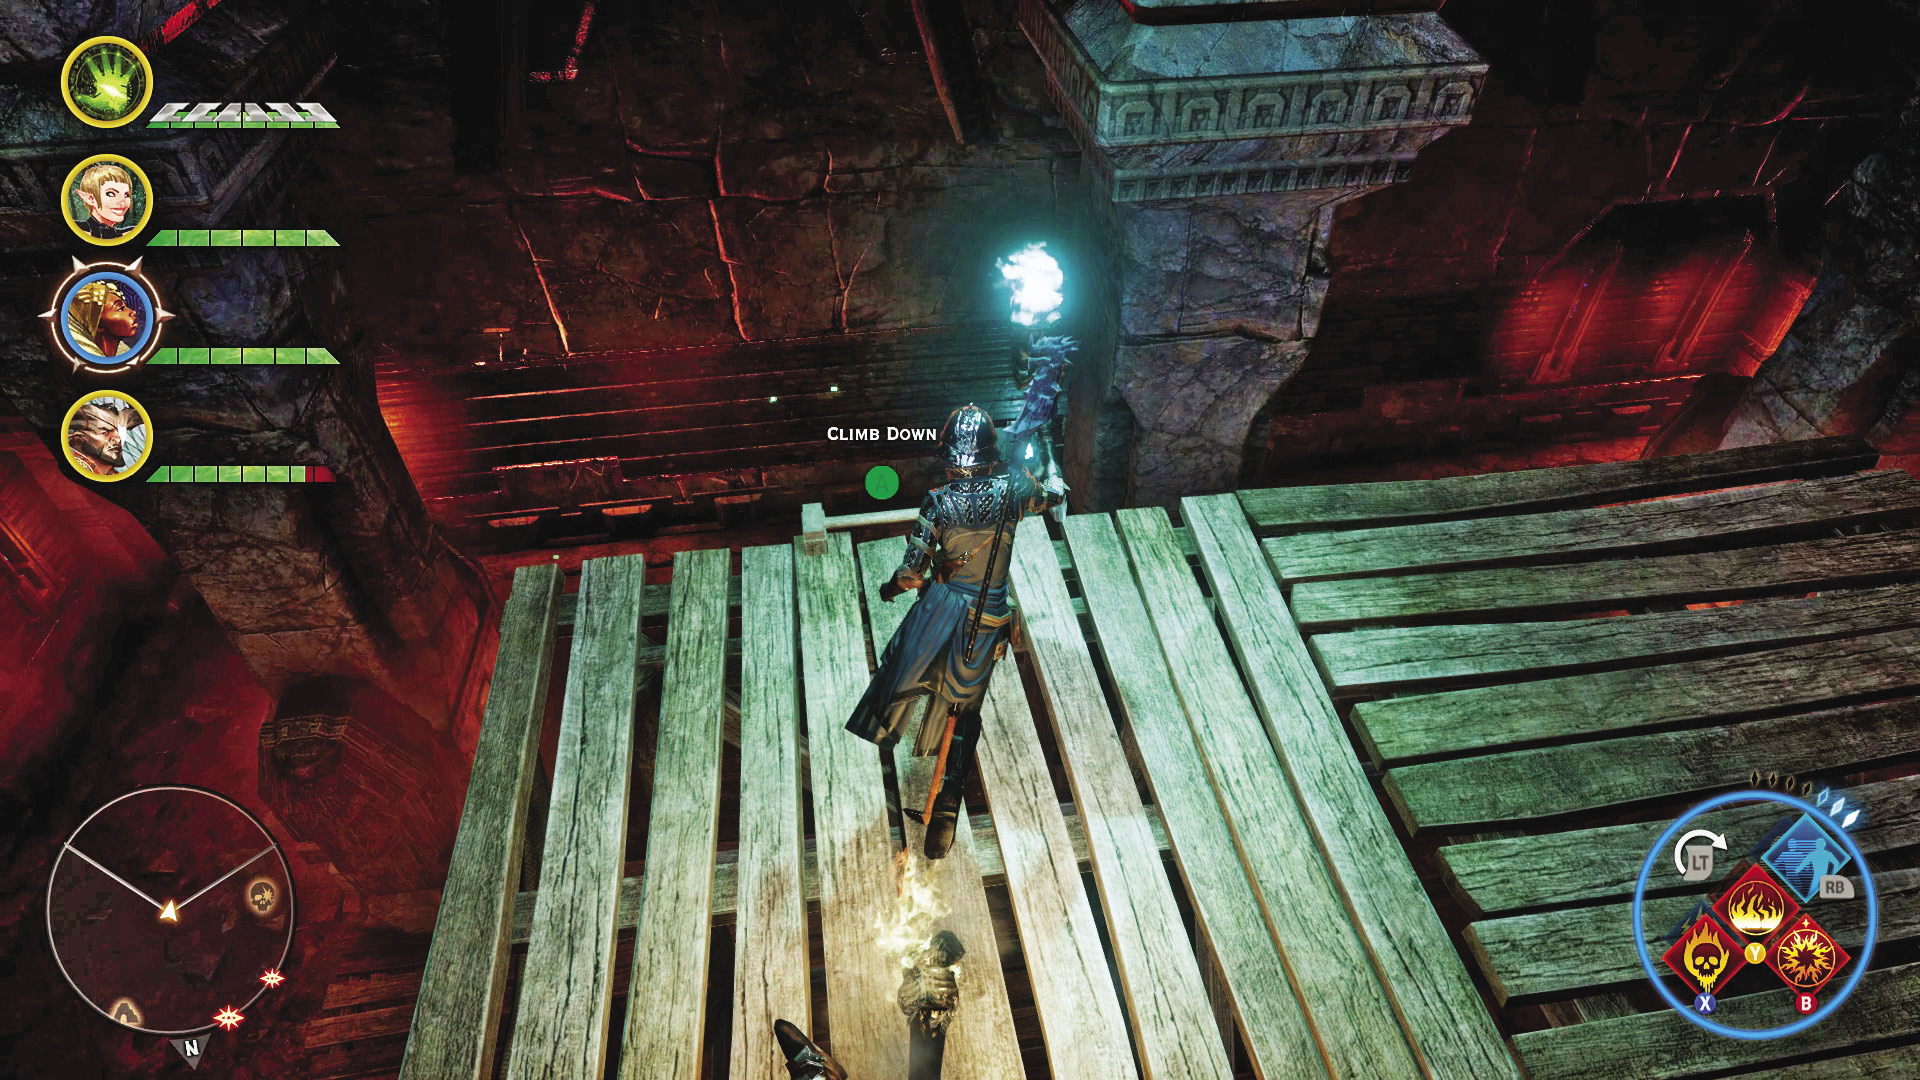
This is the largest tomb you will explore in the Hissing Wastes. The Venatori have set up a presence to protect the tunnel their slaves dug at the top of the Sunstop Mountains, down into the heart of the tomb itself. Once you get past them, you can descend safely into the tomb.
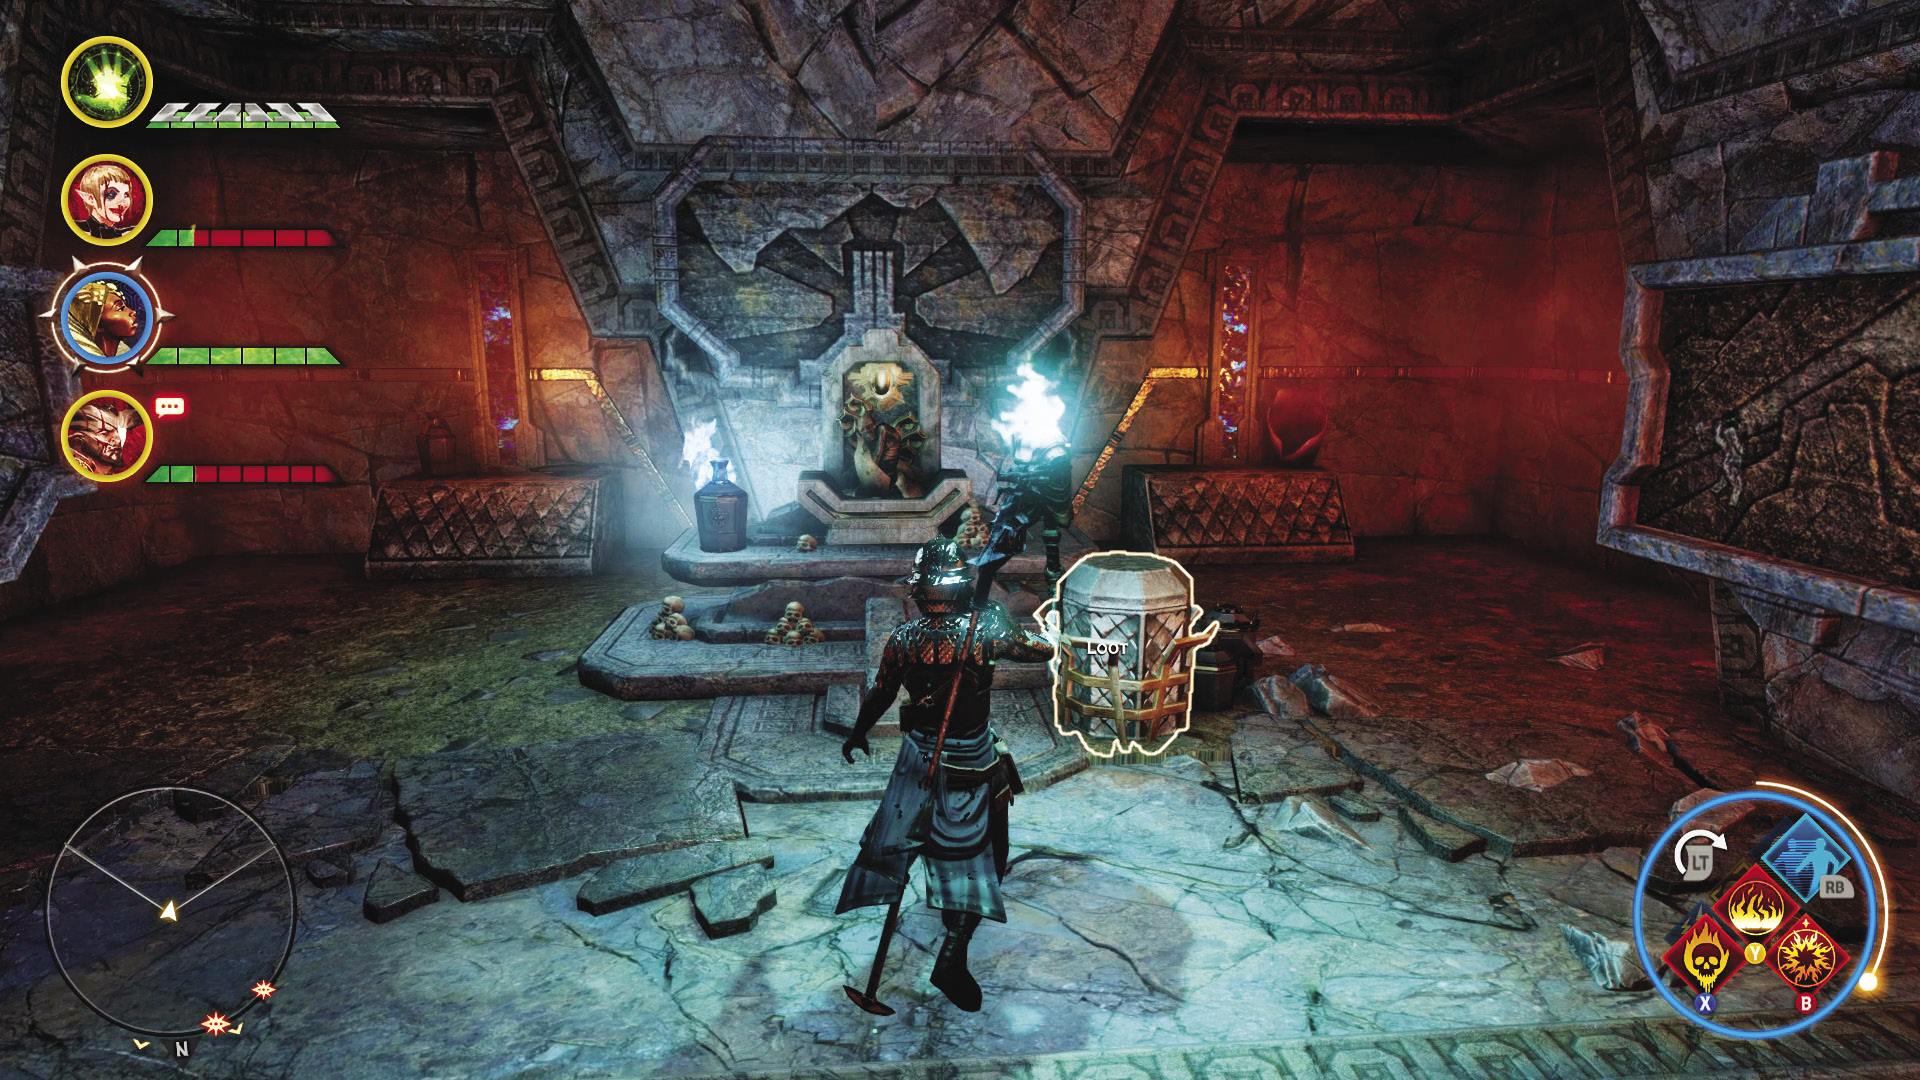
After reaching the bottom of the tomb, you have one last veilfire puzzle to solve. The correct order of the passage is as follows:
The sun burned above oceans of sand,
But in the sand was Stone, strong and true.
Fairel hewed the stone, and built—as great as any thaig in the deep.
And with his sons’ help, he ensured the thaig prospered and grew.
Collect your final key fragment, and you are at last prepared to go to the Tomb of Fairel. Get healed, and get loaded up for a High Dragon; the last obstacle between you and the secret of the tomb is the Sandy Howler.
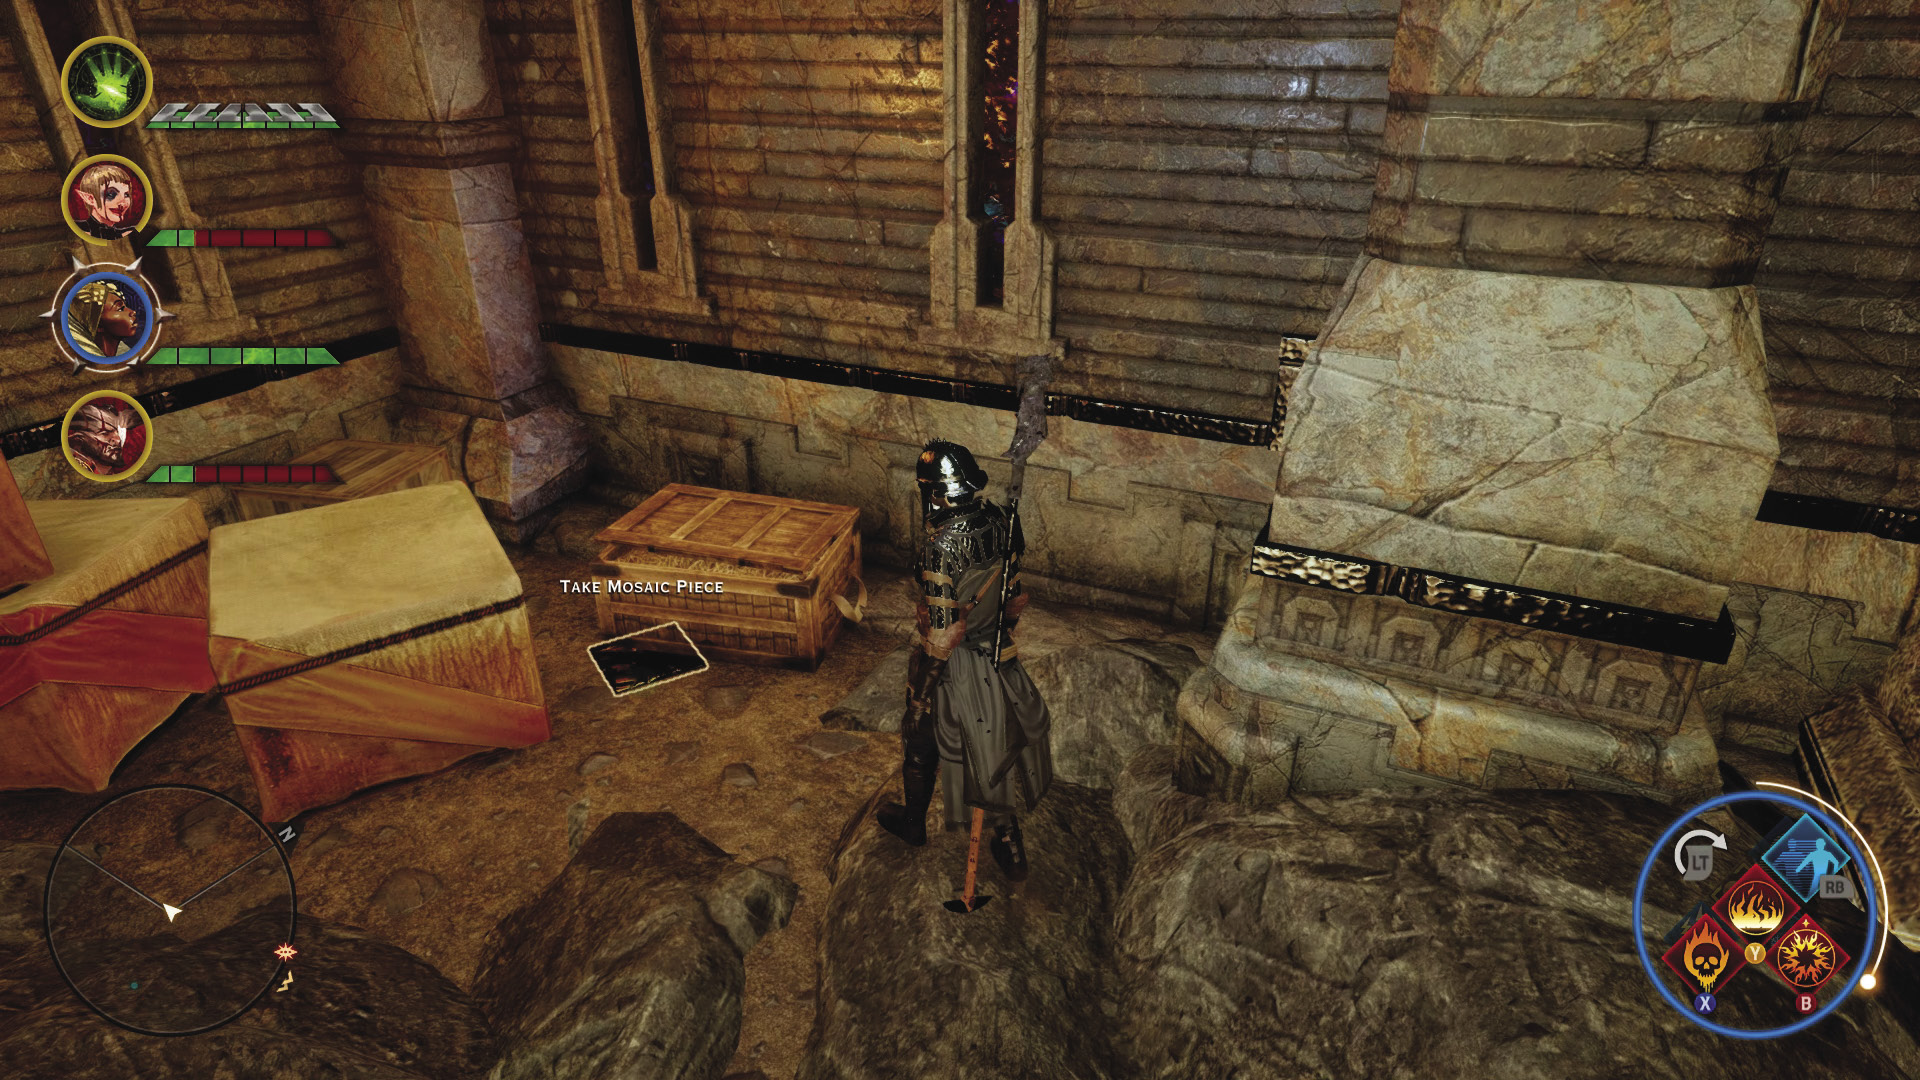
With all the key fragments yours, it’s time to go to the Tomb of Fairel. It is not marked on your map, but it can be found by heading northeast from the starting camp, following the mountain until you encounter a pair of dwarven statues standing guard at a passage leading to the Tomb of Fairel...
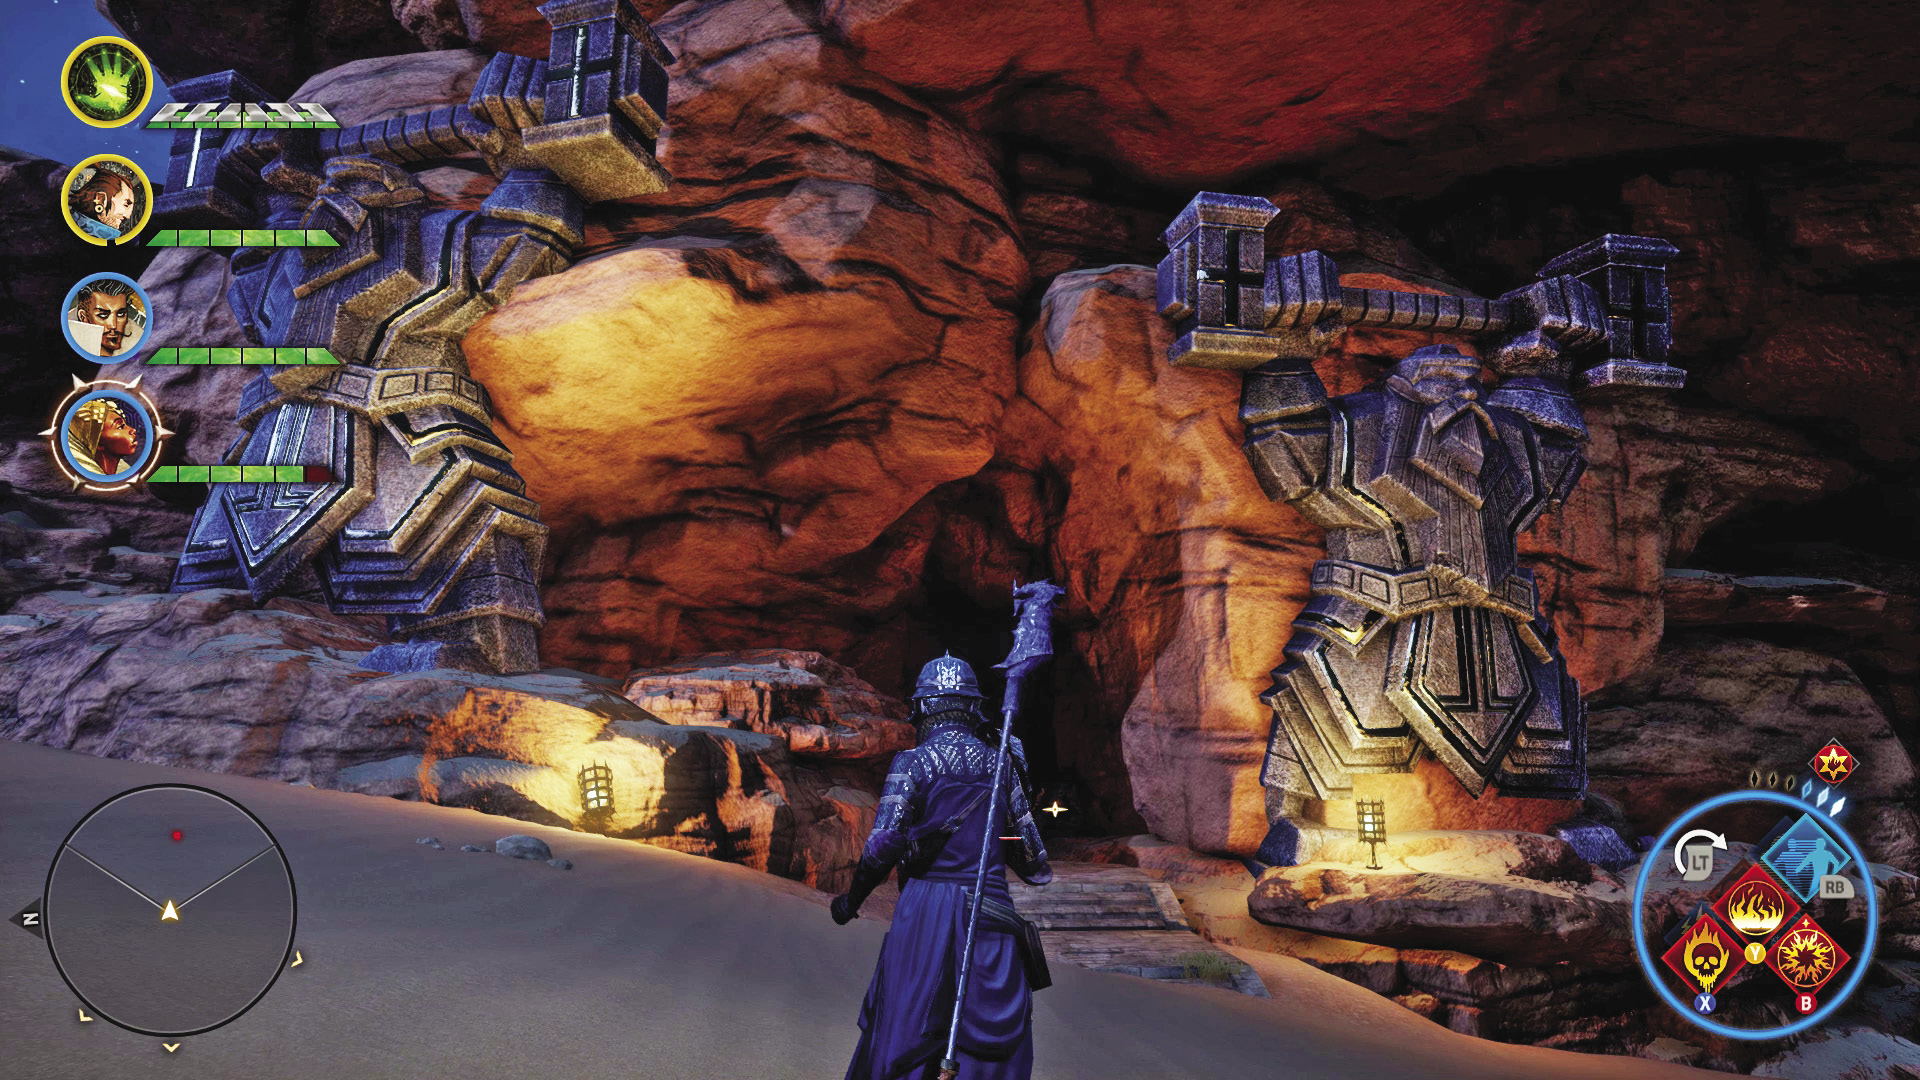
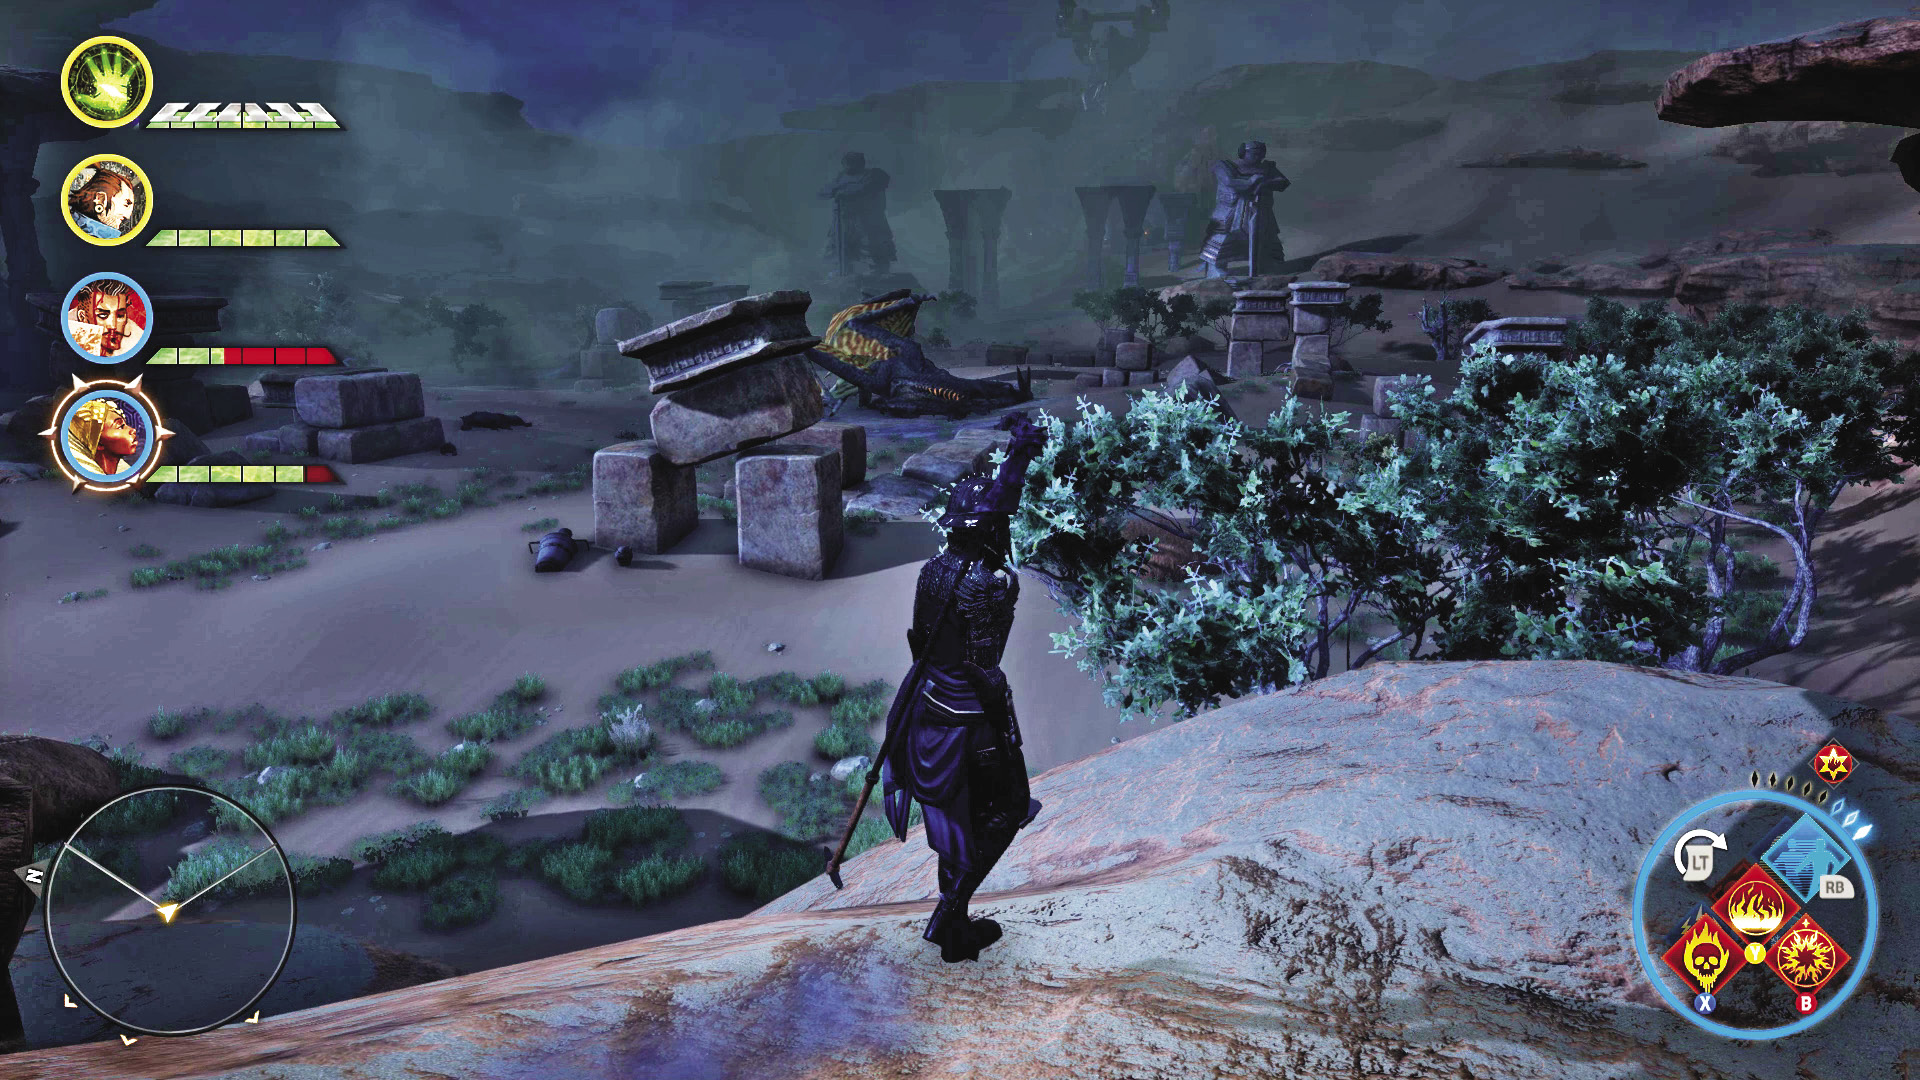
...as well as a sleeping high dragon. It’s possible to sneak past the Sandy Howler and go straight for the tomb entrance. With all five key fragments in your possession, you can avoid this fight, if you want to. But why would we want to do that?
7: High Dragon: The Sandy Howler
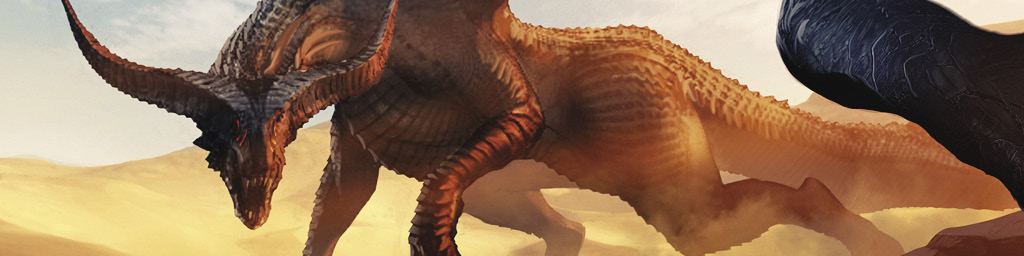
Recommended Level: 20+
Recommended Party Composition: One warrior (sword and shield), one rogue, two mages (armed with frost-damage staves)
Alternative Party Composition: Two warriors (sword and shield, two-handed weapon), two mages (armed with frost-damage staves)
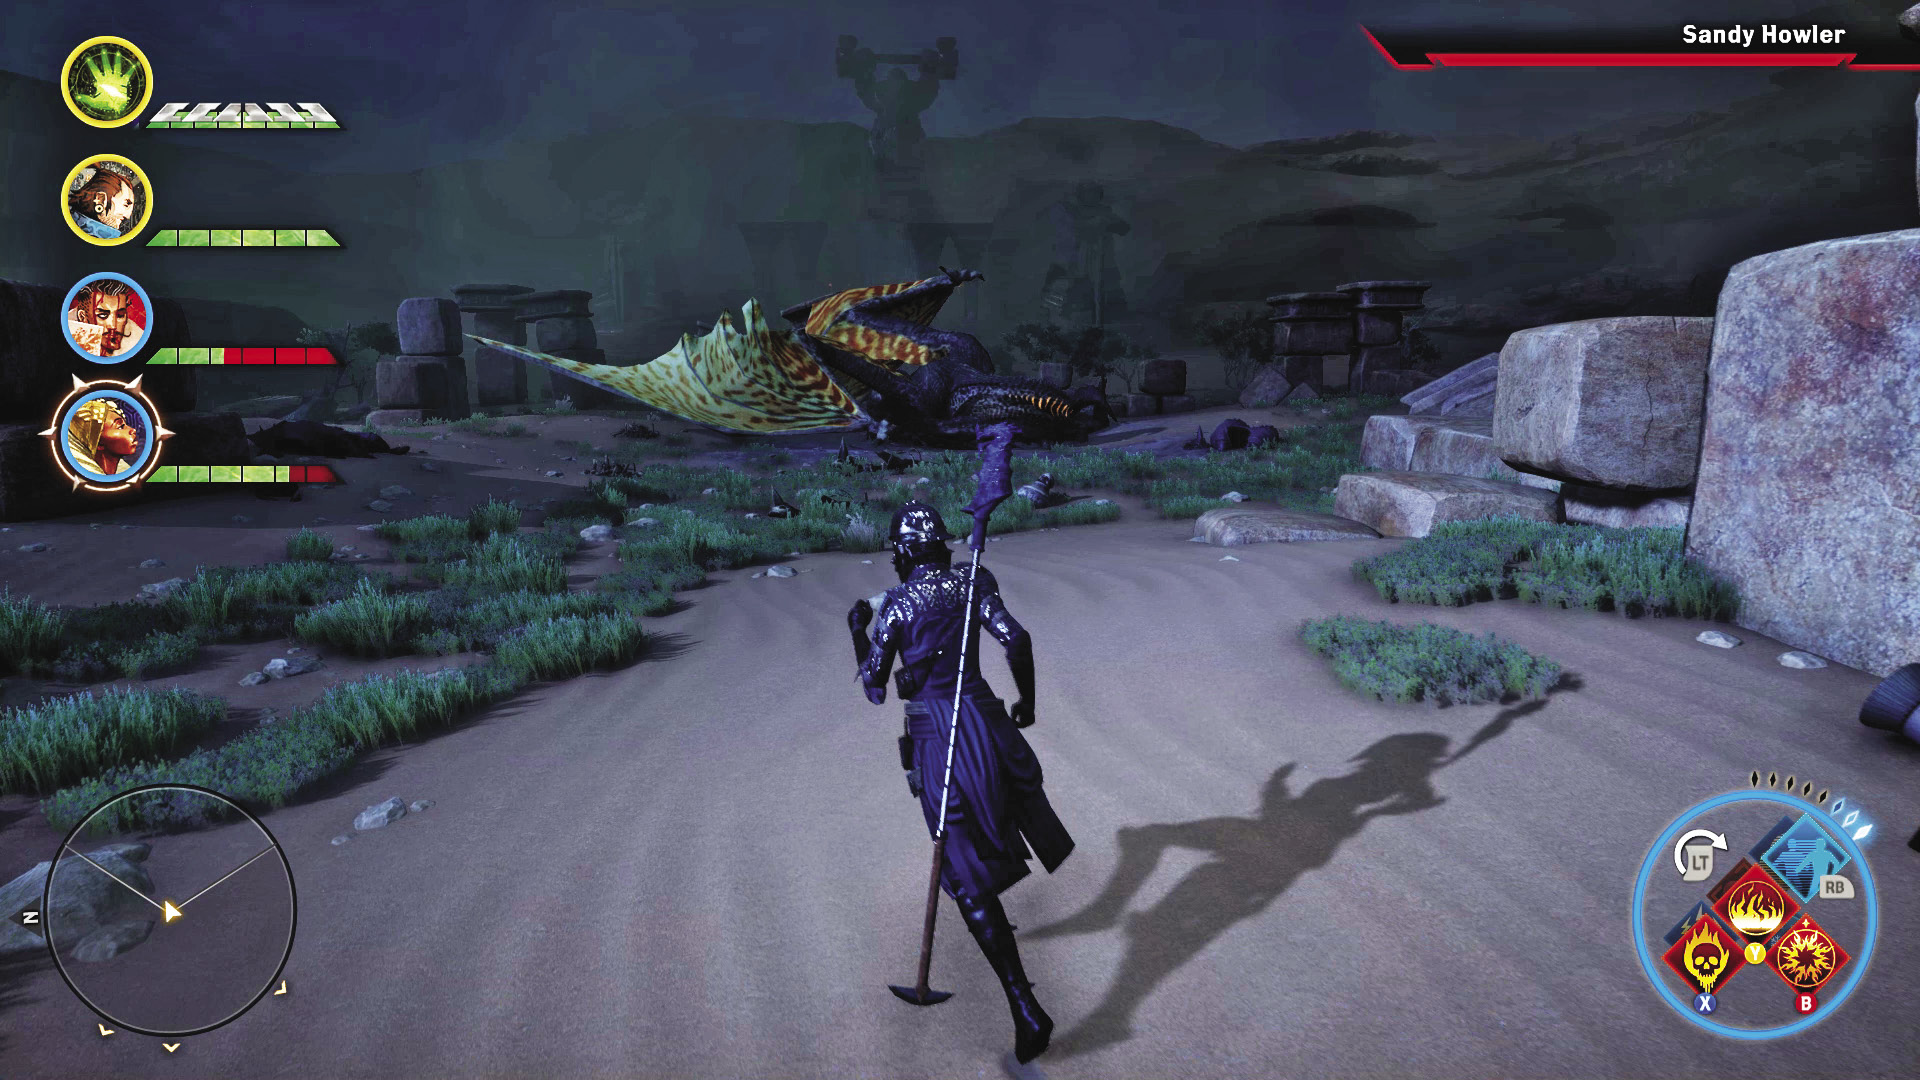
The Sandy Howler starts out at a big disadvantage. Asleep, the beast is defenseless, meaning you can start the fight by dropping Mark of the Rift right on her sleepy little head, as well as any cold-based magic spells from your mages. Any rogues or warriors brought to this fight can speed things along by having ice runes enchanted to their weapons.
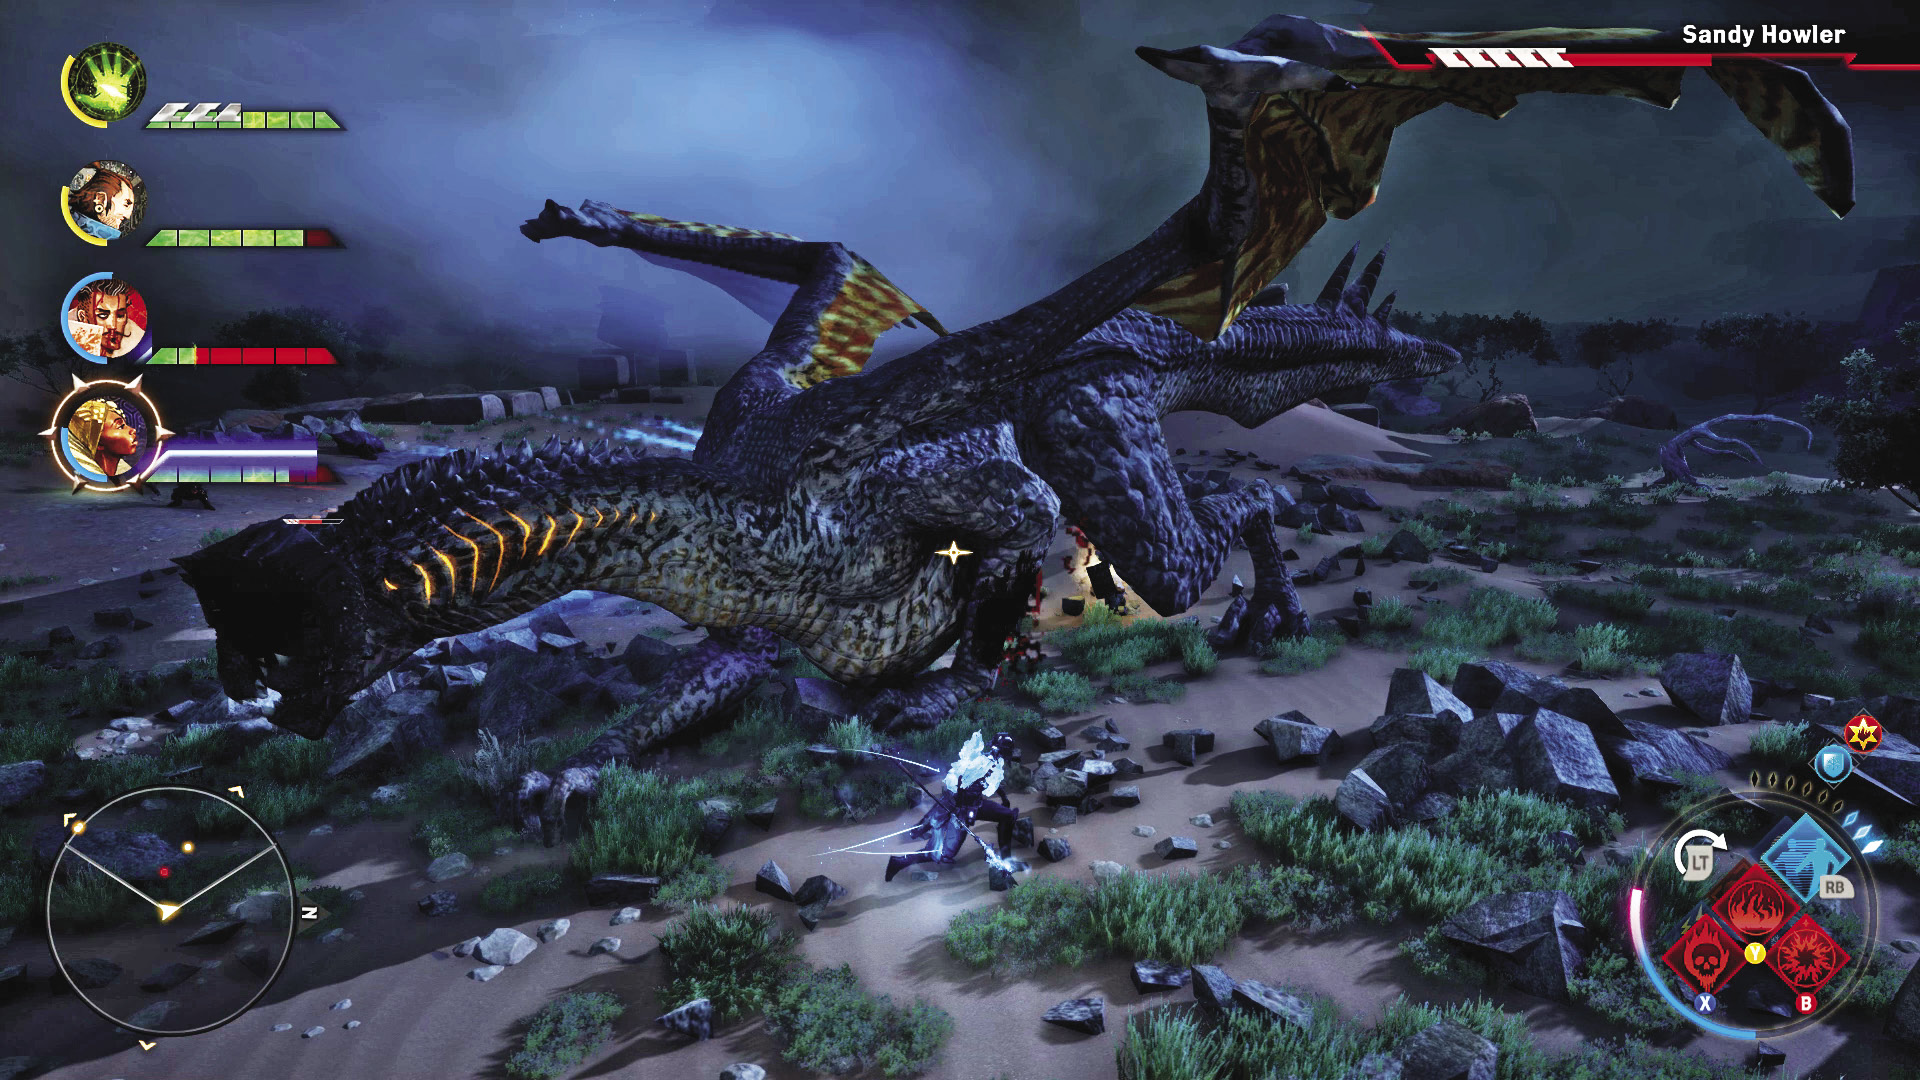
Once the Sandy Howler’s nap is rudely interrupted by your party, the fight’s on! If you’ve been dilligent with your high dragon hunts, you should be more than prepared to handle the usual repertoire of physical attacks these beasts are capable of. She will buff herself with a full guard bar, so make sure your physical attackers have abilities that can break those defenses quickly and efficiently. She will use her wings to generate a powerful wind pressure field that hurts anyone in range of her, while deflecting ranged attacks. Any mages in the group should be made to shield the frontliners during the wind pressure so they can stay on the Howler’s limbs, hopefully forcing a knockdown as soon as possible.
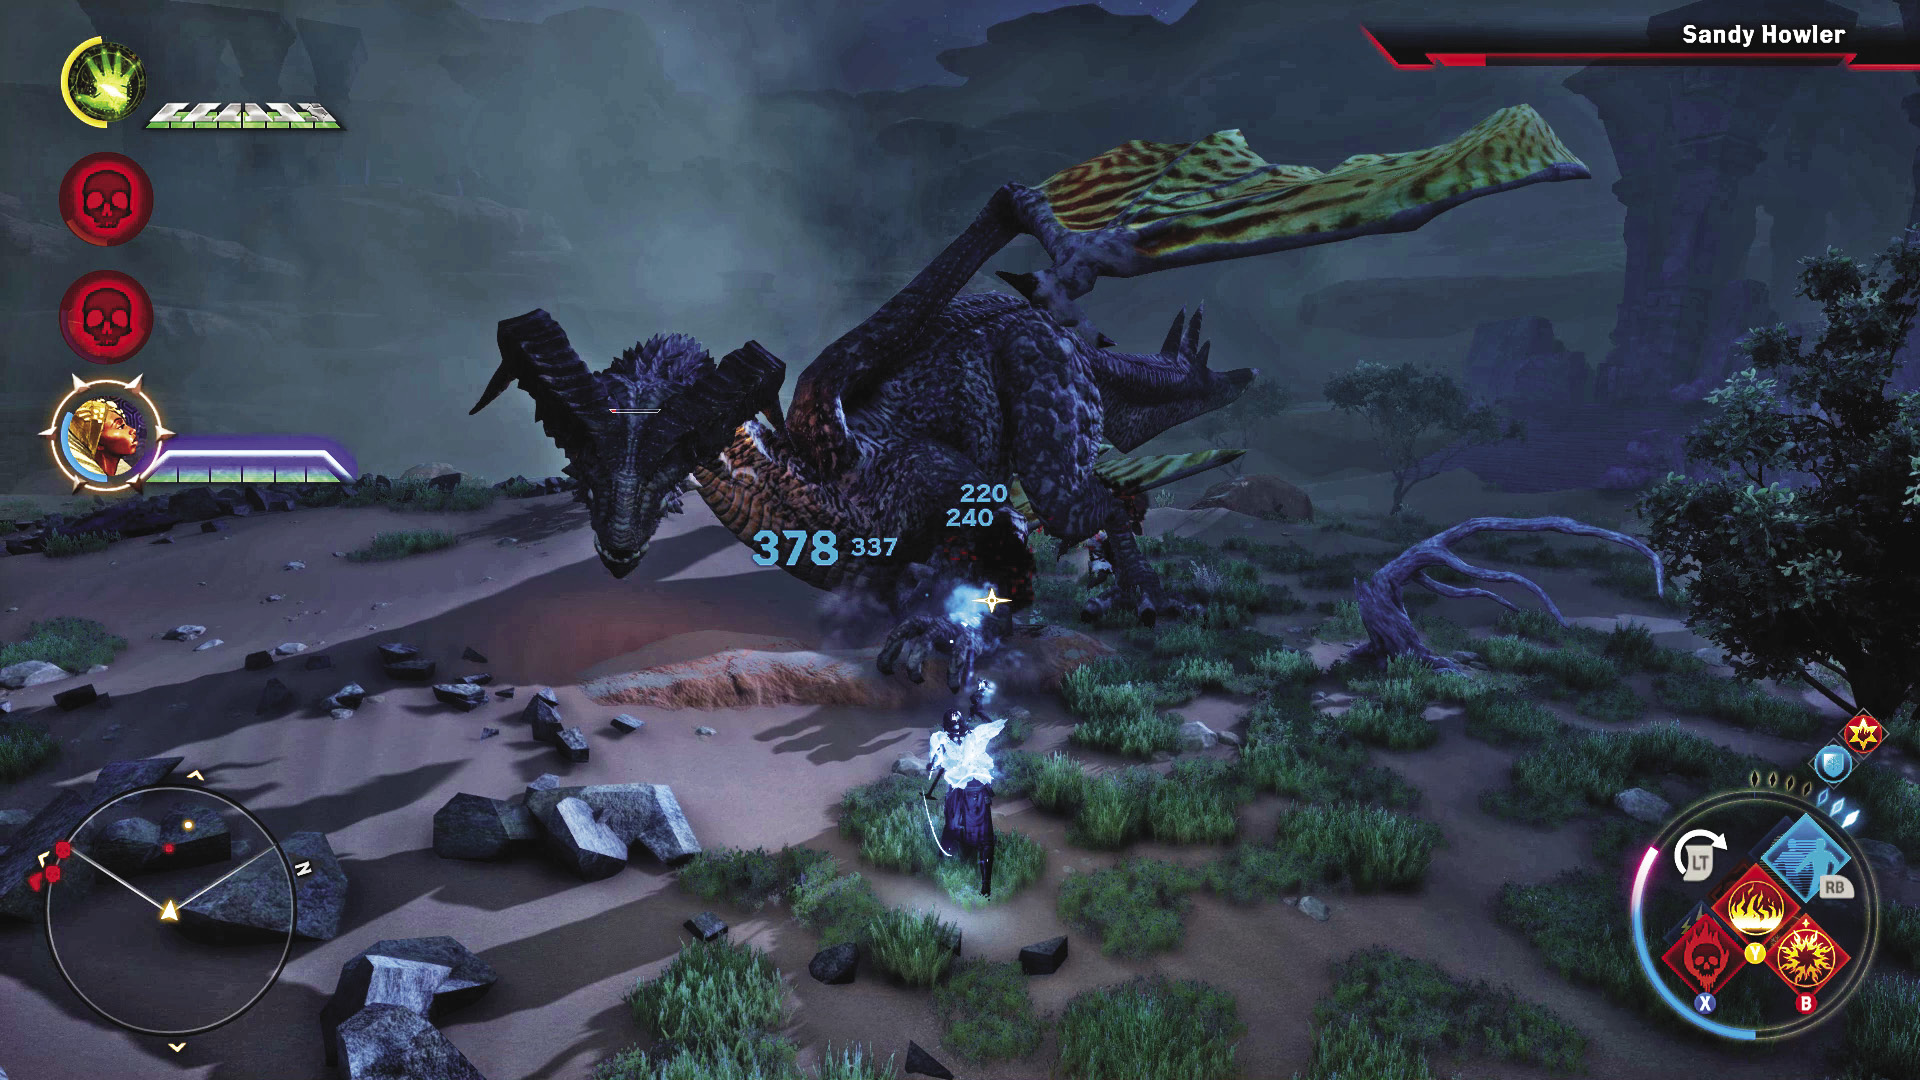
The Sandy Howler has an affinity to fire, appropriate for a desert dweller such as herself. Expect fire breath attacks in between leaps around the arena.
When the Sandy Howler’s health drops to around 50 percent, she will start to use stunning roars that call in dragonlings to assist her. Cull these as quickly as you can before turning the party’s attention back to the Sandy Howler.
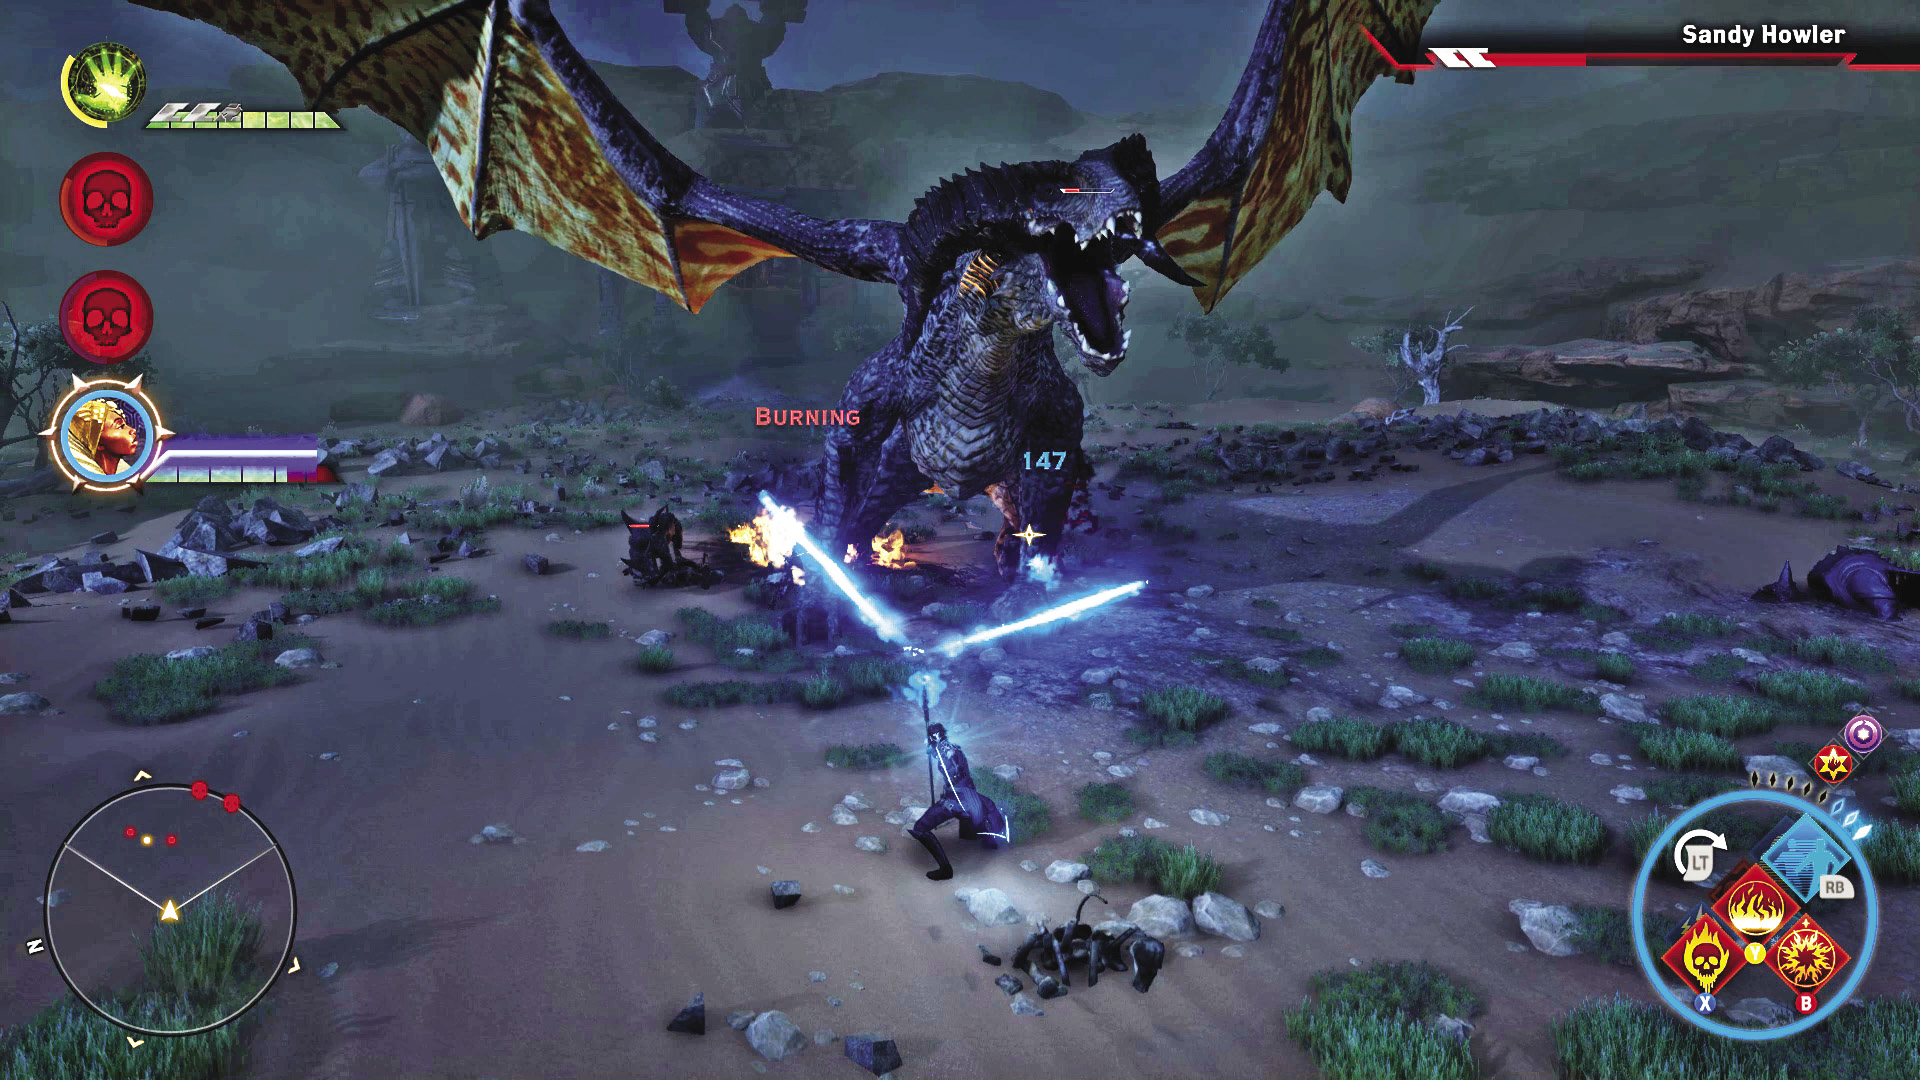
With the Sandy Howler dead, or resting peacefully, enter the Tomb of Fairel with your assembled key fragments. After everything else you’ve gone though, the last part of this quest is refreshingly simple: Go to the treasure chest at the end of the tomb’s hall and loot the whole thing. The Venatori have lost their chance at these relics, thanks to the Inquisition’s efforts!