
Dragon Age Inquisition Guide Exploration Inner Circle Quests
Inner Circle Quests
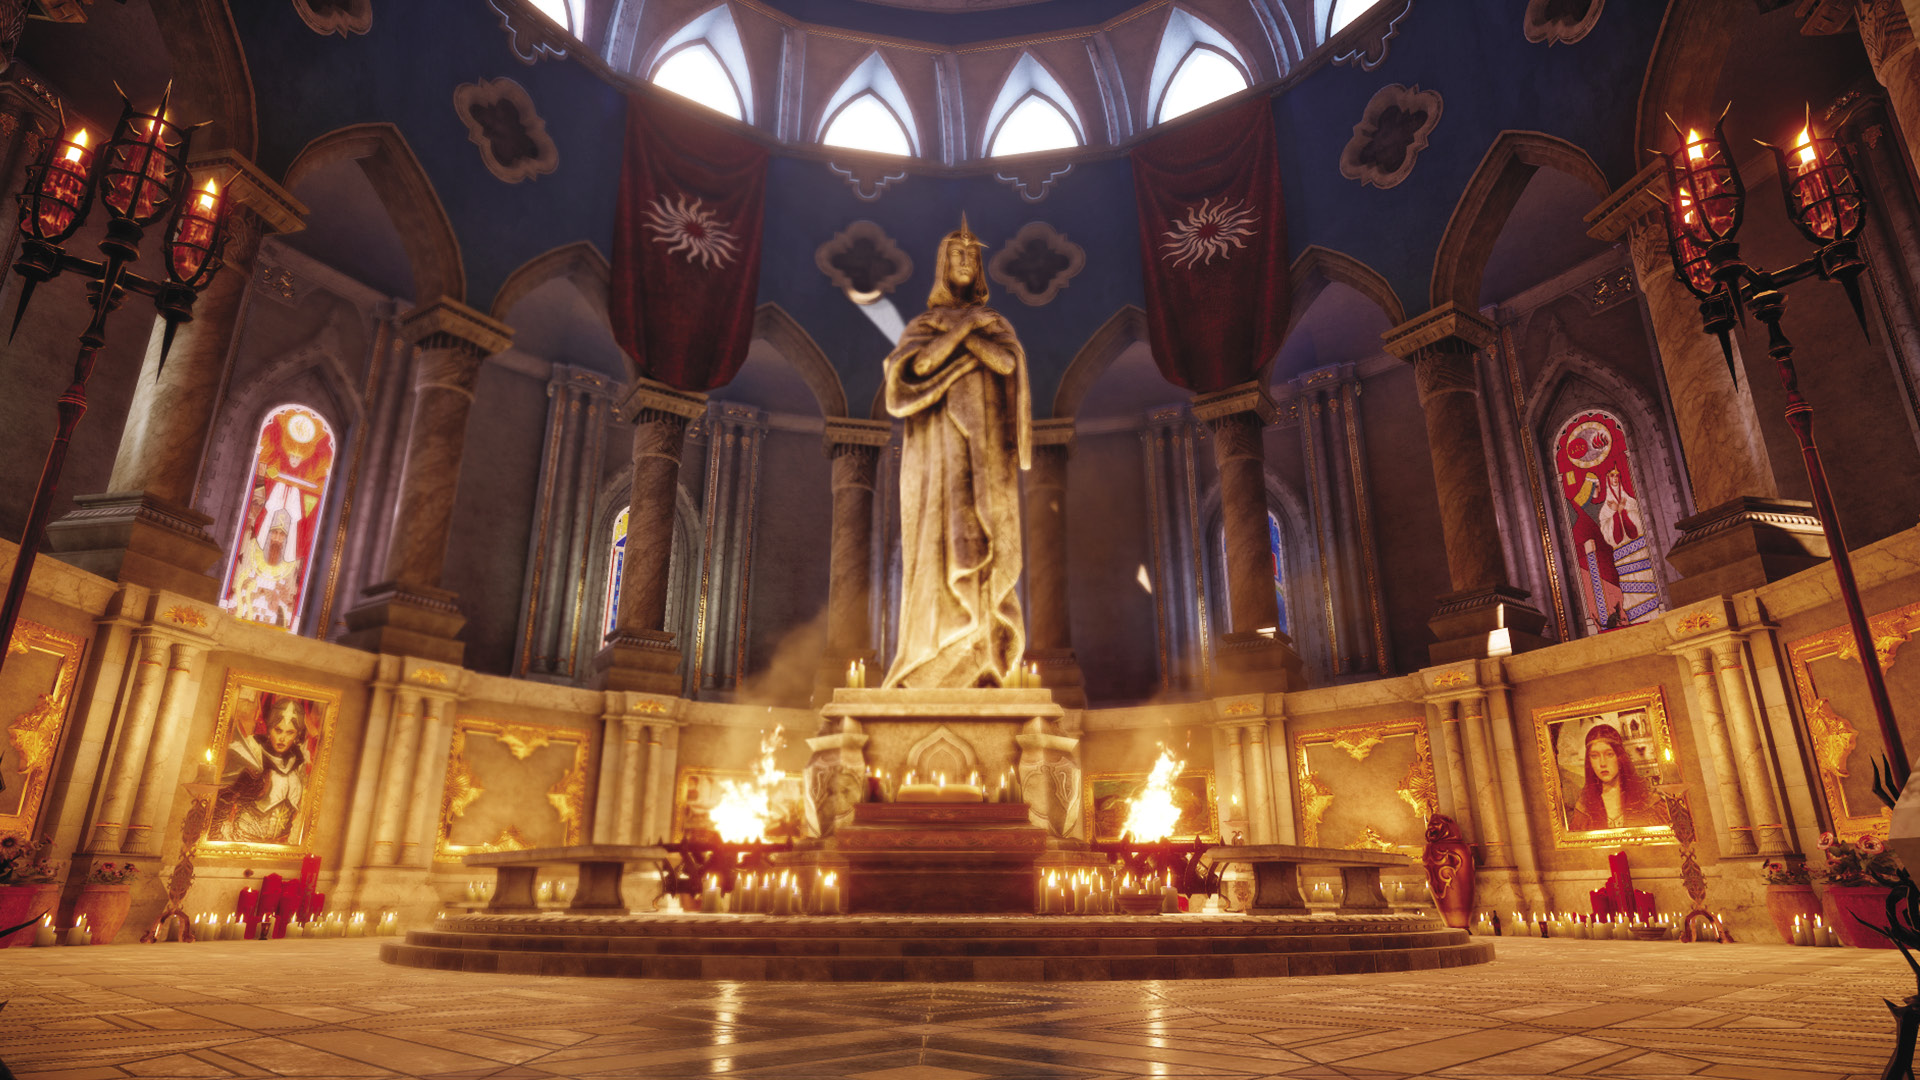
The Inquisitor’s inner circlecomprises followers and advisors loyal to the Inquisition’s ambitious cause. In some way, all members of the inner circle have distinguished themselves, either on the field of battle or in the equally treacherous arena of Orlesian politics. But like the people they have sworn to protect, the Inquisitor’s inner circle members have needs, too. It is up to the Herald to assist these friends and allies, so that they can return the favor and hopefully pull the continent back from the brink of catastrophe.
Each follower and advisor has a set of inner circle quests, requiring you to fulfill a variety of tasks. Helping your inner circle is a good way to build approval and may also nurture a budding romance. Among these quests are the two nemesis quests, offered by Cullen and Leliana. If you sided with the mages, your nemesis is Samson, making Cullen’s Before the Dawn quest available. Allying with the templars makes Calpernia your nemesis, and Leliana’s Under Her Skin quest becomes available.
Unfinished Business

Quest Giver: Cassandra
Description: Since the Seekers’ strange absence, some of their high-profile cases have been left unchecked. Help Cassandra hunt the targets down.
Requirements: Available at Skyhold
Reward: 2,025 XP, 910 Influence, 2 Power
Objectives:
 Take down Ser Rebenger Torn in the Ferelden Hinterlands.
 Take down Leo of Lucien Bay in the Western Approach.
 Take down Ser Hildebrandt in the Exalted Plains.
 Take down Jepler the Unbound in the Emerald Graves.
 Take down Gordon the Frank in the Emprise du Lion.
After the setback that sends you to Skyhold, you can talk to Cassandra, and she will explain that the Seekers, no longer a presence in affairs across Thedas, have allowed some dangerous people to run free. The list of targets has them spread far and wide, and you may not be able to reach them all initially. The marks all increase in difficulty based on the locale they are found in.
Ser Torn is a rogue, and he can be rather evasive in combat. He does have an ally with him, but the pair shouldn’t be hard to handle. You’ll find him near the Forest Camp.
Leo is a mage of considerable skill with ice magic, and he’s got three other mages at his side. Strike fast, strike hard—no mercy to any of these apostates. He waits in Echoback Canyon.
Hiding in the Crow Fens, Ser Hildebrandt is a guardsman of repute, and his shield makes frontal assaults a challenge. Also bothersome is the large group of archers tagging along with him.
Jepler has hidden himself in the Hopwood of the Emerald Graves, joining sides with the Freemen of the Dales. He has backup in the form of more mages.
Gordon is camped out near Elfsblood Tower. He is the most dangerous of all the targets, speaking strictly from individual strength. He has another rebellious mage at his side.
Promise of Destruction
Quest Giver: Cassandra
Description: Cassandra has reason to believe that Corypheus is behind the disappearance of the Seekers of Truth, but she requires help to prove it.
Requirements: Available at Skyhold
Reward: 1,025 XP, 400 Influence, 3 Power
Objectives:
 Investigate the disappearance of the Seekers.
 Travel to Caer Oswin.
 Explore the castle.
 Find Lord Seeker Lucius.
During a conversation with Cassandra she voices concern about the disappearance of the Seekers of Truth and asks for your help. Offer your support by completing the Locate the Missing Seekers operation on the war table. This unlocks the Castle of Caer Oswin on the world map—go there with your party.
Proceed along the outskirts of the castle until you come to a door leading to a dungeon. Fight your way past several foot soldiers, retrieving a dungeon key off one of their bodies. The key unlocks the nearby door, providing access to the castle’s interior. Enter the castle courtyard from the elevated walkway on the west side, preferably using your ranged party members to fire down on the enemies below. Cassandra finds a note from Samson on one of their bodies. it appears the Seekers have been sold to the cultists.
After the discussion with Cassandra, climb the stairs to the north to enter a large chamber filled with more cultist enemies. Following the fight, continue advancing through the castle until you discover a wounded Seeker, Daniel—a former apprentice of Cassandra. Daniel reveals it was Lord Seeker Lucius who lied and sold out the Seekers to Corypheus. At Daniel’s request, Cassandra ends his suffering. Cassandra is now determined to find Lucius.
Climb a series of stairs, entering another courtyard filled with more cultist enemies. Defeat the cultists and follow the path to a door—open it to confront Lucius. The Lord Seeker cannot be reasoned with, so prepare for a fight—Lucius is resistant to electricity and spirit-based attacks. Wait until Lucius and his soldiers are in a tight group, then use an AoE attack (like Mark of the Rift) to hit them all at once. Focus on eliminating Lucius’s security detail first, then consolidate your offensive power on the Lord Seeker himself. After the battle, interact with the door to the west to return to Skyhold. Speak to Cassandra there to complete the quest.
Guilty Pleasures
Quest Giver: Cassandra
Description: It seems Cassandra really likes Varric’s book Swords & Shields. And she’s caught up. And the book’s unfinished. See Varric about getting the last chapter for Cassandra.
Requirements: Available at Skyhold
Reward: Cassandra’s approval
Objectives:
 Talk to Varric about Swords & Shields.
 Give Cassandra the latest chapter of Swords & Shields.
If you speak with Cassandra at Skyhold, you might catch her reading Swords & Shields. In the amusing conversation that follows, she endures Dorian’s mockery, and your own if you want to earn her disapproval. However, she does suggest that you could possibly order Varric to complete the series.
Varric is surprised that he has a reader in Cassandra. You can convince him to complete the book for her, but he will insist on being there for the fun. This is totally worth it and you should ensure maximum embarrassment for all parties involved. Once you get Varric to complete the book, go back to Cassandra and watch things unfold.
The Ideal Romance
Quest Giver: Cassandra
Description: When it comes to romance, Cassandra prefers the ideals. Someone who sweeps her off her feet with candles, poetry, and flowers. Track these things down for her.
Requirements: Finished Guilty Pleasures and on friendly terms with Cassandra. Male Inquisitor only.
Reward: 128 XP, 80 Influence
Objectives:
 Talk to a vendor in Redcliffe about poetry books.
 Find the dwarven bookseller’s missing caravan.
 Talk to a gardener about flowers in Val Royeaux.
 Search the stores of Val Royeaux for some candles.
 Romance Cassandra with the candles, a poetry book, and flowers.
Poetry, candles, and flowers are all classic romantic gestures, so travel to Redcliffe to find a book of poetry to recite to Cassandra. The bookseller has unfortunately been robbed. Track down the thieves, defeat them, and pick up the book of poetry. The other two items can be found in Val Royeaux—speak with a gardener about purchasing some flowers, then search the other stores for some candles. Once you have all the items, return to Cassandra. She will be impressed by the sincerity of your efforts, and you two share a tender, passionate moment together, becoming romantically involved from now on.
Measuring the Veil

Quest Giver: Solas
Description: Solas has learned of an artifact in the Hinterlands that he wishes to study.
Requirements: Available at Haven
Reward: Solas’s approval
Objectives:
 Travel to the Hinterlands with Solas.
 Locate the artifact.
 Use the artifact.
Speaking with Solas in Haven, you can eventually earn his trust enough that he will ask for assistance with investigating a relic he’s heard of in the Hinterlands. Take him in your active party and head toward the East Road, where the artifact is said to be.
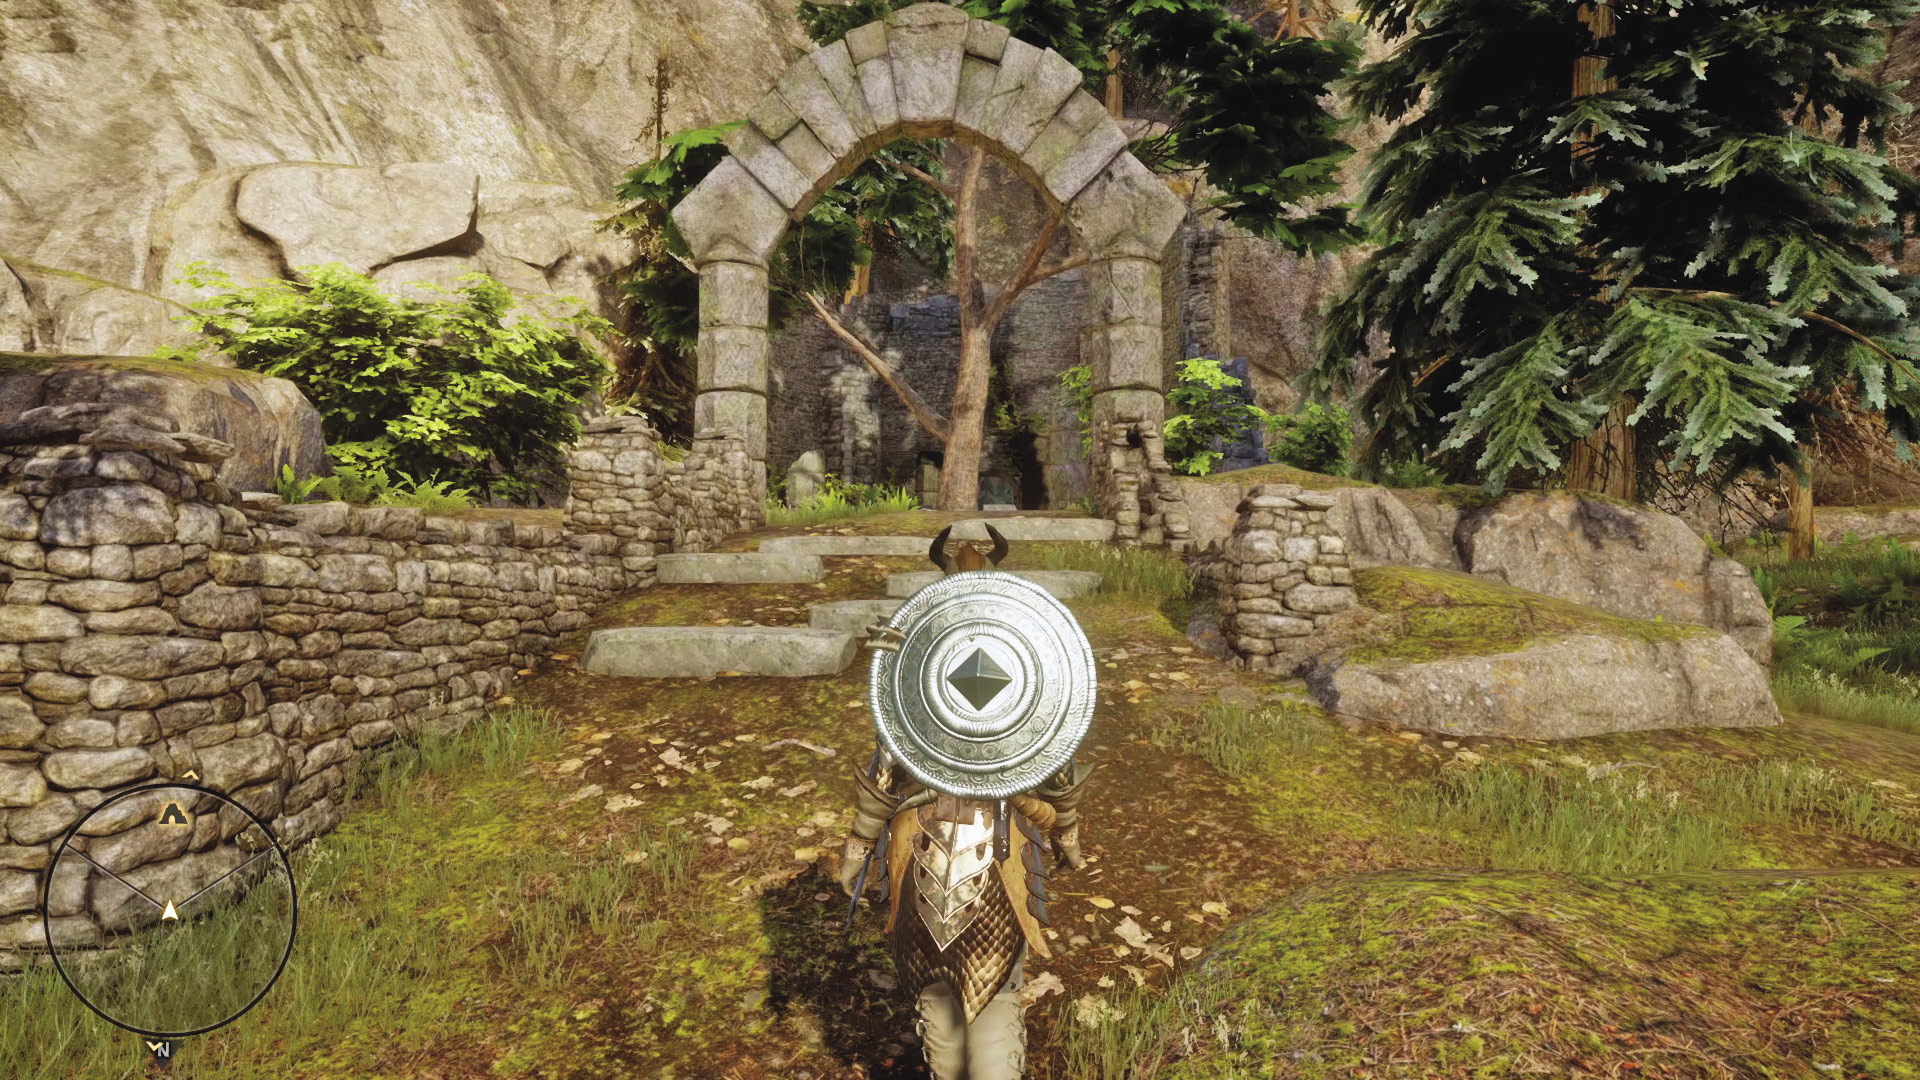
As you approach the ruins, you’ll find a warrior named Mihris in battle against multiple demons. Saving her from the demons prompts a chat. She’s here for an artifact, much like Solas is. She claims it can measure the Veil, and possibly allow for predictions on where more Fade rifts will appear. You can tell her to leave, or you can allow her to stay while you push into the ruins. A veilfire torch can be lit near the entrance of the cave ruins—you’ll need it later.
The cave is infested with more demons. Clearing them out, you find the artifact at the back the cave, and it measures the Veil, as was rumored. At this point, if Mihris is still present, she is happy to tell you that things have worked out, and now it is time to part ways. You can prompt Solas to convince Mihris to hand over an Amulet of Power she tried to slip out of the ruins with.
What Lies Dormant
The measuring devices are scattered across Ferelden and Orlais, and we’ve marked them on locale maps throughout the Exploration chapter. If Solas is in your party when you find and activate them, you gain approval. Should you find at least 10 of the devices, you can unlock a war table operation: Measure Veil Strength. Complete the operation, and you’ll hear word from Solas about the location of a Fade rift that has yet to open. Go to the designated location in the Hinterlands behind the Redcliffe Farms, and prepare for a fight to seal the rift. This is a high-level fight, so be prepared for some very tough demons!
All New, Faded for Her

Quest Giver: Solas
Description: One of Solas’s old friends, a spirit, has been summoned against its will, and needs his help.
Requirements: Available at Skyhold
Reward: 1,025 XP, 400 Influence, 3 Power
Objectives:
 Find the spirit with Solas in the Exalted Plains.
 Deal with the demon.
 Speak to Solas.
Solas’s personal plot begins with a plea to help him assist his friend in the Exalted Plains. The spirit, summoned against its will, reached out to Solas for a brief moment in time. Take Solas with your active party to the Exalted Plains. The spirit itself is not far from the Dalish camp.

When you arrive at Enavuris in the plains, you find that the spirit has been turned into a pride demon. A mage runs up, begging for help, and Solas is furious. After a short conversation with the mage, a solution to the demon problem is brought up: disrupt the summoning circle.
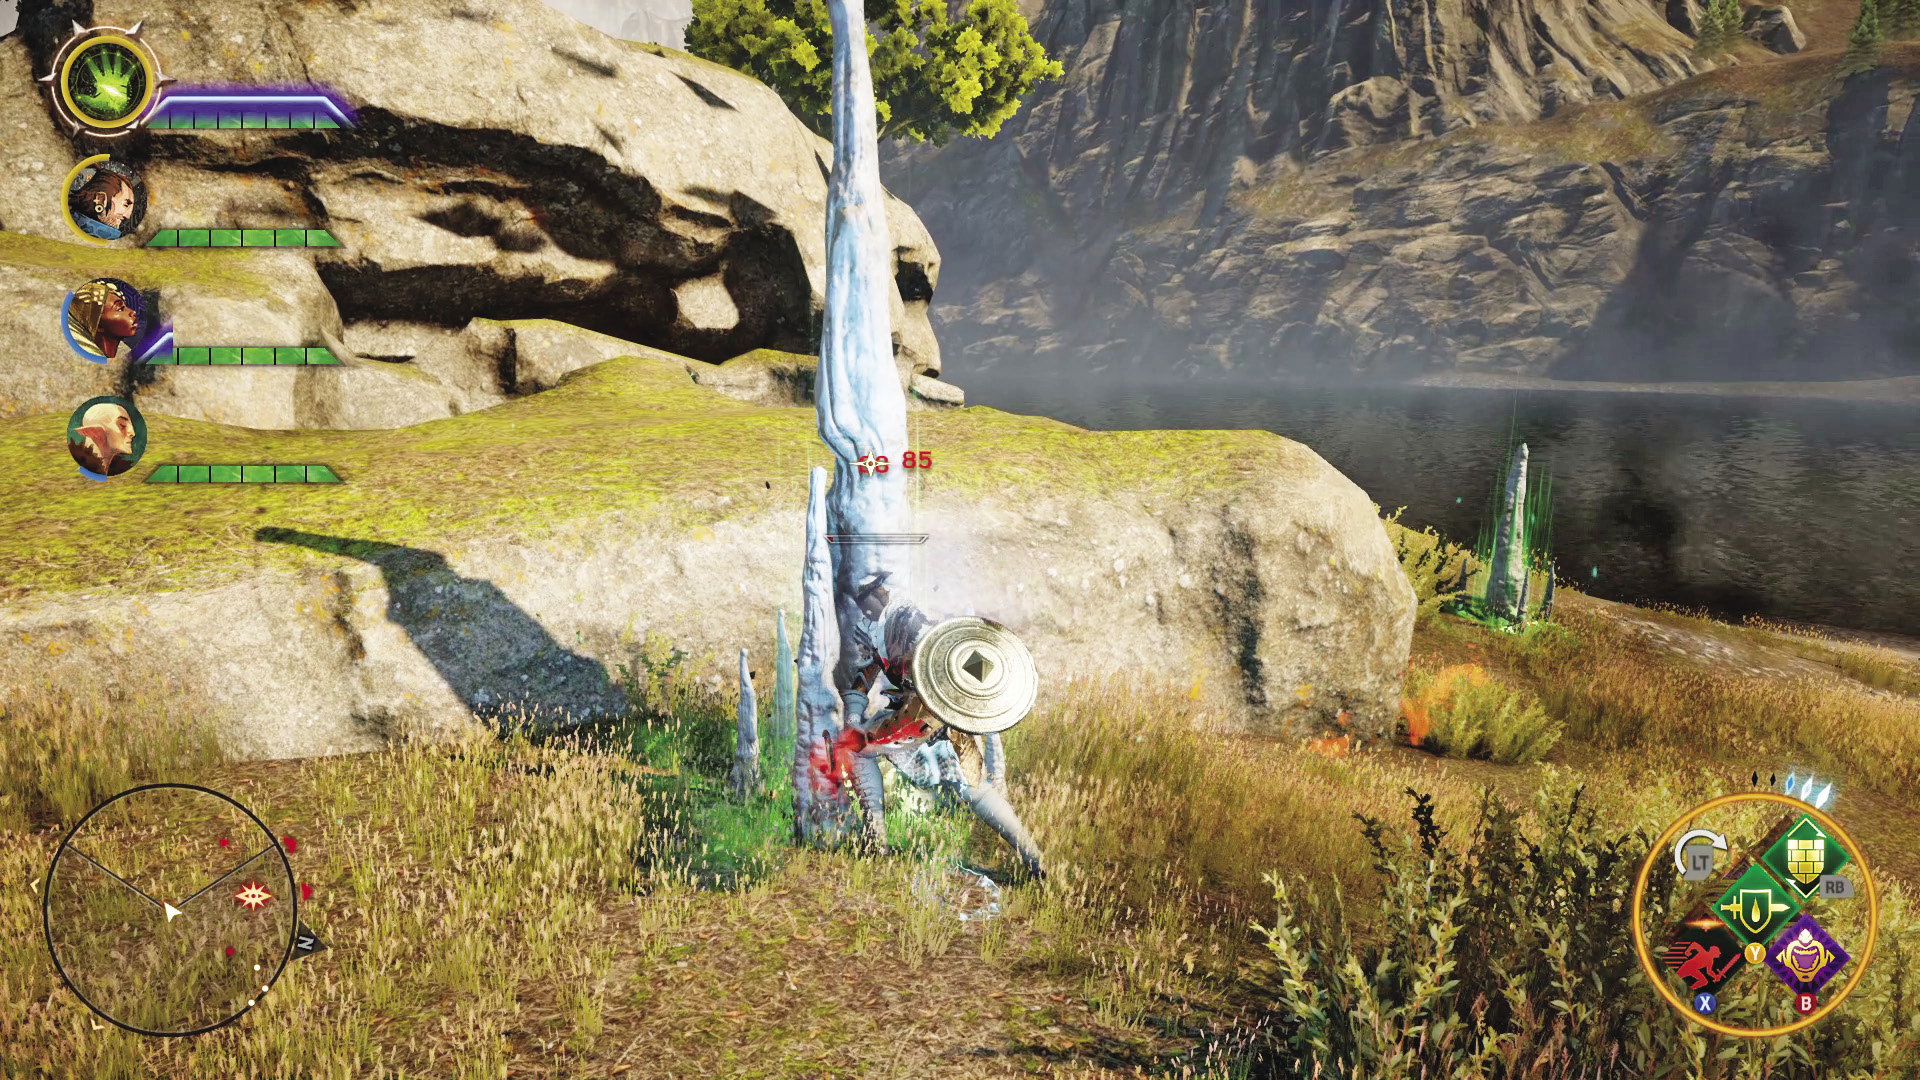
The summoning circle consists of four summoning stones surrounding the pride demon. Destroy these as quickly as possible.
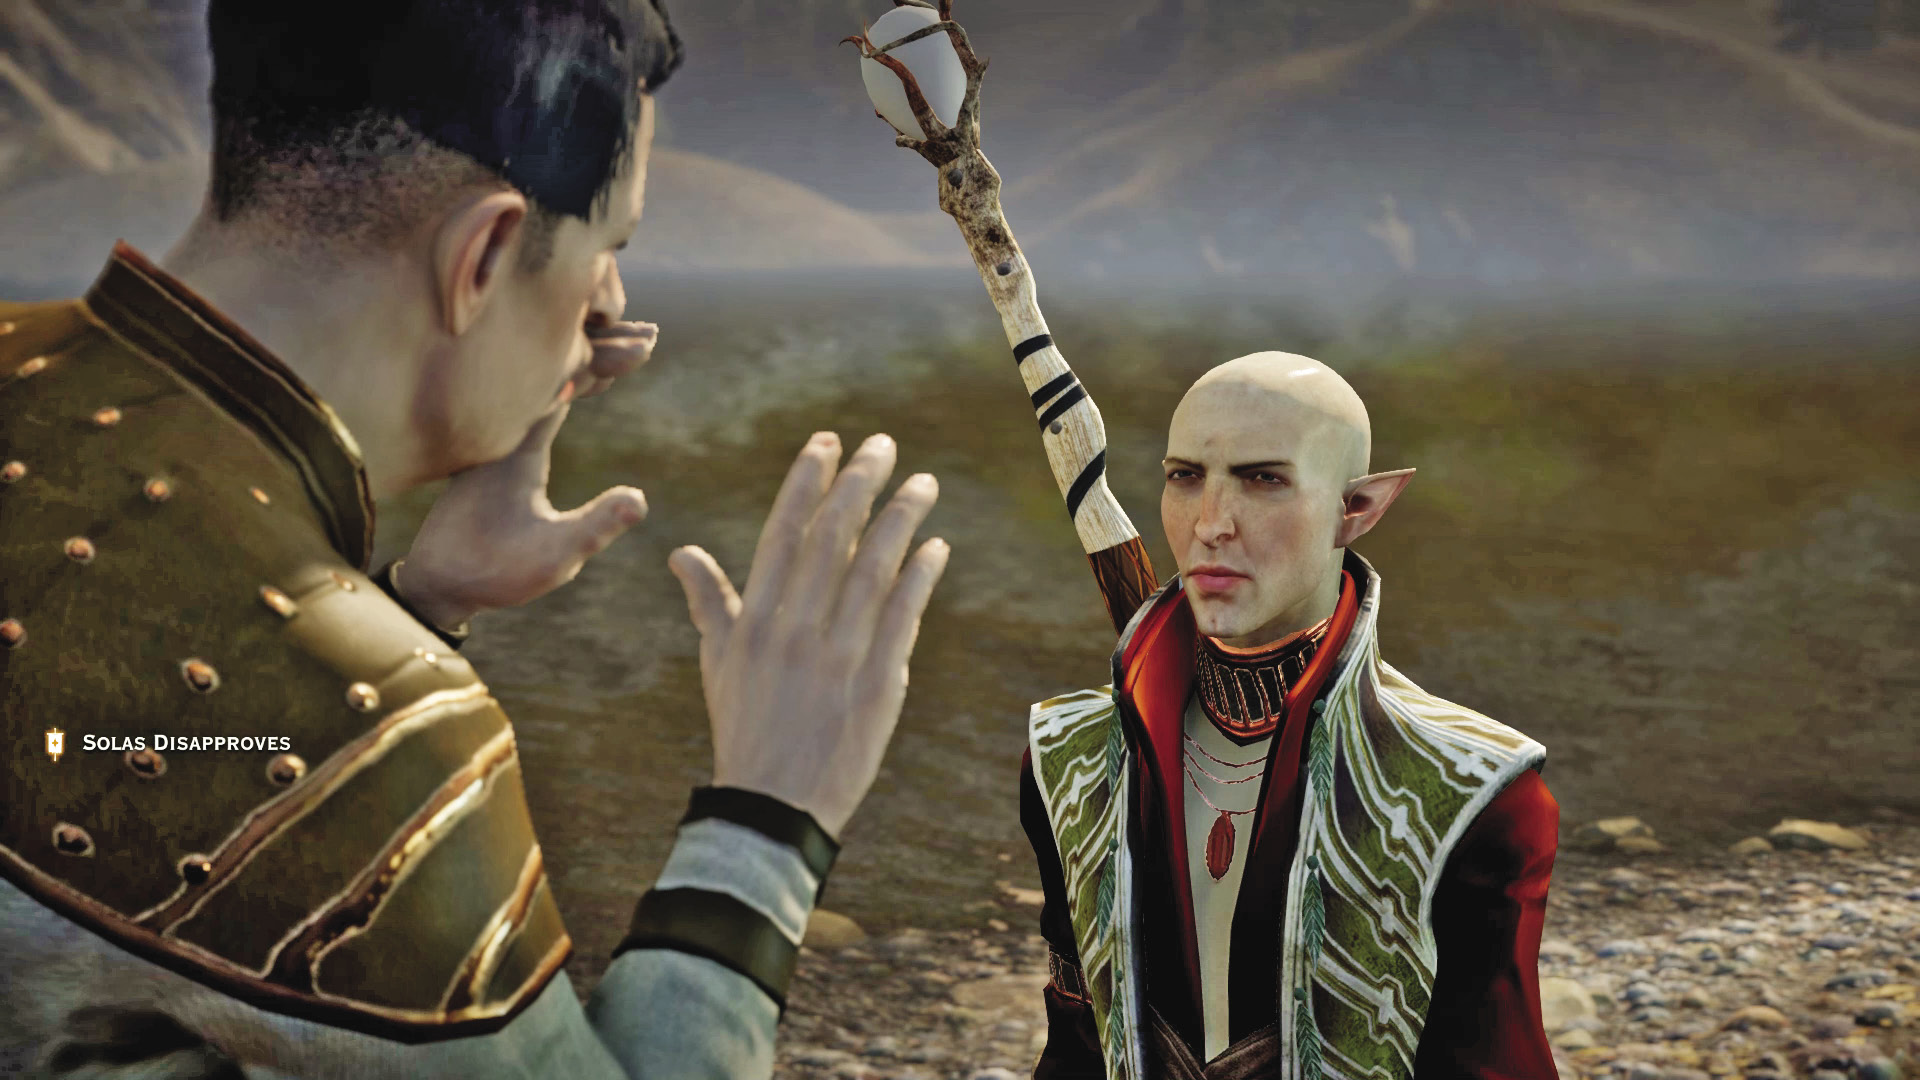
Afterward, the spirit, restored to a less monstrous form, exchanges a farewell with Solas before fading away. Solas then threatens to murder the mages who summoned the spirit, and it’s here that you can choose to let him commit the crime or get him to stand down. Regardless of what you do, Solas leaves the party. You must then return to Skyhold and meet him at the front entrance. After one final conversation, Solas returns to your inner circle, with many questions still left unanswered.
Seeing Red

Quest Giver: Varric
Description: Varric saw enough red lyrium in Kirkwall for one lifetime. Now it’s everywhere, and the worst of it “sings” like the shard that drove his brother mad. Varric would take no small pleasure in destroying those. Locate and destroy primeval red lyrium nodes.
Requirements: Available at Haven
Reward: 967 XP, 200 Influence, 2 Power
Objectives:
 Find 12 primeval red lyrium deposits.
 Destroy the primeval red lyrium deposits.
Varric has had some personal experience with red lyrium, so destroying any veins you can find will be something he can appreciate. Primeval red lyrium veins are scattered all over the world throughout different locales, all of which are marked on your quest map. Even after you destroy the 12 he asks for, you can destroy others you find for continued approval gains with Varric.
Well, Shit
Quest Giver: Varric
Description: Bianca was waiting in the Deep Roads. Travel underground to the center of the lyrium mining operation and shut it down.
Requirements: Available at Skyhold; complete Here Lies the Abyss.
Reward: 1,025 XP, 400 Influence, 3 Power
Objectives:
 Enter Valammar.
 Open the locked door.
 Find a key for the second floor.
 Speak with Varric about all this.
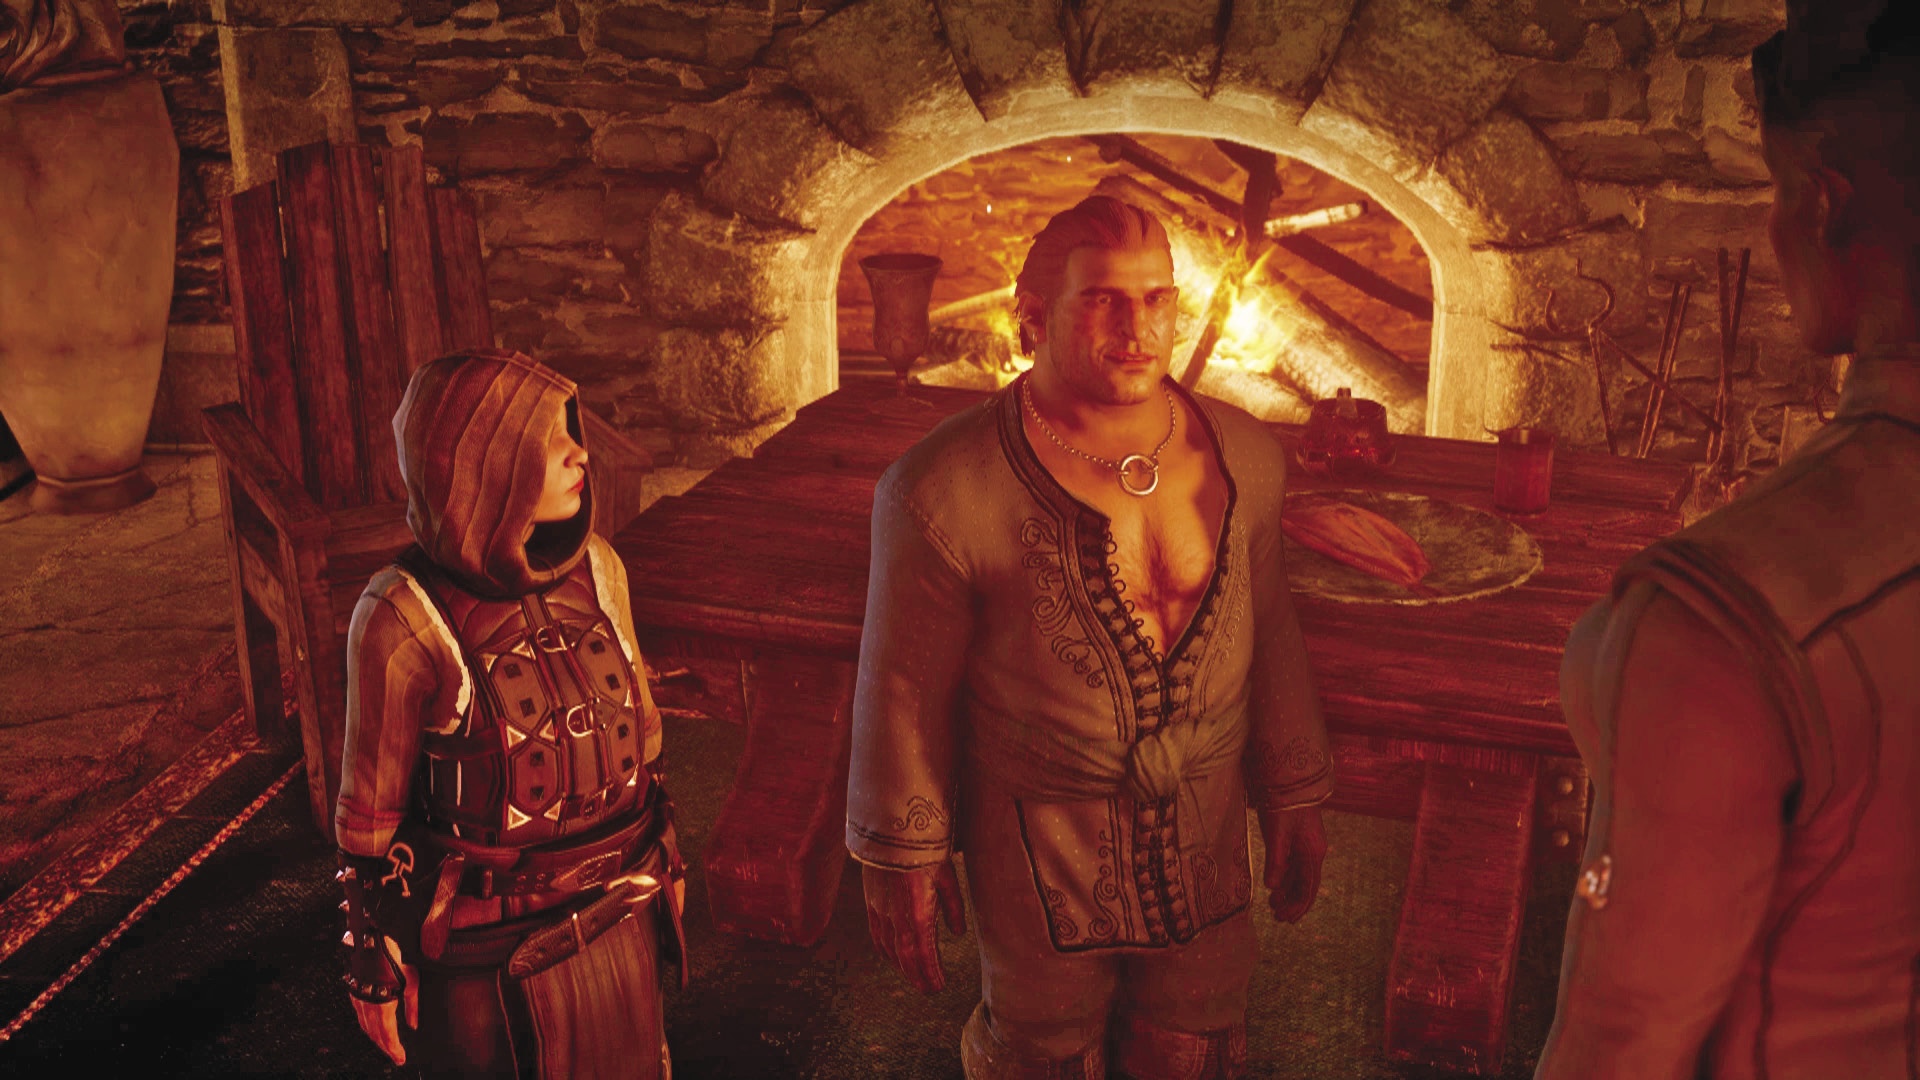
After dealing with the Grey Warden corruption in Adamant, return to Skyhold. If you speak with Varric, you find him involved in a conversation with a female dwarf. This is Bianca. After some conversation, you discover that she has information about a lyrium mining operation that appears to be benefiting Corypheus’s forces. It’s in Valammar, an old dwarven trading post that leads to the Deep Roads. Depending on how you’ve explored up to this point, you may already be well acquainted with the place, especially if you’ve completed Deep Trouble. Bianca says she will wait for you and Varric, if you offer to help.
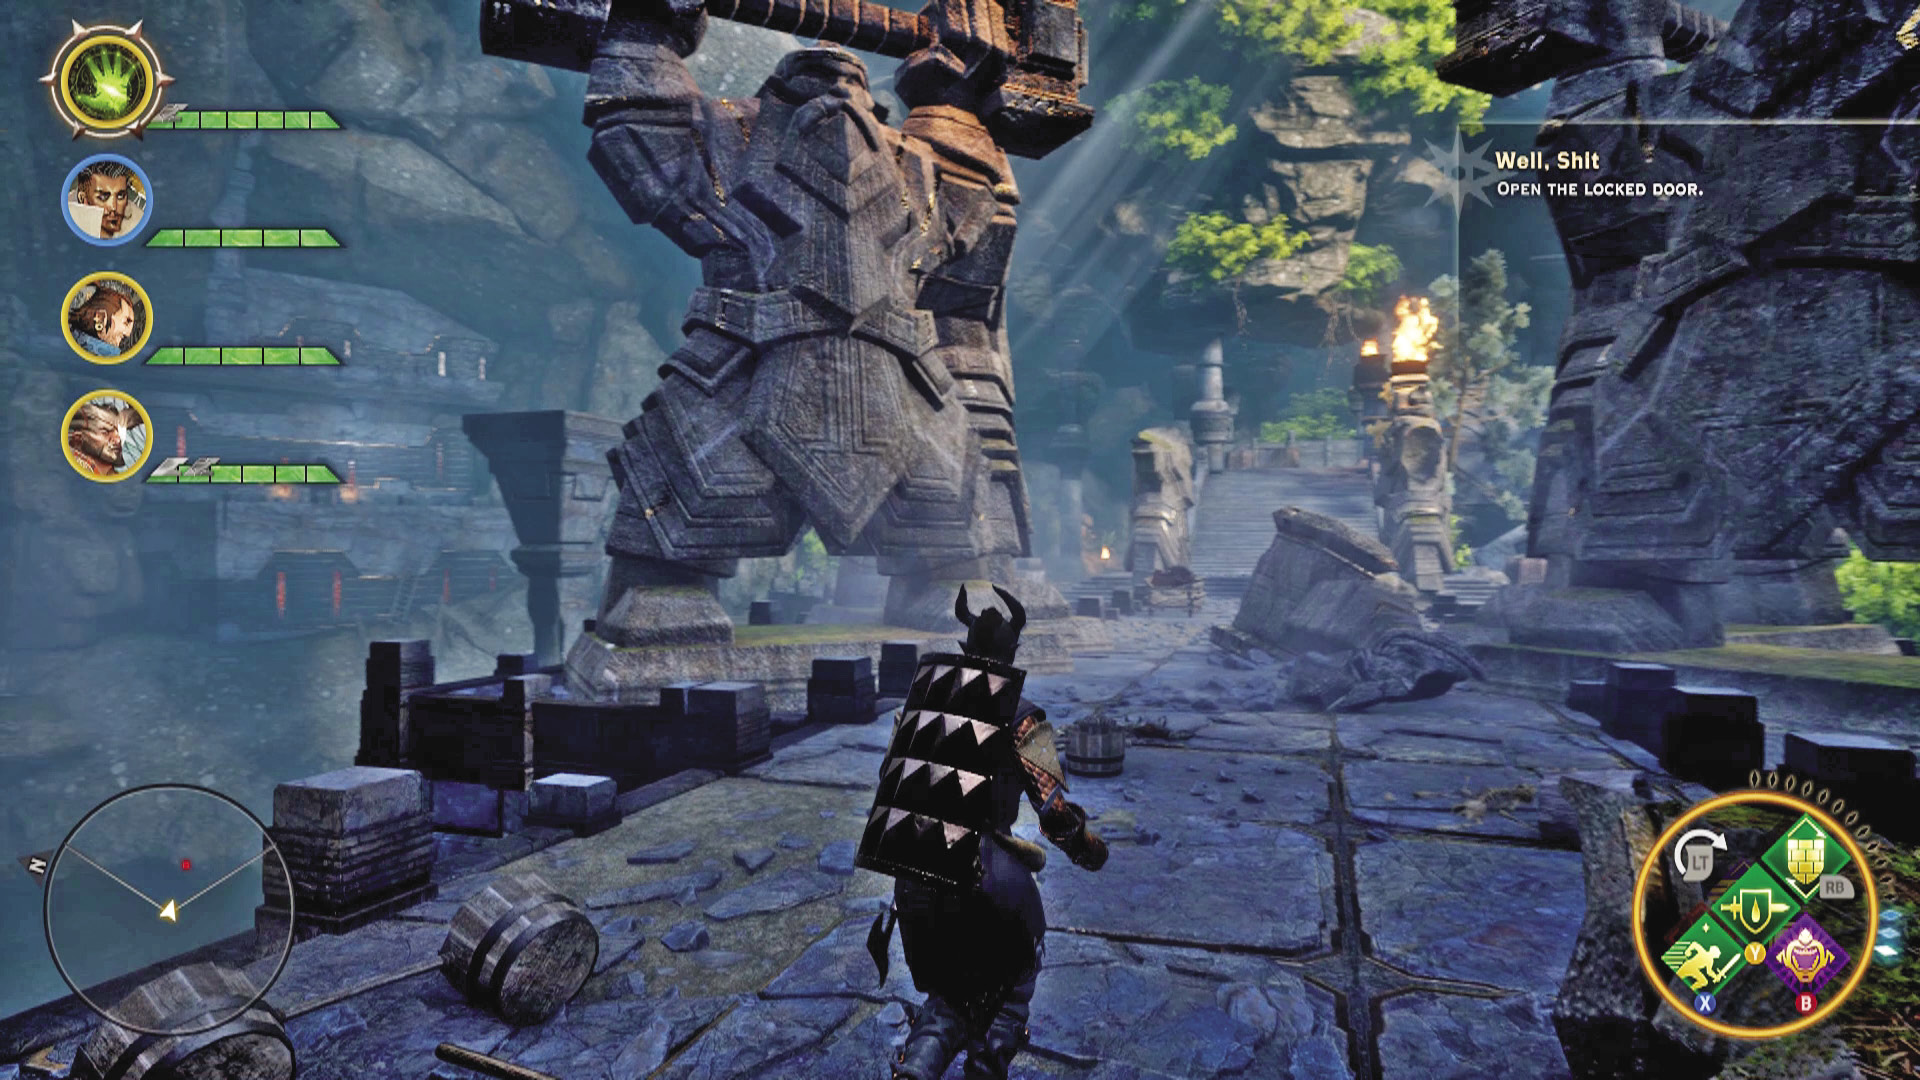
Make your way into Valammar, fighting past any Carta or darkspawn that may have repopulated the place. You need to make your way over to the Halls of the Elders. The smugglers responsible for mining the red lyrium have dug themselves into a room that only Bianca can open. Once inside, clear out all of the smugglers you find. You’ll find the key to the lyrium at the end of the fighting.
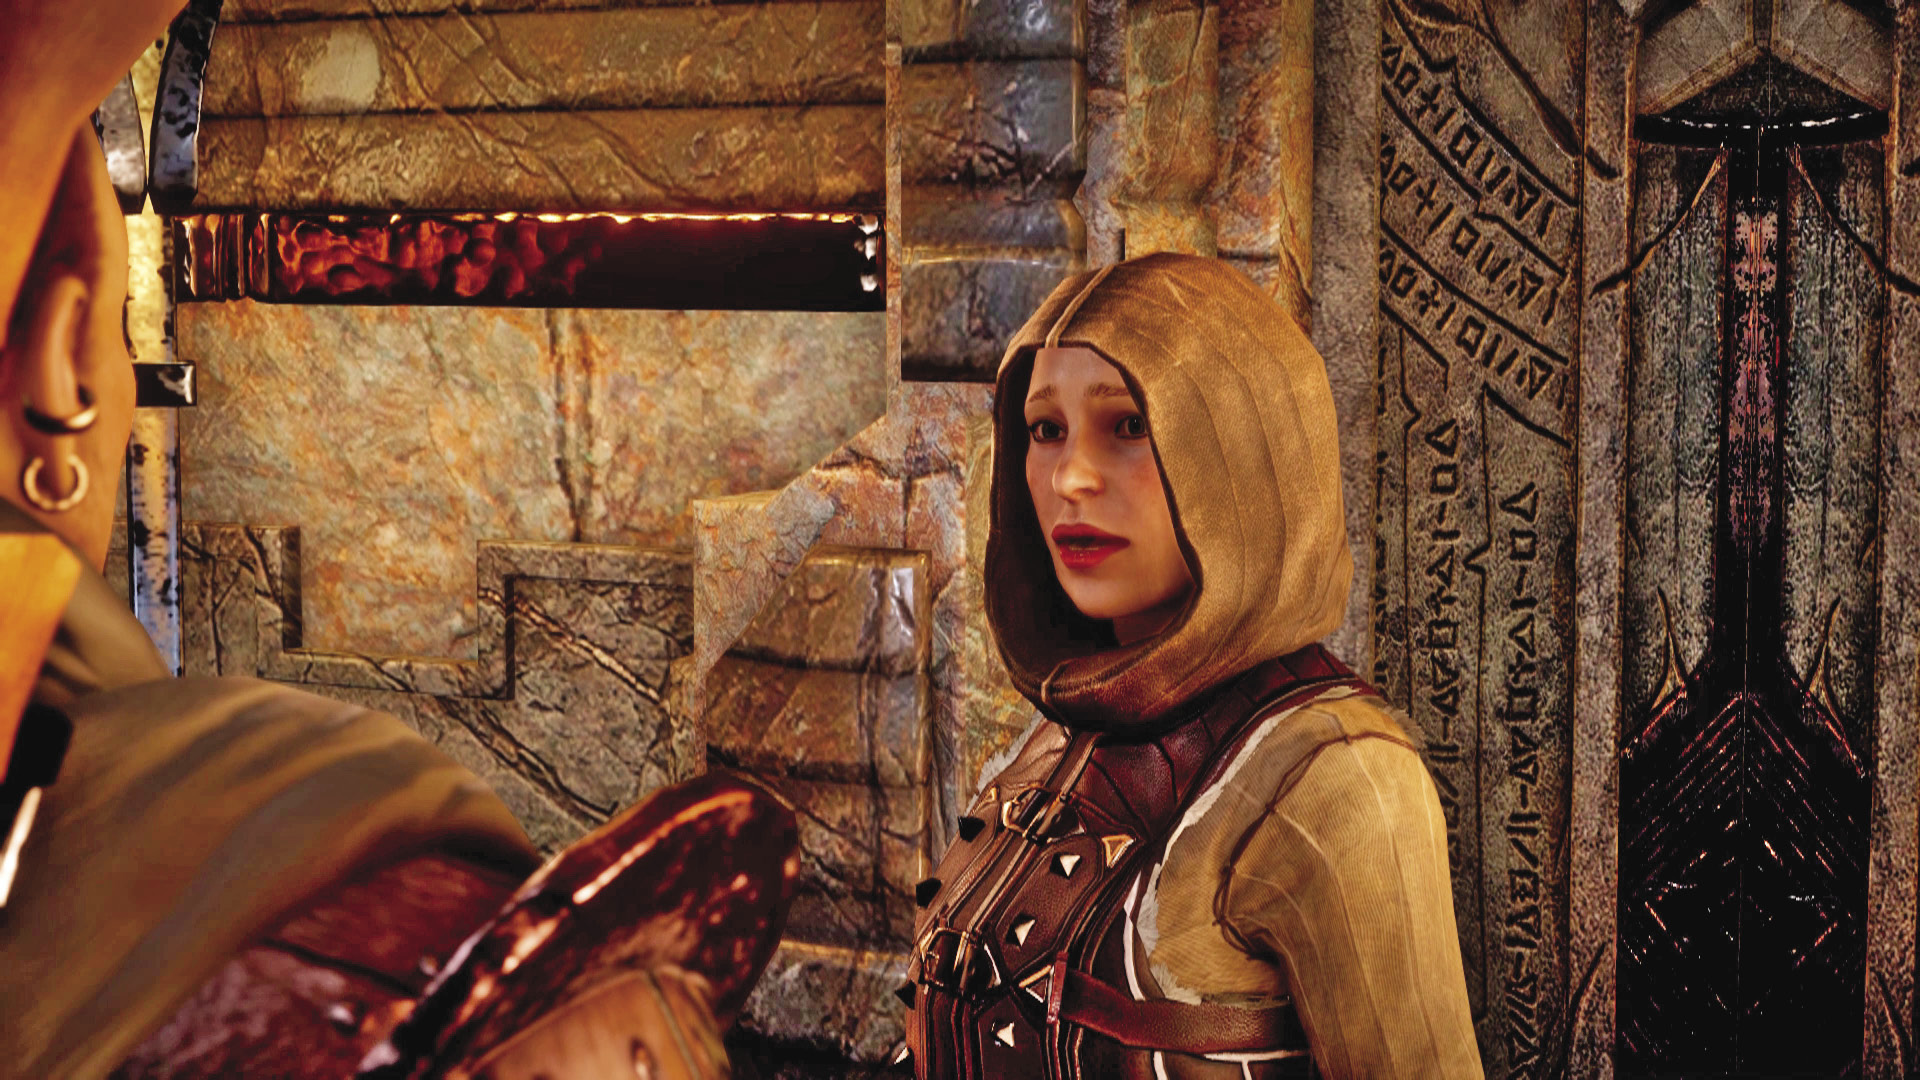
Varric isn’t stupid, and he suspects there is something Bianca isn’t telling the group. It turns out that she not only discovered the red lyrium, but she handed the key to the doors that barred it over to the smugglers. She was hoping to make things right, but Varric is still upset. Surprisingly, Varric approves of you if you don’t tear into her for lying, so if you want to keep on his good side, hold back on the anger.
After the events at Valammar, return to Skyhold and speak with Varric. He feels that he’s entirely responsible for Bianca putting herself in danger, and he’s not dealing with it well at all. Your responses here can earn his disapproval if they’re full of snark. For once, he’s not in the mood. Regardless, the situation is settled and the quest is complete.
A Friend of Red Jenny

Description: The strange message, delivered via arrow, said there is an enemy of the Inquisition waiting to strike Val Royeaux. It said to search the market, cafe, and docks for things that are red.
Quest Giver: Arrow in the market
Requirements: Available after addressing the clerics in Val Royeaux
Reward: Sera joins the Inquisition.
Objectives:
 Examine the message.
 Search by the dock.
 Search in the cafe.
 Search the upper market.
 Fend off the guards.

Immediately following the conversation with Mother Hevara and the templars, a mysterious arrow lands nearby. This is the start of a small quest, requiring you to search for red satchels by the dock, cafe, and upper market. Go to each location marked on the compass and conduct searches to find and retrieve the three satchels. To reach the upper market, enter the blue doors on the southwest side of the market—this gives you access to the balcony above.
Once you found all three red handkerchiefs, a secluded courtyard appears on the world map—travel there. This takes you to a small courtyard occupied by hostile reach guards and Freemen spotters. Eliminate the first group of enemies, then open the door to the west. Here you encounter a noble, unfriendly to the Inquisition. But he’s soon killed by a potential ally, Sera, an elven rogue archer. Sera is the one who led you here. Help Sera fend off the remaining guards before resuming your conversation. Sera is part of a band of mercenaries called the Friends of Red Jenny—accept her offer to join the Inquisition.
The Verchiel March
Description: Sera says there’s trouble in Verchiel. She’s asked for an Inquisition presence—a few troops to march through town—to spook the nobles into pushing her people around there.
Requirements: Speak with Sera in Skyhold.
Reward: 1,025 XP, 400 Influence, 3 Power
Objectives:
 Order a march through Verchiel.
 Return to the war table.
 Talk to Sera about the march.
 Travel to the stash location.
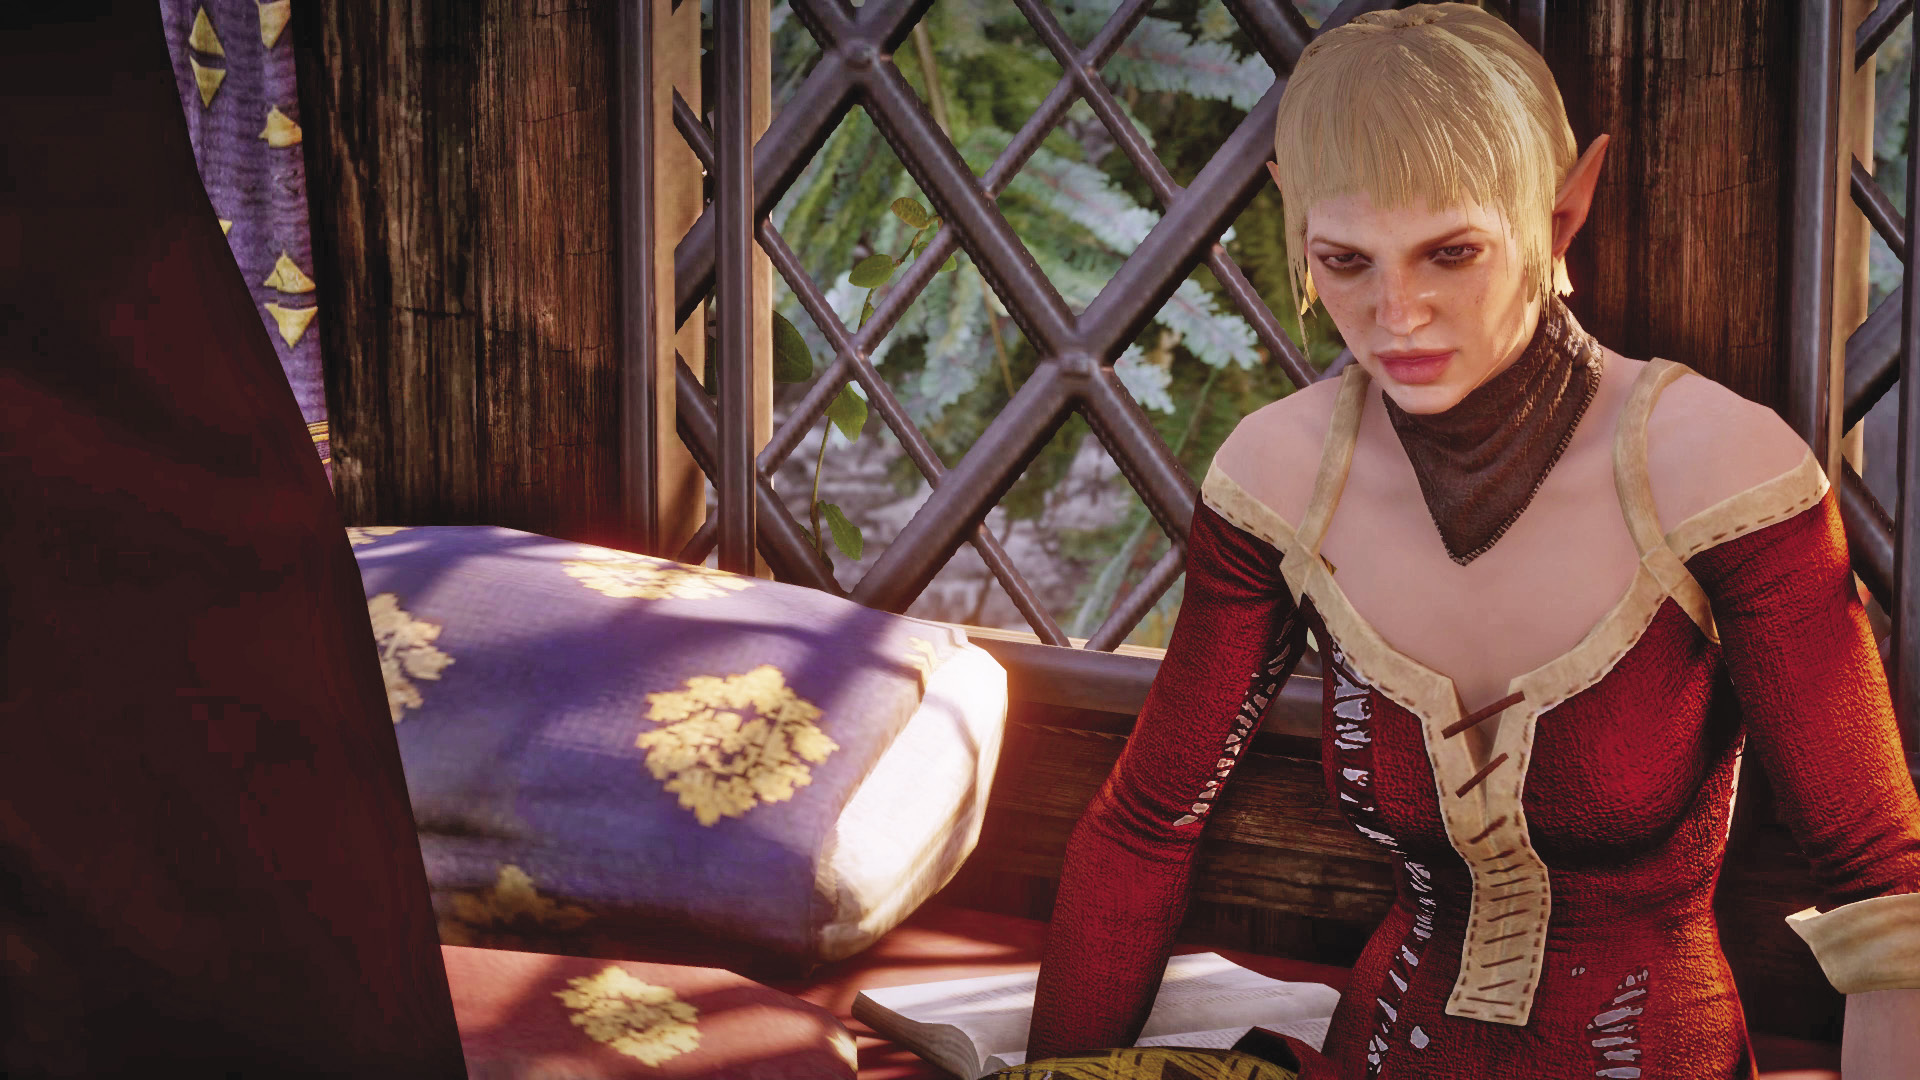
After speaking with Sera about the problems in Verchiel, send in the troops via the war table. When you receive the update on the situation, meet with Sera and travel to Verchiel.
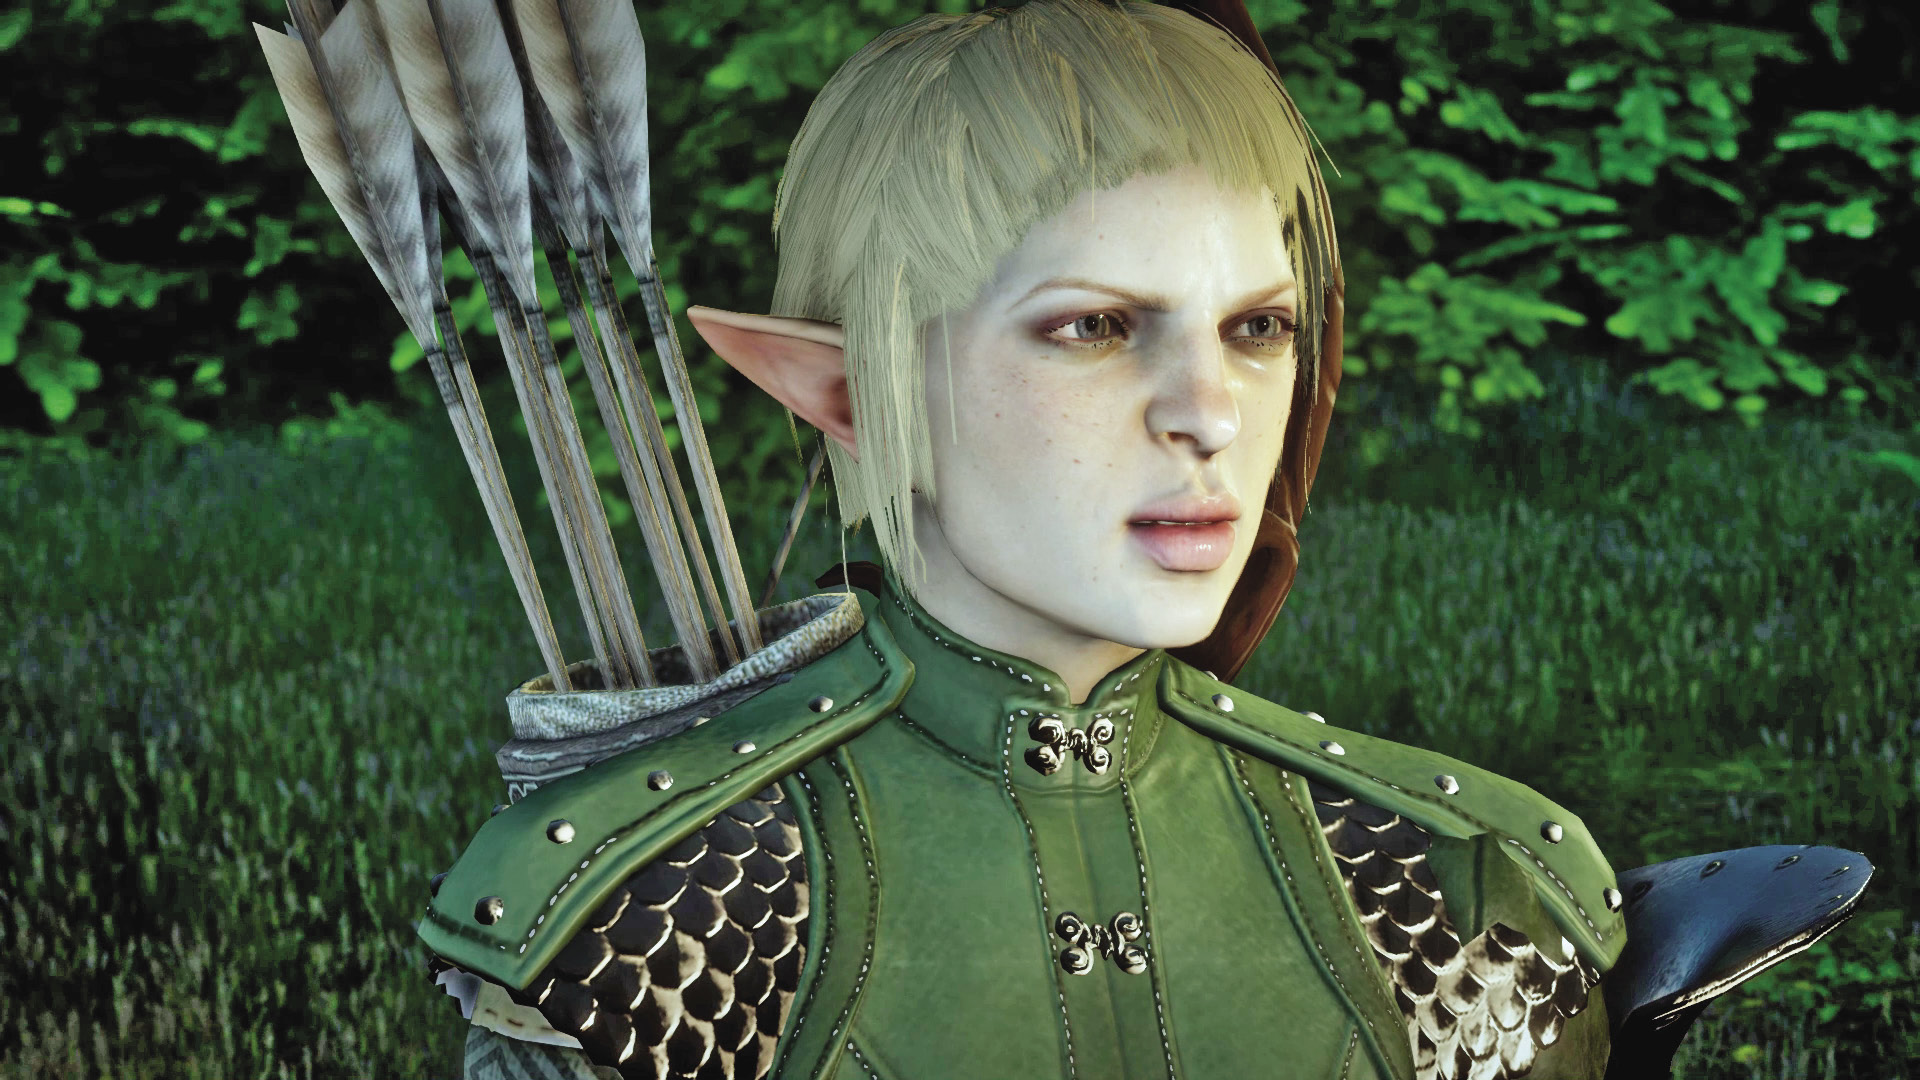

Once at Verchiel, you encounter one of Sera’s friends, who warns a group of nearby mercenaries of Sera’s arrival. The ensuing fight begins after archers kill the informant. It’s a mixed group of foot soldiers and archers, led by a mercenary enforcer. Not the worst odds you’ve faced during this adventure.
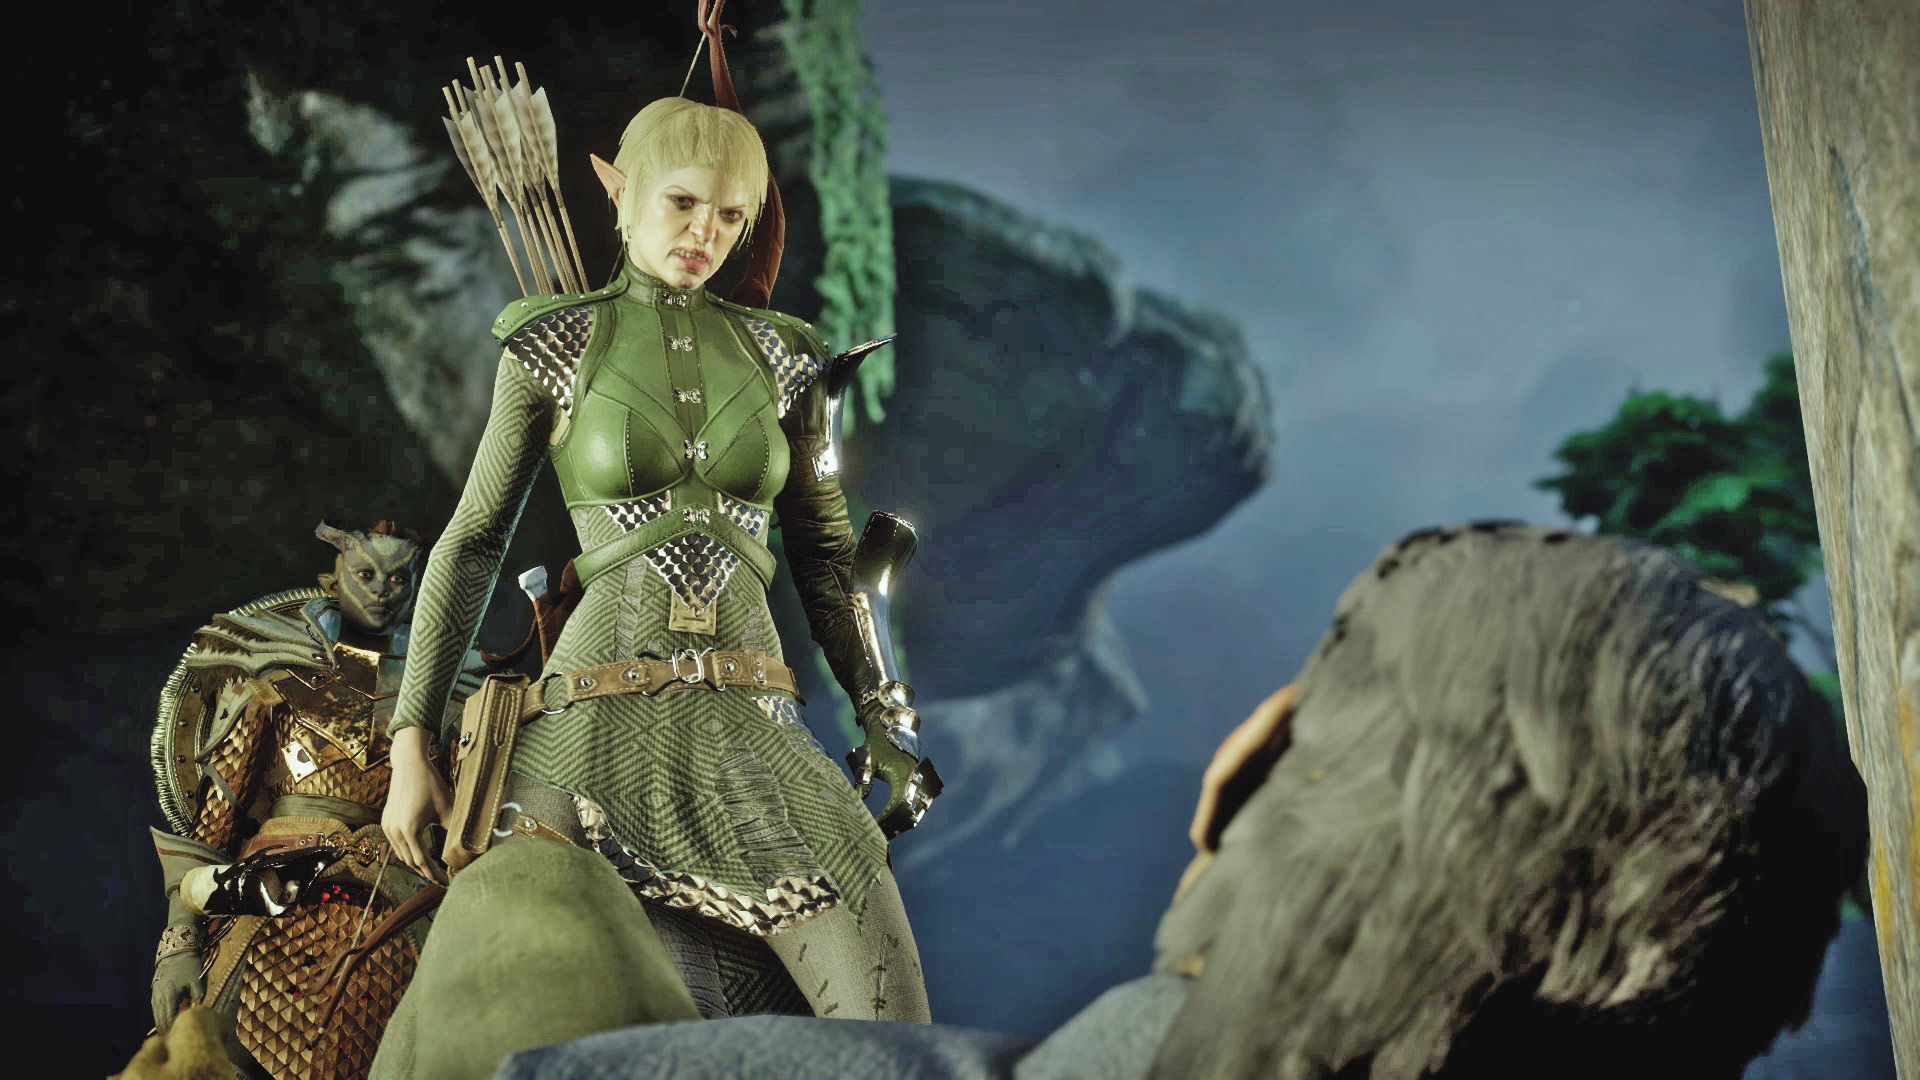
After the battle is over, Lord Pel Harmond steps out to explain the “misunderstanding.” His quarrel is entirely with Red Jenny, meaning Sera and any of her “friends.” You can try to learn more about what was going on in Verchiel, but as the conversation drags on, Sera gets progressively angrier. The major decision is whether or not you allow Sera to kill the noble, join forces with said scumbag, or allow him to go free. Working with him or letting him go earns serious disapproval from Sera.
If you’ve done anything other than let Sera have her way with Lord Harmond, your conversation at Skyhold will be your chance to patch things up with her. If you apologize outright, she’s stunned, having expected you to do otherwise.
A Woman Who Wants for Nothing
Quest Giver: Sera
Description: Sera has gotten you a gift. What could you give in return?
Requirements: Be in a romance with Sera, with all the requirements that entails.
Reward: Sera’s approval
Objectives:
 Talk to everyone in your inner circle.
 Talk to Sera
After you’ve completed Sera’s other quests and have begun a romance with her, she will surprise the Inquisitor with a gift, which makes you decide that a gift in return is the least you can do for her.
The problem is, you have no clue what to get Sera—she doesn’t seem to have a thing she desires in particular, outside of your own company. And so it comes to asking the rest of your inner circle just what it is a woman like Sera could ever want as a gift. You get a lot of ideas, most of them not all that useful to your predicament. You can eventually return to Sera and admit that, despite asking for help from the rest of the group, you have nothing for her in exchange.
She thinks this is hilarious; as far as she’s concerned the idea of you asking some of the more prudish members of the Inquisition for gift ideas is a gift in itself. With that, your gift exchange is complete.
The Imperial Enchanter
Description: Vivienne de Fer, the First Enchanter of Montsimmard, has extended an invitation to her salon at the chateau of Duke Bastien de Ghyslain.
Quest Giver: Circle Mage messenger in the market
Requirements: Available after addressing the clerics
Reward: Vivienne joins the Inquisition.
Objectives:
 Attend the salon.

Speak to the messenger in Val Royeaux’s market to receive an invitation from Vivienne de Fer, a well-connected mage in Orlais. The invitation adds the Ghyslain Estate to the world map—travel there. Upon entering the chateau, you’re rudely greeted by a marquis who has nothing kind to say about the Inquisition. But he’s soon set straight by Vivienne—she even allows you to choose the marquis’s fate. After introducing herself, Vivienne gets to the point. As the leader of the last loyal mages of Thedas, she feels compelled to join the Inquisition. Feel free to ask Vivienne more questions. But at the end of the conversation, welcome her aboard—she is a powerful ally, both on and off the battlefield.
Favors the First Enchanter
Description: Vivienne wishes to undo the damage done to her beloved Circle of Magi and hopefully restore it to its former relevance. Recovering phylacteries and tomes lost with the fall of the circles will help.
Quest Giver: Vivienne
Requirements: Available at Skyhold
Reward: 286 XP, 120 Influence
Objectives:
 Find three Circle tomes.
 Find a Circle tome in the Hinterlands.
 Find a Circle tome in the Western Approach.
 Find a Circle tome in the Exalted Plains.
After reaching Skyhold, you can speak with Vivienne about matters regarding the future of the Circle. She will foist this task upon you. Every book you find gets you some approval with Vivienne if she’s with you during the collection.
This tome is found on a rampart that sits just north of the Crossroads, on the main road headed toward the town of Redcliffe.
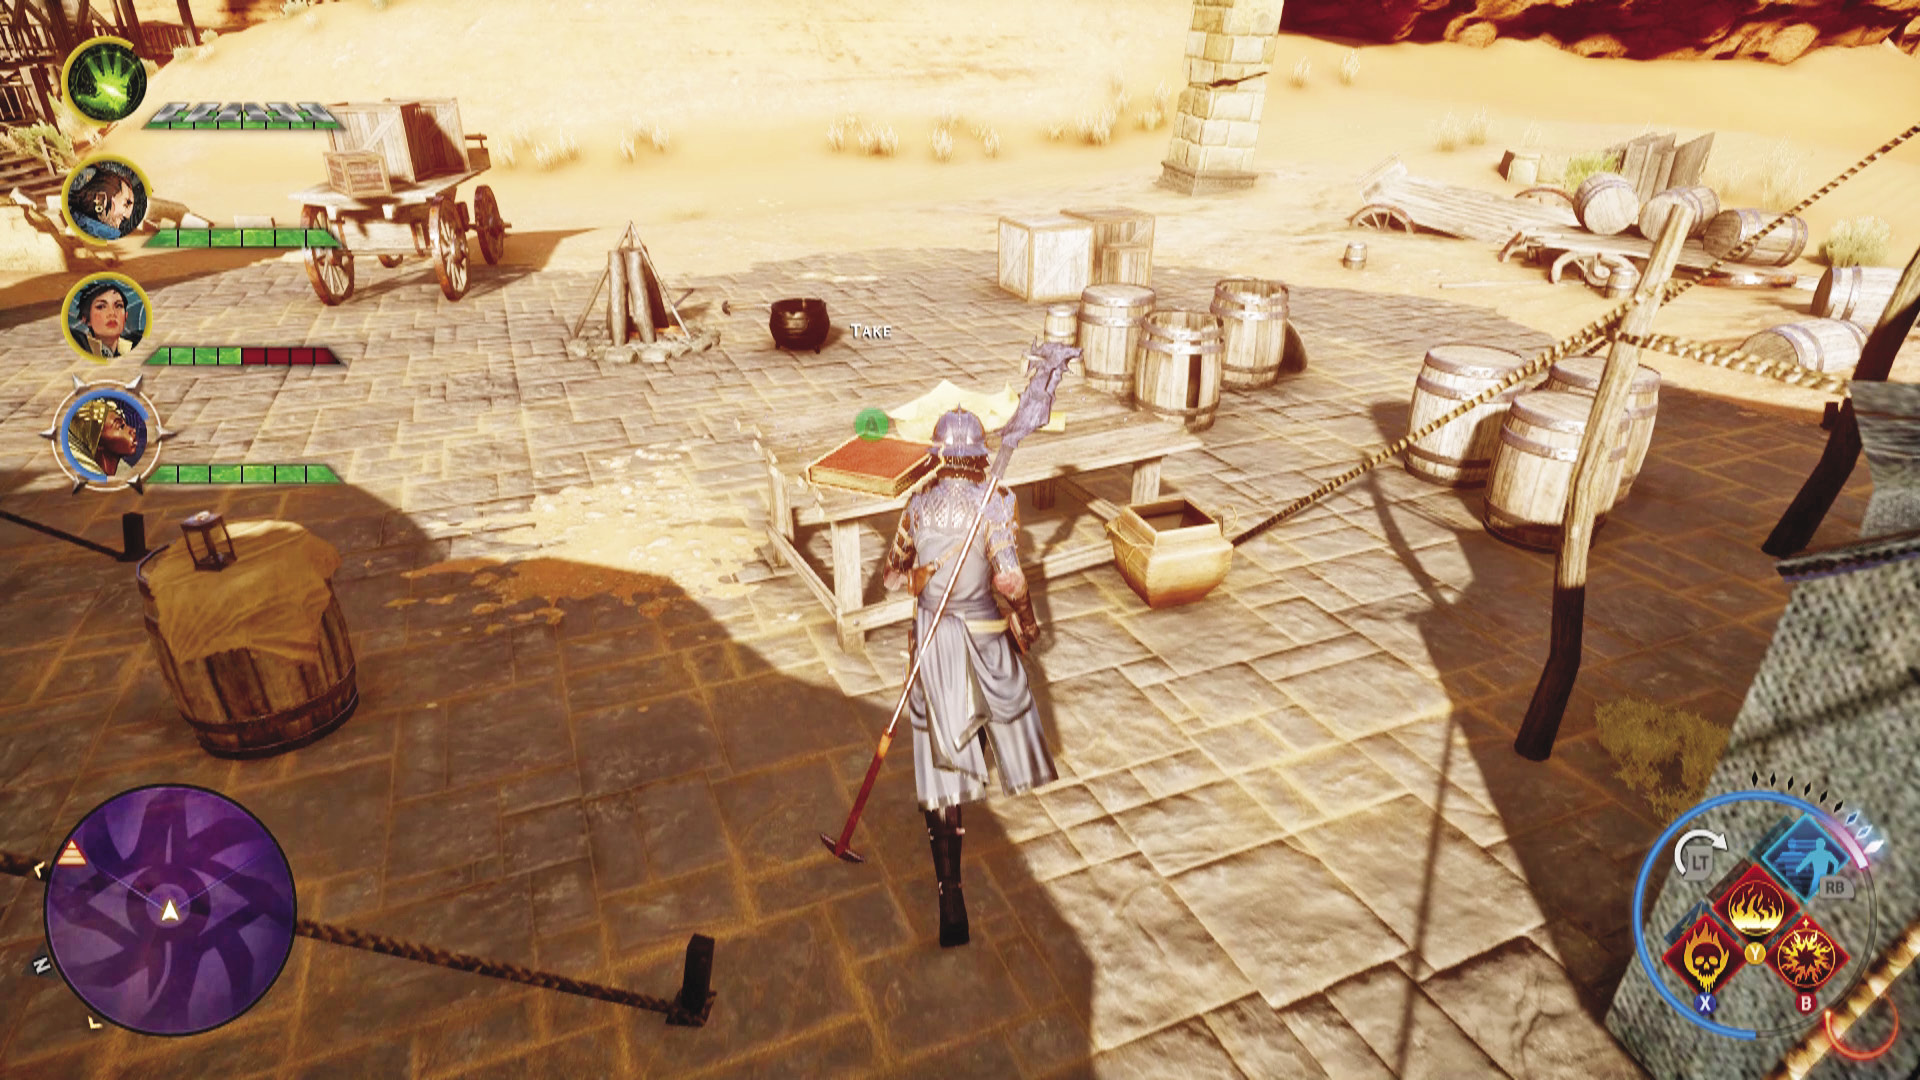
Circle tome, Western Approach
The Shimmer Stone Mine, near Nazaire’s Pass, is where a tome has been hidden.
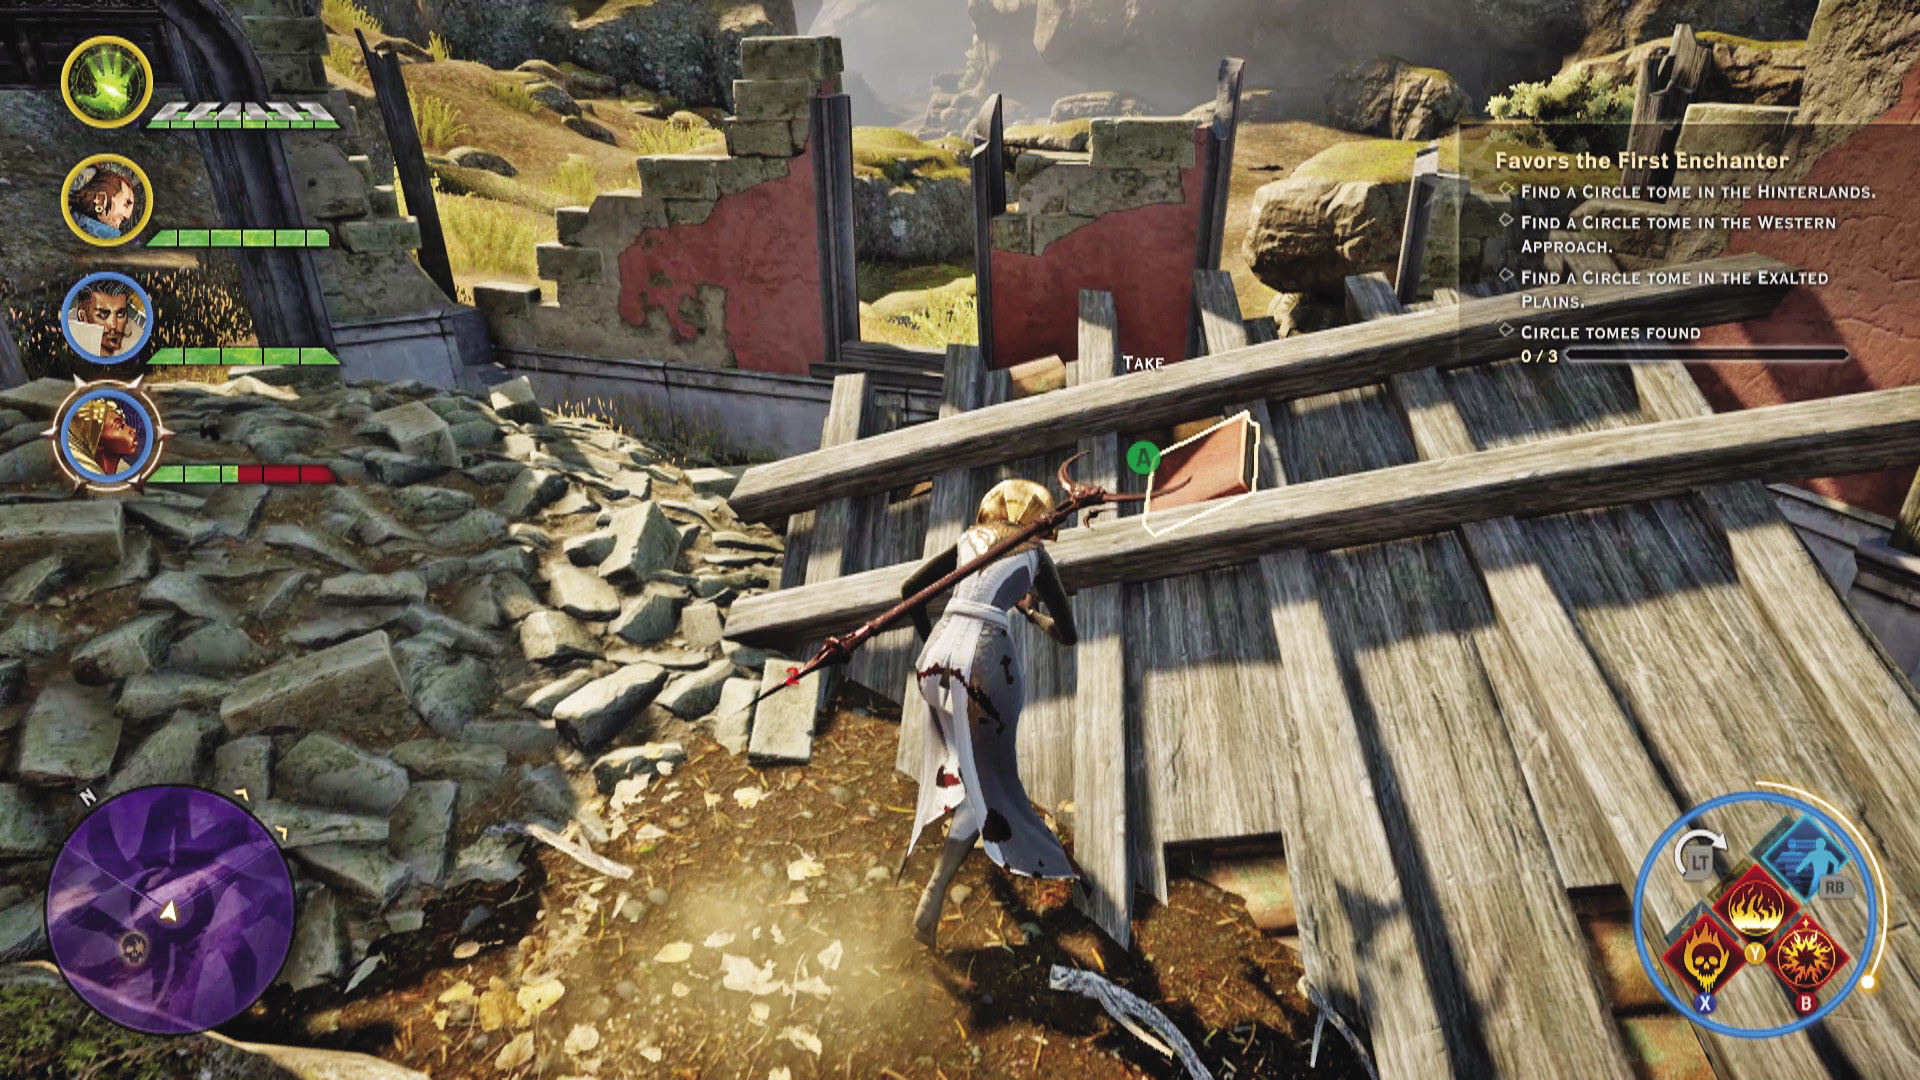
Circle tome, Exalted Plains
A burned out home in the Riel region contains this final tome.
Bring Me the Heart of Snow White
Quest Giver: Vivienne
Description: Vivienne requires the heart of a wyvern to complete an alchemical formula. Though all wyvern hearts look more or less the same, she specified that it needs to be from a rare beast known as the snowy wyvern.
Requirements: Available at Skyhold
Reward: 1,025 XP, 400 Influence, 3 Power
Objectives:
 Obtain the heart of a snowy wyvern from the Exalted Plains.
 Give Vivienne the heart of the snowy wyvern.

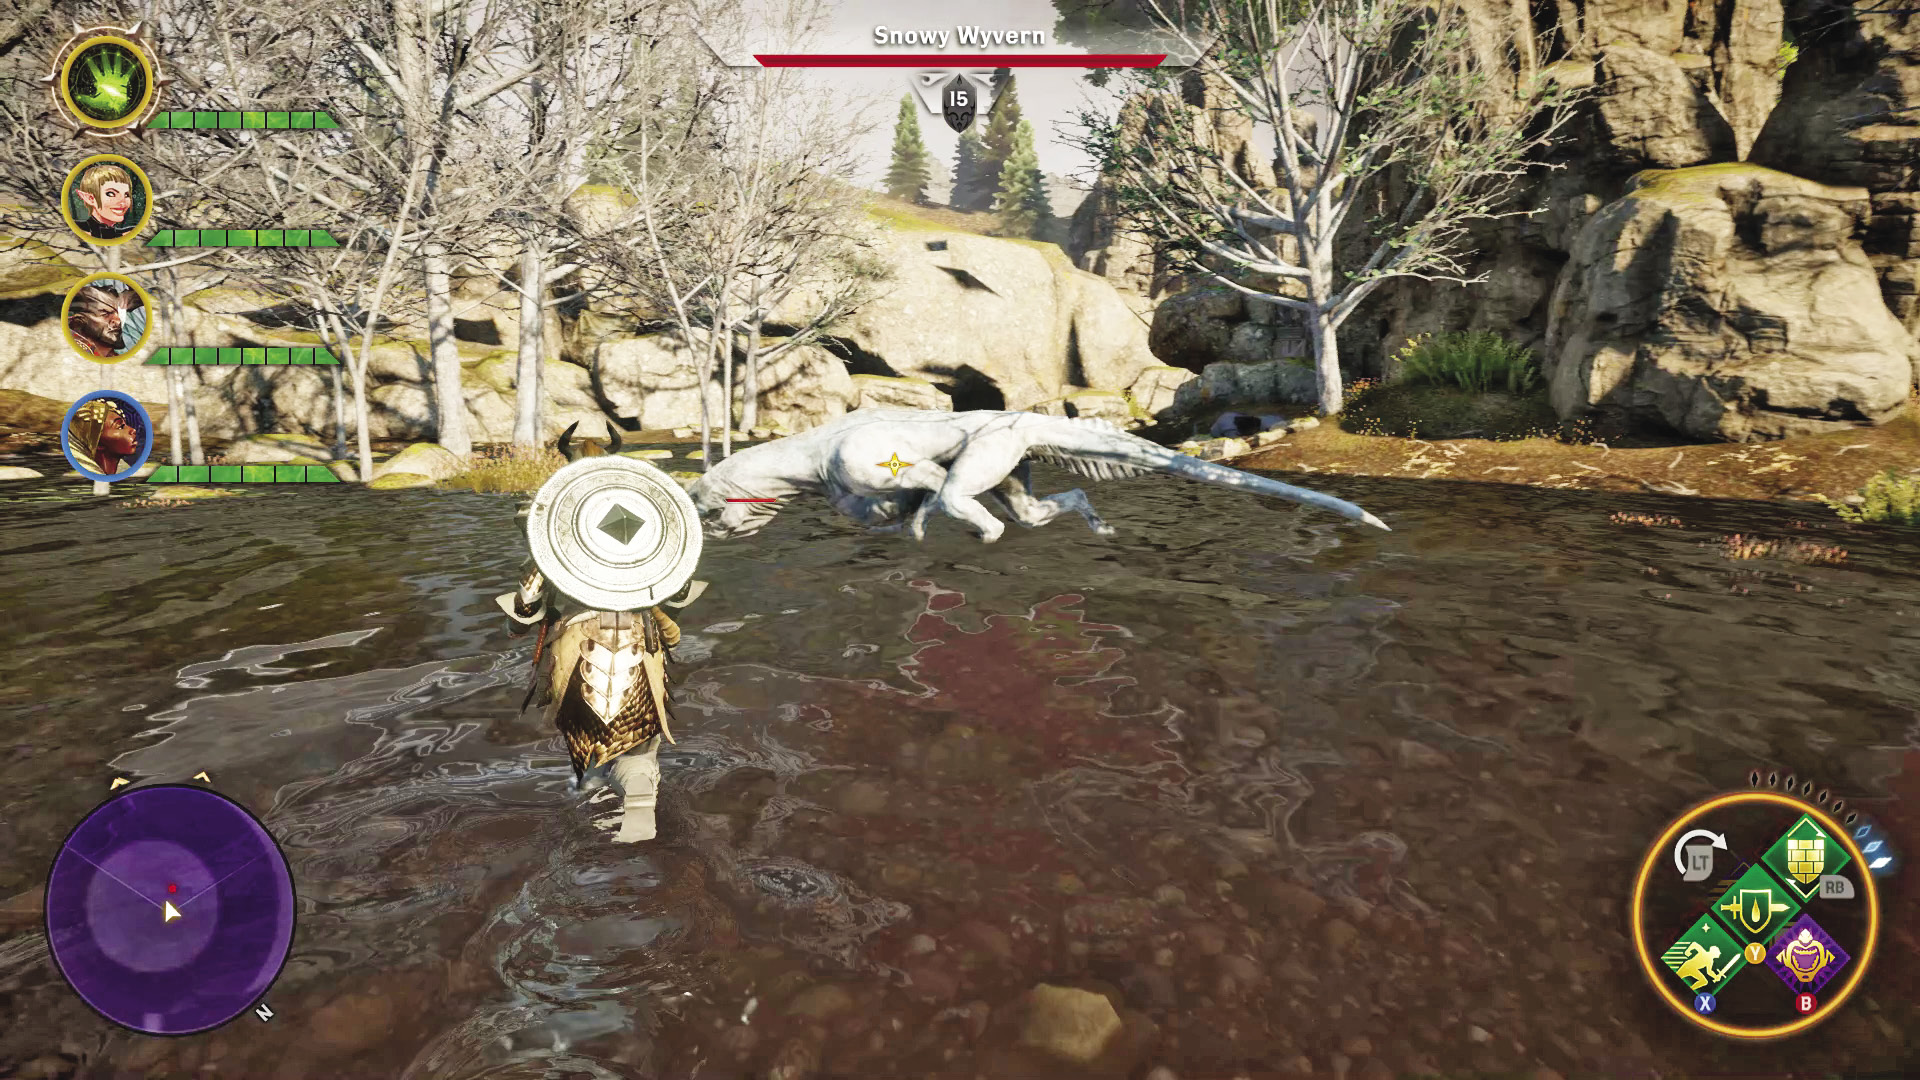
Vivienne is cagier than usual when you try to get her to explain why she needs the heart from a snowy wyvern. There’s no harm in going out to get what she needs, save for the obvious dangers that wyvern hunting always has. Go to the Crow Fens in the Exalted Plains to find your target. A prepared party should be able to make short work of it.
After retrieving the heart, return to Vivienne. She is shocked that you’ve returned, more so if you offer the heart without conditions or snide refusal. In return, she not only provides payment but also offers to show you why she needed this heart so badly. Unfortunately, to her dismay, the man for whom she did all this fades away.
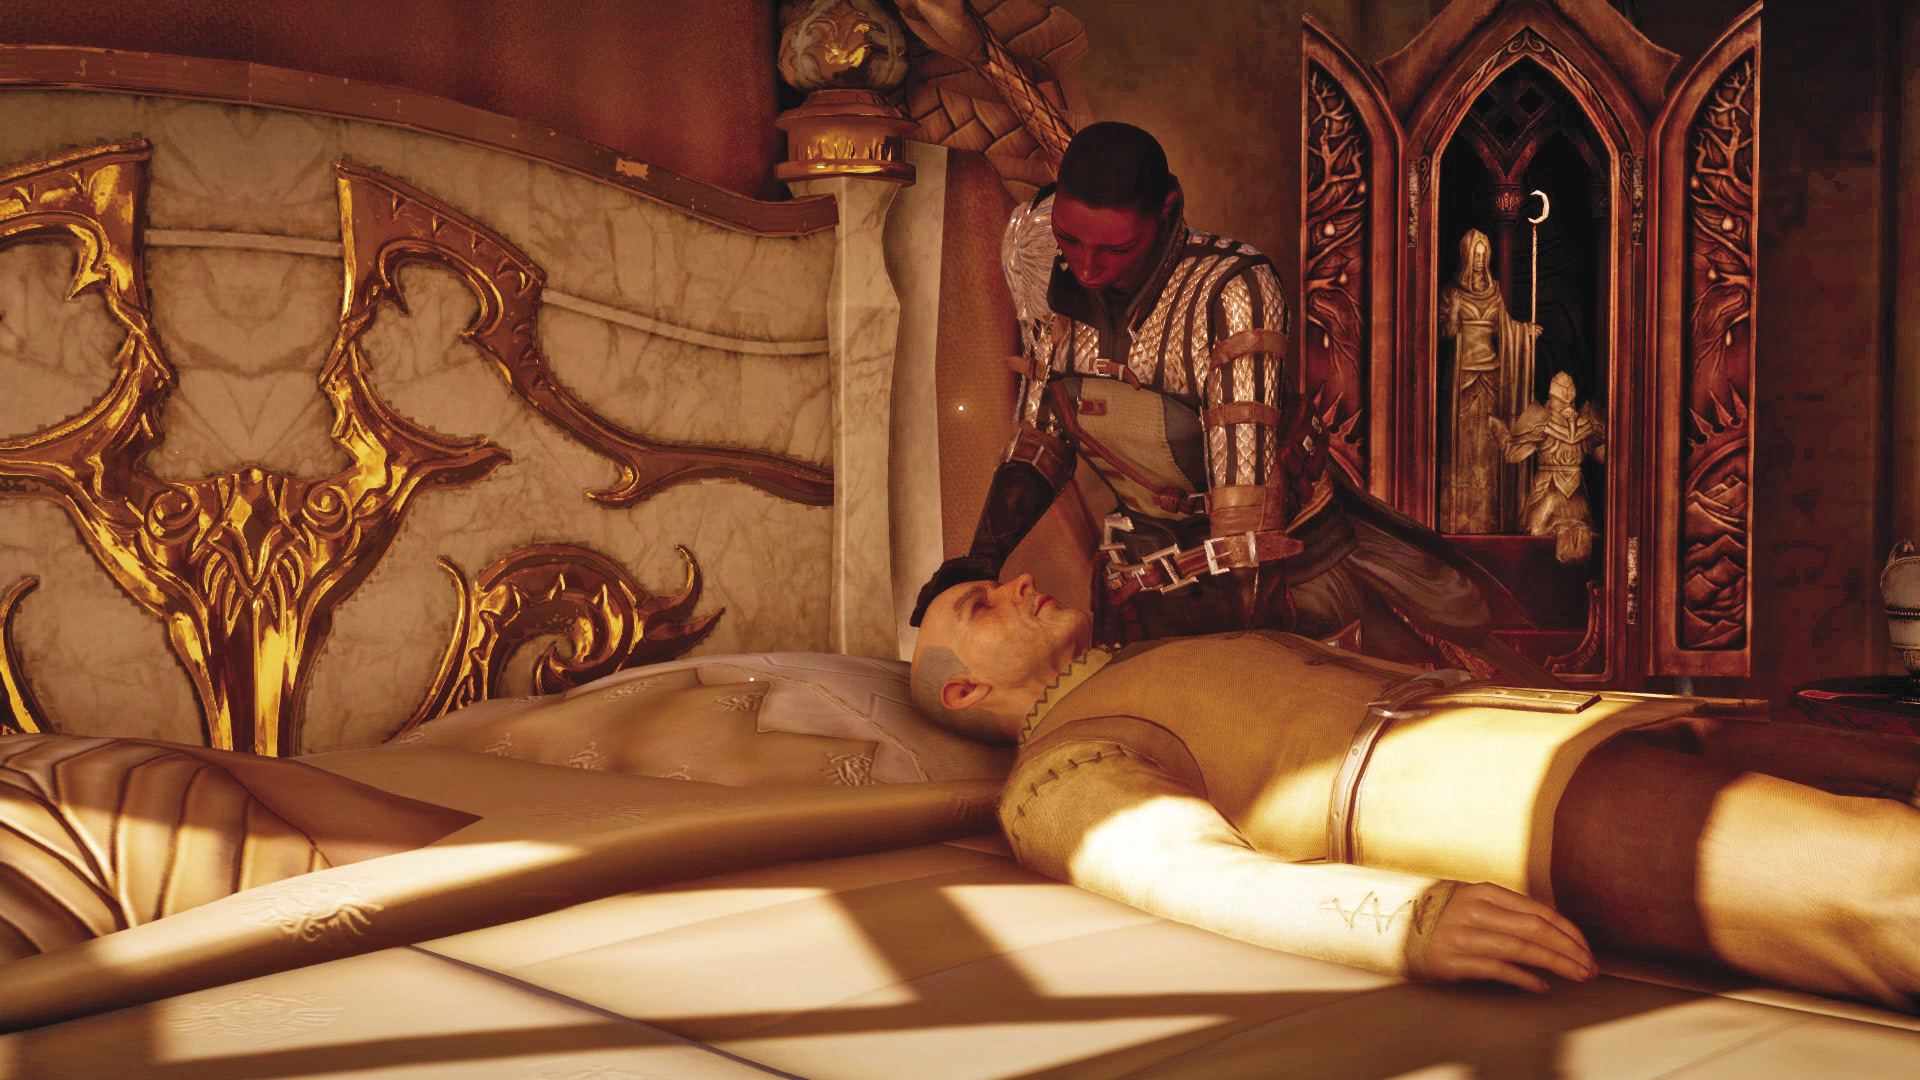
Return to Skyhold to speak with Vivienne. If you show concern, she approves of it greatly, and she can begin moving on from this chapter in her life.
The Lone Warden
Description: One of Leliana’s agents reported a man, calling himself Blackwall, dressed in full Grey Warden regalia and last seen traveling through the Ferelden Hinterlands. With so many Wardens disappearing in the wake of the Divine’s death, this Blackwall should be questioned.
Quest Giver: Leliana in Haven
Requirements: Available after returning to Haven from Val Royeaux
Reward: Blackwall
Objectives:
 Search for Blackwall in the Hinterlands.

Blackwall’s camp can be found on the western shore of Lake Luthias in the Hinterlands. He’s busy training some recruits when you arrive. But just as you begin talking to Blackwall, his camp is attacked by a group of bandits. Help Blackwall and his recruits defeat the bandits. After the battle, question Blackwall about the disappearance of the Grey Wardens. Blackwall insists the Wardens had nothing to do with the death of the Divine and doesn’t know why Wardens have disappeared—he works alone and rarely has contact with other Grey Wardens. As you’re about to leave, Blackwall offers to join the Inquisition. Accept his offer and consider adding him to your current party.
Memories of the Grey
Description: Blackwall possesses maps that chart old Warden camps and outposts throughout Ferelden and Orlais. The Wardens who abandoned these camps may have left behind artifacts of interest to Blackwall.
Quest Giver: Leliana in Haven
Requirements: Available after returning to Haven from Val Royeaux; Blackwall must be recruited.
Reward: 503 XP, 270 Influence
Objectives:
 Find two Storm Coast artifacts.
 Find two Hinterlands artifacts.
 Find two Western Approach artifacts.
 Find two Fallow Mire artifacts.
 Find two Emprise du Lion artifacts.
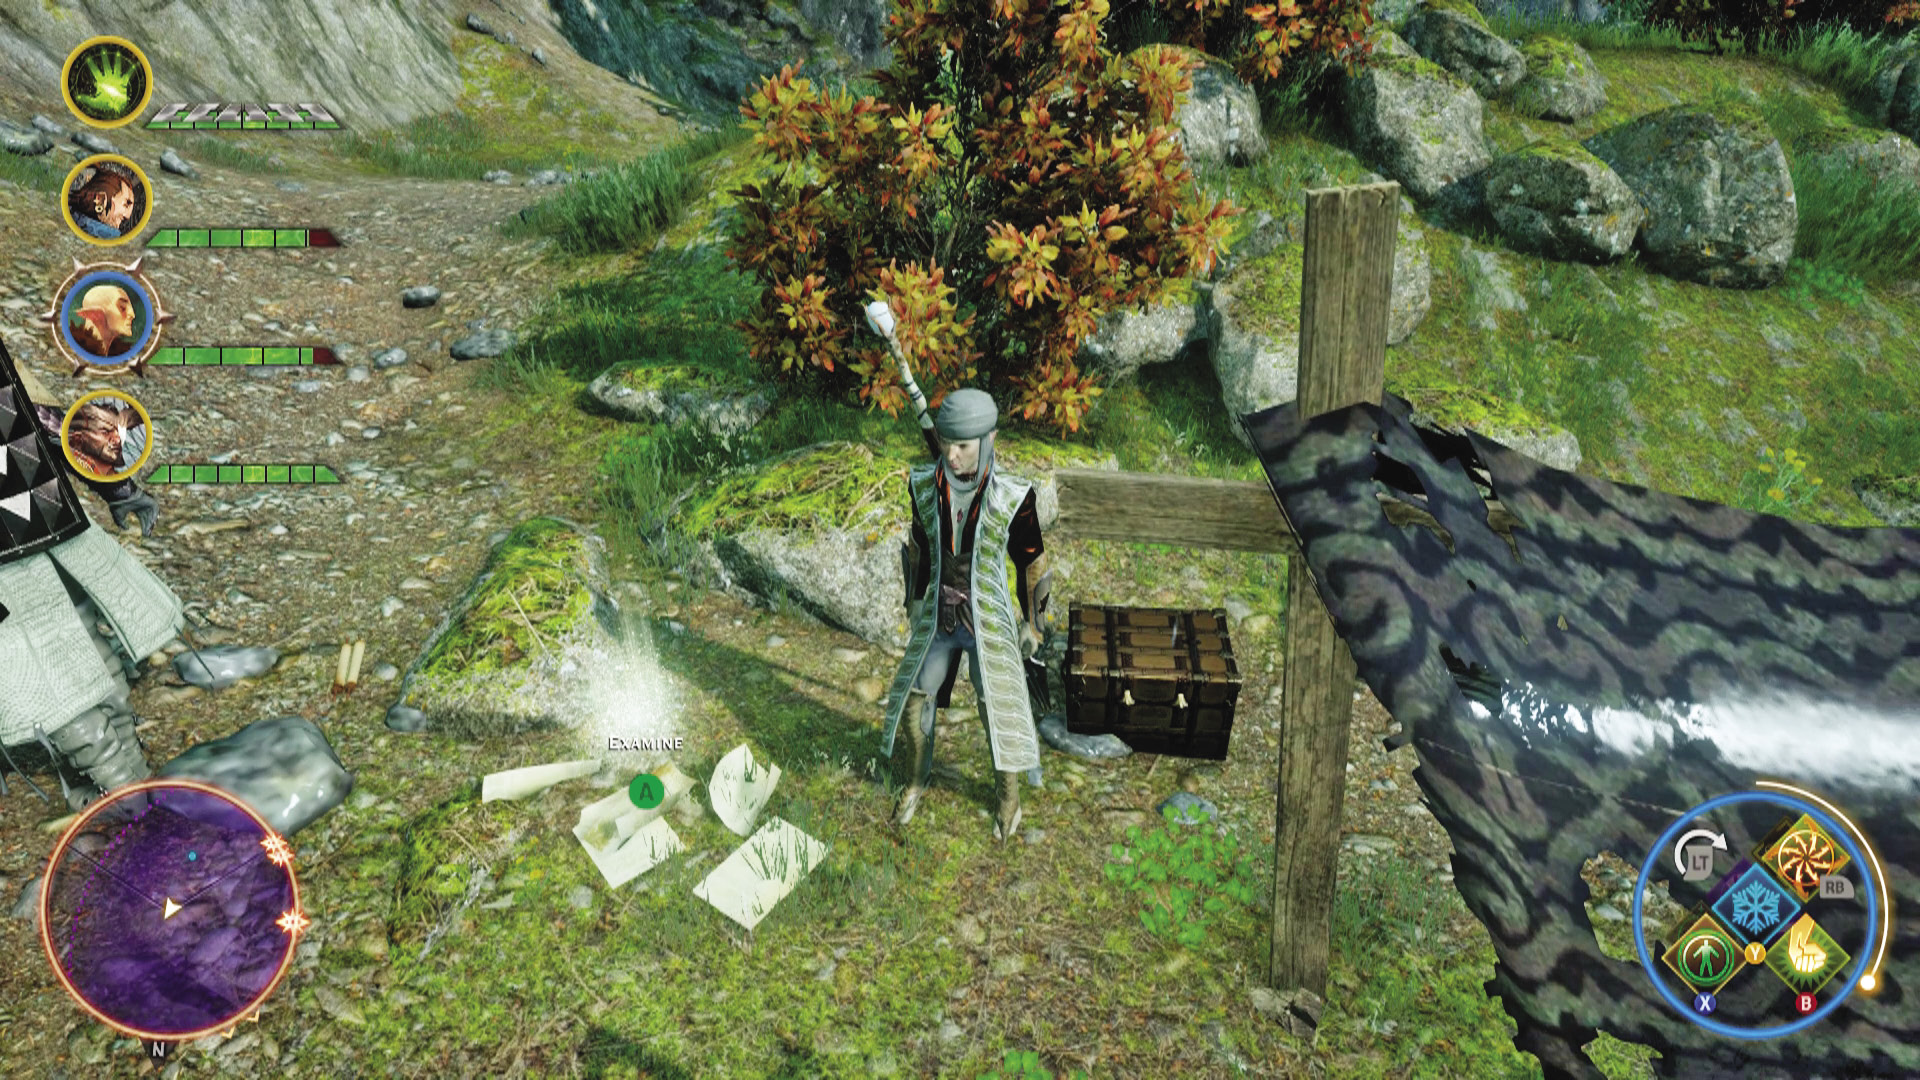
When going after these artifacts, make sure you take Blackwall with you. Him being present for every artifact found will increase his approval toward you. The locations on your quest map are pretty exact, so it isn’t too difficult to locate the artifacts. You’ll know you’re especially close when your mini-map begins pinging, which is your prompt to use Search until the artifacts are revealed.
Explanations
Quest Giver: Blackwall
Description: There’s an old Warden outpost in the Storm Coast that Blackwall wants to visit. It seems important to him.
Requirements: Available at Skyhold, after Revelations, but only if you have flirted with Blackwall enough to have been rebuffed by him after Haven is destroyed
Reward: 128 XP, 80 Influence, 0 Power
Objectives:
 Travel to the Storm Coast with Blackwall.
If you’ve flirted enough with Blackwall, in the aftermath of Haven’s destruction he will try to draw the line between you, the Inquisitor, and him, the Grey Warden. If you’re not willing to leave your relationship at that, go to the stables in Skyhold and strike up a conversation. He feels he owes you an explanation for his actions and wants you to come with him to the Storm Coast—he wants to show you something.

Gather a party (with Blackwall) and travel to the Storm Coast, arriving at Small Grove camp. Upon your arrival at Small Grove camp, travel south and conduct a search on the nearby cliff. Here you find several skeletons and weapons on the ground. A search reveals a badge among the remains—interact with it. This was Blackwall’s badge, and life, before he met you—“crumbling ruins, endless battles, death.” Convince him he doesn’t need to face these things on his own. This is all he needed to show you. He suggests talking to him at Skyhold. If you’ve maintained warm approval and have shown romantic interest, you can culminate the romance with Blackwall during your next conversation in Skyhold.
Revelations
Quest Giver: Blackwall
Description: Blackwall has left the Inquisition. It appears to have something to do with the impending execution of a man named Mornay, one of the soldiers responsible for the Callier massacre.
Requirements: Become Blackwall’s friend by gaining his approval, complete the events at Adamant and Halamshiral, and then speak with Blackwall at Skyhold.
Reward: 1,934 XP, 400 Influence, 3 Power
Objectives:
 Attend Mornay’s execution.
 Speak to “Rainier” in his cell.
 Discuss the situation with Cullen.
 Optional: Order the advisors to find a way to release Rainier from prison.
 Judge Rainier at Skyhold.
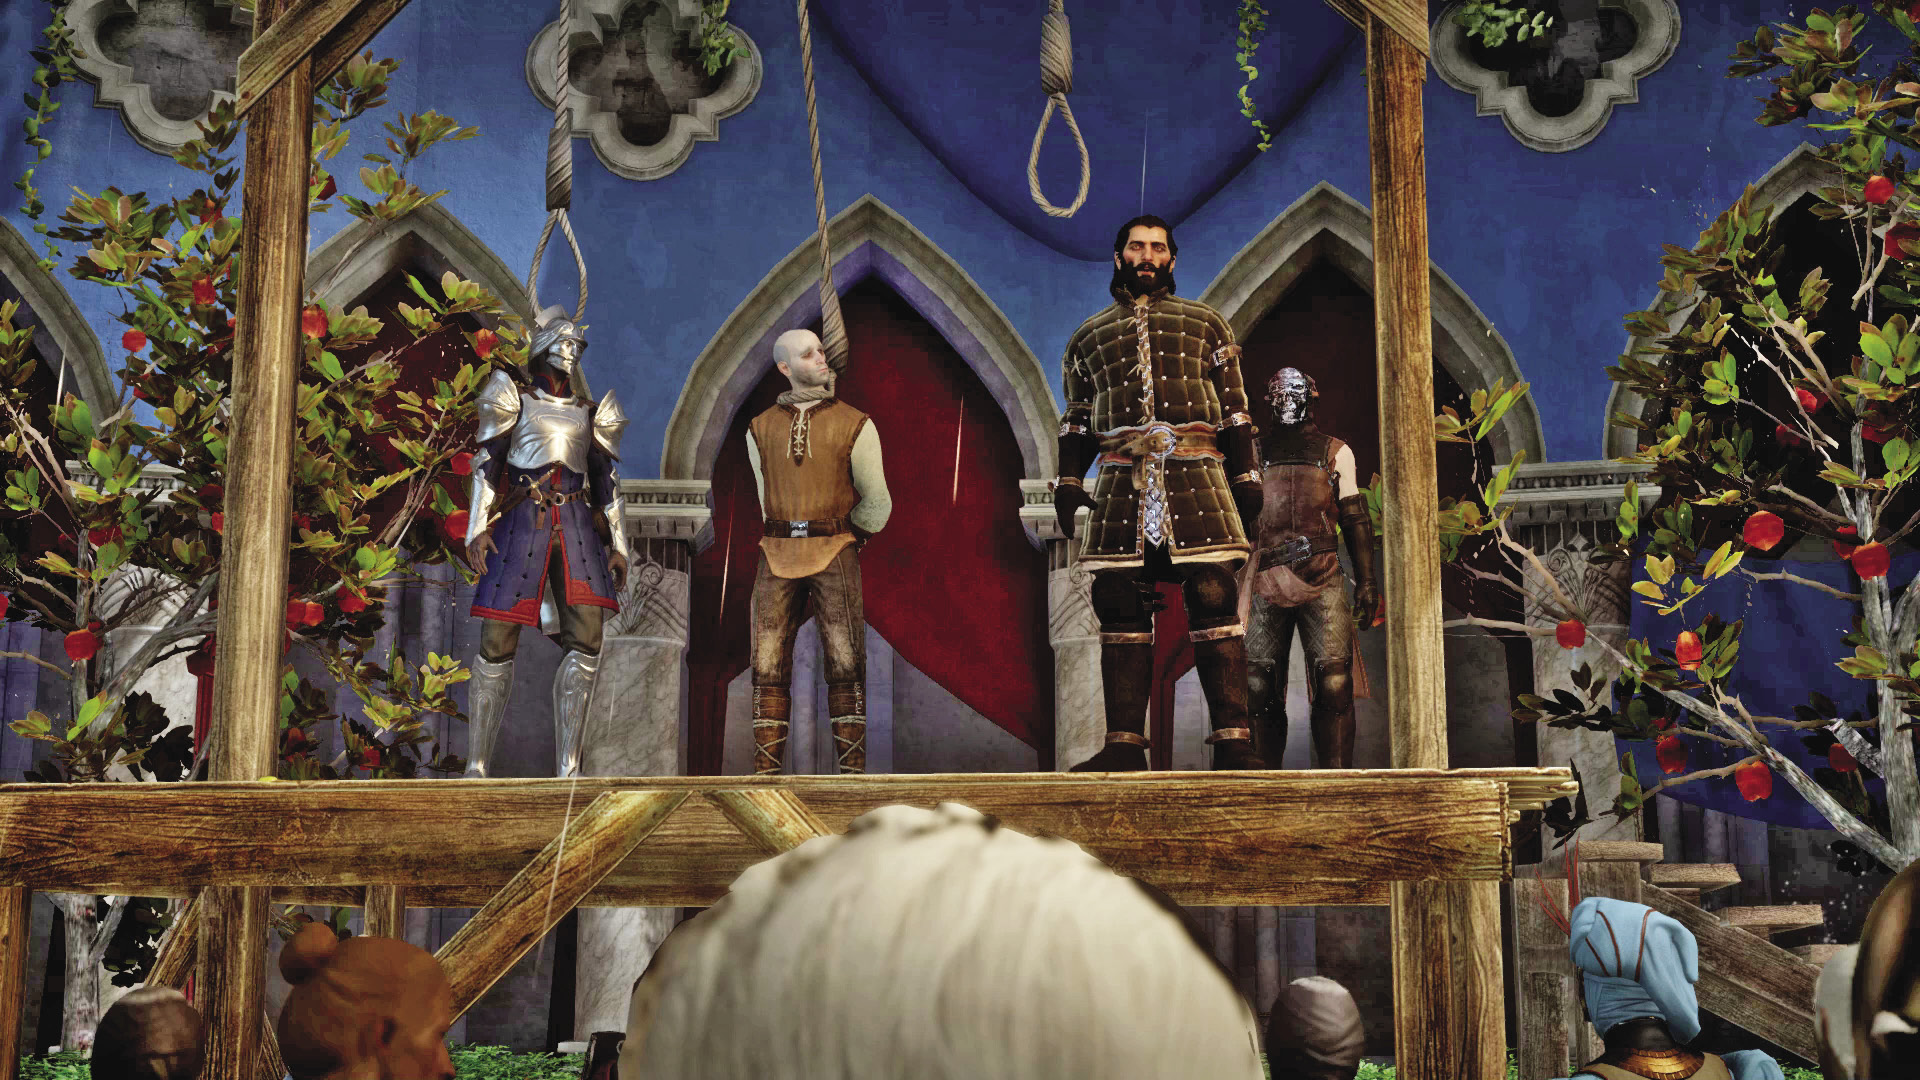
Following a particularly dark conversation with Blackwall in Skyhold’s tavern, he goes missing. Speak to the Inquisition messenger in the stables to get a lead. A crumpled report handed over by the messenger suggests Blackwall is attending the execution of a man called Mornay in Val Royeaux—the man is accused of taking part in a massacre as ordered by his captain, Thom Rainier. Travel to Val Royeaux to see what’s going on. Upon your arrival, Blackwall interrupts the execution, revealing he was the one who ordered Mornay. He is actually Thom Rainier. Following this revelation, Blackwall is arrested and escorted to Val Royeaux’s prison.
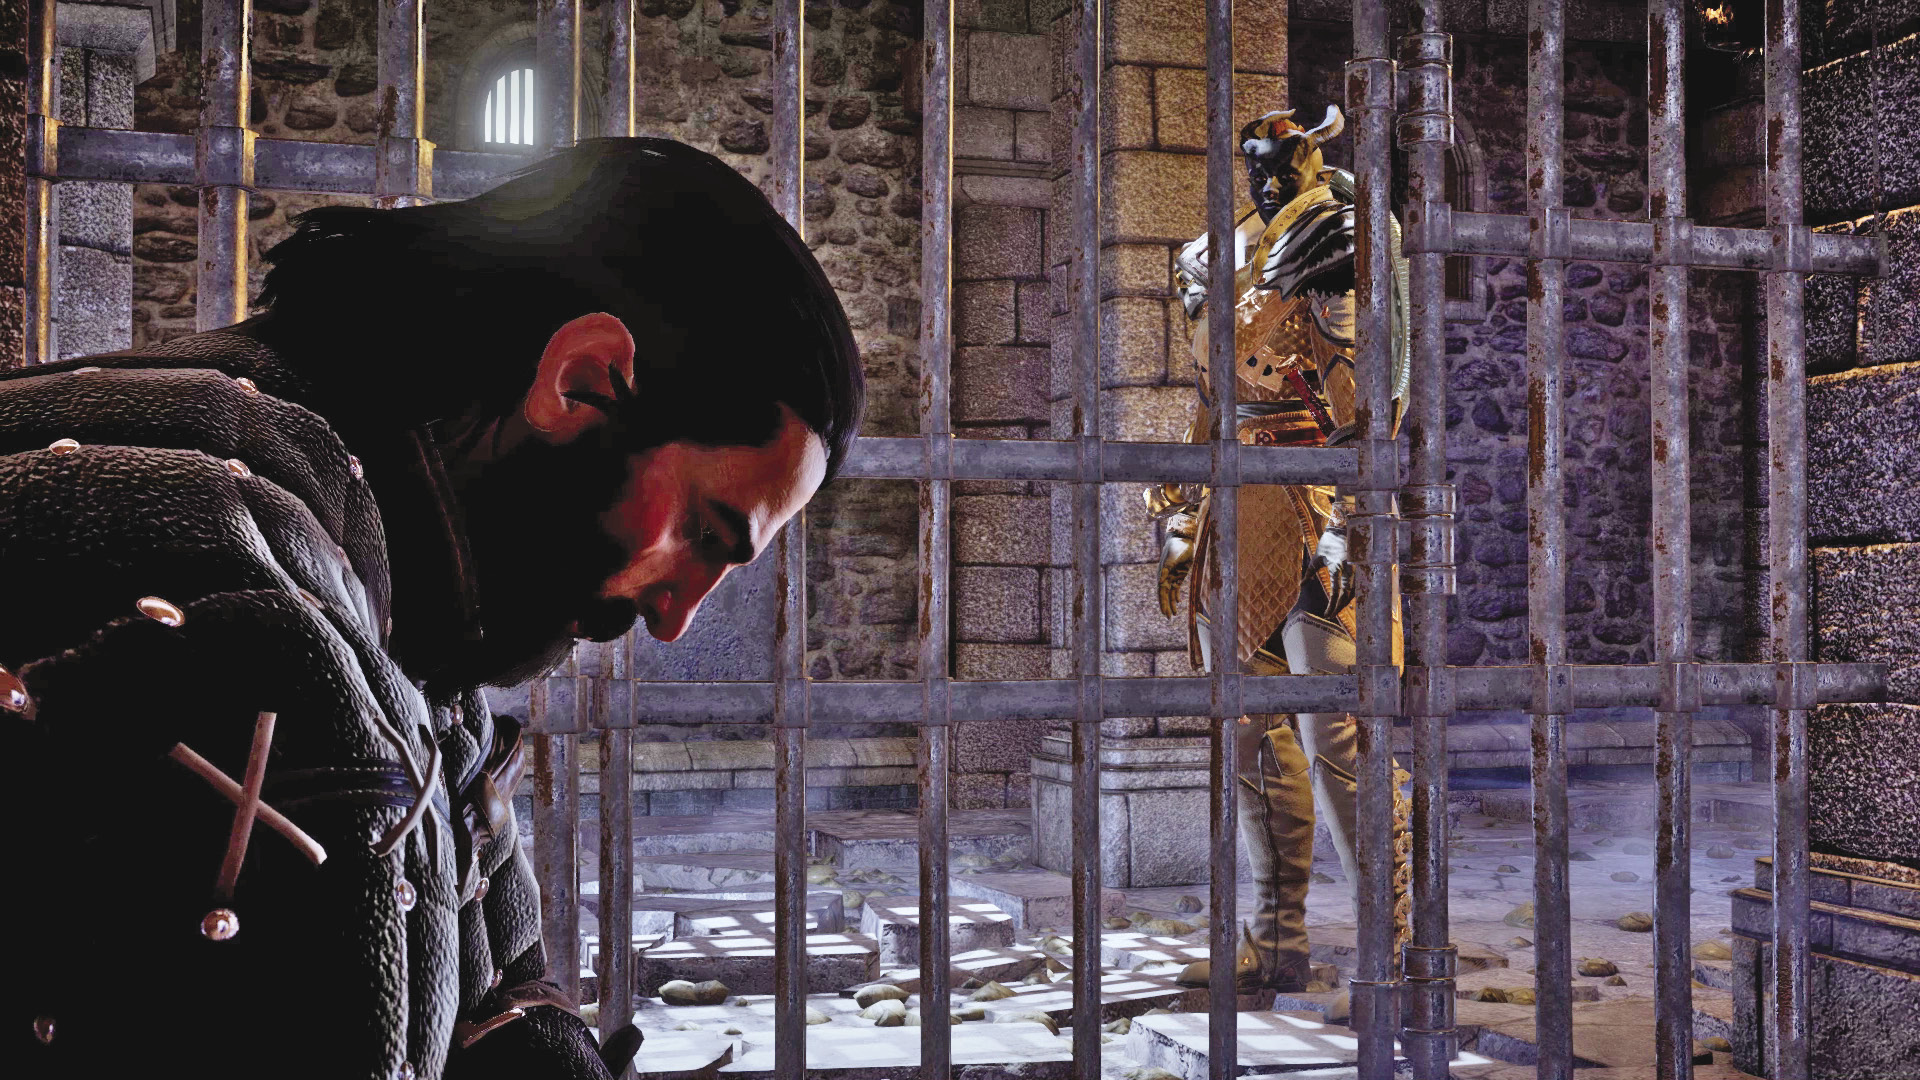
Proceed to the prison and visit Blackwall in his cell to get more details. Thom Rainier was a respected Orlesian captain who ordered the death of Lord Callier and his entourage—Mornay was Rainier’s second in command. When these events came to light, Rainier ran. While on the run, Rainier encountered a Grey Warden named Blackwall. Rainier served and learned the ways of the Wardens from Blackwall. When the original Blackwall died during a darkspawn ambush, Rainier carried on the name. But now that Mornay had been captured, Rainier couldn’t let him take the fall for his crime. The man you knew as Blackwall is filled with guilt and ready to face his punishment at the gallows.
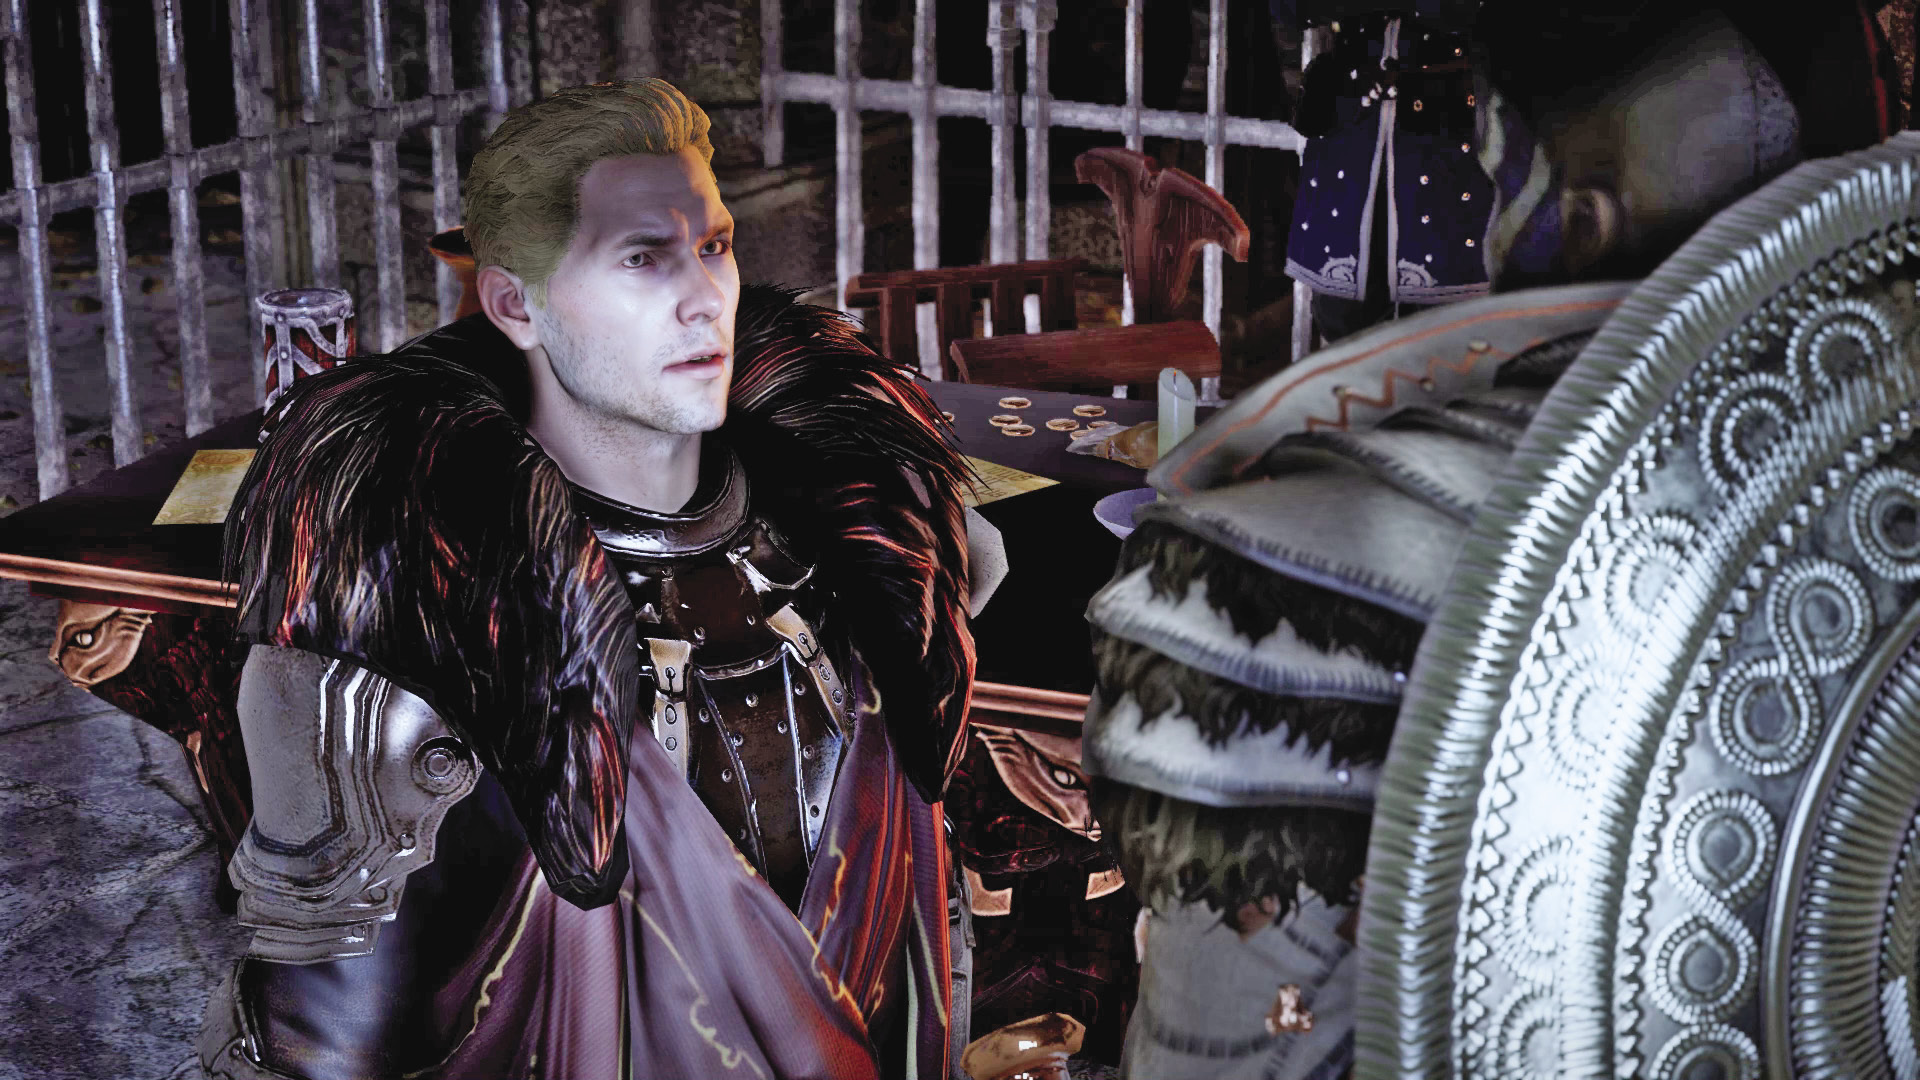
After getting information from Blackwall, speak to Cullen about what to do next. He reveals that Thom Rainier was convinced to perform a political hit on one of Empress Celene’s biggest supporters, Lord Callier. Most of Rainier’s men took the fall for this massacre. But Rainier and Mornay managed to escape. Cullen suggests that the Inquisition can use its leverage to get Rainier released. You can then judge him yourself back at Skyhold. If you choose to leave him in prison in Val Royeaux, Blackwall is out of the Inquisition and no longer available as a party member. However, if you order Cullen to get Rainier out of prison, you’ll get him back. But you’ll need to go back to Skyhold to make these arrangements.
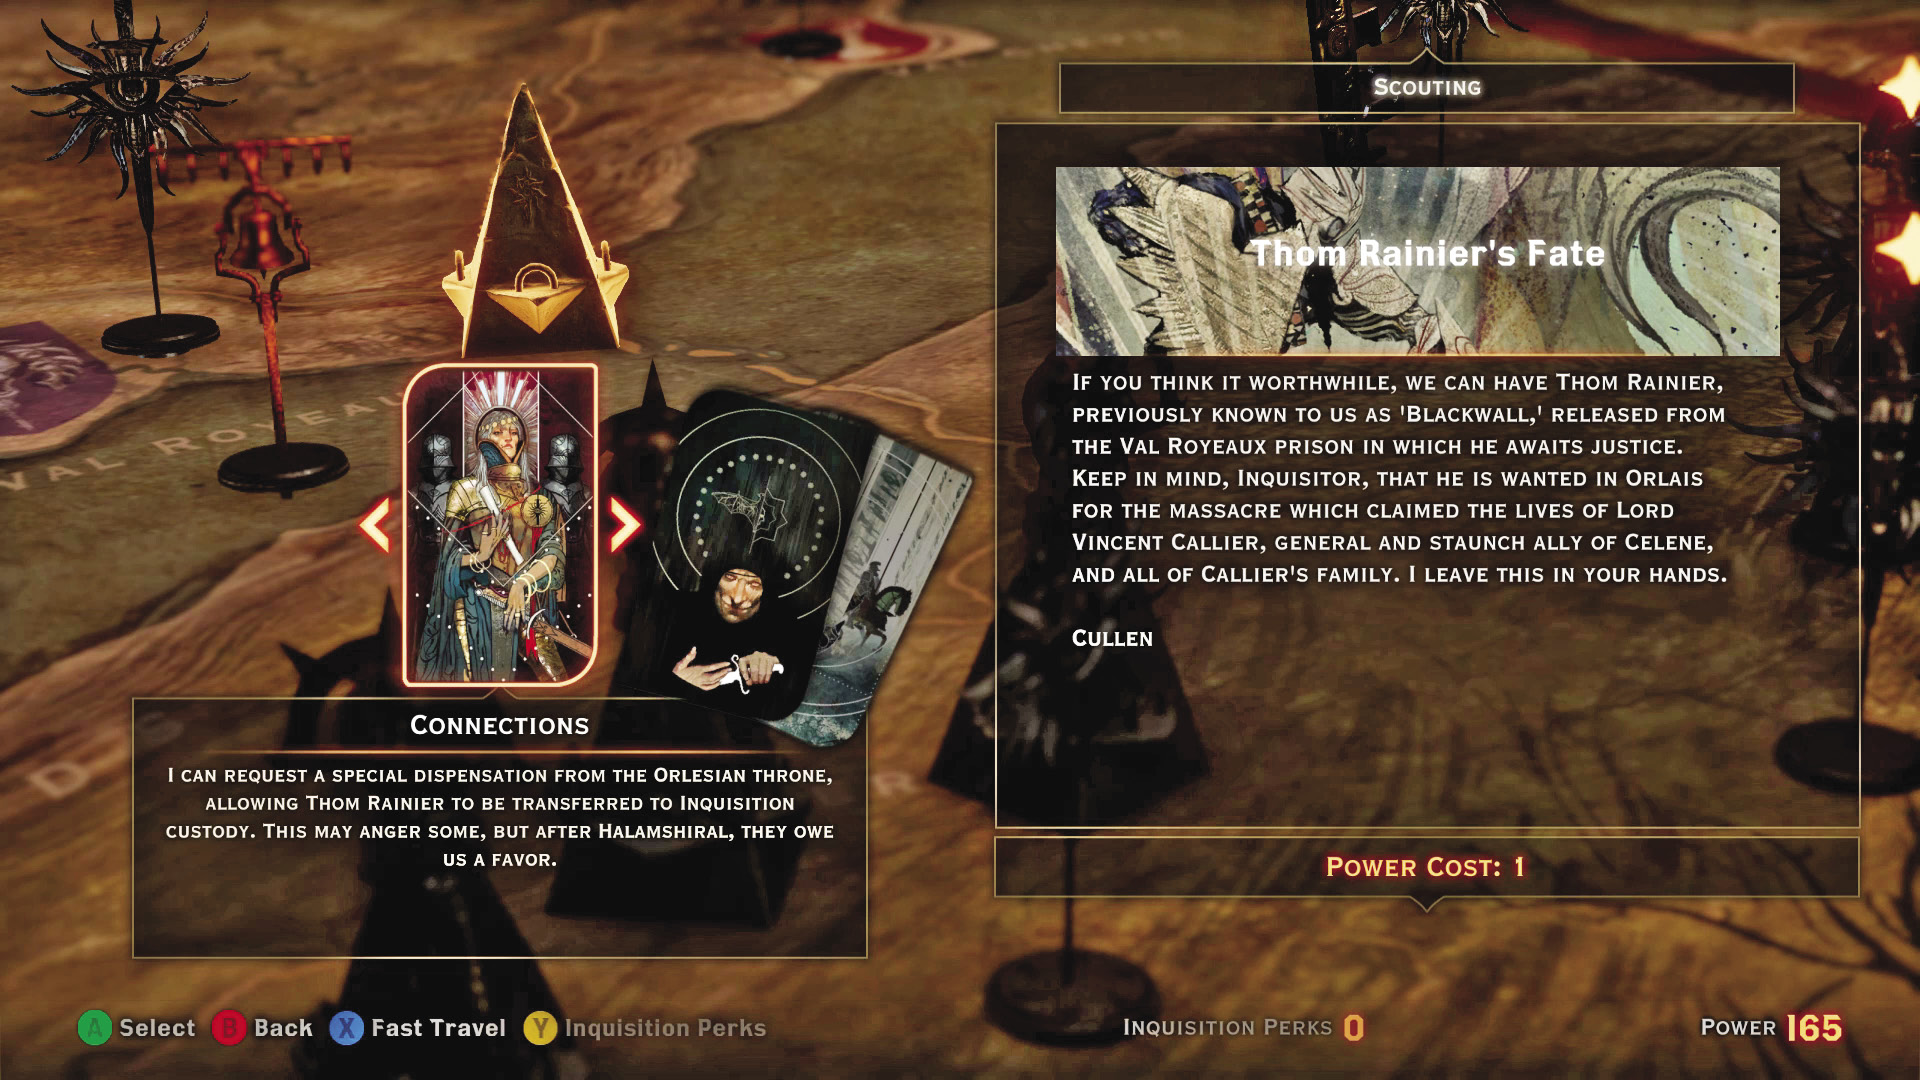
Back in Skyhold, visit the war room and choose the Thom Rainier’s Fate operation from the war table, costing one power. Select Josephine to complete this operation to avoid any complications. Once Rainier has been transferred into Inquisition custody, head to the throne room and conduct a judgment. There are three options. You can set Rainier free, make him serve the Inquisition against his will, or turn him over to the Wardens once Corypheus is defeated. Blackwall greatly approves if you set him free (tell him he should be himself) or send him to the Wardens. After the judgment, the quest is complete.
The Captain of the Chargers
Description: A Qunari warrior known as the Iron Bull is offering aid for the Inquisition from his mercenary company, the Bull’s Chargers.
Quest Giver: Krem in Haven
Requirements: Available after returning to Haven from Val Royeaux.
Reward: Iron Bull joins the Inquisition.
Objectives:
 Meet Iron Bull at the Storm Coast.

Before you can go to the Storm Coast, you must first scout it on the war table, costing five power. When you arrive at the Storm Coast, head northwest to find Iron Bull and his Chargers engaged in battle against several Tevinter zealots. Once your party arrives, the enemies are outnumbered—help Iron Bull and the Chargers mop up the rest. Following the battle, Iron Bull strikes up a conversation, offering his group’s services to the Inquisition. But he also reveals he’s working for the Ben-Hassrath, the Qunari secret police. As an agent of the Ben-Hassrath, Iron Bull is tasked with keeping an eye on the Inquisition—the Qunari have a vested interest in closing the Breach. In return, he offers to share Ben-Hassrath information with the Inquisition. If you agree with Iron Bull’s terms, ask him to join the Inquisition.
Demands of the Qun
Quest Giver: Iron Bull
Description: The Ben-Hassrath have offered an alliance with the Inquisition. Accompany Iron Bull and his Chargers to meet with their contact in the Storm Coast.
Requirements: You must have high approval with Iron Bull, and you must have discussed Seheron with Iron Bull during conversation at Skyhold. You will know you have good approval with Bull after a few hard-core drinking sessions, possibly a few high dragon battles, and a group chat with the Chargers at Bull’s behest.
Reward: 1,025 XP, 400 Influence, 3 Power
Objectives:
 Head for the Storm Coast with Bull.
 Speak with Bull to begin the assault.
 Clear out the Venatori.
 Signal the dreadnought.
 Check on Bull back at Skyhold.

Bull’s extension of the Ben-Hassrath’s offer is a surprise even to him, and you can voice your distrust of the Qunari to his disapproval. If you choose to go for it, head to the Storm Coast with Bull and two other bruisers. You’ll have to crack some Venatori skulls before the day is up.

You meet Bull’s contact, Gatt, at the Storm Coast, and he lays out the plan. A Qunari dreadnought intends to end a Venatori smuggling operation. Their cargo is red lyrium, and the Ben-Hassrath see this as a clear and present threat to Qunari ambitions. Once the briefing is over, speak with Bull to begin the assault.
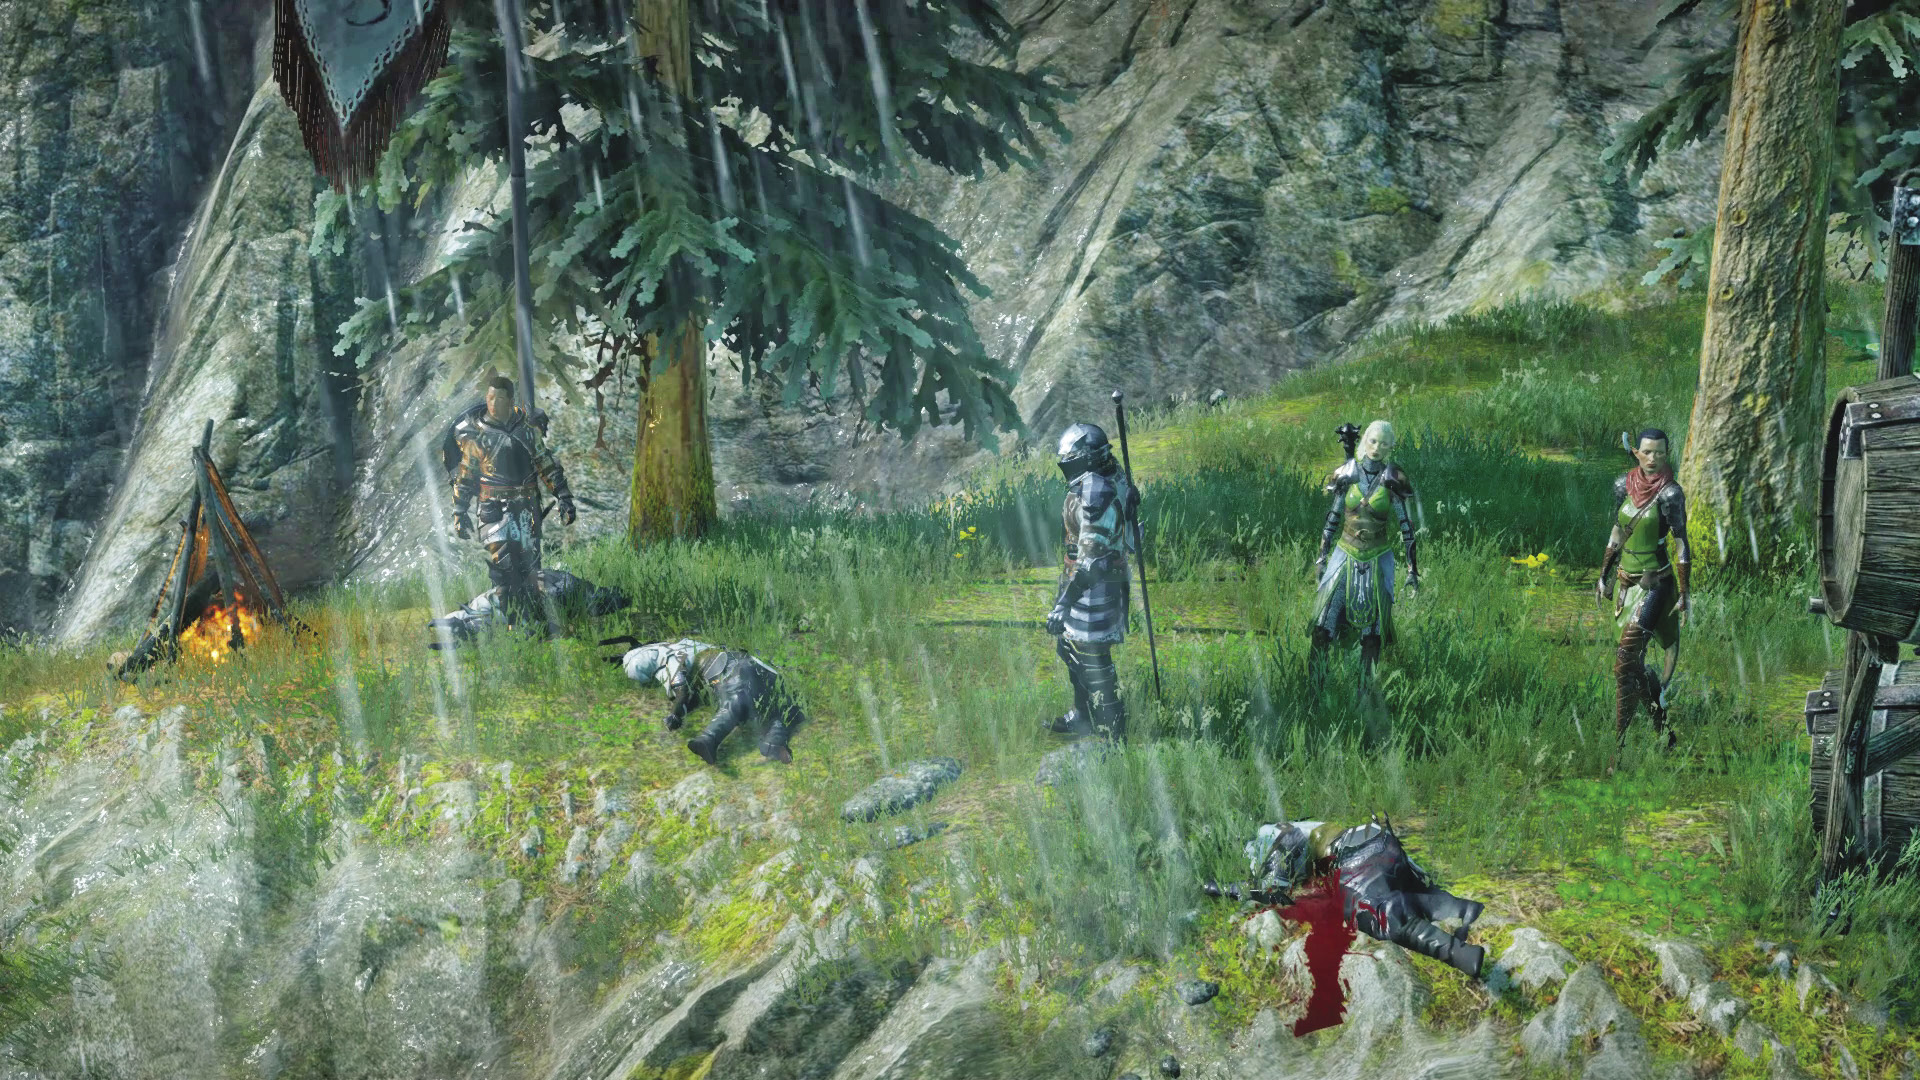
The fighting begins in earnest, with Venatori troops trying to defend their positions on the nearby ridge from your relentless assault, while the rest of the Chargers attempt to hold a different position. You should be able to clear the area in minutes, and then you can signal the dreadnought.

However, it’s apparent that the Venatori are well prepared, with a large number of mages on the beach marching in range of the dreadnought and the other Chargers. You are forced to make a major decision: Tell Bull to order his men to retreat, more or less betraying the Ben-Hassrath and becoming Tal-Vashoth, or allowing Bull to watch his men die. If the Chargers are sacrificed, the alliance with the Ben-Hassrath is secure. If they retreat, the mages destroy the dreadnought, and all hopes of an alliance will be crushed.
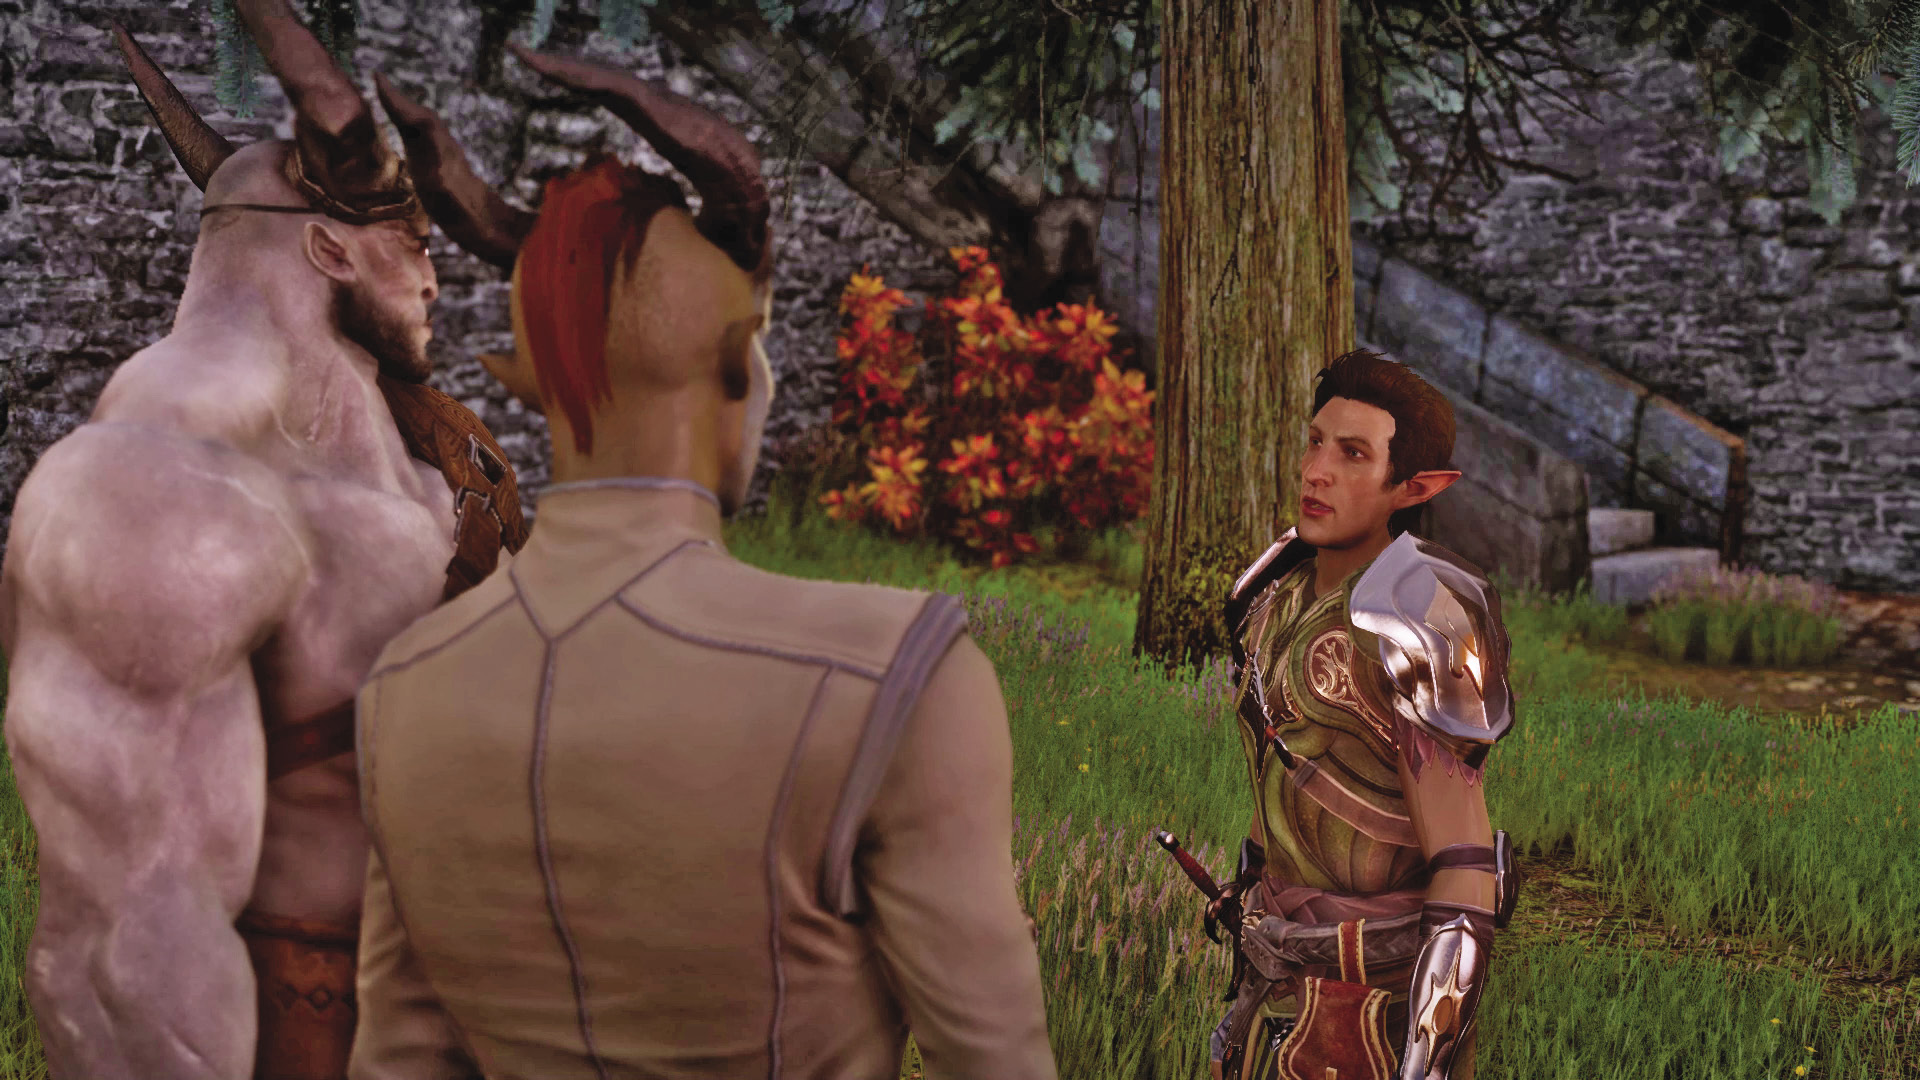
Regardless of how you choose, when you return to Skyhold, speak with Bull to help him get over the decision—though if his men are dead, there are not enough Qunari sayings or condolences you can pay to make him happy for their sacrifice.
Tough Love
Quest Giver: Iron Bull
Description: According to the Qunari tradition, the gift of a dragon’s tooth, broken in two, is symbolic of a deep, emotional connection. Also, Bull really likes dragons. A dragon tooth might be the perfect gift for him.
Requirements: Iron Bull must have high approval of you. You must have completed all of his side quest and have chosen to flirt during your conversations with him. Any gender or race is accepted.
Reward: 128 XP, 80 Influence
Objectives:
 Slay a dragon and collect a tooth.
 Obtain one piece of obsidian.
 Requisition the Necklace of Kadan.
 Give Iron Bull the necklace.
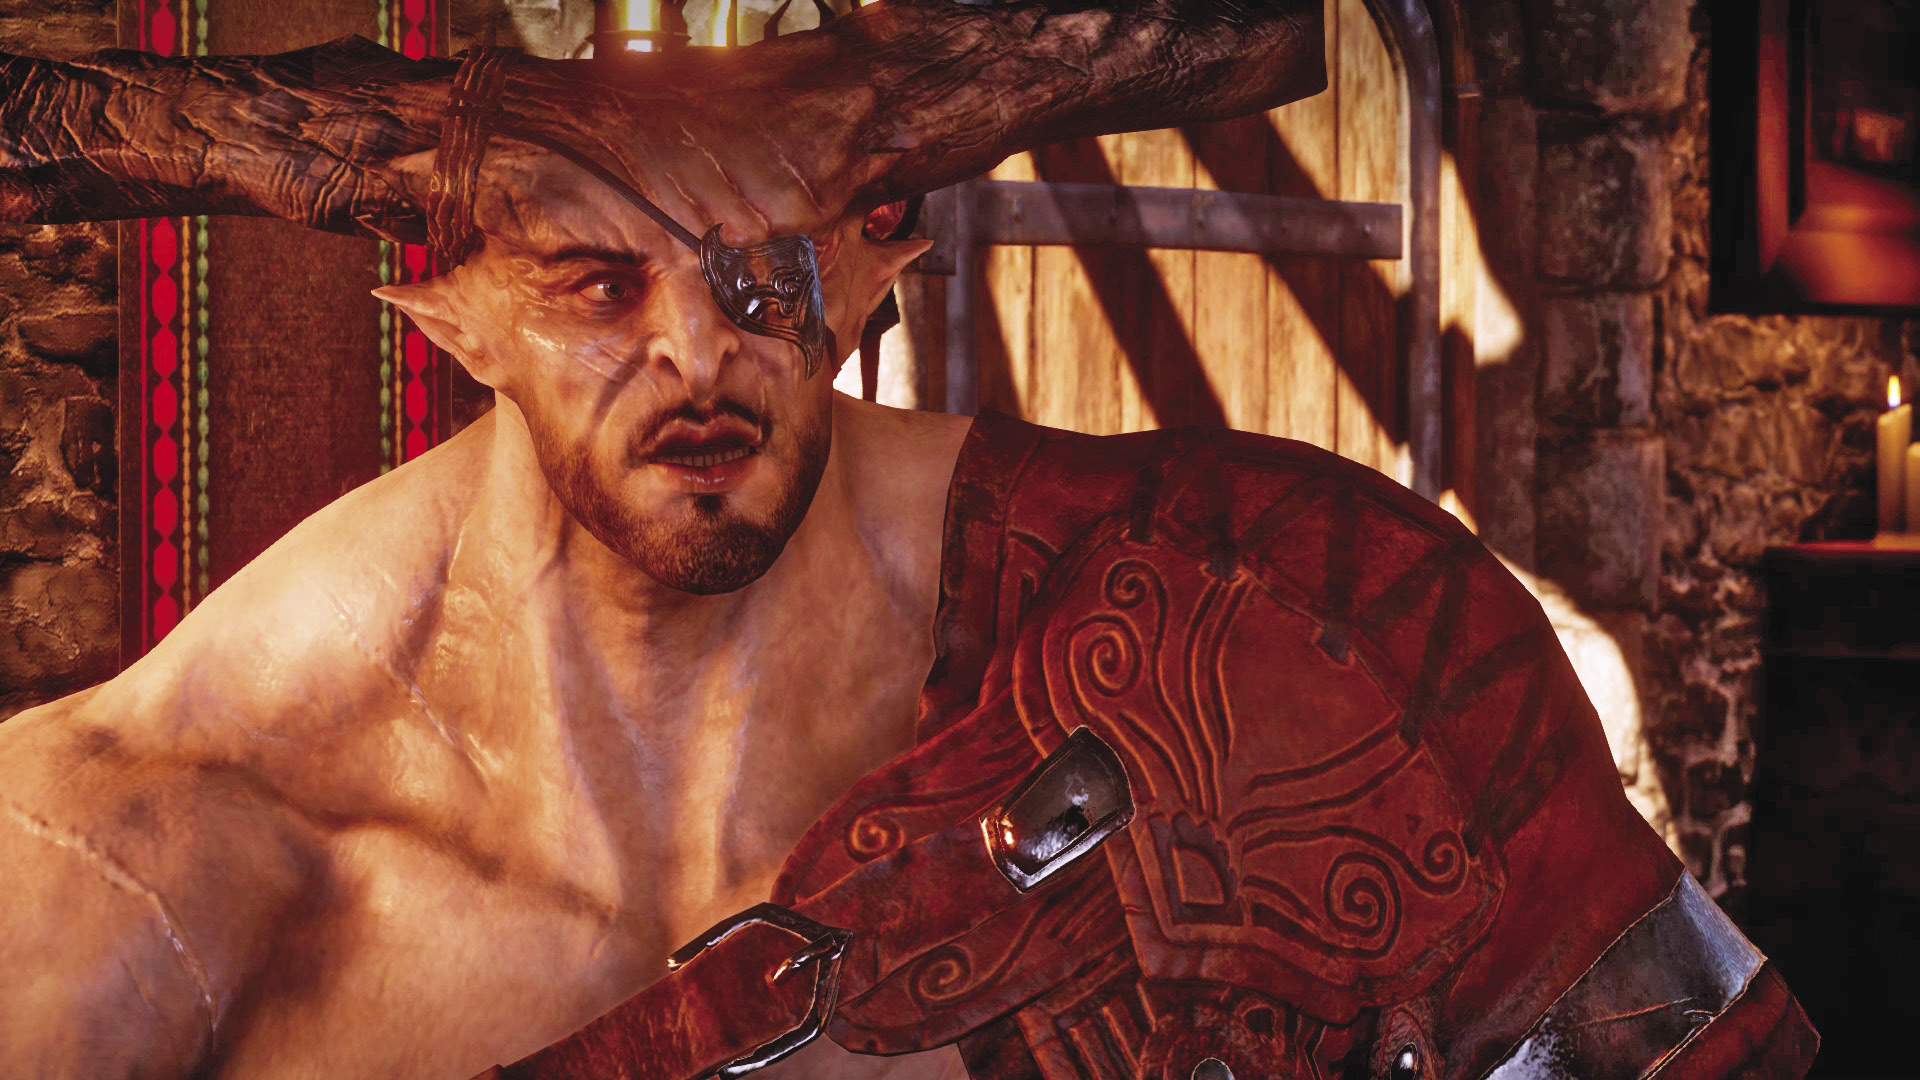
After enough flirting and fighting, Iron Bull gets the hint. When you next speak with Bull at the Skyhold tavern, you trigger a scene of your Inquisitor wandering to their room, distracted by paperwork. Waiting there, in bed, is the Iron Bull, and he’s very frank about what he believes you want to do. You can rebuff his advances, rejecting a relationship, or accept them.
After your exhausting fade to black, go speak with Bull at the Skyhold tavern. You can choose to end things there or ask for another go. Iron Bull takes this second sexual encounter much more seriously. He says he will never hurt you (without permission), he will provide what you need, and you only need to speak one word to end the relationship. If you intend to pursue the relationship, have another tryst with Bull.
Return to the Skyhold tavern to speak with Iron Bull once more. You can ask him if what you’re having with him is serious. It’s now that you learn of a gift that Qunari share with a lover, if that relationship is meant to be more than a passing dalliance. You gain a requisition recipe to craft the Necklace of Kadan.
After crafting the necklace at a requisition table (one helpfully located very close to the tavern), speak with Bull again and give him his gift, leading to another intimate encounter that is interrupted by Cullen, Josephine, and Cassandra (in that order). Here, you can declare that the relationship is more than a mere fling: Iron Bull belongs to you, and you to him.
The Forgotten Boy
Quest Giver: Cole
Description: After the dust settled, Cole was nowhere to be found. It’s hard to believe he isn’t hanging around somewhere in Skyhold.
Requirements: Establish Skyhold.
Reward: Cole
Objectives:
 Look for Cole.
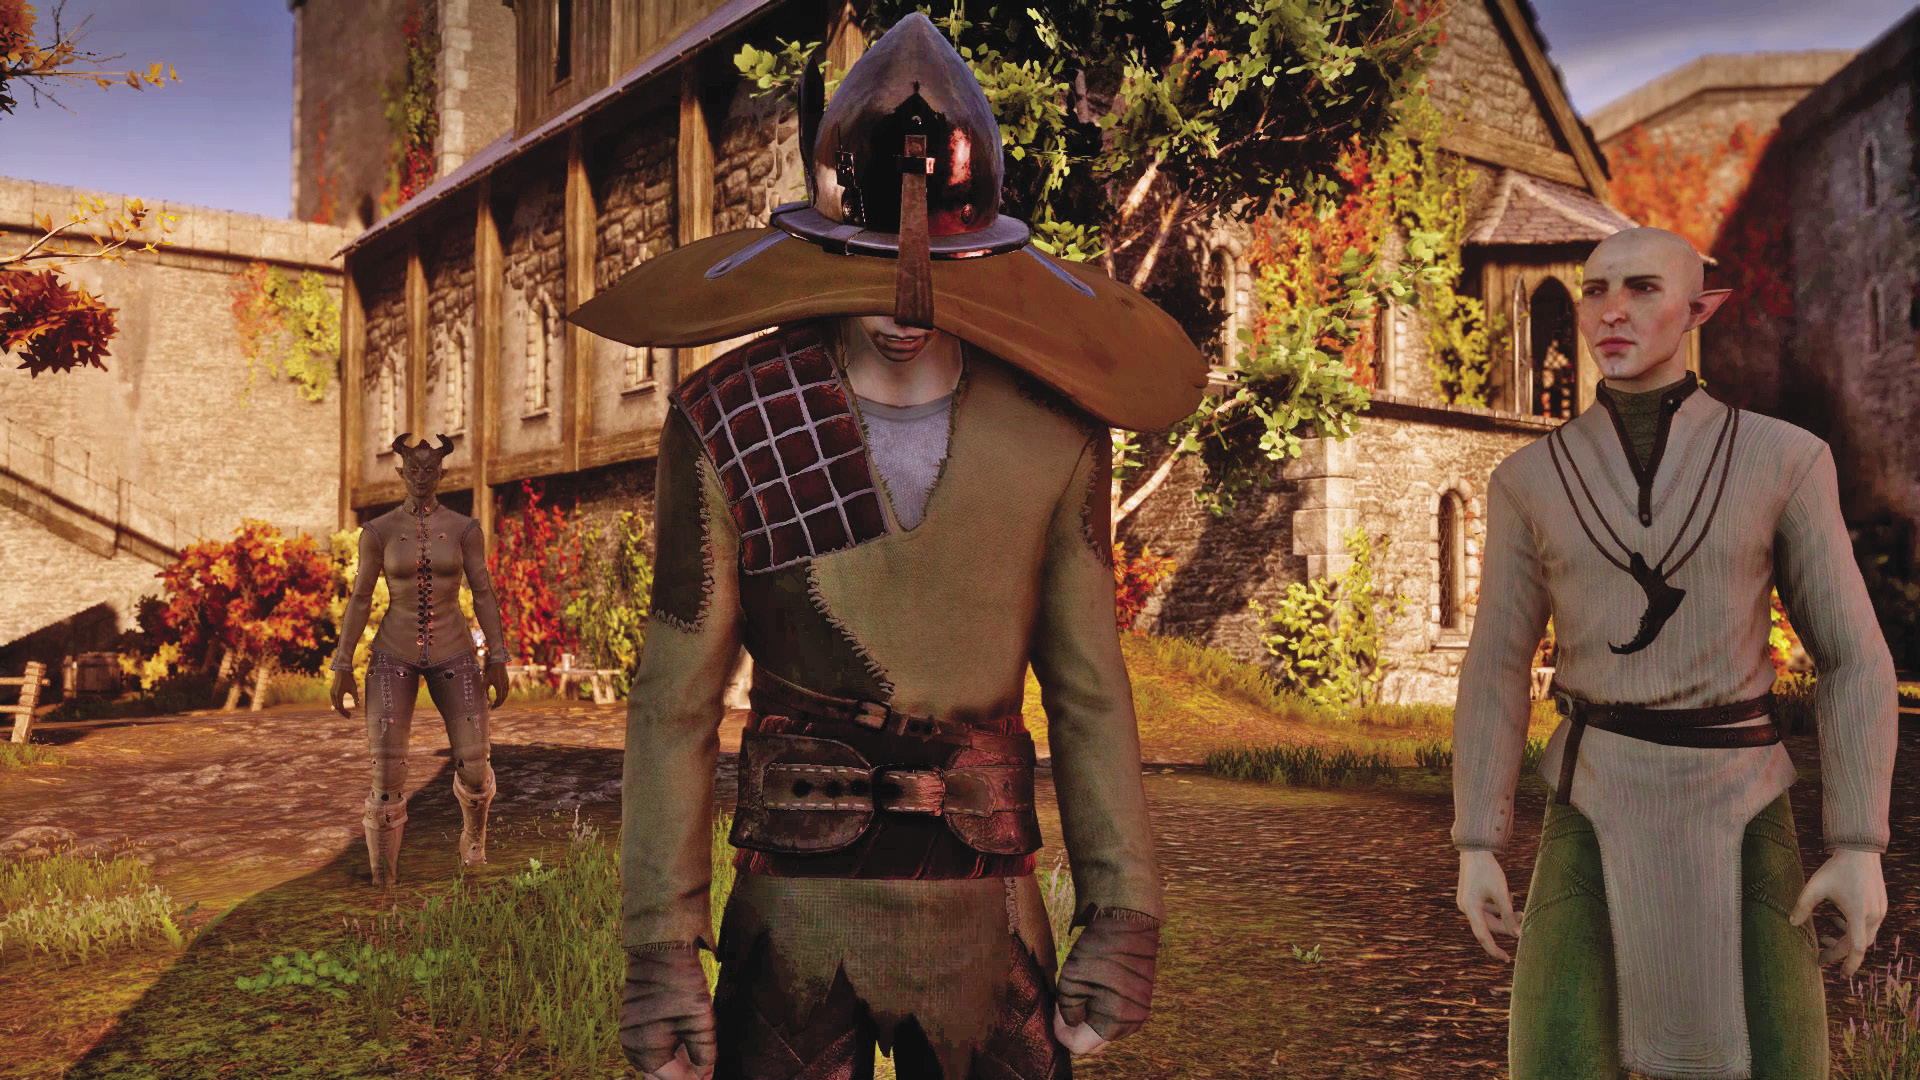
You find Cole the center of a debate between Solas, Vivienne, and Cassandra. Solas feels that Cole is not to be feared despite his nature as spirit. Vivienne and Cassandra are not convinced, and your own input on the matter can gain you the approval of one side of the argument.
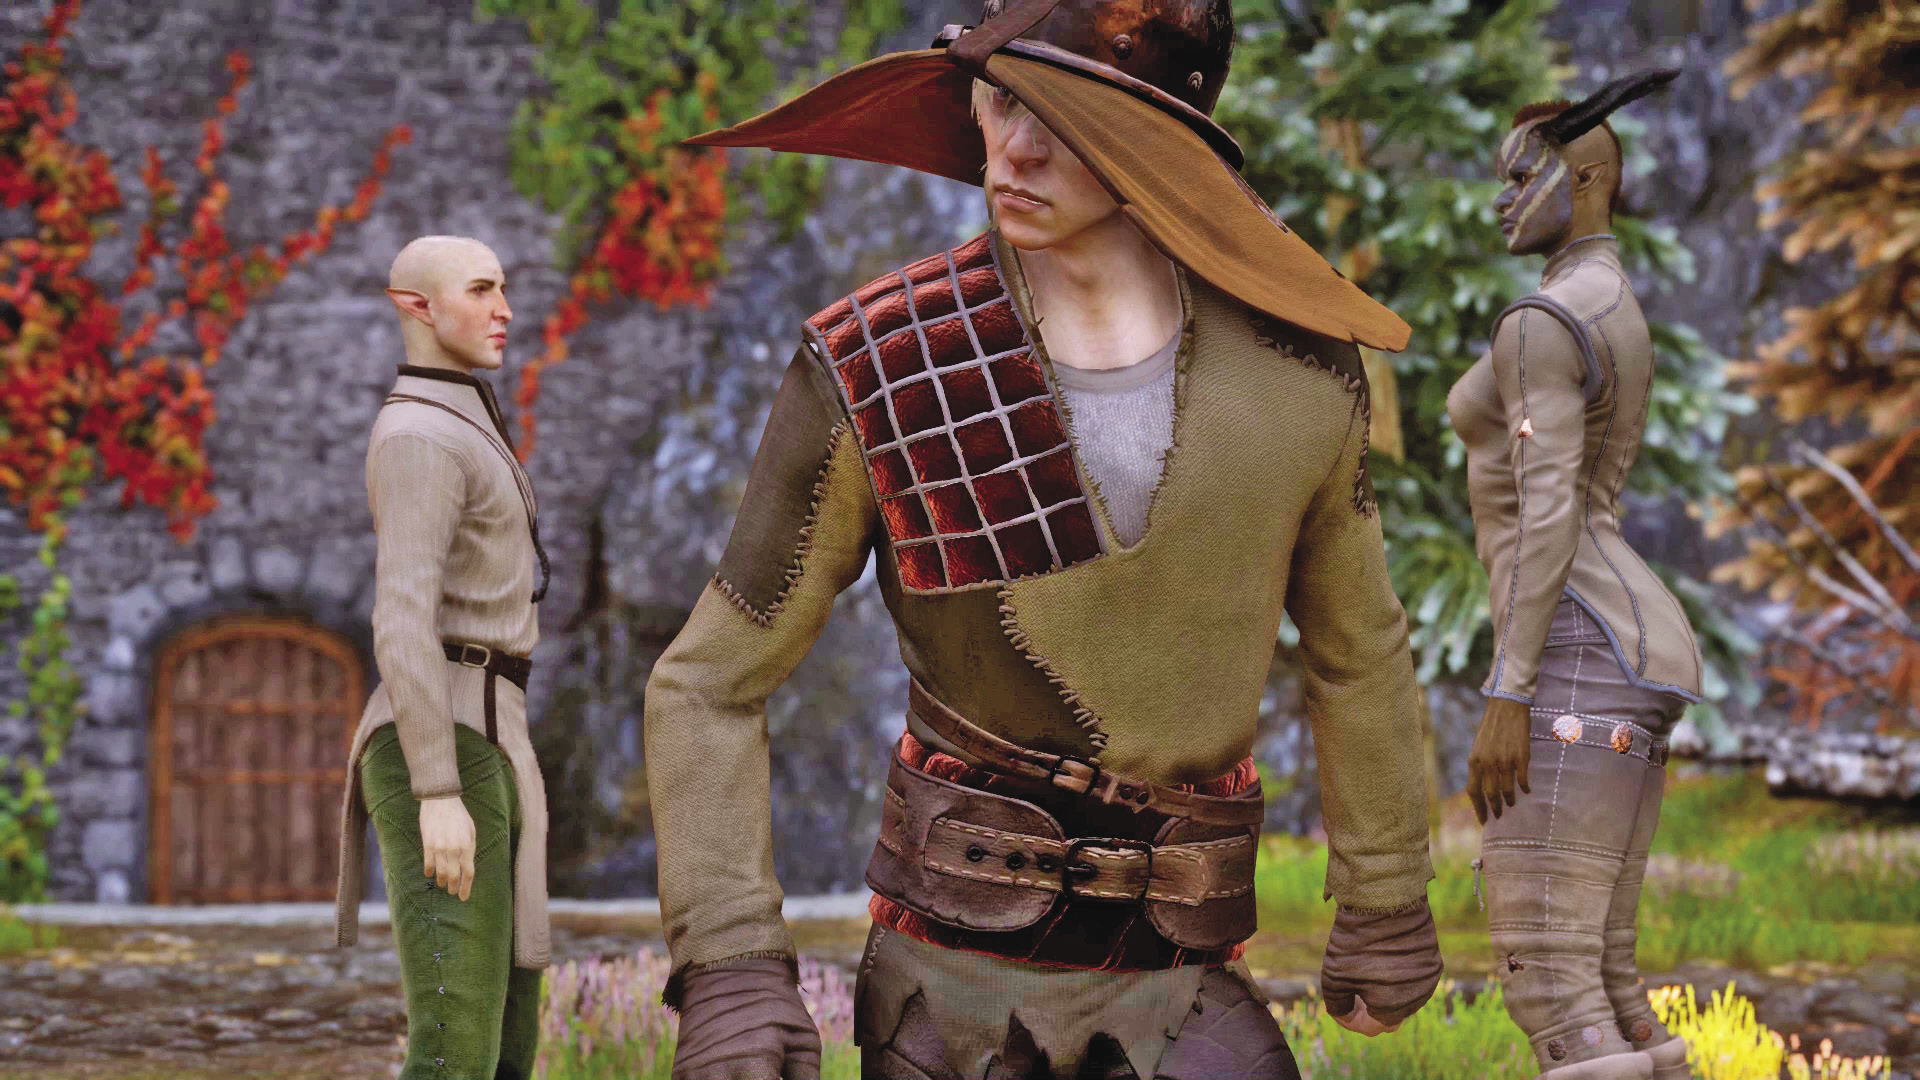
Speaking with Cole himself, you can learn more about his nature as a spirit. He feels he can help people, help them through suffering, such as the wounded in the courtyard of Skyhold. You can accept his help or send him away. Cole is an effective melee rogue, a good addition to the team. Solas will greatly approve of Cole; Vivienne will disapprove of his recruitment.
Subjected to His Will
Quest Giver: Cole
Description: Solas says that finding an Amulet of the Unbound will prevent Venatori mages from binding Cole.
Requirements: Complete Here Lies the Abyss, then talk to Cole in Skyhold.
Reward: 1,934 XP, 400 Influence, 3 Power
Objectives:
 Send scouts to investigate possible amulet locations.
 Give the amulet to Cole.

Cole is badly shaken by the events at Adamant, and he wishes for Solas to bind him, so that less savory mages do not. Solas is insistent on refusing to bind Cole but suggests that the Inquisition could seek out an Amulet of the Unbound. This would make Cole immune to blood magic. Go to the war table and send an advisor to complete the new operation that has opened up.
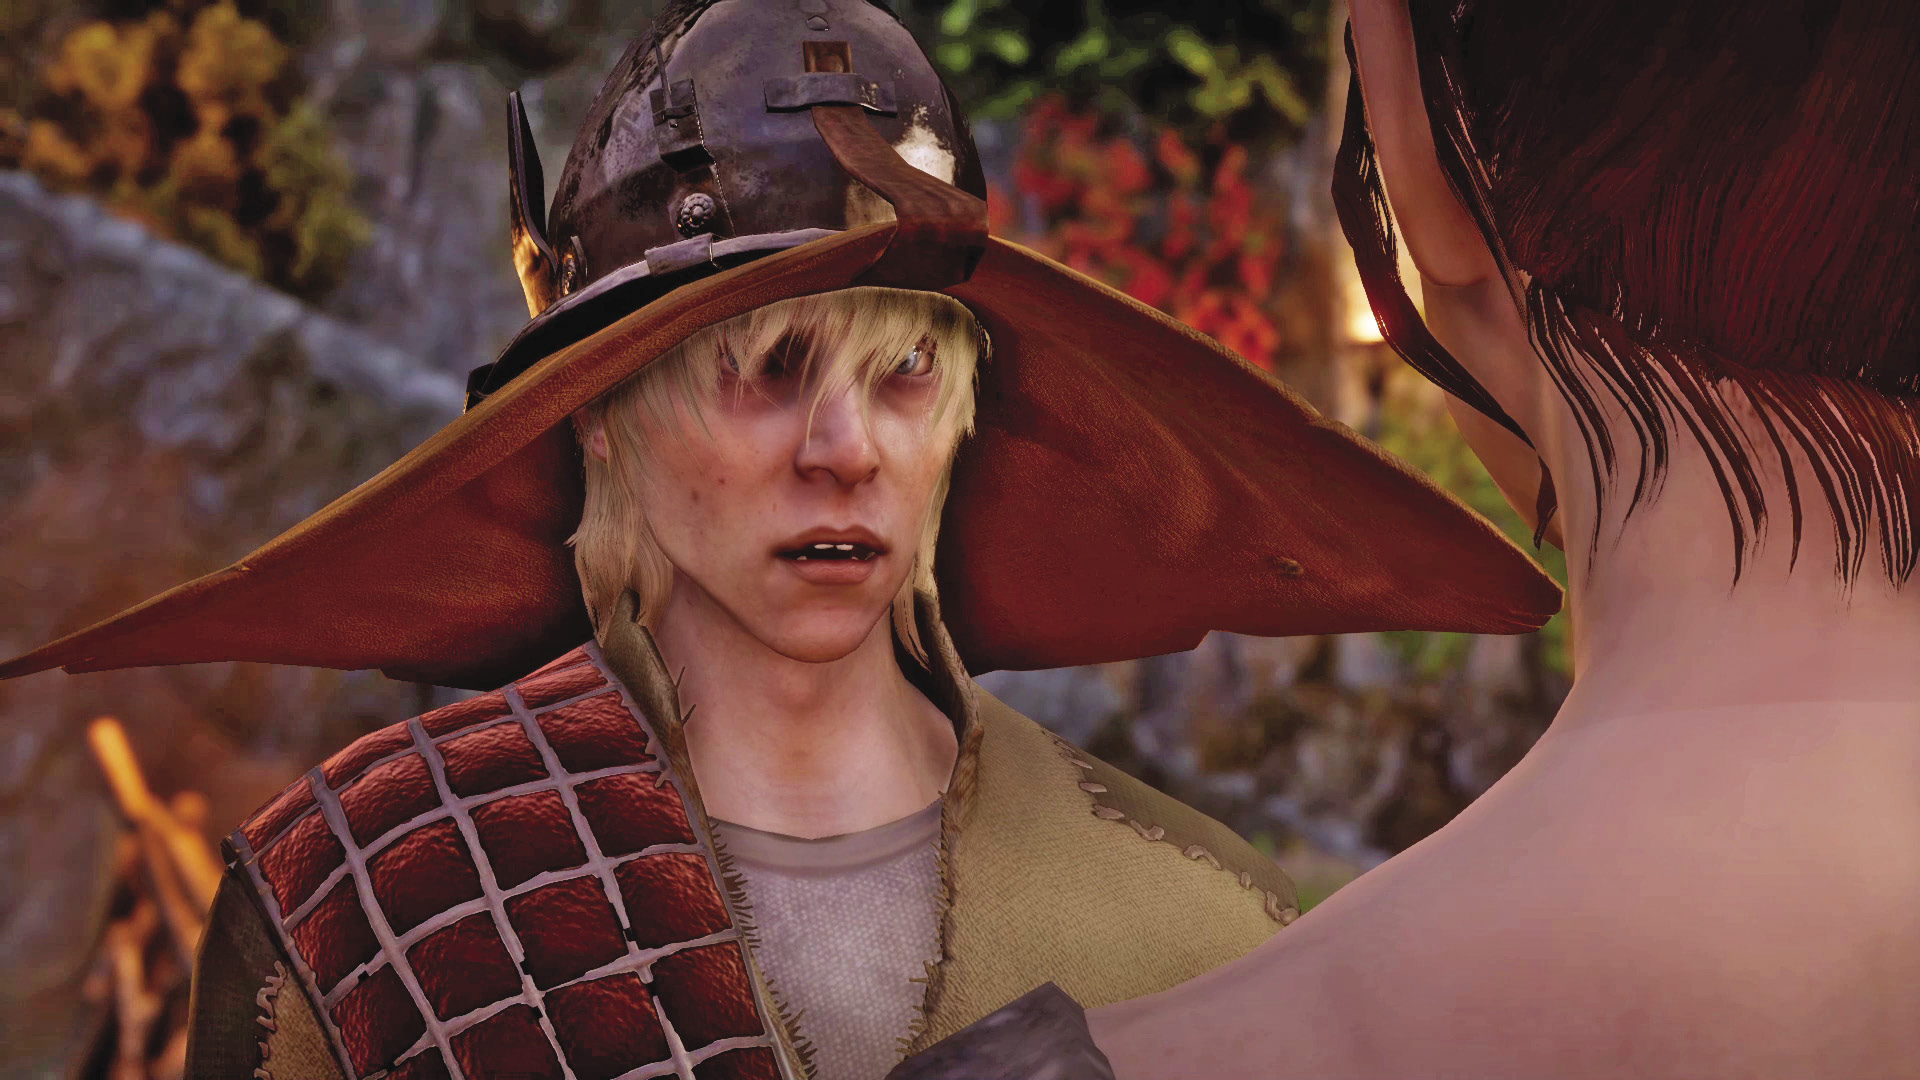
When the amulet is obtained, seek out Cole at the Skyhold tavern. You catch up to him trying to “help” a mourning woman, and you can actually interrupt his usual tricks of making people forget him, if you desire. Afterward, give him the amulet so Solas can try to save him from future blood mages.
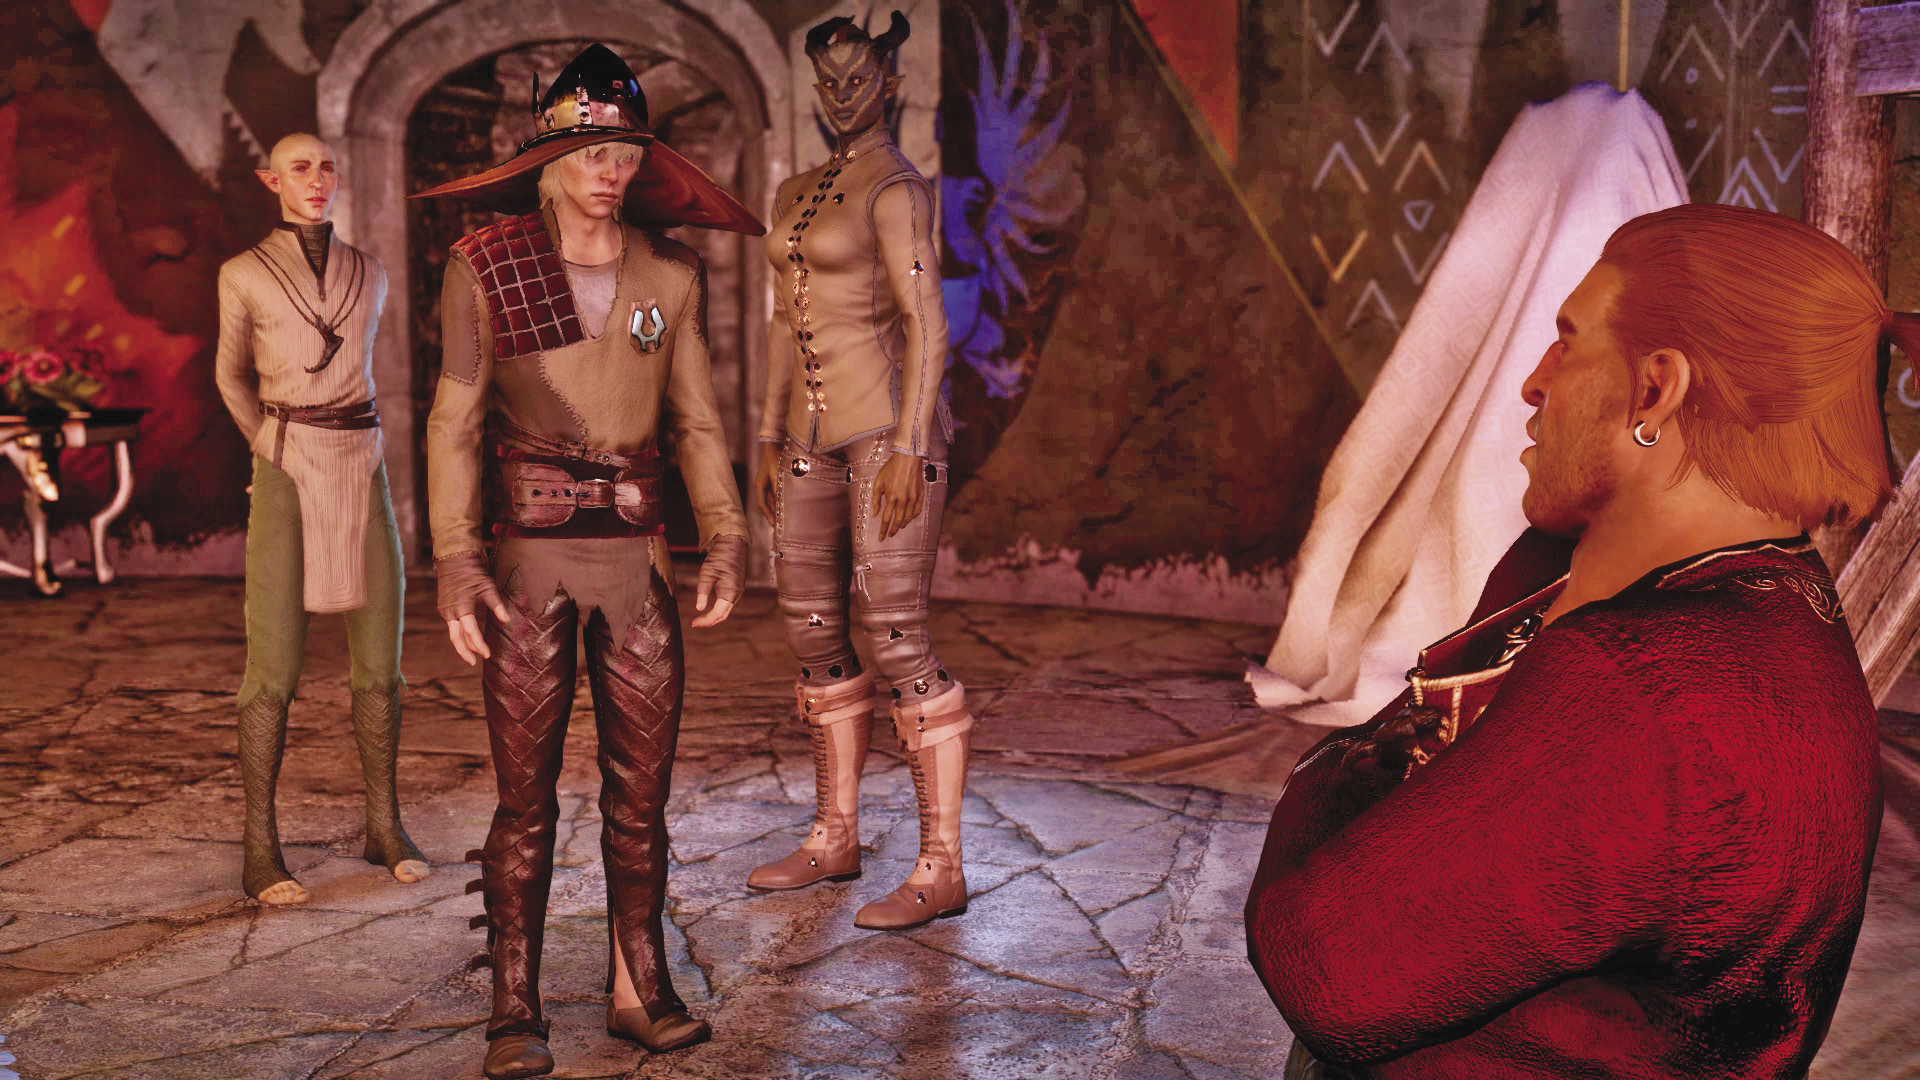
Unfortunately, it does not work. Varric steps in to provide his own two cents, suggesting that the amulet does not work because Cole is not just a spirit or a demon. After a debate, Varric suggests that Cole work with Cullen to find the source of what is going “wrong” with the enchantment.

You’re then taken to Redcliffe. Cole immediately spies the problem and seeks to end it. A man that Varric suspects is a former templar is nearly killed on the spot. It turns out that Cole created himself in memory of an apostate who died after being locked up by that templar. Cole stalks after the man after he escapes, leaving Varric and Solas to debate what Cole is and how he should handle this. Varric insists that Cole is no mere spirit, and that he must learn to work through this anger as a person would. Solas believes that Cole must forgive the man and avoid compromising his nature as a spirit.
What you choose determines Cole’s future development. Bear this in mind.
Last Resort of Good Men

Quest Giver: Dorian
Description: Mother Giselle passed along the letter written by Dorian’s father. Dorian may wish to read it, but it may be best just to take him to the tavern to sort this out in person.
Requirements: Available after establishing Skyhold
Reward: 1,025 XP, 400 Influence, 3 Power
Objectives:
 Bring Dorian to the Gull & Lantern.
 Optional: Speak to Dorian about the letter.
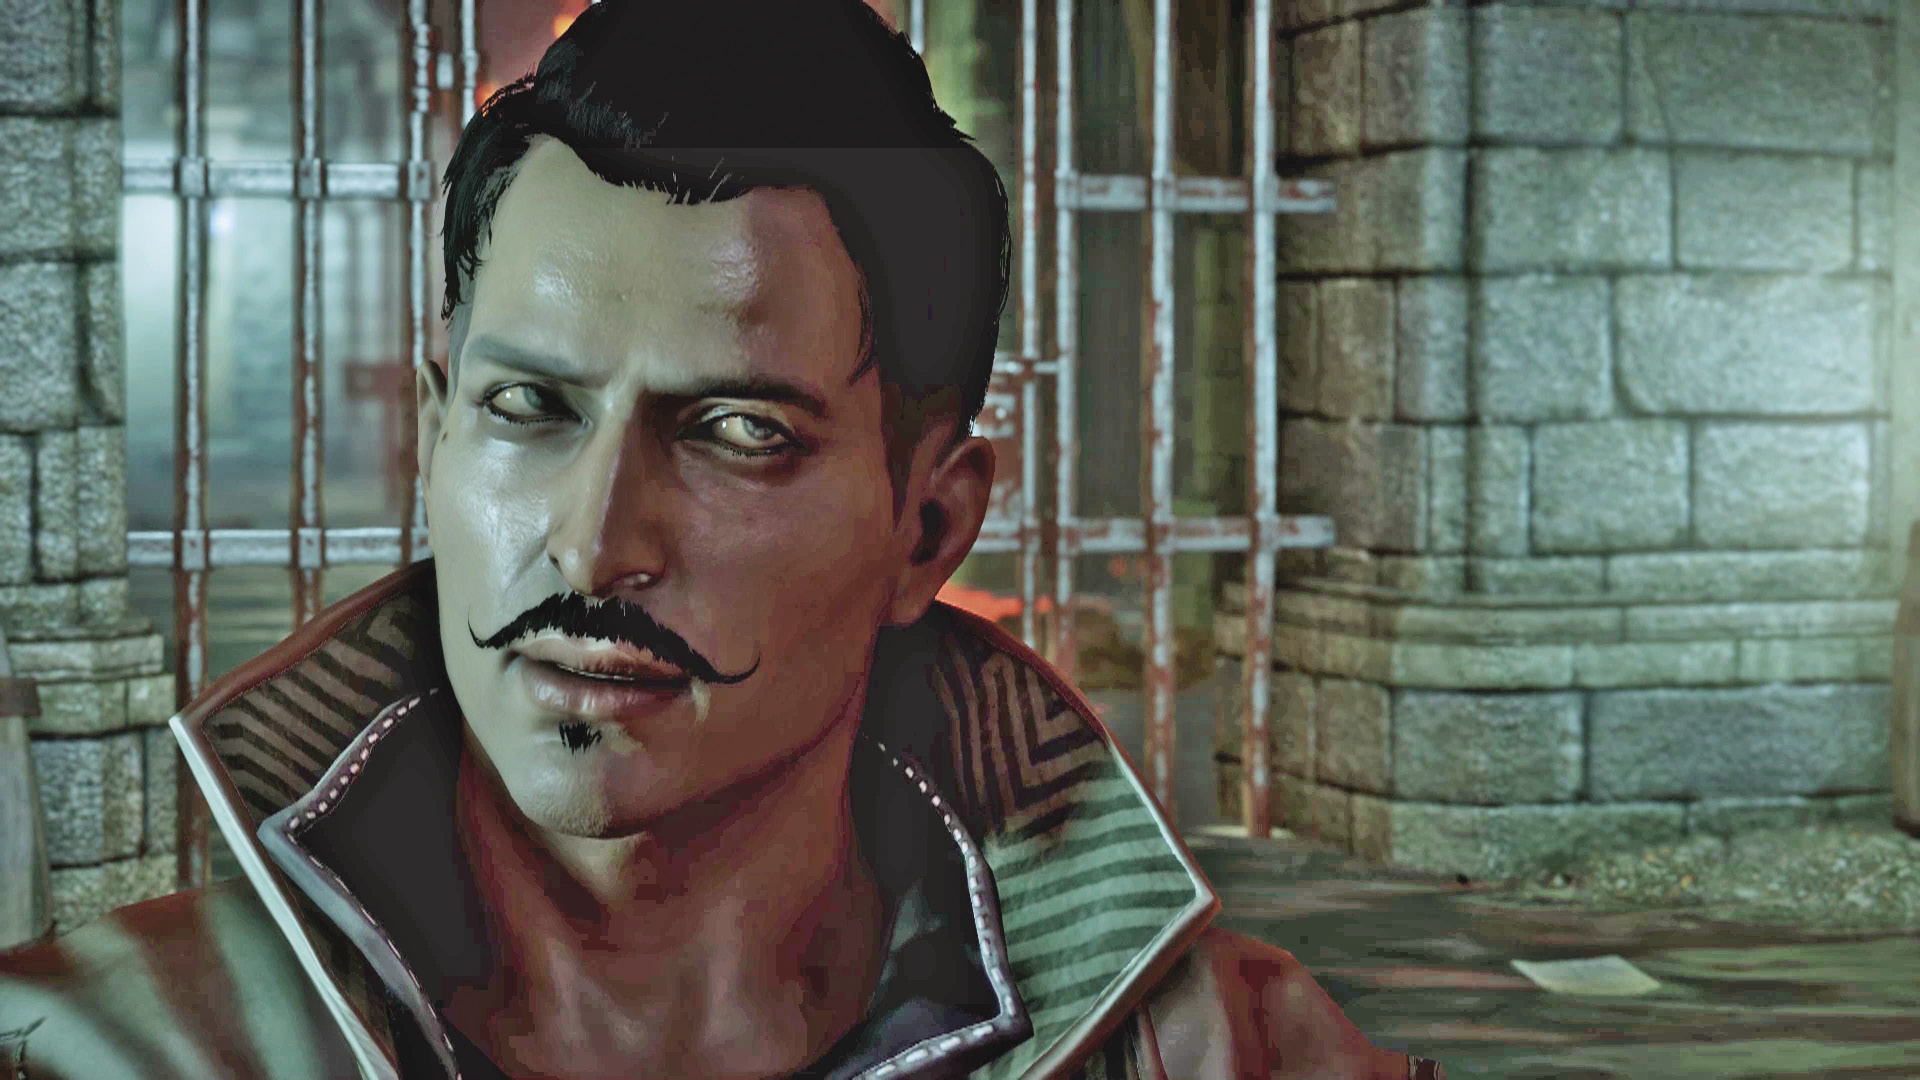
Dorian’s issues with his father are deep seated, and it’s possible to convince him to not even bother going to visit the inn, assuming you bother telling him about the letter to begin with. If you choose to not tell him, and just travel to Redcliffe on your own, he does not appreciate the surprise. Over the course of an intense conversation between Dorian and his father, you learn much about the man and what drove him to leave Tevinter. You can encourage Dorian to hold on to his anger and leave without reconciliation, or you can help him finally speak with his father. This act ultimately makes him loyal to the Inquisitor, and if you’re playing a male, this can lead toward romance.
One Less Venatori
Description: They may come from the same place, but there’s a world of difference between the Venatori and most people from Tevinter. Dorian wants a particular group of Venatori mages dead.
Quest Giver: Dorian
Requirements: Available after establishing Skyhold
Reward: Dorian’s approval.
Objectives:
 Kill three groups of Venatori with Dorian.
After the events in Redcliffe, Dorian is eager to prove his loyalty to the Inquisition and get some payback on the Venatori. Dorian would be very happy to join you in hunting down three groups of Venatori hiding around Thedas. Killing them in his presence earns his approval.
The Magister’s Birthright
Quest Giver: Dorian
Description: When Dorian went south, he did so with little in the way of coin and sold an amulet that proves his connection to House Pavus. A merchant from Val Royeaux named Ponchard de Lieux now has the amulet and apparently refuses to give it back to Dorian.
Requirements: Be a male Inquisitor, complete Dorian’s two inner circle quests, and have high approval.
Reward: Romance with Dorian
Objectives:
 Pay Ponchard a visit.
 Make the necessary arrangements at the war table.
 Return to the war table.
 Give the amulet to Dorian.
 Speak with Dorian.
Dorian’s flirtatious nature seems directed at women, but if you’ve led Dorian to meet with his father, you will have learned that he prefers the company of men. If you’re a male Inquisitor and have made clear to Dorian that your concern for him extends beyond friendship, your romance can begin. Through conversation with Dorian, you can learn that he was forced to sell a keepsake that proved his true birthright.
Later, you receive word from Leliana about this matter. The amulet is in the possession of Ponchard, a merchant of Val Royeaux. When you visit the merchant, he refuses to return the amulet. You can kill him for it, an act that Dorian greatly disapproves of, bringing an end to your relationship. If you’re a rogue, you can intimidate Ponchard. Your other alternative is to give Ponchard what he wants: membership in the League de Celestine.
If intimidation isn’t an option, go to the war table and make the arrangements for Ponchard. The amulet is delivered as promised. A grateful Dorian offers to meet you in your room in private for a physical culmination of the romance.
Romancing Dorian can be challenging, as it is something the Chantry approves of, and even Dorian himself fears that you may be putting personal interests before those of the Inquisition. You can break off the relationship at any time.
Of Somewhat Fallen Fortune

Quest Giver: Josephine
Description: Josephine attempted to reinstate her family as a trading power in Orlais, which triggered an assassination contract taken out more than 100 years ago by a family known as the Du Paraquettes. Despite the contract’s age and the fact that the Du Paraquettes are no longer nobility, the contract is still binding. A group of assassins honoring the contract, called the House of Repose, won’t rest until Josephine is dead.
Requirements: Available at Skyhold
Reward: 1,025 XP, 400 Influence, 3 Power
Objectives:
 Meet with Josephine in Val Royeaux.
 Return to Skyhold and speak with Josephine.
 Speak with Josephine about the next move.
 Go to the war table and find a sponsor for the Du Paraquettes.
 Speak with Countess Dionne in Val Royeaux.
 Return to Skyhold and speak with Josephine.
 Arrange a favor for Judge Auld at the war table.
 Speak with Josephine.
 Go to the war table and find a way to meet Bellise.
 Optional: Dispatch Leliana’s assassins.
 Go to the marquis’s party.
 Speak with Josephine.
 Meet Josephine in Val Royeaux.
After you speak enough to Josephine, you’ll learn that she’s been trying to reestablish her family in Val Royeaux, only to have her messengers murdered. She wants to meet you at the city while she meets with someone who claims to know why her messengers are dead. Go to Val Royeaux to meet with Josephine, and tell her you’re ready to see Comte Boisvert.
The conversation with the comte does not go as planned. The comte has been replaced by an assassin from the House of Repose. The Du Paraquettes, a now dead noble lineage, signed a contract to eliminate anyone attempting to restore the Montilyets to Val Royeaux. A hundred and nine years ago. You can learn more from the assassin before he decides to leave. You also have the choice to kill him if you feel that he’s earned it. Return to Skyhold.
Josephine says that if the Du Paraquettes can be restored as nobles, they can annul the contract. This requires time, many favors that you must attend to personally by completing operations on the war table, and meeting people of import. Alternatively, you can send Leliana’s agents into the House of Repose vaults to destroy the original contract, but it is not the option that Josephine will be happiest with.
First, you must arrange a meeting with Countess Dionne in Val Royeaux, to confirm the well being of her lover in the war engulfing Orlais. After returning to Skyhold to plan your next move, you find that assassins made an attempt on Josephine. You’re once again tempted to send Inquisition agents to the House of Repose.
Next, you’re to set up a favor for Judge Auld. You need to send a complement of soldiers via a war table operation to accompany the judge on his latest hunt. It will take some time before the operation completes, but once it’s done you can move on to the next step: a meeting with Minister Bellise. Set up yet another war table operation to arrange the meeting.
Bellise is supremely arrogant, and she’s fishing for you to make an offer she won’t outright refuse. Offer whatever you like—a favor from the Inquisition is tempting enough she agrees to help you.
With all the favors complete, or if you dispatched Leliana’s agents to deal with the problem, meet with Josephine in Skyhold to confirm the good news regarding the Du Paraquettes. Afterward, return to Val Royeaux to speak with her once again after she completes the final negotiations. During this last conversation, you can learn more about your ambassador’s past. If you’re looking to romance Josephine, there is a dialogue option to set that up as well.
Heraldry from a Herald
Quest Giver: Josephine
Description: Josephine has long wished to see an example of her family’s ancestral crest, which has been impossible to come by since the Montilyets’ exile from Orlais.
Requirements: Available at Skyhold; complete Of Somewhat Fallen Fortune.
Reward: Josephine’s approval
Objectives:
 Go to the war table to find Josephine’s family crest.
 Return to the war table.
 Search Val Royeaux’s shops for a Montilyet family crest.
 Present the crest to Josephine in Skyhold.
If you’ve been taking romance options with Josephine and have completed Josephine’s personal quest, you can start a romance with her. If you’re in a romance, go to her office and ask her if her ancestors were Orlesian. Josephine confirms it and mentions a desire to see her family’s lost ancestral crest. This prompts a war table operation to hunt down this crest. After it’s located, go to Val Royeaux to purchase it from one of the vendors, and then return to Skyhold with Josephine’s present. She is overjoyed to receive such a thoughtful gift.
An Unexpected Engagement
Quest Giver: Josephine
Description: Josephine’s parents have arranged for her to marry Lord Adorno Ciel Otranto of Antiva. Given the circumstances, she does not wish to honor the betrothal.
Requirements: Available at Skyhold
Reward: Romance with Josephine
Objectives:
 Go to the war table to challenge Otranto to a duel.
 Wait for a response.
 Speak with the messenger in Skyhold.
 Go to Val Royeaux to duel Otranto.
After you begin your romance with Josephine, yet another possible complication arrives at your doorstep: the arranged marriage to a man with more names than is reasonable. Josephine is distraught and wants to put your relationship with her on hold while she tries to diplomatically work her way out of this situation. You can try to fish for more details on how to handle this, but the most important clue is that she lets slip that you can challenge this nobleman to an honorable duel. To the war table!
If you have the Underworld Knowledge perk, you can be a jerk and try to discredit Otranto before the duel begins, sending Leliana’s spies out to dig up dirt on the man.
Your message to Otranto is answered quickly via a messenger you may meet at the front gate to Skyhold. Otranto accepts your duel and will meet you in Val Royeaux.
In the central pavilion, Otranto greets you in an aggressively polite fashion, tossing you a rapier. You can try to bring your own weapons into the fight, but it will not look honorable to the rapidly gathering crowd.
As the duel of weapons and words claws towards its climax, Josephine herself interferes with the duel, upset that you are putting your life and reputation on the line for her. This is your last chance to break off the romance or confirm it. In light of the latter, Otranto withdraws coolly from the battlefield, knowing love when he sees it.
Perseverance
Quest Giver: Cullen
Description: Cullen is suffering the effects of lyrium withdrawal. Cassandra wonders if now is the best time for Cullen to stop taking it.
Requirements: Available at Skyhold. You must have spoken with Cullen about his lyrium woes and have spent time playing chess against him before this quest becomes available.
Reward: 1,025 XP, 400 Influence, 3 Power
Objectives:
 See why Cullen and Cassandra are meeting.
 Speak with Cullen.
Cullen tries to keep fighting his lyrium addiction, but you soon learn he’s not handling it well. An aide in his office informs you that Cullen is currently meeting with Cassandra about an important issue. When you go to meet them near the Skyhold blacksmith, you discover that Cullen is questioning his ability to perform as one of your advisors and is asking for Cassandra to name a replacement. Knowing that you have a good relationship with Cullen, she defers to you on how to help him through the withdrawals.
Go to Cullen’s office to speak with him. The withdrawals are so painful he’s frustrated and on the verge of giving up. Do what you can to talk him down, but there is a major decision to make here. You can encourage him either to keep fighting the addiction or to give in. If you told him to take lyrium again, then when you go speak with him at the Skyhold blacksmith later, you have one more chance to confirm your decision to force him back on lyrium or turn him back toward recovery.
Happier Times
Quest Giver: Cullen
Description: Cullen wants to have a private talk with you somewhere less hectic than Skyhold.
Requirements: Available at Skyhold after Perseverance is done, if you are in a romance with Cullen
Reward: Romance with Cullen
Objectives:
 Agree to travel with Cullen to Ferelden.
After you’ve completed Perseverance and are in a romance with Cullen, he will ask you if you’d like to accompany him to Ferelden, as he has business there. You can go right away or take him up on his offer later. Once you agree to travel with Cullen, you will be taken to a small lake in rural Ferelden. Cullen reminisces about growing up in this area, then presents you with a gift and a kiss. After that, you’re taken back to Skyhold.
The Left Hand of the Divine

Quest Giver: Leliana
Description: A letter, written by Divine Justinia and posthumously delivered to Leliana, directed Leliana to visit Valence, a small village on the Waking Sea. The Divine left something in the chantry that Leliana must see.
Requirements: Available at Skyhold
Reward: 1,025 XP, 400 Influence, 3 Power
Objectives:
 Join Leliana at the chantry in Valence.
During a conversation with Leliana at Skyhold, she asks you to meet her at a chantry in Valence. She has just received an unexpected letter from Divine Justinia directing her to visit this specific chantry. After receiving this request form Leliana, access the world map and choose the Valence Cloister as your destination.
Upon your arrival at the chantry, the Inquisitor and Leliana are greeted by a Sister Natalie, a chantry cleric. But something isn’t right. While Natalie and Leliana continue their conversation, begin looking around. There are three hidden mechanisms in the chantry—use the Search feature to find them all. Once you interact with all three hidden mechanisms, a secret door is unlocked, to the north. Search at this point and then interact with the door to reveal a hidden chamber containing a small, ornate box.
Suddenly, Leliana turns on Natalie, holding a dagger to her throat— she knows Natalie has been lying all this time and is working for Grand Cleric Victoire, who seeks to make an enemy of the Inquisition. You can convince her to spare Natalie if you’ve softened Leliana by telling her to not kill the traitor agent named Butler during an early conversation at Haven, and supported her decision to pull back her agents just before Corypheus attacked Haven. If you have not done these things, Leliana will kill Natalie regardless of what you say. Alternatively, if you’ve softened Leliana, you can push her to kill Natalie to her dismay, but she is understanding that she must do what is necessary for the Inquisition.
After dealing with Natalie, Leliana turns to the secret chamber. But the box inside is empty. Still, there’s an inscription on the box: “The Left Hand should lay down her burden.” How Leliana reacts to your dialogue choices here also depends on how you’ve influenced her.
Either way, it seems to clear her head—she requests to see you at Skyhold. Leave the chantry and return to Skyhold; upon your arrival, speak to Leliana to conclude the quest.
Under Her Skin (Nemesis Quest)

Quest Giver: Leliana
Description: Much like the Inquisition, Corypheus has invested great time and effort building a trusted inner circle. Calpernia leads the Venatori—and it seems she’s been busy. In the search for a particular set of elven ruins, she and her army of Tevinter extremists have taken a keen interest in a merchant named Vicinius. Perhaps finding him would shed more light on Calpernia and her motivations.
Requirements: Available at Skyhold; Inquisitor must have allied with the templars (completed Champions of the Just).
Reward: 1,025 XP, 400 Influence, 3 Power
Objectives:
 Find Vicinius in Val Royeaux.
 Find three crystal pieces.
 Acquire the services of an arcanist.
 Speak to Dagna about the crystal pieces.
 Arrange for a spy to plant the recording crystal in Calpernia’s camp.
 Listen to the receiving crystal with Leliana.
 Have Leliana locate the Shrine of Dumat.
 Explore the Shrine of Dumat.
 Speak to Leliana about the fate of Magister Erasthenes.
Speak to Leliana in Skyhold to learn more of Calpernia, leader of the Venatori and a Corypheus acolyte. But Leliana wants to gather more information on Calpernia. She has a lead—a merchant named Vicinius in Val Royeaux. Travel there and track down this merchant. But upon your arrival, Vicinius’s home has been ransacked. Defeat the Venatori found upstairs and interact with what’s left of Vicinius—search the room for three pieces of a shattered memory crystal. Once you have all three pieces, return to Skyhold and speak with Leliana.
Leliana reveals that Calpernia was a slave before becoming leader of the Venatori. It appears Corypheus freed her and now she serves him. Leliana tells you to take the crystal pieces to Dagna. In the undercroft, Dagna manages to restore the three pieces, forming a memory crystal. This crystal has recorded a conversation between Calpernia and Corypheus—he wants Calpernia to become “the vessel.” But it appears Calpernia isn’t quite enthusiastic about Corypheus’s plan. Leliana has an idea—she suggests hiding half of the crystal among Calpernia’s belongings while keeping the other half in Skyhold, allowing Leliana to listen in.
Go to the war room and choose the Investigate the Elven Ruins operation on the war table, located in eastern Orlais. This operation costs four power, but it allows one of Leliana’s agents to plant half of the crystal into Calpernia’s camp. Once the operation is complete, collect the report and go back to Leliana.
As hoped, the crystal has recorded another conversation between Calpernia and Corypheus. In order to become the vessel, Calpernia wants to train at the Shrine of Dumat. But the recording ends shortly after Calpernia discovers the crystal and smashes it—she knows the Inquisition has been listening to her. Leliana is curious to know what Calpernia’s next move will be. In the meantime, it’s a good idea to check out that shrine. Go to the war table and select the operation The Shrine of Dumat, in northern Orlais. This costs one power, but it unlocks the Shrine of Dumat on the world map. Gather your party and travel to the shrine.
Shrine of Dumat
Enter the shrine and fight your way through a variety of demons, including a massive pride demon. After defeating the pride demon, enter the chamber marked on the compass to find a man trapped beneath a blue, dome-shaped magical barrier—this is Magister Erasthenes. Once a Tevinter scholar, this man is now bound to Corypheus. Erasthenes reveals that Calpernia will be bound by Corypheus if she becomes the vessel. At the end of the conversation you get to choose Erasthenes’ fate: You can kill him, let him live, or make him tranquil.
Corypheus’s MemoriesBefore leaving the shrine, track down six memory crystals to complete the Corypheus’s Memories side quest. There are three crystals in the upstairs chamber and three in the downstairs chamber—but watch out for more demons when you head downstairs. Each time you collect a crystal, a different recording from Corypheus can be heard discussing a variety of topics. When you’ve gathered all six crystals, return to Skyhold. |
Conclusion
Speak to Leliana back at Skyhold. Now that you know Calpernia will be bound by Corypheus when she becomes the vessel, you have some valuable information to use against her—surely Calpernia doesn’t want to lose her free will and become a slave again. Later on, at the Temple of Mythal, you can confront Calpernia with this evidence and make her turn away from the Well of Sorrows, avoiding a conflict. Complete the conversation with Leliana to complete the quest.
Before the Dawn (Nemesis Quest)

Quest Giver: Cullen
Description: Much like the Inquisition, Corypheus has invested great time and effort building a trusted inner circle. Samson is a former templar, a lyrium addict, and now the leader of the red templars. Cullen knows Samson well, and he believes intercepting caravans smuggling red lyrium in the Emerald Graves could get the Inquisition closer to taking him down.
Requirements: Available at Skyhold; the Inquisitor must have allied with the mages (completed In Hushed Whispers) and completed the side quest Red Water.
Reward: 1,025 XP, 400 Influence, 3 Power
Objectives:
 Find three smuggler letters.
 Take the smuggler letters to Cullen.
 Raid Sahrnia Quarry.
 Return to Cullen with the information found at the quarry.
 Acquire the services of an arcanist.
 Speak with Dagna about Samson’s armor.
 Go to the war table to find Samson’s weakness.
 Speak to Cullen about what Dagna discovered.
 Dispatch agents to locate Maddox.
 Speak to Cullen about raiding Samson’s camp.
 Travel to Samson’s camp at the Shrine of Dumat.
 Find Maddox.
 Search the camp to find clues about Samson’s armor.
 Meet Cullen at Skyhold to discuss Maddox’s tools with Dagna.
After becoming established at Skyhold, take time to speak with Cullen to handle some of his problems. Chief among them is a former templar named Samson, who has become a chief lieutenant for Corypheus. Cullen has no leads, but he has leads on how you can get those leads. It’s to the Emerald Graves with you, your task being to intercept smugglers trafficking red lyrium. Be sure to loot the cargo the smugglers were protecting; there are red lyrium shards you can use for powerful runes for your weapons.
The three smuggler letters you find must be taken back to Cullen. He determines your next destination: Sahrnia Quarry, in the Emprise du Lion. Red templars will have taken control of it, as well as most of the whole locale, so reaching the quarry itself requires a lot of fighting if you haven’t already secured the area.
Once you get there, you’re looking for documents left by Samson himself, detailing the horrific process of growing red lyrium. They also mention hints about an armor he now wears that he swore was like drowning in fire when he first donned it, and by enduring it he has become fit to be “The Vessel.” This is not at all ominous; report back to Cullen as soon as possible.
When you meet with Cullen he is incensed by what you have learned, but there’s a solution to be found in your own camp if you’ve already recruited the dwarven arcanist, Dagna, Cullen points you in her direction. If there’s anyone who can figure out a solution, it is her.
Dagna’s suggestions lead you back to the war table to the Find Samson’s Weakness operation. After the agents return with word on Samson’s armor, speak with Cullen once again. A tranquil mage named Maddox, another acquaintance of Cullen’s, is apparently working with Samson, being responsible for maintaining the armor he wears. Another trip to the war table is necessary, in order to pinpoint the exact location of Samson and Maddox. This leads the Inquisition to the Shrine of Dumat.
After the shrine is discovered, you can gather a party and travel to the shrine from Cullen’s office. There, you can expect the best of the best from the red templars, their full ranks on display, averaging around level 19. Cullen will join your party to add a fifth man running around and crushing the enemy. Fight your way through the shrine until you reach the laboratory where Maddox is located. Samson and the armor are long gone.
Maddox himself isn’t long for this world, having consumed a bottle of poison so that he can maintain the secrets of the armor. Maddox’s loyalty is indeed admirable, but drinking poison isn’t enough to keep the armor safe from you. Search his labs for implements you can bring back to Dagna in Skyhold for analysis.
One final conversation with Cullen ties the loose ends together. Dagna’s analysis of Maddox’s tools has revealed a possible method for destroying Samson’s armor, and she’s crafted a special rune just for that purpose. When you run into Samson in the future, he won’t have a clue what hit him. With this, the quest is complete.