
Dragon Age Inquisition Guide Exploration The Hinterlands
Side Quests (Recommended Level 4-7, 8-11, and 12+)
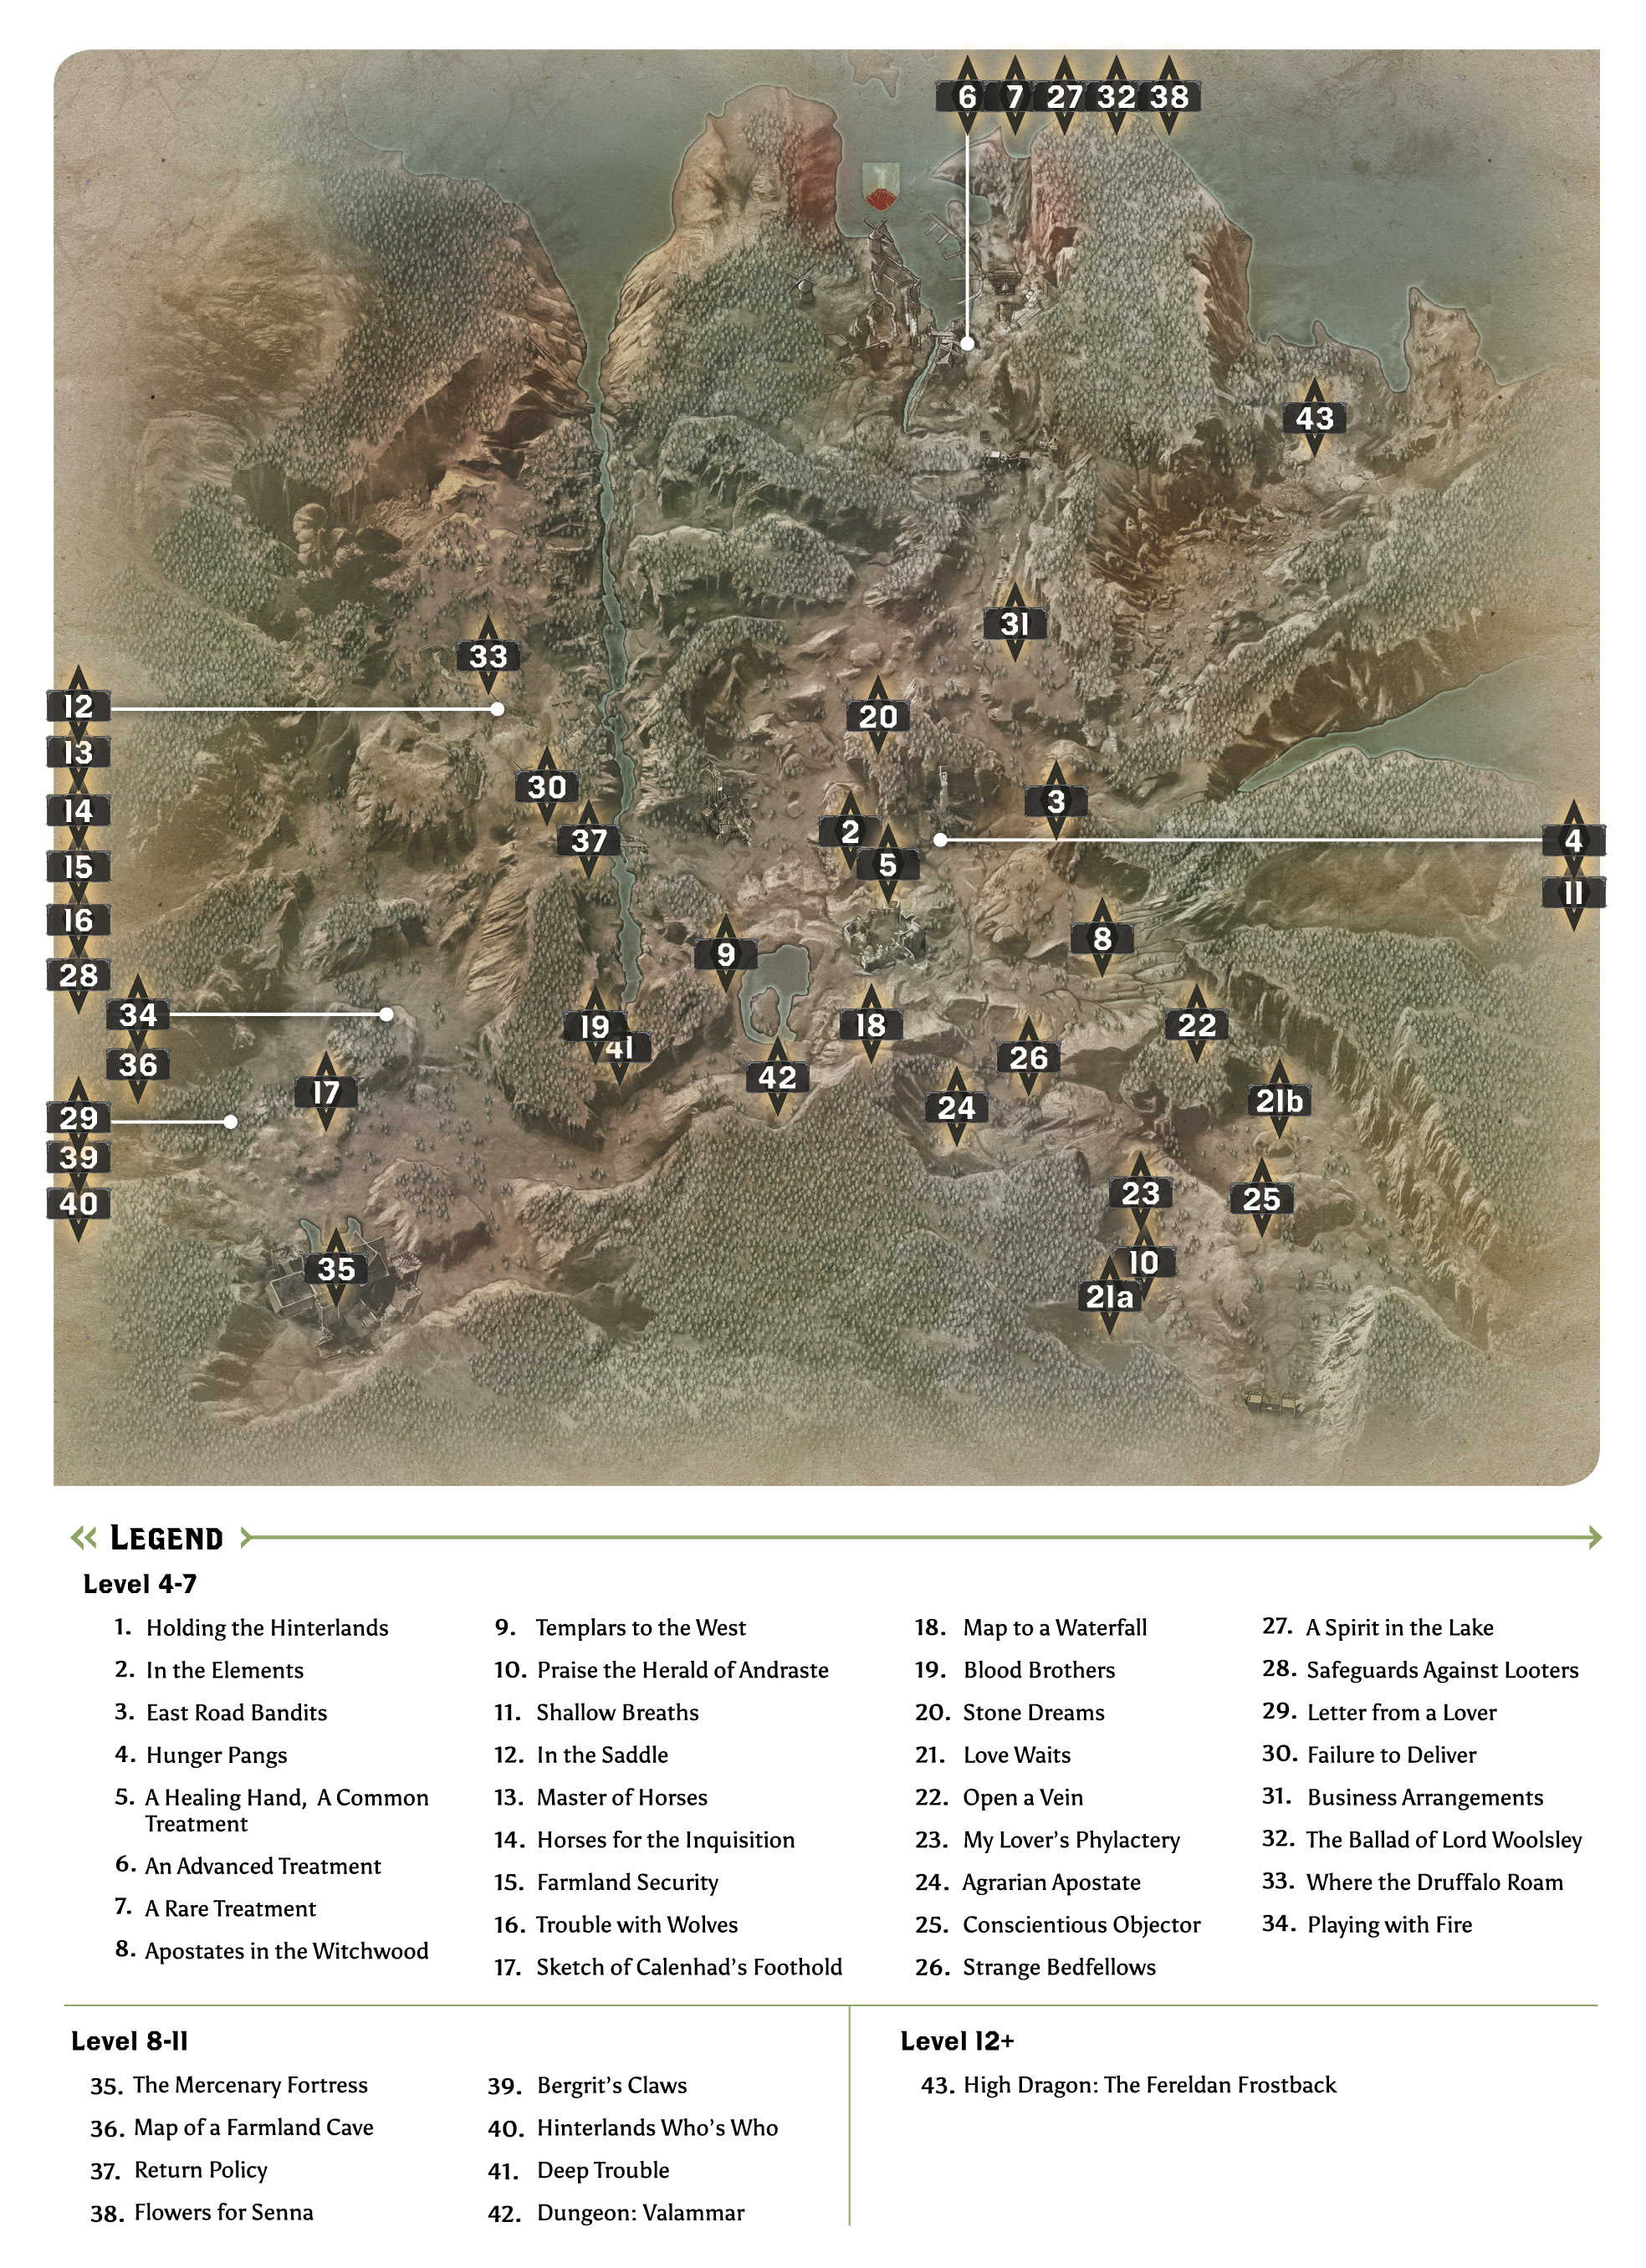
1: Holding the Hinterlands
Quest Giver: Scout Harding
Description: Establish camps to hold the Hinterlands and support Inquisition activity in the region.
Requirements: Started as soon as you arrive in the Hinterlands
Reward: 50 Influence and 1 Power per camp, except for the starting camp
Objectives:
 Establish six camps.
There are six campsites clearly marked on your Hinterlands map while you have this quest actively tracked, and the first of these is set up as soon as you arrive in this locale. Establishing a camp provides experience, influence, power, and additional fast travel points, so there’s no reason why you shouldn’t make every effort to establish camps as early as possible. The primary challenge of the camp quests is simply reaching each location, and you’ll find that every major wilderness locale has multiple camps to establish. At first, you may not be able to reach every site, because of either terrain or dangerous enemies.
2: In the Elements
Quest Giver: Recruit Whittle
Description: Apostate mages have supply caches hidden in the area. The supplies could help protect refugees from the elements.
Requirements: Speak with the recruit to the west of the Crossroads after securing it from the templar-mage fighting, or explore the southeast of the Hinterlands. Finding and claiming a cache will prompt small talk among your party that the supplies could benefit the Crossroads, and you will be given a waypoint that directs you to speak with the recruit.
Reward: 177 XP, 80 Influence, 1 Power
Objectives:
 Report the cache locations to Whittle.
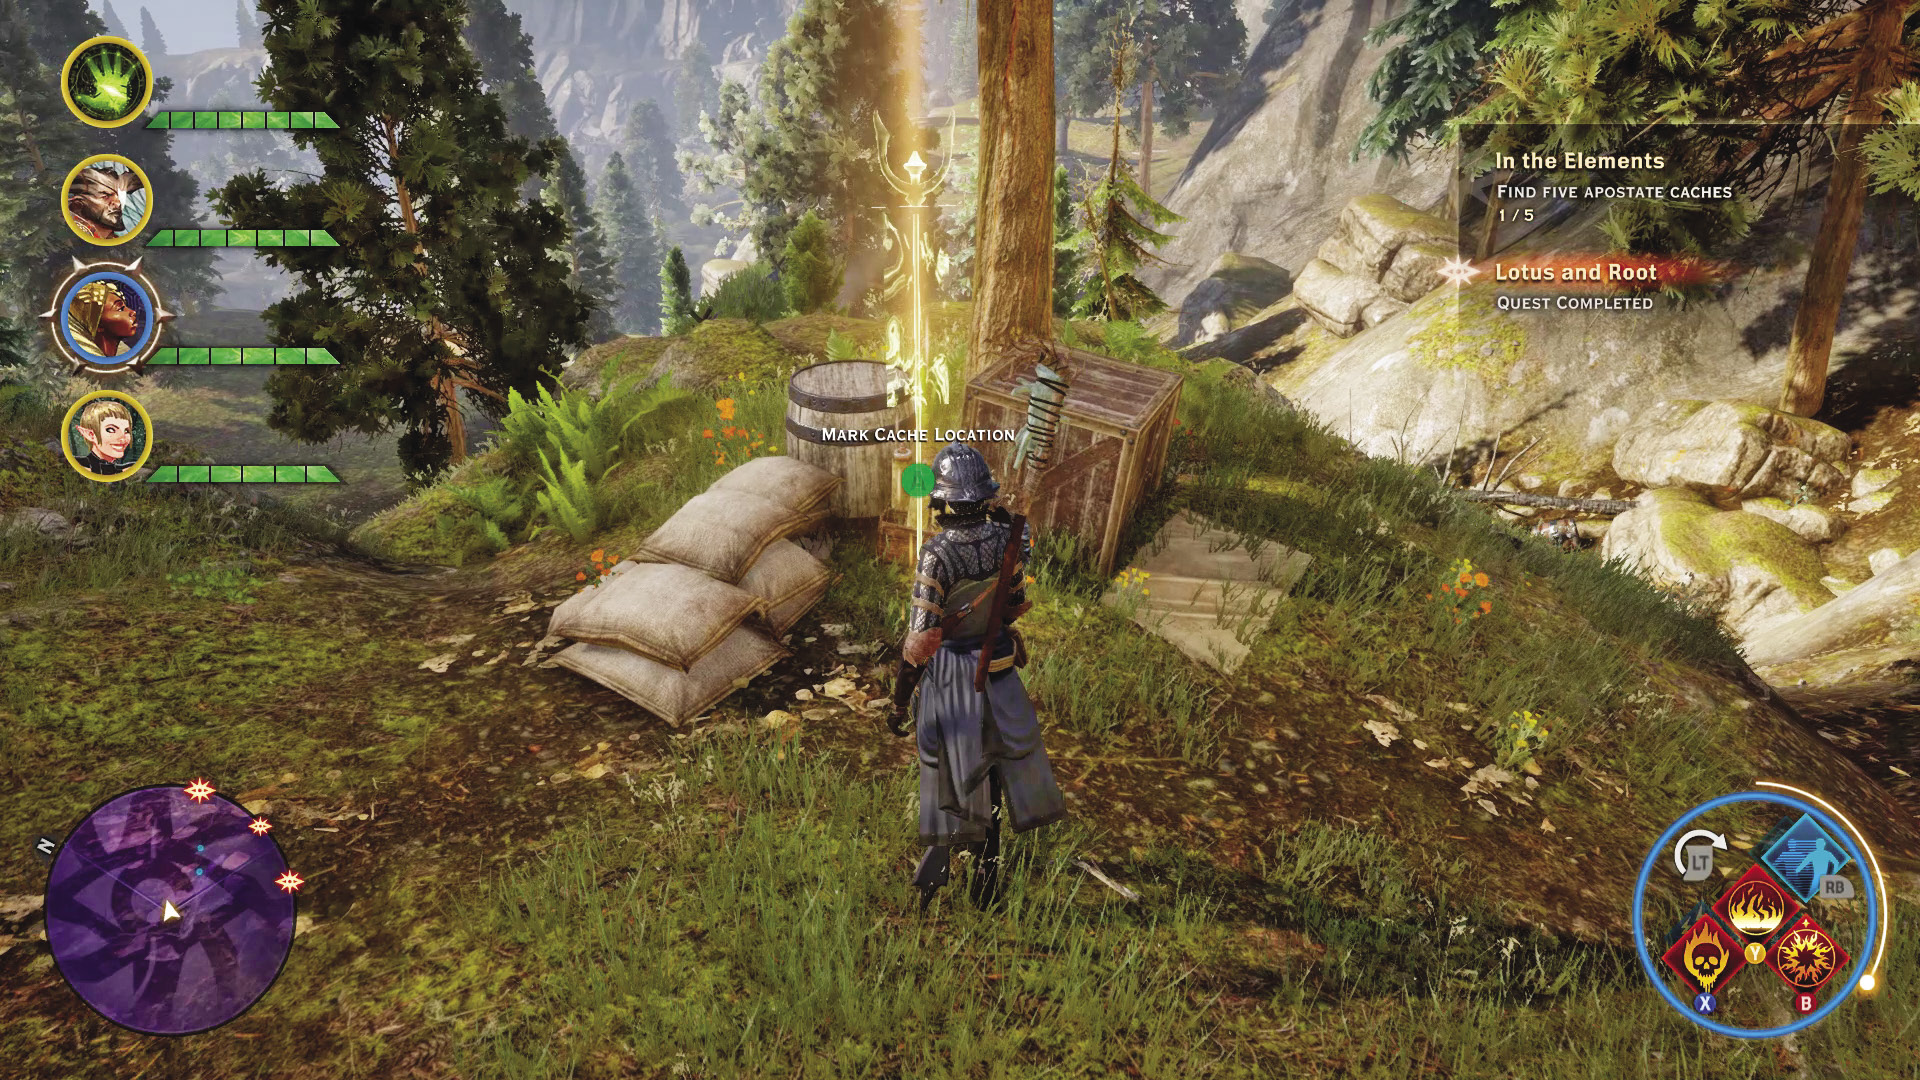
This quest is a simple matter of going to the supply cache locations and claiming them. However, they are a fair ways south from the Crossroads. Thankfully, most of the caches are not particularly well hidden, and the quest map waypoints do a good job of putting you on the right path to each cache. However, one of the caches requires you to defeat a magical ice barrier. Be sure to take Solas (or any other mage) with you, assuming you’re not a mage yourself. A mage can defeat the barrier faster with a powerful fire staff. Once you find and claim all five caches, return to Whittle to report their locations and complete the quest.
3: East Road Bandits
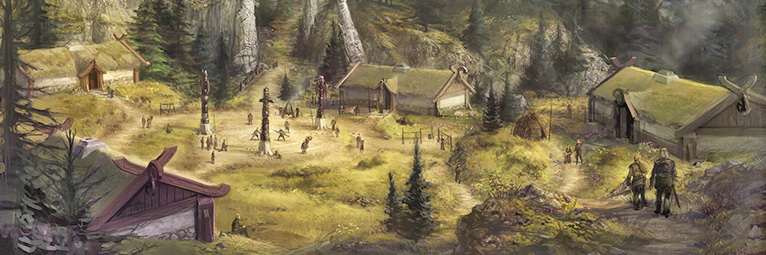
Quest Giver: Recruit Bellette
Description: Bandits are attacking refugees along the King’s Highway to the east of the Crossroads.
Requirements: Available as soon as you enter the Hinterlands
Reward: 177 XP, 80 Influence, 1 Power
Objectives:
 Dispense with the bandits on the road to the east.
Bellette is guarding a stone arch east of the Crossroads, warning travelers of the bandits on the road farther east. However, when you press for more information, it seems that there might be more to these bandits than meets the eye.
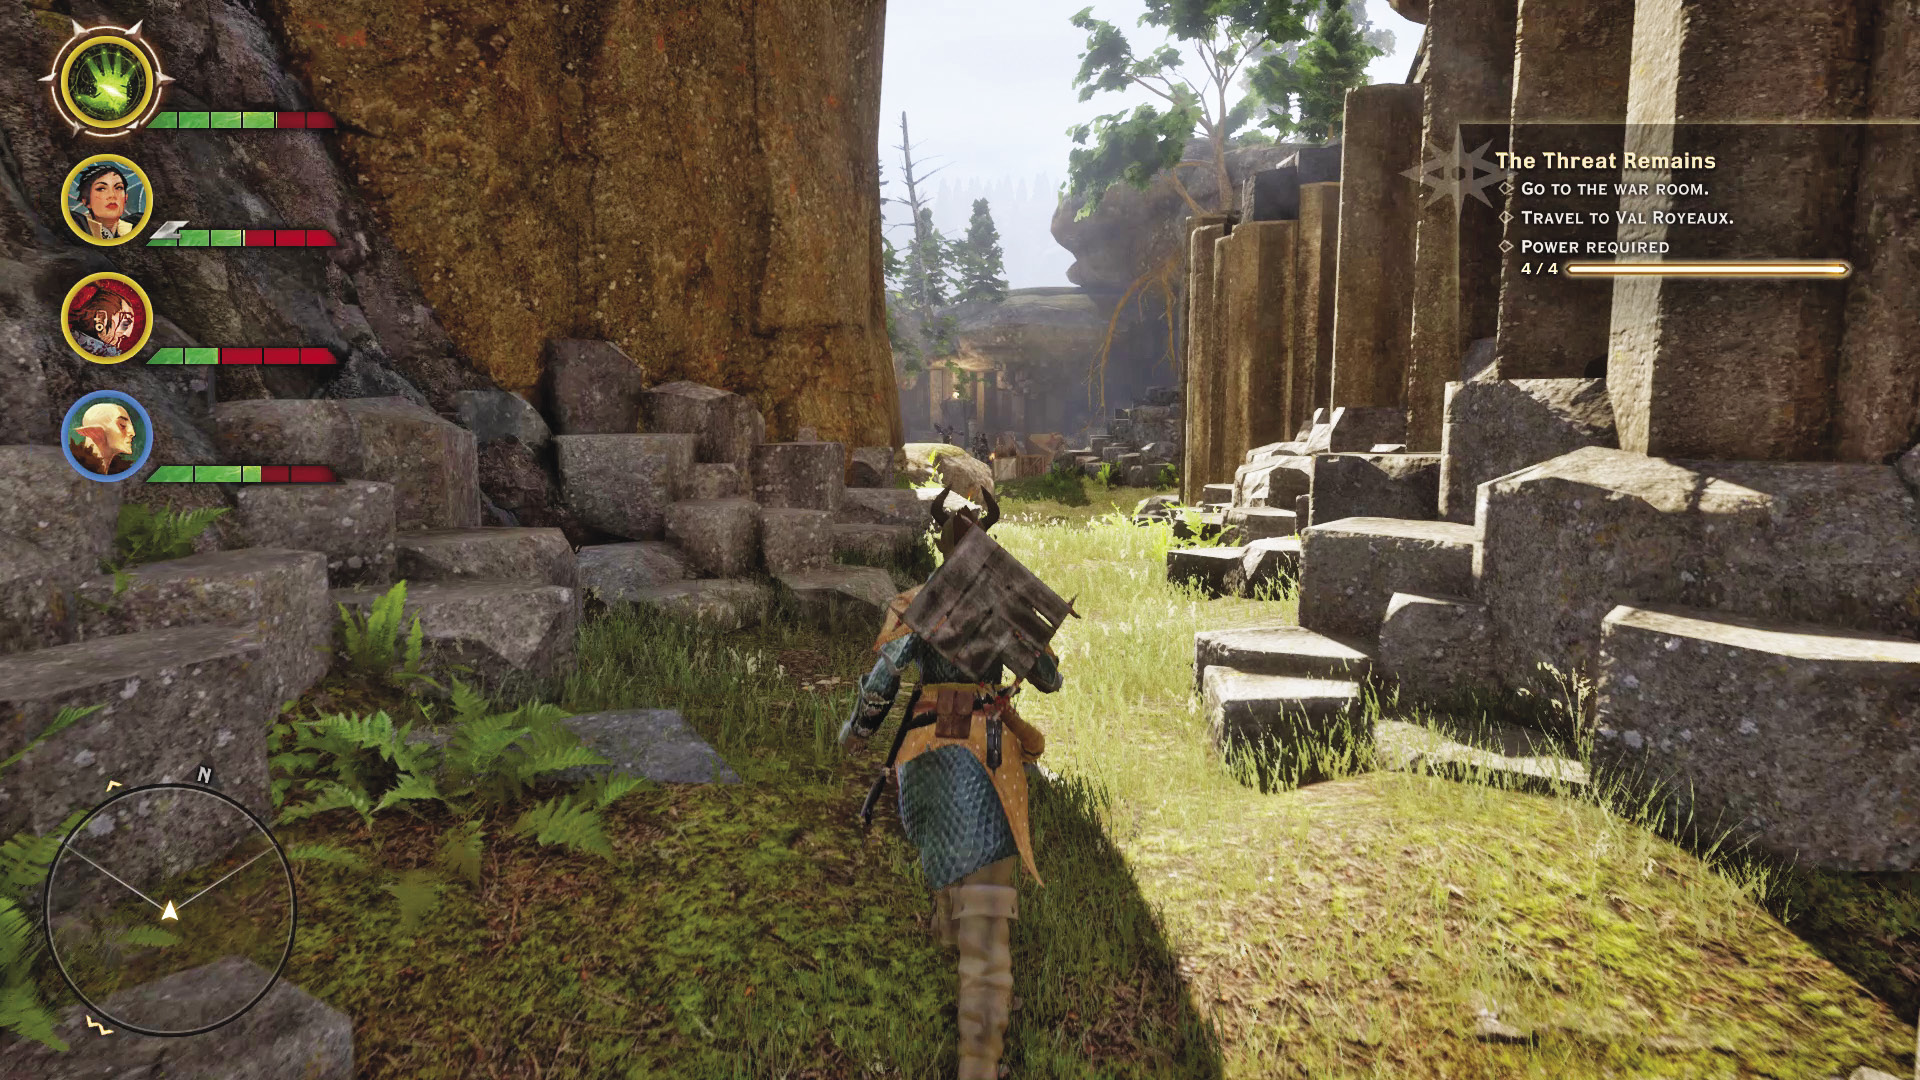
Follow the trails to the east to the first waypoint to encounter your first bandit ambush: two footmen, two archers. The archers can pick apart lighter-armored classes with ease, so consider wiping them out first. They don’t have the health or armor to survive intense focus for long. The footmen can be occupied by someone tankier, like Cassandra.
The second group of outlaws is farther east, near a stone spire close to the edge of the Hinterlands. One of them attempts to retreat to the north toward more of his “bandit” brethren.
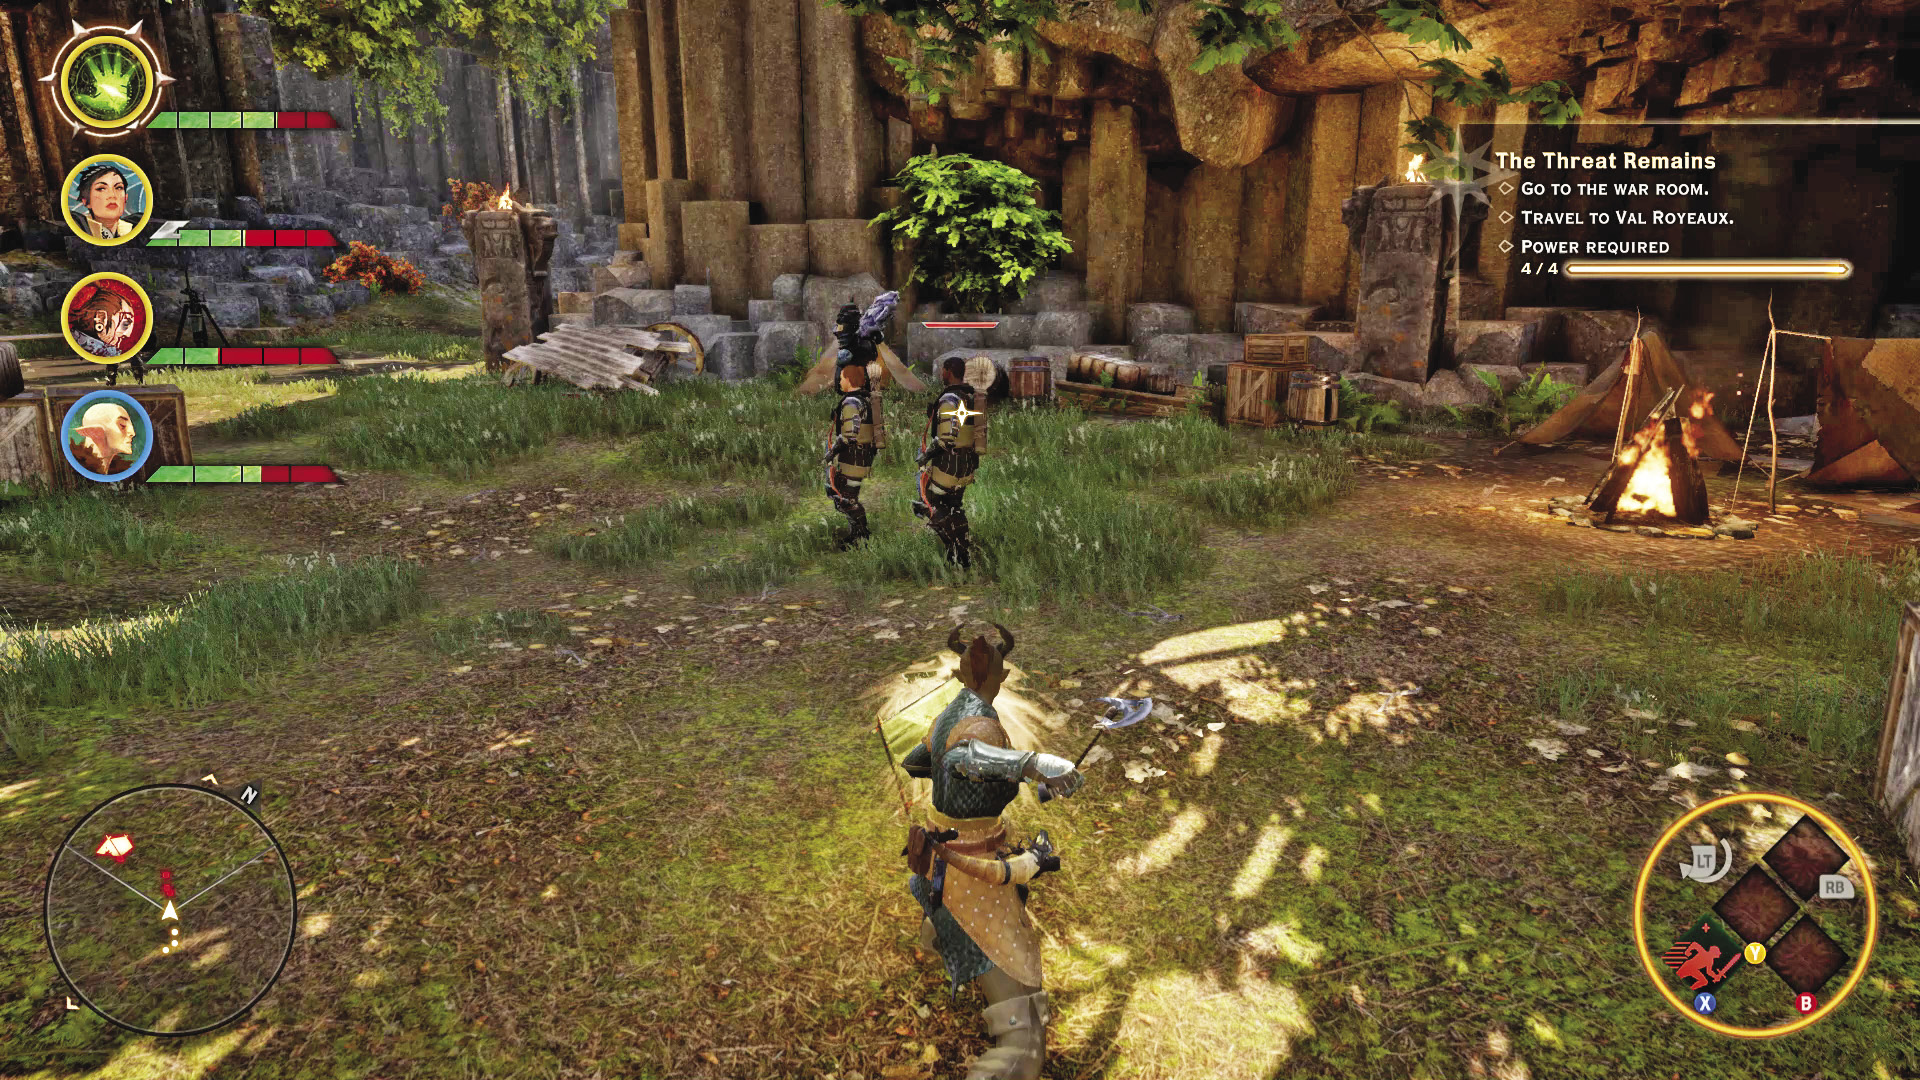
As you head north to the third waypoint, you enter Rebel Queen’s Ravine, where the final confrontation with the bandits will commence. This can be a rough fight, with up to five archers to contend with, along with an outlaw enforcer, also known as a bruiser. The bruiser is the real threat, a mountain of a man armed with a two-handed axe that can flatten anyone who strays too close. Additionally, he resists many forms of crowd control, so you’ll want to dedicate a tank to keeping him well away from softer party members.
Take out the archers first. Have one member of the party try to lock down the bruiser’s attention, while the other three party members focus on one archer at a time, until the bruiser is left alone. Be prepared to quickly heal anyone who gets caught by the bruiser’s vicious attacks!
After the bandits have been dealt with, loot their bodies to find a mysterious letter. It sheds no light on who started this little operation, but it does suggest a level of organization beyond mere opportunistic bandits. You can also set up a camp in this location, though we don’t recommend you explore farther north until you are at least level 12 and sufficiently geared to fight the dragons in them thar hills.
4: Hunger Pangs
Quest Giver: Refugee hunter, Crossroads
Description: Wild rams live in the hills near the Crossroads. Their meat could mean the difference between comfort and starvation for the refugees.
Requirements: Available after securing the Crossroads
Reward: 177 XP, 80 Influence, 1 Power
Objectives:
 Deliver 10 pieces of ram meat.
Behind a house across the road from Corporal Vale’s position is a refugee hunter who worries for the starving refugees. He can’t leave the village for fear of bandits, apostates, or templars, but asks that you hunt the rams down in his stead. A location where rams roam will be marked on your map. They are easy prey for any member of the Inquisition, but they can and will run away when they see danger approach. Fortunately, it doesn’t take much to bring down a ram, and you should be able to deliver the 10 pieces of ram meat in short order. Speed this quest up by using fast travel to quickly bounce between the camp closest to the rams and the Crossroads.
5: A Healing Hand
Quest Giver: Corporal Vale
Description: The refugees at the Crossroads would benefit from the services of an experienced healer.
Requirements: Available at the Crossroads after securing it from the templars and mages
Reward: 177 XP, 80 Influence, 1 Power
Objectives:
 Convince a healer to help the Crossroads refugees.
In the aftermath of the fighting around the Crossroads, speak to Corporal Vale about the troubles the villagers are facing. One of them is the lack of an experienced healer. He’s heard of one in the village of Redcliffe to the north. Unfortunately, you can’t reach the healer because the gate to Redcliffe is barred until you address the Chantry in Val Royeaux.
After the events in Val Royeaux, you can enter Redcliffe proper and speak with the medic, starting this quest. You learn that she has misgivings about going to the Crossroads because she’s an elf, and she has dealt with racist attitudes from the humans there. You can convince her to help by various means. If you’re an elf, you can can easily convince her by yourself. If that’s not an option, Cassandra or Solas would be able to encourage her to go to the Crossroads. Or if you’ve invested in the Nobility Knowledge or History Knowledge Inquisition perks, you gain special dialogue options that can help convince her to move to the Crossroads.
5: A Common Treatment
Quest Giver: Corporal Vale, the Crossroads
Description: The healer needs certain herbs to treat the injured patients.
Requirements: Available after addressing the Chantry at Val Royeaux
Reward: 44 XP, 40 Influence
Objectives:
 Convince the healer to help the Crossroads refugees.
 Find four elfroots and two spindleweeds.
 Bring the herbs to the healer.
When speaking with Corporal Vale, you can ask him multiple questions about the state of the refugees, and he will eventually pass word of a healer in Redcliffe. However, the village gate is closed until after you address the Chantry’s grievances in Val Royeaux. After this, you can return to Redcliffe, but as you approach the gate, a Fade rift opens and forces you and the local guard contingent into battle!
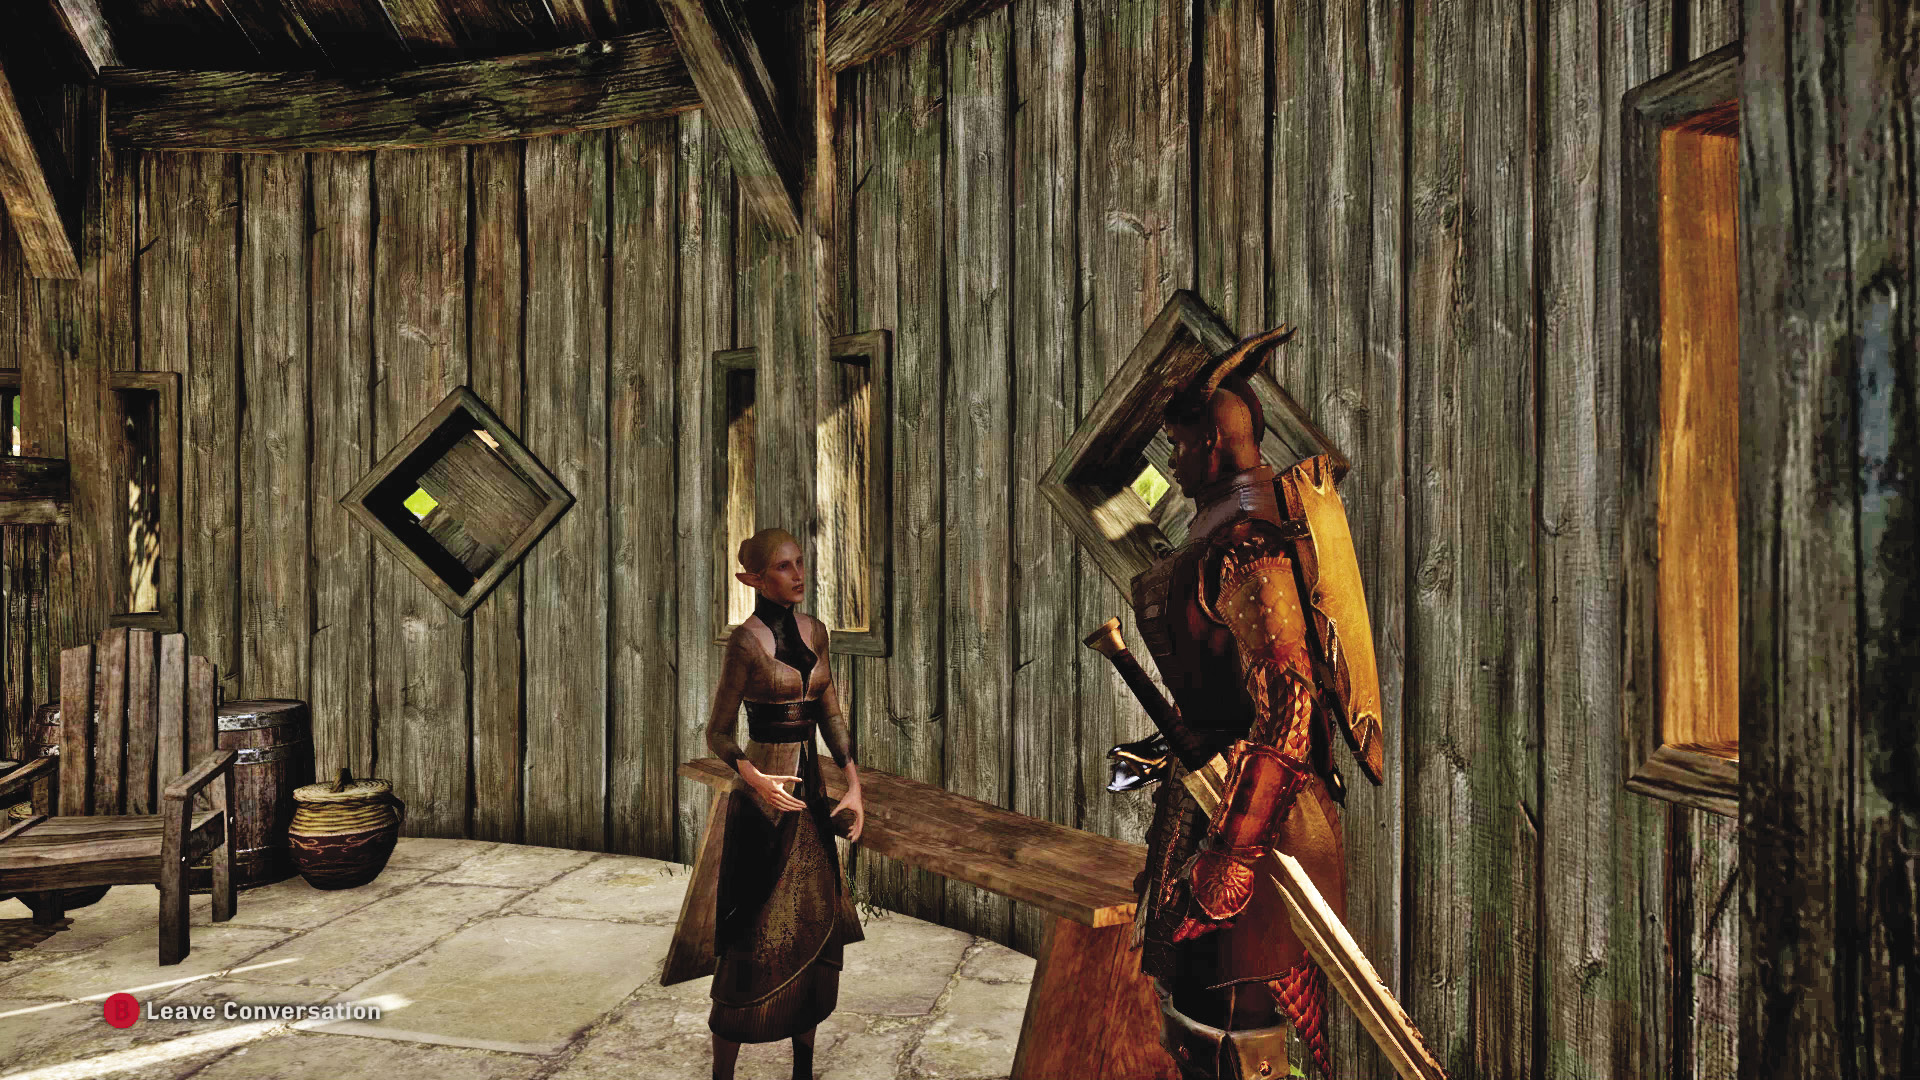
After gaining access to the village, you can finally speak with this healer, who is reluctant to help the refugees initially, but with the right speech choices you can convince the elf of the necessity of their assistance. Solas or Cassandra can also do the same if one of them is with you. The healer will tell you to gather the herbs on the lists she places on a nearby countertop. Elfroot is practically everywhere, and spindleweed can be found growing near the lakes, ponds, and rivers of the Hinterlands.
6: An Advanced Treatment
Quest Giver: Healer, Redcliffe
Description: The healer needs certain herbs to treat the injured patients.
Requirements: Complete A Common Treatment.
Reward: 44 XP, 40 Influence
Objectives:
 Find six elfroots and one royal elfroot.
 Bring the herbs to the healer.
The second list the healer provides is not much harder to fulfill. Royal elfroot grows on the small farm plot near the starting Hinterlands camp, where you also begin the Blood Brothers quest.
7: A Rare Treatment
Quest Giver: Healer, Redcliffe
Description: The healer needs certain herbs to treat the injured patients.
Requirements: Complete An Advanced Treatment.
Reward: 44 XP, 40 Influence
Objectives:
 Find five spindleweeds and two bunches of crystal grace.
 Bring the herbs to the healer.
The final list requires crystal grace. This herb grows more commonly in the southwestern region of the Hinterlands, but the enemies here are a definite step above most of what you’ll find throughout the rest of this locale. Don’t go flower picking in this neck of the woods if you’re not ready to hunt bears or heavily armed mercenaries.
8: Apostates in the Witchwood
Quest Giver: The dead body of an apostate to the southeast of the Outskirts camp. Can also be started by finding a note in a house on the road to Redcliffe from the Crossroads, or in one of the caves on the edge of the Witchwood.
Description: Fighting between apostate mages and rogue templars has driven refugees from their homes and endangered everyone in the area.
Requirements: Available as soon as you enter the Hinterlands
Reward: 354 XP, 200 Influence, 2 Power
Objectives:
 Search the Witchwood for the apostate stronghold.
 Deal with the apostates.
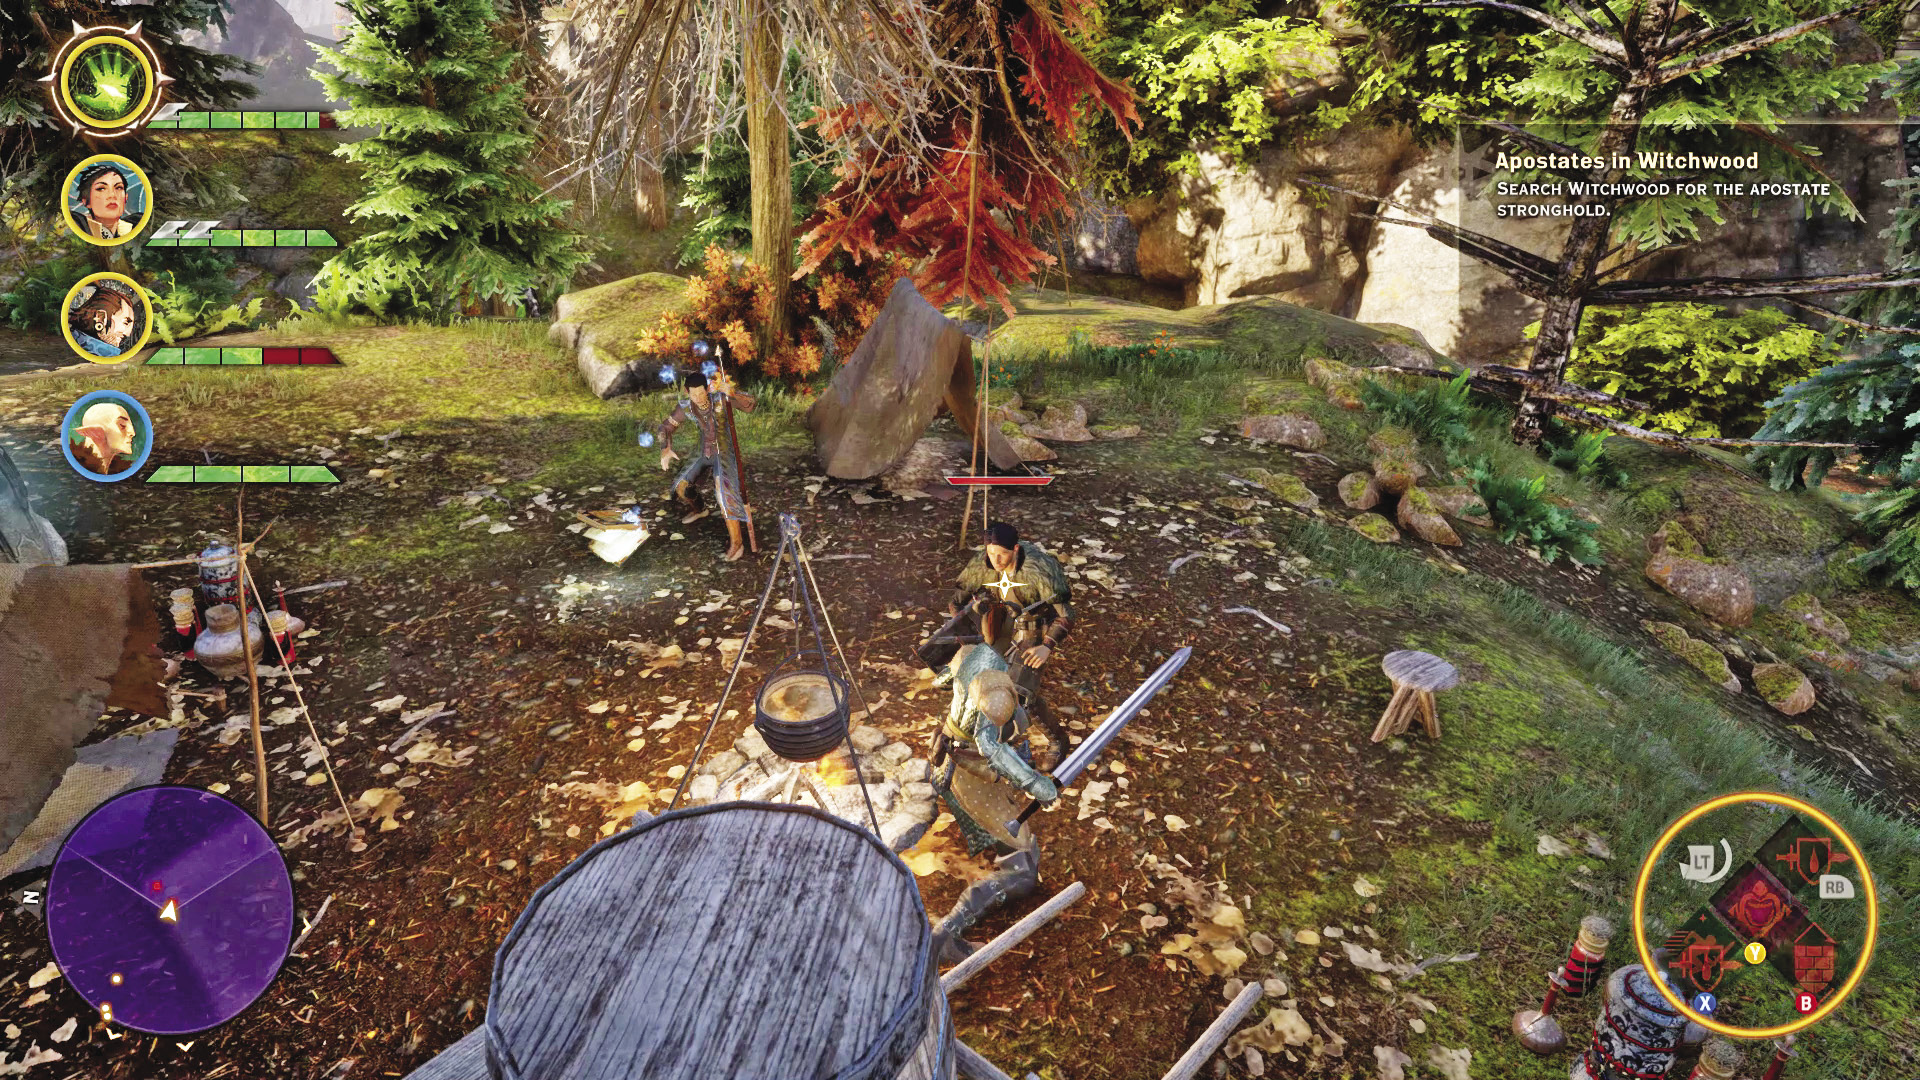
Just southeast of the first camp established by the Inquisition, a battle between apostates and Inquisition scouts is unfolding. You can intervene as soon as Scout Harding finishes briefing you on the situation, though you may find these apostates to be a bit tougher than what you’ve faced up to that point. After your party and the scouts wipe out the initial group of attackers, some will flee farther east. Among the dead will be a letter that can be looted, hinting at a larger apostate stronghold in the Witchwood, north of the Crossroads.
West of the Crossroads is a tunnel that takes you to the northern section of the Hinterlands, where a large-scale battle is raging between templars and mages. All will consider your party hostile, so try not to tick off too many groups of enemies all at once! Rogues will find that Stealth from the Subterfuge tree allows them to easily walk up behind a target and single them out for elimination—or break contact should they attract too much attention. There’s also no shame in letting the enemy factions soften each other up before you dive in to present your independent third-party solution to their little spat.
There are multiple battles to resolve before you reach your ultimate destination, marked by waypoints leading farther north from the initial fighting. Each battle you must contend with several footmen, templar and mage aligned. The real threats are guardsmen and mages. The mages can deal serious damage with their spells, and the guardsmen can charge and knock over anyone unlucky enough to be in the way of their big shields. Despite this, it’s recommended you thin out the numbers of hostiles first by wiping out the basic footmen.
The fighting eventually takes you to a camp just outside a cave, guarded by a pair of mages and some more footmen. There are some interesting formations of ice springing out from the ground, products of the mages showing off their powers. You can use these to break line of sight with the enemy, which is one way you can limit the effectiveness of the mages.
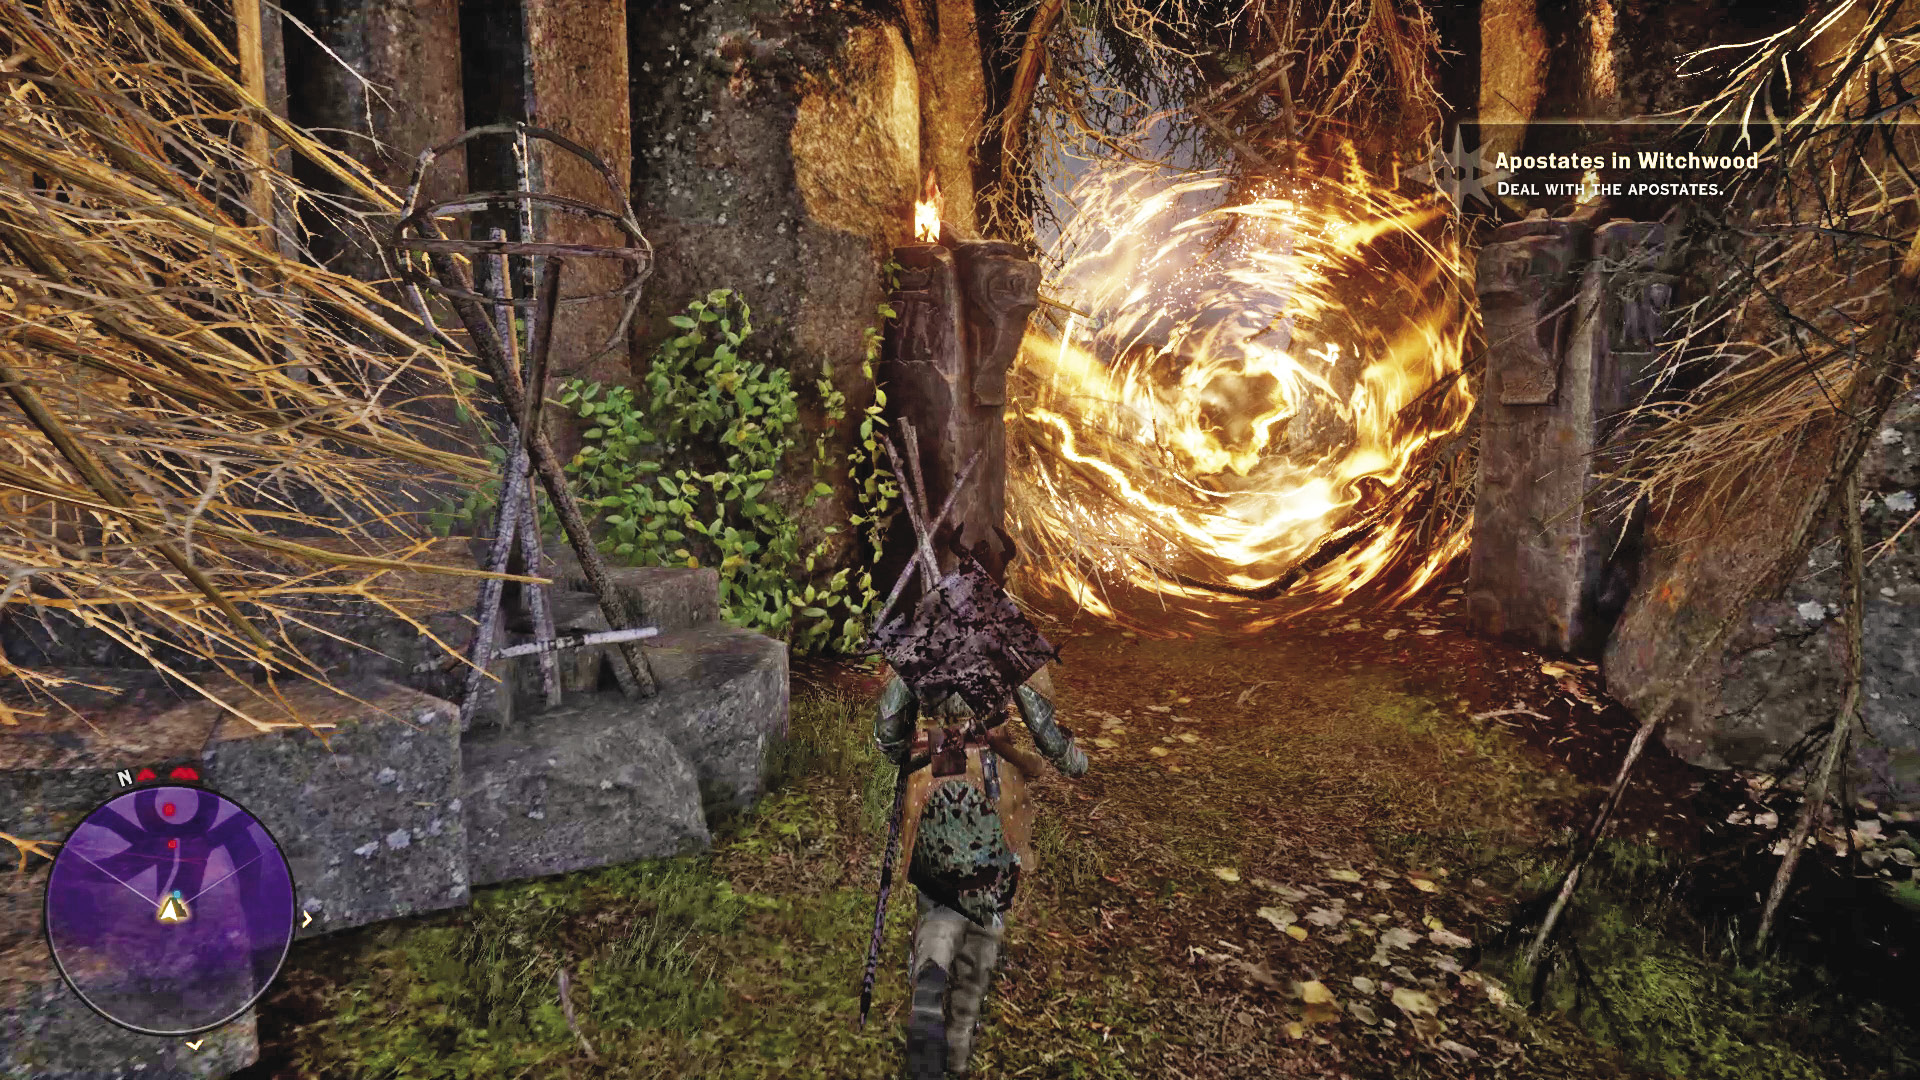
After defeating this apostate camp, you now have to break into the cave itself. It is blocked off by a weak fire. Once you get past the barrier, you can enter the cave and deal with one last contingent of apostates. Again, handle the lesser footmen before focusing on the mages. The quest is complete once you eliminate this final group of apostates, but remember to loot the cave thoroughly for more supplies.
9: Templars to the West
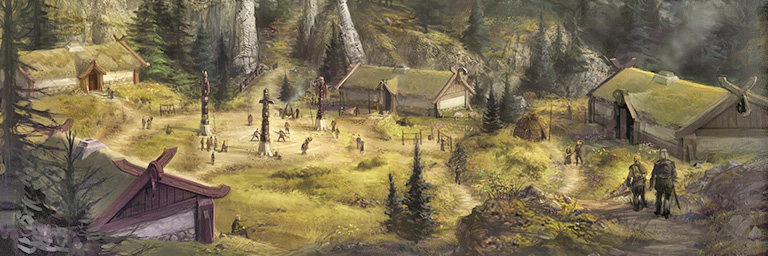
Quest Giver: Letter on the corpse of a templar. You can also start this quest by finding a letter in Fort Connor or at a camp just outside along the road.
Description: Fighting between apostate mages and rogue templars has driven refugees from their homes and endangered everyone in the area.
Requirements: Kill the templars holding onto the Dalish ring for the Agrarian Apostate quest; you will find the letter on one of their corpses.
Reward: 354 XP, 200 Influence, 2 Power
Objectives:
 Locate the templar camp along the western road.
 Deal with the templars.
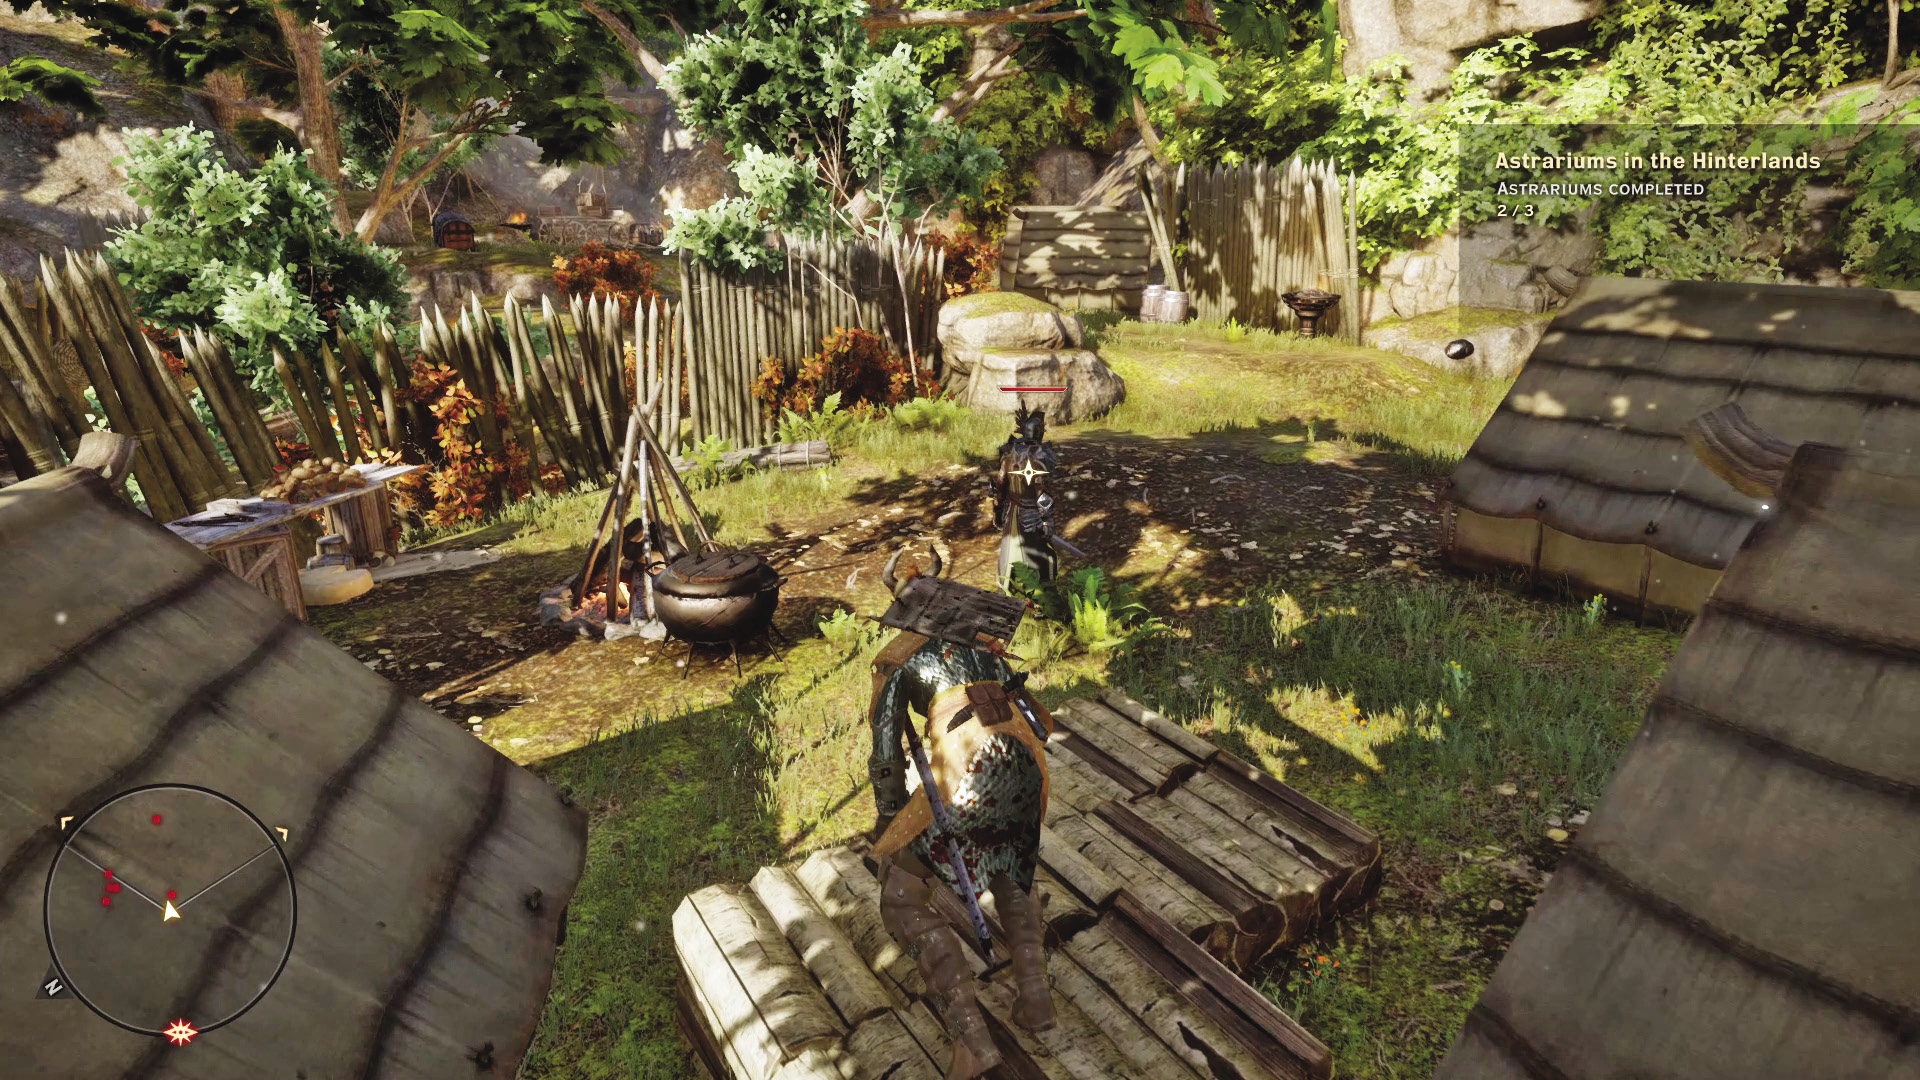
The letter from the templars in the southeastern side of the Hinterlands reveals the rough location of a templar encampment that blocks the western road that passes between the Crossroads and Redcliffe Farms. Simply follow the road to the west, and you will start to run into smaller camps filled with supplies you can loot.
The templars might take issue with you along the way. The first group you encounter along the road to the west consists of a templar defender and three templar knights. Ideally, you should have a tank (Cassandra, for example) start this fight to hold the attention of these dangerous fighters. The rest of the party should focus on burning down the knights before you go to work on the defender. Loot the small camp they were guarding after you finish them off.
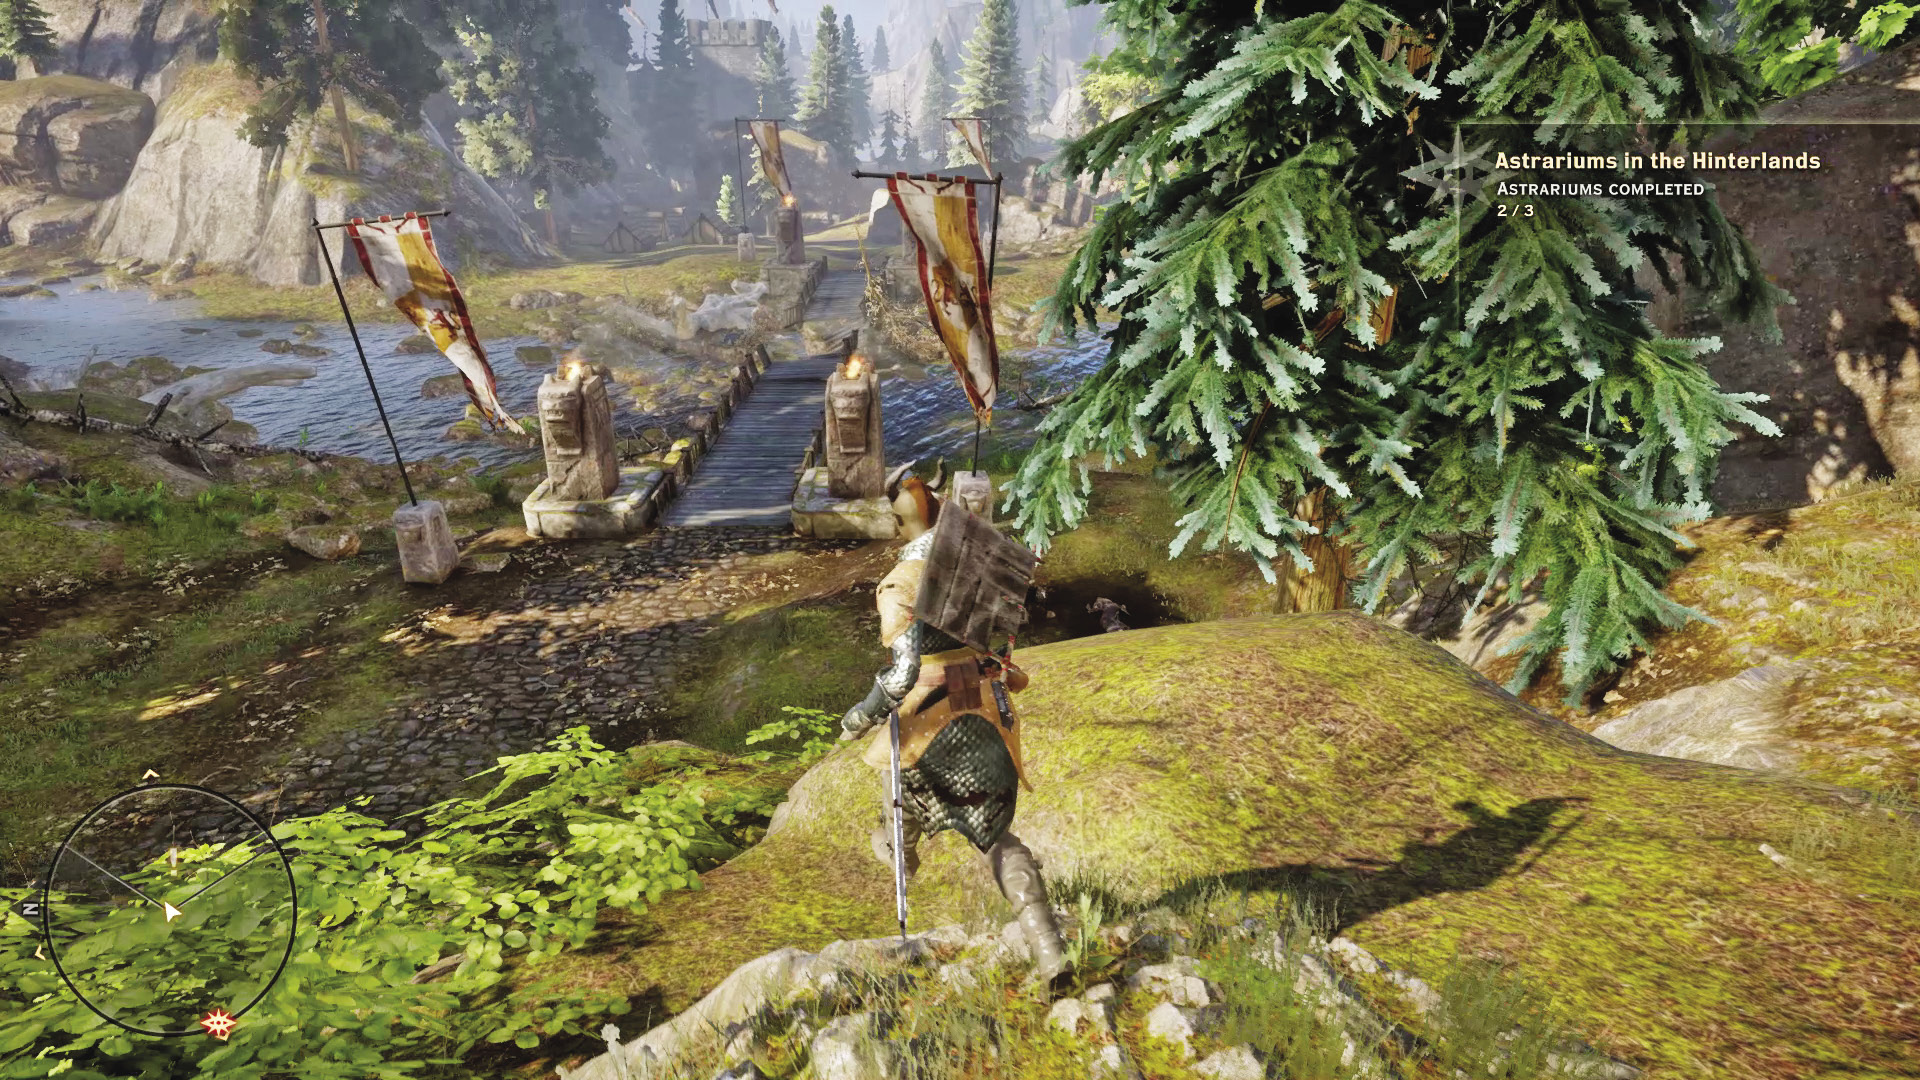
As you travel forward, you’ll come across the broken bridge that spans the river. Claim this landmark, then turn your gaze to the south. On the eastern side of the river, you should see a small side path leading up the cliffs to that side of the river.
Your next fight is a pair of templar defenders. This can be a challenging fight, as the Defenders are quite tough and can interrupt physical and magical attacks with their shields. Any abilities that can knock them down work wonders here! Check their camp for more loot after they have been killed, then continue along the path to the south. You will discover the Templar Encampment region and more templars to slay.
The entrance to the camp is guarded by a templar archer. However, once you make contact with him, four more templars rush to his aid. Players using a rogue can set up a very swift kill on this archer with the Stealth ability, or a ranged class can try to pull the archer out of the camp.
Two more archers deeper into the camp rush to join the fight, along with a templar knight. There are four other enemies in the camp at this point—if you’re lucky they will not see fit to come aid their friends. If the whole camp gets alerted, be ready to burn through potions to stay standing, and use any means at your disposal to keep the mob off your weaker party members.
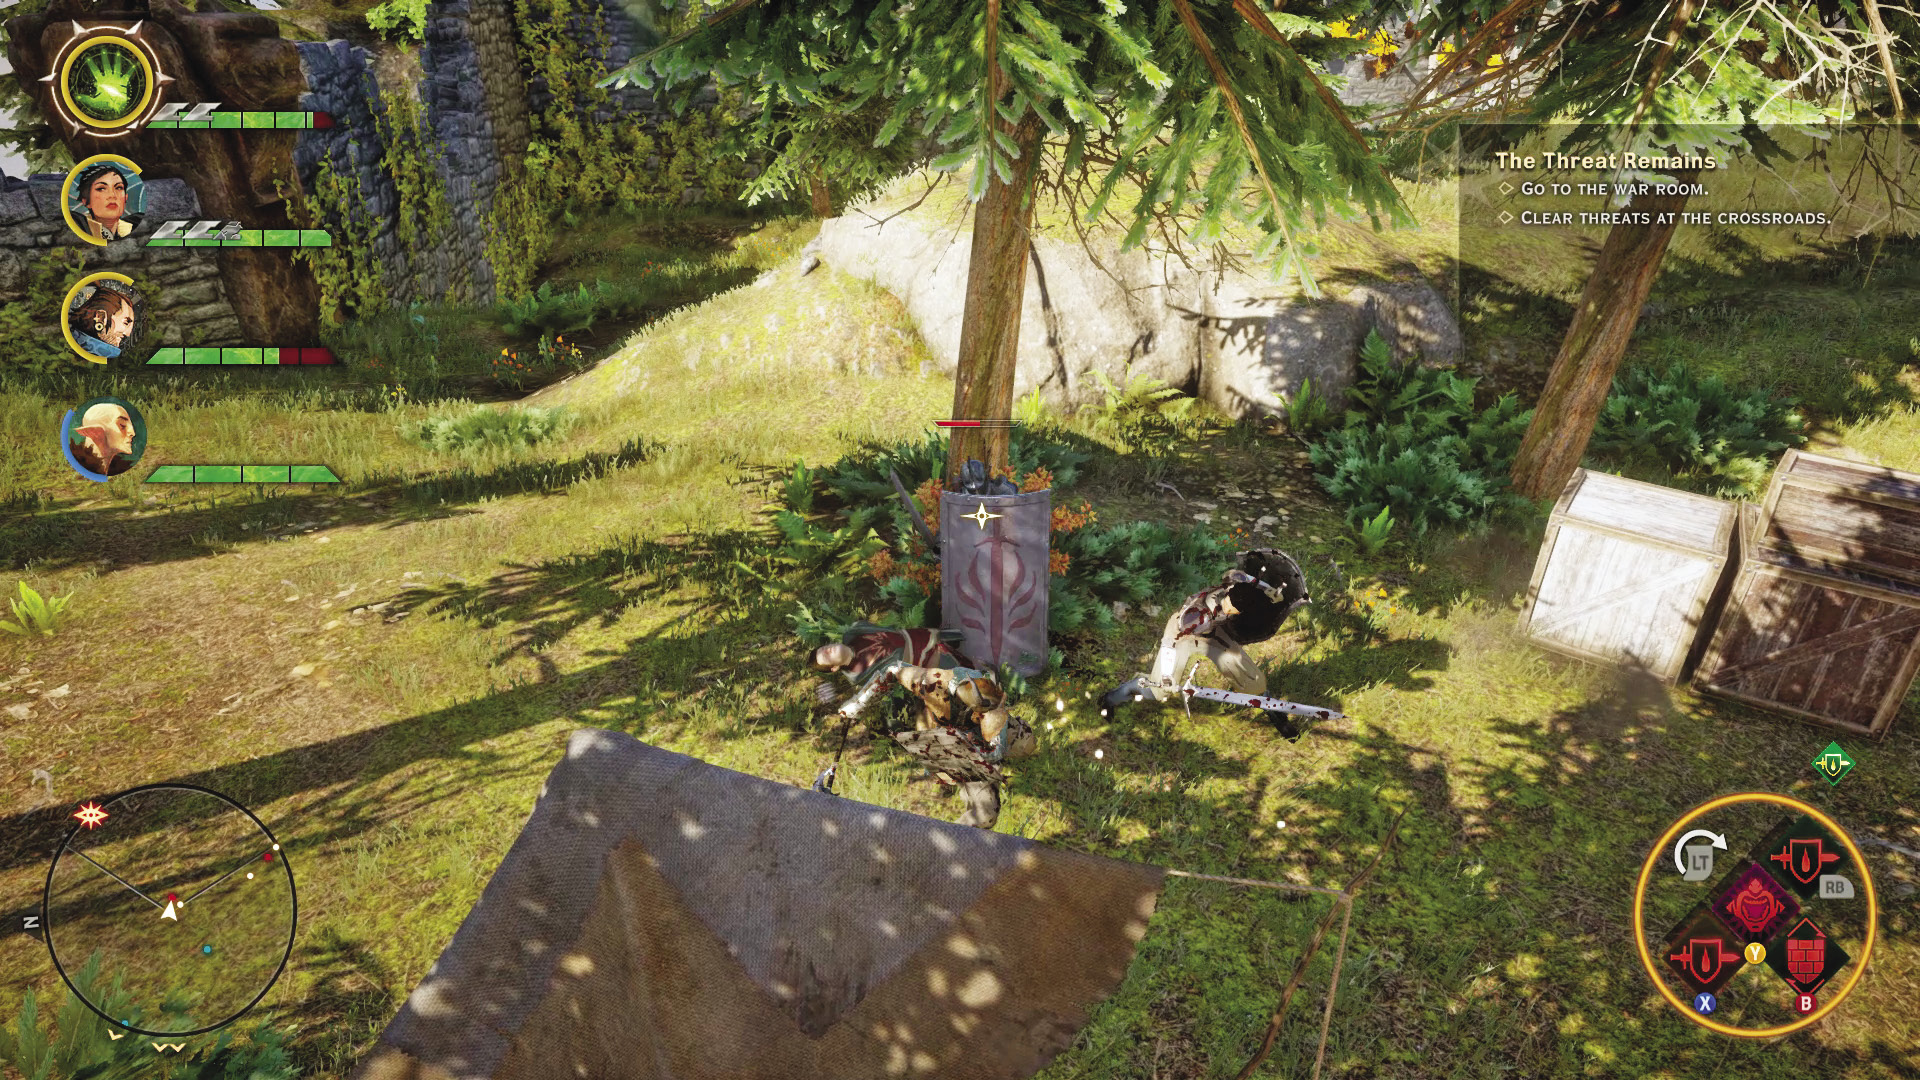
The remaining enemies in the camp are three templar knights, and one last defender. Fortunately, they aren’t close to each other, so it is possible to pull the knights into combat separately from the defender, a more manageable fight than having to deal with all four together. Once you’ve cleared out the camp, the quest is complete, and you can freely partake in all of the treasure chests the templars left behind.
10: Praise the Herald of Andraste
Quest Giver: Speaker Anais
Description: Cultists are looking for a sign that the rifts in the Veil can be controlled.
Requirements: Available as soon as you enter the Hinterlands. Simply approach Speaker Anais in front of the gates to the Lornan’s Exile enclave.
Reward: 177 XP, 80 Influence, 1 Power
Objectives:
 Seal the Fade rift.
 Speak with Anais.
Speaker Anais halts you as you approach Lornan’s Exile. She doubts your capacity to seal the Fade rifts, as well as your title as Herald of Andraste, and will not sway from her position until she has proof the rifts are controllable. That’s where you come in.
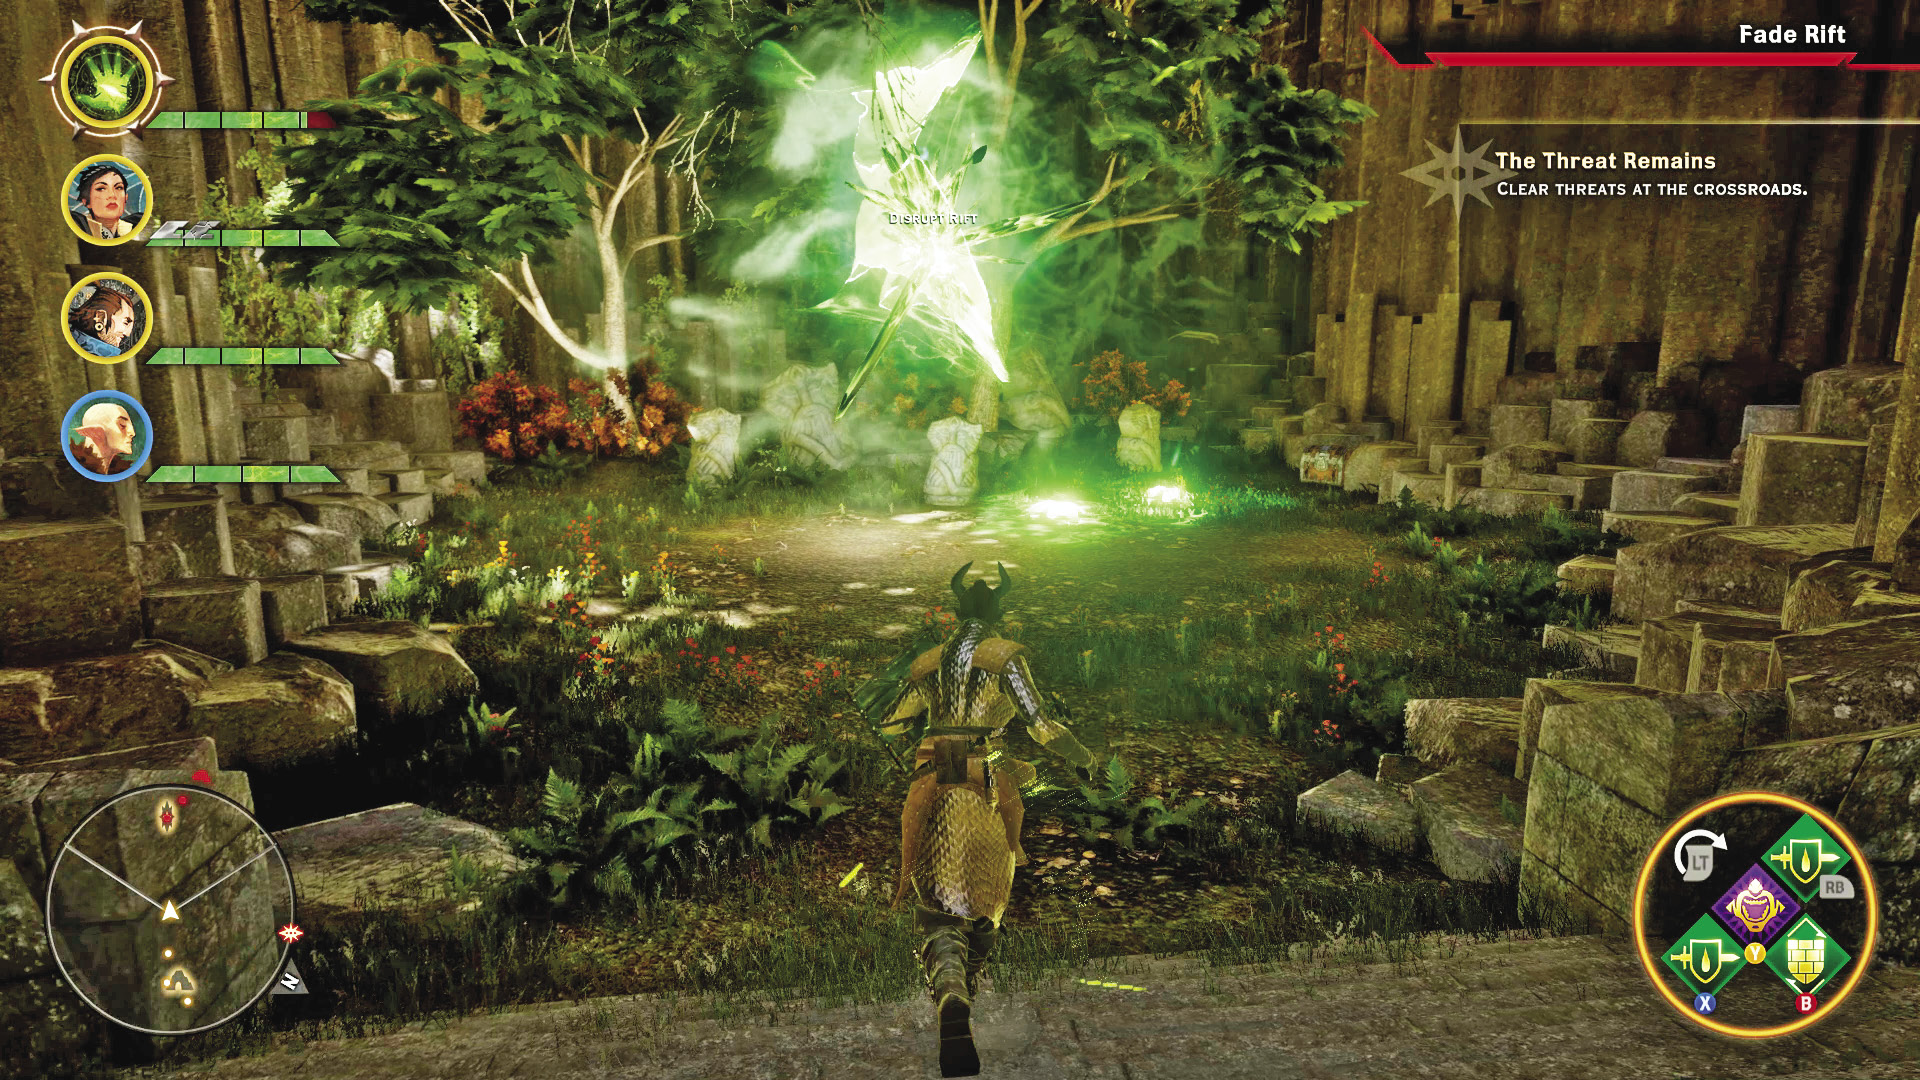
Approach the rift at the back of the enclave to trigger an ambush. Like any Fade rift you’ve encountered, this rift consists of multiple waves of enemies and generally starts off with a weaker enemy set before ramping things up in the second wave. Don’t forget that it is possible to disrupt the rift while you are fighting the demons in order to stun them, a good tactic if you are feeling overwhelmed.
After sealing the Fade rift, go back to Speaker Anais to deliver the good news. She declares her loyalty to you and offers the services of her cult to the Inquisition. You can either have the cult help the refugees in the Hinterlands, spread word of the Inquisition across the continent, or act as informants and spies for your cause.
11: Shallow Breaths
Quest Giver: Refugee, Crossroads
Description: A refugee at the Crossroads is having trouble breathing. Without a specific potion, she is likely to die.
Requirements: Secure the Crossroads from templar and apostate aggression and you will be able to talk to the frantic elf.
Reward: 44 XP, 40 Influence
Objectives:
 Get the potion from the refugee’s son.
 Bring the potion to the refugee’s husband.
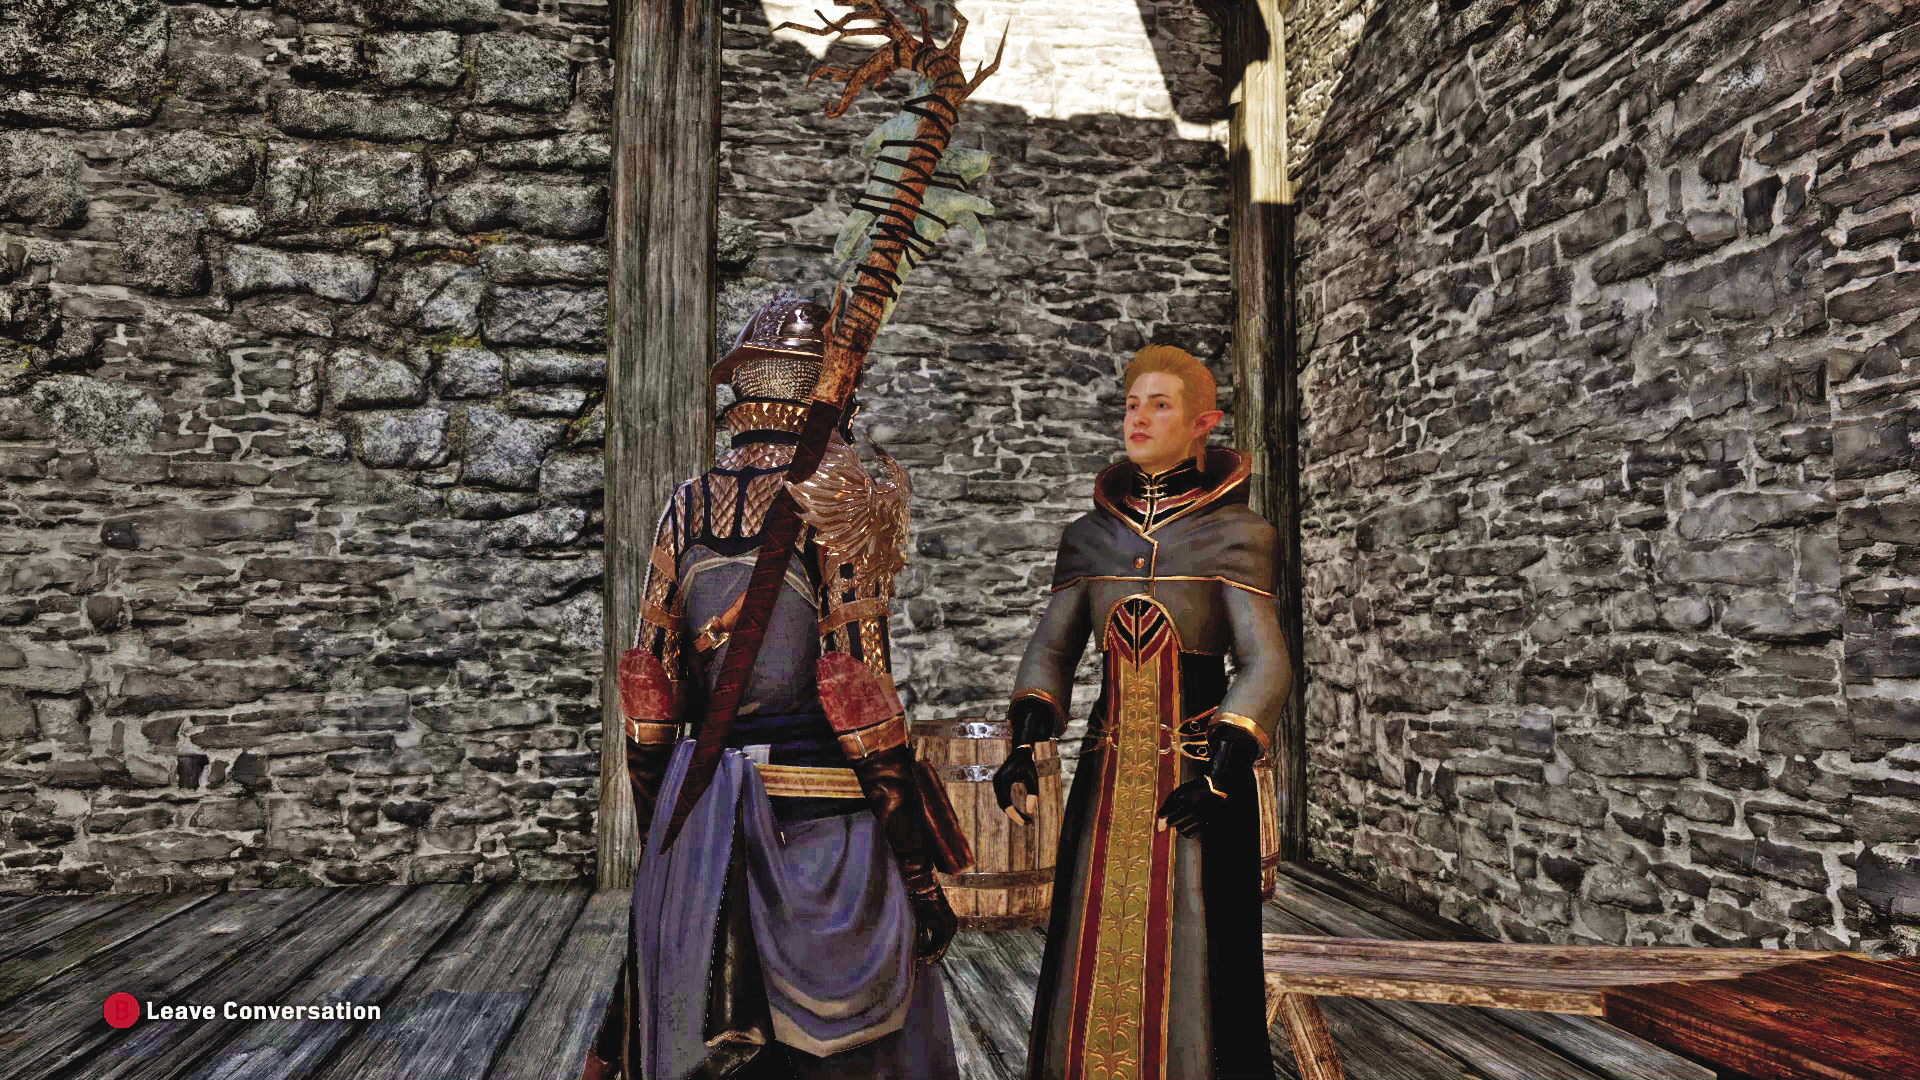
If you approach a villager next to the Crossroads’ claimable landmark, he will flag you down and request that you speak with his son Hyndel, who hides in a cult enclave far south of the Crossroads. Hyndel can make a potion that allows his mother to breath, and she needs it right now. You only need to speak with Hyndel to get the potion, and he’s easily found near the enclave’s central fountain. After delivering the potion back to the Crossroads, if Solas is in your party you can speak with Hyndel once more and convince him to return to the Crossroads in order to provide comfort to his family.
12: In the Saddle

Quest Giver: Seanna, Redcliffe Farms
Description: A wealthy young landowner’s daughter, Seanna, has built a course for racing horses.
Requirements: Available after earning a horse from Horsemaster Dennet
Reward: Gold
Objectives:
 Complete Seanna’s first race.
 Complete Seanna’s second race.
 Complete Seanna’s final race.
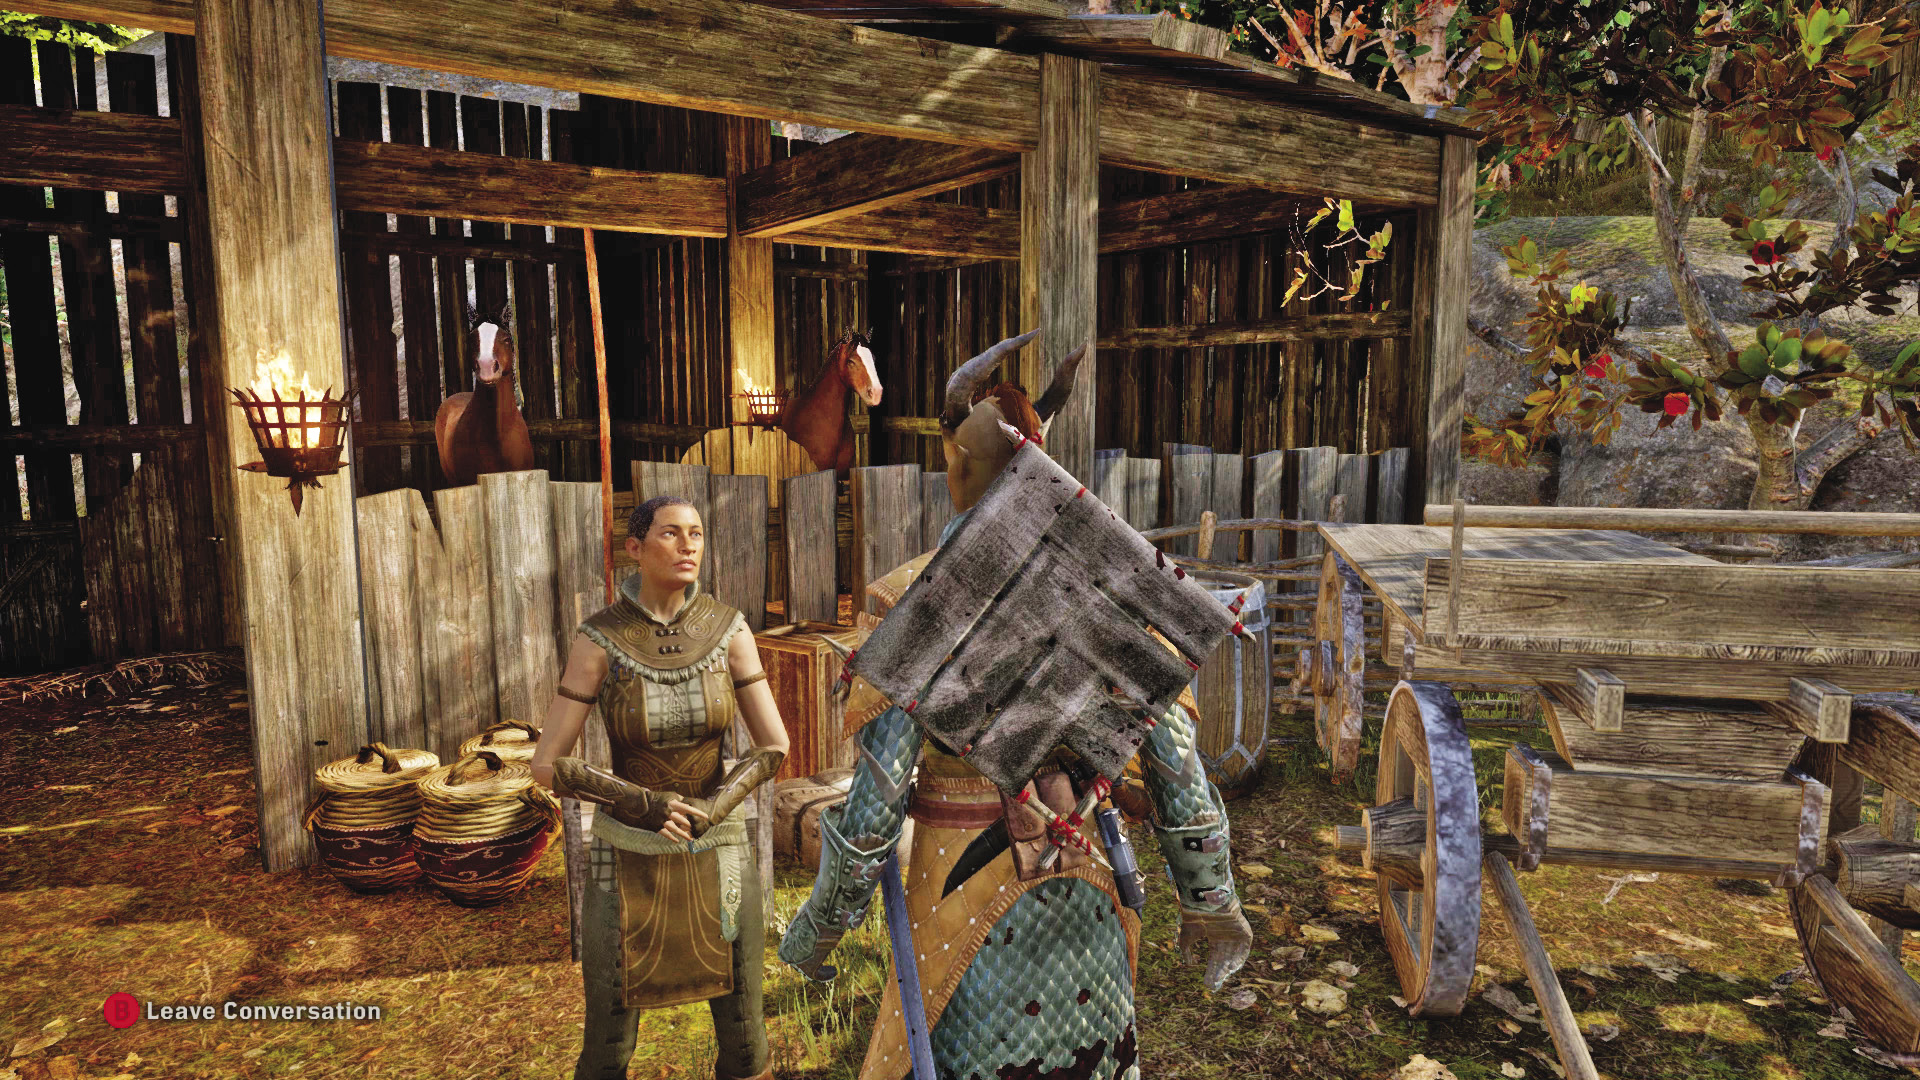
Seanna has used the Redcliffe Farms trails to create race tracks for you to ride through on your new mount. To succeed, you need to race between the wooden posts that appear on the track, next to the conveniently lit torches that indicate where you need to go. The races increase in length and difficulty as you complete them, and the time limits get tighter. Complete all three to earn some extra gold for your trouble.
13: Master of Horses

Quest Giver: Scout Harding
Description: Horsemaster Dennet may be able to provide horses for the Inquisition. He just needs to be convinced.
Requirements: Enter the Hinterlands for the first time.
Reward: 177 XP, 80 Influence, 1 Power
Objectives:
 Speak with Dennet.
 Mount the horse at the stables.
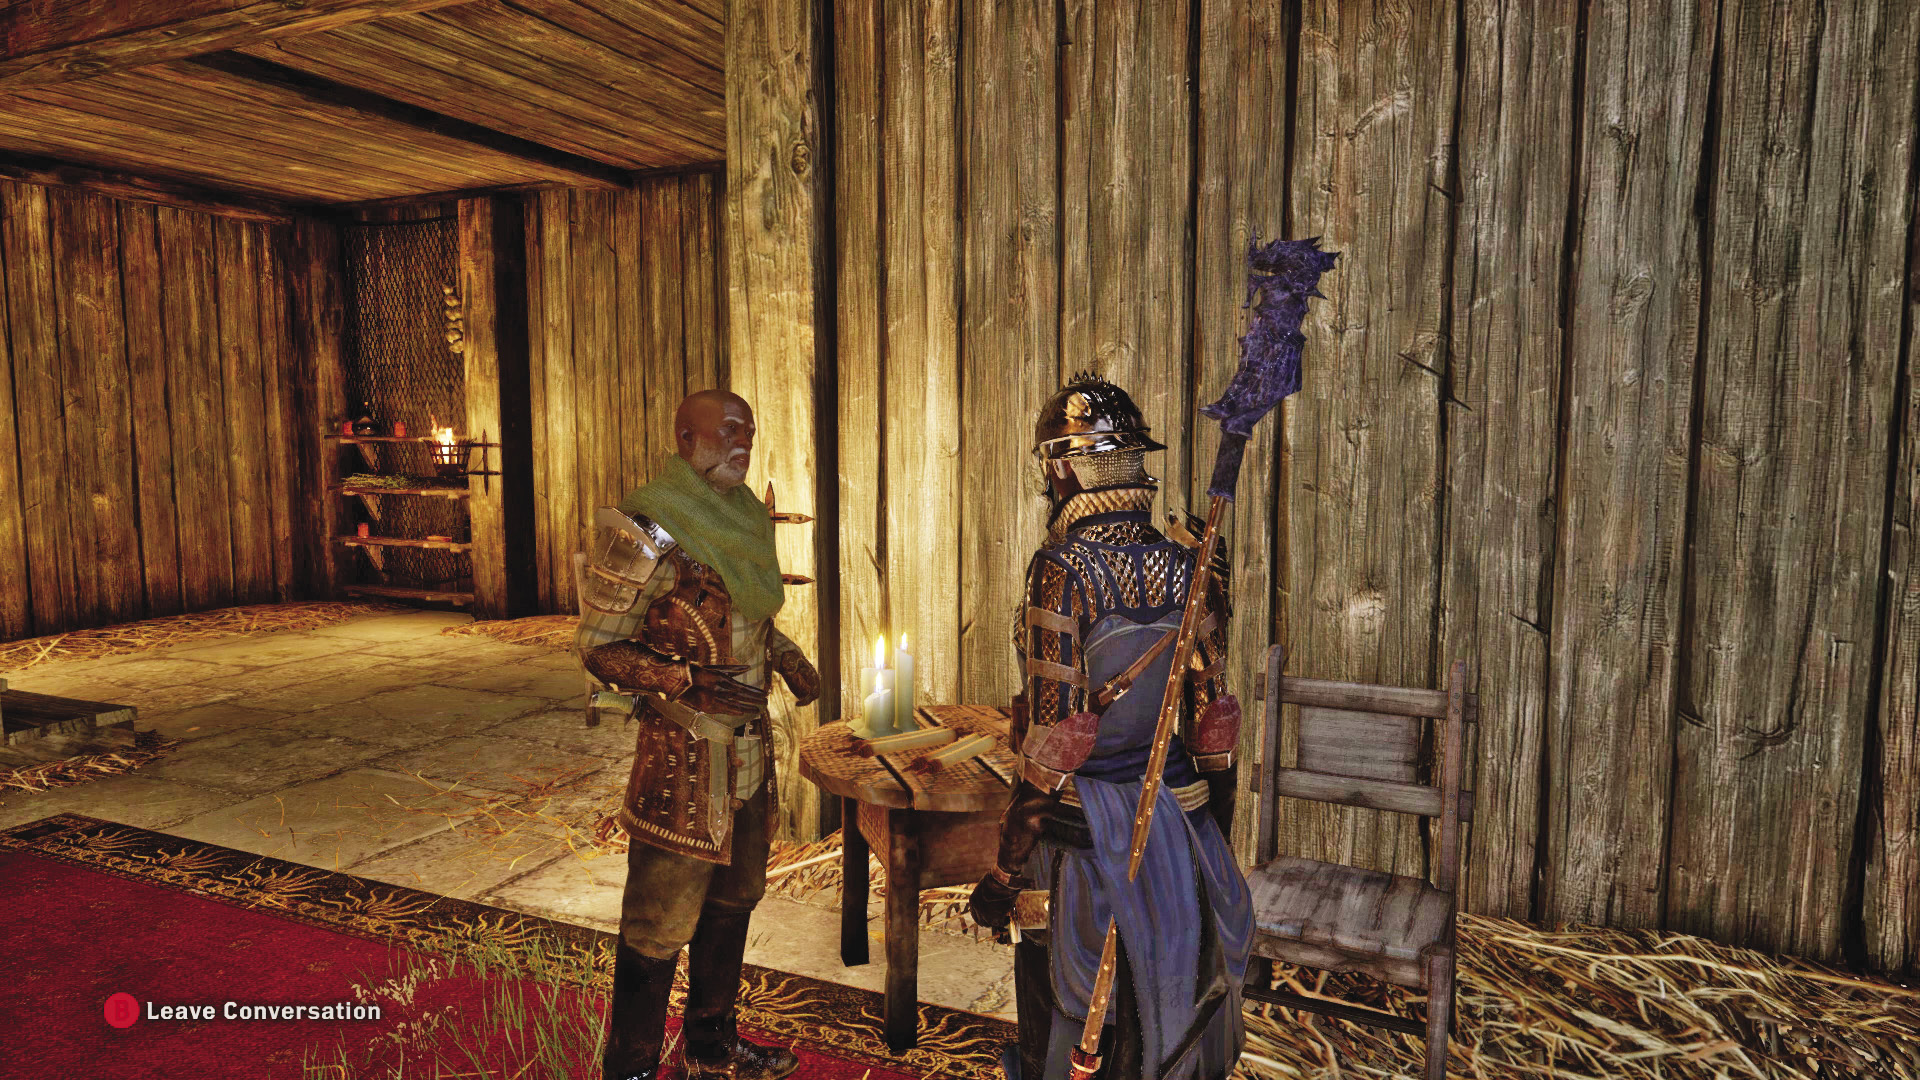
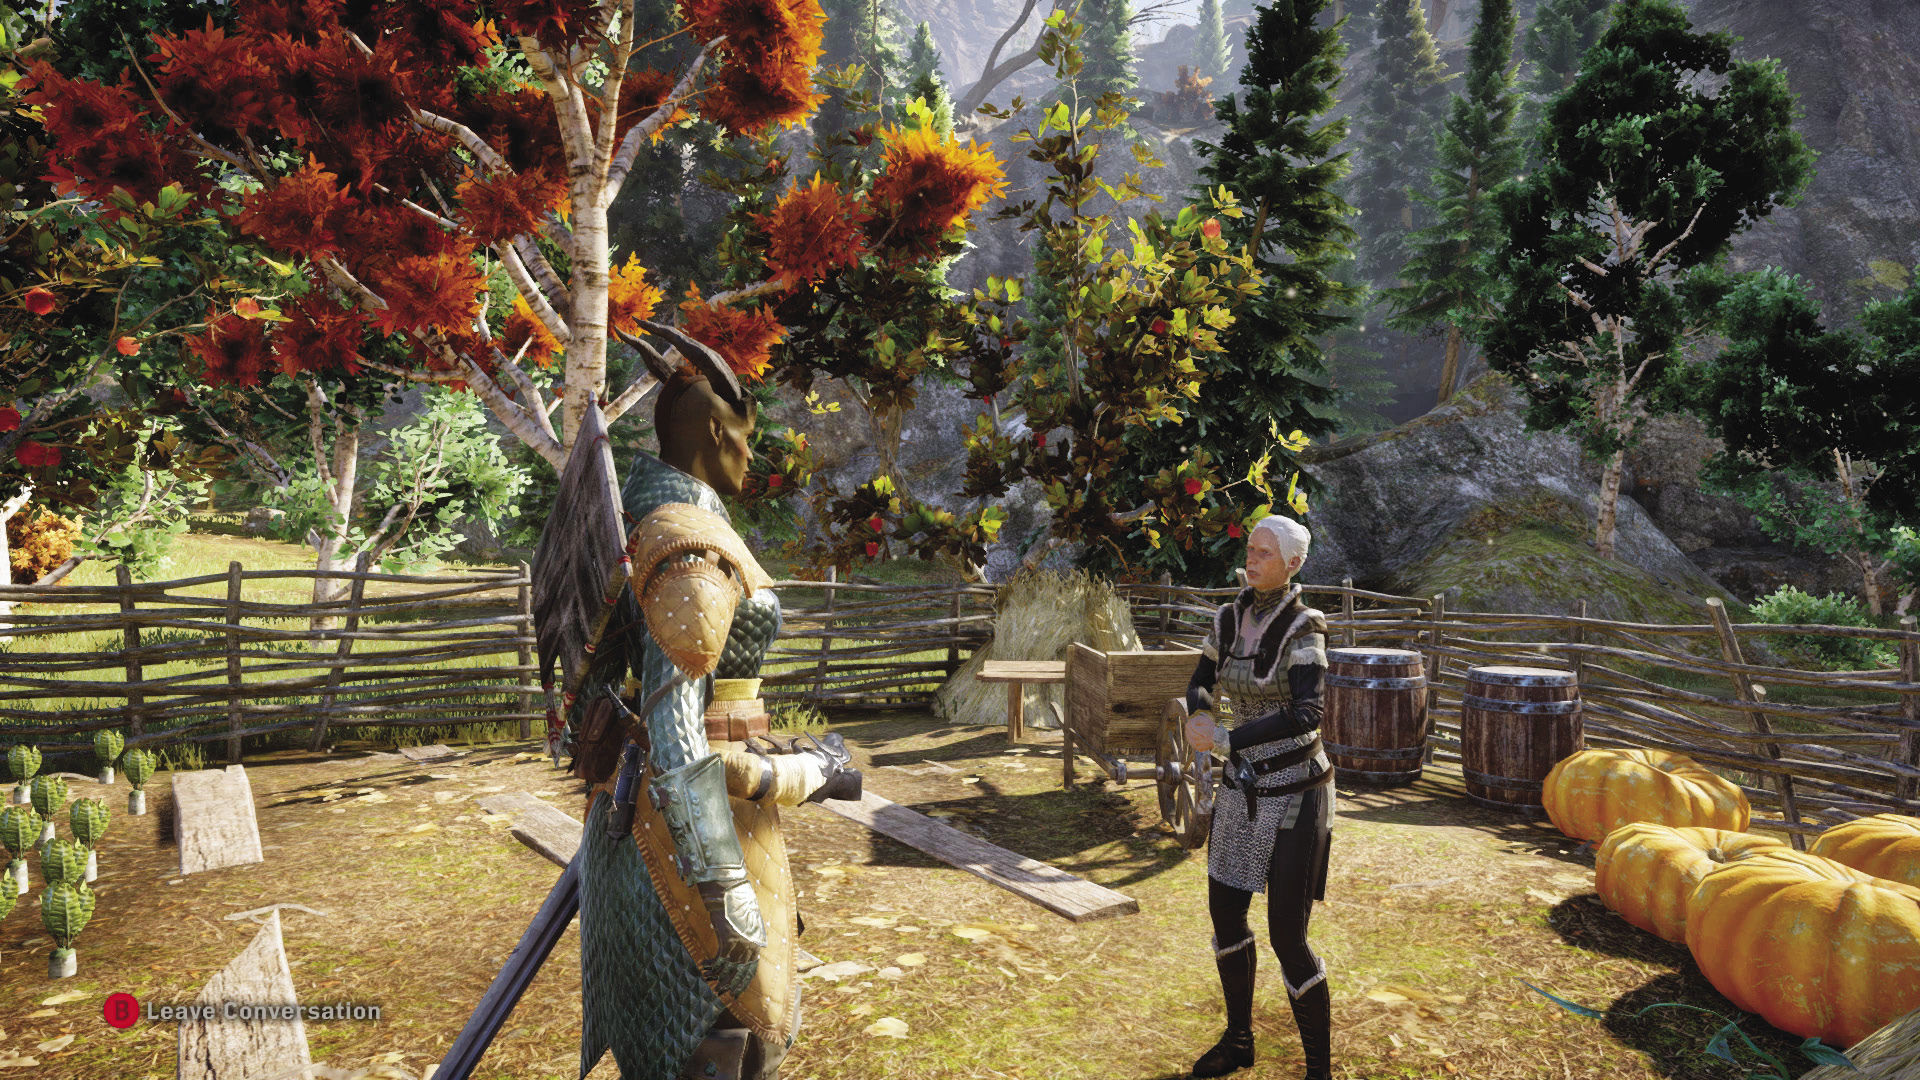
Scout Harding has tried to get to Redcliffe Farms to requisition horses, but he has not been able to break through the fighting. Your questing takes you through heavily contested territory to reach the farms, but when you speak with Dennet, he informs you that he simply can’t give you the horses—at least, not until he has a guarantee they won’t be stolen by bandits while traveling toward Haven. He asks that you speak with his wife and one of his servants to see to the tasks they provide.
On the plus side, Dennet does offer you a horse of your own. Go down to the stables, where his daughter Seanna also resides, and claim your new ride!
14: Horses for the Inquisition

Quest Giver: Dennet
Description: Convince Horsemaster Dennet to leave behind the farm and join the ranks of the Inquisition.
Requirements: Complete the quests The Trouble with Wolves and Farmland Security.
Reward: Horsemaster Dennet joins the Inquisition. 177 XP, 80 Influence, 1 Power
Objectives:
 Speak with Dennet.
After you complete the prerequisite quests, Dennet will provide horses for your cause. You are also able to converse with Dennet about becoming horsemaster for the Inquisition. Cassandra is capable of rousing the man to action, but Inquisitors of specific races and backgrounds might also be able to sway Dennet.
15: Farmland Security

Quest Giver: Bron, Redcliffe Farms
Description: Bron believes building a series of watchtowers in the area would warn farmers and refugees of incoming attacks.
Requirements: Speak with Horsemaster Dennet.
Reward: 177 XP, 80 Influence, 1 Power
Objectives:
 Speak with Bron.
 Mark three watchtower locations.
 Complete the Watchtowers in the Farms operation at the war table.
 Inform Bron that the watchtowers have been built.
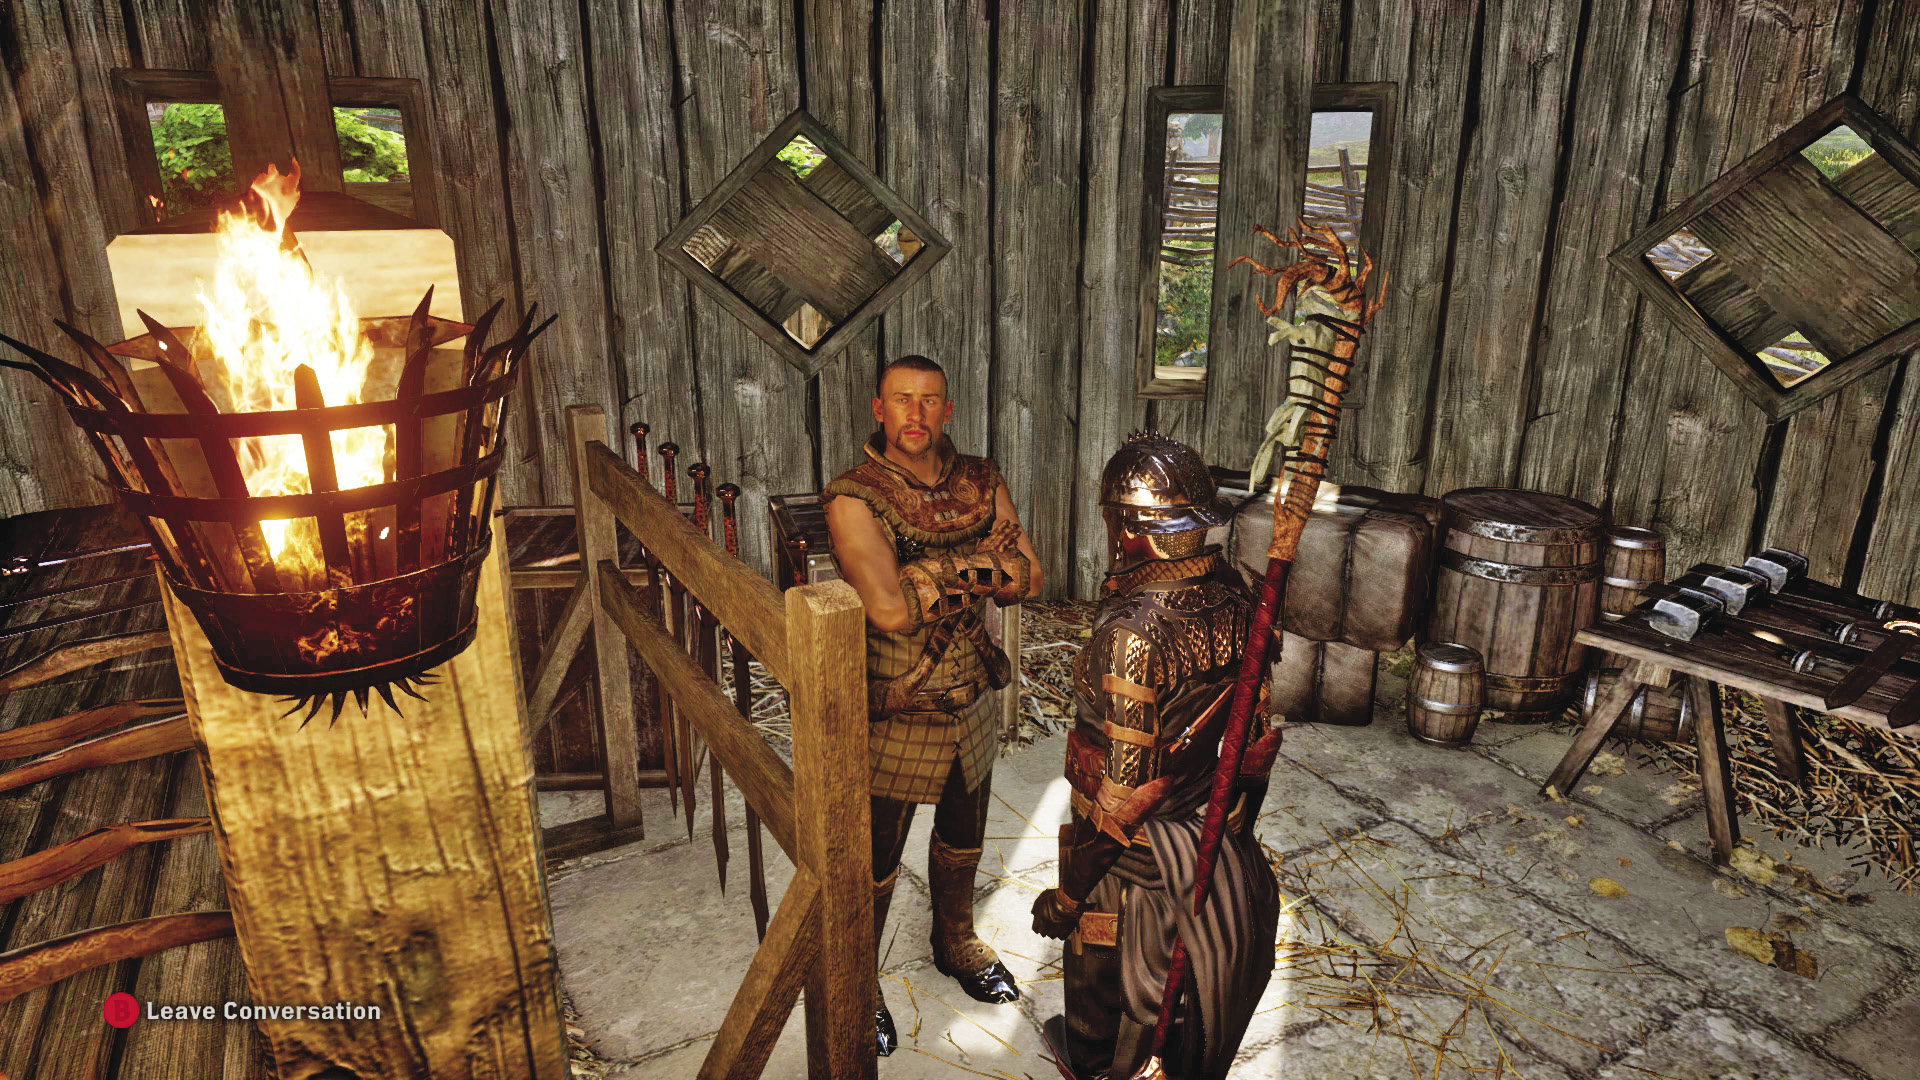
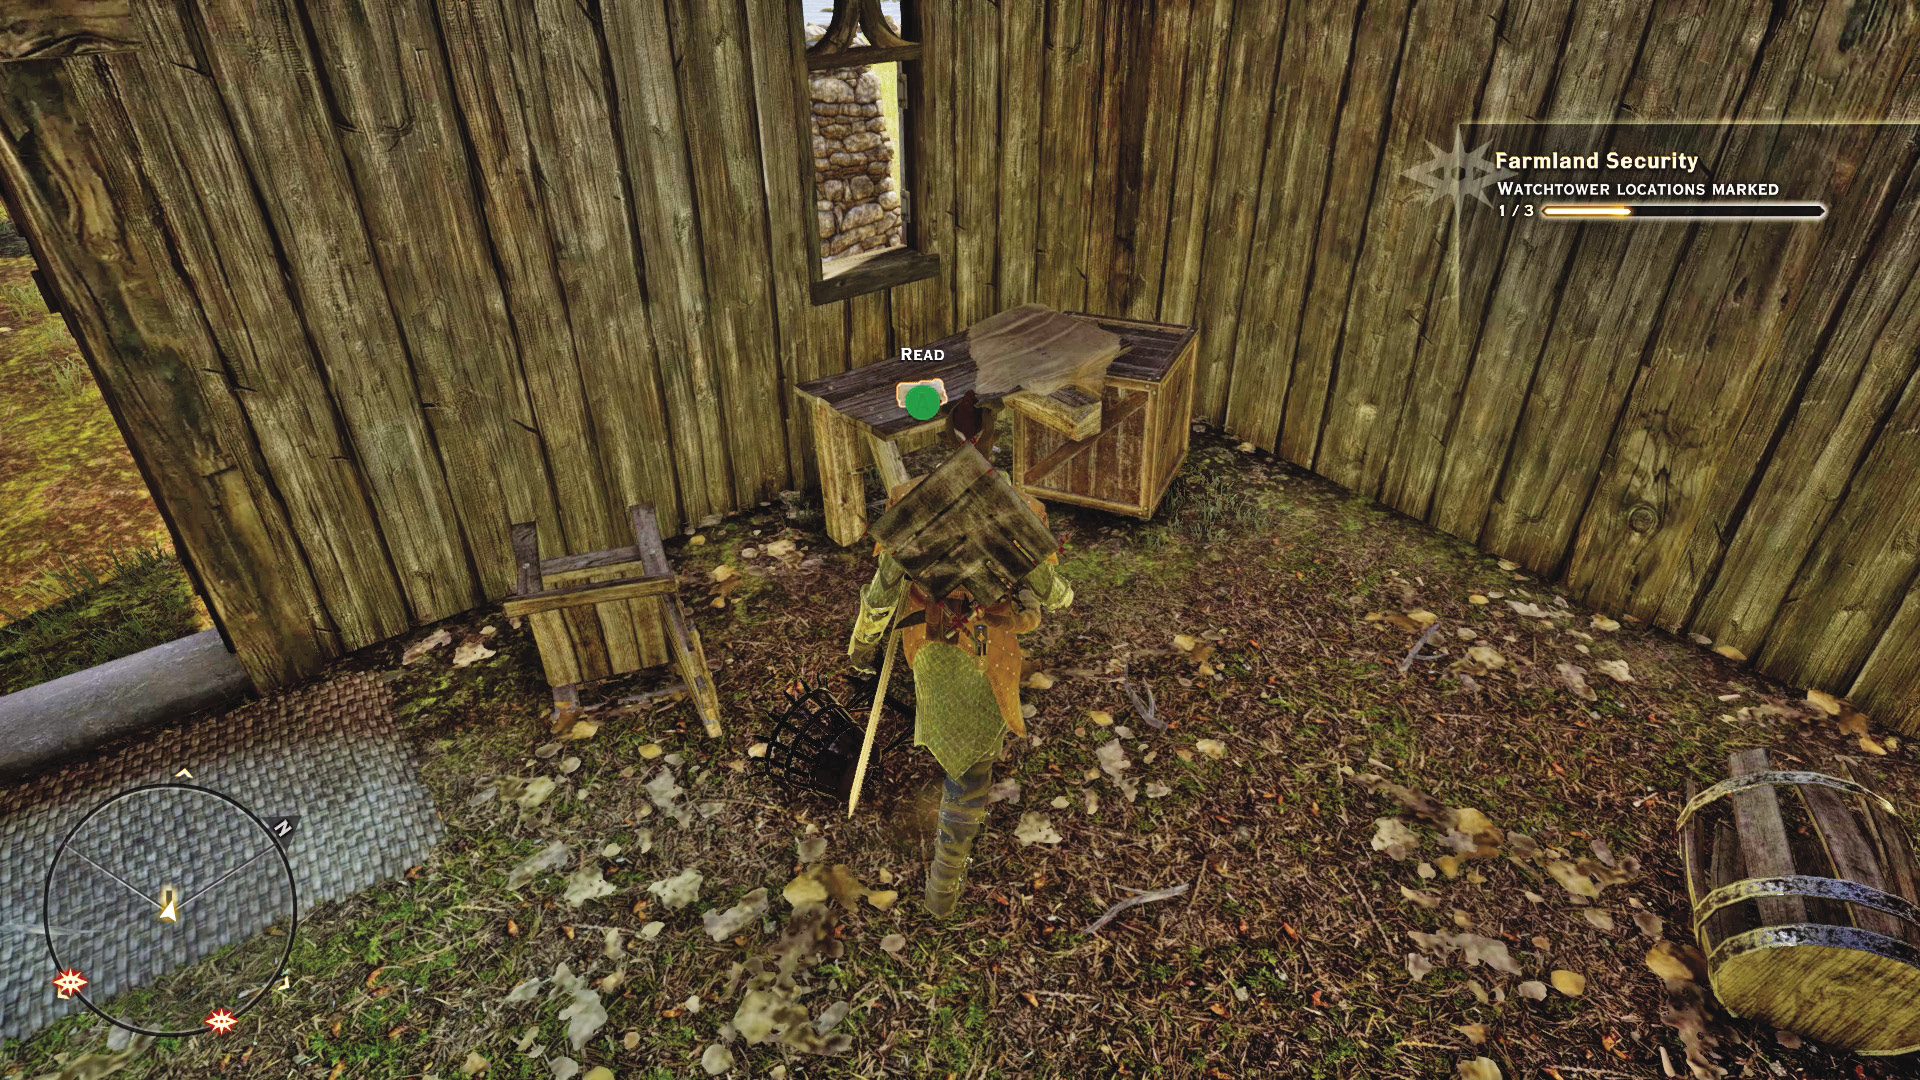
While this is not a difficult task, it is time consuming. First, you must ride out to the three locations marked on your quest map and claim them. They are not difficult to reach, but they are spread out enough that you may appreciate your new horse that much more.
When all three tower locations are claimed, return to Haven’s war table to handle the special Watchtowers in the Farms mission. It requires two power and can take up to three hours to accomplish. Josephine will require the whole three hours, but Cullen’s forces can get it done in less time. Once the towers are confirmed to be complete, speak with Bron.
16: Trouble with Wolves
Quest Giver: Elaina, Redcliffe Farms
Description: Elaina has agreed to bring the farmers back once the area has been rid of wolves.
Requirements: Speak with the master of Redcliffe Farms to be directed to Elaina on how to solve some of the problems the farmers face.
Reward: 177 XP, 80 Influence, 1 Power
Objectives:
 Ask Elaina how to make the farmers safe again.
 Deal with the wolves.
 Tell Elaina the wolves are no longer a problem.
Elaina doesn’t mince words: The farmers already have enough to deal with as it is, and the local wolf population trying to eat them doesn’t make them inclined to remain farmers. She wants you to travel to the east to deal with the wolves and doesn’t care how it gets done so long as the farmers are safe.
The first wolves you encounter are aggressive, attacking your party as you close in on their den. After putting them down, enter Wolf Hollow, the home they gave their lives to defend.
Wolf Hollow is, as you would imagine, populated by more black wolves. Their aggressive nature and the fairly tight spaces of the hollow make combat a challenge, as you don’t have room to work. One “wolf” towers above the rest. Killing this terror is the primary goal of the quest, as it is the dark influence behind the crazed wolfpack. Looting the Token of the Packmaster from its corpse and equipping it on an active party member will turn all wolves friendly to your party. This works for all wolf packs in the world. You can even occasionally receive help from wolves that are nearby if you’re in battle while wearing the token.
17: Sketch of Calenhad’s Foothold
Quest Giver: A corpse near the starting camp in the Hinterlands
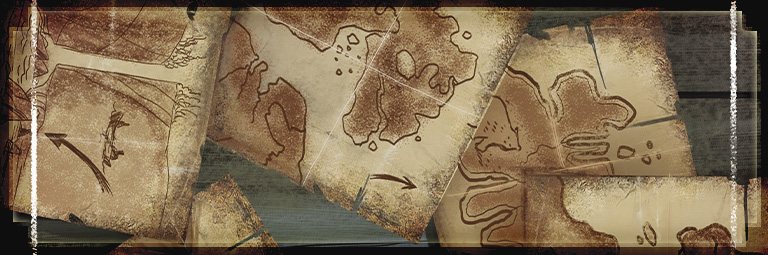
Description: This sketch of a castle on a rocky ridge marks a spot along a broken wall.
Requirements: Available as soon as you enter the Hinterlands for the first time
Reward: 44 XP, 40 Influence, rock armor schematic
Objectives:
 Find the spot marked on the sketch.
After recovering the sketch from the body just south of the starting Hinterlands camp, travel west from the camp, up the mountain path toward the castle ruins. There’s a Fade rift near the ruins, part of the Rifts at the Foothold side quest, and there’s a good chance you’ll trigger the combat against the demons surrounding the rift as you approach Calenhad’s Foothold.
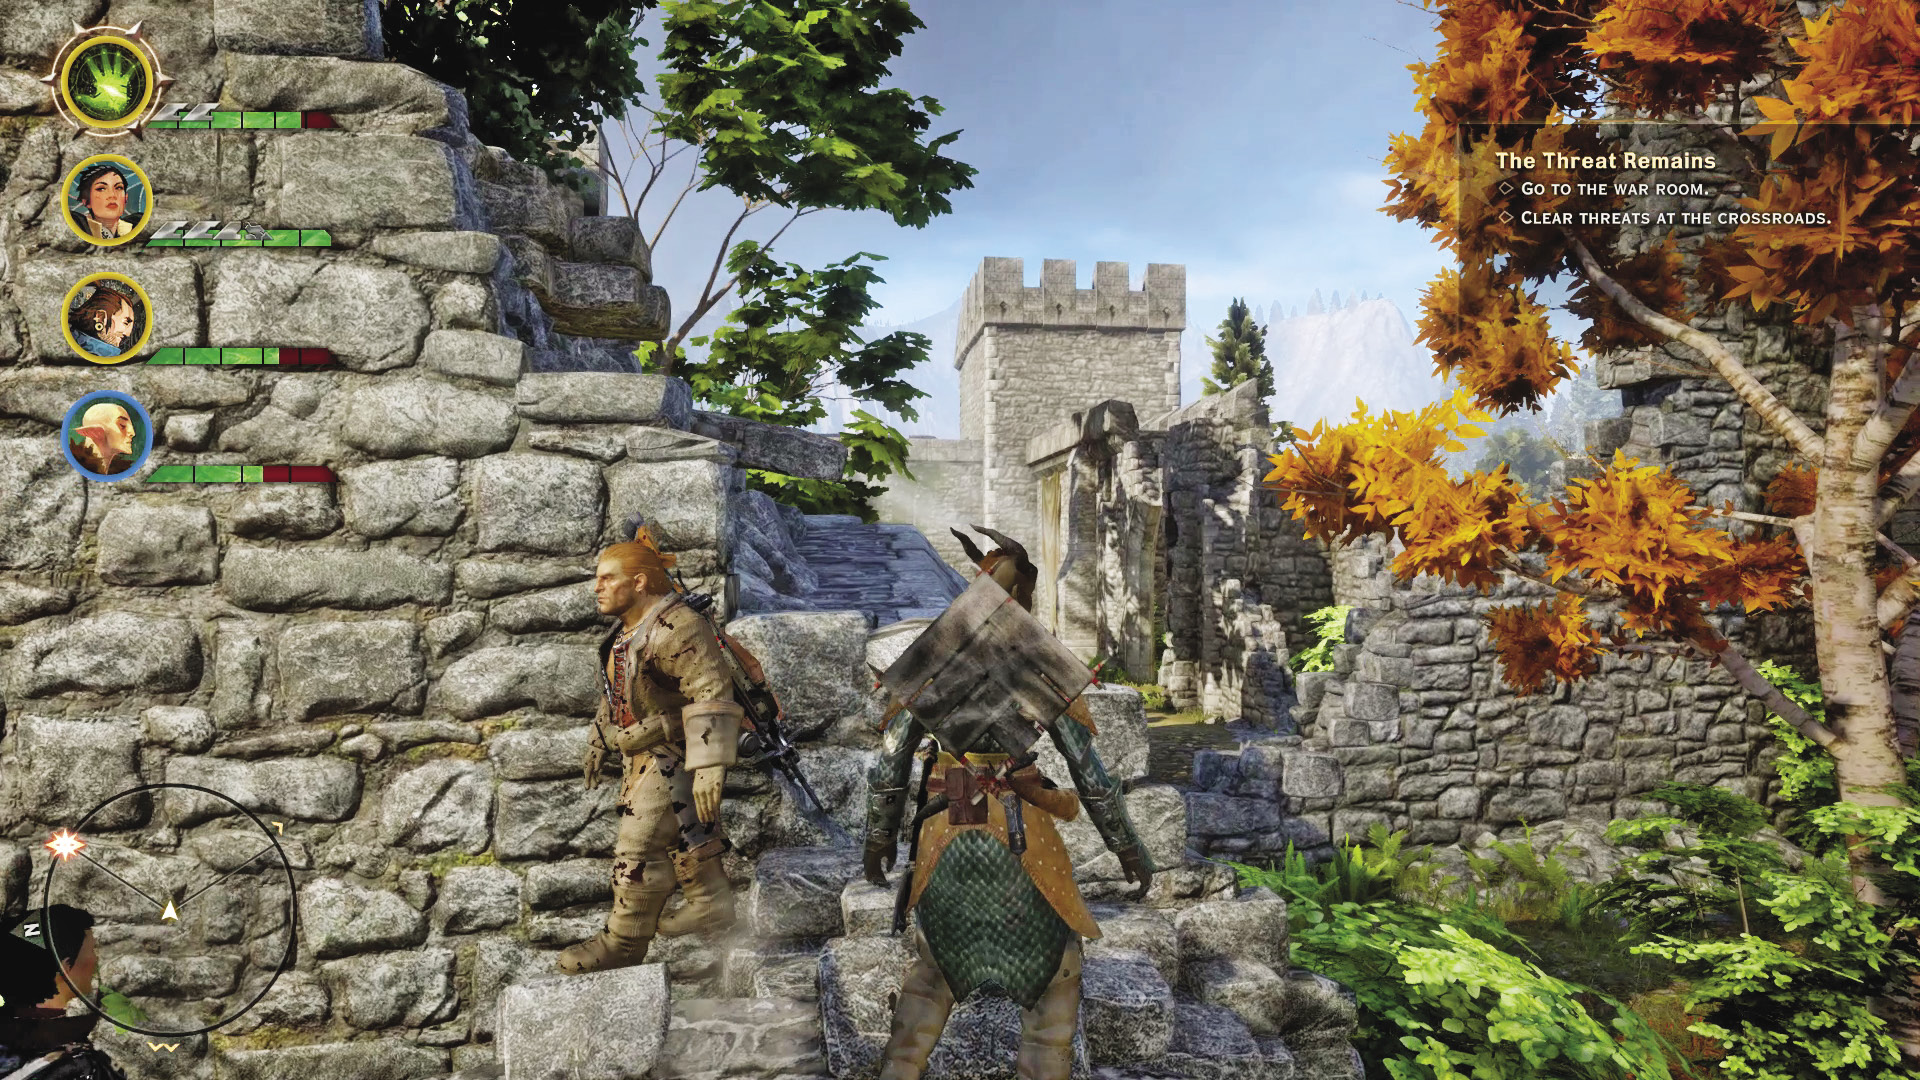
To reach the point indicated, you must find a way to climb the broken-down wall that leads to the upper levels of a tower in the northwest corner of the ruins. The ground entrance is blocked off by rubble, unfortunately.
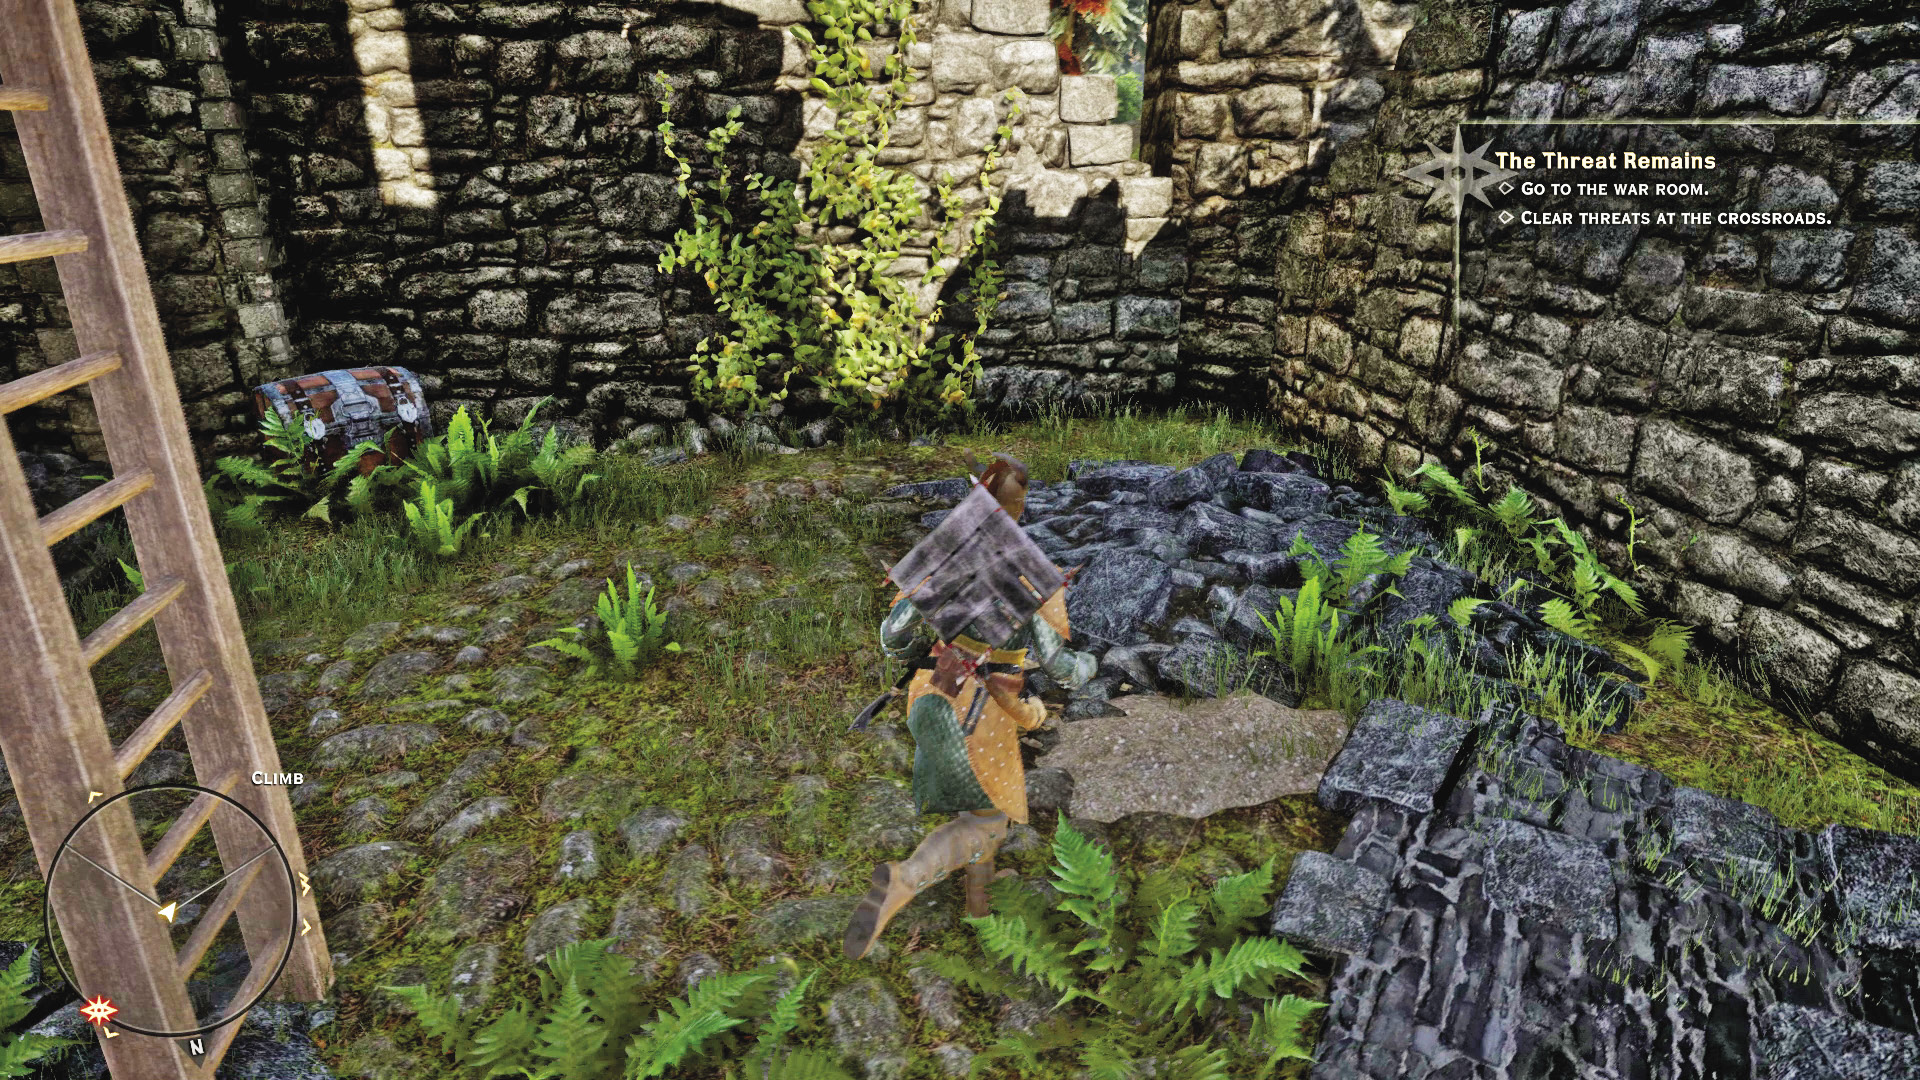
Use the pictured smaller pile of rubble near the collapsed section of wall. You’ll have to jump repeatedly to make this climb, but if you can pull it off, you can walk along the wall until you reach the tower, then use a ladder to climb down into the blocked-off antechamber. Open the chest inside to retrieve an armor enhancement schematic!
18: Map to a Waterfall
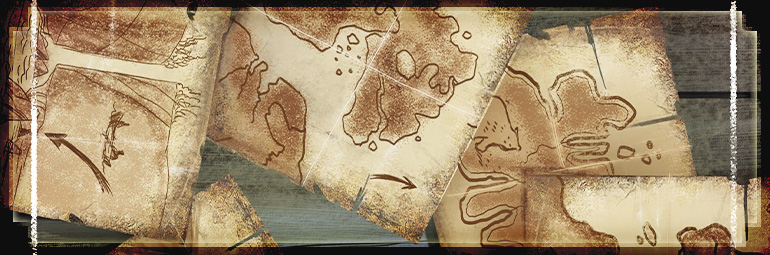
Quest Giver: A scroll west of the Upper Lake camp
Description: This map depicts a bridge with four pillars and a waterfall under a tree.
Requirements: Arrive in the Hinterlands for the first time
Reward: 44 XP, 40 Influence
Objectives:
 Find the spot marked on the map.
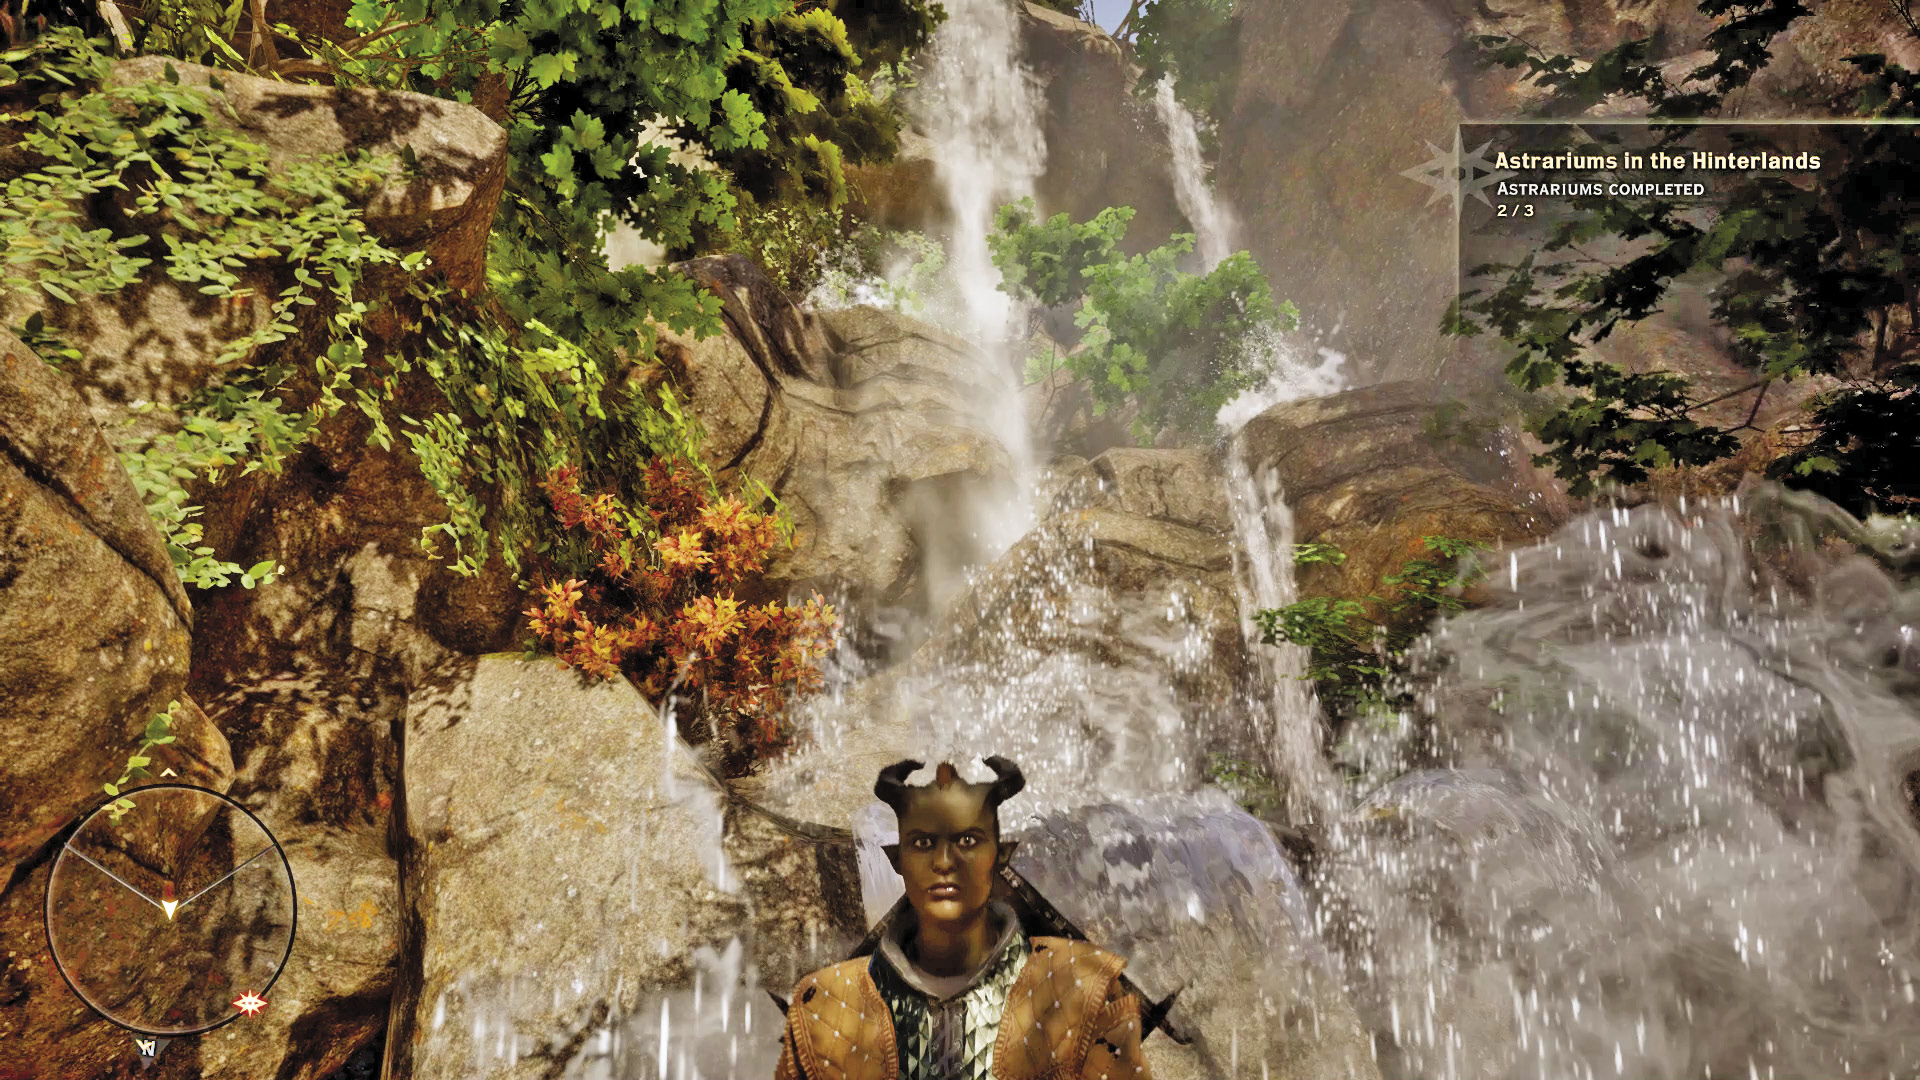
This is one of the easier treasures to reach. The river to the west of the templar camp you clear out in Templars to the West can be followed farther south, so follow the river from the broken bridge for a straight shot at the treasure. The treasure location is behind the waterfall, among the various iron nodes you can mine.
19: Blood Brothers
Quest Giver: A note in a hut just to the south of the Outskirts camp
Requirements: When you arrive in the Hinterlands for the first time, this quest can be started up immediately.
Reward: Mercenary lord blade, 44 XP, 40 Influence
Description: A templar has left a note for his apostate brother, challenging him to a fight.
Objectives:
 Go to the location mentioned in the letter.
 Loot the body.
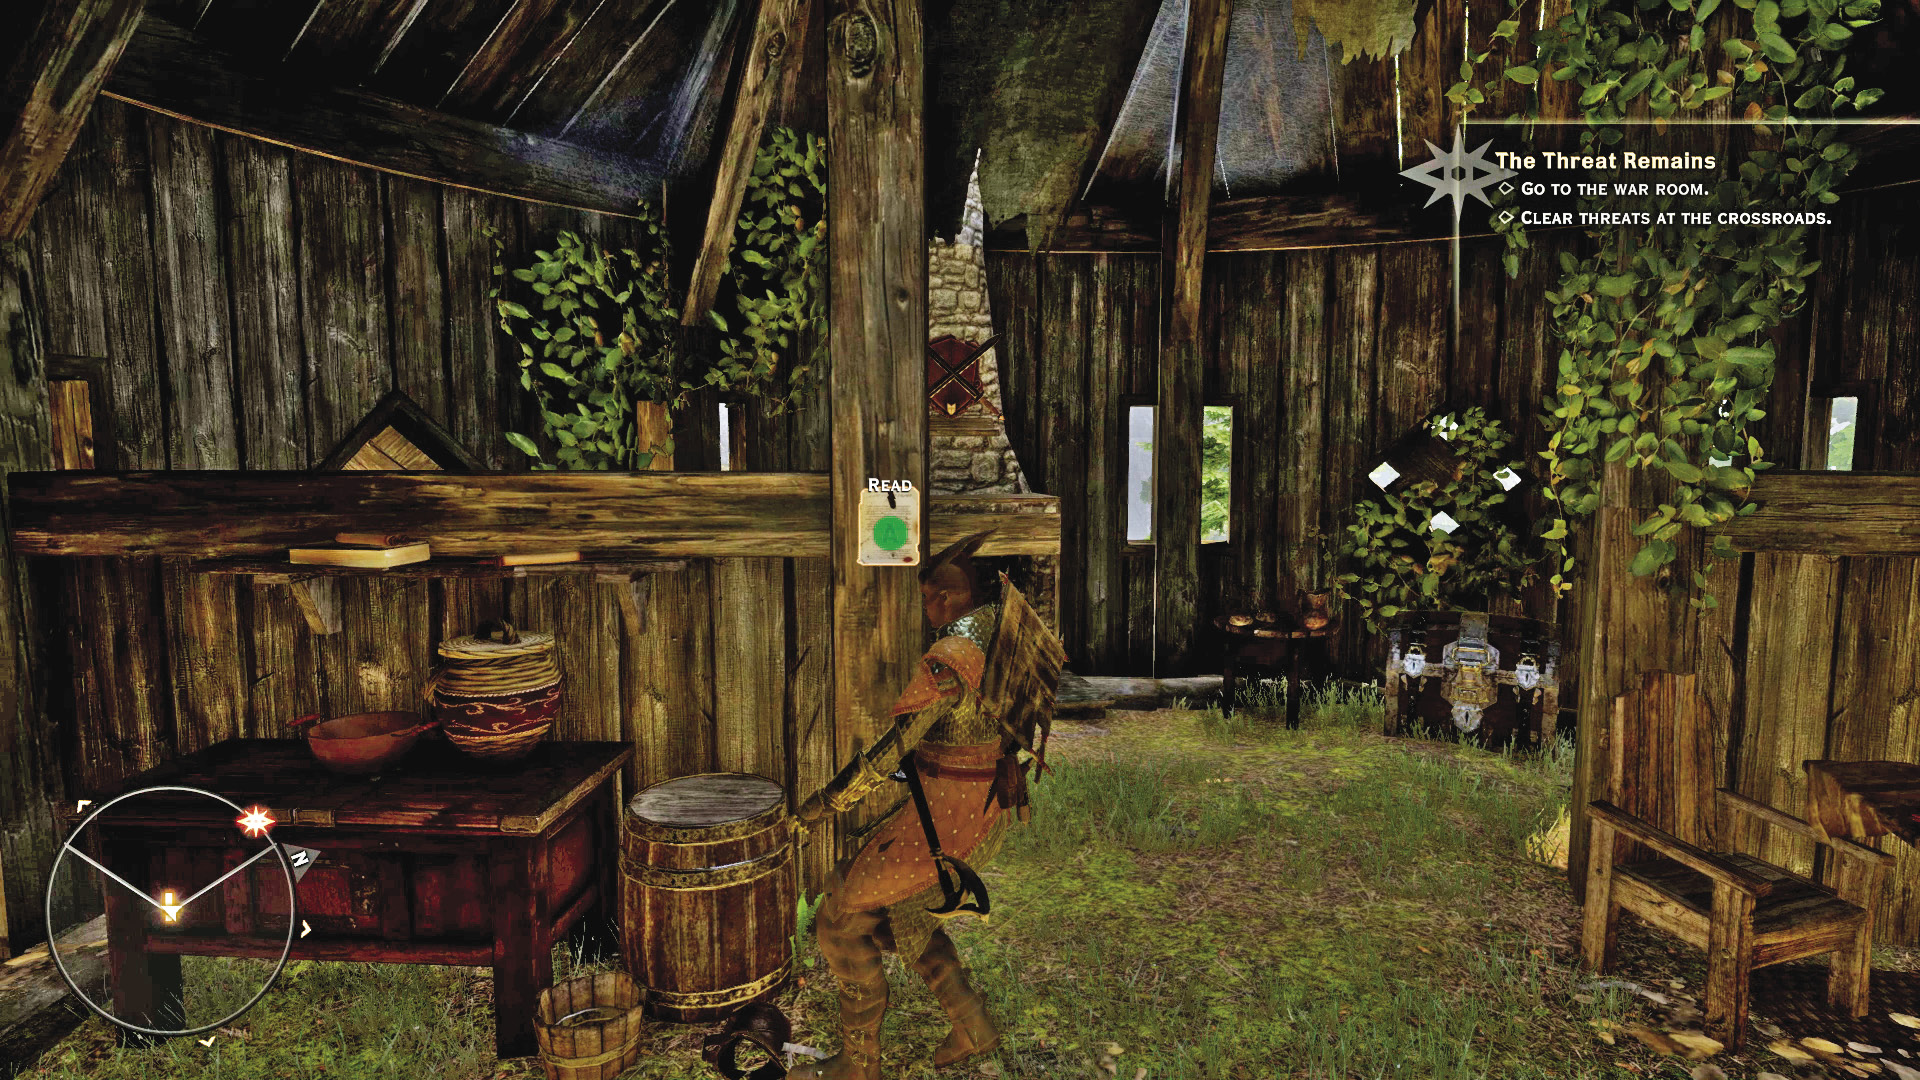
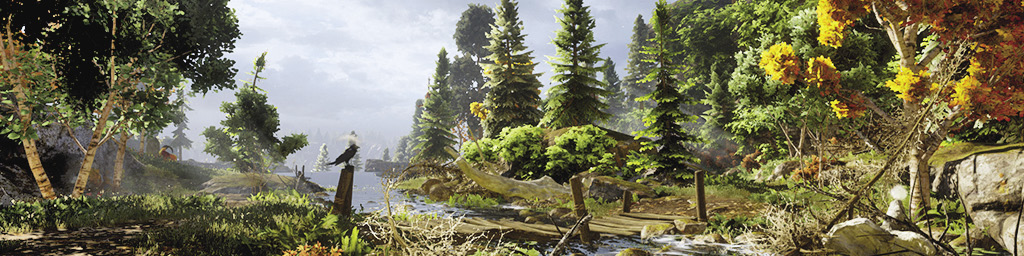
You pass the hut containing the note that starts this quest on your way to the Crossroads from the Outskirts camp, and there’s no harm in starting it up as soon as possible. The note itself describes a bitter fight in the making between two brothers, one an apostate, the other a templar. The templar has challenged his wayward brother to a battle to settle differences, and a waypoint is marked on your quest map. When you arrive, you’ll find a corpse next to a locked hut. Inspect the corpse to recover the templar’s sword and complete the quest.
20: Stone Dreams
Quest Giver: Note found inside an abandoned home north of the Crossroads
Description: A diary has been found, describing a man’s troubling dreams and his plans to find peace in a cave in the hills.
Requirements: Arrive in the Hinterlands for the first time
Reward: 44 XP, 40 Influence
Objectives:
 Search the cave in the hills.
 Kill the apostate.
When you find the disturbed apostate’s cave at the Ash Warrior’s Refuge, he’s hostile and attacks without provocation. Unfortunately for him, he’s alone and up against a party led by the Herald of Andraste. Put the man out of his misery and search the cave for any goods he might have been storing.
21: Love Waits
Quest Giver: Letter on a corpse to the east of Dwarfson’s Pass, near the templars holding a ring for the Agrarian Apostate quest; or, speak with Lord Berand inside the enclave at Dwarfson’s Pass. It is possible to start the quest from either location.
Description: A young noble named Berand joined the cult in the hills. He is worried that his lover, Vellina, has not yet arrived to join him.
Requirements: Available as soon as you arrive in the Hinterlands
Reward: 177 XP, 80 Influence, 1 Power
Objectives:
 Inform Berand of Vellina’s death.
 Alternative: Find Vellina (only appears if you speak with Berand to start the quest).
 Offer Berand guidance (only appears if you inform Berand of Vellina’s death but do not invite him to the Inquisition or send him home).
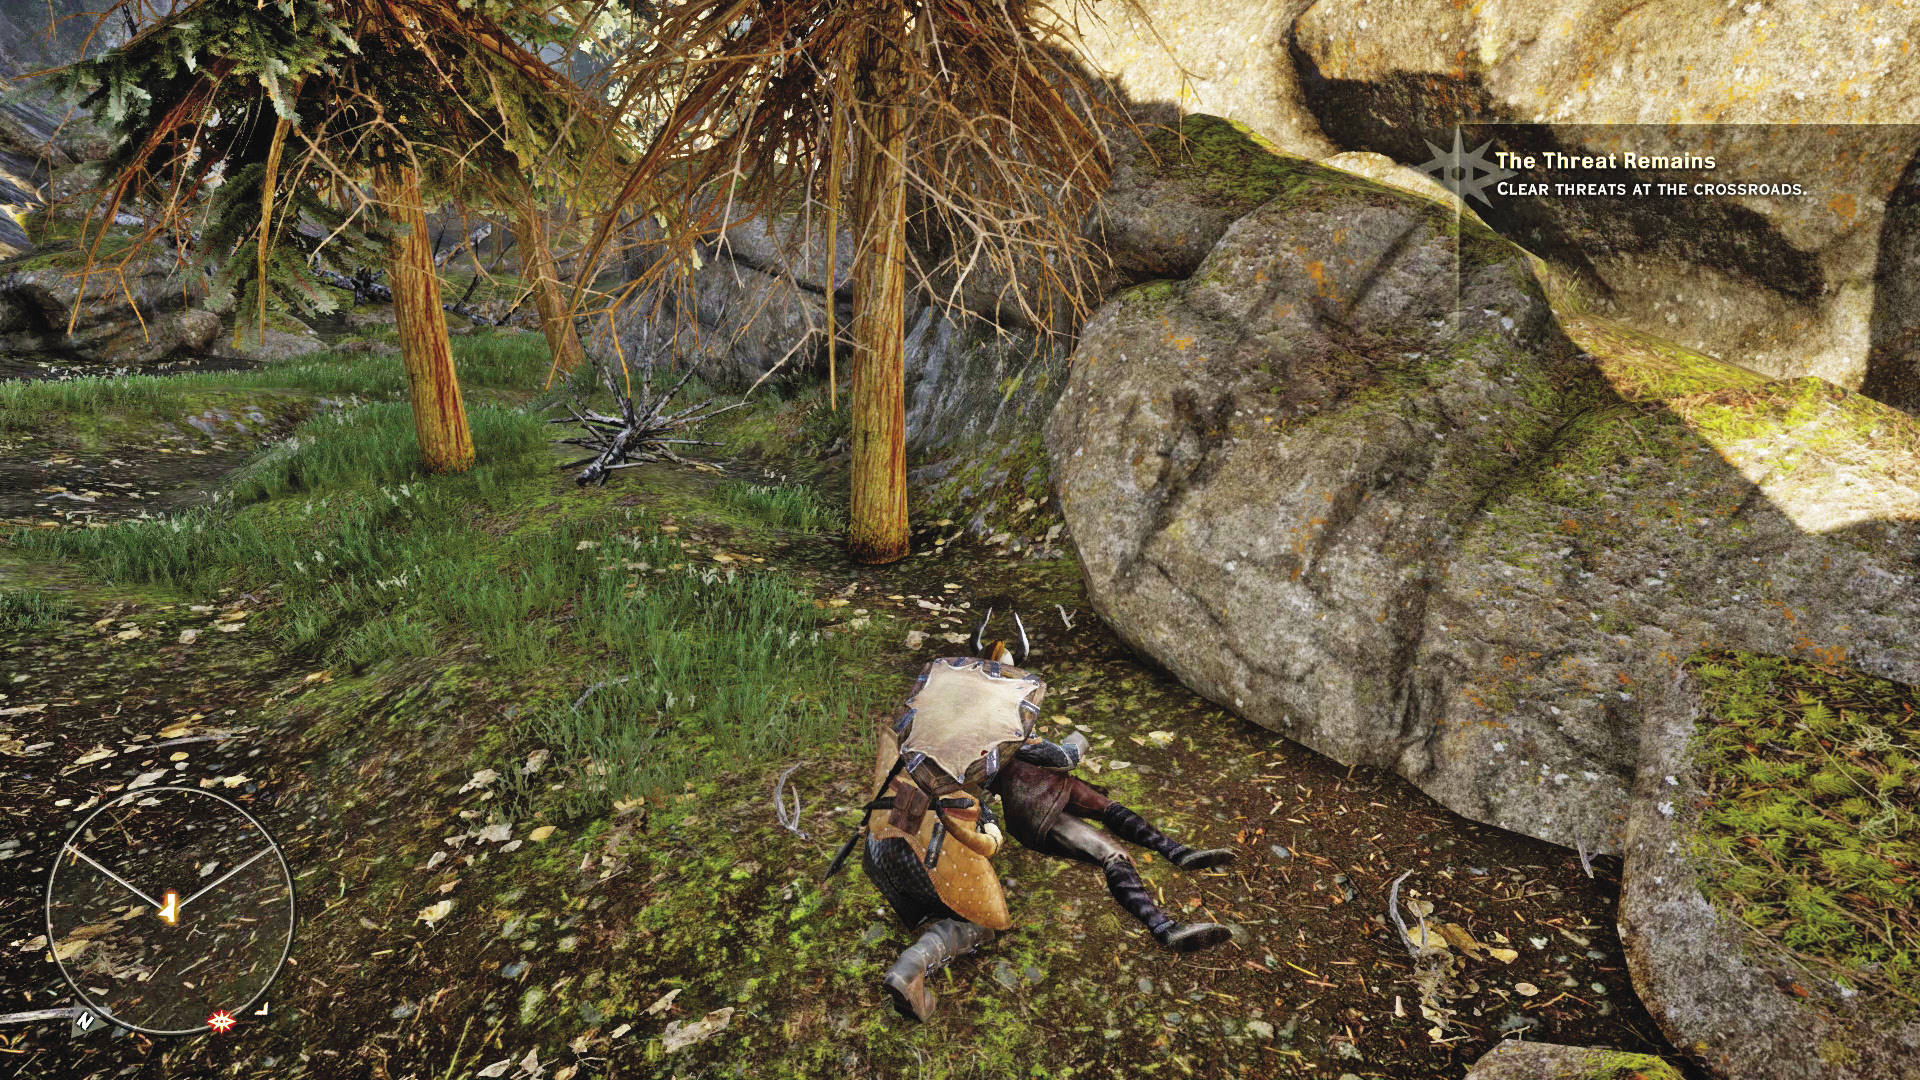
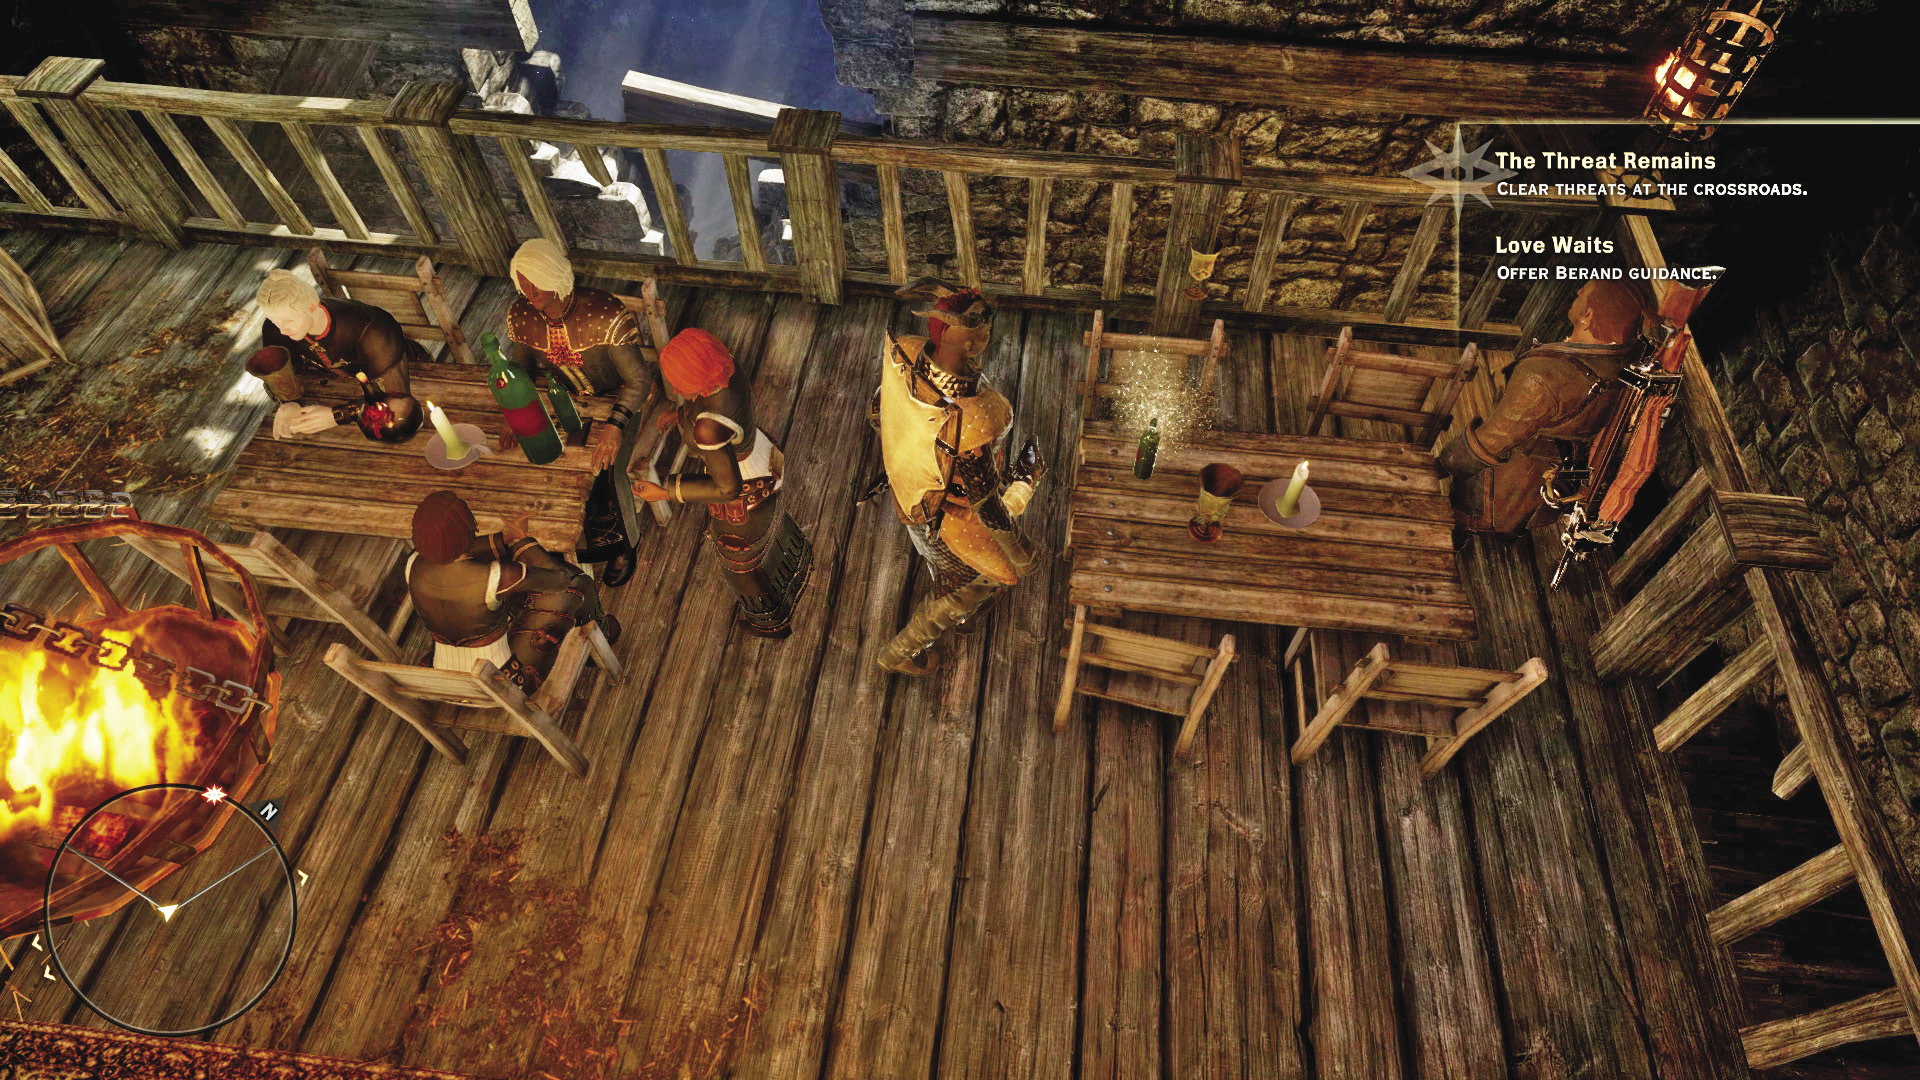
The enclave at the landmark of Lornan’s Exile has several quests that deal with these cultists: Shallow Breaths, Praise the Herald of Andraste, and Love Waits. Should you visit this enclave first, you’ll need to first get past the cultist leader in front of the gates by initiating the Praise the Herald quest. If you explore the dining hall on the right side of the enclave on the way to the Fade rift, you’ll be flagged down by a nervous man on the second floor. He awaits word that his love has safely arrived at the enclave. If you speak with him, you will be given a waypoint on the map showing where to search for his now-dead lover, and you can then pass the news on to him.
It’s faster to get the letter first. You can find the corpse with the note near the templars that must be killed for the Agrarian Apostate side quest. Regardless of how you choose to accomplish this quest, you can then send the man home with a harsh rebuke, or you can invite him into the Inquisition. If you invite him, he will bring a small contingent of troops to further bolster your army, becoming an agent under Cullen’s command and counting as one of his Inquisition perks.
22: Open a Vein
Quest Giver: A note found next to an apostate cache (see In the Elements for more details)
Description: A letter found on a dwarven corpse suggests that a cave in the hills has a valuable vein of lyrium waiting to be mined.
Requirements: Arrive in the Hinterlands for the first time, then locate the note.
Reward: 44 XP, 40 Influence
Objectives:
 Locate the vein of lyrium.
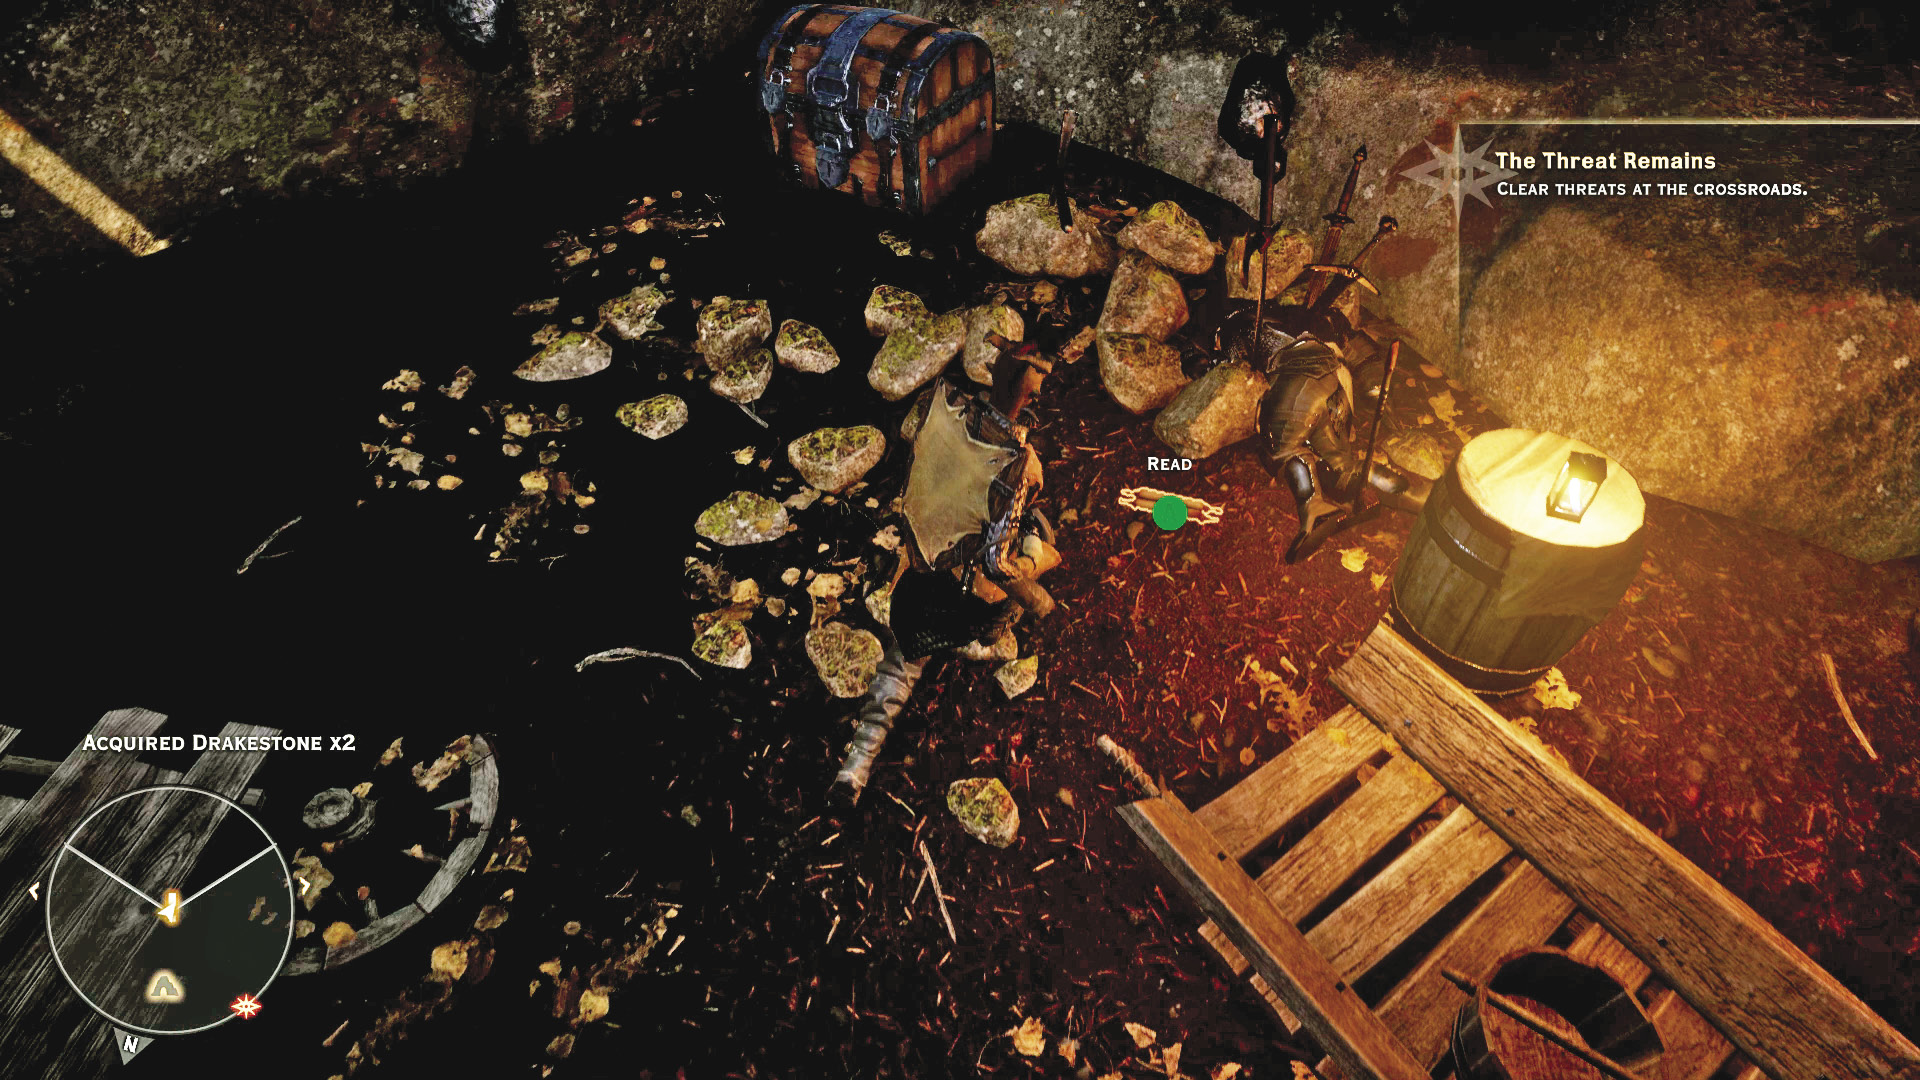
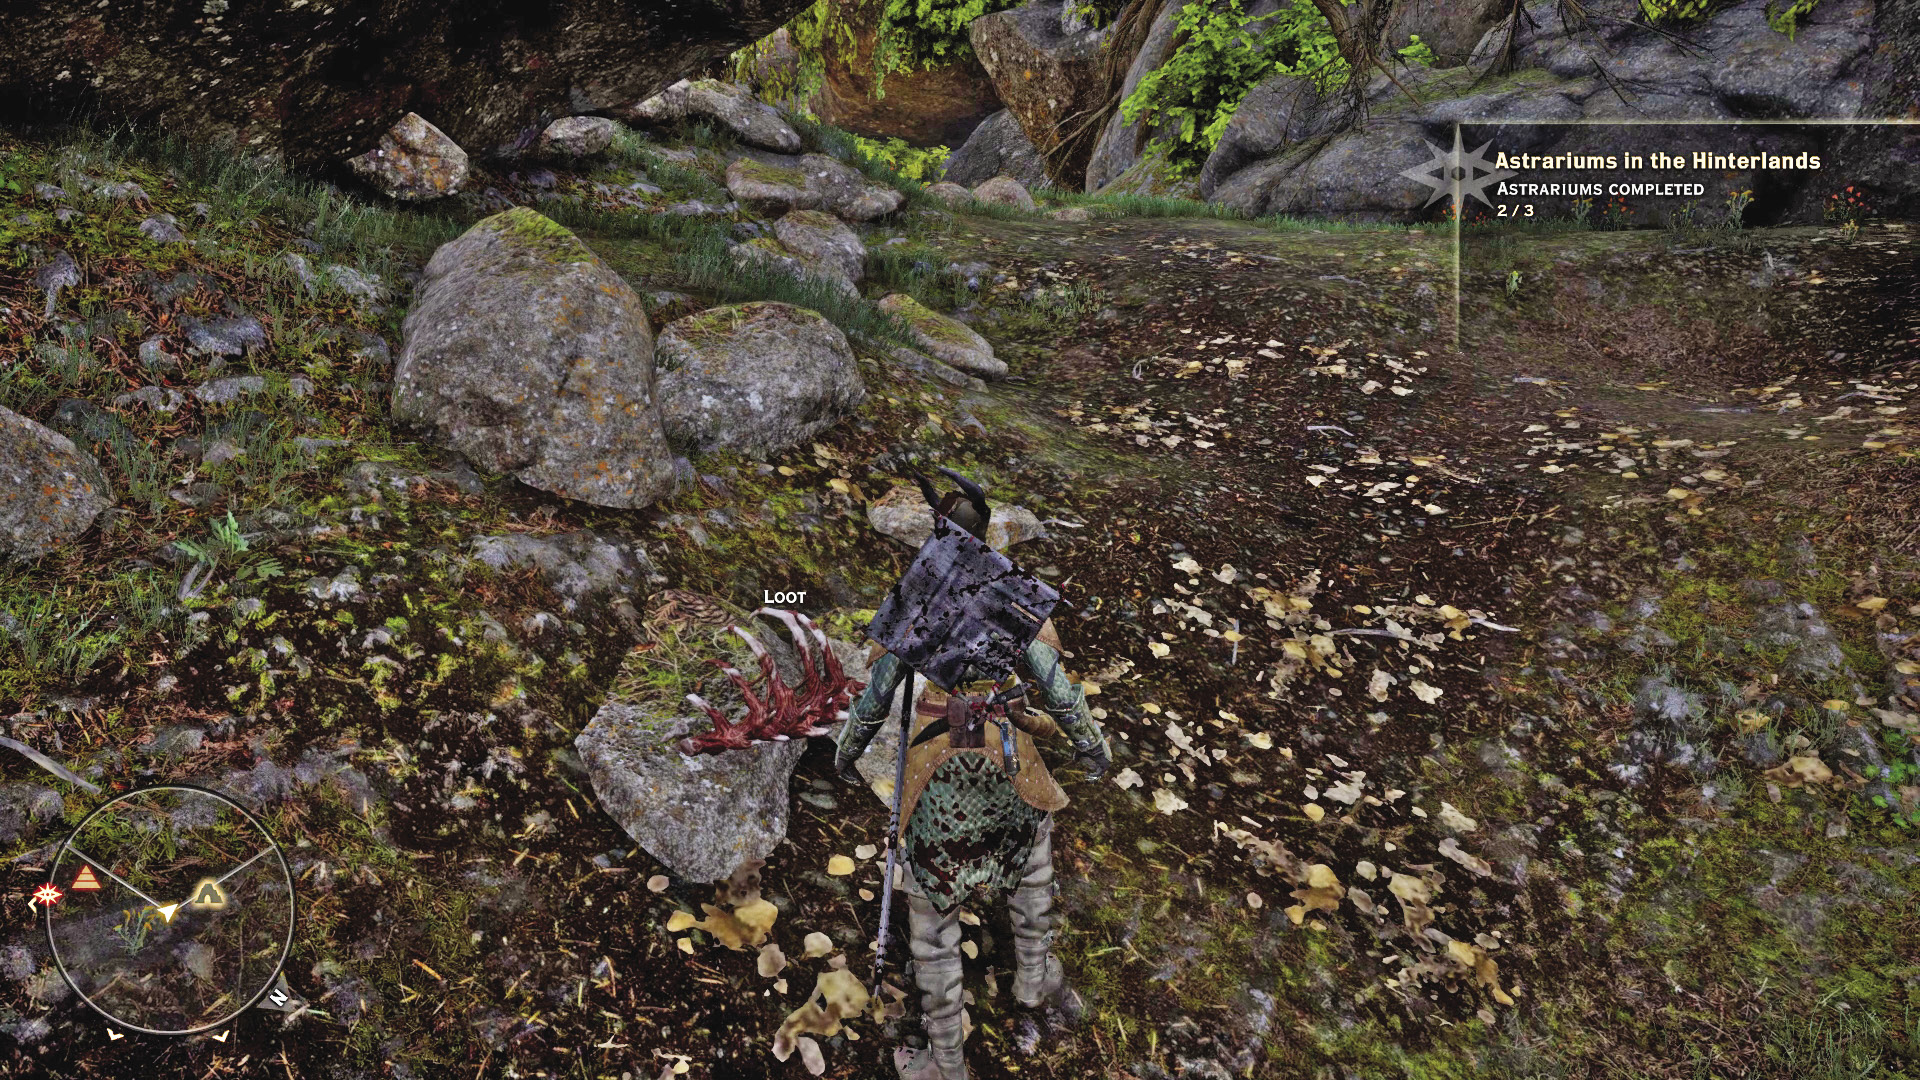
The body containing the letter that starts this quest is found in a cave to the southeast of the starting Outskirts camp. You’ll know you’re headed in the right direction if you find an astrarium along the way. Coincidentally, you find an apostate supply cache that you can claim as part of the In the Elements side quest started in the Crossroads.
After recovering the letter, you’ll be provided a waypoint deeper south in the Hinterlands, where the lyrium vein waits inside a cave protected by a nearby apostate camp. Bring a mage armed with a fire-damage staff to make busting through the ice barrier blocking the mine entrance that much easier. If you don’t have one handy, check the nearby chests to locate one.
23: My Lover’s Phylactery

Quest Giver: A fallen templar in the Winterwatch Tower region.
Description: A phylactery found on a dead templar belongs to his mage lover, Ellendra. The phylactery could point other templars to Ellendra, and she may welcome its safe return, along with news of her lover.
Requirements: Available as soon as you enter the Hinterlands
Reward: 44 XP, 40 Influence
Objectives:
 Return the phylactery to Ellendra.
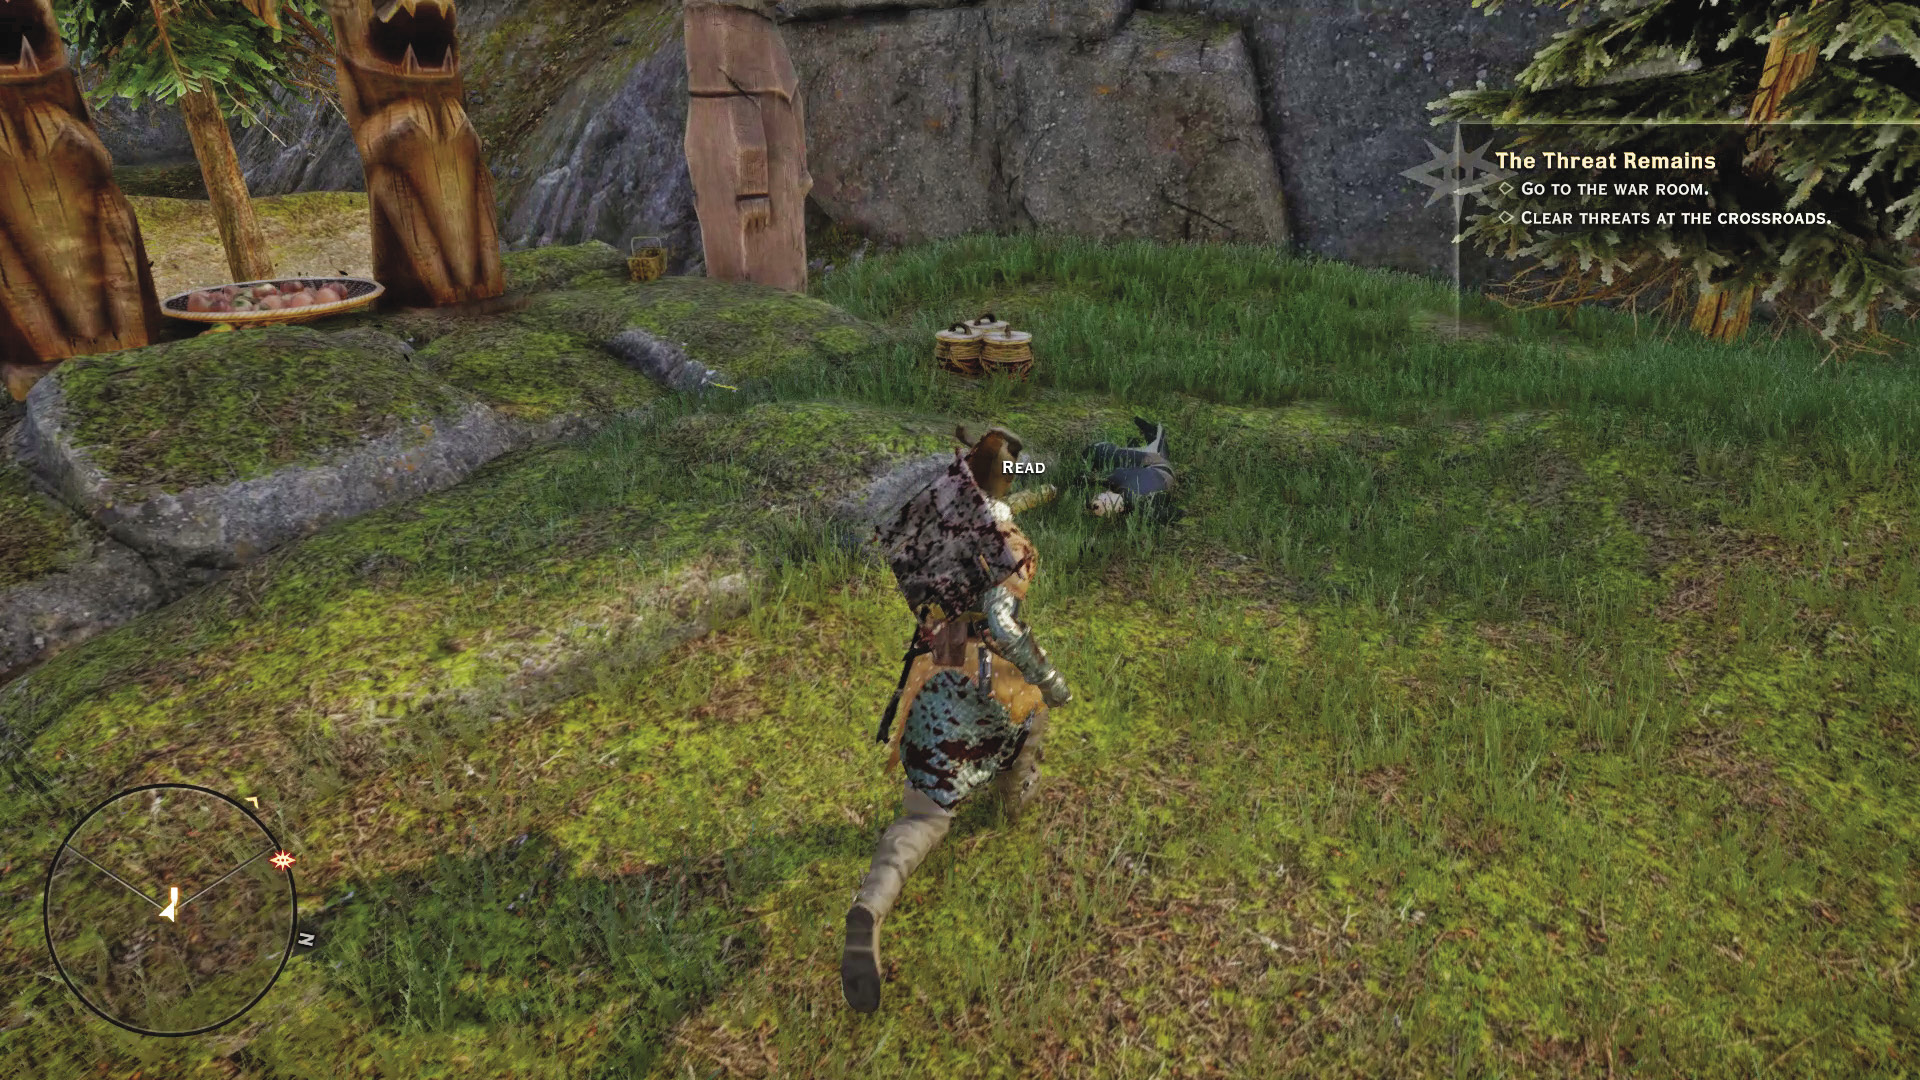
After recovering the phylactery, you can fast travel back to the Crossroads to find Ellendra in the northern part of the settlement, hiding in a cave well away from other civilians. Your conversation with Ellendra is short and to the point, though she’s clearly upset by the fate of her lover despite her freedom from the templars. You can offer her a place in the Inquisition, but only Cassandra can truly convince Ellendra that it is better than the fools among the templars and mages who began this war.
24: Agrarian Apostate
Quest Giver: Widow Maura, or the ring on a templar you kill
Description: Templars killed an elven farmer, suspecting he was an apostate, and took his wedding ring as a prize. The farmer’s widow wants them killed and the ring returned.
Requirements: Available as soon as you enter the Hinterlands
Reward: 44 XP, 40 Influence
Objectives:
 Recover the farmer’s ring from the templars.
 Return the ring to the elven widow.
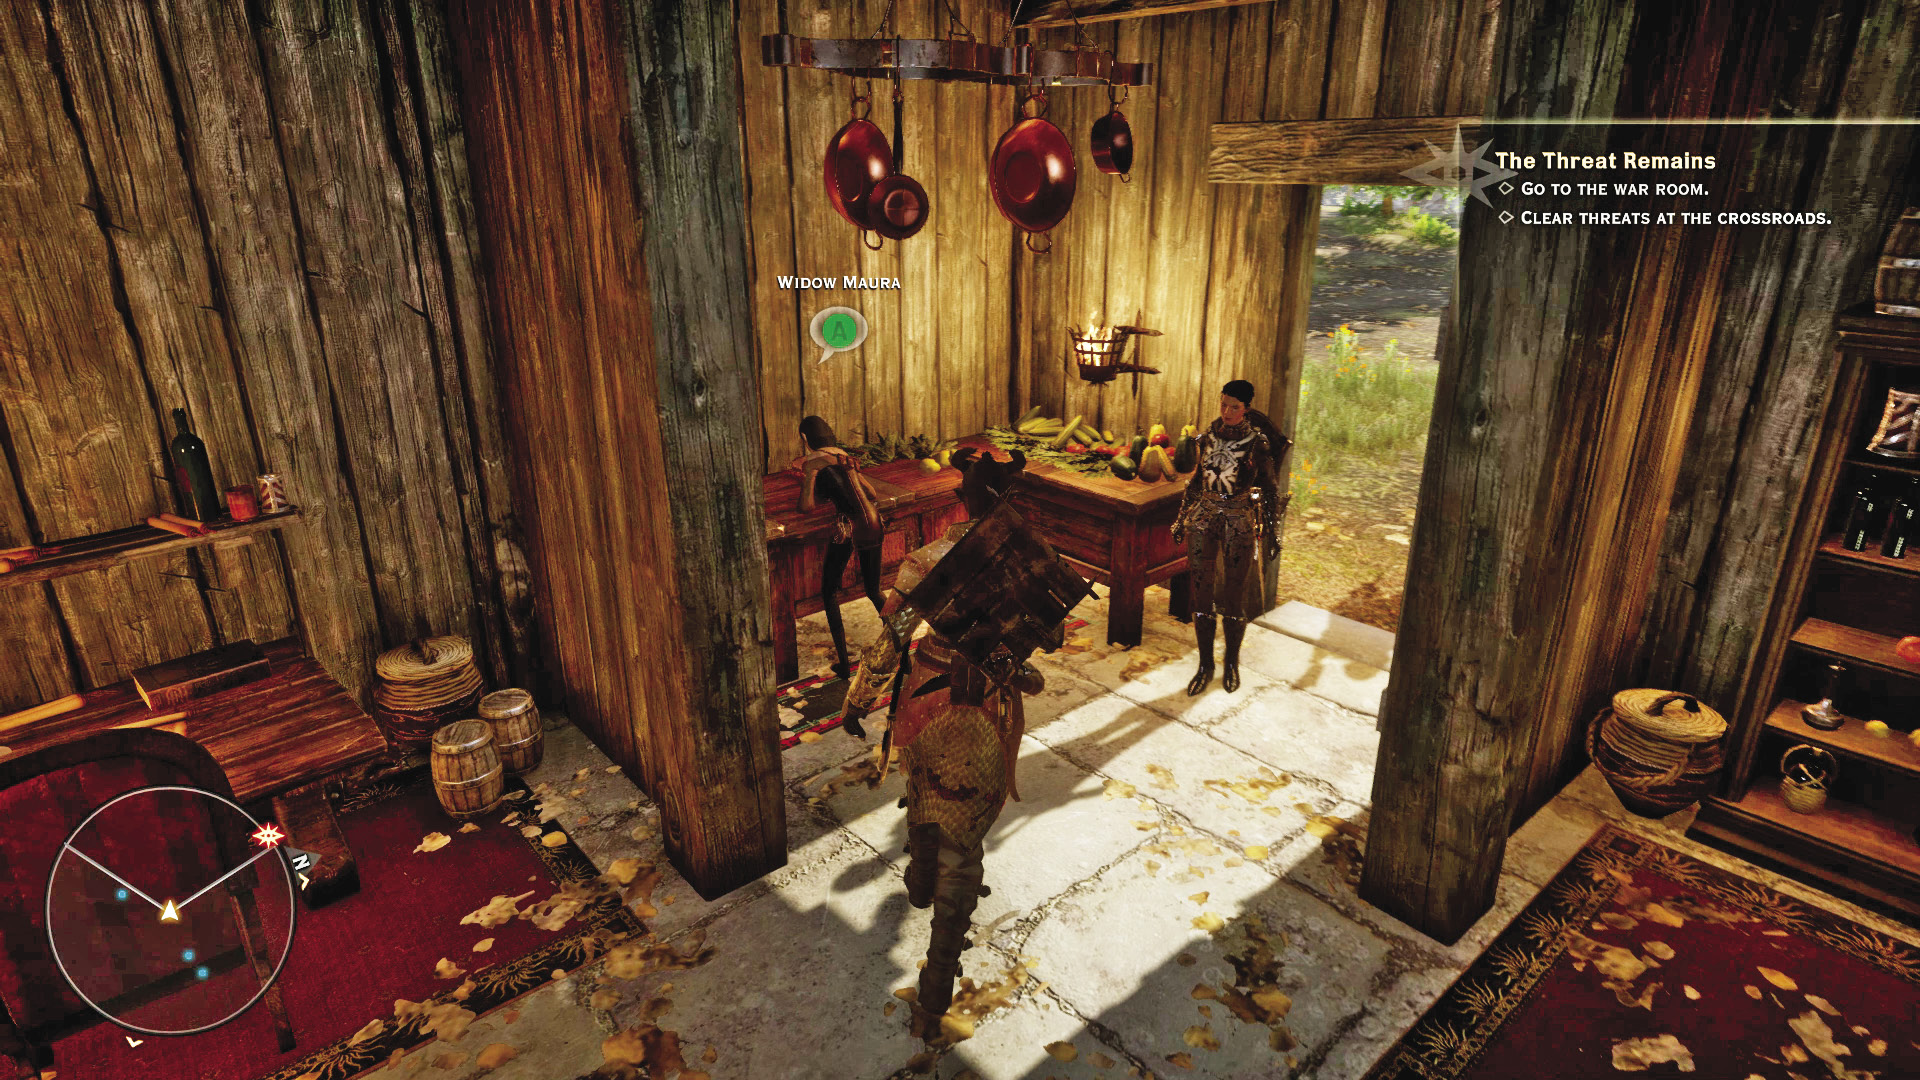
This quest can be started into two ways. One would be to visit the widow’s humble home in the southern part of the hinterlands, to the southwest of the starting Inquisition camp. The other way would be to kill the templars holding her husband’s ring and loot it from their corpses. The offending templars are to the east of Dwarfson’s Pass and are not a particularly dangerous pair to handle with your party. Regardless of how you start the quest, your primary goal is to return the ring to the widow.
25: Conscientious Objector

Quest Giver: Dead corpse in the southeast of the Hinterlands
Description: A cabin in Witchwood is locked.
Requirements: Available as soon as you arrive in the Hinterlands
Reward: 44 XP, 40 Influence
Objectives:
 Find a key to the cabin.
 Go to the cabin in the highlands.
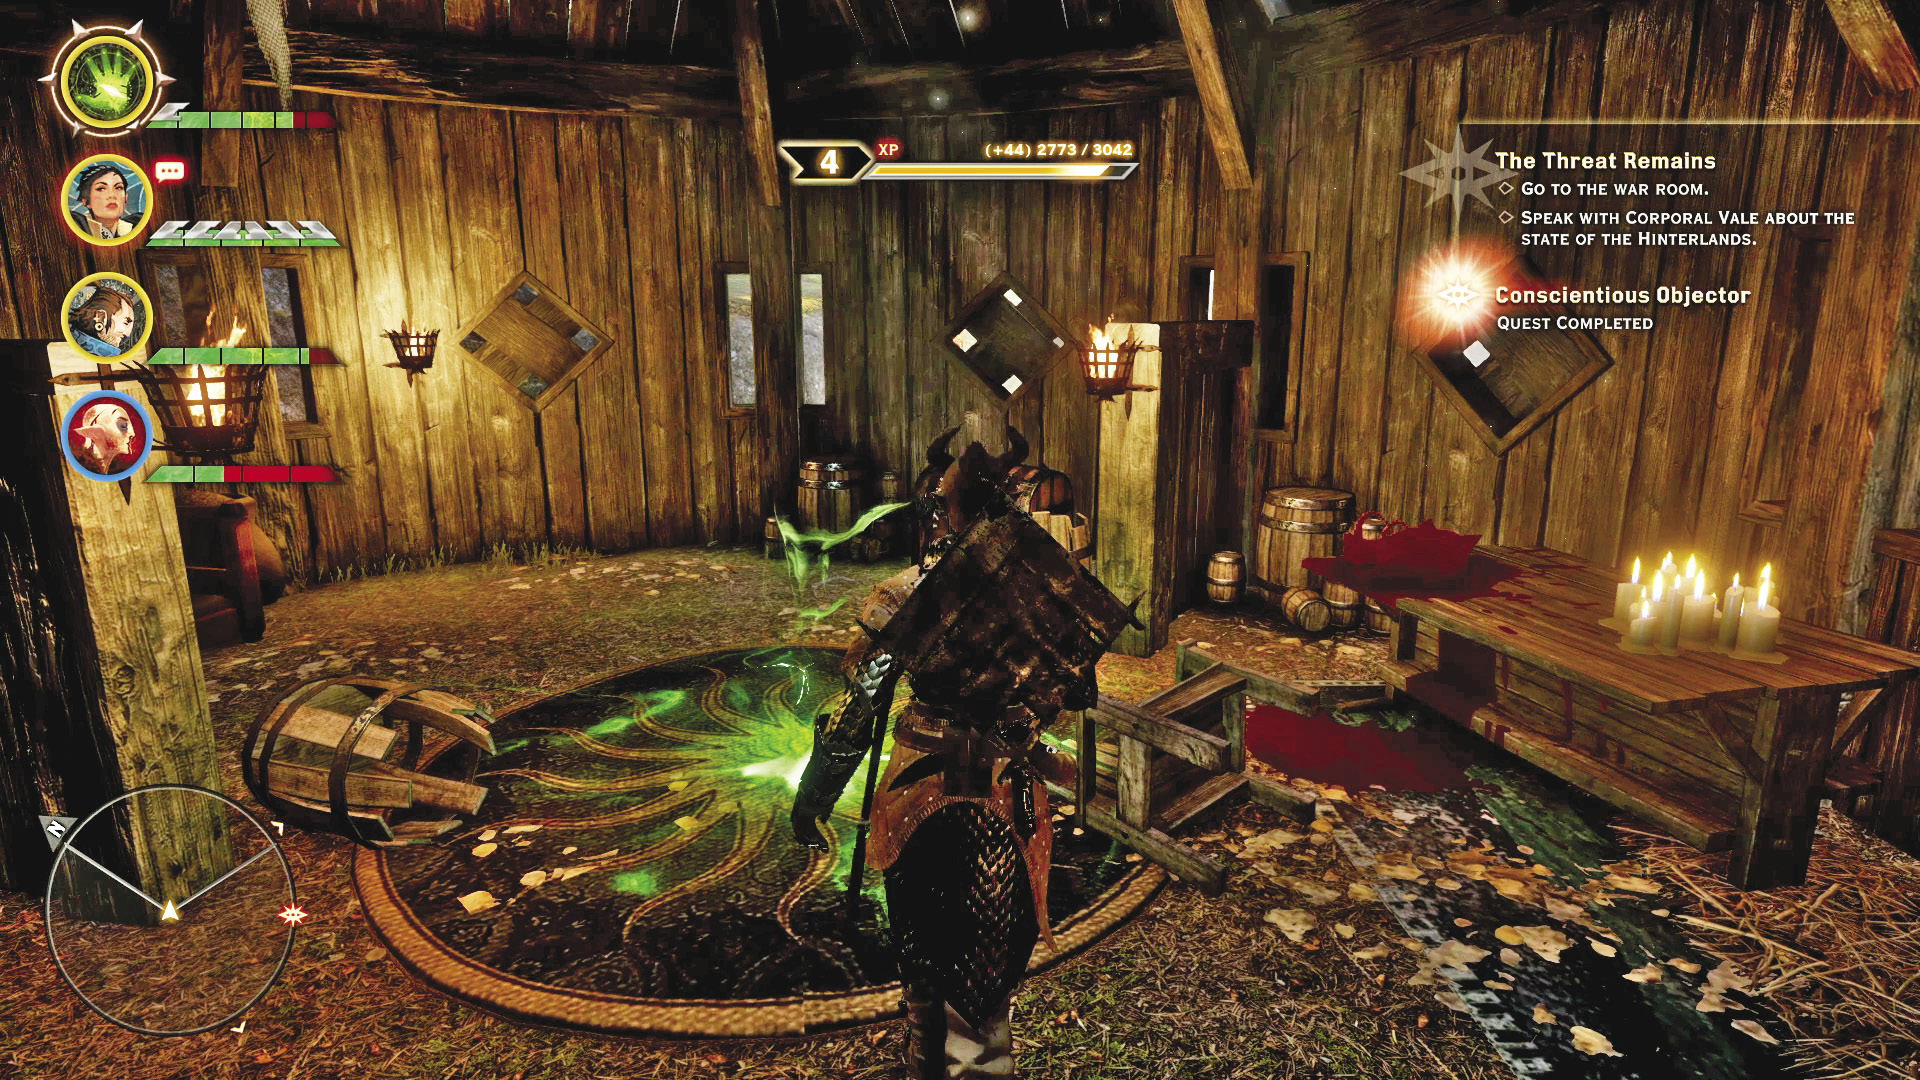
You will find a cabin key on a corpse next to the landmark that grants you the fourth stanza of the Saga of Tyrdda Bright-Ax, Avvar-Mother. The corpse also contains a letter that explains that this dead apostate was originally a proper circle mage, but he wished no part in the current schism. He wanted to retreat to an old cabin northwest of the Crossroads. The cabin’s rough location will be marked on your quest map, and you can travel to the Witchwood to unlock it.
Alternatively, you can discover the locked cabin first. You’re given a large search location in the southeast of the Hinterlands. Fast travel to the Dwarfson’s Pass camp to get closer to your objective.
However you manage to start this quest, you can enter the cabin with the key. Once you enter, a terror demon attacks the party. Put it down, then loot the chest inside for some extra supplies and equipment.
26: Strange Bedfellows
Quest Giver: Inquisition scout, just north of White Pass camp
Description: A scout on duty is worried something’s happened to a fellow scout named Ritts, who was tasked with investigating apostates in the area.
Requirements: Available just after arriving in the Hinterlands
Reward: 177 XP, 80 Influence, 1 Power
Objectives:
 Search for the missing Inquisition scout.
 Update the worried scout on the status of Ritts.
If you’re following the main road south, toward the White Pass Camp, you will encounter a worried Inquisition scout. He sent Scout Ritts farther south to investigate apostates in the area, and her general location will be marked on your map.
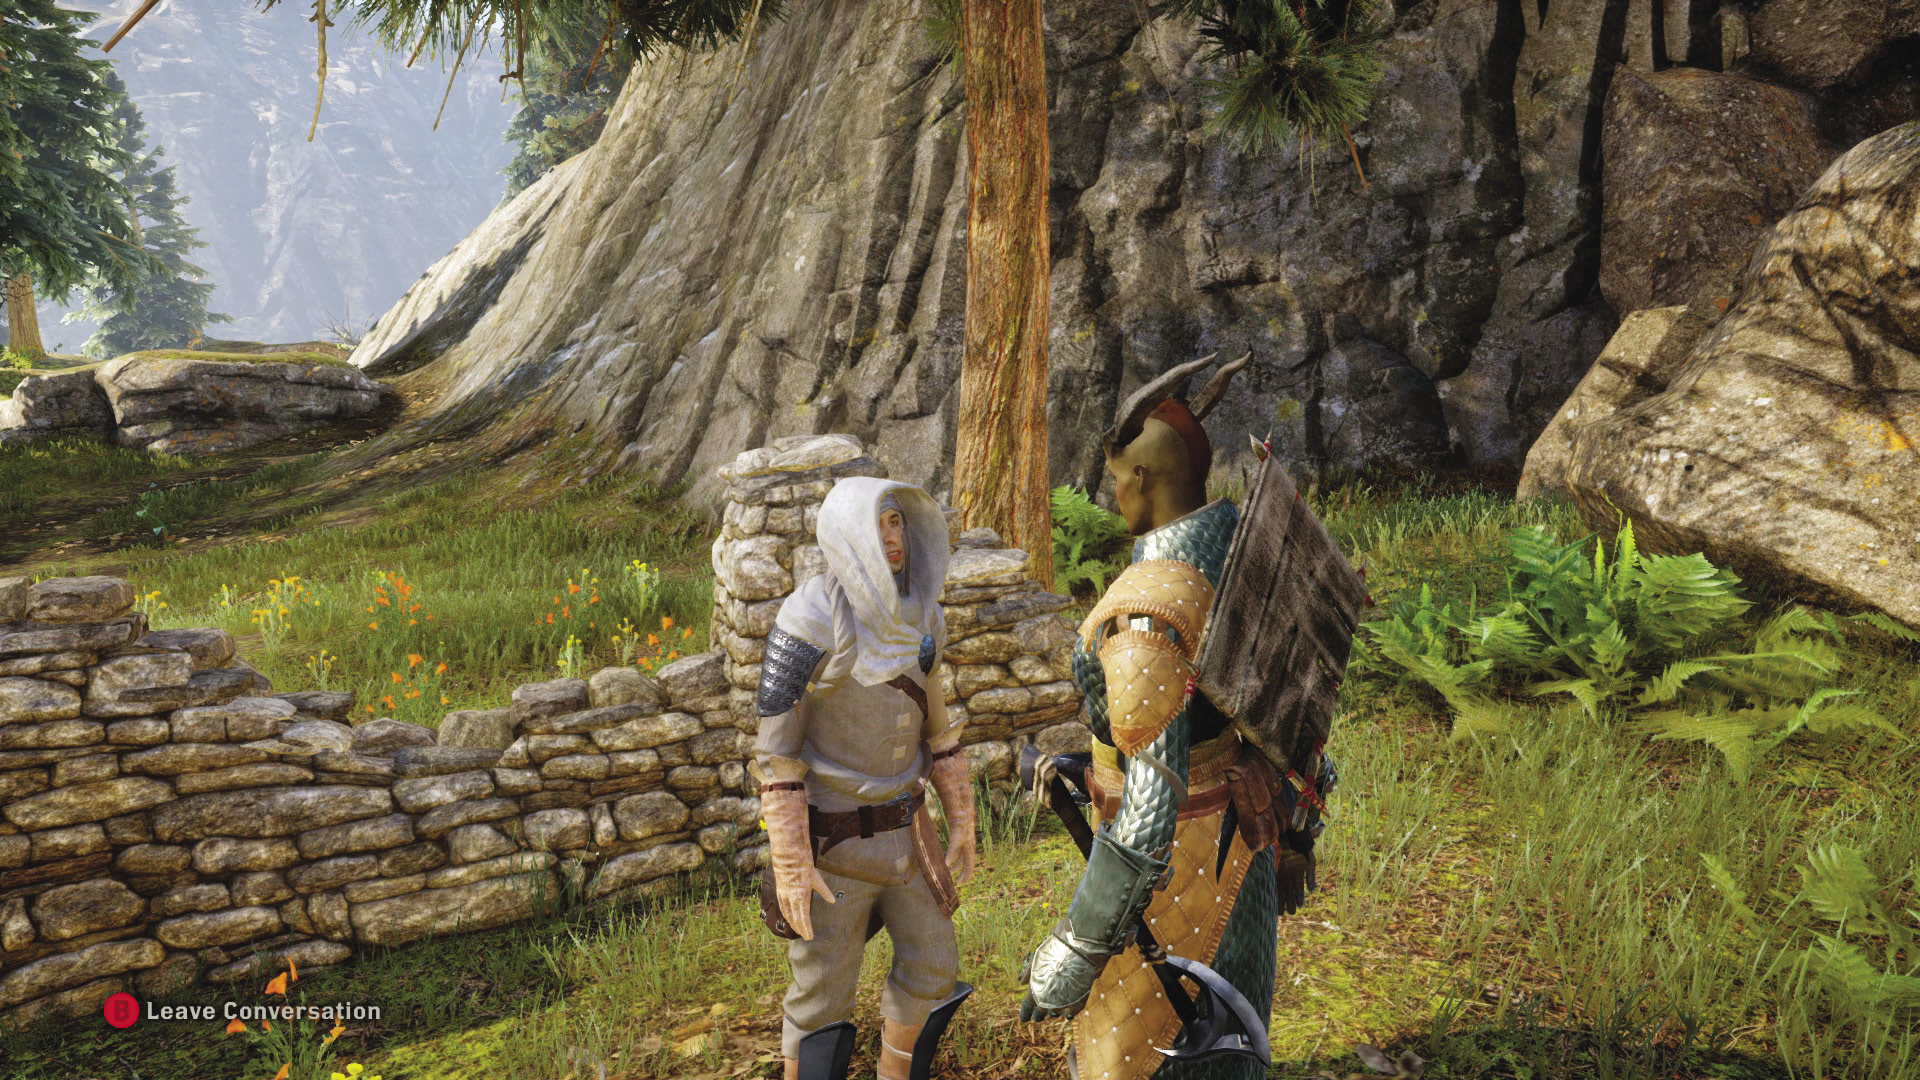
Ritts is at the top of a hill, under attack by some angry templars. She’s a tough scout, more than able to hold her own against the enemy as you close in to assist, and the added bonus is that because the enemy is completely ignorant to your presence, you can score some hits before they turn their attention to your party. Rogues and mages can shut down at least one threat very quickly in situations like this. Work fast to save Ritts: The templars can kill her.
After saving Ritts, you can investigate the area near her using your Search ability. This points you to the corpse of a mage lying atop a picnic spread. Further investigation of the dead woman prompts Ritts to reveal the sordid truth of why she was attacked. Depending on your responses, you can either support Ritts’s actions or viciously condemn them. If Varric is with you, you can also defer to him to provide advice on what Ritts should do next. Afterward, return to her friend to the north to deliver word of her condition. However, if Ritts is dead, all you can do is report the bad news to her scout friend, and you can’t turn her into an agent.
27: A Spirit in the Lake
Quest Giver: Storyteller near the fast travel stone in Redcliffe
Description: A storyteller mentioned a spirit in a nearby lake. If offered a blood lotus, the spirit apparently gives a favor in return.
Requirements: Gain access to Redcliffe Village during In Hushed Whispers.
Reward: 44 XP, 40 Influence warlord greatsword
Objectives:
 Take a blood lotus to the lake.
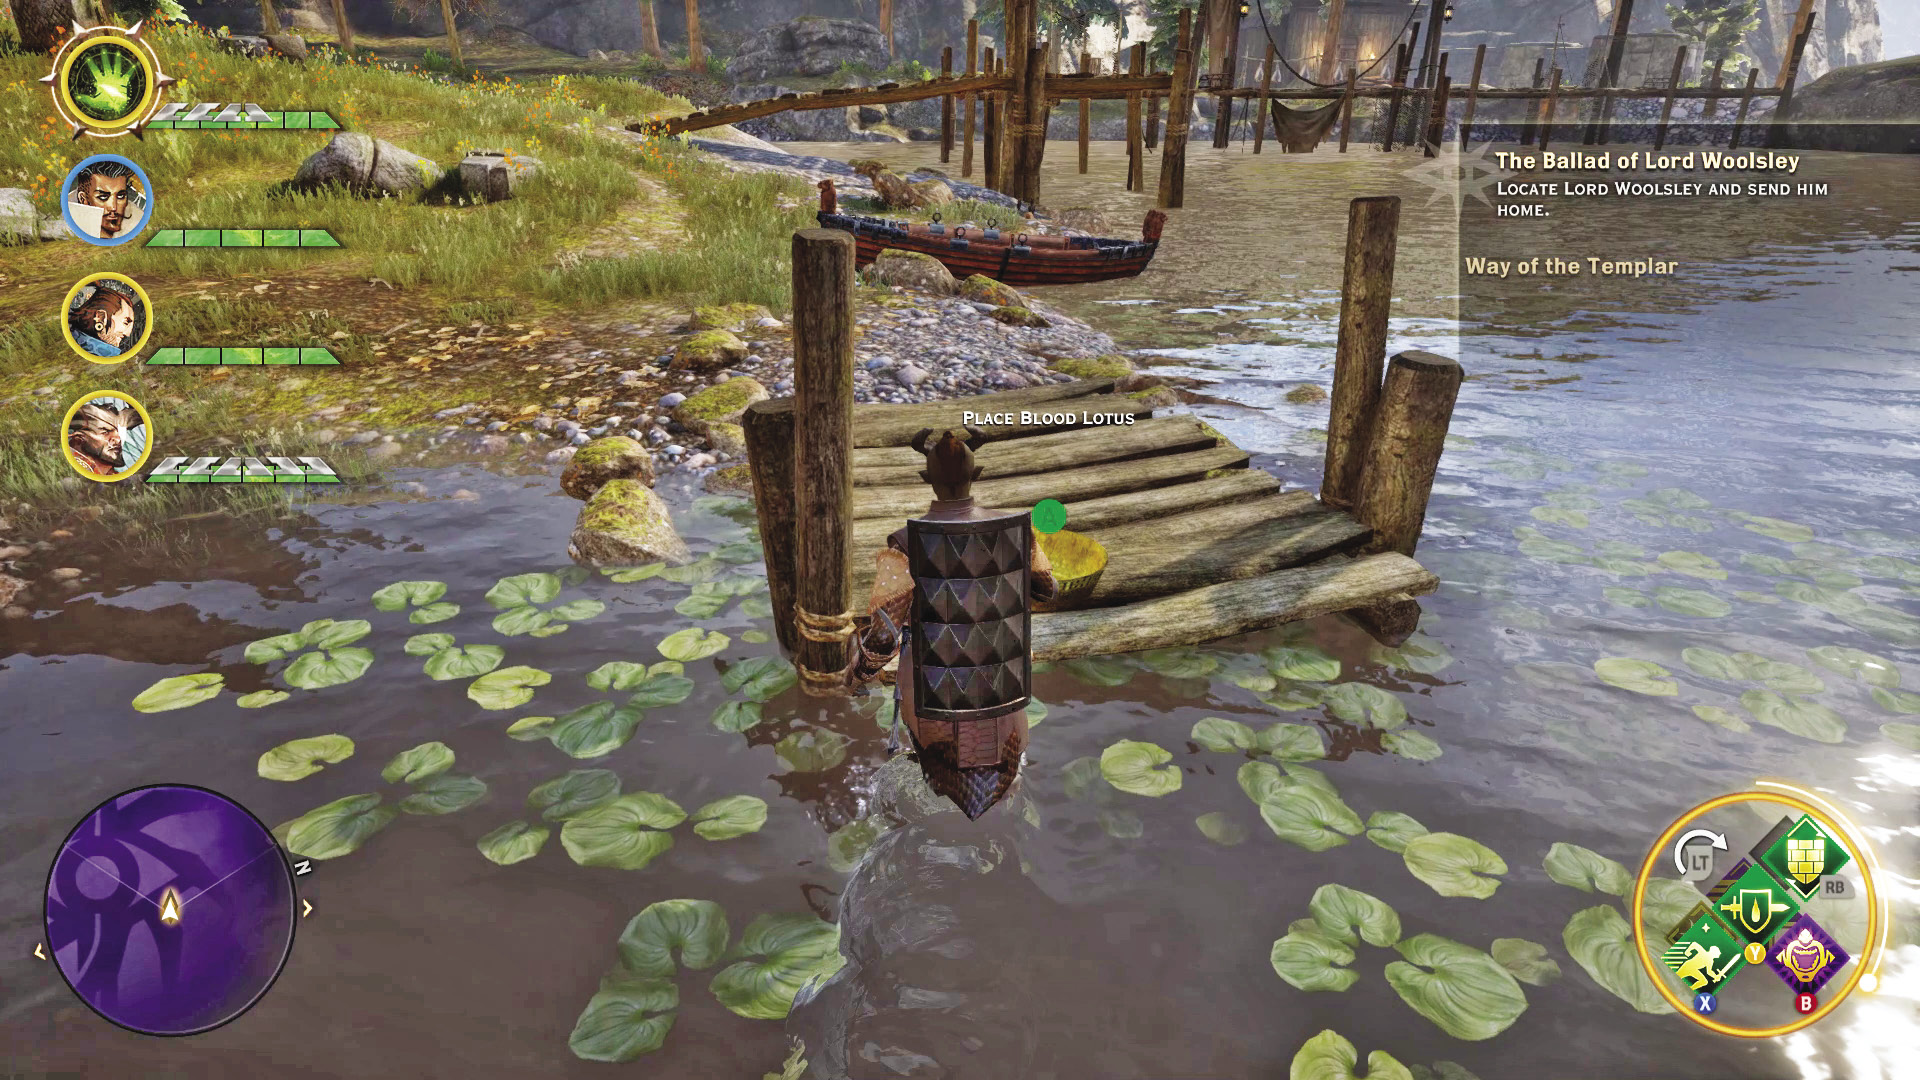
A storyteller in Redcliffe village relays a tale regarding a spirit inhabiting a lake that is not sated by daisies brought to it by village girls, but by blood lotus. Take one to Lake Luthias, just south of the Upper Lake camp. Blood lotuses are more common in the Fallow Mire, but you can occasionally find some in item caches hidden throughout Redcliffe.
Placing a blood lotus in the offering bowl on one of the lake docks causes a sword to rise up from the waters, completing the quest and earning you a new weapon for warriors.
28: Safeguards Against Looters
Quest Giver: A letter on a farmer’s corpse in the Redcliffe Farms region
Description: A man named Hessle fled the fighting to a cave in the northern hills with a secret project in tow.
Requirements: Available as soon as you enter the Hinterlands
Reward: 128 XP, 80 Influence
Objectives:
 Search the northern hills.
Inside Wolf Hollow, one of Redcliffe’s farmers managed to hide a container full of goods. Perhaps they believed the wolves would dissuade any looters. After clearing the cave of the wolf threat, take your time picking through the area, “recovering” the farmer’s goods in the process.
29: Letter from a Lover
Quest Giver: A letter found in an abandoned campsite in Dead Ram Gorge
Description: You found a letter at an abandoned campsite. It instructs a young man to bring felandaris to a tree where a stone lady stands.
Requirements: Available as soon as you enter the Hinterlands
Reward: 44 XP, 40 Influence
Objectives:
 Bring felandaris to the tree on the hill.
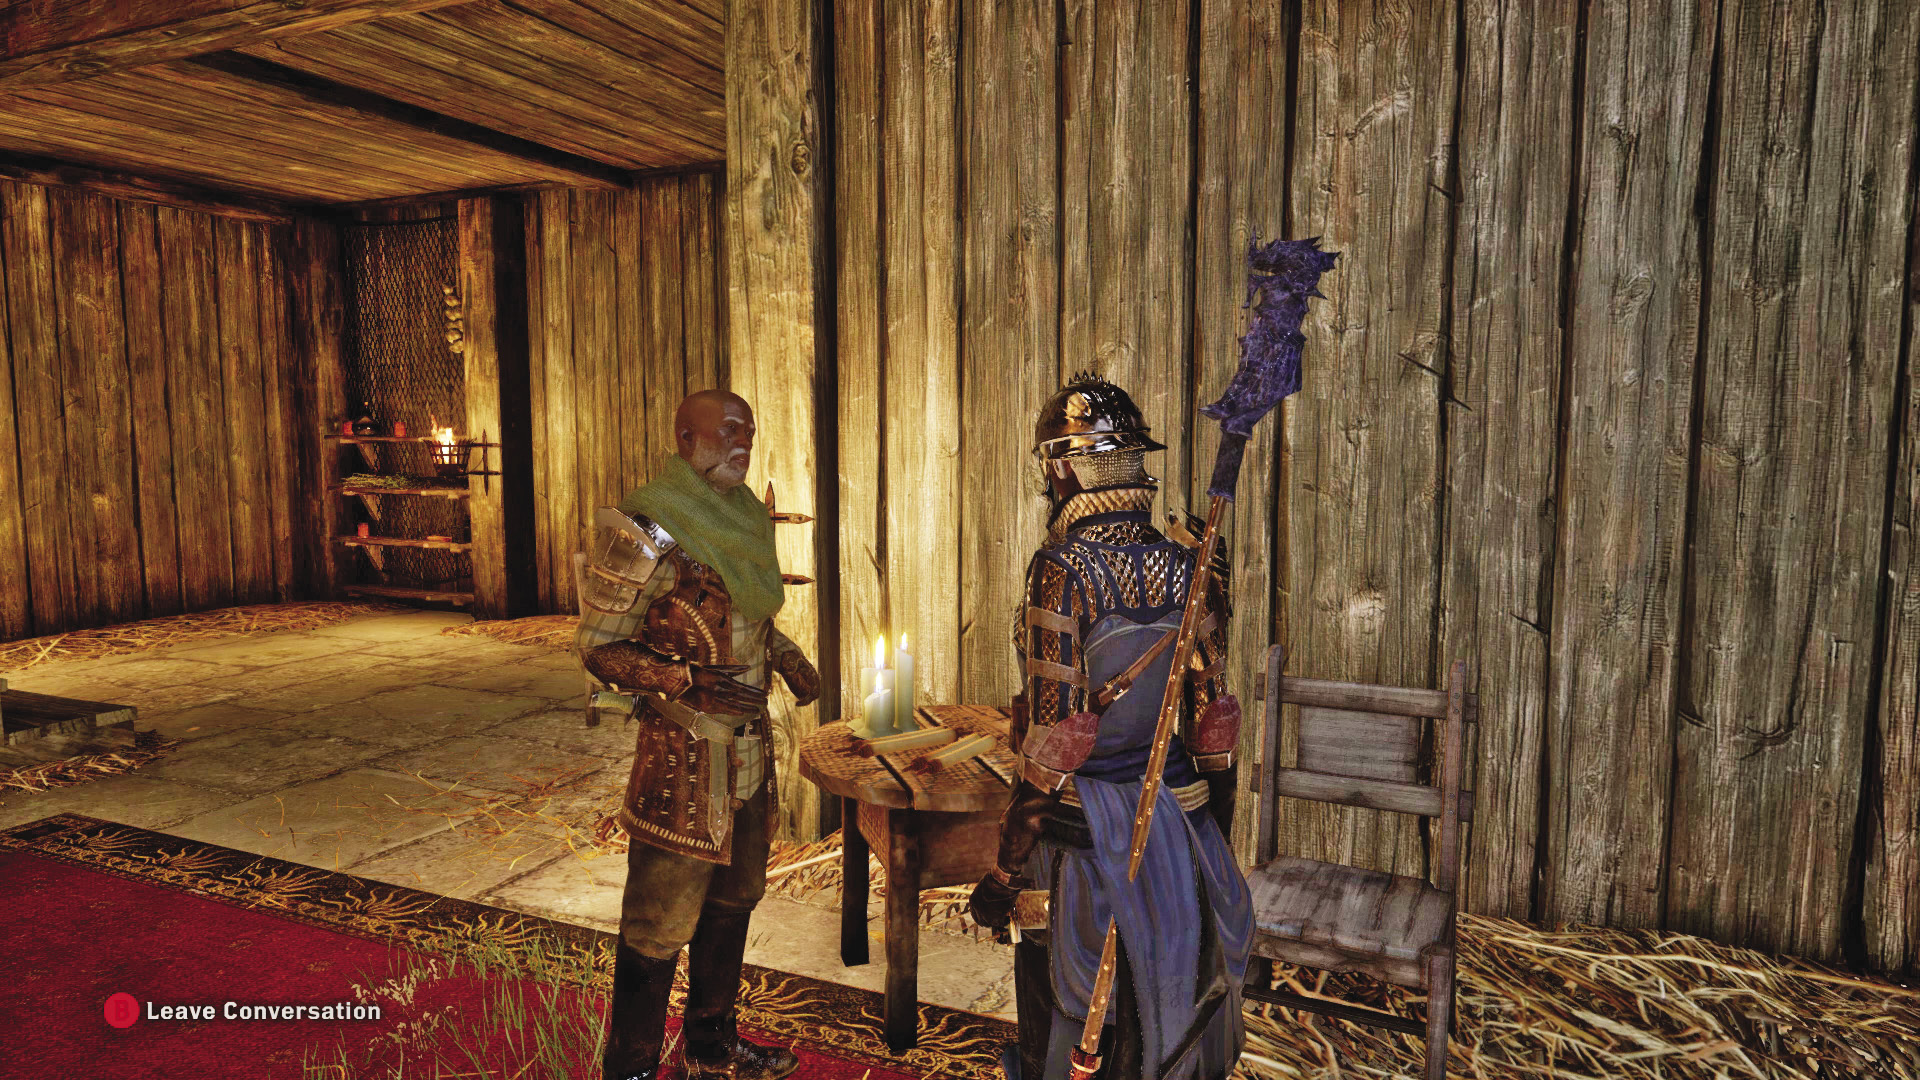
Felandaris is a rare plant, not native to the Hinterlands. You may be able to find some in a loot stash somewhere in this locale. If you’re not lucky, you may have to wait awhile to complete this quest; felandaris is most common in Emprise du Lion, which will not be accessible until near the end of the game.
Once you have the herb, go to the hill marked on your quest map and place the herbs on the altar. However, although the quest is complete, you still have to contend with an angry wraith that appears as soon as you set the herbs down.
30: Failure to Deliver
Quest Giver: Note lying next to a corpse and overturned cart
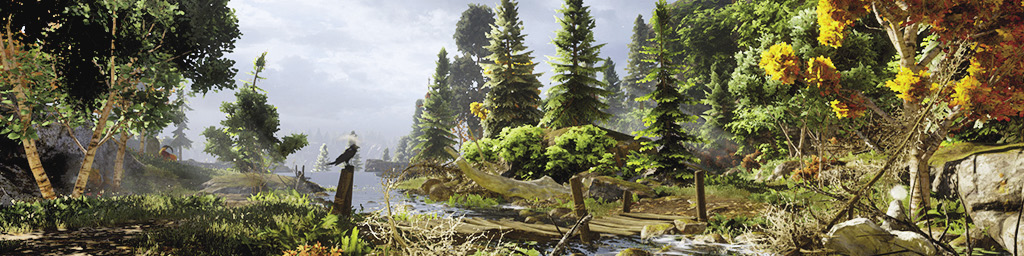
Description: A letter found on a dwarven corpse speaks of a package lost somewhere near the river north of the farms.
Requirements: Available after securing the Crossroads
Reward: Carta coat, 44 XP, 40 Influence
Objectives:
 Search the river for the package.
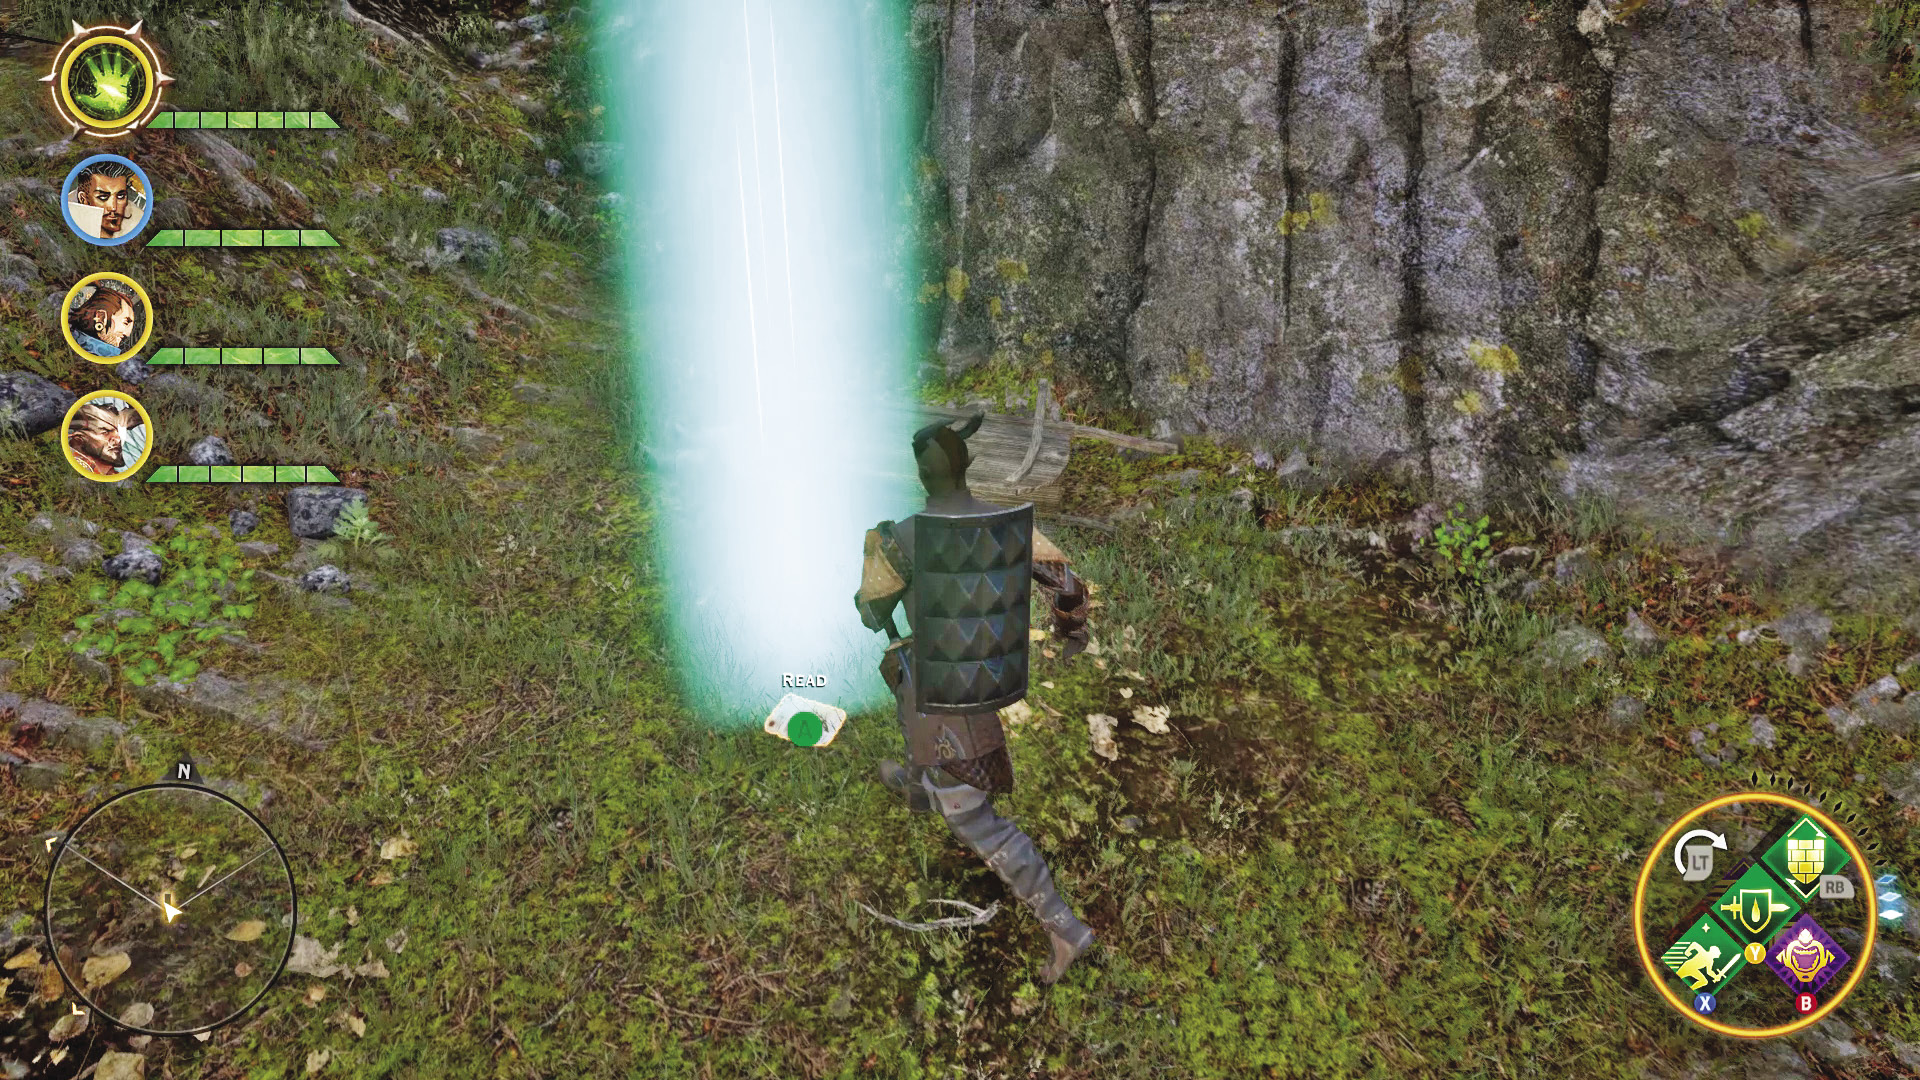
This is as simple as a quest can get! After you retrieve the note, a waypoint is provided on your quest map. You can easily find the package if you travel to the waypoint and begin using your Search ability. If you’re close enough to the package, you’ll be shown the direction it is relative to you. The package itself is a crate bundled in canvas lying on the shore next to the river. Search it to be able to loot the Carta coat and the gold found inside. The coat is limited to dwarf rogues, which makes it a great fit for Varric if you’re not also playing a dwarf rogue yourself.
31: Business Arrangements
Quest Giver: A note on a dead body north of the Crossroads, next to Old Fennick’s place
Description: A letter found on a templar corpse suggests that someone named Tanner is secretly doing business with templars.
Requirements: Available as soon as you enter the Hinterlands. You cannot access Redcliffe village until after In Hushed Whispers.
Reward: 44 XP, 40 Influence, 0 Power
Objectives:
 Confront Tanner in Redcliffe village.
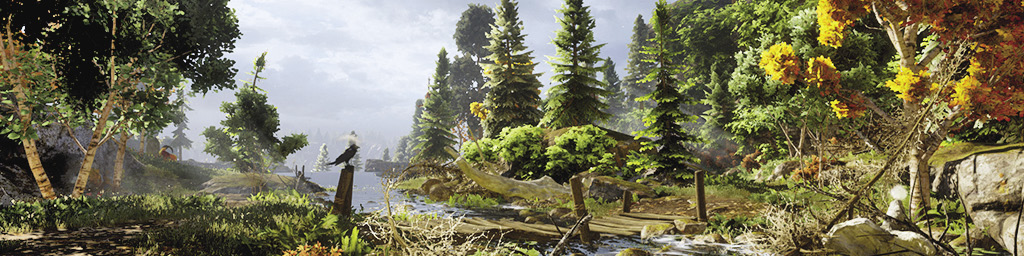
If you’ve taken on the Blood Brothers quest, you’ll be traveling to Old Fennick’s place. Just north of the hut, a dead templar is guarded by an apostate and his sellsword guard. Eliminate them, then inspect the bodies to recover the note that begins the quest.
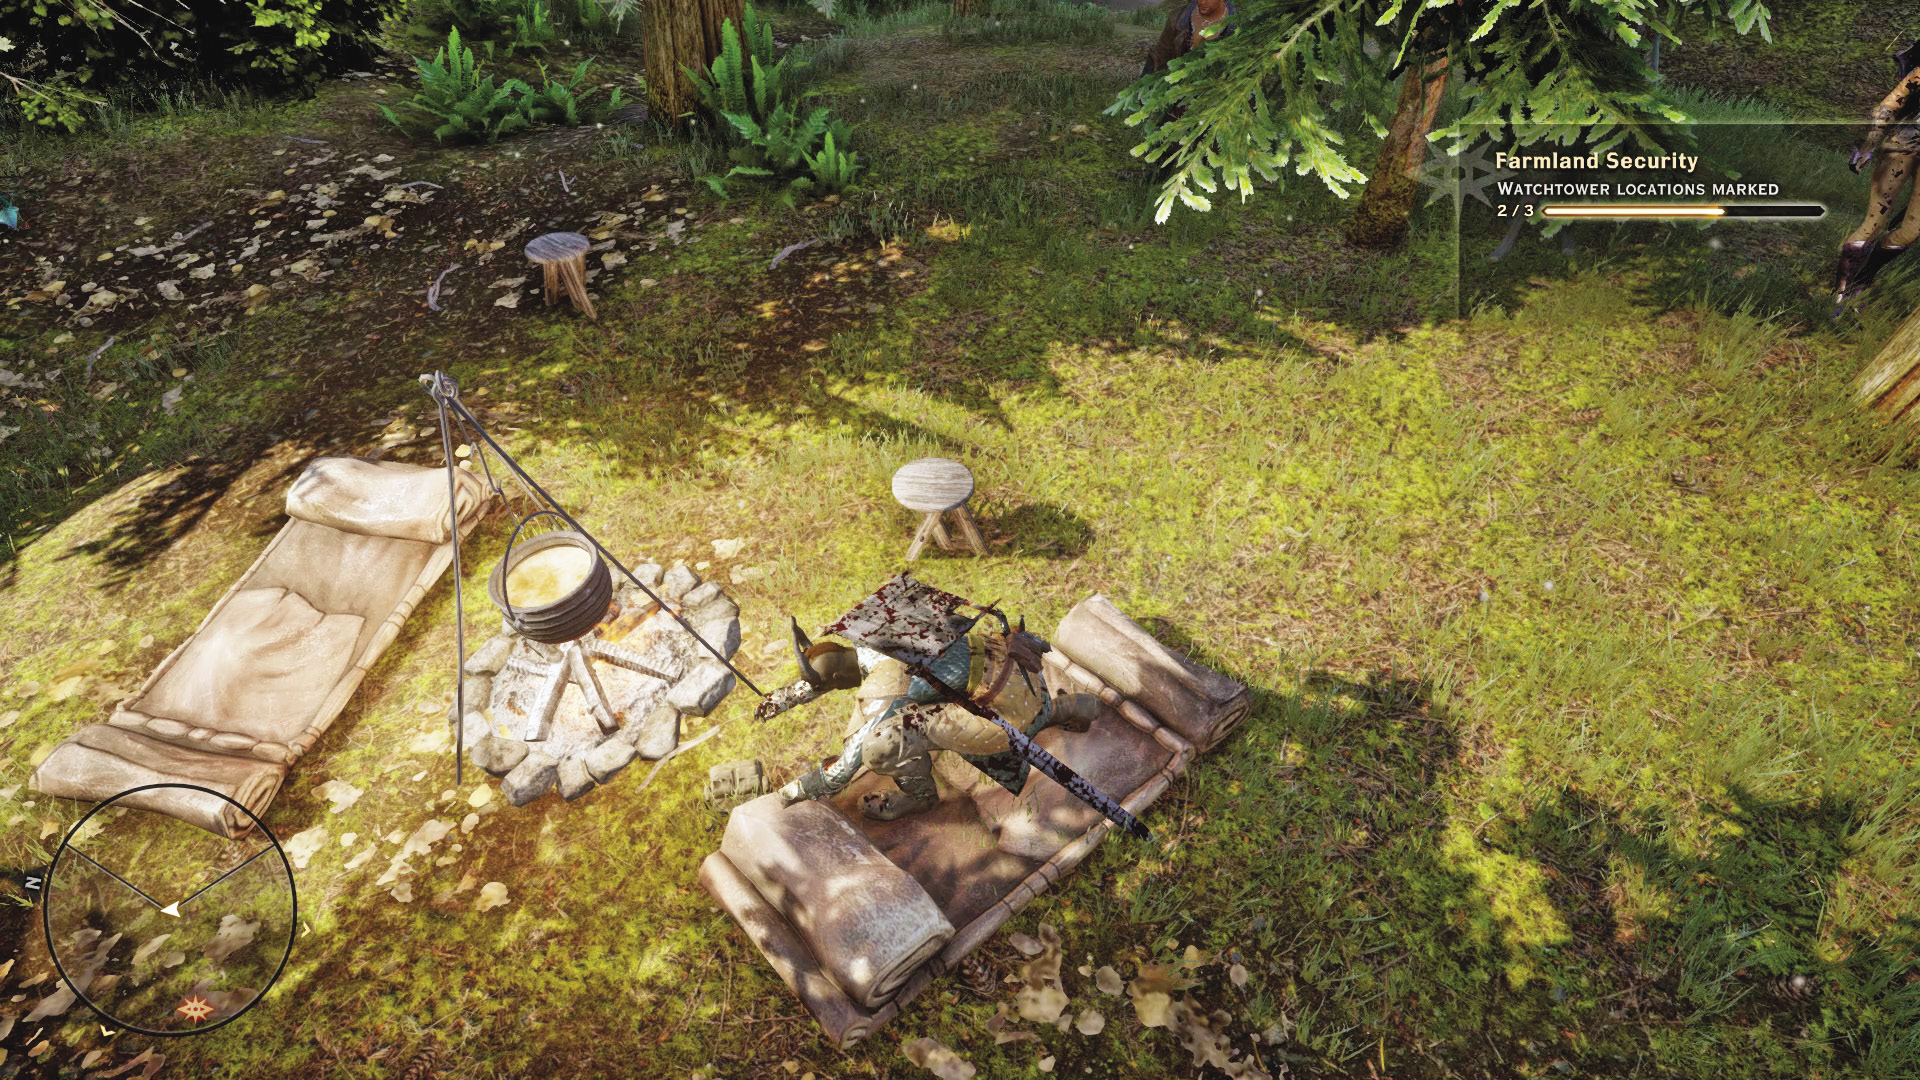
After gaining access to Redcliffe, you can find Tanner near the far rear of the village. This lady of the Chantry will try to play innocent, but you can confront her on her duplicity. However, if you’re feeling forgiving and shrewd, you don’t have to condemn Tanner entirely. Invite this smuggler to the Inquisition and make use of her talents! Varric and Cassandra are able to speak on your behalf to sell this idea to her, but it is possible to convince her yourself if you have unlocked certain Inquisition perks.
32: The Ballad of Lord Woolsley

Quest Giver: One-Eyed Jimmy, Redcliffe
Description: A young man is distraught that his family’s special ram, Lord Woolsley, has wandered off. He is offering a reward for the ram’s return.
Requirements: Address the Chantry in Val Royeaux, then gain access to Redcliffe by sealing the Fade rift that opens before its front gates.
Reward: 177 XP, 80 Influence, 1 Power
Objectives:
 Locate Lord Woolsley and send him home.
 Return to Woolsley’s owner for a reward.
One-Eyed Jimmy is convinced that his pet ram, Lord Woolsley, is responsible for his family’s good fortune. He also is convinced Woolsley speaks. Question not what he believes, and just travel to the waypoint near Lake Luthias.
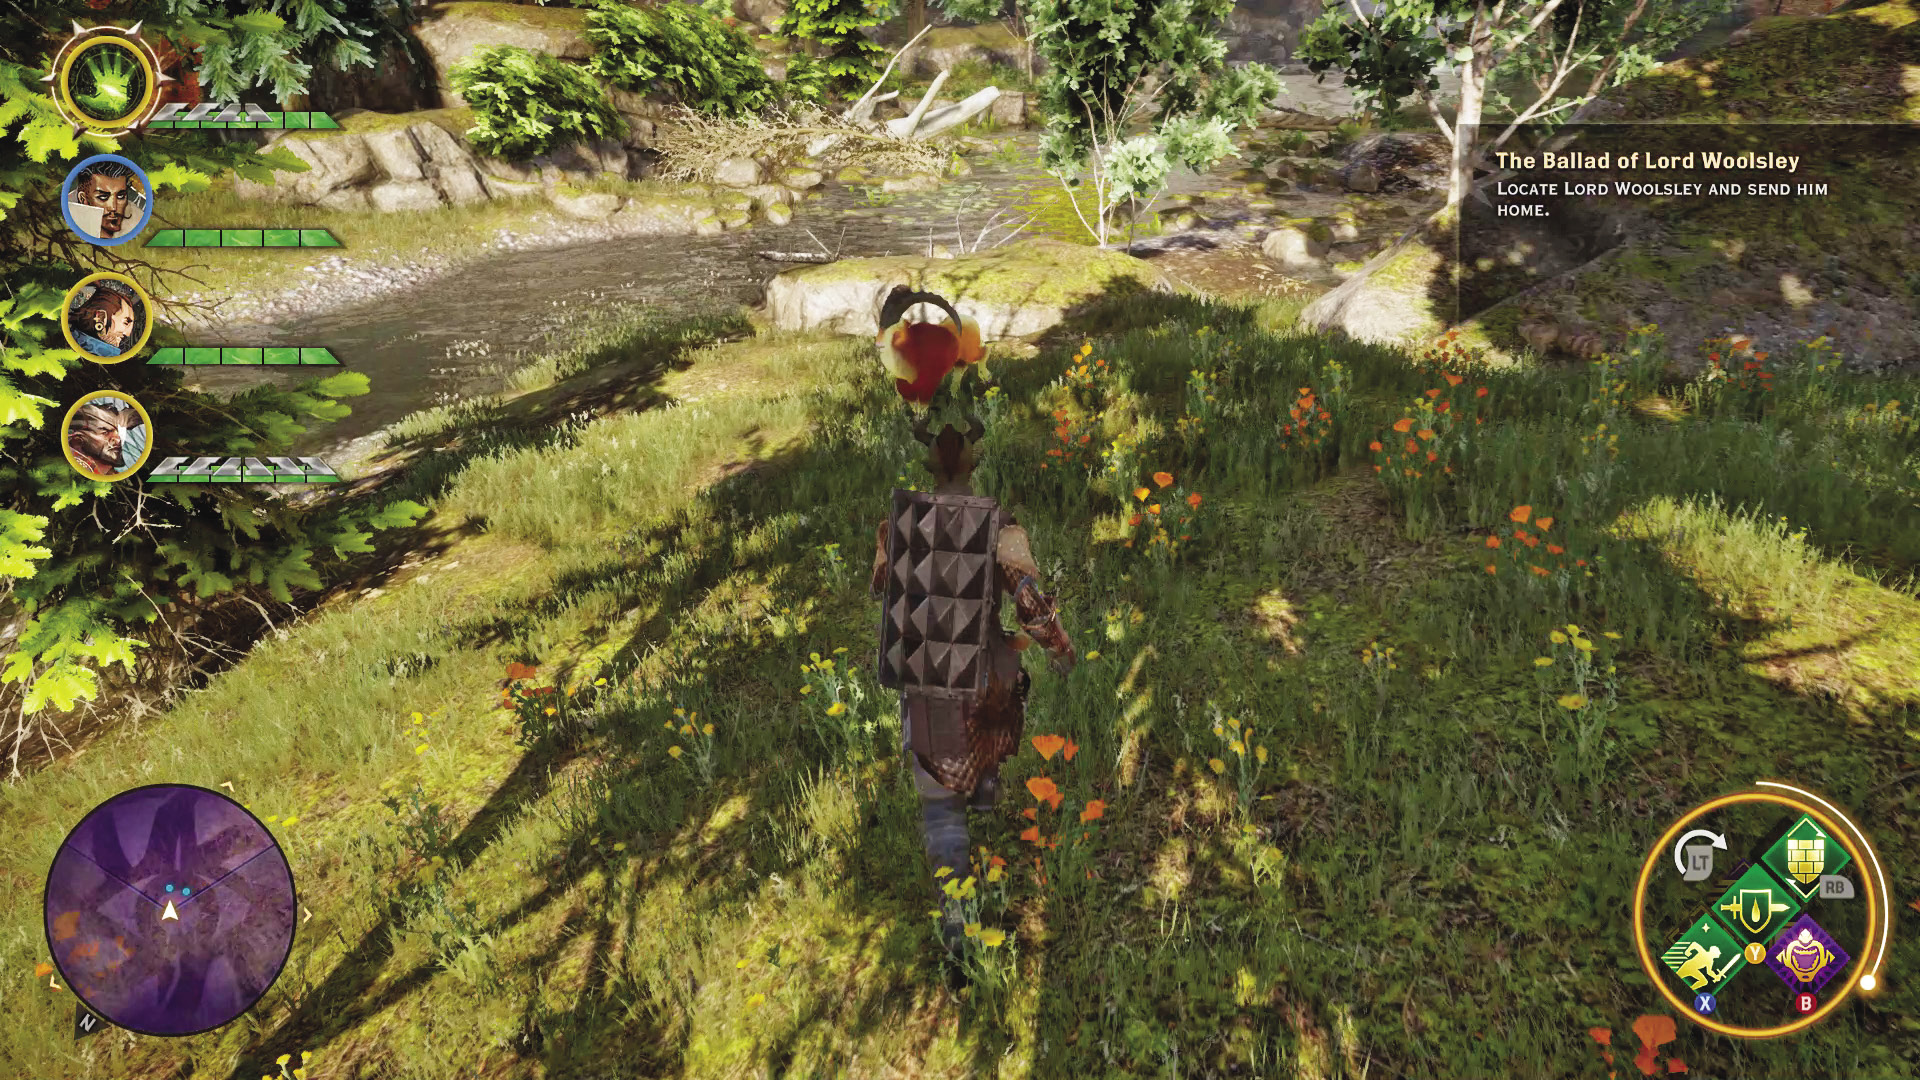
Once at the lake, you should be able to find a VERY distinctly colored ram. This is Lord Woolsley. If you approach him, your character will call out to the ram, and he will grunt in acknowledgement and return home. Simple job! Return to One-Eyed Jimmy for your reward.
33: Where the Druffalo Roam
Quest Giver: Notice Board, Redcliffe Farms
Description: A farmer’s druffalo ran off, spooked by demons, and was last seen in the ravine.
Requirements: Available as soon as you enter the Hinterlands
Reward: 44 XP, 40 Influence
Objectives:
 Rescue the farmer’s druffalo.
 Lead the druffalo back to the pasture.
 Tell the farmer that his druffalo is safe.
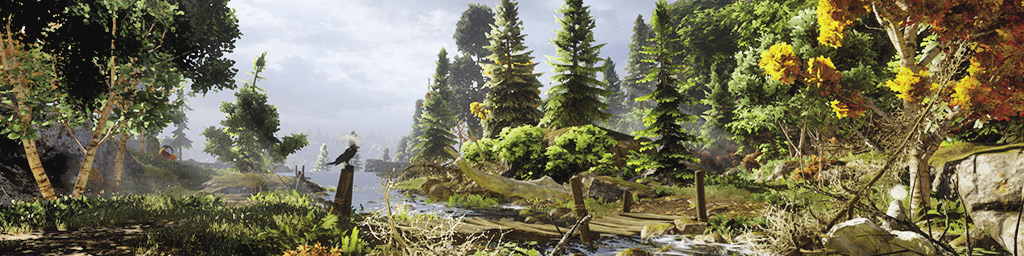
The druffalo in question is in a ravine to the west of Redcliffe Farms, just past the river (and an active Fade rift, if you haven’t taken care of it yet). When you reach the druffalo, a pack of wolves is attacking it. Kill the wolves while avoiding causing harm to the druffalo. After you save it, it will follow you as you return to Redcliffe Farms. Once you get close enough, the druffalo happily returns to its field, and you can speak with a nearby farmer to complete the quest.
34: Playing with Fire
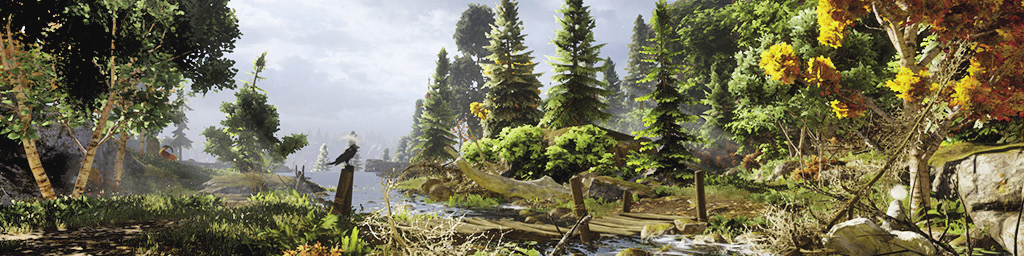
Quest Giver: Letter on a corpse, Avvar Blade Valley
Description: A letter found on a corpse said: “Three times around the crowned statue, right hand close enough to brush the stone itself, and the spirits will listen.” Doing so will apparently bring back someone’s grandfather. The letter writer must really miss him.
Requirements: Available as soon as you enter the Hinterlands
Reward: 44 XP, 40 Influence master demon-slaying rune
Objectives:
 Bring the grandfather back.
 Defeat the demon.
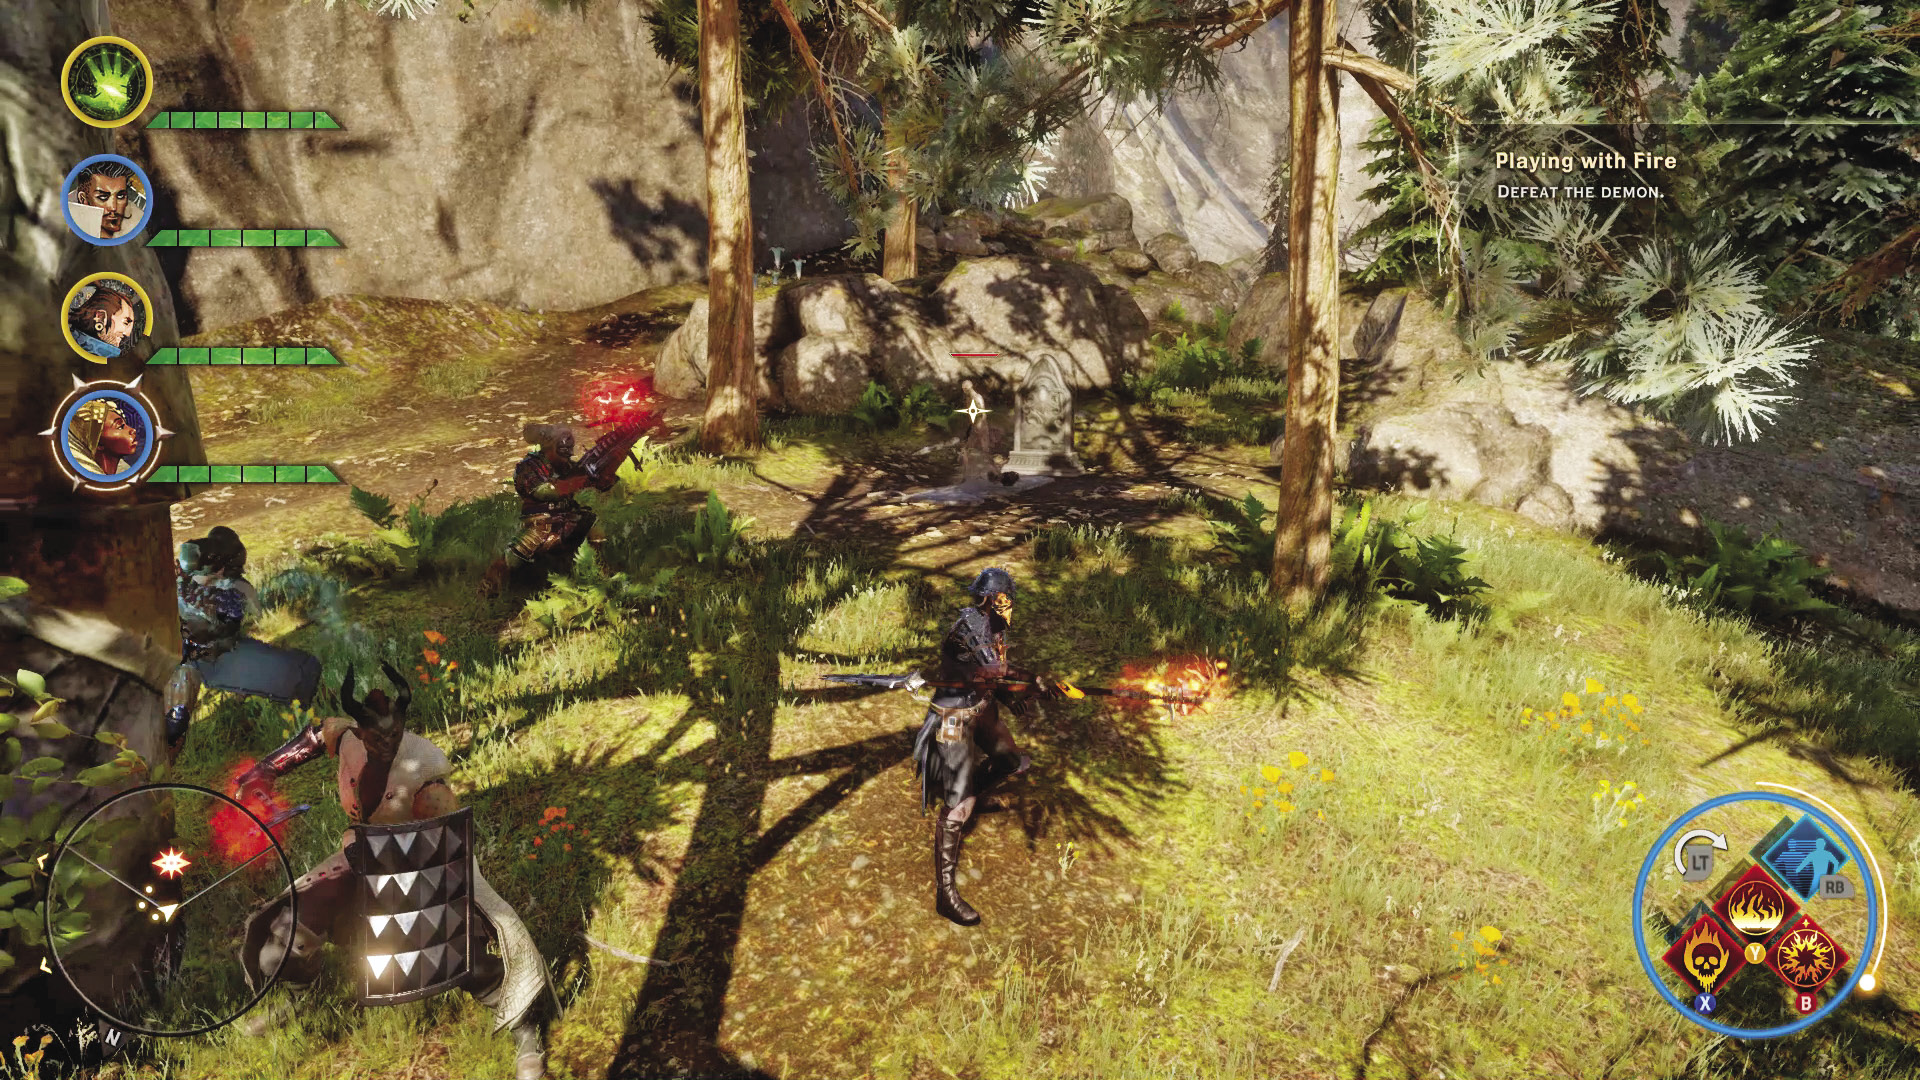
You find this letter near a landmark containing the third stanza of the Saga of Tyrdda Bright-Ax. Walk around the statue in the manner the letter suggested to summon a demon that will possess a corpse. Destroy this unholy resurrection to complete the quest. The rune you can loot from the corpse can help the chosen weapon rip apart demons. It’s worth holding on to until you find a powerful weapon that can accept it.
35: The Mercenary Fortress
Quest Giver: Orders found on or near mercenaries in Hafter’s Woods or Avvar Blade Valley
Description: Mercenaries are stirring unrest in the Hinterlands. They have occupied an old fort in the woods.
Requirements: Available as soon as you enter the Hinterlands. Travel to Avvar Blade Valley and find the note.
Reward: 128 XP, 80 Influence
Objectives:
 Find the mercenary fortress.
 Defeat the mercenary leader.
Fighting through Avvar Blade Valley or Hafter’s Woods, you may encounter groups of mercenaries, much like those fought during the East Road Bandits quest. Sometimes, you’ll find a camp that is guarded by multiple mercs. You might find orders at the camps, or on the mercs themselves, that reveal their base of operations: the Grand Forest Villa.
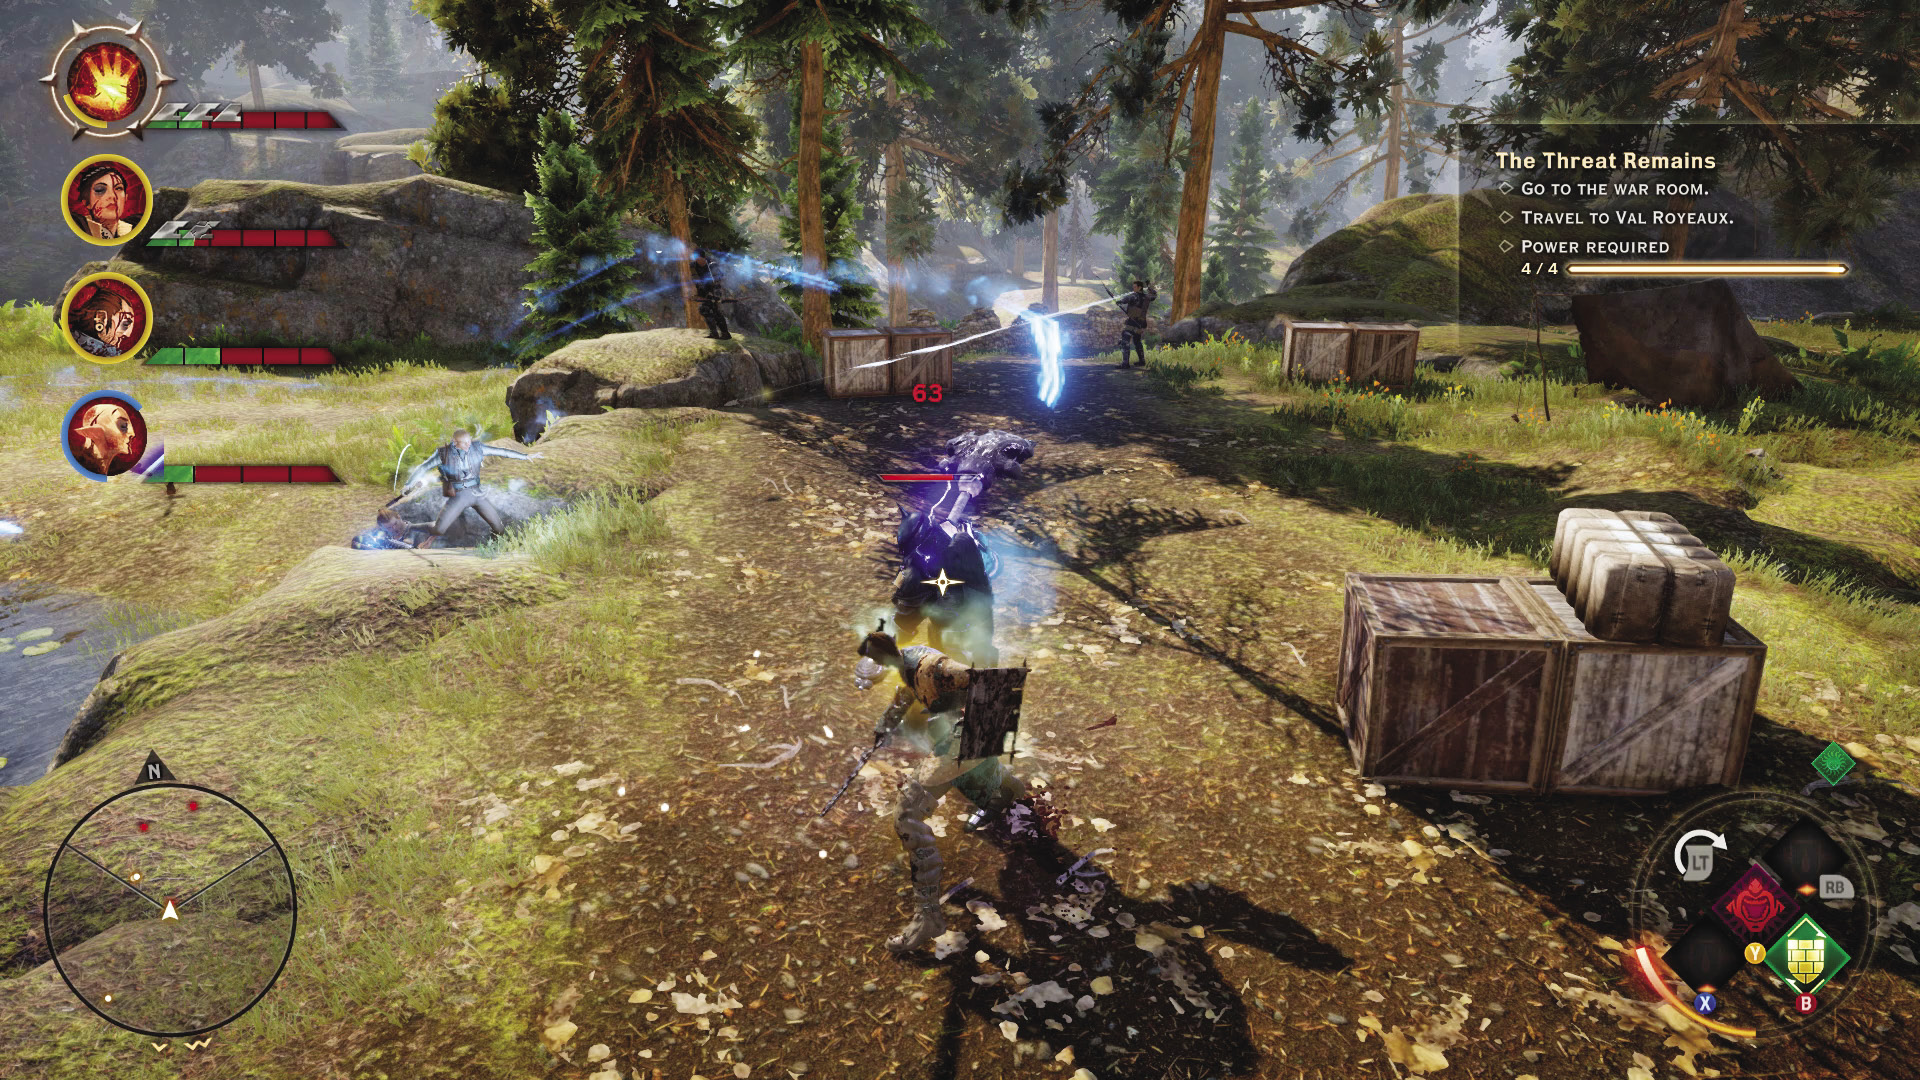
The bridge to the villa is protected by several mercs, but the real challenge begins when you enter the villa’s courtyard and are forced to face off against a pair of brutes! Ranged attacks from rogues and mages are the way to go here—just make sure your warrior tank is given a chance to grab their attention.
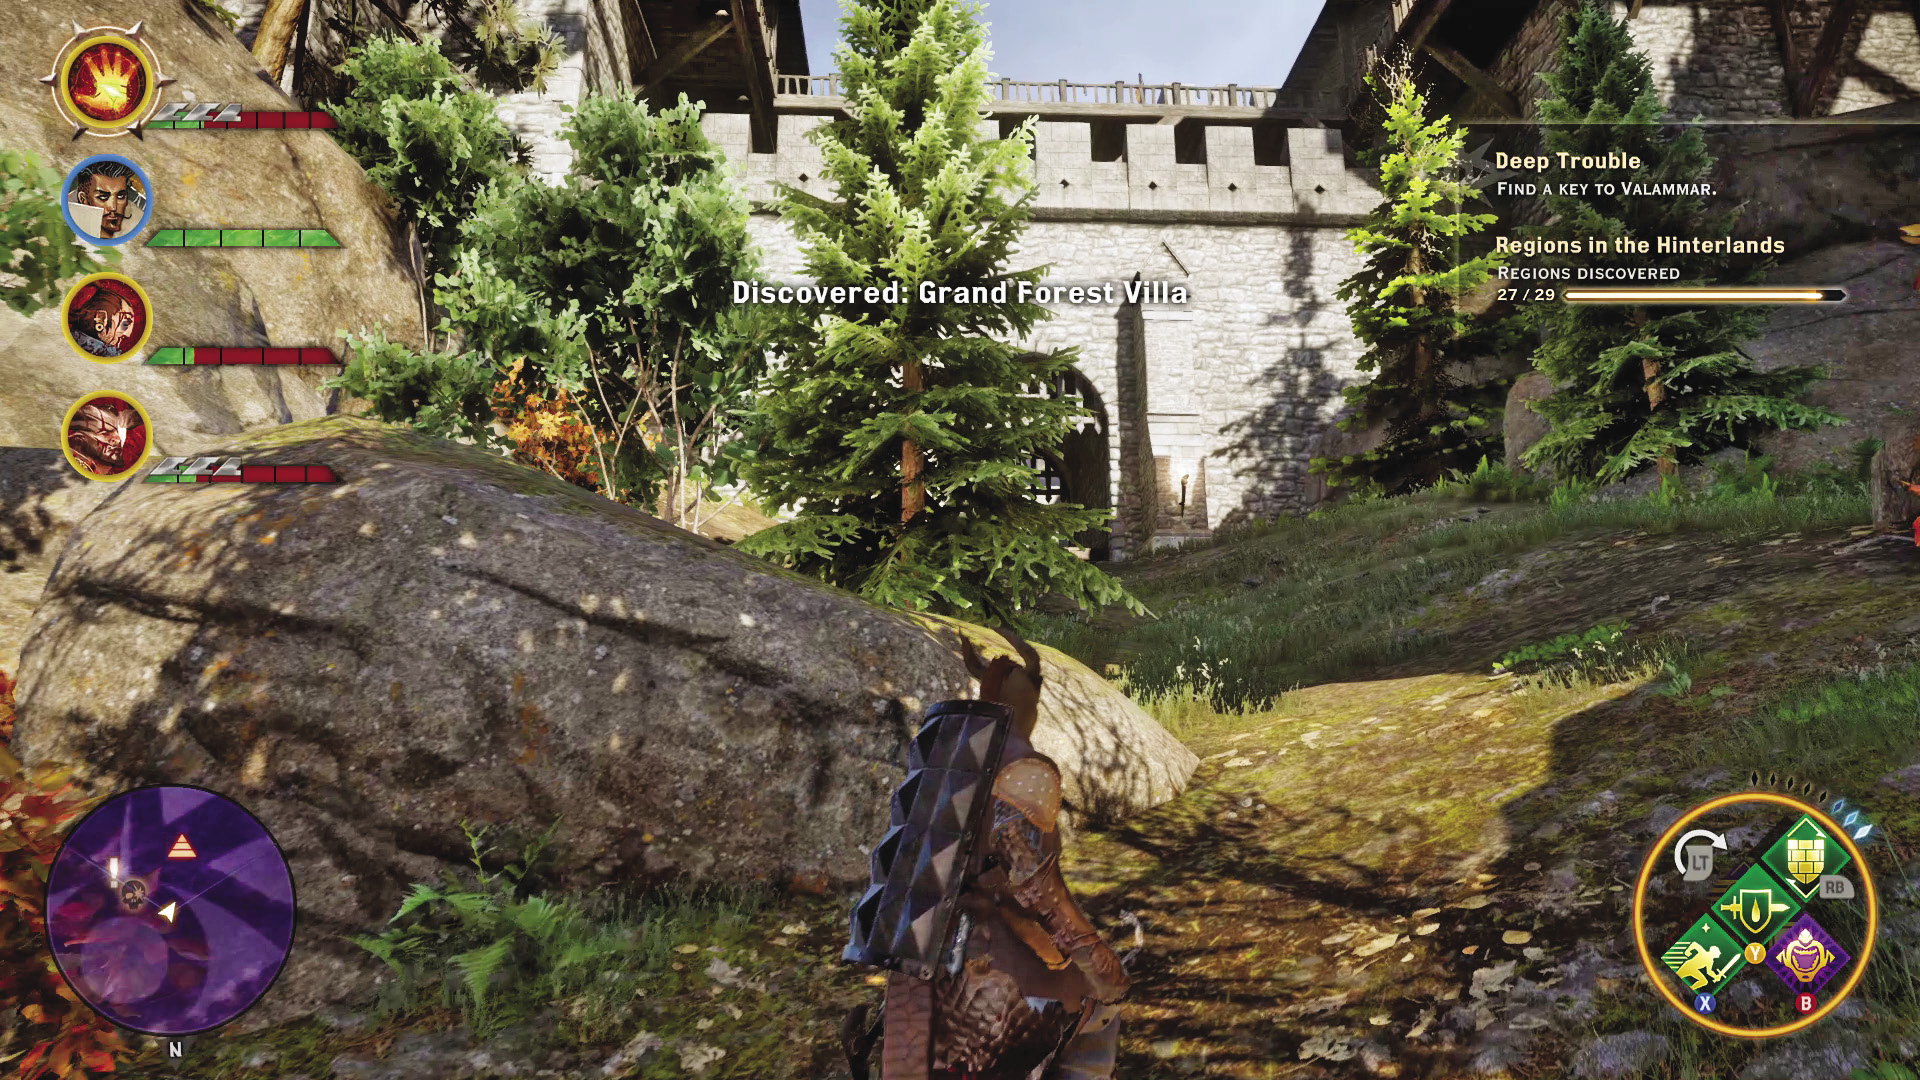
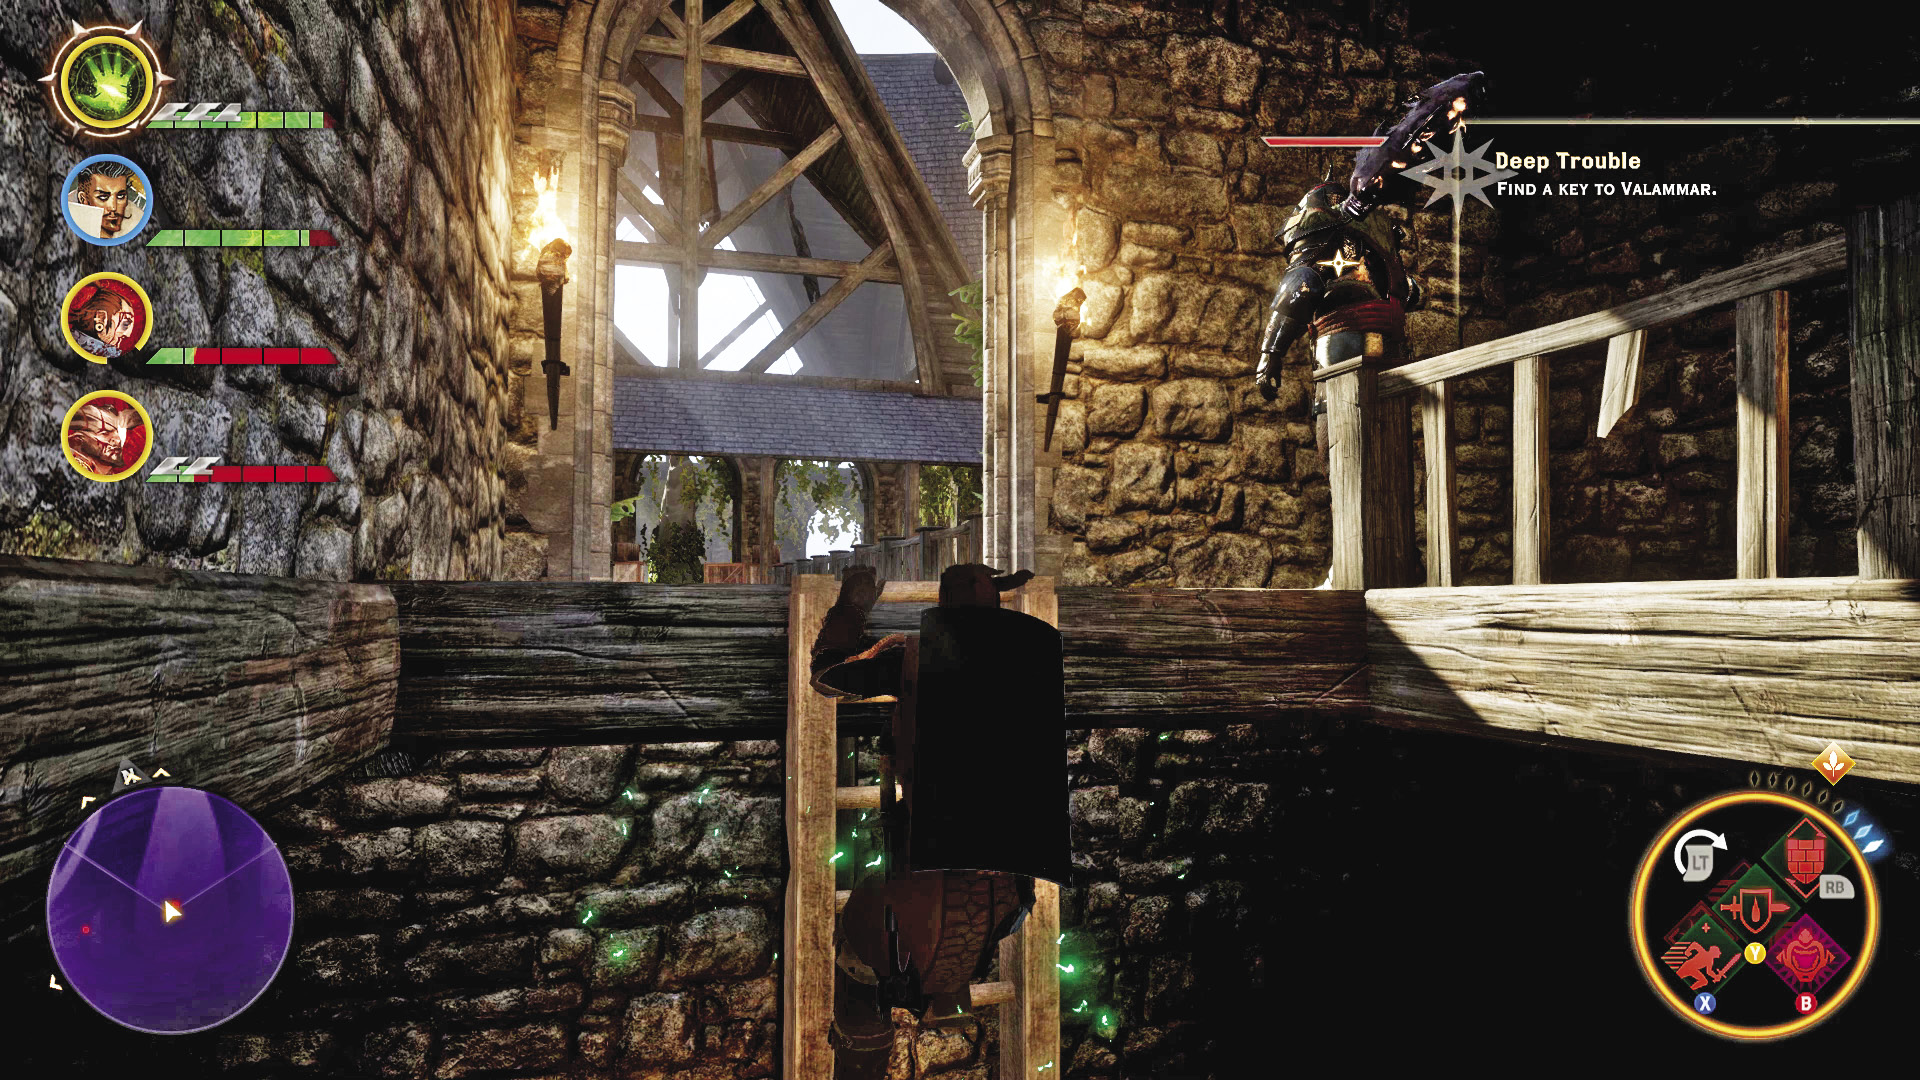
As you explore the villa, you’ll find a ladder in a guard tower on the eastern side, taking you to a bridge that is guarded by another brute. The bridge is narrow, which can make things tough thanks to the confined space. Afterward, push across the bridge into a final confrontation with the mercenary leader and his remaining men. Your tank should try to keep the leader away from the rest of the party, while you eliminate his allies first. He’s a tough brute himself, but by himself, he’s still just one man. Clearing the Grand Forest Villa of all mercenaries will complete this quest.
36: Map of a Farmland Cave
Quest Giver: Map found in Hafter’s Woods, east of the mercenary fortress
Description: This map depicts a farmhouse near a cave.
Requirements: Available as soon as you enter the Hinterlands
Reward: 128 XP, 80 Influence
Objectives:
 Find the spot marked on the map.
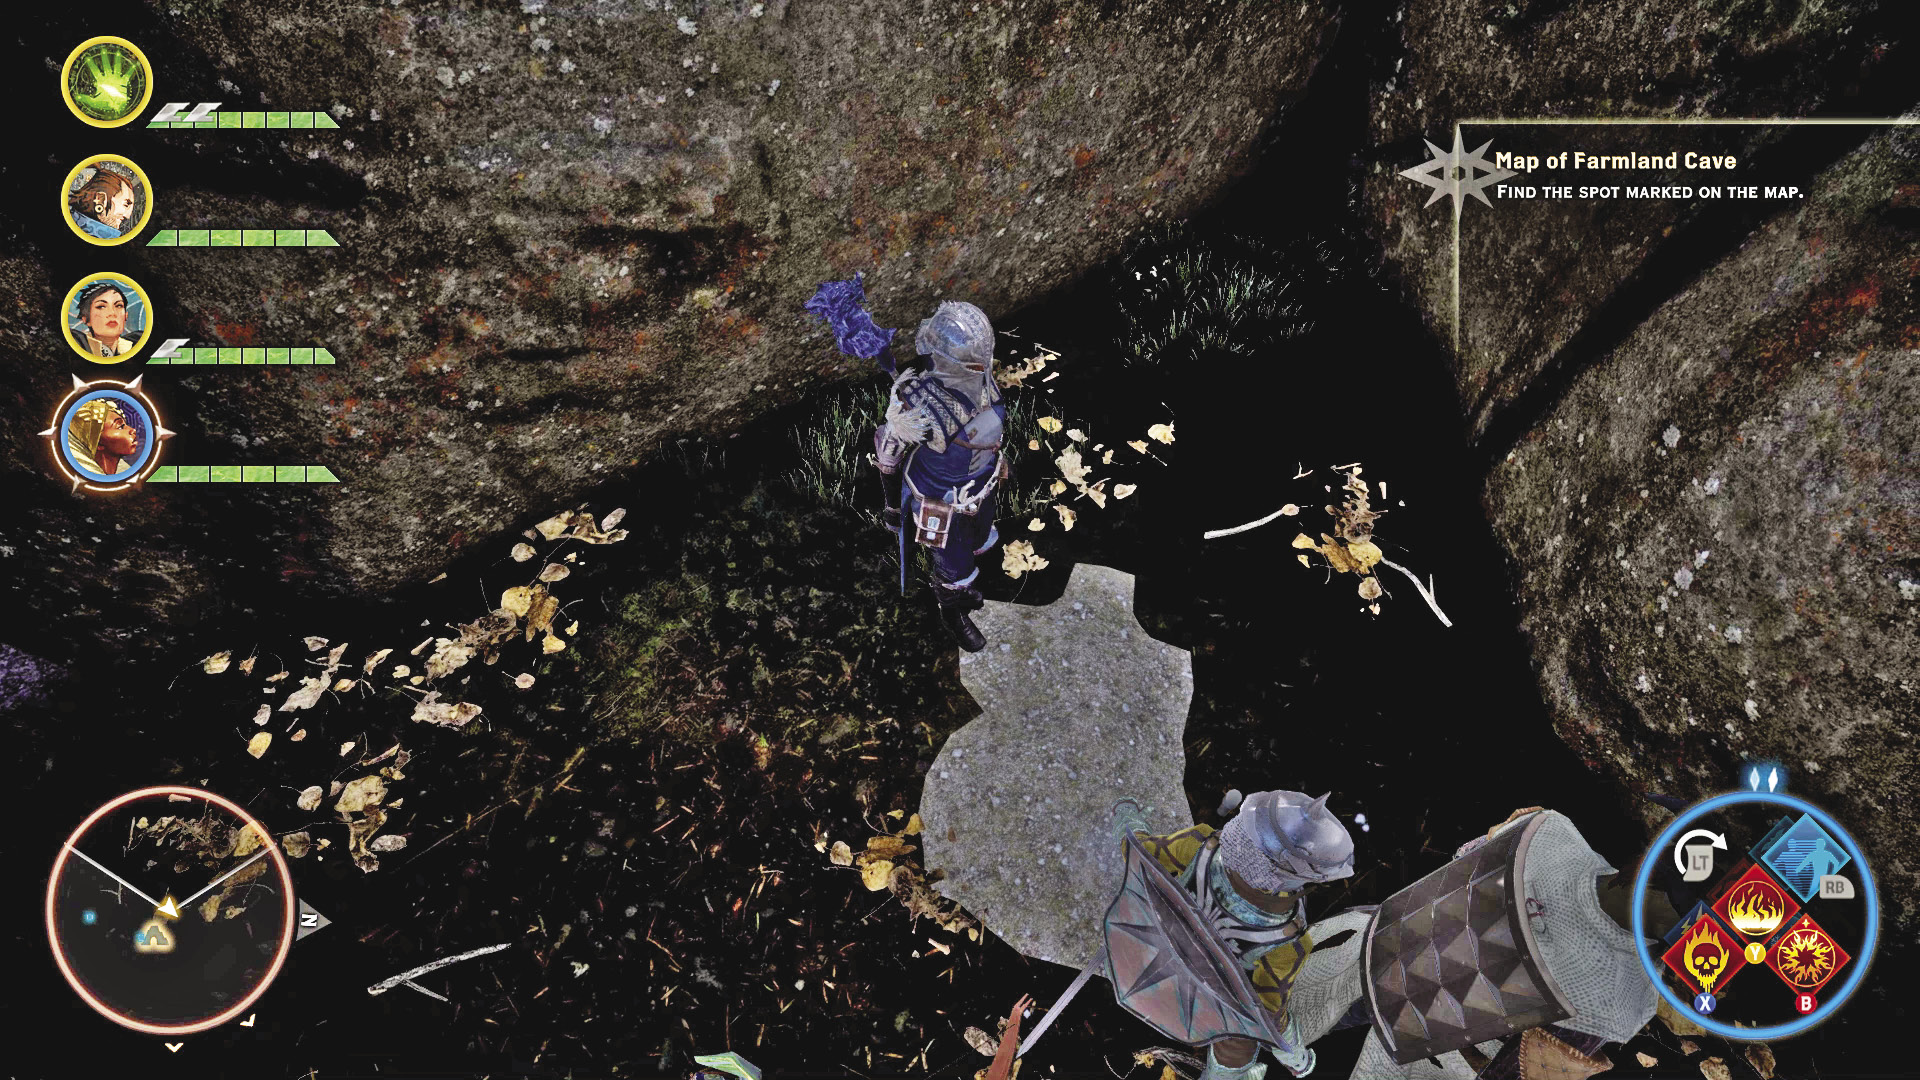
The cave on the map is northeast of Dennet’s home on Redcliffe Farms. Another landmark would be the astrarium east of the cave. The map depicts a winding route uphill behind Dennet’s home, but it can be tough to see. We recommend navigating from the astrarium first, heading west until you reveal the presence of the cave on your quest map. Use the Search ability inside until you reveal the hidden treasure.
37: Return Policy

Quest Giver: Note found on a corpse just west of the Broken Bridge
Description: A thief stole something important from a fortress to the west. A threatening note found on the thief’s body suggests that whoever he stole it from very much wants it back.
Requirements: Available as soon as you enter the Hinterlands
Reward: 128 XP, 80 Influence
Objectives:
 Return the stolen treasure to the western fortress.
You can find this dead thief with the undelivered treasure early on, but actually getting to the drop-off point means fighting through the southwestern portion of the Hinterlands, where enemies level 8 and higher lurk and can make very short work of a weak party. Worse still, you will have to contend with the highly equipped mercenaries occupying the Grand Forest Villa, if you haven’t already.
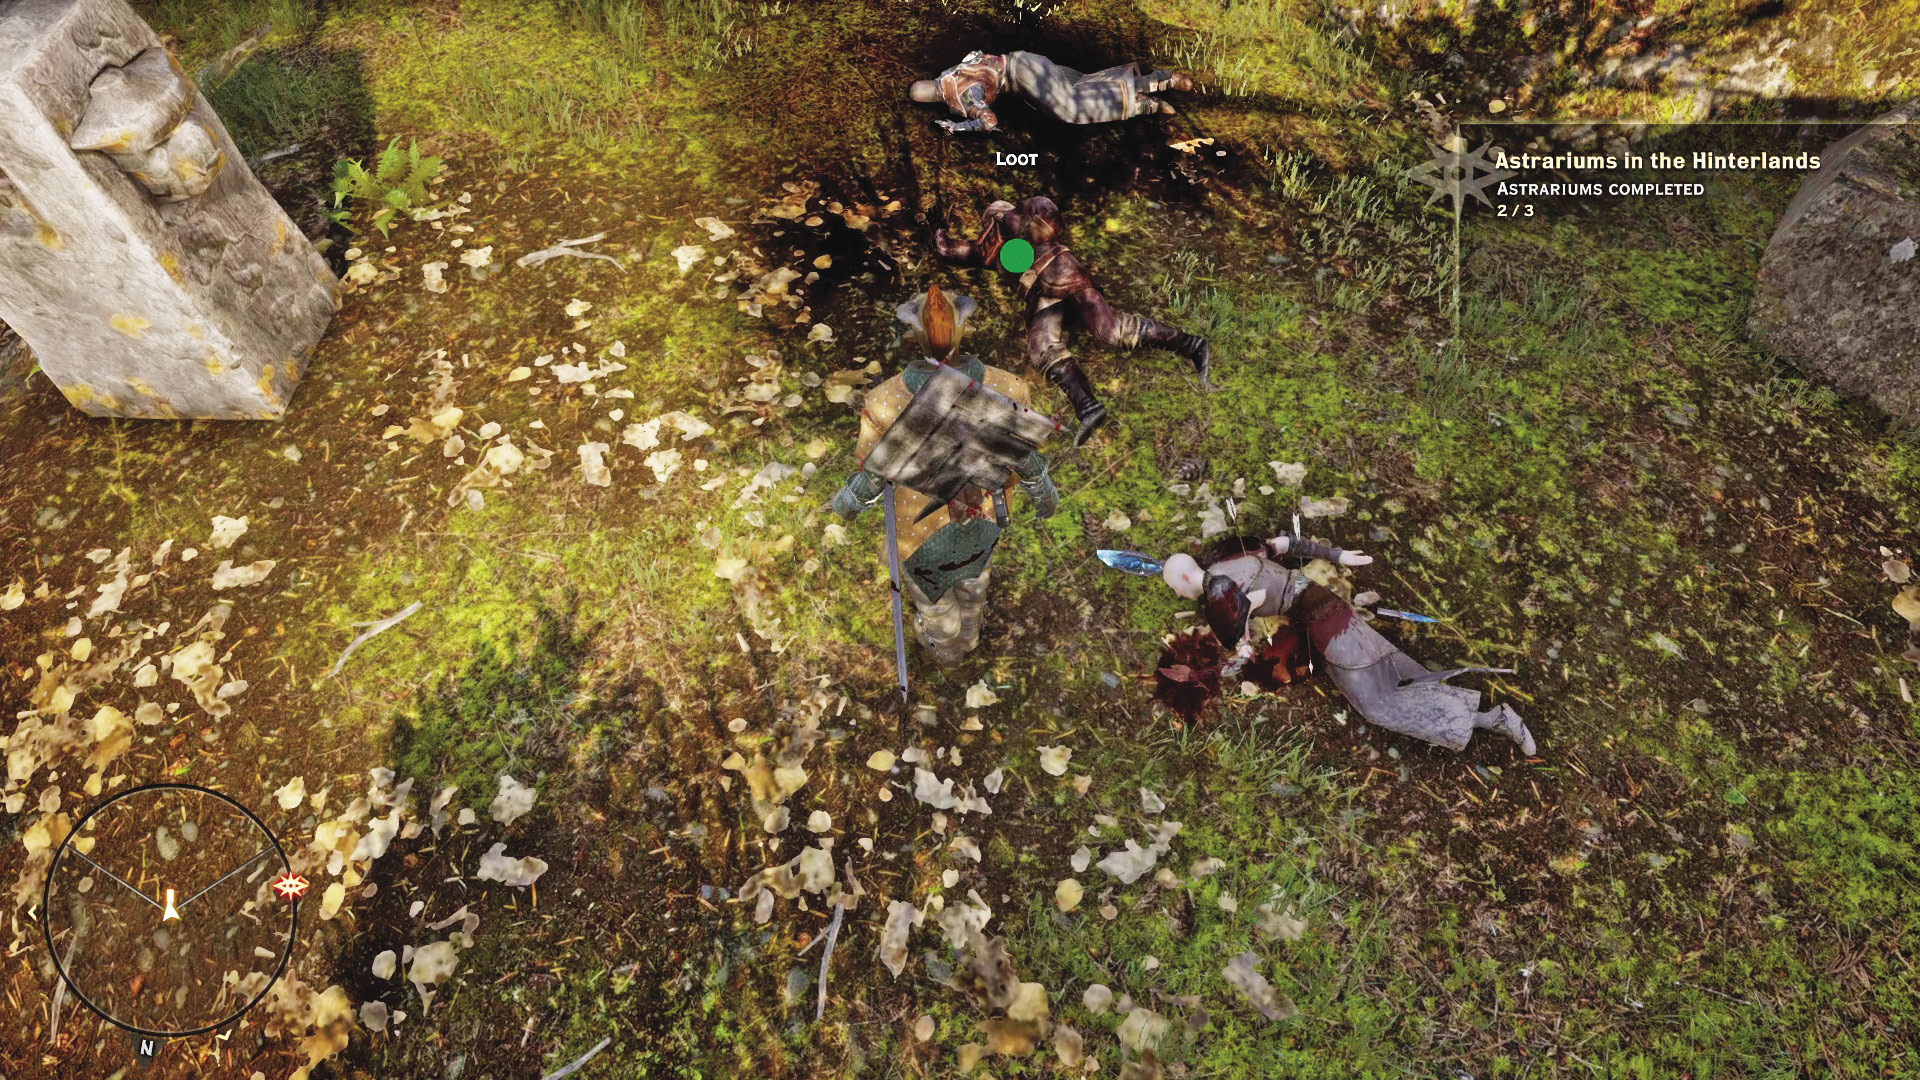
Across the bridge to the villa, the path of the hill branches in two directions. One to the left takes you into the villa itself. The path to the right takes you under another wooden bridge, up a trail on the western side of the villa, and eventually into a field where an altar awaits the return of the treasure.
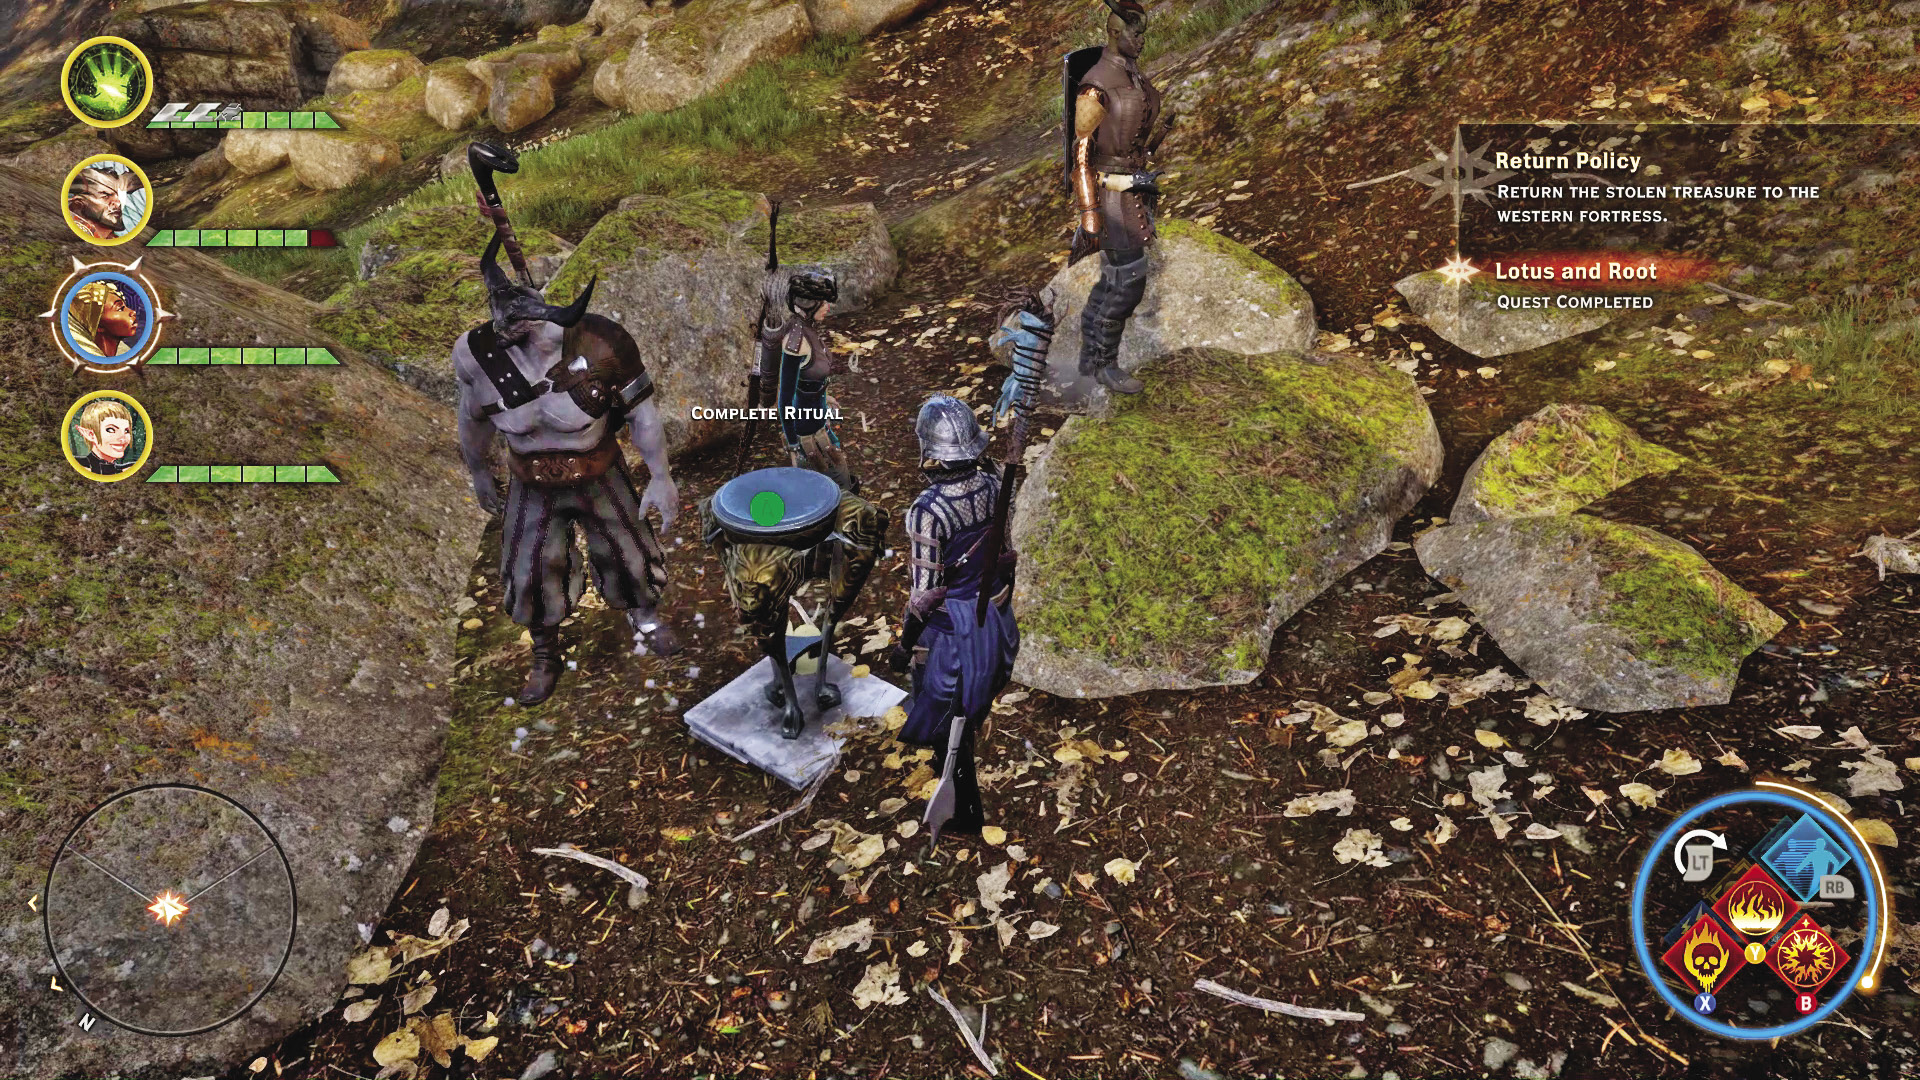
As soon as you complete the ritual, a rage demon flashes into existence before your party! Unfortunately for it, the odds are in your favor. Don’t get careless around its vicious fire attacks.
38: Flowers for Senna

Quest Giver: Widower in Redcliffe
Description: An elderly widower visits his wife’s shrine each year, but the fighting between the mages and templars has prevented him from making the trip.
Requirements: Gain access to Redcliffe after addressing the Chantry in Val Royeaux.
Reward: 128 XP, 80 Influence
Objectives:
 Take flowers to Senna’s shrine.
 Return to the widower.
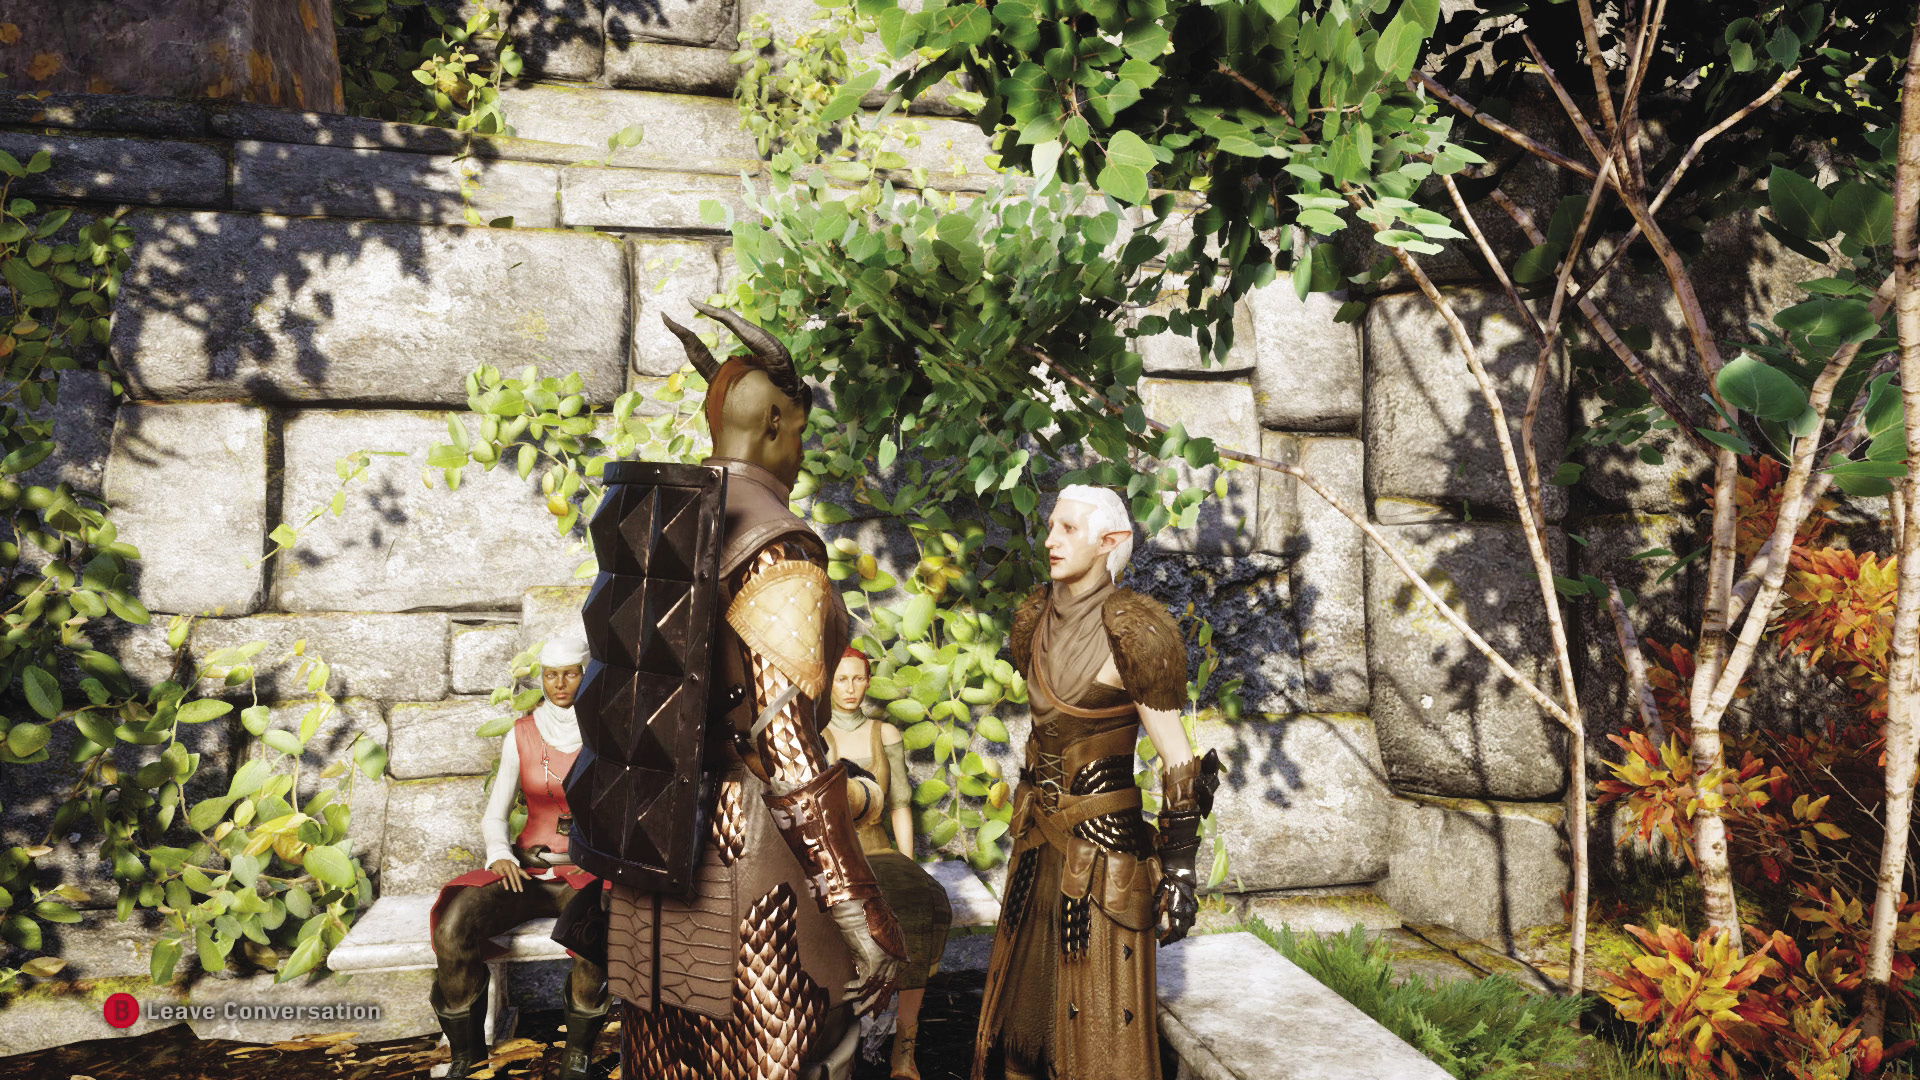
This can be a very easy quest to finish if you’ve established the Forest camp in Hafter’s Woods. After hearing the aged elf’s story, say that you can help him deliver the flowers to Senna’s grave, and then fast travel to the Forest camp south of Redcliffe Farms. The gravesite is a short hike from the camp, but it should be safe. Watch for bears or mabari hounds, just to be safe.
After you’ve placed the flowers on the grave, return to the old elf to report the good deed.
39: Bergrit’s Claws
Quest Giver: Note found on a corpse, Dead Ram Gorge
Description: A hunter named Bergrit was out looking for large bears to collect their claws, which appear to be of considerable value. It may be wise to pick up where he left off.
Requirements: Available as soon as you enter the Hinterlands
Reward: 3 Great bear claws 128 XP, 80 Influence
Objectives:
 Find three great bear claws.
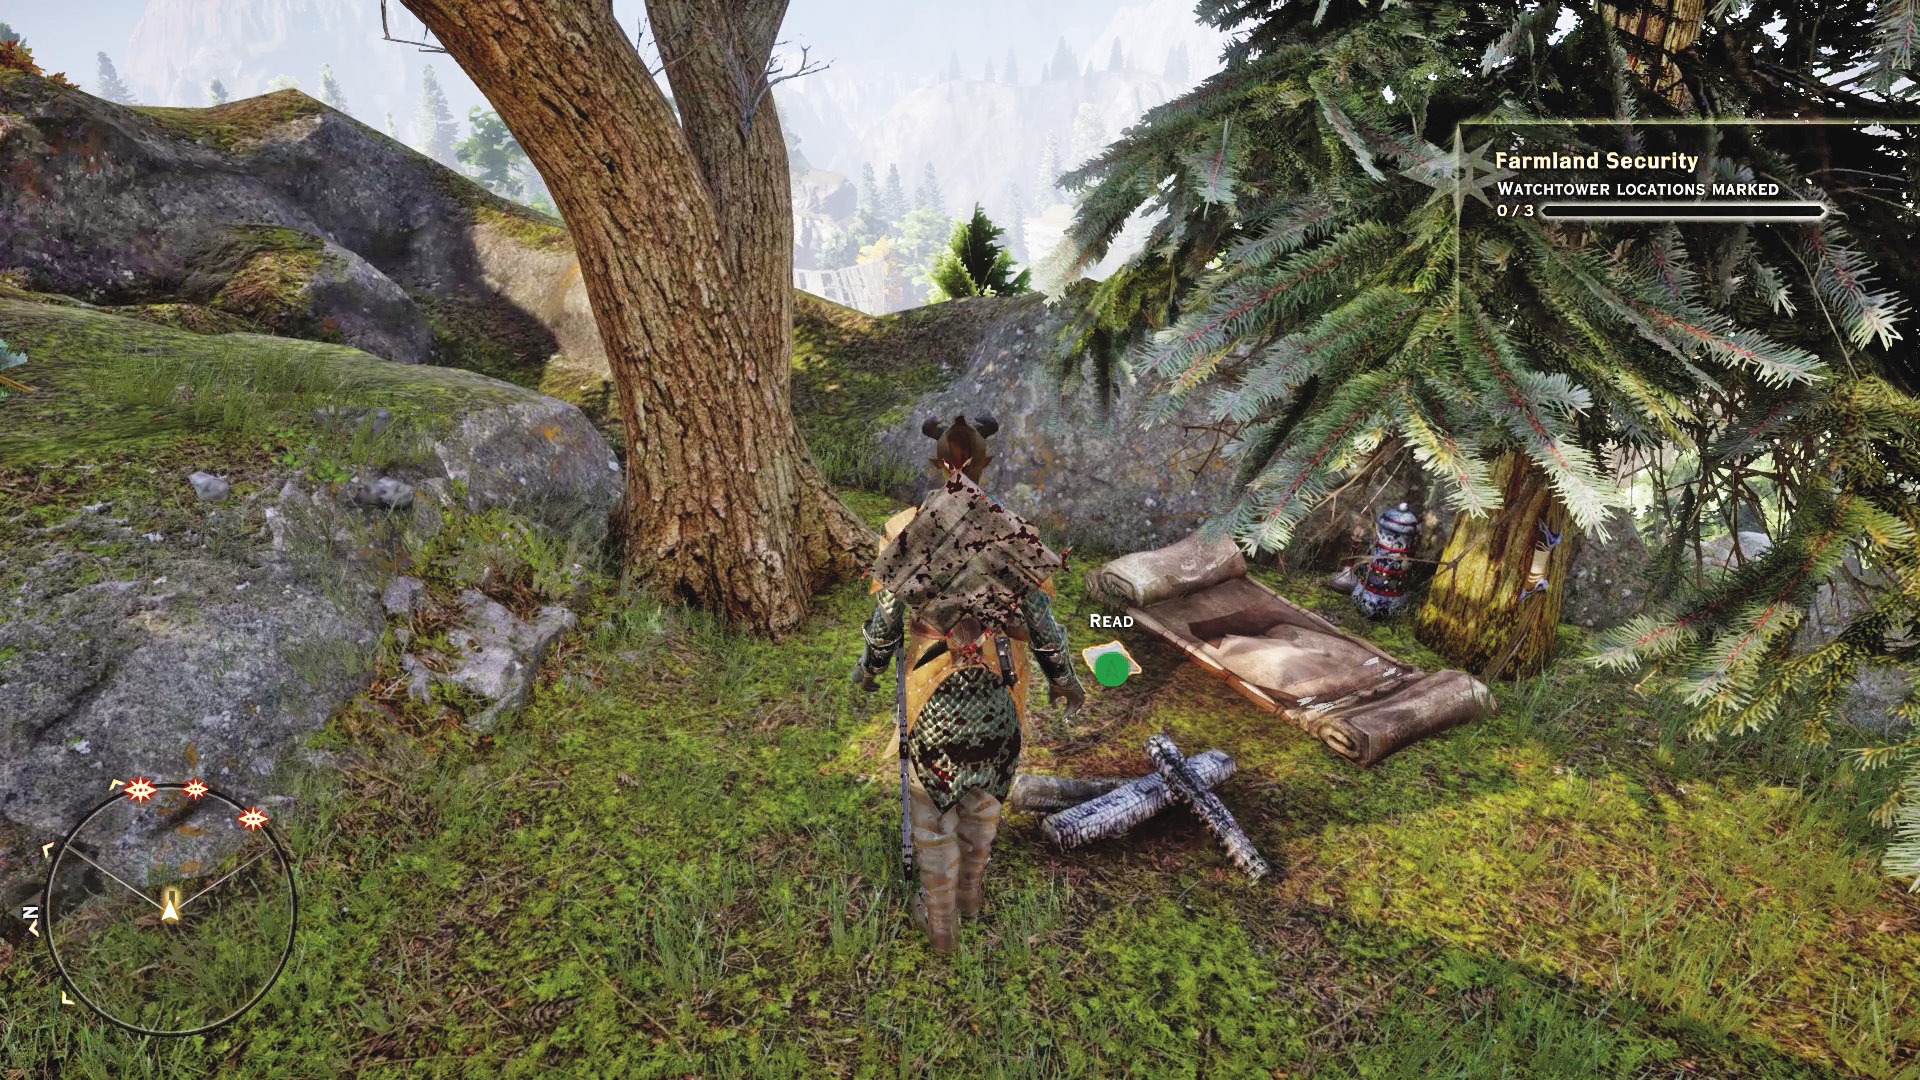
The bears in question are in the southwestern portion of the Hinterlands, near the Forest camp. Bears can be rough customers, and they resist many forms of crowd control, but a full party around level 7 or 8 should be able to smother each bear it encounters before things get dicey. The great bear claws you harvest can go toward improving your chances at masterwork crafting.
40: Hinterlands Who’s Who
Quest Giver: Letter found on a corpse, Old Simeon’s Cave
Description: A hunter appears to have been mauled by a bear and died in its cave. According to his letter, he was trying to get enough of something to help. He must have been desperate.
Requirements: Available as soon as you enter the Hinterlands
Reward: 128 XP, 80 Influence
Objectives:
 Take the hunter’s letter back to his family.
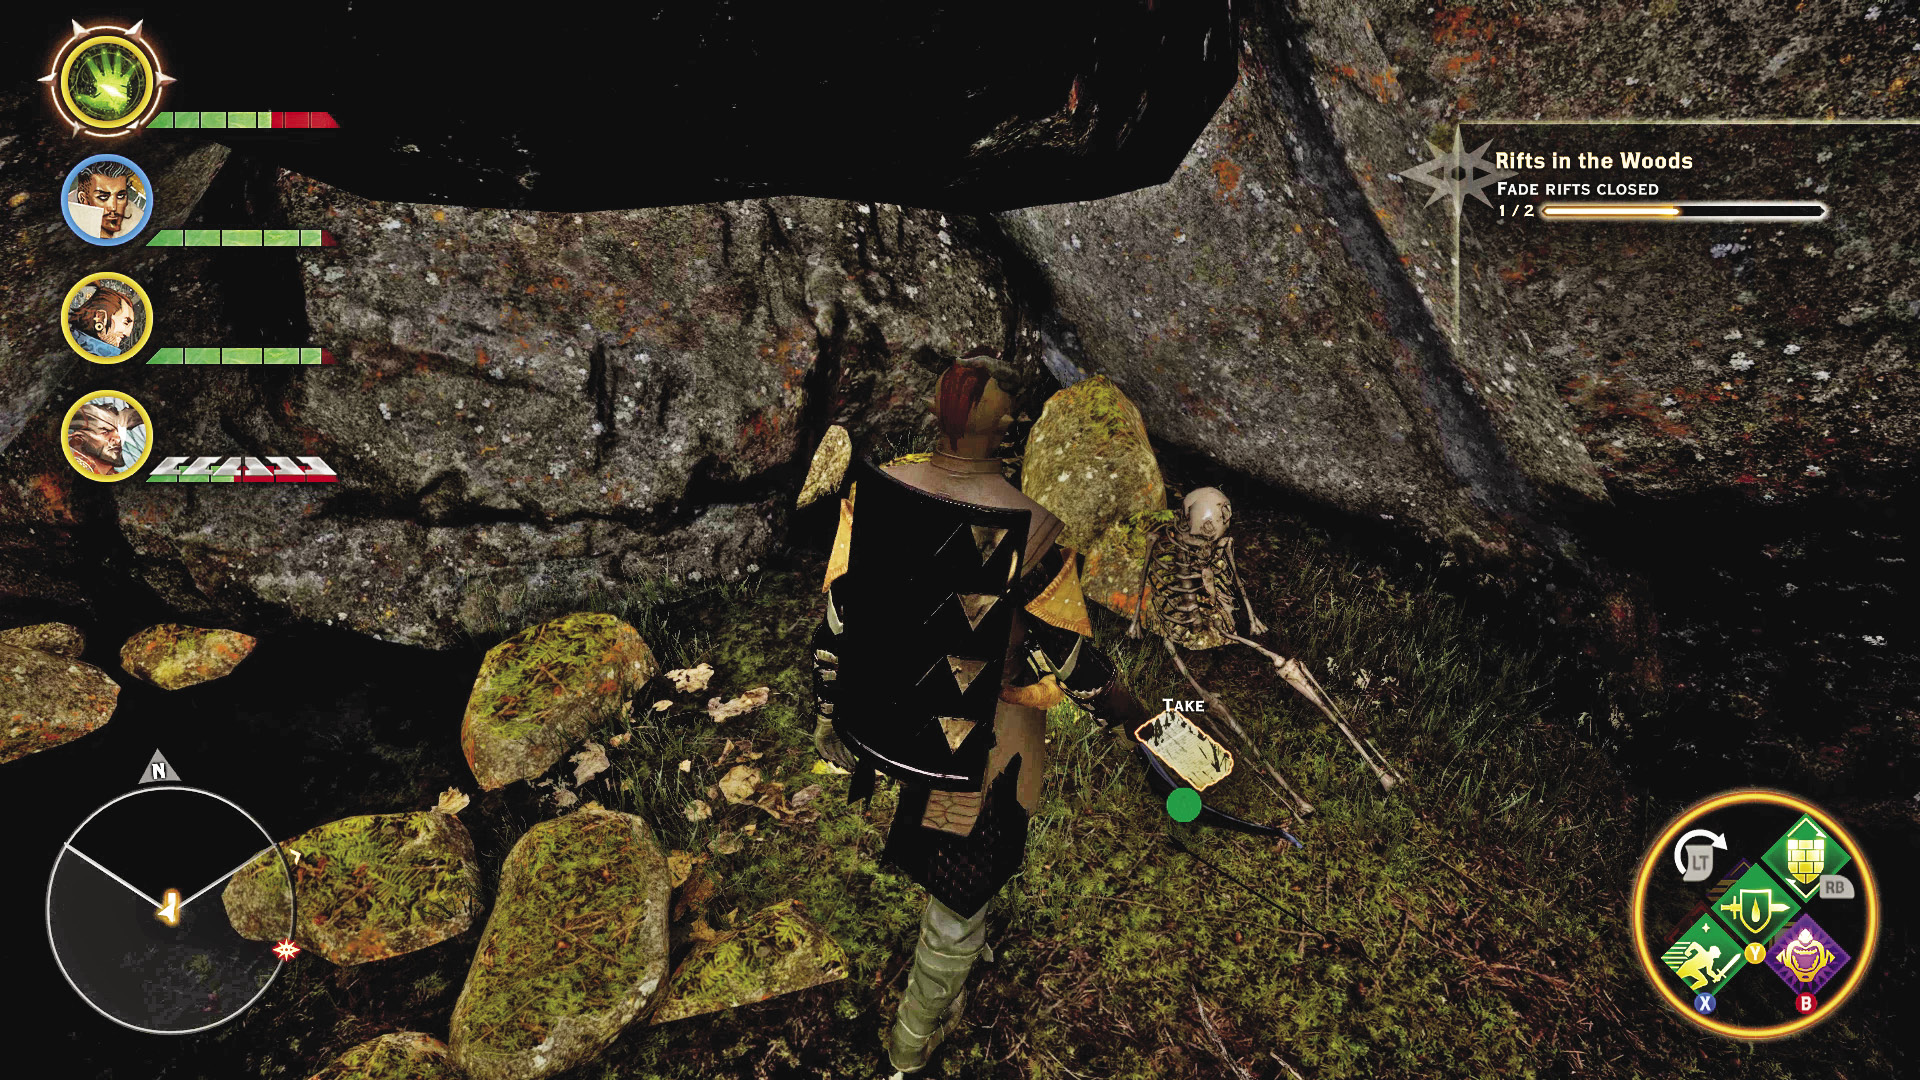
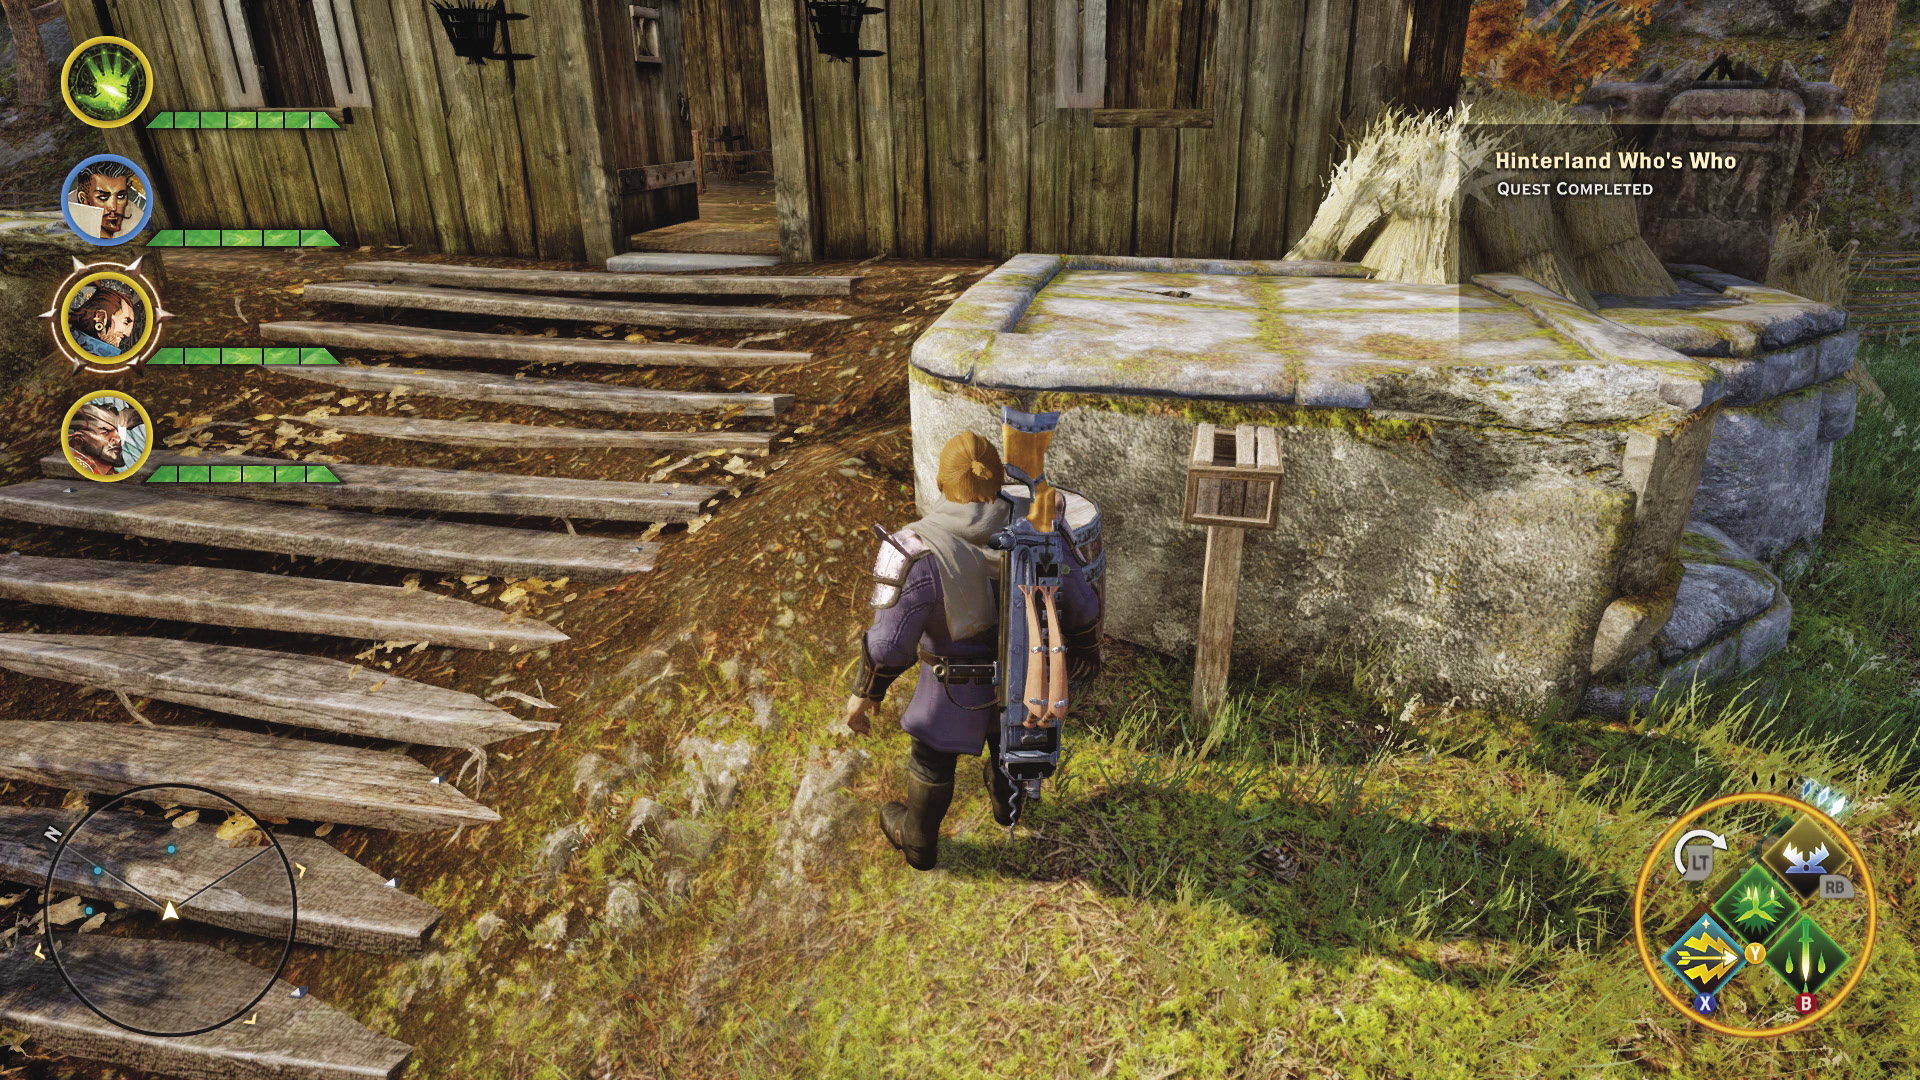
The hardest part of this quest is getting through bear country just to find the cave where the unfortunate hunter met his grisly end. Once you recover the letter, travel back to Redcliffe Farms. The mailbox where you can deliver the letter is marked clearly on your quest map.
41: Deep Trouble

Quest Giver: Investigate the hidden alcove behind the waterfall south of Lake Luthias and eliminate the men guarding it. Inspecting the door prompts you to find a key and begins the quest. Alternatively, attack the mercenary fortress in the southwest of the Hinterlands and locate the key to Valammar.
Description: The Carta are setting up a red lyrium mining operation in the Hinterlands with the help of local mercenaries.
Requirements: Available as of your first visit to the Hinterlands
Reward: 1,025 XP, 400 Influence, 3 Power
Objectives:
 Find a key to the door.
 Seek out and eliminate the Carta leader in Valammar.
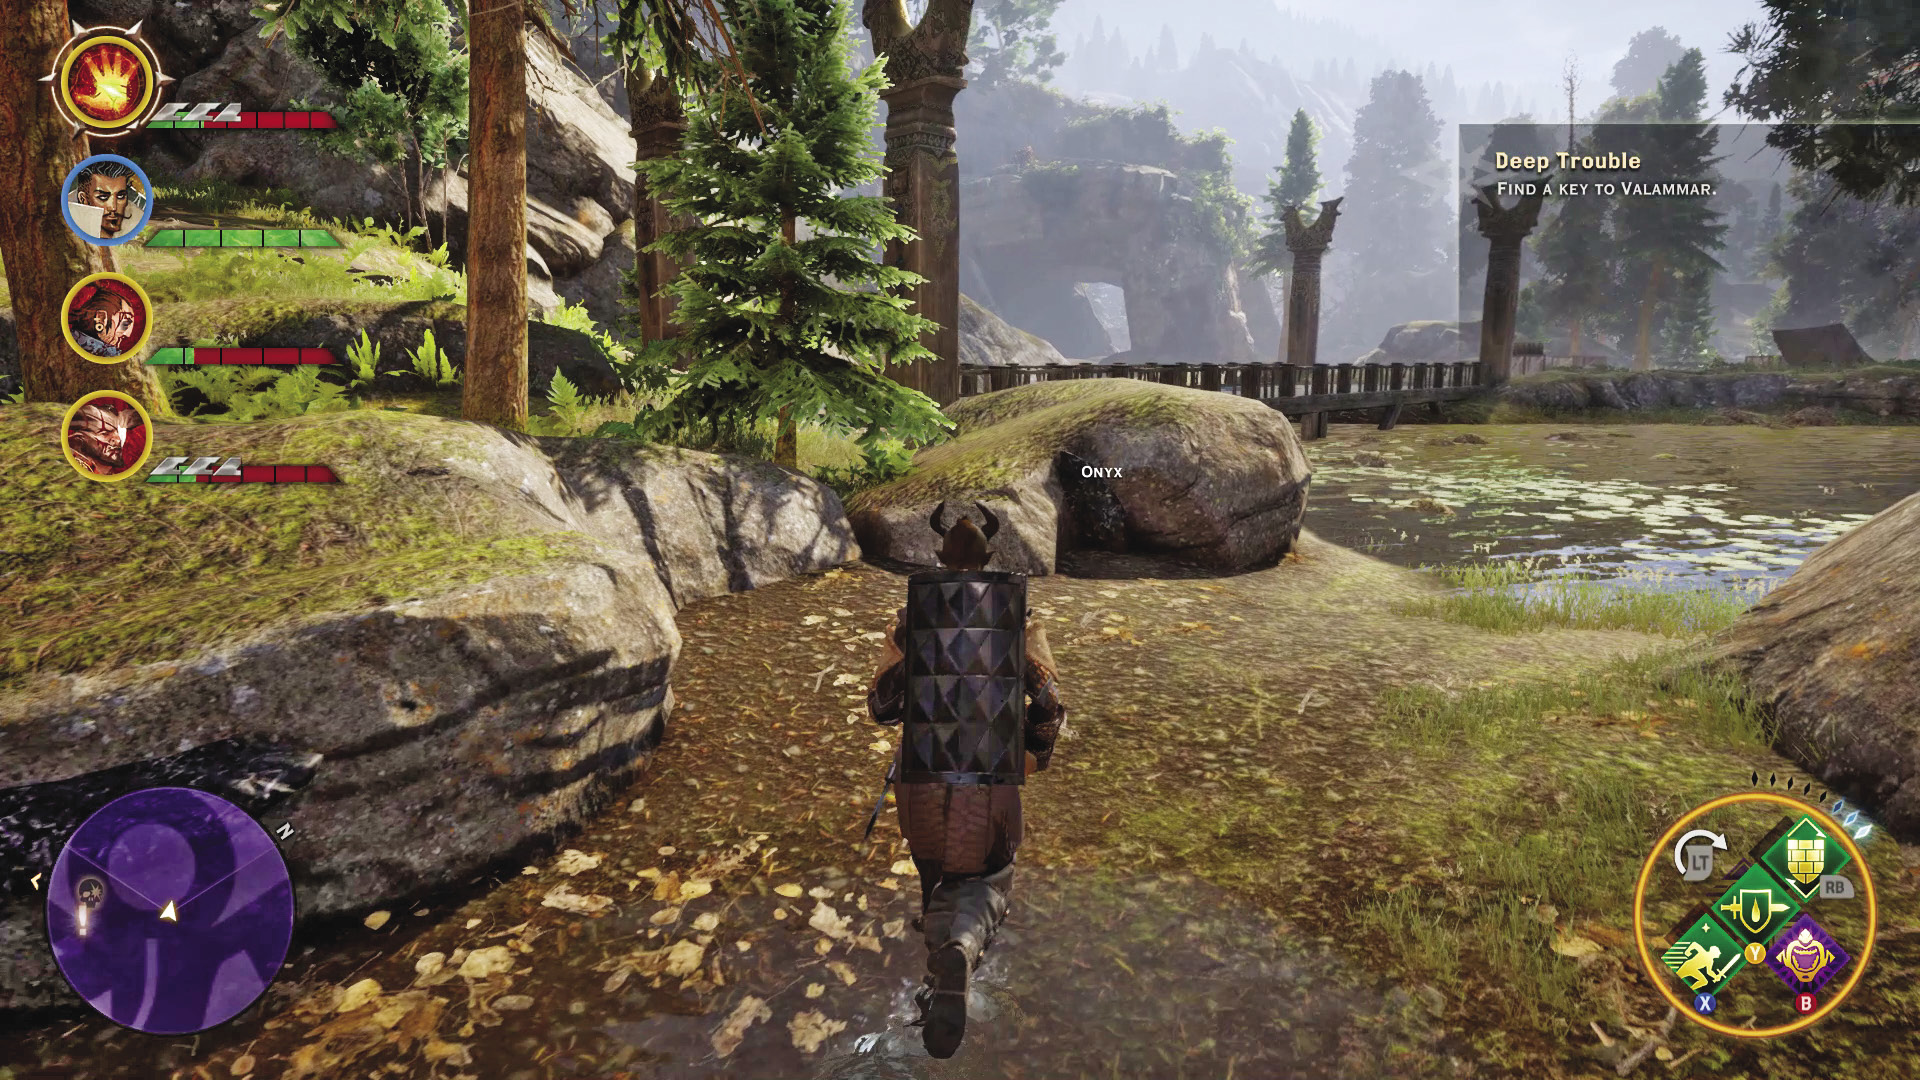
This quest can be divided into two distinct parts, and there are two ways that you can start it. The first, and easiest, is to investigate the waterfall south of Lake Luthias. A small path takes you behind the waterfall, where a locked door is guarded by some Carta thugs. Being level 6 to 8 should help you be prepared for the fight they’ll put up; these dwarves are a step above the enemies you’ve fought in the northern Hinterlands. After clearing out the guards, you can try to open the door, but it’s locked and requires a specific key.
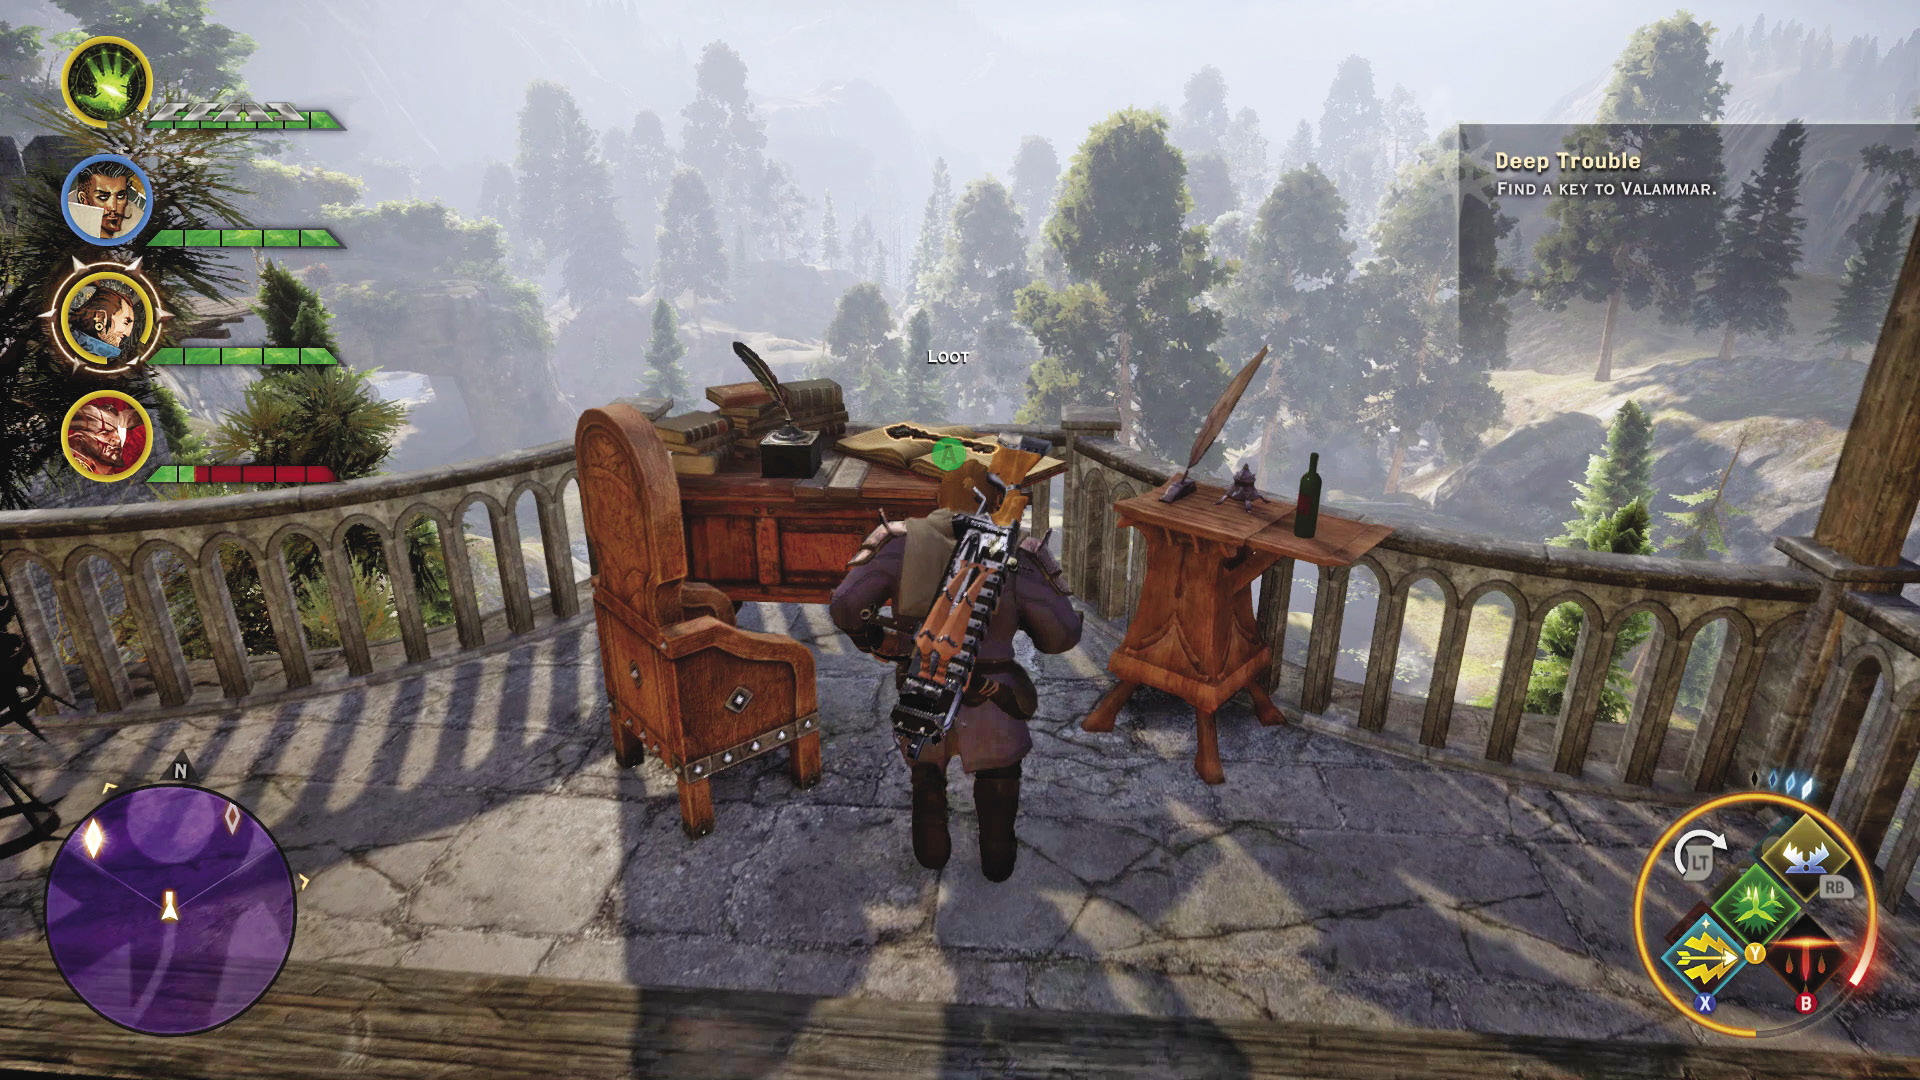
Getting this key requires traveling to the mercenary fortress, far to the west of Lake Luthias. Traveling through the wilderness from Lake Luthias is a serious challenge if you’re not around level 7 or 8, or are poorly geared. In addition to bears and wild packs of mabari war hounds, you encounter a large camp of very well-equipped, highly skilled mercenaries.
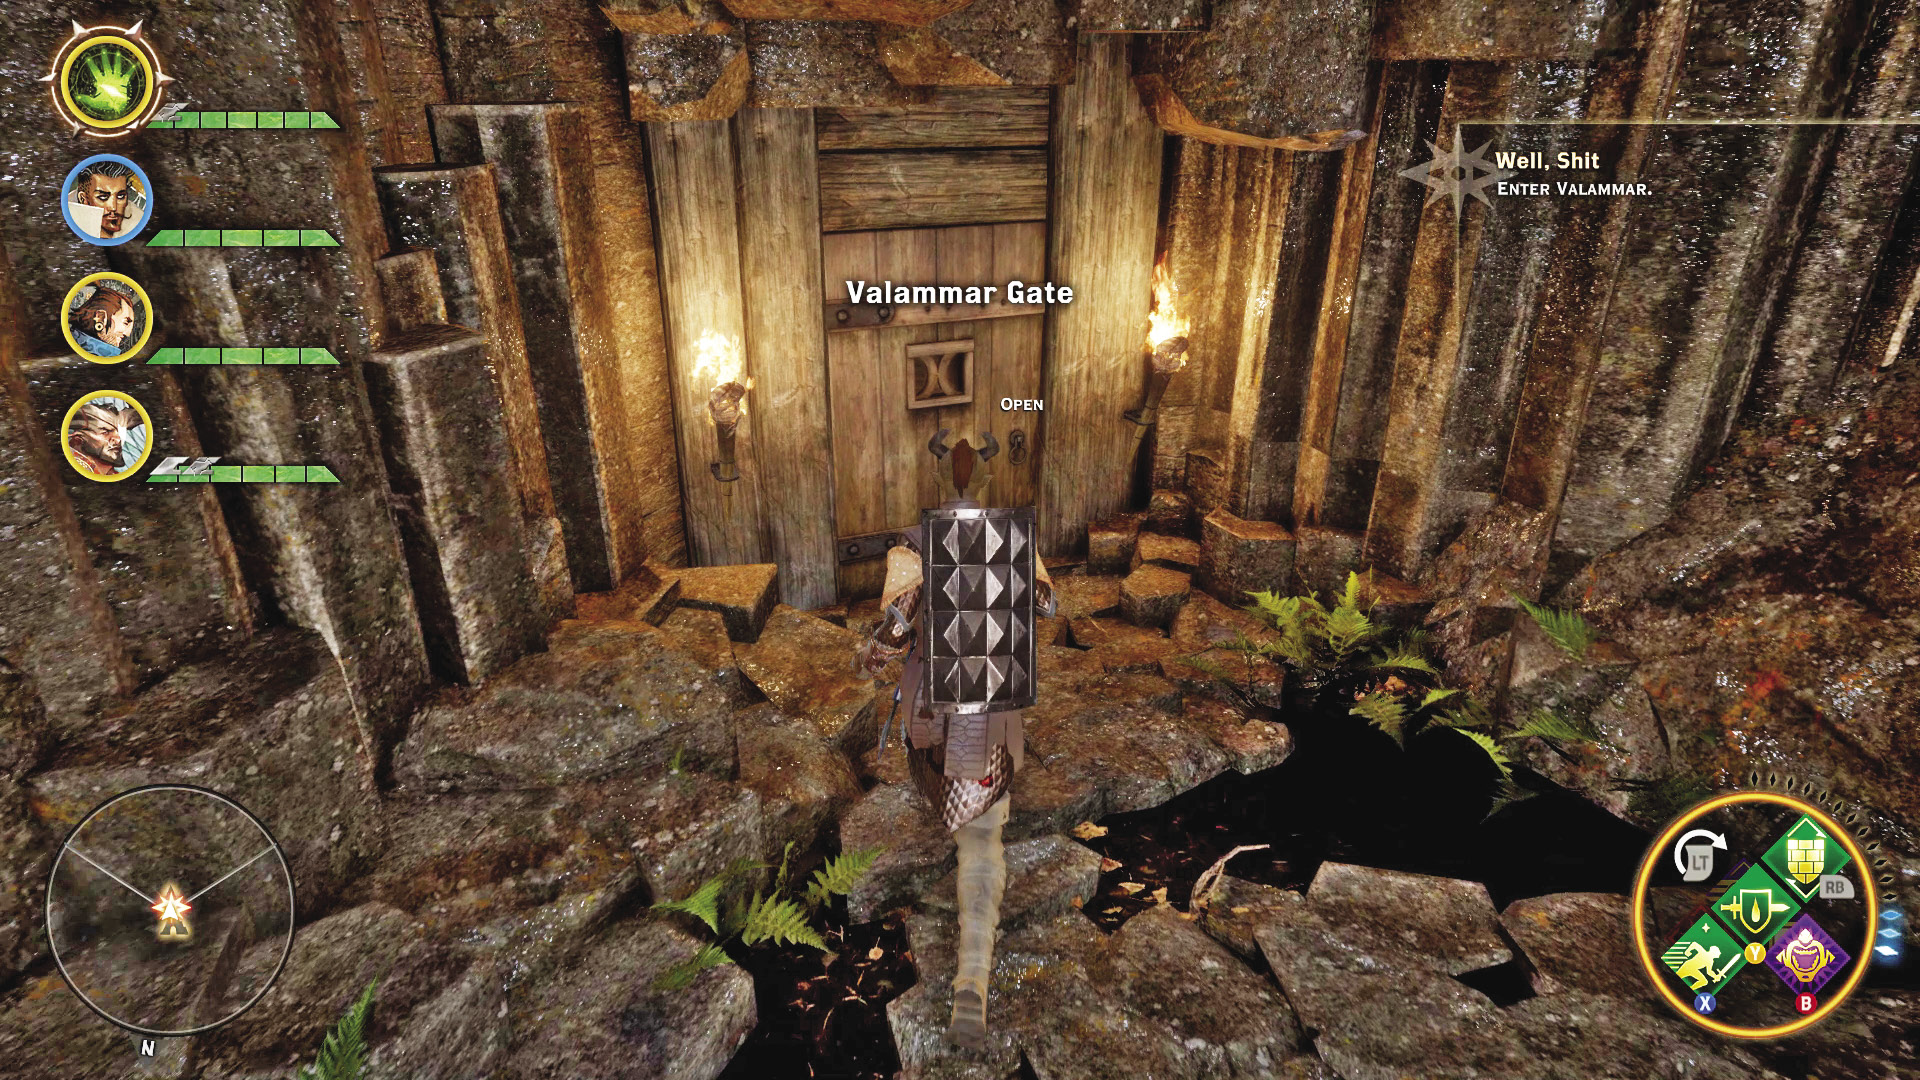
The fortress itself is filled with more of these mercenaries. However, once you reach the top of the fortress and defeat the mercenary leader, you can pick up the key to Valammar. You’ll also receive a codex entry that shows a note from the Carta, saying that they hired these mercenaries to keep things in Valammar tightly secured from outside eyes. Your new objective is to return to Valammar and eliminate the Carta leader running the entire operation.
The other method for starting this quest is to find the key after eliminating all of the mercs as part of The Mercenary Fortress side quest. You’ll be given the quest and be shown the entrance to Valammar on your map.
42: Dungeon: Valammar
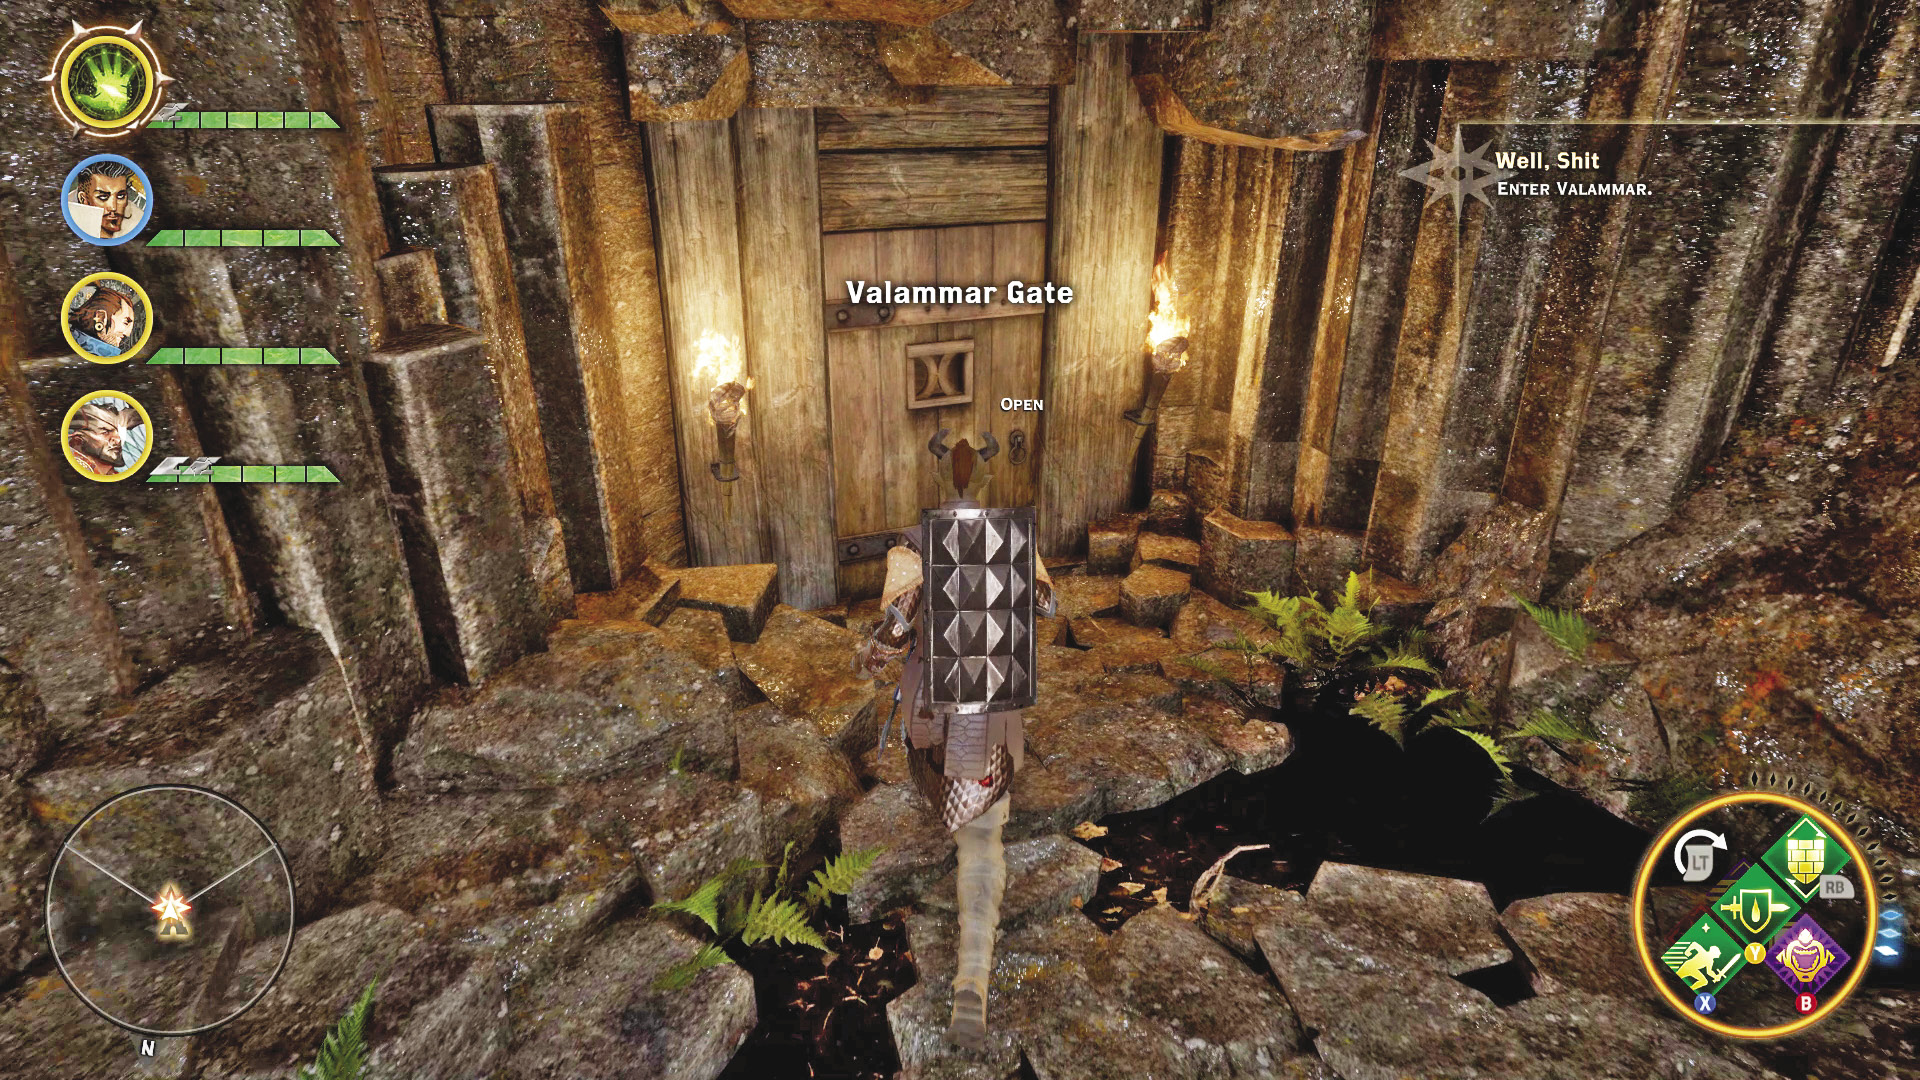
Valammar is an old dwarven outpost, a crumbling ruin that reaches deep into the earth and must be reached from a passageway found in the Hinterlands. Within this dungeon lie many treasures that require a touch only a rogue can provide to reach, so bring Varric or Sera if your Inquisitor has chosen a different path. Come prepared with full inventories of potions and the best gear you can muster if you’re coming in around level 7 or 8; the Carta will not give up this place without a fight, and if you go deep enough, you’ll find that there are worse things than the Carta waiting for you.
Valammar
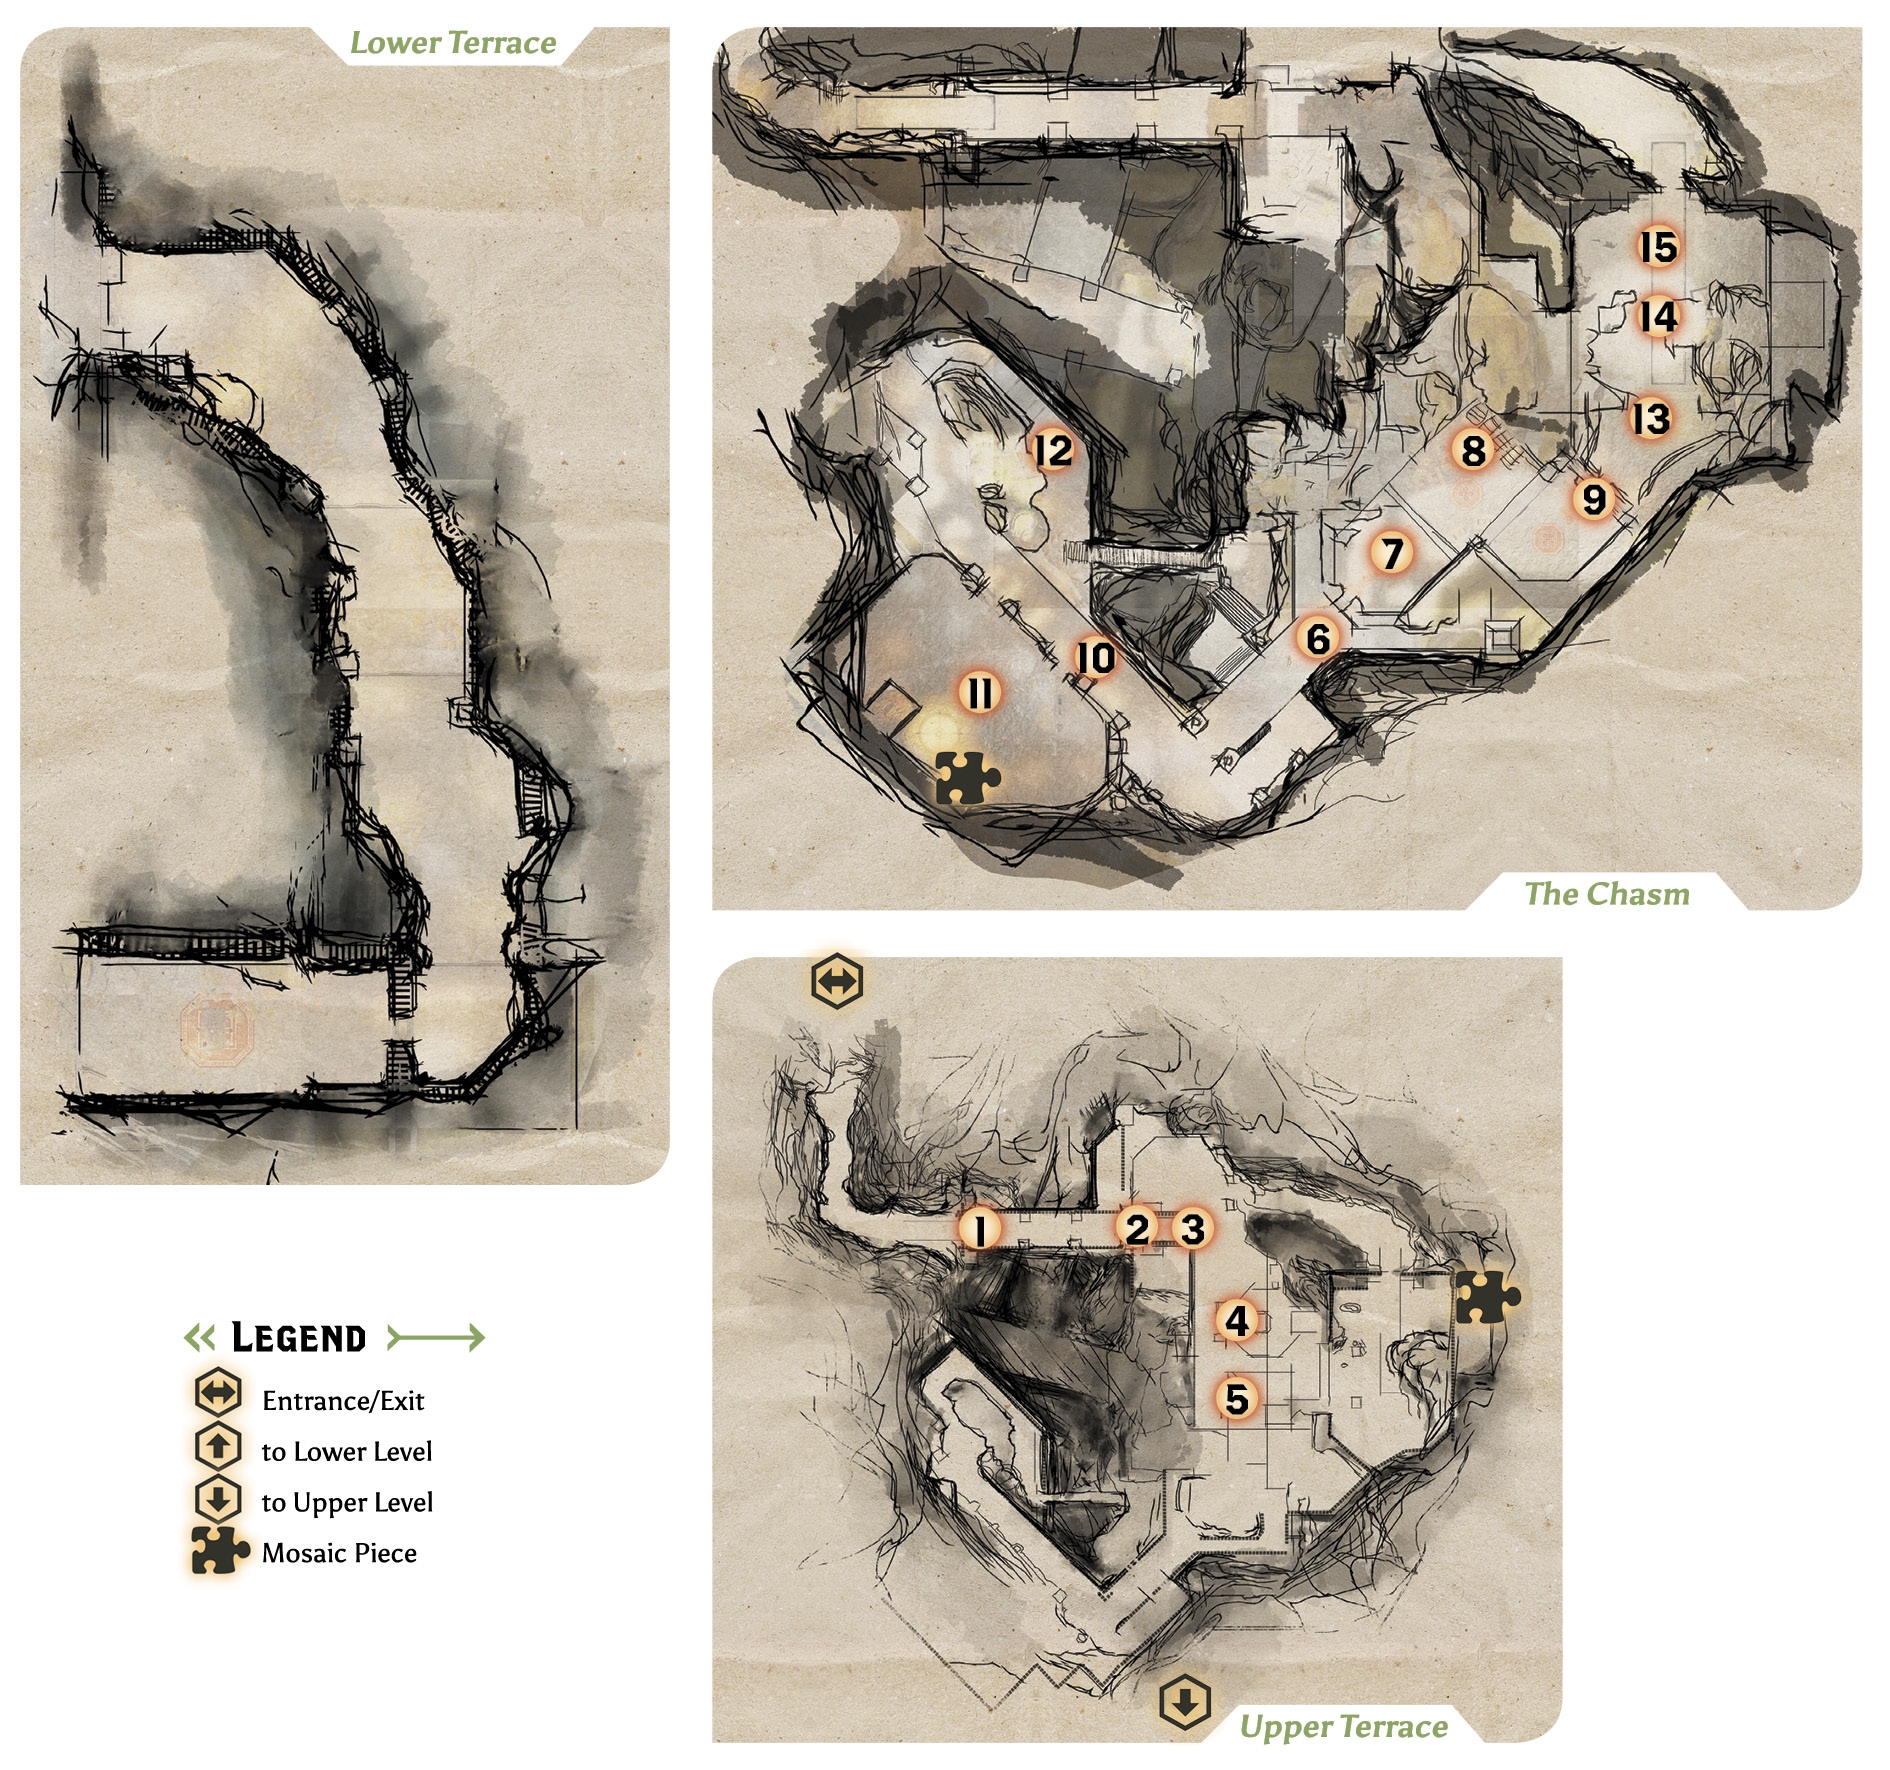
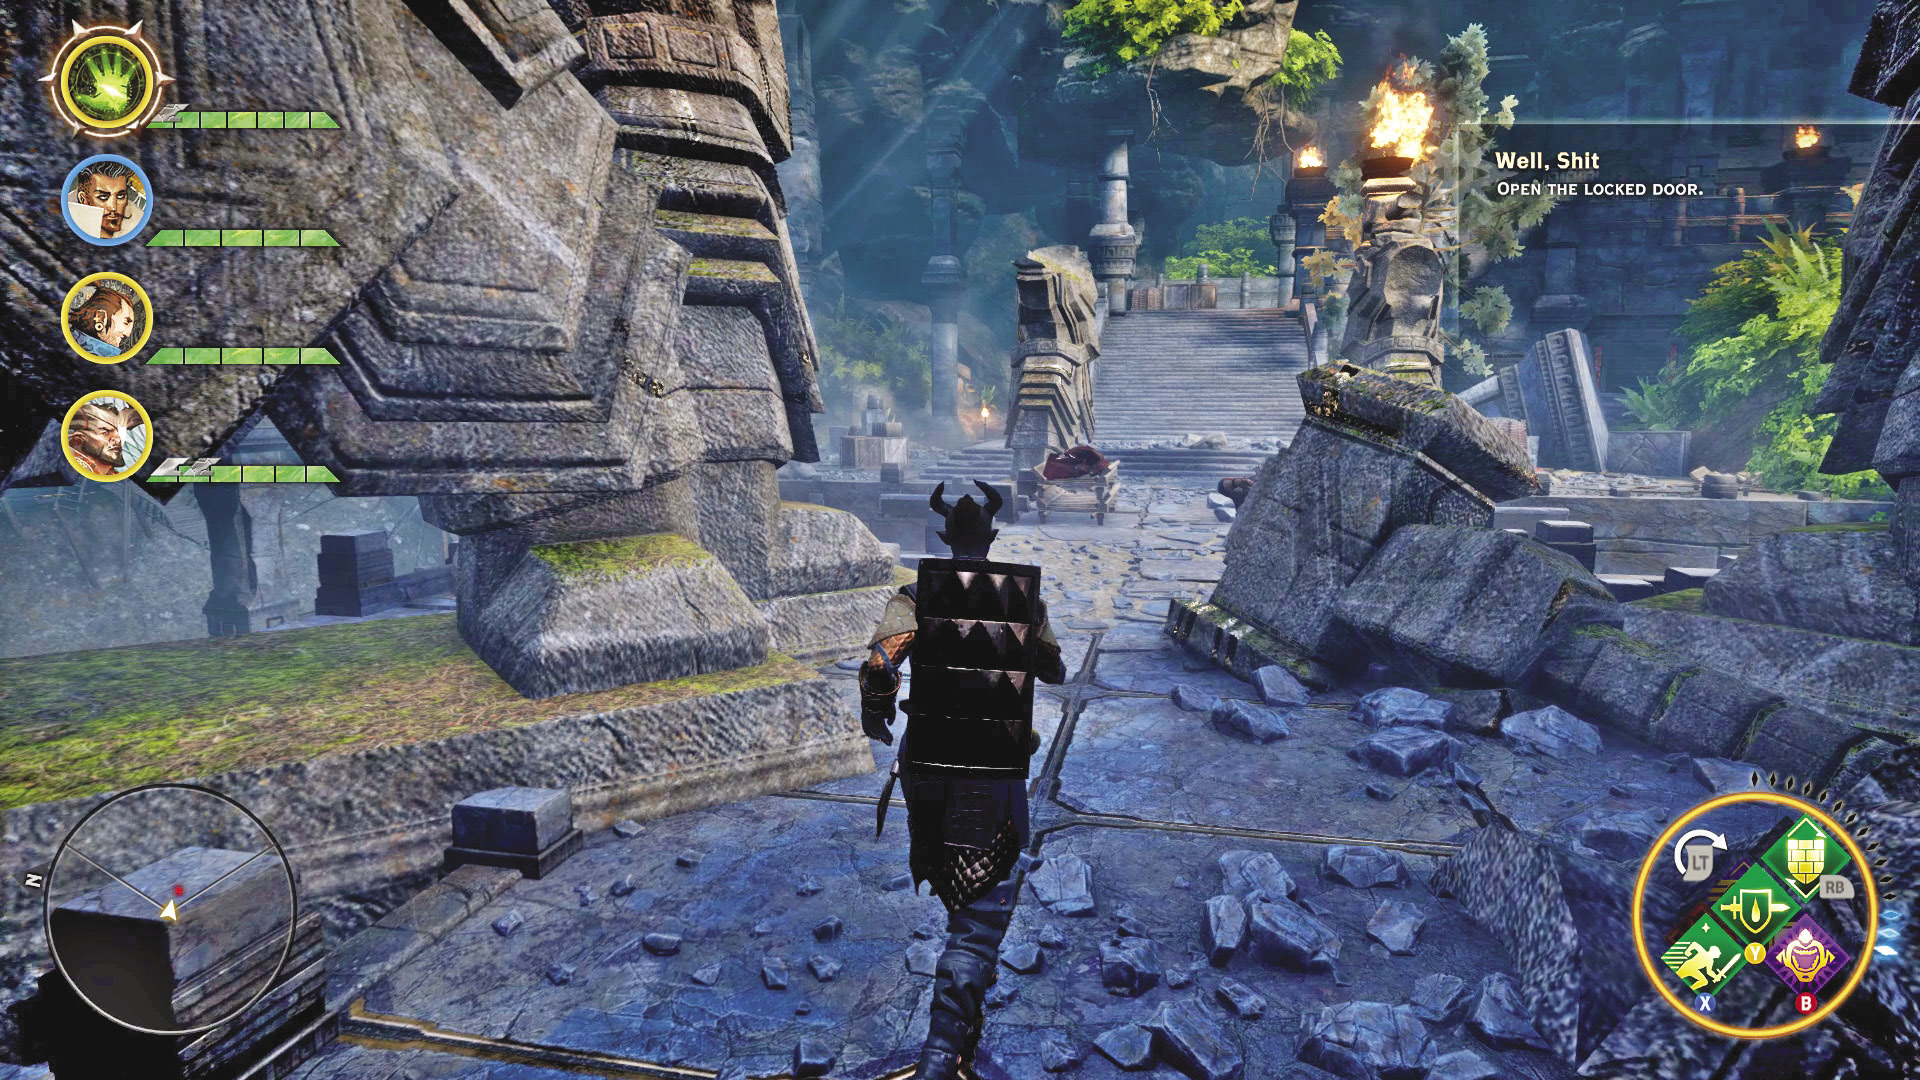
1. The bridge just past the entrance to Valammar is seemingly guarded by a lone Carta bowman. However, a Carta assassin is hiding in stealth somewhere on the bridge and will strike in the middle of your battle.
2. A nearby camp on the other side of the bridge also contains another bowman and a Carta grunt; they rush to aid their bridge comrades.
3. Two more bowmen command the stairs leading up from the bridge to the upper terrace.
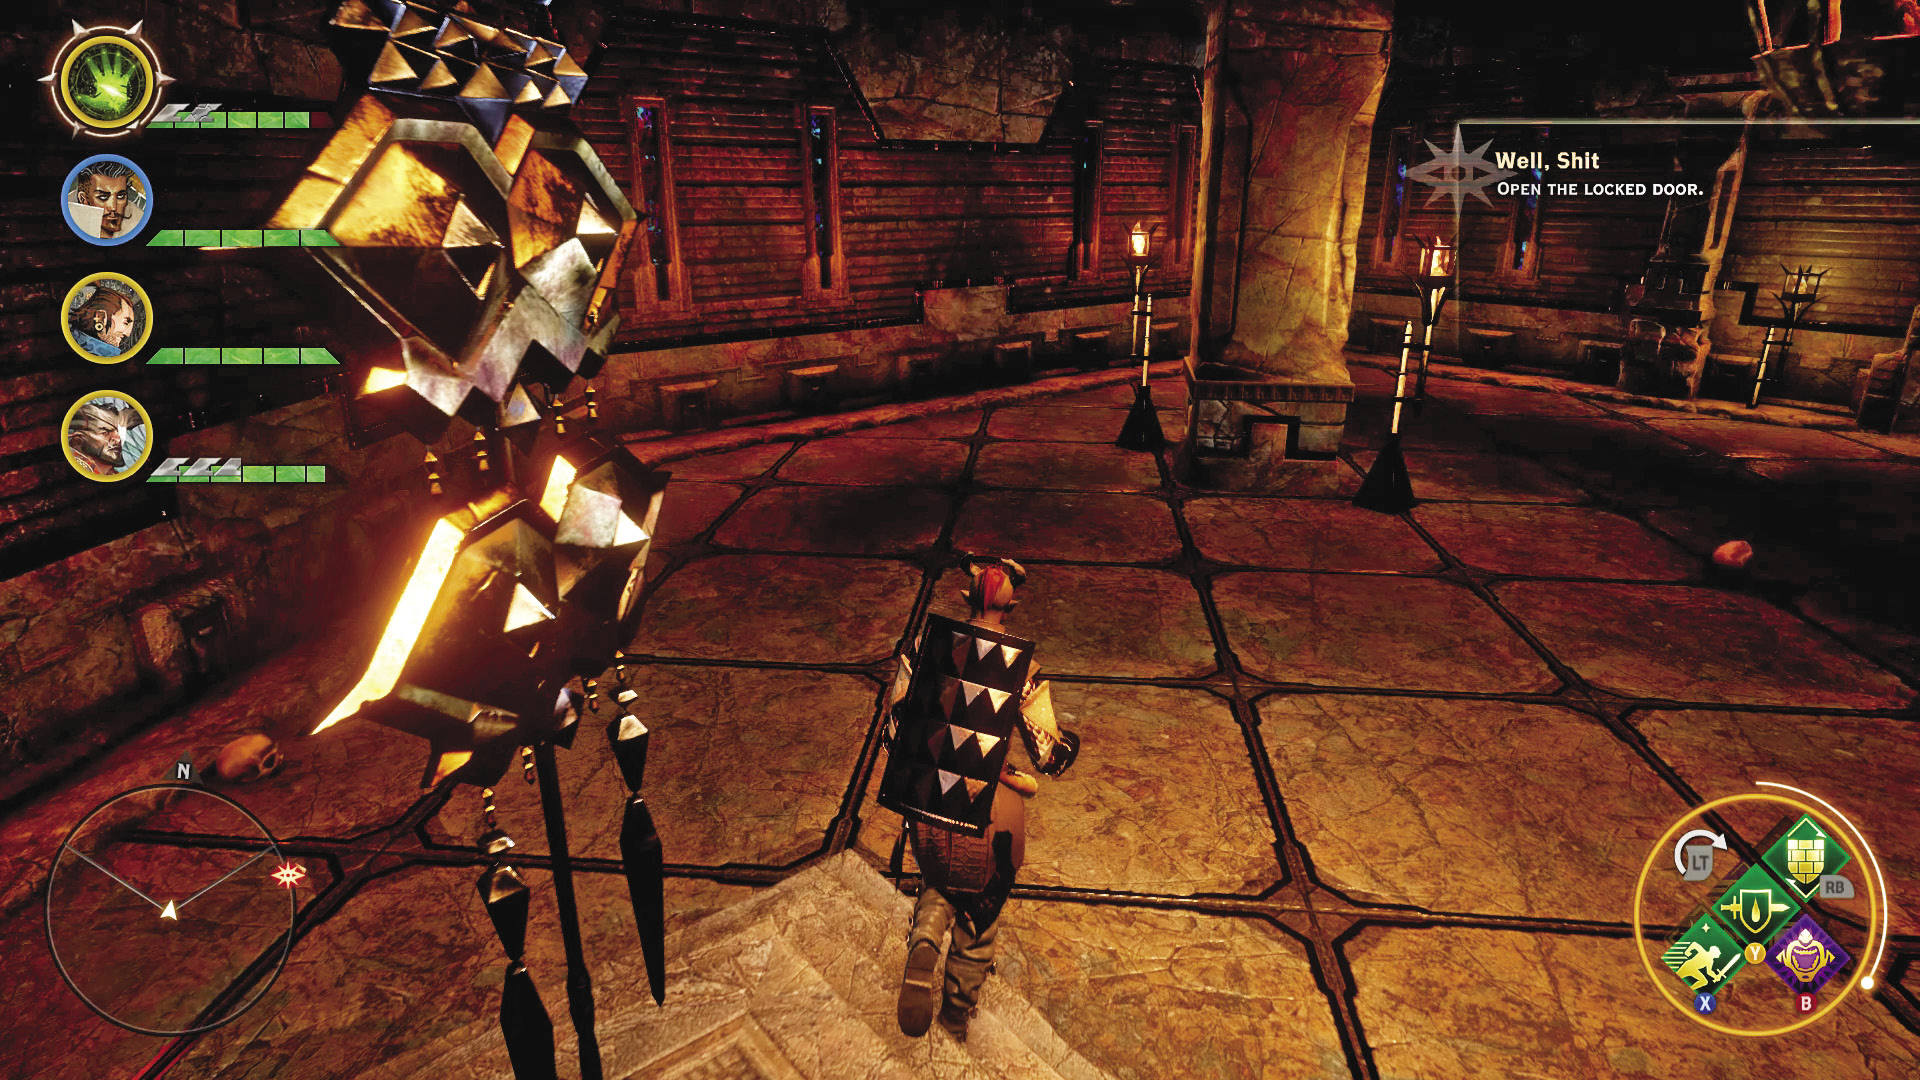
4. This room contains a wall you can bash through with a warrior, which gains access to a small treasure room.
5. This door requires a rogue to unlock it. Beyond it is the Trading Post, containing more loot to pillage, along with some interesting Carta notes for your codex.
6. Continuing along the upper terrace and taking the next set of stairs down, you encounter two Carta bowmen engaging darkspawn hurlock on the bridge near your objective. Help both sides kill each other, then get ready for a rough fight against the Carta leader and their personal guards.
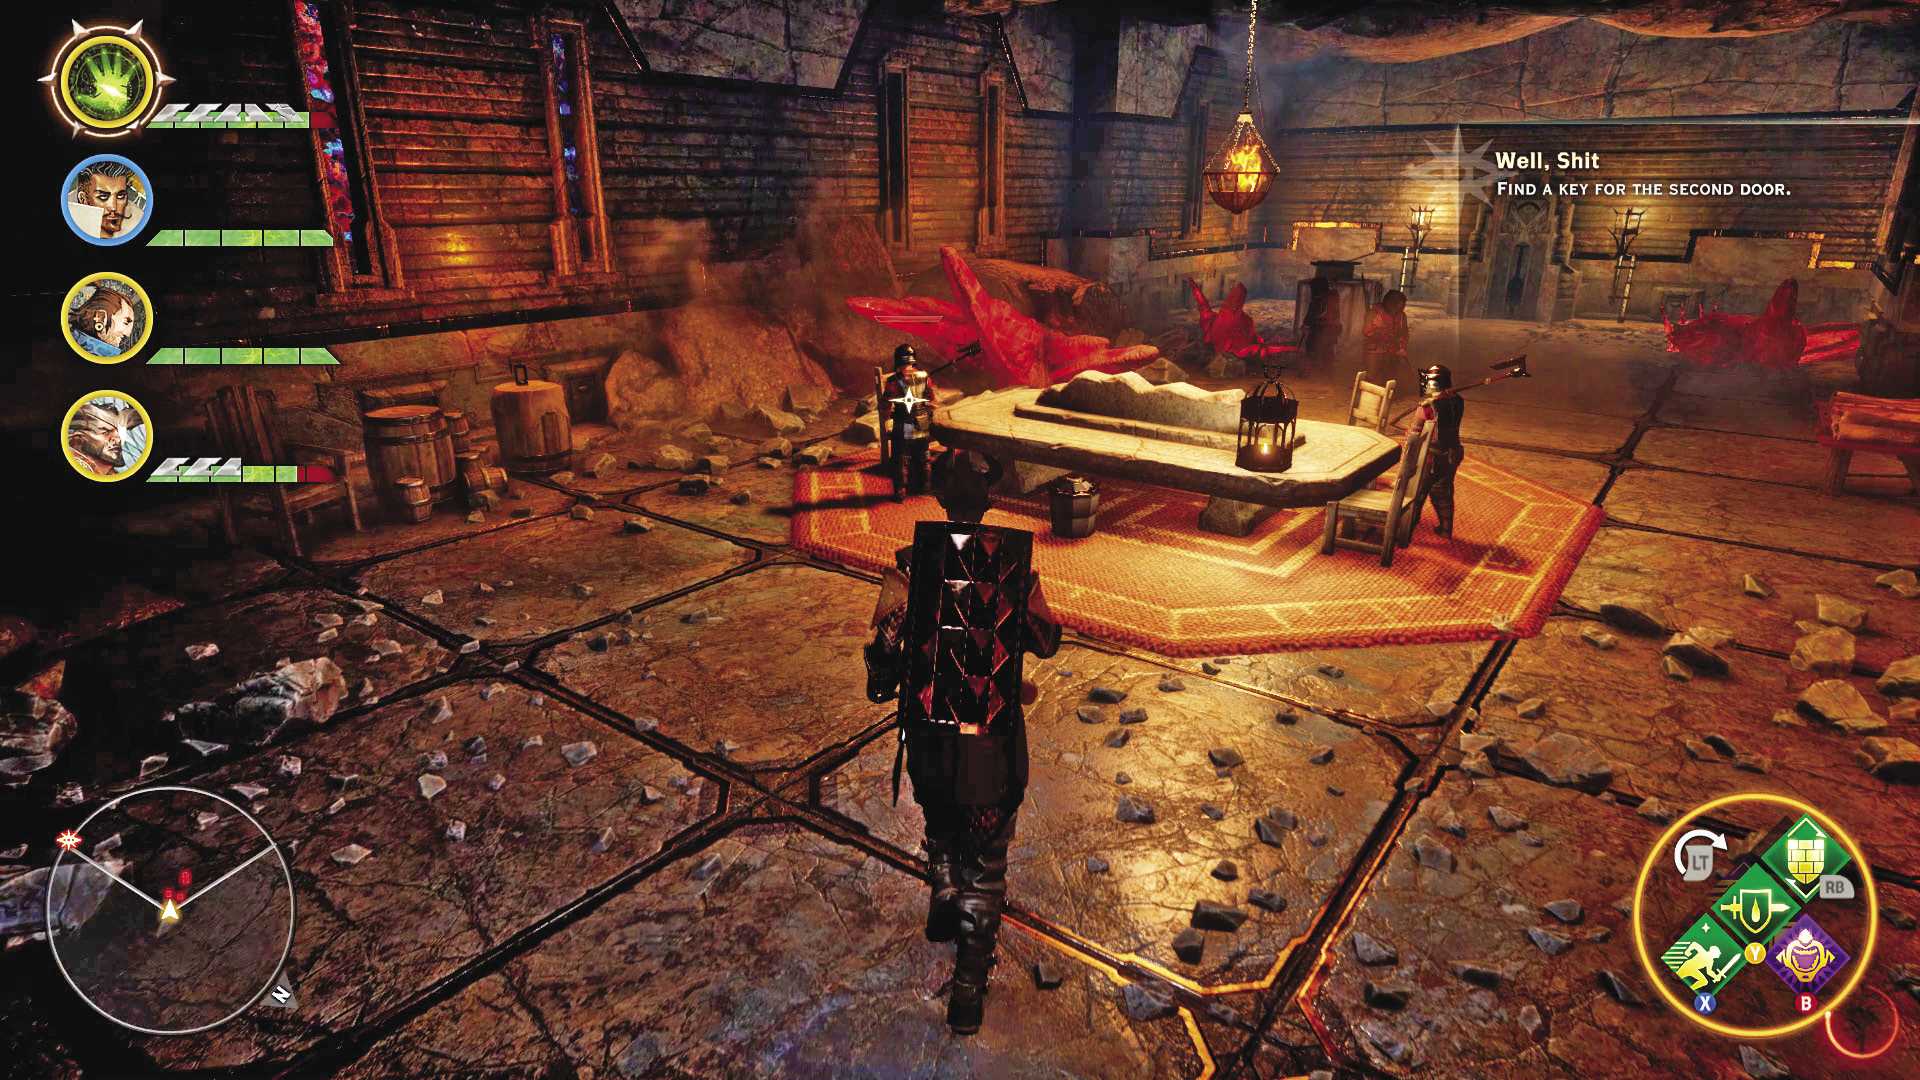
7. The vat room is where you’ll find the Carta leader, a pair of bowmen, a grunt, and an enforcer. Not exactly a simple fight! Rip up the lighter targets first—and this includes the leader! The enforcer can survive a good beating while the rest of his allies go nuts, so take them out of the equation first, then put down the enforcer.
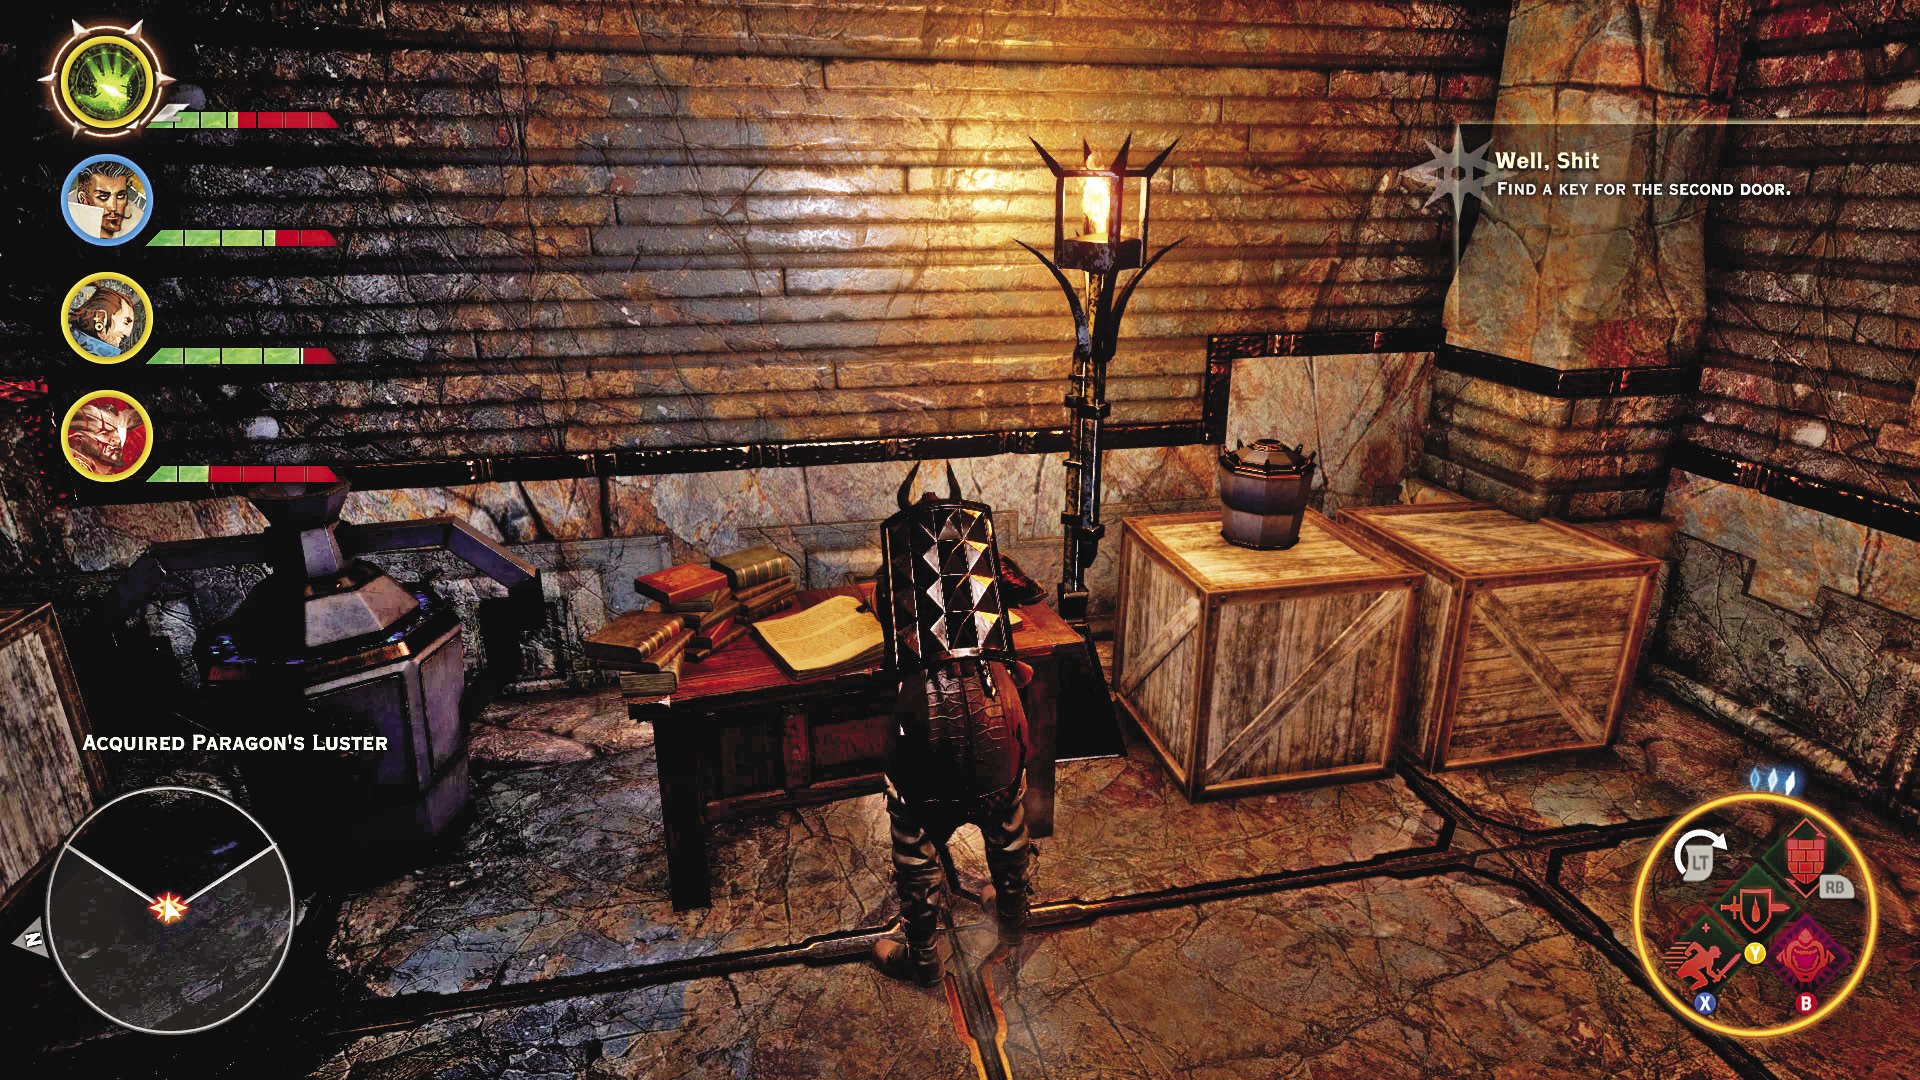
8. The quest is complete as soon as you kill off all the Carta in the Vat Room. Loot the place for all it’s worth, and check out some of the notes and journals the Carta left behind. Among the spoils is a dwarven gear; looting it starts the Vault of Valammar side quest.
The Vault of Valammar

Quest Giver: Investigate the sealed vault door in the vat room inside Valammar.
Description: These gears should fit the lock on a large door clearly made to keep out thieves.
Requirements: Available after completing the Deep Trouble quest
Reward: 512 XP, 80 Influence, 2 Power
Objectives:
 Find two gears.
 Use the gears to open the vault.
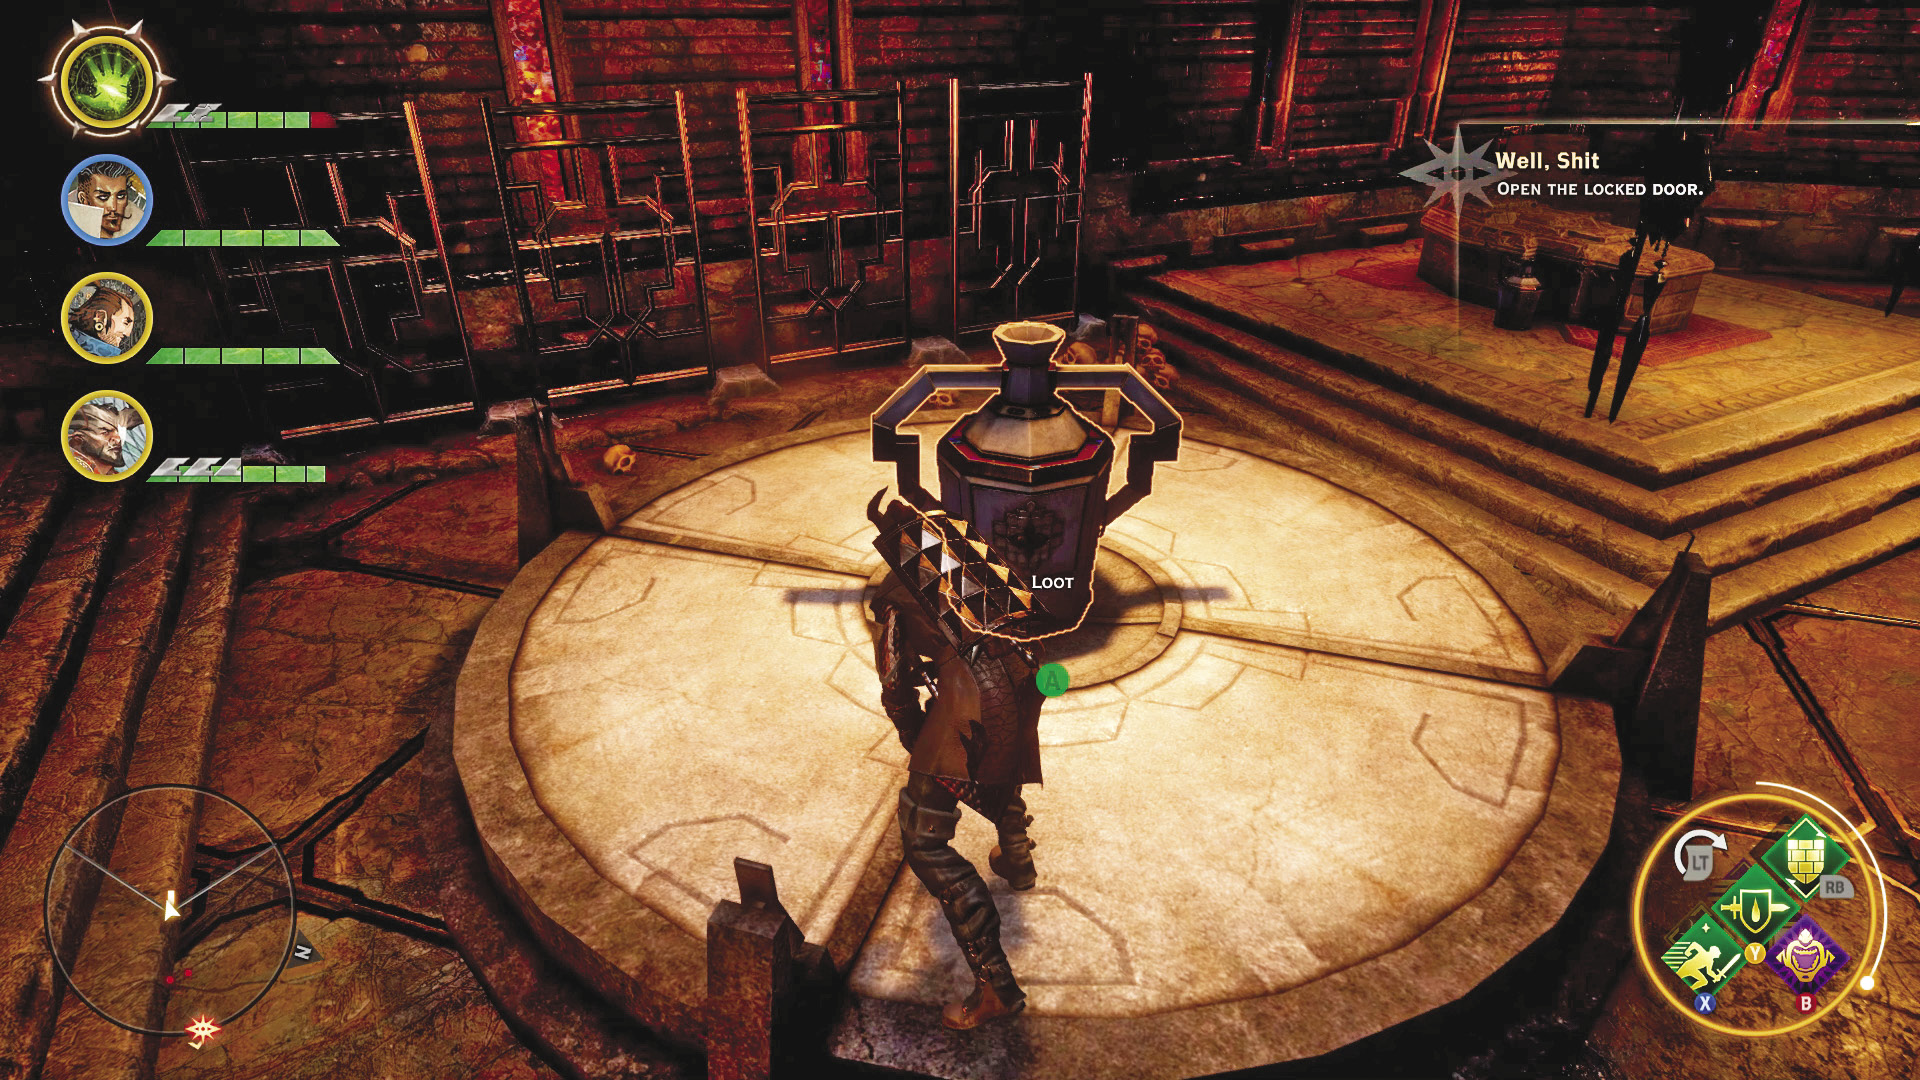
9. The first gear, found near the Carta leader, can be placed right away on one of the two slots flanking the vault door. However, what’s inside will remain locked away until you find the second gear. Go back to the bridge outside of the vat room [6] and cross it.
10. You discover the Halls of the Elders upon crossing the bridge, along with another hurlock. There’s also a door you must unlock with a rogue.
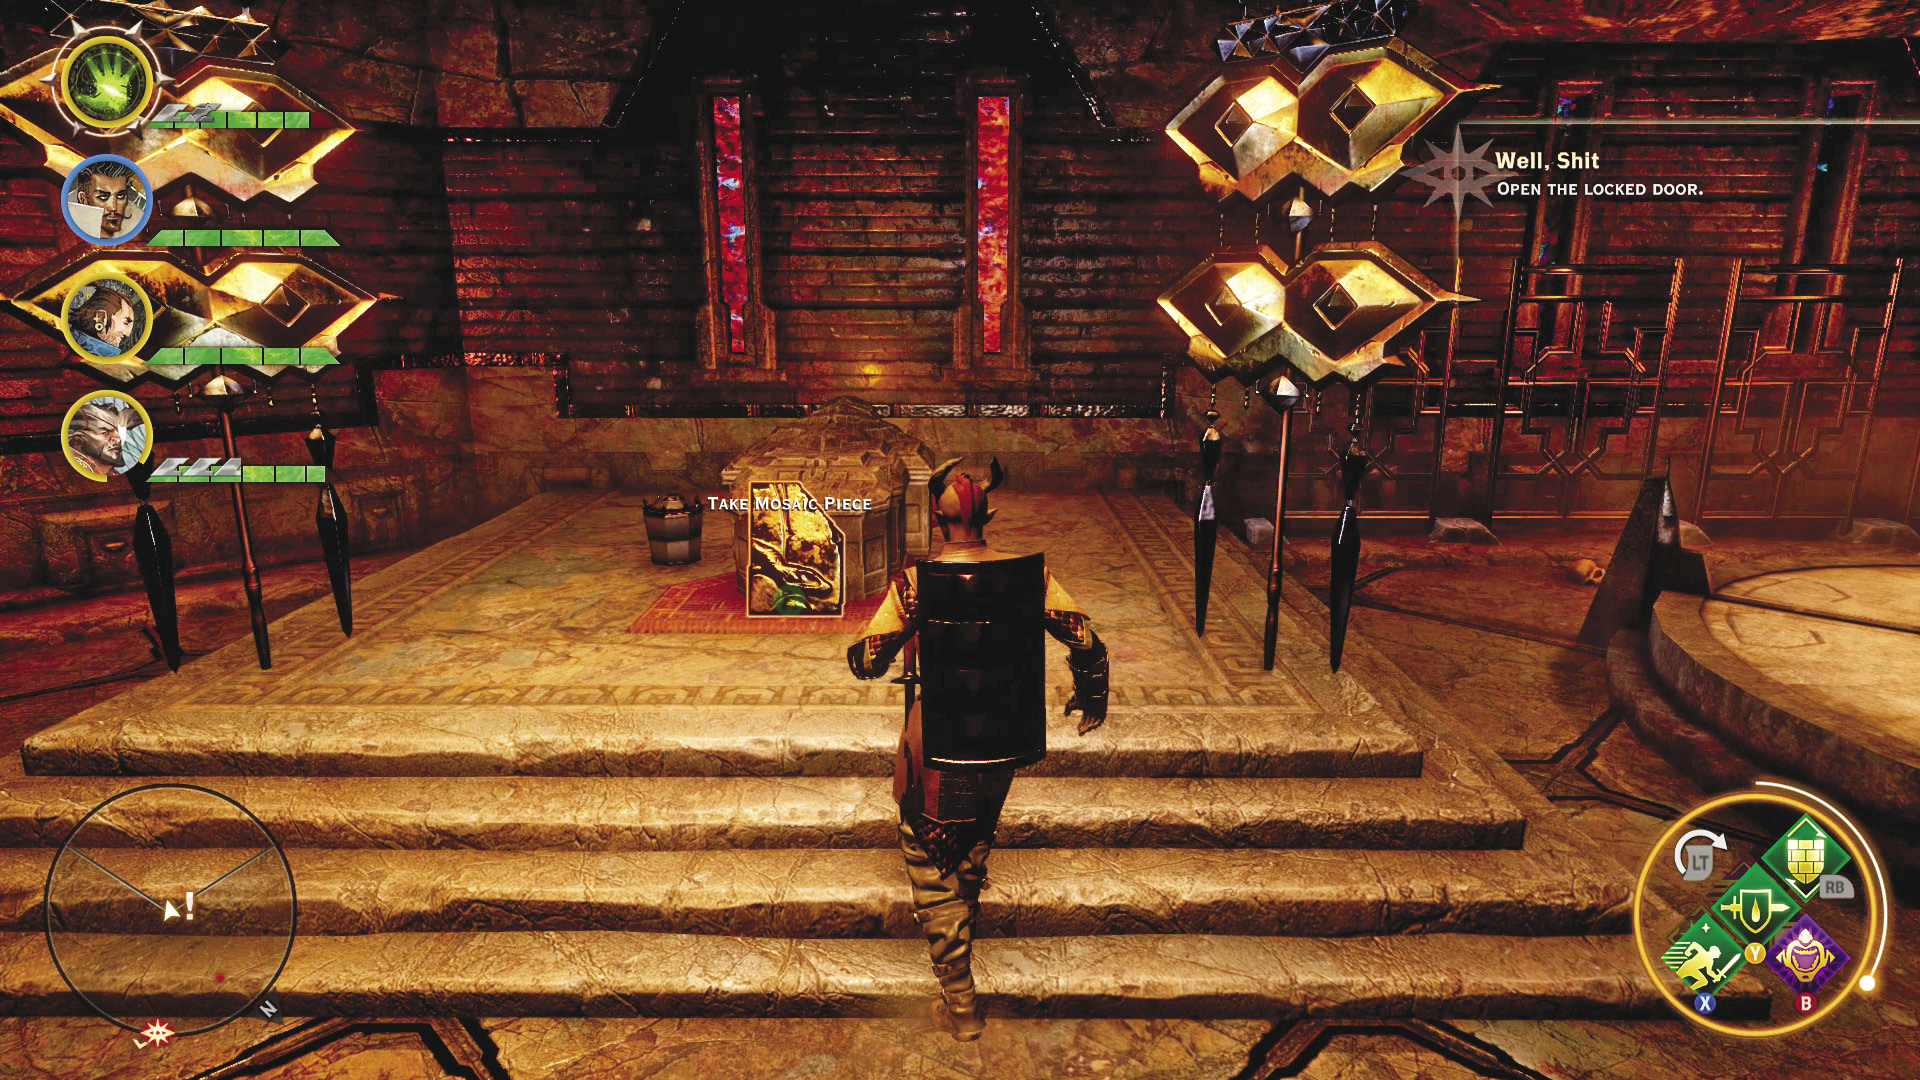
11. Inside the treasure room is a mosaic piece for The Fall, as well as numerous treasure chests to loot. The biggest of these contains the second dwarven gear, meaning you can return to the vault door and unlock it!
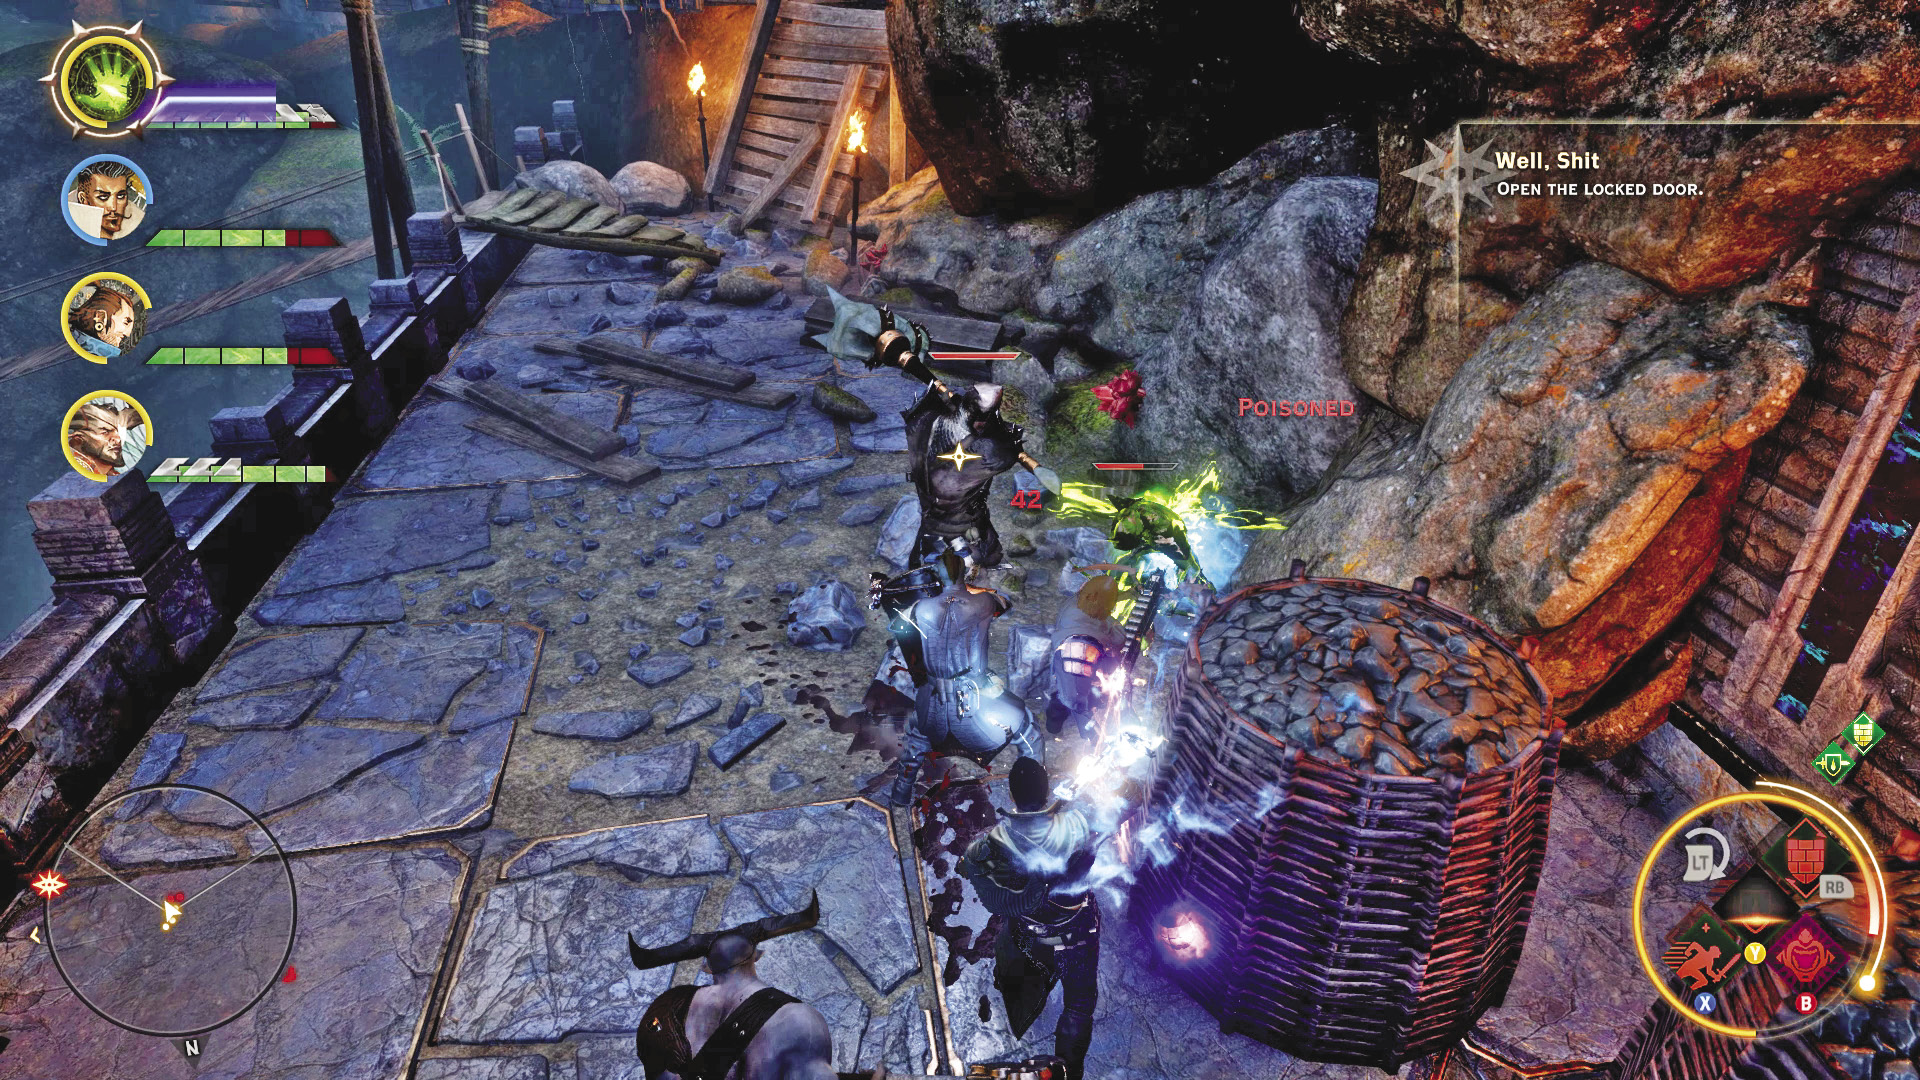
12. If you continue past the treasure room, fighting through more hurlocks, you will find stairs leading down to the lower terrace. Your party starts discussing the massive hole in the stone that the darkspawn seem to be appearing from. If you have a mage in your party, you can energize the debris in the area to reseal that hole and prevent more darkspawn from invading Valammar.
13. Returning to the vault door, spin both gears until they stop to unseal the vault and complete the quest! You’ll also discover The Vaults region as soon as you enter.
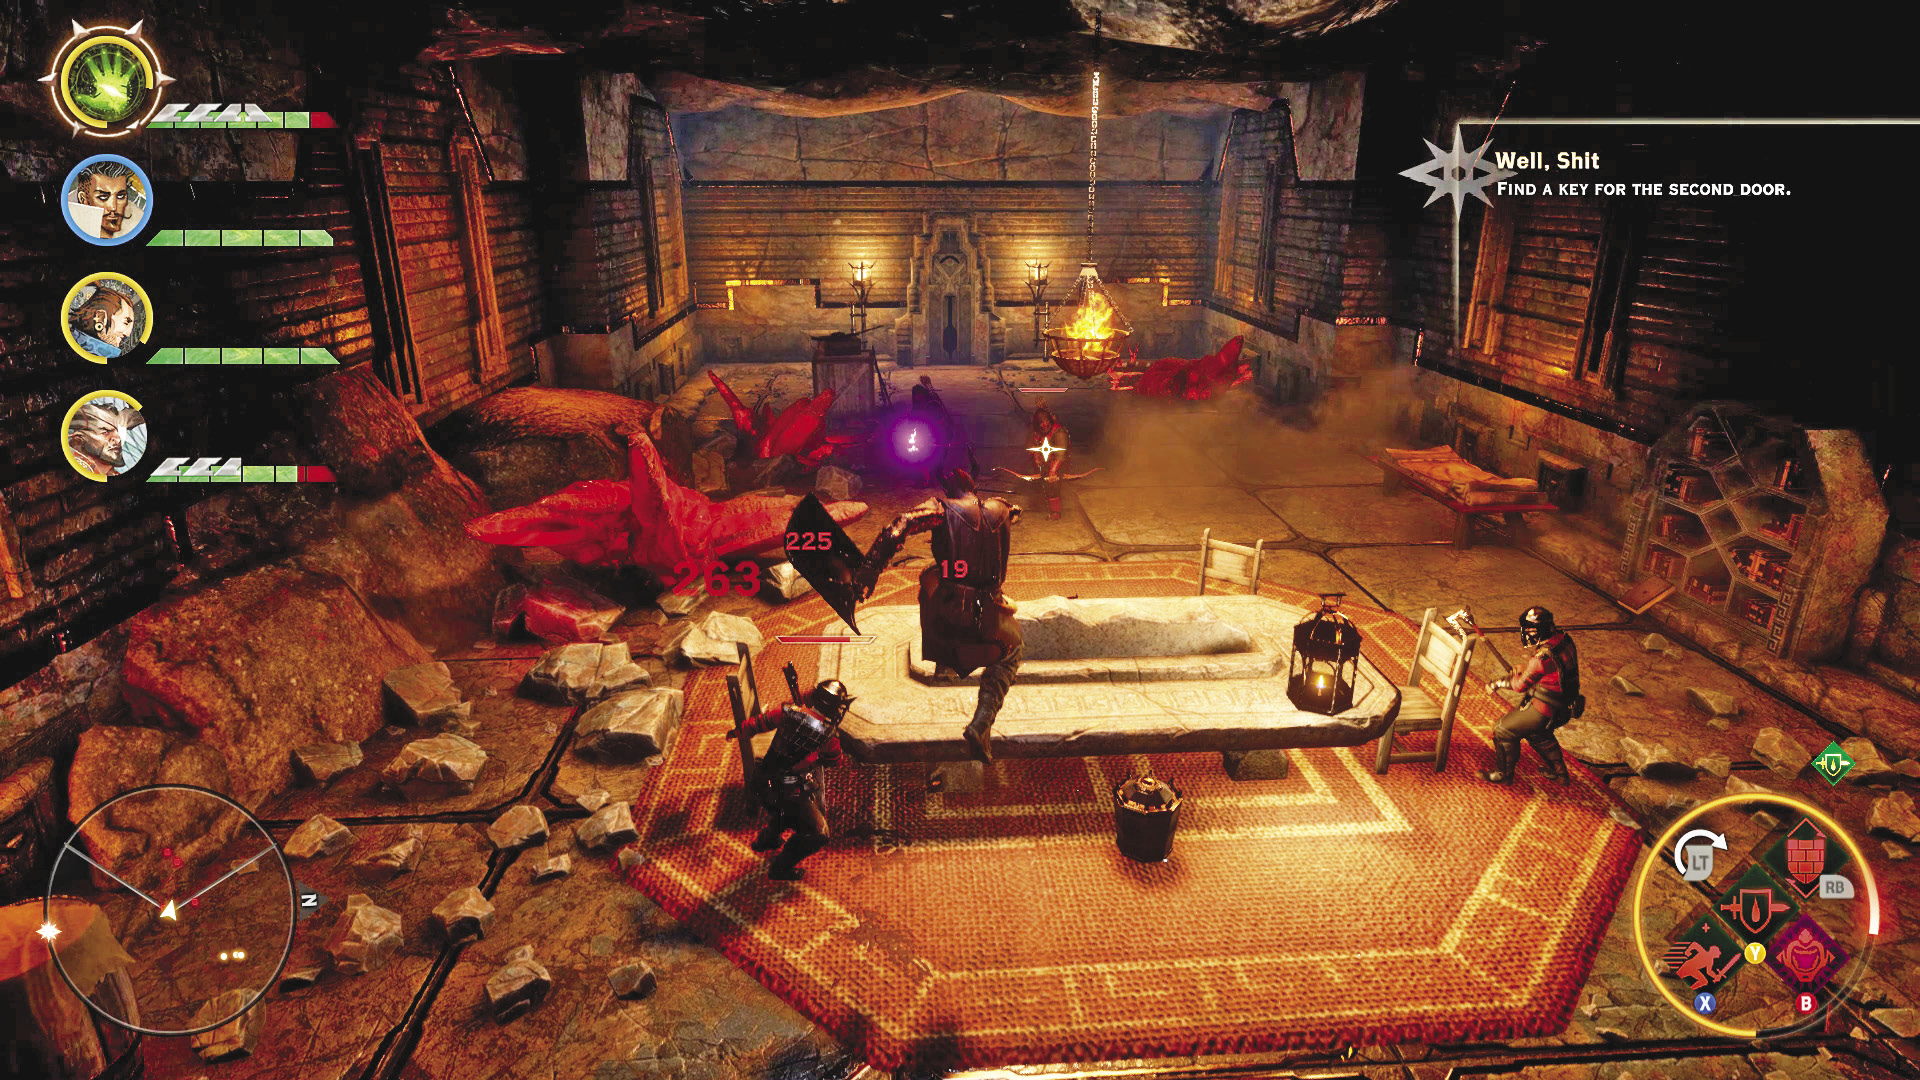
14. But you’re not done fighting yet, not by a long shot. The vault has already been invaded by hurlocks, led by a monstrous hurlock alpha. The alpha fights like the bruiser enemy type, and his two-handed mace can knock out your less armored party members in a few swings. The three hurlocks accompanying him are all dangerous in their own right, as they can deal very heavy damage from afar or up close. Have your tank keep the big guy busy, while the rest of the party hunts down the other hurlocks.
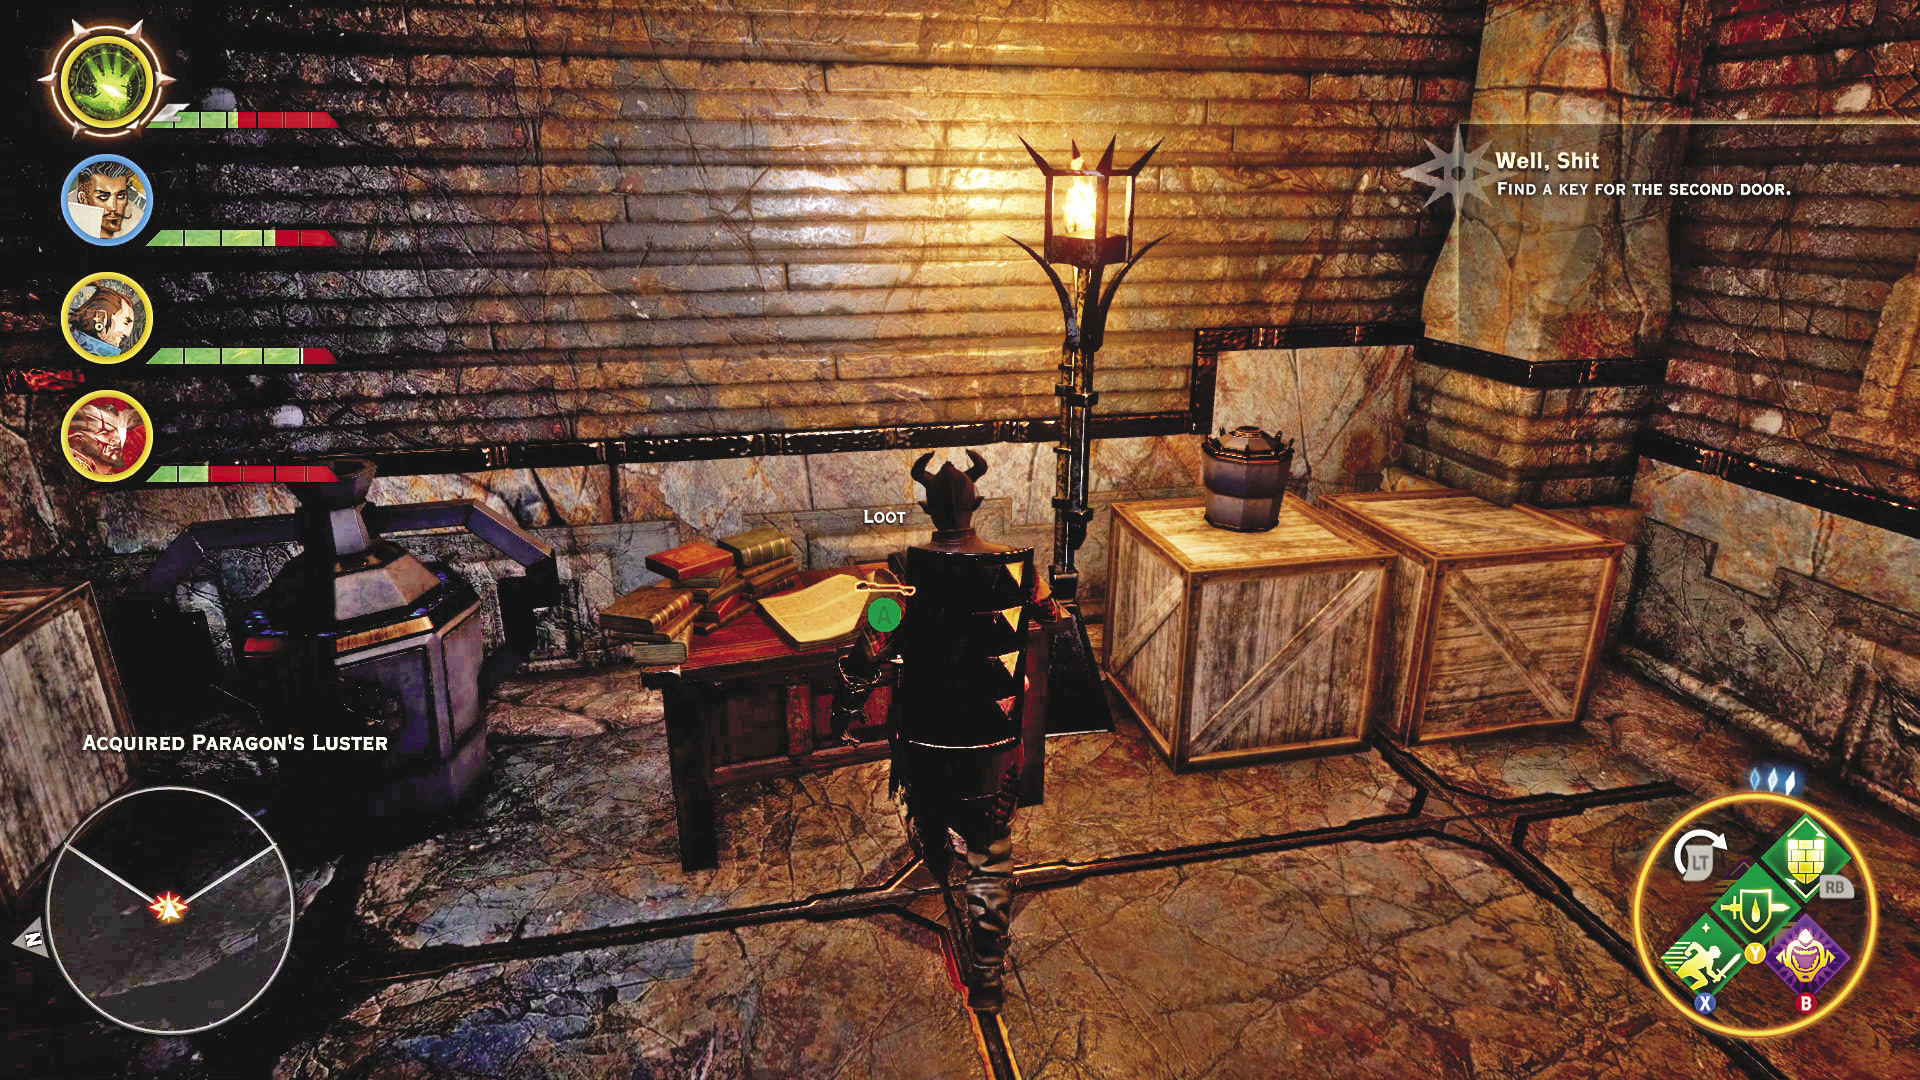
15. The vault contains a lot of treasures for all the effort you just put out. Among them is another mosaic piece for The Fall.
43: High Dragon: The Ferelden Frostback

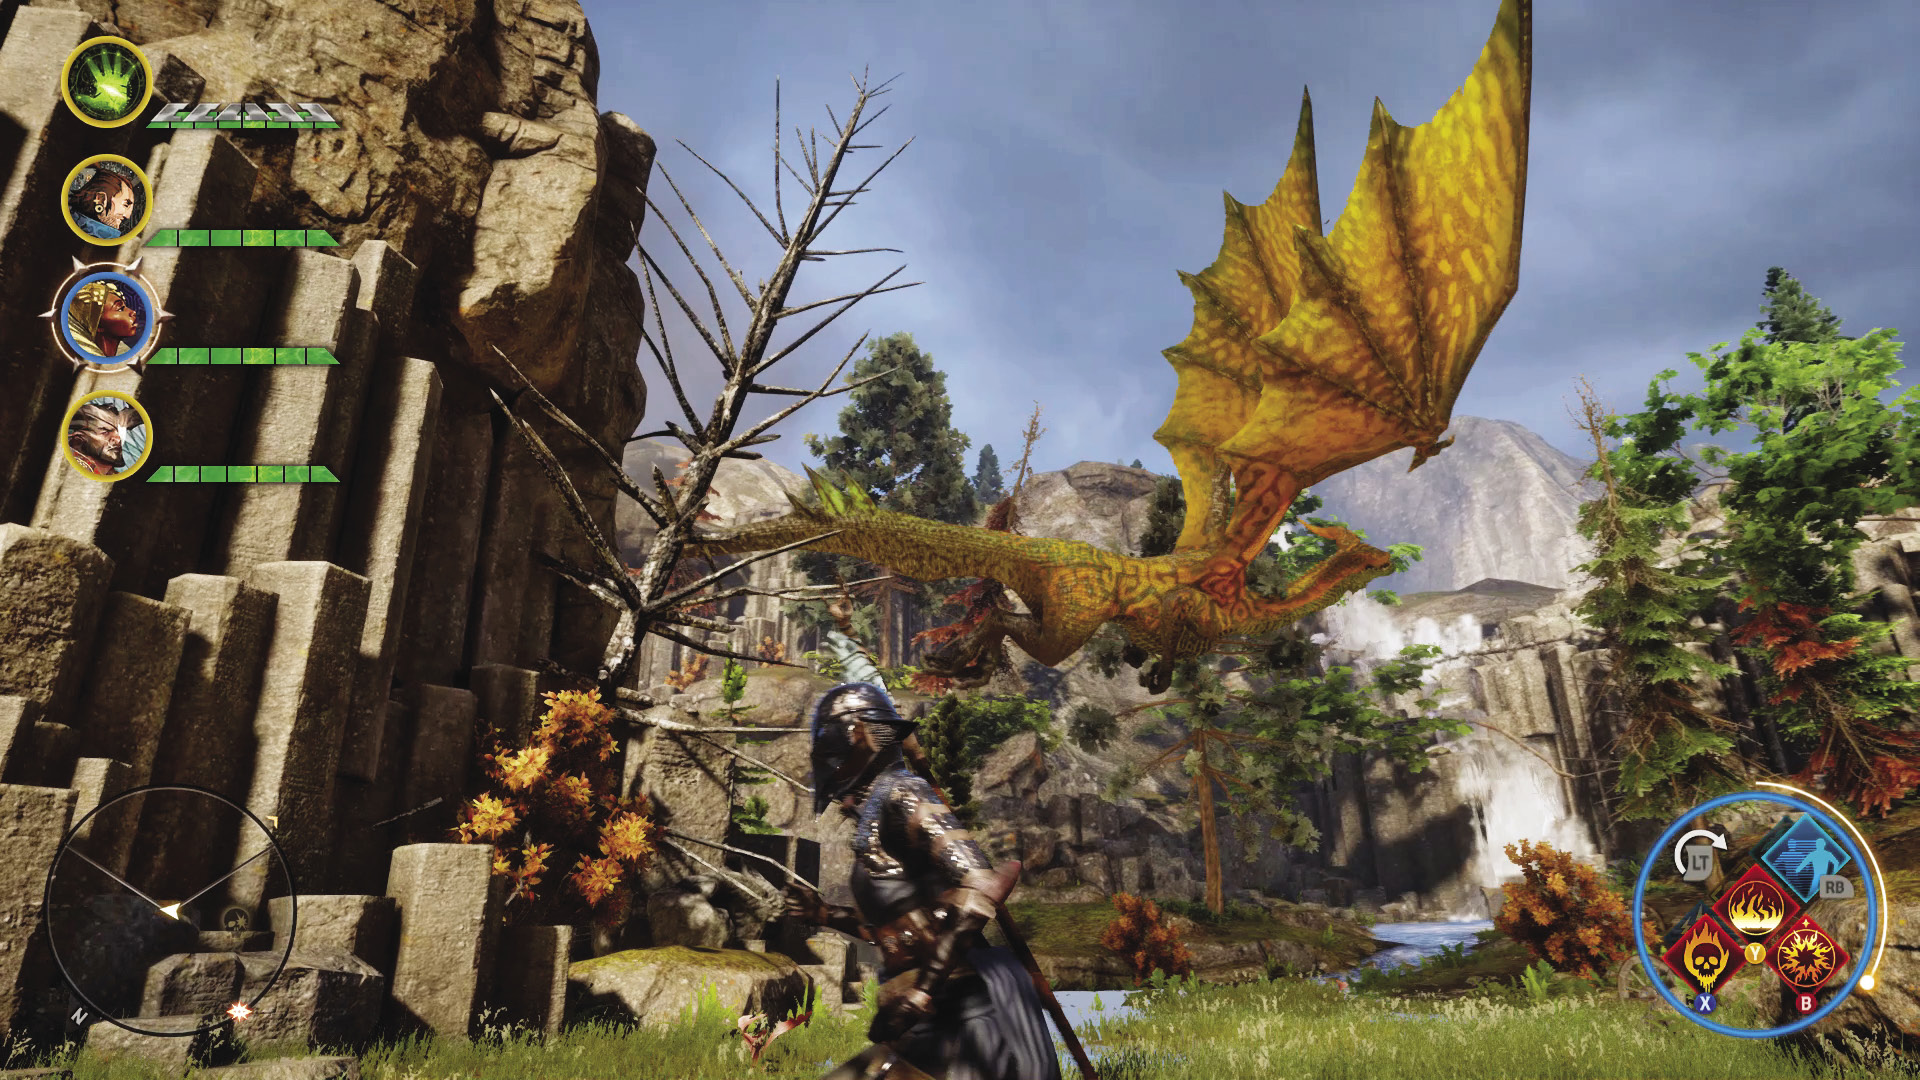
Recommended Level: 12+
Recommended Party Composition: One warrior (sword and shield), one rogue, two mages (armed with frost damage staves)
Alternative Party Composition: Two warriors (sword and shield, two-handed weapon), two mages (armed with frost damage staves)
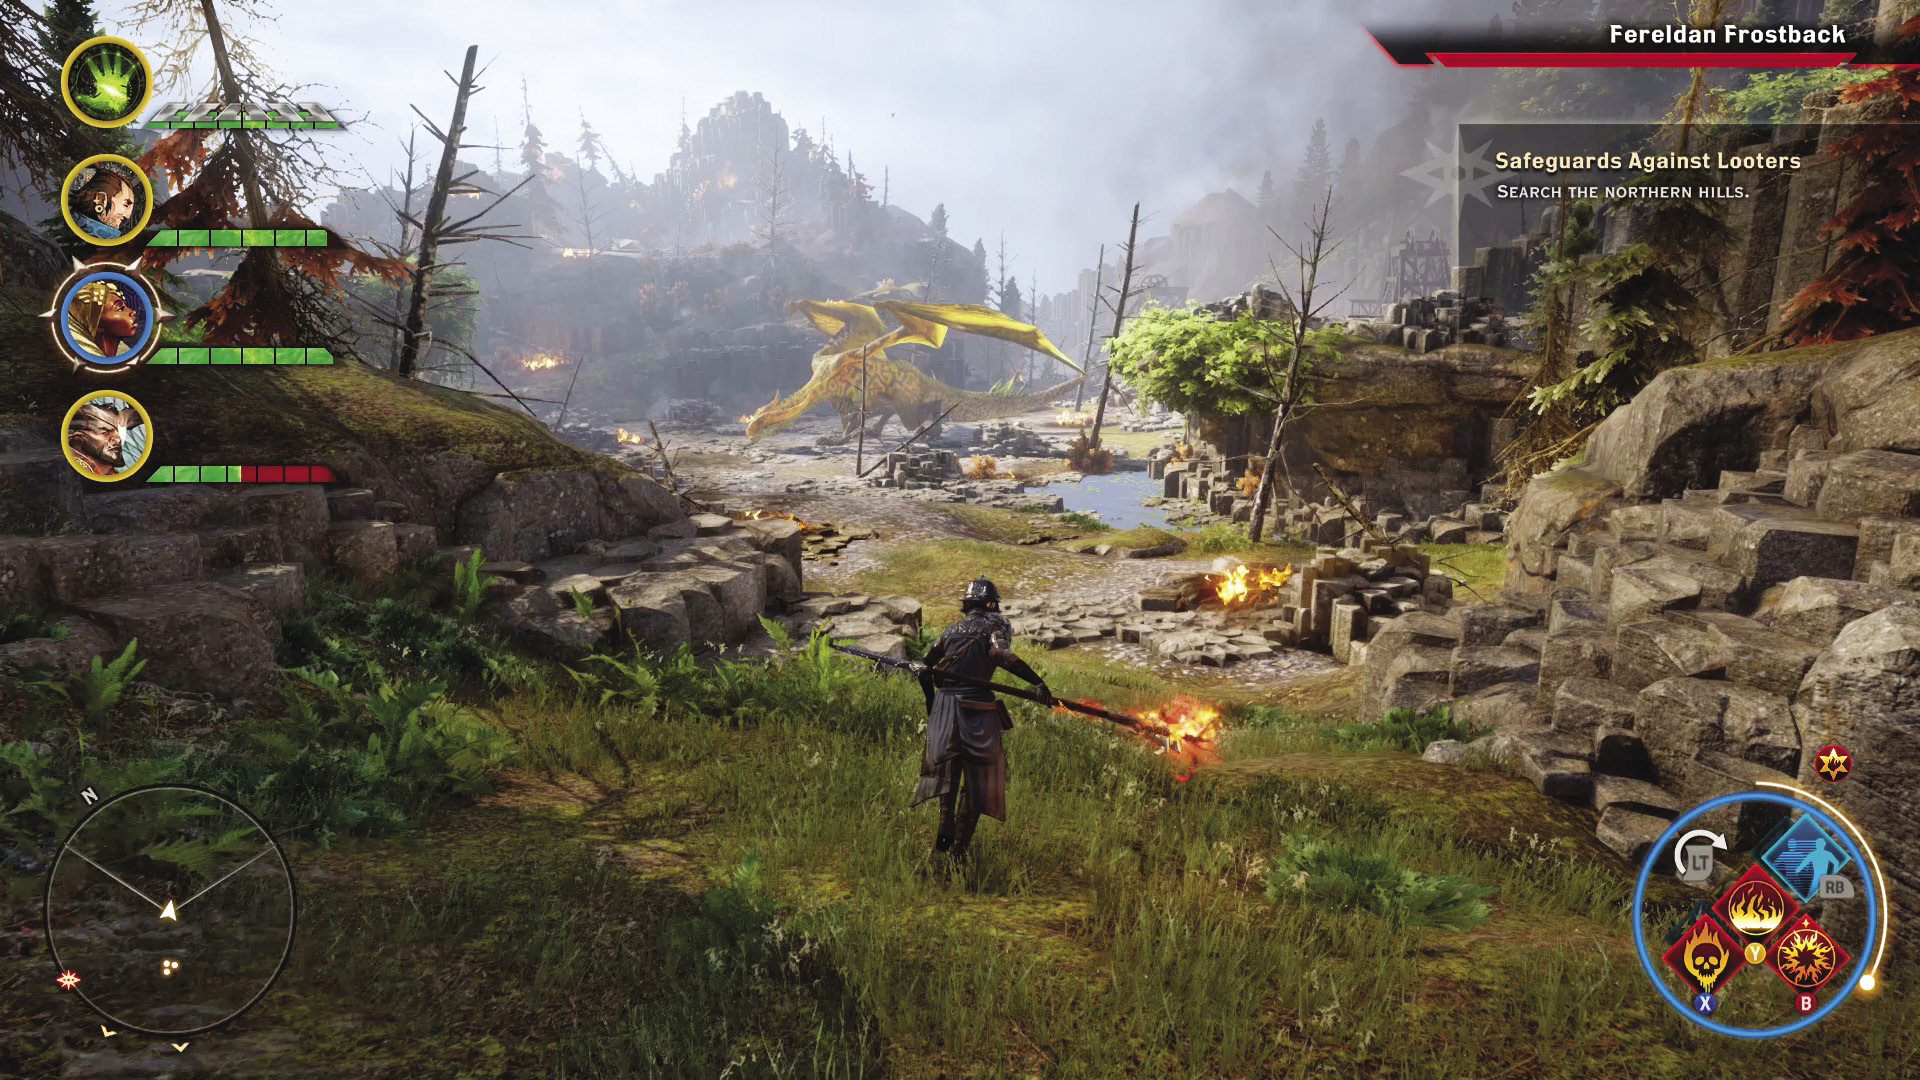
Initial contact with the Ferelden Frostback begins as you enter Lady Shayna’s Valley. Her dragonlings populate the valley and attempt to slow you down while the Frostback takes flight and begins strafing the valley with her fiery breath. You can choose to kill the dragonlings as you head toward the Blood Cliffs farther north, but you will have to deal with the Frostback constantly strafing your party. Her flames can outright kill any party member in seconds if you are poorly equipped, so bring any form of fire resistance that you can.
If you choose to flee north, try to reach the Blood Cliffs as soon as possible. The Ferelden Frostback will land in the valley at the center of the Blood Cliffs region as you approach it and wait for you to come into range to begin the fight. Use this respite to eliminate any dragonlings that have followed you. You can return to the nearest camp, replenish your potion supplies, and then trek back to the Frostback: she’ll wait warmly for you.
Be sure to bring frost staves for any mages in your party, and equip them before beginning the fight. If you can enchant melee weapons with frost runes, that can also be a big help.
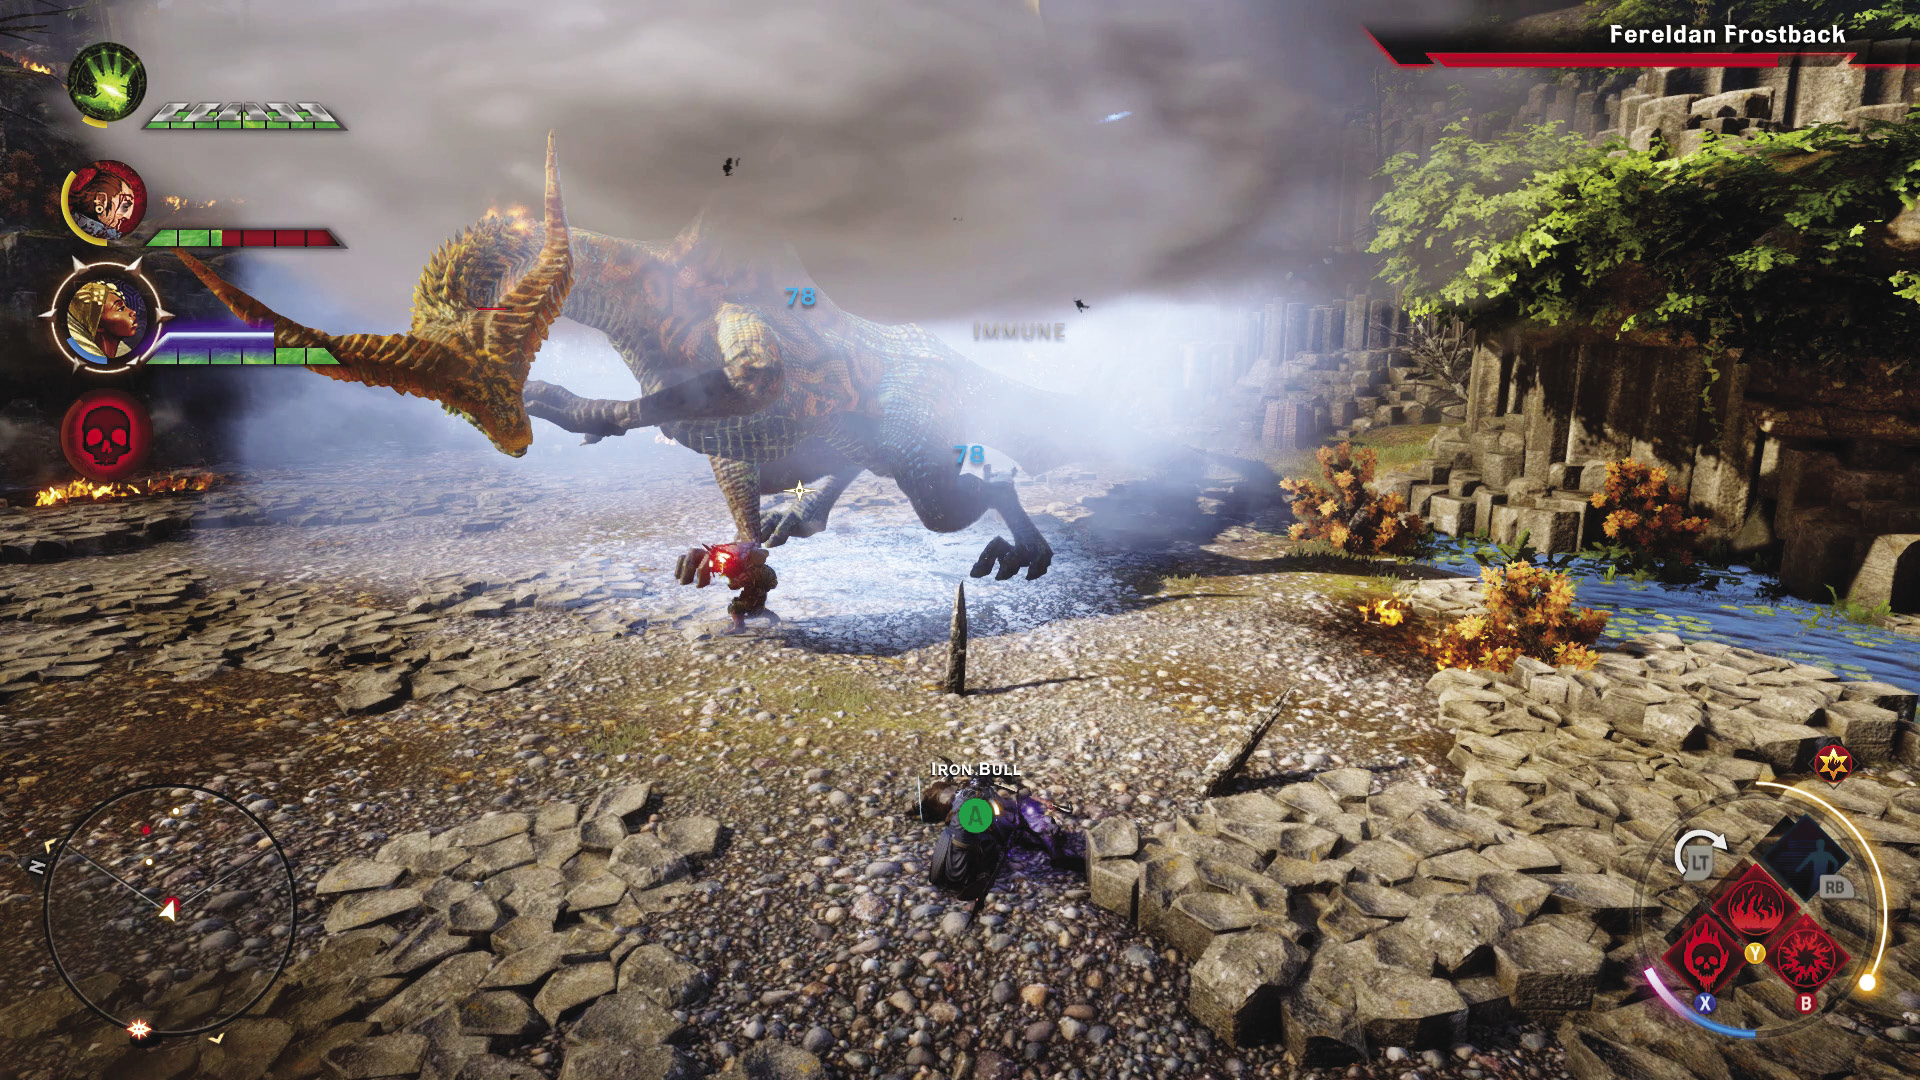
The Frostback engages melee attackers with her legs in brutally powerful strikes. However, these attacks are highly telegraphed, allowing warriors to block the attacks and allowing rogues to clear out when they see the legs raised to strike. She will also bite at attackers and even swipe her tail to hit anyone behind her.

The Frostback will use her flame breath throughout the fight. She does so seemingly at random, but this brutal area-of-effect attack will also be used to flush out any rogues she sees drop into stealth. While she does announce this attack by rearing back, with flames dancing in her mouth, you may not be able to escape if you are already in range. Expect pain and casualties among party members lacking fire resistance. If you see any ranged attackers in danger of being caught in the fire blast, switch to them manually and quickly guide them out of the flames.
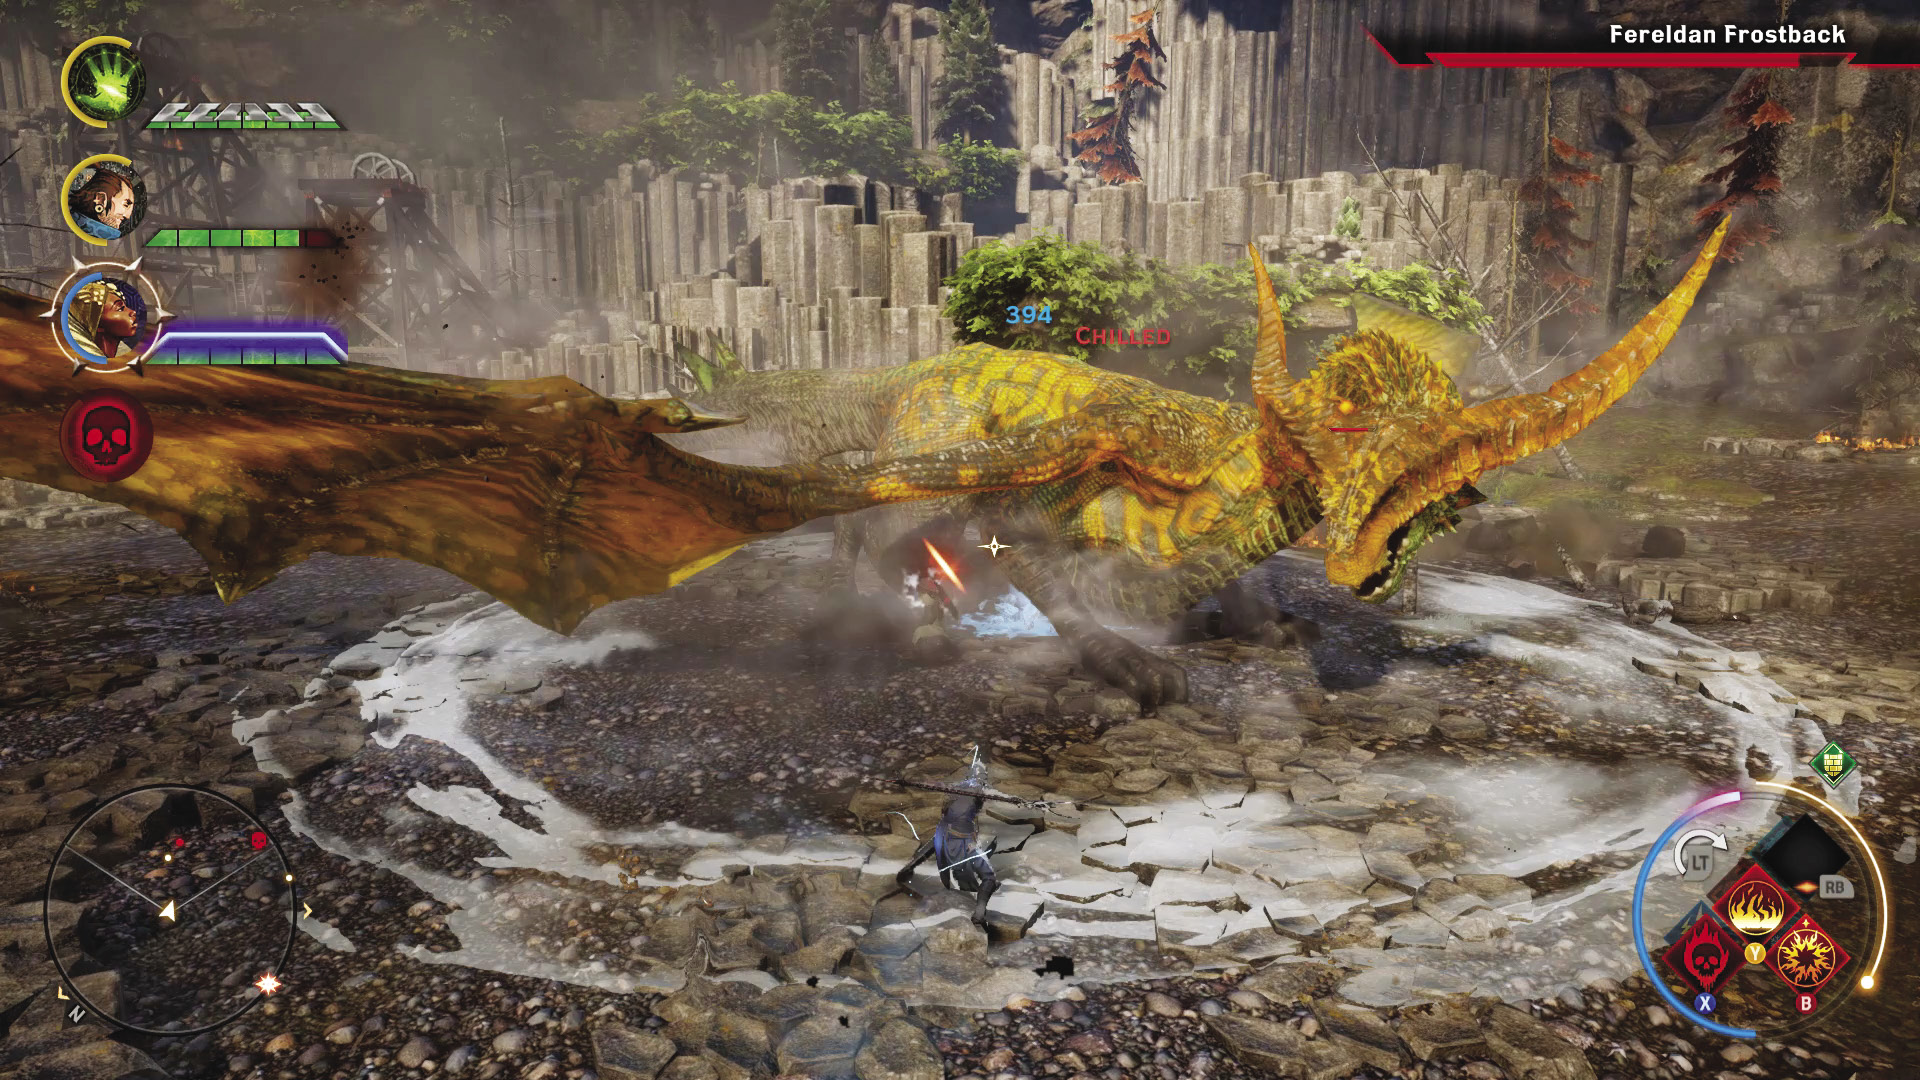
To further frustrate attackers, the Frostback will flap her wings, causing a wind pressure effect that will blow back any melee fighters that are close to it, and can deflect any ranged attacks from staves and bows. Additionally, the Frostback can roar so loud that it stuns the entire party. This can be a devastating moment during the fight, particularly if your party is stuck fighting any dragonlings that join the fray.
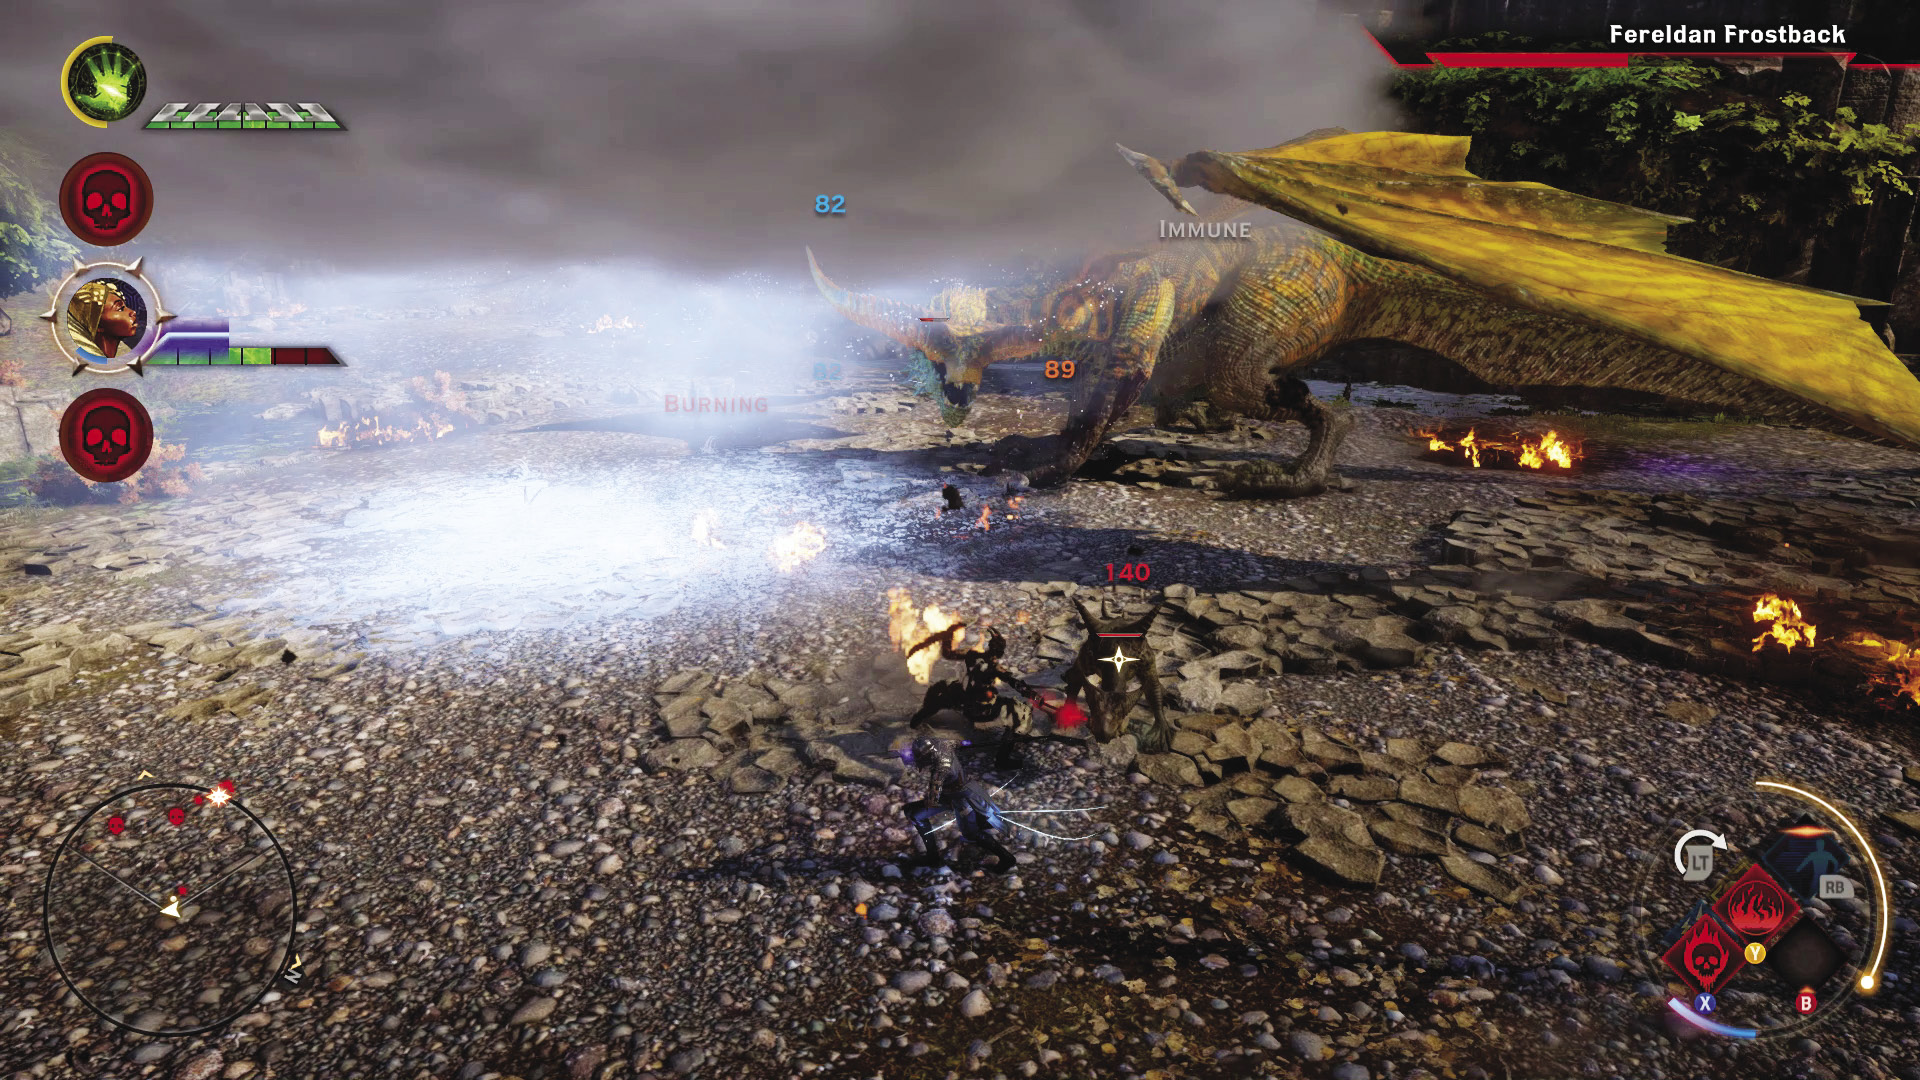
There is another challenging phase to this battle: The Frostback will leap onto one of two ledges and summon dragonlings to fight at her side. The dragonlings individually aren’t dangerous if you’re tough enough to be fighting the Frostback, but they have a tendency to go after ranged mages or bow-wielding rogues. They’ve got to be taken down fast before they overwhelm your party. Lastly, the Frostback will take flight and strafe part of the arena with flames, targeting as many party members as possible in a single pass. She will sometimes do this while you are desperately trying to clear out dragonlings. Pay attention for this!
The most important bit of advice is to remember that this high dragon battle, like all others, is a test of endurance as much as it is a test of your skill and your preparedness. Use any potions to enhance resistances or your offenses if you can, but save your health potions for dire emergencies. It might help to give your party members regeneration potions, to help keep them healthy as the fight progresses, and to conserve health potions for as long as possible.
Winning this fight demands that you manage to control the beast as best as possible. A sword-and-shield-bearing warrior can tank the Frostback with clever use of taunts and blocking abilities to build massive amounts of guard. Pay attention to where your other party members are standing, and get them out of harm’s way if the need arises. Keep your other attackers on the flanks to avoid frustrating fire breath deaths.
It helps if at least one mage in the party has the Heal Focus ability on their command bar. This is your “uh-oh” button, and it can turn the fight around in a desperate moment by bringing the whole party back up to full health. You’ll likely get only one use of this ability during the fight, so make it count.
Taking down the Ferelden Frostback will award you various rare dragon parts to use for crafting, as well as special equipment. Further exploration of this valley will reveal various bits of loot to collect and chests to open. You may need multiple trips to collect everything!