
Dragon Age Inquisition Guide Exploration The Western Approach
Side Quests (Recommended Level 10-13 and 14+)
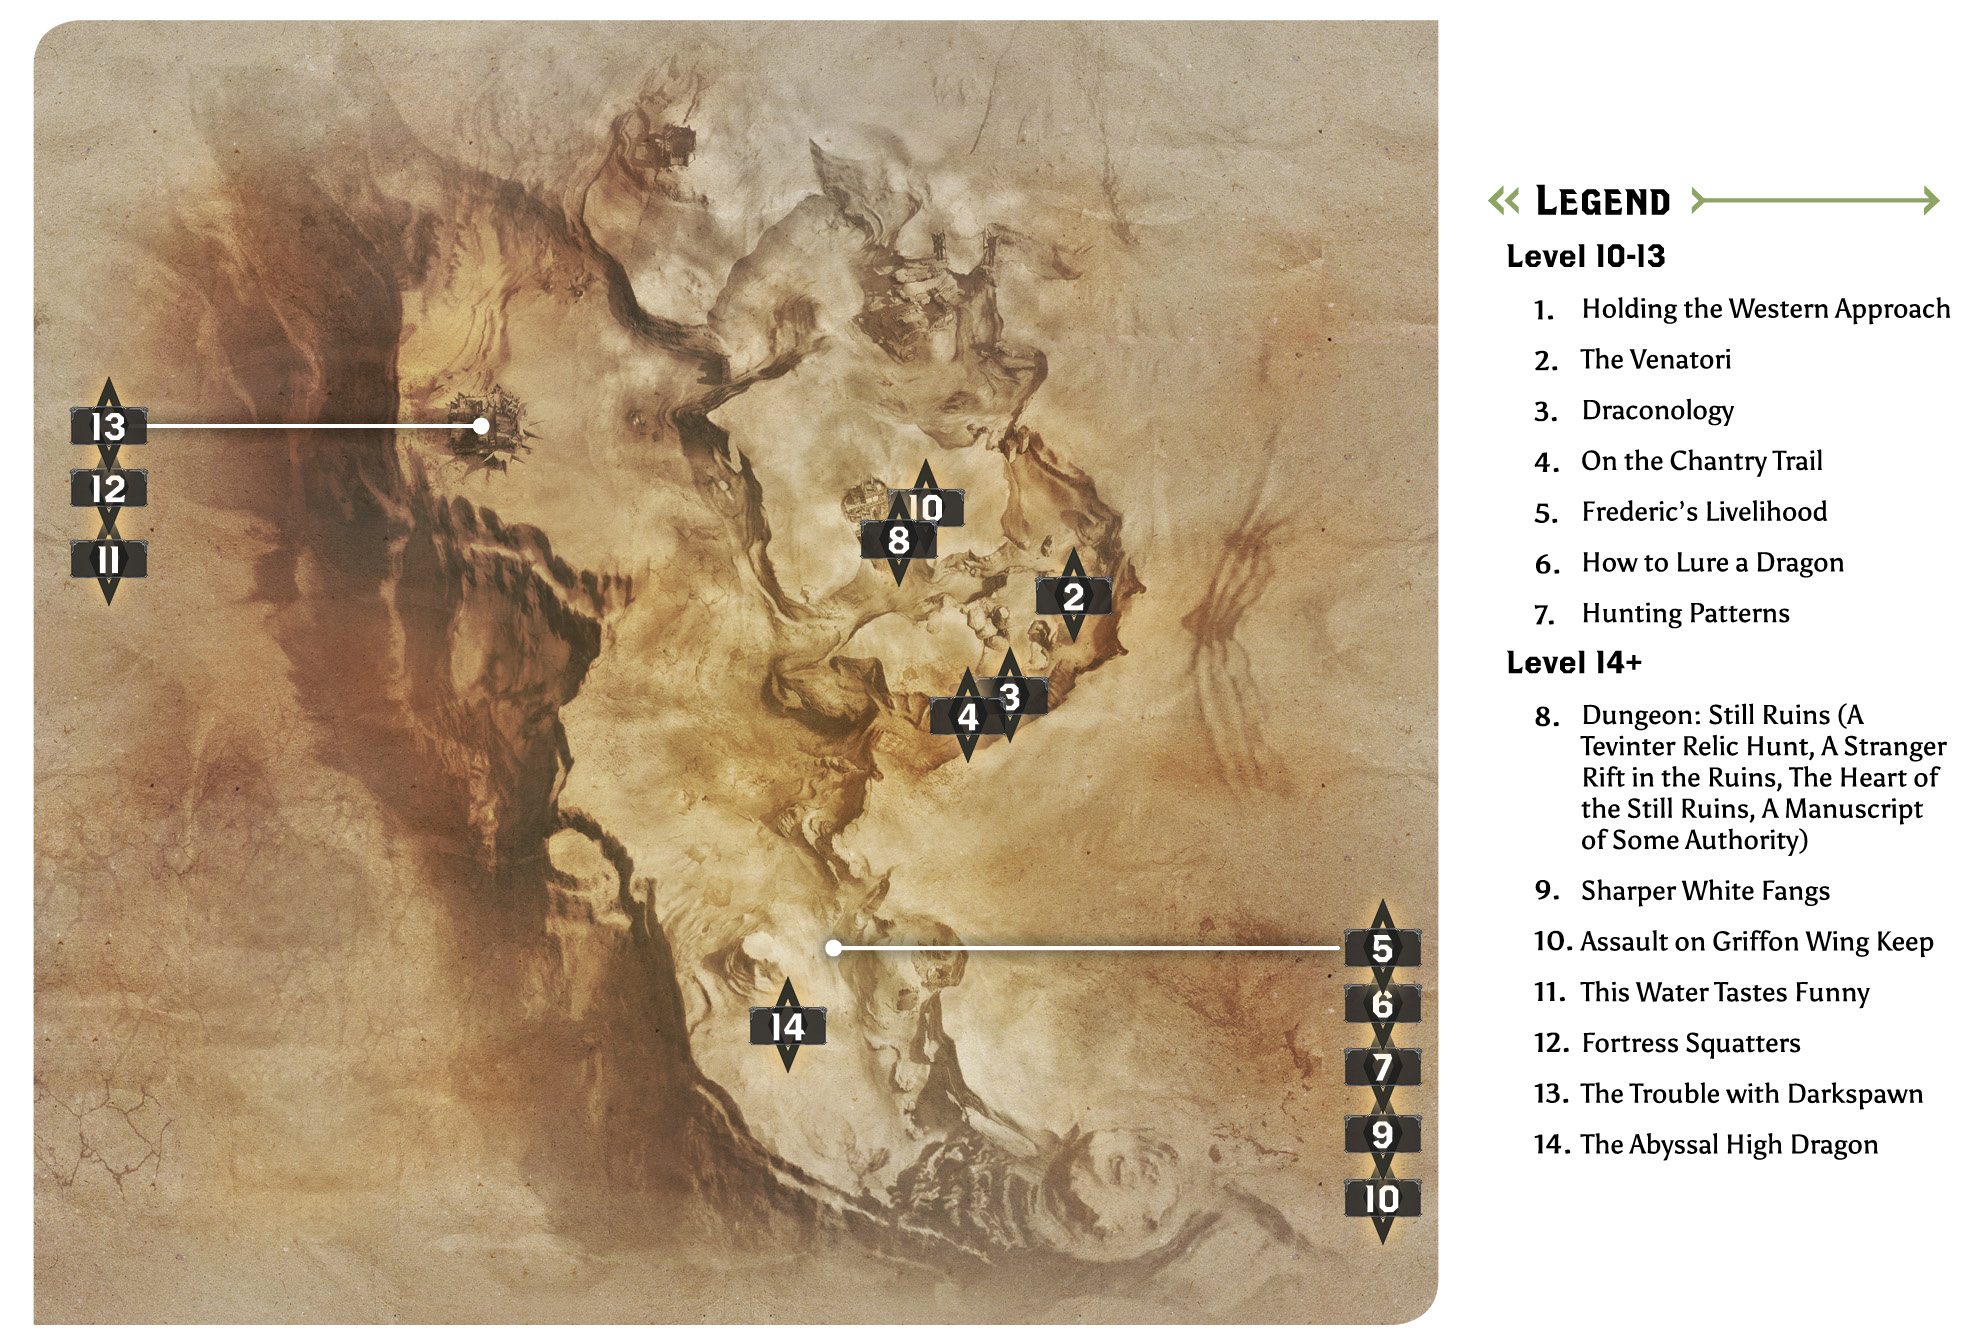
1: Holding the Western Approach

Description: Establish camps to hold the Western Approach and support Inquisition activity in the region.
Quest Giver: Scout Harding
Requirements: Starts as soon as you arrive in the Western Approach
Reward: 100 Influence and 1 Power per camp, except for the starting camp
Objectives:
 Establish four camps.
Reaching all four camps in the Western Approach is simply not possible right away. One of them sits next to the exit of Coracavus, a Tevinter ruin that you can explore. Unfortunately, getting there initially just isn’t possible with the sulfur clouds steaming forth from portions of the desert to the northwest, while the Gates of Toth block entry to Echoback Ridge on the eastern side of the map.
2: The Venatori

Quest Giver: Scout Harding
Description: The Venatori seem to be busy in the Western Approach. A report from someone named Servis mentioned activity in a mine somewhere in the canyons.
Requirements: Quest is given to you after Harding’s briefing on the Western Approach.
Reward: 128 XP, 80 Influence
Objectives:
 Search for the mine.
 Read the Venatori report.
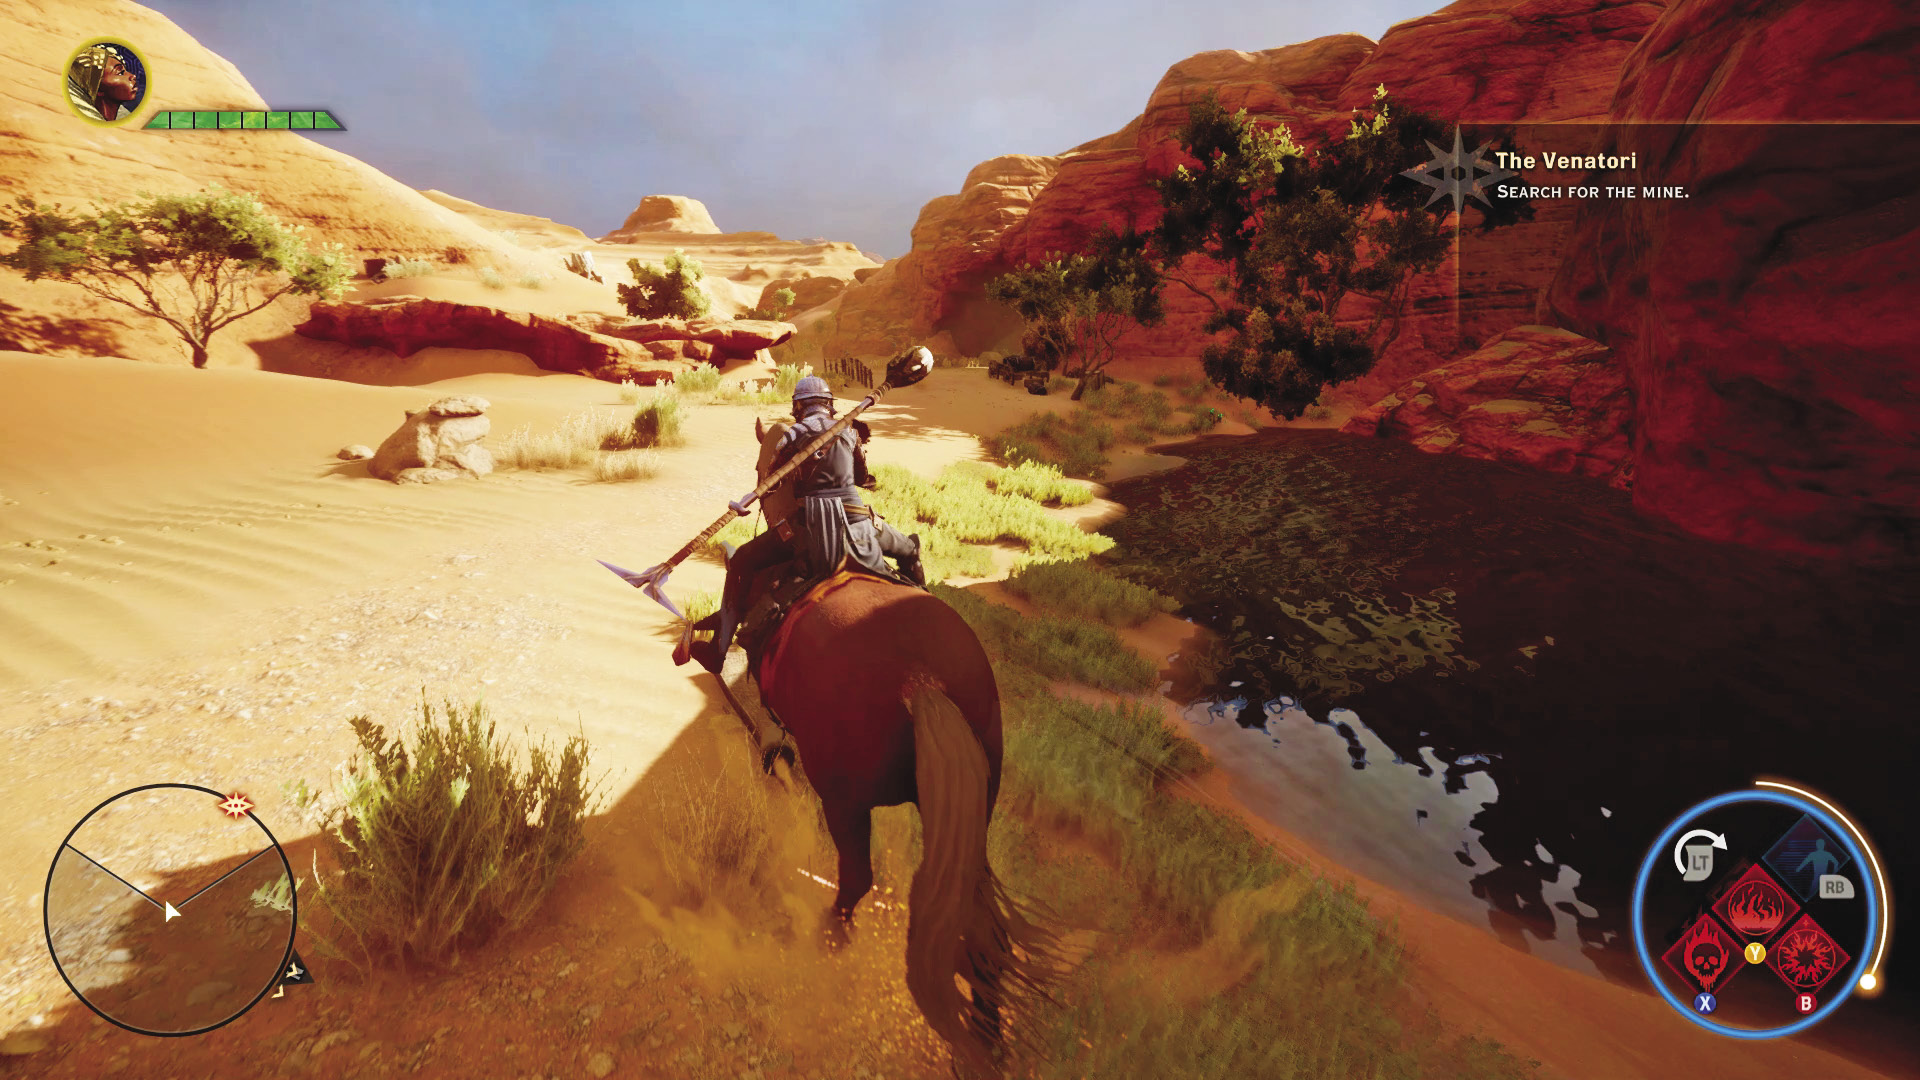
Read the Venatori papers at your starting camp to learn more about their plot here in the Western Approach. It seems they’ve made an agreement with the local variety of scum, the White Claw bandits. From there head north, then follow the western route through the canyons to make your way toward the mine. You’ll come across a Fade rift that’s part of the Rifts in the Canyons assignment.

You’ll also encounter an encampment of White Claw bandits on your way to the mine entrance if you take the route past the Fade rift. Remove the bandits, then loot the camp for all it is worth. Remember this place, as it is part of a quest later in your local exploration.
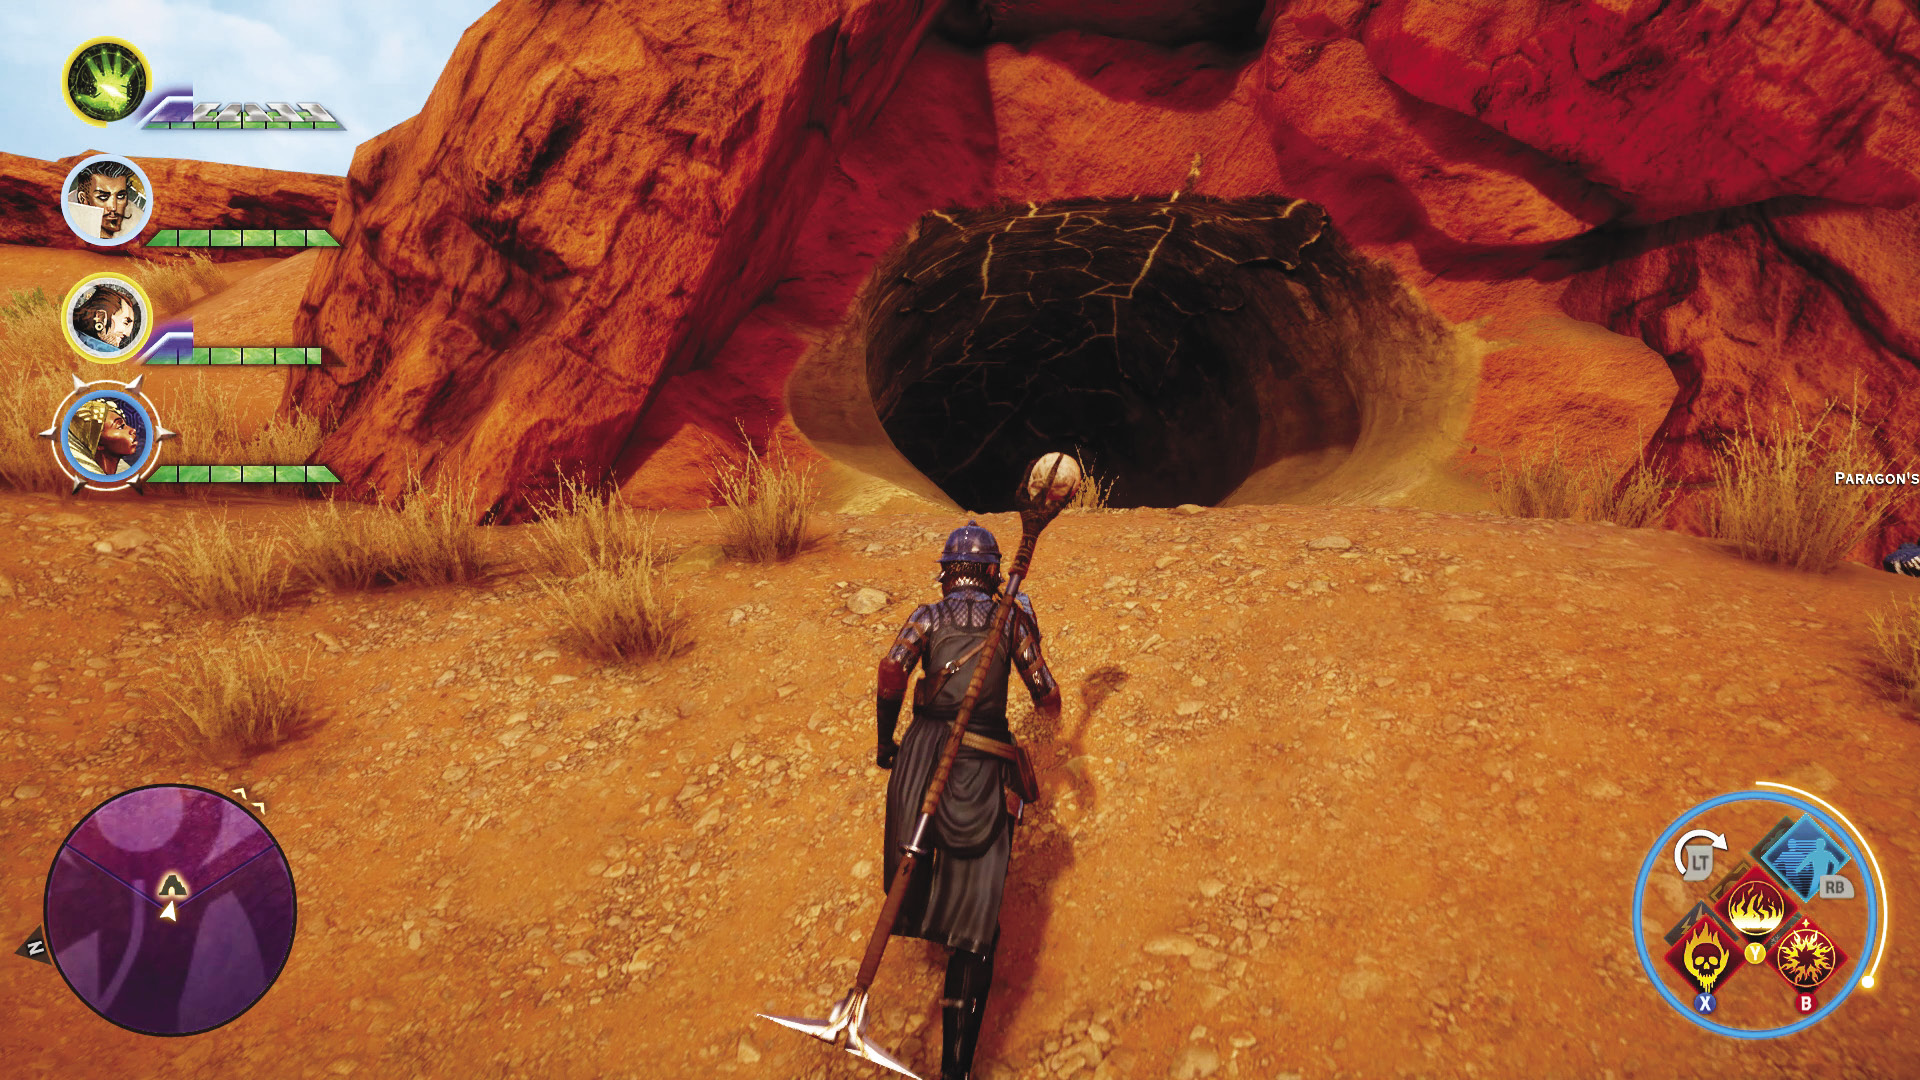
The mine entrance is across the canyon from the Still Ruins entrance, at the stop of a short climb uphill. Enter the mine (while stripping it clean of its delicious everite), fighting off the giant spiders that rush you. Look for an open book lying on one of the work tables in the mine. Reading it uncovers some potentially disturbing information about the Venatori connection with the mages or the templars, depending on whom you chose to support after your first visit to Val Royeaux. It seems that whatever operation was being set up here in the Western Approach has been hastily abandoned, in favor of another locale, Emprise du Lion.
3: Draconology
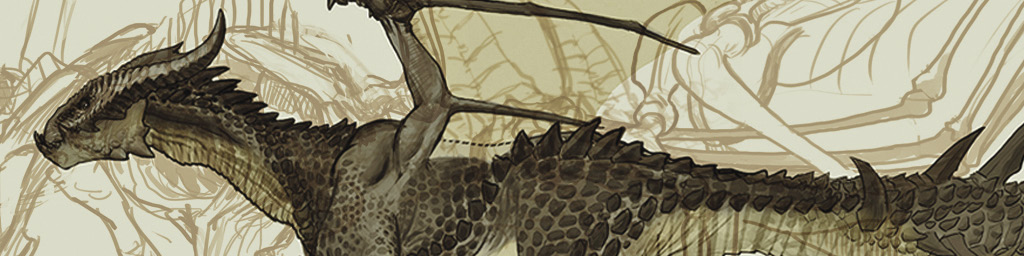
Quest Giver: Corpse next to a looted caravan. This quest can also be started by finding a missing supply package on any White Claw raider or in their camps.
Description: A shipment of goods, destined for a University of Orlais researcher named Frederic, appears to have been waylaid by bandits. The shipping label suggests his camp is somewhere in Nazaire’s Pass.
Requirements: Available upon entering the Western Approach.
Reward: 128 XP, 80 Influence
Objectives:
 Find Frederic.
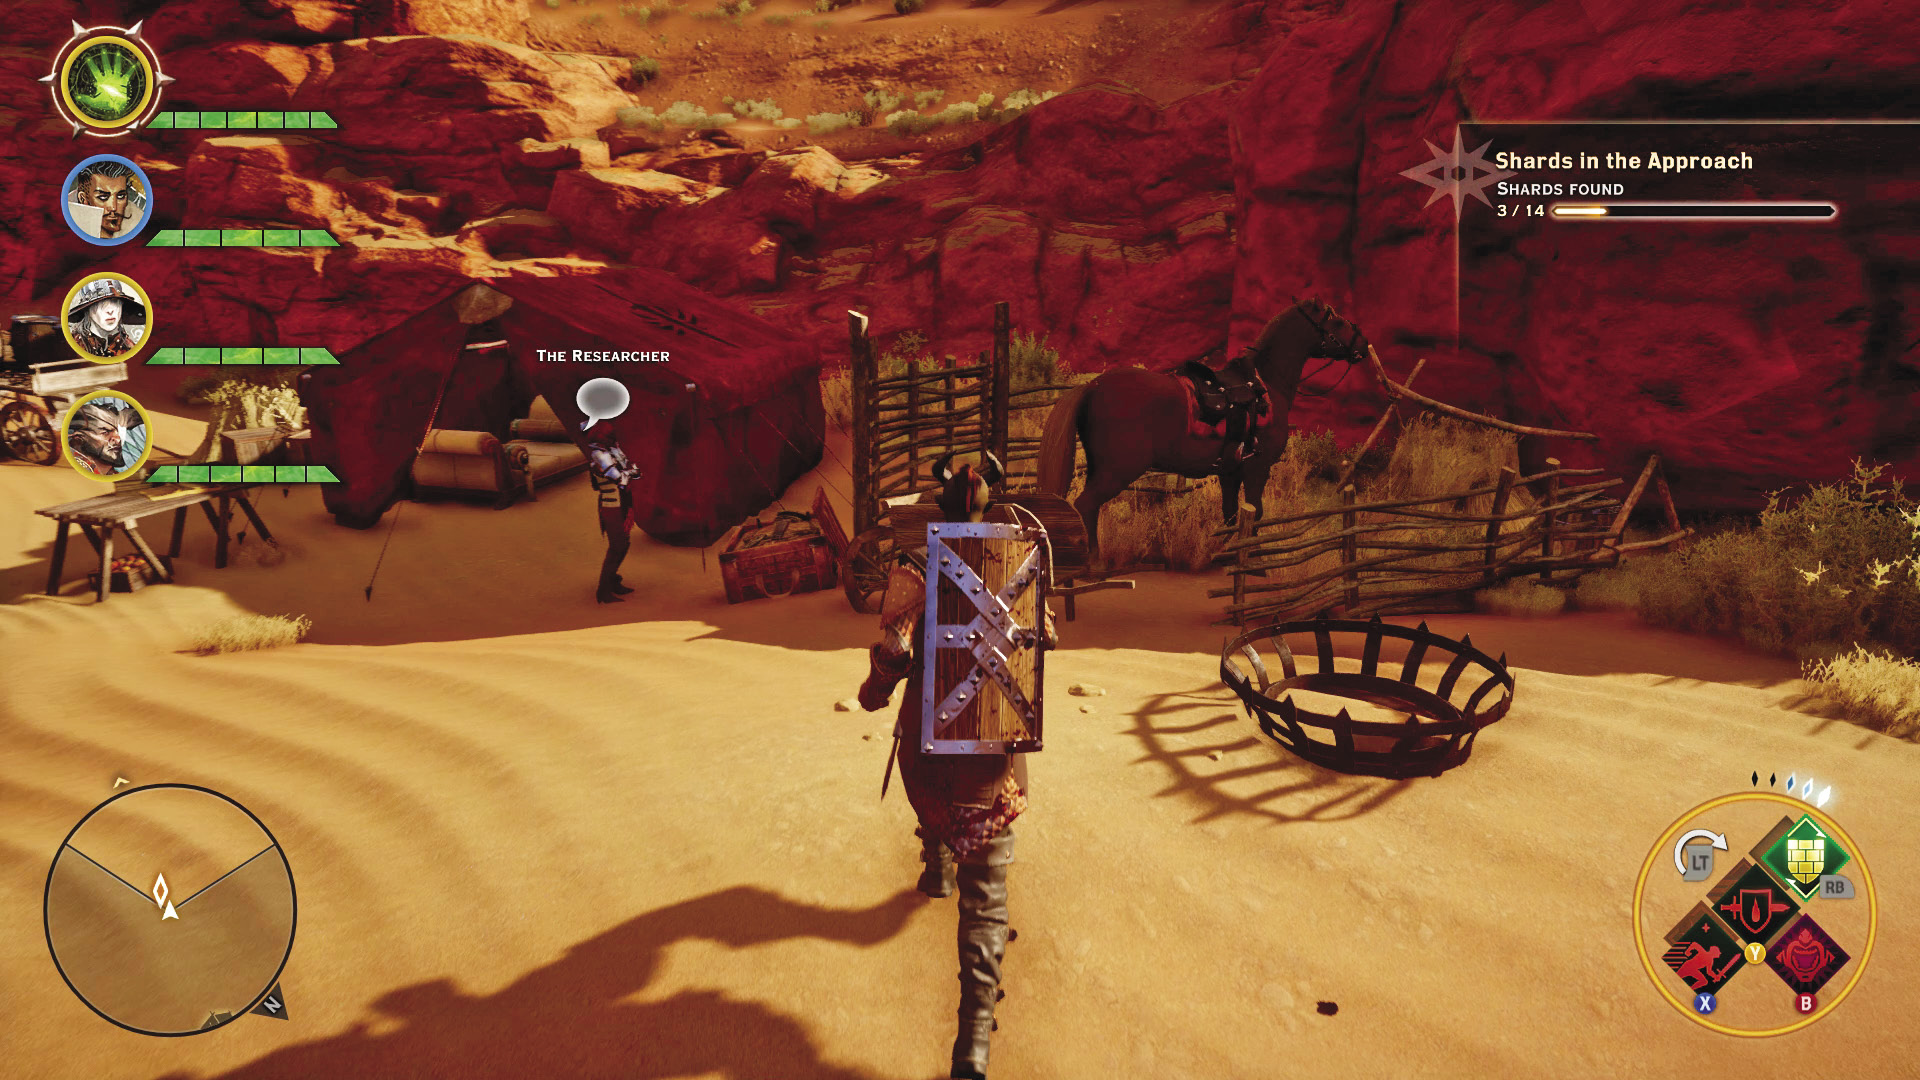
You can find this shipment just outside of the Sand Rock Mine entrance. A lone corpse stands out among cages that are covered with blood. The corpse contains a package that directs you to Frederic and Nazaire’s Pass. It’s a long walk through rough terrain and hazardous wildlife, but you’ll find that Frederic is just fine, albeit calling more attention to himself than any draconologist should with such a gaudy set of armor. Speaking with him about the fate of his assistants completes the quest.
4: On the Chantry Trail

Quest Giver: A stone marker in the canyons west of the Sand Rock Mine (or any stone marker on this trail)
Description: There are Chantry symbols out in the desert. They appear to lead somewhere.
Requirements: Available upon arrival at the Western Approach
Reward: 128 XP, 80 Influence
Objectives:
 Follow the trail.
 Find where the trail leads.
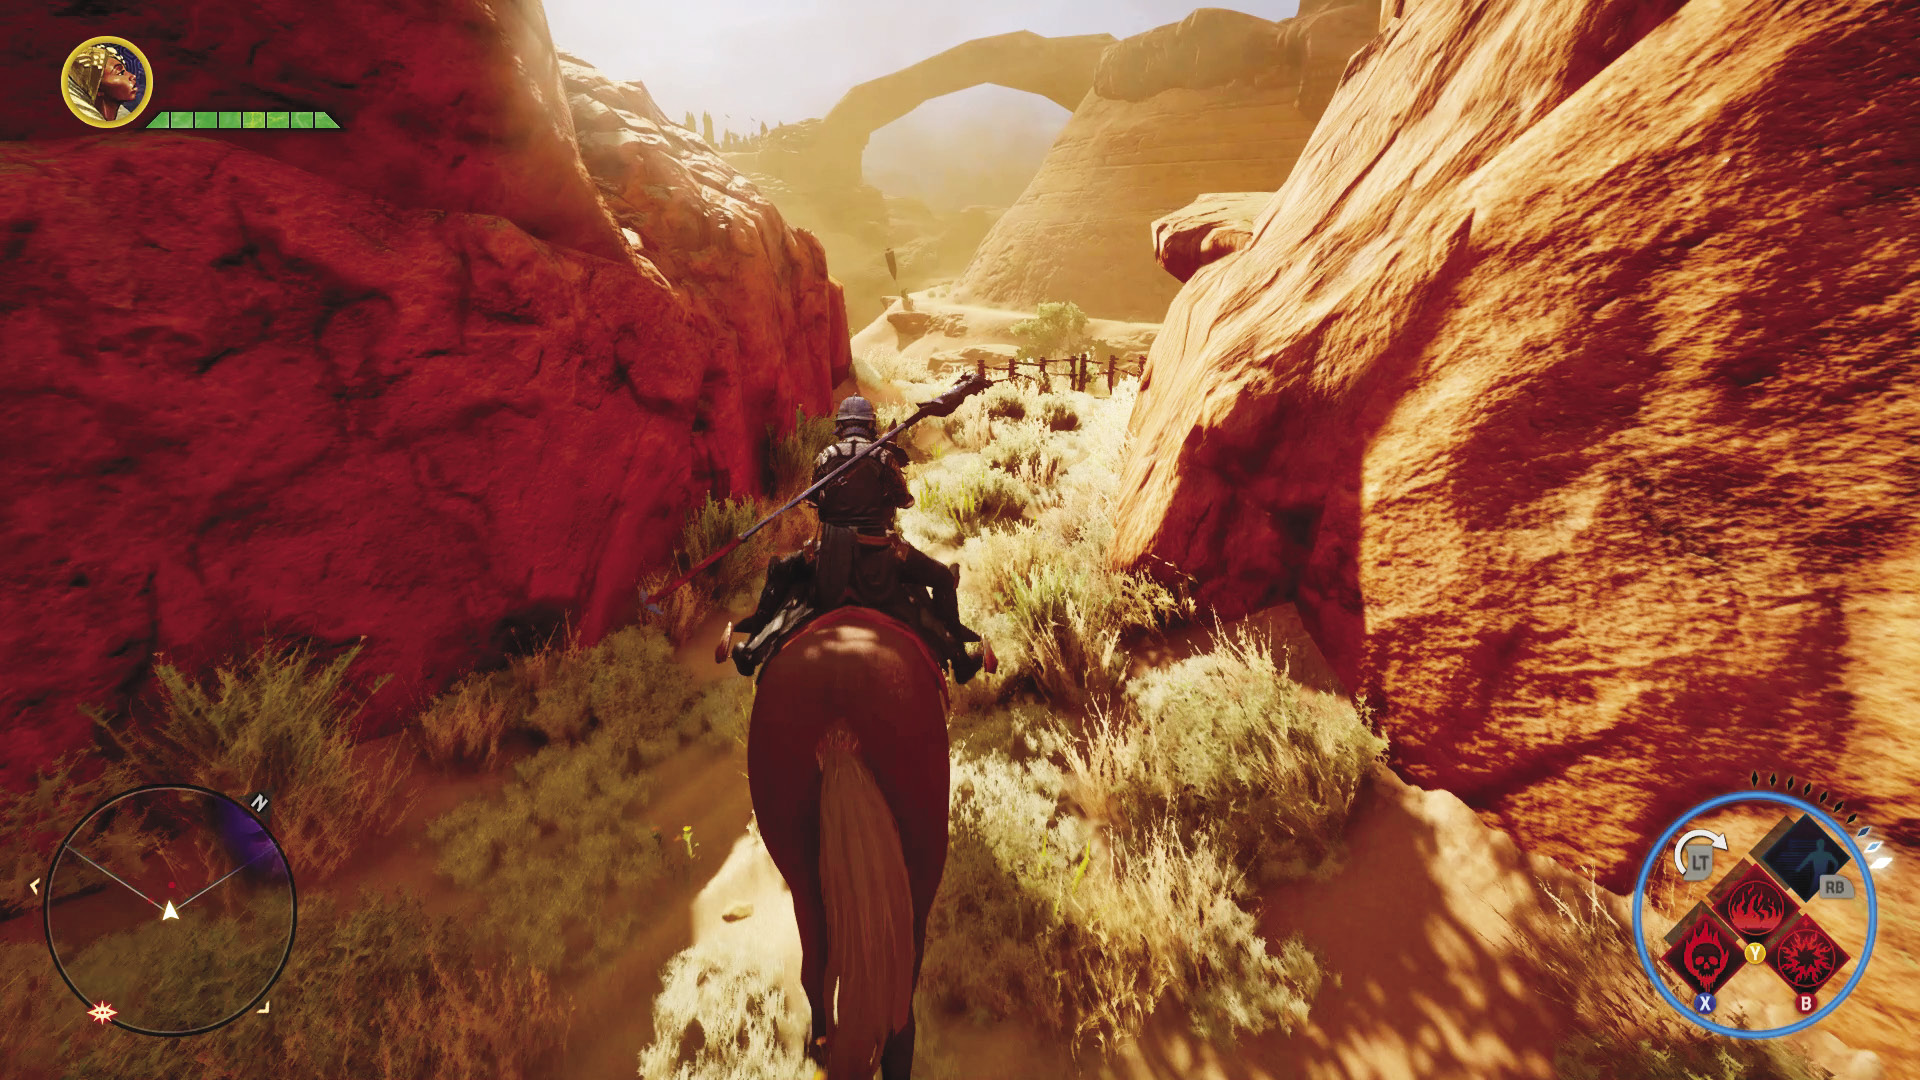
The first stone marker is to the west of the Sand Rock Mine. The trail sends you on a winding route through hostile territory, in the direction of Nazaire’s Pass (where you can conveniently locate Frederic for the Draconology side quest and set up another camp). You will keep finding more Chantry symbols as you go. The second of these symbols is near another camp of White Claw bandits, for example.
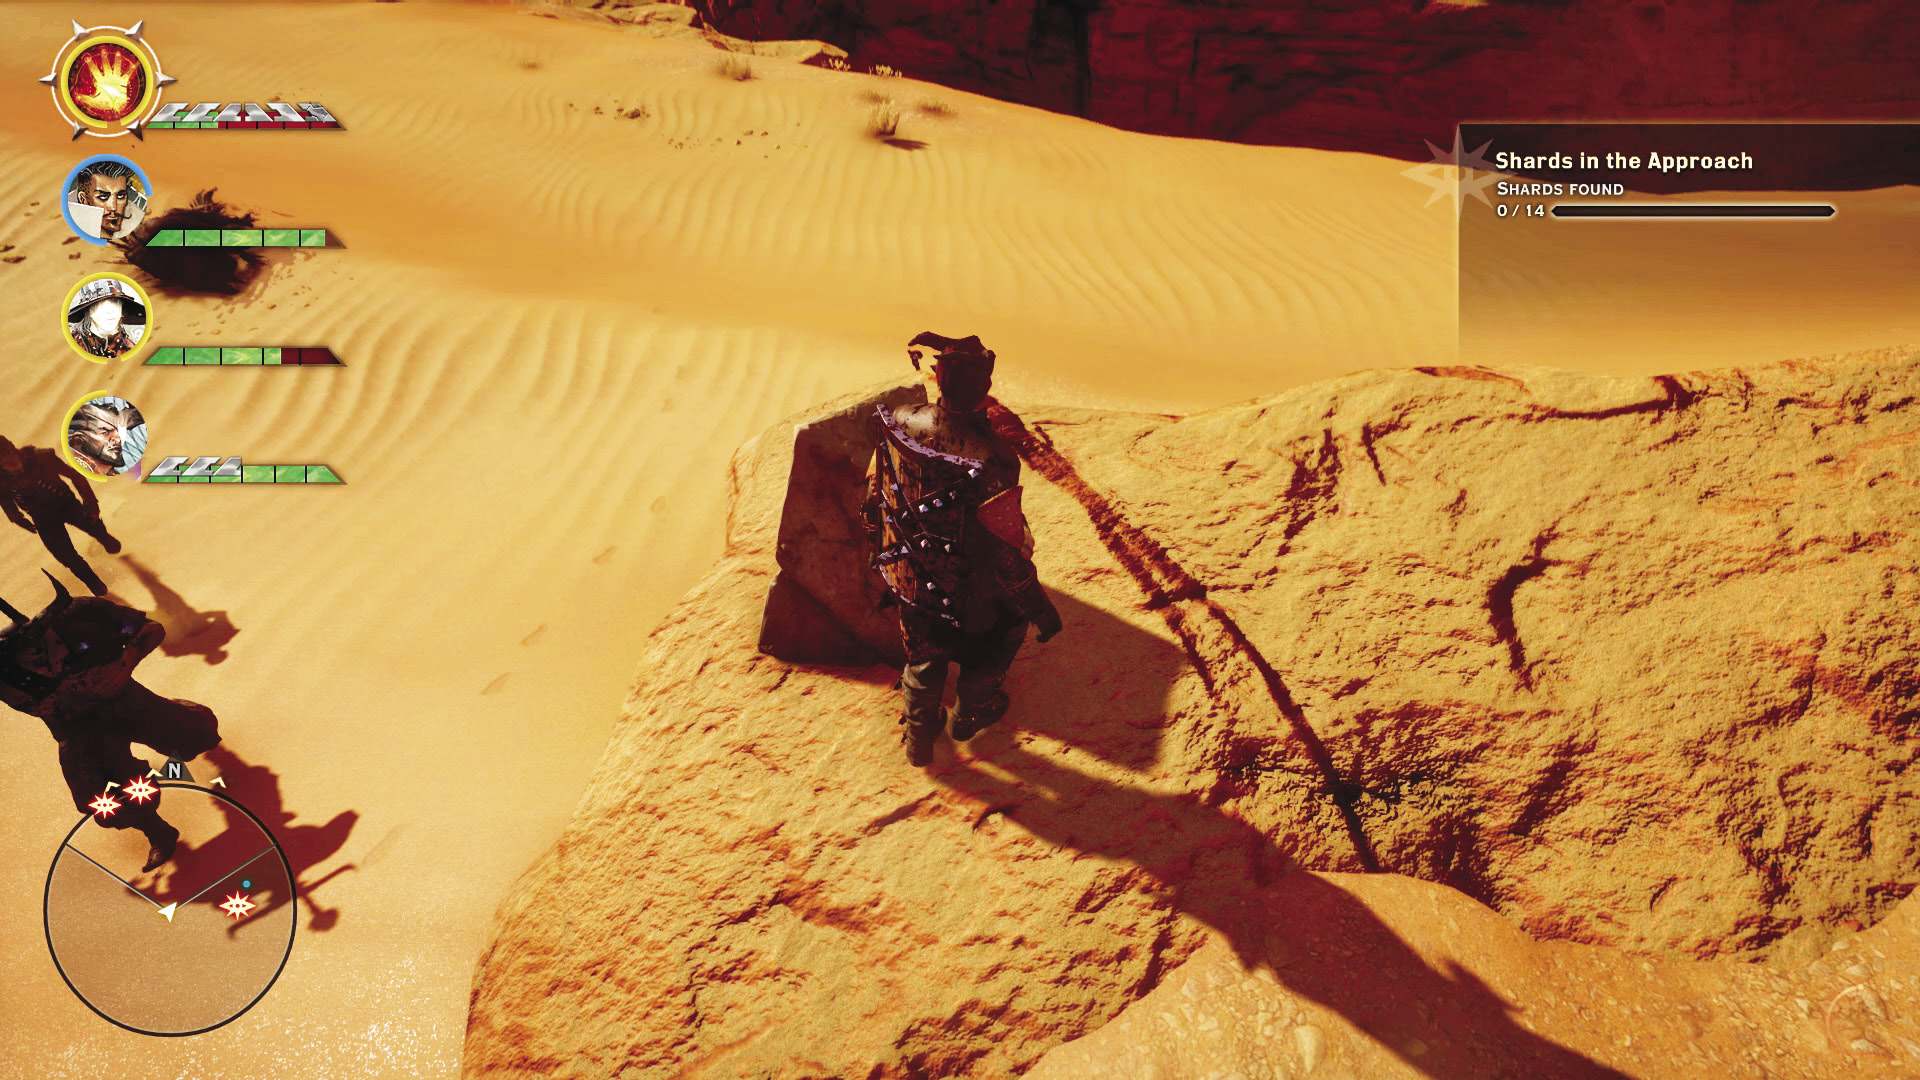
The third symbol is found near Death Drink Springs, presumably named for the cloud of sulfur hanging over everything in sight. Don’t forget to claim this location to set up a war table mission for later that will help clear away this poisonous filth! From here, head south toward the fourth symbol. Here, more of the wildlife can be encountered. Expect phoenixes and quillbacks stalking the sands. Continue through the Giant’s Staircase region on your way toward Nazaire’s Pass. There is a Fade rift along the way, but if you’re in a hurry you can easily run past it.
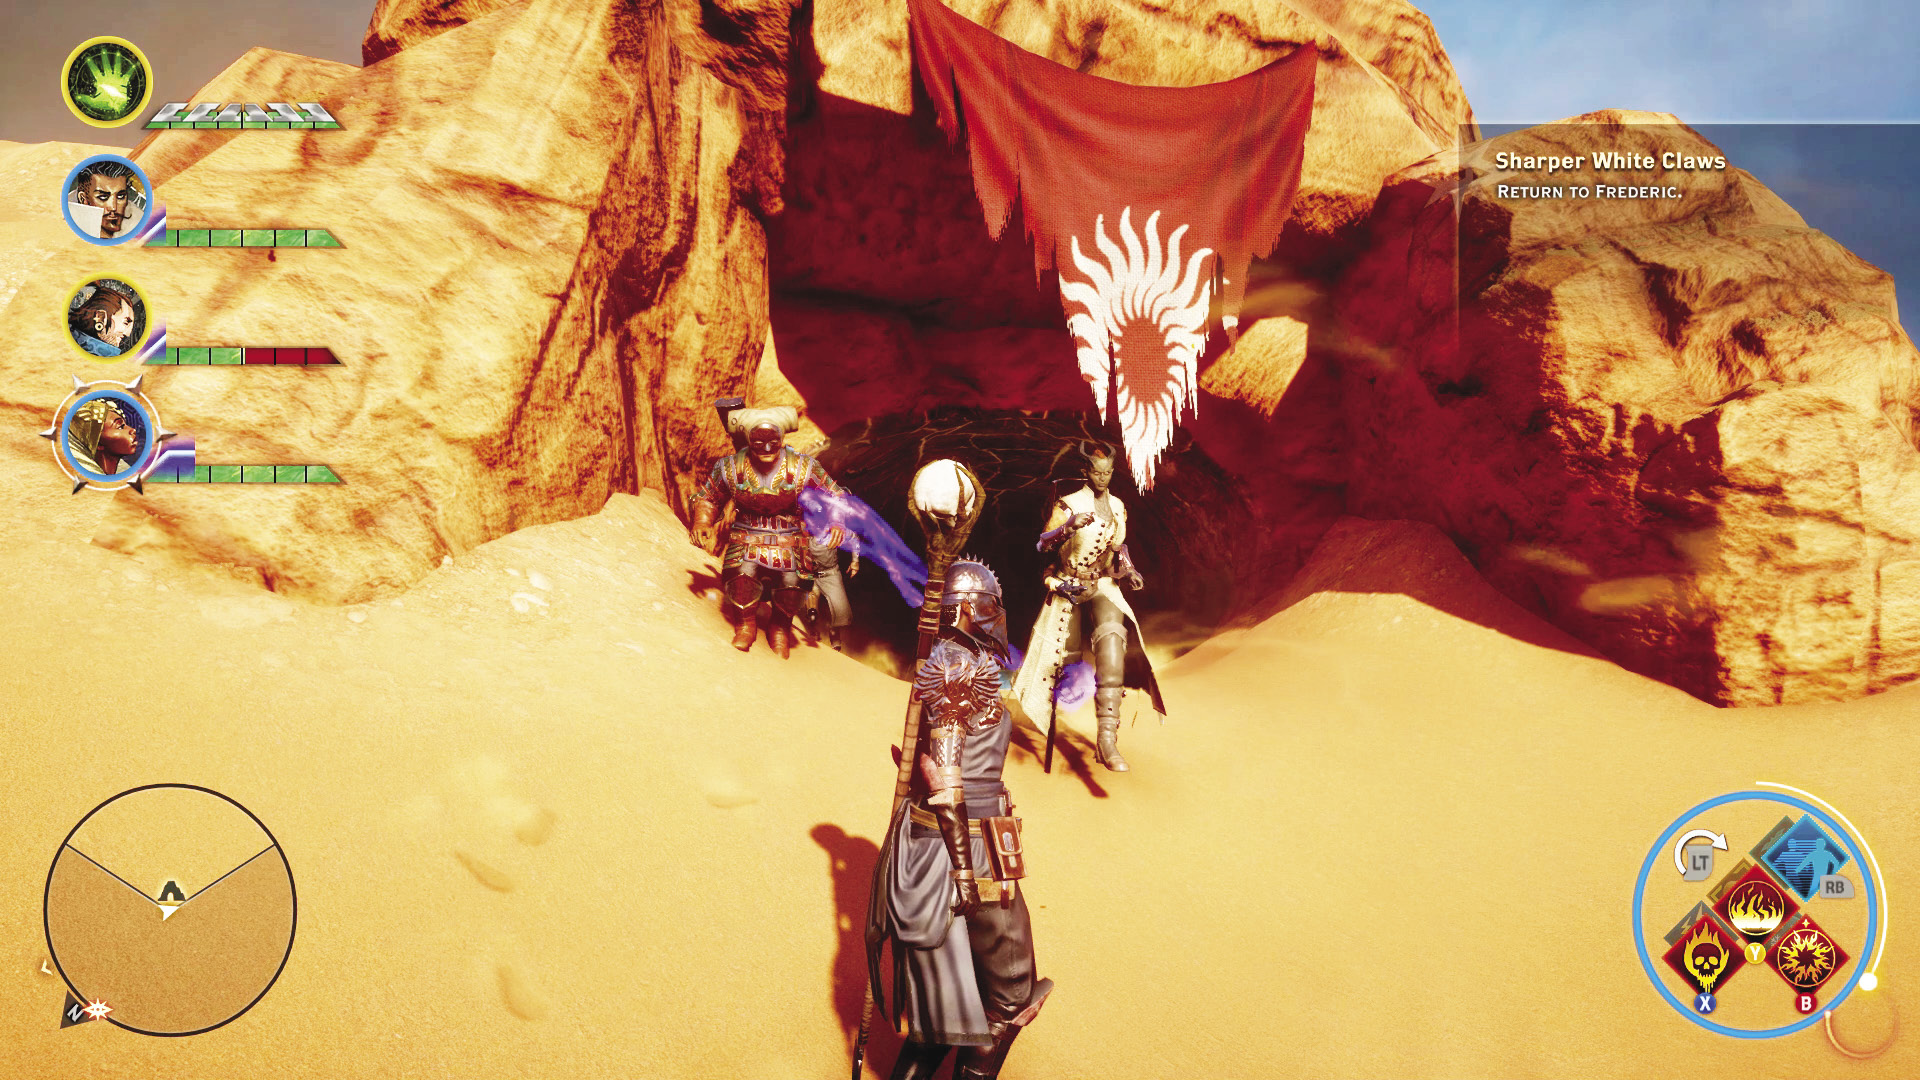
Continue through Nazaire’s Pass (stopping by to speak with Frederic to take care of any quests related to him along the way). The next Chantry symbol is just before you enter the Wastes, a massive region filled with ancient Tevinter ruins. Another symbol can be found in the Wastes—just be wary of the level 14 varghests stalking the sands here. You’re close to the end of the trail!
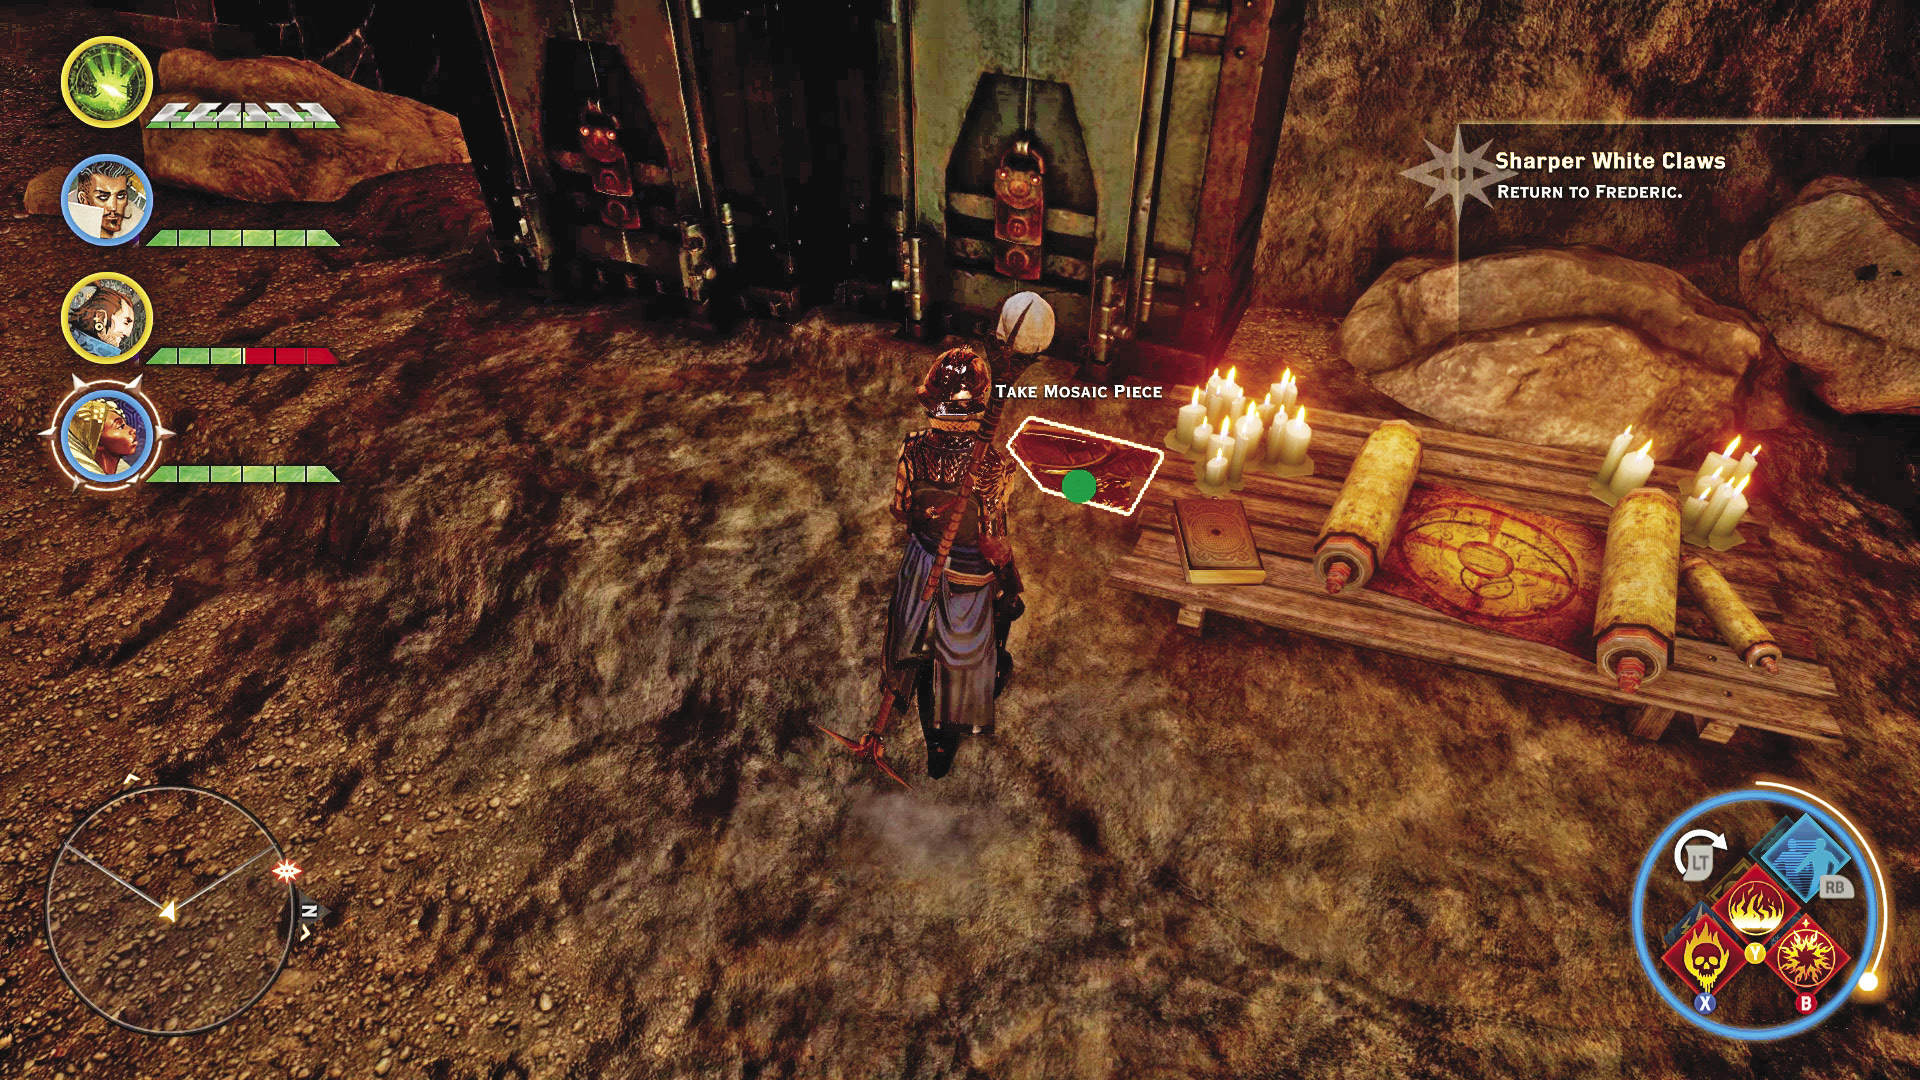
The trail ends with a cave warded by a spirit barrier. Bust it down and then you can enter a cave containing treasures, some interesting codex entries, and a mosaic piece for the Archdemon collection.
5: Frederic’s Livelihood
Quest Giver: Frederic
Description: White Claw raiders have made off with Frederic’s supplies. Search areas where White Claw raiders ae active to recover the supplies.
Requirements: Speak with Frederic at his campsite, or recover the supplies first from packs of bandits around destroyed caravans around the Western Approach.
Reward: 128 XP, 80 Influence
Objectives:
 Return Frederic’s supplies.

You can actually accomplish the tough part of this quest early on. When you first arrive at the Western Approach, the canyons you start in have supply caravans that have been ransacked by White Claw raiders, and they’re still at those camps. You might fight your way through these camps and loot the supplies for yourself while in the midst of other quests. The supplies can be found on the raiders themselves or in bags scattered around the destroyed caravans. However, if you do not do this, Frederic himself will explain his predicament, and your quest map will show you generalized search locations to visit.

Don’t take the bandits too lightly. They tend to have rogues of their own within the groups that stole the supplies, and they can be a nasty surprise if you’re not paying attention!
6: How to Lure a Dragon
Quest Giver: Frederic
Description: Frederic wants to concoct dragon bait. He has almost everything he needs, save for two rather specific ingredients.
Requirements: Find the materials by killing phoenixes and quillbacks, or complete the Draconology side quest.
Reward: 512 XP, 200 Influence, 2 Power
Objectives:
 Gather quillback intestines.
 Gather phoenix tail feathers.
 Deliver the ingredients to Frederic.

This is a simple fetch quest that can be done while you complete the On the Chantry Trail quest, though you may also start it by speaking with Frederic first. Killing quillbacks and phoenixes should be easy for parties averaging around level 10 or 11, and there are plenty of both kinds of beast throughout the Giant’s Staircase region. You only need one of each ingredient. Speak with Frederic to deliver the items and complete the quest.
7: Hunting Patterns
Quest Giver: Frederic
Description: High dragon hunting patterns are largely undocumented. Frederic is interested in the location of any dead gurn showing signs it was killed by a dragon.
Requirements: Available after completing Draconology
Reward: 128 XP, 80 Influence
Objectives:
 Find four dragon signs.
 Return to Frederic with hunting locations.
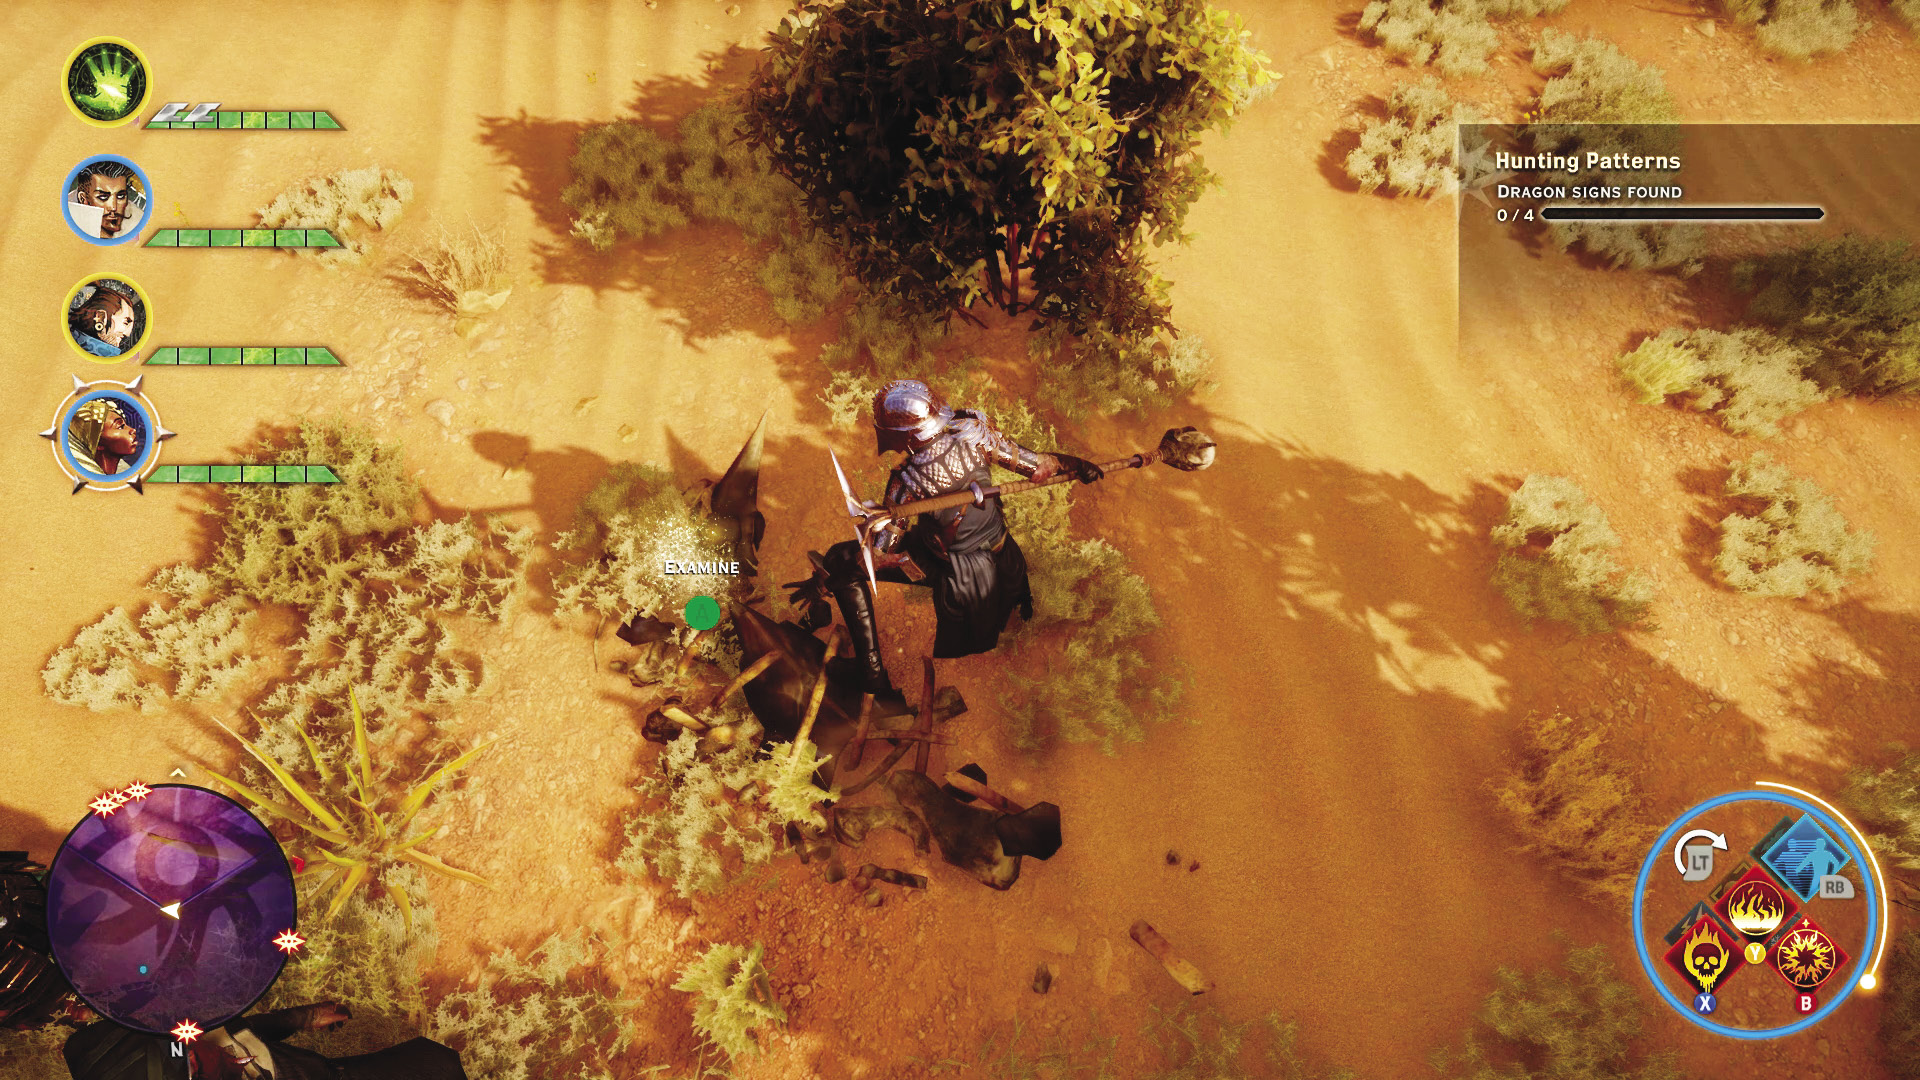
The gurns Frederic wants you to investigate are scattered throughout the regions north of his camp. Use your search ability as you close in on the gurn corpses to fully investigate them, and return to Frederic as soon as you’ve found four. You will have to complete a war table operation to clear the sulfur from Death Drink Springs in order to reach some of the gurn corpses.
8: Dungeon: Still Ruins

When Frederic speaks of the ancient Tevinter studies on draconology, he laments that their ruins may have contained priceless documents, now likely lost to the sands of the Western Approach. This begins the side quest A Manuscript of Some Authority, which sends you directly to the Still Ruins in the Canyons region. However, approaching this place puts you in conflict with Venatori magisters who are combing their way through these ruins, in search of something that can aid their cause. And when you enter the actual ruins, things get weird.
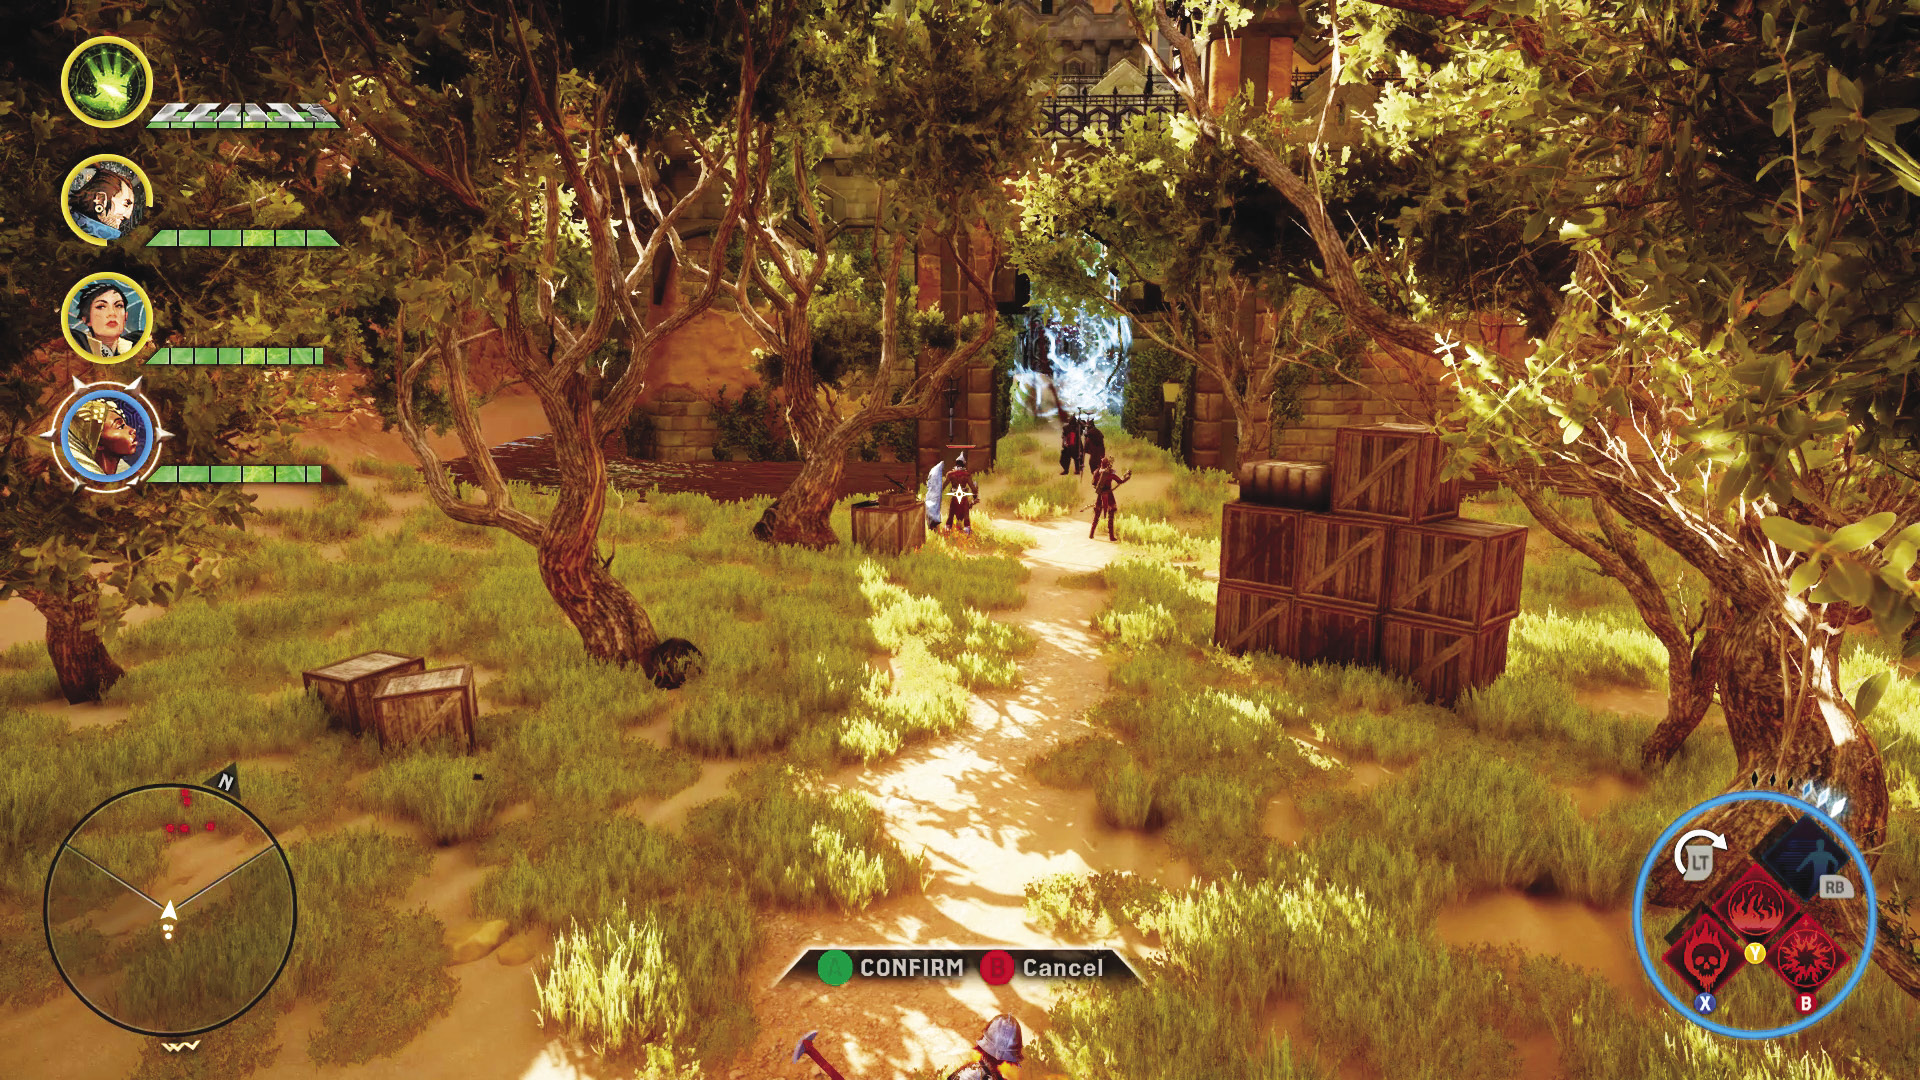
Gaining entry to the Still Ruins is easy enough. Fight your way through the contingent of Venatori warriors and mages protecting the front gates, then have a mage in your party to destroy the magical ice barrier barring entry to the ruins.
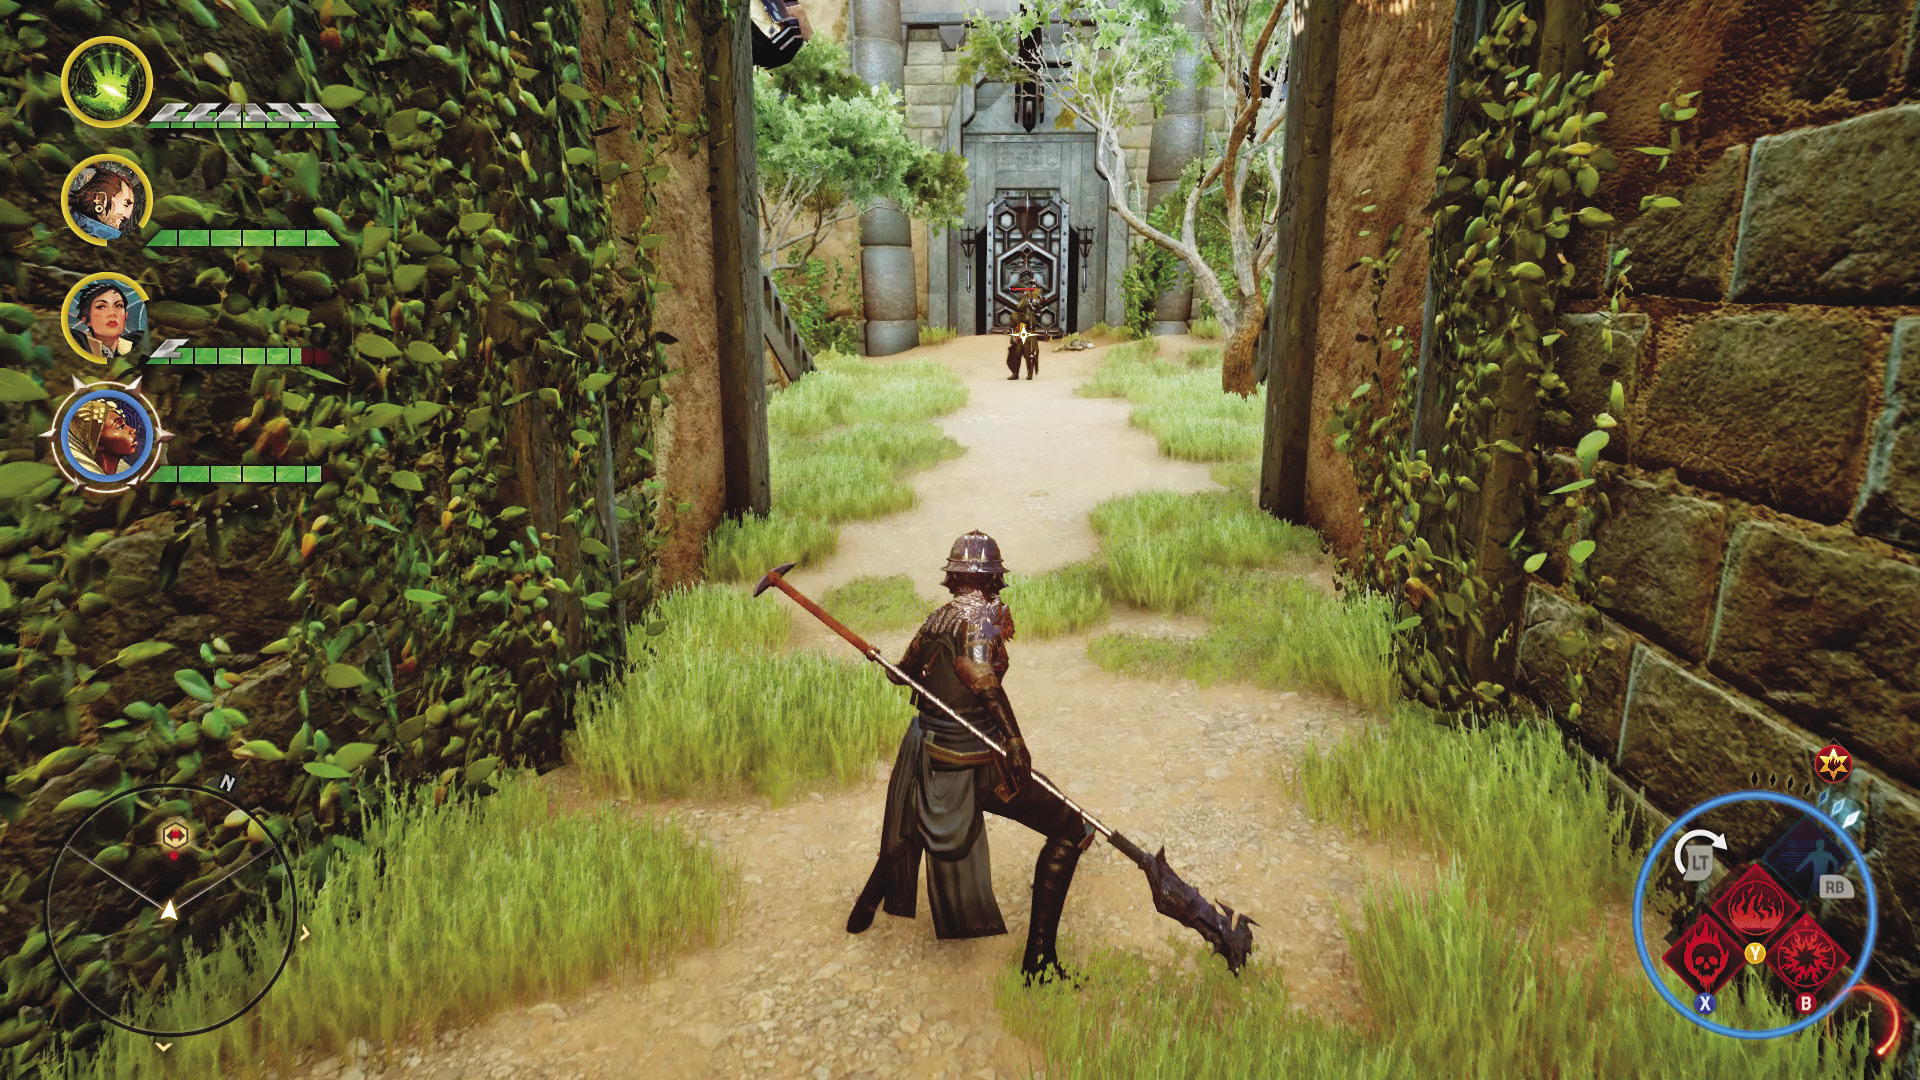
Beyond the barrier is a level 15 Venatori spellbinder, standing guard alone. Defeating him starts A Tevinter Relic Hunt, and you also get access to the ruins themselves. You should be at least level 13 before entering this dungeon. The enemies average around level 15, and they can pick apart the unprepared with surprising speed.
Still Ruins
A Stranger Rift in the Ruins

Quest Giver: Fade rift inside the Still Ruins
Description: There’s ancient magic at work in the Still Ruins that appears to be slowing time. A Fade rift appears frozen in place, and whatever’s keeping the magic at work is preventing the rift from closing.
Requirements: Enter the Still Ruins and discover the frozen Fade rift.
Reward: 967 XP, 200 Influence, 2 Power
Objectives:
 Disable the time magic.
 Close the Fade rift.
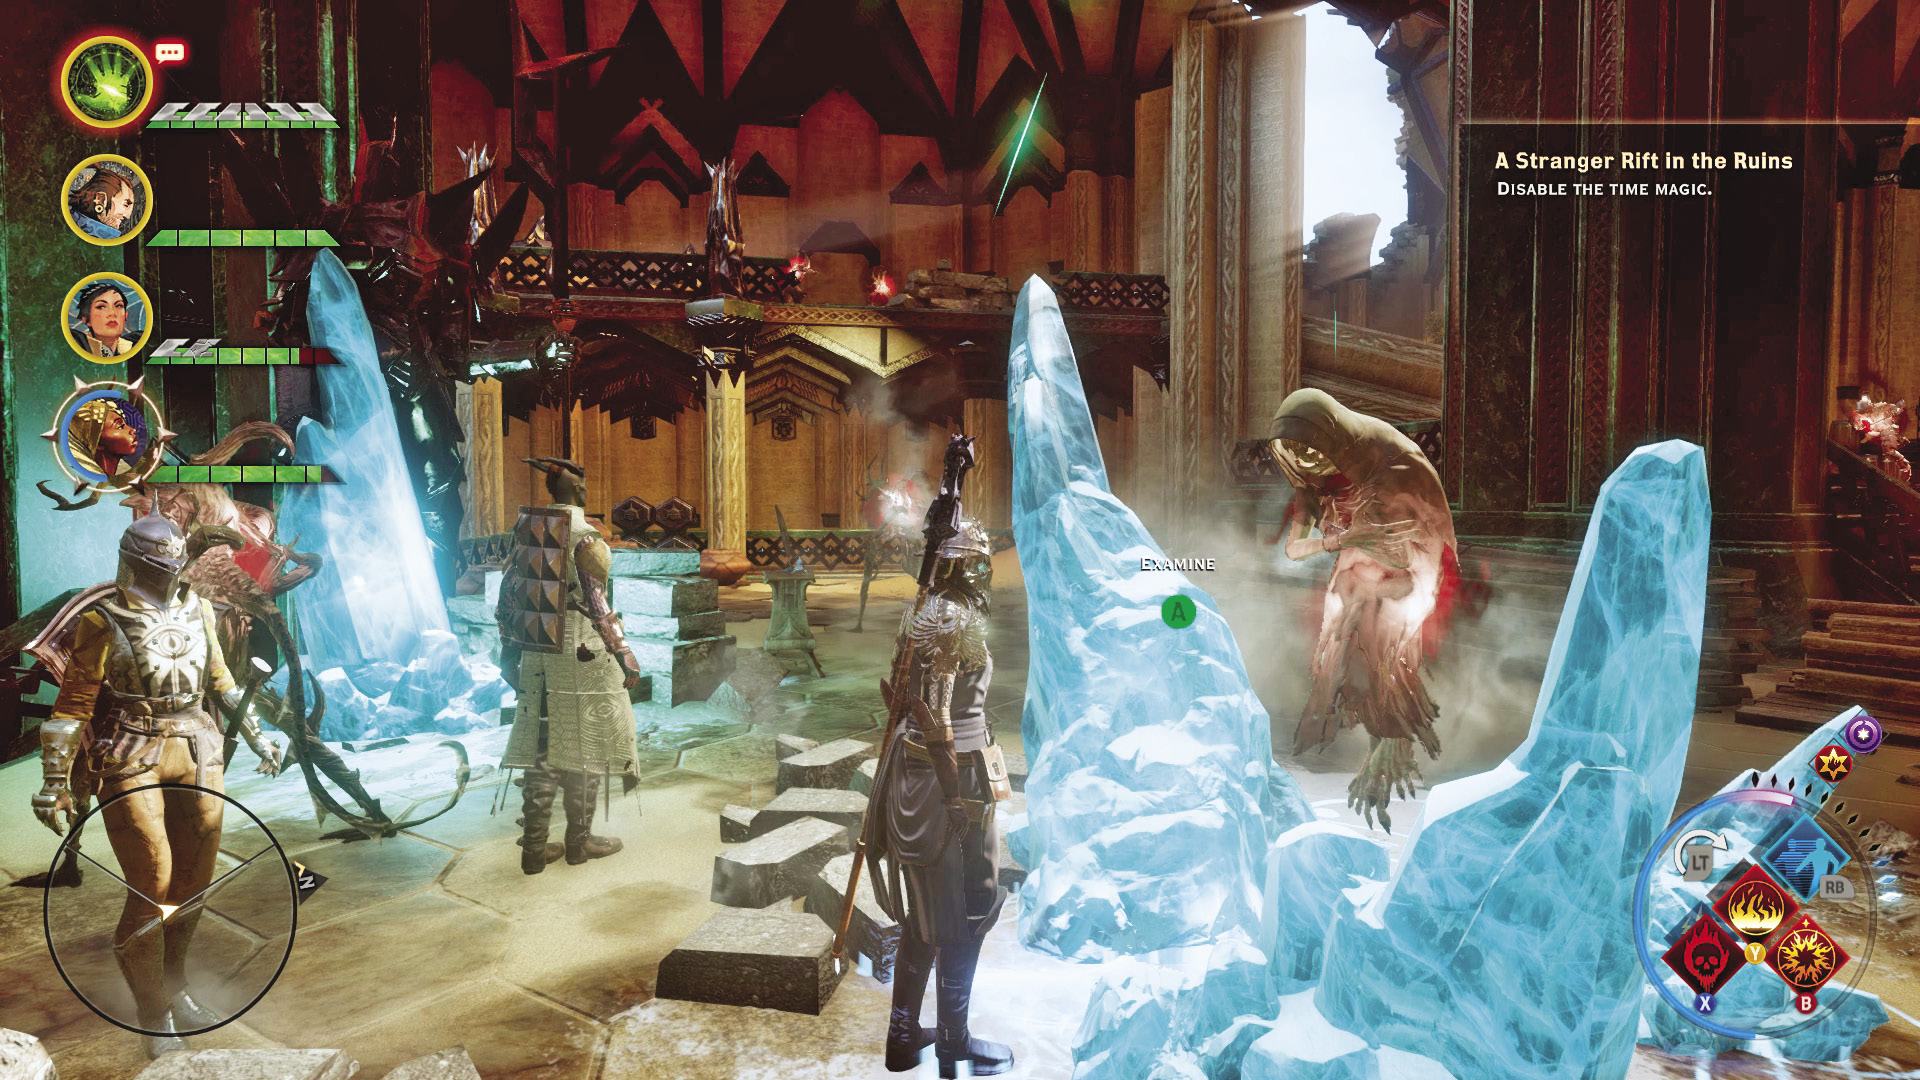
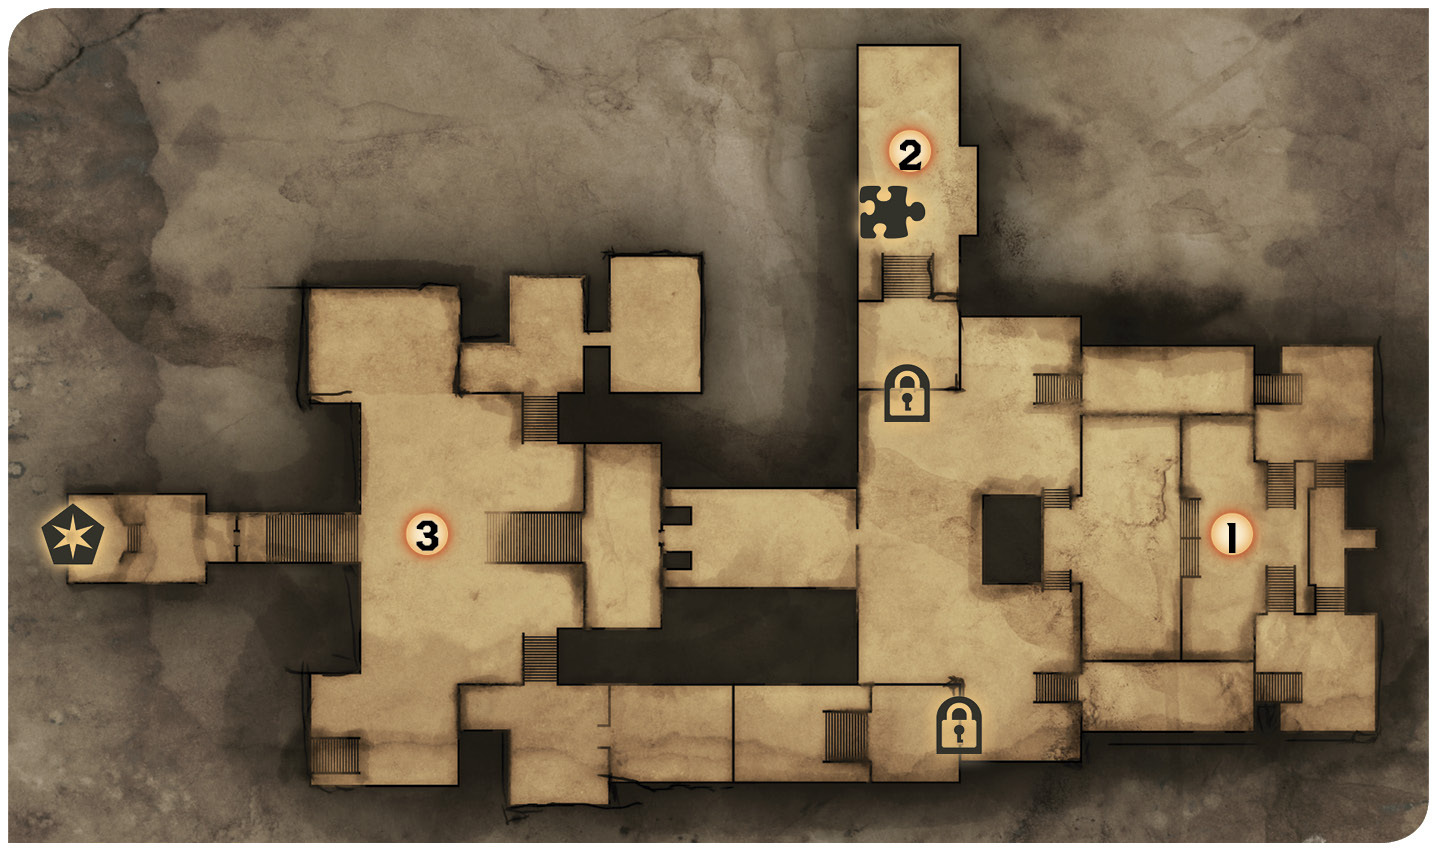
1. As soon as you enter the ruins, you notice right away that something is up. A Fade rift, frozen in time, hovers above the great hall, with demons also frozen in place. However, not everyone or everything is frozen. Venatori patrol the chamber, attacking you on sight. Kill them, then try to inspect the rift. Yep, it’s definitely frozen.
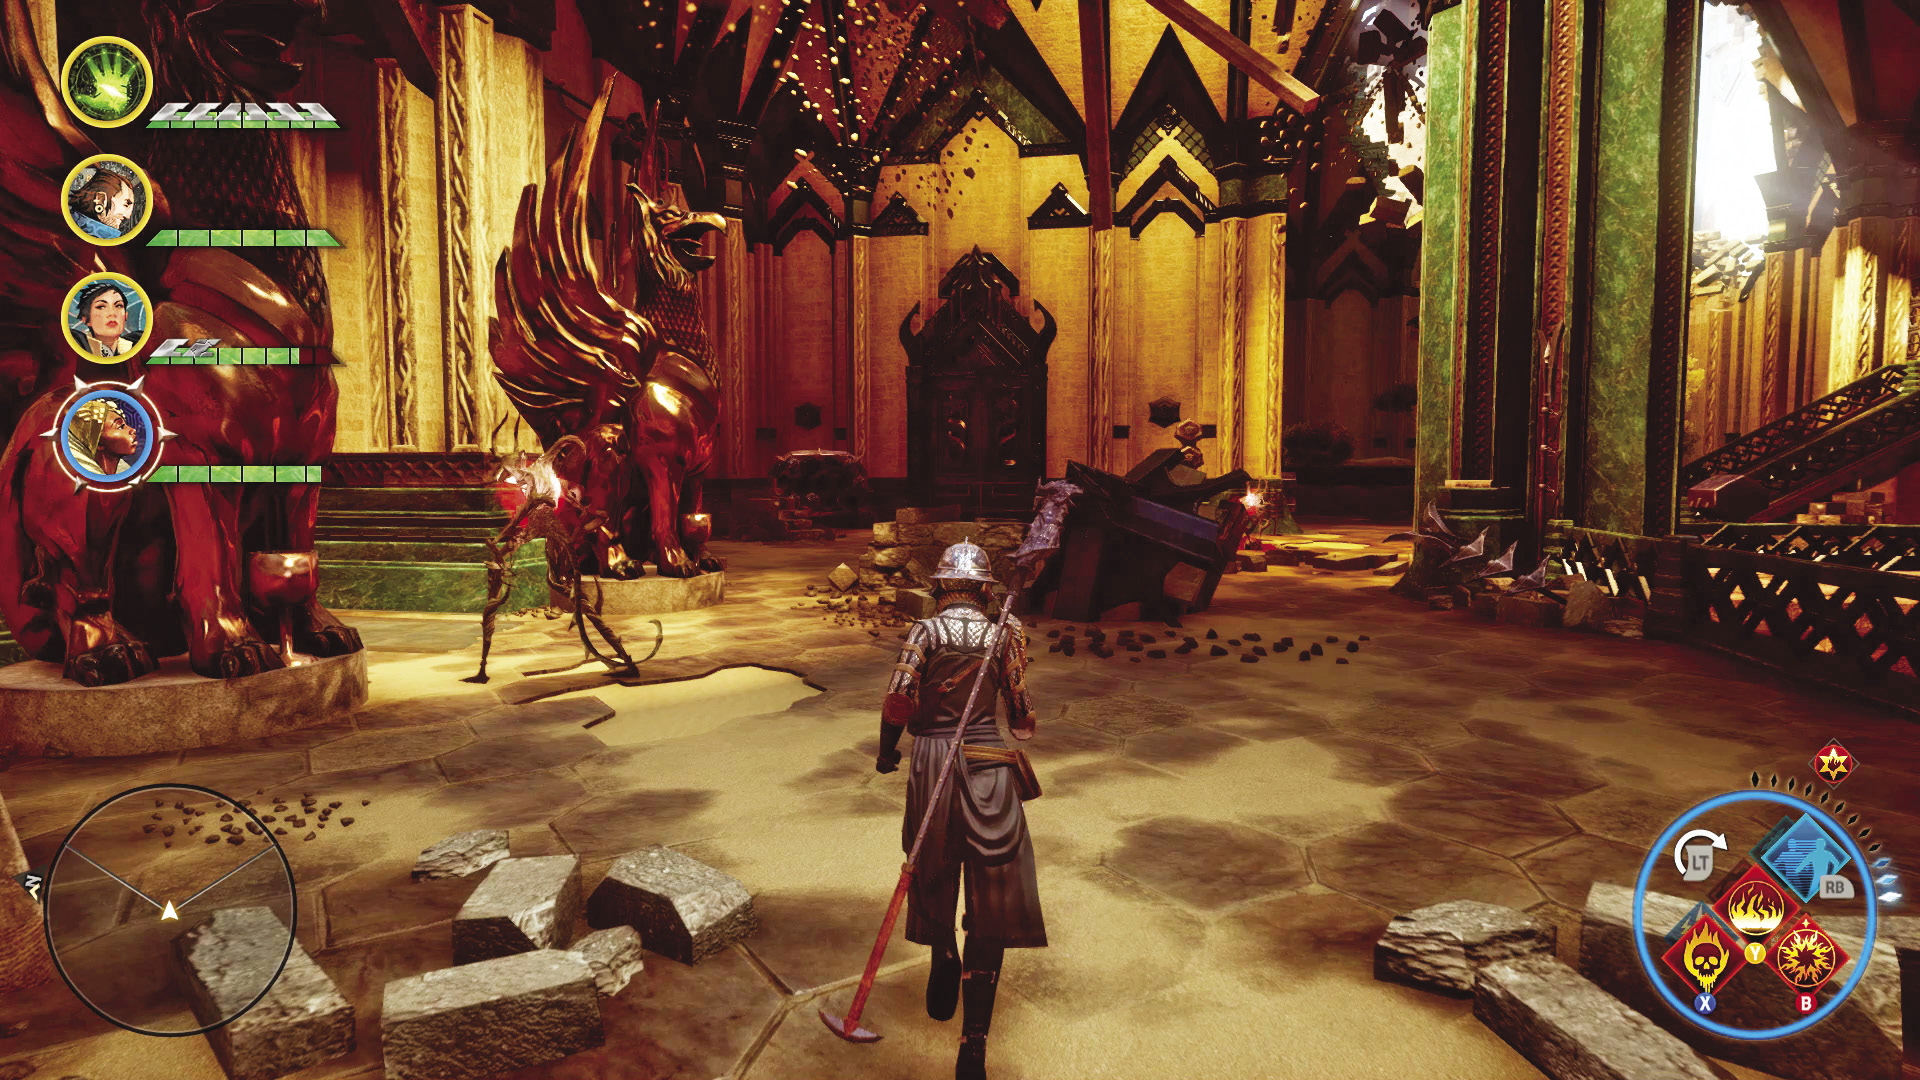
2. There’s a door that requires the Deft Hands, Fine Tools perk to open on the northeastern corner of the room. Inside it is a mosaic piece for the Freed Are Slaves collection, along with some nice treasure and some interesting reading about the proper use of blood magic.
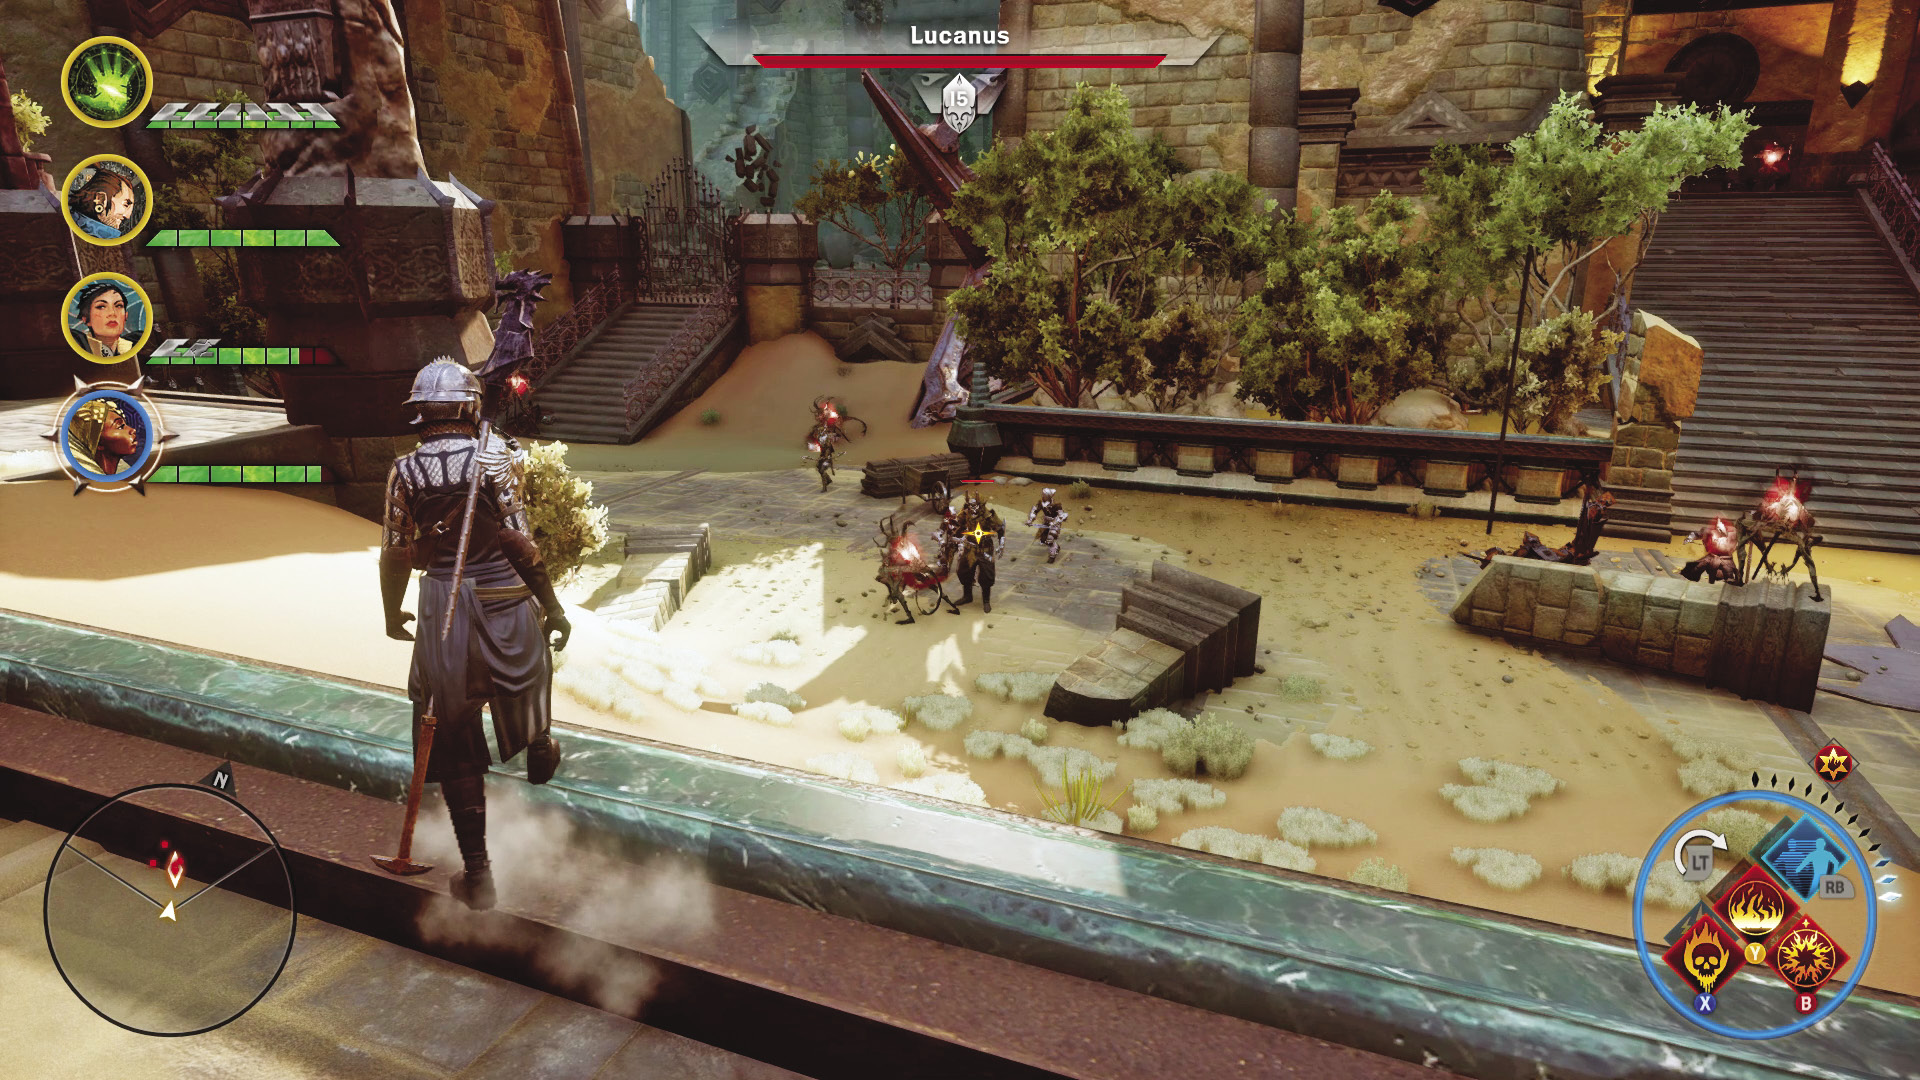
3. Continue pushing north beyond the rift room, through the Hall of Silence and into Viridis Walk. This is where you encounter Lucanus, leader of the Venatori forces in these ruins. He is a magister of considerable power and skill, and as a level 15 elite, he’s more than capable of surviving a beating for quite some time. He is not alone! Watch out for his allies while fighting him, especially the Venatori marksmen. Killing Lucanus ends the Venatori presence in the Still Ruins.
A Tevinter Relic Hunt

Quest Giver: Killing the Venatori spellbinder in front of the Still Ruins entrance activates the quest.
Description: Venatori are raiding the Still Ruins under the Western Approach. Whatever lies inside was important enough to protect with a barrier.
Requirements: Available as soon as you defeat the spellbinder.
Reward: 1,934 XP, 400 Influence, 3 Power
Objectives:
 Stop the Venatori.
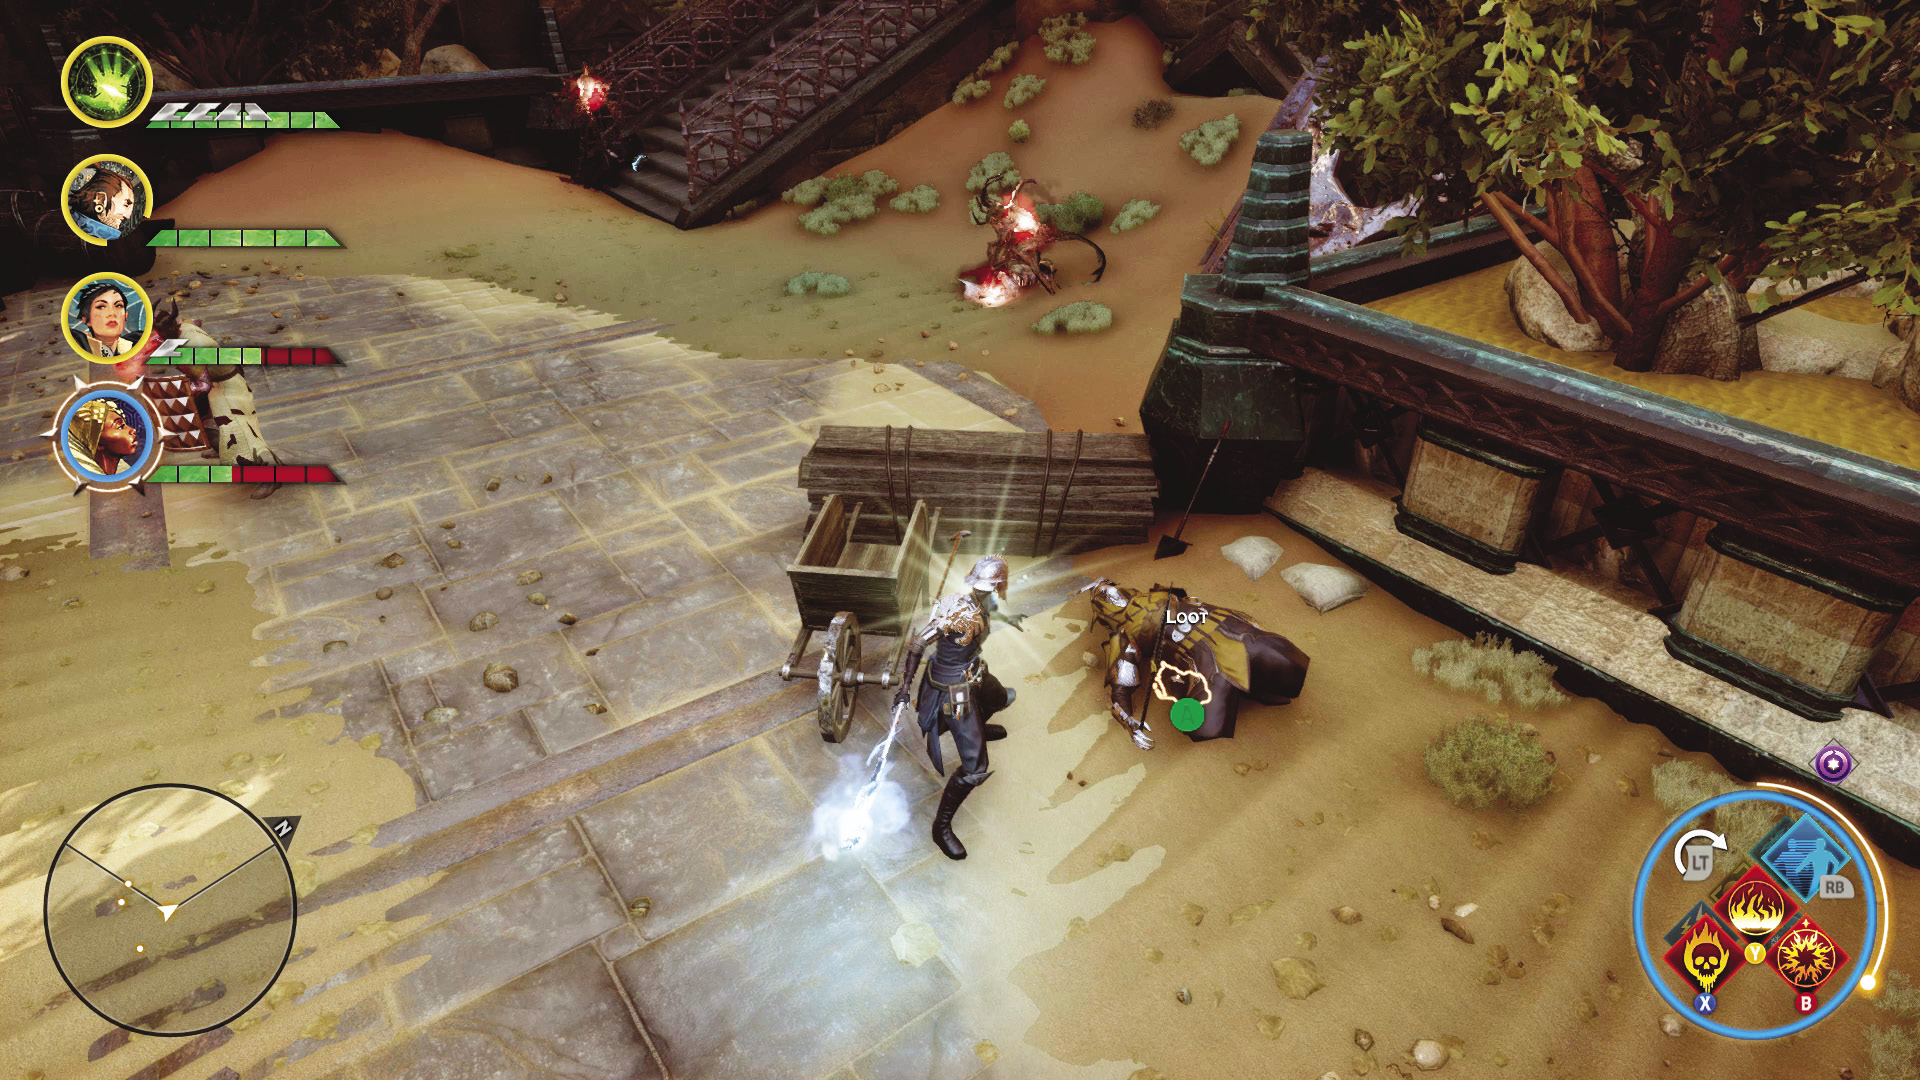
This quest is complete as soon as you defeat Lucanus in Viridis Walk. Loot his corpse to find a mysterious keystone.
A Manuscript of Some Authority

Quest Giver: Frederic
Description: The ancient Tevinter manuscript has some marvelous diagrams, but Frederic is unable to read the script.
Requirements: Speak with Frederic to begin this quest.
Reward: 242 XP, 80 Influence
Objectives:
 Find Tevinter writing on dragon luring.
 Deliver the manuscript to Frederic.
 Arrange for a translation at the war table (five power required).
 Return to Frederic.
4. In a small chamber in the southwest corner of Viridis Walk is a chamber containing a manuscript that is very much to Frederic’s interests. In that same chamber, you can find some extra book reading.
Unfortunately, bringing the manuscript back to Frederic means nothing: He can’t even decipher it. However, the Inquisition, more specifically Josephine, is able to get someone who can. Go back to Skyhold and use the war table to complete the Translate the Dragon Text mission. The results are instant! Return to Frederic with the good news. You’re now another step closer to being able to track down the Abyssal High Dragon!
The Heart of the Still Ruins
Quest Giver: Stone recovered inside the Still Ruins
Description: Lucanus dropped a strange stone while searching the ruins. Its distinct pattern suggests it could be a keystone of some kind. Perhaps there are more.
Requirements: Pick up the stone Lucanus drops.
Reward: 242 XP, 80 Influence
Objectives:
 Collect all five keystones to open the sealed chamber.
 Enter the sealed chamber.
After killing Lucanus and taking his keystone, you must find four other keystones scattered throughout Viridis Walk. They look like shards found out in the world.
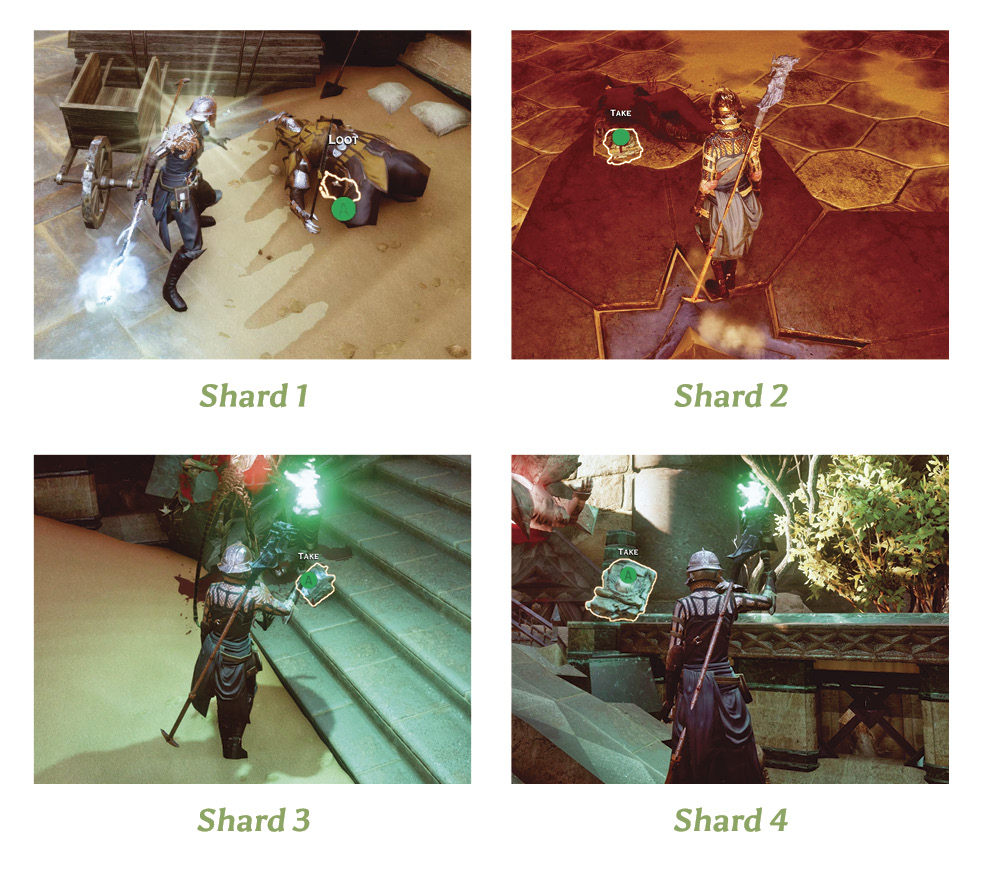
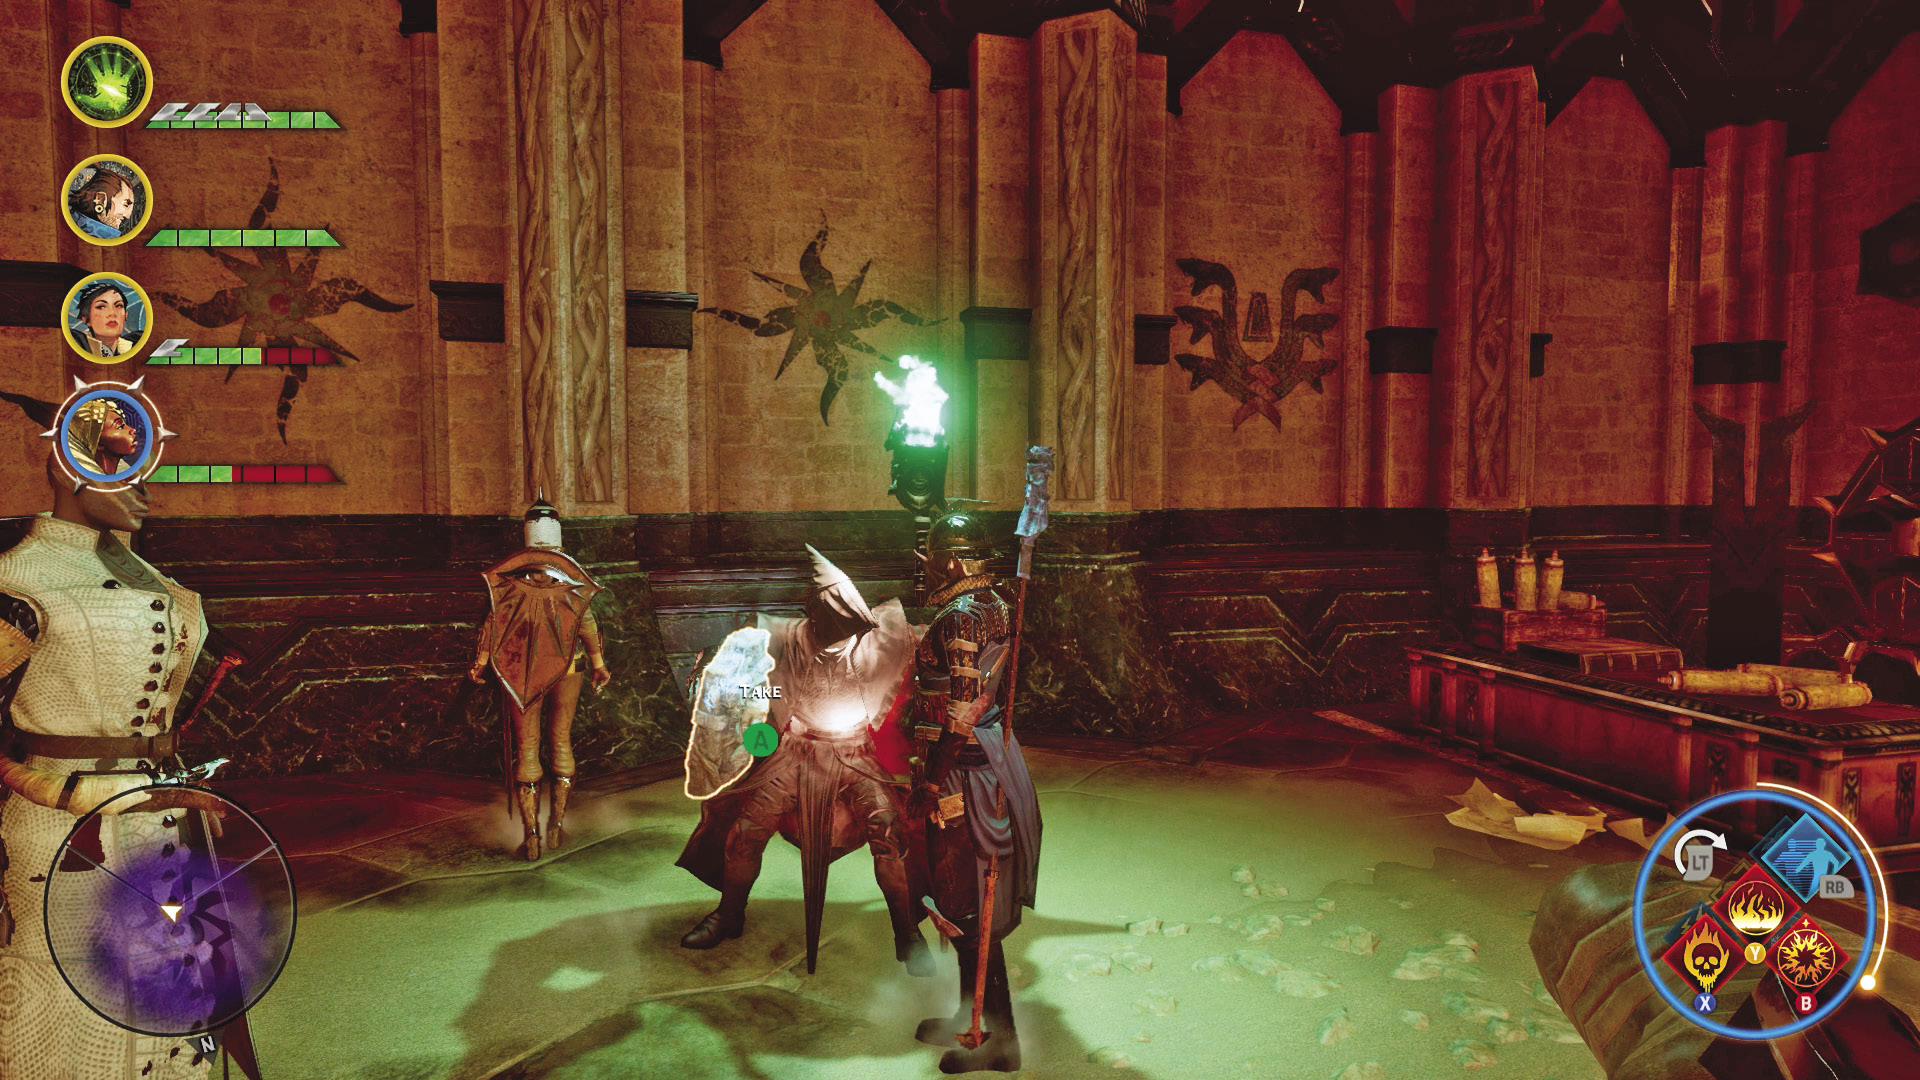
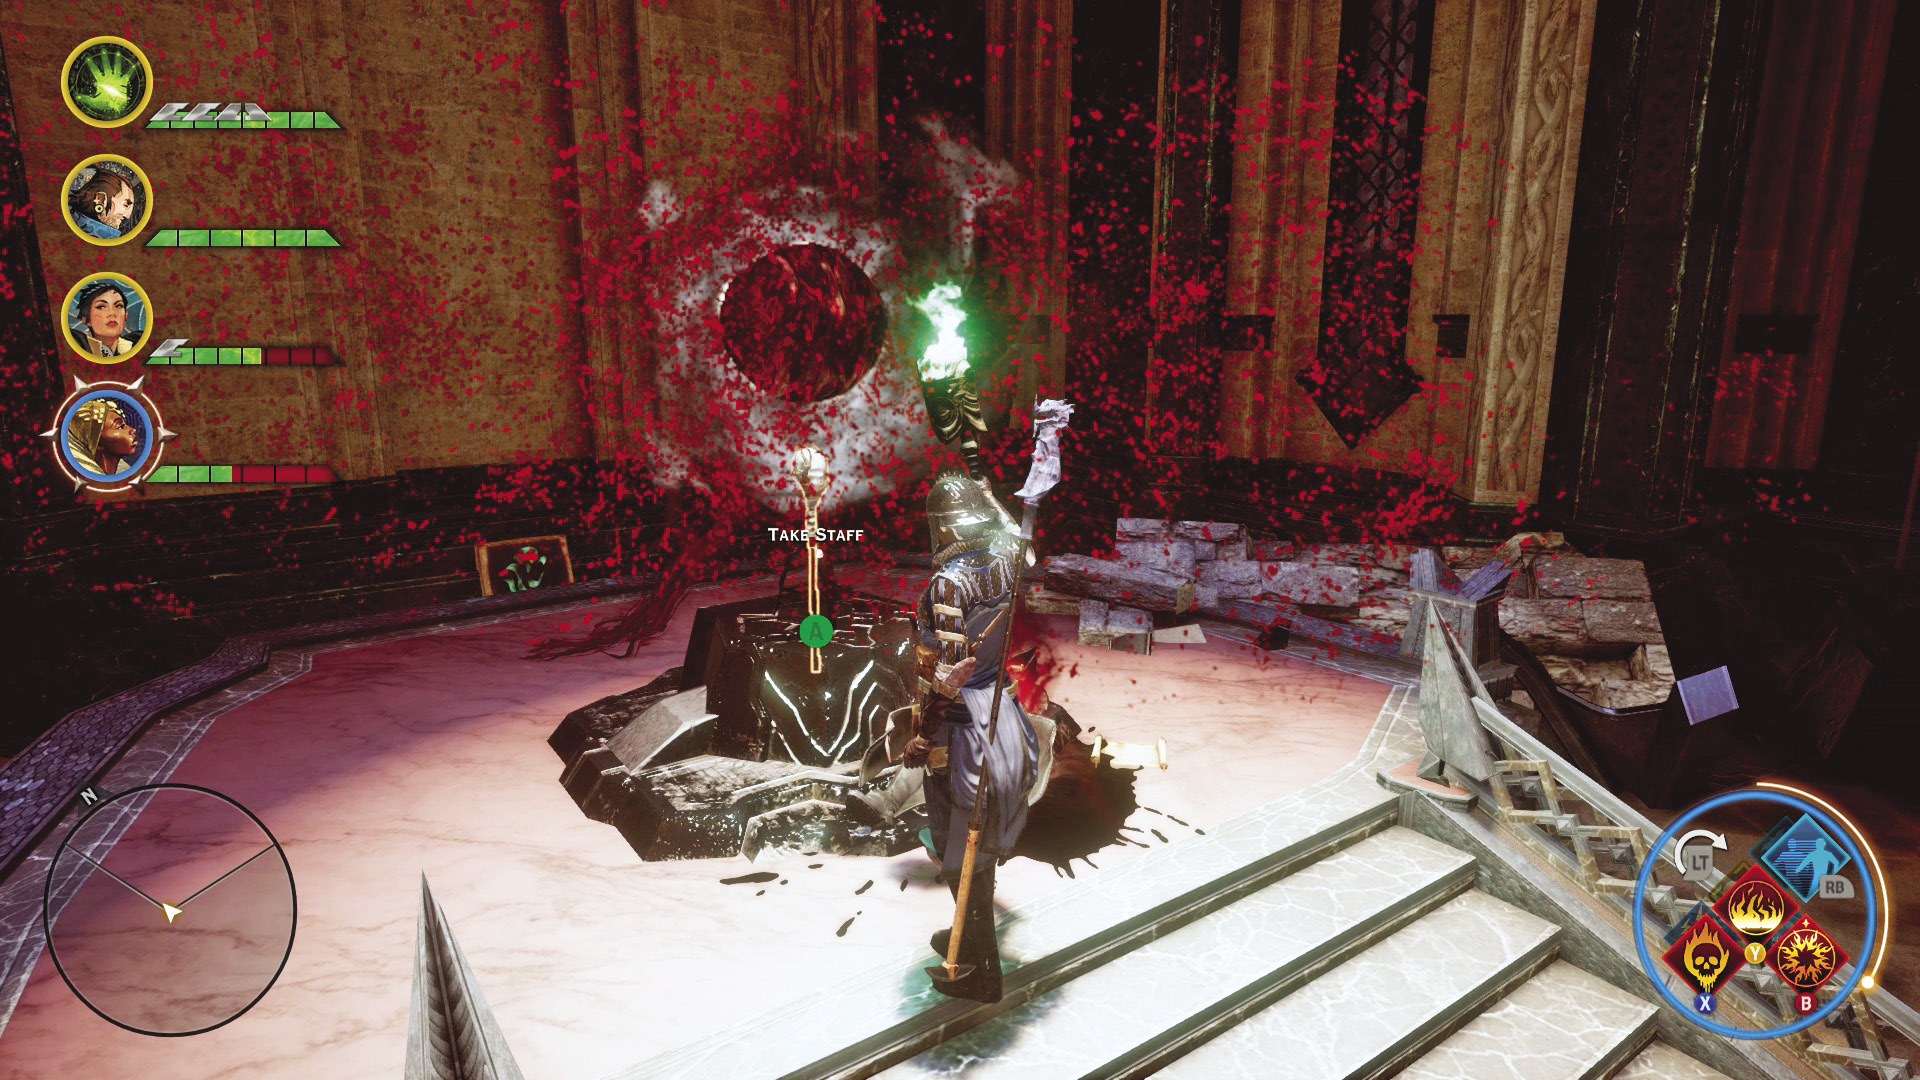
5. Once you locate the four shards inside Viridis Walk, take them to the door on the north side of the room to enter the inner sanctum and complete this quest. You’ll find a strange-looking staff floating in the air, surrounded by blood flowing in a sphere around it. Not suspicious at all. Collect it anyway to make exciting things happen! The staff itself is called Tempest, a powerful cold damage weapon with some fancy modifications already in place.
Completing A Stranger Rift in the Ruins
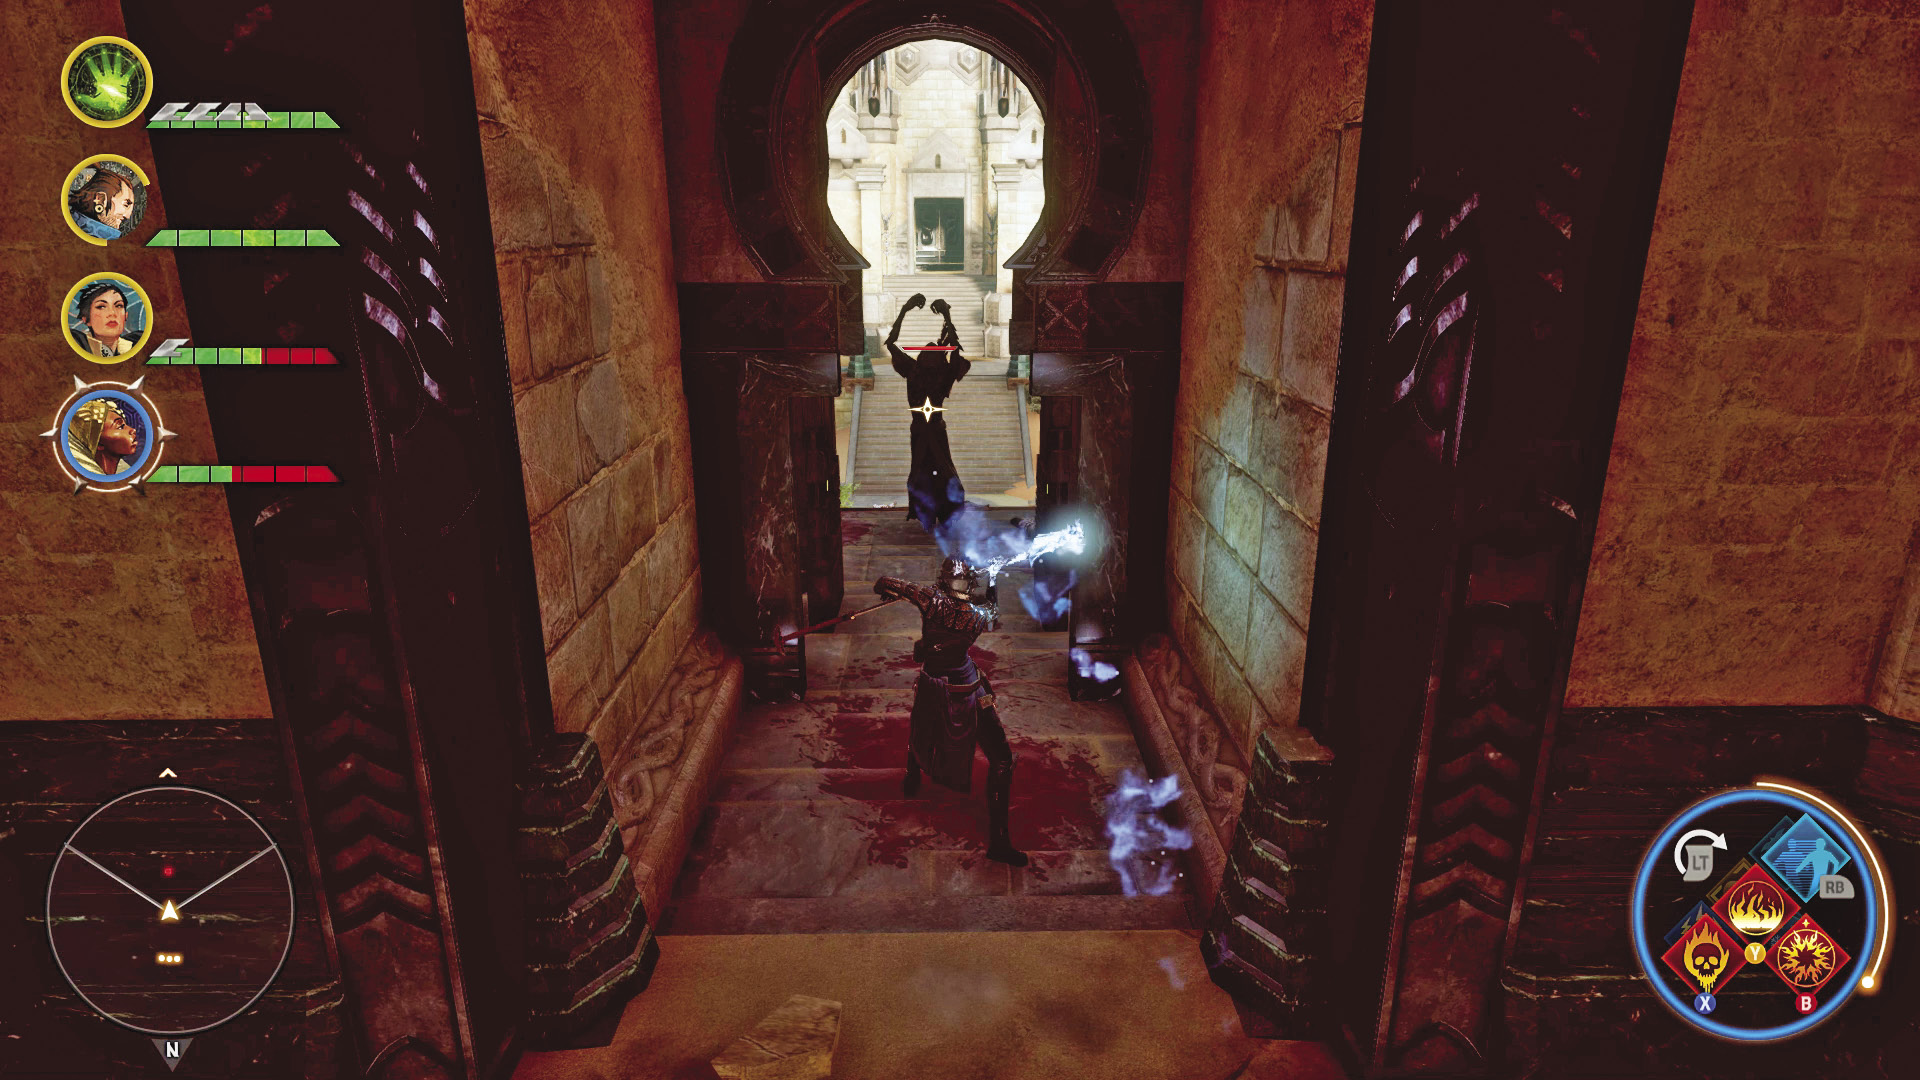
Recovering the Tempest causes time to begin flowing normally again, and you are immediately beset by a greater shade. This also means that the demons now move freely throughout the Still Ruins, and they will make you fight for every step you take back toward the Fade rift to seal it. Expect greater and lesser terrors, shades, and wraiths in Viridis Walk.
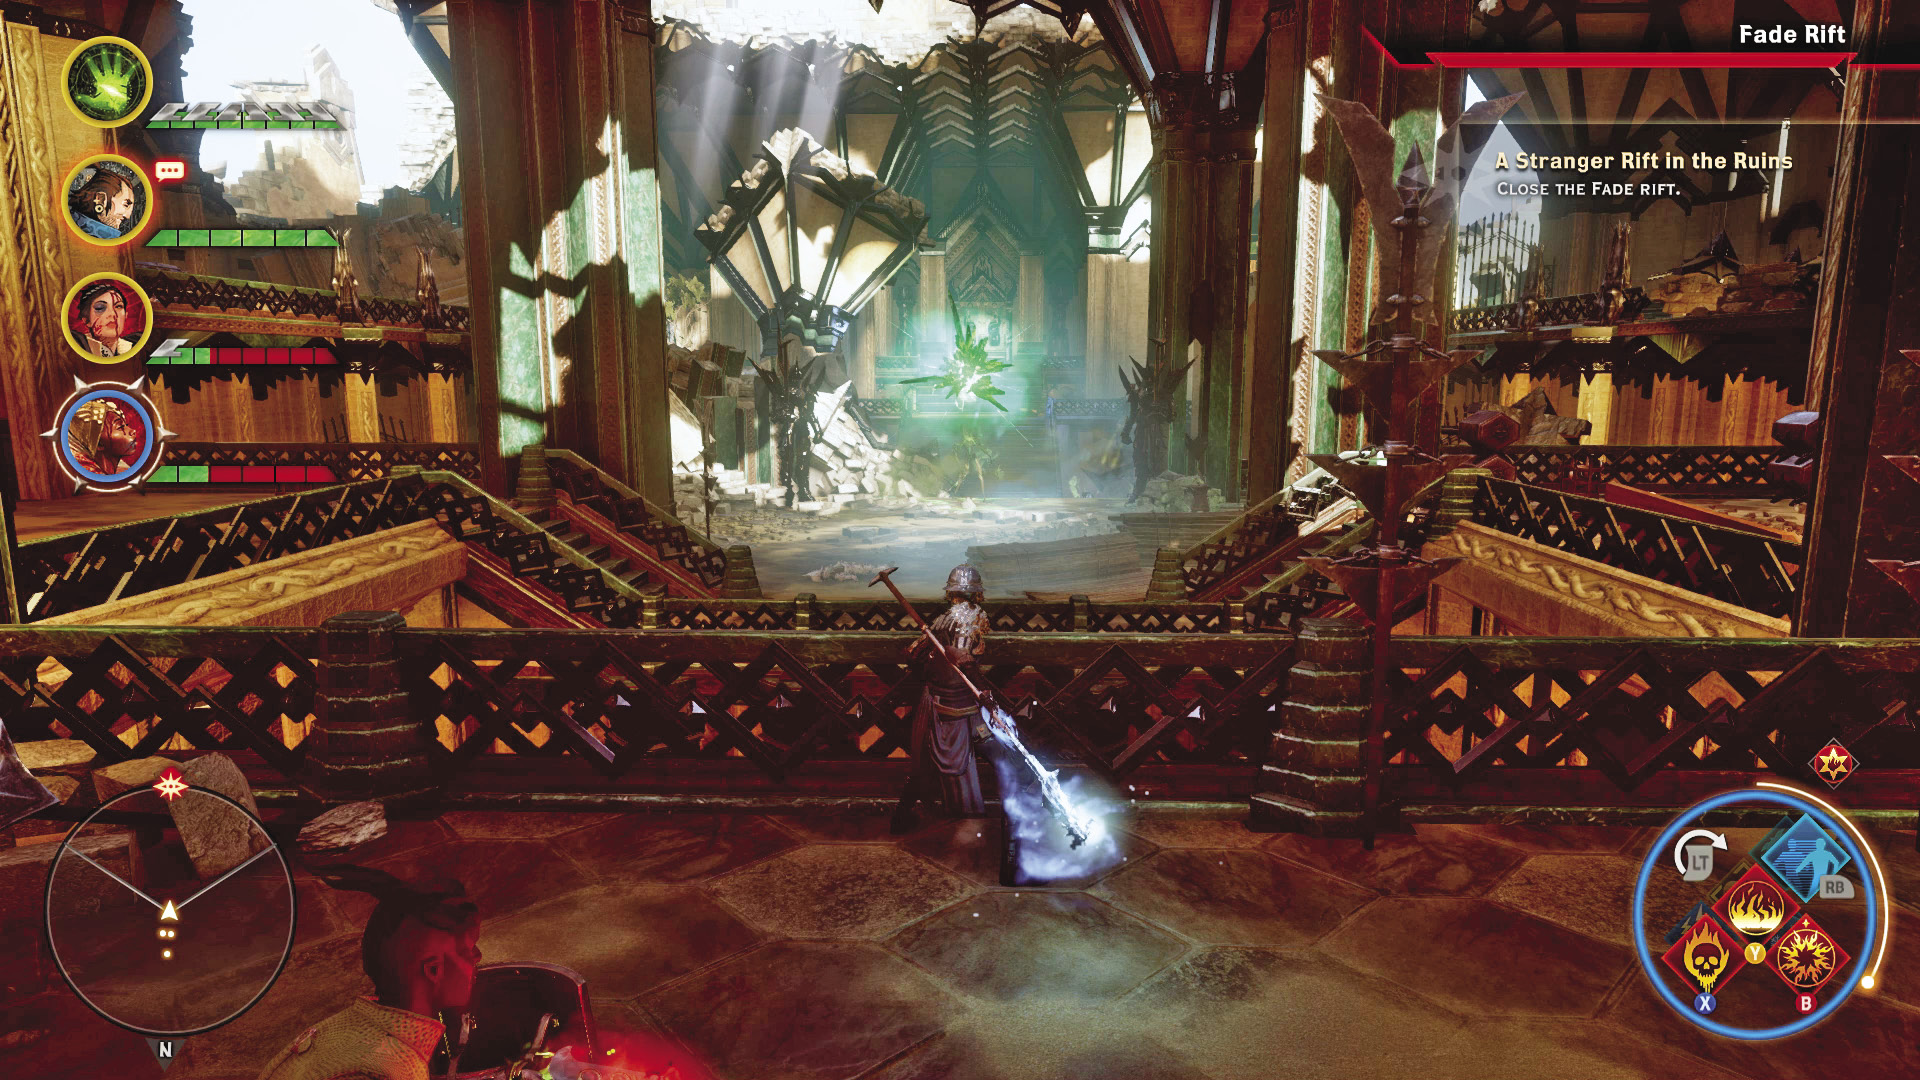
The Fade rift in the main chamber is a level 15 challenge, so expect really nasty stuff like a despair demon or greater terrors. Fortunately, the battle lasts for only two waves, and you can cut this short by using Dispel to catch multiple demons before they fully manifest, thanks to the confined space the rift summons them in.
With this, the Still Ruins are now truly still, for reasons other than ancient Tevinter blood magic.
9: Sharper White Claws
Quest Giver: Frederic
Description: The White Claws won’t be happy that their traps were destroyed. Senior raiders will likely investigate, an ideal moment to take them out.
Requirements: Available after completing How to Lure a Dragon
Reward: 967 XP, 200 Influence, 2 Power
Objectives:
 Destroy all five traps.
 Kill the White Claws.
 Return to Frederic.
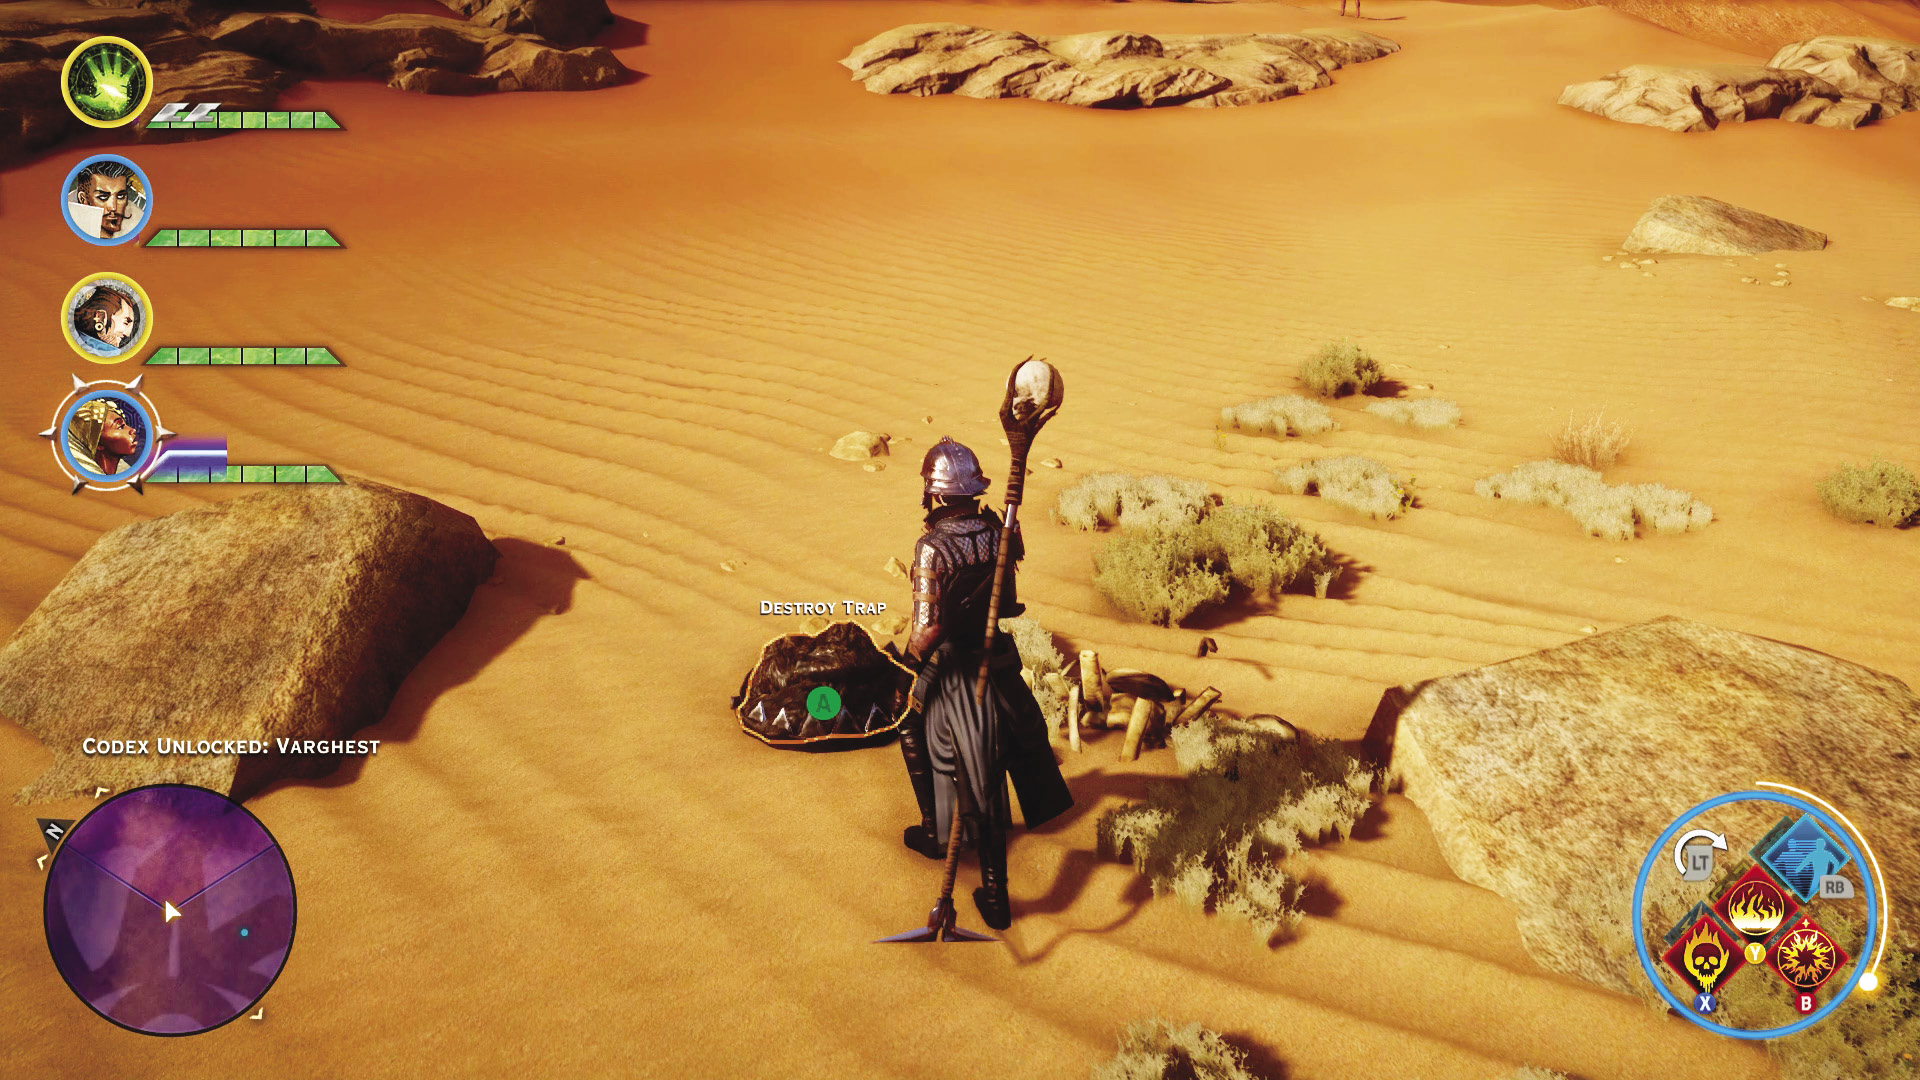
The traps are scattered throughout the Wastes region to the south of Frederic’s camp. It’s a wide search area, and the traps themselves can be tough to spot. Just work your way across the search area, and you’ll find the traps. You will also find White Claw bandits camped out across this area, so be ready to remove them.

Sure enough, destroying the traps is the last straw for the White Claws, and they send a force out to meet and beat you. The greatest threats in this hostile force are the footpads. Stealthy and evasive, they can quickly put down lightly armored targets like rogues and mages. But don’t ignore the archers among these bandits; they can be just as dangerous if left alone for too long!
10: Assault on Griffon Wing Keep

Quest Giver: A note found outside of the Still Ruins, or Frederic
Description: Venatori occupied an isolated keep in the Western Approach, a key outpost on the treacherous trip to Adamant. It would be of great benefit to the Inquisition to capture it and drive the Venatori from the area.
Requirements: Available as soon as you enter the Western Approach.
Reward: Griffon Wing Keep falls under Inquisition control.
Objectives:
 Capture the keep.
Griffon Wing Keep is a vital location that the Venatori have occupied, which should be enough motivation for you to want to take it. It is seriously nice to have the ability to fully prepare your equipment outside of Skyhold, especially for when you want to take on the Abyssal High Dragon.

There are two ways to begin the assault on the keep. One is to crash through the front door, killing every Venatori enemy in sight. The front gates are protected by several foot soldiers and, more importantly, two marksmen on walls overlooking the main entrance. It helps to bring mages to pick them off.
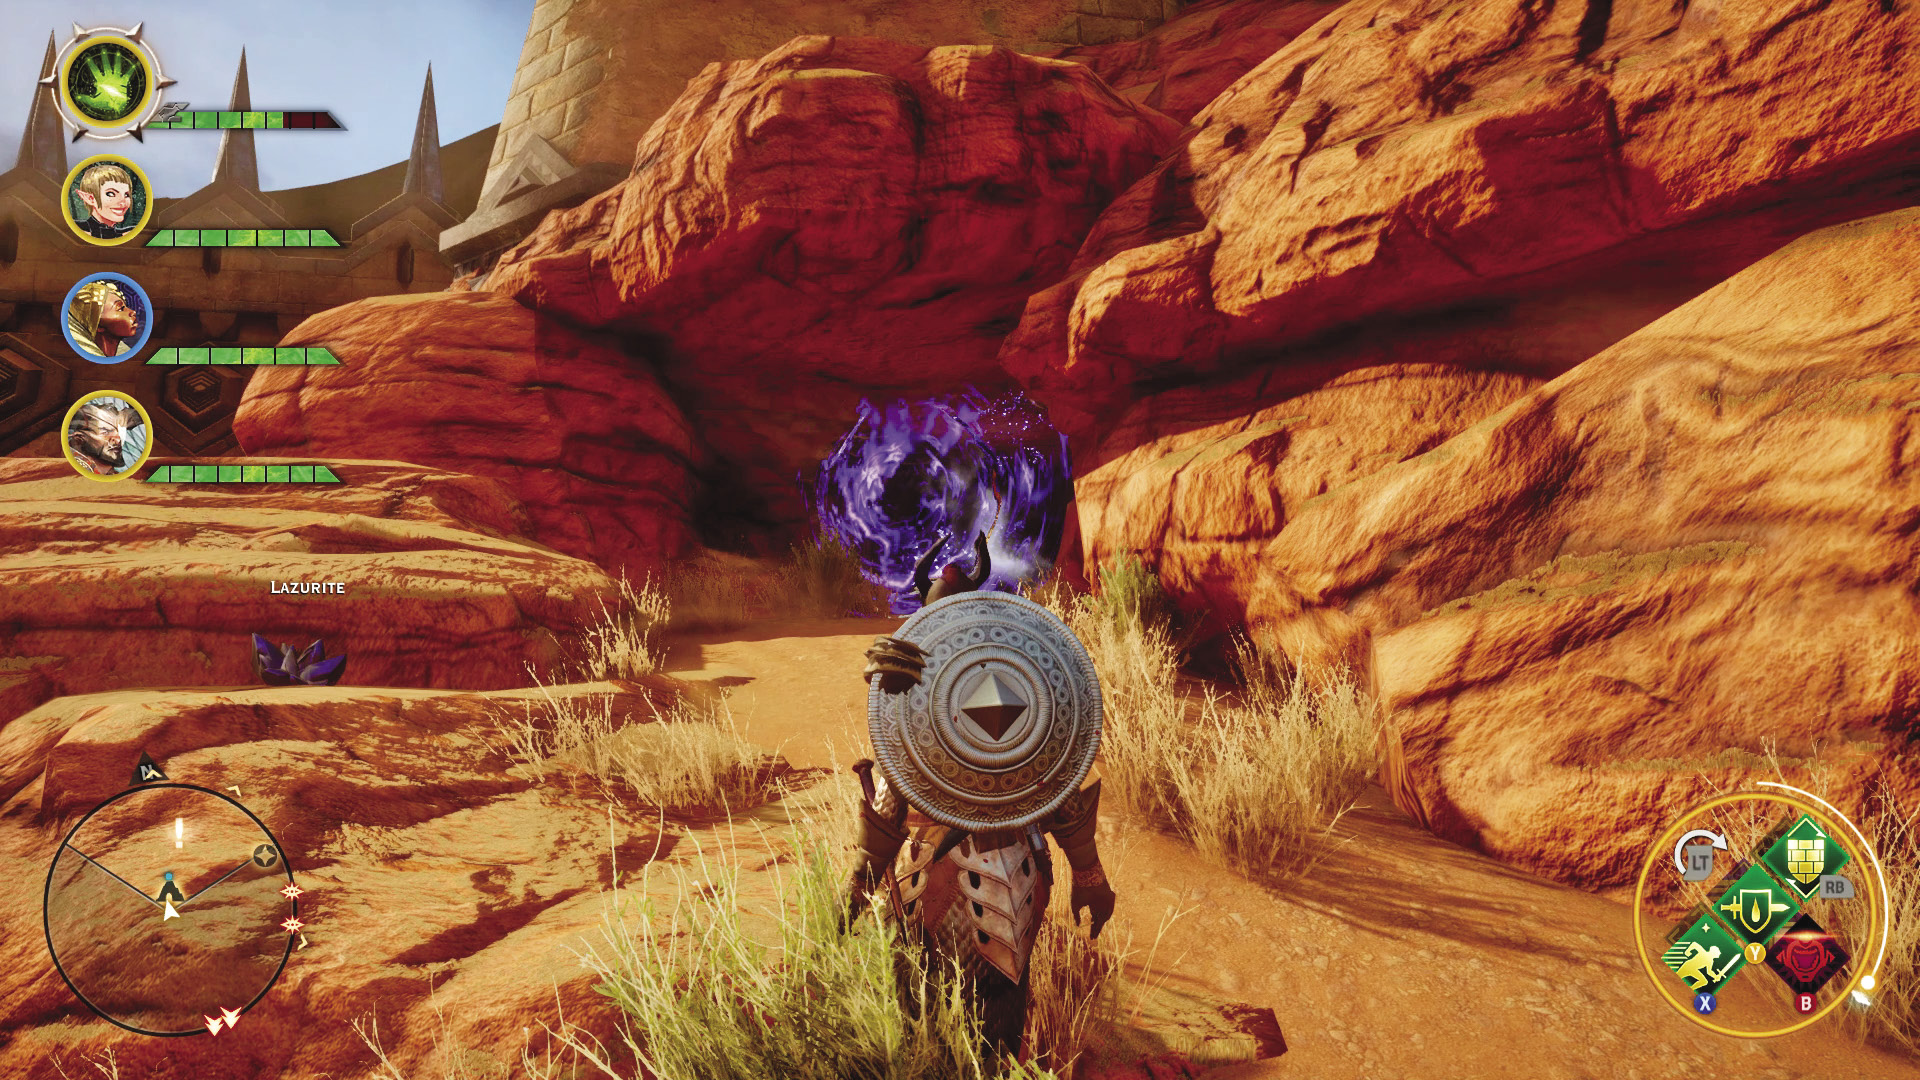
If you’re feeling sly, you can climb into the front courtyard by taking a cave entrance at the rear of the fortress’s plateau. After you blast through the spirit barrier, the cave beyond takes you to the keep’s well and a landmark you can claim. From there you can climb up into the courtyard. This lets you ambush the marksmen at the front walls.
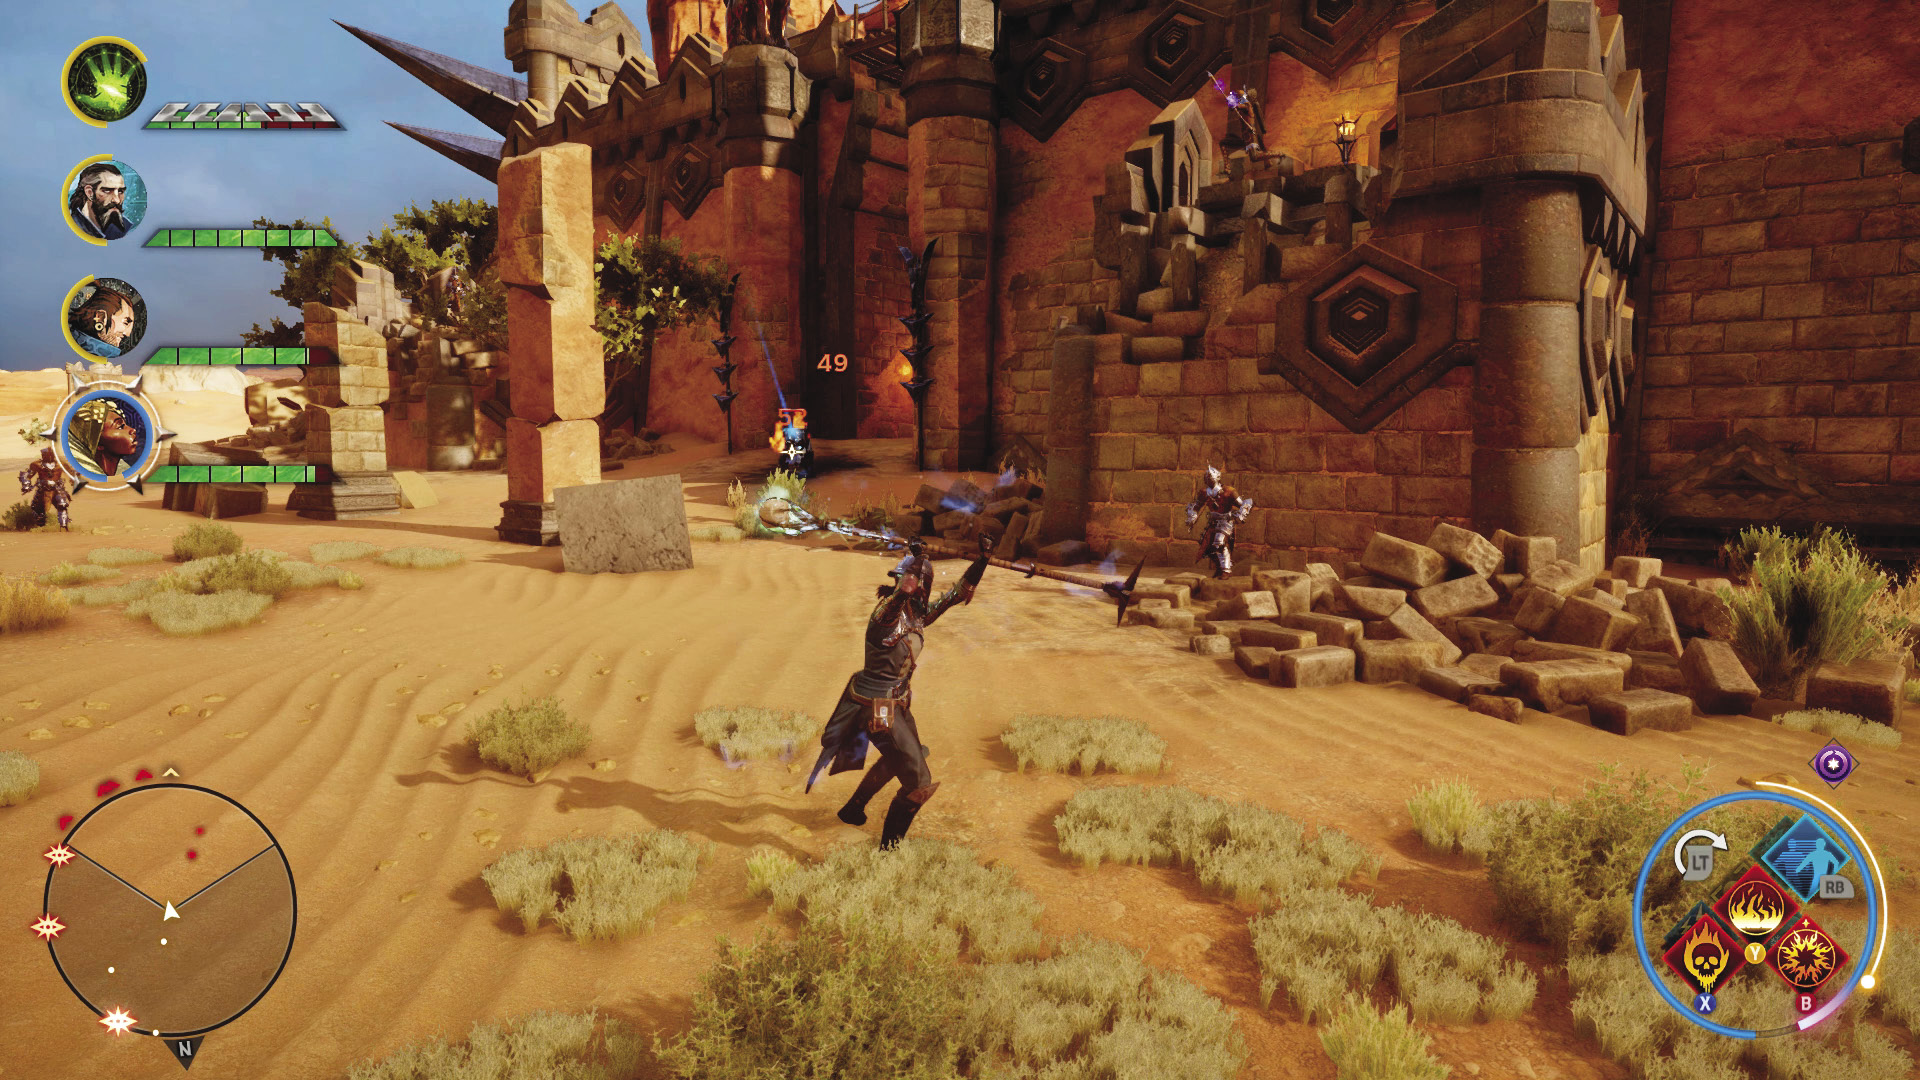
However the assault begins, after clearing the front entrance explore the courtyard thoroughly for any useful goods, then continue up the stairs on the west side of the courtyard. More Venatori foes loudly challenge your presence. Once again, the ramparts are manned by Venatori marksmen and spellbinders, while foot soldiers and guardsmen try to occupy you. If you have a rogue in the group, it might not be a bad call to use Stealth to sneak up to these snipers to pick them off while the rest of the party handles the threats on the lower levels. Once this second battle is won, the final gate leading to the highest part of the keep opens.
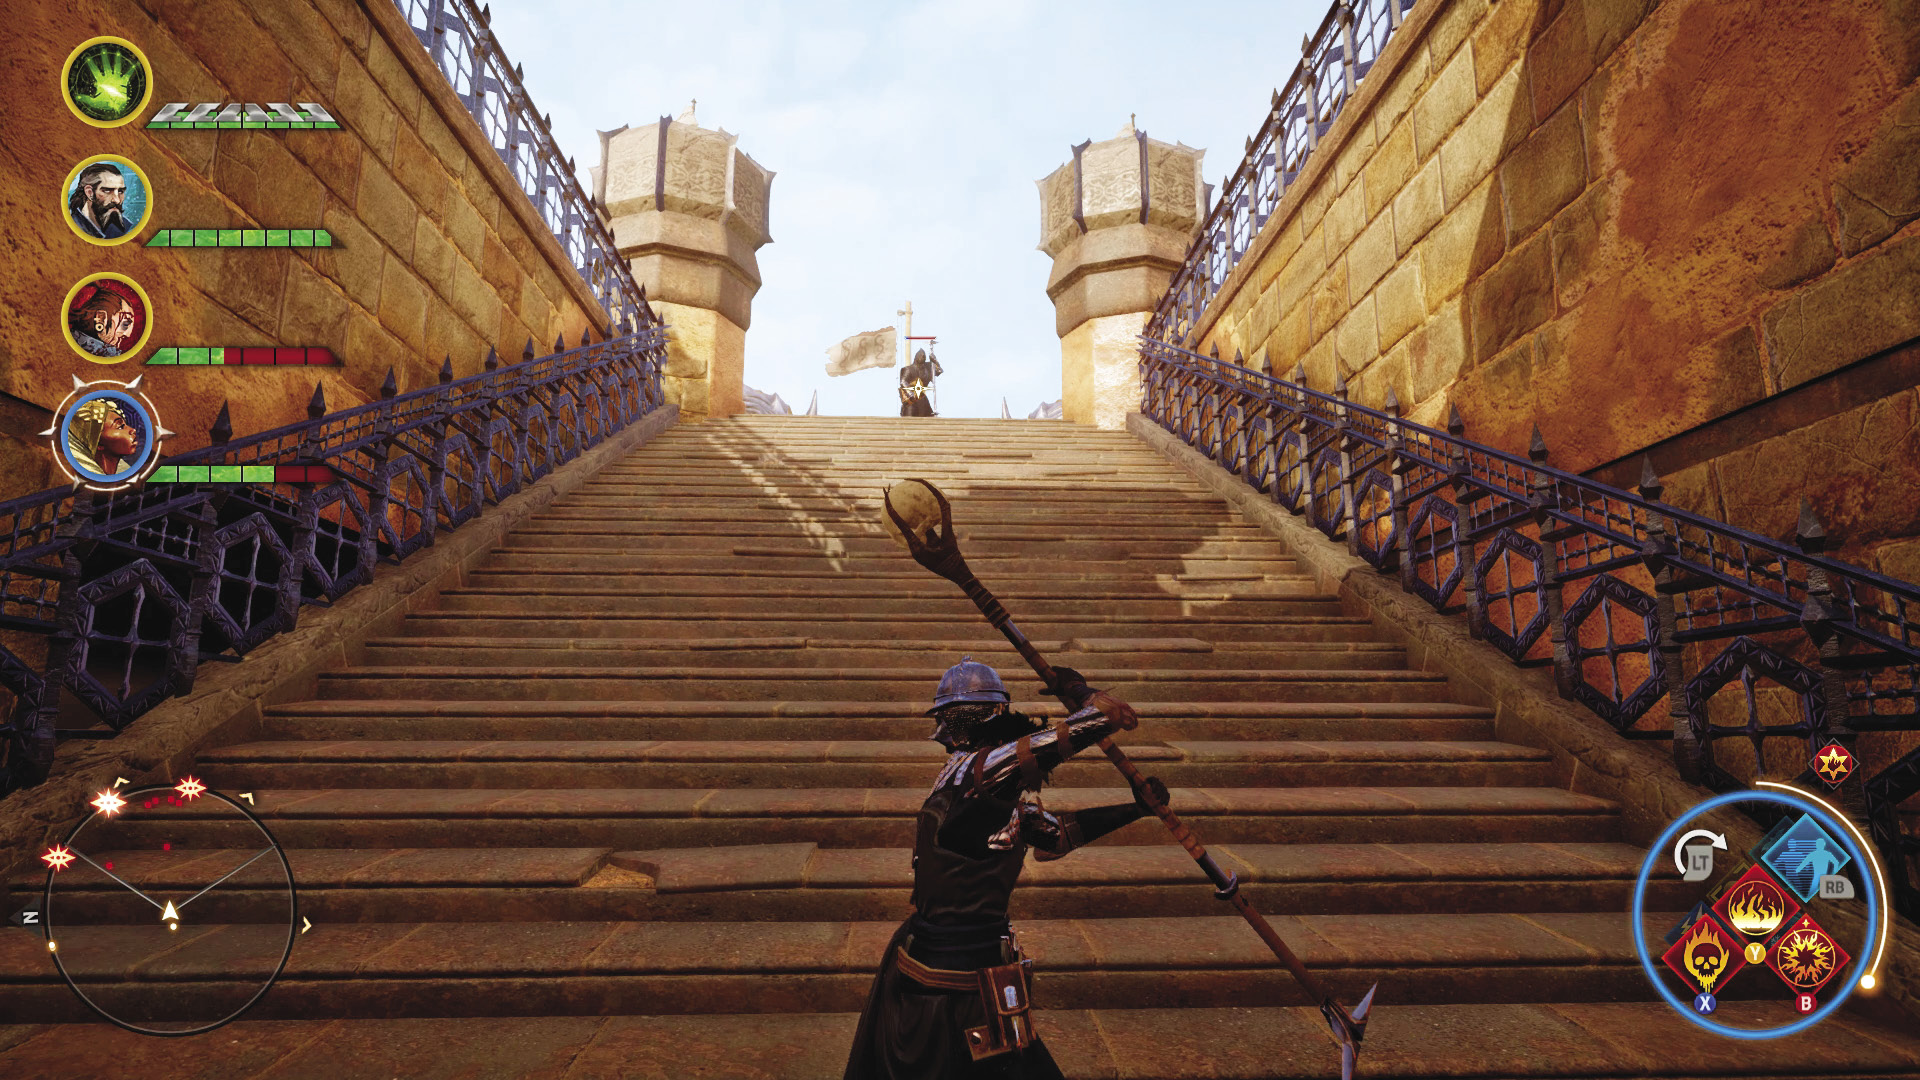
Climb the last stairwell to meet the final line of defense for the Venatori. A magister named Macrinus, two footmen, and two marksmen stand between you and claiming this keep. Macrinus can be a serious pain if you allow him to start casting spells; mob him immediately with any stuns or knockdown abilities at your disposal. Direct a rogue or warrior to go after the marksmen, should you have one to spare, but otherwise try to keep the whole Venatori group focused on your tank.
Killing Macrinus and his men ends the Venatori hold on Griffon Wing Keep. Claim the place for the Inquisition, which rapidly makes it a home away from home. Speak with Knight-Captain Rylen after setup is complete. There are still issues in the keep that must be addressed.
11: This Water Tastes Funny

Quest Giver: Knight-Captain Rylen
Description: Griffon Wing’s well has been tampered with and cannot support the keep. An alternative source of fresh water must be secured. A nearby oasis called Lost Wash Creek would do, if it weren’t crawling with varghests.
Requirements: Capture Griffon Wing Keep and speak with Rhylen.
Reward: 128 XP, 80 Influence
Objectives:
 Clear out the varghests at Lost Wash Creek.
Once you learn of the keep’s water woes, you can go to Skyhold’s war table to try to find a fresh source of water. This takes time, so you can accomplish other quests. Afterward, you’ll get another war table operation that lets you select how to deal with the varghests. Depending on your choices, you may have to go to the Lost Wash Creek yourself and handle the situation.
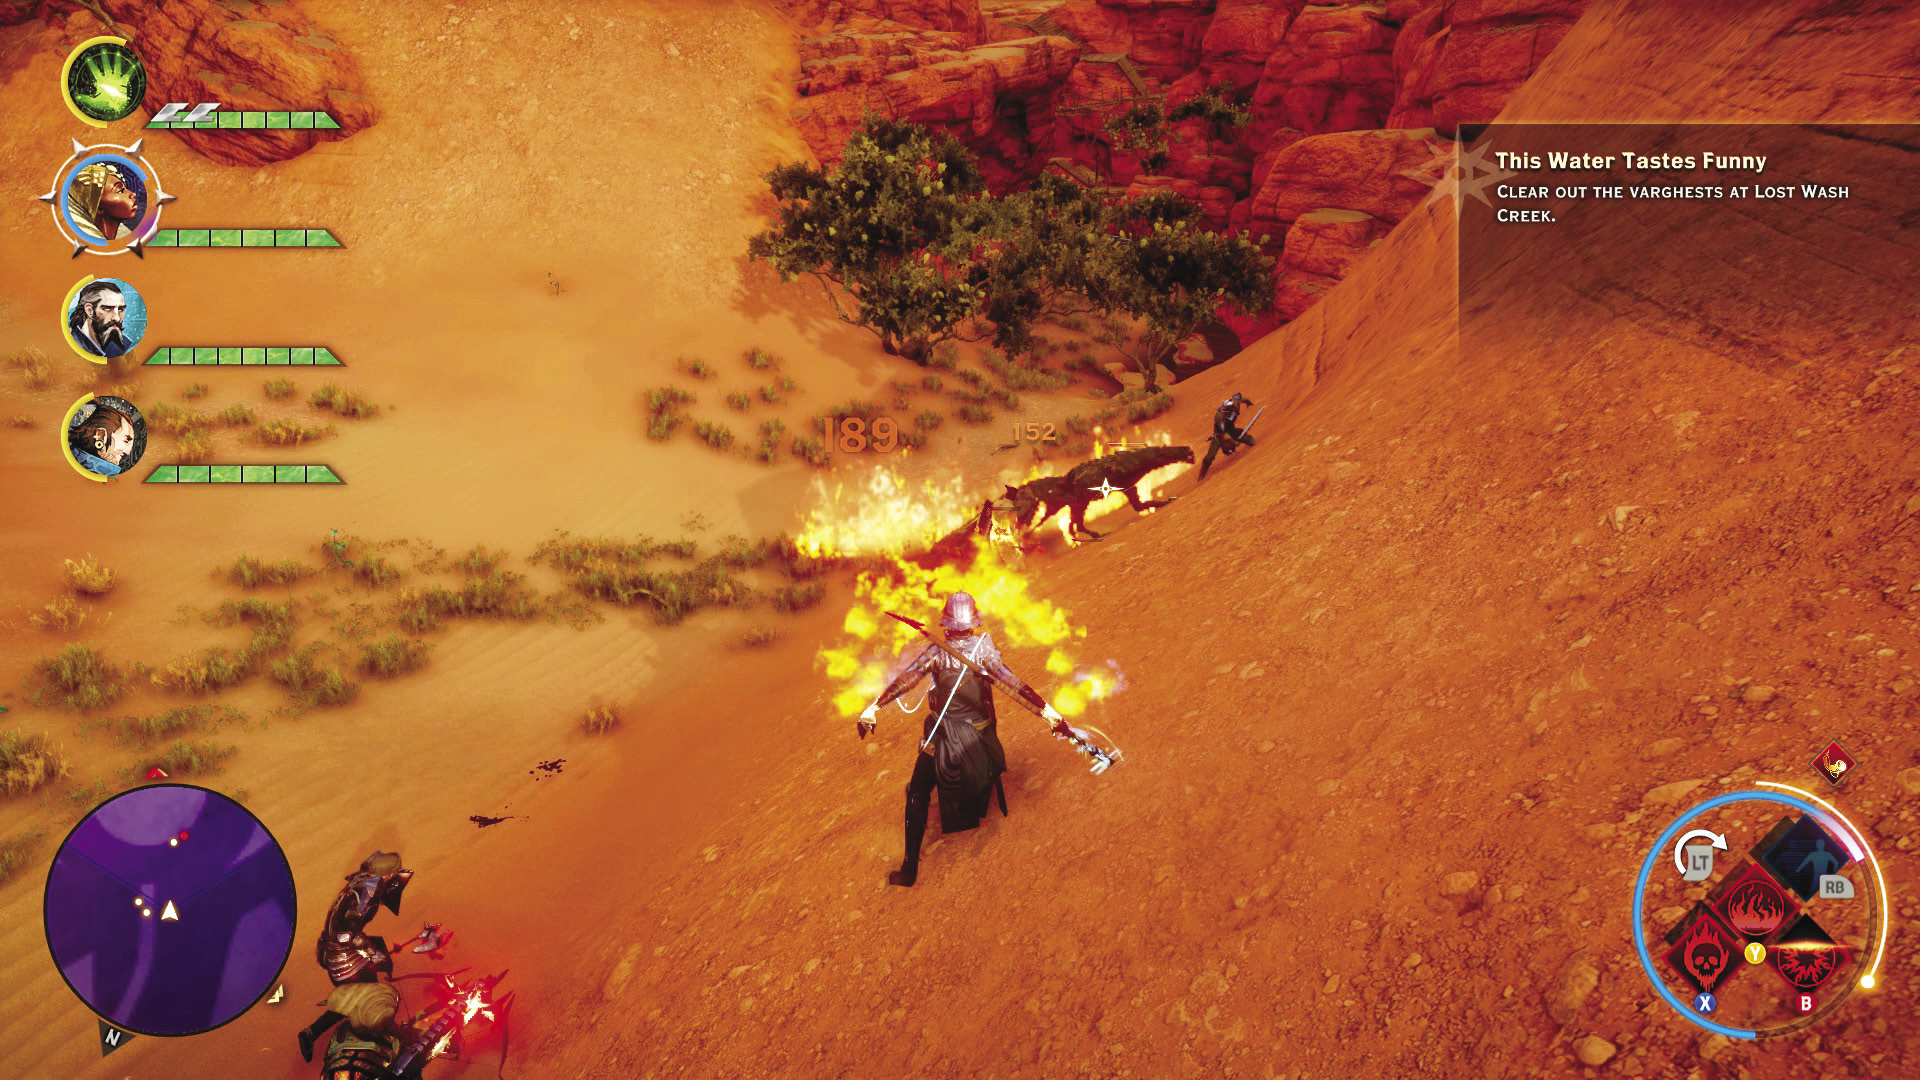
At level 15, the varghests of the creek can be quite dangerous, but seeing as how you can’t start this quest without having captured Griffon Wing Keep, your party is likely over-prepared to handle one varghest at a time. Sweep through the designated area, kill the varghests, and return to the knight-captain with the good news!
12: Fortress Squatters

Quest Giver: Knight-Captain Rylen
Description: Bandits have occupied an old Warden fortress in the Western Approach and are raiding caravans that Griffon Wing Keep depends on for supplies.
Requirements: Capture Griffon Wing Keep, complete the Here Lies the Abyss event in the Western Approach, and then speak with the knight-captain.
Reward: 967 XP, 200 Influence, 2 Power
Objectives:
 Clear out the bandits.

The fortress itself should be familiar: You witnessed the Wardens do something incredibly rash at the ritual tower. Now it is home to a small group of bandits. Expect footpads among the bandits here. If your party includes one, have a rogue sneak up on and try to execute one of the footpads at the start of the fight, while the rest of the party goes all in on the remainder of the bandits. The quest is complete as soon as the last bandit falls.
13: The Trouble with Darkspawn
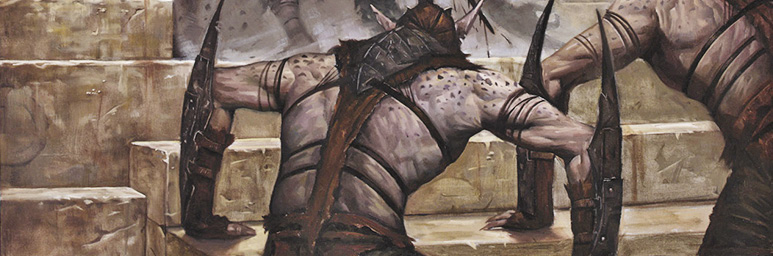
Quest Giver: Knight-Captain Rylen
Description: There is increased darkspawn activity in the Western Approach.
Requirements: Capture Griffon Wing Keep and speak with the knight-captain.
Reward: 1,934 XP, 400 Influence, 3 Power
Objectives:
 Search for more signs of darkspawn.
 Find the source of the darkspawn (five power required).
 Access the Tevinter ruin.
 Investigate the area.
 Seal the hole. Locate those responsible for the excavation.
 Track down Servis in the Western Approach.
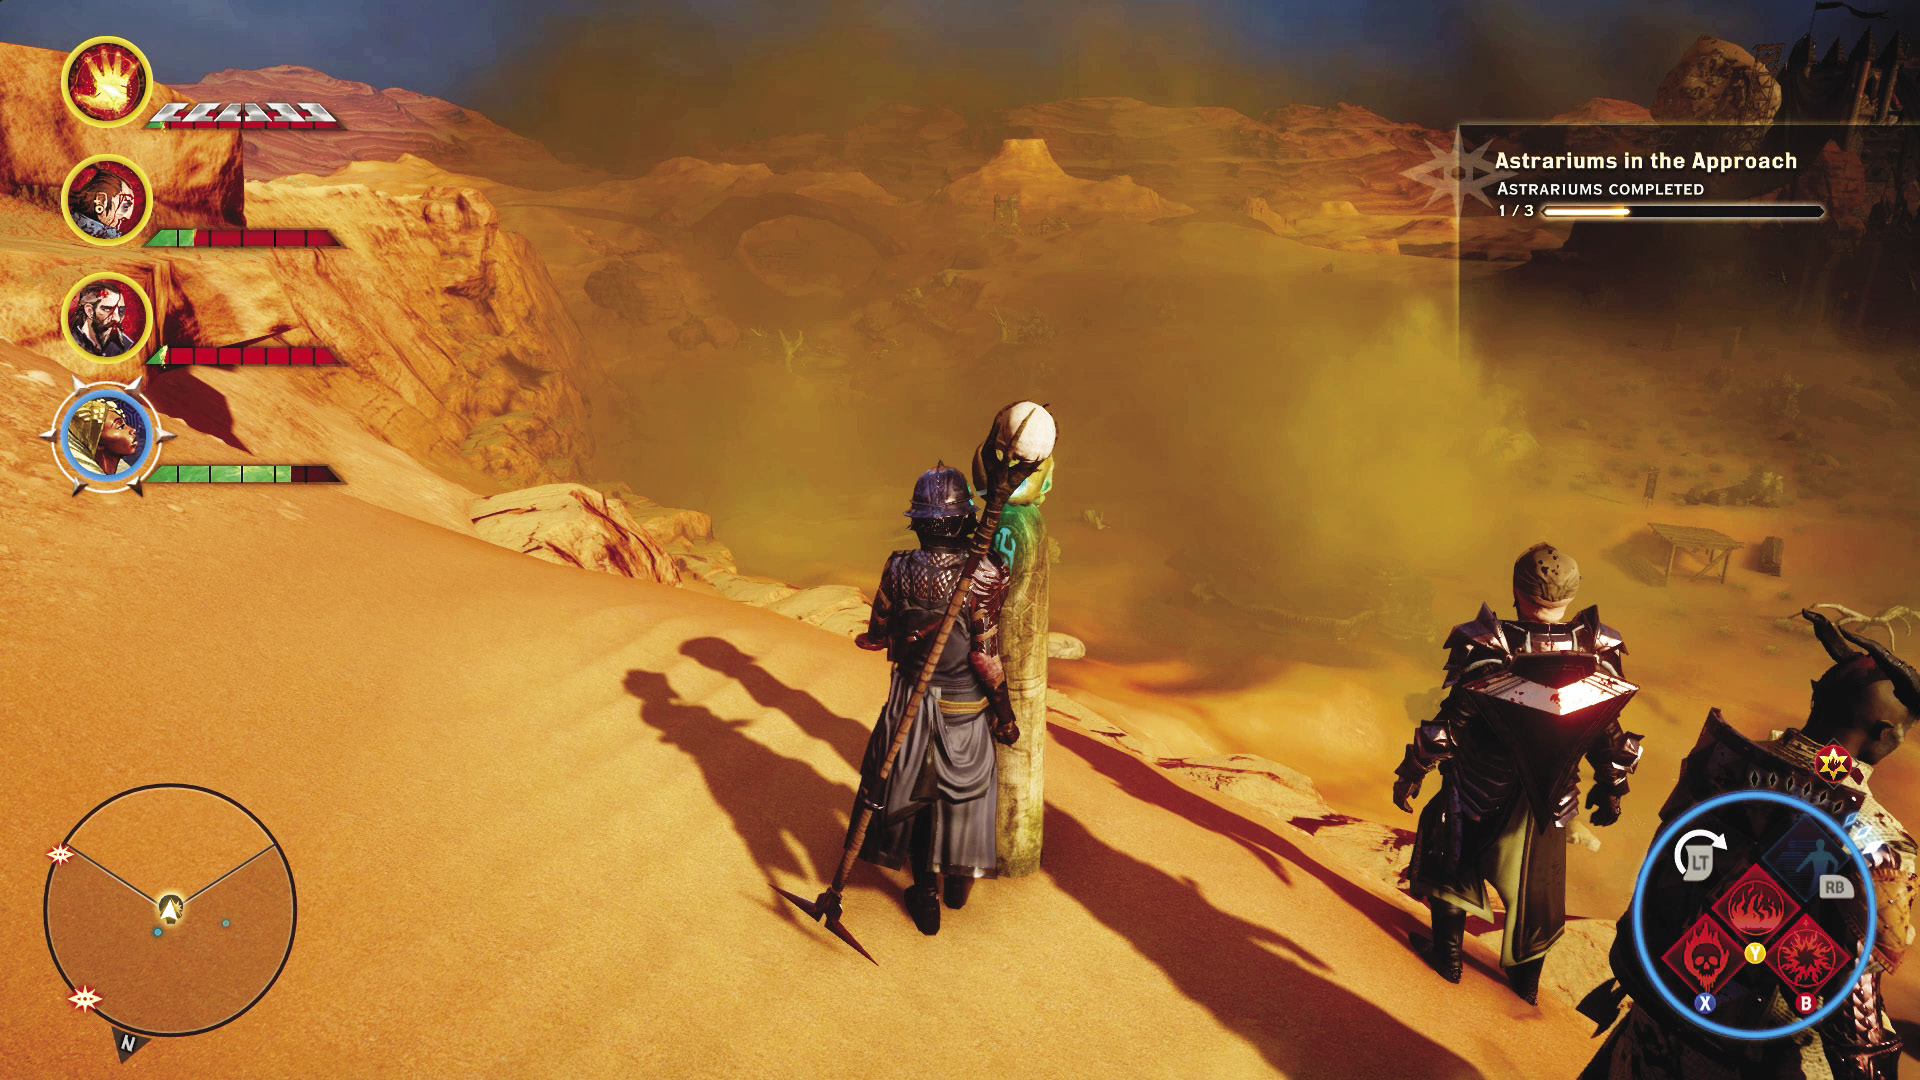
Exploring the desert to the north of Griffon Wing Keep, you’ll discover that more sulfur clouds cover the terrain, making continued exploration impossible. Claim the land near a broken bridge, then return to Skyhold and head for the war table.
An operation, Find the Source of the Darkspawn, is now available, costing five power to smother the sulfur clouds and create a bridge that crosses the toxic land.

With the bridge made, cross it to reach the Old Prison Road, passing by an ocularum as you continue toward the Tevinter ruin. You’ll encounter darkspawn ghouls and hurlocks in the canyons ahead, so be ready for a fight.
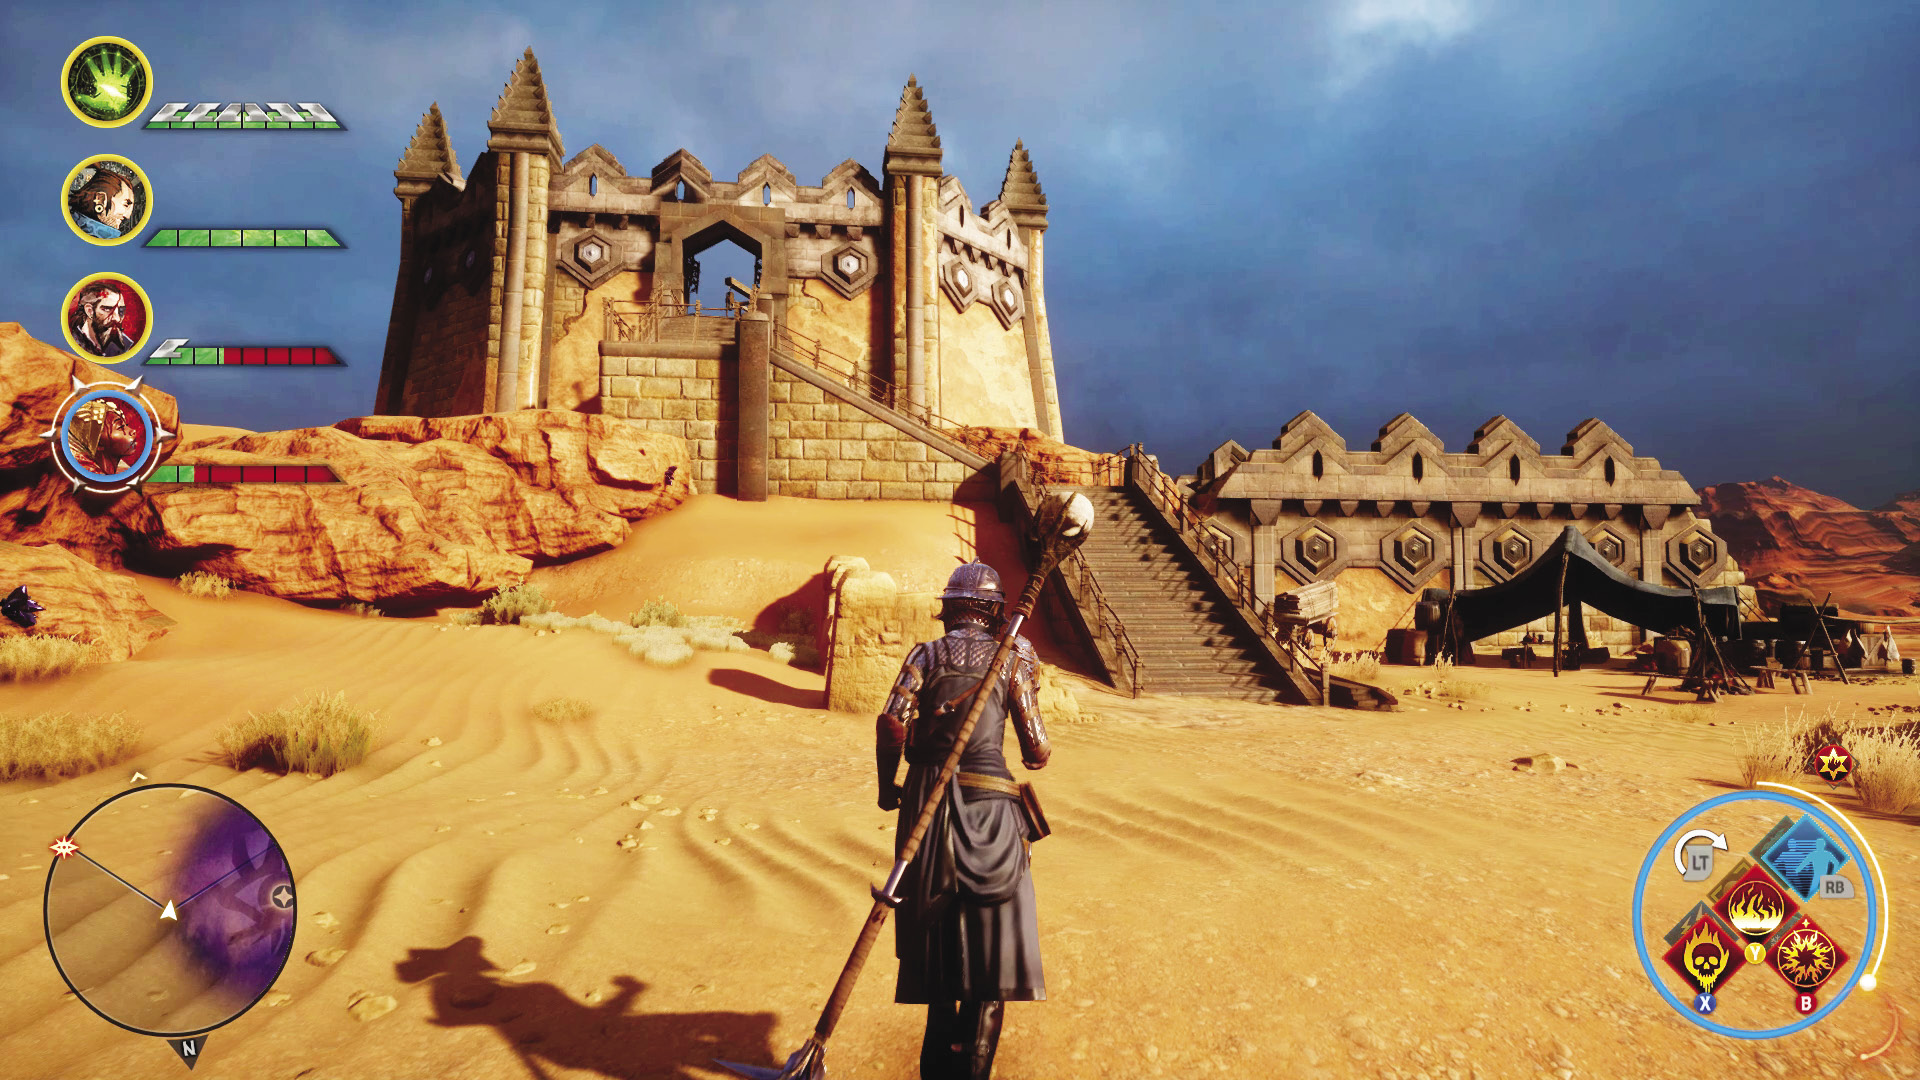
The canyon leads to a series of wooden ramps and ladders that take you to the ruins of an old prison, Coracavus. Venatori are guarding the entrance to the ruins, an enforcer standing tall among them. Take them out, then enter the dungeon.
Dungeon: Coracavus
The search for how the darkspawn have been able to appear in the Western Approach in ever-increasing numbers has taken you to the ancient Tevinter prison of Coracavus. The Venatori have been scouring the desert in search of artifacts and information to help their cause, but it’s becoming clear that they uncovered something they did not want.
Coracavus is the second dungeon of the Western Approach, but unlike the Still Ruins, it acts as only one part of a quest. You cannot finish The Trouble with Darkspawn without coming through this ancient prison.
Coracavus
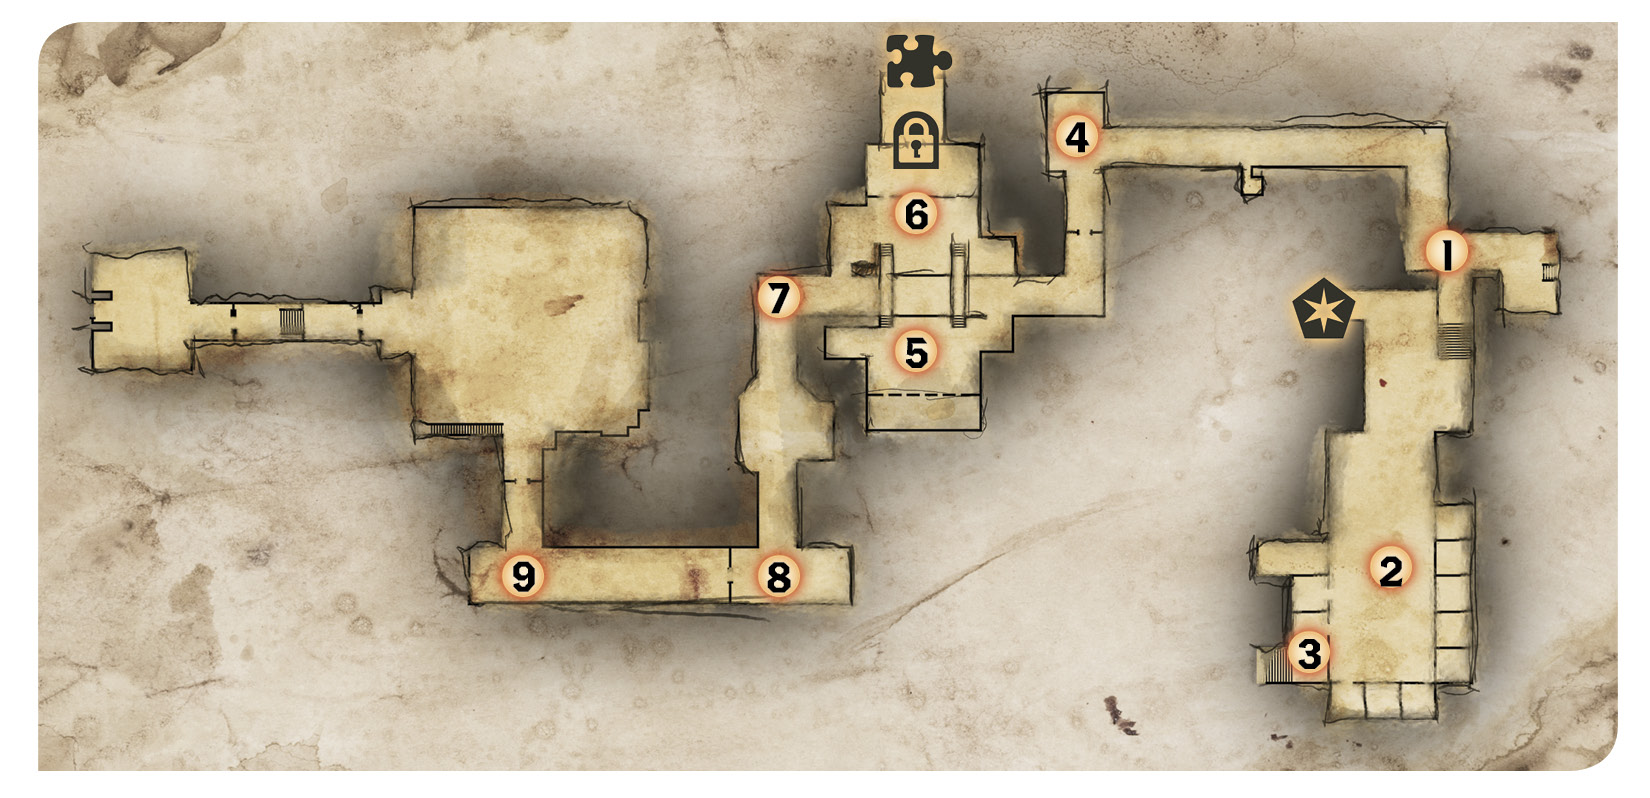
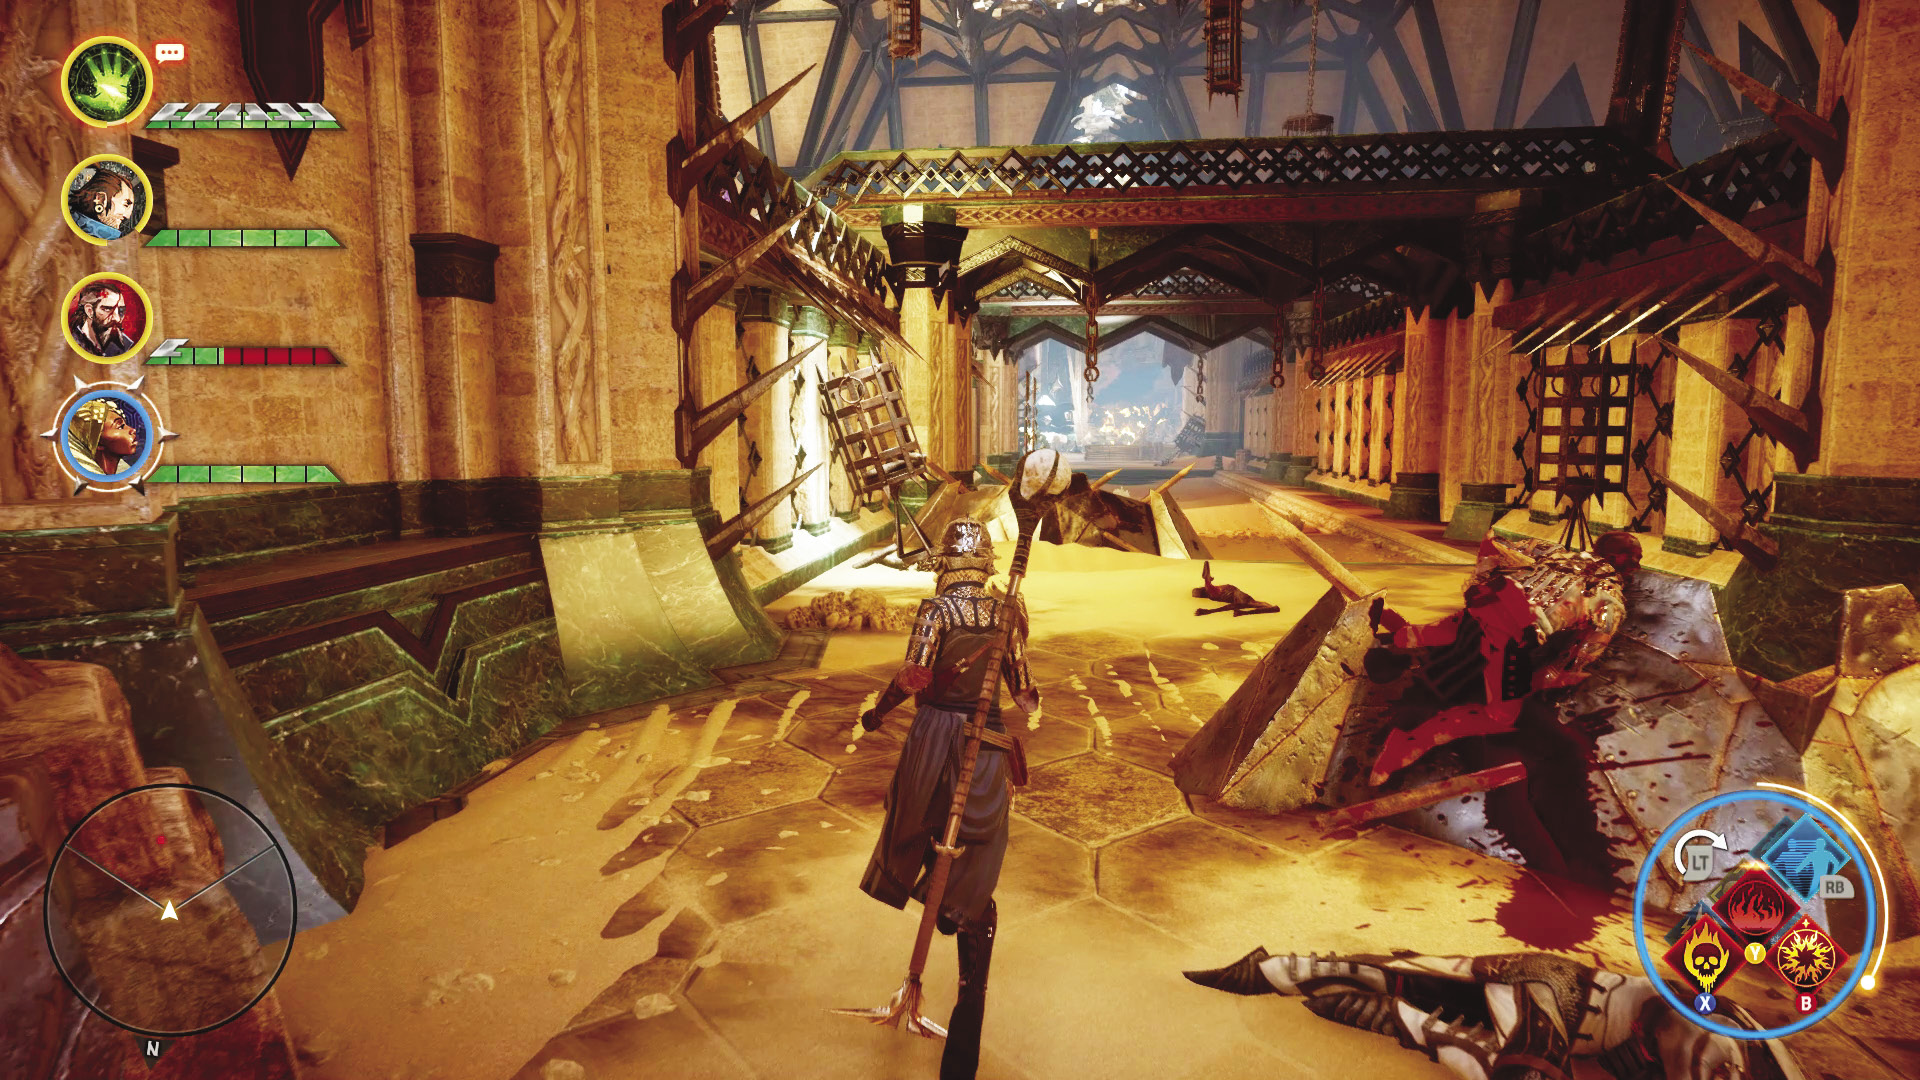
1. As you enter Coracavus, you’ll have a choice of going left, into the holding cells, or continuing south down the guards’ hall. Go into the holdings cells first.
2. The holding cells are a disaster area, filled with many recently departed Venatori slaves and a few ghouls. Explore this area carefully, as there’s lots of loot to be had, and many of the valuables here are worth quite a bit to shop owners.
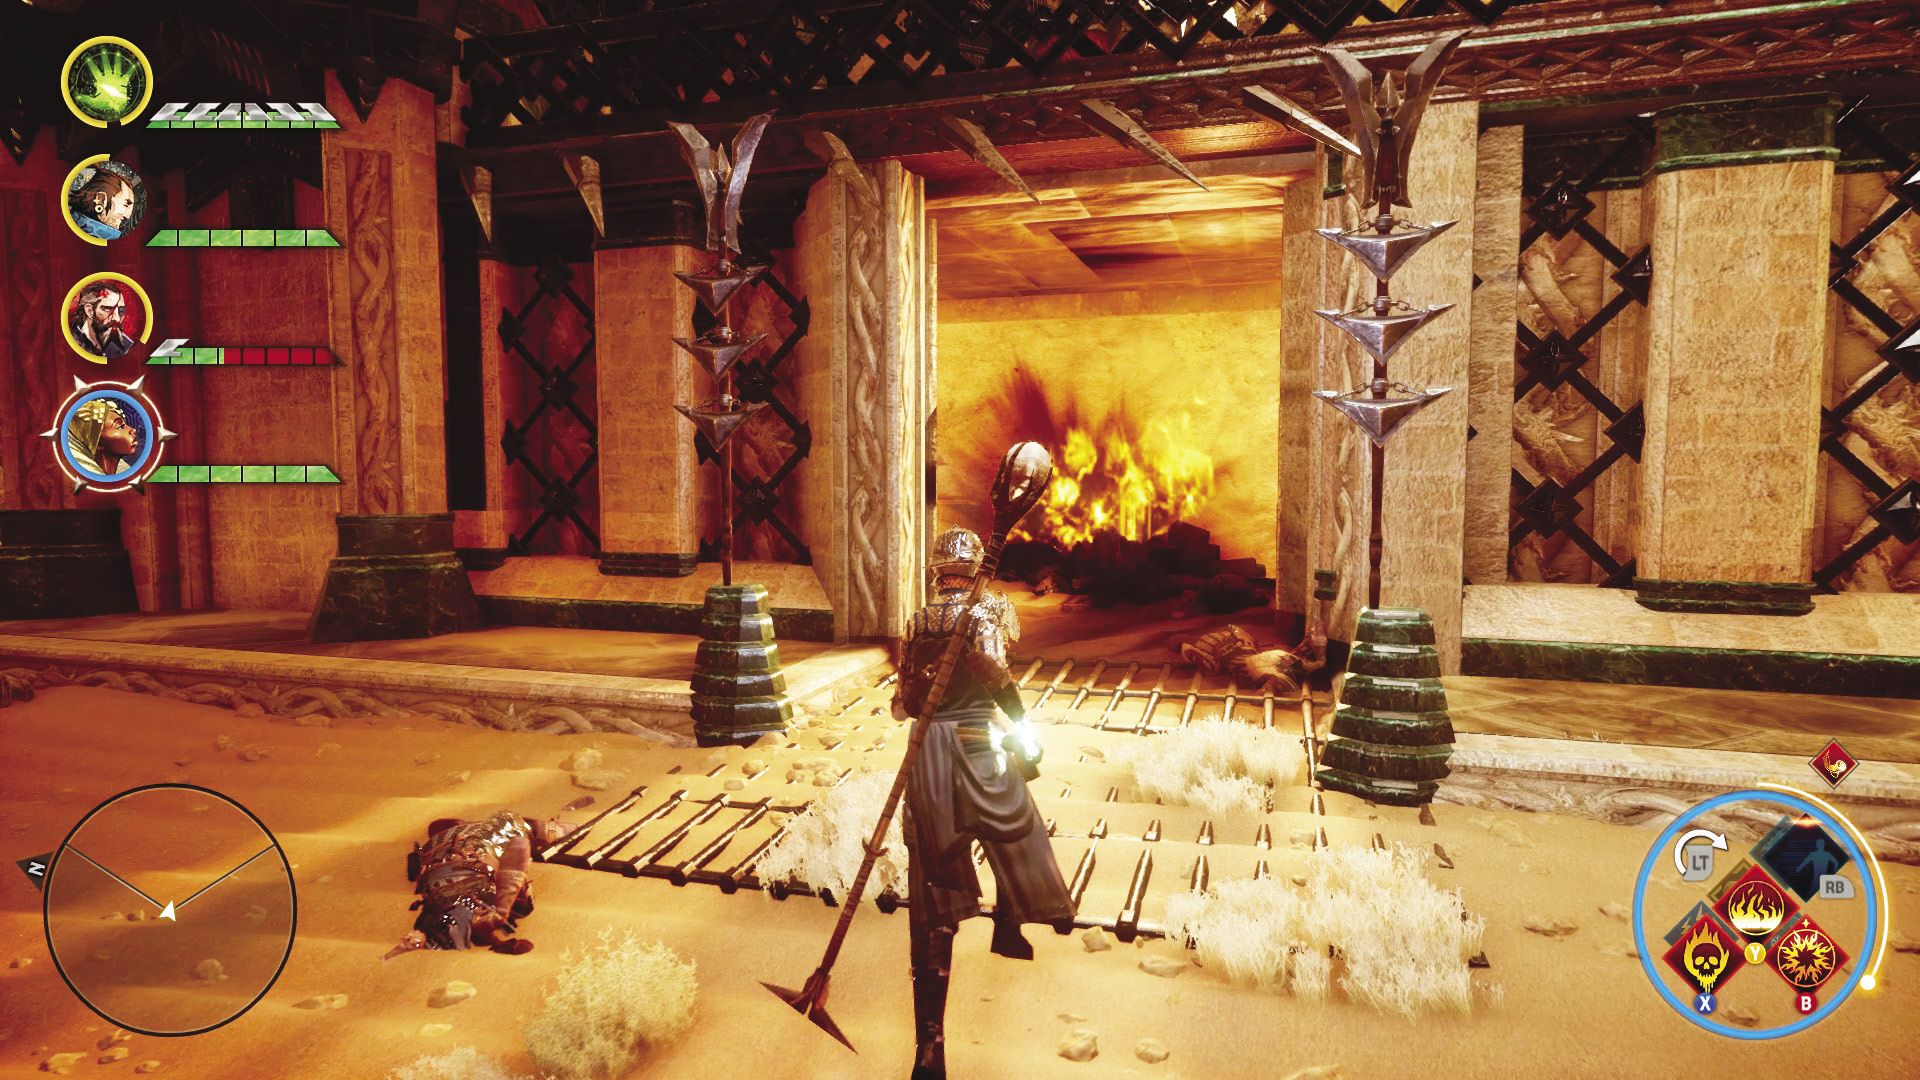
3. A veilfire torch can be found in this cell. Use it to reveal a rune on the floor of a torture chamber [4] in the southwestern corner of the holding cells. It’s a schematic for the master spirit rune.
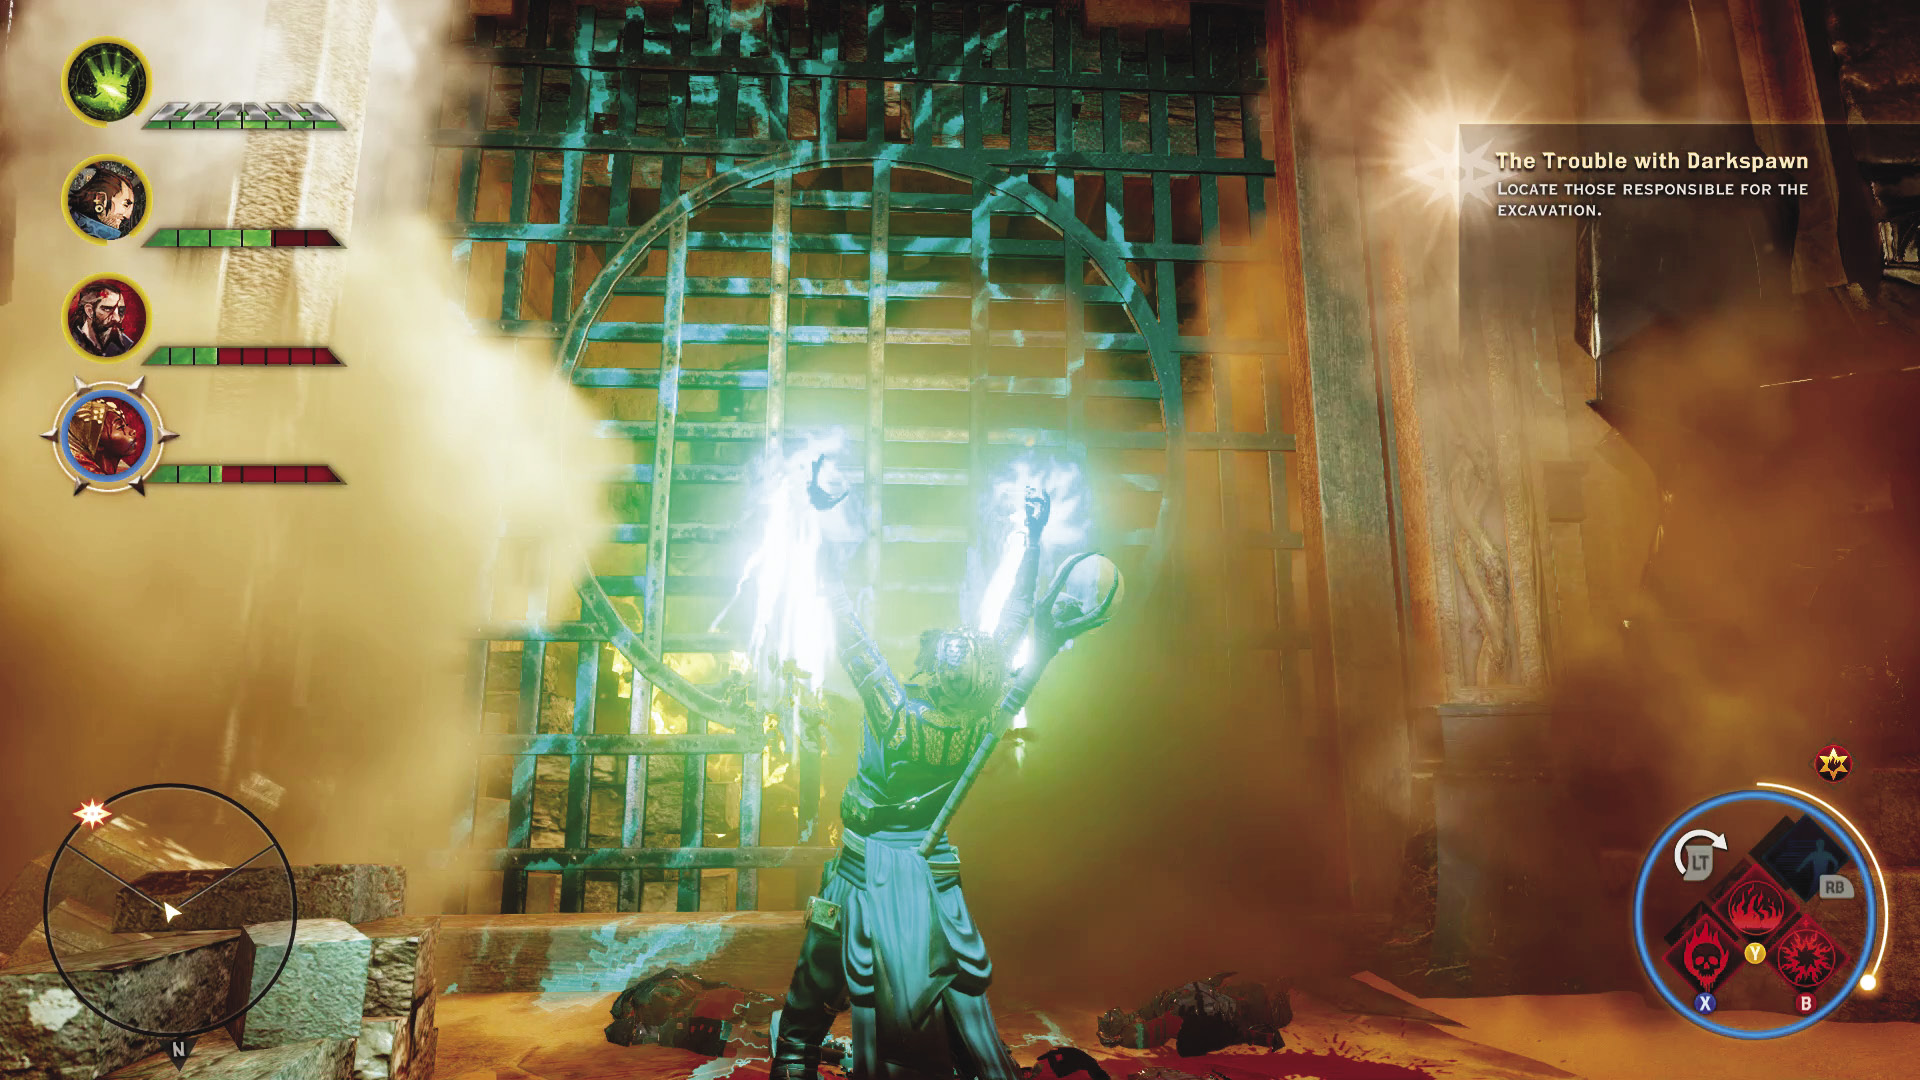
4. With things taken care of in that side area, move through the guards’ hall, killing every Darkspawn in sight, until you finally reach the apparent source of this madness. The darkspawn tunnel can be blocked by a mage energizing some debris, but you’ll have to clear the immediate area of all darkspawn to safely pull that off. With their tunnel sealed, you can now continue deeper into Coracavus in search of the Venatori responsible for this.
5. Entering the records room, check the eastern side of the room before crossing the walkways over to the west side. Snag treasure and do some light codex reading.
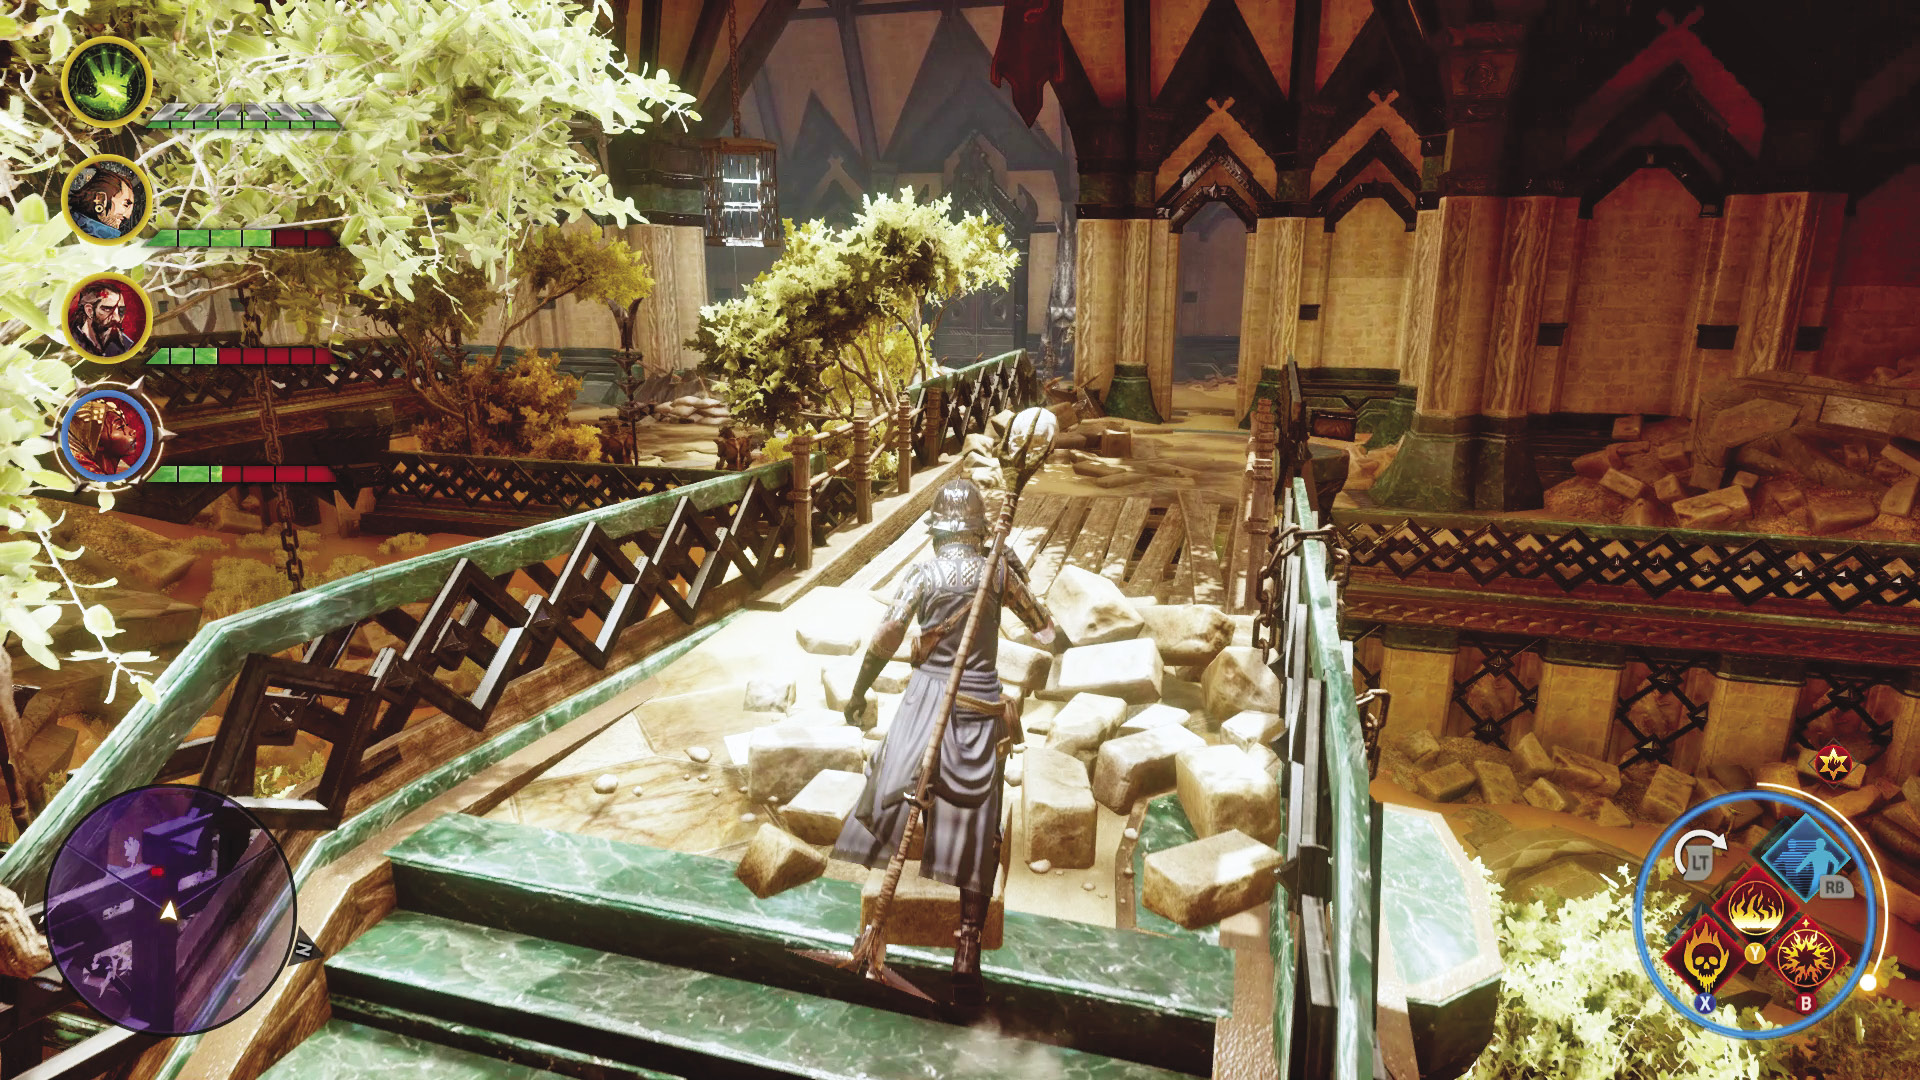
6. Crossing the walkway, you’ll encounter a hurlock alpha and a number of hurlocks and ghouls. If you can bait them onto the bridge, you can catch the whole group in AoE spells with greater ease. These darkspawn were guarding a door that requires Deft Hands, Fine Tools. There’s more loot, along with a mosaic piece for the Freed Are Slaves collection.
7. The front corridor contains more darkspawn, well within your ability to handle. More troubling is the roar heard from somewhere else in the ruins.
8. Investigate the corpse near this door to find a wrapped prison key. The wrap turns out to be a note that fingers exactly who is responsible for this: a magister named Servis. He remains in hiding somewhere in the Western Approach.
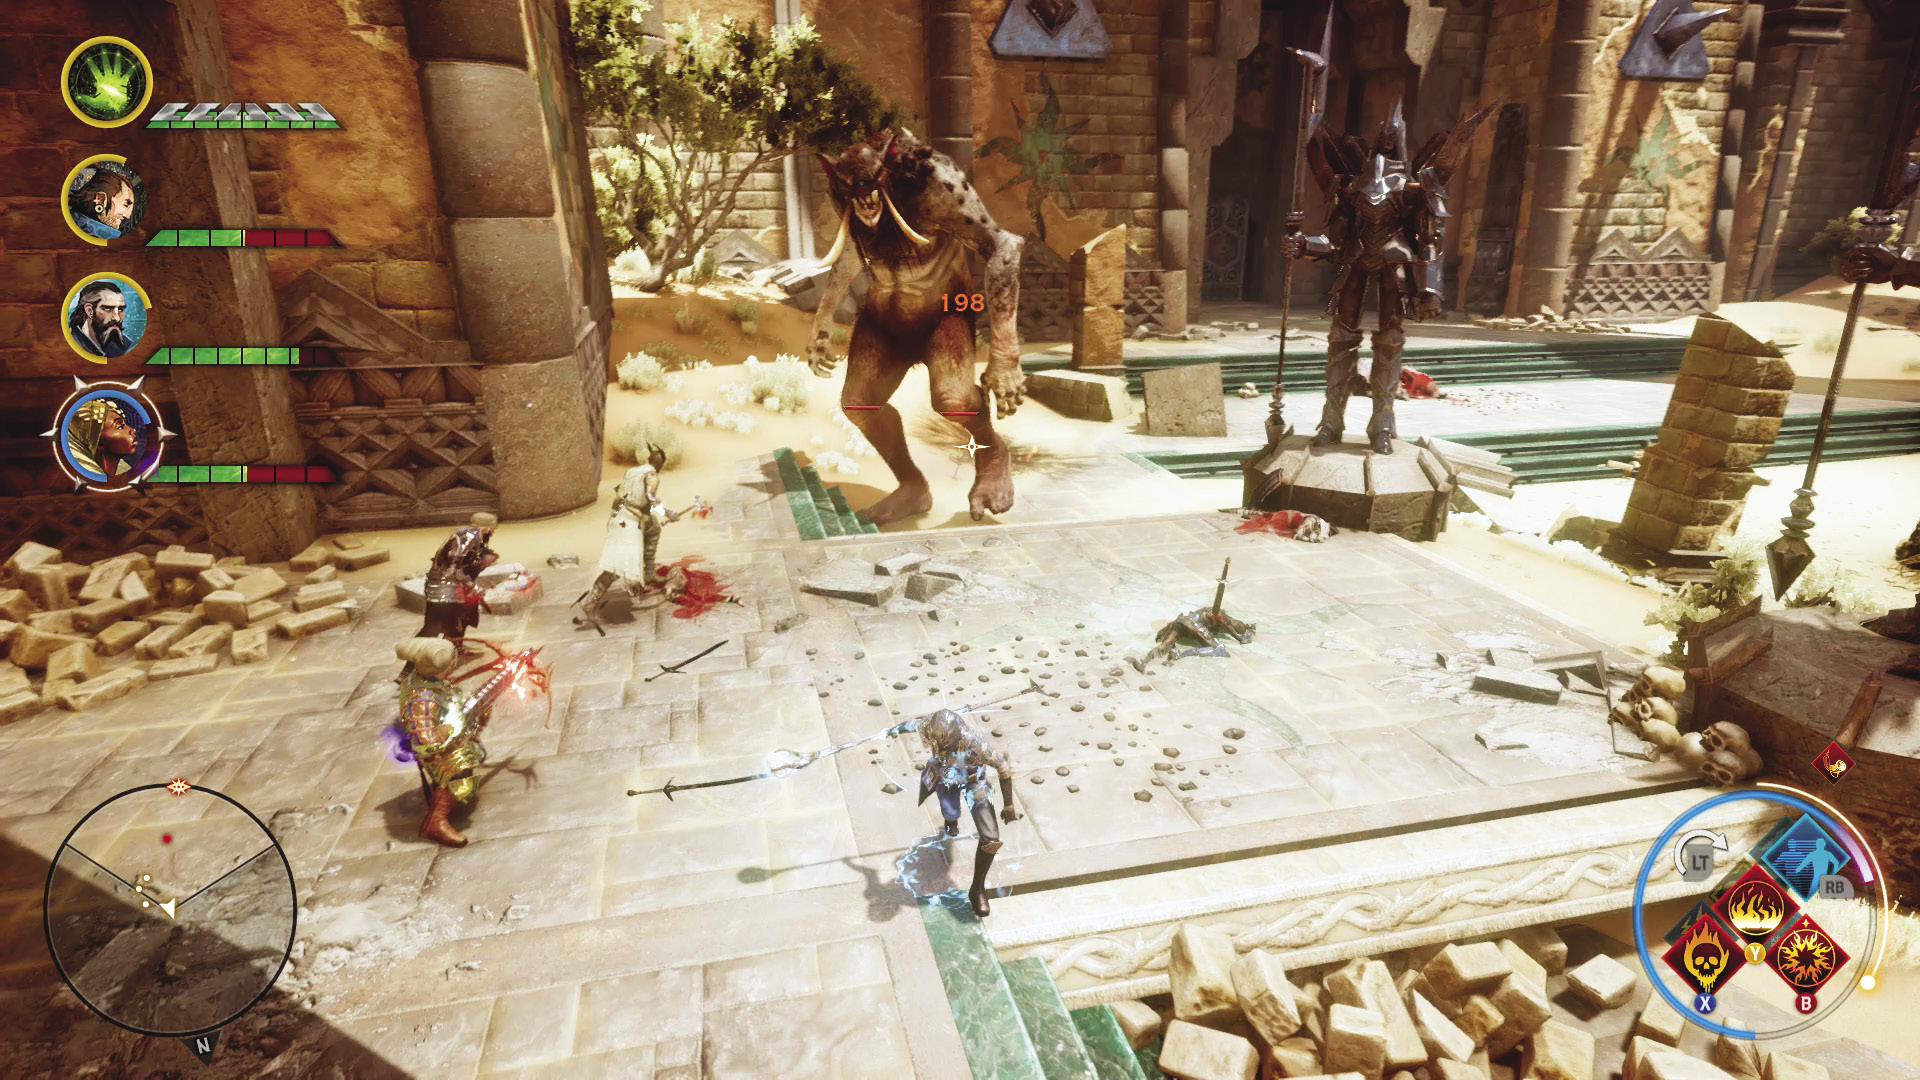
9. Continue down the corridor until you reach the south entrance, where the source of the roaring becomes apparent. A level 15 elite giant stalks the courtyard. As always, have your tank initiate this fight to keep the giant’s attention, then move the rest of the party in for the kill. After slaying the giant, collect your loot, then take the doors on the south side of the room to leave this place. Servis is in the Echoback Canyon, just outside Coracavus’s south entrance.
In Pursuit of Servis
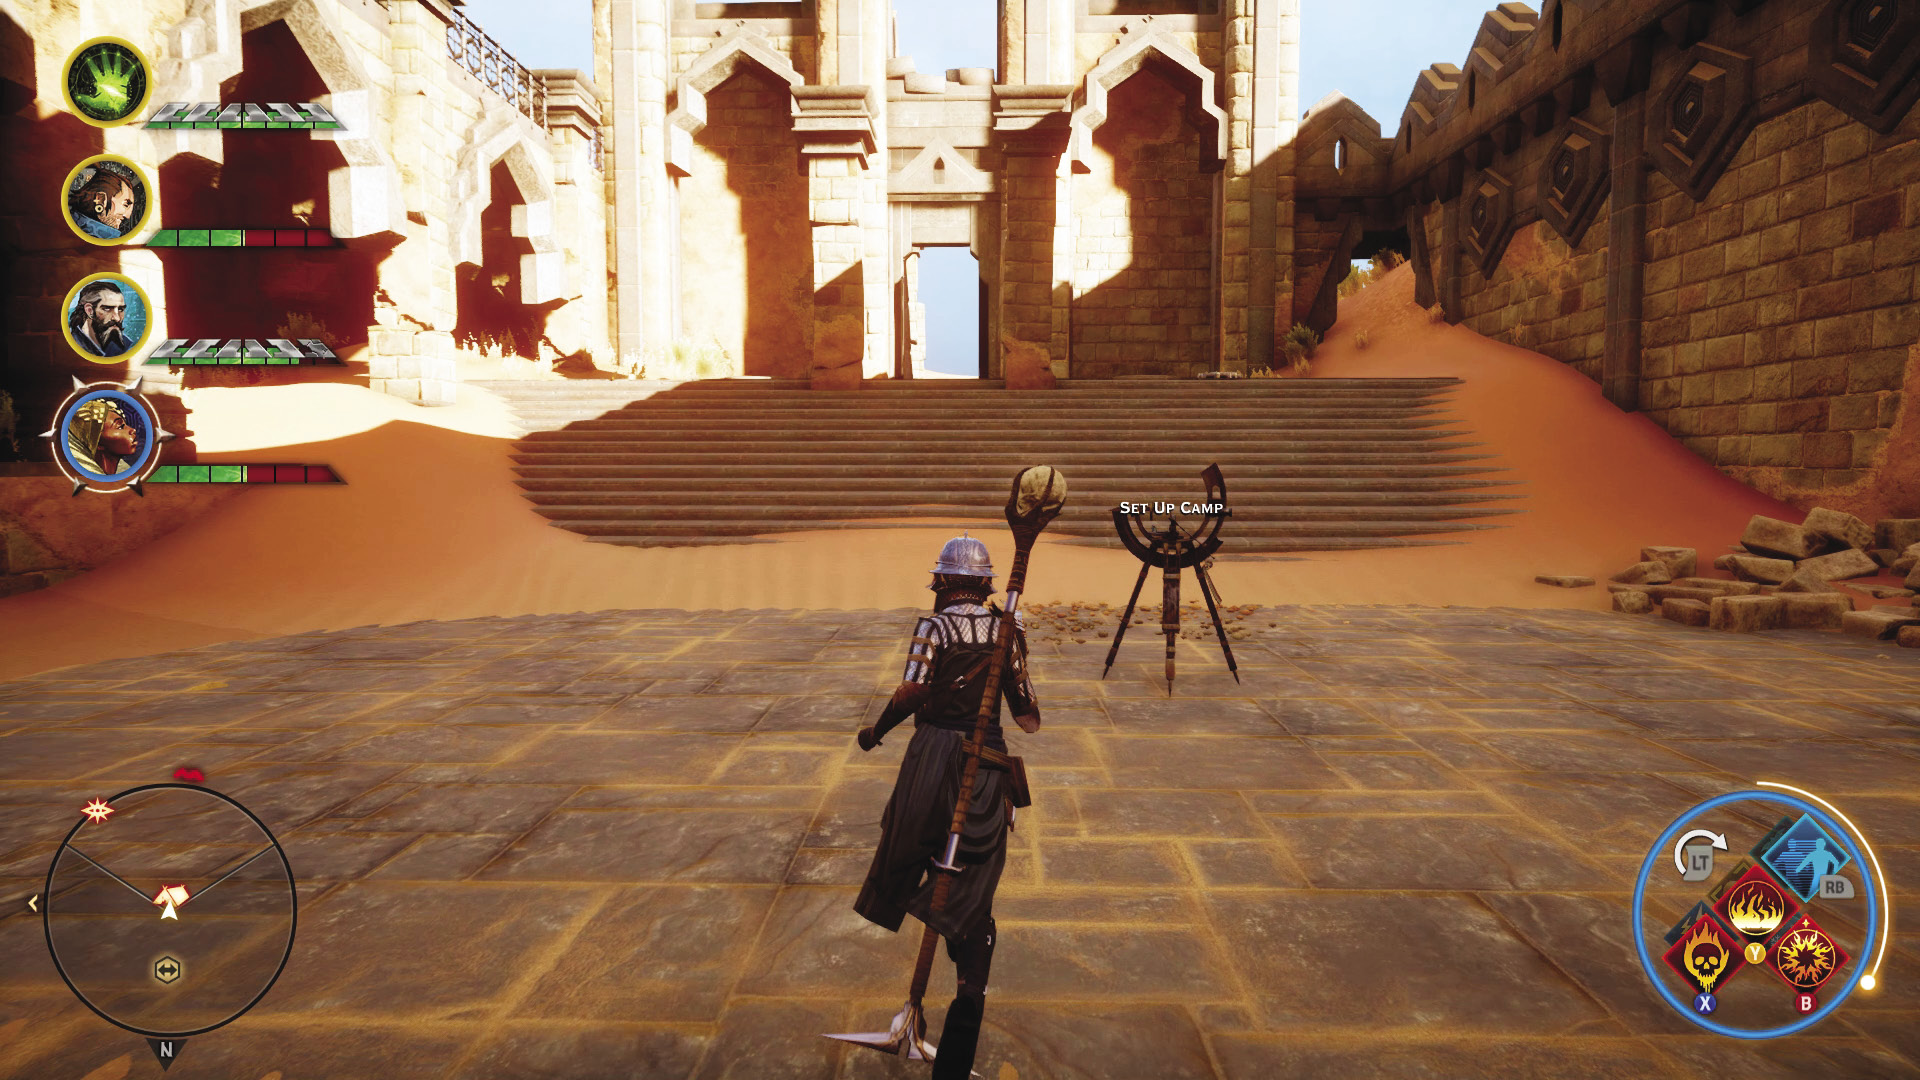
Exiting Coracavus, set up the camp just outside the dungeon so you can restore your potion supplies. Servis is in Echoback Fort, a short ride by mount to the south of the camp.
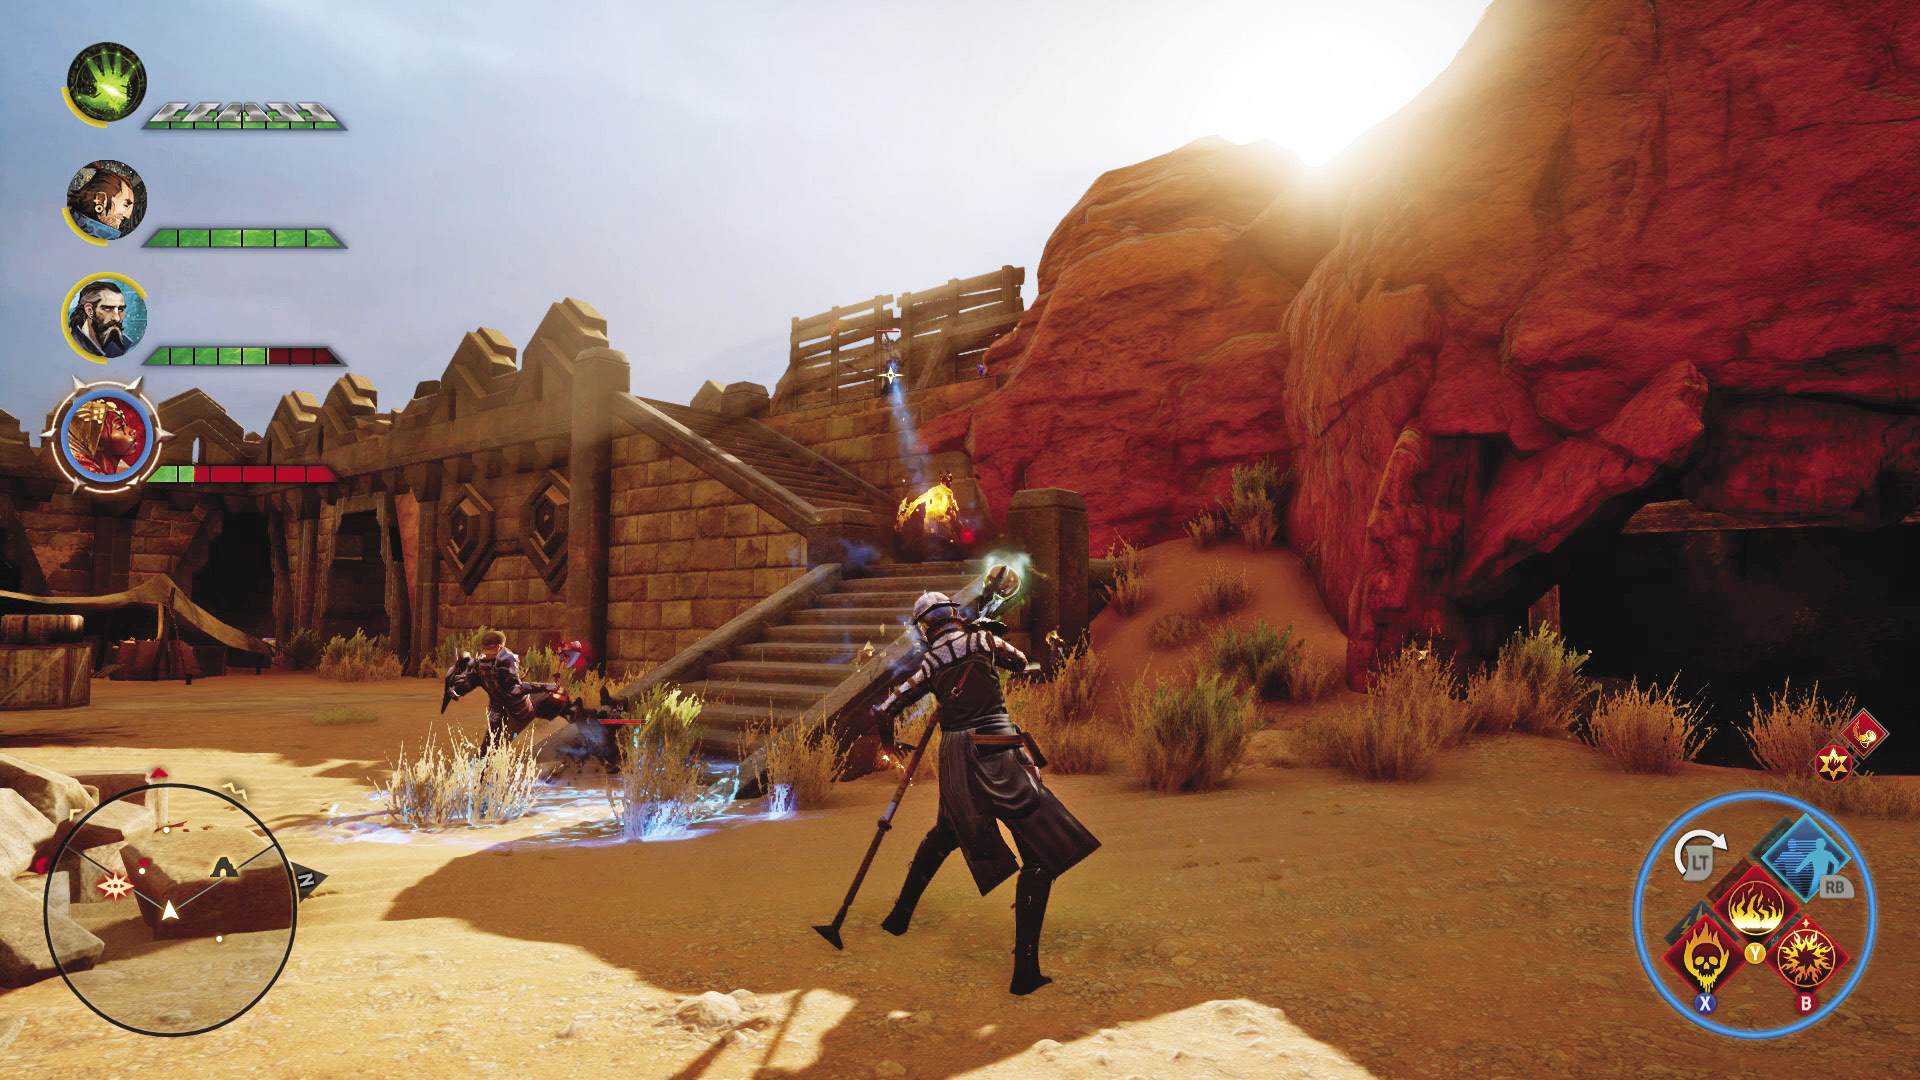
As you have probably come to expect, Servis is not alone. The fort is occupied by a strong Venatori force: marksmen on the ramparts, footmen on the ground floor, including a dangerous Venatori brute. Servis himself can be very bothersome as a level 15 elite. Ideally, you assign a rogue to stun him to prevent his spells from causing problems to the party while they deal with his backup.
After defeating Servis and his men, this quest is complete at last. Servis is taken into custody and can be judged back at Skyhold—he can serve as an informant for Leliana if you choose. Search through the fort to find a mosaic in the Archdemon collection.
14: High Dragon: The Abyssal High Dragon

Recommended Level: 14+
Recommended Party Composition: one warrior (sword and shield), one rogue, two mages (armed with frost damage staves)
Alternative Party Composition: two warriors (sword and shield, two-handed weapon), two mages (armed with frost damage staves)
 Place five lures.
 Slay the Abyssal High Dragon.
 Report back to Frederic.
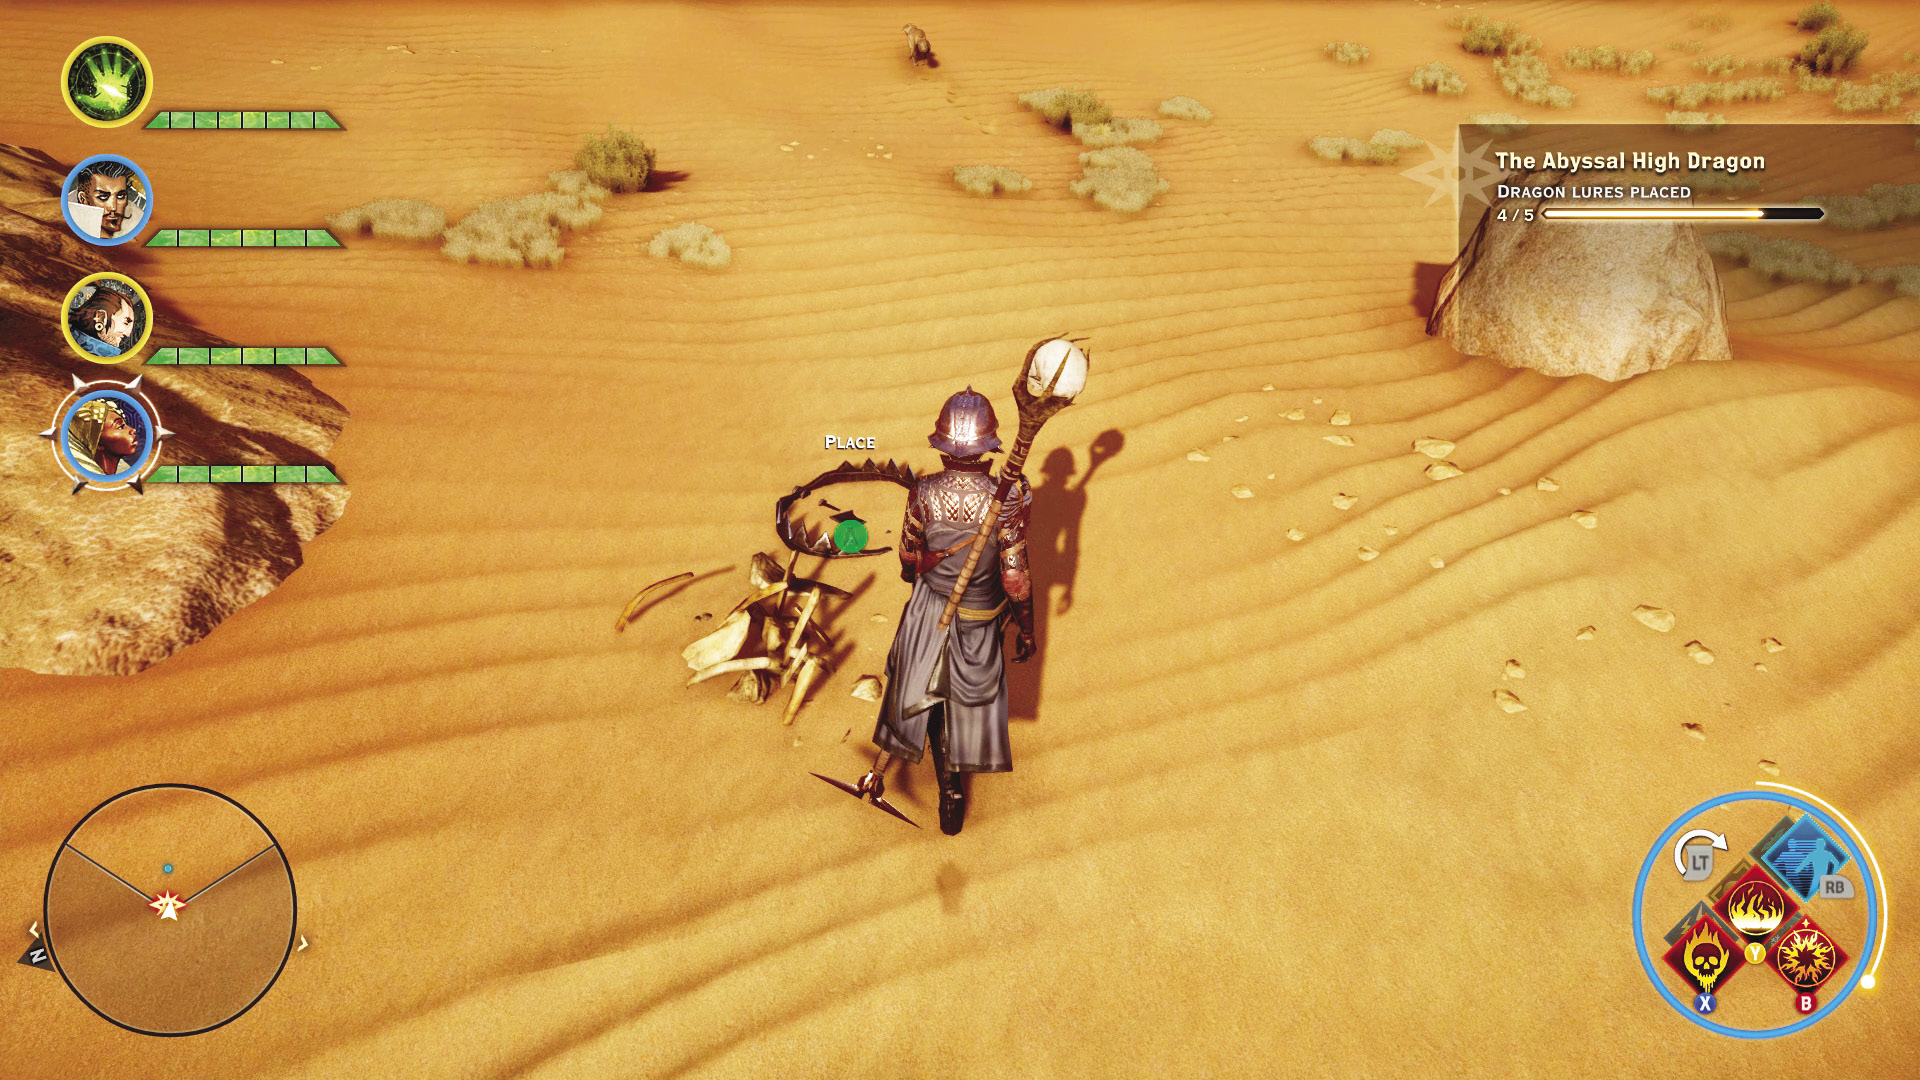
After completing all of Frederic’s tasks, you are finally able to set lures to summon the Abyssal High Dragon. Go back south to the Wastes, fully stocked and with your best equipped party, and set down five lures. The White Claw bandit traps can now be set with your own specially made lures.
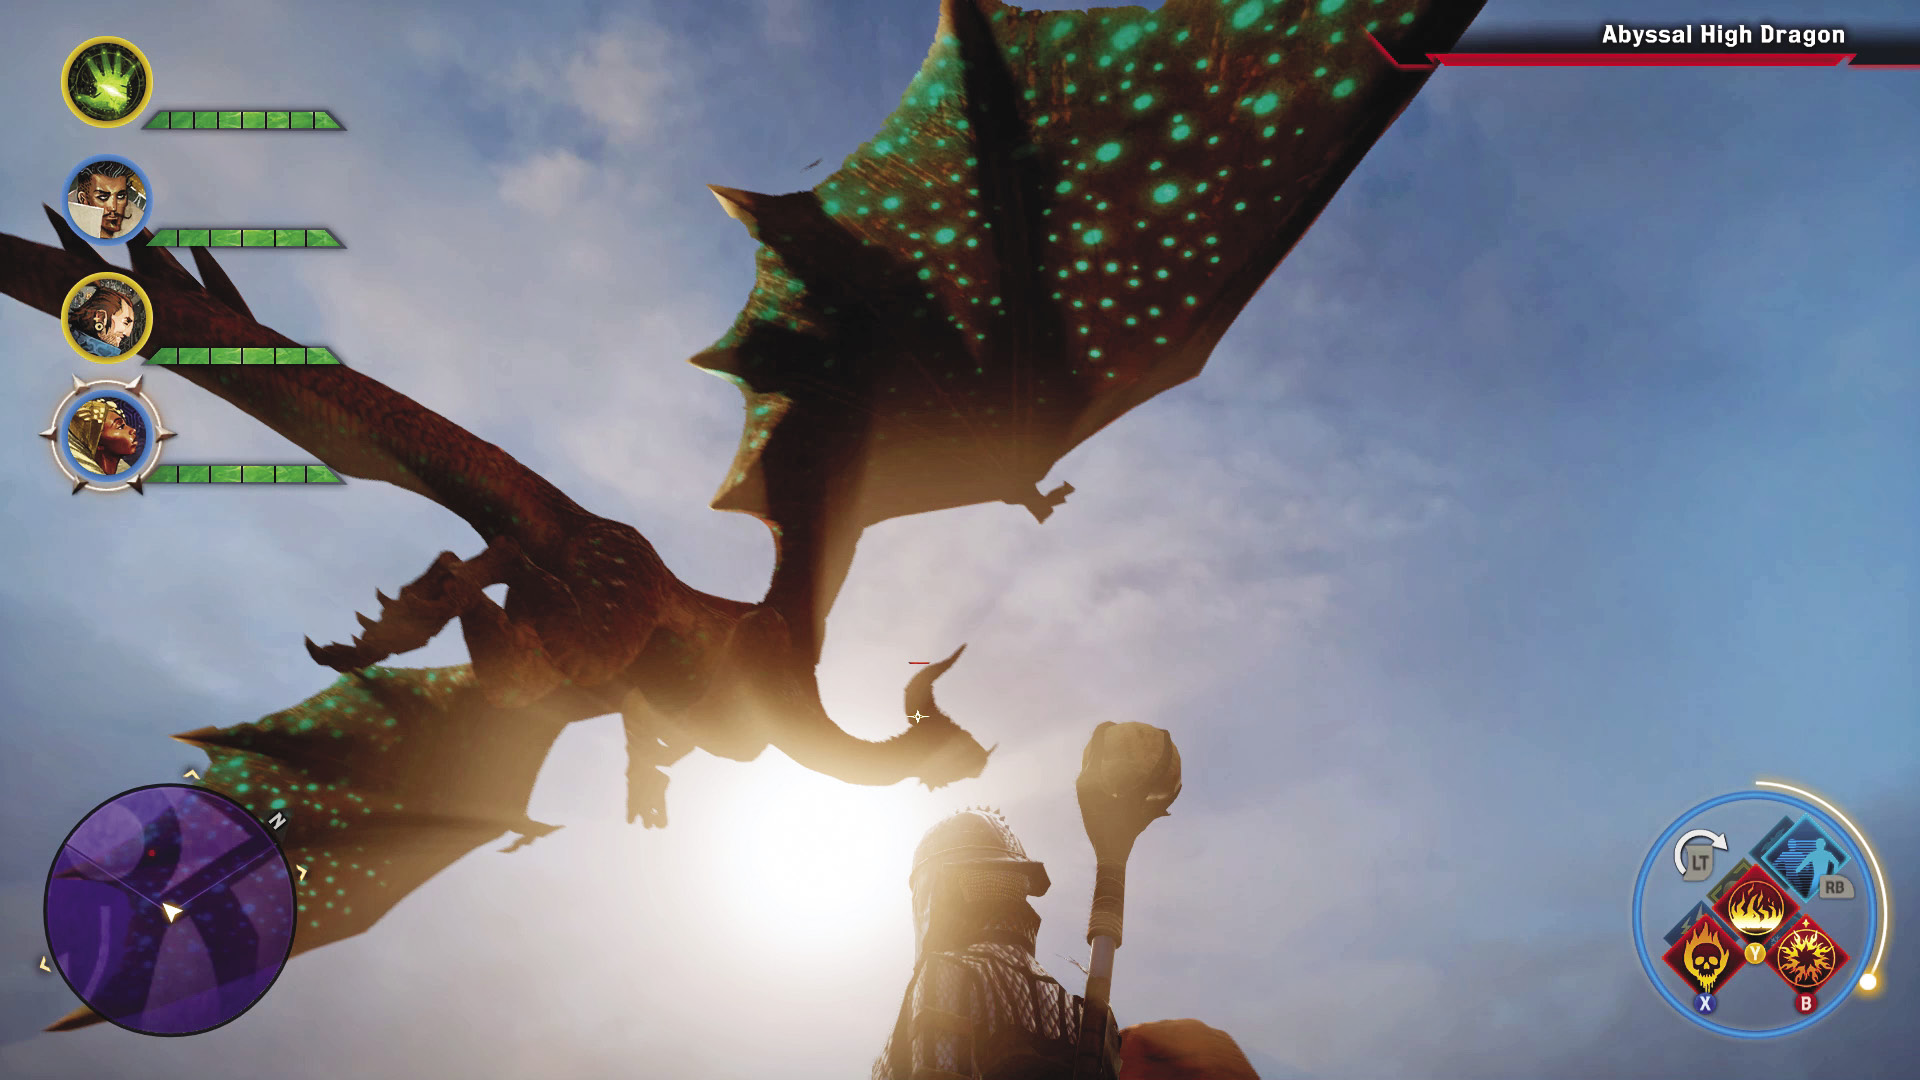
The Abyssal High Dragon is highly vulnerable to cold damage, so gear yourself accordingly. As with other high dragons, your tank will have to keep her attention by being the most intimidating and dangerous threat on the field, as the dragon ignores taunting. Try to keep any ranged party members at her flanks, to avoid getting caught in the fire breath. However, the Abyssal can fire longer-ranged fireballs at random targets for very heavy damage. Any fire resistance you can scrounge up could be very useful!

She uses the same arm and tail melee attacks as other high dragons, so melee players should keep that in mind. She can also produce a wind barrier with her wings to protect herself from ranged attacks, but in those instances those characters can move into close range to maintain the pressure. As always, try to come into this fight with full focus meters for your party, to take advantage of Mark of the Rift or any emergency heals from your mages.
After slaying the dragon and collecting your spoils, return to Frederic to report the news. While he is a little put out that you killed the beast before you could take some proper research notes, he’s enthusiastic about the research conducted in the Western Approach and feels both you and he could benefit by his joining the Inquisition. There’s no real benefit to refusing his offer, but whichever you choose, this quest is completed!