
Dragon Age Inquisition Guide The Inquisitors Path Here Lies the Abyss
Adamant 1
Adamant
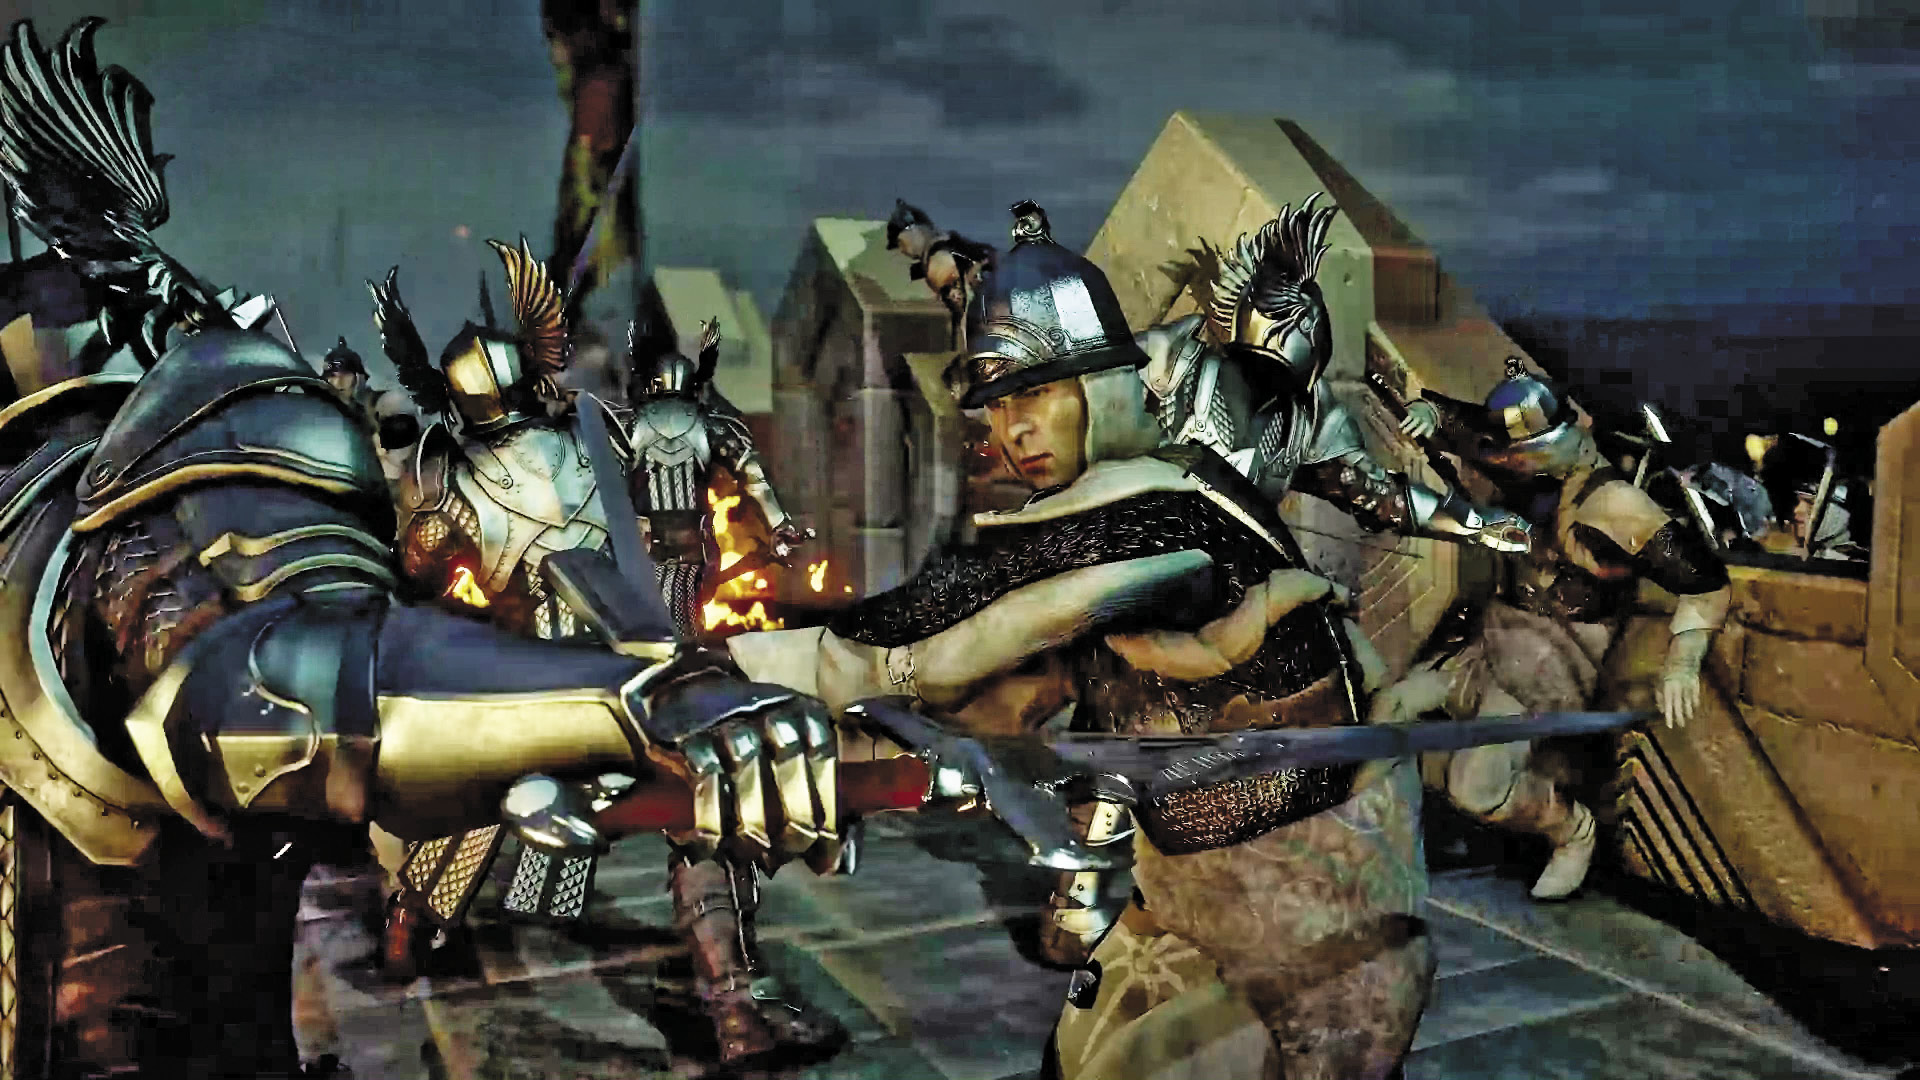
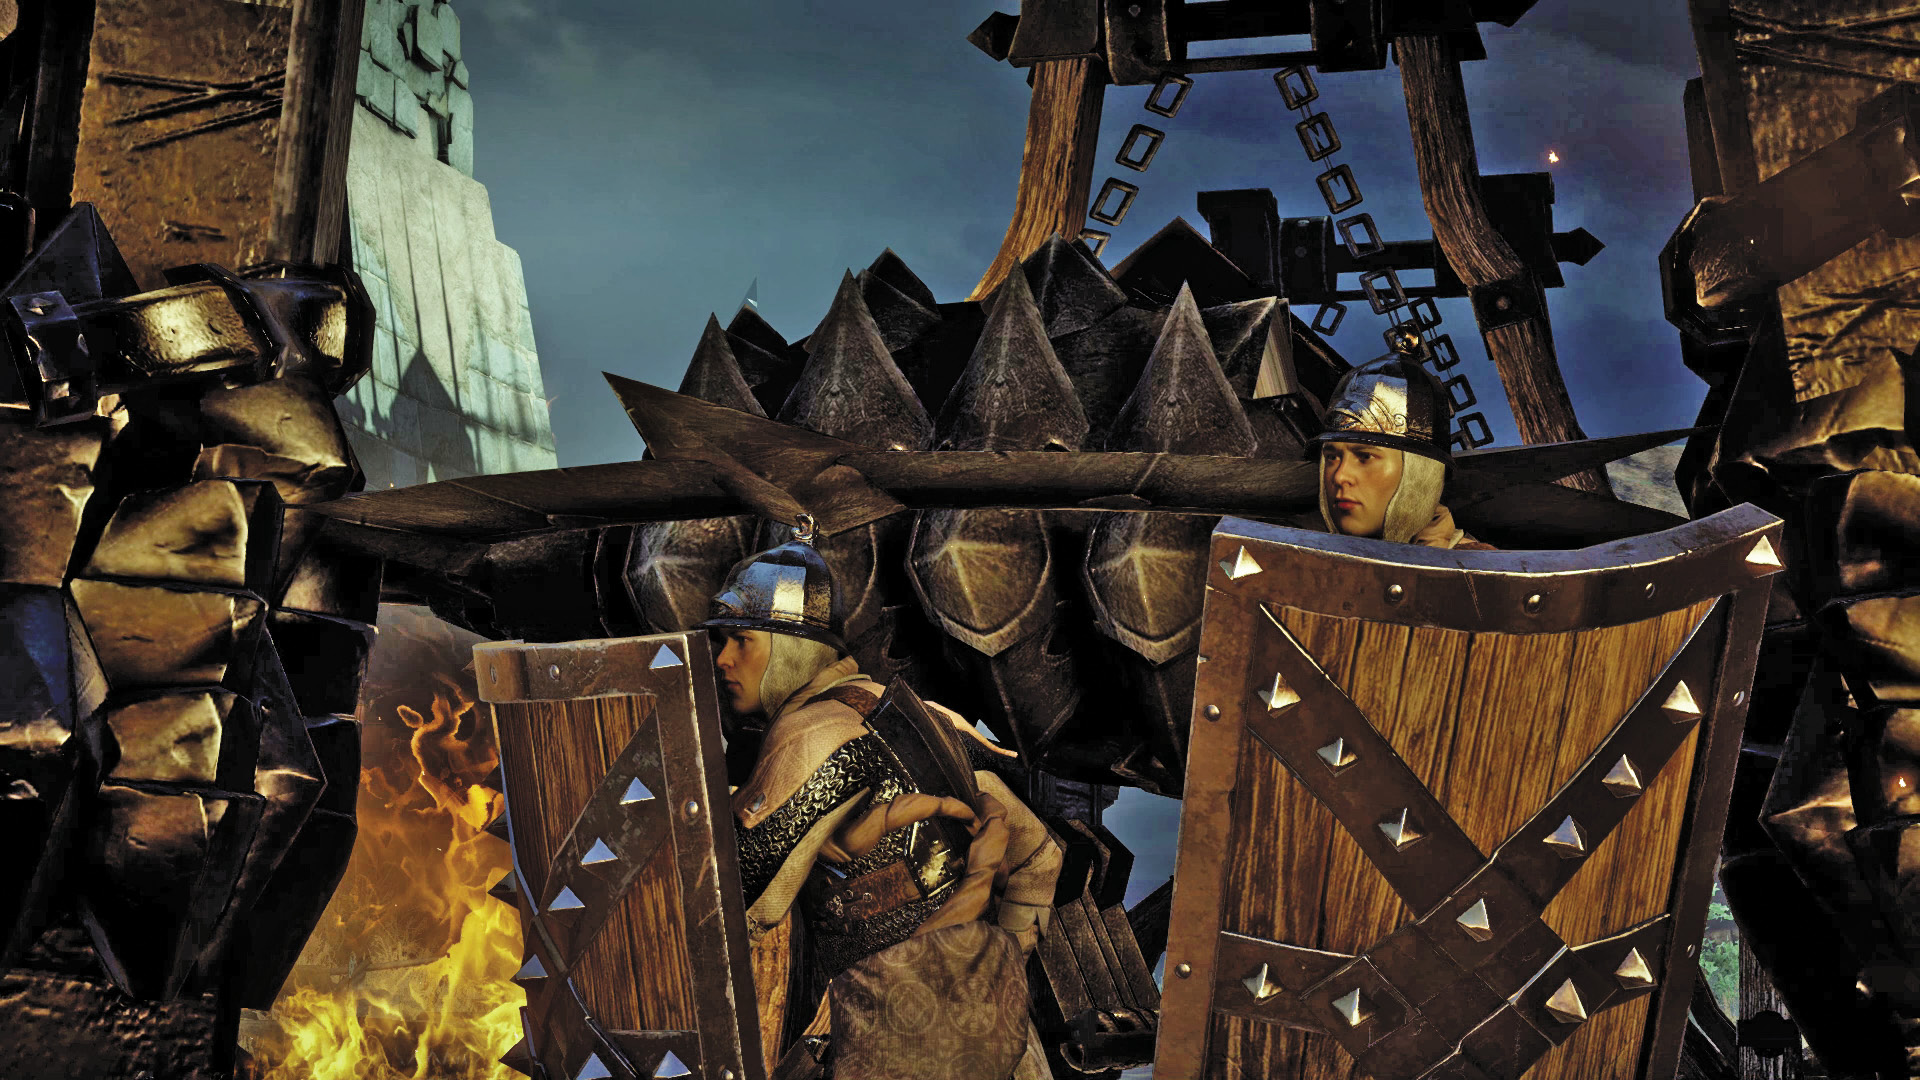
The full power of the Inquisition’s army is on display during the attack on Adamant. Trebuchets pound the walls of this old Warden fortress, while a battering ram knocks open the main gate. Stroud accompanies your party into the fortress and will fight alongside you during the assault.
Lower Bailey
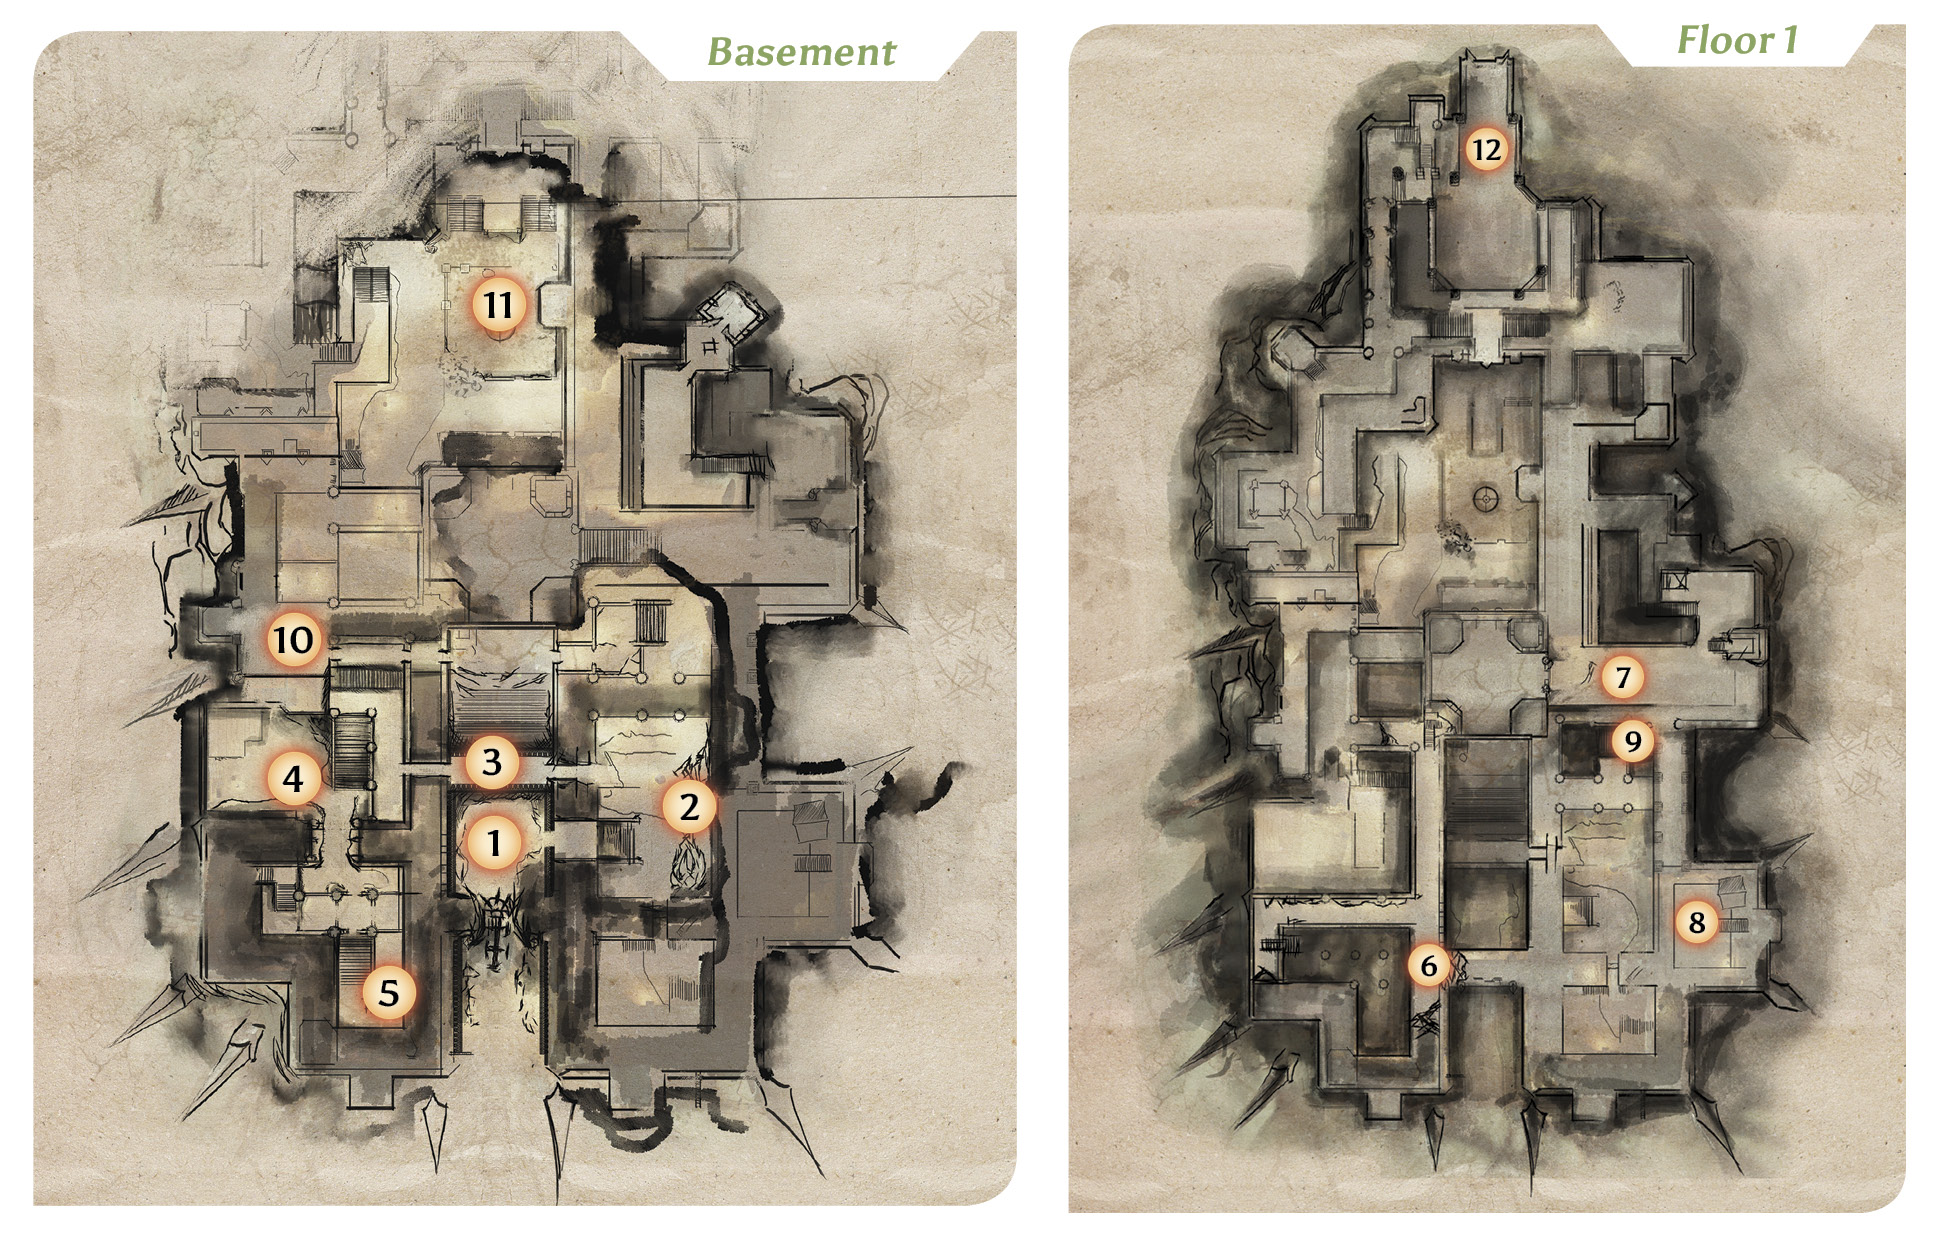
1. In the lower bailey your party faces off against a few shades and a Warden spellbinder. Use your ranged party members to target the Warden spellbinder with fire-based attacks while your warriors deal with the shades. Stroud and a few Inquisition soldiers aid your party in this fight, making it a bit easier. When the enemies are down, Cullen warns that there’s too much resistance along the walls, preventing Inquisition soldiers from gaining a foothold. He needs you to help clear out the enemies on the battlements. Start by heading east.
2. Expect more resistance here from a senior Warden and a few of his subordinates. Eliminate the archers first, then focus on the senior Warden and his sword-wielding lackeys. The senior Warden’s shield makes frontal attacks useless, so tank him with a warrior while the rest of your party members perform flanking attacks.
3. Eliminate the shades on this bridge, then open the door to the west to access the main bailey.
Main Bailey
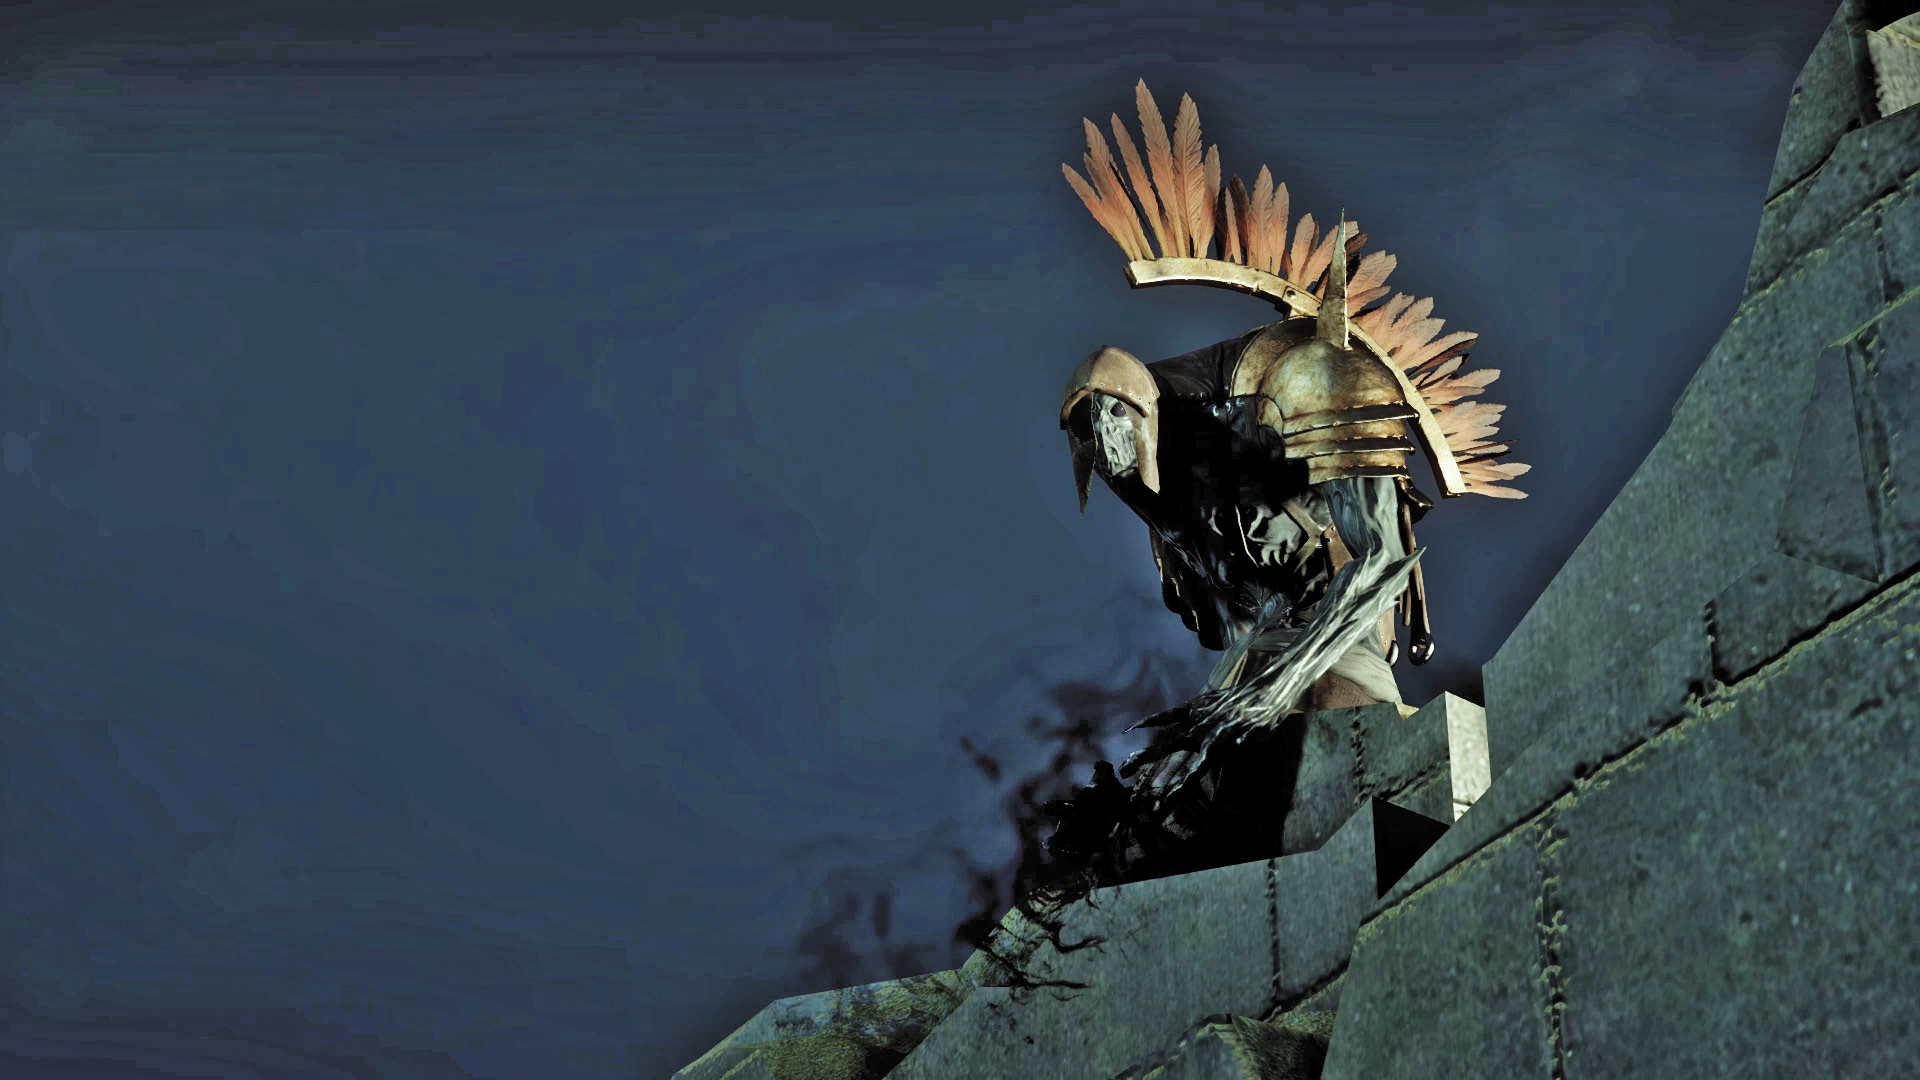
4. In the main bailey, there appears to be some resistance among a few Warden warriors. But before you can address the warriors, you must first eliminate the Warden spellbinders and shades. Remember; fire-based attacks are most effective against these corrupted mages. Following the battle, you have an opportunity to address the Warden warriors. Instead of ordering them to surrender, tell them to “Just fall back to safety.” Otherwise you’ll have another fight on your hands. Next, head through the door to the south.
5. Engage some shades and a Warden archer here, then climb the wooden stairs to reach the battlements.
Battlements
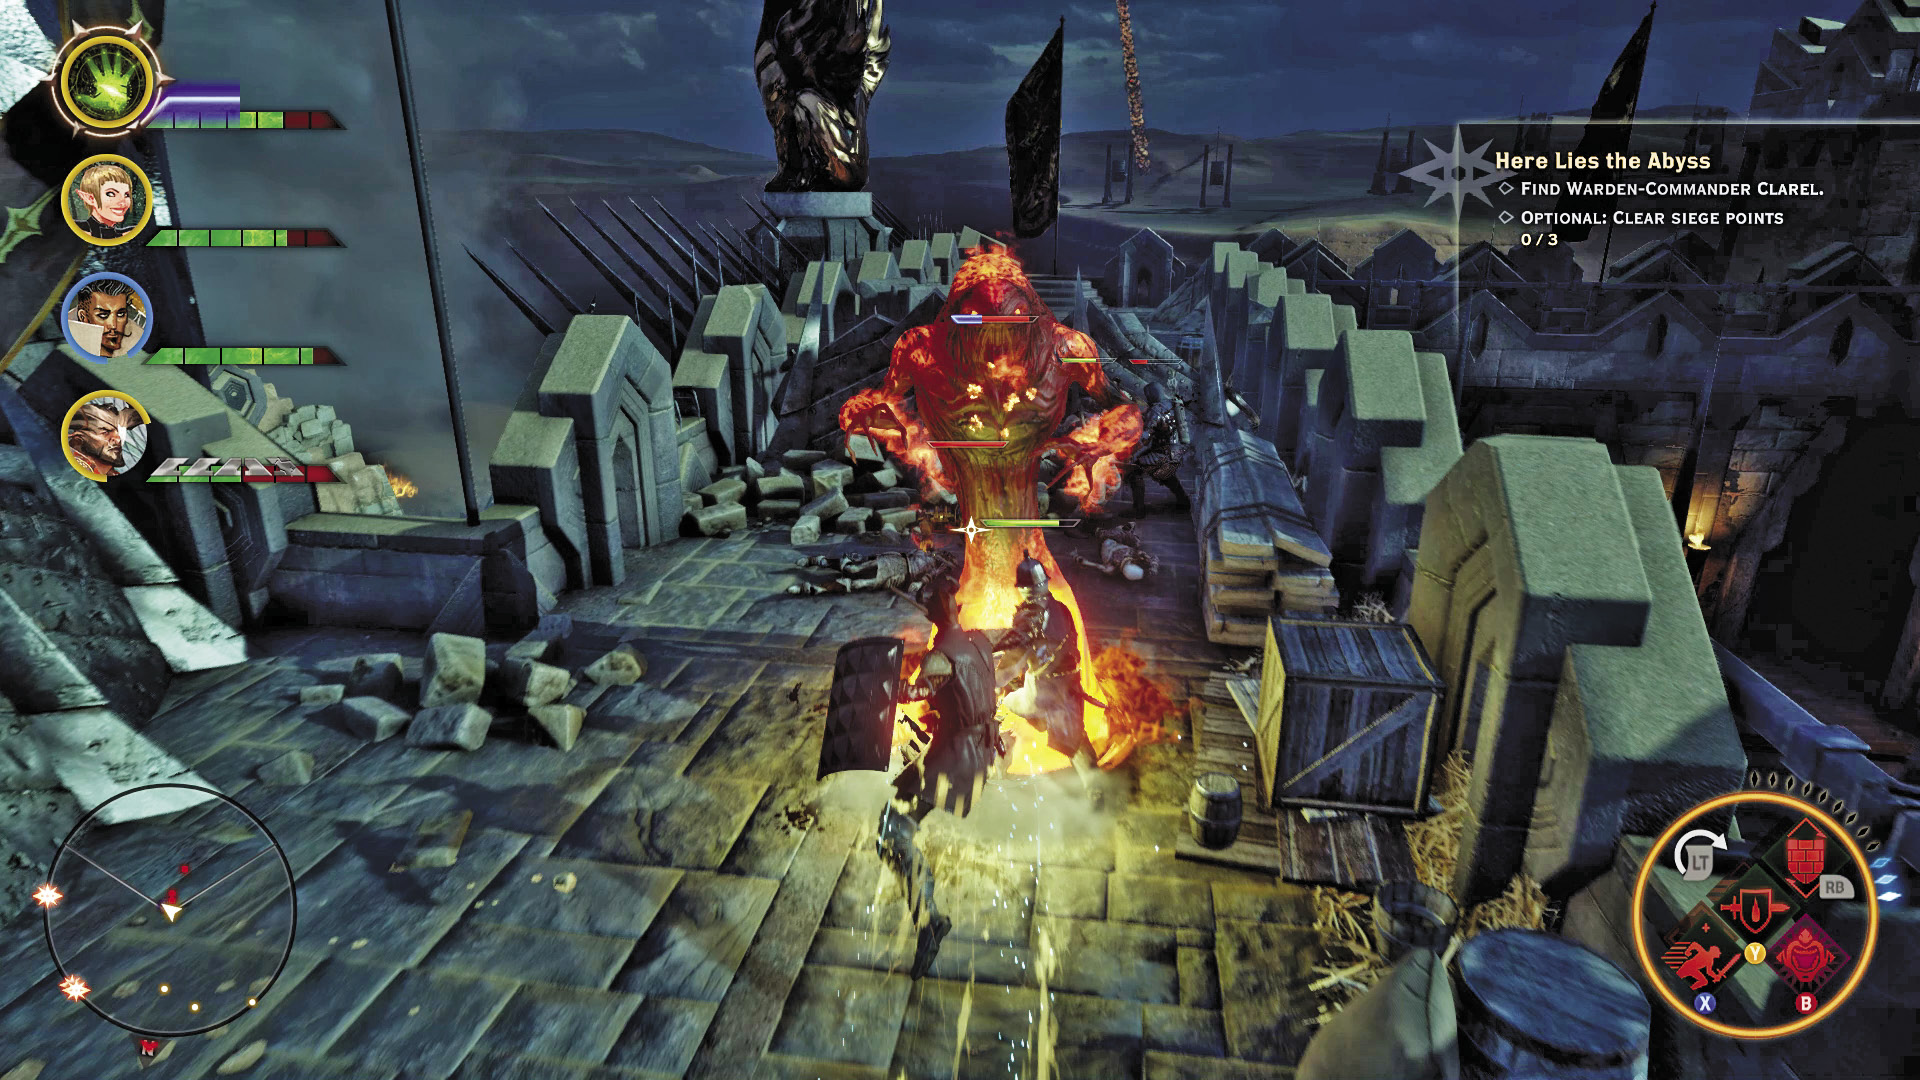
6. Fight your way past demons and Wardens to reach the first of three siege points. Securing these points will allow Inquisition soldiers to get a foothold within Adamant. This particular siege point is guarded by a rage demon. Hit the demon with cold-based attacks in an attempt to chill and freeze it. Once the rage demon is down, eliminate all remaining enemies to secure this siege point.
7. Hawke and a few Inquisition soldiers are busy fighting off a few Warden spellbinders and a massive pride demon at this siege point. Take out the spellbinders first, then focus on the pride demon. After the fight, Hawke offers his assistance. If you tell him to “Keep them off me,” Hawke will join you. If you tell him to “Protect my troops,” he will stay behind and help hold the battlements. Next, head south to secure the third and final siege point.
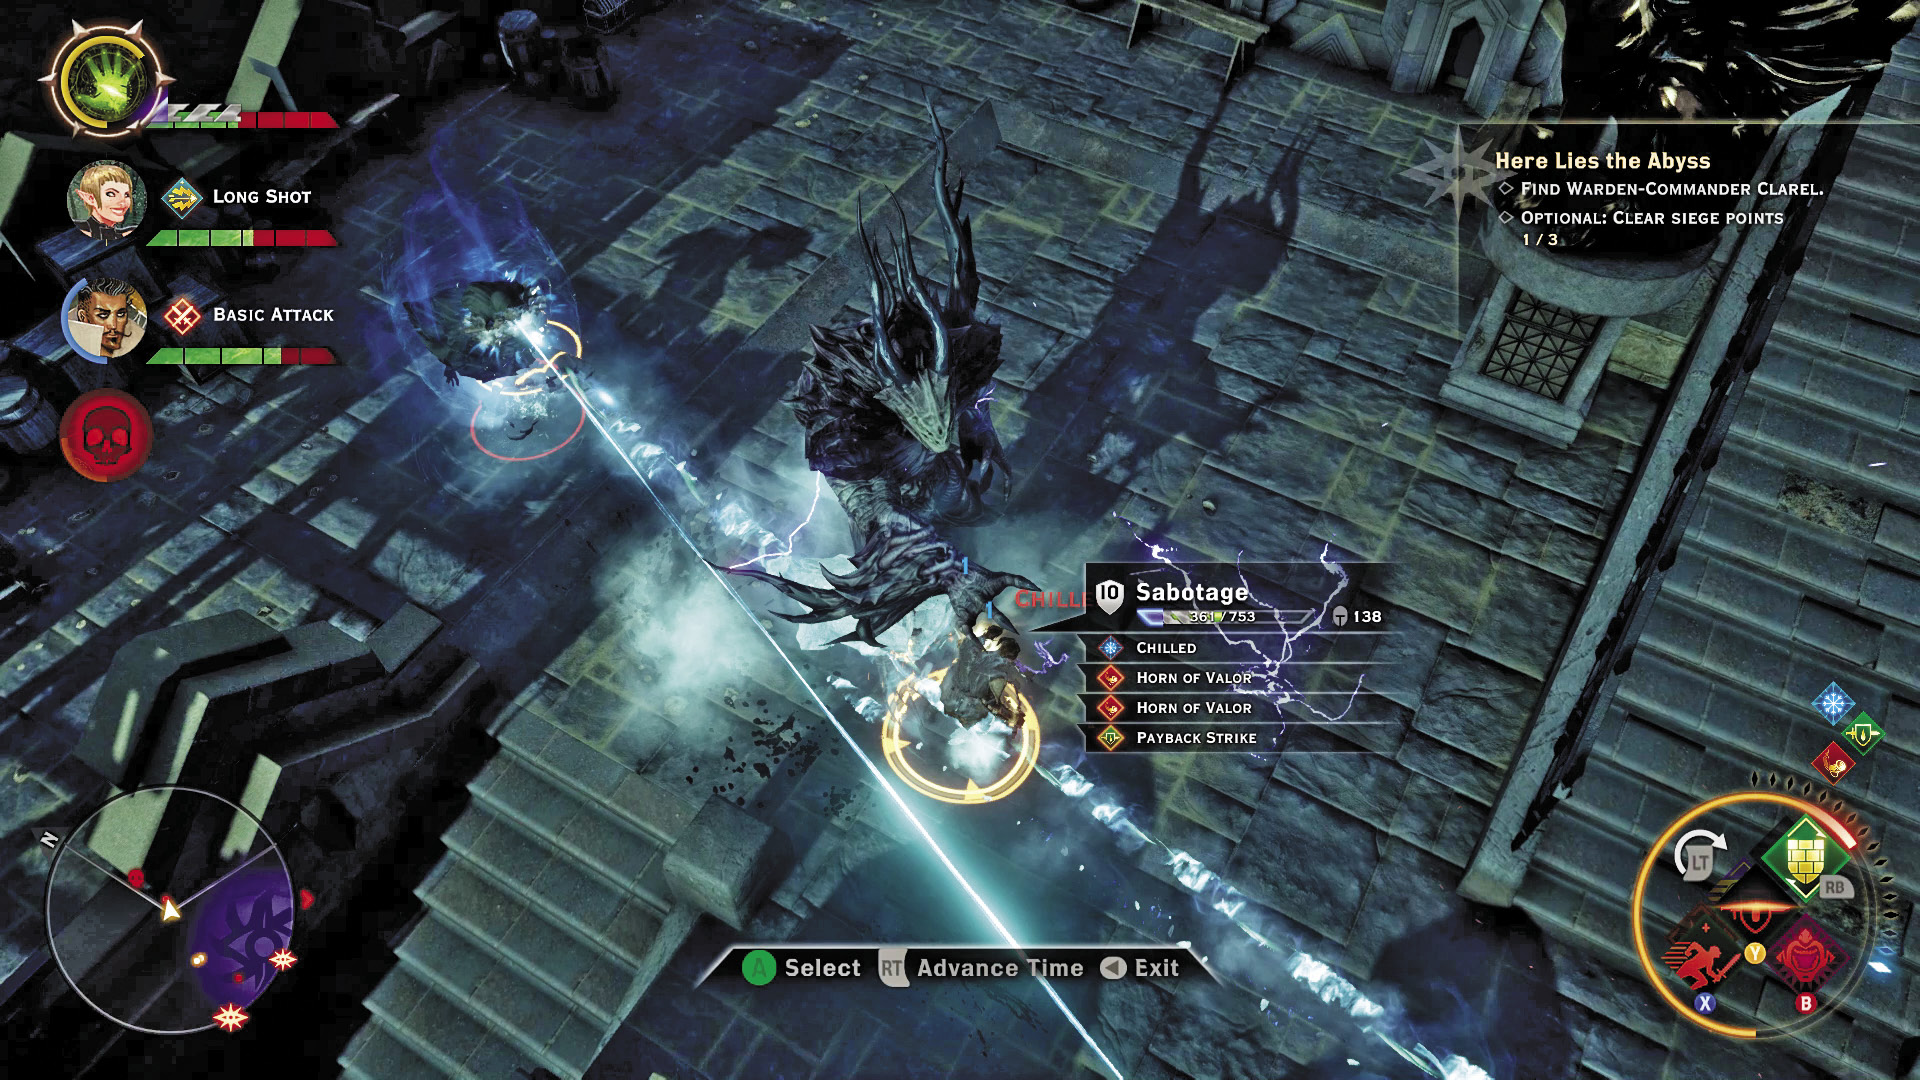
8. Several shades and a massive pride demon defend this siege point. If you have enough focus, this is a great time to deploy your Mark of the Rift ability. Otherwise, eliminate the shades first, then turn your full party’s attention to the pride demon. By now, your party should be strong enough to handle the pride demon with minor difficulty. For best results, use a mage to freeze the pride demon with Winter’s Grasp while your warriors hack away on him. Following the fight here, the battlements are secure, netting your party some bonus XP, influence, and power.
9. Backtrack to these stairs and open the three doors ahead (traveling west) to return to the main bailey.
10. Expect stiff resistance from some shades and a rage demon here—help the Inquisition soldiers finish them off. After the fight, stock up on potions from the supply cache. Heal everyone first, then use the supply cache—you can only use it once. Expect a tough fight ahead.
Main Courtyard
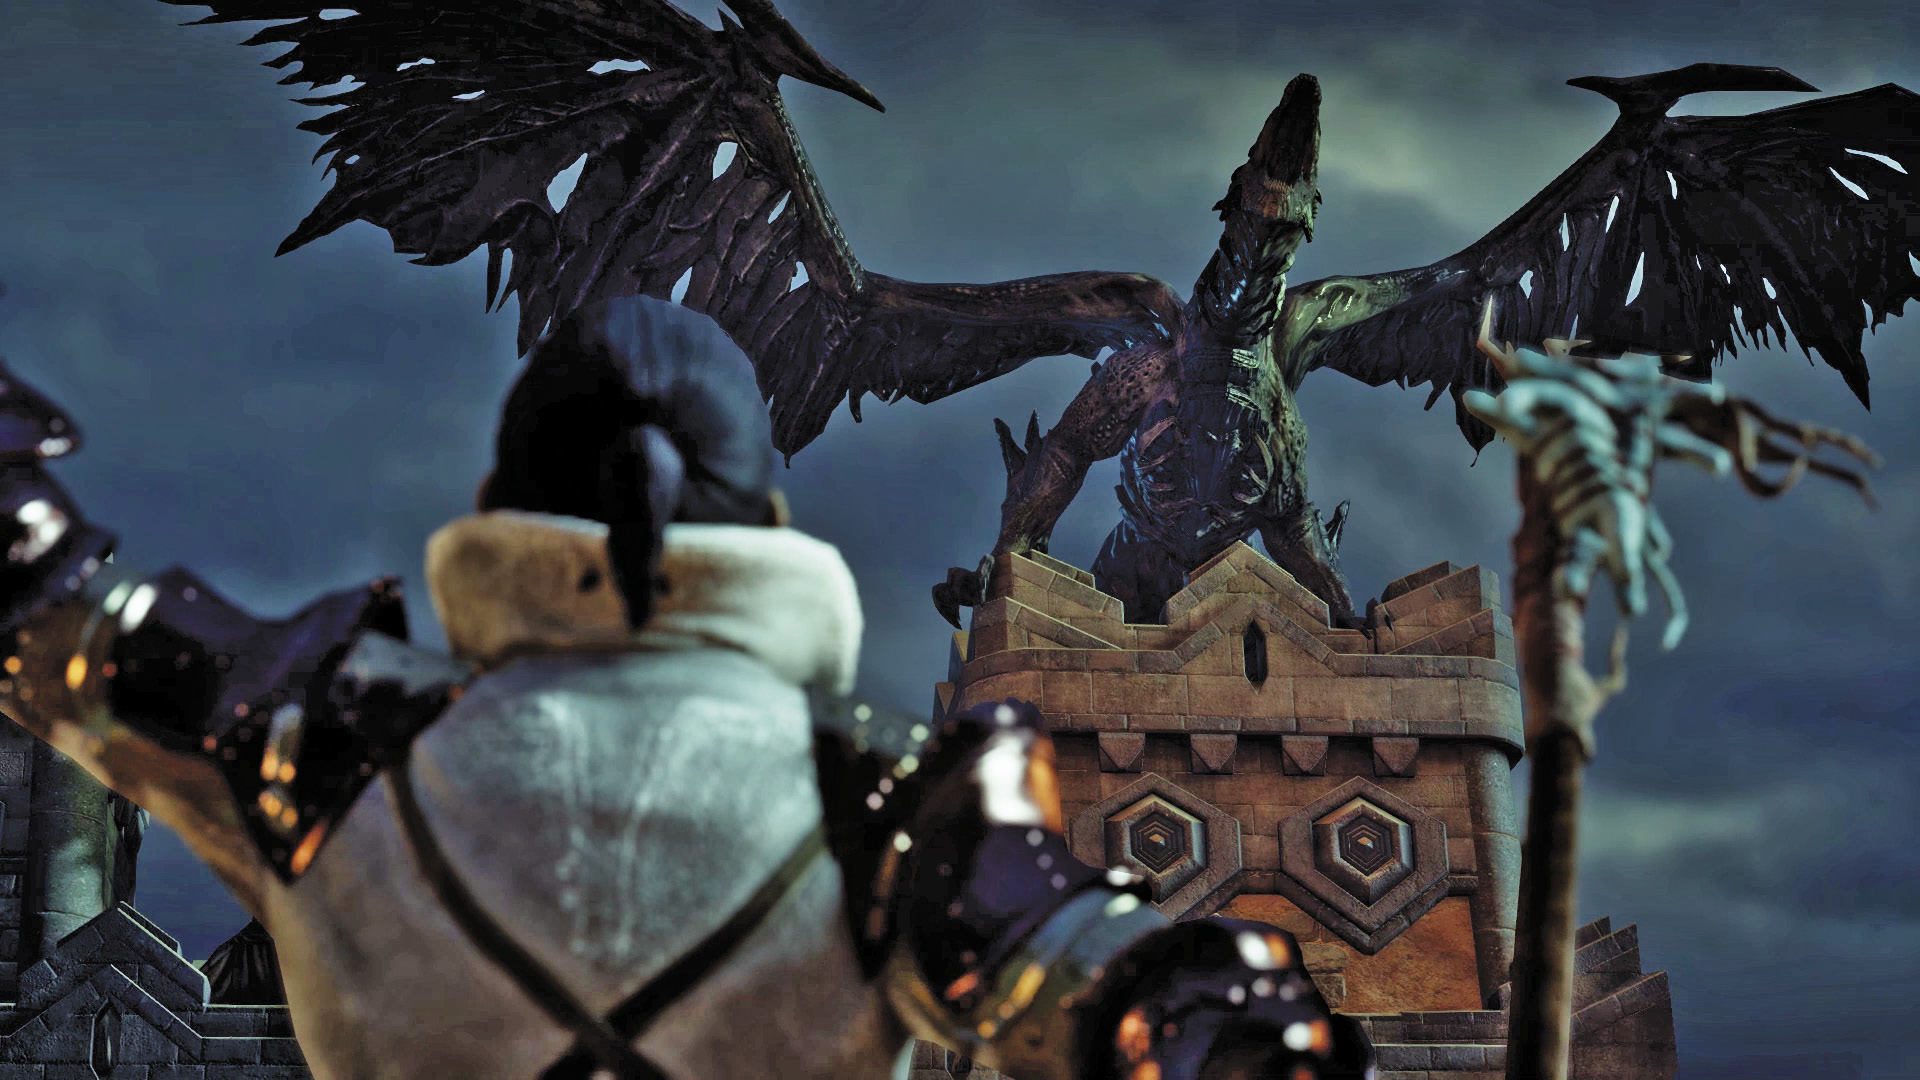
11. You’ve finally tracked down Erimond and Warden-Commander Clarel. Your party arrives just in time to interrupt the ritual. Do your best to appeal to Warden-Commander Clarel—she seems unaware that Erimond serves Corypheus. Before Clarel summons a demon from the Fade, you have the chance to interrupt. If you have Blackwall in your party, he can address the Wardens, convincing the Warden warriors to join you. Likewise, if you spared the Wardens back in the main bailey, you can get the Warden warriors to fight by your side. But Erimond has a card up his sleeve as well—Corypheus’s dragon. Realizing she’s been betrayed, Clarel attacks Erimond and the dragon. As Clarel chases down Erimond, she urges her loyal Wardens to assist the Inquisition. Following the cinematic, engage a pride demon and the Warden spellbinders—despite Clarel’s orders, the Warden mages are now loyal to Corypheus. However, the Warden warriors will fight by your side. Once again, this a good area to use your Mark of the Rift ability—it can really chew up the pride demon’s guard and health. After the battle, head west to pursue Clarel and Erimond along the battlements.
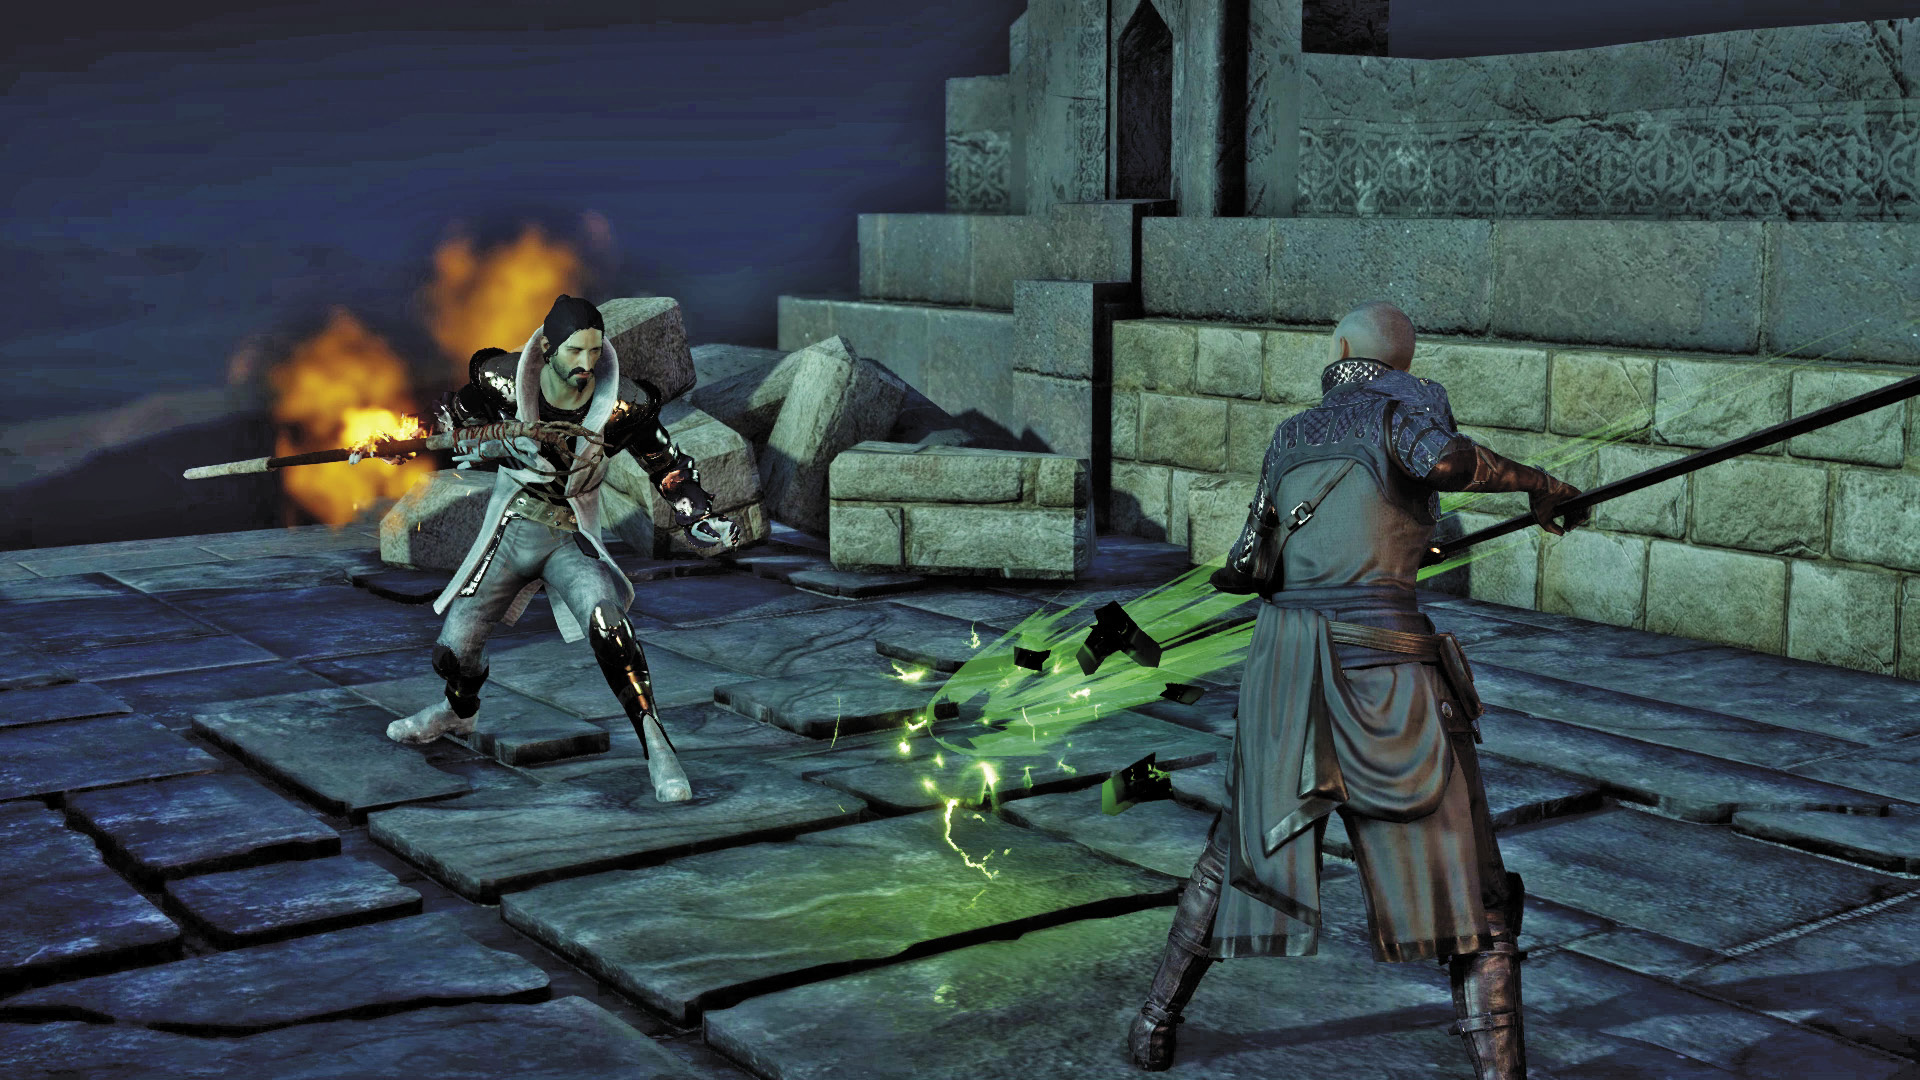
12. Continue along the battlements, battling demons along the way. When you reach this spot, Clarel and Erimond are engaged in a duel. When it appears the Warden-Commander has the upper hand, Corypheus’s dragon swoops down and attacks Clarel, biting down on her body and spitting her out. The dragon then stalks your party, pushing you closer and closer to a ledge. Before the dragon can attack, Clarel casts one last spell, striking the dragon’s underbelly, causing it to collapse. The dragon tumbles and crashes through the stone walkway, causing it to crumble beneath your party’s feet. As your party plummets through the air, the Inquisitor opens a Fade rift, sending you, your followers, Hawke, and Stroud into the Fade.