
Dragon Age Inquisition Guide The Inquisitors Path The Threat Remains
Haven 1
A chantry cleric named Mother Giselle is tending to refugees in the Ferelden Hinterlands near Redcliffe. Leliana believes she may be sympathetic to the Inquisition’s cause.

Following the events at the Temple of Sacred Ashes, your character regains consciousness in a cozy cabin back in Haven. An elf servant informs you that three days have past since you closed the rift at the temple. And while the Breach is still present, it has stopped growing, just like the mark on your hand. The servant then mentions that Cassandra would like to see you in the chantry. Before heading for the chantry, take a moment to get your bearings. There’s a small box on the floor you can loot as well as a note on the desk you can read, unlocking another codex entry.
The Inquisition Reborn

The chantry is located on the south side of Haven. Open the doors to the chantry and proceed to the room at the back of the structure—this is the war room, where the Inquisition’s war council meets. As soon as you pass through the door, Chancellor Roderick demands that you be chained and prepared for trial. But Cassandra comes to your immediate defense—she feels you’ve been sent by the Maker. You can choose to go along with Cassandra’s assumptions or dismiss the notion. In any case, Cassandra is convinced you have been sent here for a reason. Despite Roderick’s protests Cassandra reinstates the Inquisition of old, vowing to close the Breach and restore order, with or without the support of the Chantry. After Roderick storms off you have the opportunity to question Cassandra and Leliana about the origins of the Inquisition. Agree to help to conclude the conversation and initiate the game’s opening cinematic, showing word of the Inquisition spreading across Thedas.

Following the opening cinematic, Cassandra introduces you to the Inquisition’s advisors: Josephine, Cullen, and Leliana. While all the advisors are unified behind the cause of the Inquisition, there is some disagreement over which faction can offer the most support. Leliana suggests courting the rebel mages, while Cullen feels the templars are the better option. But Josephine is quick to point out that neither faction has a favorable view of the Inquisition—that must change if you wish to gain their support. Meanwhile, the Chantry has declared you a heretic. Still, Mother Giselle, a Chantry cleric, has requested to speak to you. She can be found in the Hinterlands, near Redcliffe. Cullen and Josephine suggest expanding the Inquisition’s influence while you’re there.
The War Table
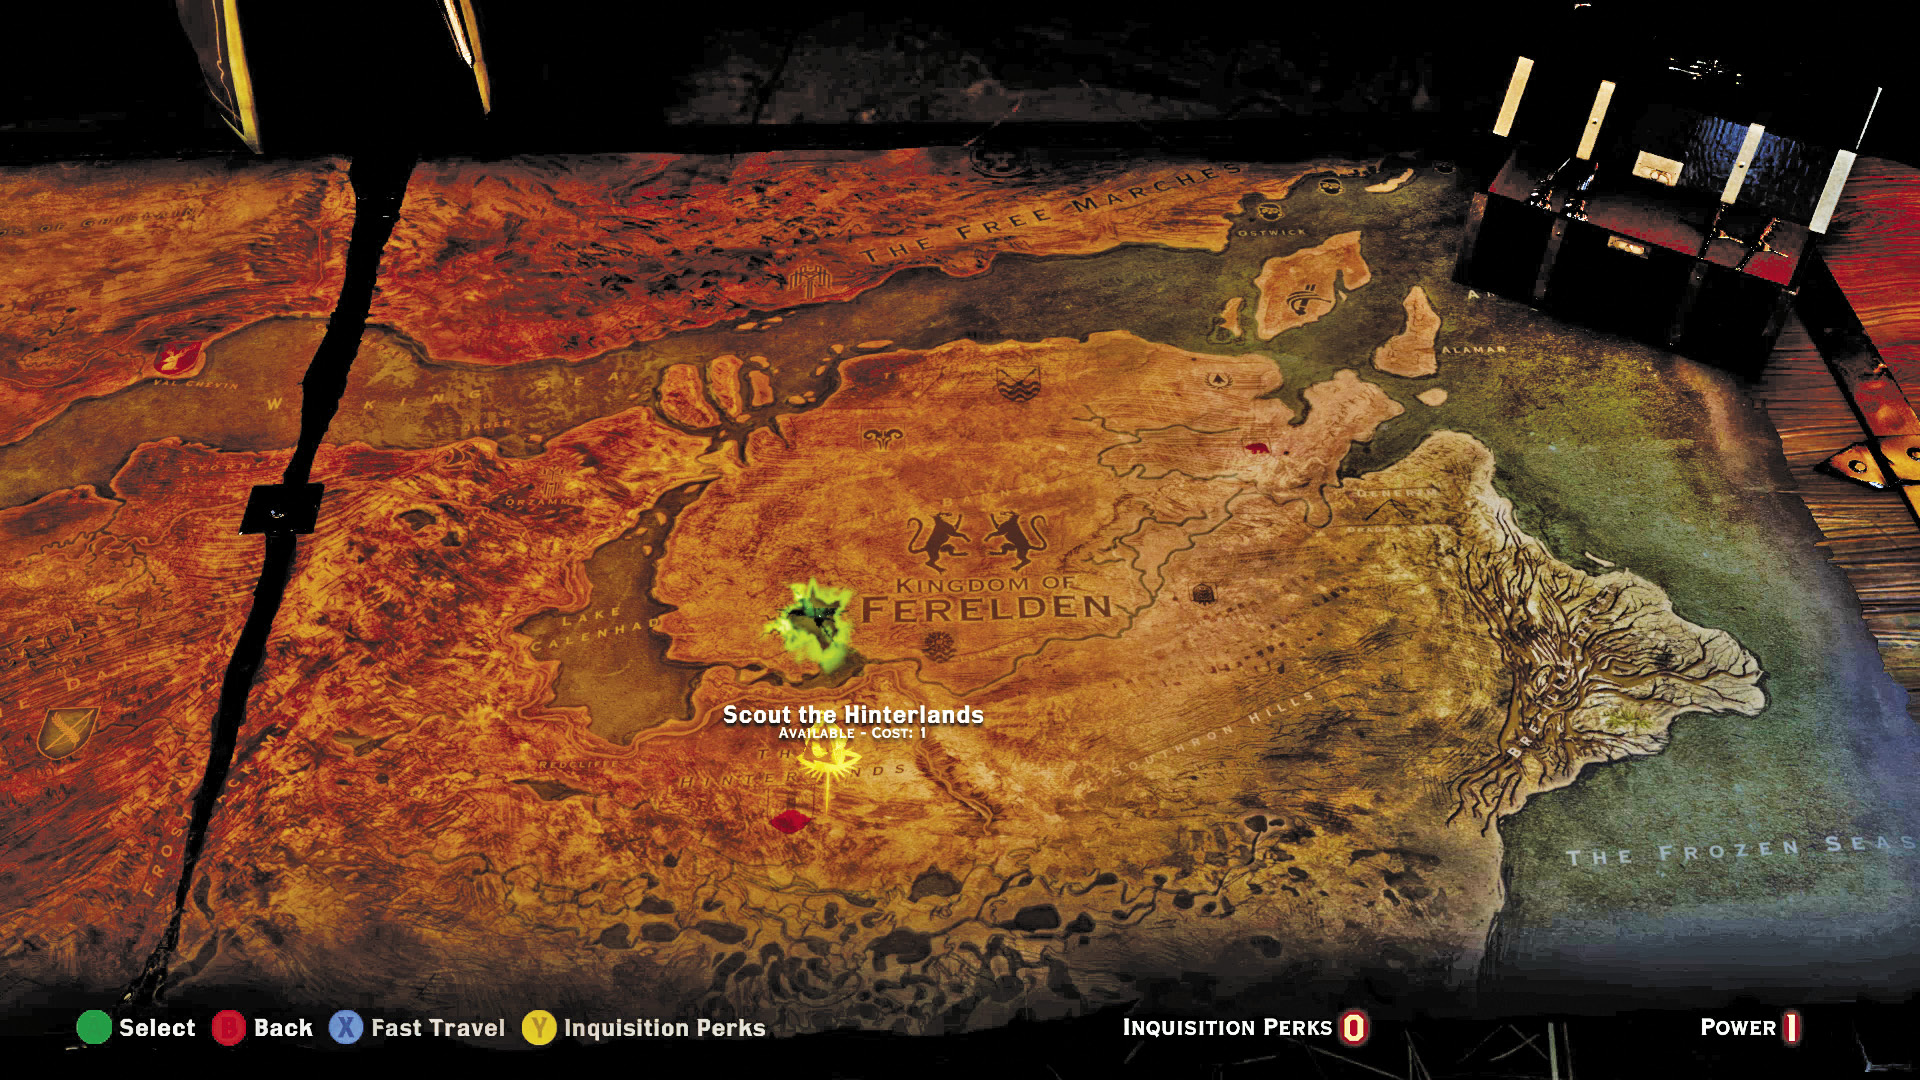
Before you can travel to the Hinterlands, you must first perform a scouting operation on the war table. Completing scouting operations unlocks new areas to explore. The war table allows you to apply the power of the Inquisition throughout Orlais and Ferelden. Power is obtained by completing critical path plots, establishing camps, closing Fade rifts, capturing keeps, finding all landmarks in a locale, or by defeating high dragons. You currently have one power, just enough to scout the Hinterlands. Select Ferelden on the war table and then choose the Scout the Hinterlands option. Next, choose the advisor you wish to conduct the scouting operation—Leliana is the only advisor available for this particular one. This triggers a cinematic showing Harding, a scout, establishing a foothold for the Inquisition in the Hinterlands.
Missions
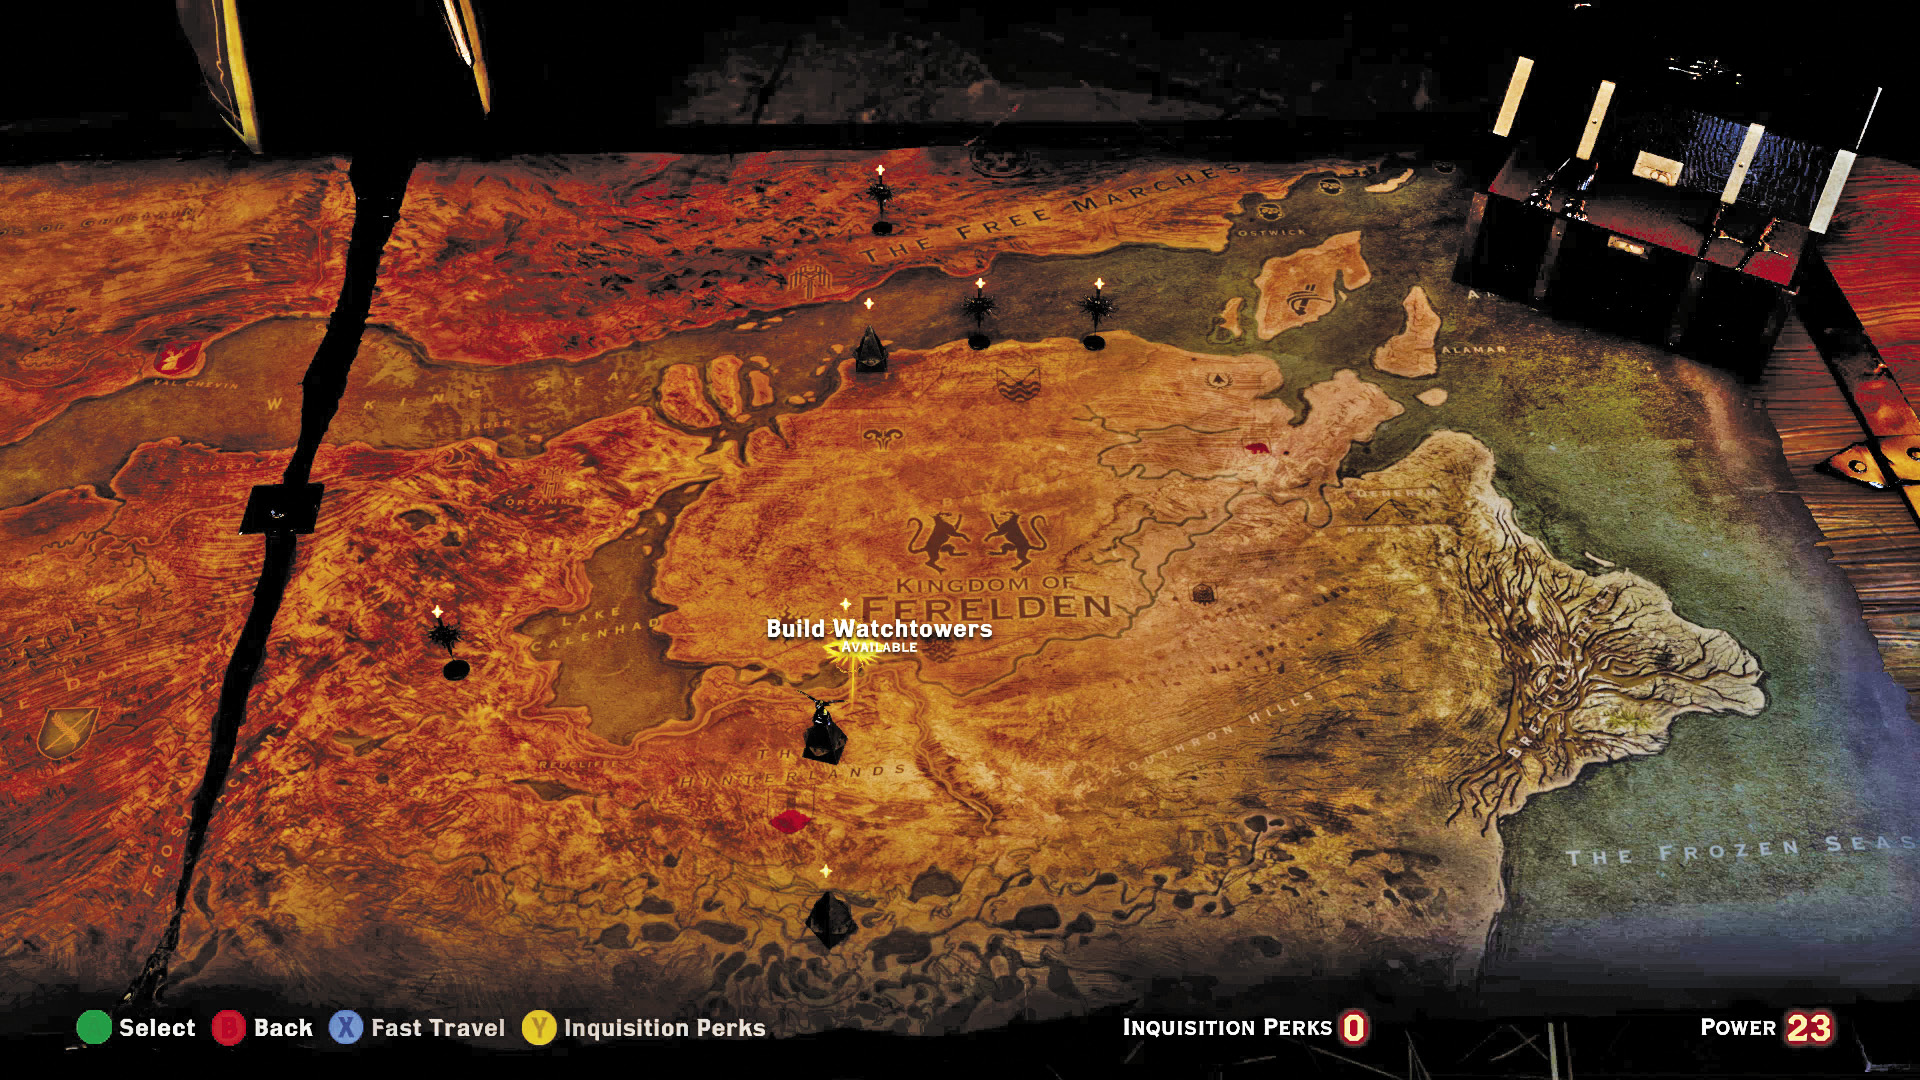
After the scouting operation, the war table is now open for missions. These operations take time and bring the Inquisition resources and rewards. Missions can only be conducted by Josephine, Cullen, or Leliana. Take time to read the details of each available mission and determine the best advisor for the job. Josephine is a diplomat and relies on connections and influence to complete her tasks. Leliana is a spy master and utilizes her network of agents to collect information. Cullen, a former templar, leads the Inquisition’s army and relies on displays of force. Each mission shows how much time it takes for an advisor to complete the task. Generally, the advisor who can complete the operation quickest is usually the best choice for the job. However, rewards differ based on the advisor you select. For now, assign the advisors to the following missions:
Initial Missions
| Advisor | Mission | Completion Time | Reward |
|---|---|---|---|
| Josephine | Gather Coin | 0:48:00 | Gold |
| Leliana | Hard in Hightown 3: Varric’s Revenge | 0:12:00 | Sturdy Bianca Grip |
| Cullen | The Teyrn of Highever | 0:12:00 | Topaz |
These particular missions only take a few minutes of game time to complete. After 12 minutes you can come back to the war table and issue new missions for Leliana and Cullen—Josephine’s mission will take a bit longer to complete. A message appears on-screen when each mission is complete. Make frequent visits to the war table to keep your advisors busy.
Exploring Haven
After completing the scouting operation on the war table, you can travel directly to the Hinterlands with your party and seek out Mother Giselle. However, it’s highly recommended to spend some time exploring Haven and completing a few side quests. These quests serve as tutorials, familiarizing you with some basic gameplay concepts. So take a few minutes to complete the following optional side quests before leaving Haven.
 Haven’s Best and Brightest

Quest Giver: N/A
Description: Even in these trying times, good help is not so hard to find. Explore Haven and meet some of the Inquisition’s crafting masters.
Requirements: Available after meeting the war council
Reward: 50 XP
Recommended Level: 2
Objectives:
 Speak with the smith.
 Speak with the quartermaster.
 Speak with the apothecary.
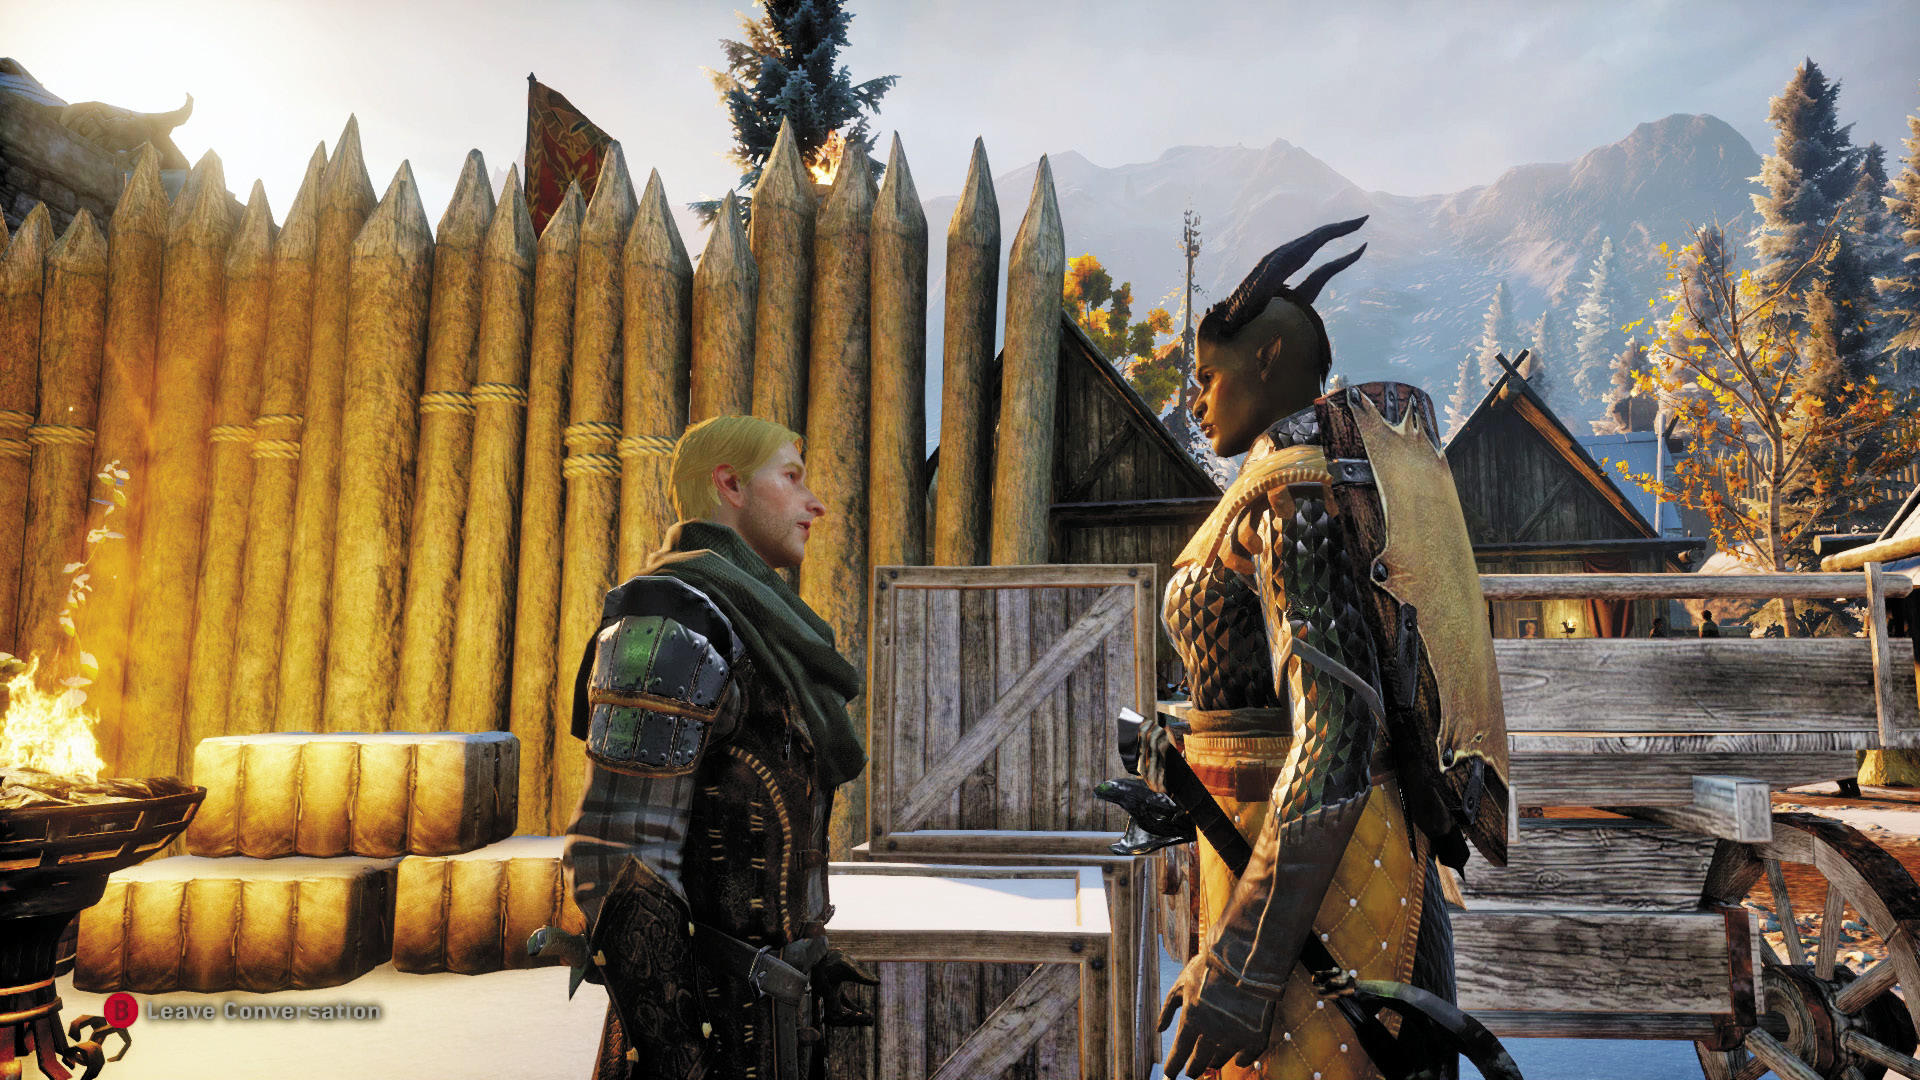
This quest is available immediately after the game’s opening cinematic ends. Start by speaking to the blacksmith, Harritt. He’s located outside Haven’s main gate. Harritt is the one who crafted the new armor you’re currently wearing. Here you can craft new weapons and armor as well as modify existing equipment. Question Harritt about different aspects of his job to unlock two more quests: The Right Armor and Piece by Piece. These two quests can be completed here.
Adan, the apothecary, is on the west side of Haven, not far from Solas. He had a hand in your recovery following the incident at the temple. Adan is responsible for supplying the Inquisition with potions. You can come here to craft new potions using recipes and herbs. You can get the Passing Notes and Mixing Potions quests by speaking to Adan.
Next, speak to Threnn, the quartermaster, near the tent outside the chantry. She’s responsible for fulfilling requisitions. She has prepared a list of items the Inquisition needs—find some iron and a logging site to complete the Requisition for Weapons quest. Return to the table next to Threnn to complete requisitions.
 The Right Armor

Quest Giver: Harritt in Haven
Description: With the right materials, Haven’s blacksmith can craft some pretty decent armor.
Requirements: Available after completing Haven’s Best and Brightest
Reward: New armor
Recommended Level: 2
Objectives:
 Have some armor made.
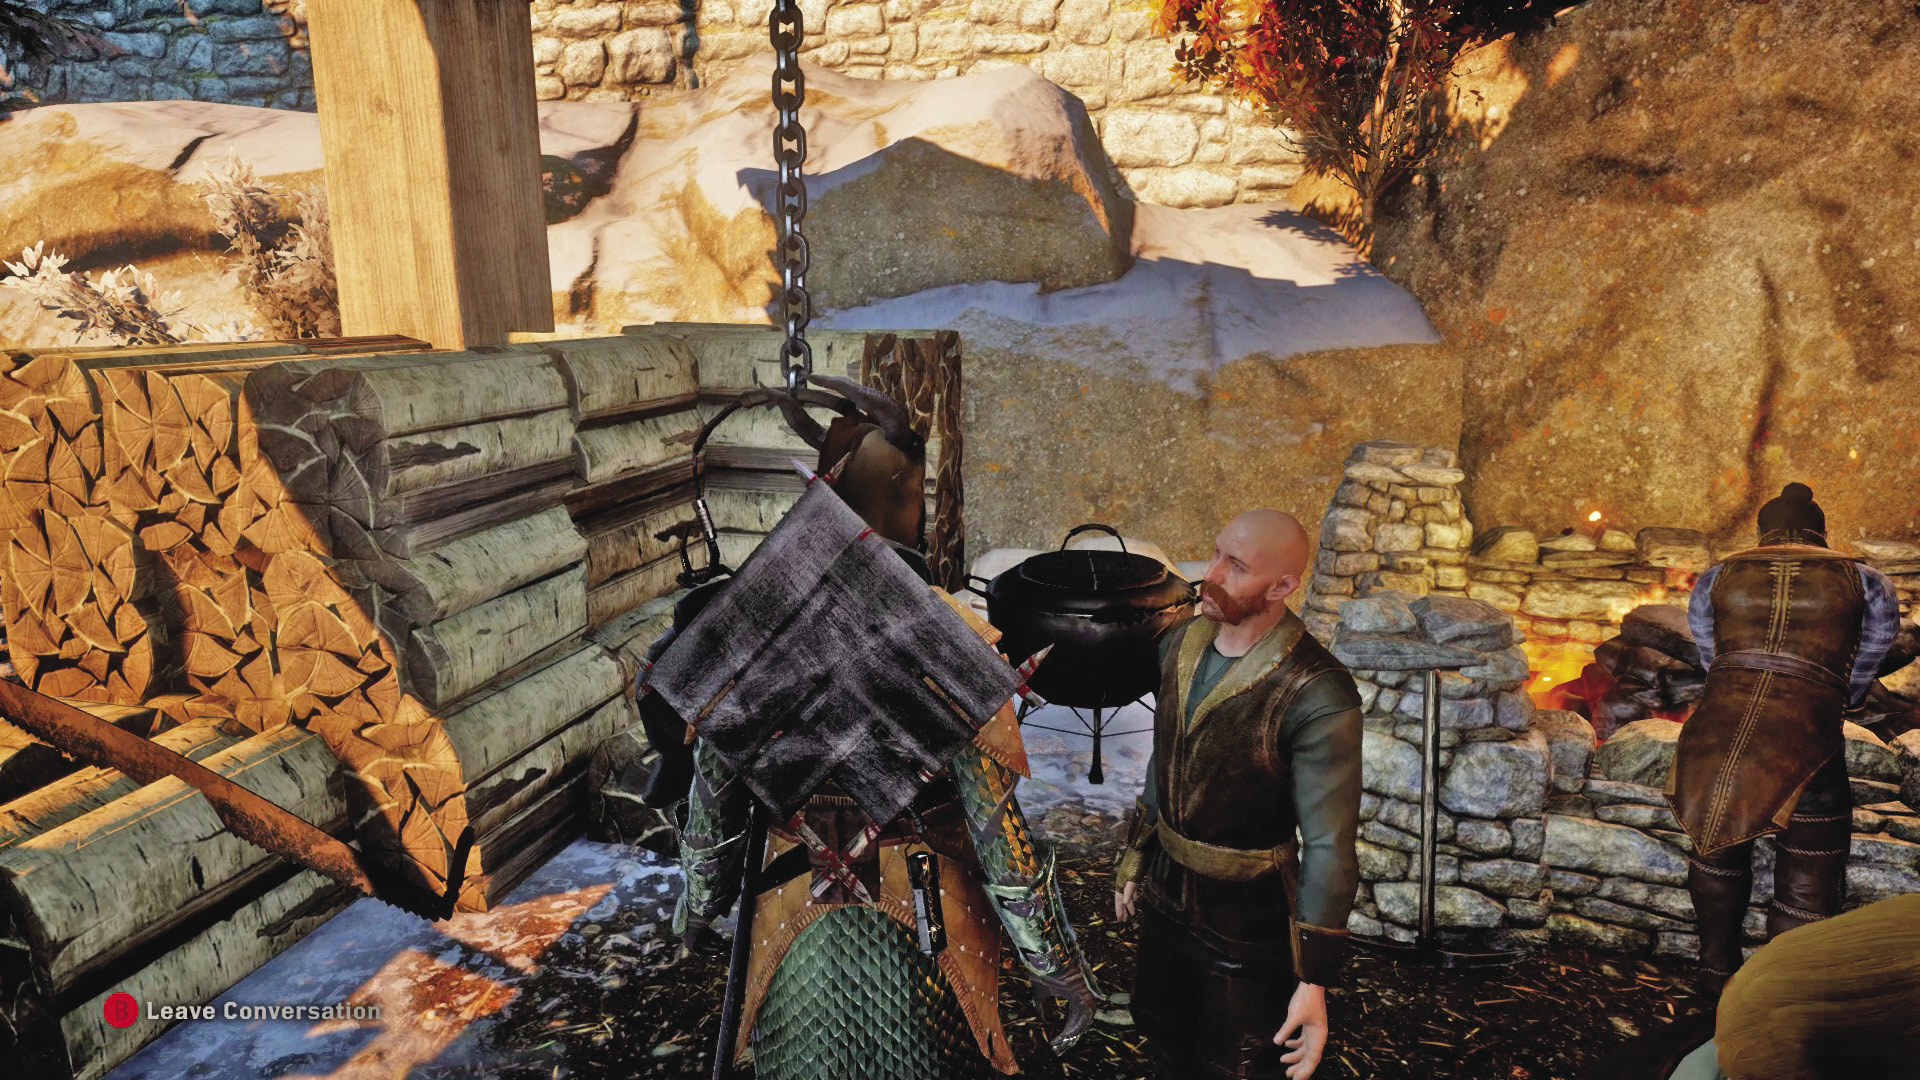
Before you can craft some armor, you need to gather raw materials. Usually these items can be found in the wild during your journey. Fortunately, Harritt has a stash of materials nearby. Loot the crate next to the Craft Armor table—this will give you enough material to create some armor. Next, interact with the Craft Armor table. Armor is crafted using a schematic and raw materials. The schematic determines the appearance and potential power of the crafted armor, while the materials determine the specific stats and powers of the armor. Using the provided schematic and materials, craft a new piece of armor to complete the quest. Don’t forget to equip the new armor.
 Piece by Piece

Quest Giver: Harritt in Haven
Description: The blacksmith can also improve existing armor.
Requirements: Available after completing Haven’s Best and Brightest
Reward: Modified armor
Recommended Level: 2
Objectives:
 Modify some armor.
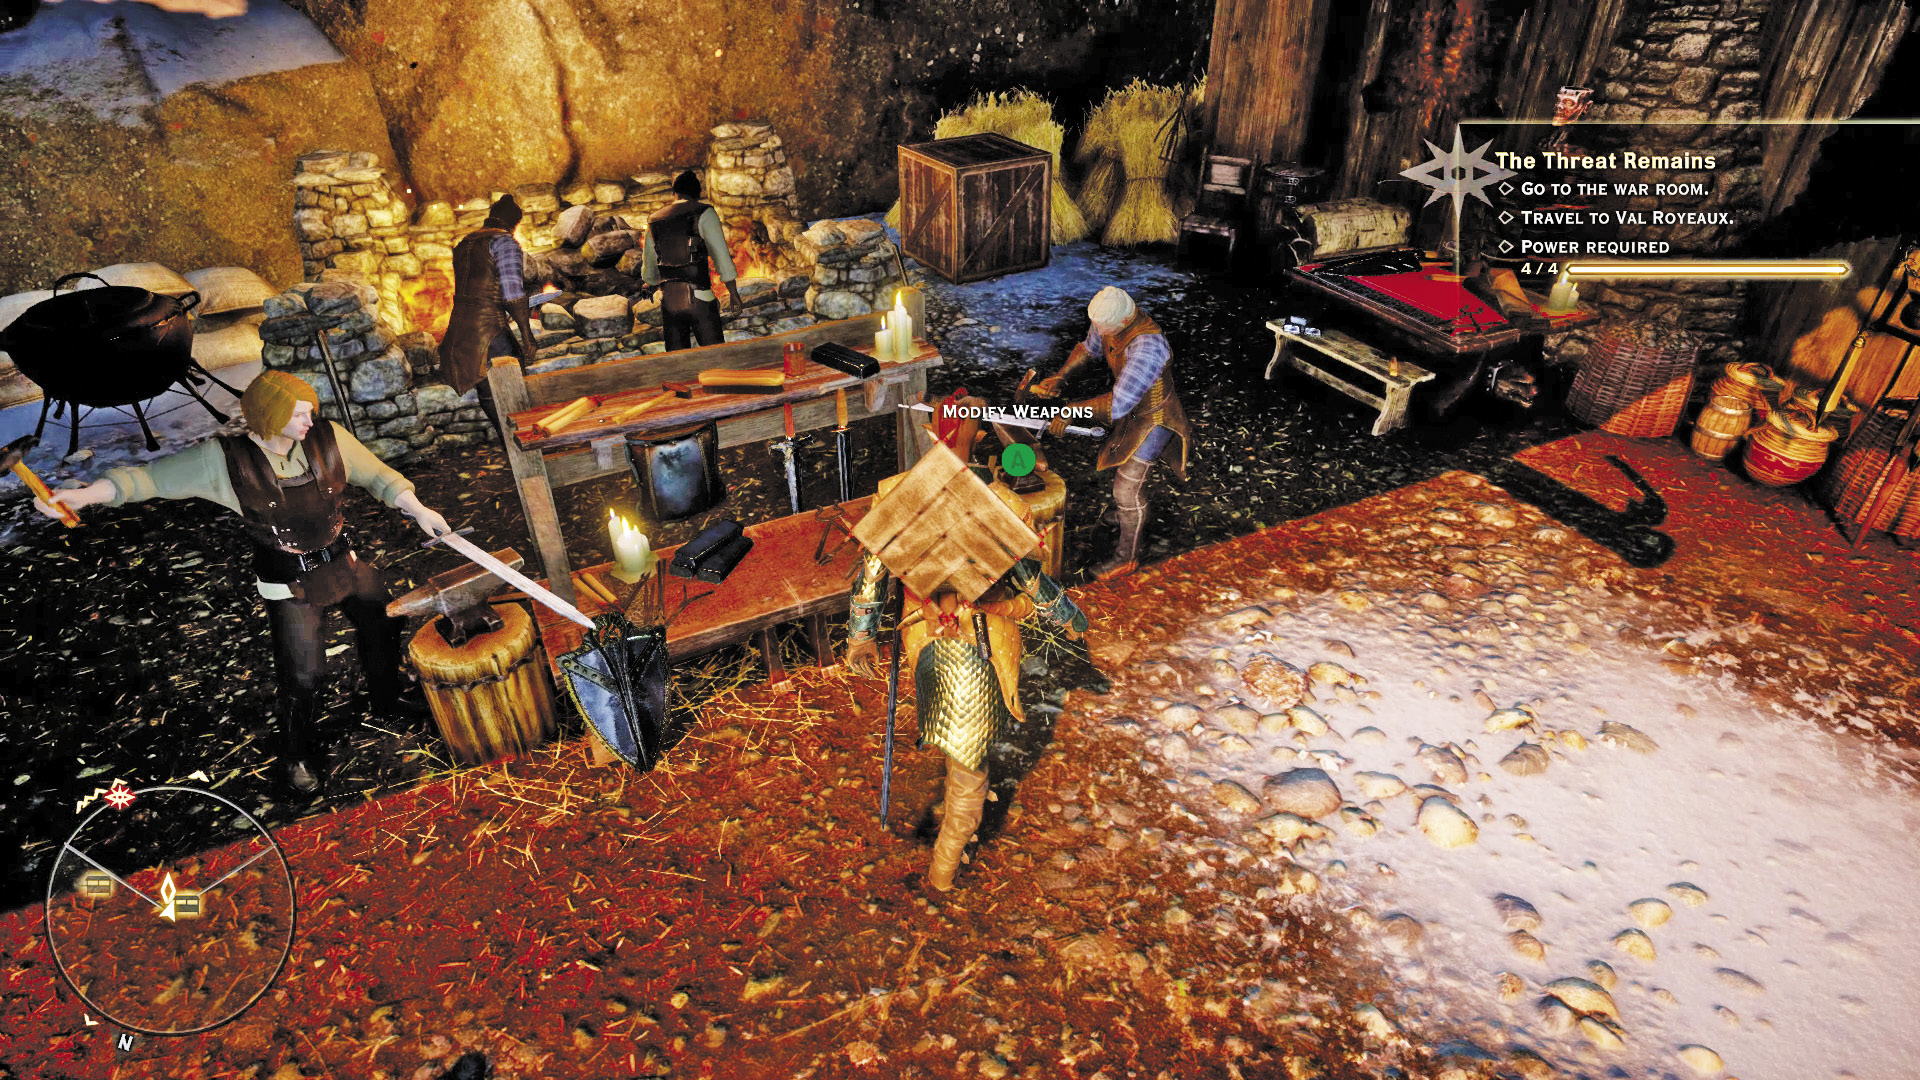
While you’re still at the blacksmith’s, take a moment to complete this simple quest. Start by looting the crate next to the Craft Weapons table. Inside is an armor upgrade. Next, go to the Modify Armor table. Upgrading armor adds the upgrade’s stats to the armor’s stats while also altering the armor’s appearance. Choose the armor you wish to upgrade, preferably the armor you just crafted. Each piece of armor has two upgrade slots: arms and legs. Apply the upgrade you just retrieved from the crate, then select Confirm Changes to complete the process. Upgrades aren’t permanent. They can be removed and applied to other armor. So before selling armor (or weapons), make sure you’ve removed any upgrades you wish to keep.
 Passing Notes

Quest Giver: Adan in Haven
Description: Some technical notes were found while exploring Haven. They look like someone named Taigen put a lot of work into them.
Requirements: Available after scouting the Hinterlands
Reward: 100 XP, Regeneration Potion Recipe
Recommended Level: 2
Objectives:
 Find Taigen’s notes.
 Return the notes to Adan.
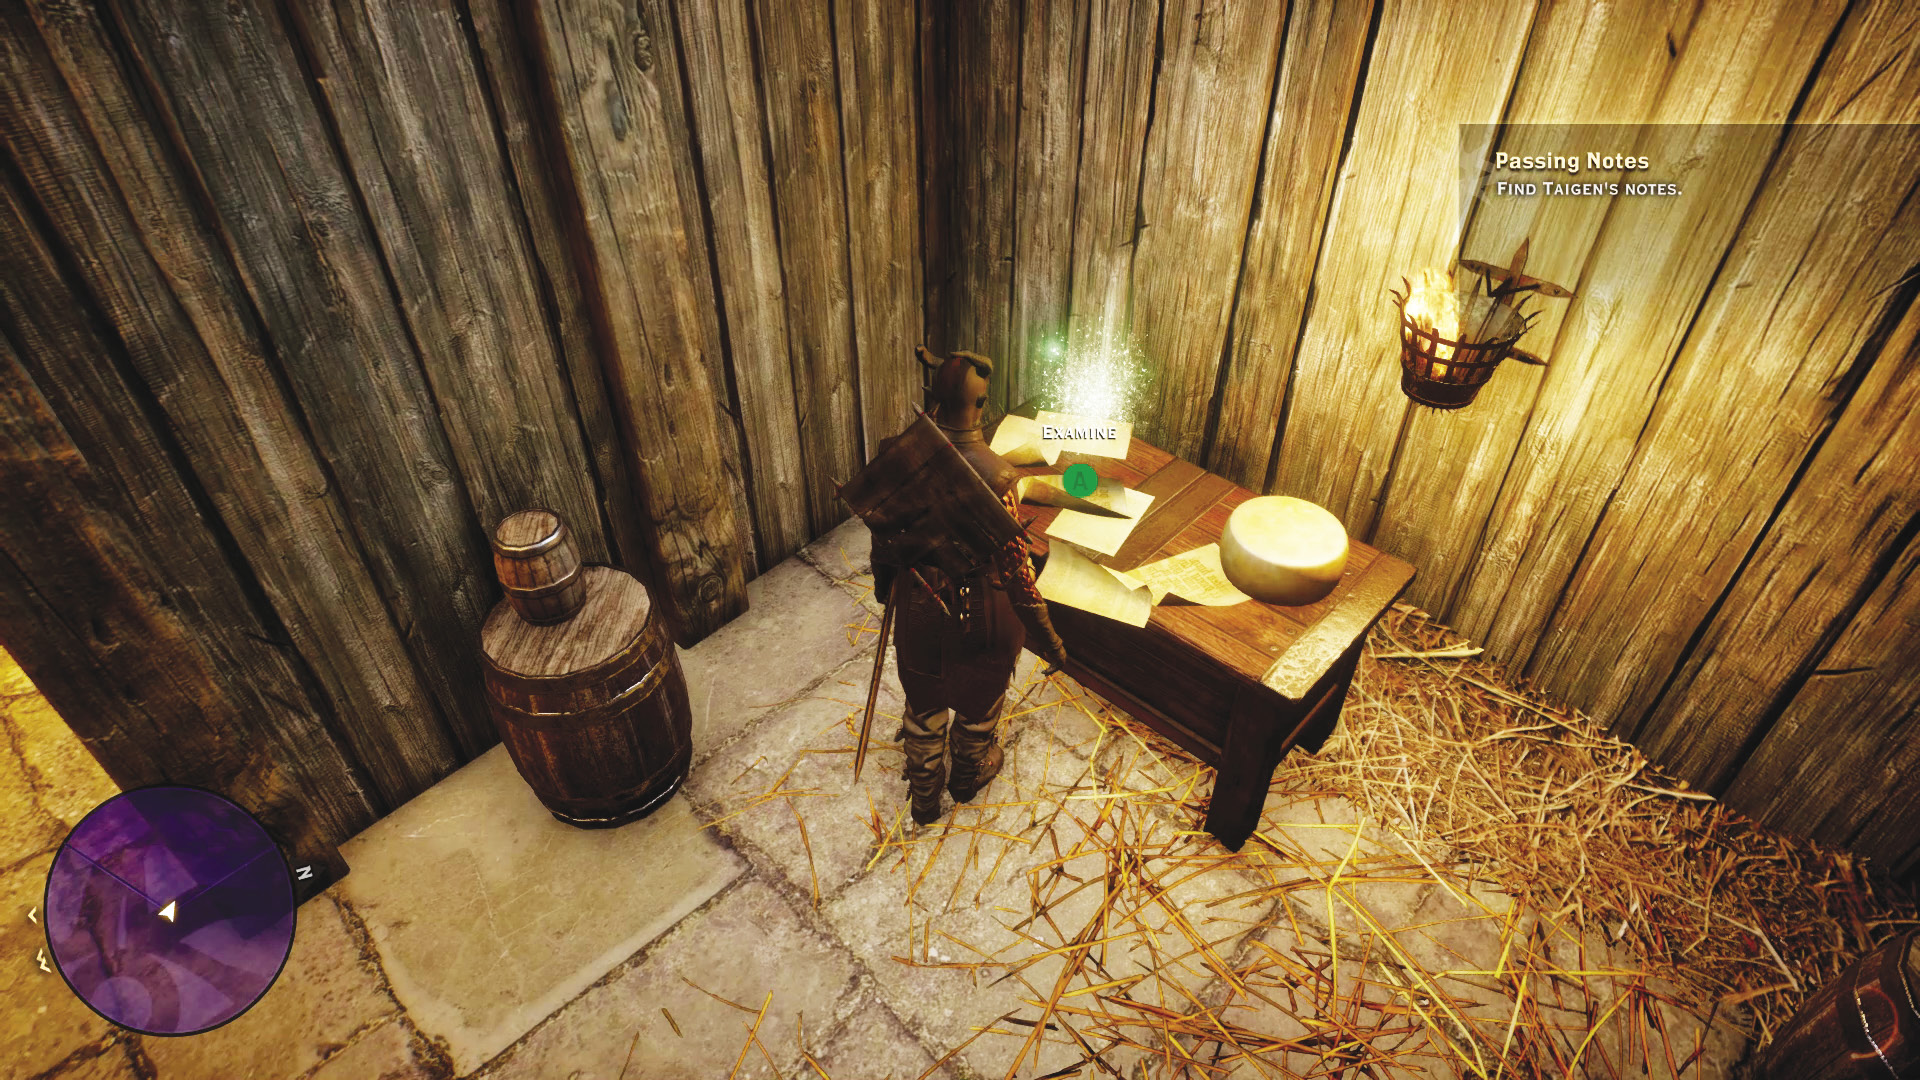
This quest is available after choosing the “Need any help?” conversation option while speaking to Adan—you can do this while completing the Haven’s Best and Brightest quest. Adan needs some help finding Master Taigen’s notes. Apparently Taigen was working on something special before he died at the Conclave. After speaking with Adan and selecting the quest, go to the purple mark on the quest map. As you near this area, a pulsing blue ring appears around the compass, indicating the presence of a hidden object. Press the button/key shown on-screen to begin searching. Once you initiate a search, a gold ring-like radius emanates from your character’s feet. But the ring isn’t uniform—it glows brighter along one edge, indicating the direction of the hidden object. Continue searching, using this indicator to move closer and closer to the hidden object. When you initiate a search next to the object, it finally appears on the ground, allowing you to retrieve it. Take Taigen’s notes to Adan. In return he gives you access to a new potion recipe. You can now complete the Mixing Potions quest.
 Mixing Potions

Quest Giver: Adan in Haven
Description: A recovered recipe can be used to mix a potion at a loadout station. There, the potion can also be equipped or replenished. Potion loadout stations are found in the Inquisition’s base of operations or at any claimed camp.
Requirements: Available after completing Passing Notes
Reward: 44 XP, 40 Influence
Recommended Level: 2
Objectives:
 Visit a potion loadout station.
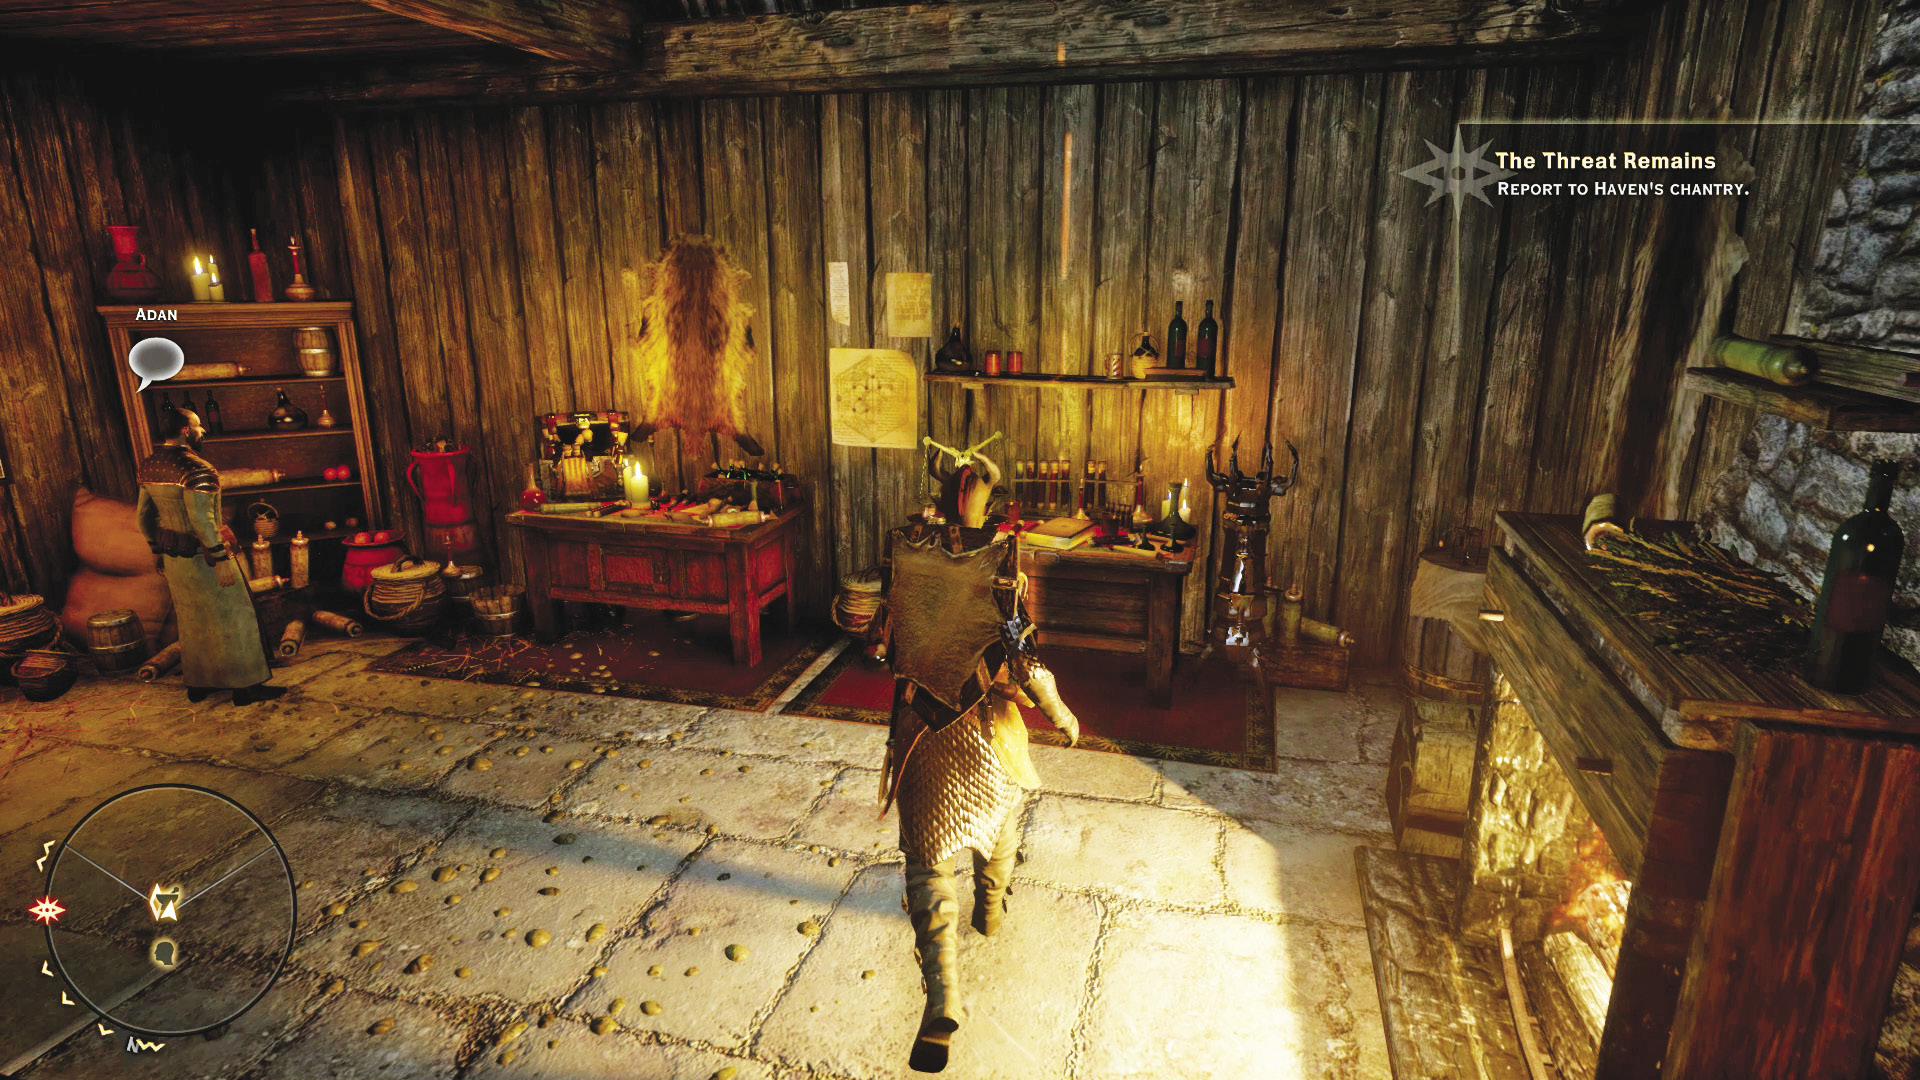
Immediately after completing the Passing Notes quest, interact with the Equip Potions table next to Adan. This gives you access to your Potion Belt menu. Here you can assign or replenish potions for different party members. Healing potions, at the top of the radial, are replenished for free automatically. But all other potions require herbs to replenish them. Select the empty potion slot on the radial and assign the regeneration potion to it. It requires one elfroot to create each regeneration potion—replenish this potion to craft it from existing elfroot. If you don’t have any elfroot, it can be acquired outside of Haven—it’s by far the most common herb in the game and easy to find in multiple locales. Exit the Potion Belt menu to complete the quest.
 Know Thy Enemy

Quest Giver: N/A
Description: Some items recovered in battle may later be worth studying.
Requirements: Available after scouting the Hinterlands
Reward: 44 XP, 40 Influence
Recommended Level: 2
Objectives:
 Give Minaeve an item to research.
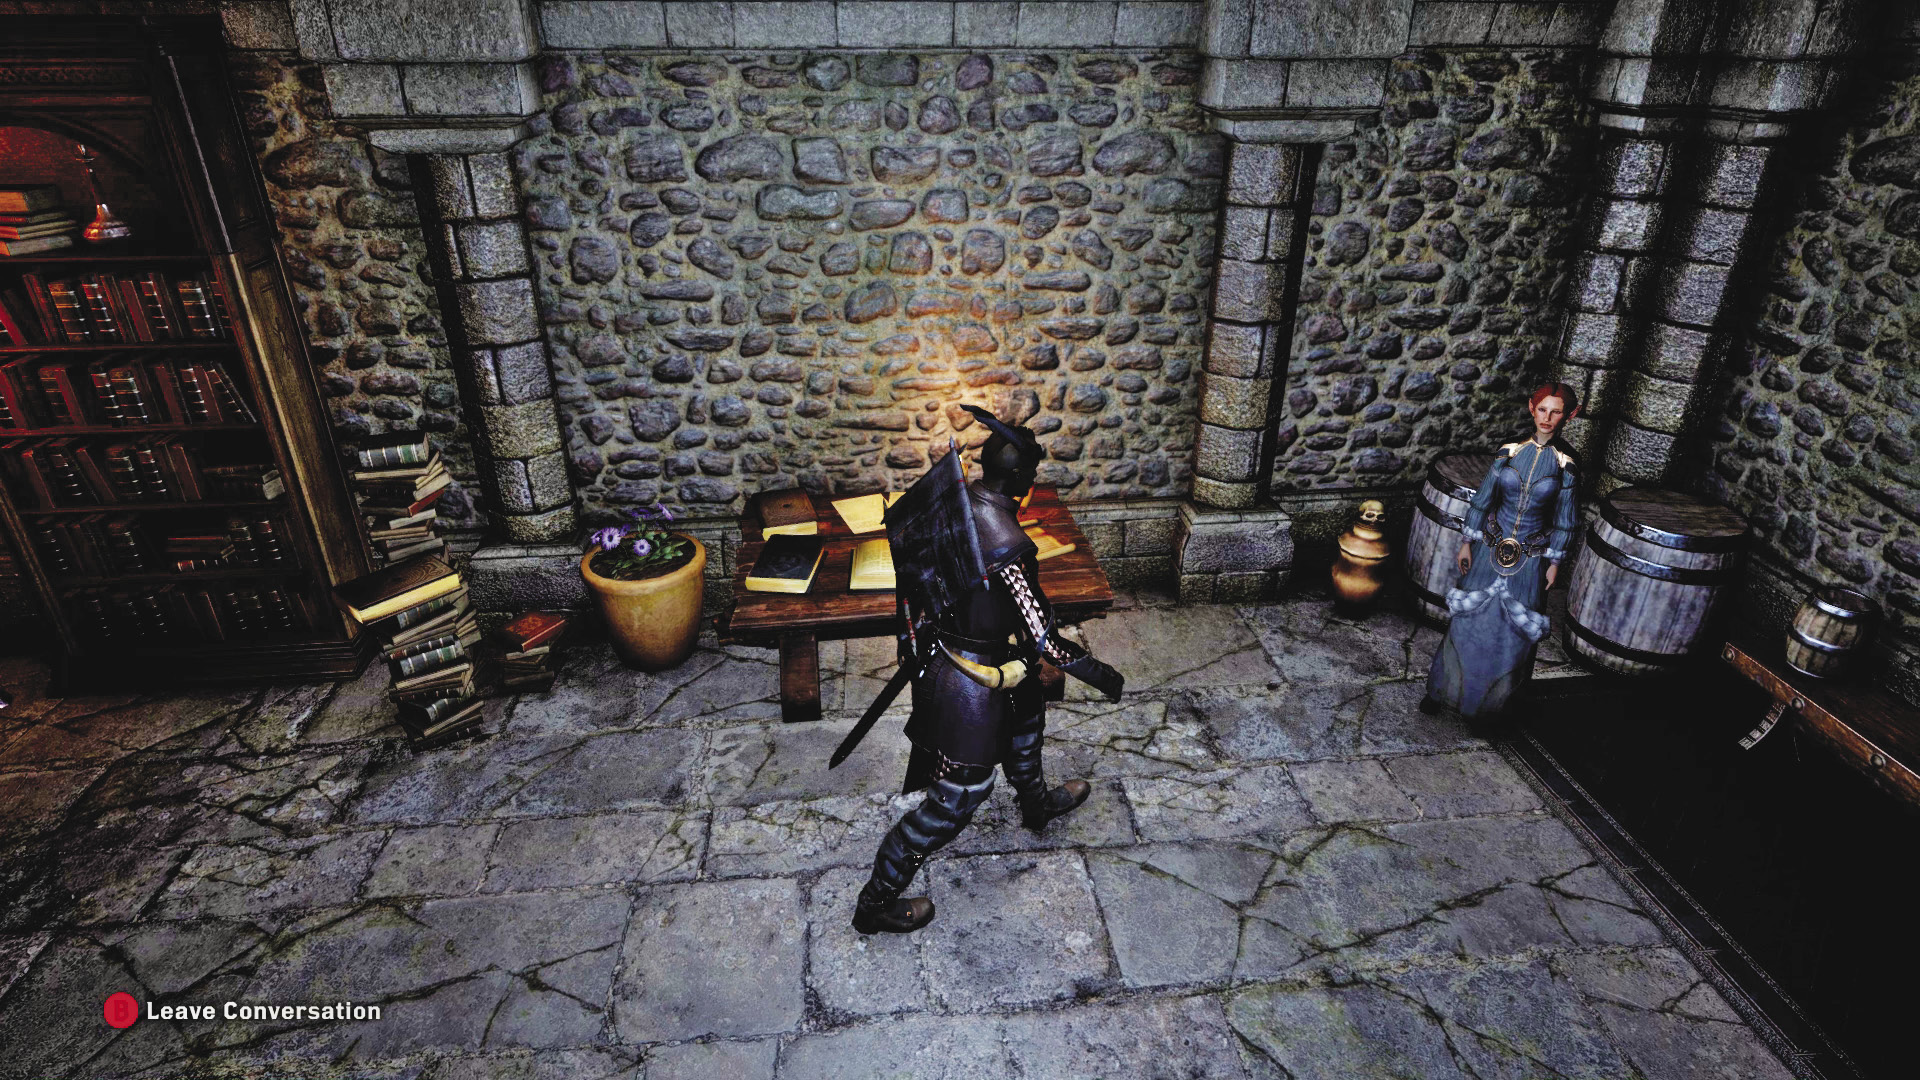
Minaeve is the Inquisition’s researcher. You’ll find her in Josephine’s chamber within the chantry. Interact with the table next to Minaeve to deposit a research item. Research items can be looted from some fallen enemies following a battle. If you didn’t retrieve any research items during your advance to the Temple of Sacred Ashes, you’ll need to come back later and complete this quest.
 Requisition for Weapons
Quest Giver: Threnn in Haven
Description: With the right materials found, weapons for the Inquisition can be requisitioned through the quartermaster.
Requirements: Available after scouting the Hinterlands
Reward: 1 Power
Recommended Level: 2
Objectives:
 Locate weapon materials (five iron deposits and one logging stand).
 Fill the requisition.
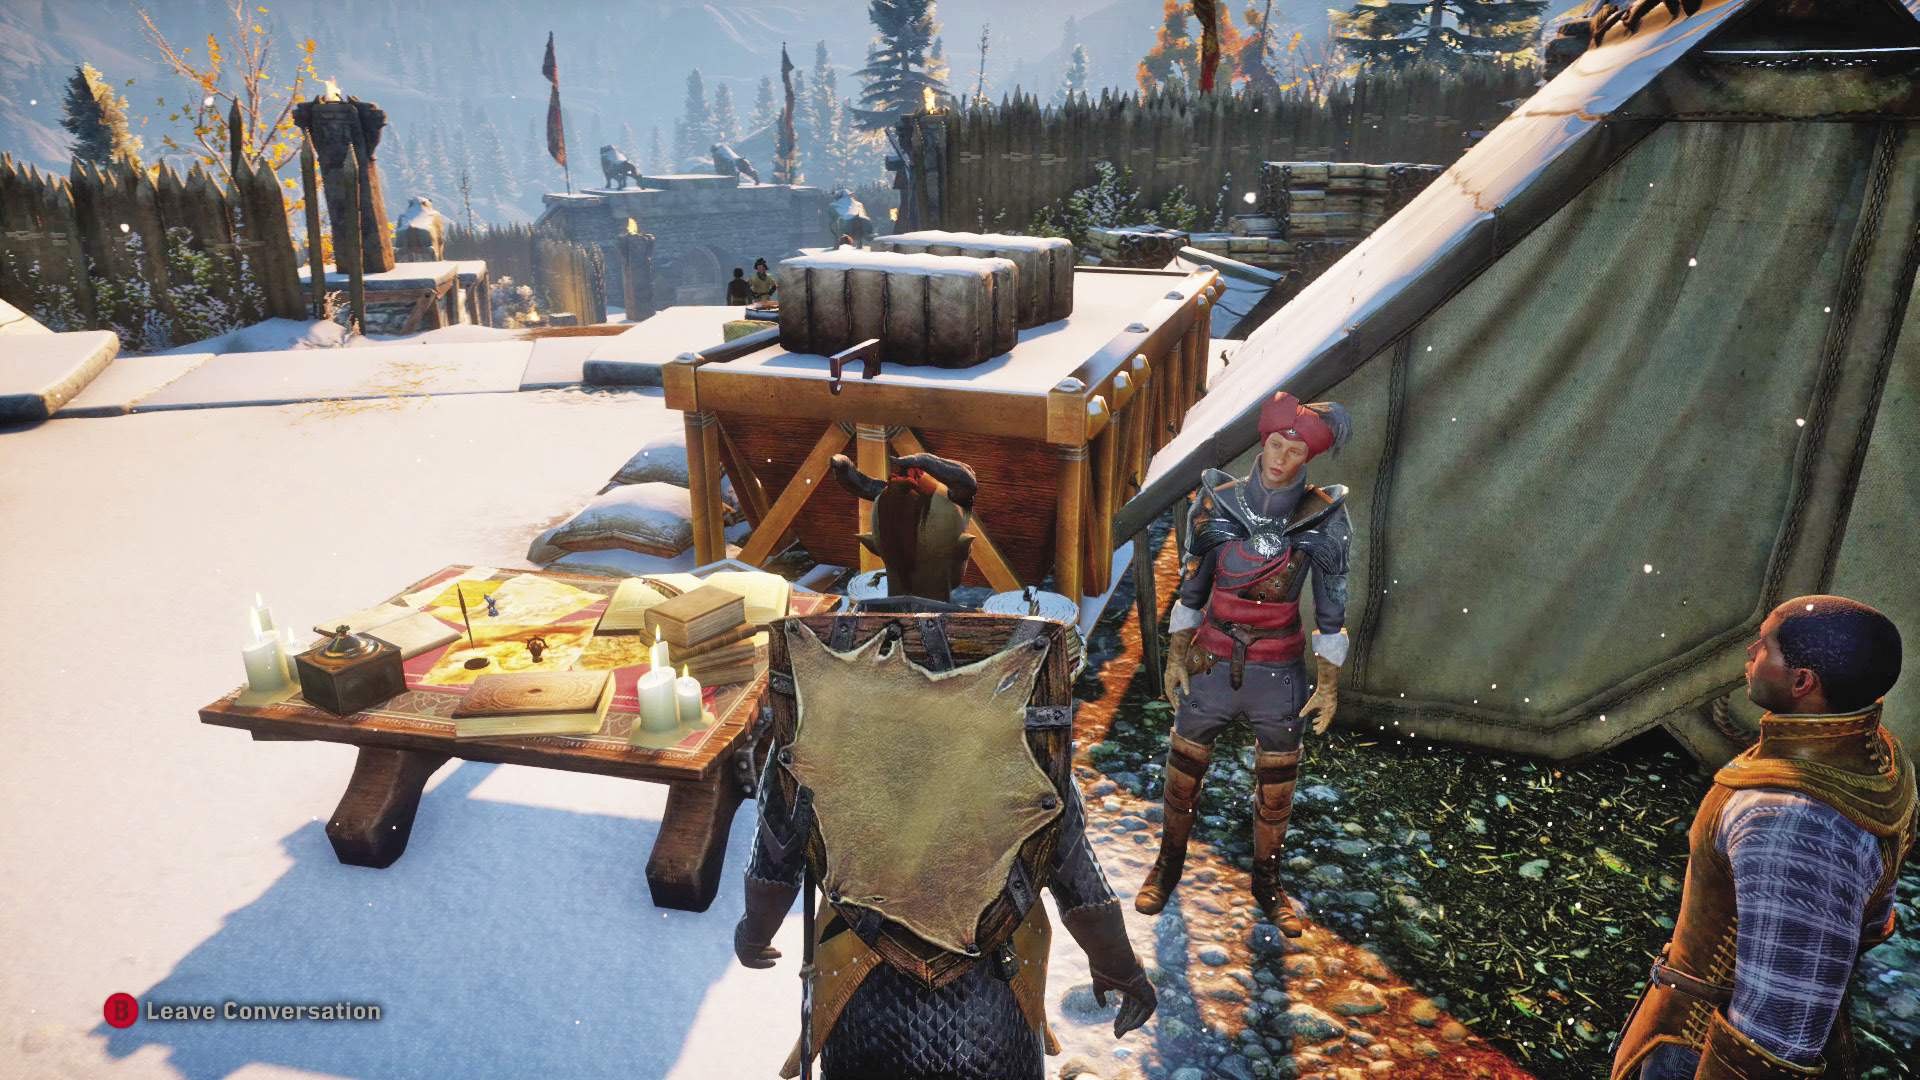
After you speak to Threnn during Haven’s Best and Brightest, this quest is automatically added to your list. As the quartermaster, Threnn is responsible for supplying the Inquisition with the materials necessary to outfit soldiers. Right now, she needs iron and wood, acquired from a logging stand. Exit Haven and head north, searching along the eastern banks of the frozen lake. Deposits of iron can be retrieved from the large boulders here—conduct a search to make nearby iron deposits glow. From the lake, head east, into the forest, to locate three piles of wood—this will make a fine spot for a logging stand. Interact with the spot amidst these piles of wood to plant a flag, claiming the logging stand for the Inquisition.
Once you’ve found five iron deposits and claimed the logging stand, return to the Requisition table back in Haven. Interact with the table to fill the requisition for weapons. This functions similarly to crafting weapons or armor, utilizing a schematic. Select the Requisition Weapons schematic, then assign the iron and logging stand to the proper slots to complete the requisition. Requisitions are common in all locales, requiring you to find a variety of materials. Completing a requisition grants the Inquisition one power, which can be spent on the war table.