
Dragon Age Inquisition Guide The Inquisitors Path In Hushed Whispers
Redcliffe Castle
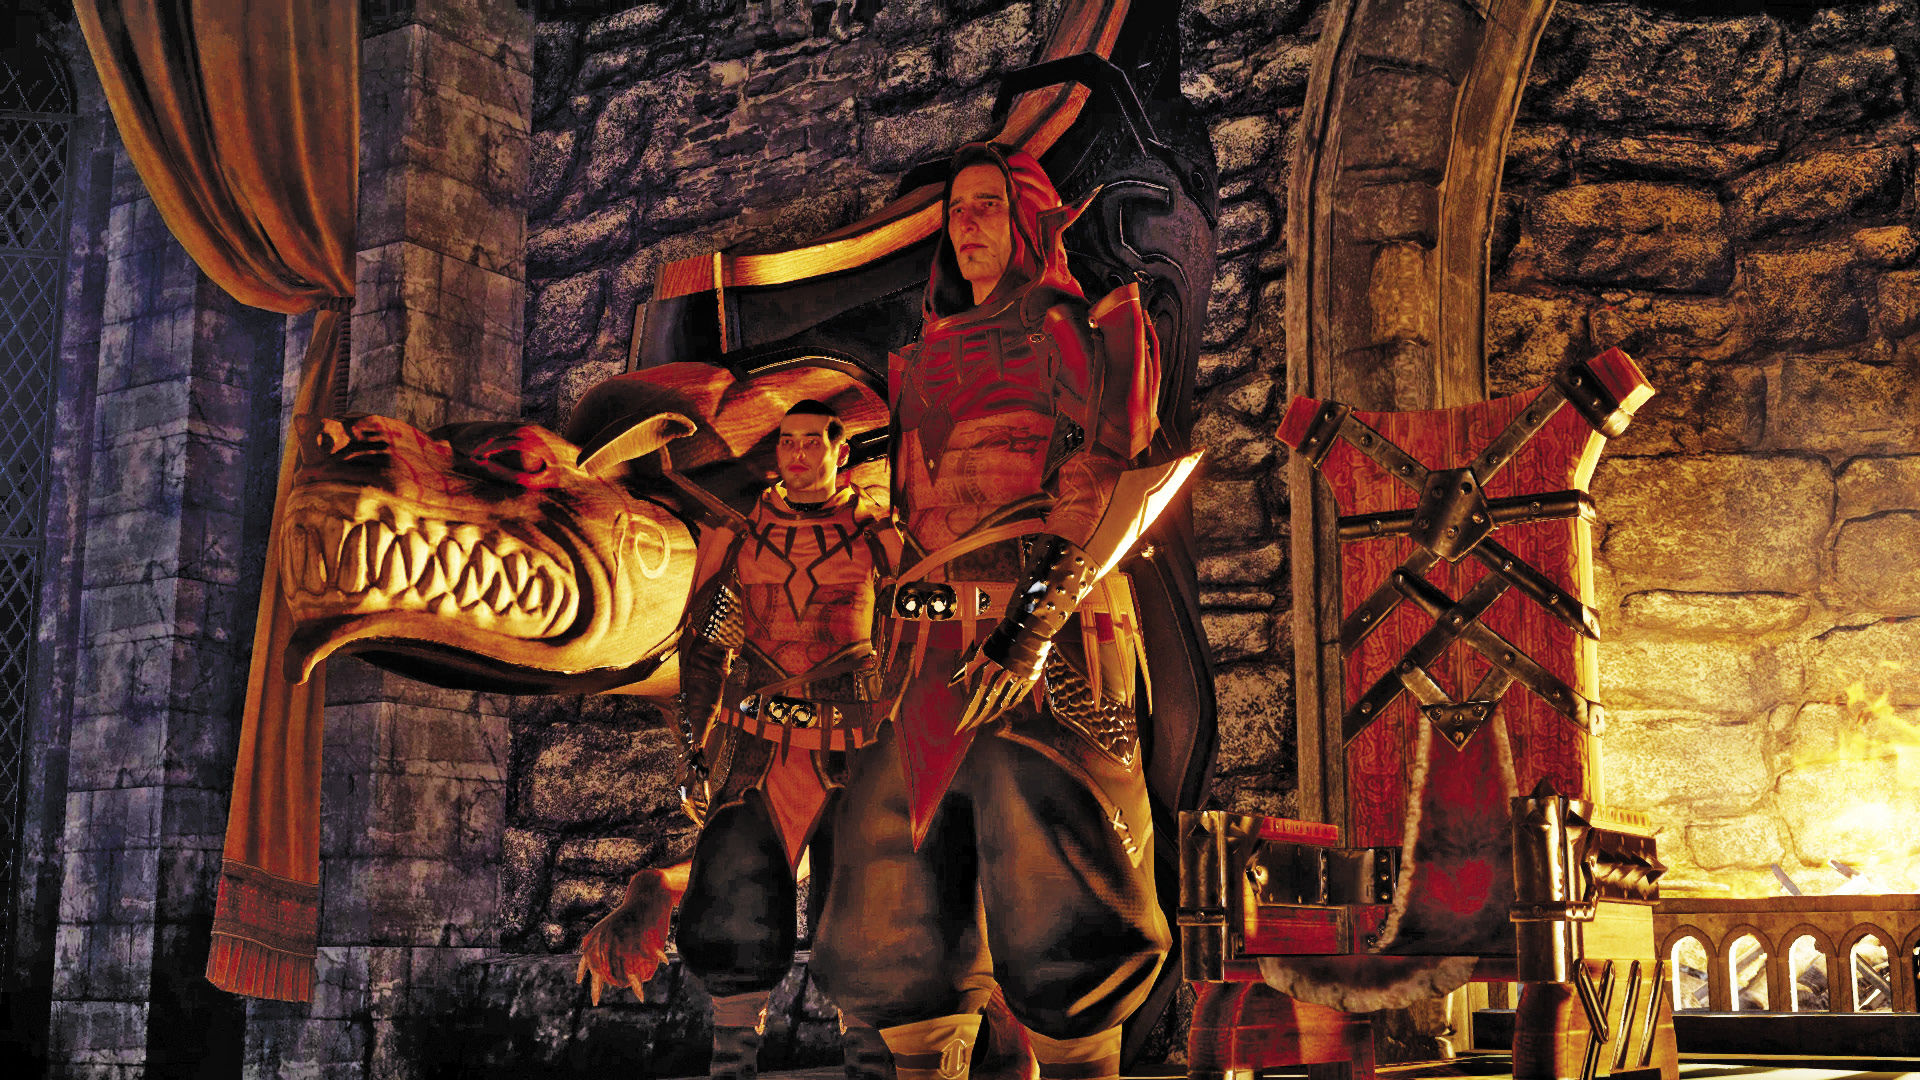
When you arrive at Redcliffe Castle, Dorian sneaks around in the shadows while you meet with Alexius. But instead of negotiating with Alexius, let him know that his trap has been exposed. Alexius denies nothing. Instead, he rambles on about the mark on your hand. Felix and Dorian join the intervention, trying to convince Alexius to stand down. But Alexius continues his diatribe, stating that he serves a mysterious figure called the Elder One. When Alexius realizes his guards have been eliminated by Leliana’s agents, he uses an amulet to open a rift.
Redcliffe Castle
Dungeon
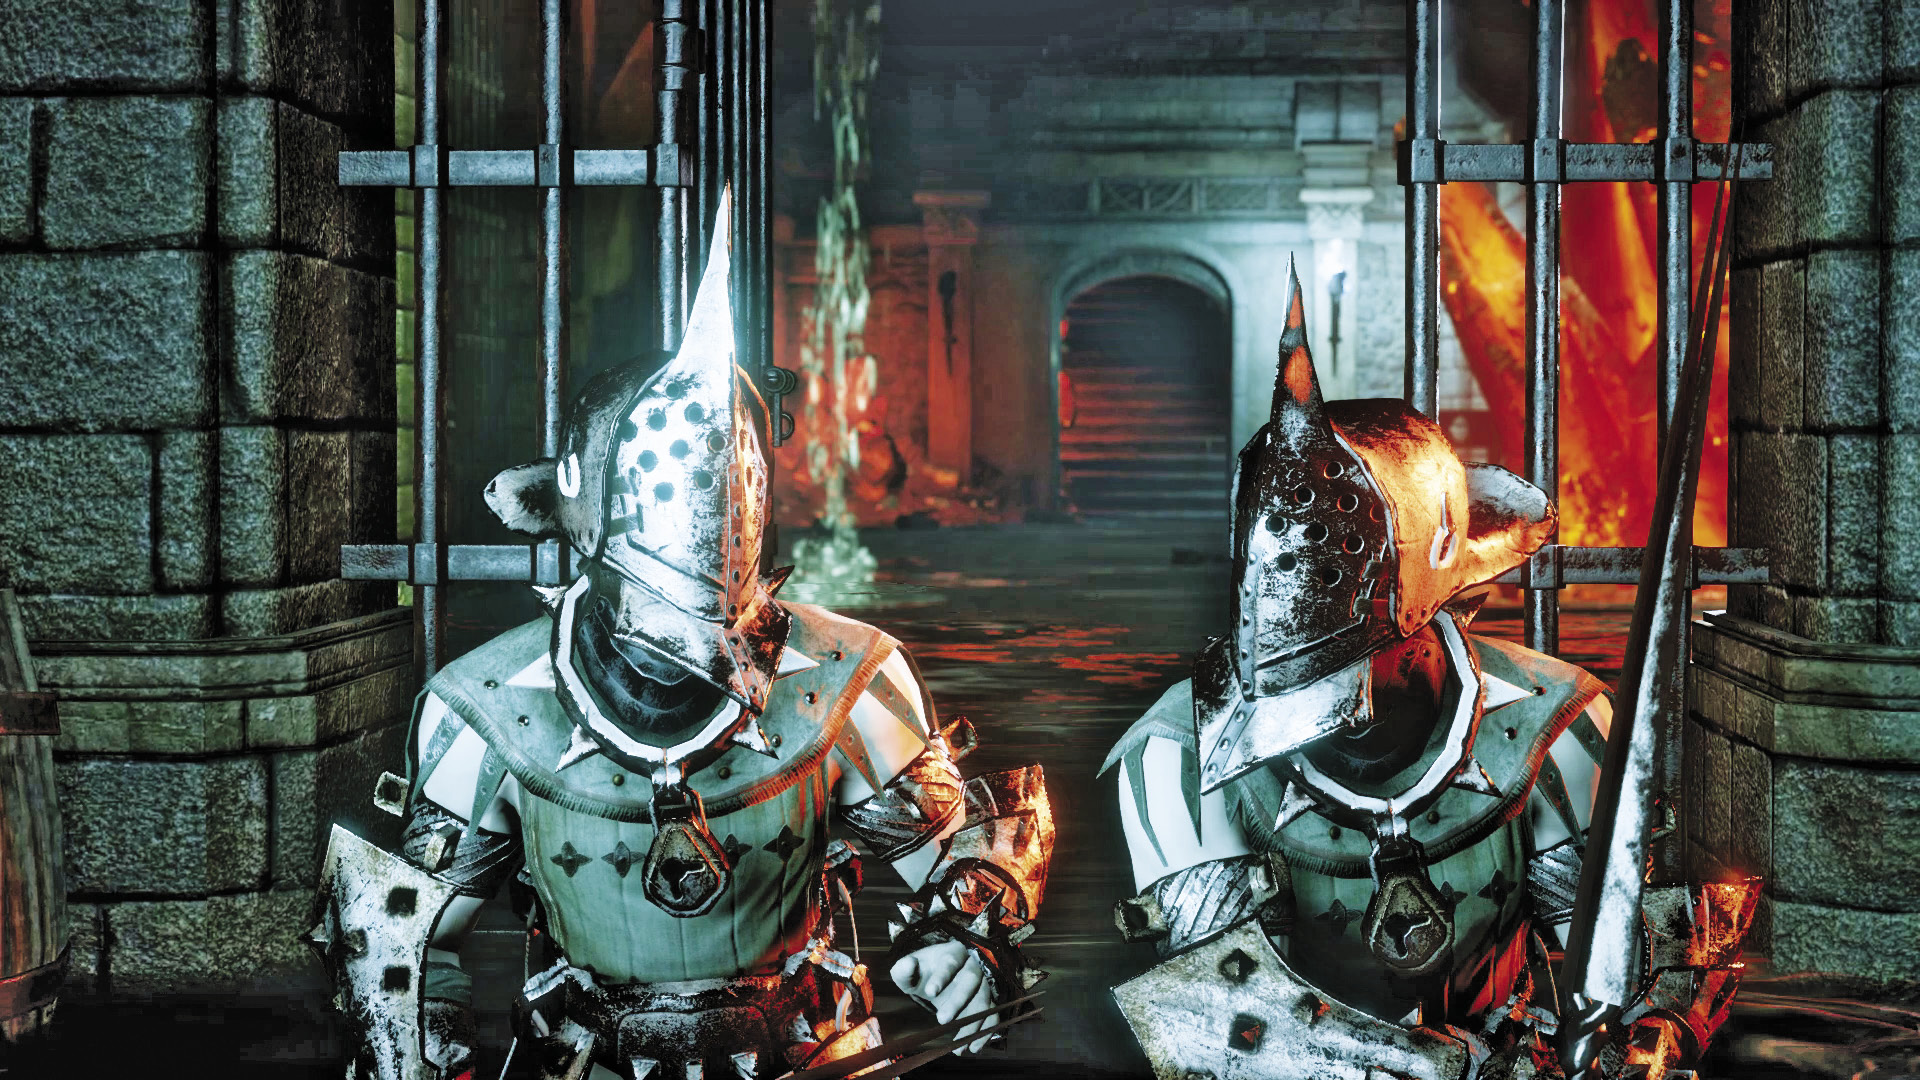
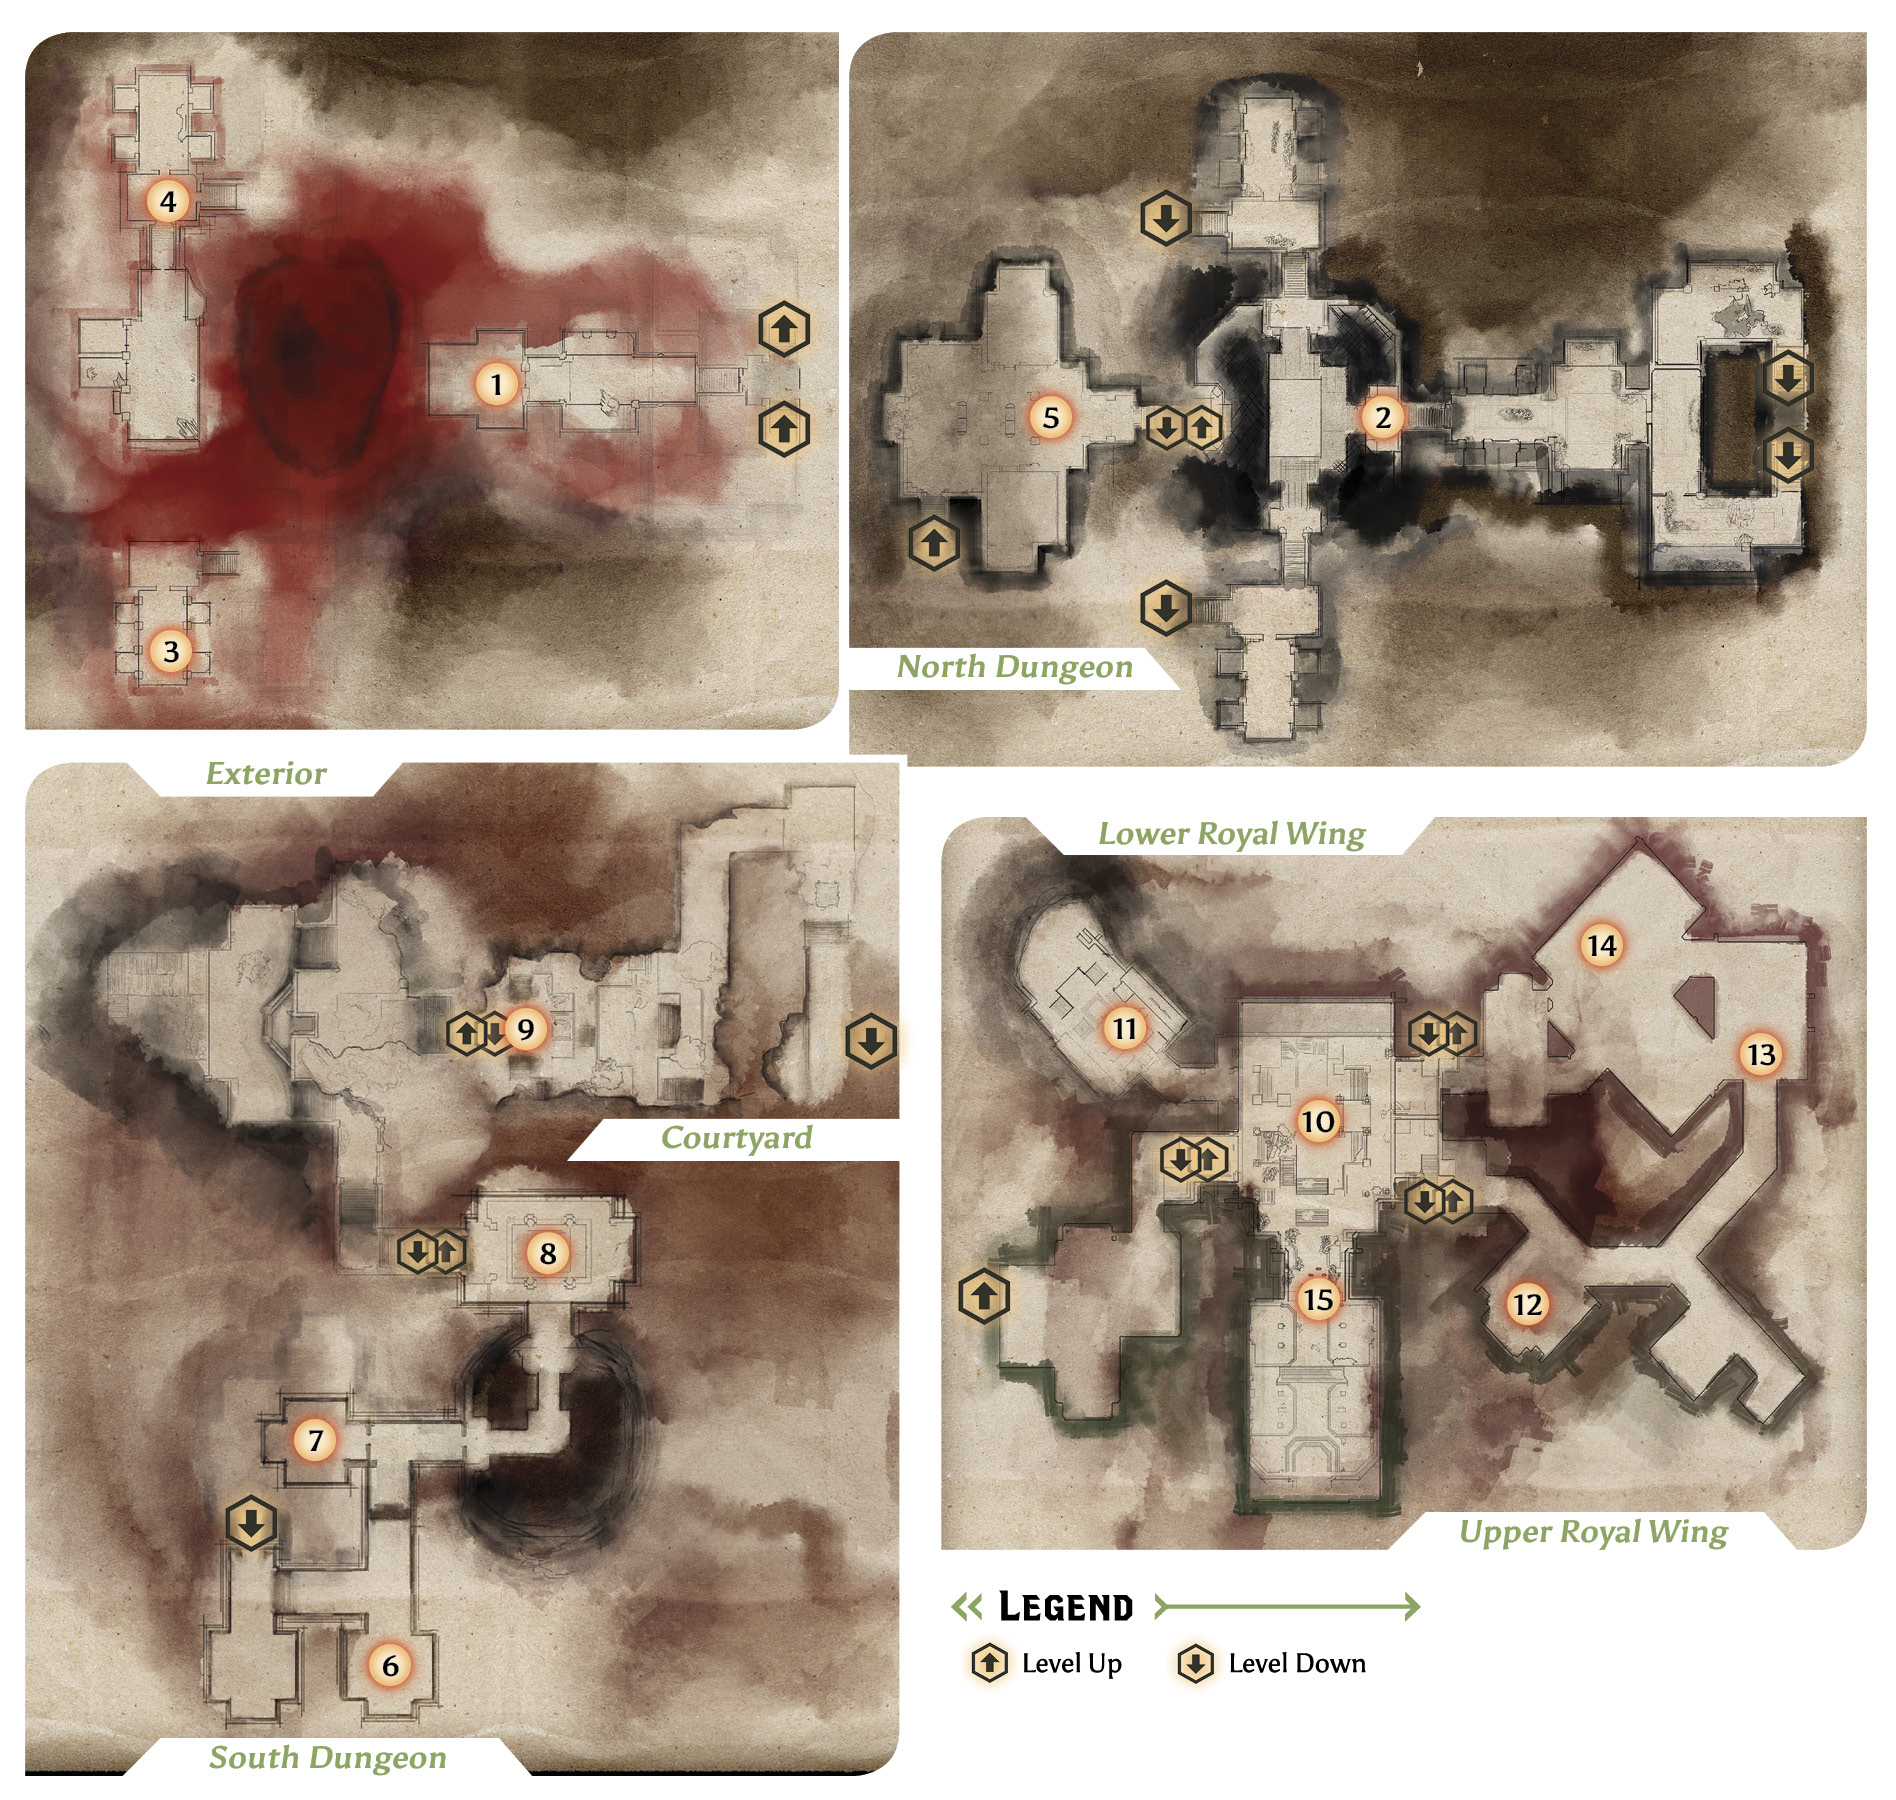
1. Suddenly, you and Dorian find yourselves in a flooded dungeon beneath the castle. But you don’t have time to talk—surprised by your appearance, two Venatori zealots attack you. Eliminate the enemies, then resume your conversation. Dorian theorizes that Alexius’s spell has moved you through time—he knows where you are but not when you are. Explore the lower cells and upper cells of this wing, looting chests along the way. There seems to be a disturbing amount of red lyrium growing out of the castle’s walls.
2. Make your way to the junction linking the three cell blocks. Here you’re confronted by two more Venatori zealots—try to knock them off the platform for easy kills. But be careful to mind your own step during this battle, too.

3. After eliminating the enemies at the junction, pass through the door to the south to enter the southern cell block. Search the individual rooms in the upper and lower cells for loot. One room in the lower cells features a particularly large growth of red lyrium. Search the cell in the southeast corner to find Grand Enchanter Fiona, partially encased in red lyrium. Fiona can’t be saved, but she’s coherent enough to reveal that a full year has passed since you confronted Alexius. Dorian feels he can restore time if he can gain access to Alexius’s amulet. Fiona says that Leliana is being held somewhere in the castle. She suggests finding her before the Elder One knows you’re here. After talking to Fiona, backtrack to the junction.

4. Before you can find Leliana, you need to find the rest of your party. At the junction pass through the door to the north to enter the northern cell block. Proceed to the lower cells and search for your party members. There are seven possible cells where your party members may reside. Reference the map to locate which cell your party members are in. Regardless of who you brought along, their fate is only mildly better than Fiona’s. Languishing in their cell for a year has left them infected with red lyrium. However, they still have the strength to help you confront Alexius.
5. Return to the junction and engage more enemies, including a couple of Venatori marksmen and a Venatori spellbinder. With your party restored, this battle shouldn’t be a problem. As before, look for opportunities to knock the enemies off the platform. When the path is clear, cross the bridge to the west and proceed up the stairs to enter the guard barracks. There’s plenty of loot here. Take your time to clean out the area, then proceed to the torture chambers.
Torture Chambers
6. In this chamber, a pair of Venatori zealots and a powerful Venatori spellbinder, named Hanley, stand over the body of Mother Giselle. It’s not necessary to enter this chamber or complete this fight, but defeating Hanley may yield some rare loot.
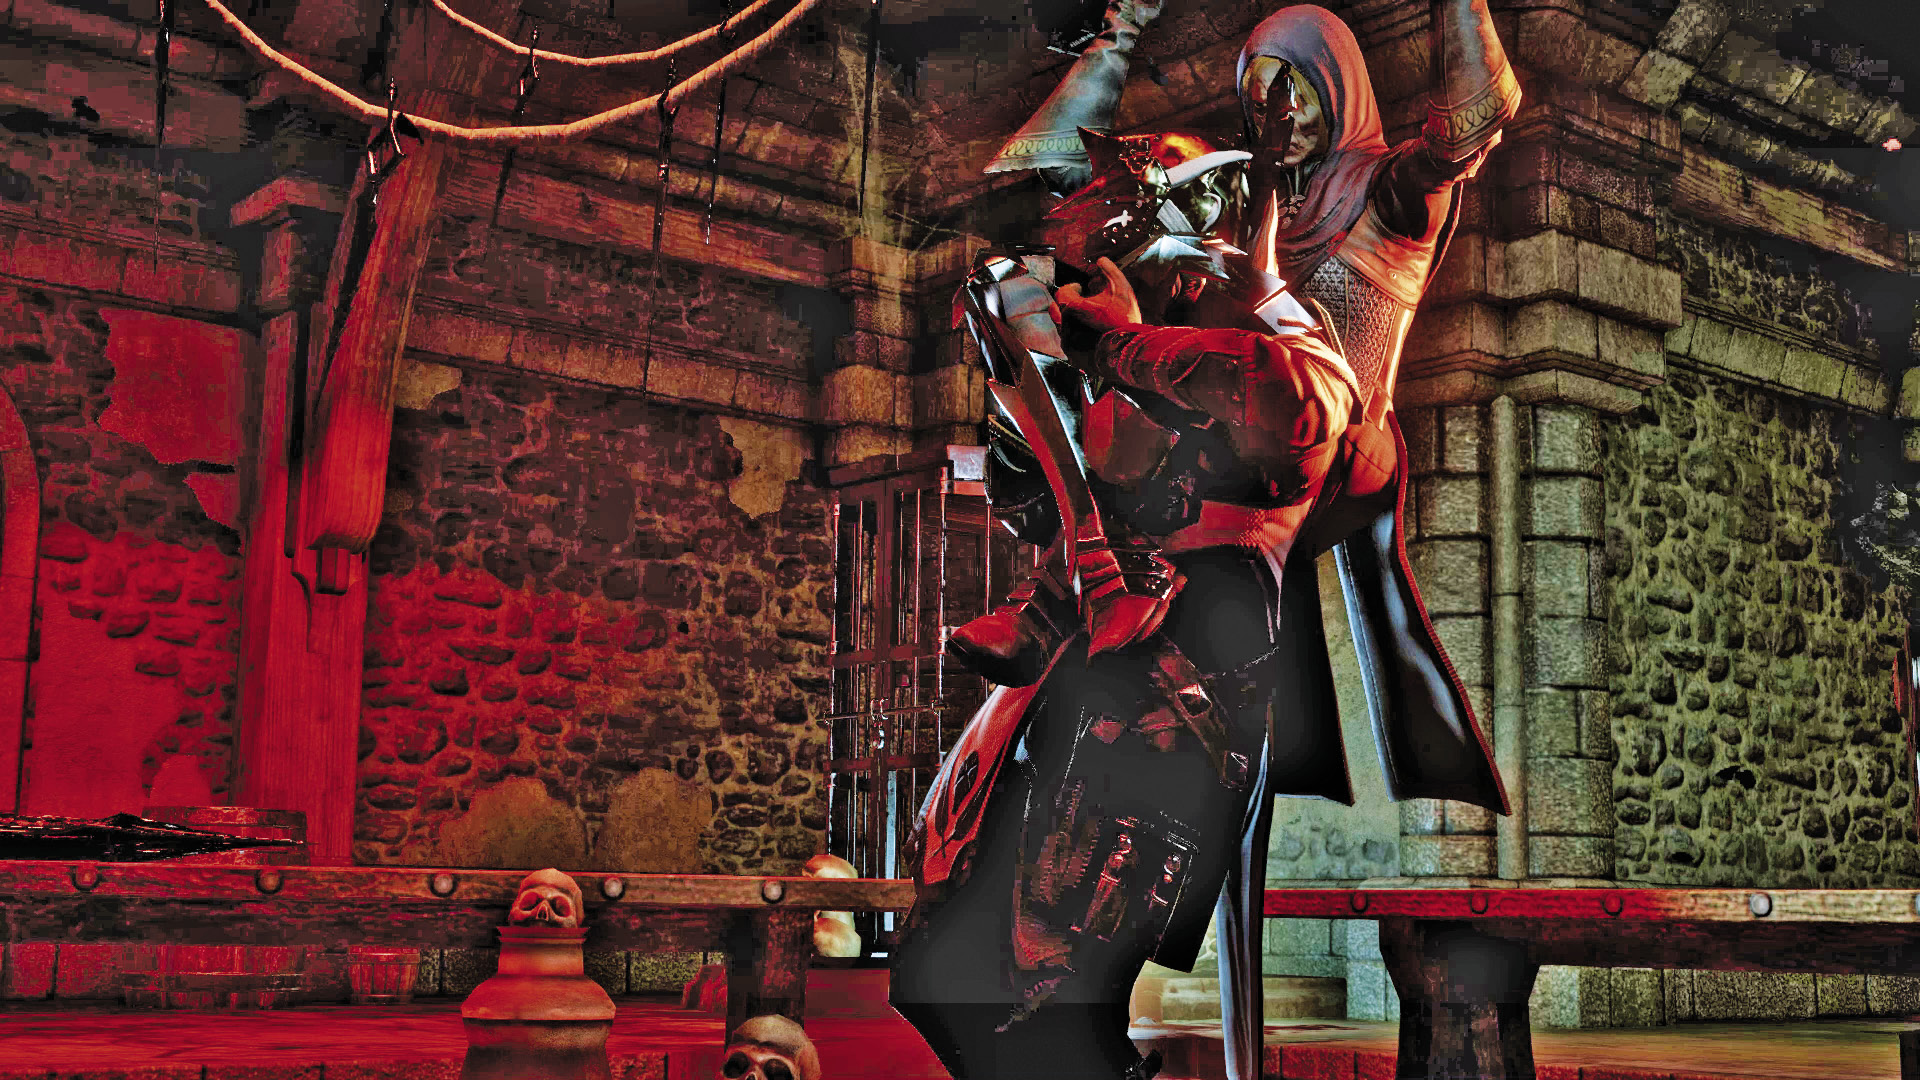
7. Leliana is being held in this chamber. As you enter, Leliana’s interrogator is distracted, giving her the opportunity to strangle the enemy with her legs. Dorian fills in Leliana on recent events, but she seems more interested in taking out her anger on Alexius. Grab the key on the table in the center of the room and then exit the chamber, heading east. At this point Leliana joins your party, but you cannot take direct control of her. Instead, she will follow and engage enemies on her own.
8. Here you encounter a Fade rift. Battle the shades, wraiths, and terrors, then close the rift—this is the first of several Fade rifts you’ll encounter during your approach to the throne room. After the battle, approach the iron gate to the west side of the room. Open the gate by interacting with the wheel to the left side. Once the gate is open, head upstairs to discover the docks—and prepare to confront more demons.
8. Two Fade rifts open in this courtyard. Take on one Fade rift at a time, focusing on the one to the west first. After closing both Fade rifts, head east to enter the castle’s royal wing.
Royal Wing
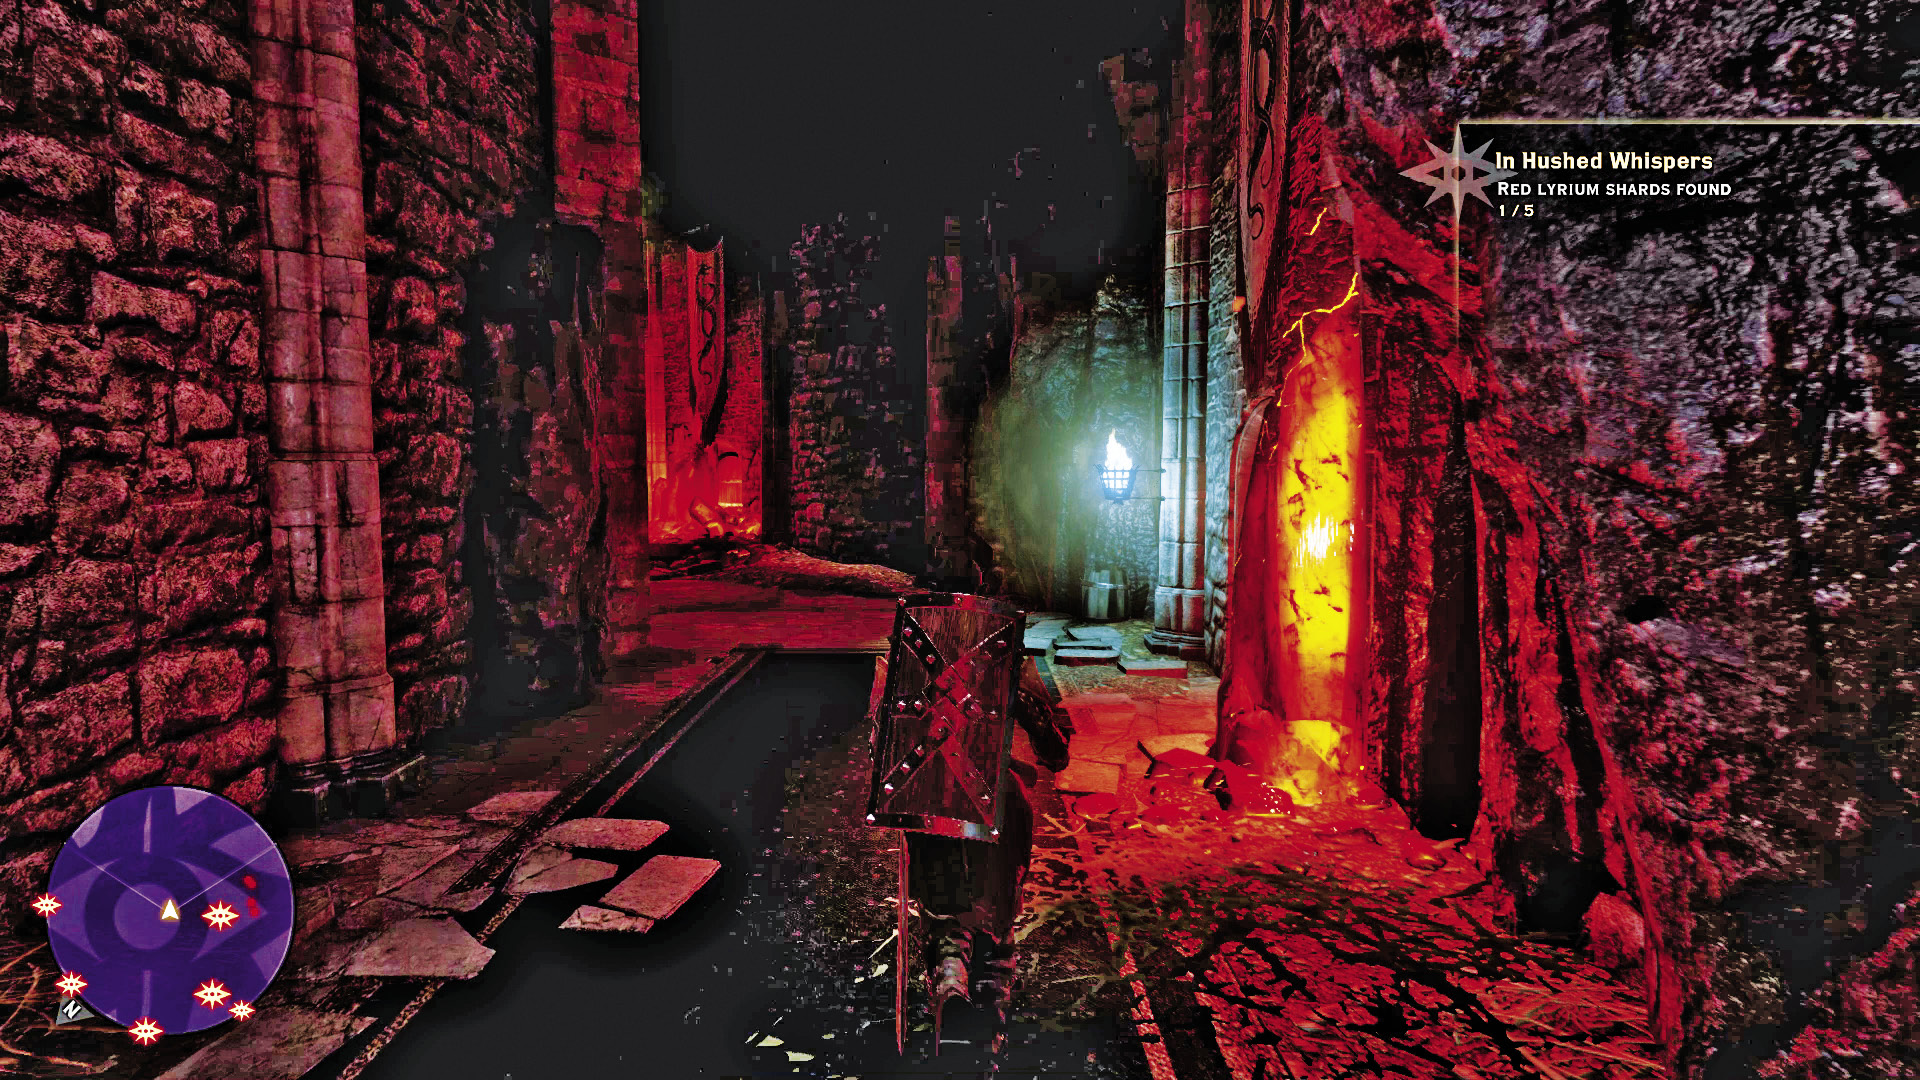
10. In this large room within the lower royal wing, you encounter more demons and a Fade rift. There are also several Venatori marksmen and spellbinders in this fight. Try to focus on the demons first, then engage the marksmen and spellbinders. After closing the rift, search the ground for loot. One of the creatures has dropped a red lyrium shard—you’ll need five of these shards to enter Alexius’s throne room. The remaining four red lyrium shards are scattered throughout the royal wing, each held by a Venatori spellbinder—reference the map for their locations. Collect all five shards and bring them back to this room.
11. This chapel-like room is occupied by more Venatori enemies, including two Venatori gladiators. The enemies are distracted when you enter, giving you the chance to strike first. Ignore the gladiators at the start of the battle and go after the spellbinder and marksmen. Once the ranged threat is eliminated, focus on the gladiators, working to score flanking strikes. When the battle is over, grab the loot where the spellbinder fell to obtain the second red lyrium shard. You’ll need to head back upstairs, to the upper royal wing, to obtain the remaining three shards.
12. When you first enter this room, in the upper royal wing, try to take out the Venatori spellbinder first. Next, utilize the staircases in this room as choke points when engaging the numerous Venatori zealots. Block staircases with your warriors or wall spells and then use area-of-effect attacks to inflict heavy damage on the clusters of enemies. Following the battle, gather the loot from the spellbinder to obtain the third red lyrium shard.
13. Climb the ladder to the east of the dining room’s entrance to gain a height advantage—your ranged party members are very effective when attacking from this wooden scaffolding while your melee fighters stay on the ground. Take out the spellbinder and marksmen first, then mop up the zealots to finish the battle. The fourth red lyrium shard is left behind by the Venatori spellbinder.
14. This small room is occupied by a single Venatori spellbinder. Make quick work of him, then retrieve the fifth and final red lyrium shard from his remains. The eastern and western walls of this room are weak—use a warrior to bash through them. Alternatively, use a rogue to unlock the doors from the main hall.
15. Now that you have all five red lyrium shards you can access Alexius’s throne room. Interact with this door to enter.
Confronting Alexius

Alexius’s mood has changed considerably since your last encounter—he finally realizes the calamity his actions have caused. His son Felix cowers by his side, clearly afflicted with some sort of enchantment. But Leliana is in no mood to take pity, drawing a dagger and placing it to Felix’s throat. Alexius pleads for Felix’s life. But no matter what conversation option you choose, Leliana gets her revenge, killing Felix and initiating a battle with Alexius.
Alexius is likely the most durable foe you’ve faced thus far. He has no resistances or vulnerabilities, so any attacks and spells are effective. However, Alexius does have a lot of health, so it will take some time to defeat him. As a Tevinter mage, Alexius has the ability to teleport from one spot to another. As a result, ranged attacks are most effective—your melee fighters will need to constantly chase him down. When Alexius’s health drops below 50 percent, he opens a Fade rift, causing demons to spill out. During this sequence, Alexius cannot be attacked—he takes shelter behind an impenetrable barrier near the throne. Defeat the demons and close the rift to resume your battle with Alexius. A second Fade rift is opened when Alexius’s health drops to 25 percent—once again, defeat the demons and close the rift. After closing the second Fade rift, continue attacking Alexius until he’s down for good.
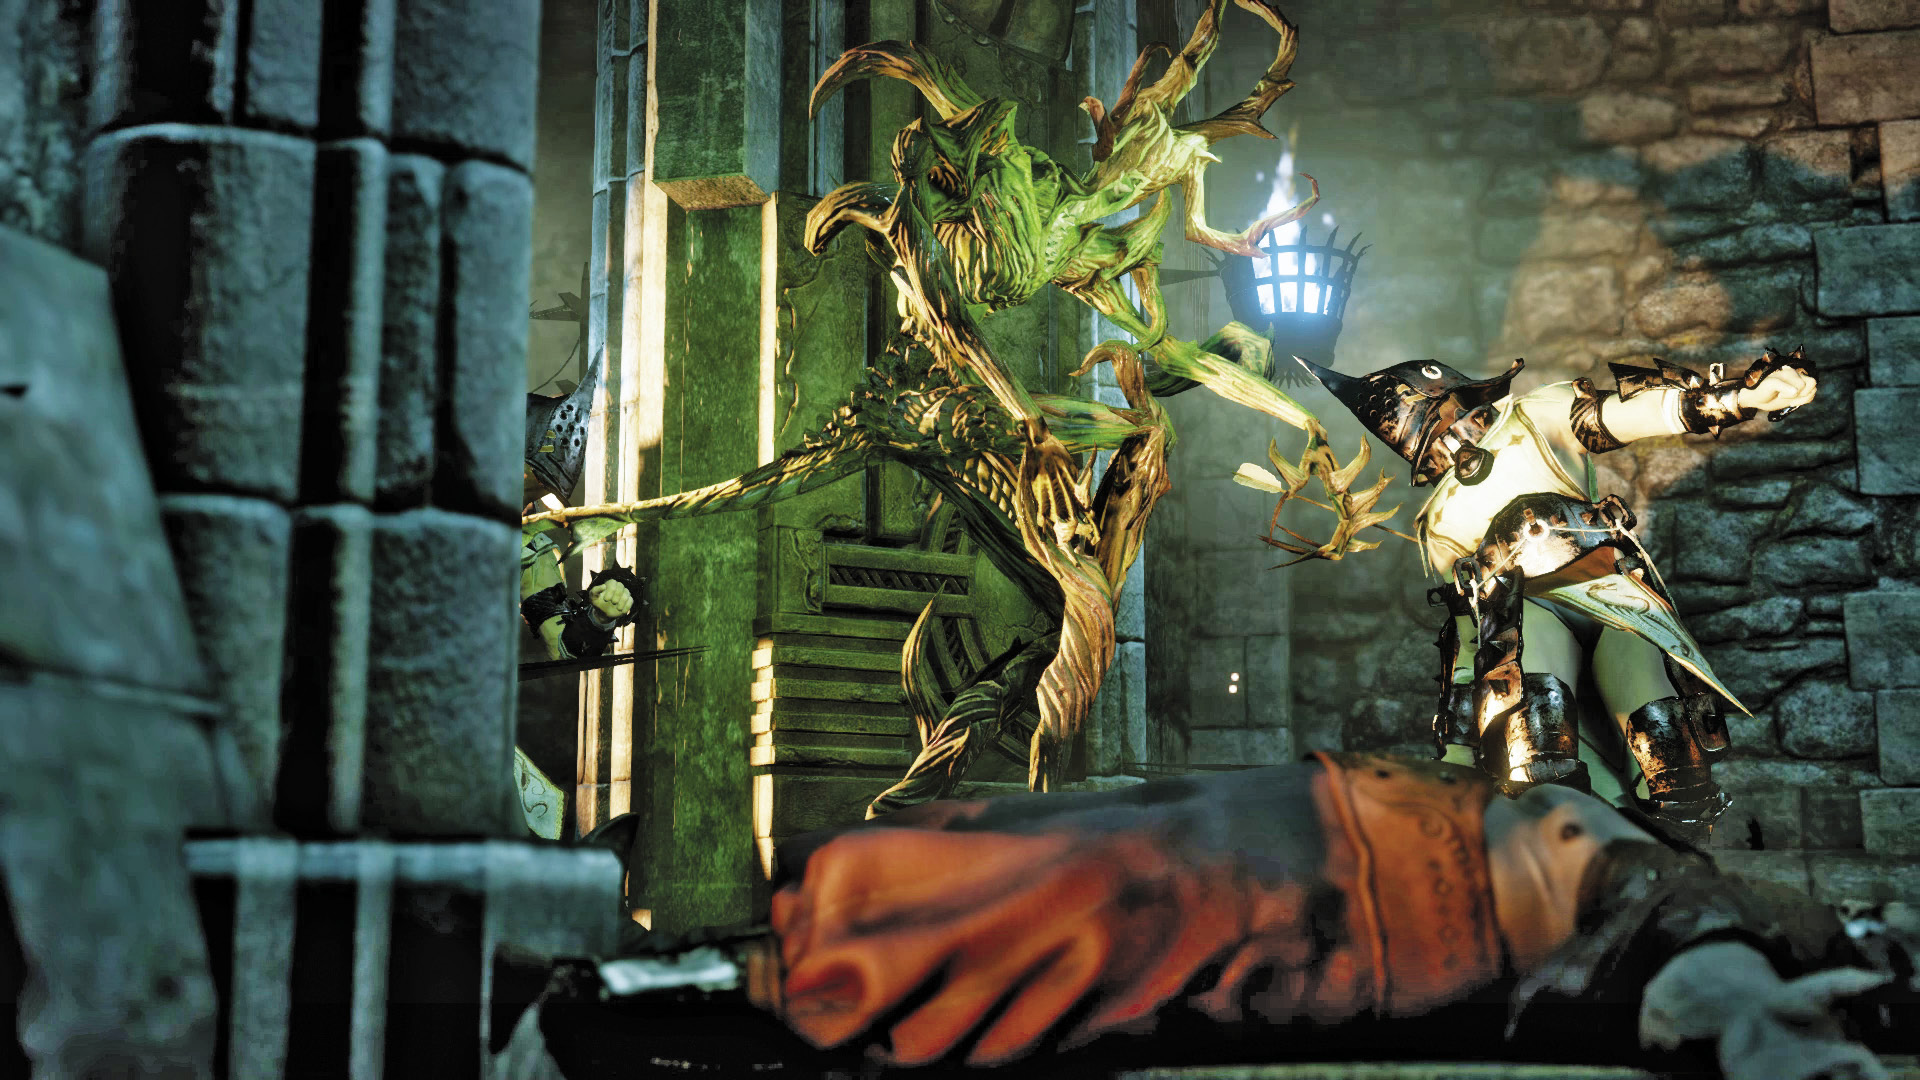
Dorian retrieves the amulet from Alexius’s body. But there isn’t much time to figure out how the amulet works—the Elder One is coming. Leliana and the two red lyrium–infected members of your party offer to stay back and serve as a deterrent while you and Dorian travel back through time. While Leliana and the others fight off the attackers, Dorian and the Inquisitor escape through a portal, taking them back to the present. Back in the present throne room, Alexius concedes and is taken prisoner by Inquisition troops. Depending on your imported world state, King Alistair or Queen Anora (or both) enter the throne room, ordering Fiona and her rebel mages to leave Ferelden. With nowhere to go, you have the chance to decide the fate of Fiona and her mages. Following the decision, you are automatically transported back to Haven.
Decision Point
You can either decide to take the mages as prisoners and conscript them or form an alliance with them. Like any major decision, this will affect your approval with various party members. |


 (if Hawke sided with templars in DA2)
 (if Hawke sided with
 (if Hawke sided with
 (if Hawke sided with templars)


