
Dragon Age Inquisition Guide The Inquisitors Path Here Lies the Abyss
The Fade
The Fade
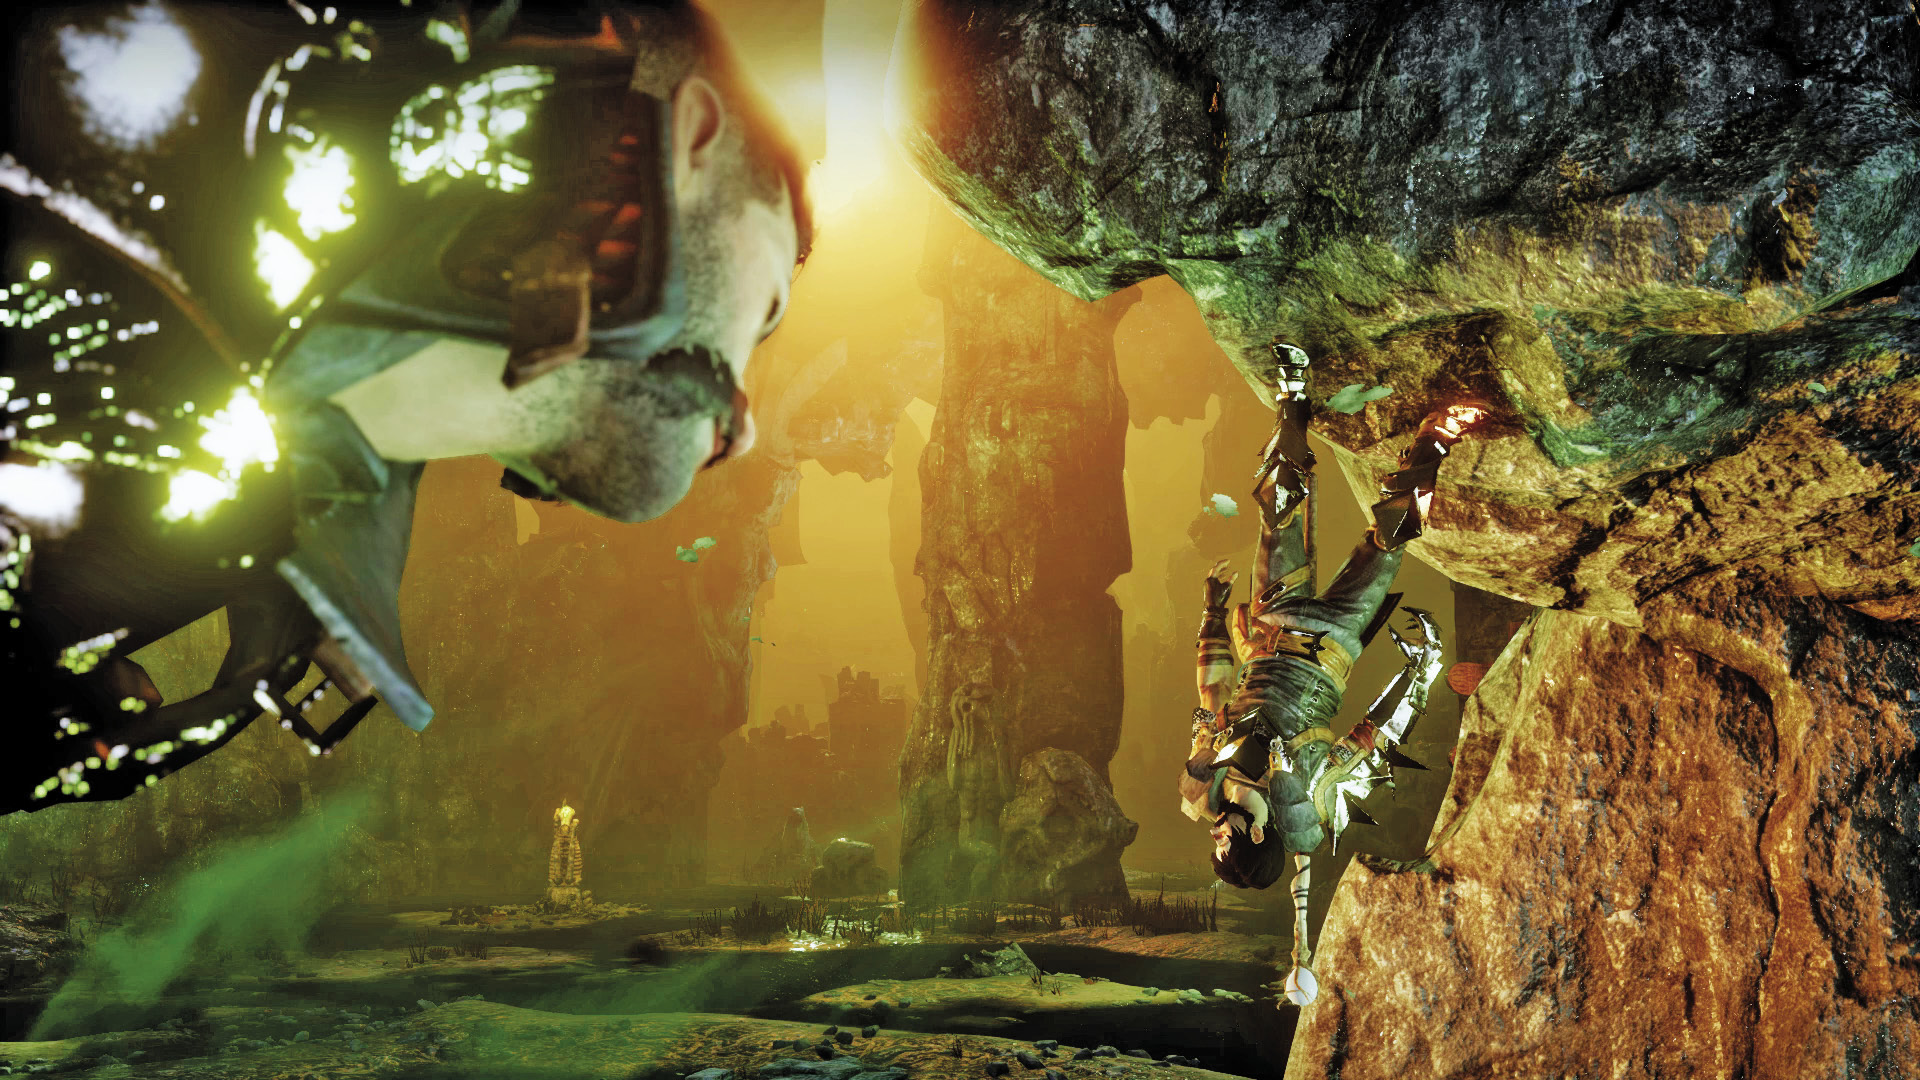
While you’ve managed to save yourself, Stroud, Hawke, and your party, you’re all now trapped in the surreal world of the Fade—you need to find a way out. On the plus side, you gain 150 influence and two power for your work at Adamant. There’s a supply cache just east of the starting position. Take this opportunity to replenish your party’s potions.
The Raw Fade
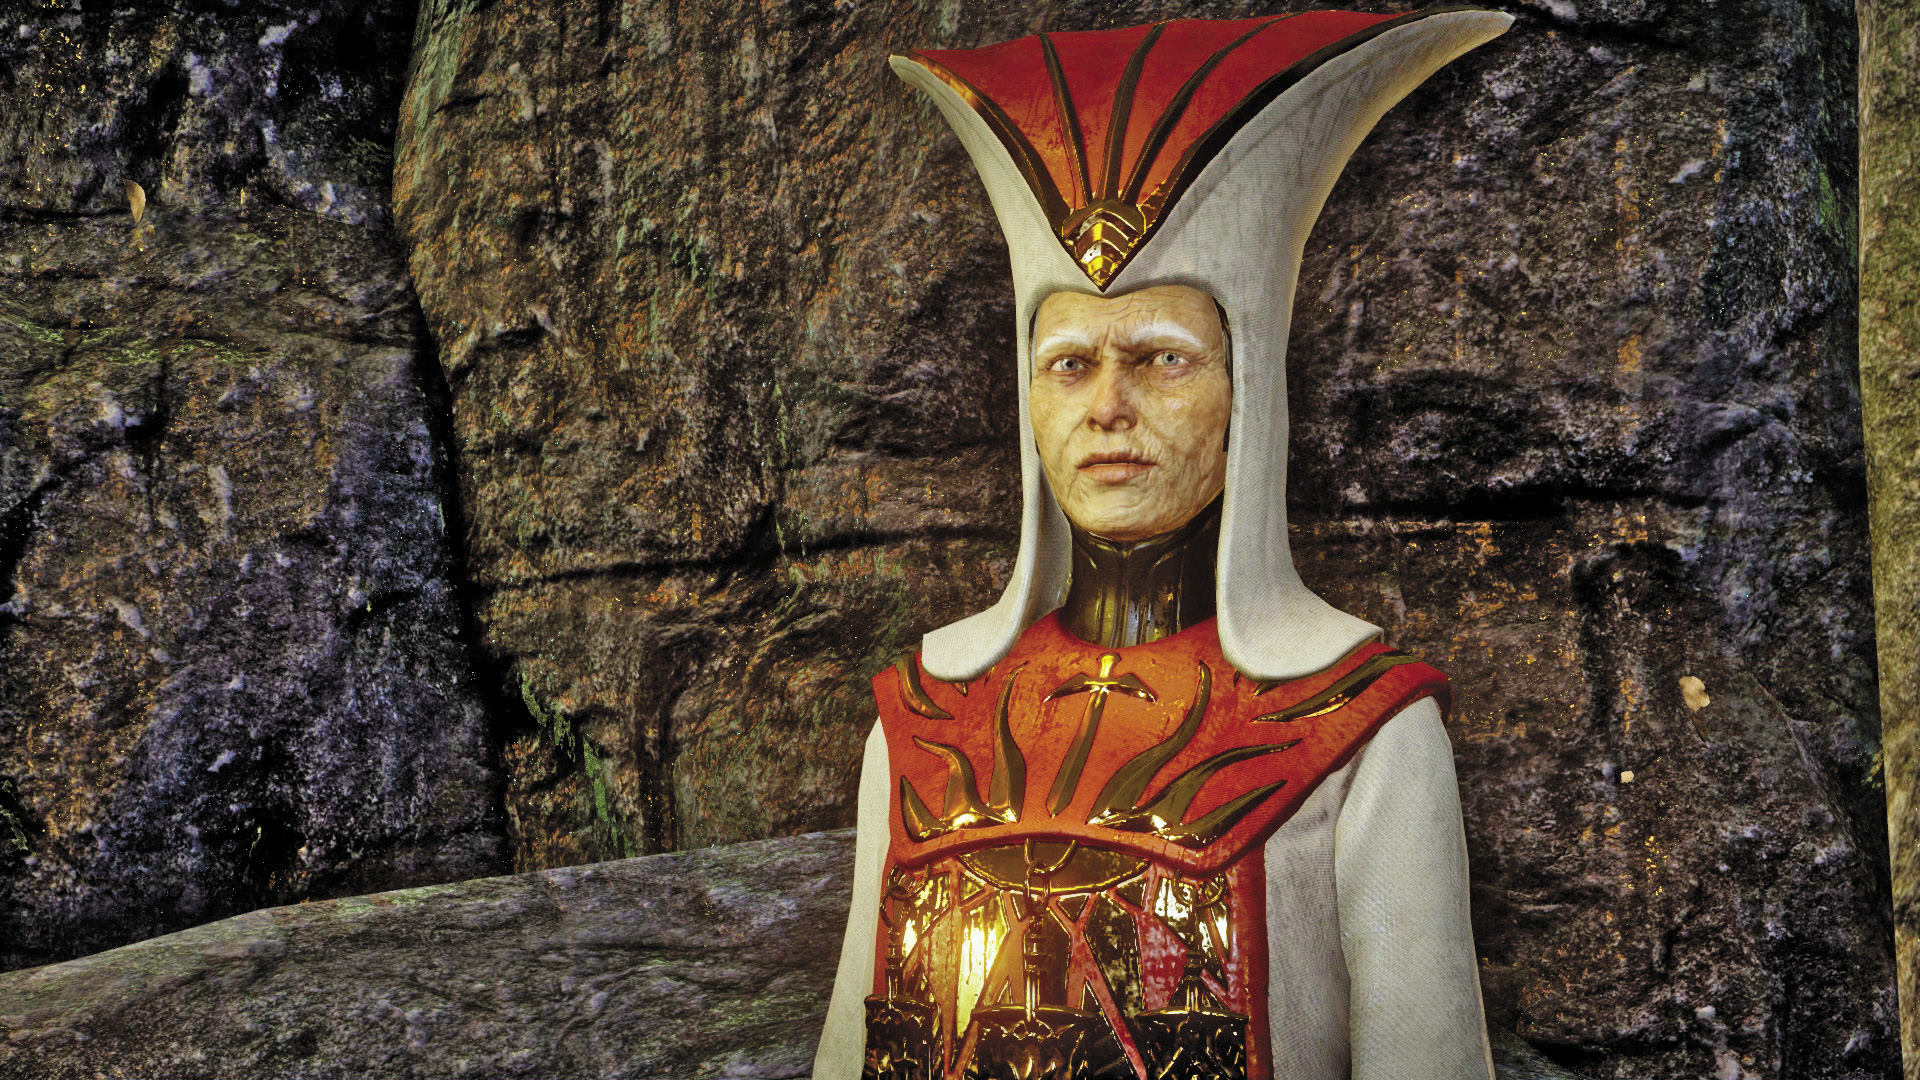
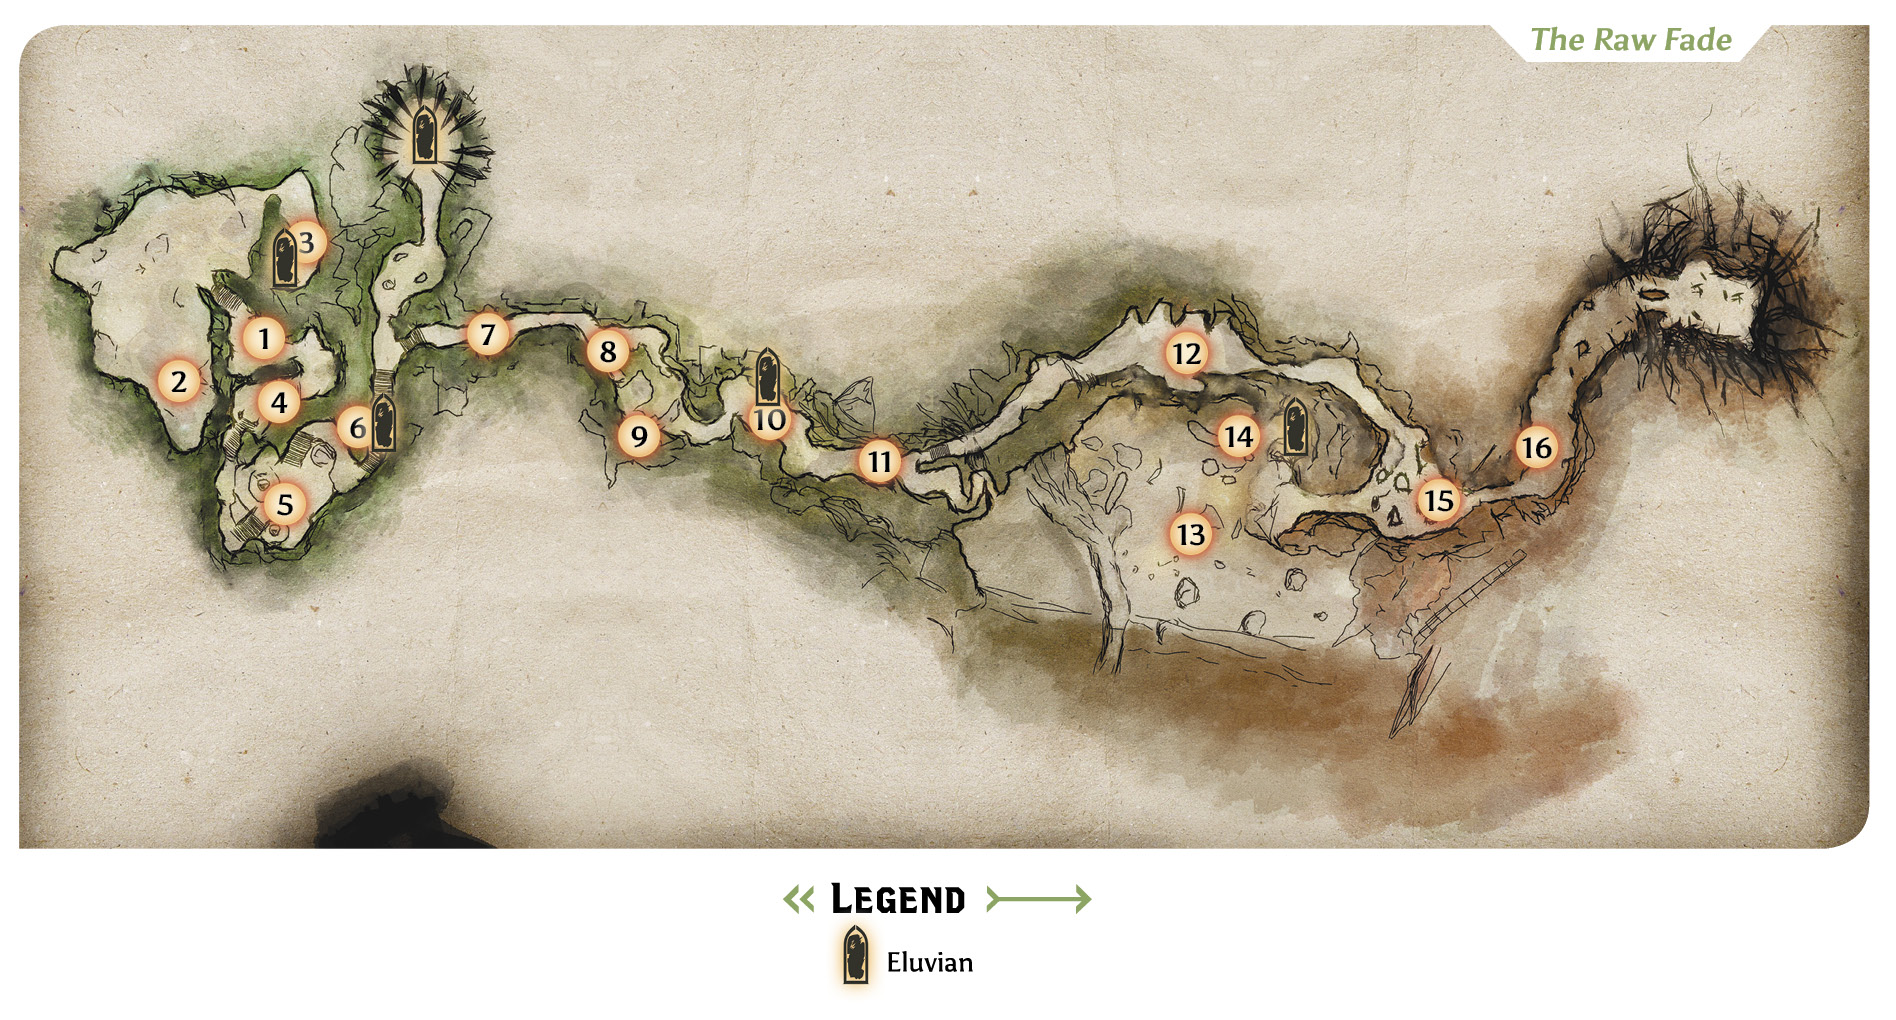
1. Climb the stairs to the east to trigger a conversation with none other than Divine Justinia V... or is it? If Cassandra is in your party, even she isn’t sure if this is the real Divine or not. Stroud feels this visage is most likely a spirit or a demon. Despite the suspicions of your party, the entity knows what really happened at the Temple of Sacred Ashes. She compels you to recover your memories by slaying demons in the Fade. Help your party eliminate the wraiths that appear. Each wraith leaves behind a green, glowing memory you must pick up, like loot—gather all four memories following the fight. When the final memory is retrieved, a cinematic shows the events leading up to the explosion at the Temple of Sacred Ashes: In an attempt to save the Divine, you interrupted Corypheus’s ritual and touched the mysterious orb, causing the Anchor to appear on your hand. It’s also revealed that it was the Wardens who were working with Corypheus at the temple, a fact that enrages Hawke.
2. After meeting with the Divine, head here and eliminate a few more wraiths. Interact with the table to begin the Fears of the Dreamers side quest. Use the search function to find a candle east of the table. Retrieve the candle and place it on the table. You can now interact with the nearby chair to gain one point of magic. Look for more Fears of the Dreamers objects during your journey through the Fade—there are five riddles you must solve to complete this quest.
 Fears of the Dreamers
Quest Giver: Interact with the table.
Description: Fears torment the dreamers. Find the answers that may calm their fears, so that they may find peace.
Requirements: Enter the Fade.
Reward: Varied stat boosts, 242 XP, 80 Influence
Recommended Level: 10-12
Objectives:
 Find and solve five riddles.
Five riddles spread throughout the Fade must be solved. Use the accompanying map to locate the objects associated with each riddle. Each time you solve a riddle, you’ll obtain a stat boost. This quest is purely optional, but it’s easy to complete and well worth the minimal effort.
3. Fight your way through the shades and wraiths here, then interact with the large mirror-like object to the east—these are called eluvians. Interacting with them boosts a different stat by one point. This one boosts Magic.
4. Return to the area where you spoke to the Divine and descend these stairs—watch out for a couple of shades.
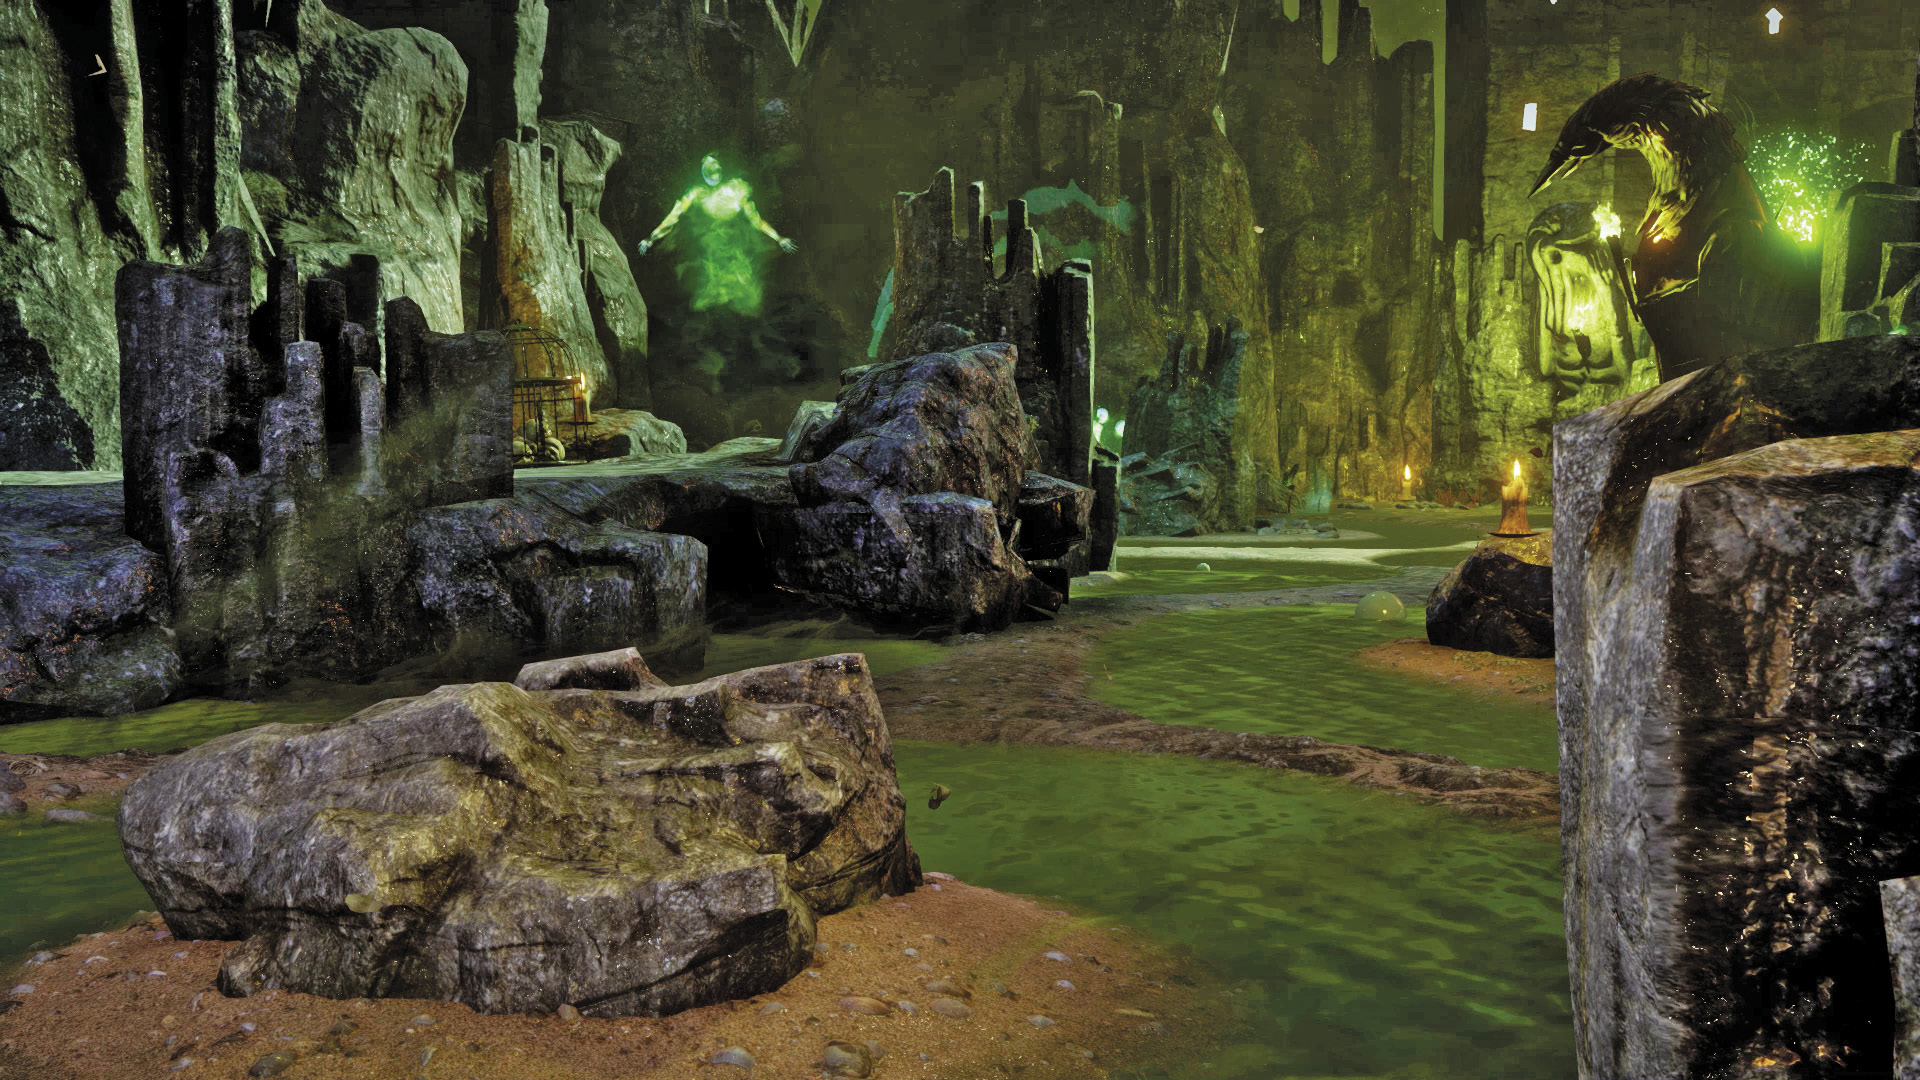
5. When you reach this clearing, the voice of the Nightmare can be heard, taunting you. Ignore the taunts and turn your attention to the large group of wraiths and shades. After defeating the demons, complete the second Fears of the Dreamers riddle. Search for the flowers next to the skeleton in the south and place them in the vase to the north to gain a one-point Constitution stat boost.
6. Examining the eluvian here gives you a Dexterity boost.
7. You come under attack by several giant spider-like creatures called fearlings. But they have different names, like The Blight, Mages, and The Harrowing—are these the fears of the Inquisitor? Don’t get lost in the Nightmare’s mind games. Eliminate the fearlings with the aid of your party. The tight quarters make AoE attacks very effective, but wait until the creatures bunch up.
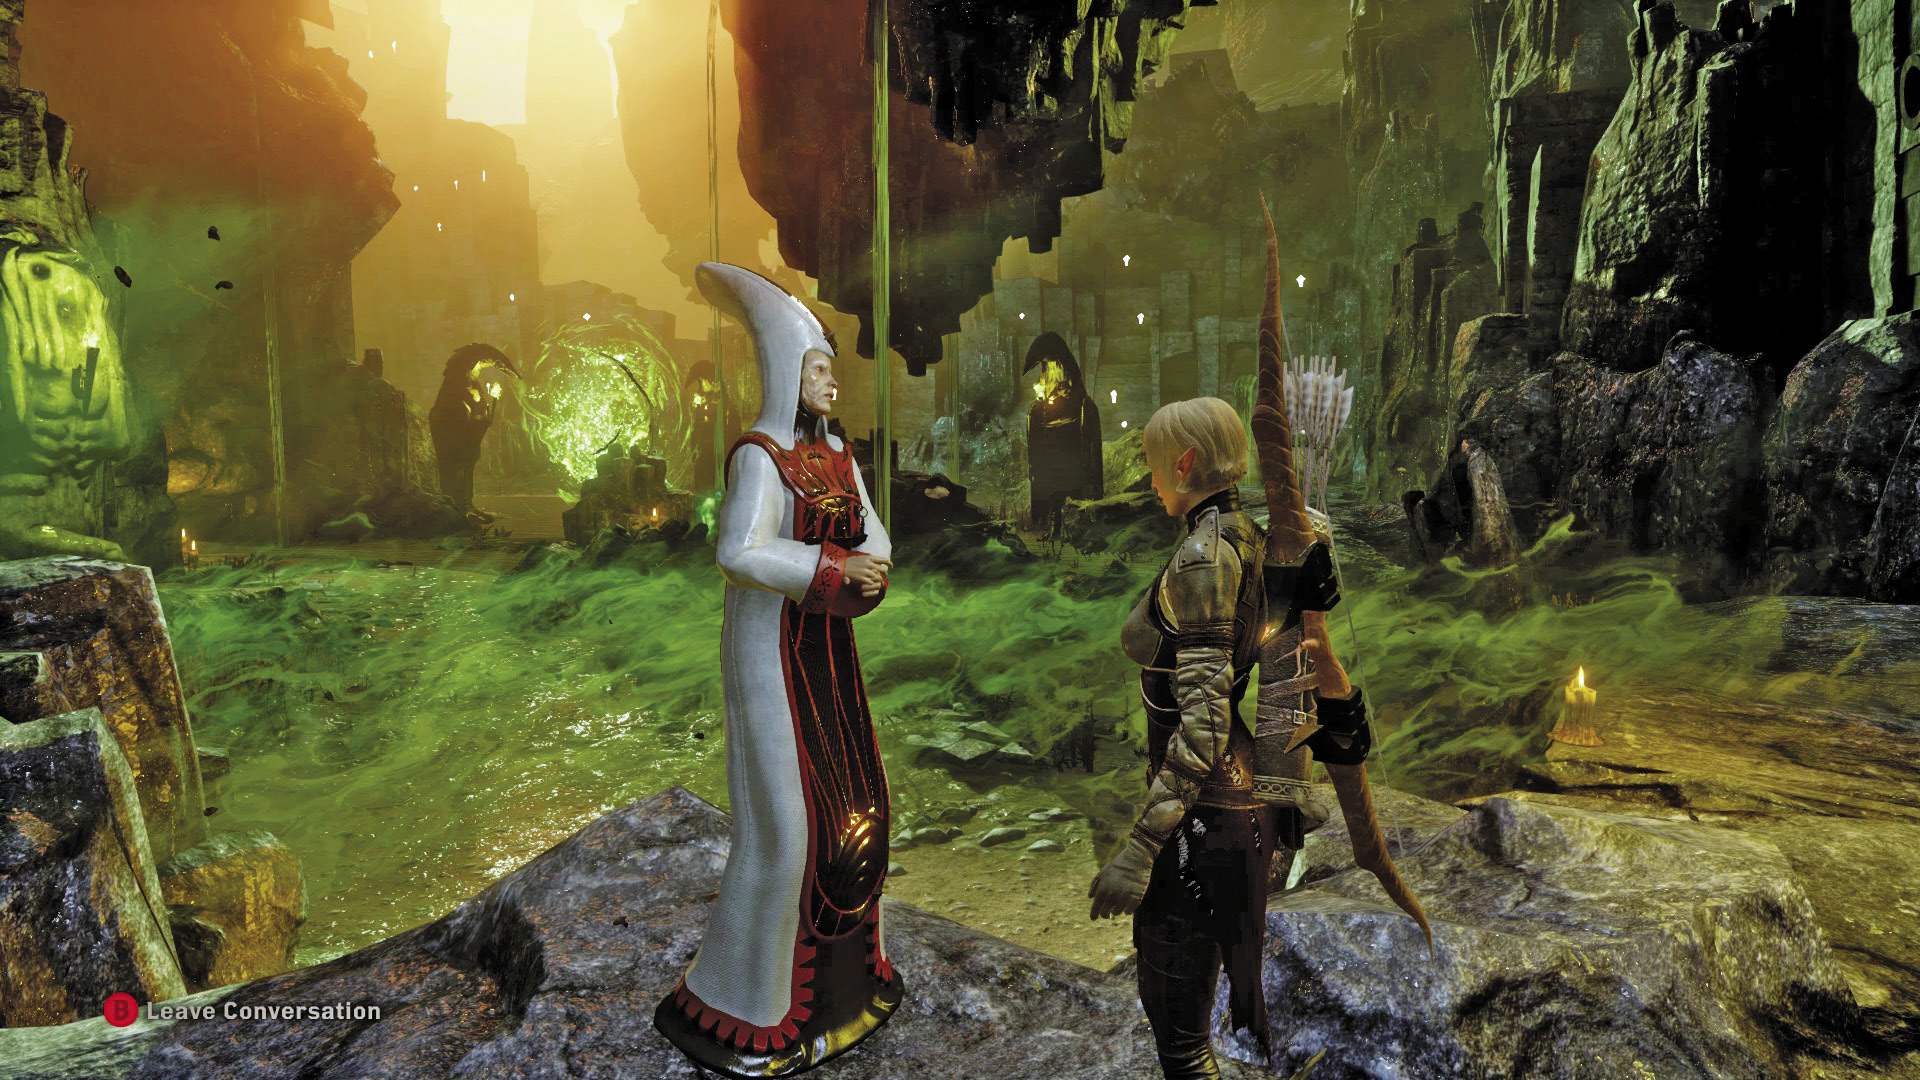
8. The Divine is waiting for you here. Feel free to ask her more questions, but she needs you to defeat more demons to recover your memories. Consider replenishing your potions at the nearby supply cache before beginning the attack. Retrieve the memories left behind by the wraiths to trigger another cinematic showing your escape from the Fade after the events at the temple. It was the Divine, not Andraste, who reached out to you. As you escaped, the Divine died. This entity you’re speaking to isn’t the Divine at all, but a spirit taking the Divine’s form. But it isn’t a malevolent spirit, as it’s helping you escape from the Fade. Hawke and Stroud get in an argument over the Wardens’ involvement in all of this—convince them to put their differences aside for now and defeat the next round of fearlings.
9. Complete the third Fears of the Dreamers riddle here. Search for the tarot card next to the skeleton and place it in the cauldron to the west. You earn a one-point Strength increase for solving this riddle.
10. Battle more fearlings and a terror here, then examine the nearby eluvian to increase your Willpower by one point.
11. Defeating the fearlings here allows the spirit to open another barrier, giving you access to a large clearing.
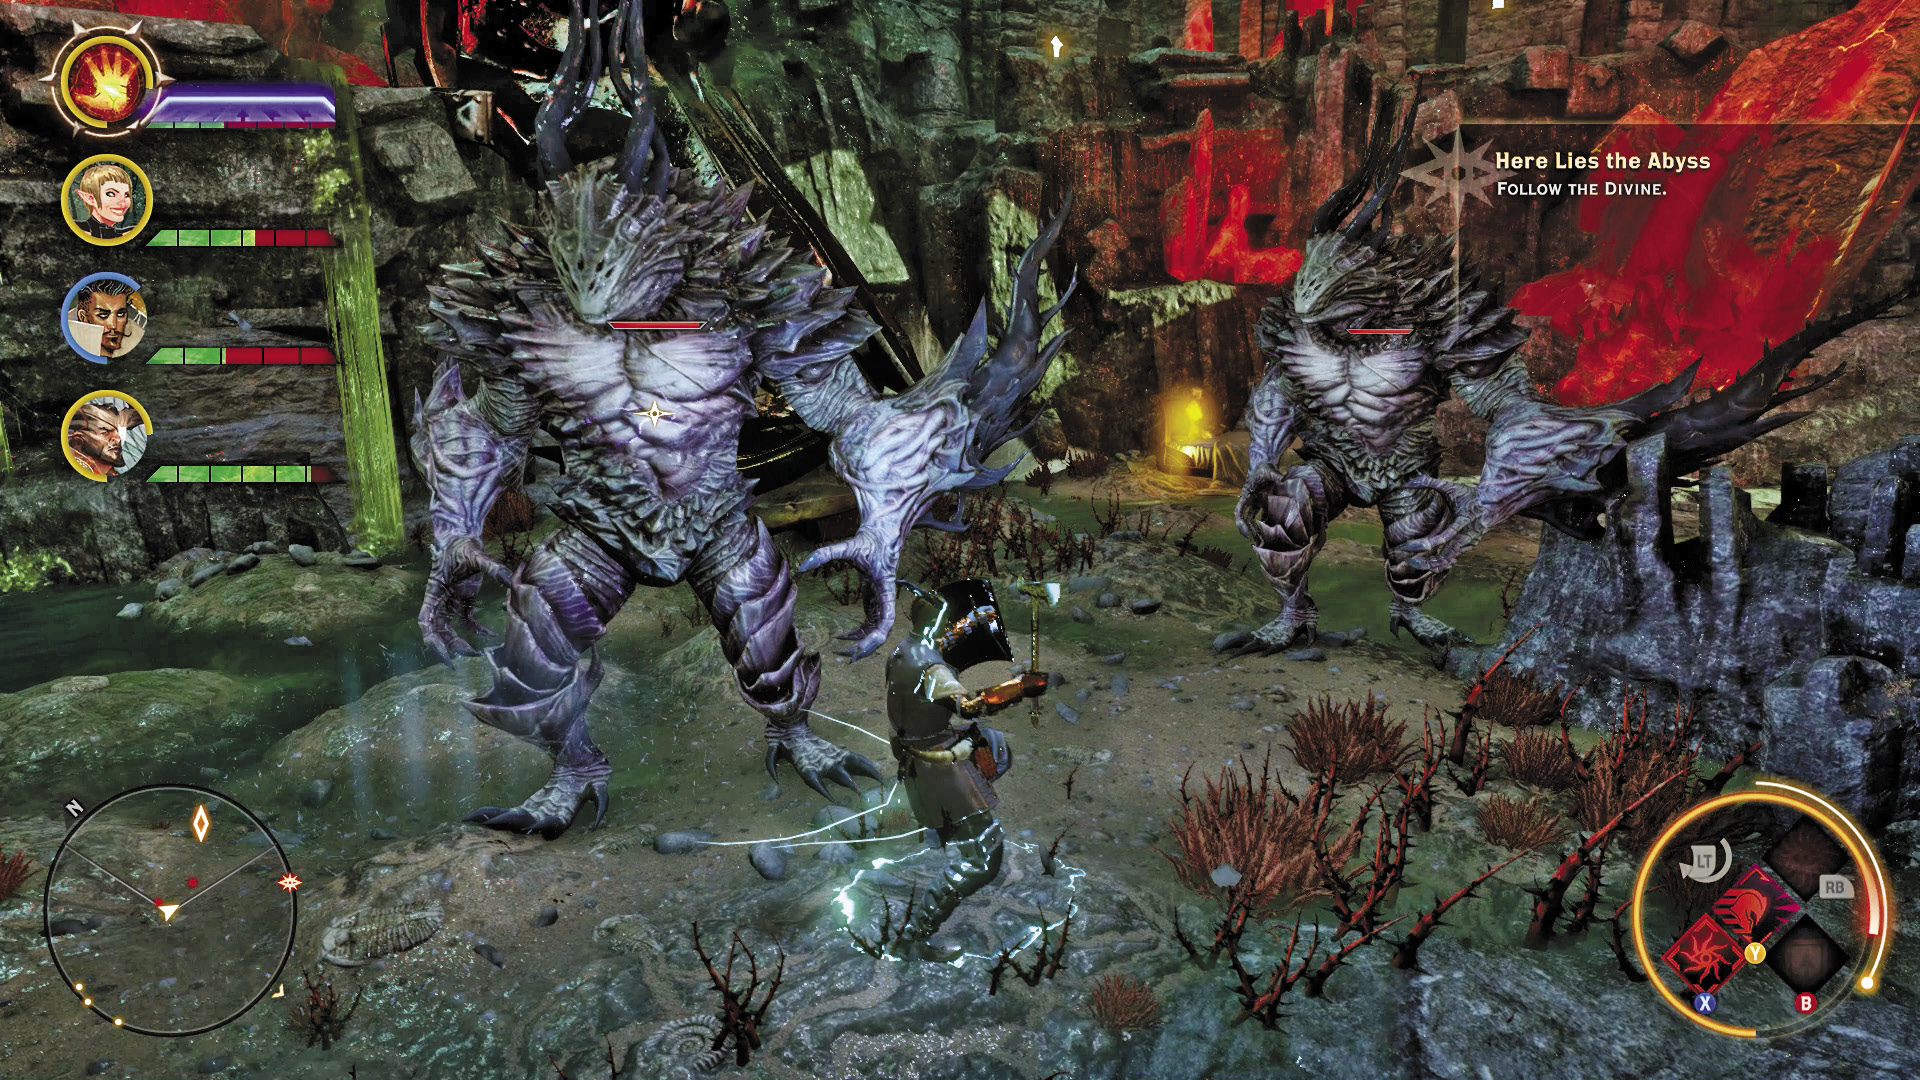
12. Climb the stairs to the north to confront two pride demons. Wait until both pride demons are next to each other, then use Mark of the Rift to eat away their health. Your ability might not be enough to kill both pride demons, but it will weaken them significantly. After the fight, search up here to locate a stuffed animal—the solution to the fourth Fear of the Dreamers riddle. Place the stuffed animal on the bed to the east to gain one point of Willpower.
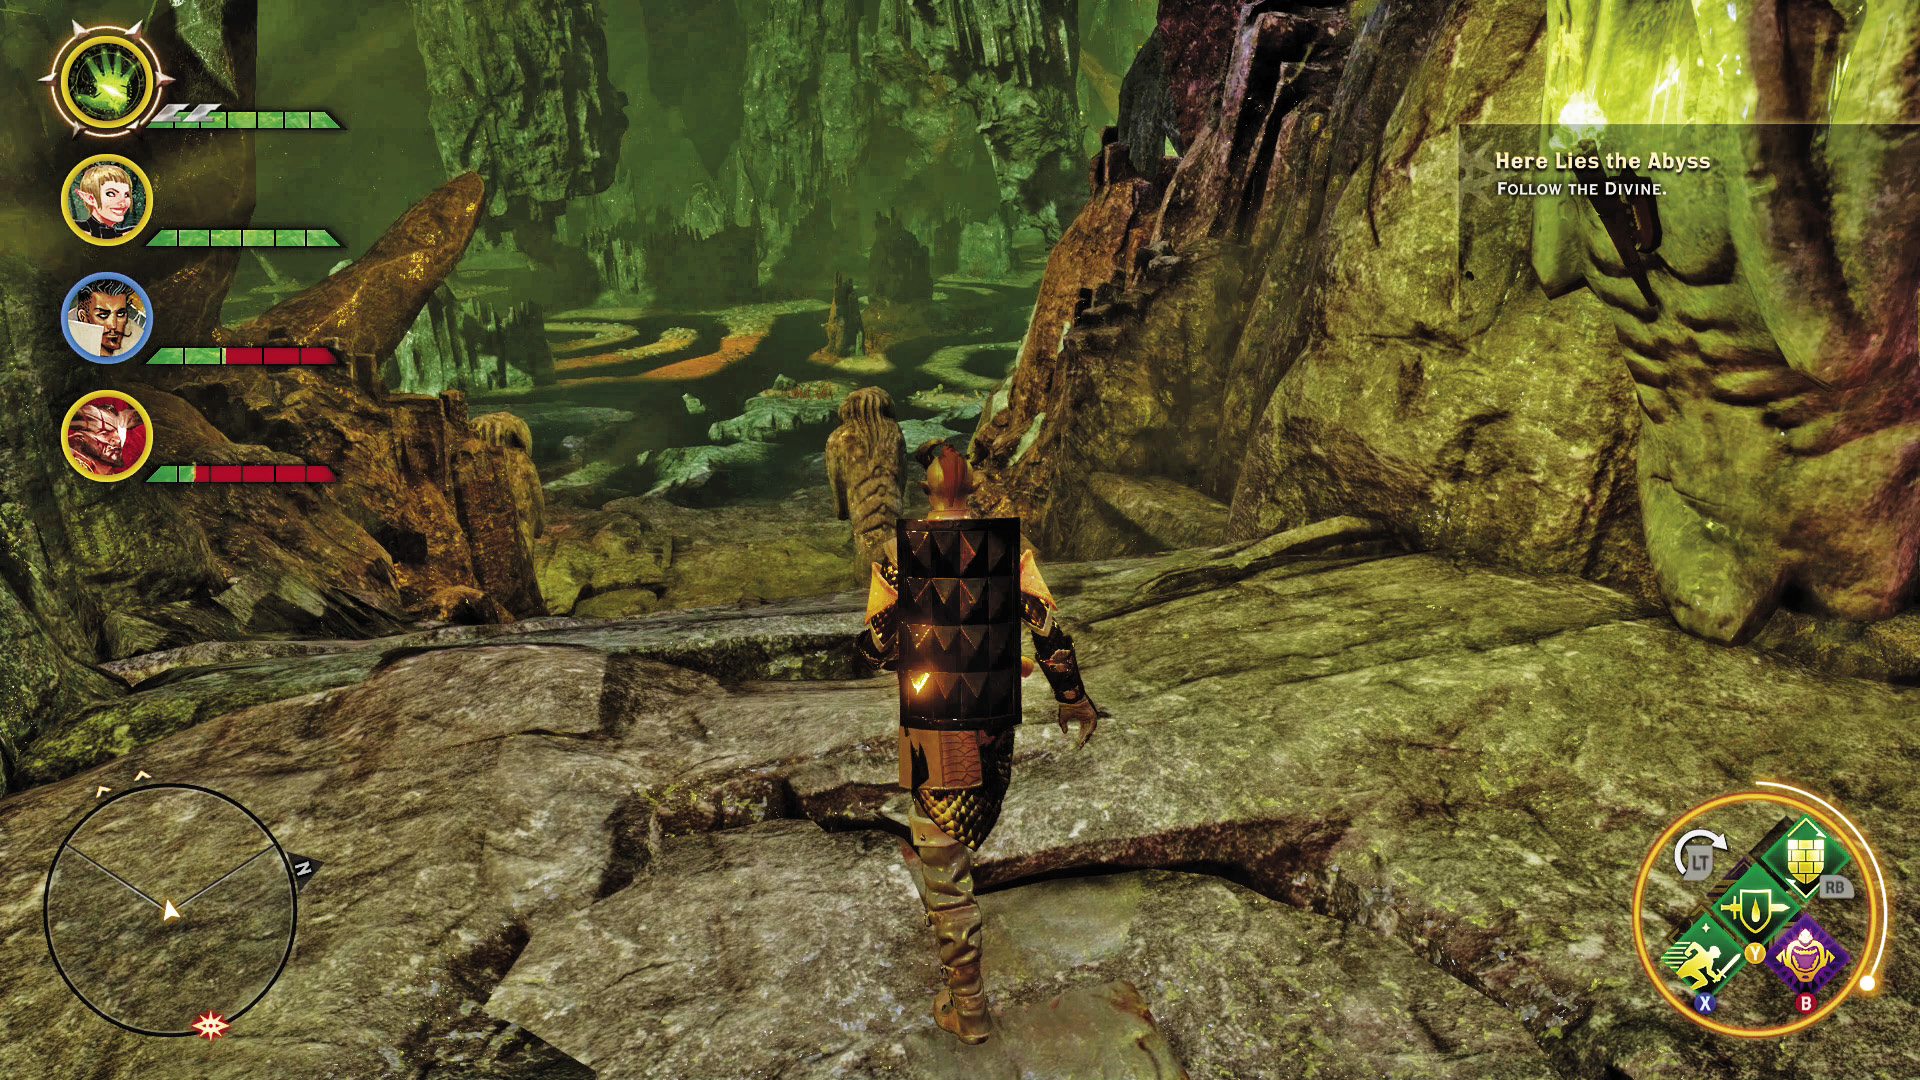
13. Descend the steps to this lower area to find the fifth and final Fears of the Dreamers riddle—you may have to eliminate a few demons nearby. The solution to the riddle is in the graveyard to the east; notice how each tombstone is inscribed with the name of a Inquisition member, followed by their fear. Search the tombstone in the center of the graveyard to retrieve a vial of darkspawn blood. Take the vial back to the table to earn a one-point Cunning stat boost.
14. If you’re up to the challenge, eliminate the gibbering horrors here to gain access to the eluvian. Examining the eluvian gives you a one-point Strength boost.
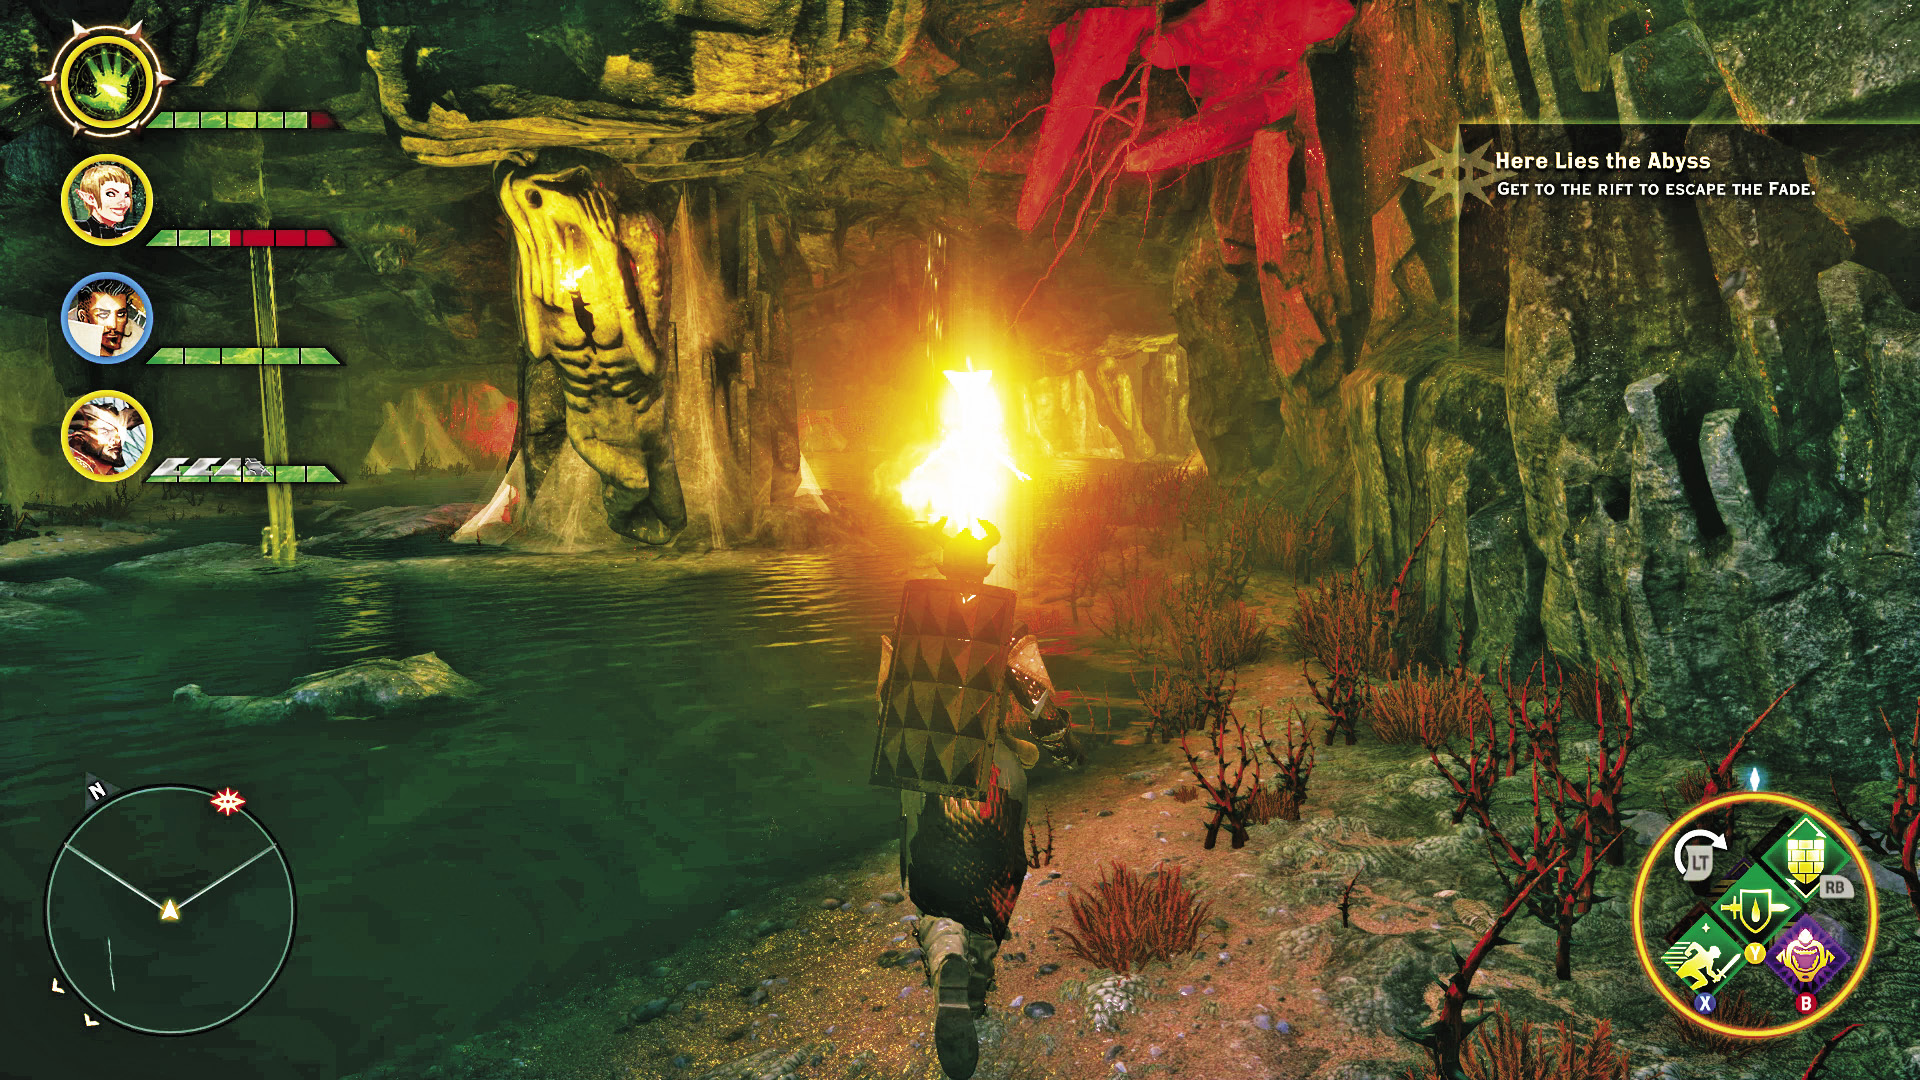
15. Help the spirit remove another barrier by defeating another round of fearlings. Watch out for the arrival of some shades, wraiths, and despair demons as well. Once these demons are defeated, turn your attention to the pride demon marching down the steps to the north. Try to block him on the staircase, then use AoE attacks to dish out some heavy damage—avoid using Mark of the Rift here; you’ll want to use it later. When all the demons are dead, the barrier is removed, giving you access to a rift at the end of a long cave.
16. If you completed all five riddles in the Fears of the Dreamers quest, your reward awaits here. Gather the loot to complete the quest, netting you some bonus XP and influence, as well as some gear. The cave also holds a supply cache. Heal all your party members before interacting with the supply cache—you face a tough fight ahead.
Nightmare’s Lair
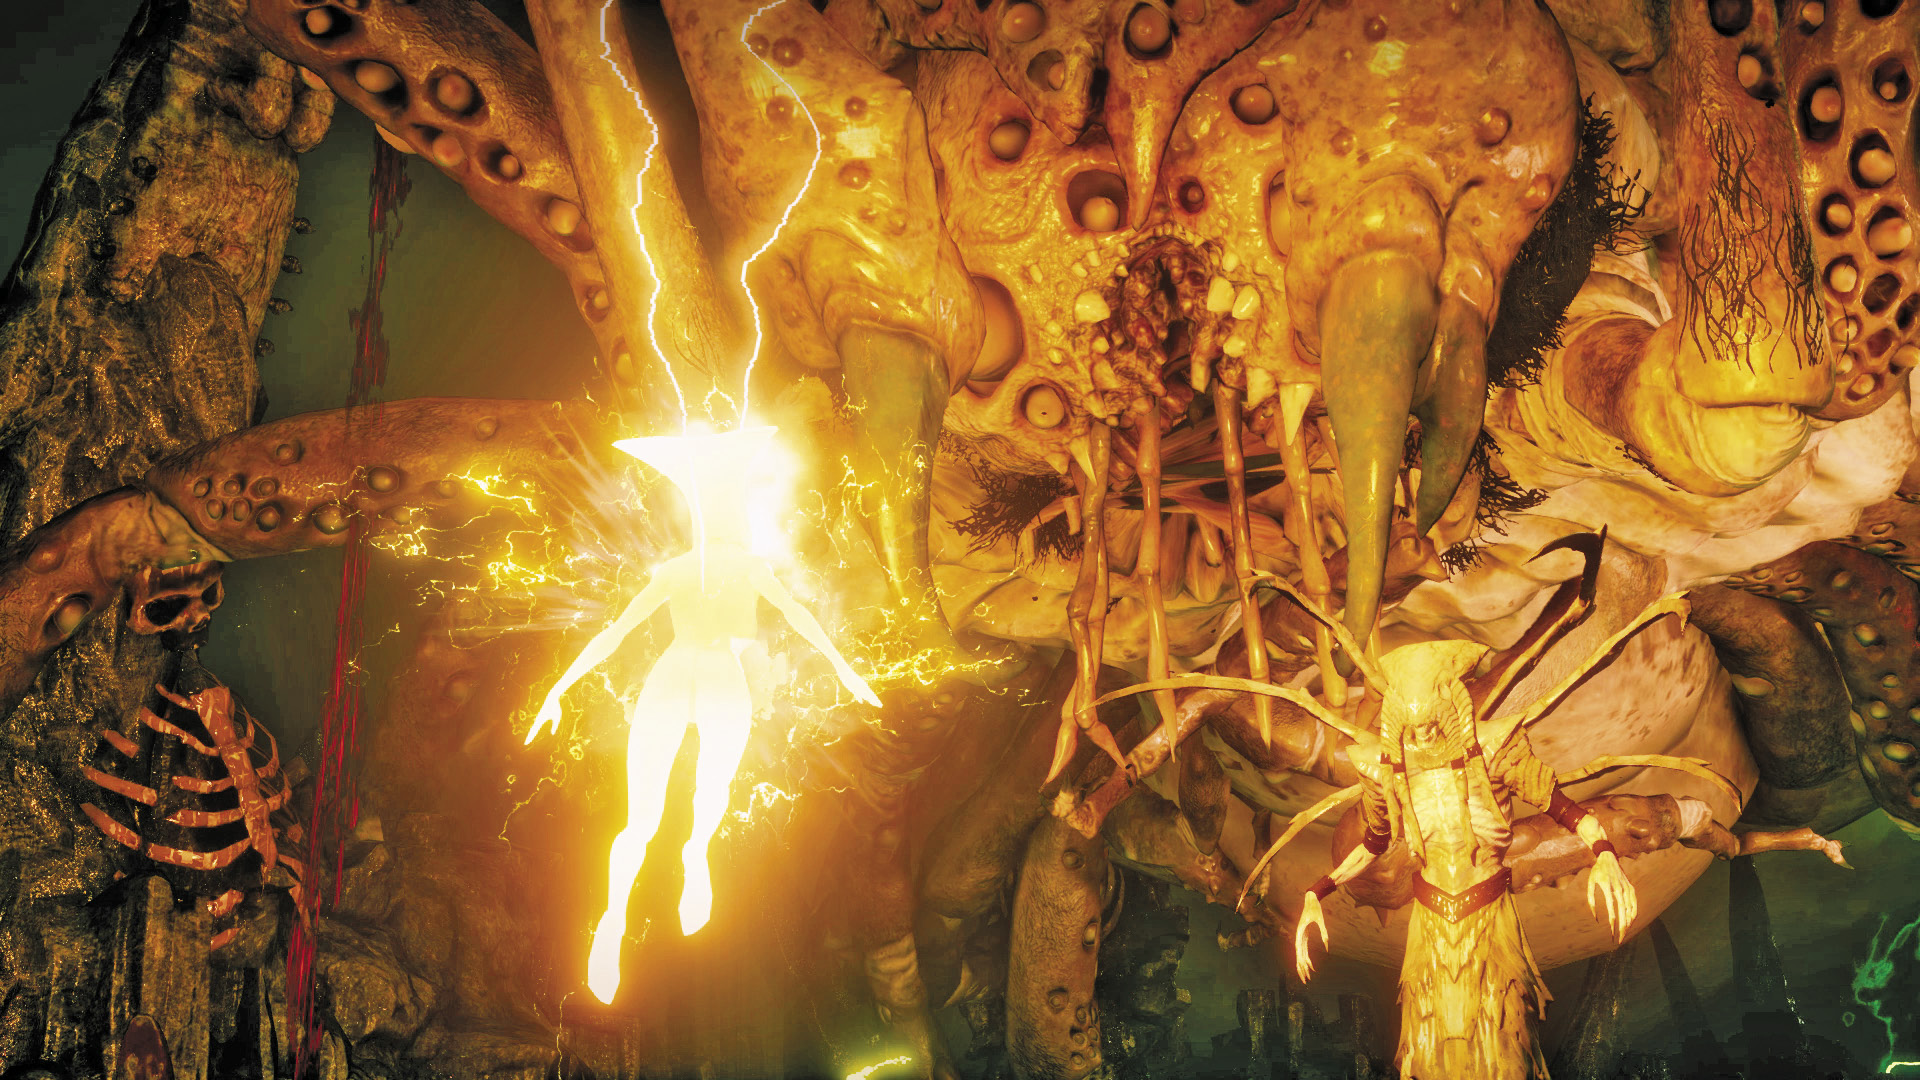
A rift leading back to Adamant is just ahead, at the cave’s exit, but a massive spider-like demon is blocking your path. The friendly spirit charges ahead, sacrificing itself and causing the massive demon to vanish—for now. Turn your attention to the Aspect of the Nightmare—this is a fear demon. This creepy-looking boss is accompanied by several fearlings. Immediately engage the tactical camera and use Mark of the Rift to kill off the fearlings and deplete the fear demon’s barrier. The fear demon has the ability to disappear and reappear in a new location, so try to hit it with this AoE ability early on, before it can dematerialize.
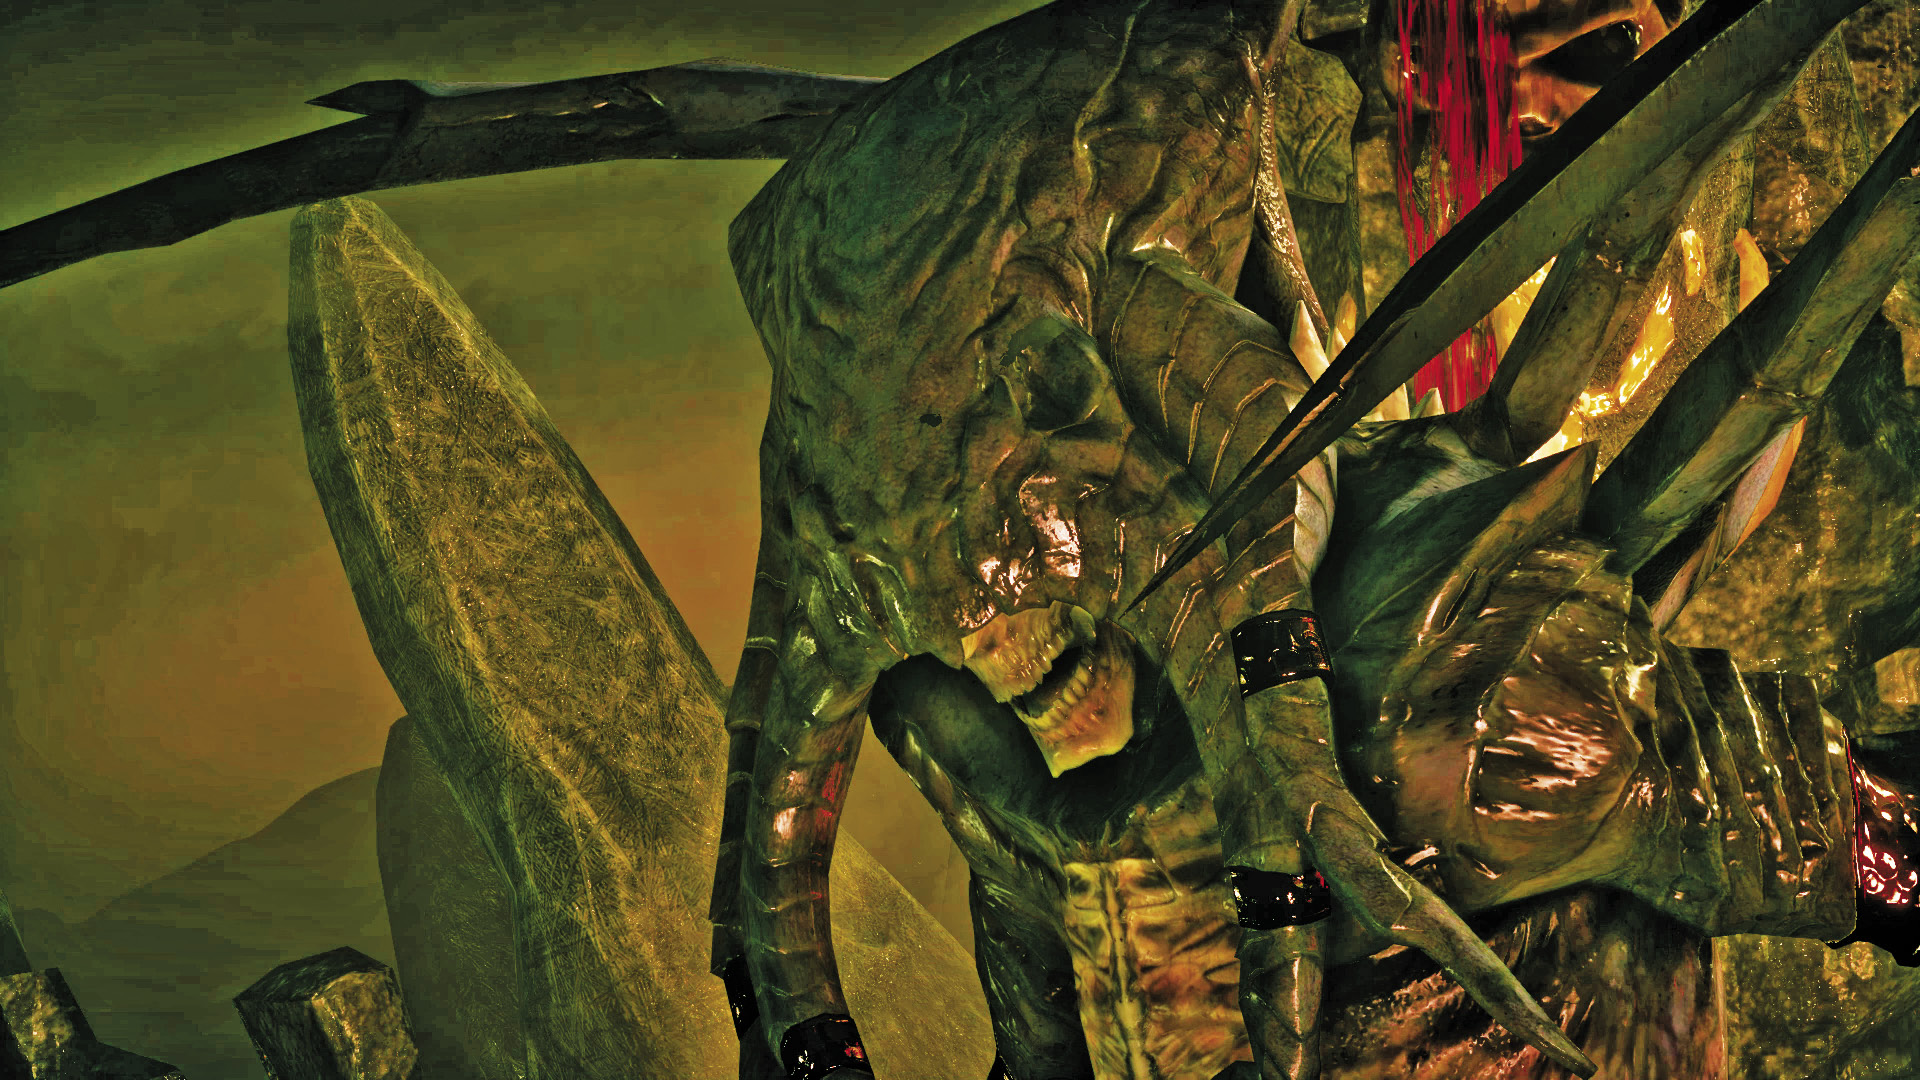
This boss is resistant to spirit-based attacks, but all other spells and status effects are effective. Use your party’s abilities to pour on as many damaging status effects as possible in an effort to quickly deplete the fear demon’s health. Throughout the battle more fearlings (and a few wraiths) will appear, so keep an eye on the compass to identify the appearance of new enemies. Make sure your ranged party members aren’t swarmed by these pesky creatures—taunt them with your warriors. The fear demon will also deploy a new barrier from time to time—your party will need to cut through the barrier to resume dealing damage to the fear demon’s health.
Decision Point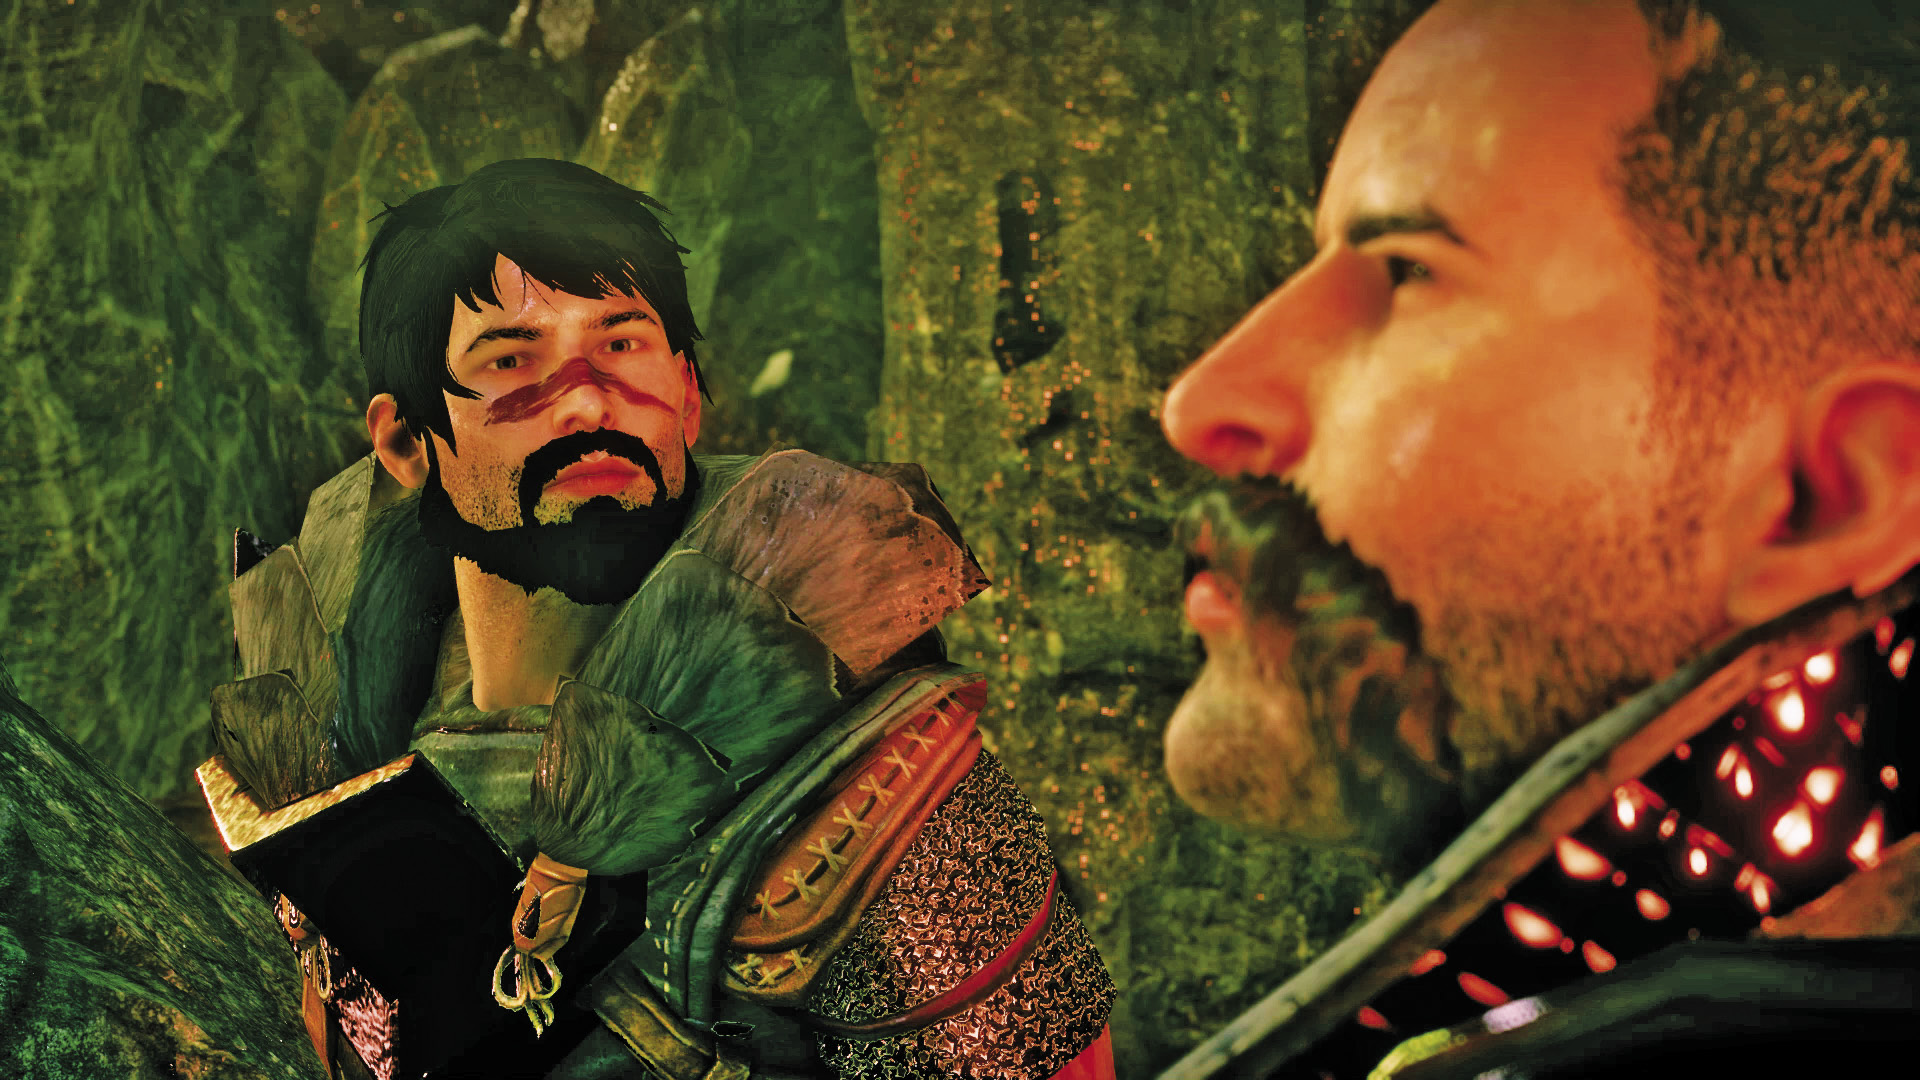
Following the defeat of the fear demon, the massive spider-like demon reappears. Hawke volunteers to stay behind and distract the demon while the rest of you escape through the rift. But Stroud feels it’s his responsibility as a Warden to stay behind. You must make the decision, choosing whether Hawke or Stroud remains in the Fade. Your decision has no positive or negative consequences on the approval of your party members, so simply make the decision you feel is right. Once the decision is made, your party rushes through the rift while Hawke or Stroud stays behind and battles the demon. |