
Dragon Age Inquisition Guide Exploration Emerald Graves
Side Quests (Recommended Level 14-16 and 16-20)
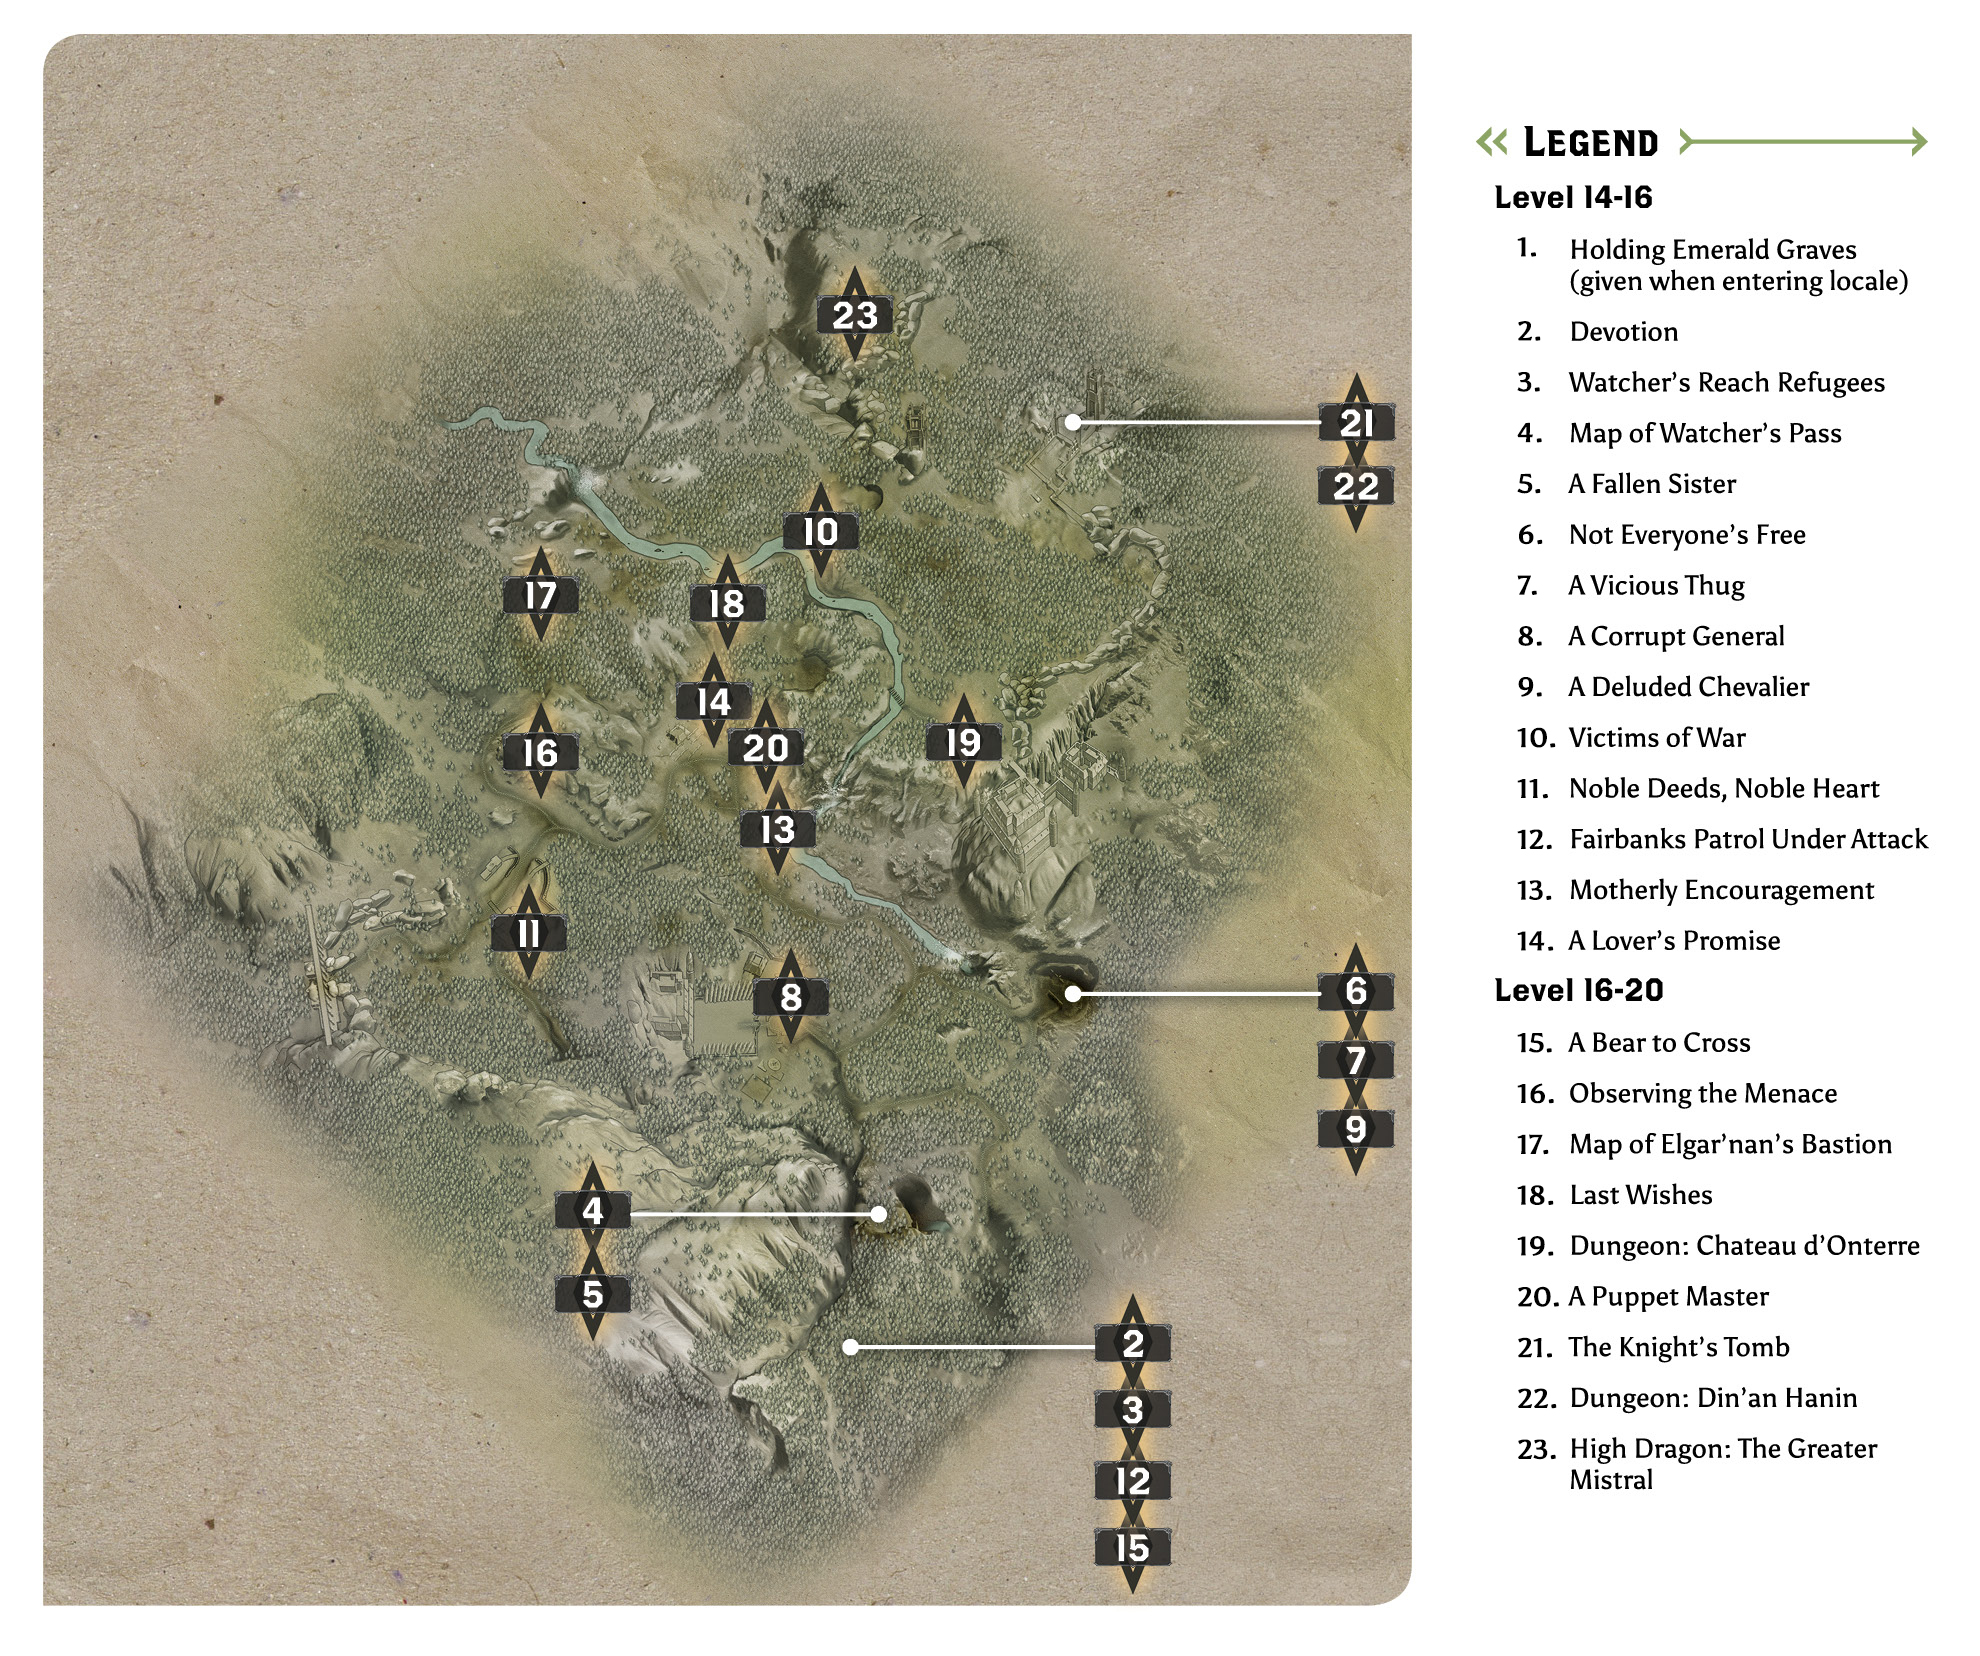
1: Holding Emerald Graves
Description: Establish camps to hold the Emerald Graves and support Inquisition activity in the region.
Quest Giver: Scout Harding
Requirements: Started as soon as you arrive in Emerald Graves
Reward: 100 Influence and 1 Power per camp, except for the starting camp
Objectives:
 Establish four camps.
There’s a lot of ground to cover in the Emerald Graves, and the terrain is not the easiest to cross. You’ll want access to all the camps as early as you can manage it. Fast travel makes many of the quests in this region a lot simpler to deal with, as the nature of the forest makes traveling on foot or by horseback difficult when seeking out particular objectives.
2: Devotion
Quest Giver: A letter found near the Andraste’s Light landmark
Description: Dolores lights a candle for her son at the chantry each year on the anniversary of his death. She is unable to do so this year because of the war.
Requirements: Available as soon as you enter the Emerald Graves
Reward: 242 XP, 80 Influence
Objectives:
 Light a candle at the shrine.
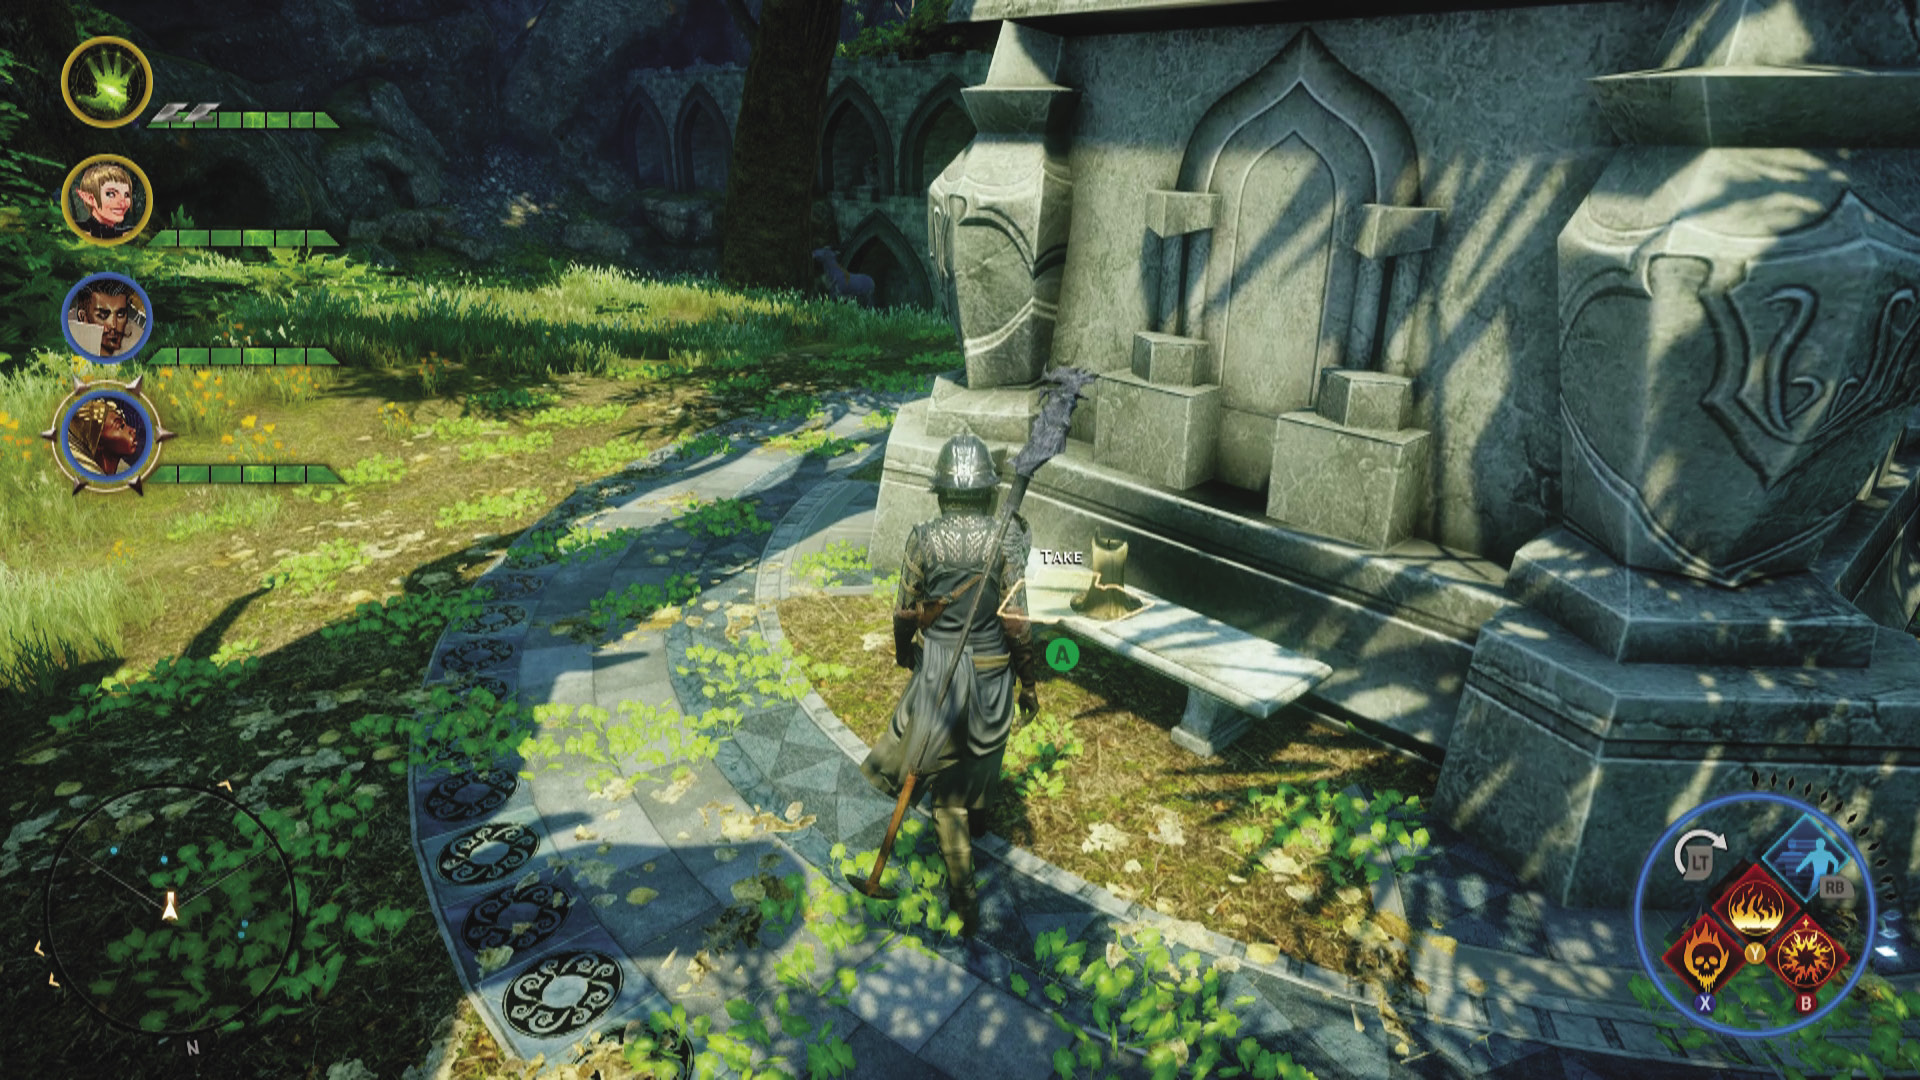
It’s a long walk through some dangerous territory from where you find the letter (close to the starting camp) to where the writer wants you to go to honor the dearly departed, the Lion’s Pavilion. However, once you actually get to the shrine, there are surprisingly no major complications. Complete the requested ritual, and the quest is finished. While you can start this quest early, you might find that heading straight to the shrine would be going out of your way to avoid completing numerous other quests first. Save this for later.
3: Watcher’s Reach Refugees

Quest Giver: Scout Harding
Description: Inquisition scouts have been approached by an Orlesian rebel named Fairbanks who requests protection. Fairbanks and his followers are being attacked by a suspicious group calling themselves the Freemen of the Dales.
Requirements: Travel to Emerald Graves for the first time.
Reward: 242 XP, 80 Influence
Objectives:
 Go to the Watcher’s Reach camp.
 Speak with Fairbanks.
 Examine Fairbanks’s documents.
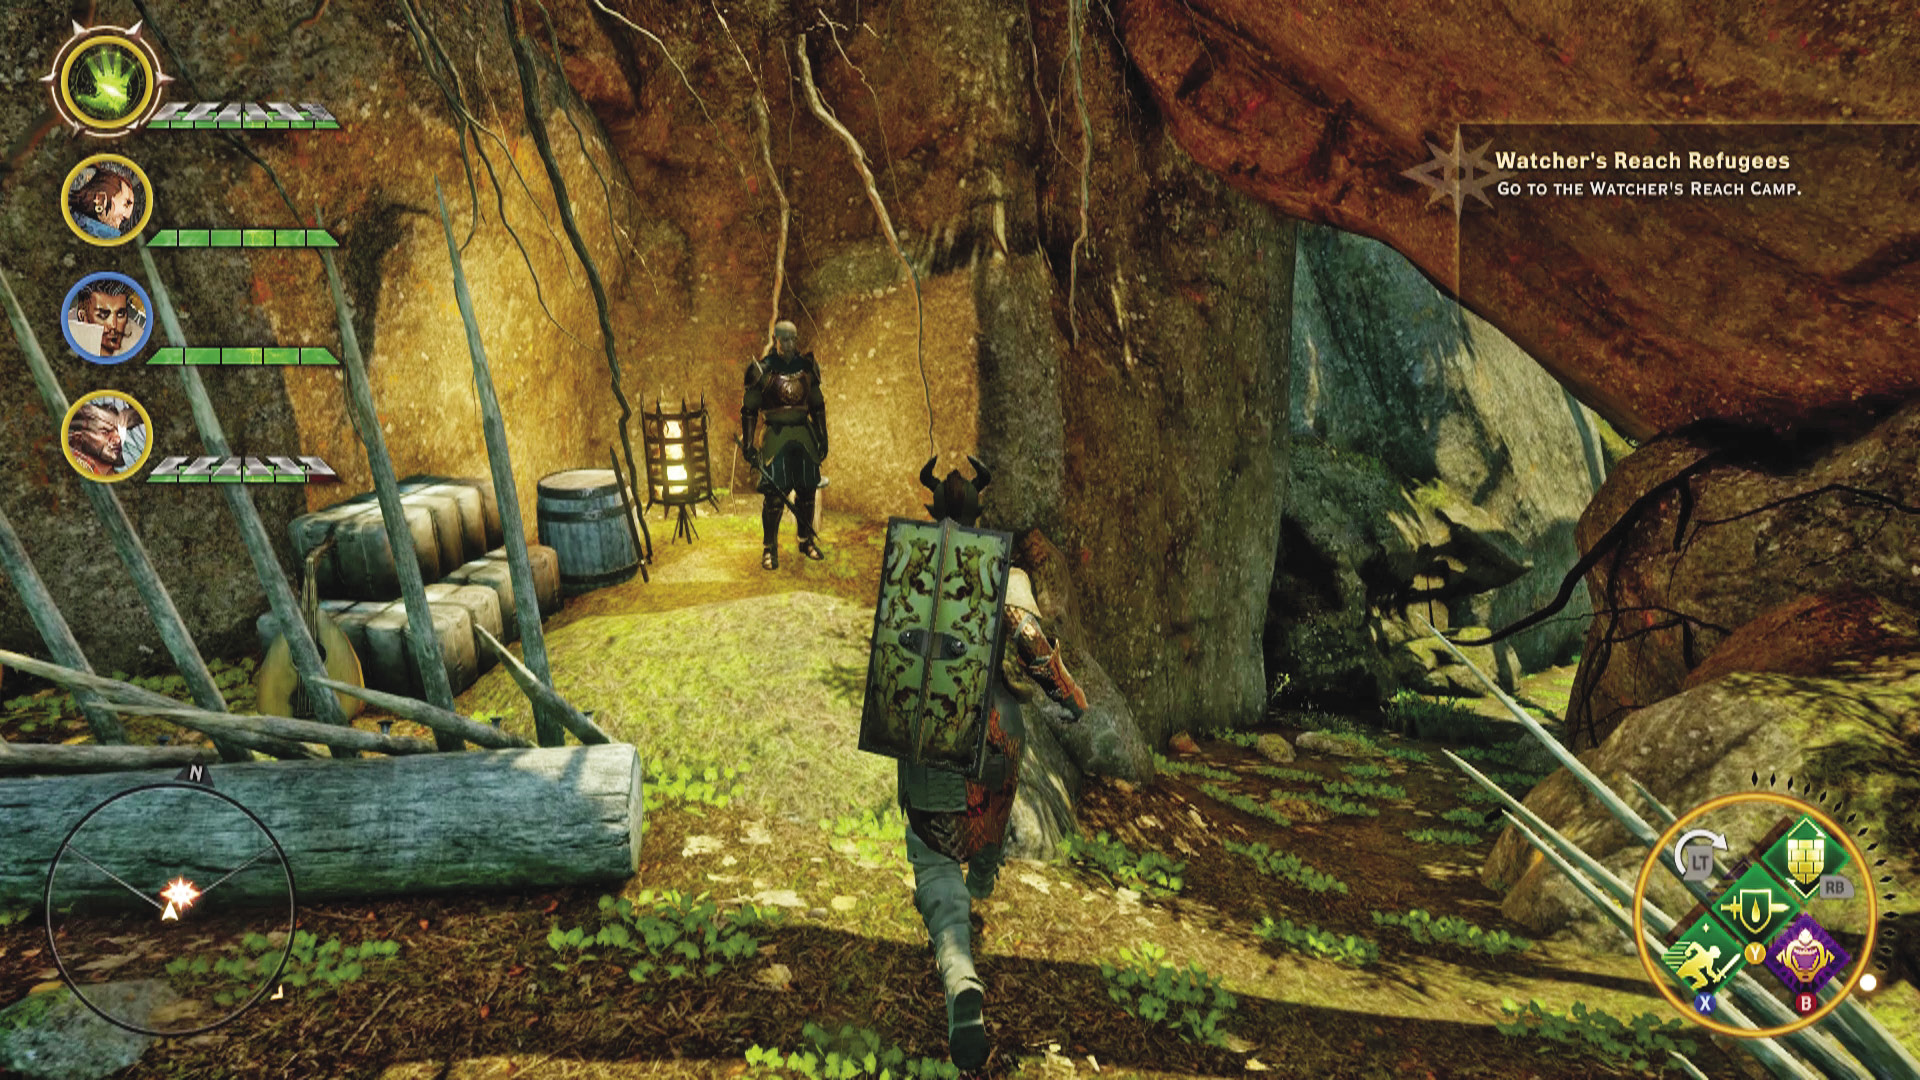
After Scout Harding briefs you on the situation in the Emerald Graves, travel north toward the Watcher’s Reach camp. You encounter a squad of Freemen trying to blockade the road. Explain to them with violence just how bad an idea this is, then continue toward the camp. Make your way through Watcher’s Canyon until you reach the center of the camp, where Fairbanks is.
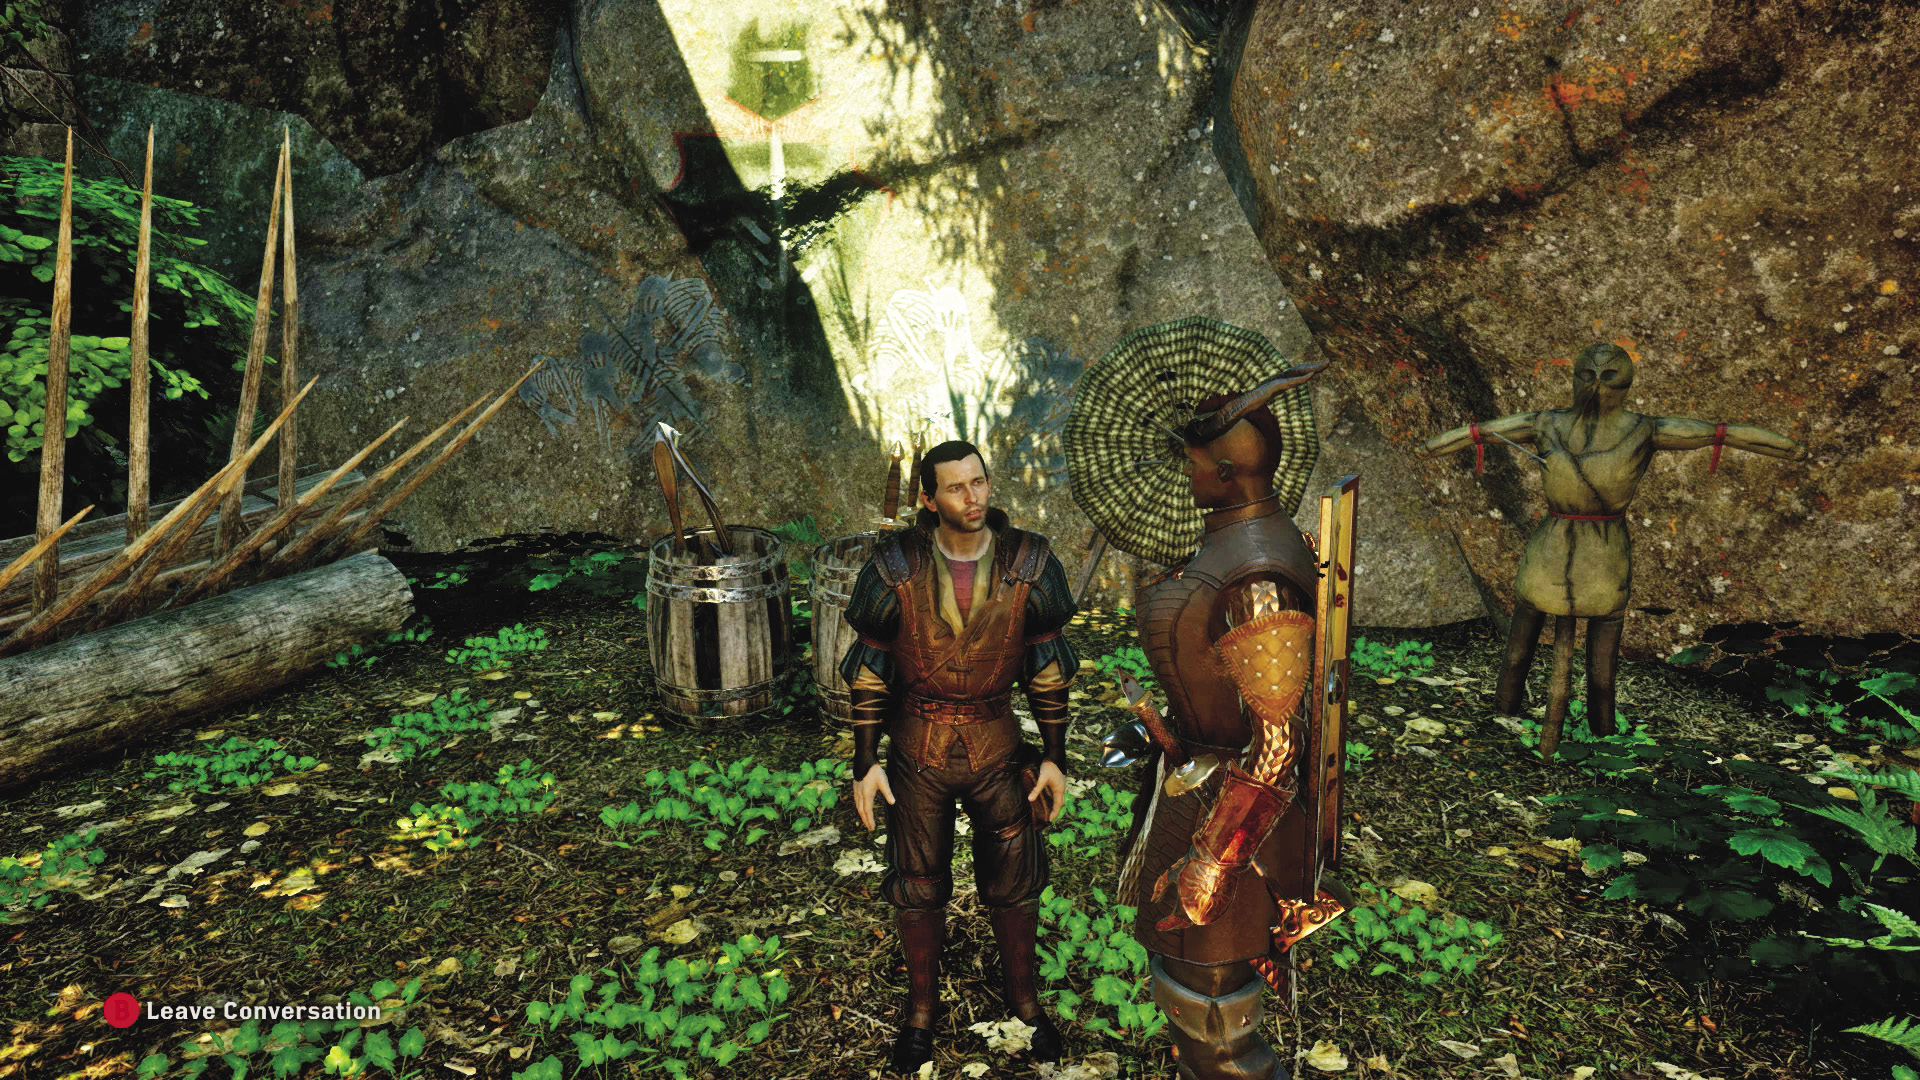
Fairbanks is honored to meet the Inquisitor in person, but he sets that aside and immediately gets to business. He has intel on your enemies and how they are colluding with the Freemen of the Dales. He believes that with that information, you can deal with his problems and yours simultaneously. Without help, it’s apparent that his little settlement will eventually be overrun.
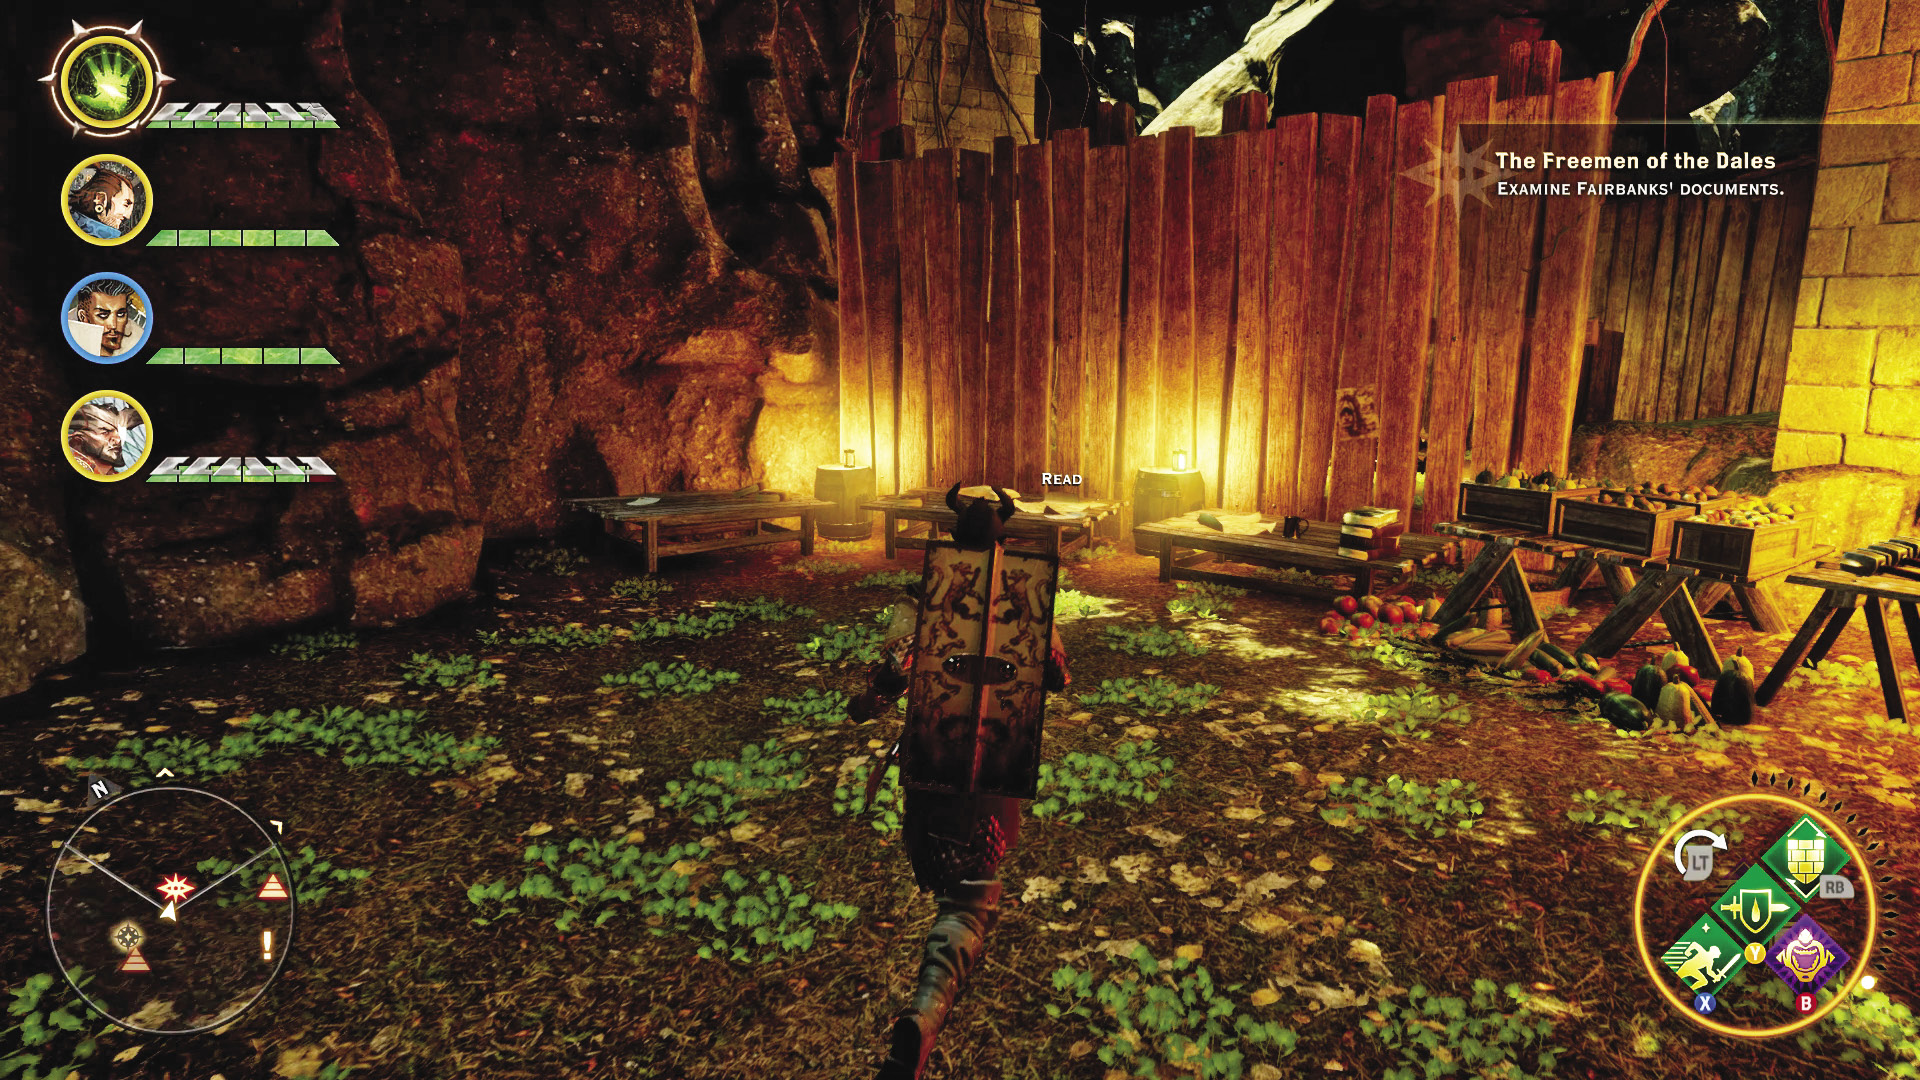
Inside a cave near Fairbanks is a table containing all of the intel. Read through it all to learn of Sister Costeau, an important name in the ranks of the Freemen.
4: Map of Watcher’s Pass
Quest Giver: Map found in Watcher’s Reach
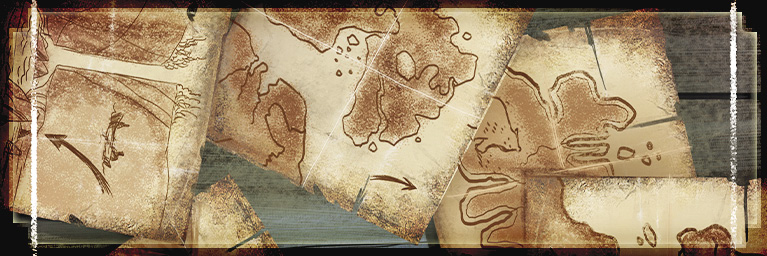
Description: A massive figure with arm outstretched stands guard at the spot marked on this map.
Requirements: Enter the Watcher’s Reach camp and speak with Fairbanks.
Reward: 242 XP, 80 Influence
Objectives:
 Find the spot marked on the map.
The map is inside the cave at Watcher’s Reach. The actual treasure location is very far to the north, in the Rush of Sighs region, just northeast of the bridge crossing the river. You have to climb some rocks to reach it, and it can be amazingly easy to just ride past and not trigger your mini-map’s Search ping. This is another quest you can start early in your exploration of Emerald Graves, but it might be best to hold off on getting it done until you actually are in the area and have more camps you can fast travel between.
5: A Fallen Sister

Quest Giver: Fairbanks’s intel documents at Watcher’s Reach
Description: Fairbanks’s documents mention a Freemen target named Sister Costeau, who was last stationed at the veridium mine in the Emerald Graves.
Requirements: Read Fairbanks’s documents to learn of this fallen sister.
Reward: 967 XP, 200 Influence, 2 Power
Objectives:
 Go to the veridium mine.
 Deal with Sister Costeau.
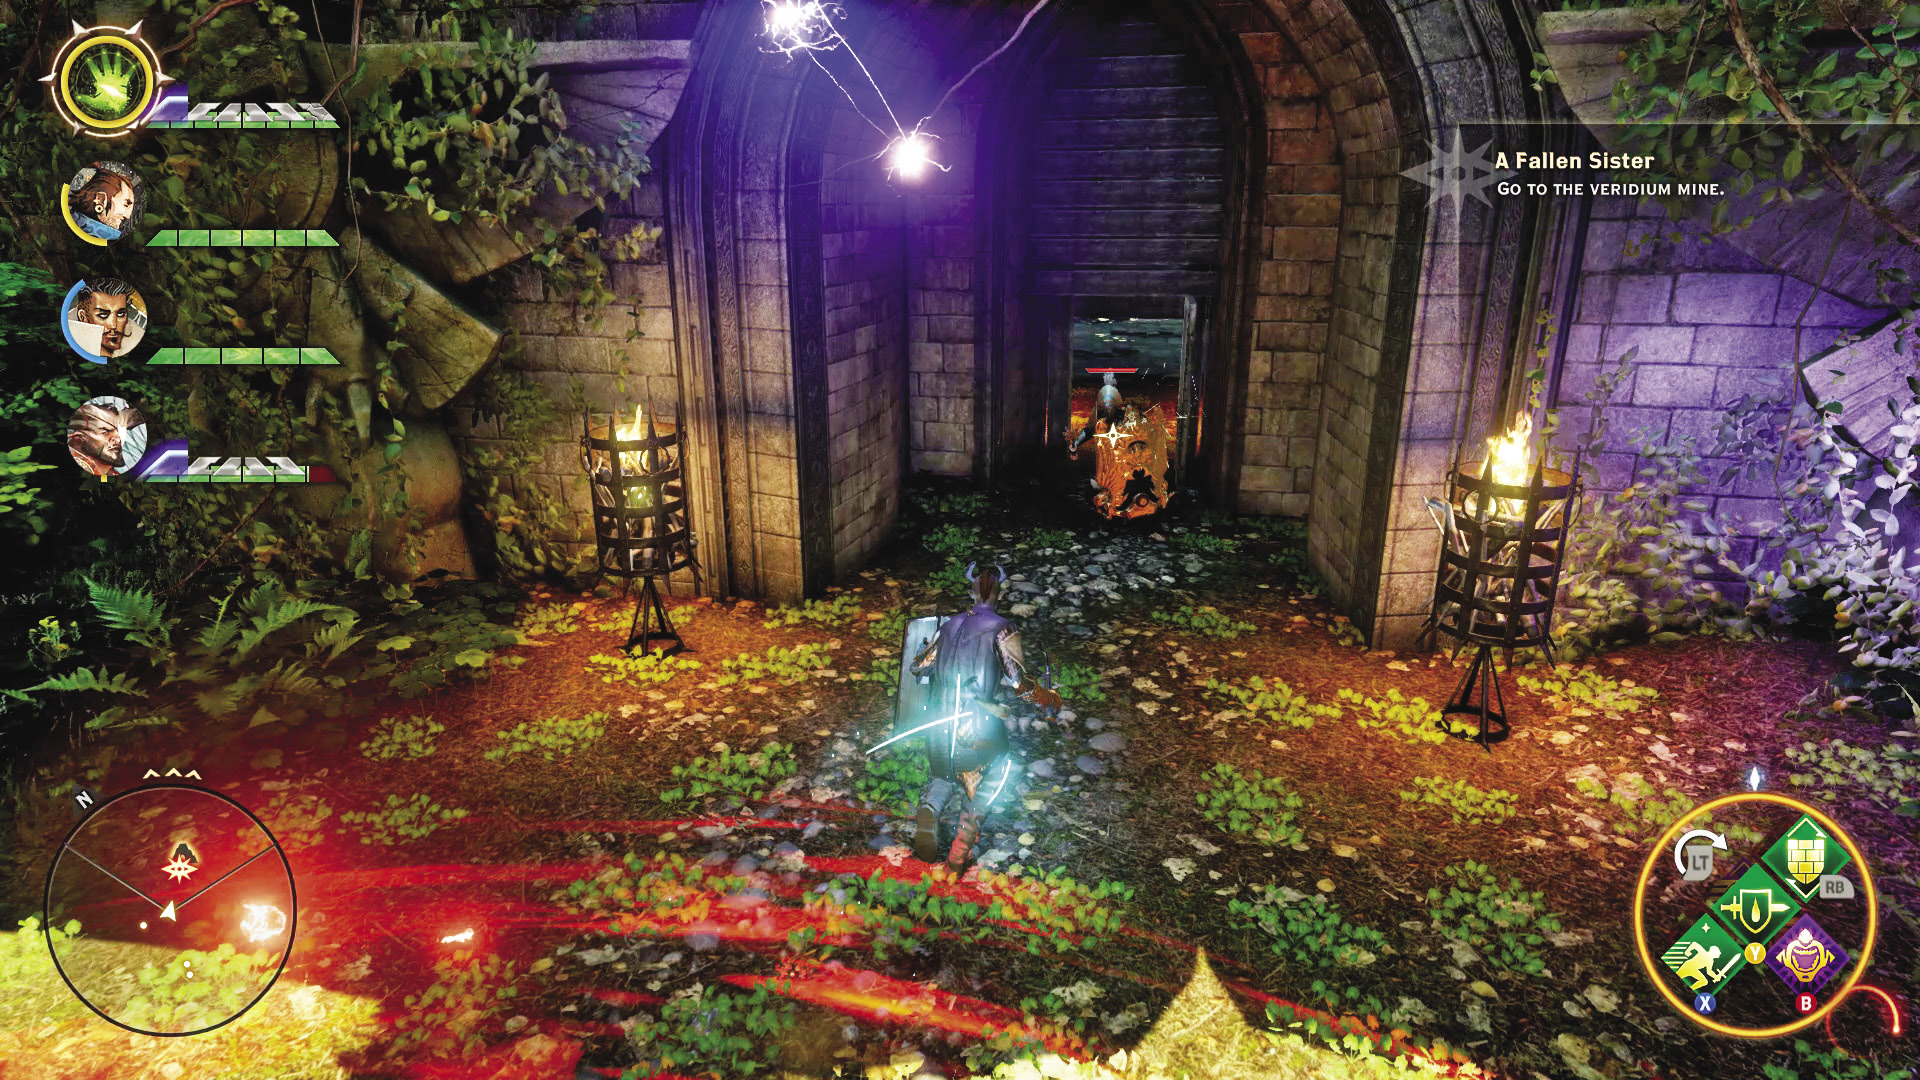
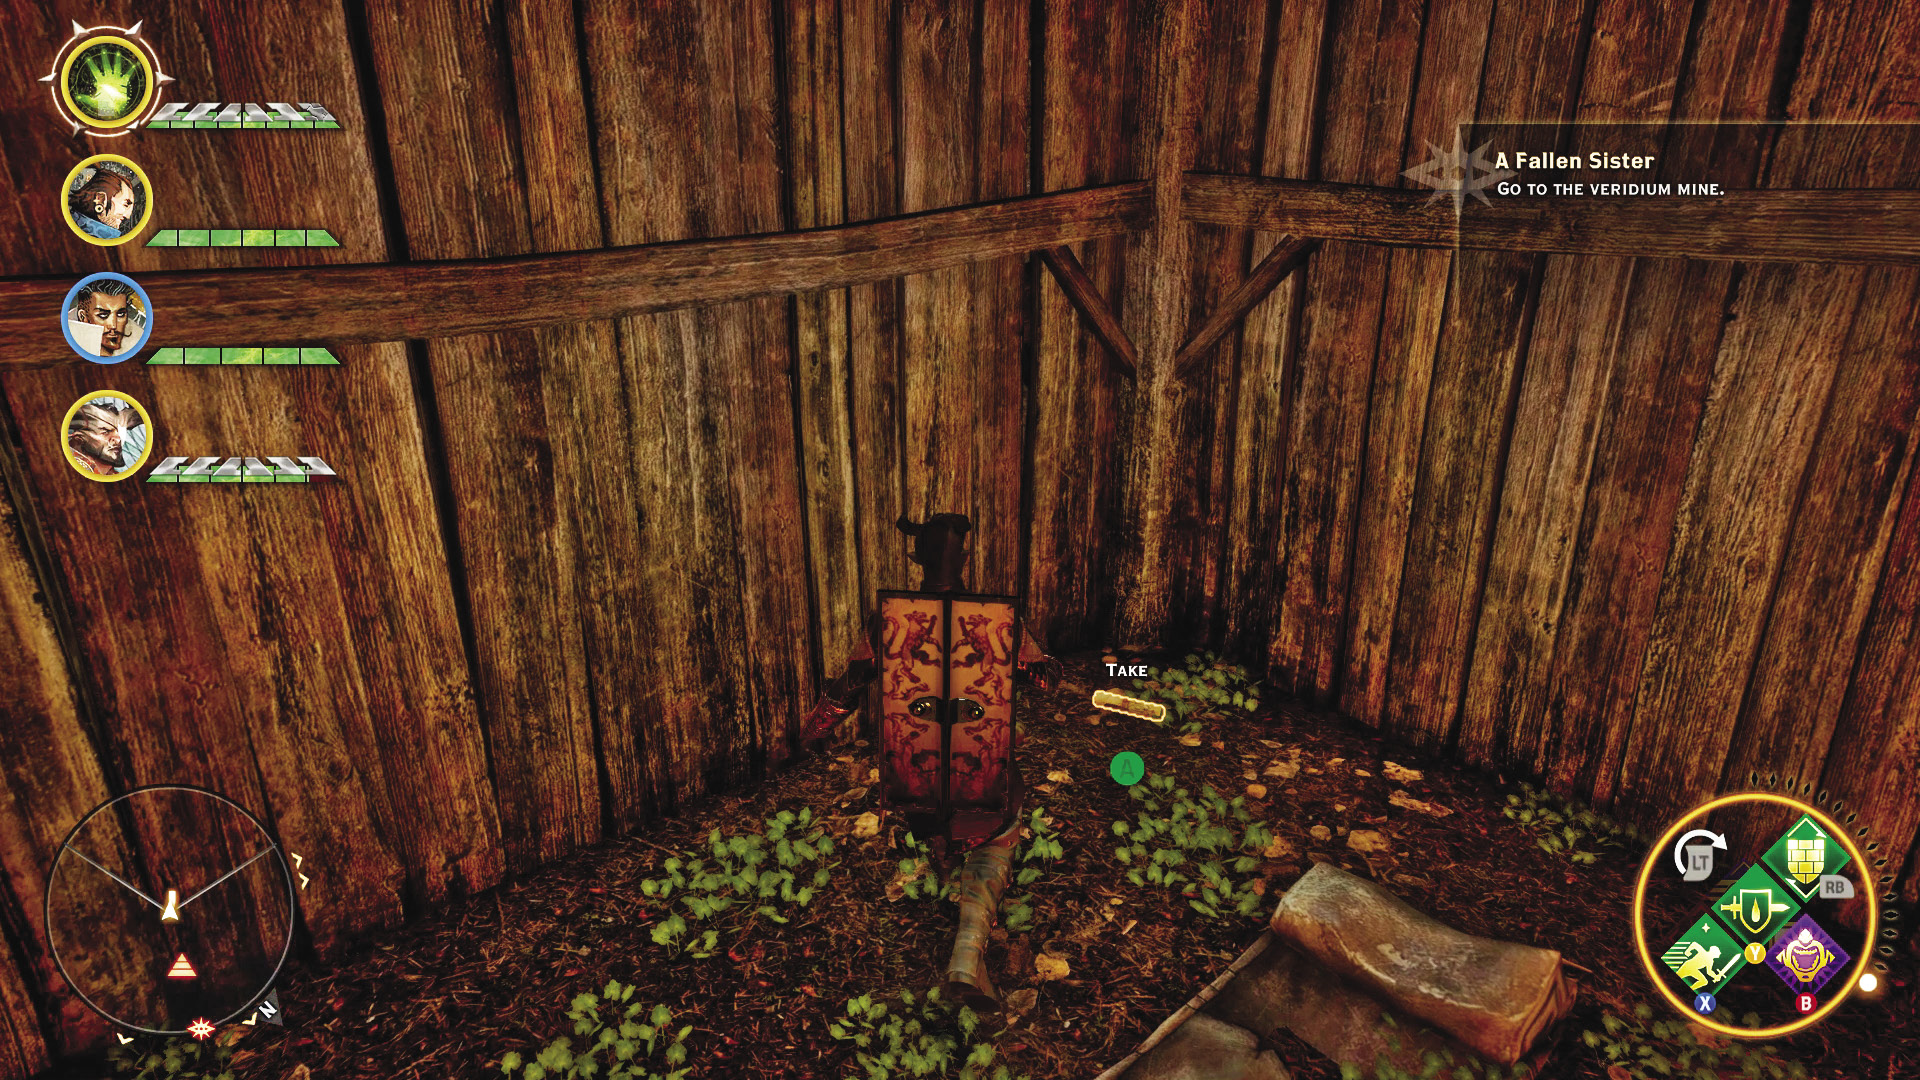
The main path away from Watcher’s Reach to the veridium mine is guarded by patrols of Freemen. Always be on the lookout for any scouts among the groups when taking them on, so you don’t suddenly take a knife to the back. On some of the corpses, you might find notes that give away just how much more desperate the Freemen’s situation truly is. The front entrance of the mine itself is through another small ravine, protected by a trio of swordsmen and a guardsman.
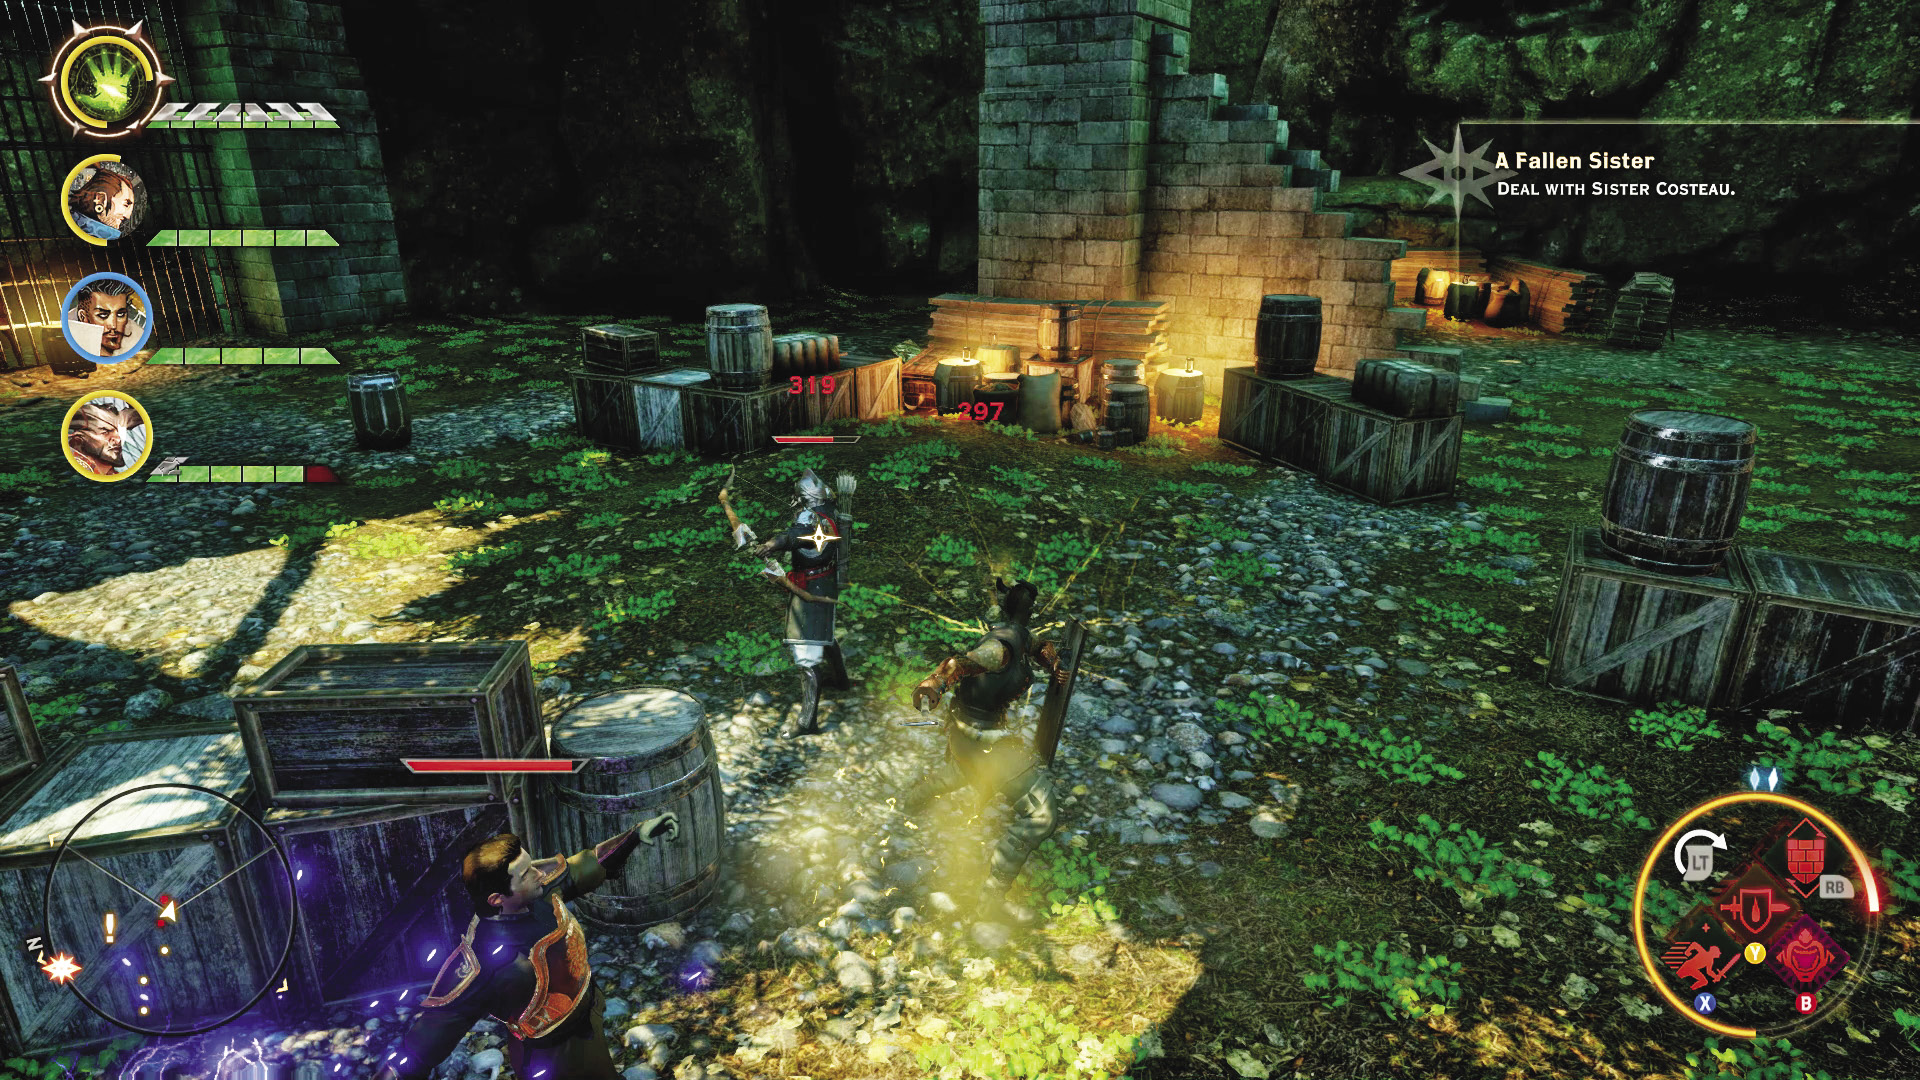
Upon entering the mine, you’ll have to contend with a swordsman and a pair of Freemen snipers using crates for cover.
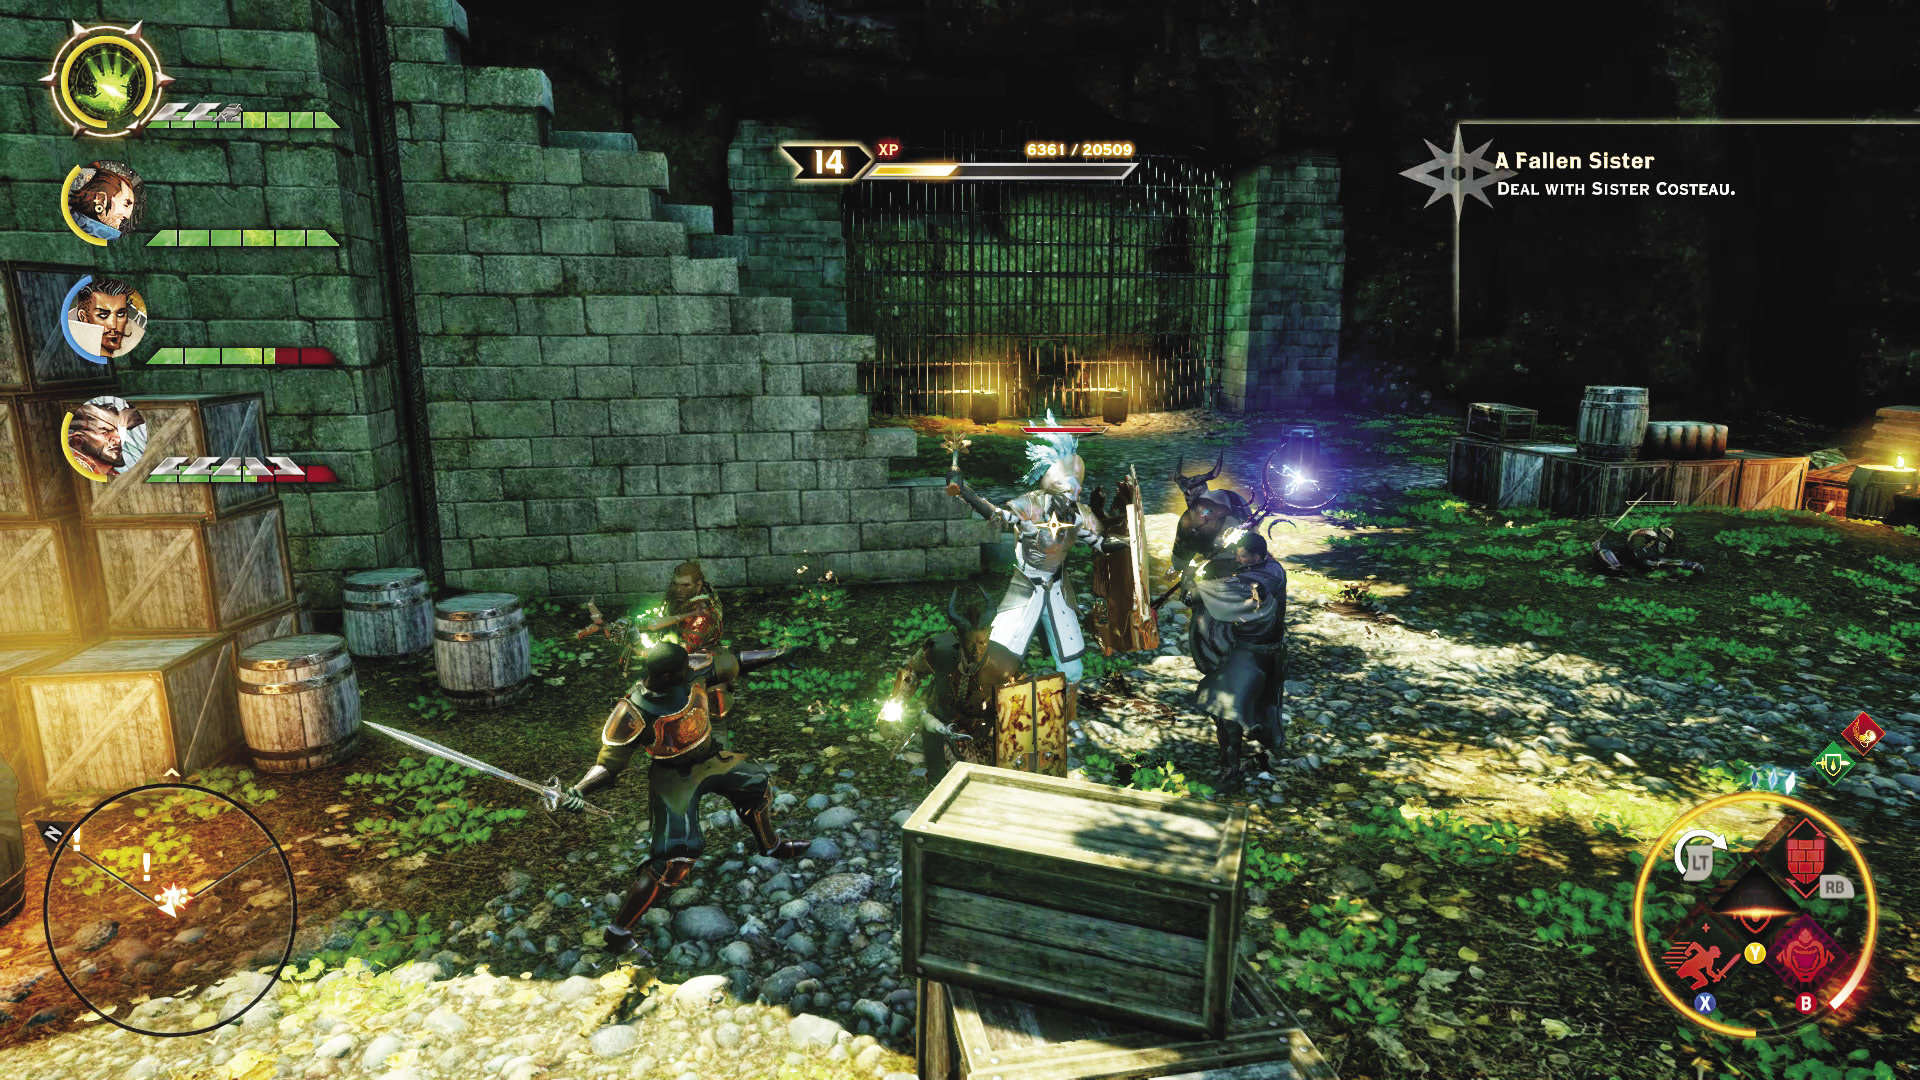
With all of her men defeated, Sister Costeau kicks open the door from her private chambers to face you in combat, joined by two more swordsmen. The “good” sister packs a massive shield, making life difficult for melee attacks unless they manage to flank her. Her mace also packs a devastating punch, able to pound mages and rogues into paste in short order. Your tanks should make getting her attention a top priority.
Try to get your rogues and mages to stun or knock her down, to make taking her out easier. Killing her completes this quest, but you’re not done in the veridium mines just yet. Search the area thoroughly for more items, and you will probably also hear prisoners from the nearby cells calling for help. Additionally, there are notes left behind by Sister Costeau, detailing her concerns with some of her less savory comrades.
6: Not Everyone’s Free
Quest Giver: A prisoner in the veridium mine
Description: The Freemen have taken residents of Watcher’s Reach captive.
Requirements: Complete the quest A Fallen Sister.
Reward: 242 XP, 80 Influence
Objectives:
 Find the cage key.
 Free the captives.
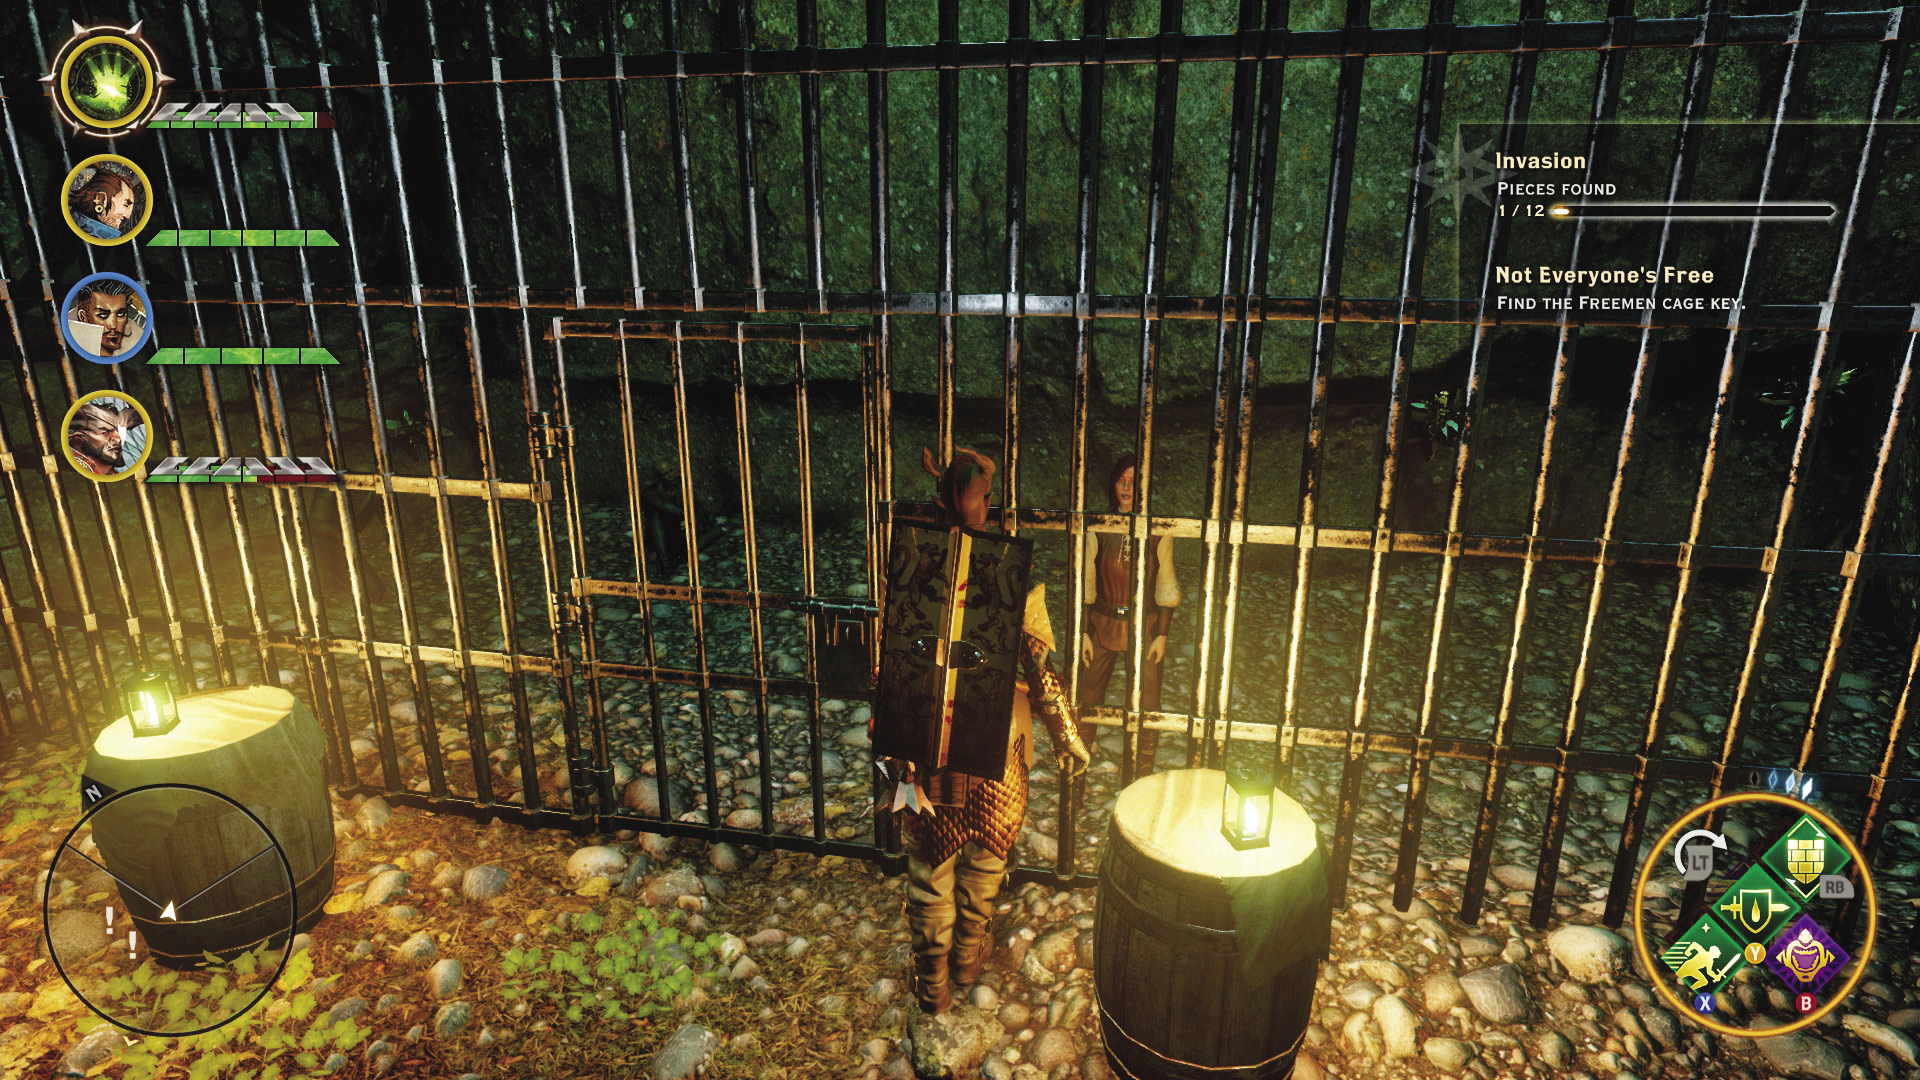
If you approach the prison cell in the mine, a woman in the cell says that one of the guards had a key but apparently set it down somewhere. She gives you general directions on where to walk to find the key. Release the prisoners to complete the quest!
7: A Vicious Thug

Quest Giver: A note found in the veridium mine held by Sister Costeau
Description: Documents found in Costeau’s camp mention a commander for the Freemen named Duhaime. He is among peers holding a deserted villa in the Emerald Graves.
Requirements: Locate the papers inside the veridium mine after defeating Sister Costeau.
Reward: 967 XP, 200 Influence, 2 Power
Objectives:
 Kill Duhaime.
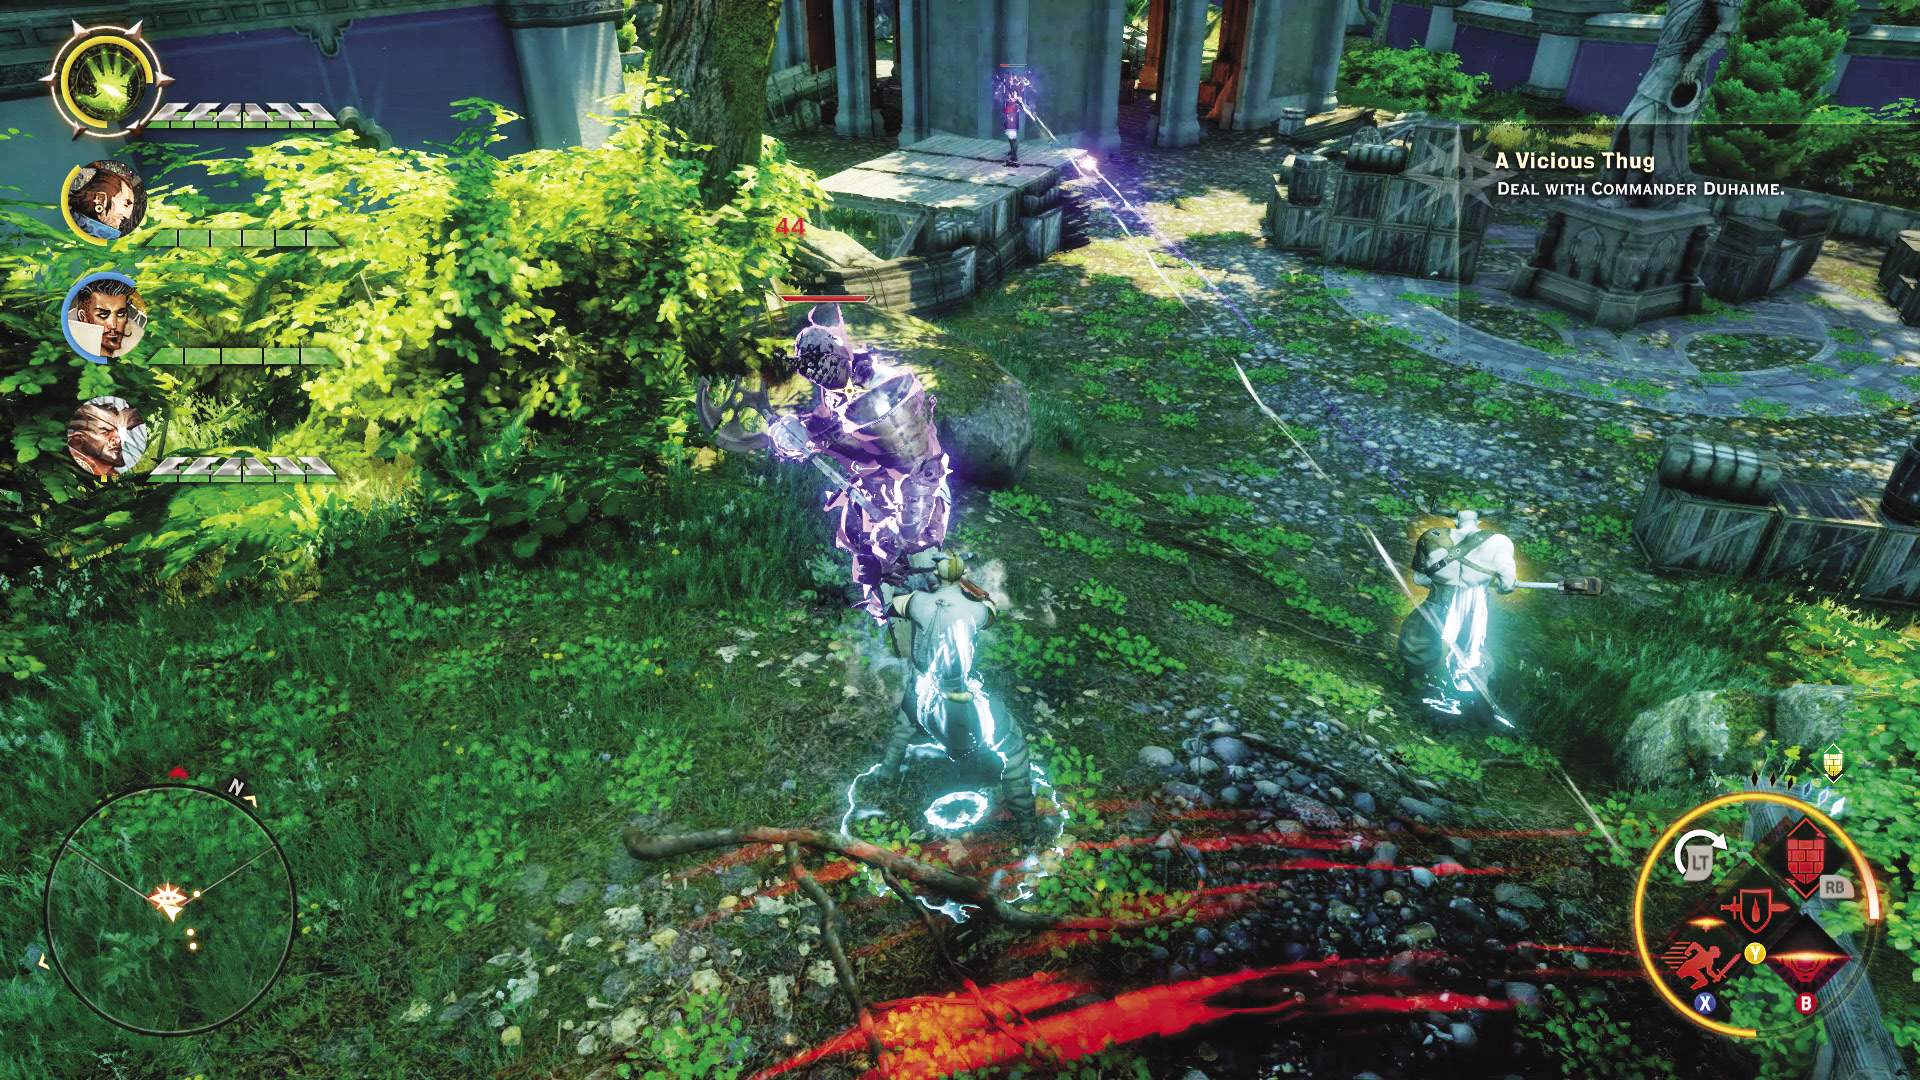
Over in the Villa Maurel region is Duhaime, a cruel man who is in no small part related to the very negative reputation the Freemen of the Dales have earned among the civilians in the Emerald Graves. He leads a sizable gang of troops and is a vicious combatant himself. This mountain of muscle and his two-handed axe can be a problem, but not if he’s left alone after you wipe out his buddies.
8: A Corrupt General

Quest Giver: A key found on the corpse of Duhaime
Description: Documents on Duhaime’s corpse detailed the whereabouts of the Freemen leader. The man, known as Maliphant, is likely somewhere inside a villa held by the Freemen in the Emerald Graves.
Requirements: Kill the bruiser in front of Villa Maurel to retrieve the key that grants access to the villa.
Reward: 967 XP, 200 Influence, 2 Power
Objectives:
 Enter Villa Maurel.
 Deal with Maliphant.
In front of Villa Maurel, you fought and killed Duhaime, a dangerous and power-mad thug using the Freemen’s cause to murder innocents. On his corpse was a key to the villa itself, where a general of the Freemen awaits.
Safekeeping

Quest Giver: A piece of a runed key found in Villa Maurel
Description: There are fragments of a runed key scattered throughout Villa Maurel. If the fragments are reassembled, the key may unlock something of value.
Requirements: Find a runed key fragment in the villa.
Reward: 242 XP, 80 Influence
Objectives:
 Find three key fragments.
 Find a way to reassemble the runed key.
 Find a use for the runed key.
Villa Maurel
Legend
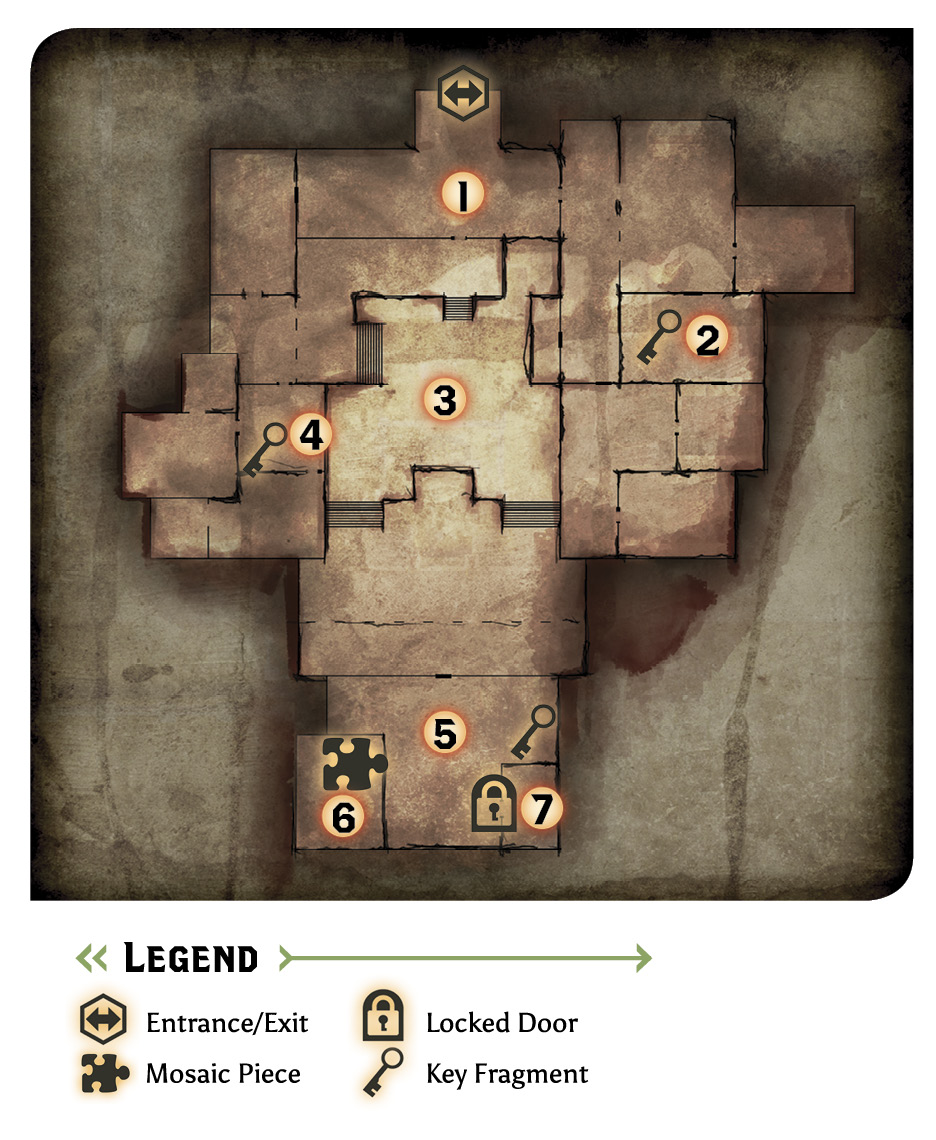
A mansion for a very rich and powerful man, Villa Maurel is now in the possession of the Freemen of the Dales, acting as the stronghold for Maliphant, the commanding general for these rebels. Apparently, a meeting of minds between Corypheus’s own commanders and Maliphant himself is underway. It’s your perfect chance to catch them all in one place.
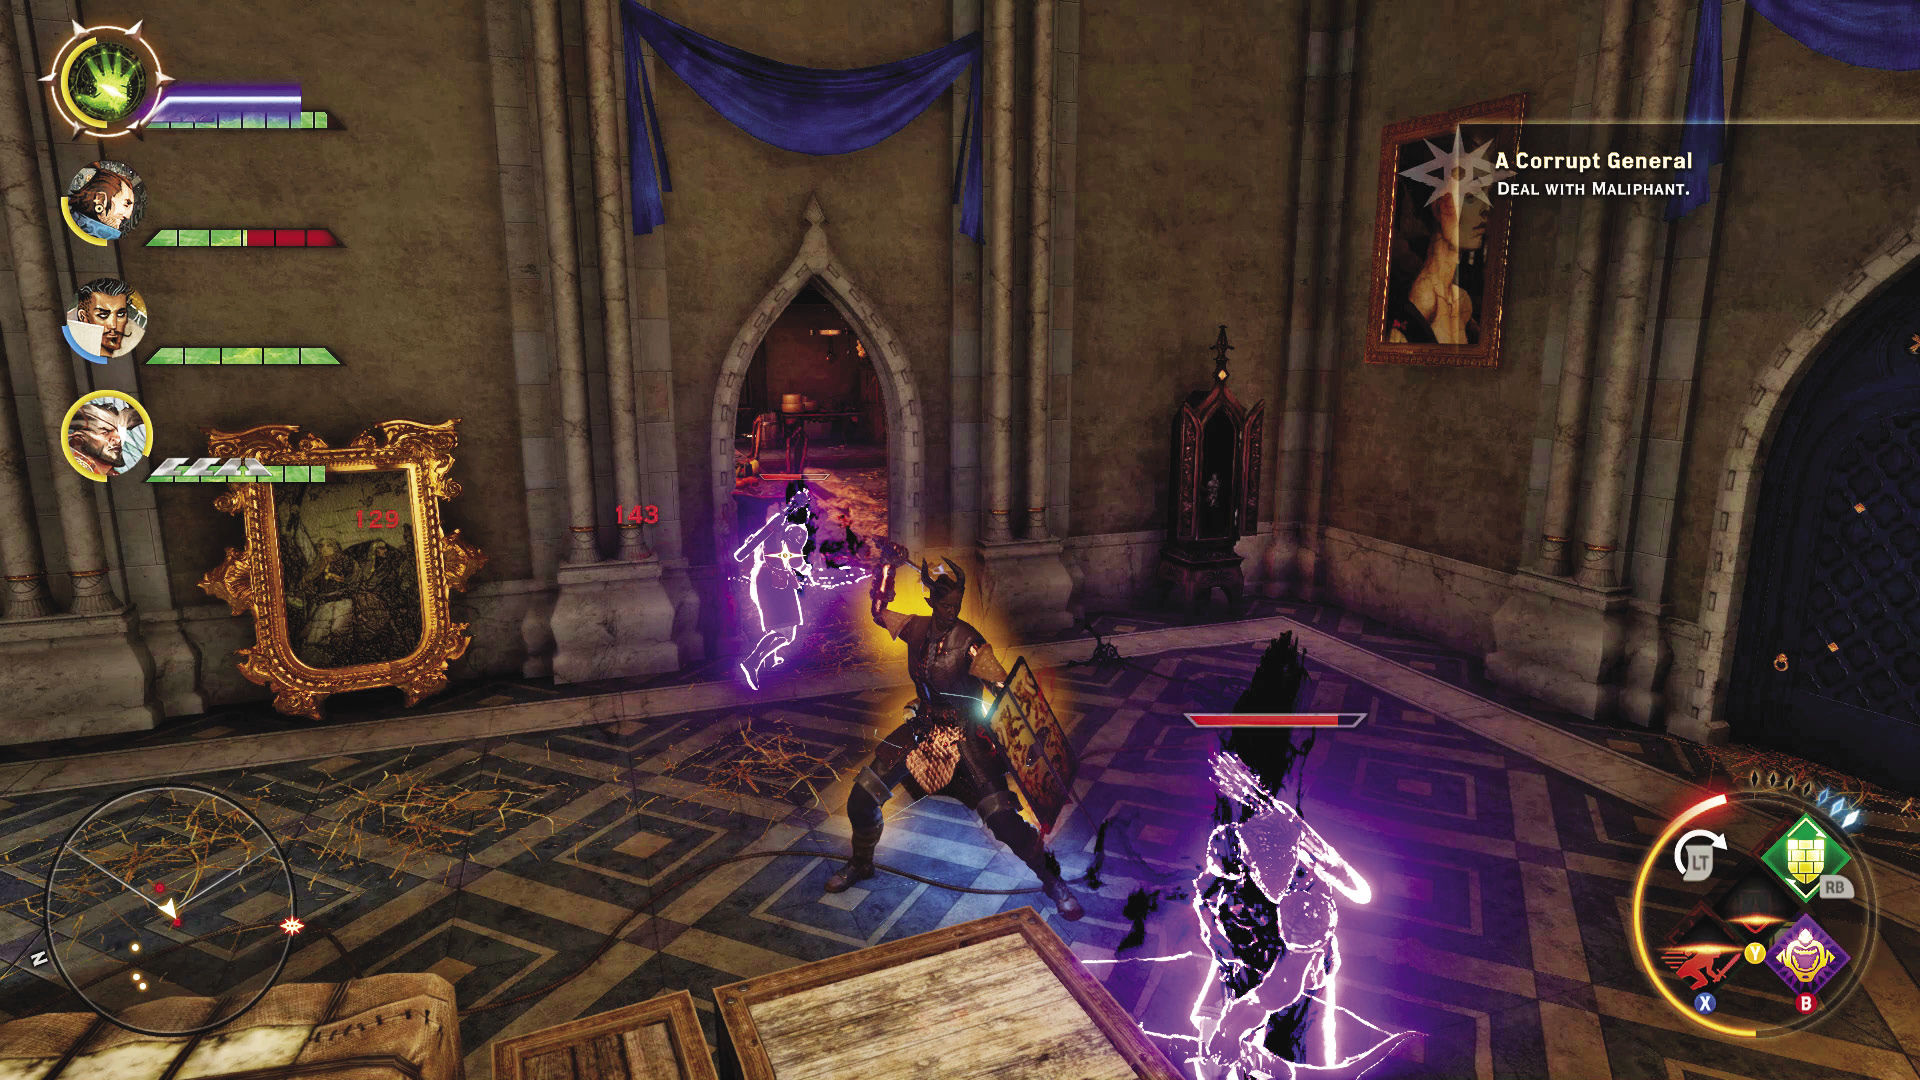
1. In the dining hall, several Freemen discuss the current events befalling their organization. Relieve them of their worries as quickly and violently as possible, then rummage through the dining hall for useful goods.
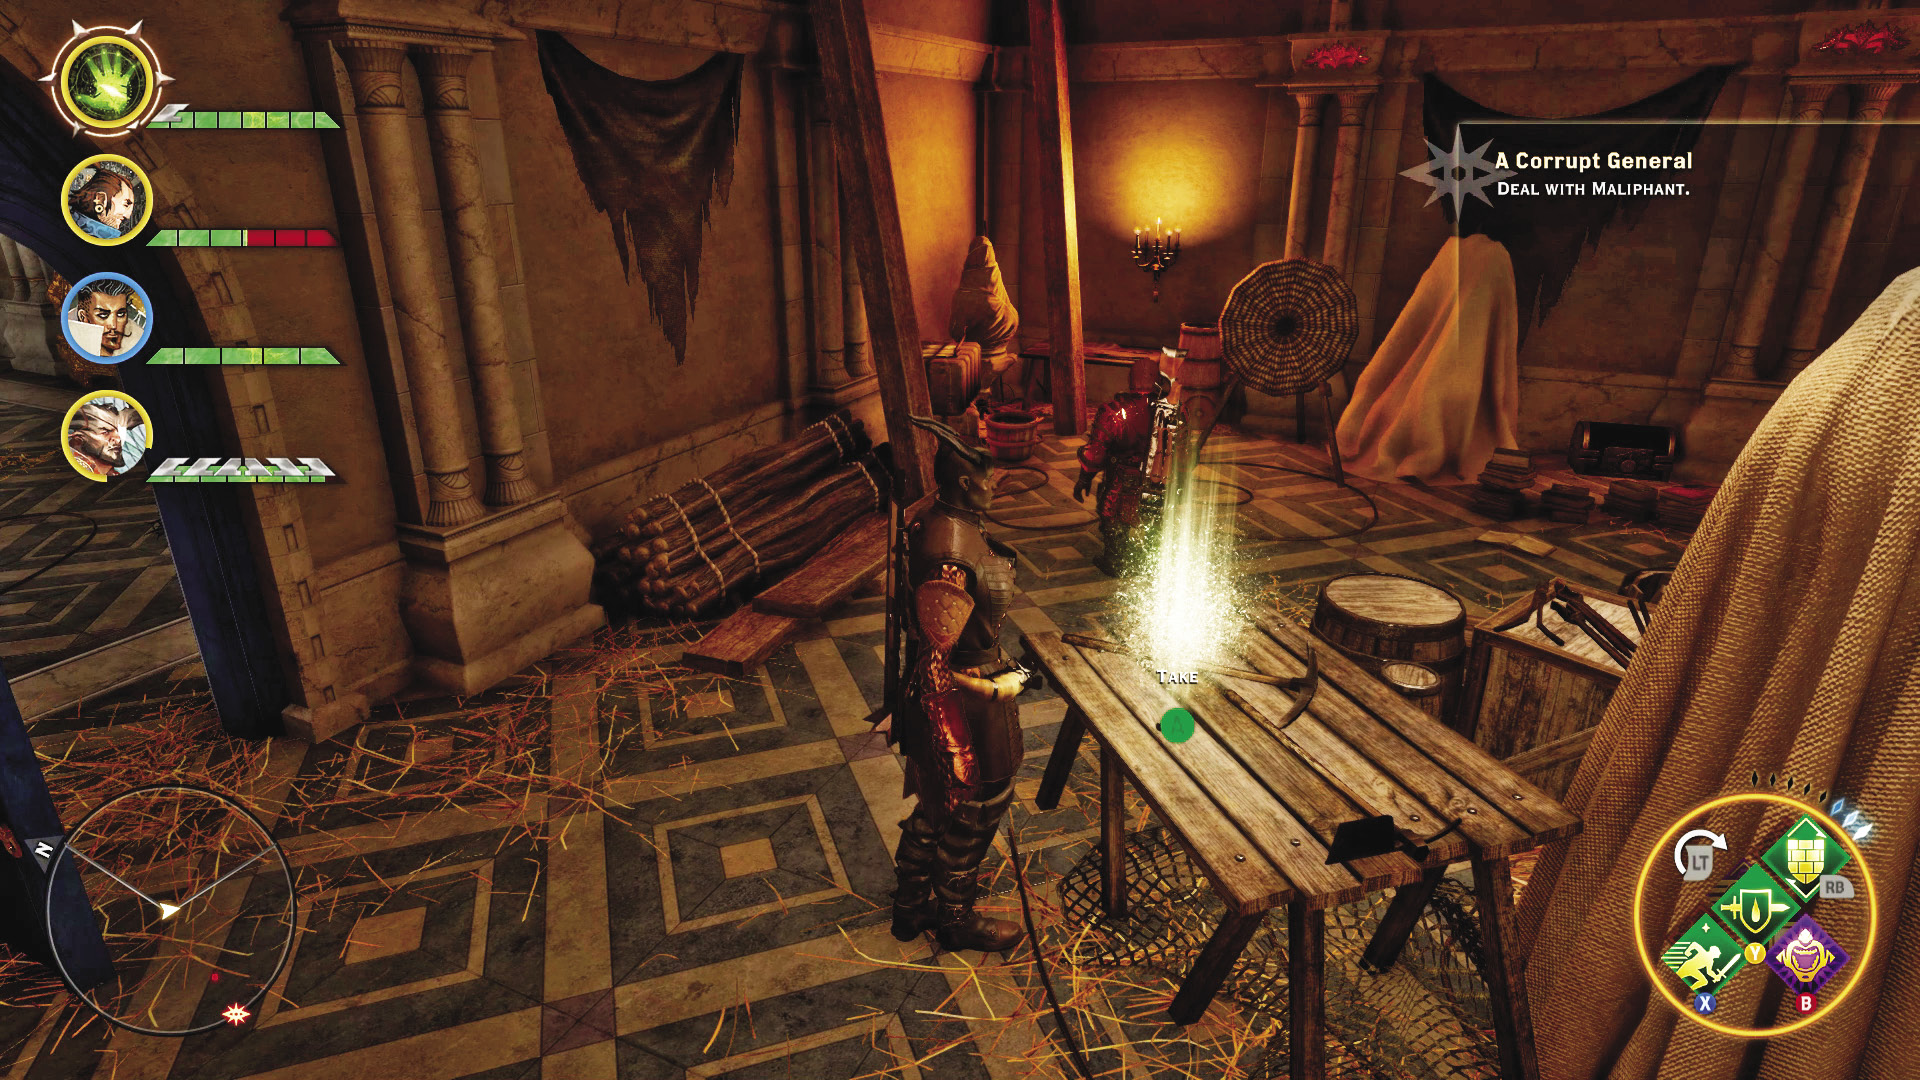
2. The east hall contains a key fragment on a workbench; don’t miss out on recovering it! You need it for the Safekeeping quest.
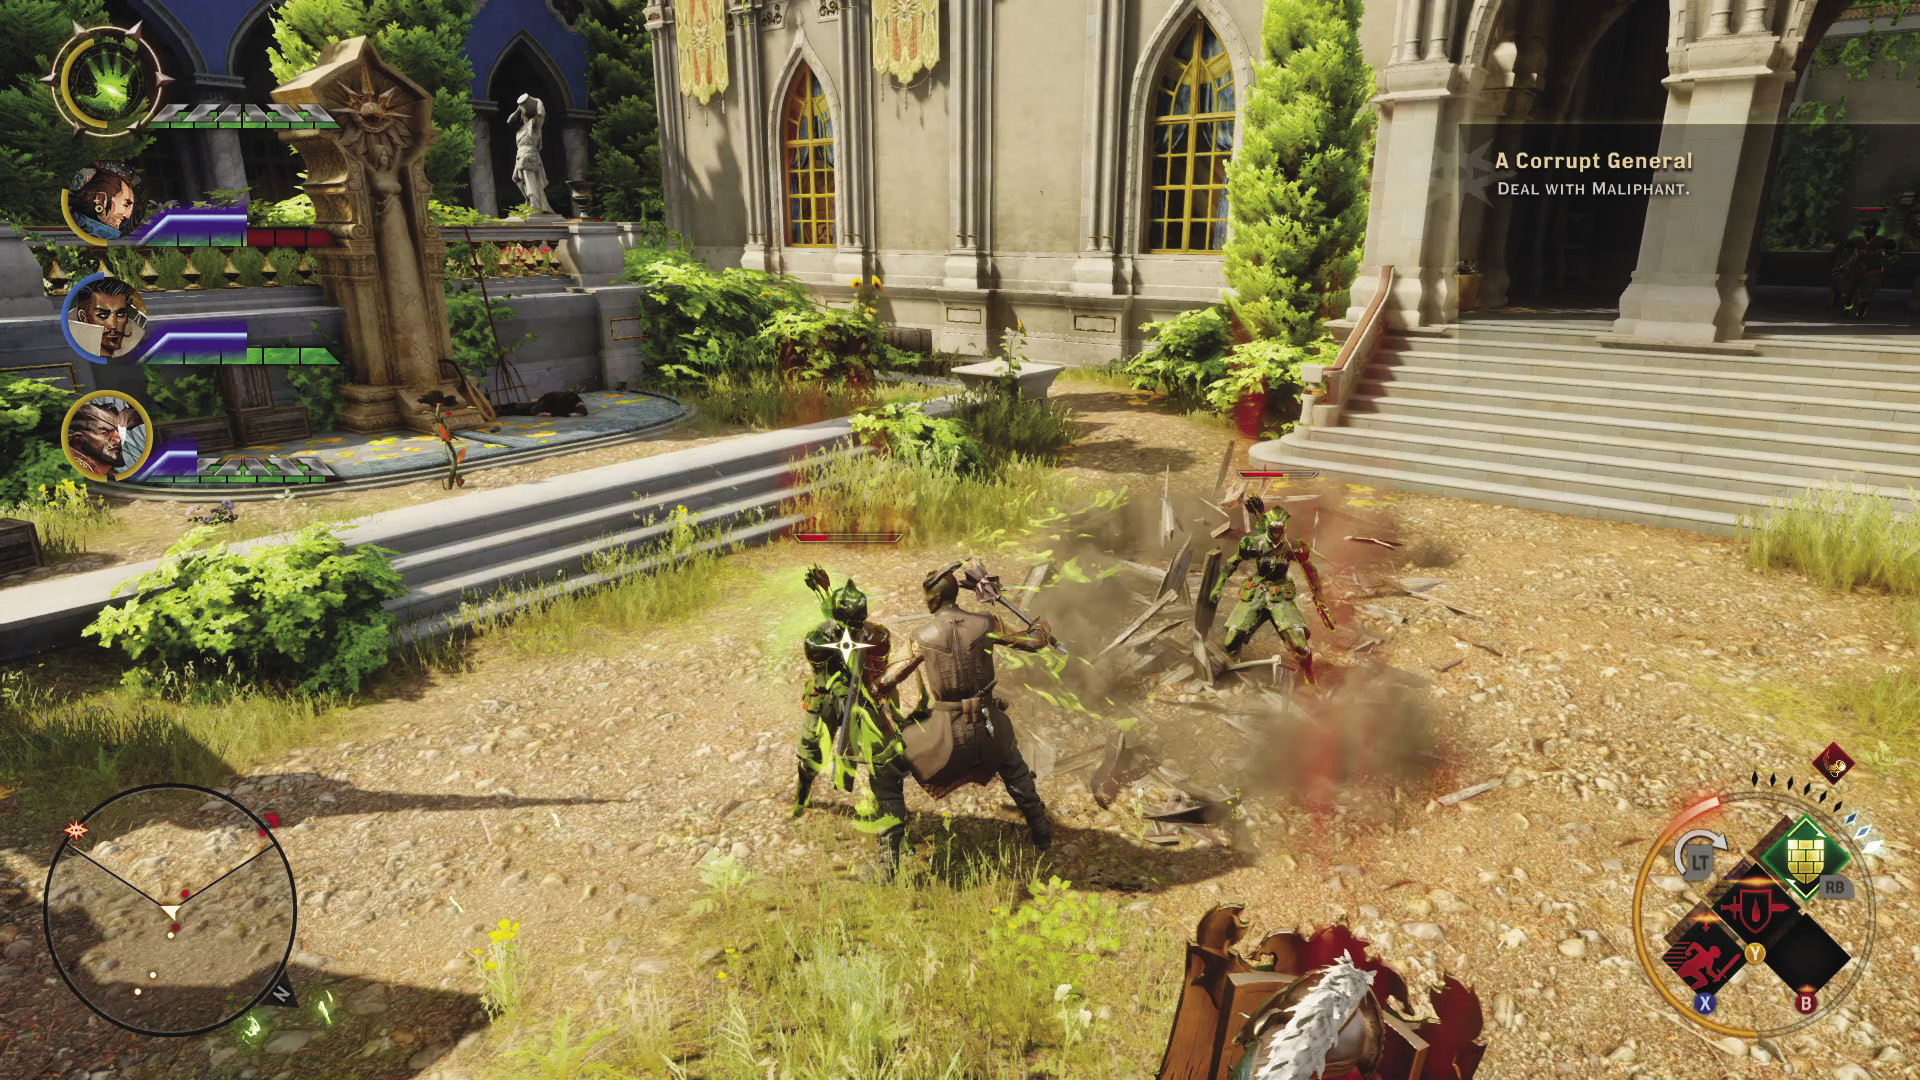
3. The courtyard contains a large gathering of Freemen, and once you begin the fight, more rush in from the other parts of the villa if you haven’t cleared them. Maliphant, along with red templars and a pair of Freemen, also joins the fray. This can be a very intense battle for under-prepared parties. Maliphant is an Orlesian prowler, and a highly aggressive one at that. He can strike from stealth and wipe out a party member in seconds. You can track him via your mini-map, as he’s counted as a moving quest objective. Always be on the look out for archers, as they tend to get lost in the chaos of battle. After Maliphant’s death, survey and loot the courtyard. You’ll find a note that once again ominously brings up Emprise du Lion.
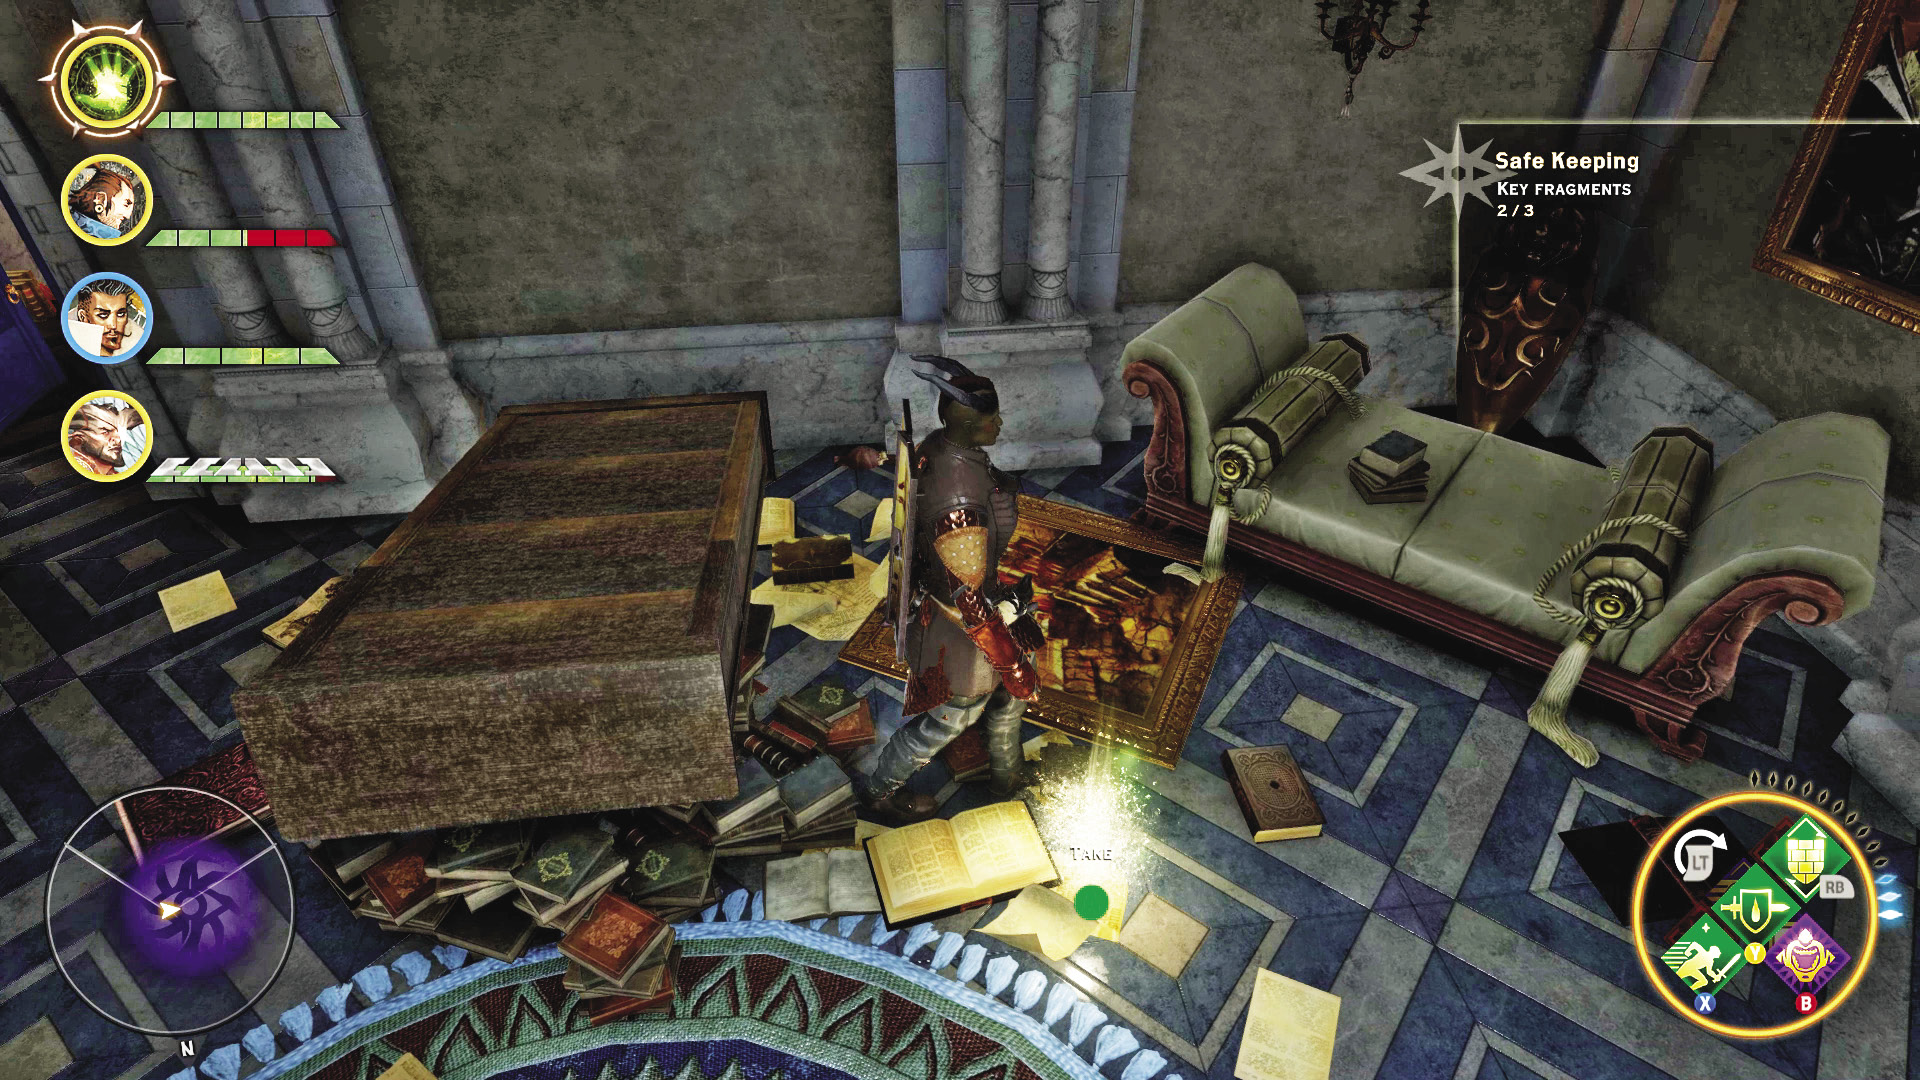
4. The private chambers on the west side of the villa contain another key fragment, along with more possible encounters with Freemen troops if you have not already engaged the whole villa by going straight for the courtyard. Be sure to search the private chambers thoroughly for some interesting reading.
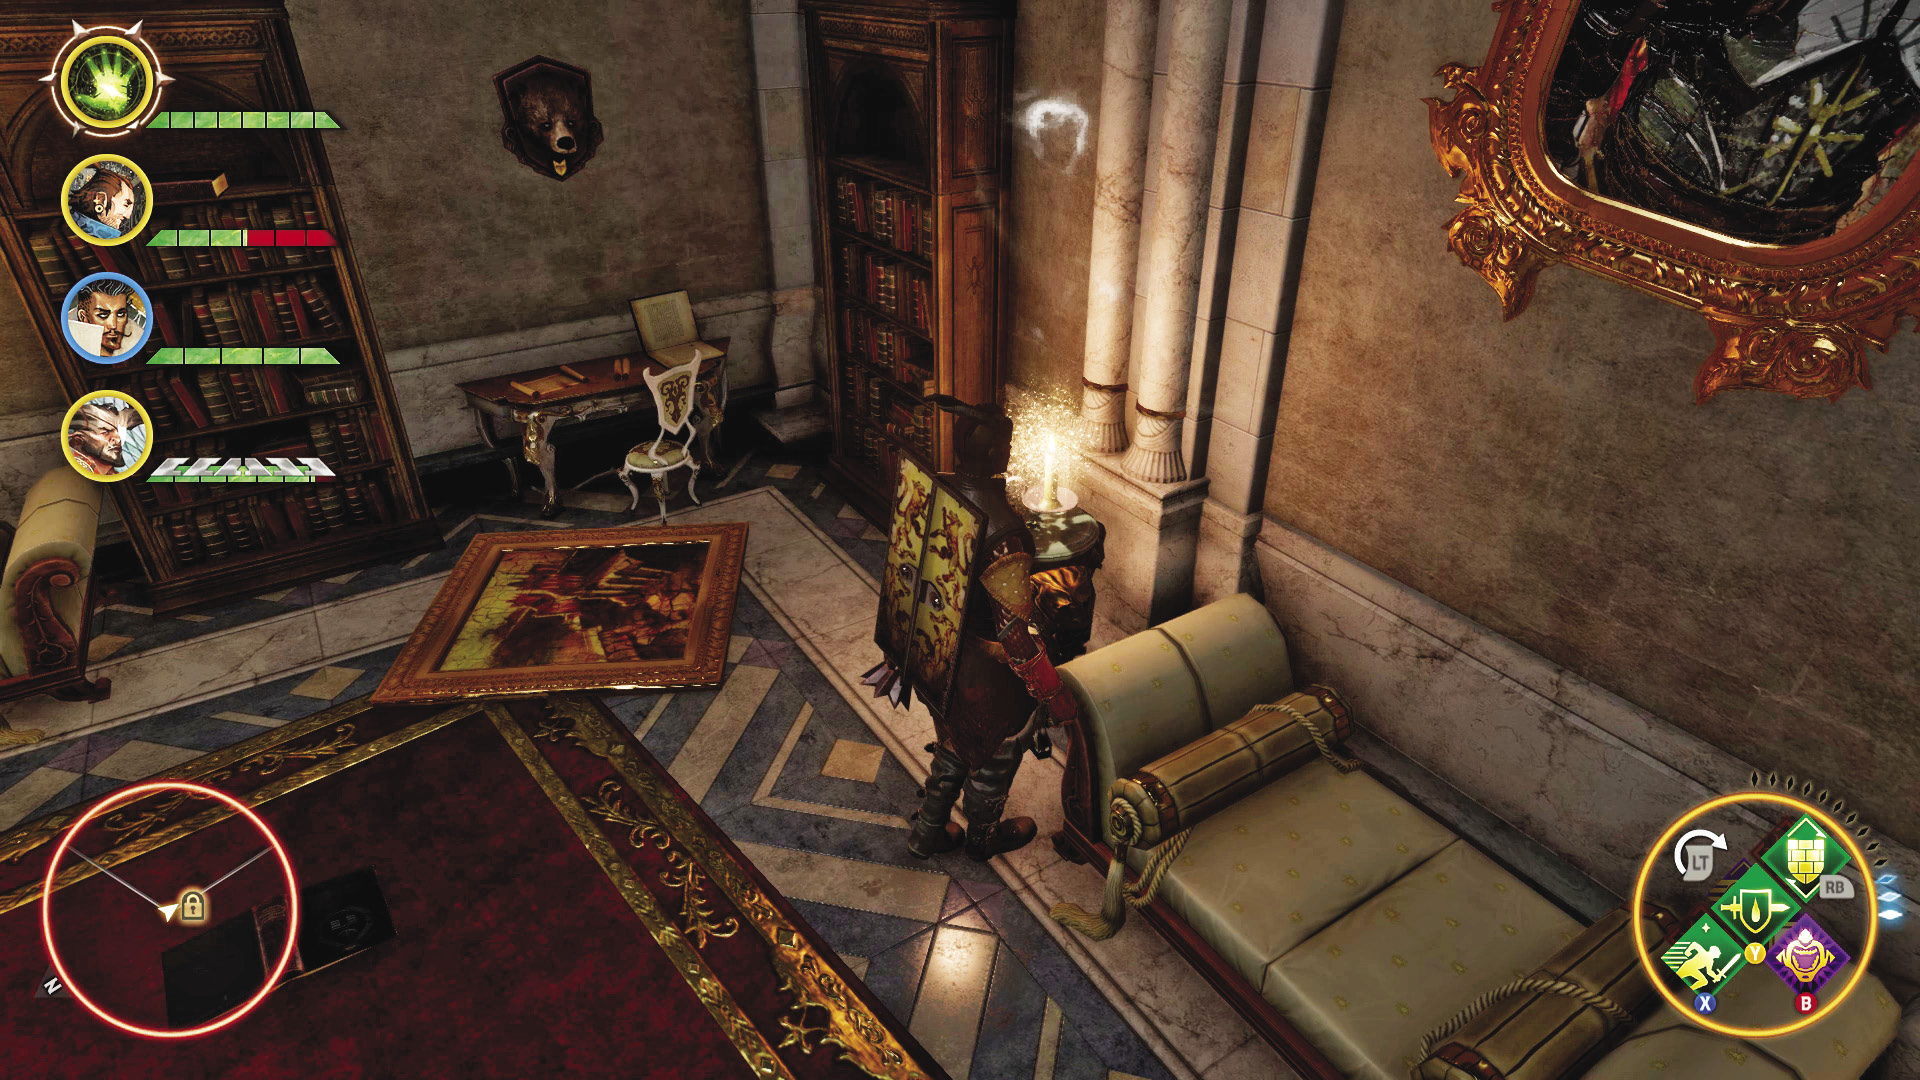
5. The study on the southern side of the villa contains a key fragment, along with plenty of interesting reading about Maliphant and his dealings with “C”.
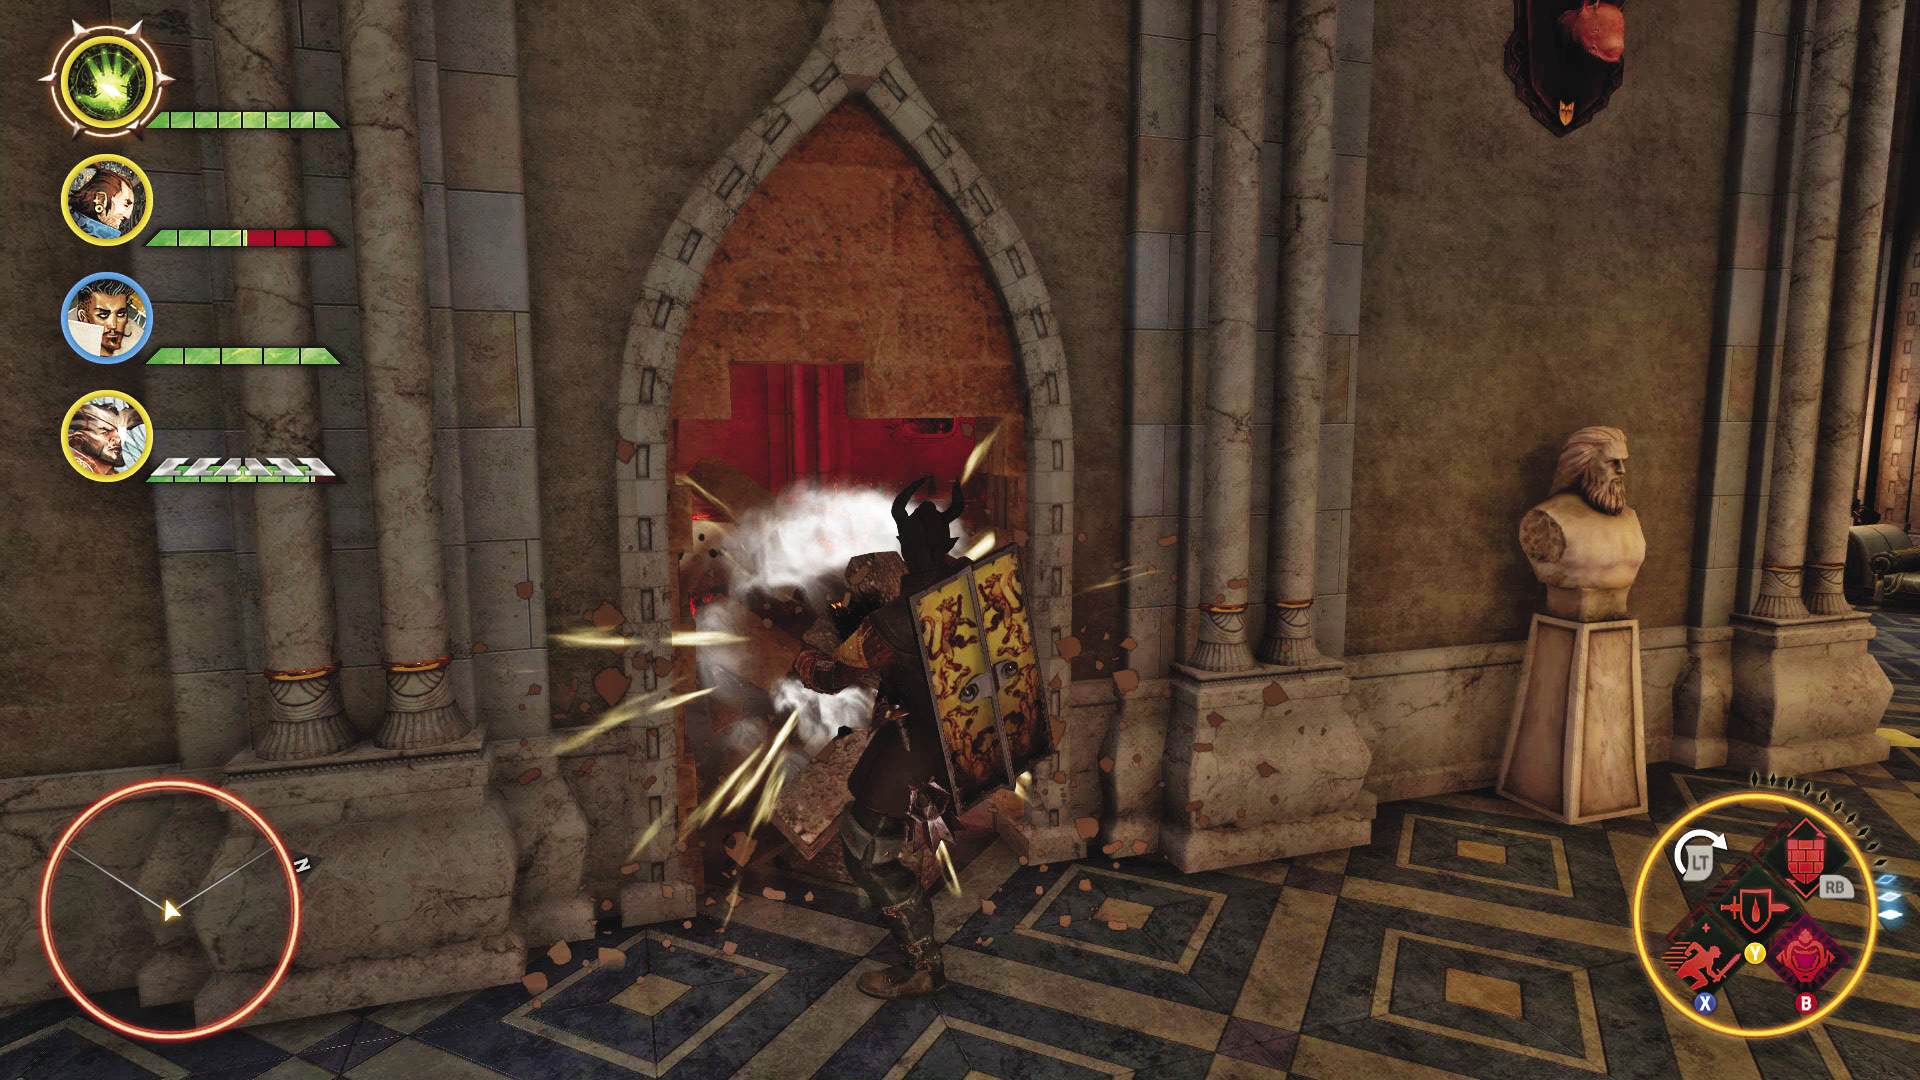
6. A warrior can kick down a wall in the study. The personal storeroom it hid contains a device that can be used to restore the three key pieces into one whole key—it just requires a mage to power it. There is also a mosaic piece for the Invasion set in this room.
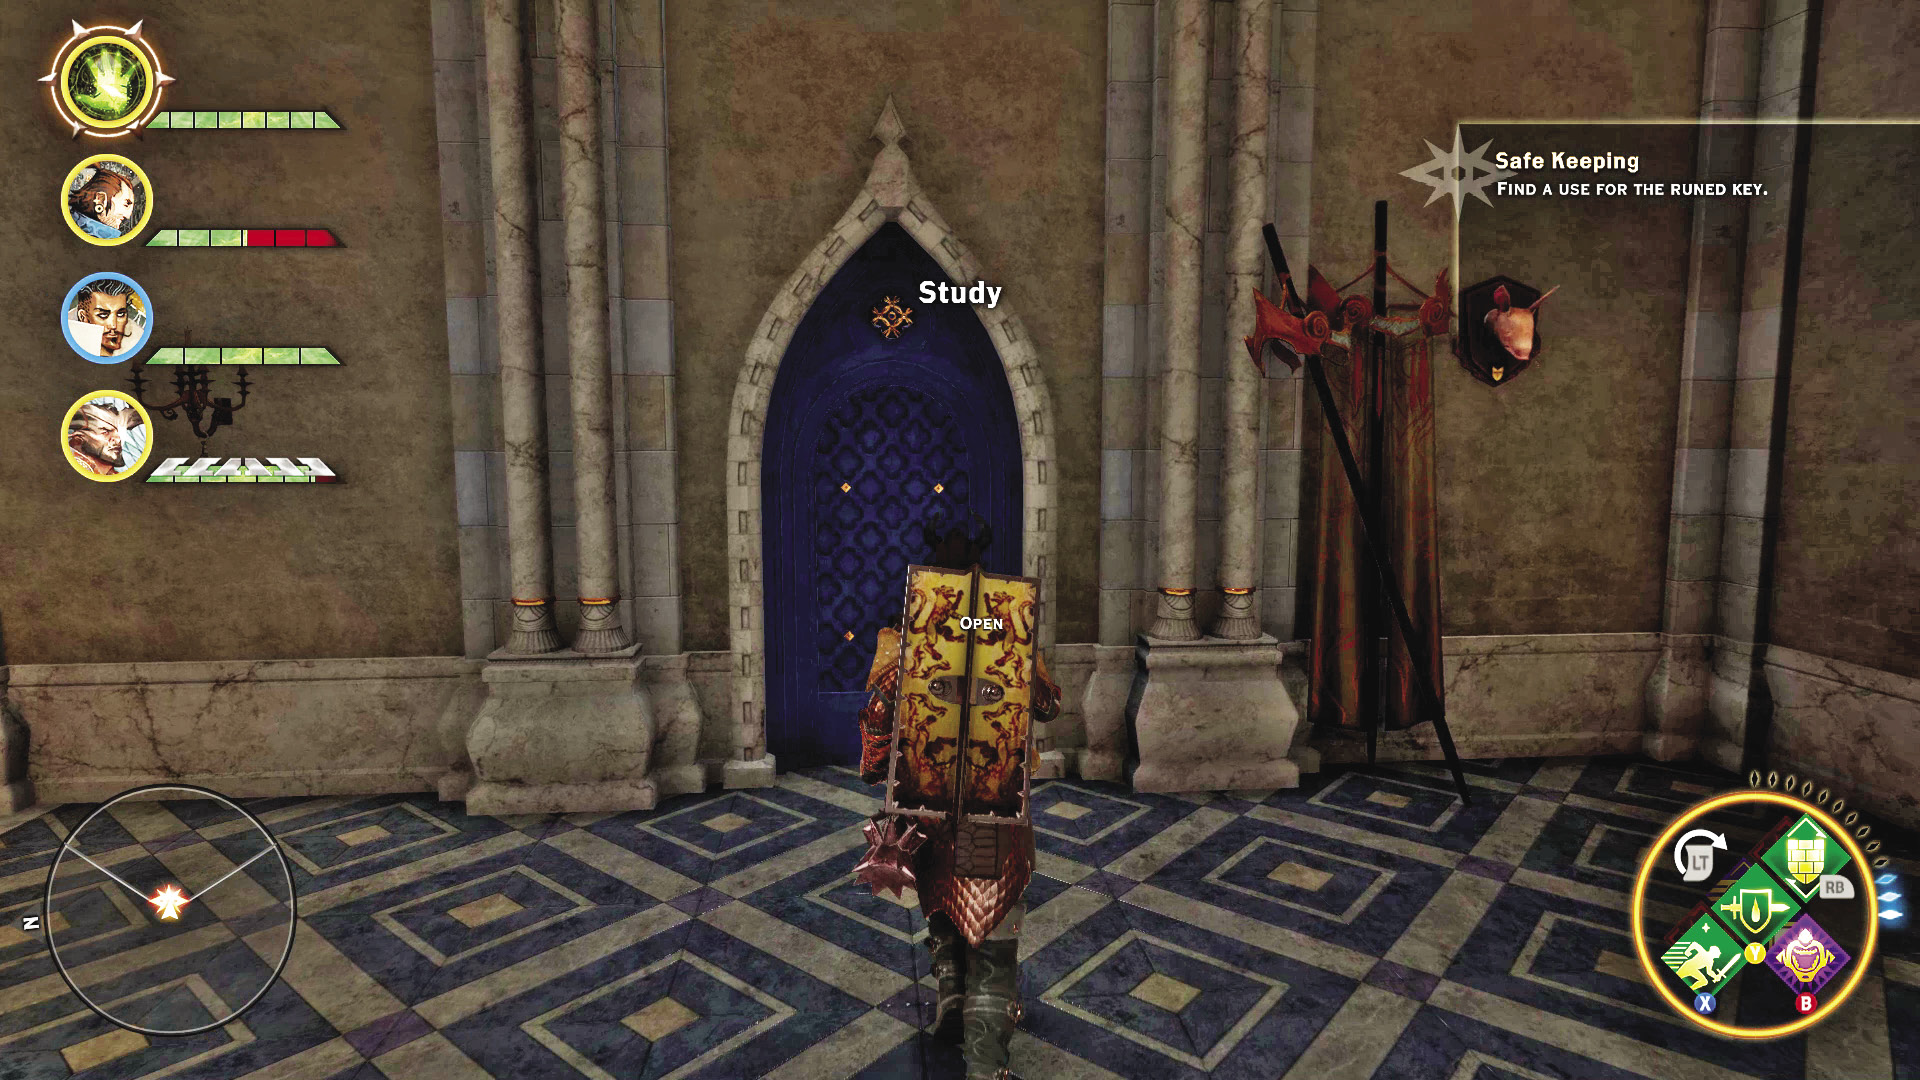
7. The door across from the personal storeroom can be unlocked by the runed key, completing the Safekeeping quest and getting you access to some useful loot!
9: A Deluded Chevalier

Quest Giver: A note found in the veridium mine held by Sister Costeau
Description: Documents found in Costeau’s camp mention a chevalier named Auguste who is working for the Freemen. He was last seen at Argon’s Lodge in the Emerald Graves.
Requirements: Locate the papers inside the veridium mine after defeating Sister Costeau.
Reward: 967 XP, 200 Influence, 2 Power
Objectives:
 Go to Argon’s Lodge.
 Deal with Chevalier Auguste.
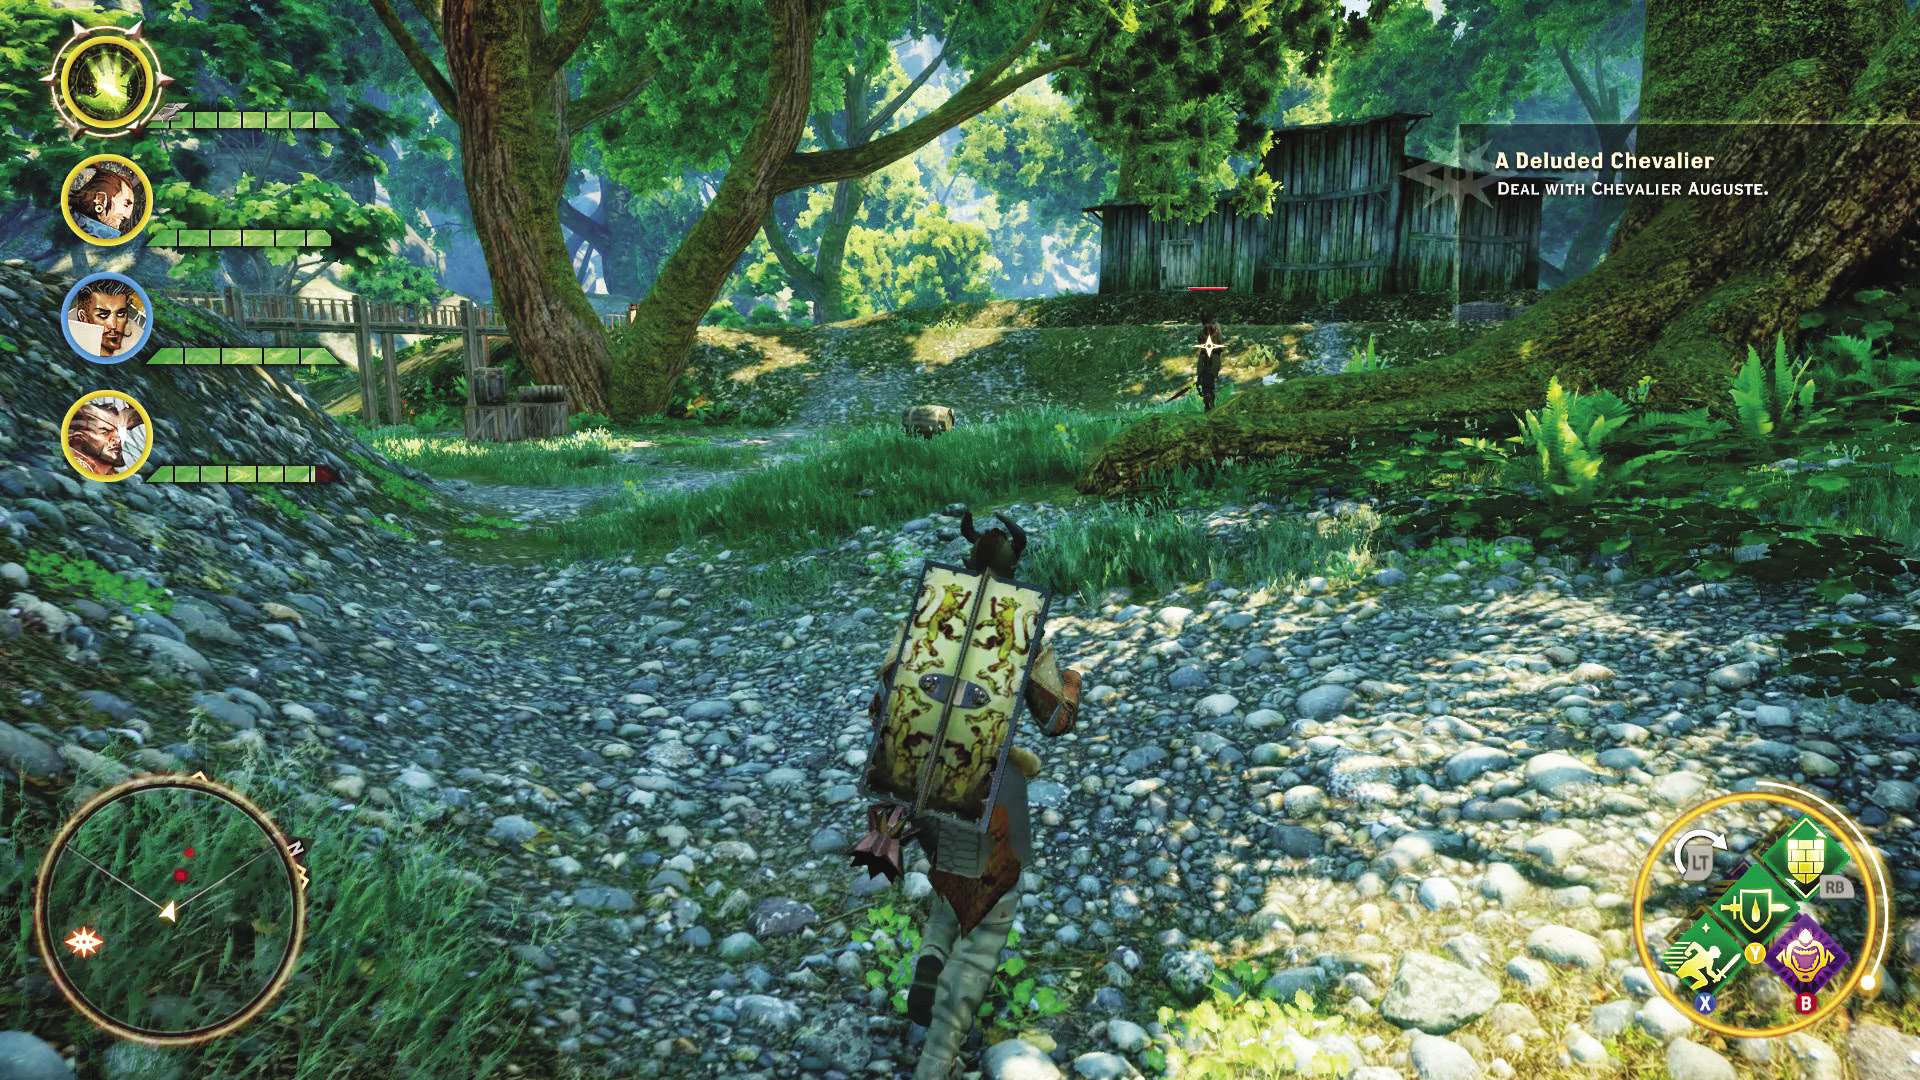
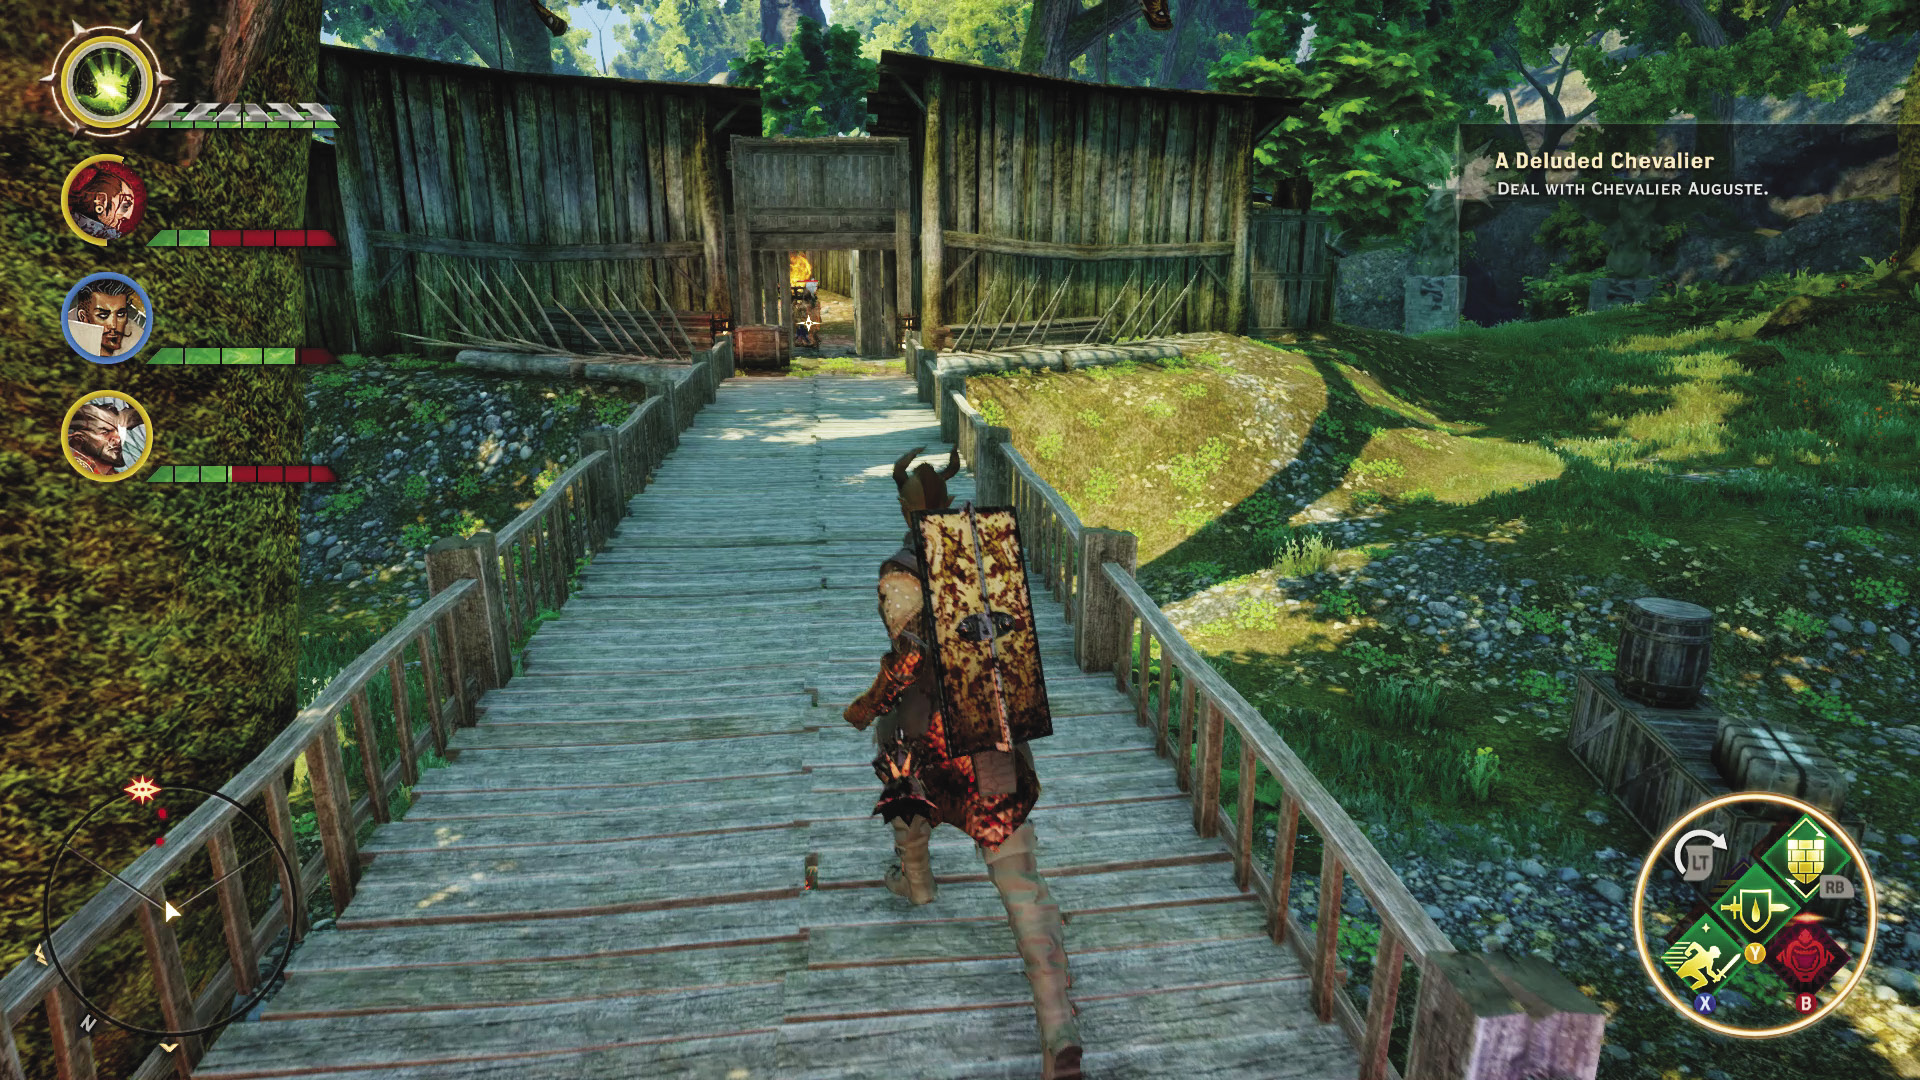
Approaching Argon’s Lodge from the north, you will find a large contingent of Freemen barring entry to the small settlement. Begin the fight, clearing out as many of the troops as you can. As the fight progresses, reinforcements flood in from the north. With so many threats to deal with, including multiple archers and guardsmen, a well-timed Mark of the Rift may be a good idea.
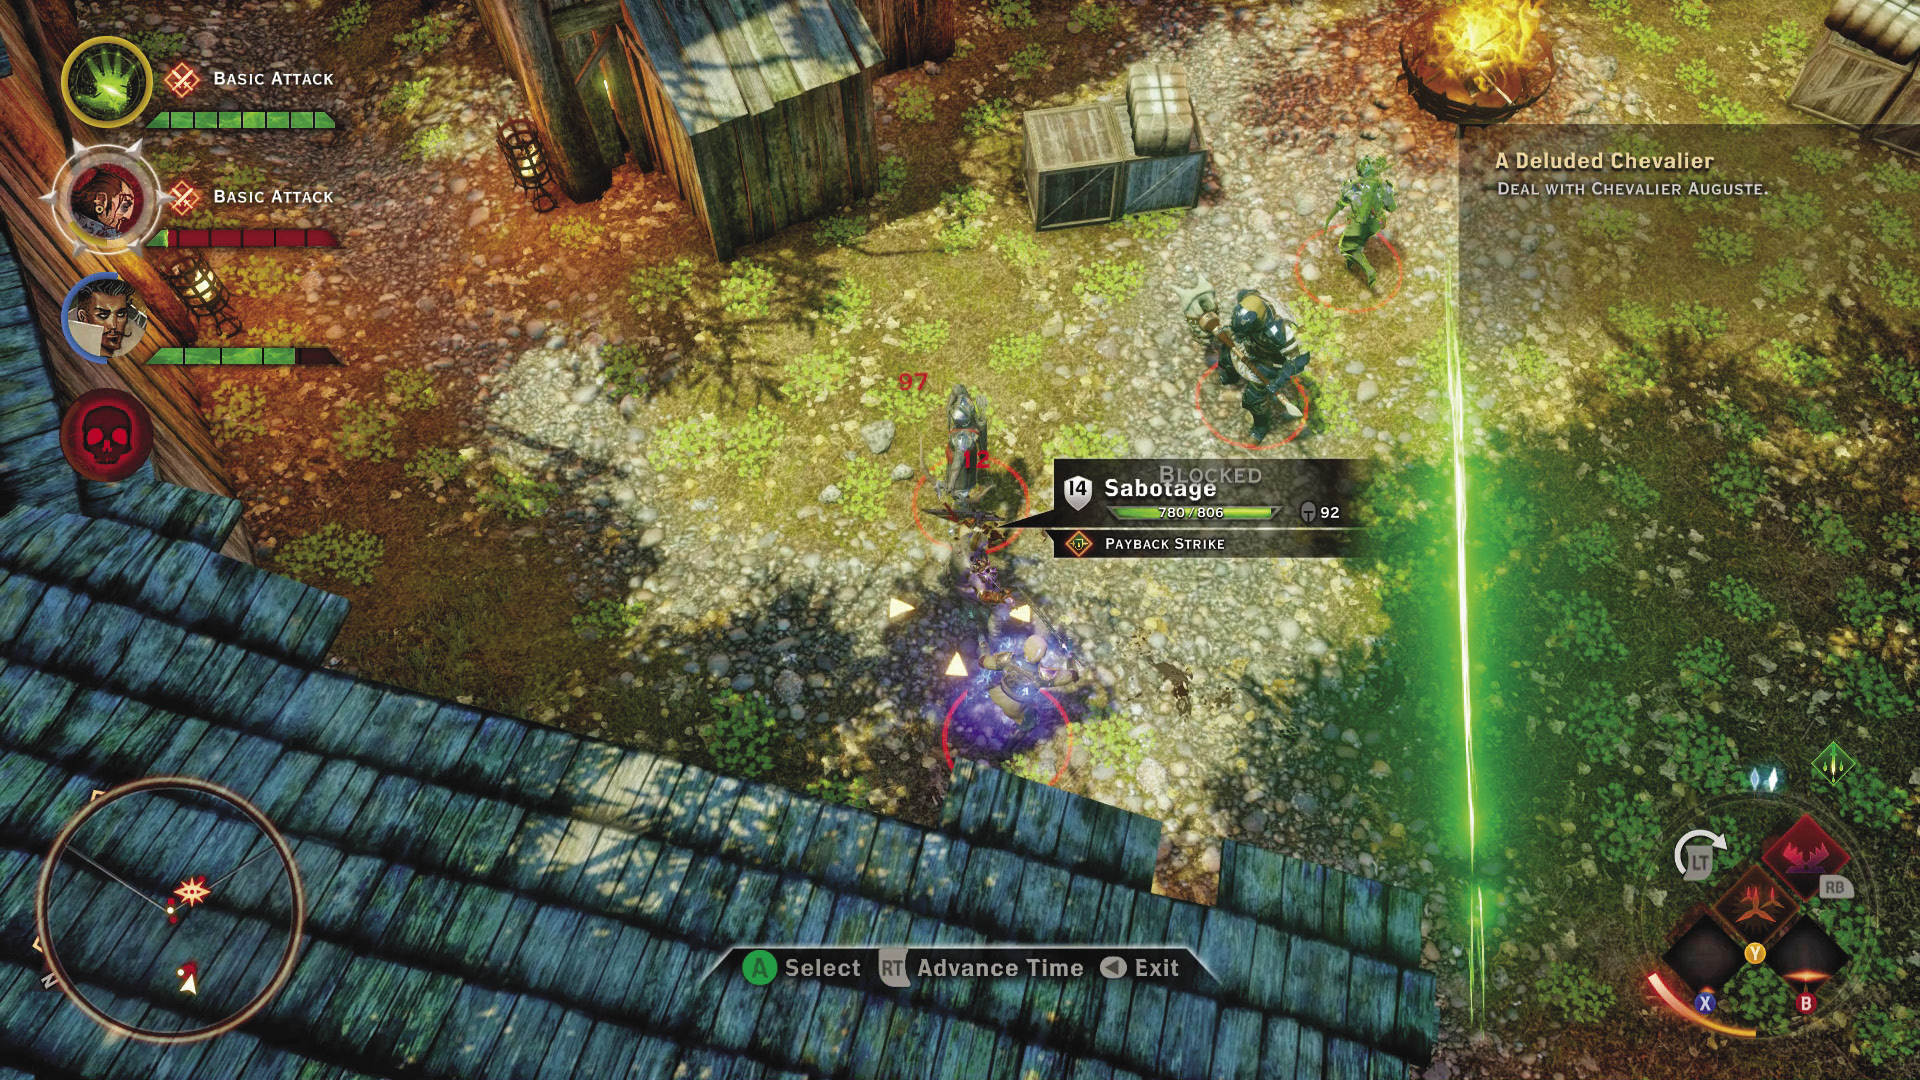
Eventually Chevalier Auguste will step up to try to defeat you himself, joined by his personal guard, which includes more snipers and a bruiser. Get rid of the snipers quickly. If they target the same rogue or mage together, that character is probably going to die. Pop your mage’s focus ability Heal if things get too hairy, and make sure the party is getting shielded while dealing with the bruiser. Survive this battle and the lodge will be secured.
10: Victims of War

Quest Giver: Defeat Chevalier Auguste to start this quest.
Description: With all the Freemen leaders dead, Fairbanks and his people should feel a lot safer in the Emerald Graves.
Requirements: Complete A Fallen Sister, Not Everyone’s Free, A Vicious Thug, A Corrupt General, and A Deluded Chevalier.
Reward: 242 XP, 80 Influence
Objectives:
 Speak with Fairbanks in Watcher’s Reach.
After you’ve completed your task of ending the key threats from the Freemen of the Dales, you can return to Fairbanks in Watcher’s Reach. With the Freemen effectively evicted from the Emerald Graves, he decides that the recently recovered Argon’s Lodge would be a fine place to take his surviving band.
11: Noble Deeds, Noble Heart

Quest Giver: Clara
Description: Clara heard a rumor that Fairbanks is of noble descent. She believes it and wants proof to show the Council of Heralds. If Fairbanks gains power, she hopes he can do more for the people of the Dales.
Requirements: Defeat Chevalier Auguste.
Reward: 1324 XP, 600 Influence, 2 Power
Objectives:
 Find three pieces of proof of Fairbanks’s nobility.
 Present proof of Fairbanks’s nobility to an interested party.
This side quest is only available after you complete A Fallen Sister, Not Everyone’s Free, A Vicious Thug, A Corrupt General, and A Deluded Chevalier. In Argon’s Lodge, a woman named Clara is obviously quite taken with Fairbanks, and she believes that proving his nobility could make things better for all people of the Dales. If you speak with Fairbanks himself before beginning the search for proof, he is less than amused at this prospect.
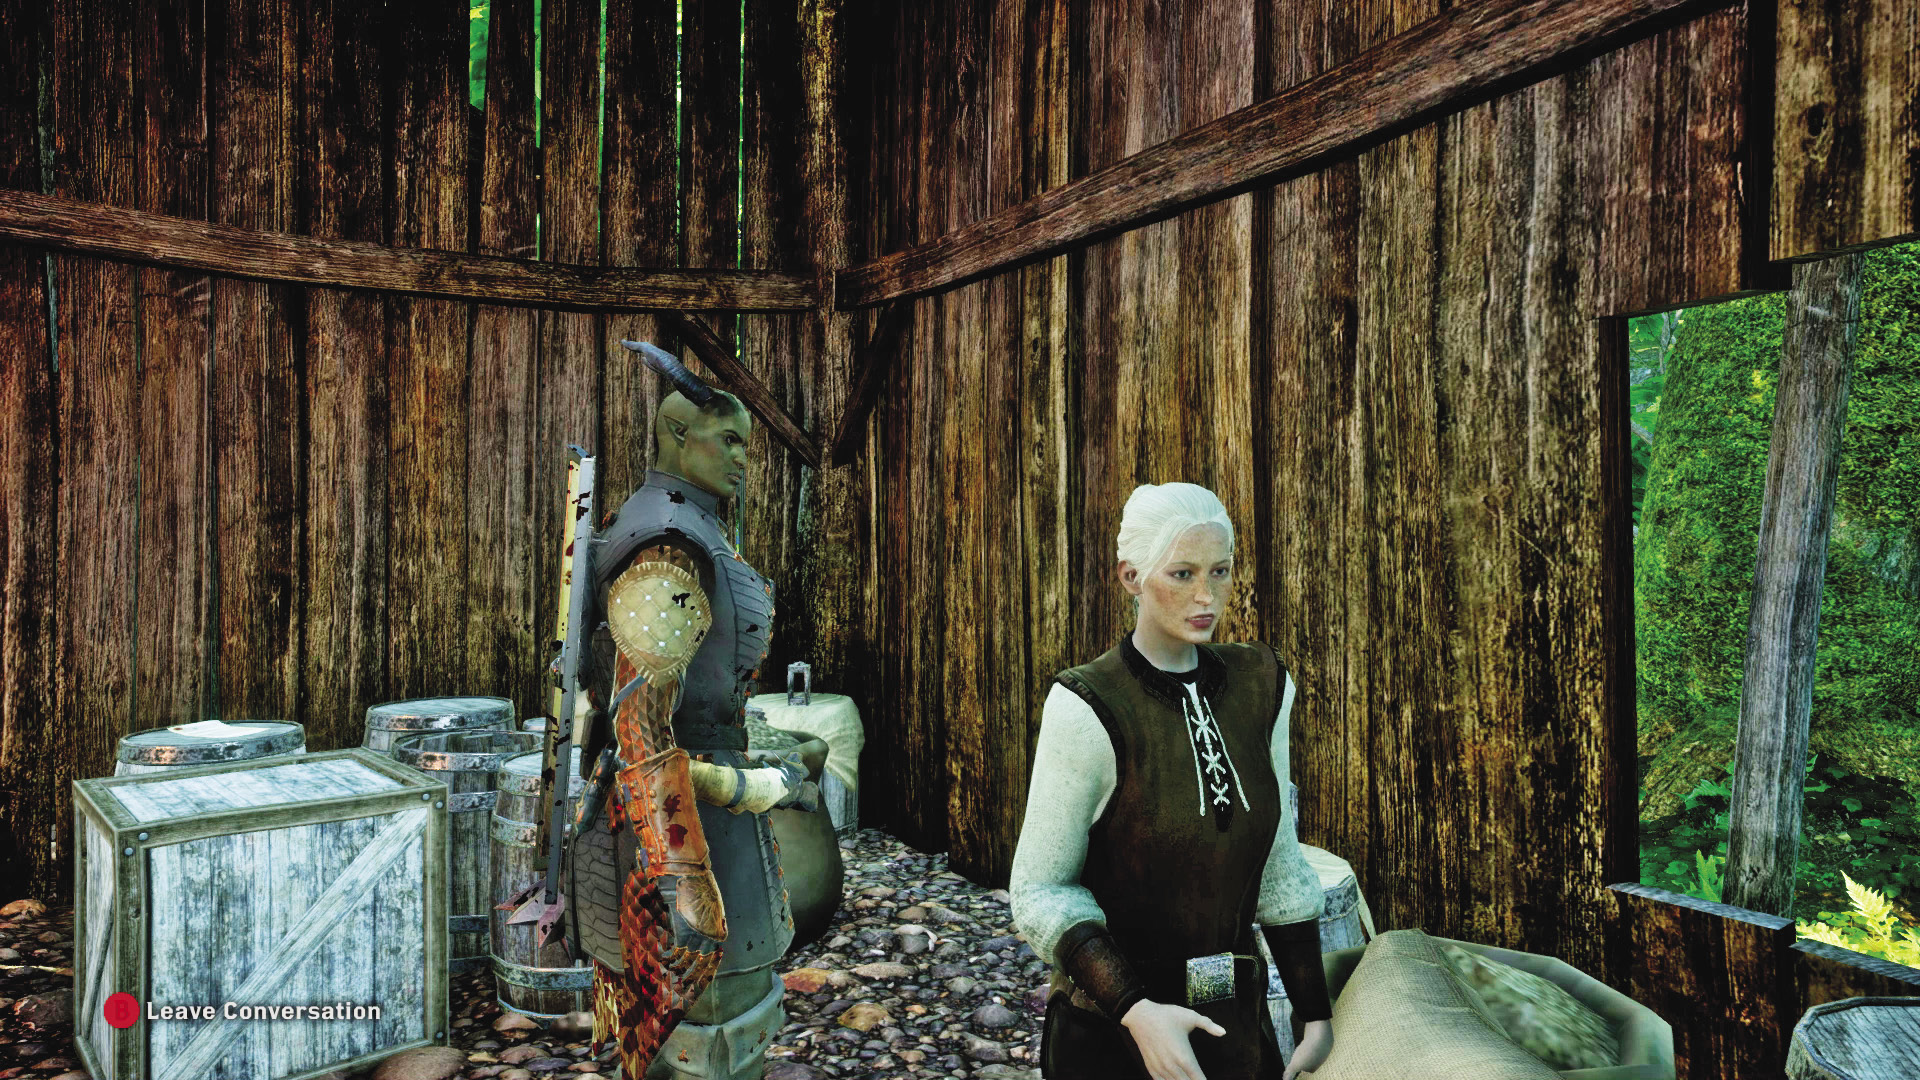
Just north of Argon’s Lodge is a small wooden storage hut that can be broken into with Deft Hands, Fine Tools. Inside is one of the pieces of proof you’re looking for.
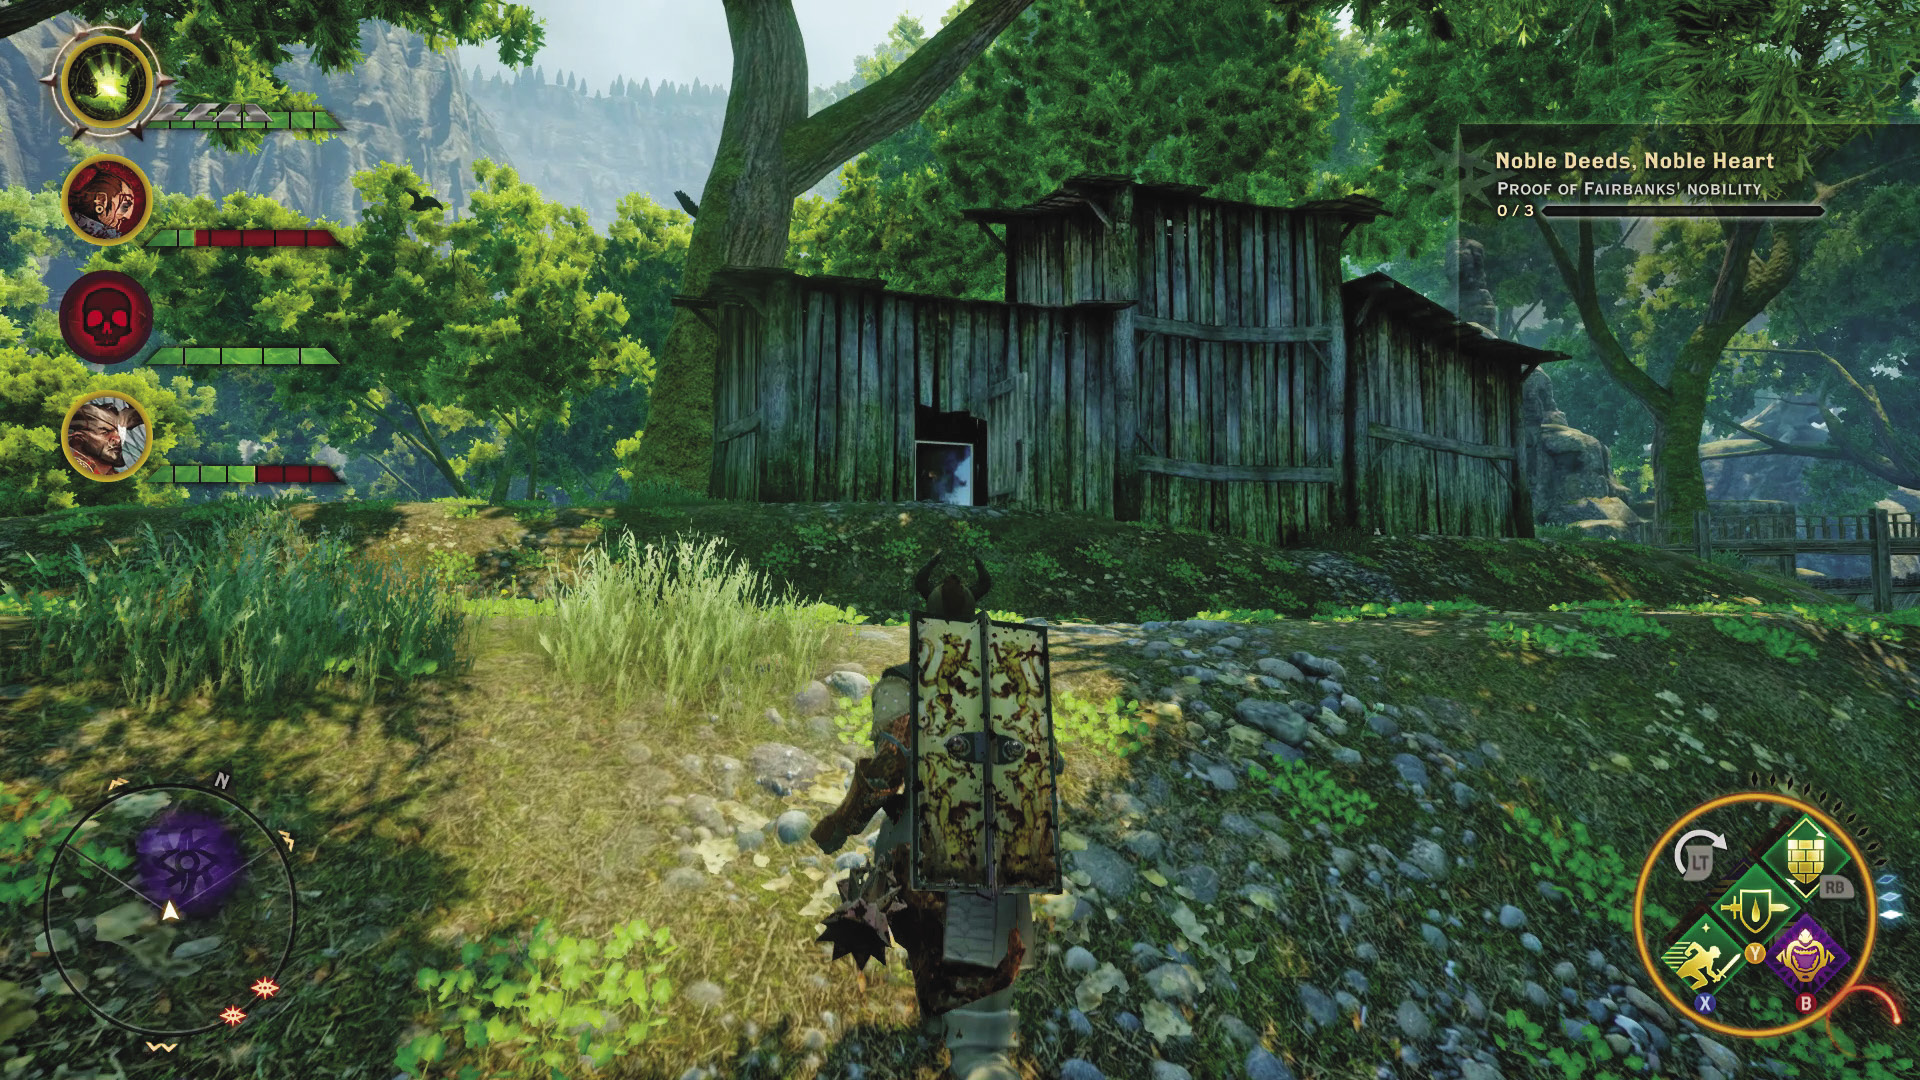
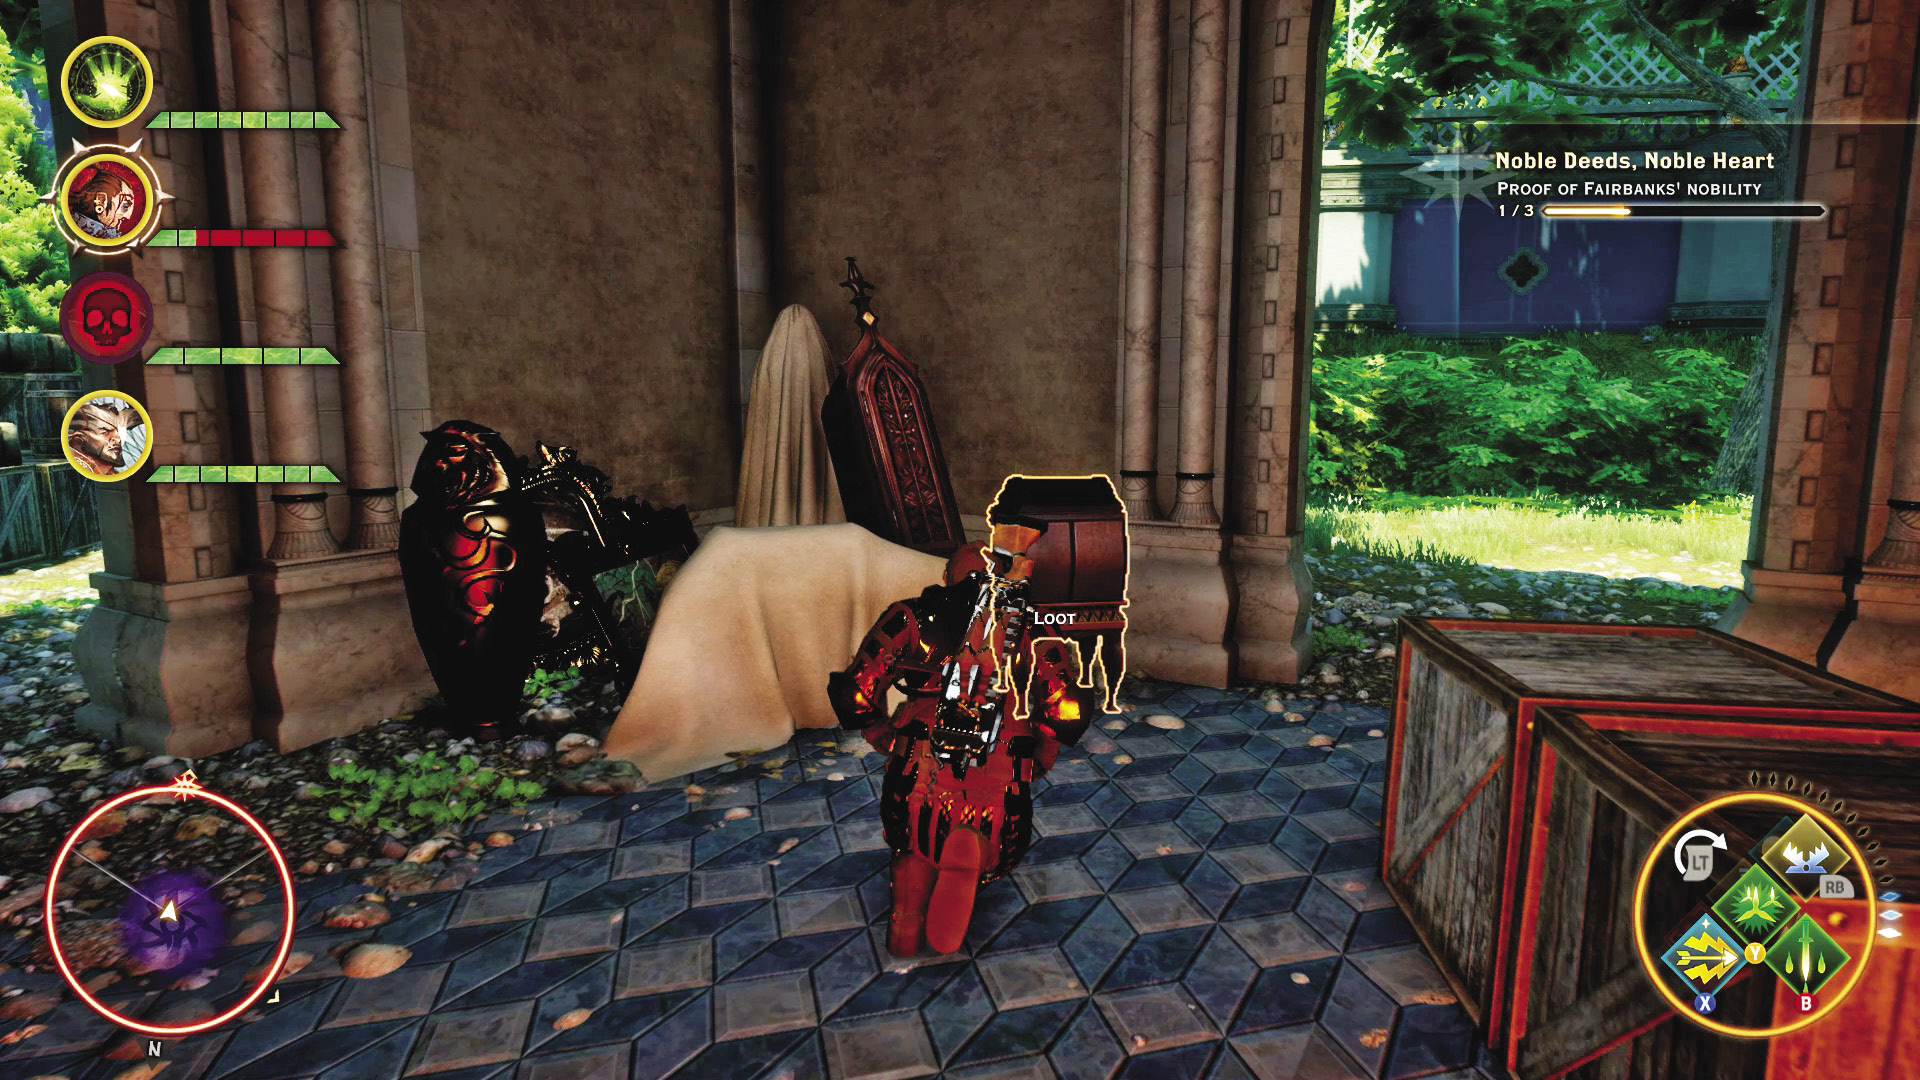
Two bits of proof can be found in the storage houses just outside of Villa Maurel.
After gathering the proof, you’re faced with a choice. Clara wants to use the proof right away to get Fairbanks properly recognized and empowered. If you speak with Fairbanks, he insists that he does not want these privileges, nor does he want to become entangled in the social politics that led to where he is today.
If you give the proof to Fairbanks, he will destroy it, and war table missions will become available to further reap the benefits of having defeated the Freemen. If you give it to Clara, she will persist in trying to get Fairbanks recognized as a noble, and you will receive a unique war table mission. The choice is yours.
12: Fairbanks Patrol Under Attack

Quest Giver: Witness a patrol under attack by the Freemen.
Description: One of Fairbanks’s guards is under attack nearby.
Requirements: Occurs randomly throughout the Emerald Graves.
Reward: 242 XP, 80 Influence
Objectives:
 Protect the patrol.
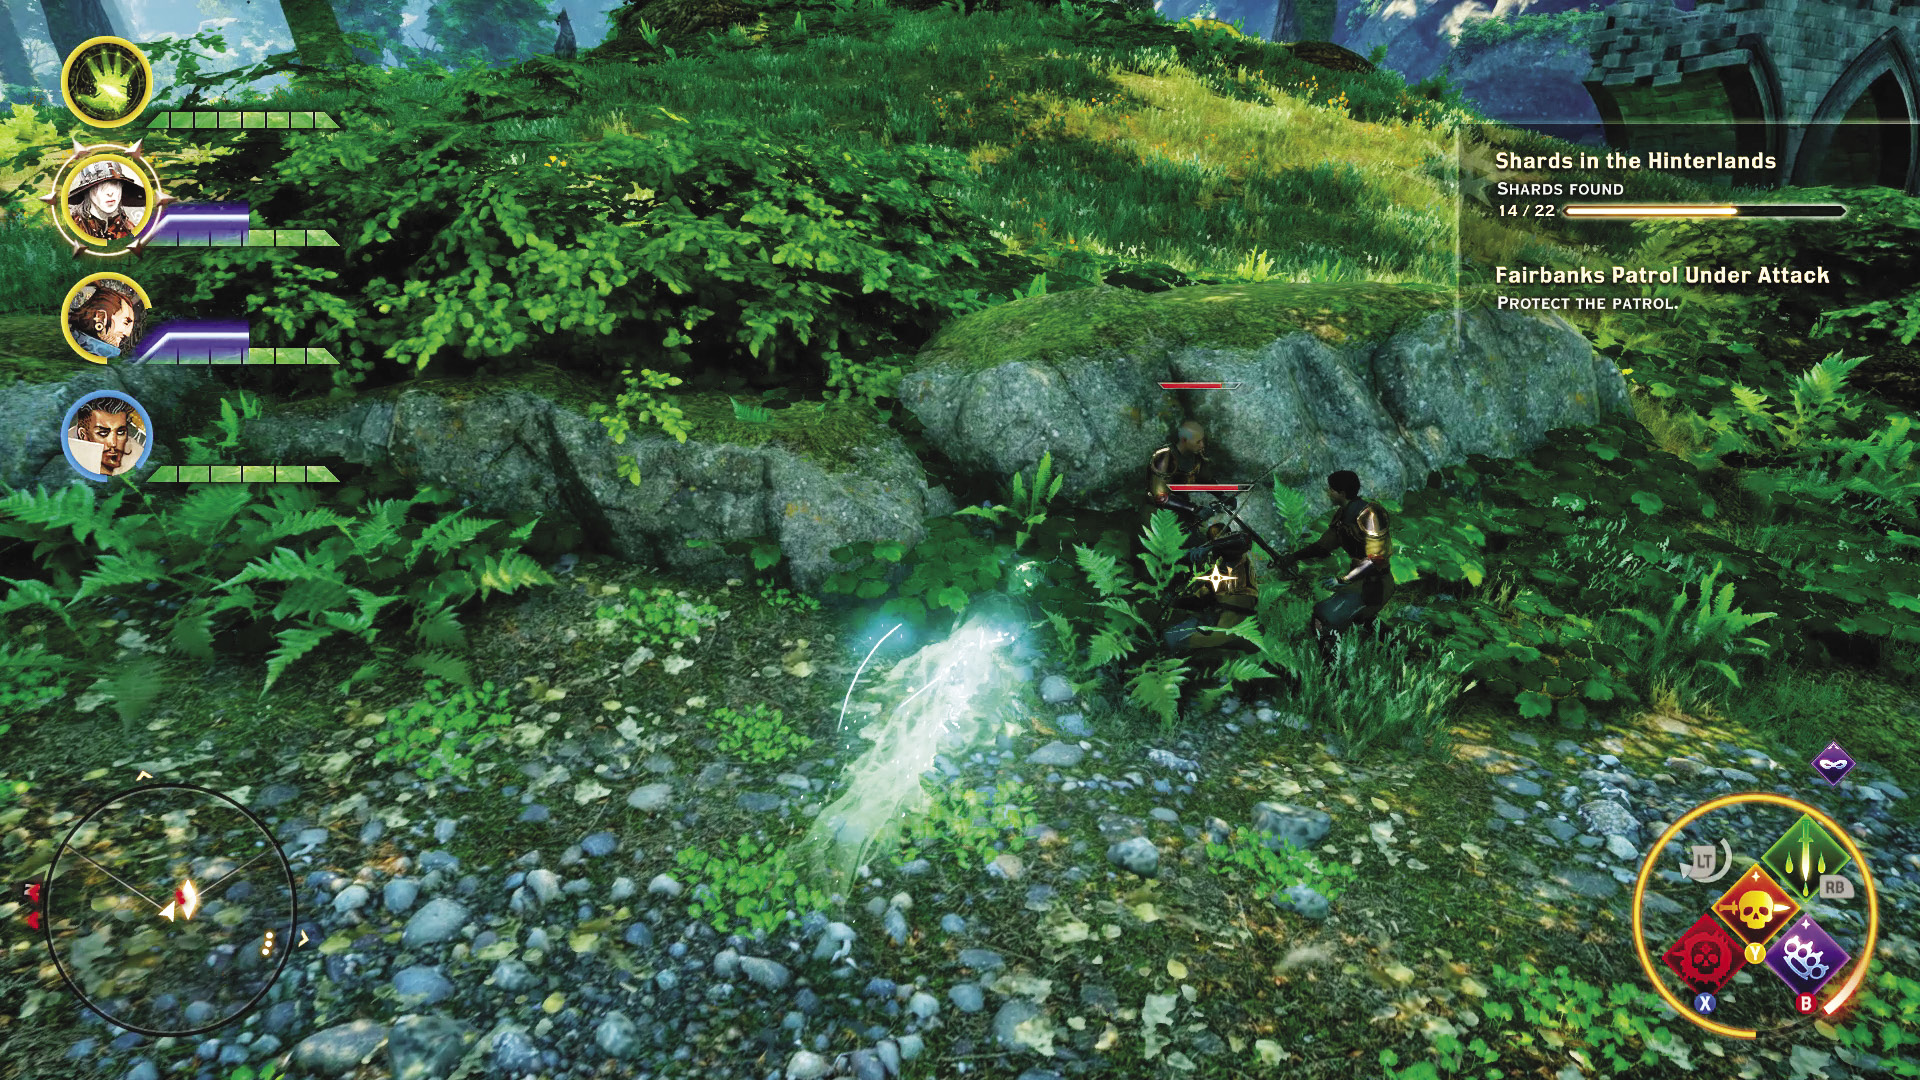
On occasion, you will spot a patrol of Fairbanks’s soldiers engaged in combat with the Freemen, which will automatically begin this quest. Defeating the Freemen attacking the patrol completes the quest. This can happen multiple times in your adventure throughout this locale.
13: Motherly Encouragement
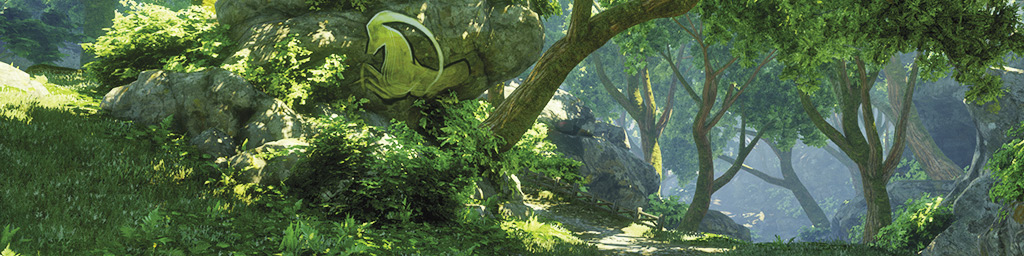
Quest Giver: Dead corpse at the Silver Falls
Description: A young woman fell from a cliff to her death under mysterious circumstances.
Requirements: Find the body in the river.
Reward: 242 XP, 80 Influence
Objectives:
 Investigate the fatal fall.
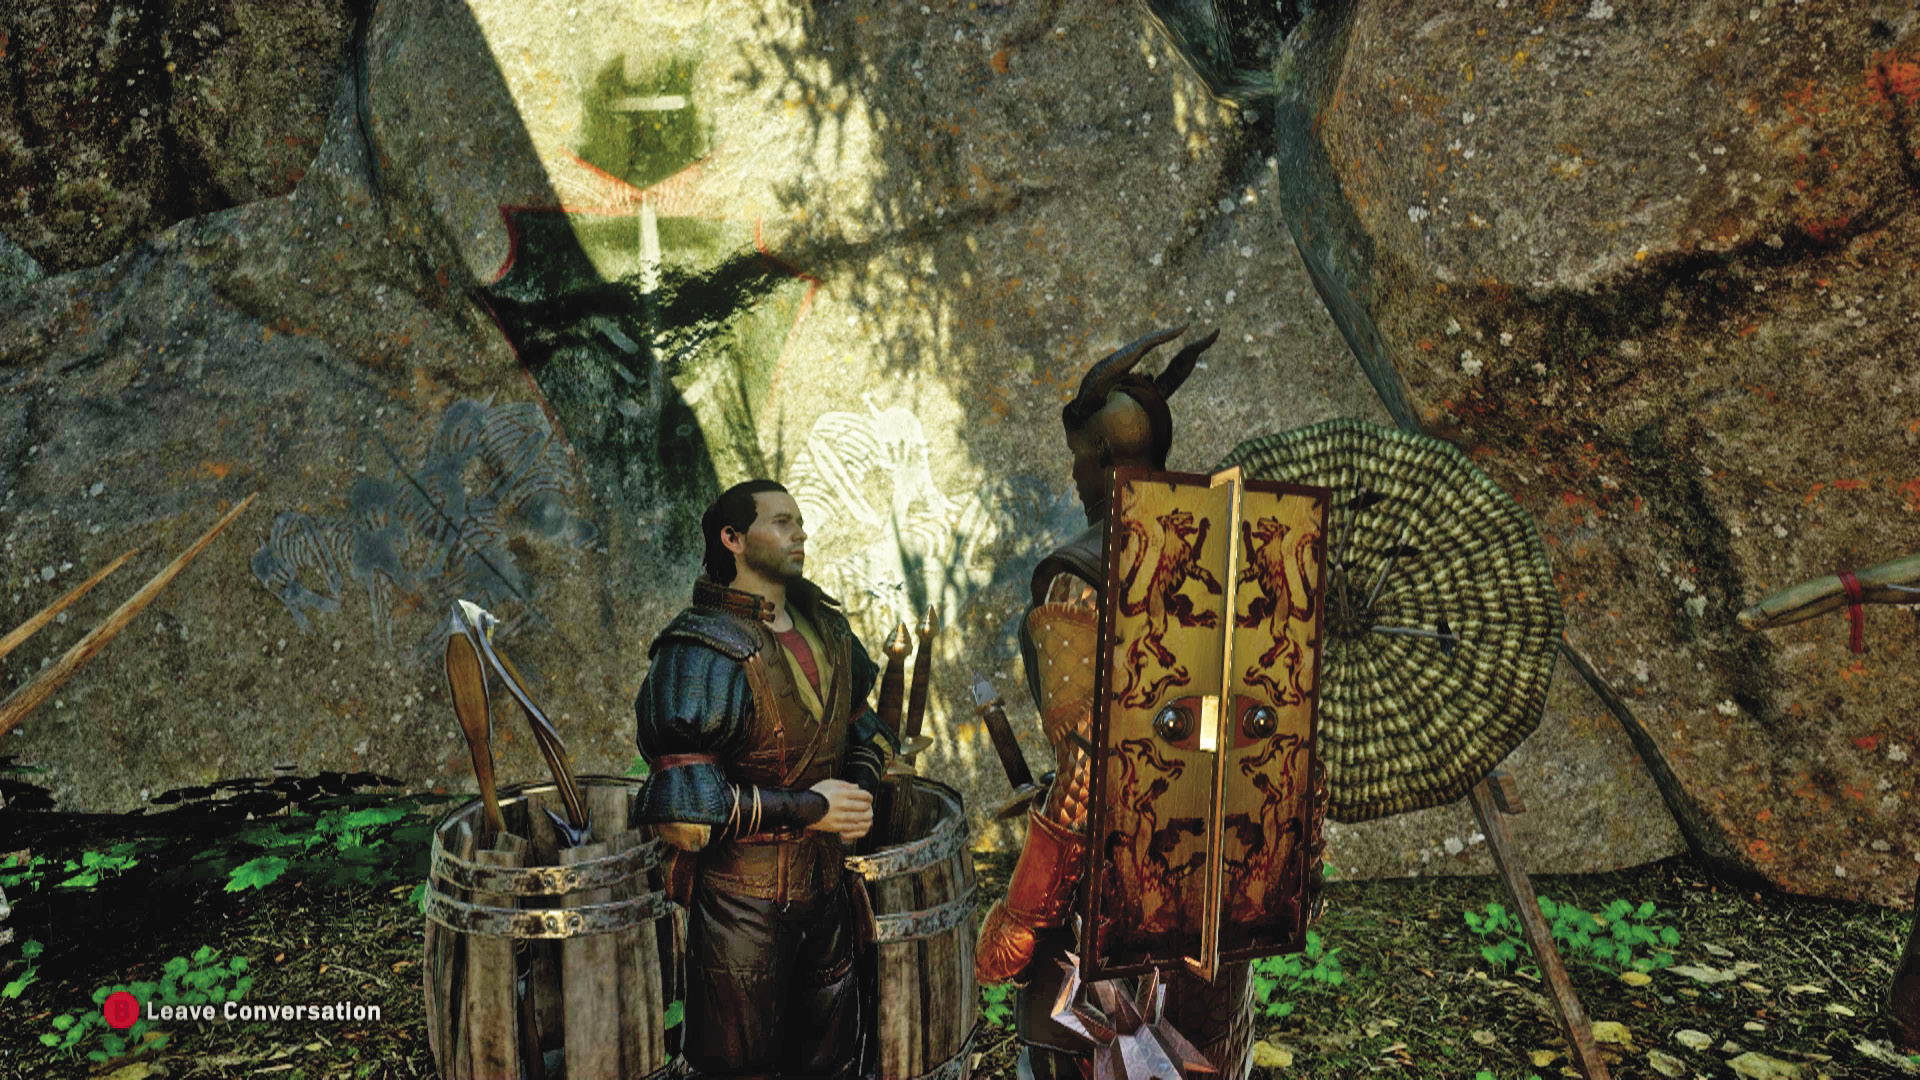
Reaching the place where the poor woman fell from takes some doing. You’ll find evidence at Silverspray Perch overlooking the Silver Falls, with crystal grace growing perilously away from the ledge. A nearby journal reveals some interesting information about the woman and her family, as well as the cause of death. This case is closed.
14: A Lover’s Promise
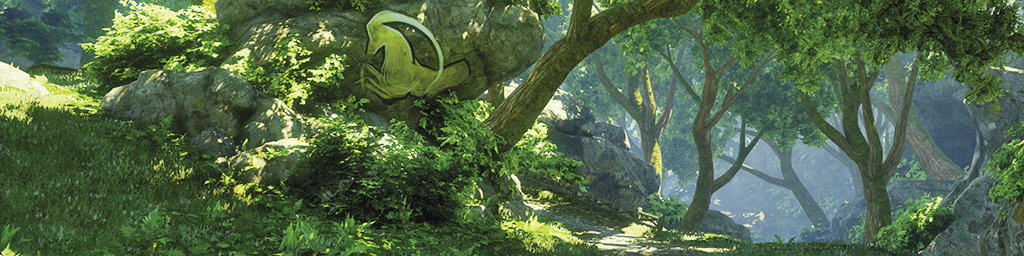
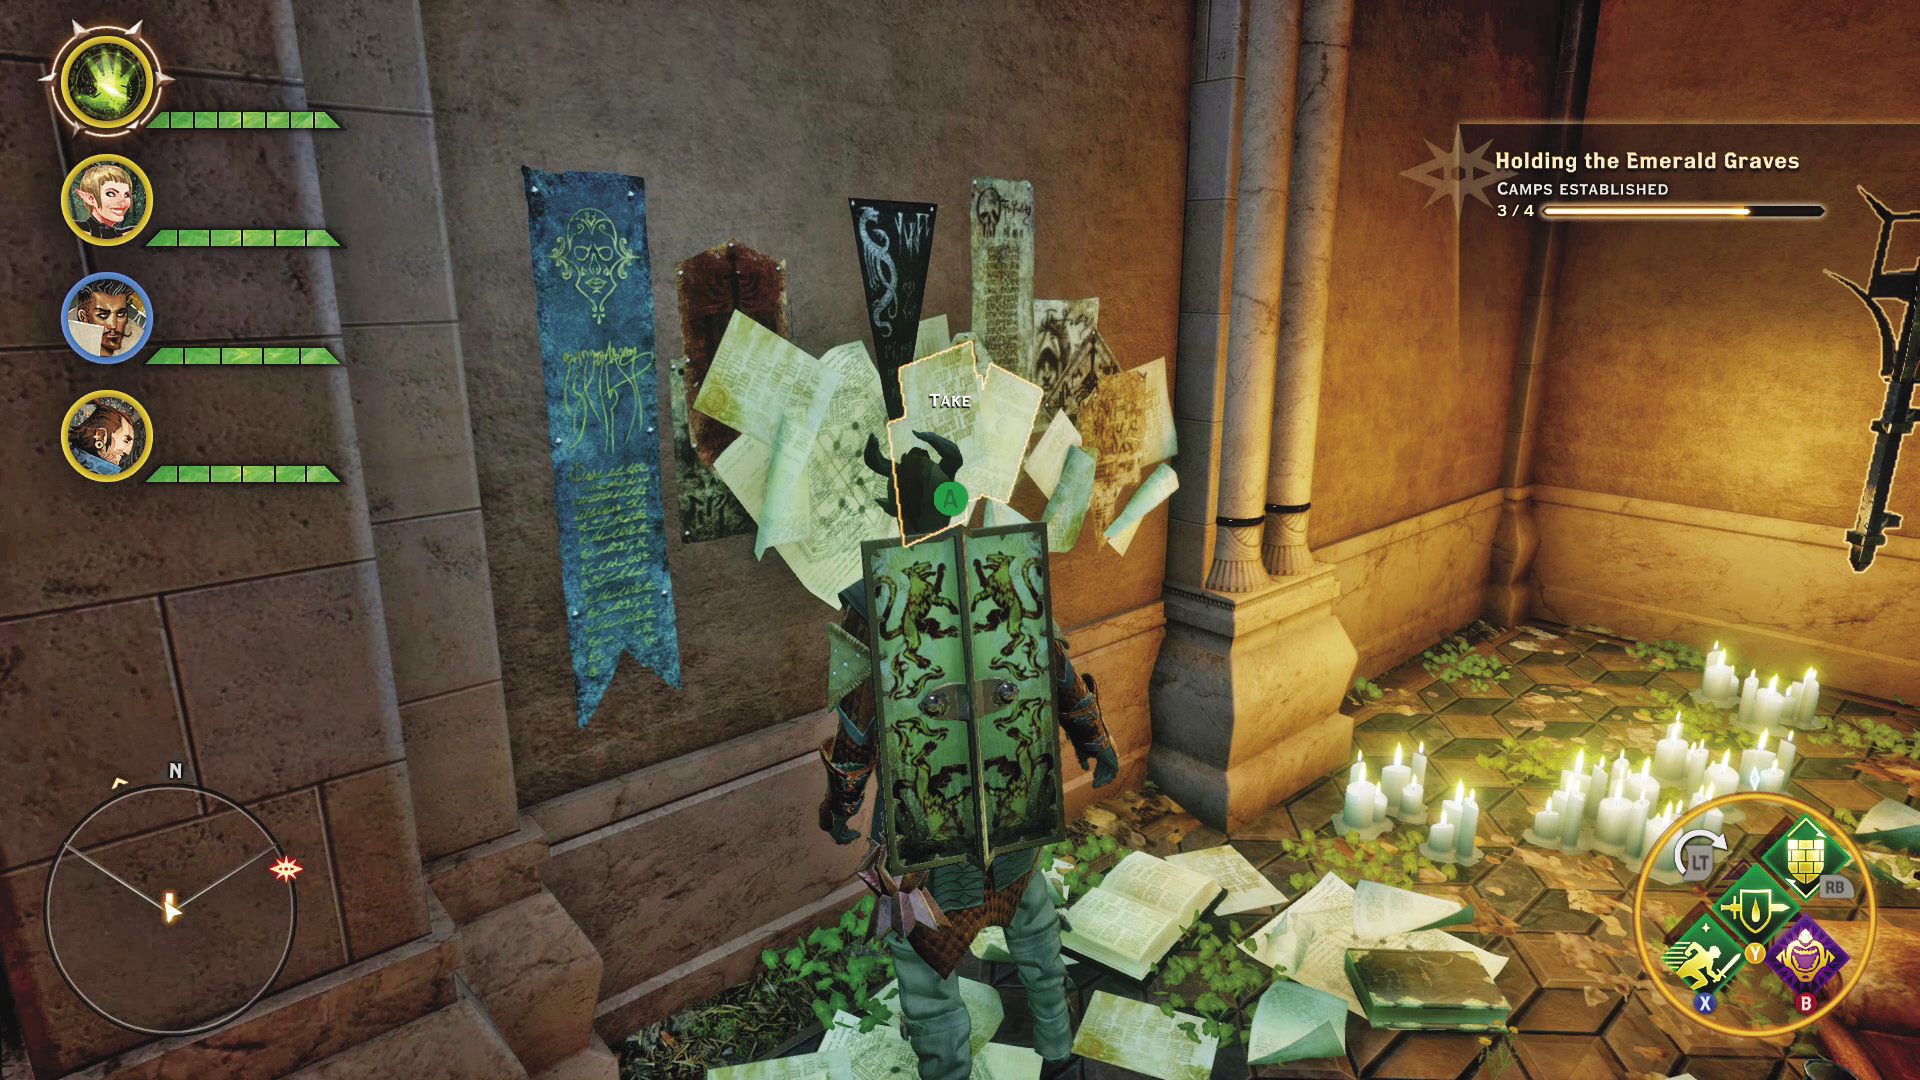
Quest Giver: Letter on a wall at the Lion’s Pavilion.
Description: A man has asked his lover to meet him in Gracevine, so they can run away together.
Requirements: Reach the Lion’s Pavilion.
Reward: 242 XP, 80 Influence
Objectives:
 Go to the Gracevine grove.
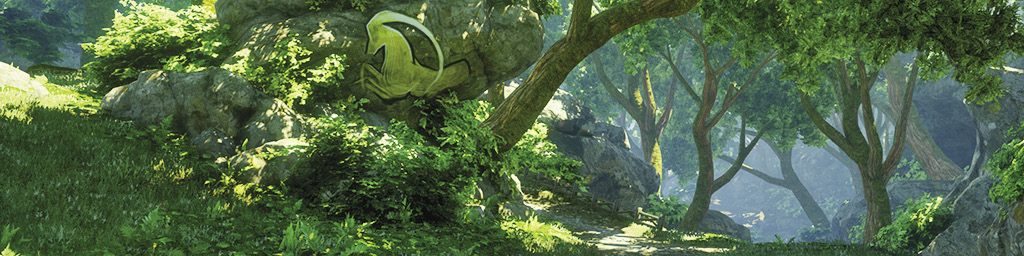
Just north of the camp you can set up in Gracevine is the promised place for this couple. However, you find the site devoid of anything until you inspect the picnic blanket. A level 15 elite giant spider takes offense and drops down from the trees to attack you! Couples have really got to stop trying to elope in the most dangerous places on Thedas.
15: A Bear to Cross
Quest Giver: Johnson
Description: A large, territorial bear has been rampaging through the Inquisition camp, scaring people and destroying supplies.
Requirements: Complete Noble Deeds, Noble Heart.
Reward: 242 XP, 80 Influence
Objectives:
 Hunt down the problem bear.
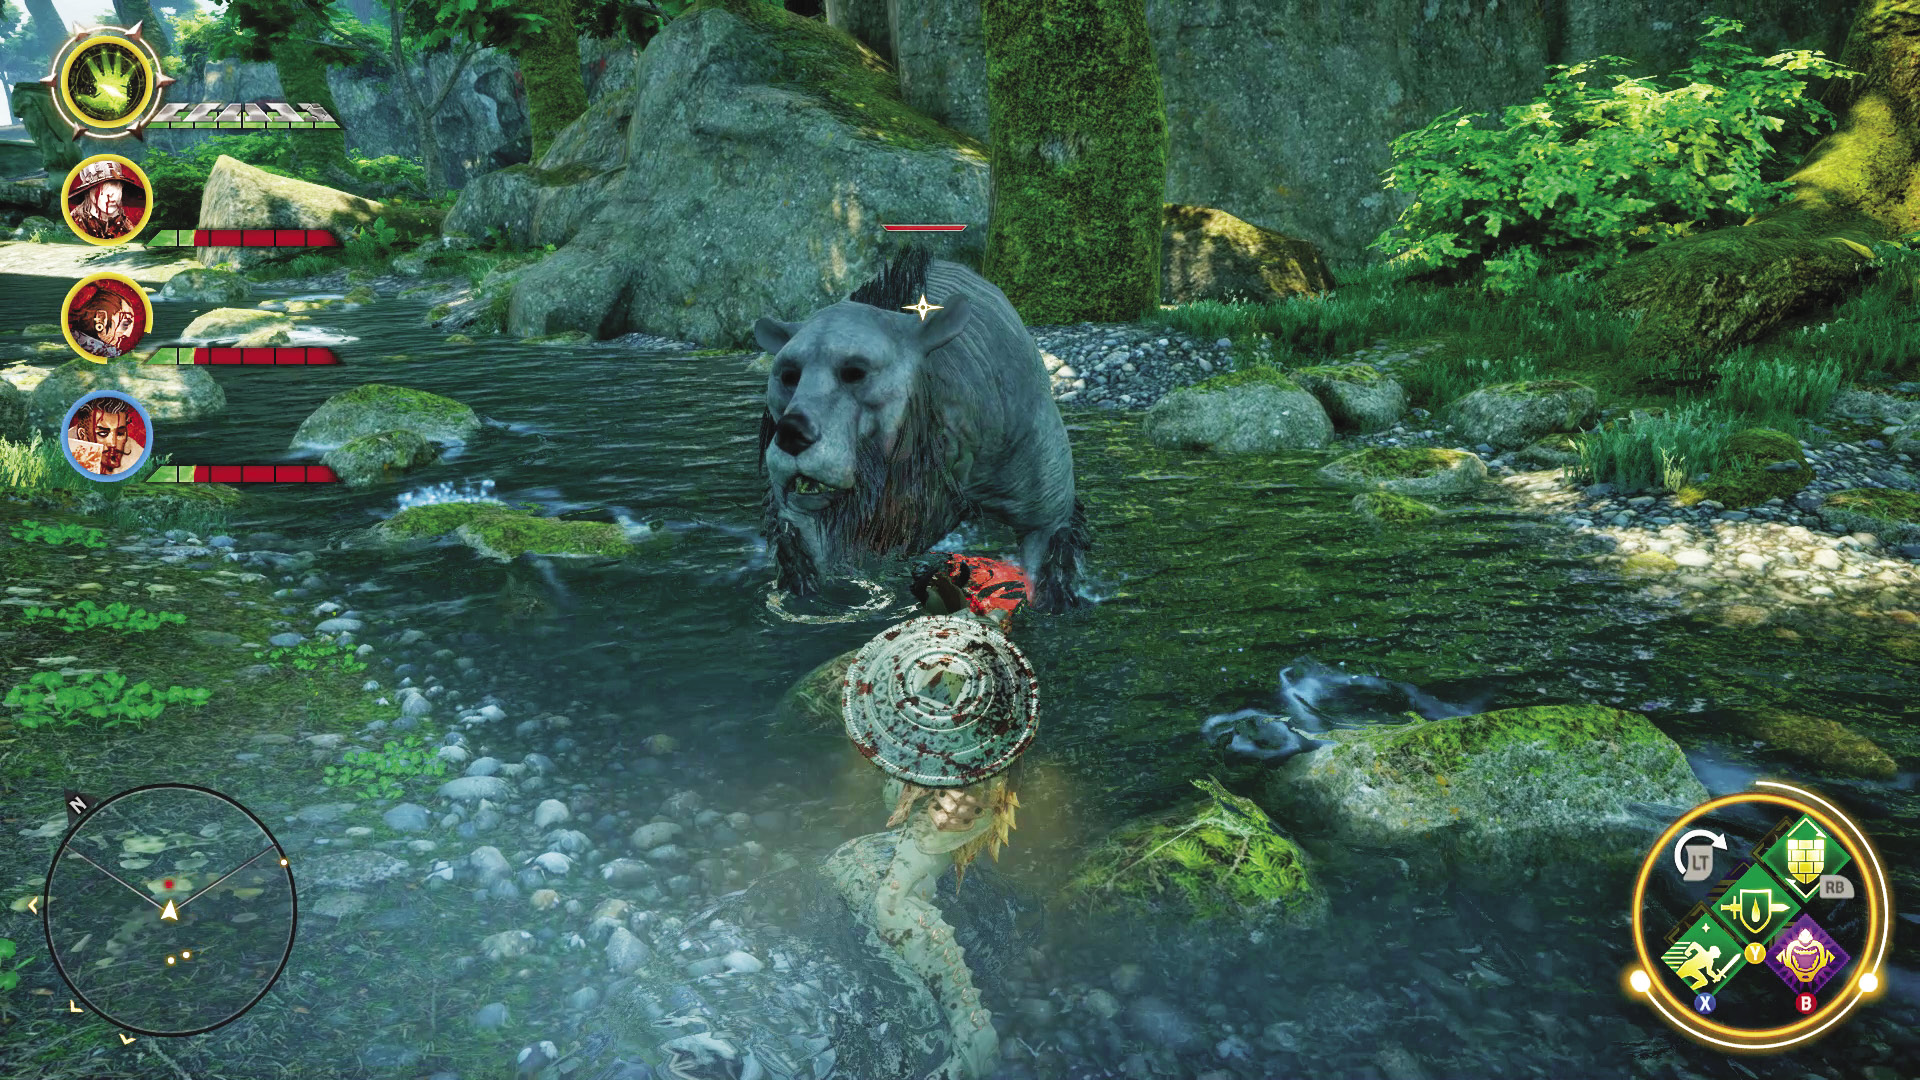
Johnson doesn’t exactly get across just how ridiculously big this bear he’s talking about truly is. Old Scarred Paw is in the cave to the northeast from the Andruil’s Wall camp. Dwarfing the two bear cubs, it charges out of the cave as soon as you get close, so make sure you allow a tank to open up the combat: Old Scarred Paw is more than capable of outright killing anyone less armored than a warrior with one solid attack. However, it is extremely vulnerable to fire, which can help even the odds. Killing the beast completes the quest.
16: Observing the Menace
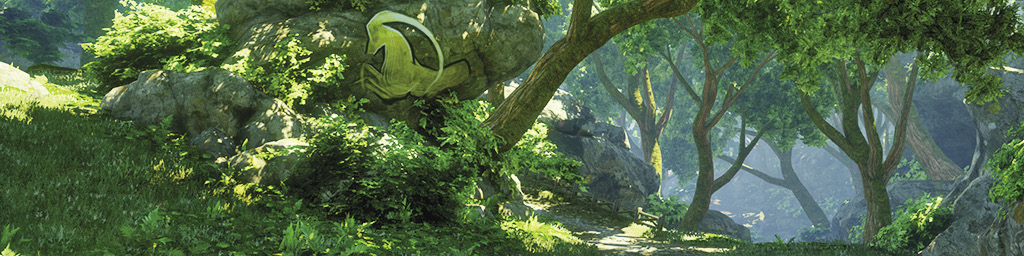
Quest Giver: A journal found south of the Gracevine camp
Description: Troilus Herbtubise is researching Fade rifts for what he calls his “Great Mission.” He appears to have camped at a safe distance from each rift for a time, observing its behavior.
Requirements: Available as soon as you enter the Emerald Graves
Reward: 242 XP, 80 Influence
Objectives:
 Search for the river camp.
 Search for the second river camp.
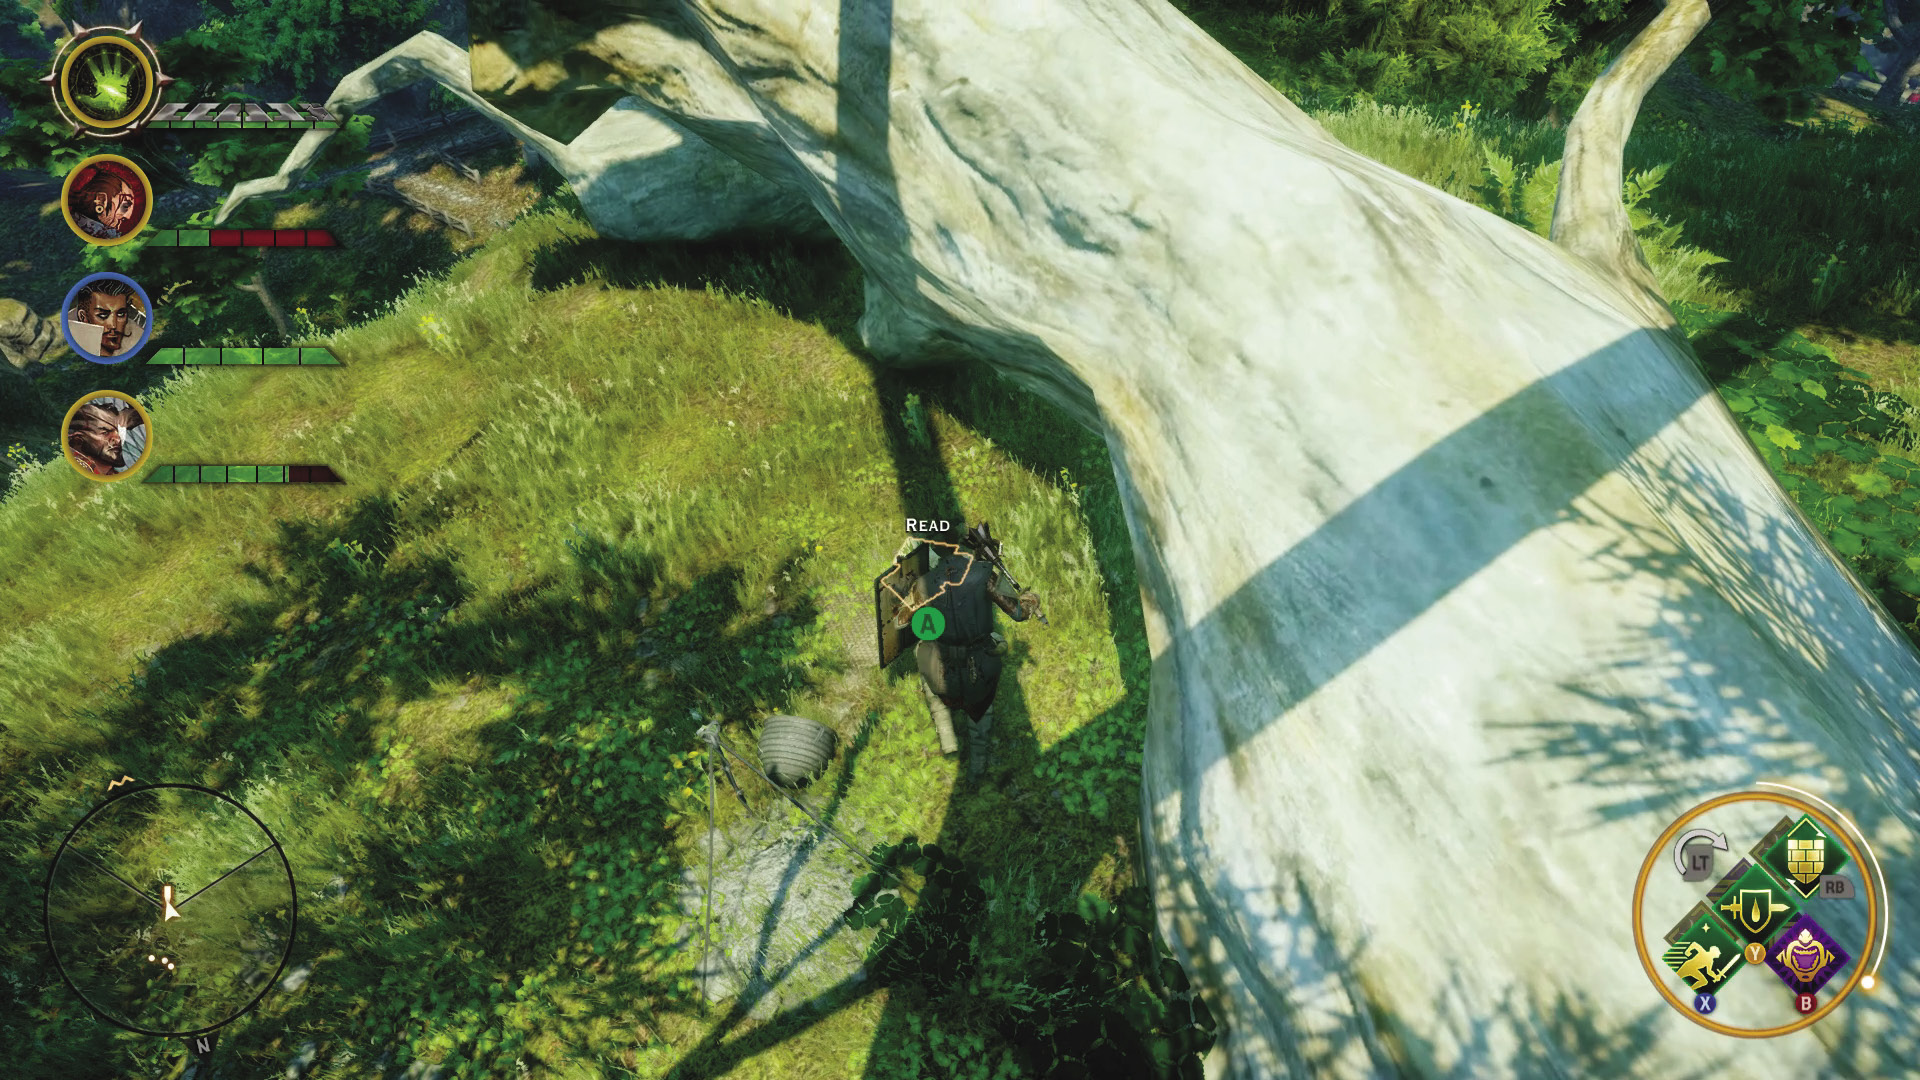
After picking up the first journal left behind by Troilus, head north to the first campsite. It lies just out of reach of a Fade rift, so if you’re looking to avoid taking on the demons, it is possible to skirt just far enough from it while reading Troilus’s observations from the second journal. He mentions another camp, to the east, where he planned to seal a rift on his own.
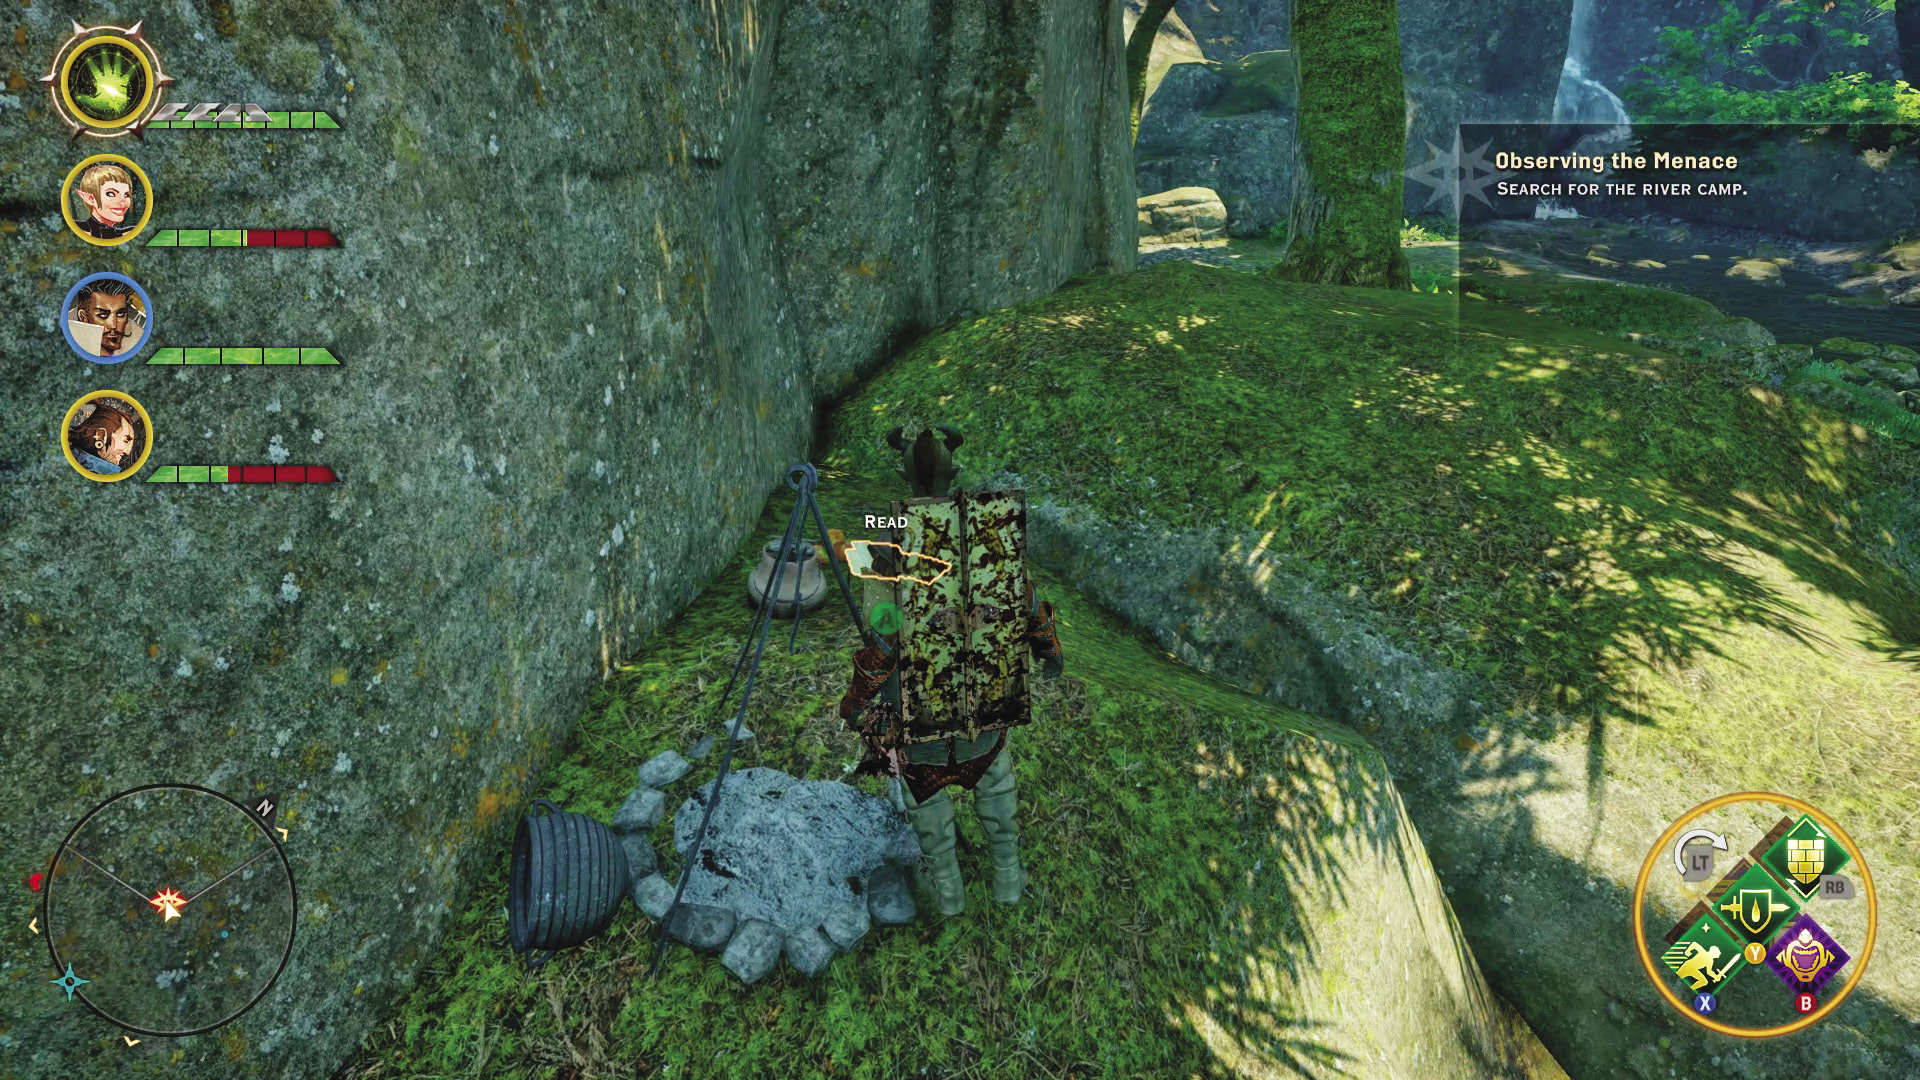
As you might have already guessed, Troilus’s attempted sealing of a rift went very badly. You find him lying dead at his last campsite, with no further observations save that the world is doomed. Perhaps he would have found comfort in knowing the Inquisition had taken up his Great Mission.
17: Map of Elgar’nan’s Bastion
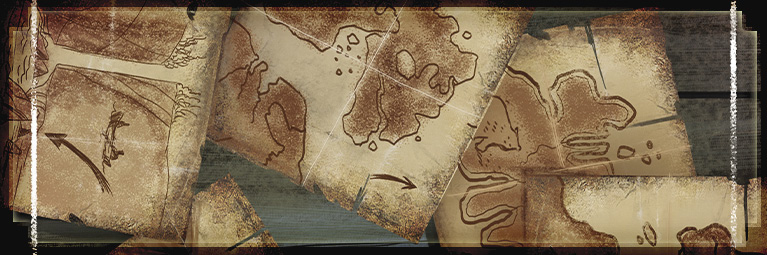
Quest Giver: A scroll found near the Gracevine camp
Description: This map, found near an ancient elven ruin in Gracevine, marks a spot near a distinctive arch in the Emerald Graves.
Requirements: Available as early as you’re willing to go to Gracevine and pick up the map.
Reward: 242 XP, 80 Influence
Objectives:
 Find the spot marked on the map.
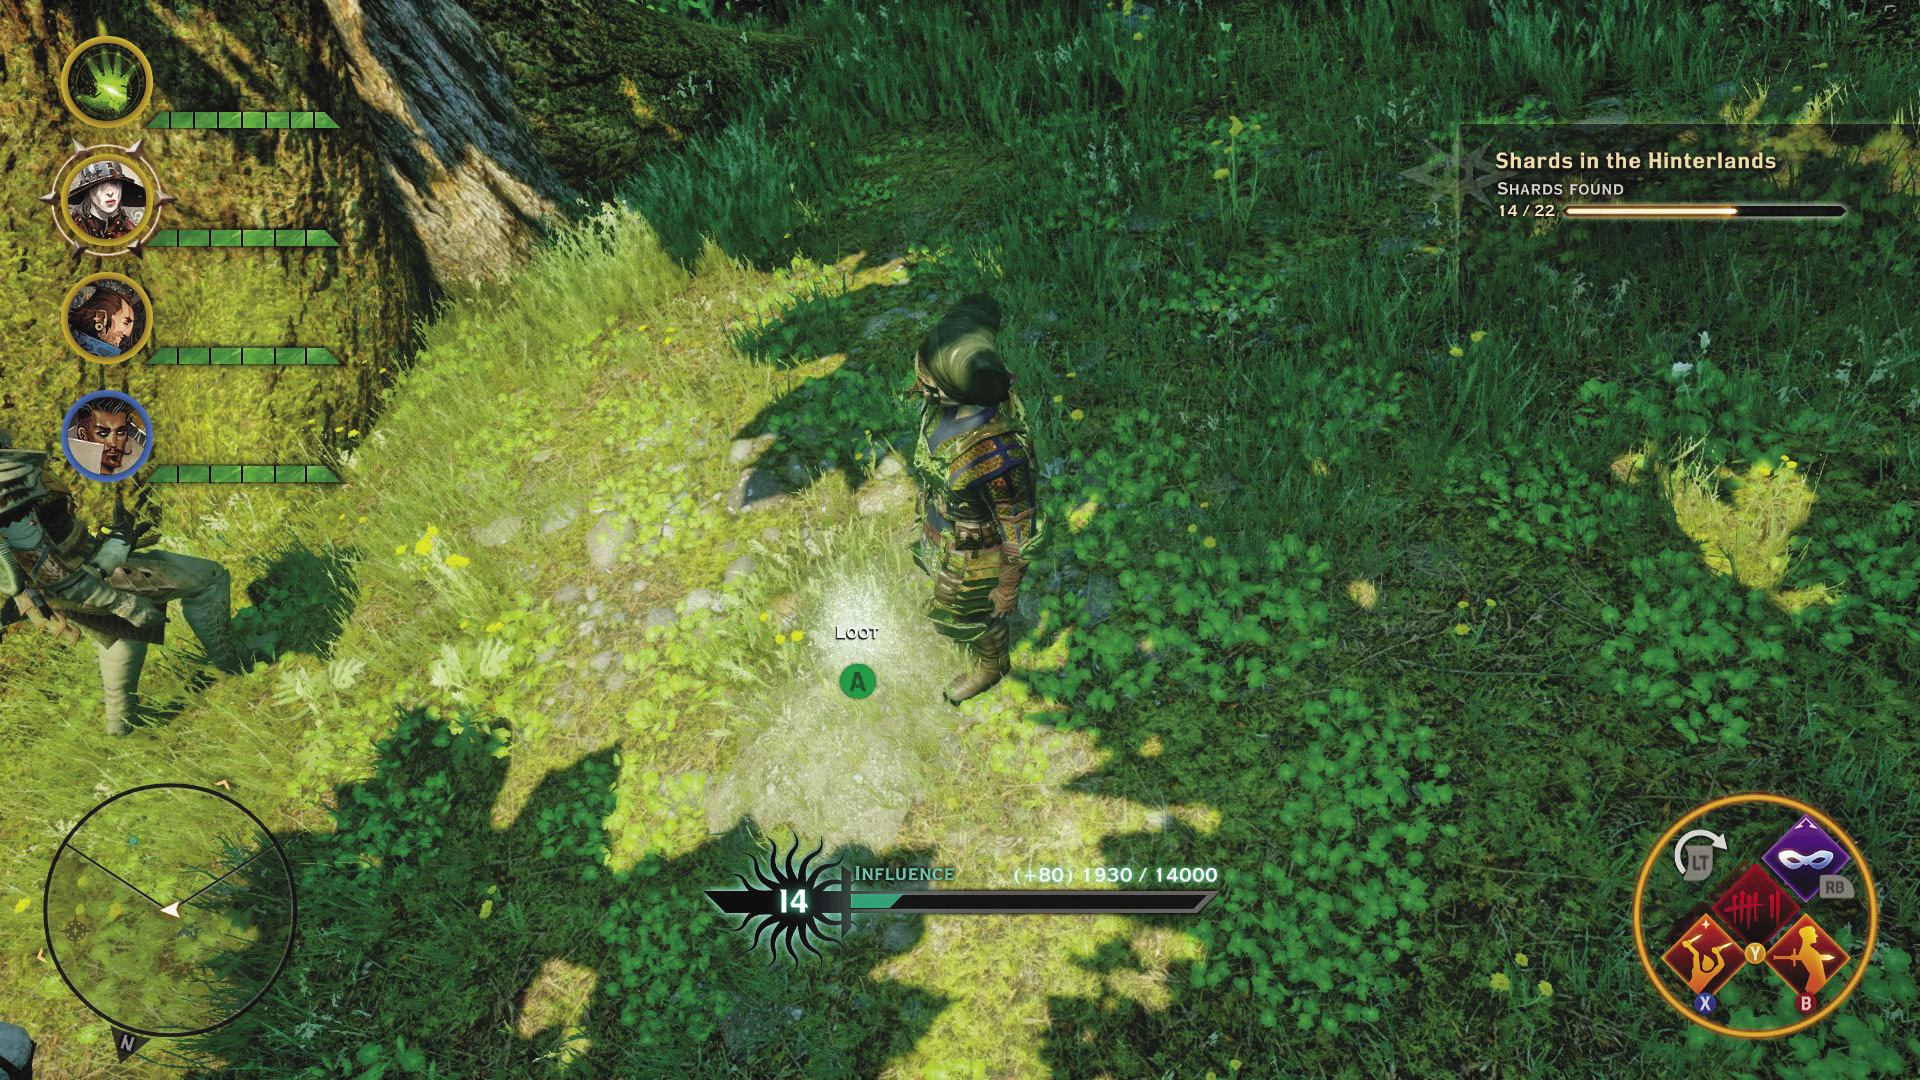
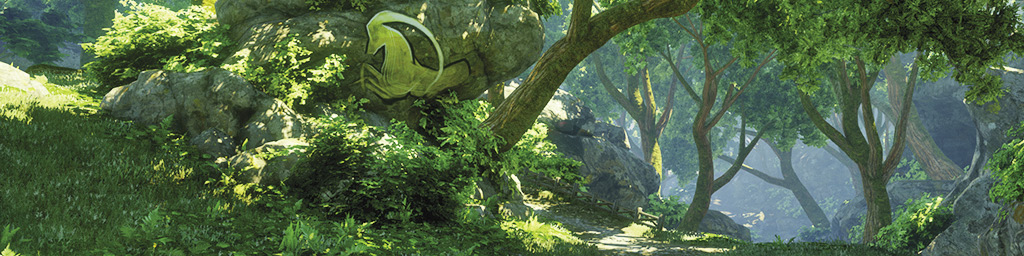
West of Elgar’nan’s Bastion is where you can find this treasure. The stone arches described in the map are still very prominent. A large tree growing just outside of the ruin faces this stone arch, and the treasure lies near it.
18: Last Wishes
Quest Giver: A note found near an urn of ashes
Description: Robert Caron’s last wish was to have his ashes scattered on the plateau overlooking the Greatwood. His wife was too frail to complete the task.
Requirements: Available upon entering the Emerald Graves
Reward: 242 XP, 80 Influence
Objectives:
 Scatter Robert’s ashes.
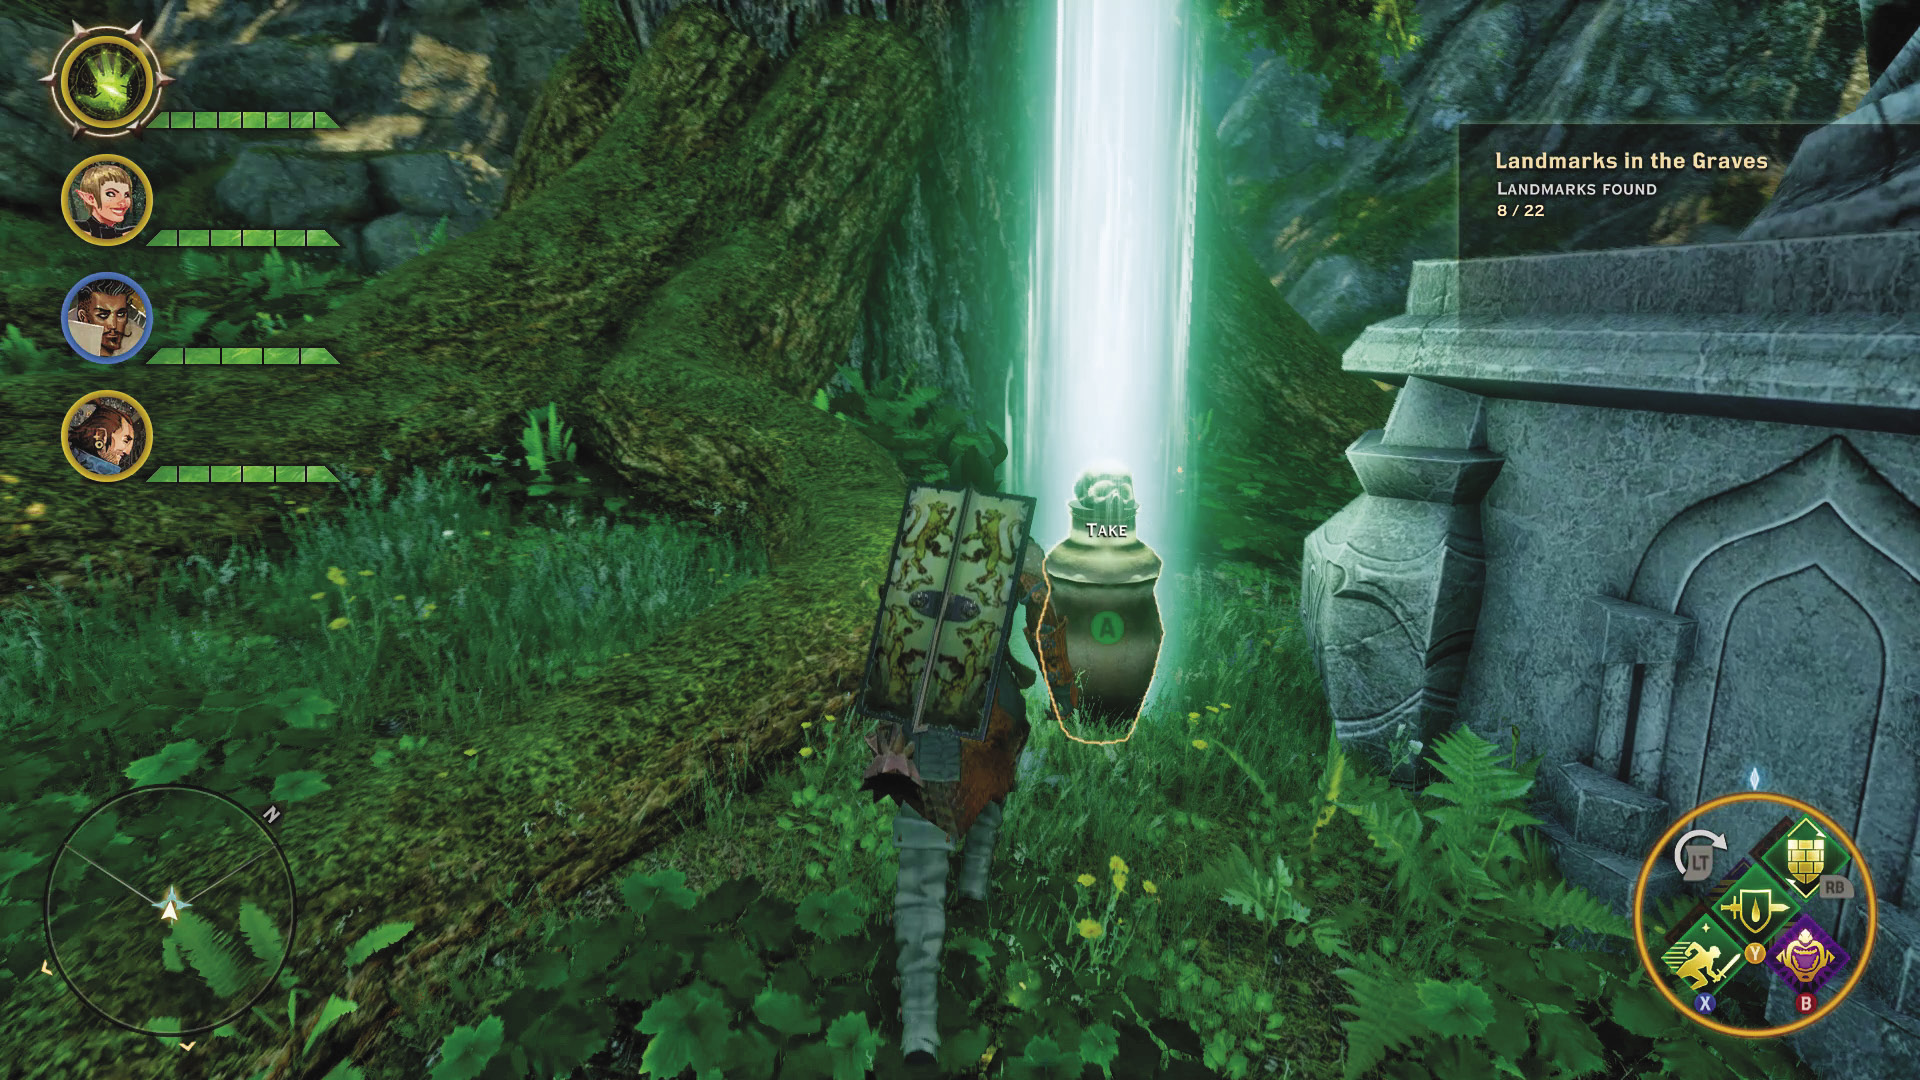
You must travel to the northernmost reaches of the Emerald Graves to scatter Robert’s ashes. Be wary of the red templar/mage camp set up at the Southfinger Watch. You can bypass it easily, but the prowler-class enemies at the camp may be patrolling out far enough that they will be the first to rush you if you get close enough.
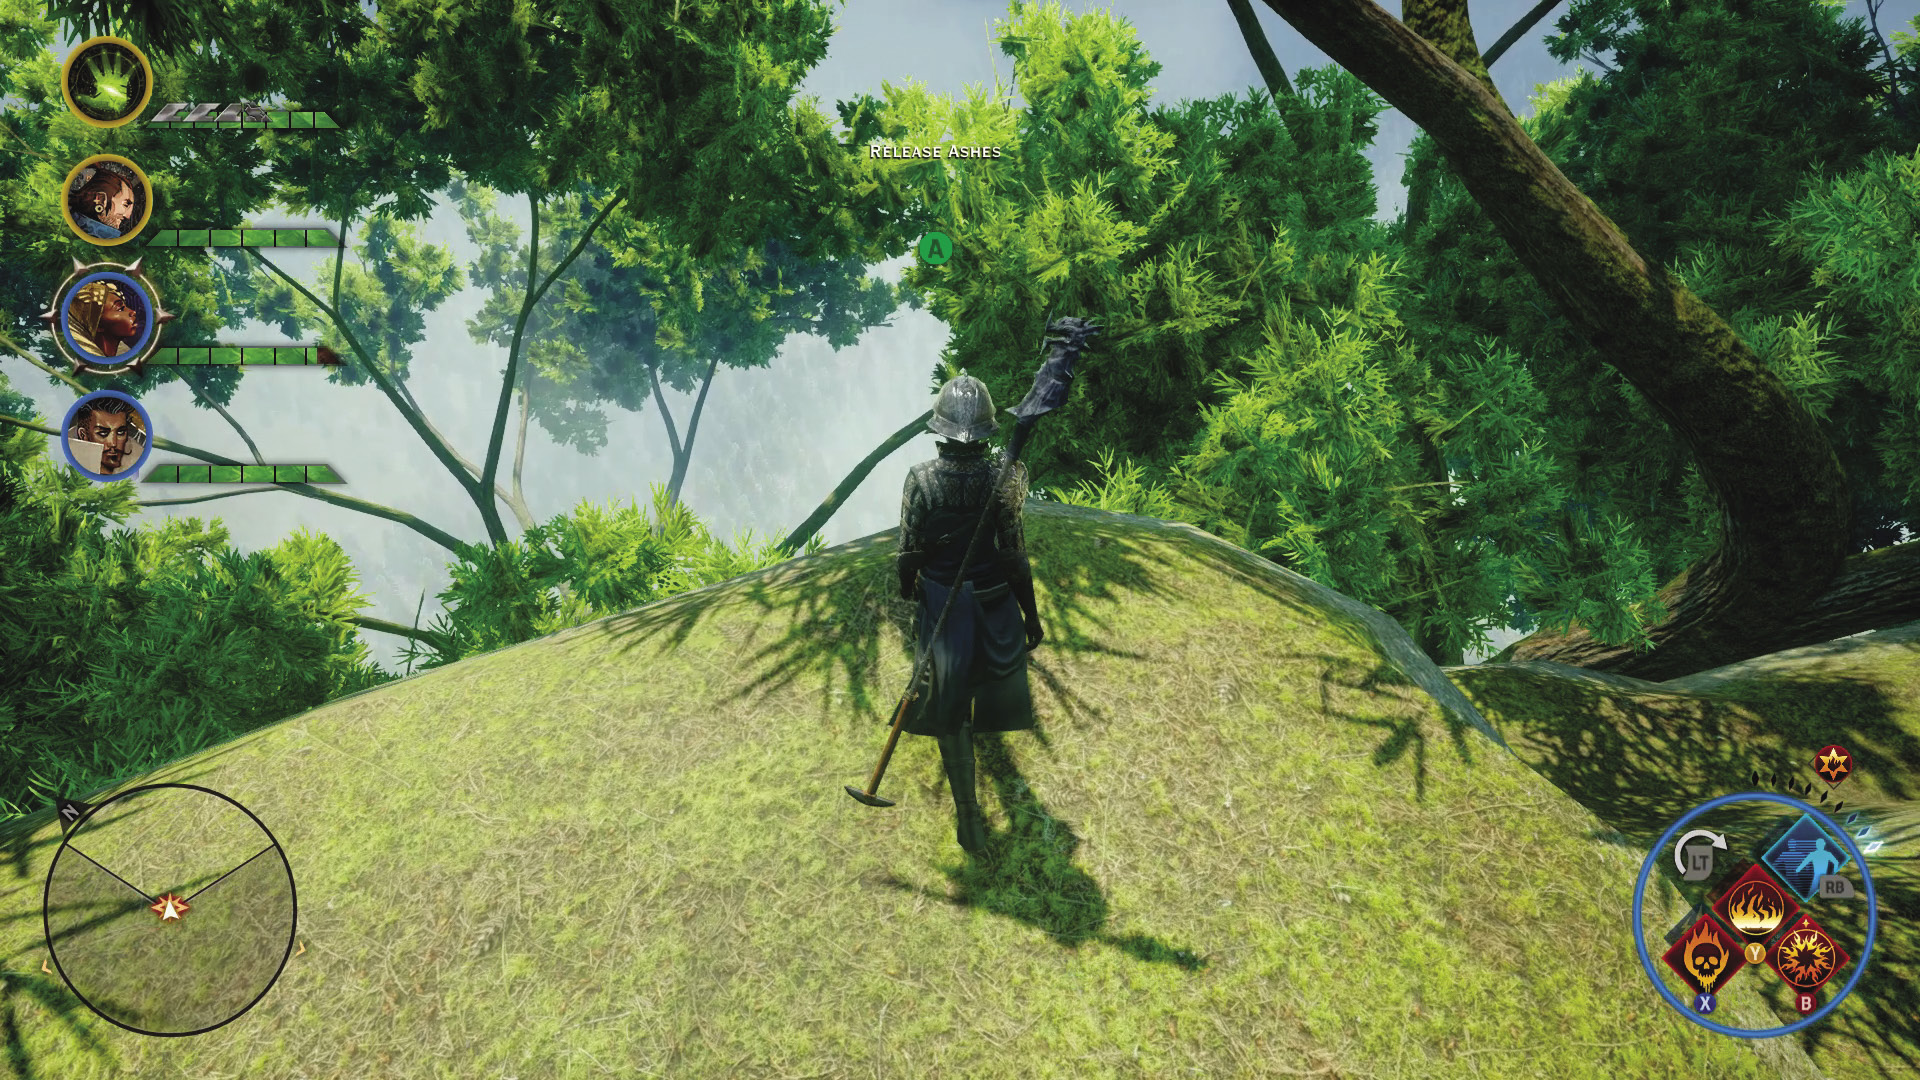
Scattering the ashes from the cliff’s edge in the far north of the Graves should prevent more ash wraiths from forming.
19: Dungeon: Chateau d’Onterre

Quest Giver: The quest automatically begins when you enter the chateau.
Description: An ancient horror has awakened in the chateau courtyard.
Requirements: Enter the chateau.
Reward: 967 XP, 200 Influence, 2 Power
Objectives:
 Gain access to the grand balcony.
 Kill the arcane horror.
As soon as you enter Chateau d’Onterre, it is apparent that something is very wrong in this place. It’s dark, yet as you move through this quiet mansion, torches light up as you approach them. Undead begin to rise and patrol the halls in ever-increasing numbers. Something happened in this place.
Chateau d’Onterre
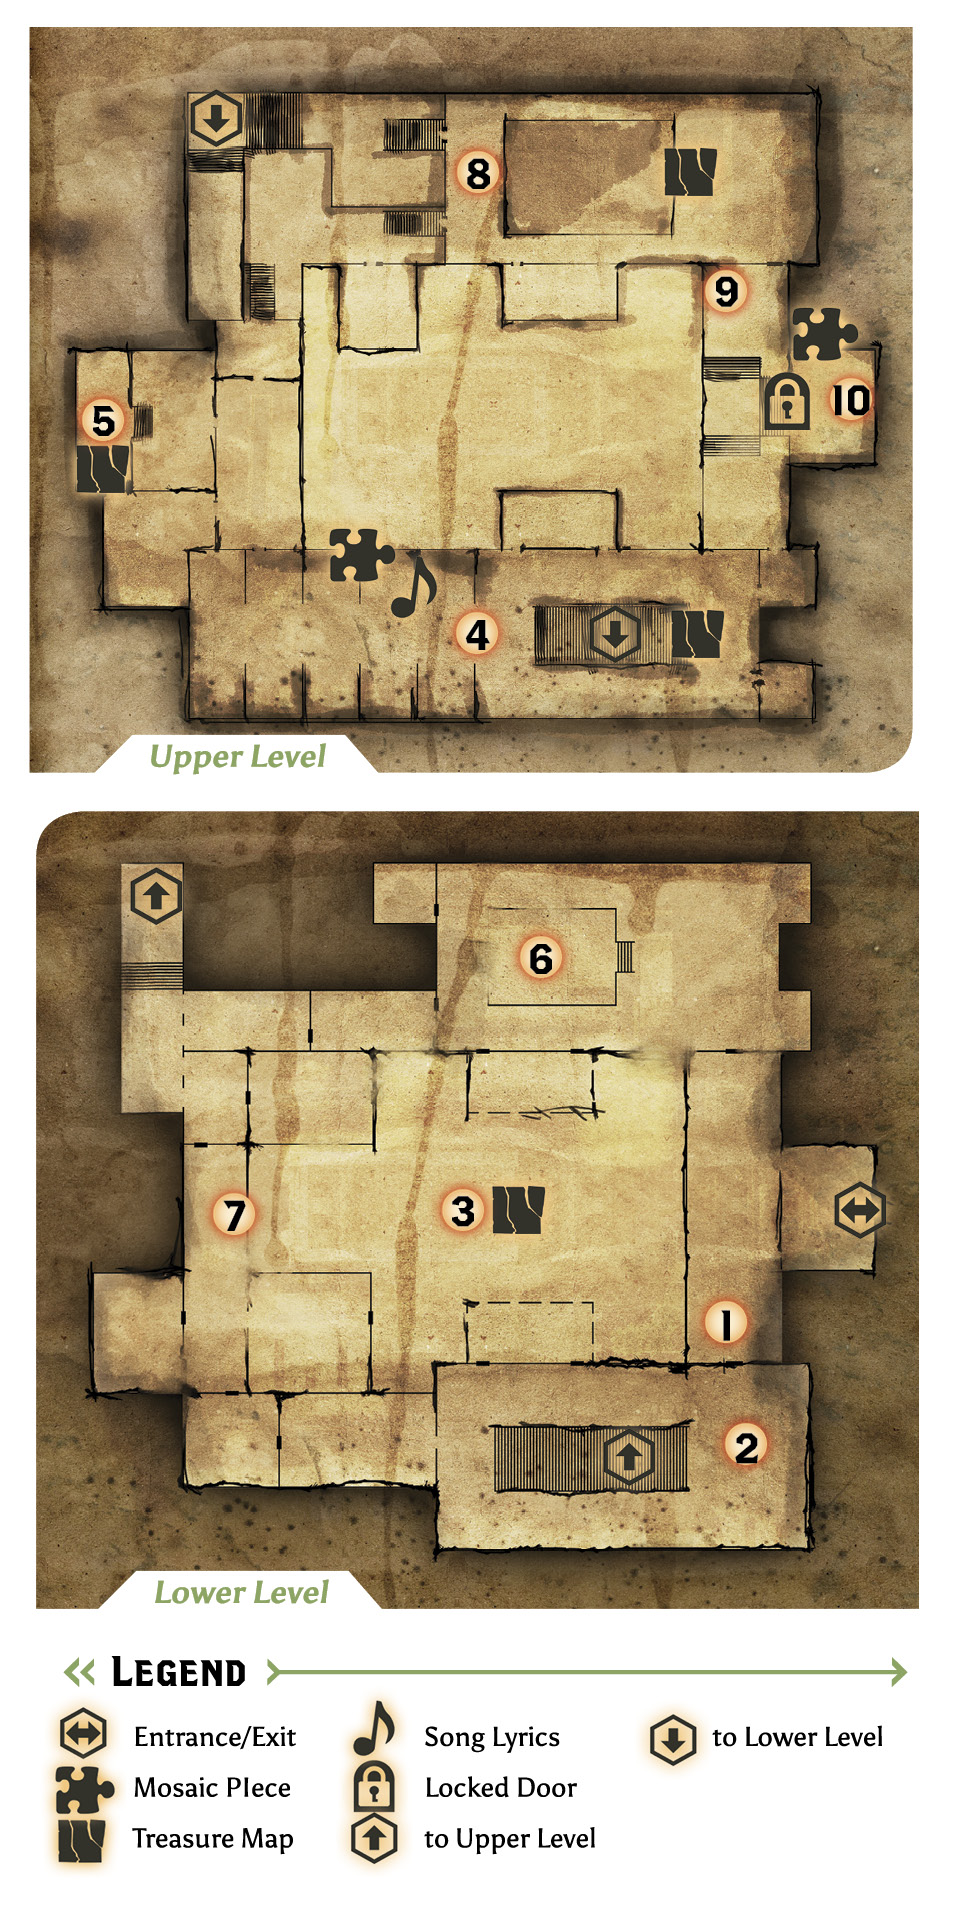
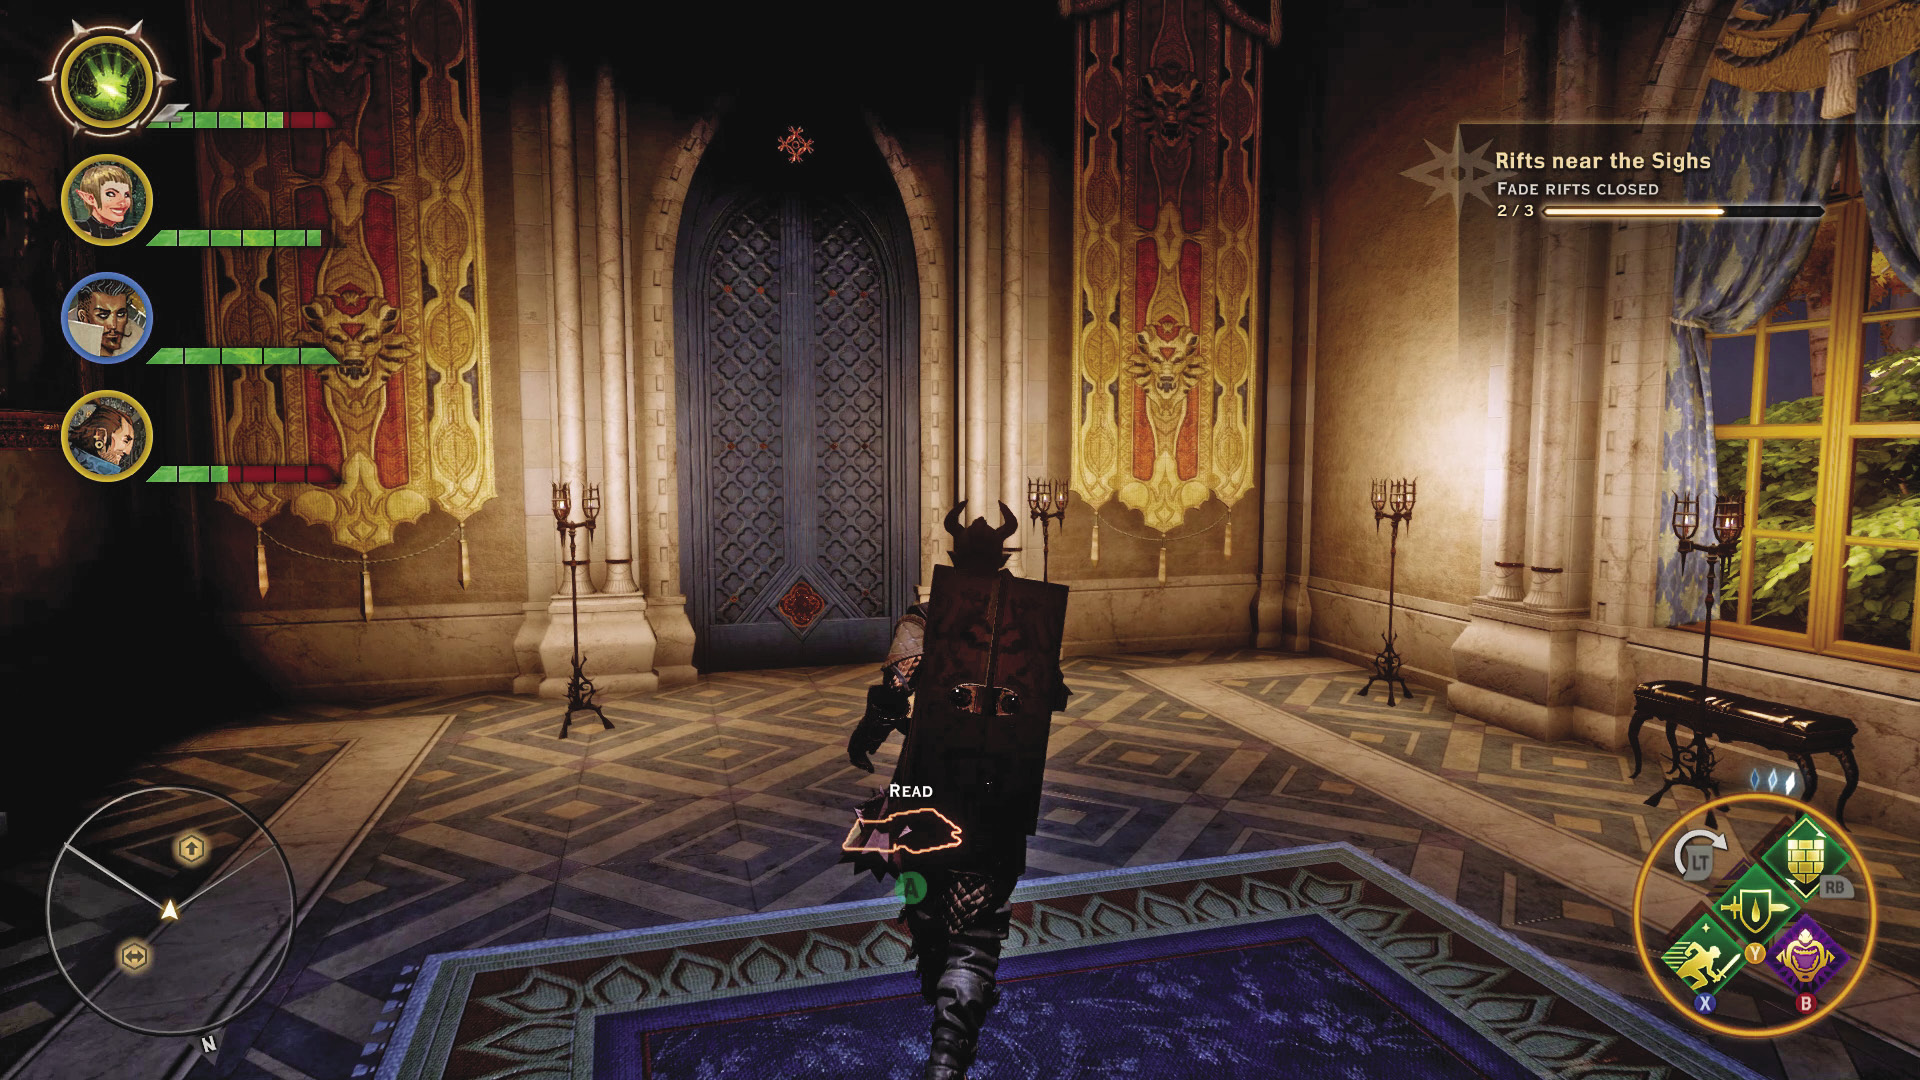
1. Look for notes and diary entries left around the mansion, like this one. It will help you understand the nature of the horror that struck down the chateau.
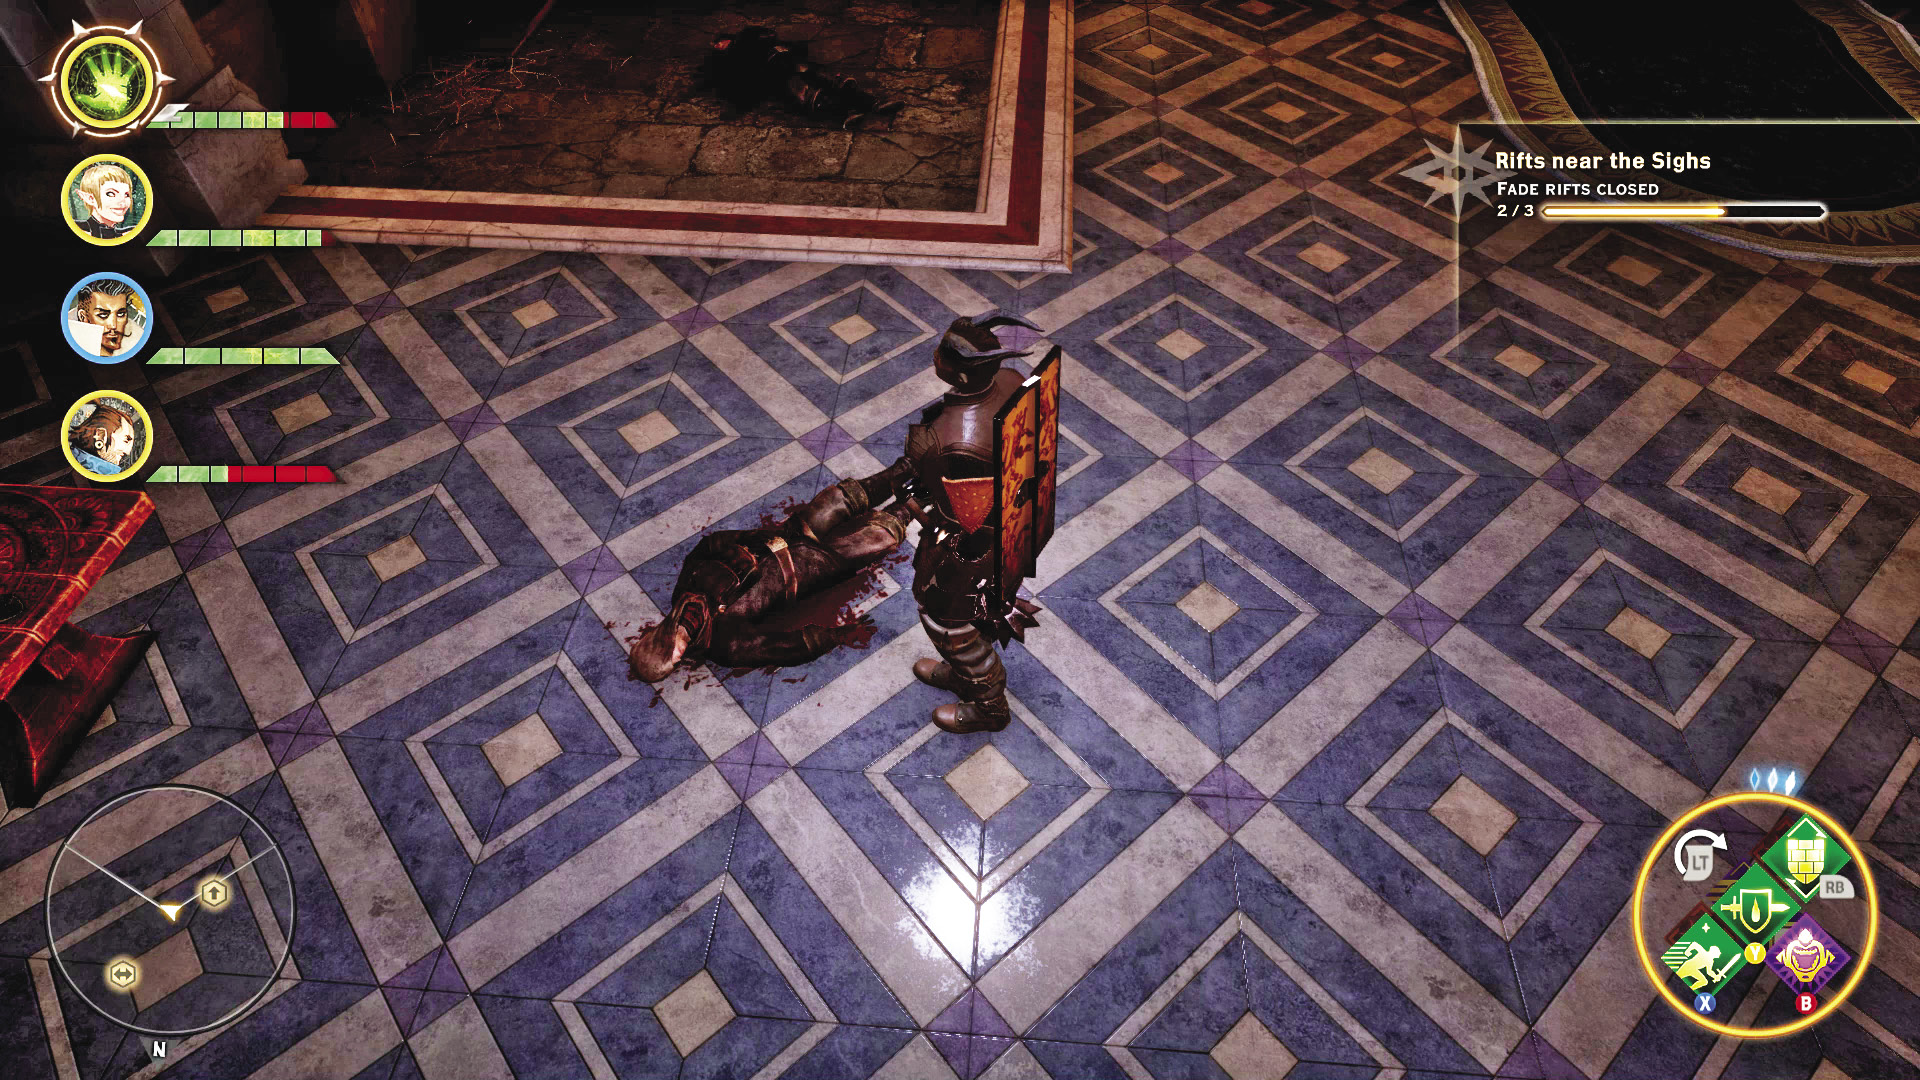
2. In the gallery, you find a large group of dead bodies. An unlucky group of looters met their end here. If you have a rogue, you can unlock a door on the north side of the gallery to enter the formal gardens at the center of the chateau. A stairway leads up the chateau’s second floor.
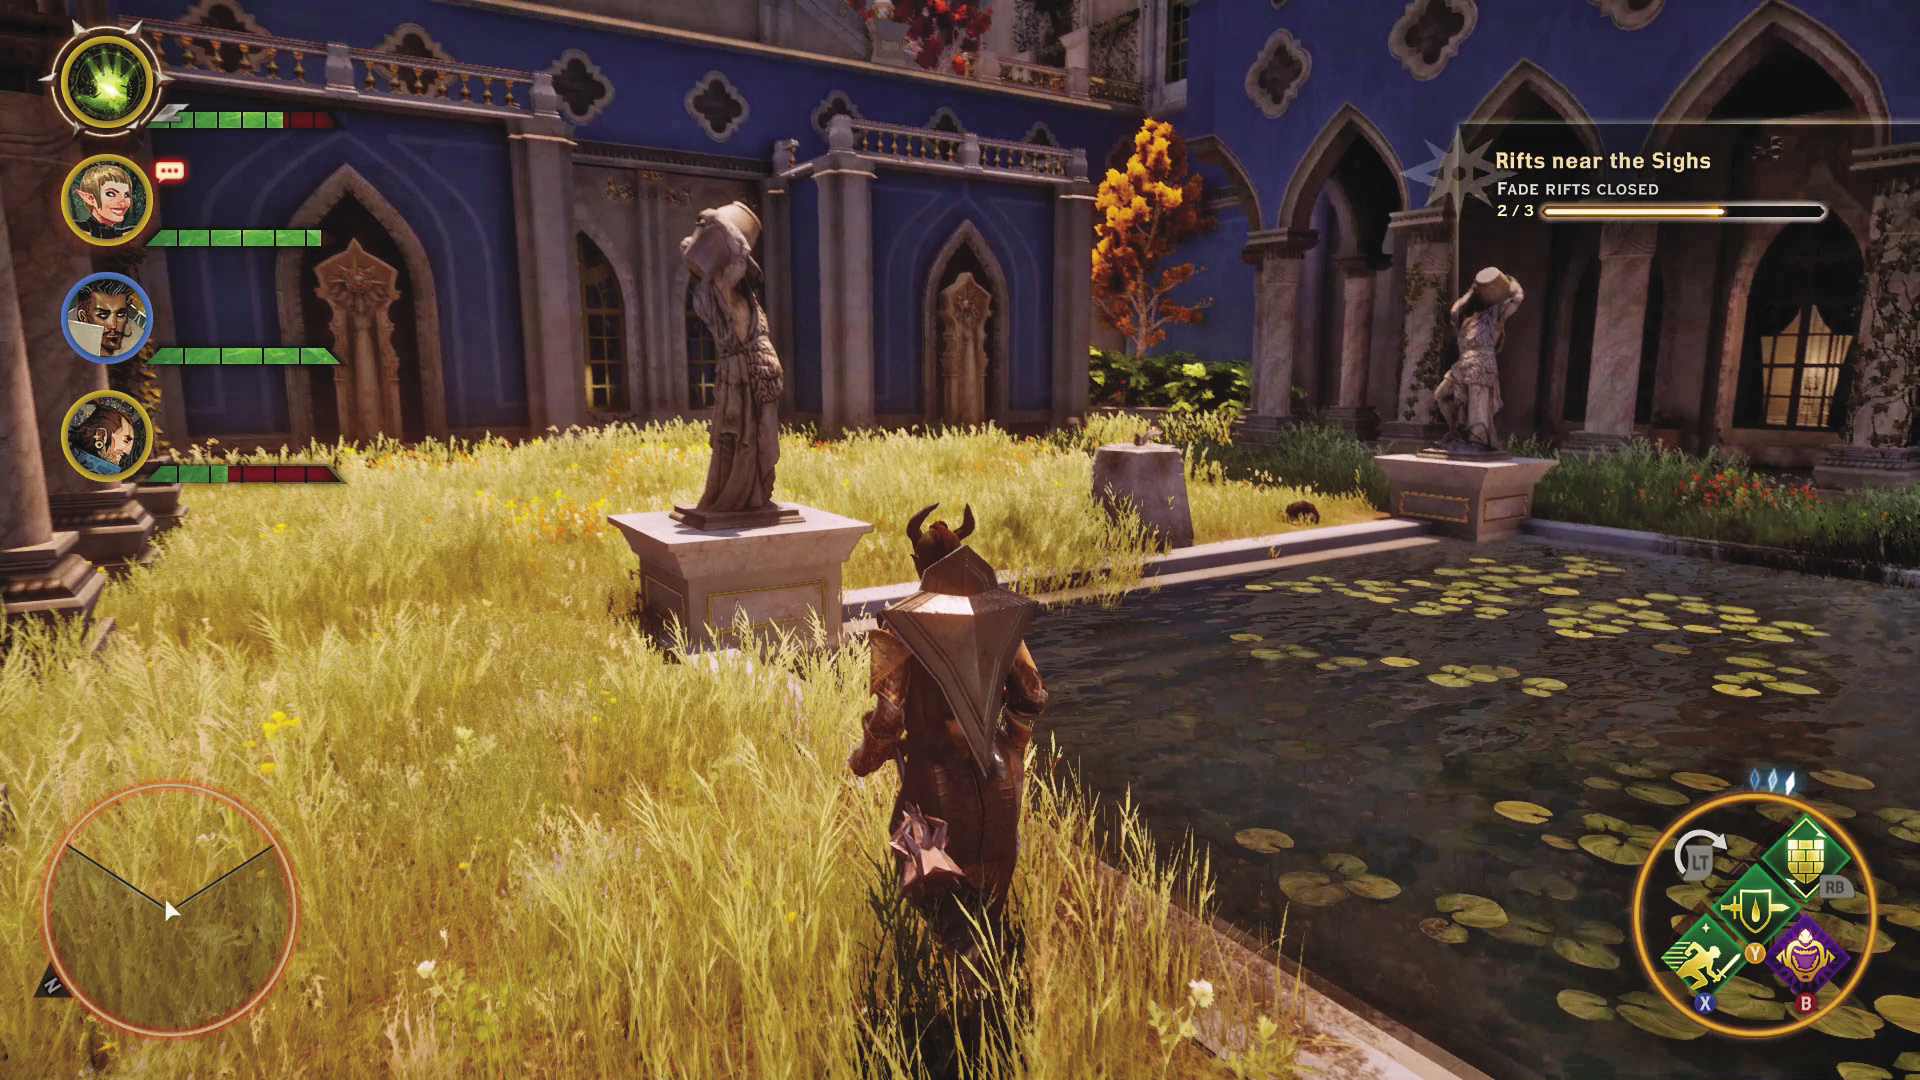
3. In the formal gardens, you can find a note, the first of the set you need to collect before you can leave this place. This garden will become important later on in your investigation of the chateau.
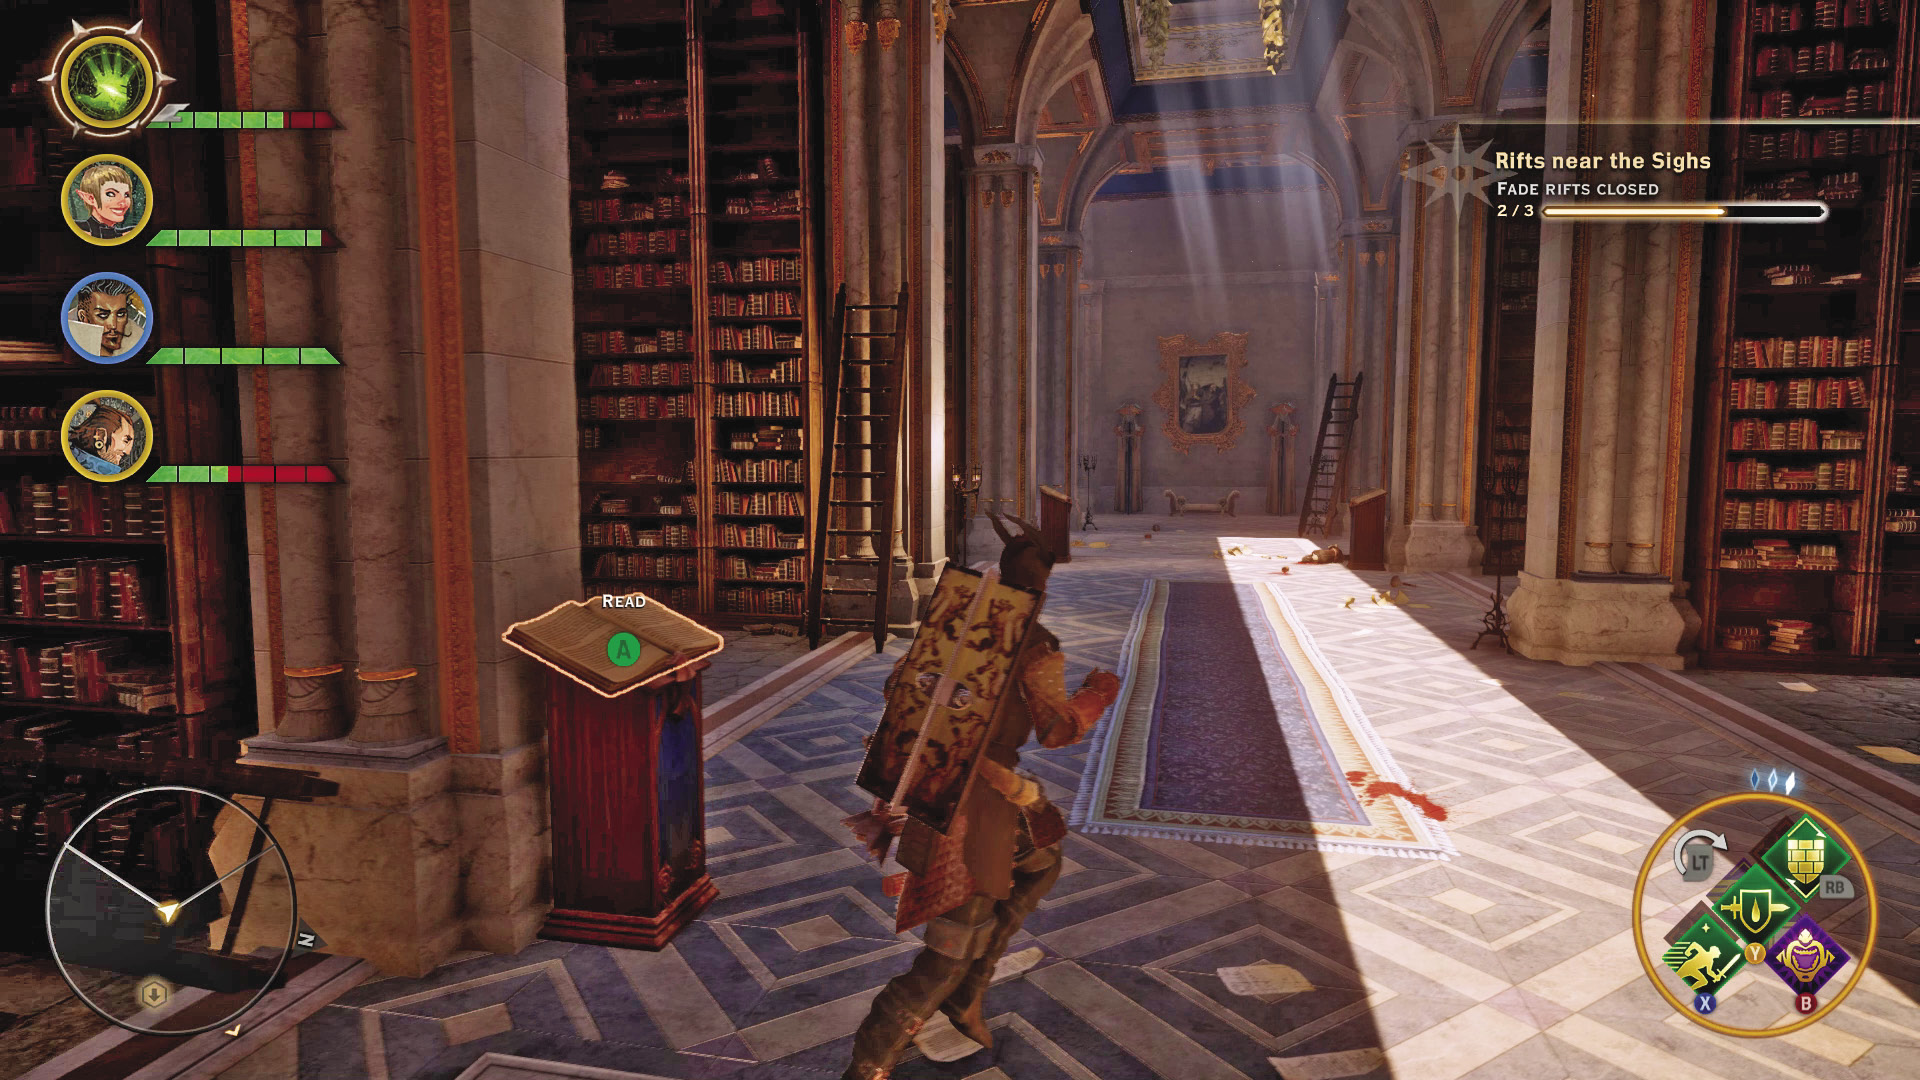
4. The gallery stairs lead to the library. Another sketch is hidden underneath a decoration facing the stairs from the east side of the room. Another door on that side of the room leads to a side chamber with another door leading to the grand balcony, but you still need the balcony key to open it. The library itself is filled with interesting codex entries.
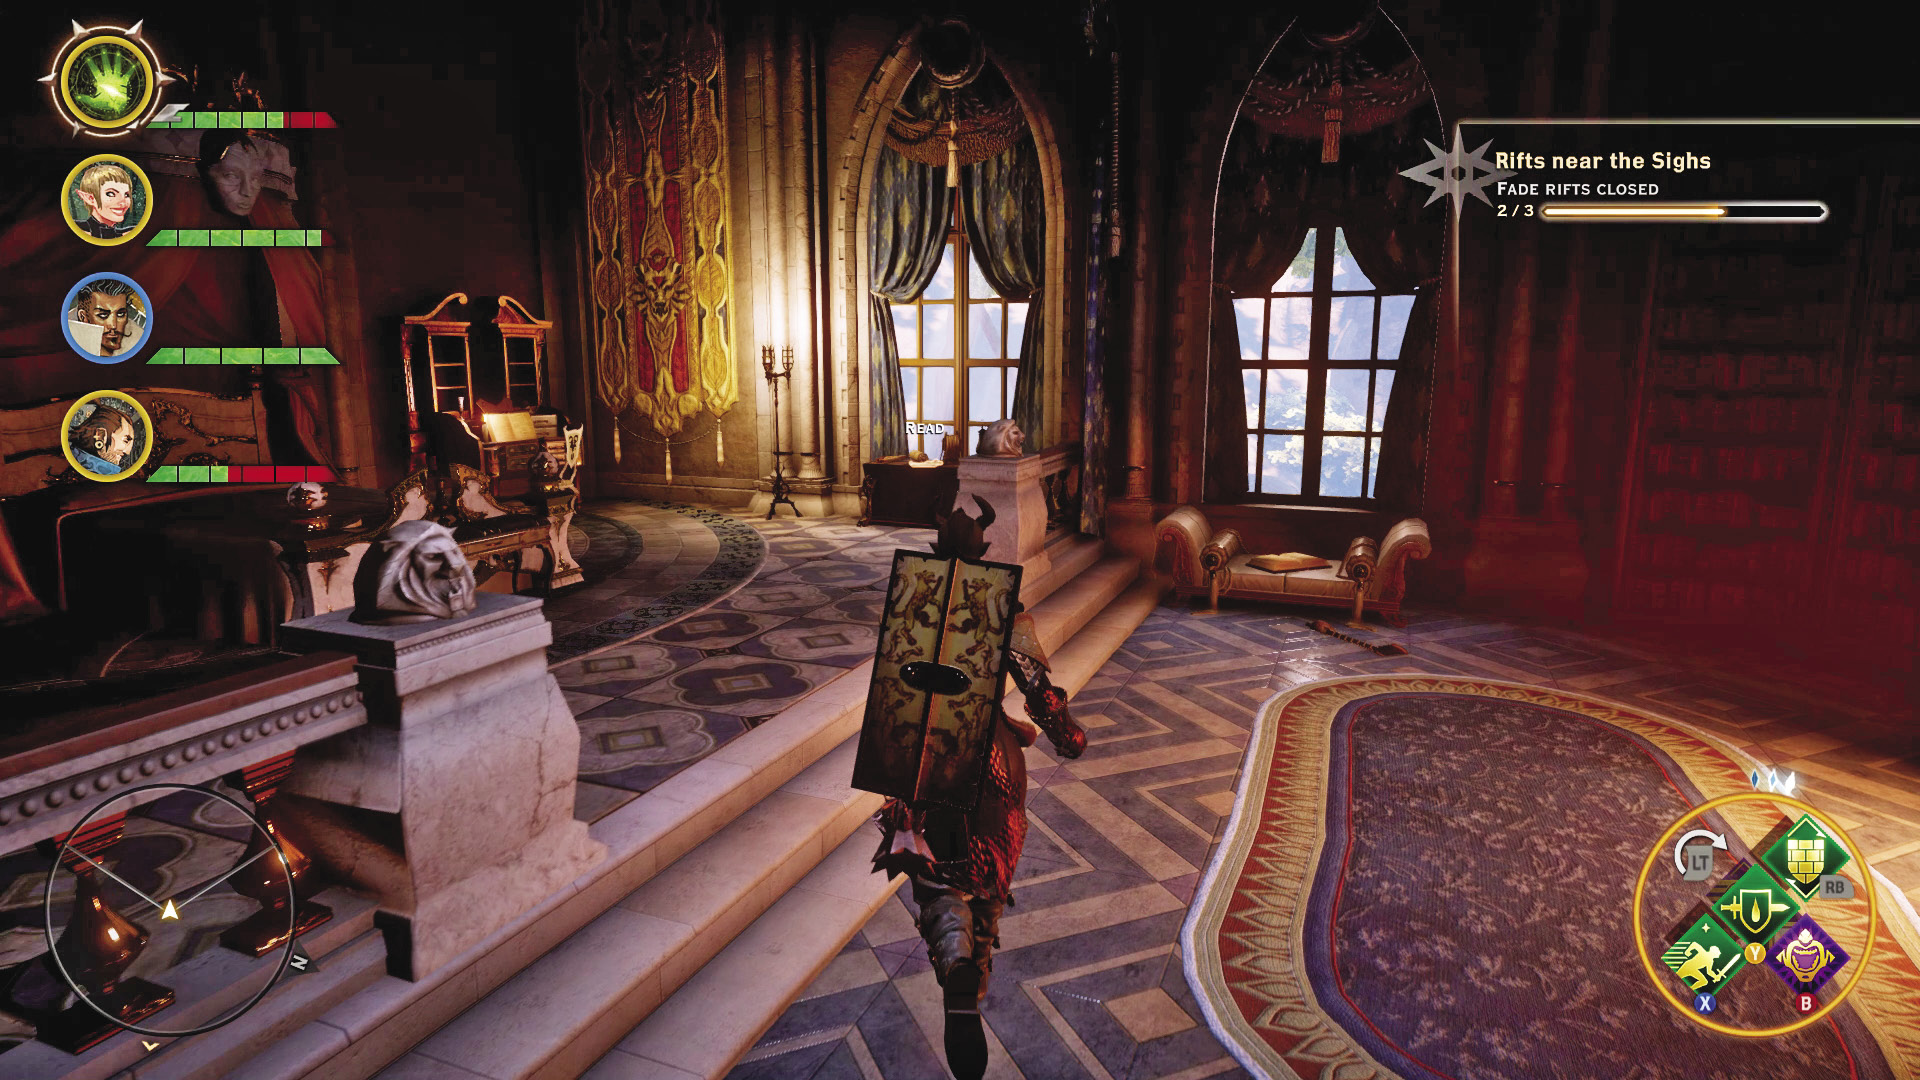
5. The bedchambers contain another sketch hidden behind a painting. This sketch shows a dragon and some sort of pendant.
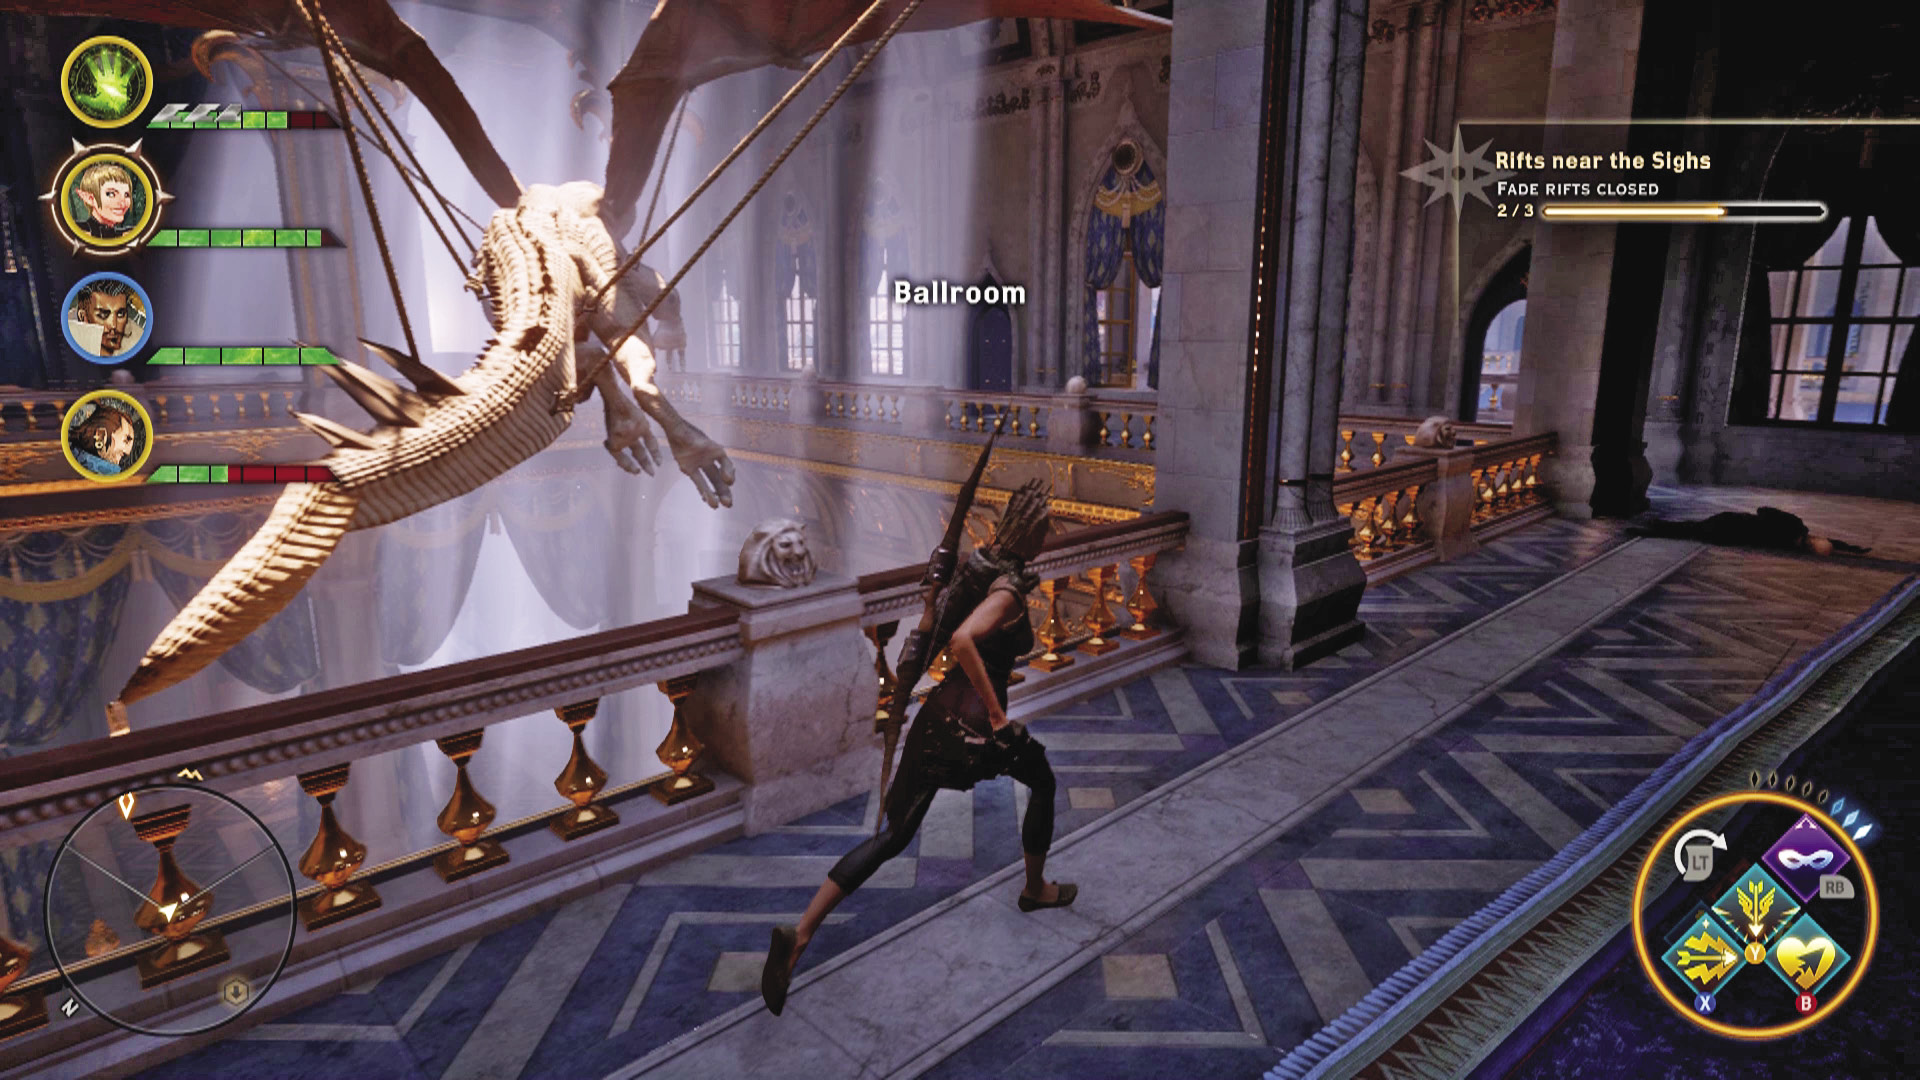
6. The ballroom holds another diary note. Look up from the dance floor to see a very realistic looking high dragon staring down on you.
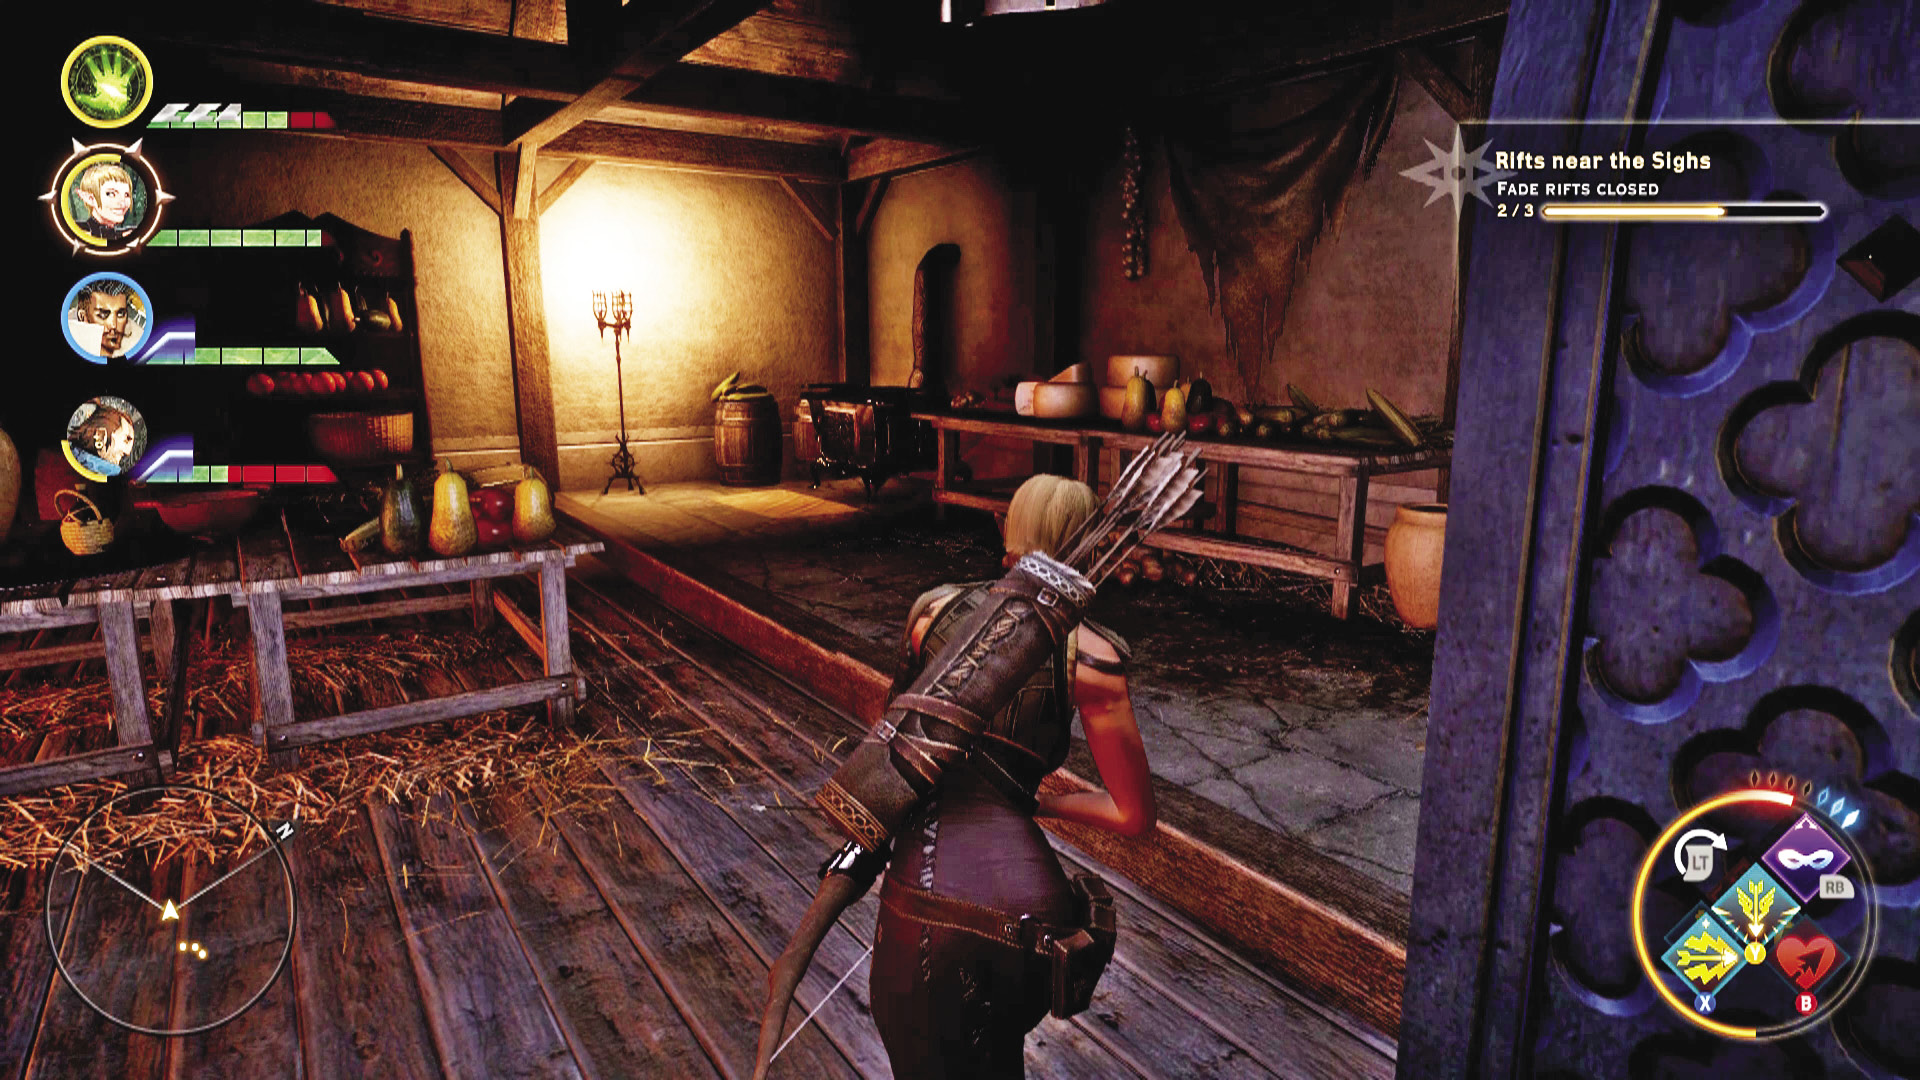
7. The servants’ quarters hold the cook’s diary, which can shed more light on the mystery of the mansion. Another stairwell leads to the second floor, to the antechamber, and another staircase there takes you to the upper floor of the ballroom.
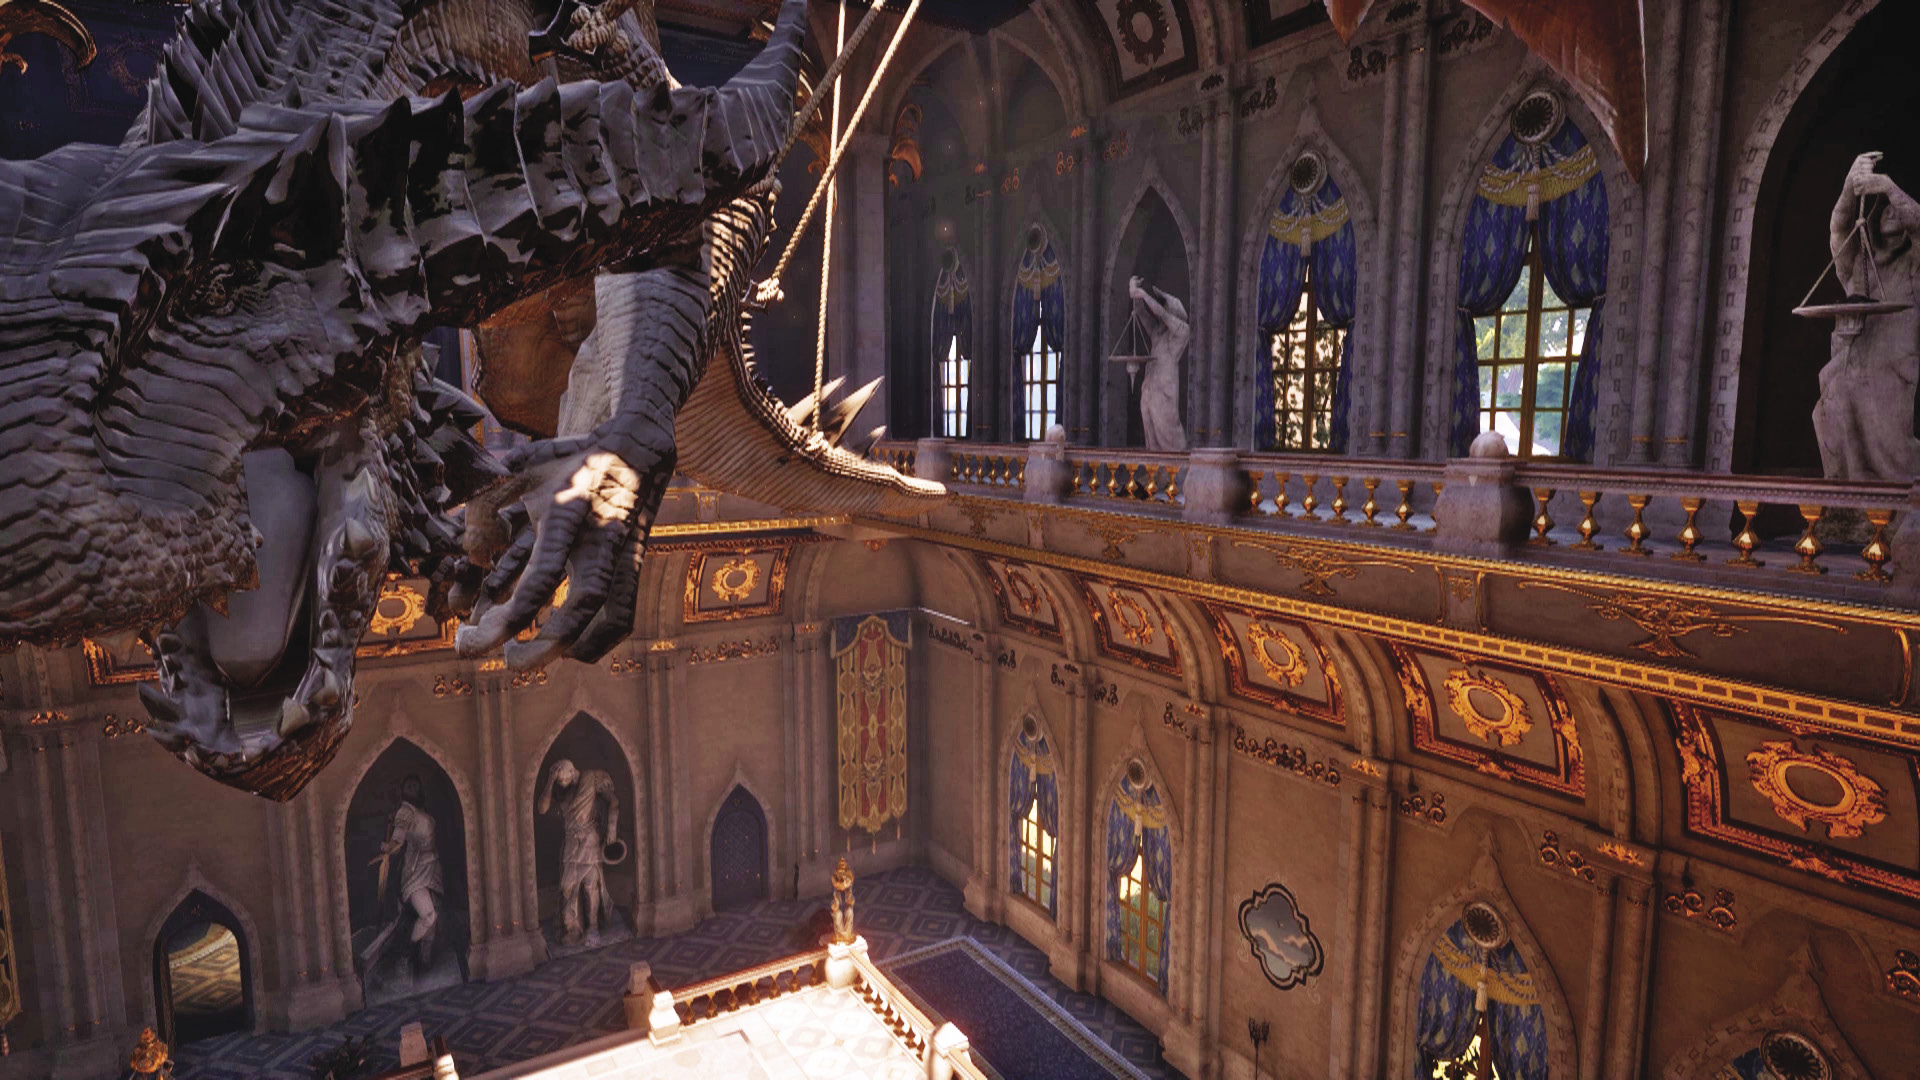
8. While on the ballroom’s upper level, go around to the high dragon’s head and move the small box-like decoration in front of it. This moves the dragon’s tail. Go to the tail to recover another chilling note along with a key: It is an explicit warning to not use the key to the balcony. Obviously, you must now do this!
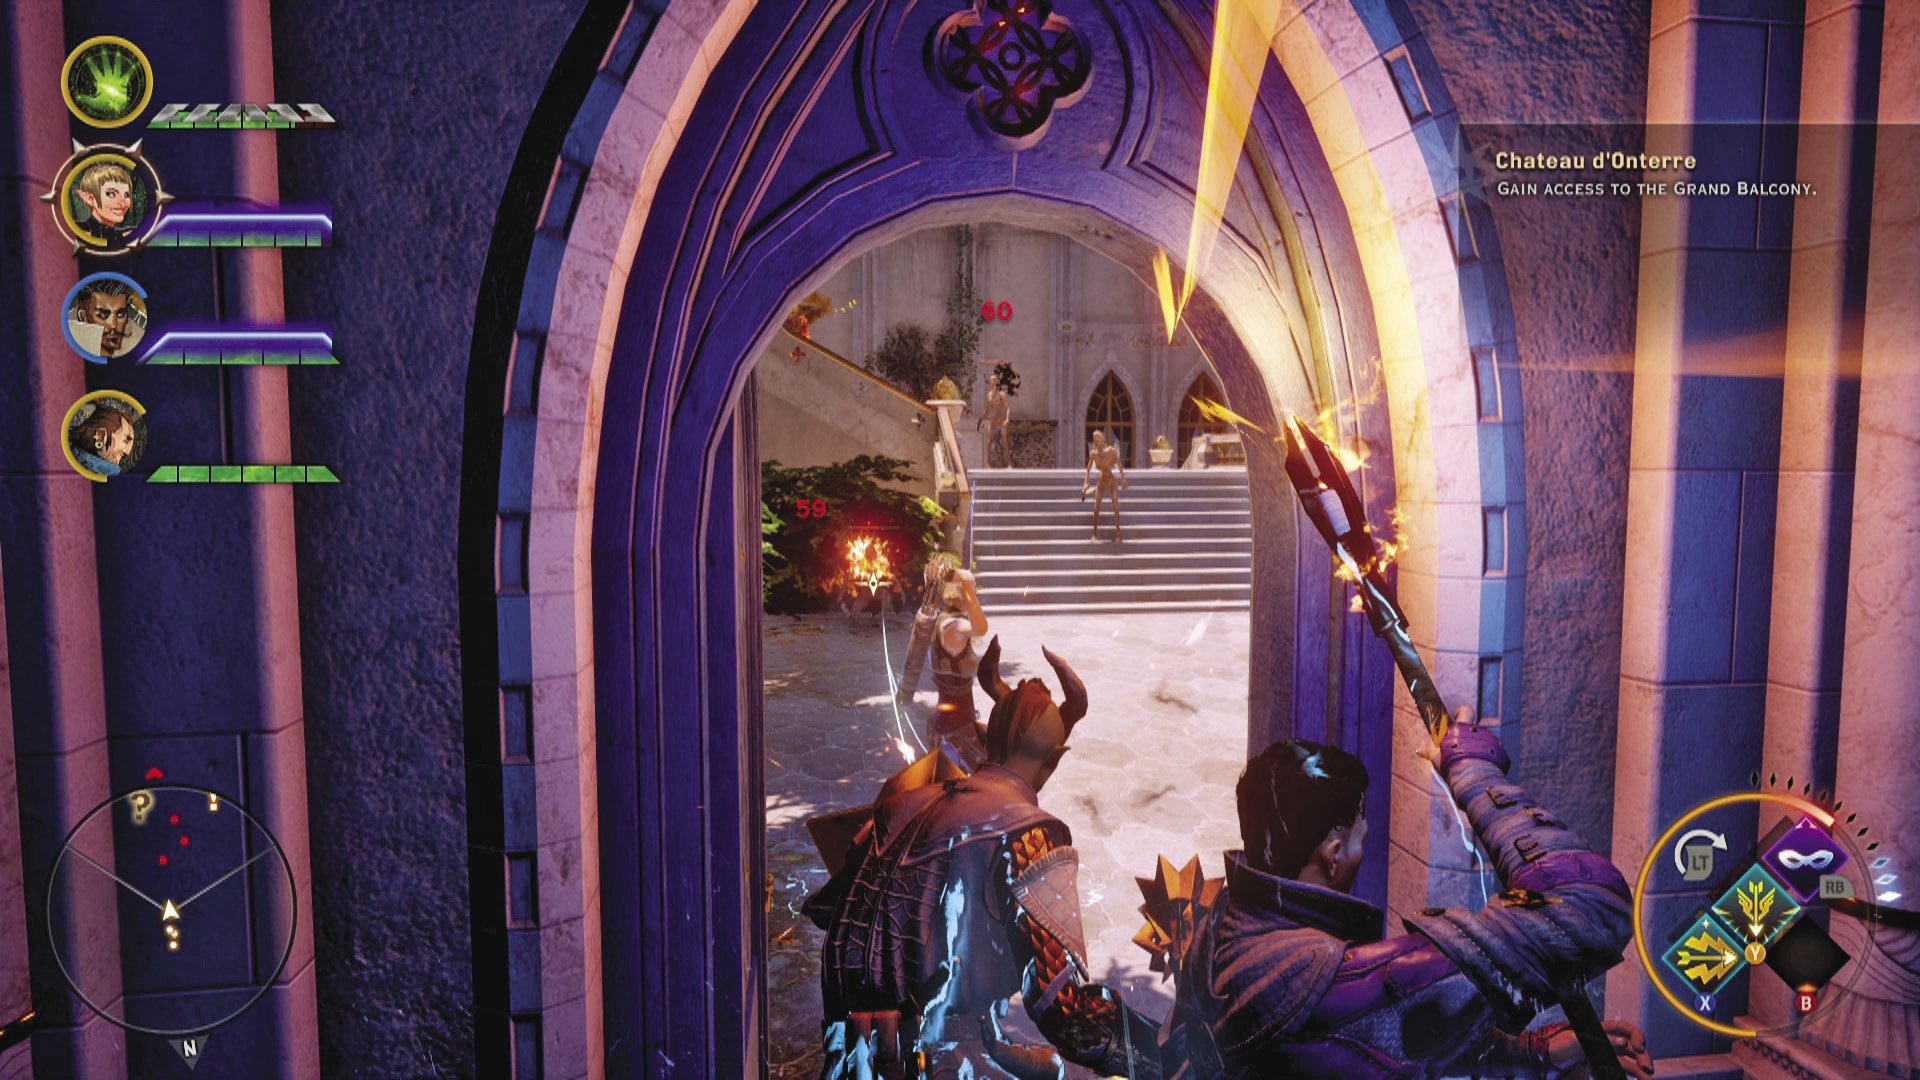
9.With the balcony now opened, clear out the undead, then go to the mysterious, rapidly spinning cube on the balcony railing. Upon touching it, you gain a 10-point boost to Cunning. Also, an arcane horror manifests in the formal gardens.
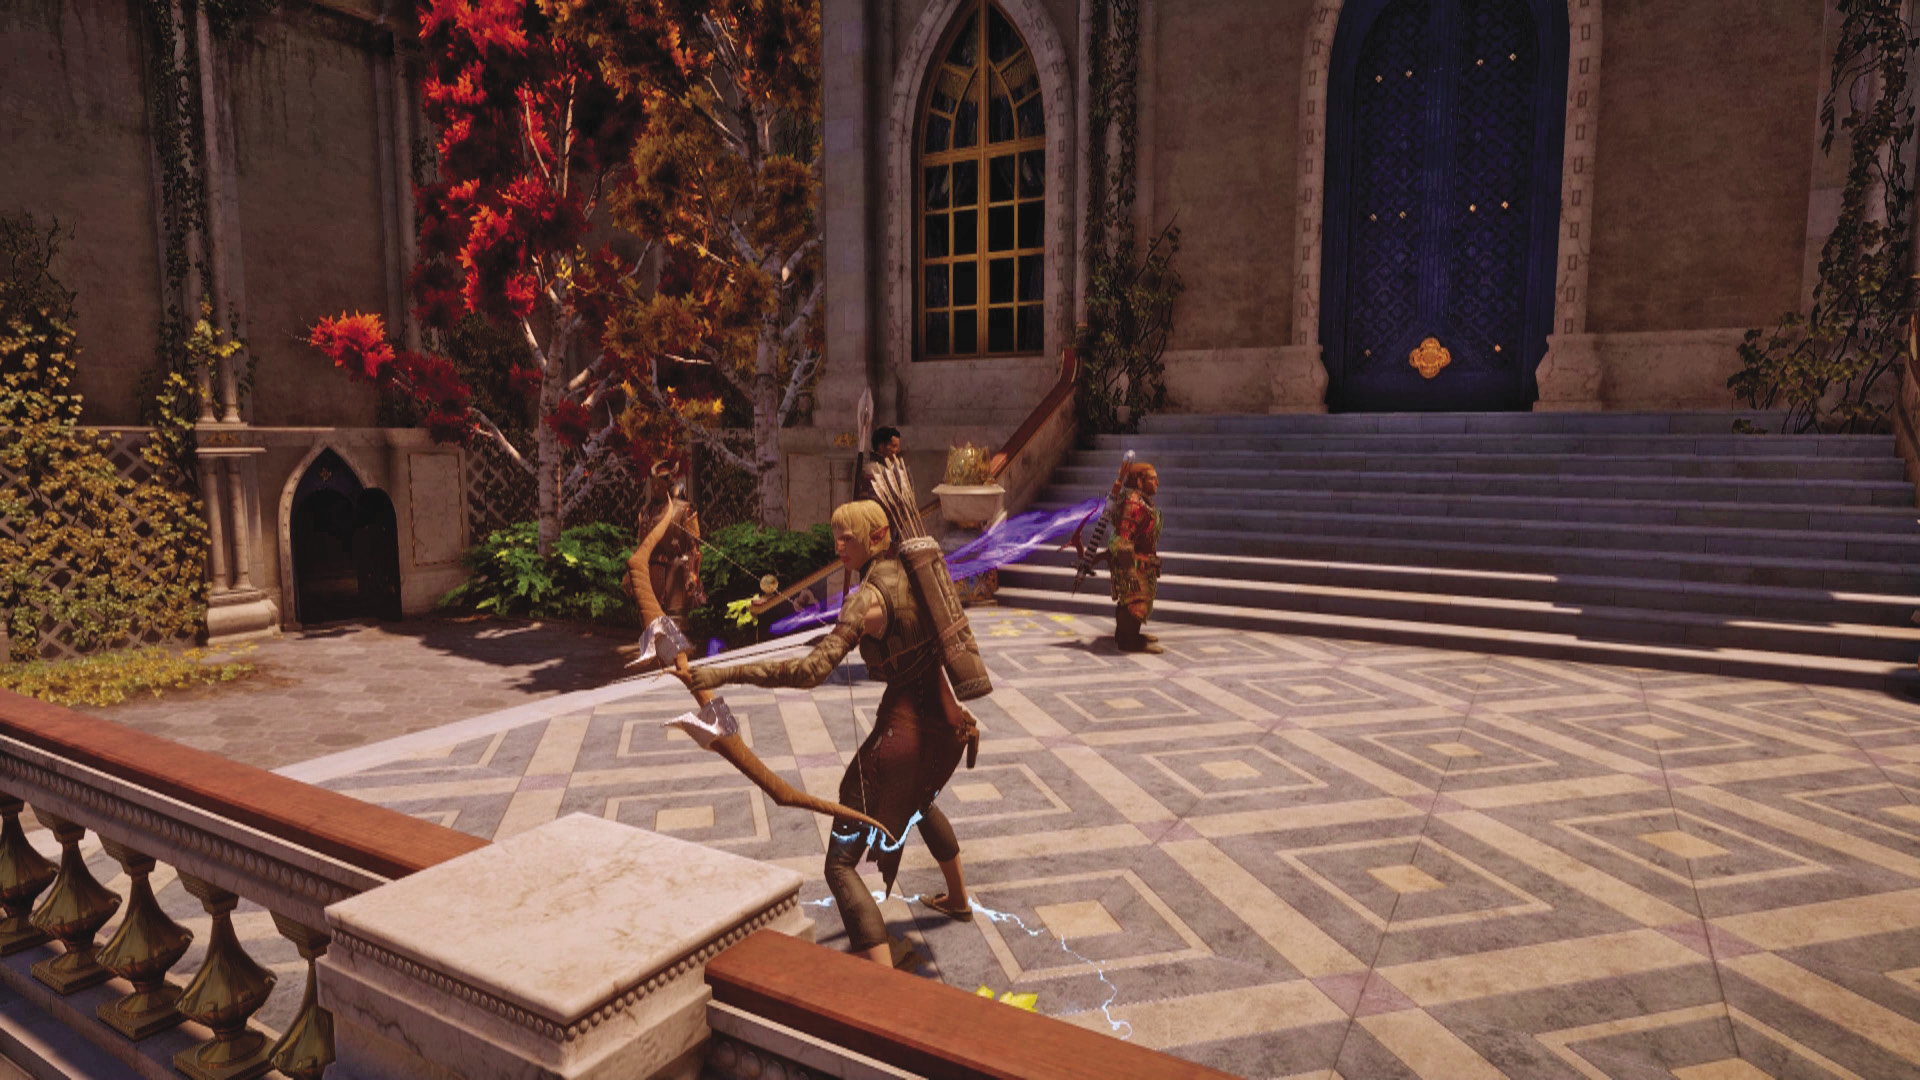
10. Don’t run off to fight the demon just yet. On the grand balcony is another door that requires Deft Hands, Fine Tools to unlock. Behind it is a mosaic piece for the Invasion set.
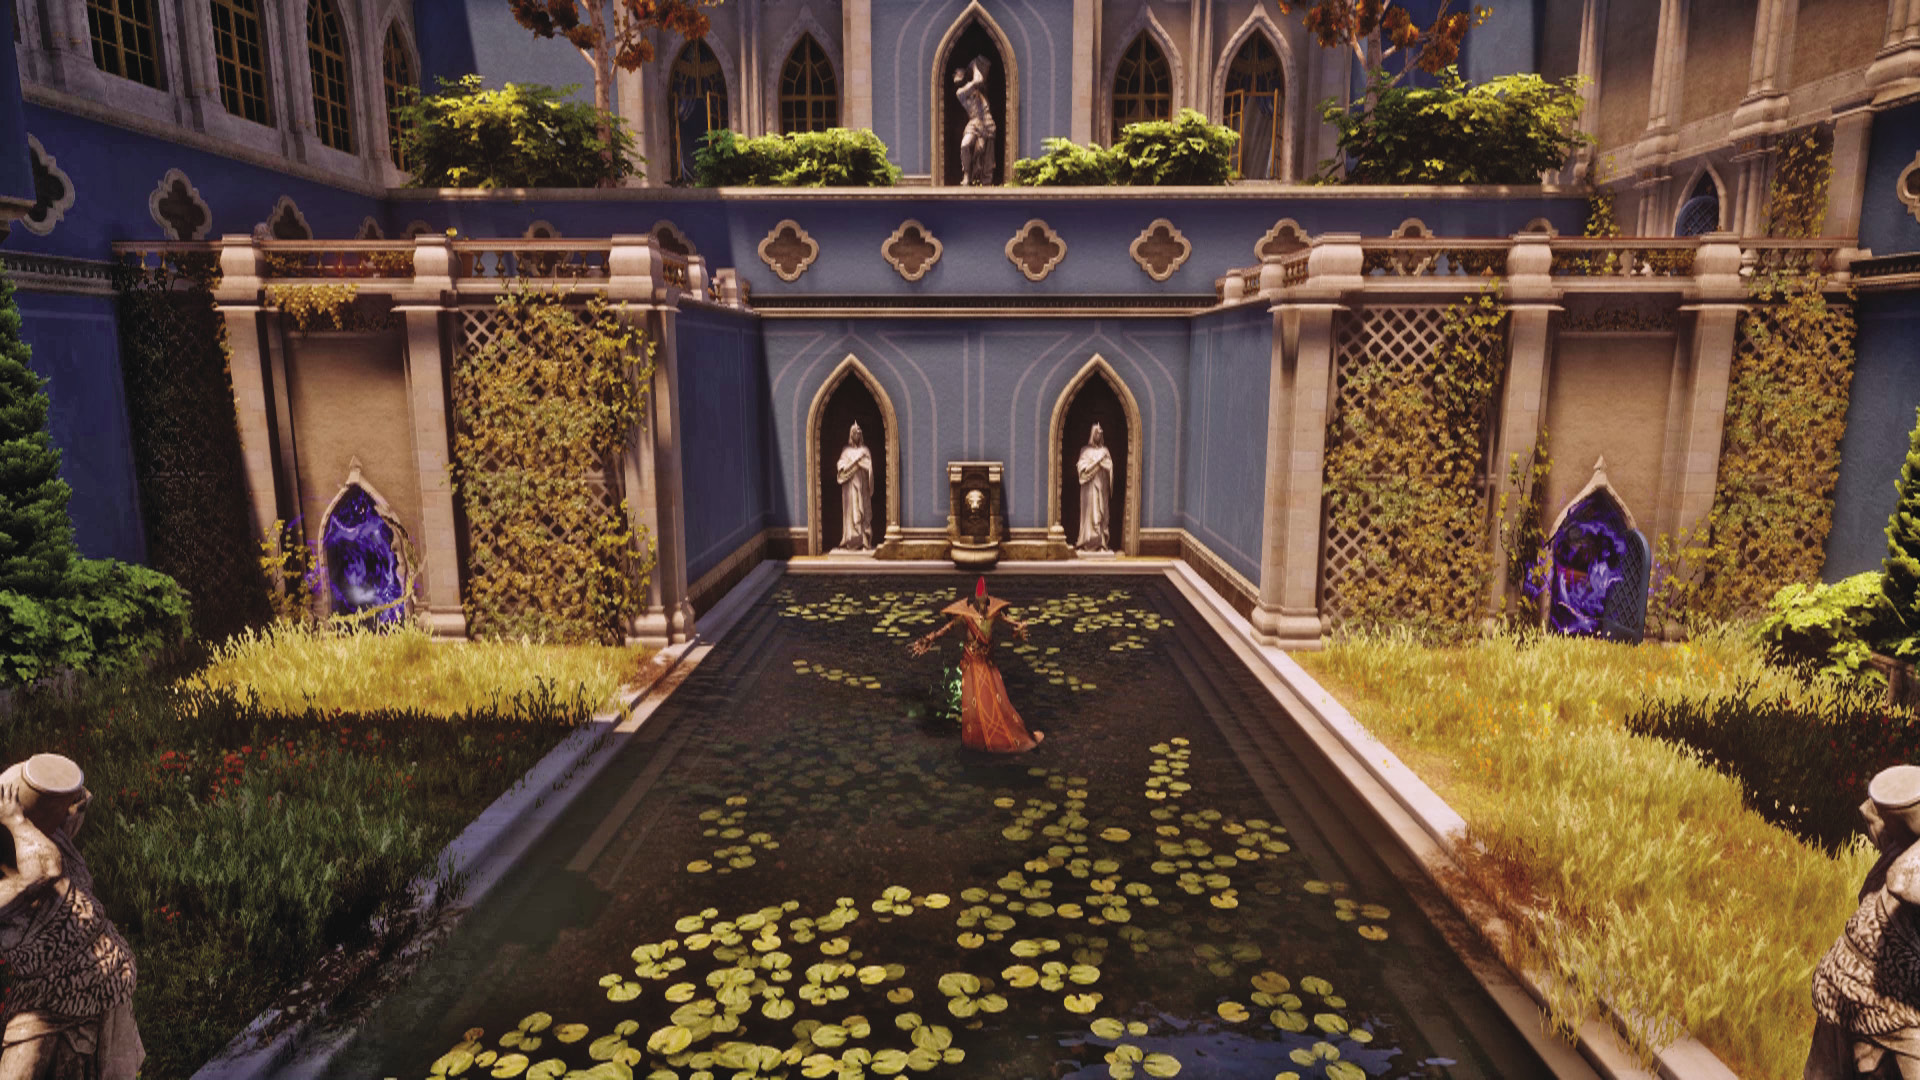
With the nature of the chateau’s darkness finally unveiled, return to the formal gardens and slay the arcane horror. With that, the chateau falls silent, completing this side quest. You can freely explore the place for any loot you may have missed!
20: A Puppet Master

Quest Giver: Leliana
Description: Inquisition agents have lured Carroll, the red templar responsible for manipulating the Freemen of the Dales, to the Lion’s Pavilion in the Emerald Graves. It’s time to finish this.
Requirements: Complete A Vicious Thug, A Fallen Sister, A Corrupt General, and A Deluded Chevalier.
Reward: 1,324 XP, 600 Influence, 2 Power
Objectives:
 Defeat Carroll.
With the Freemen leadership effectively destroyed in the Emerald Graves, some officers have managed to escape. However, Leliana uses her agents to call out the apparent ring leader behind the Freemen’s sudden and violent rise to prominence in the Dales. They have promised to meet the Freemen in the Lion’s Pavilion, in the Dales.

Among the forces gathered with Carroll, two red templar shadows are present. Don’t let yourself get surprised by these monsters; ideally, a mage or a rogue class can set traps on the stairs of the pavilion to catch them as they come after you. Once you kill the enemy leader and wipe out all the other hostiles around Lion’s Pavilion, the quest is complete.
21: The Knight’s Tomb
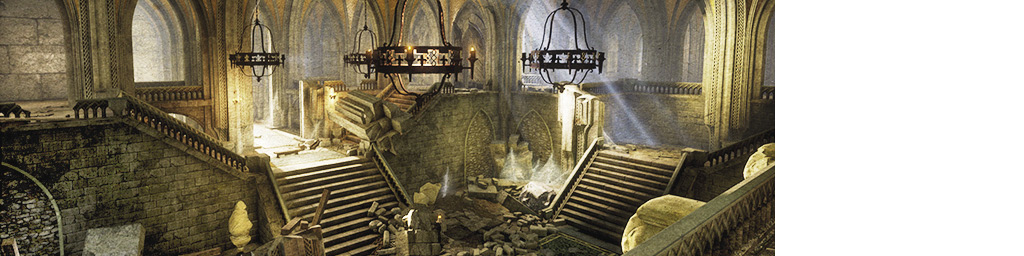
Quest Giver: Keeper Hawen (Exalted Plains). Alternatively, visit Elgar’nan’s Bastion in the Emerald Graves.
Description: Elves are investigating a tomb somewhere in the Emerald Graves that may hold secrets of great historical significance to the Dalish.
Requirements: Complete the events at Halamshiral, then return to the Exalted Plains to speak with Keeper Hawen. Alternatively, simply travel to the Emerald Graves after Halamshiral and go to Din’an Hanin.
Reward: 967 XP, 200 Influence, 2 Power
Objectives:
 Find the tomb.
 Find nine emerald seal pieces.
 Enter Elandrin’s chamber.
 Locate the artifact.
 Sell the histories to the Chantry or return the histories to the Dalish.
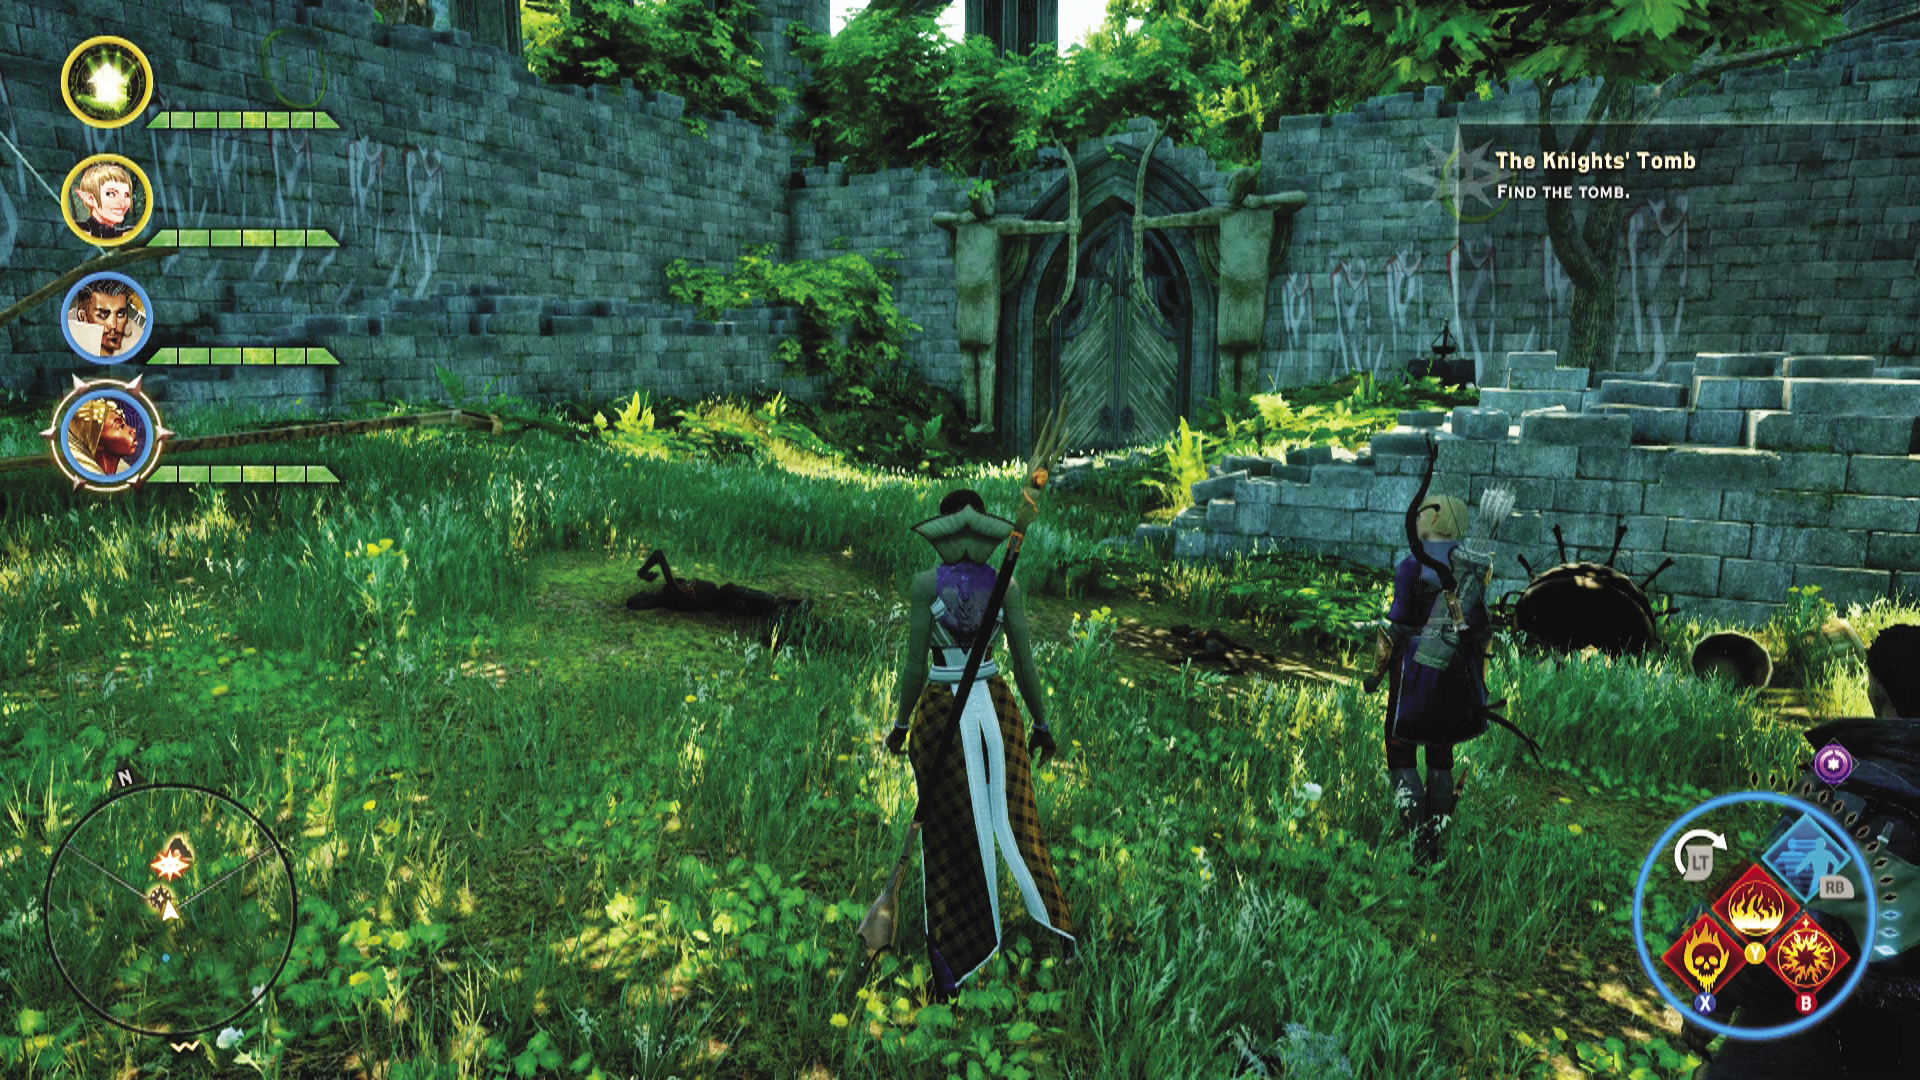
When you first go to Elgar’nan’s Bastion in the Emerald Graves, you encounter a group of Dalish elves, members of the same group you met in the Exalted Plains. They’re investigating a knight’s tomb, Din’an Hanin, and while they are for the most part friendly or ambivalent to Inquisition presence, they are not willing to let you into the ruins while they explore it.
After the events of Halamshiral, you can send soldiers on a mission to these tombs via the war table. However, once you arrive, you find the tombs open and unguarded, and the Dalish and your soldiers are lying dead.
22: Dungeon: Din’an Hanin
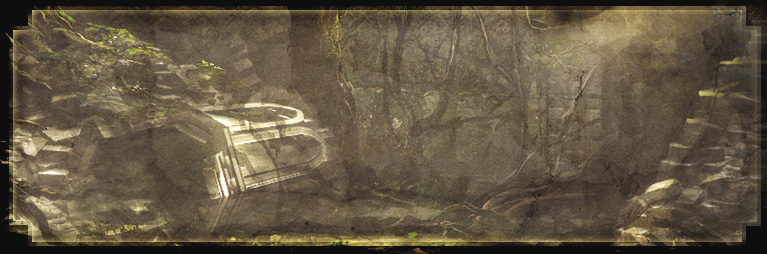
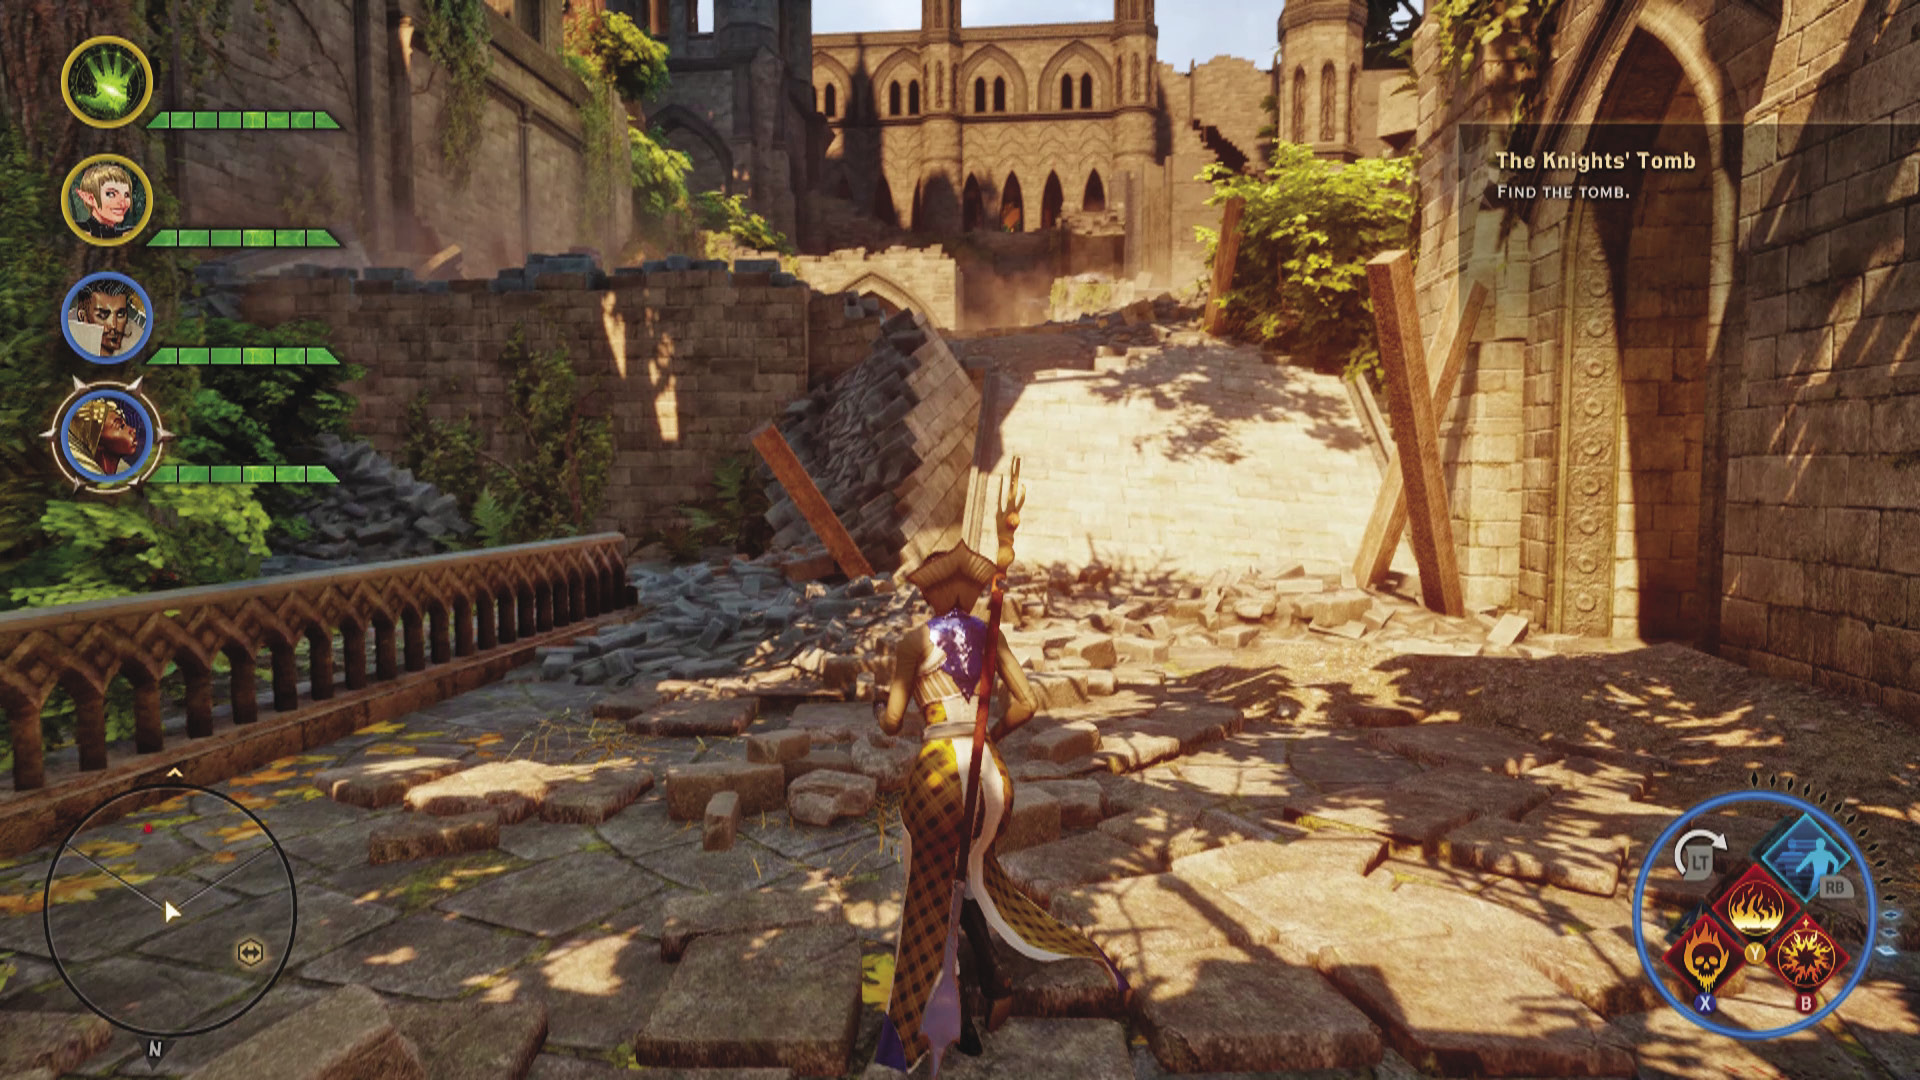
The Emerald Knights once marched in the halls of Din’an Hanin. Now it is nothing more than a tomb, a reminder of a time when the elves had a nation of their own, a reminder of the Exalted March that took everything from them. Some Dalish believed the truth of their fall could be found in Din’an Hanin. The Venatori, allied with Corypheus, also felt this place held something of value, and they will fight to keep it out of Inquisition hands.
Din’an Hanin
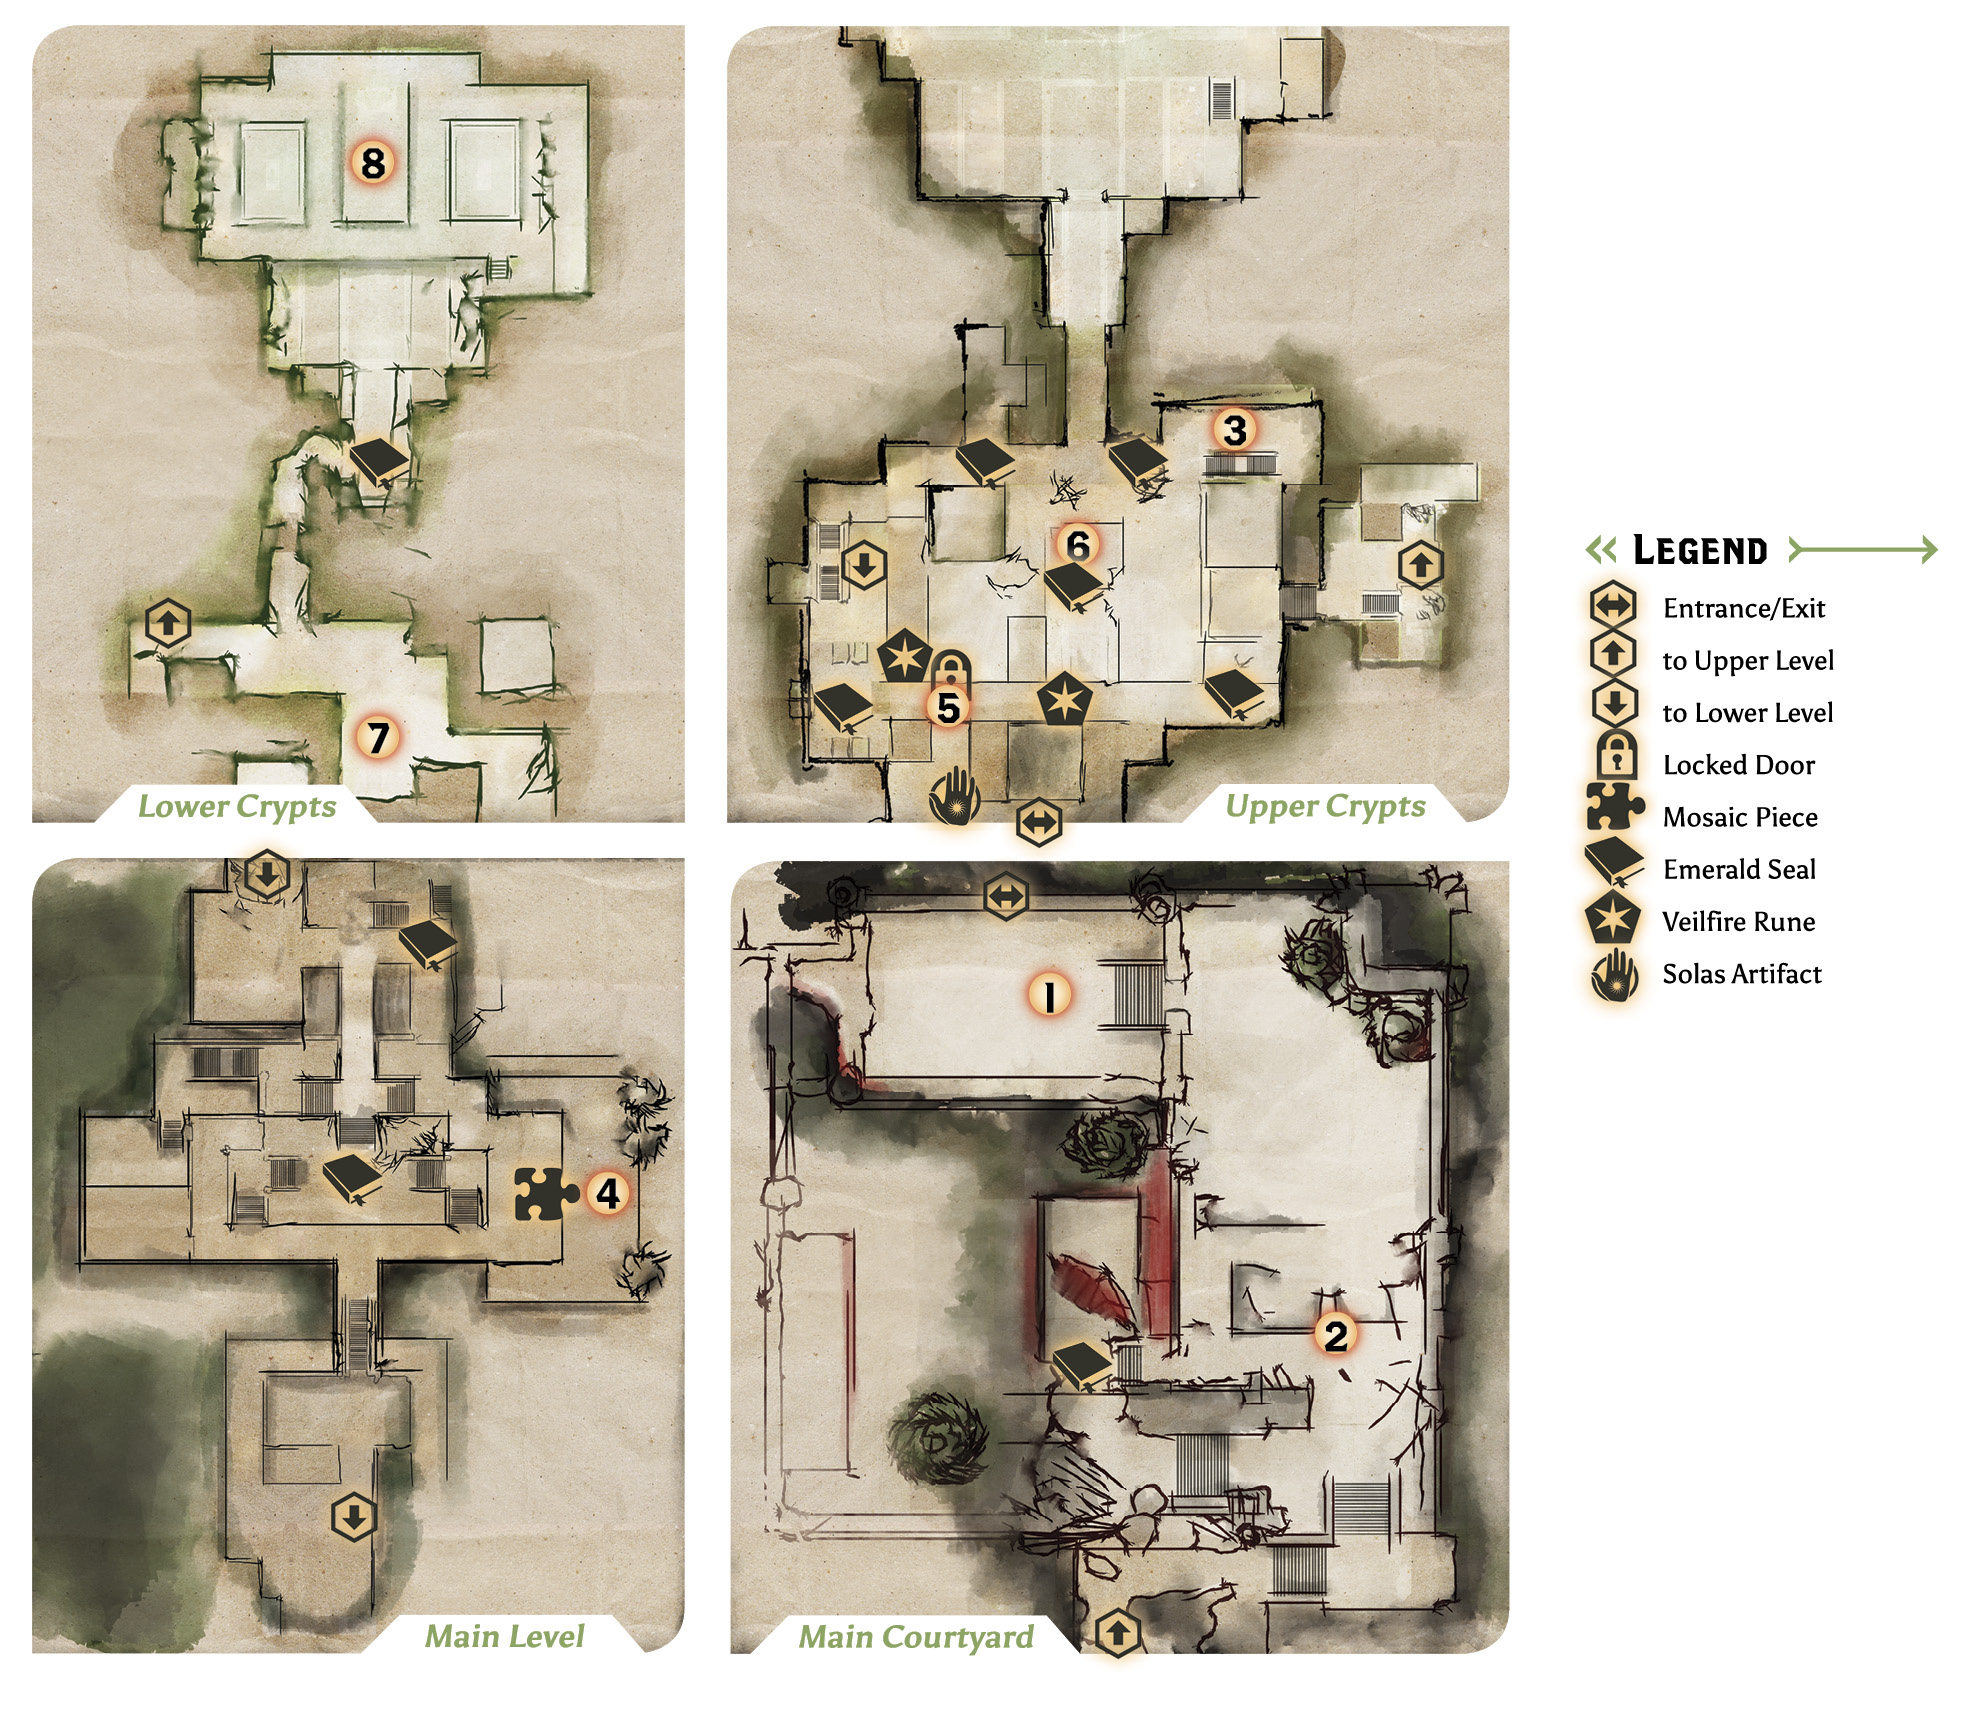
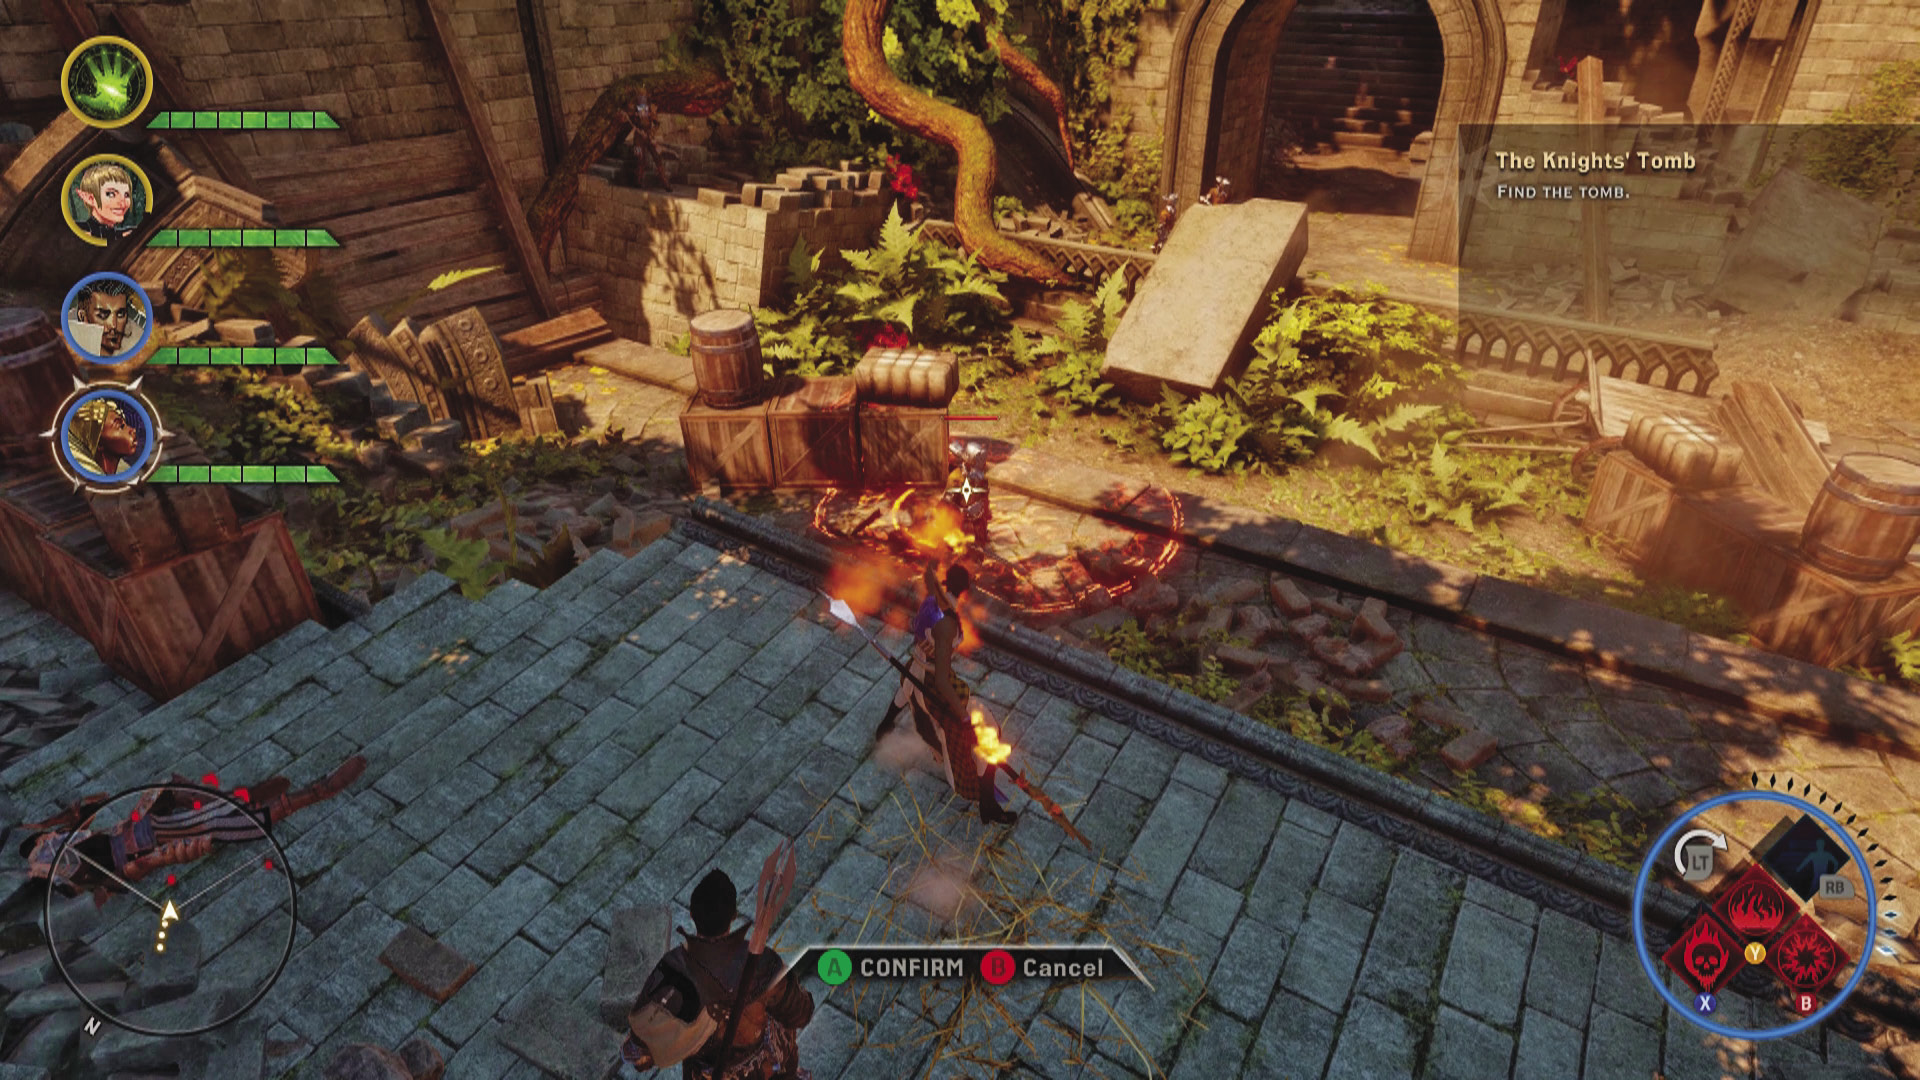
1. As soon as you enter the ruins, you find more dead elves, joined by dead Inquisition soldiers. Not far from the entrance you encounter the cause: Tevinter forces, backed by Venatori mages.
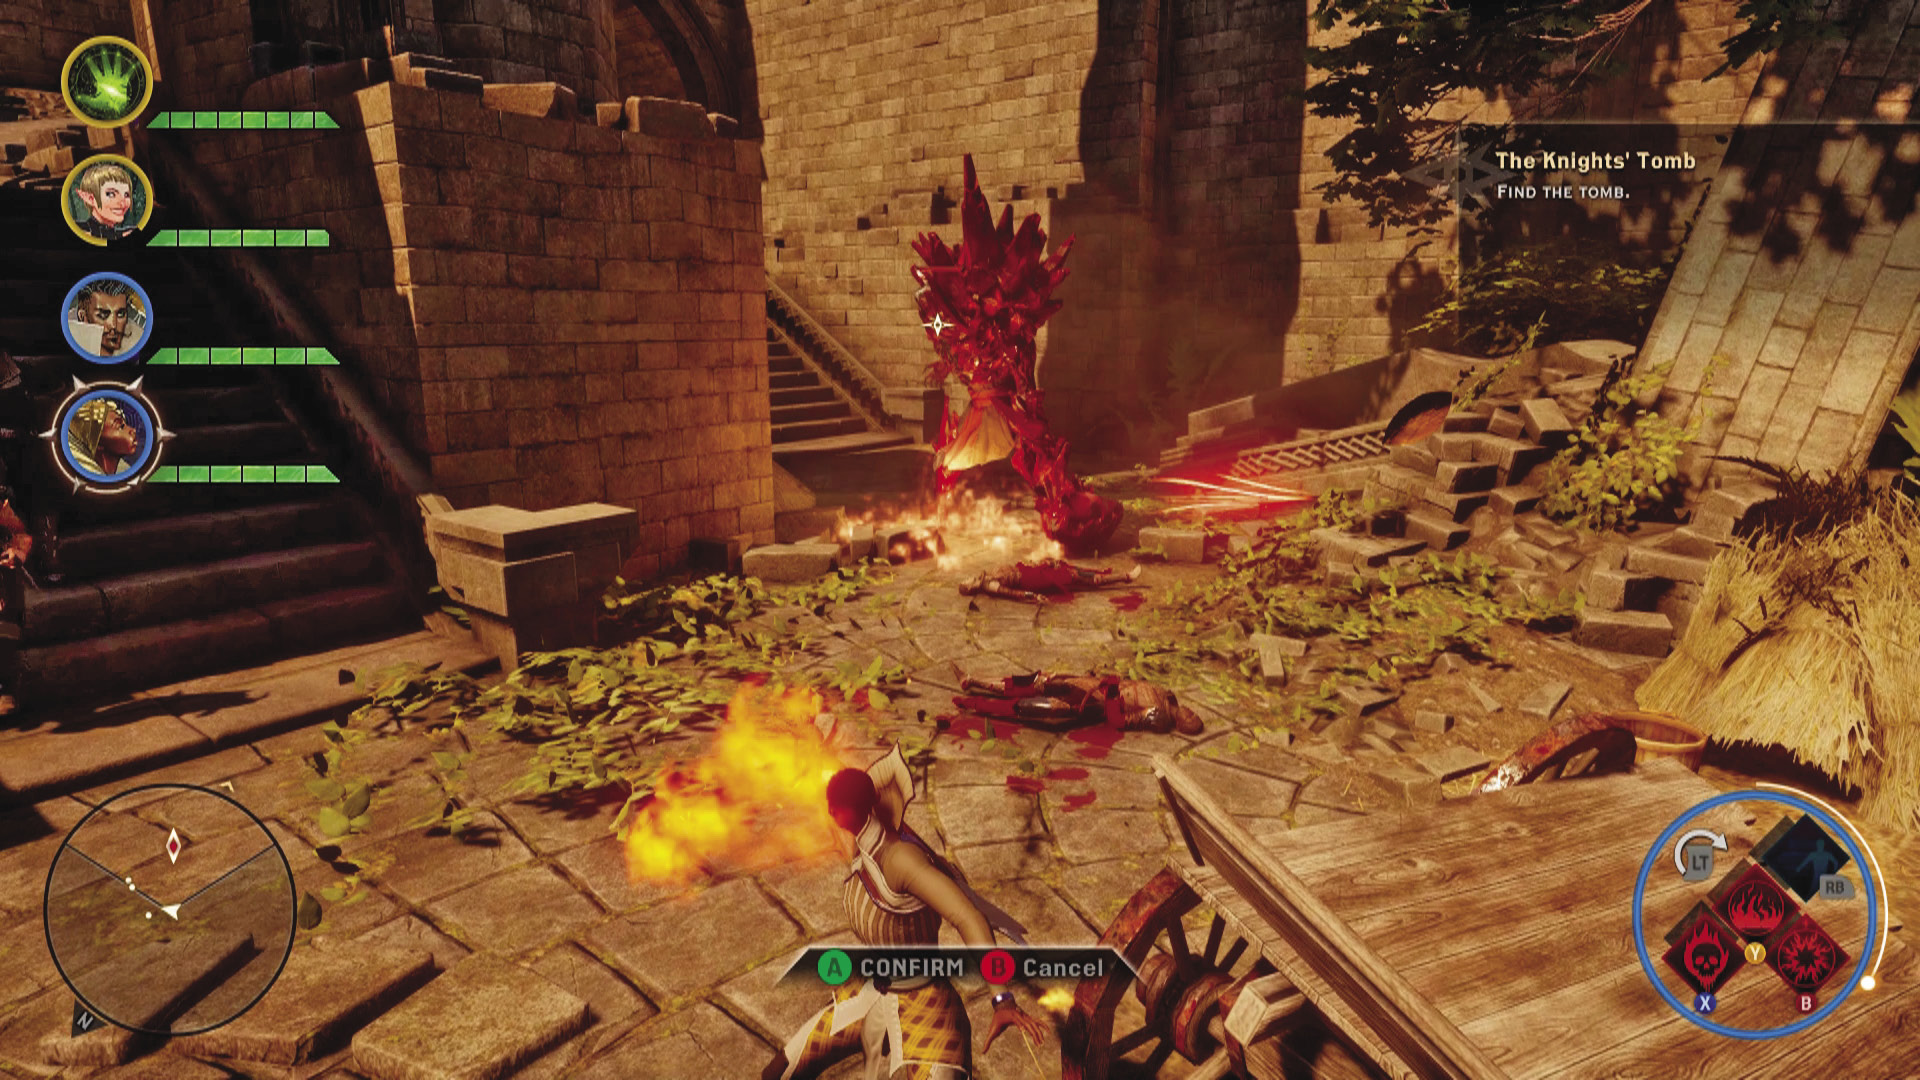
2. Continuing past the Tevinter ambush, you run into a red templar behemoth. Killing it and looting the carcass will net you an emerald seal, the first of nine needed to enter a sealed chamber inside of this place. Refer to our map for the general search locations of seal pieces not carried by your enemies.
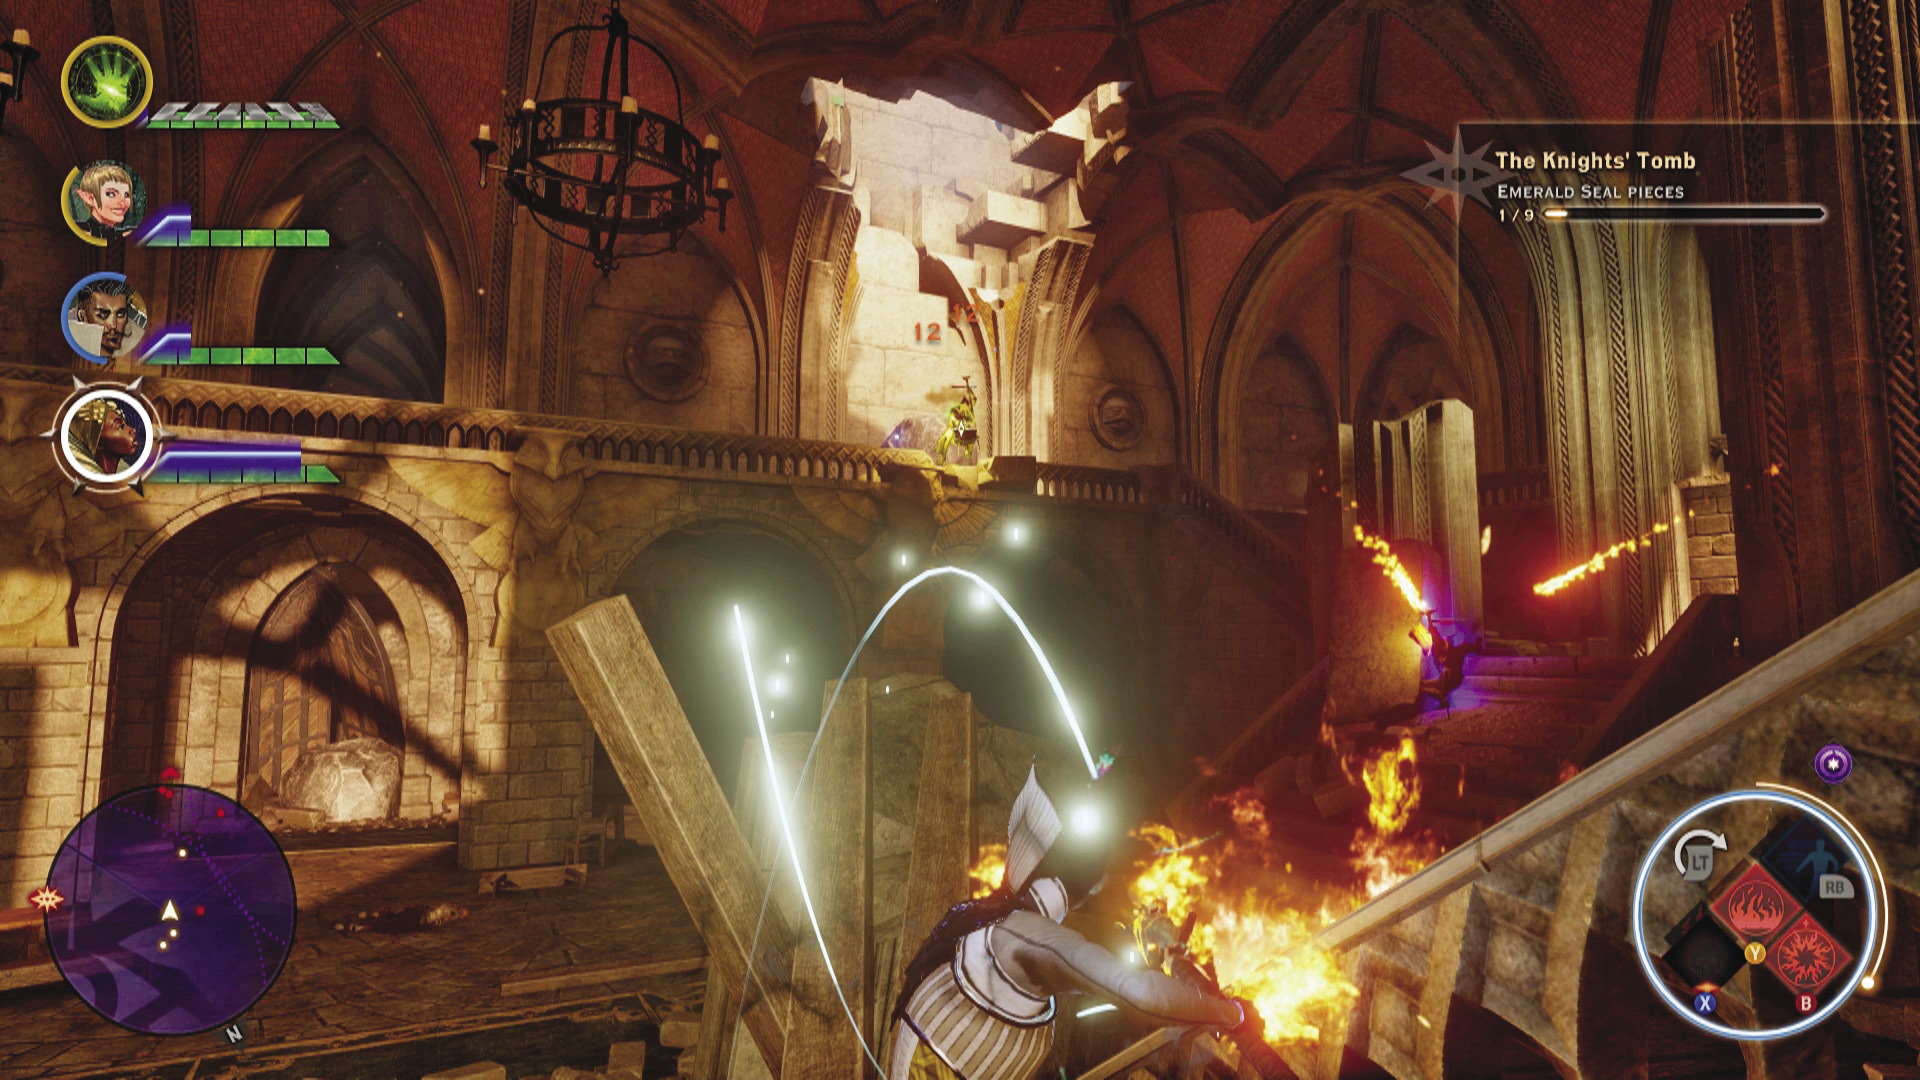
3. The upper crypts contain more seals, as well as a squad of Venatori foes patrolling the area. Among the enemy a behemoth should be stomping about. Keep in mind that you’ll have to use your Search ability to find the seals not carried by foes.
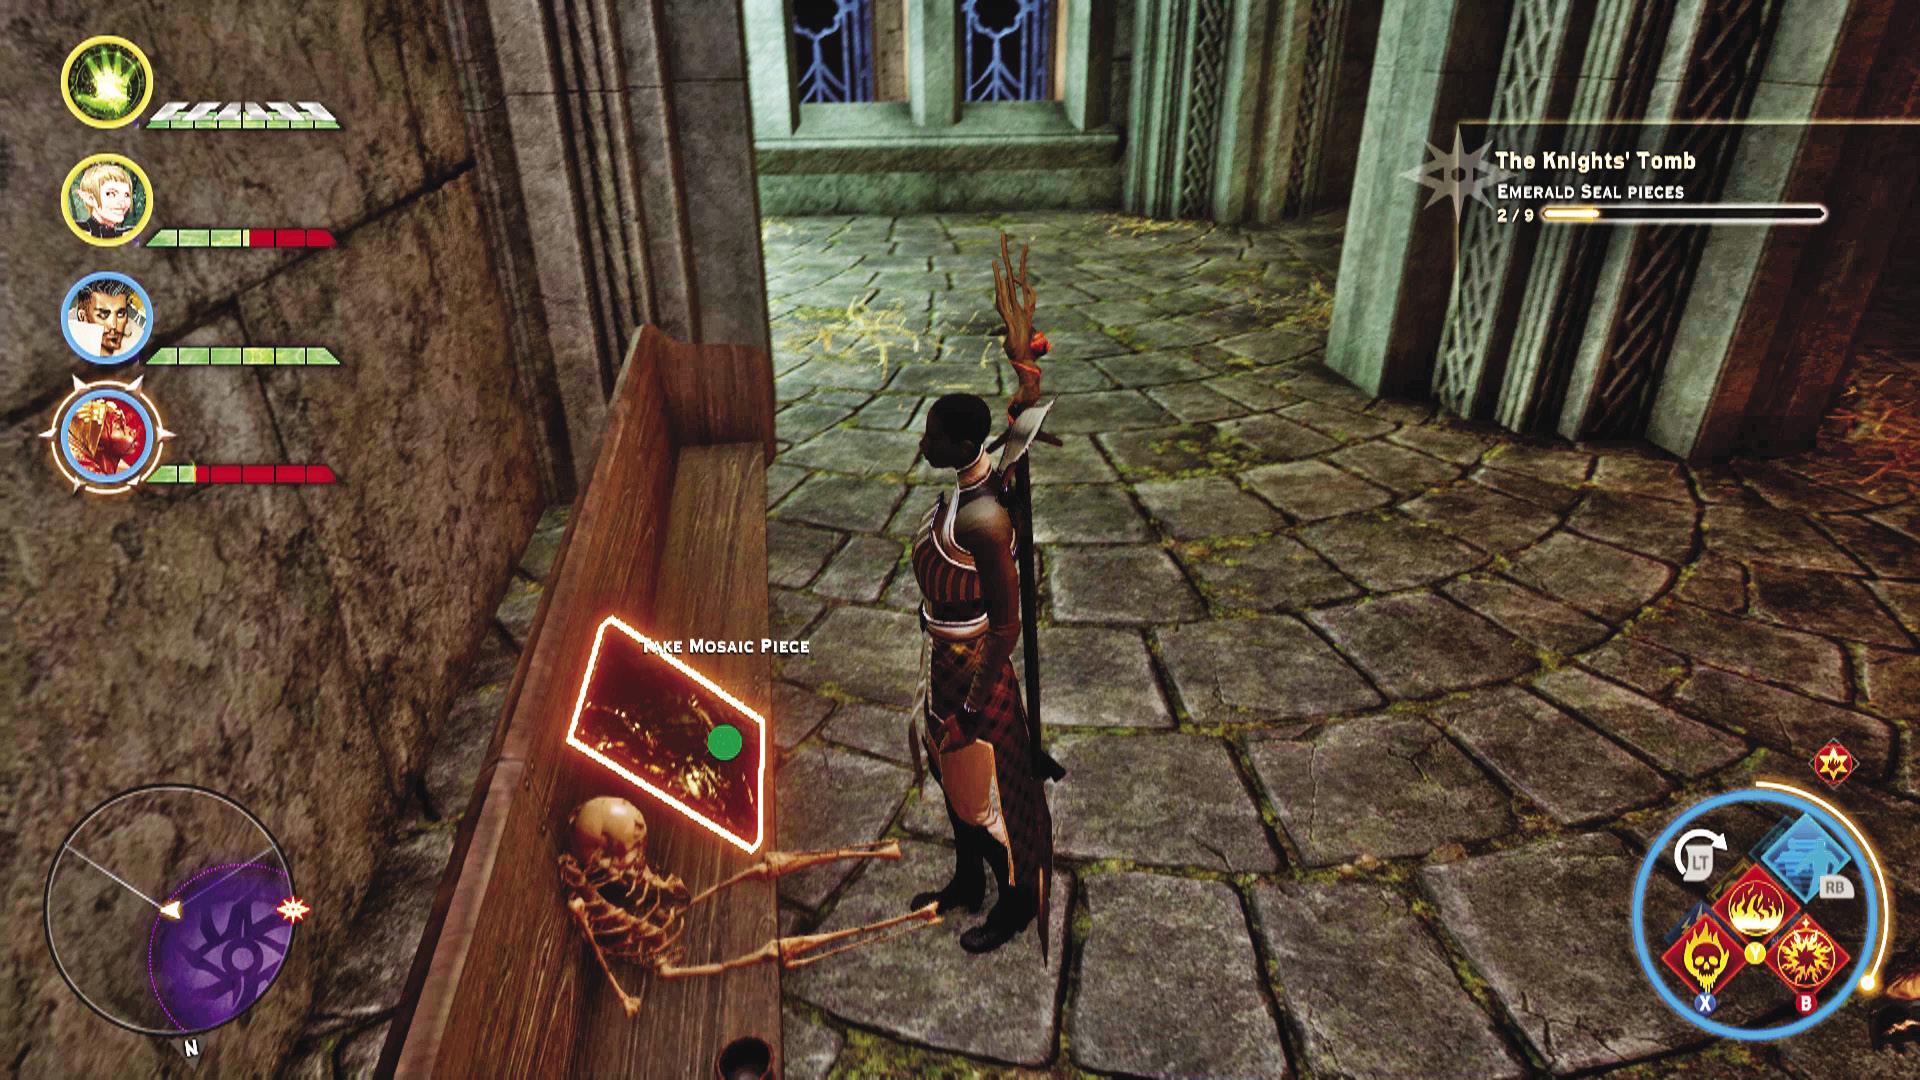
4. Don’t miss out on the mosaic piece for the Invasion set.
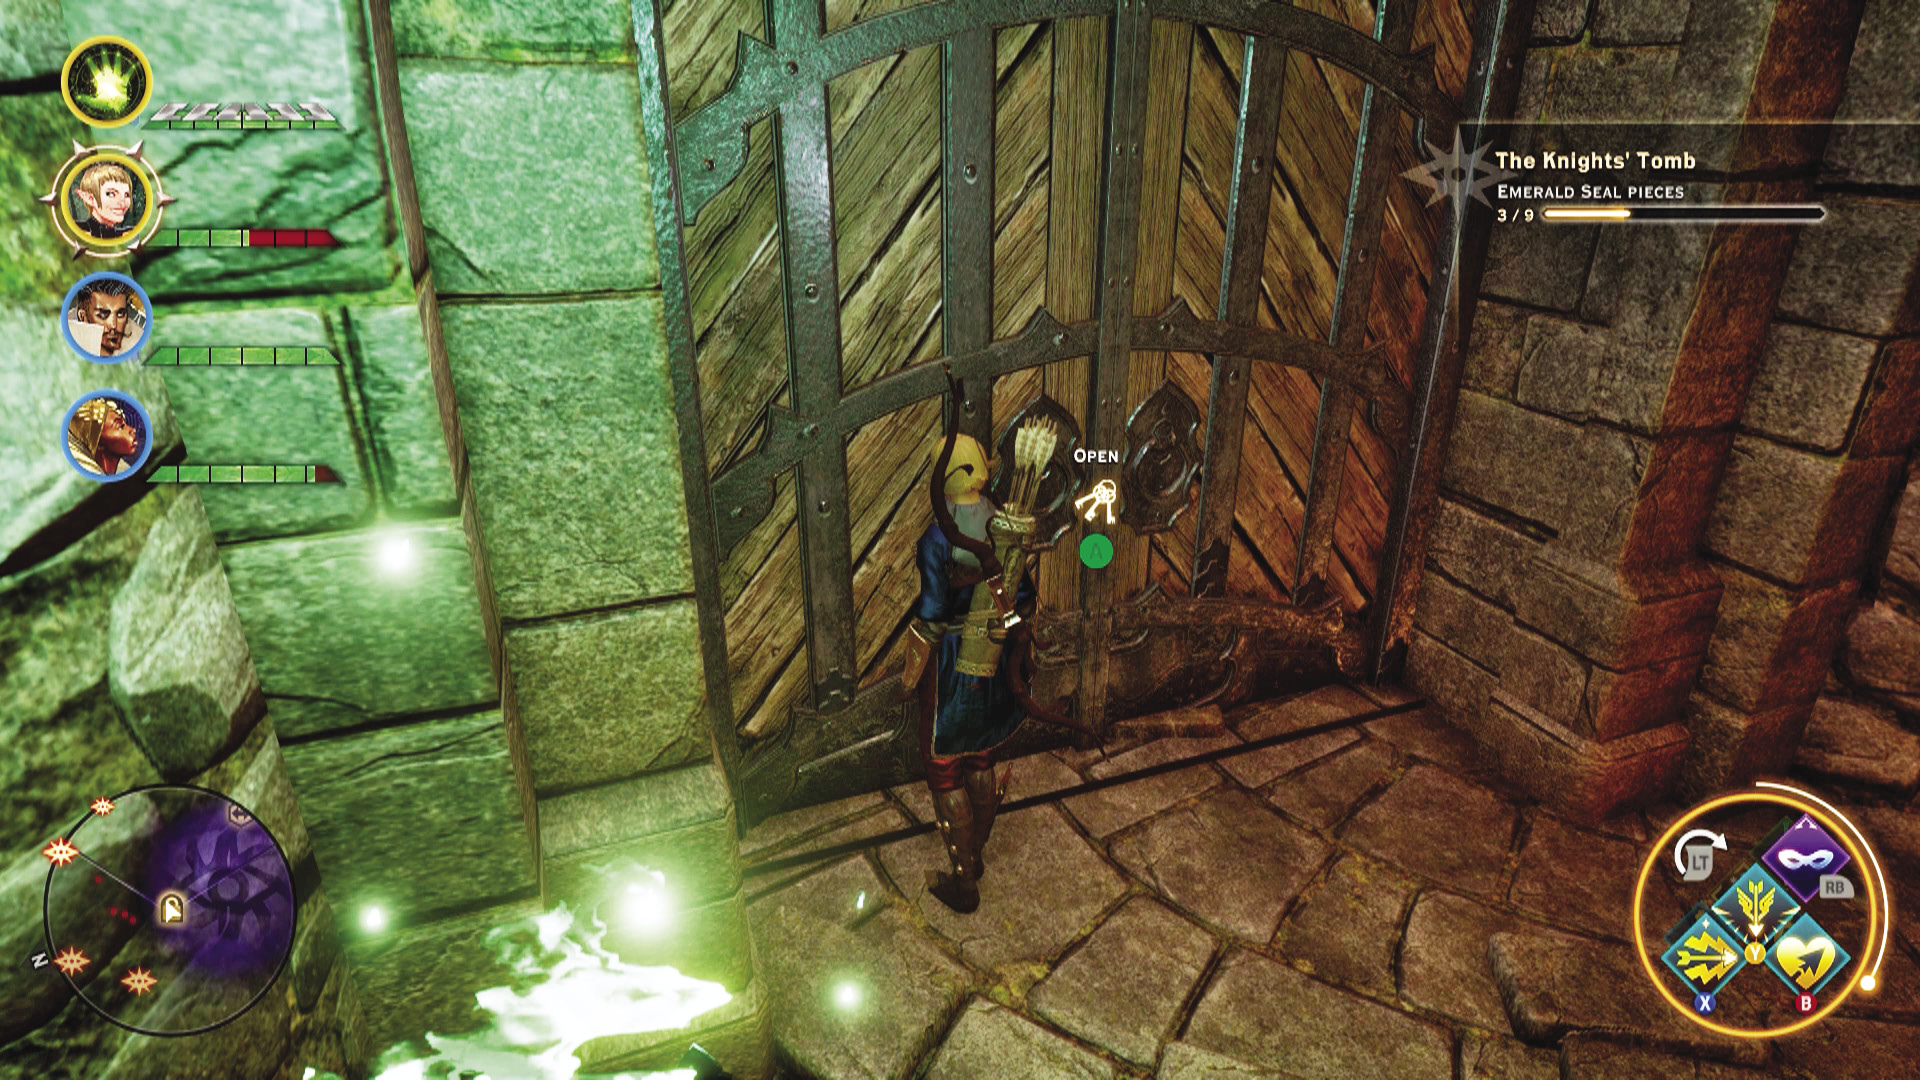
5. The lower crypts have a door needing Deft Hands, Fine Tools to unlock. No emerald seal pieces are behind it, but the treasures that lie beyond may be worth the effort.
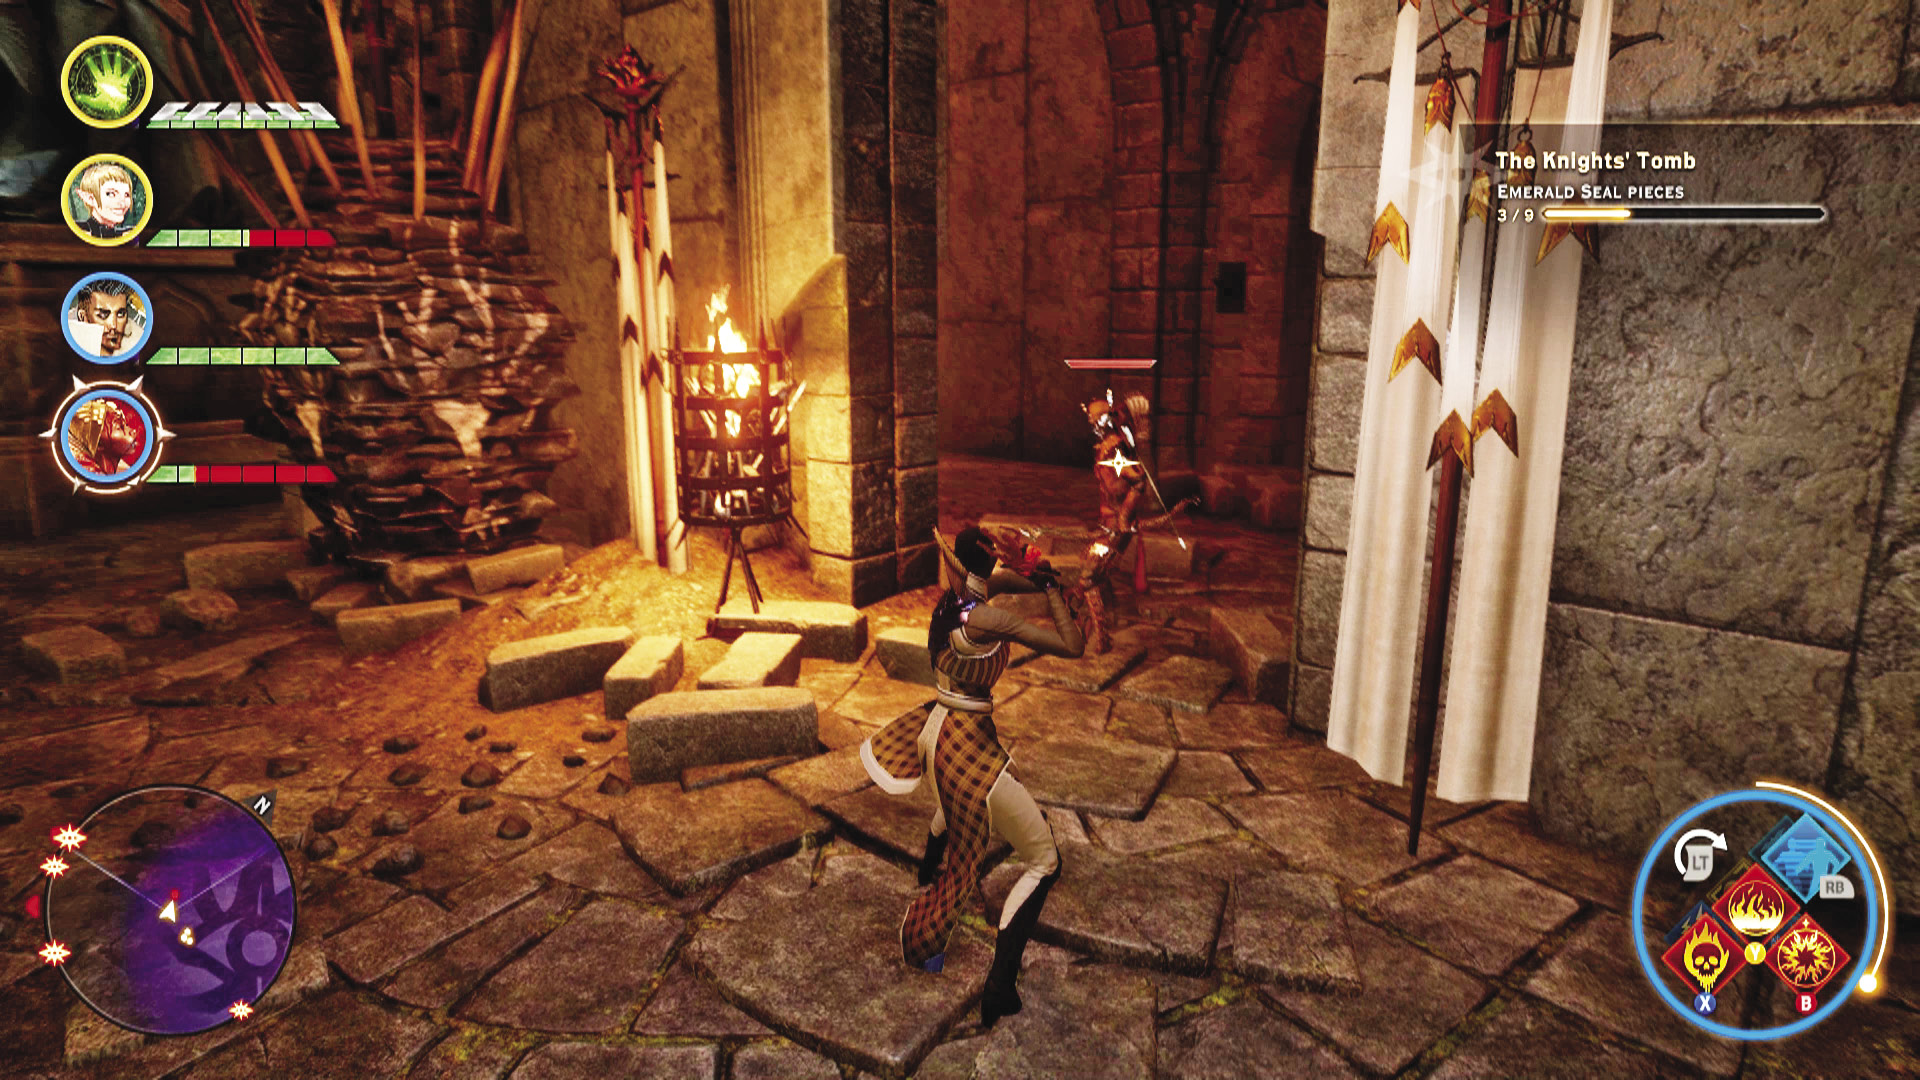
6. The Venatori presence is heavier in the lower crypts, but there are lots of ways to thin out the odds from afar before you try to engage them on their level. Just beware their archers or mages.
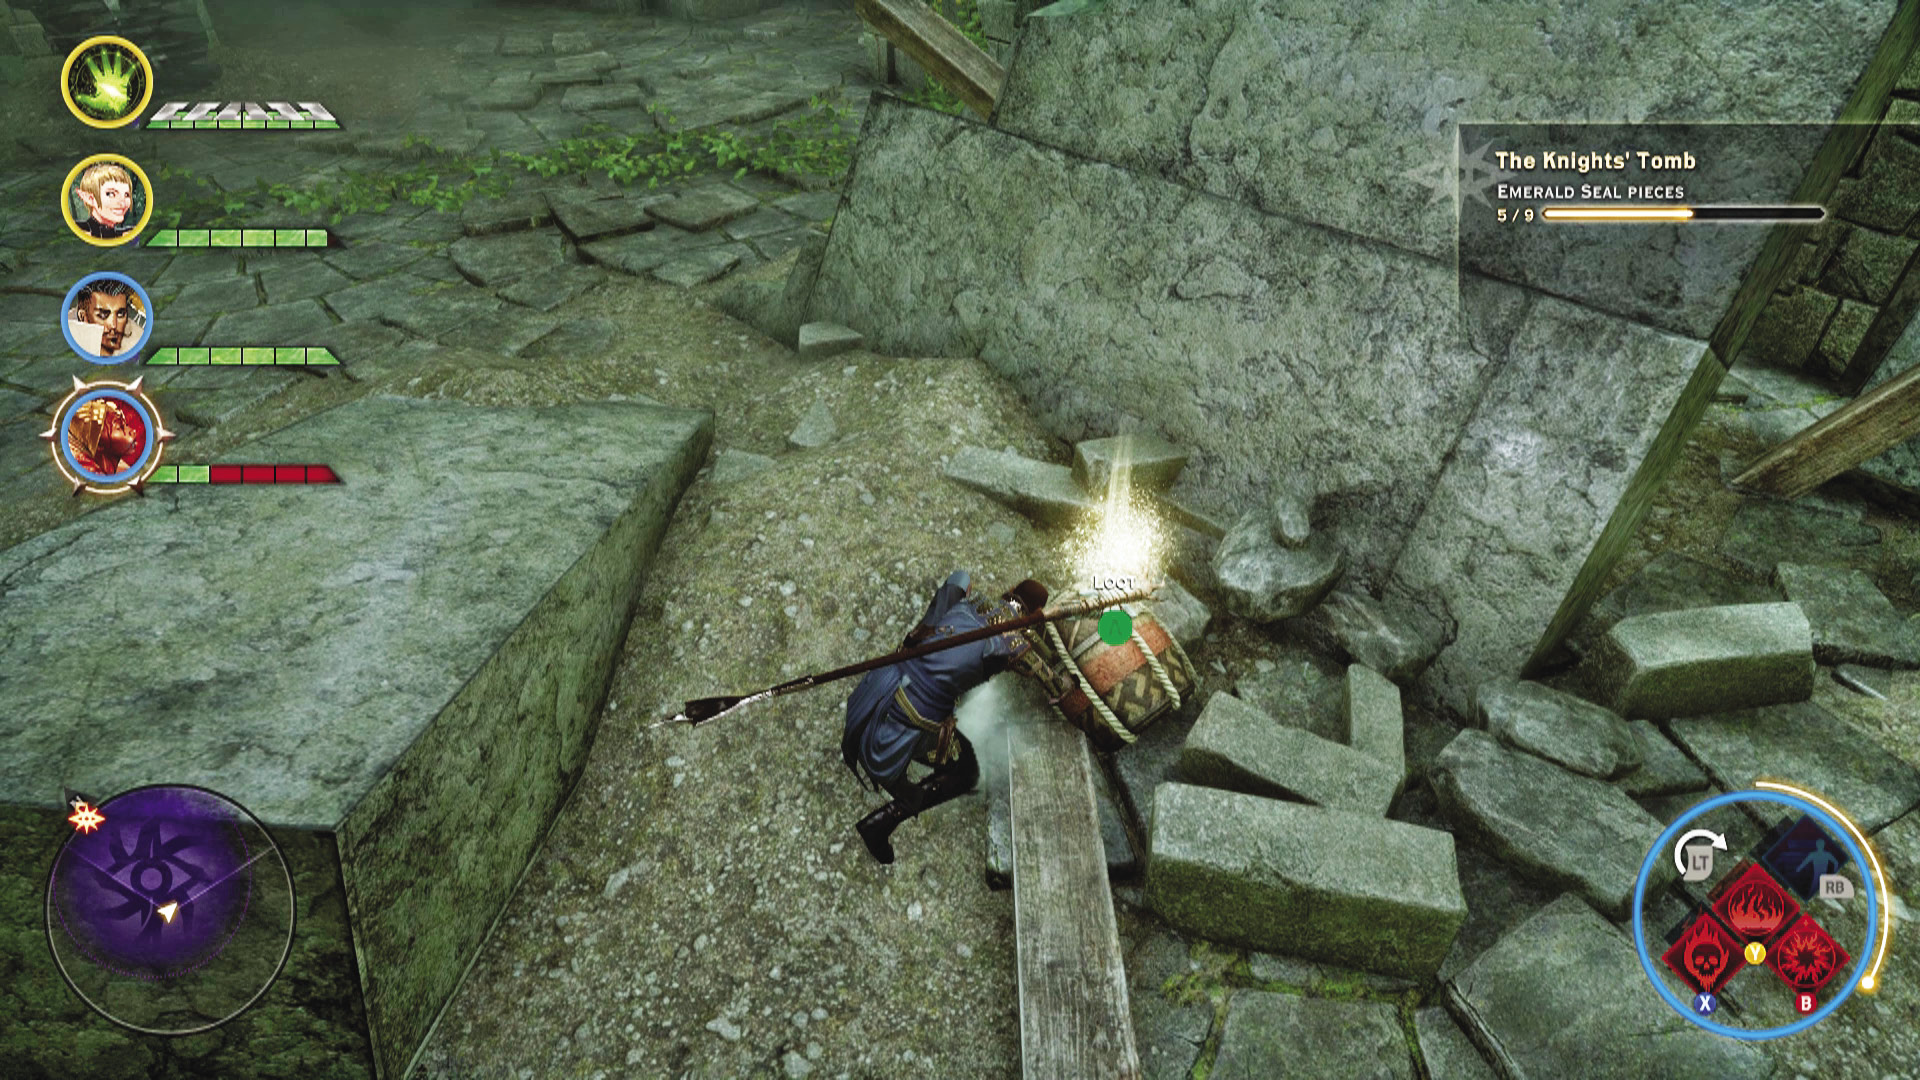
7. If you’ve been thorough on your search through this dungeon, you should have eight of nine emerald seal pieces before you reach the lowest part of the tombs and the entrance to the tomb of the Emerald Knight. You can find another of the seal pieces just before the door.
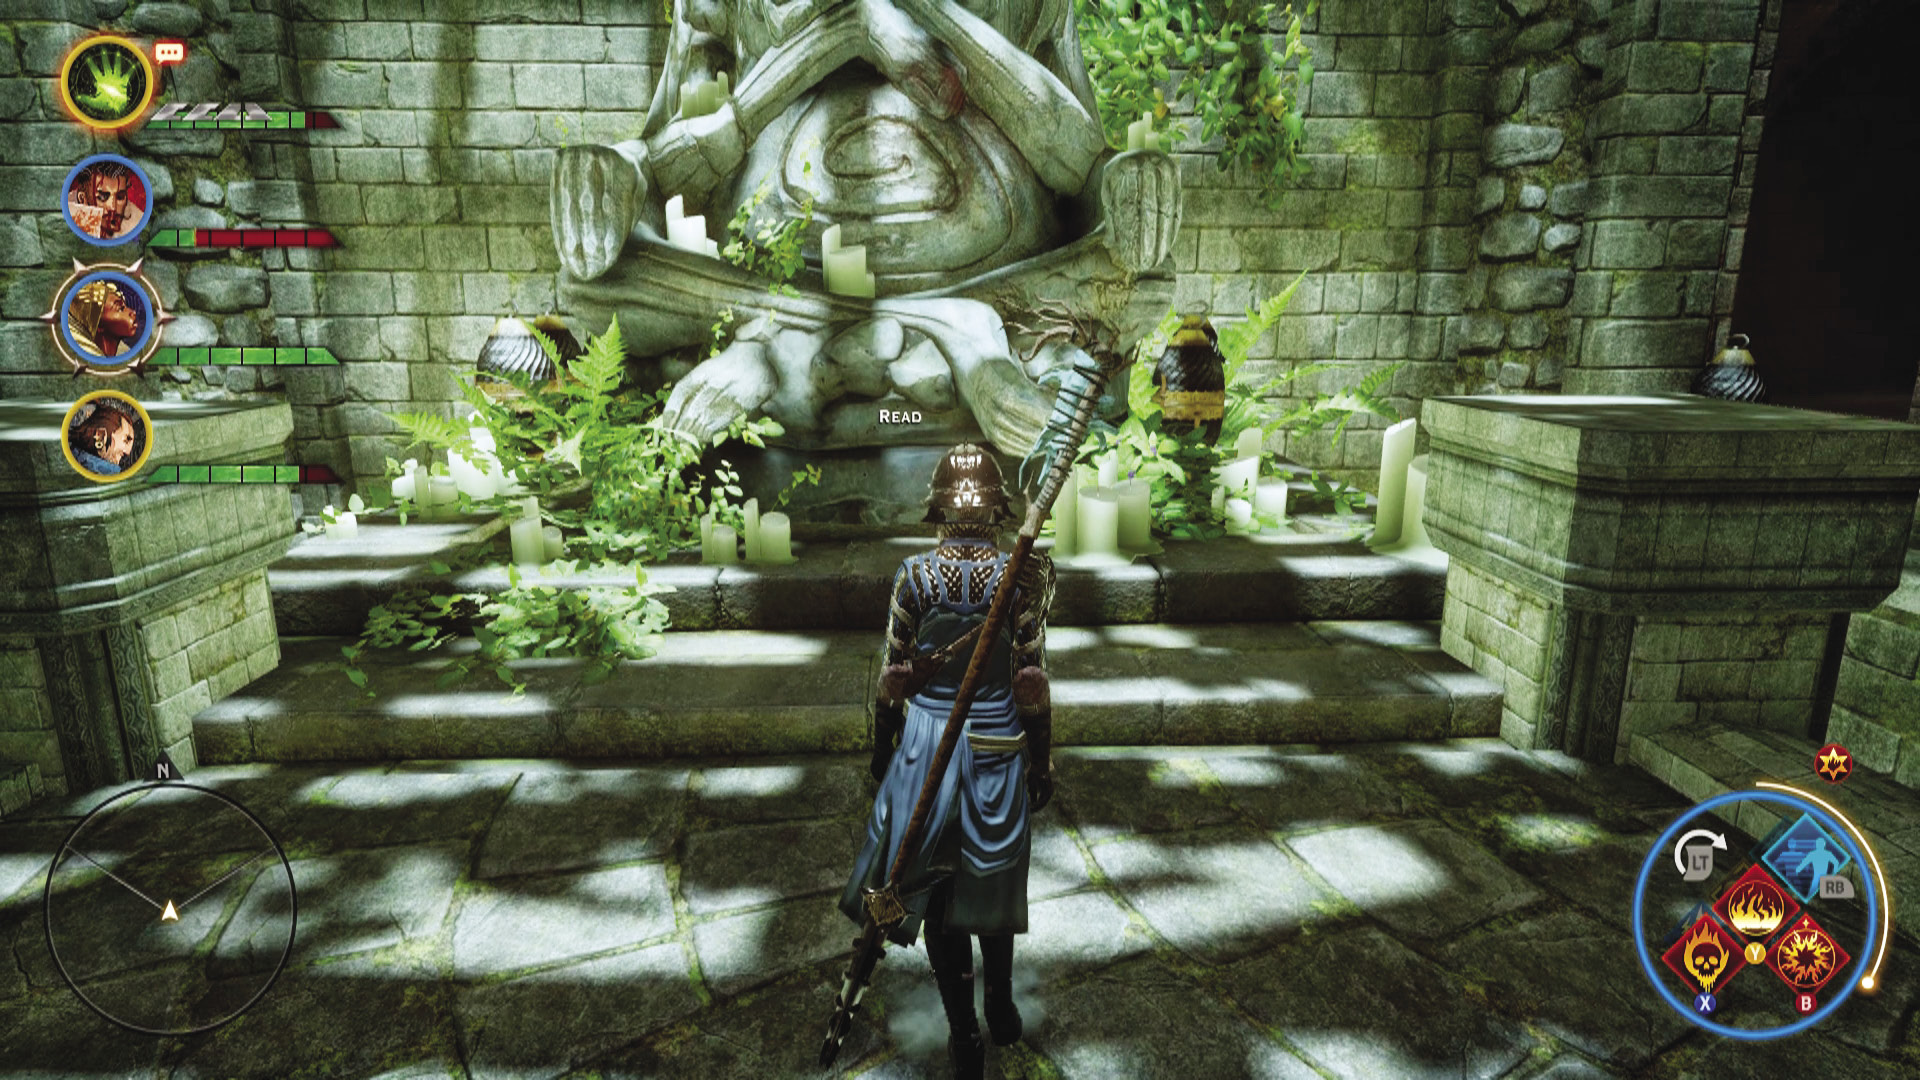
8. Now that you’re inside the tomb, you can see the scroll the Dalish are interested in, suspended over a large pit that seems impassable. However, if you let a mage energize the veilfire torches on the four pillars surrounding the pit, you’ll raise a platform that will let you reach the scroll! Be prepared to fight off the undead with every torch you light, and stay alert: The last torch you light brings a revenant out to play.
Once you collect the scroll, your time in Din’an Hanin is at an end. But you have one more thing to decide before this quest is complete: Do you travel to Val Royeaux and sell the scroll to the Chantry, denying the Dalish greater knowledge of the past, or do you give it to Keeper Hawen in the Exalted Plains, whose fallen Dalish sought it out to begin with?
23: High Dragon: The Greater Mistral

Recommended Level: 17+
Recommended Party Composition: Two warriors (sword and shield, two-handed weapon), one rogue, one mage (armed with fire damage staff)
Alternative Party Composition: One warrior (sword and shield), one rogue, two mages (armed with fire damage staves)
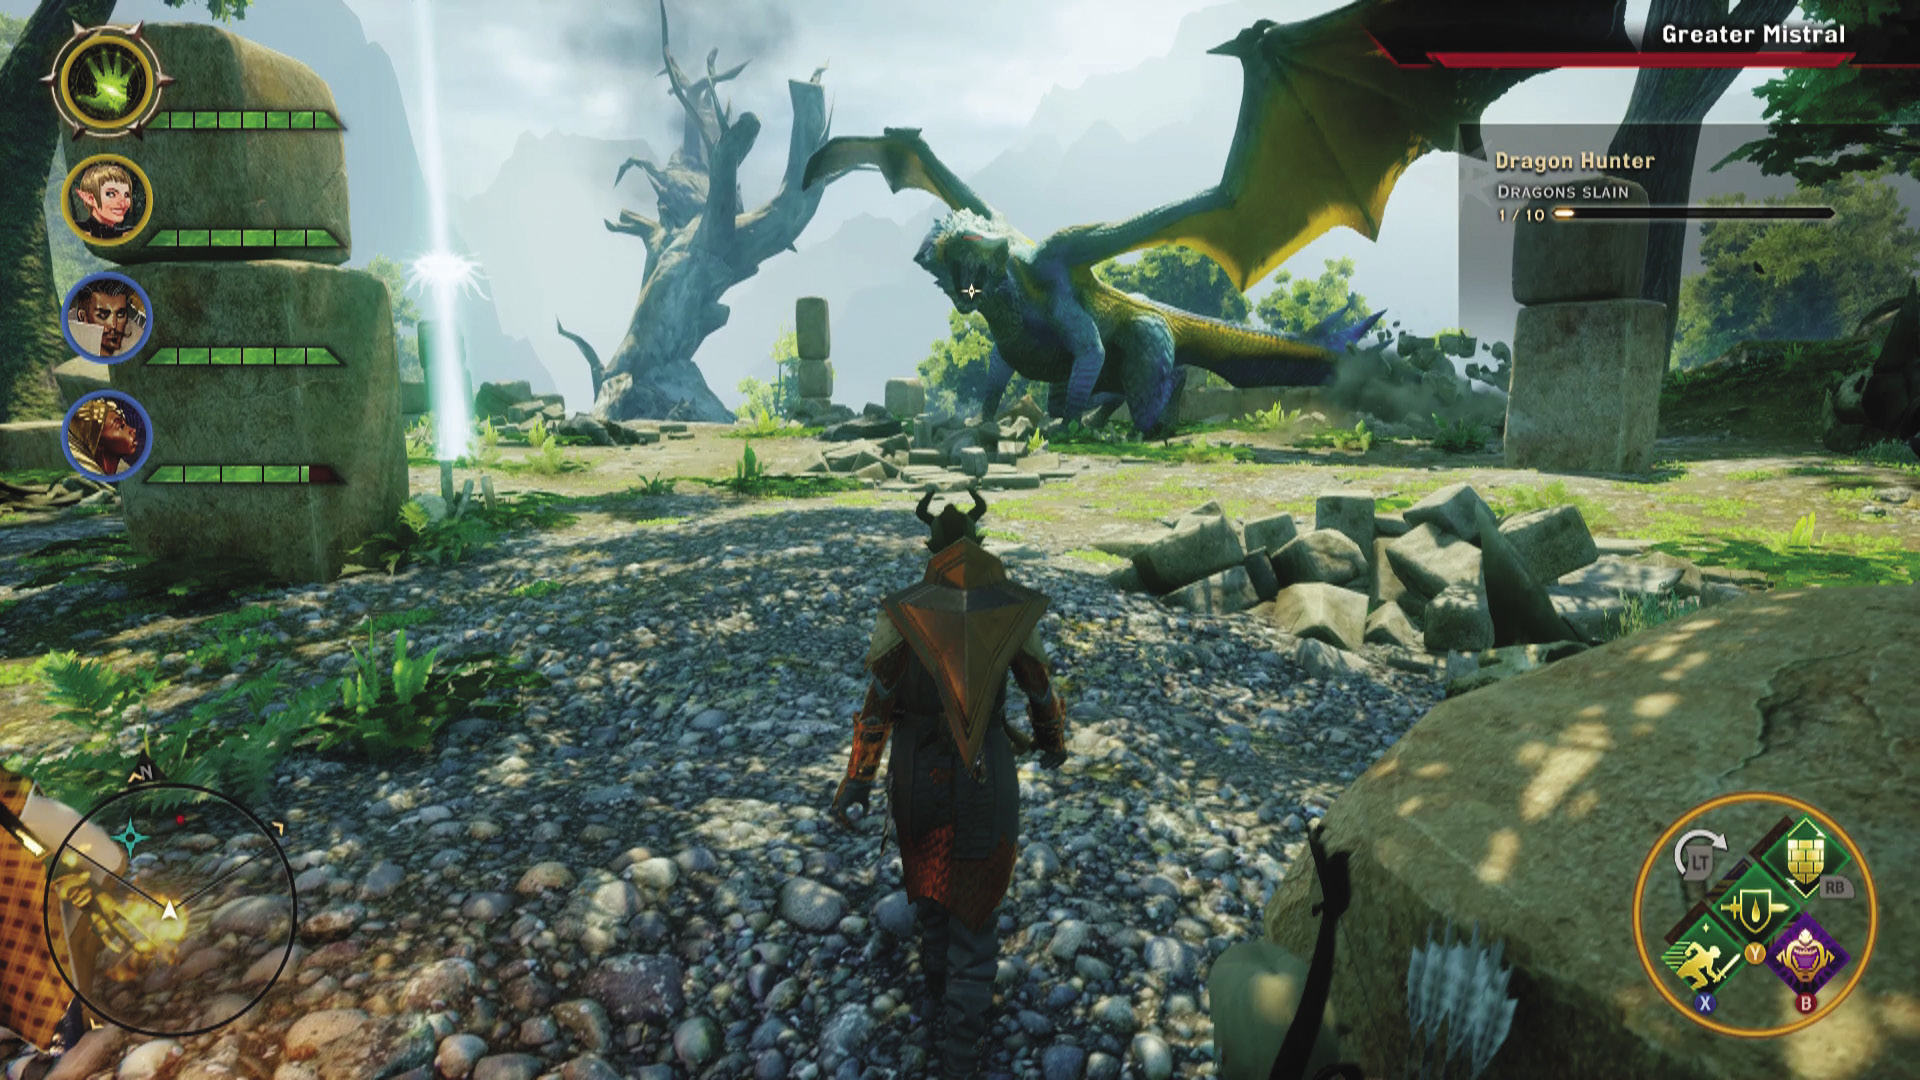
Located in the northernmost region of the Emerald Graves is the Greater Mistral, an ice-type high dragon. Prepare your weapons, armor, and skills accordingly before the fight: This dragon is vulnerable to fire. The Mistral’s ice breath can be devastating to be struck by, and the dragon is very proactive at singling out party members who are far from the rest of the group to spit ice balls at them.
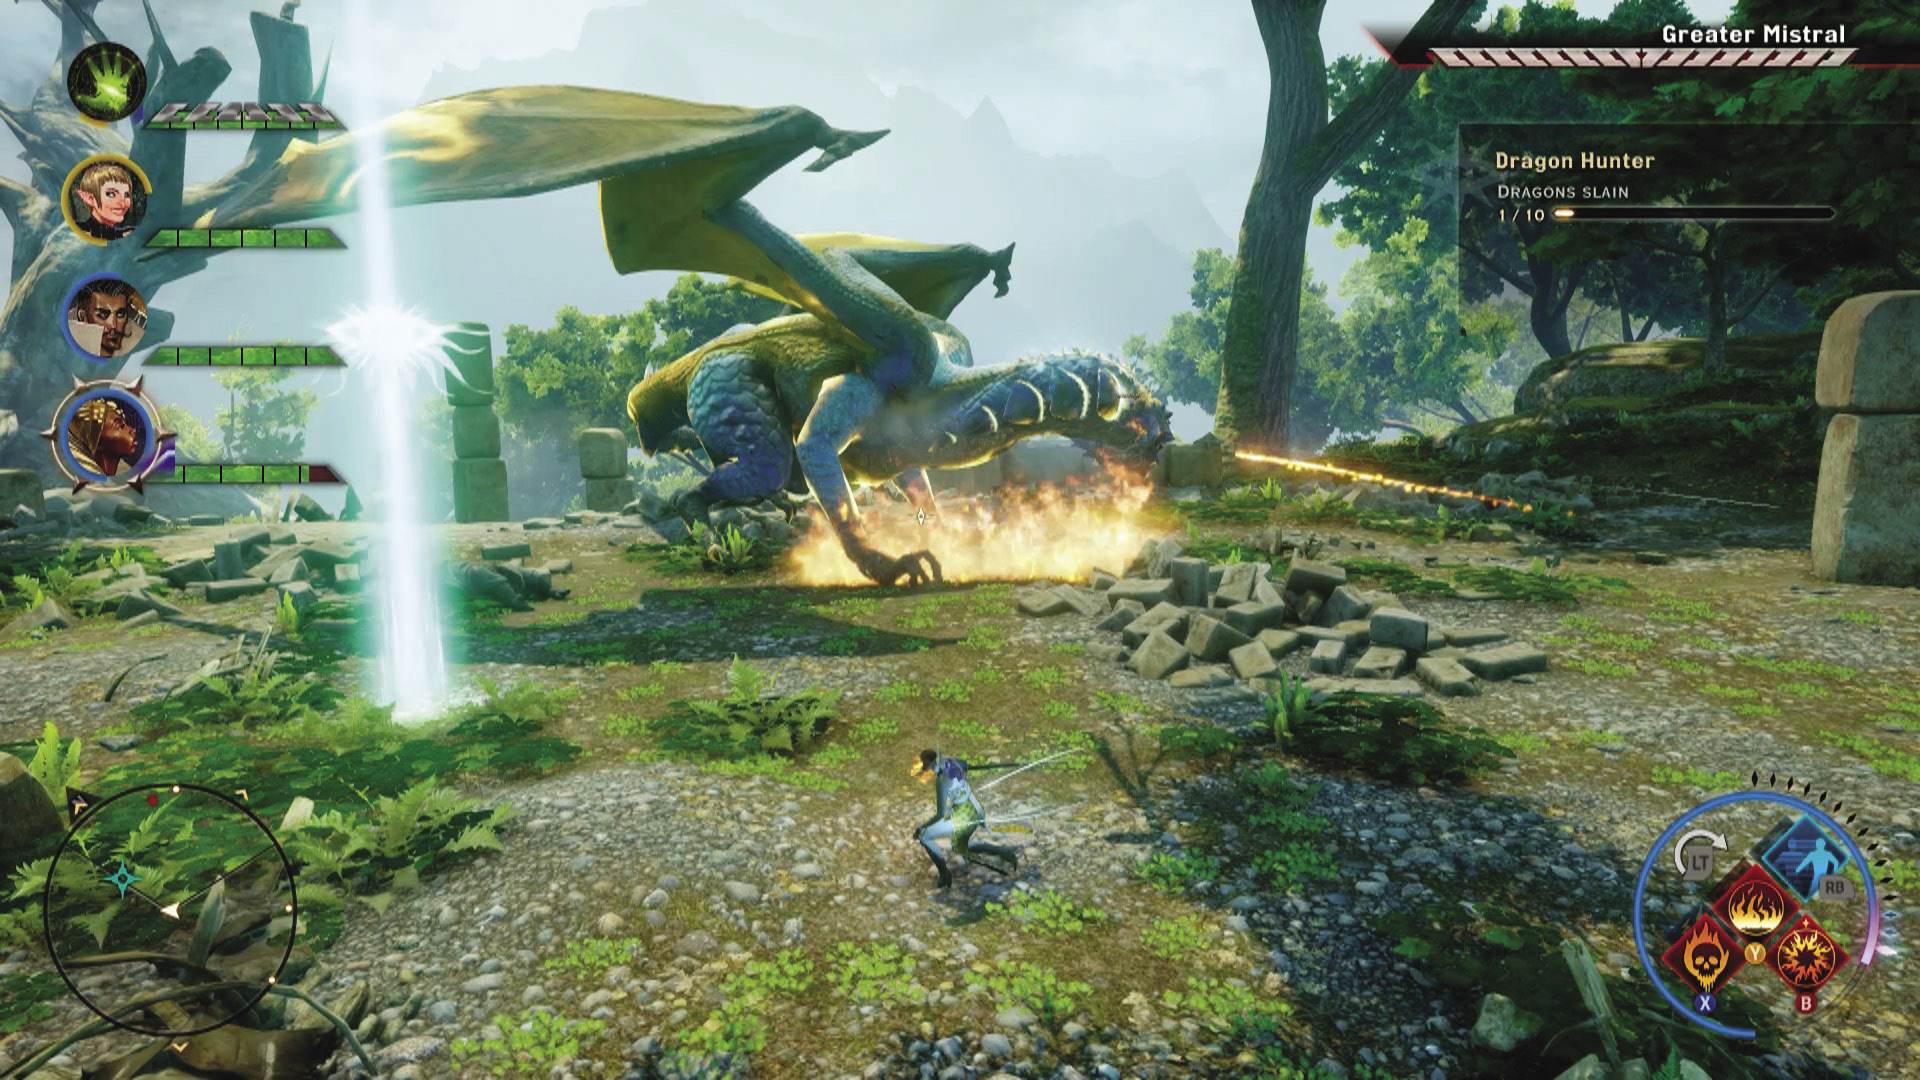
The Greater Mistral regularly buffs herself with a full guard bar, which makes the process of taking her down slower if you don’t have attacks that can quickly break through it. Another challenging aspect to the Mistral is when she begins flapping her wings. The resulting wind vortex damages anyone outside of the field that appears around the dragon while pulling them toward it. During this attack, the only “safe” spot is right next to the Mistral, which puts you in reach of her claws, jaw, or tail.
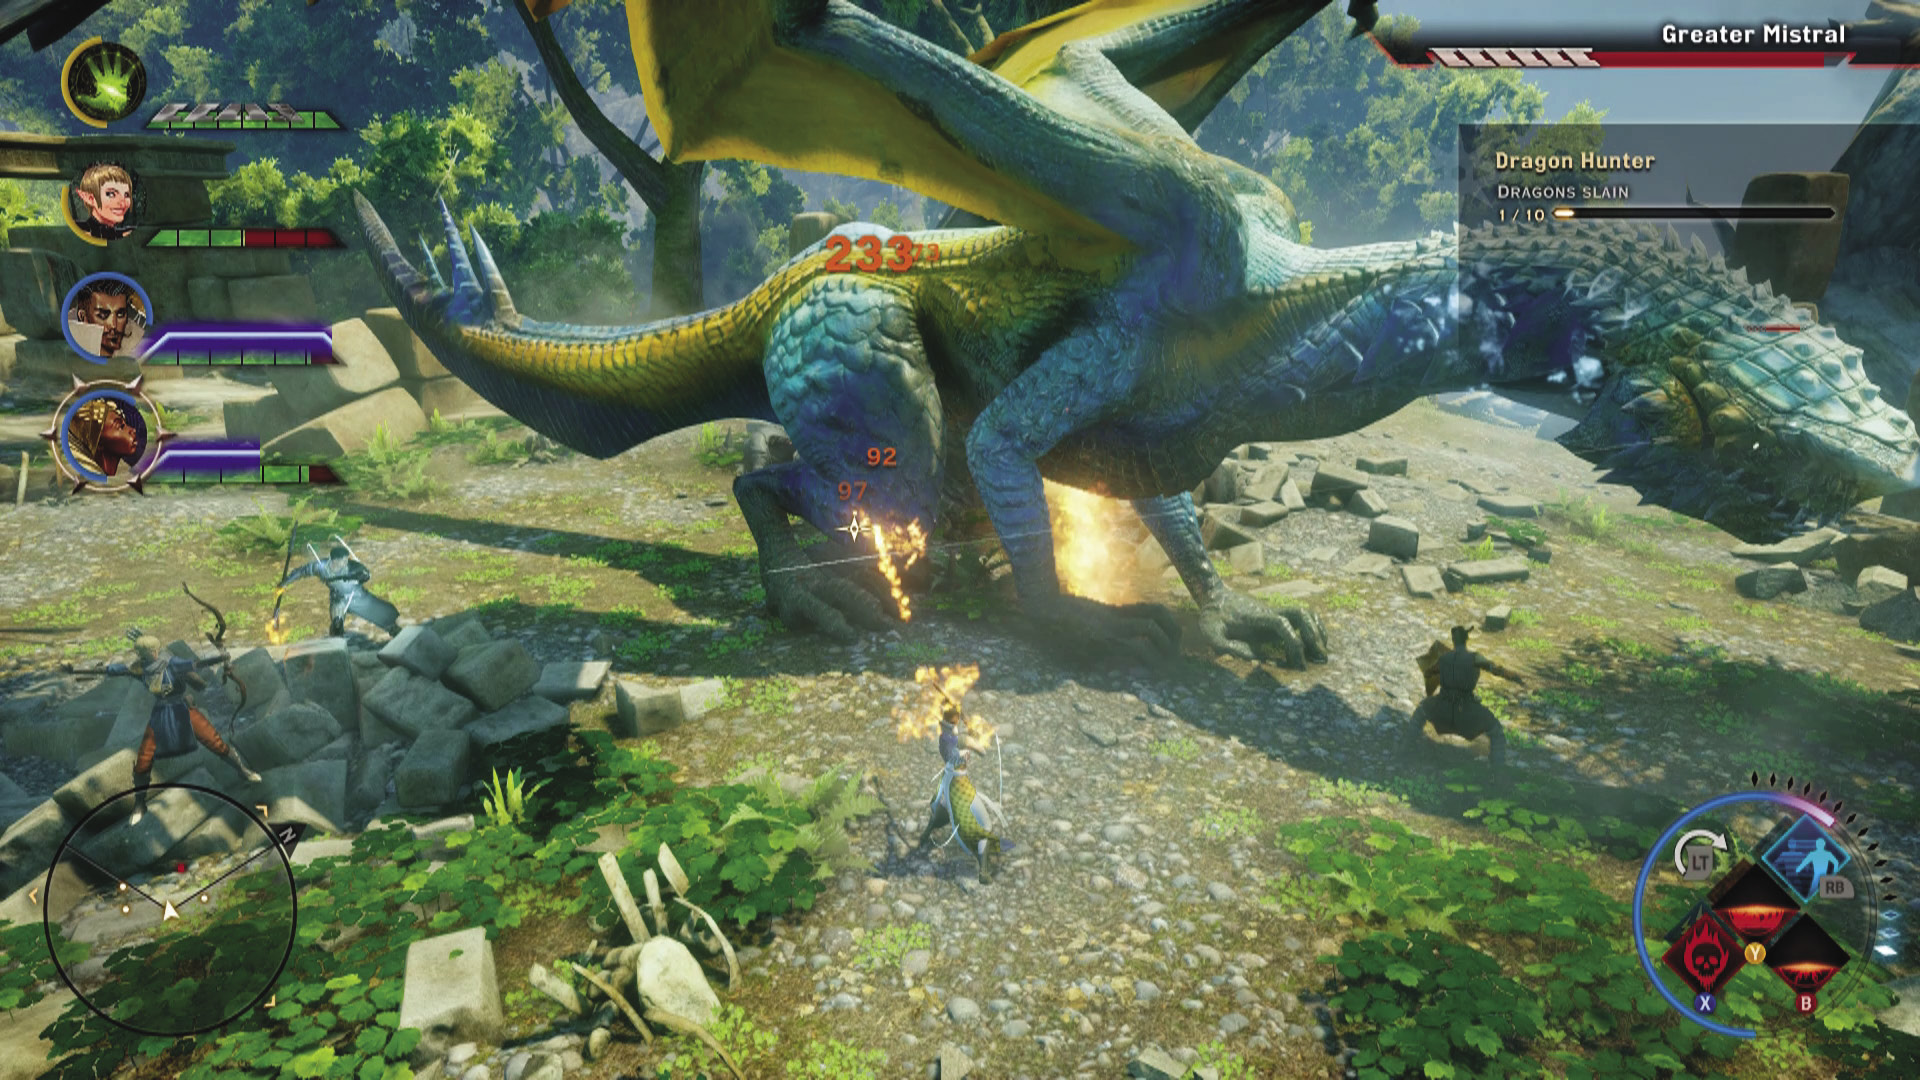
It is because of the wind vortex ability that it’s recommended you take a warrior-heavy party. Mages and ranged rogues have survivability issues against the wind vortex because, unless you’re willing to constantly babysit their position around the dragon, they’ll take heavy damage before they’re pulled into the safe zone. If their Barrier or Fade Step skills are on cooldown, they may not live long enough to even reach the center of the vortex. Meanwhile, warriors and melee rogues will be safe from the worst of the vortex, and both have their own means of negating or avoiding the Mistral’s powerful melee attacks and the occasional ice breath.
Regardless of your chosen party, it should include at least one mage, for emergency revival of party members from afar, and for the use of the focus ability Heal to get everyone back up to full strength, should the situation call for it.
As the fight progresses, the Greater Mistral takes flight, firing aimed ice blasts at party members as she circles the battlefield. Fortunately, the Mistral does not call for the assistance of dragonlings, but she will use her roar to try to stun the party. Watch for her to try a roar stun, followed by a tailswipe.
Bring Antivan Fire, if you have that potion schematic. Every extra bit of damage your party can get going on the Mistral the better.