
Dragon Age Inquisition Guide Exploration Emprise du Lion
Side Quests (Recommended Level 16-19 and 19-22)
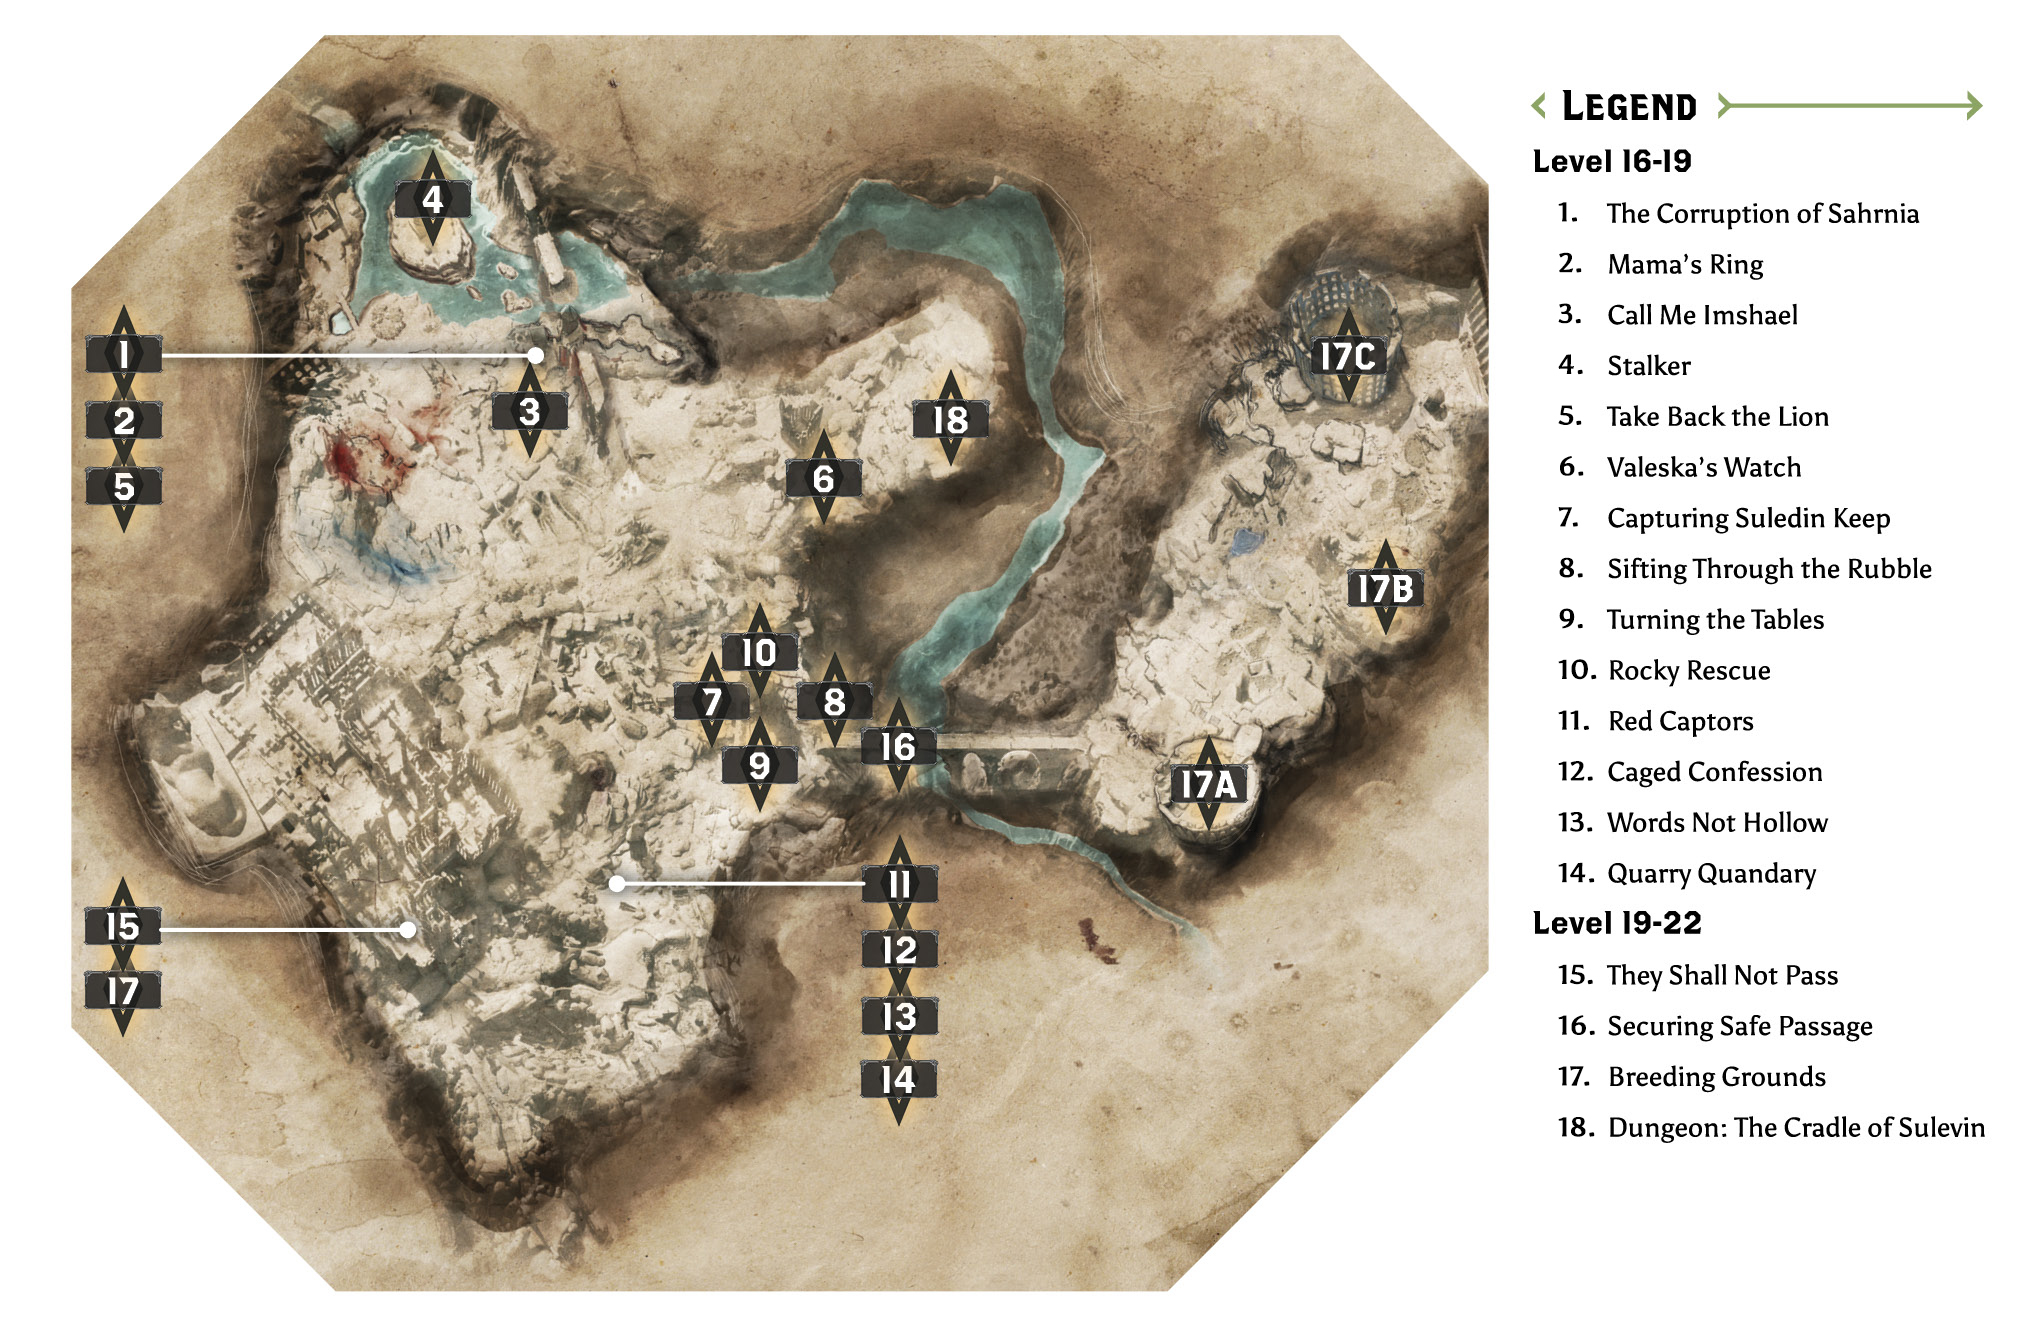
1: The Corruption of Sahrnia
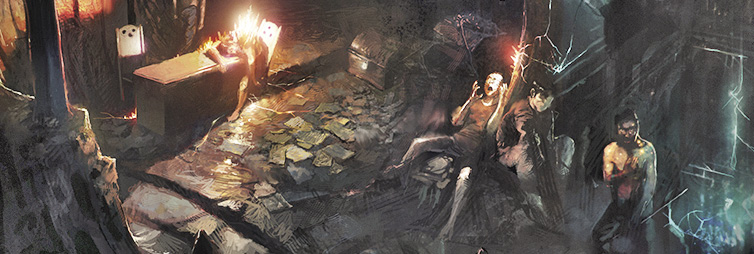
Quest Giver: Scout Harding
Description: The people of Sahrnia are cornered by the elements and by the red templars/mages that have overtaken the region.
Requirements: Arrive in Emprise du Lion for the first time.
Reward: 331 XP, 150 Influence
Objectives:
 Speak with the townspeople about what can be done.
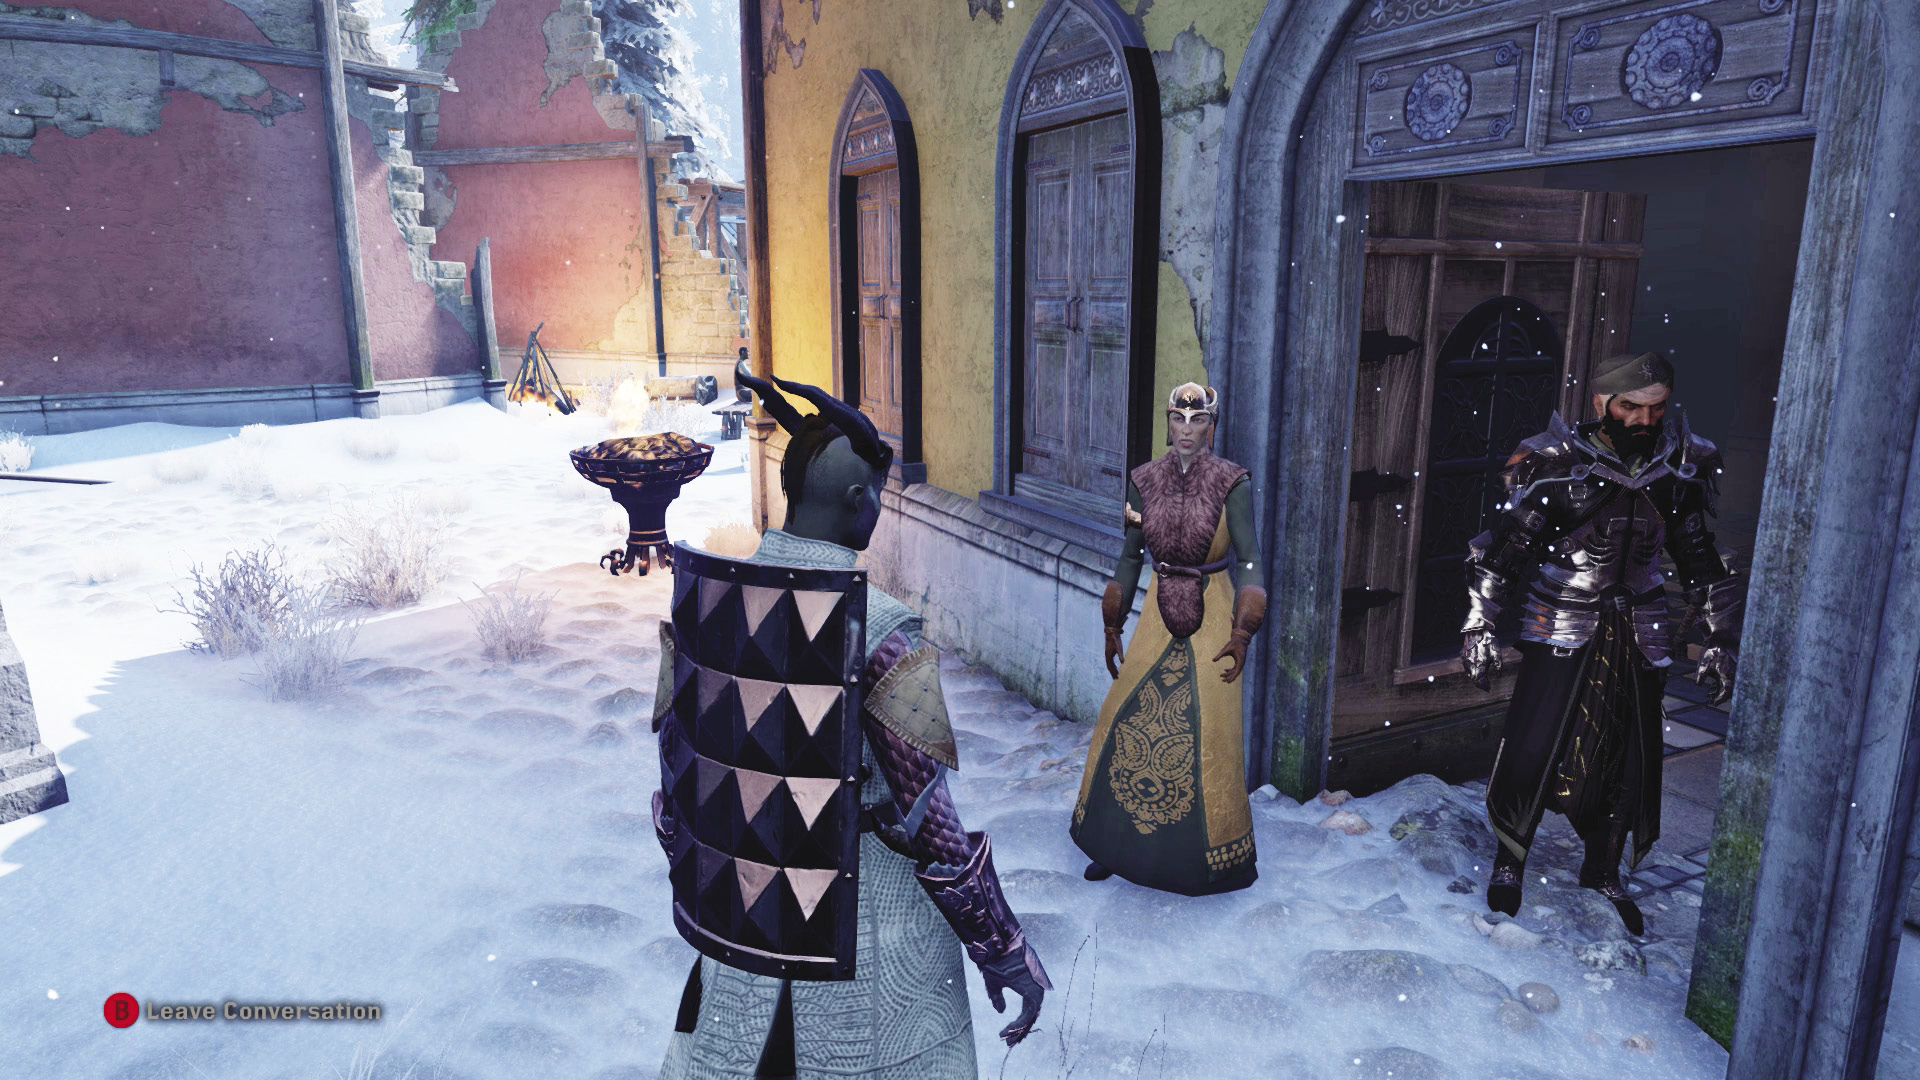
Throughout the battered town, there are a number of townsfolk to visit with and quests to start. However, one of the most important people to speak with is Mistress Poulin. She is the head of the town, and she’s also partly reponsible for what has happened to it. She sold her quarry to your enemies out of desperation, and now they have gone back on their promises and are attacking the town to take more people. You have seen by now what the enemy is using red lyrium for. After you finish speaking with Mistress Poulin, you are given the side quest Take Back the Lion. It is an extensive, multi-part side quest that also encompasses other quests in this locale.
2: Mama’s Ring
Quest Giver: Granny Mae in Sarhnia
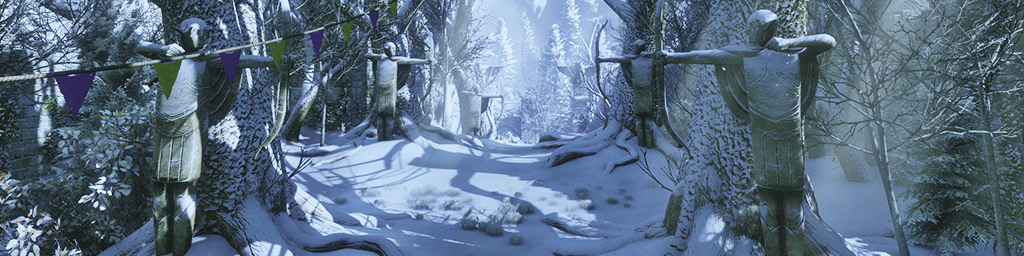
Description: An elderly woman left an heirloom ring behind when she was forced out of her home by the red templars/mages.
Requirements: Enter Sahrnia for the first time.
Reward: 331 XP, 150 Influence
Objectives:
 Find the ring.
 Return the ring to its rightful owner.
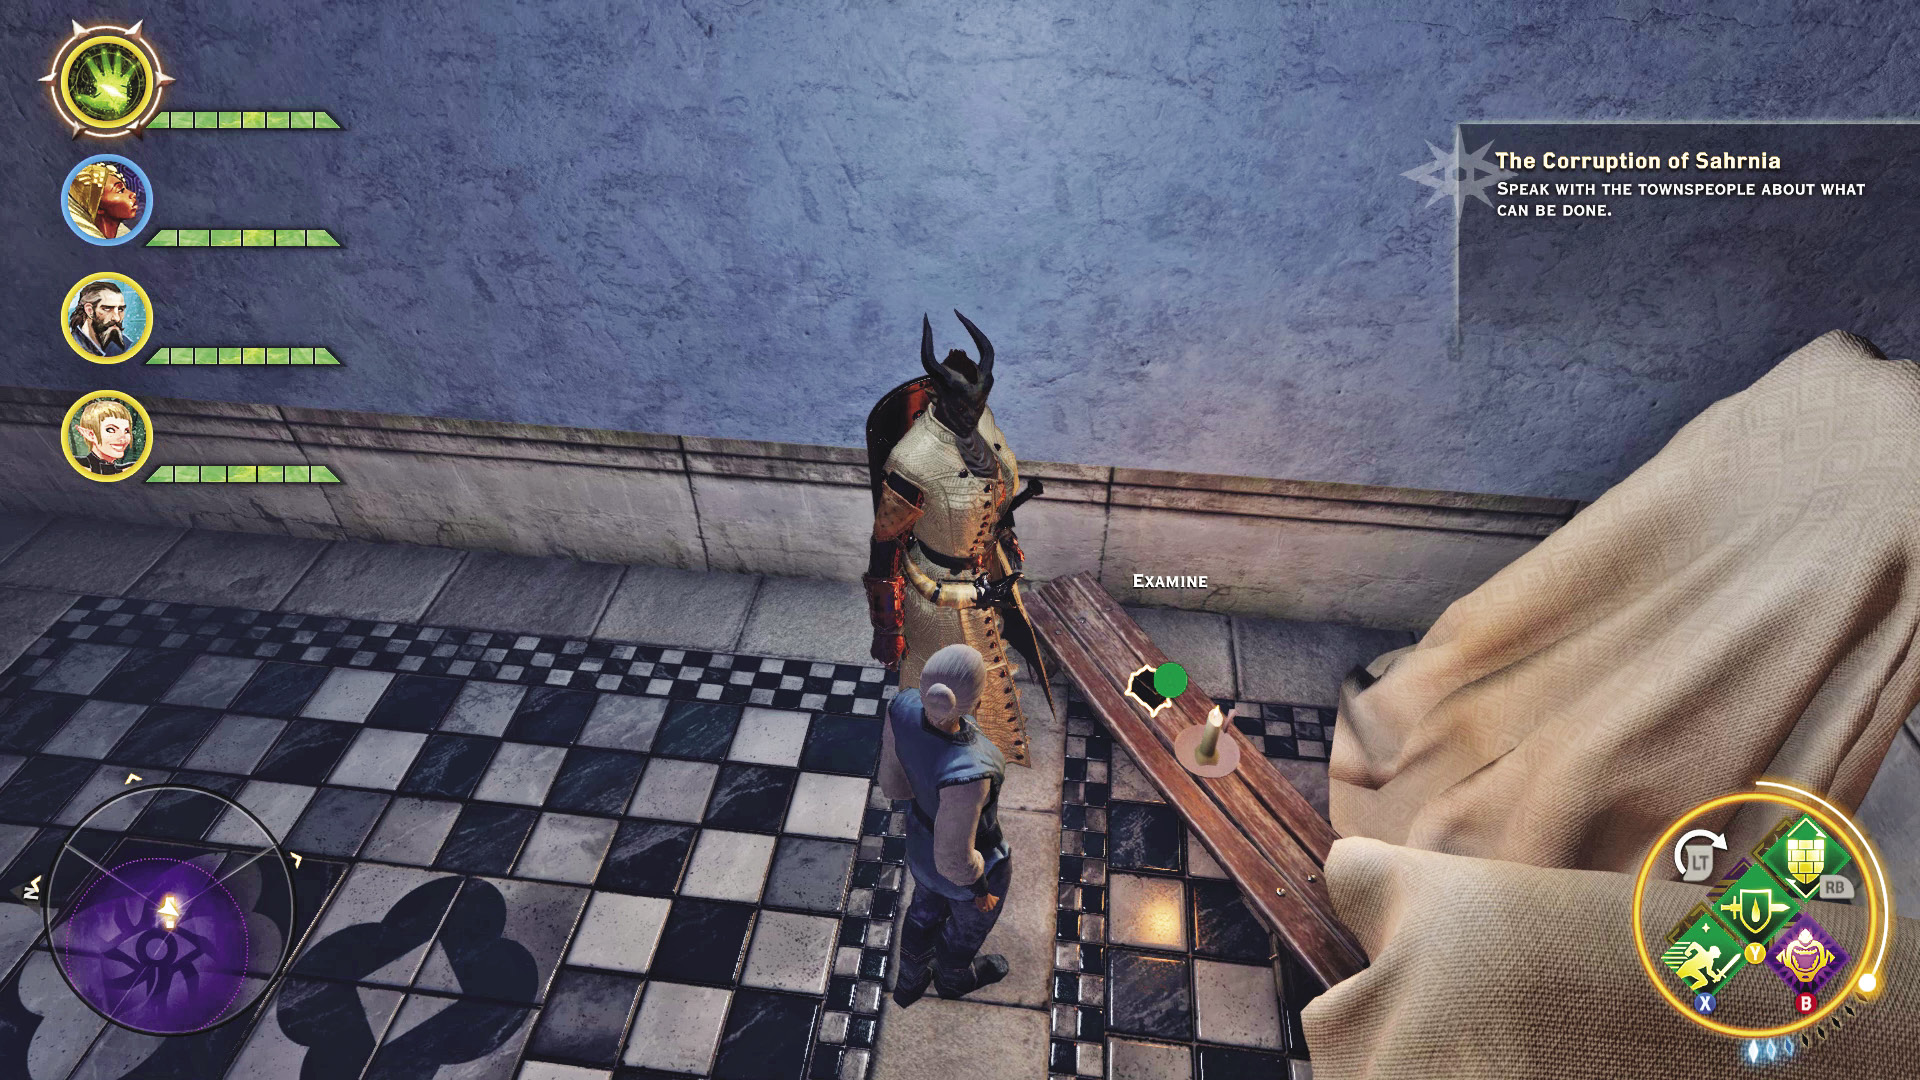
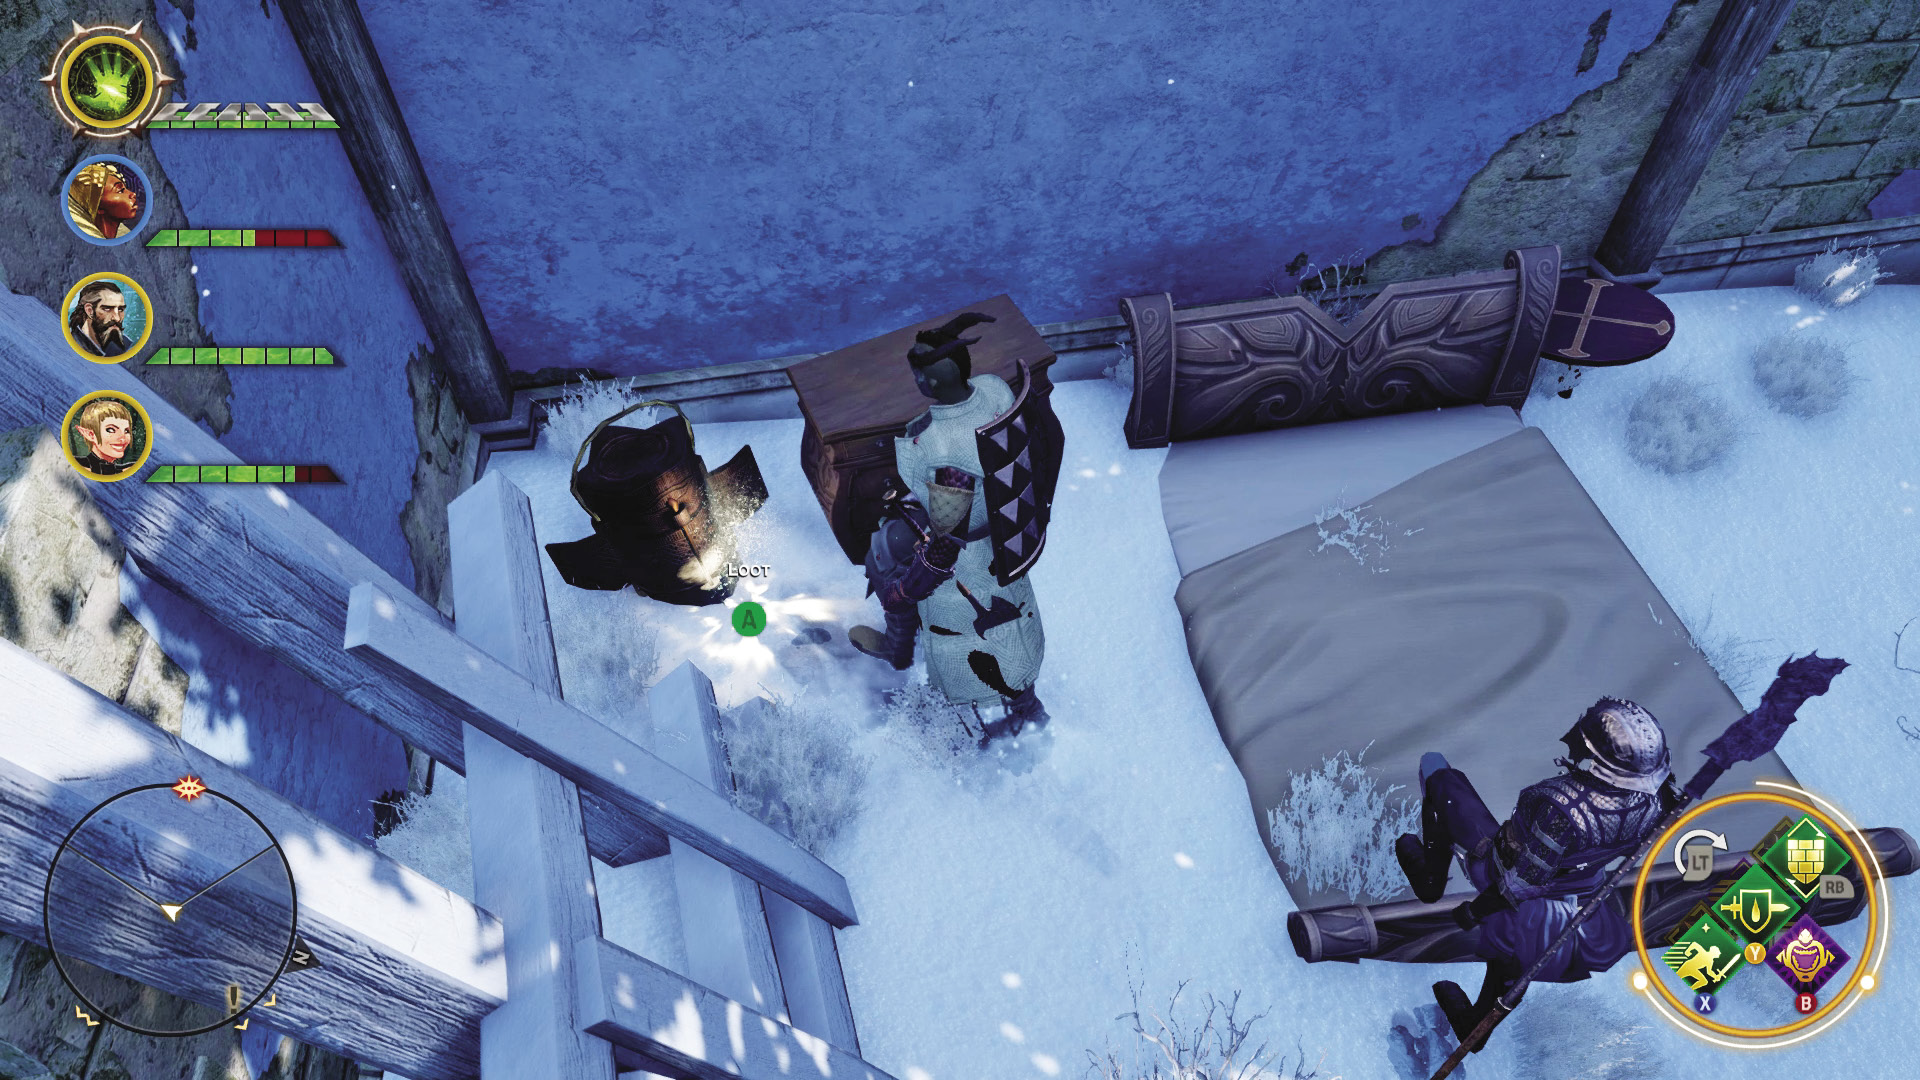
An old woman in Sahrnia, clearly in a damaged mental state, laments the loss of a family keepsake ring. It’s found in the ruins close to to the Tower of Bone, but you’re not going to get there without heavy fighting at first. After claiming the tower, head east over a wooden bridge to enter the ruins where the ring was lost. After dealing with some of Corypheus’s troops, you can freely search the area. When you do locate the ring, bring it back to the old woman to complete the quest.
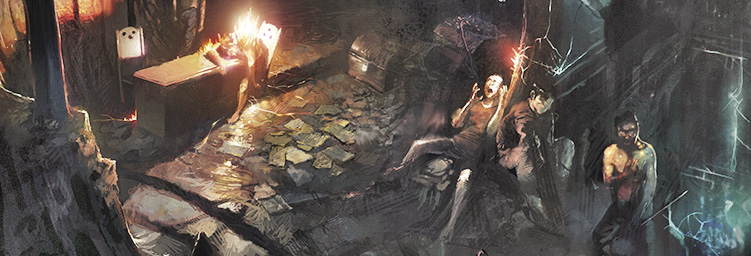
3: Call Me Imshael
Quest Giver: Michel de Chevin
Description: Ser Michel spoke of a demon named Imshael that has taken up residence in Suledin Keep. Michel has made it his mission to track down and kill this demon.
Requirements: Speak with Ser Michel in Sahrnia.
Reward: 1,324 XP, 600 Influence, 2 Power
Objectives:
 Find Imshael.
 Inform Michel of Imshael’s demise.
You find Ser Michel standing guard in front of Sarhnia, a passing swordsman with whom Vivienne is acquainted. He has decided to stand as one of Sarhnia’s protectors. He seeks a demon that calls itself Imshael. However, there is no way for him to reach the demon, as Suledin Keep is the strongpoint for all of Corypheus’s forces in Emprise du Lion.
When you first arrive at Emprise du Lion, there is simply no easy way to reach the keep to confront Imshael. You’d have to fight through extensive numbers of red templar just to get to the keep itself, and then you must confront the demon after all of that fighting. Simply put, it will not be easy to reach Imshael.
After you deal with Imshael, return to Sahrnia with the news. Michel is somewhat put off by your relatively effortless attempts to corner and defeat the demon after spending so much time on the hunt himself, but he is grateful regardless. You are then able to recruit Michel to be an agent of the Inquisition.
4: Stalker
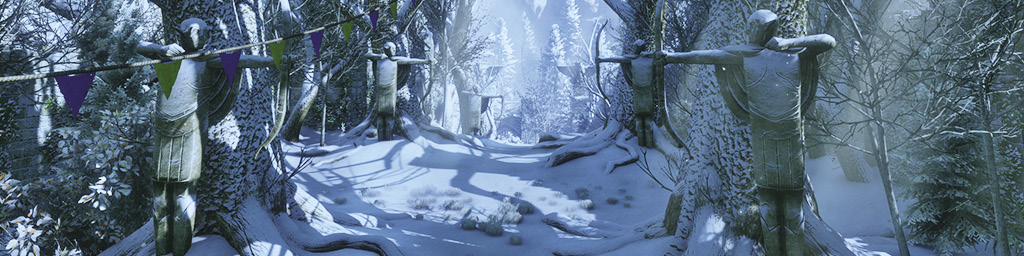
Quest Giver: A journal found near Elfsblood Tower
Description: A hunter came through here, obsessively stalking some elusive prey.
Requirements: Available upon entering Emprise du Lion
Reward: 331 XP, 150 Influence
Objectives:
 Find the ruins mentioned in the hunter’s note.
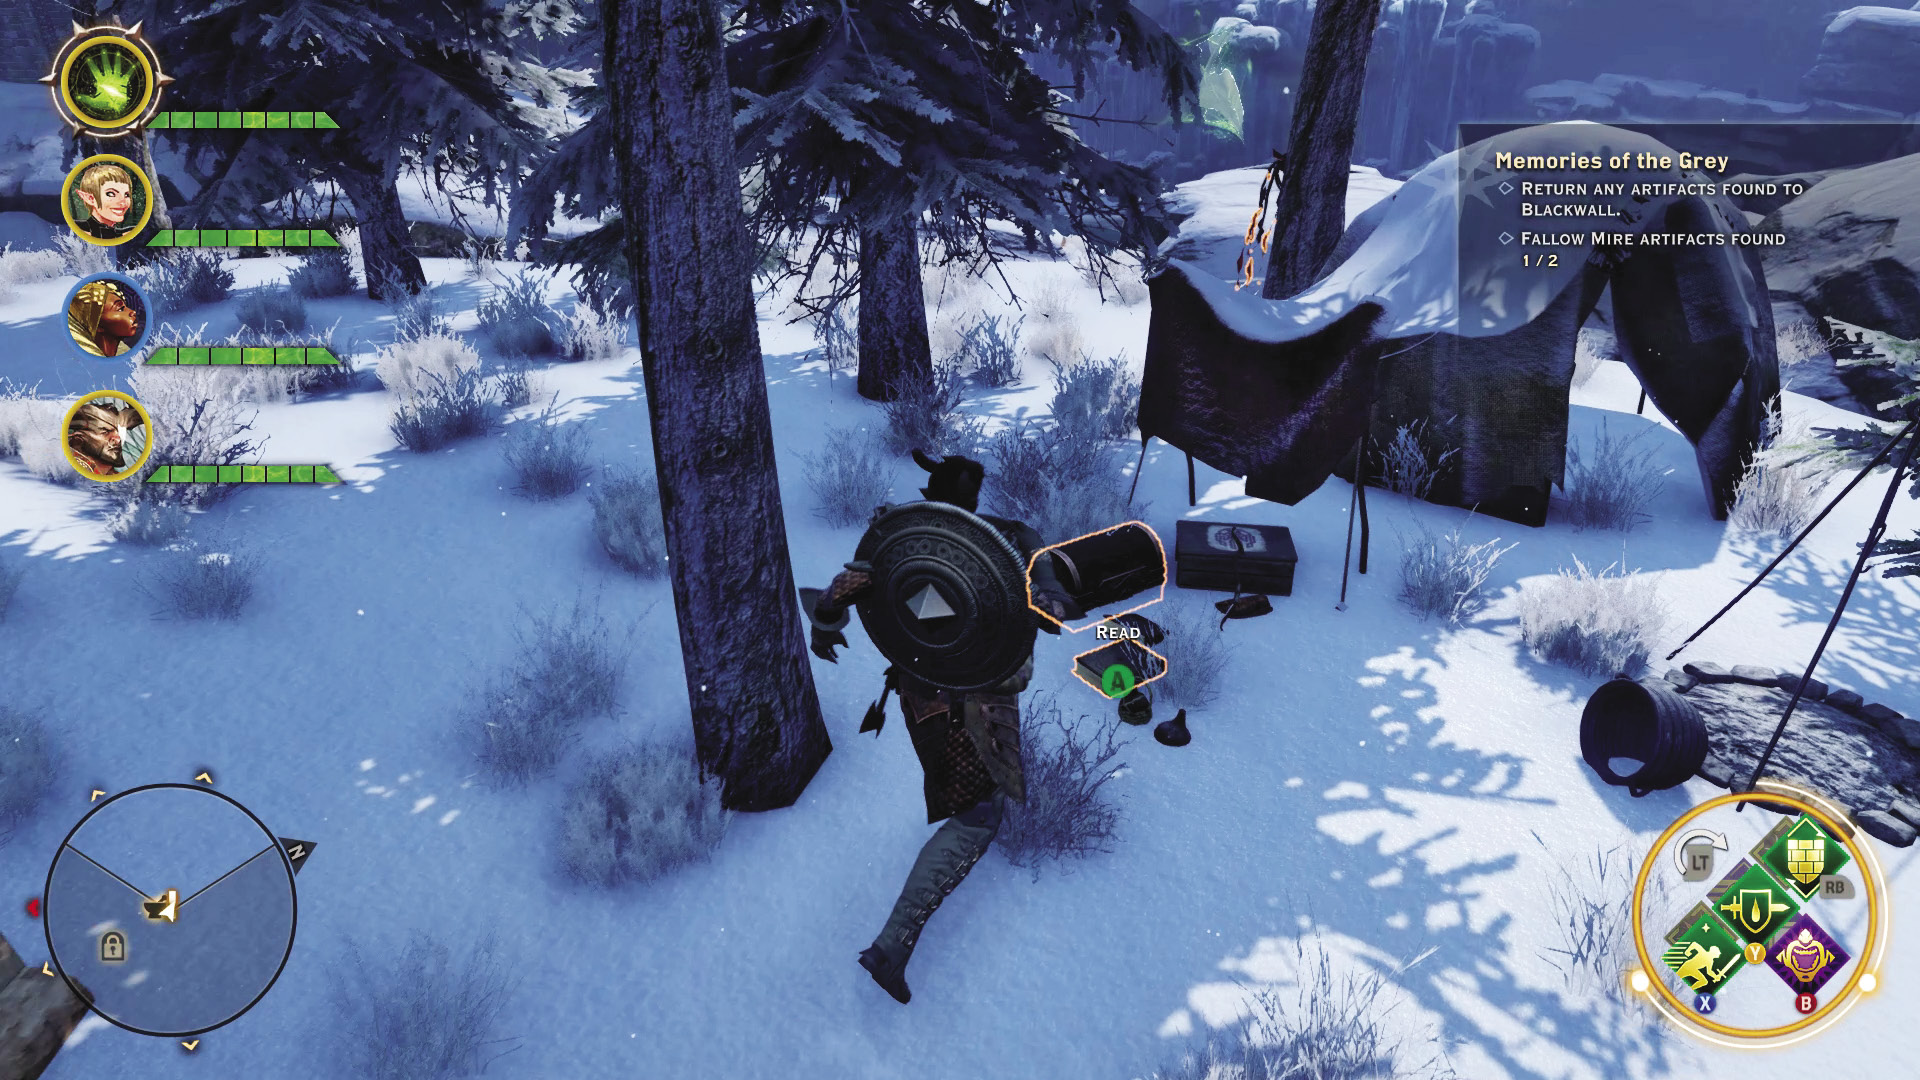
The hunter clearly has an issue with boundaries. If you travel north from his camp at Elfsblood Tower to the elven ruins, you will find his target’s camp, long abandoned. She has left a note for the stalker, informing him that she’s skipped the restraining order and gone straight to “Kill on sight.” The quest is complete, but there’s no other sign of the hunter or his prey...
5: Take Back the Lion
Quest Giver: Mistress Poulin
Description: Mistress Poulin sold her quarry to the red templars/mages, who have now occupied much of the Emprise du Lion. Advance into the region’s heart to learn why.
Requirements: Available after speaking with Mistress Poulin
Reward: 2,649 XP, 2,000 Influence, 3 Power
Objectives:
 Wipe out the red templars/mages at Highgrove.
 Claim Highgrove for the Inquisition.
 Wipe out the red templars/mages at Drakon’s Rise.
 Claim Drakon’s Rise for the Inquisition.
 Wipe out the red templars/mages at the Tower of Bone.
 Claim the Tower of Bone for the Inquisition.
This quest involves “leapfrogging” from one campsite to the next, taking on Corypheus’s forces as you go. Expect to do a lot of fighting, so don’t skimp on restoring your potion inventory at every camp you set up.
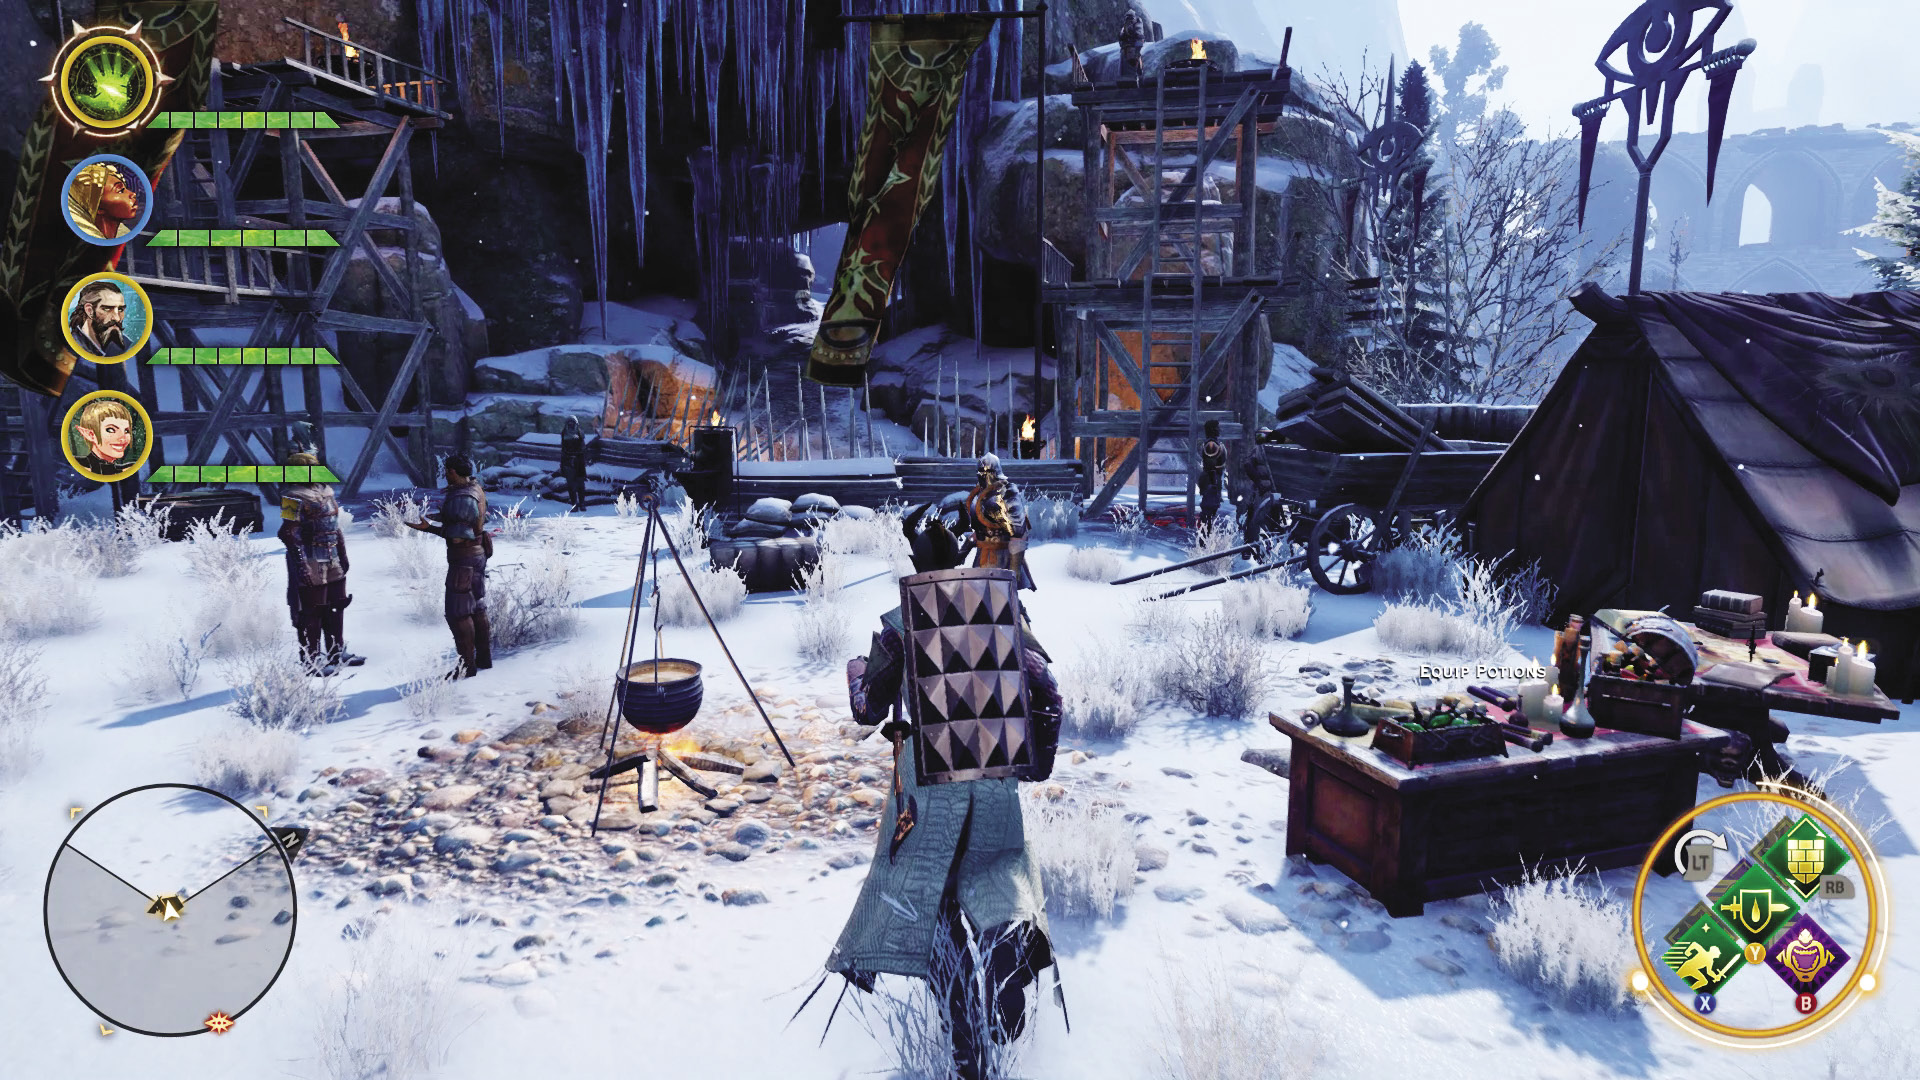
The first camp is not far from Sahrnia, and it should be a good indication of what to expect from the enemy. Expect all varieties of red templar/mage combatants throughout this side quest, but just because you start seeing more exotic threats on the field doesn’t mean you should neglect killing archers or prowlers as quickly as you can. Send a rogue of your own after any marksmen, while the rest of the party deals with melee enemies.
After clearing an enemy position, you’re prompted to set up camp. This will help you replenish supplies and switch your party around as needed.
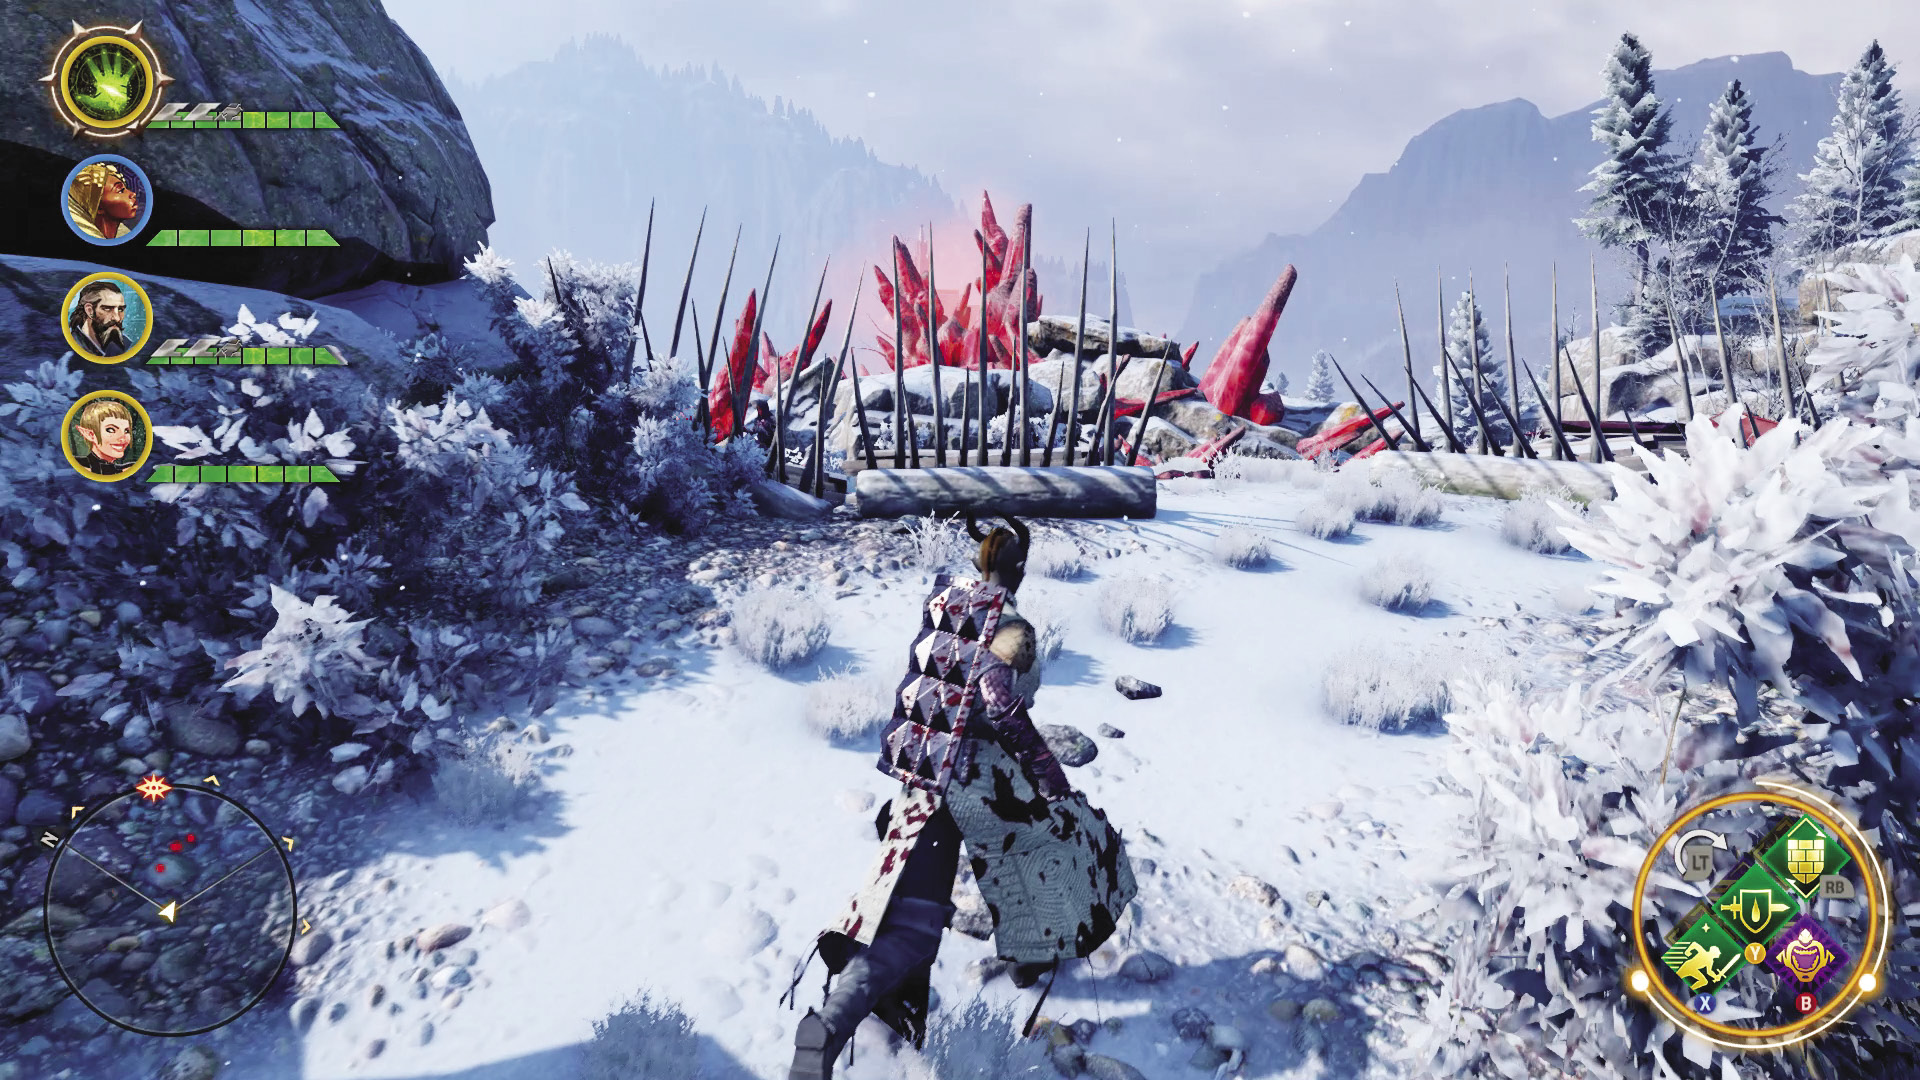
After claiming Highgrove, leave the camp through Alphonse’s Passage to the north, fighting your way past more enemies and claiming a landmark. Your next target is Drakon’s Rise, another strongpoint that Corypheus’s forces are trying to hold down against your onslaught. Their desperation should become apparent at this point, from both the numbers they are throwing at you and the notes you find in their camp once they have been defeated.
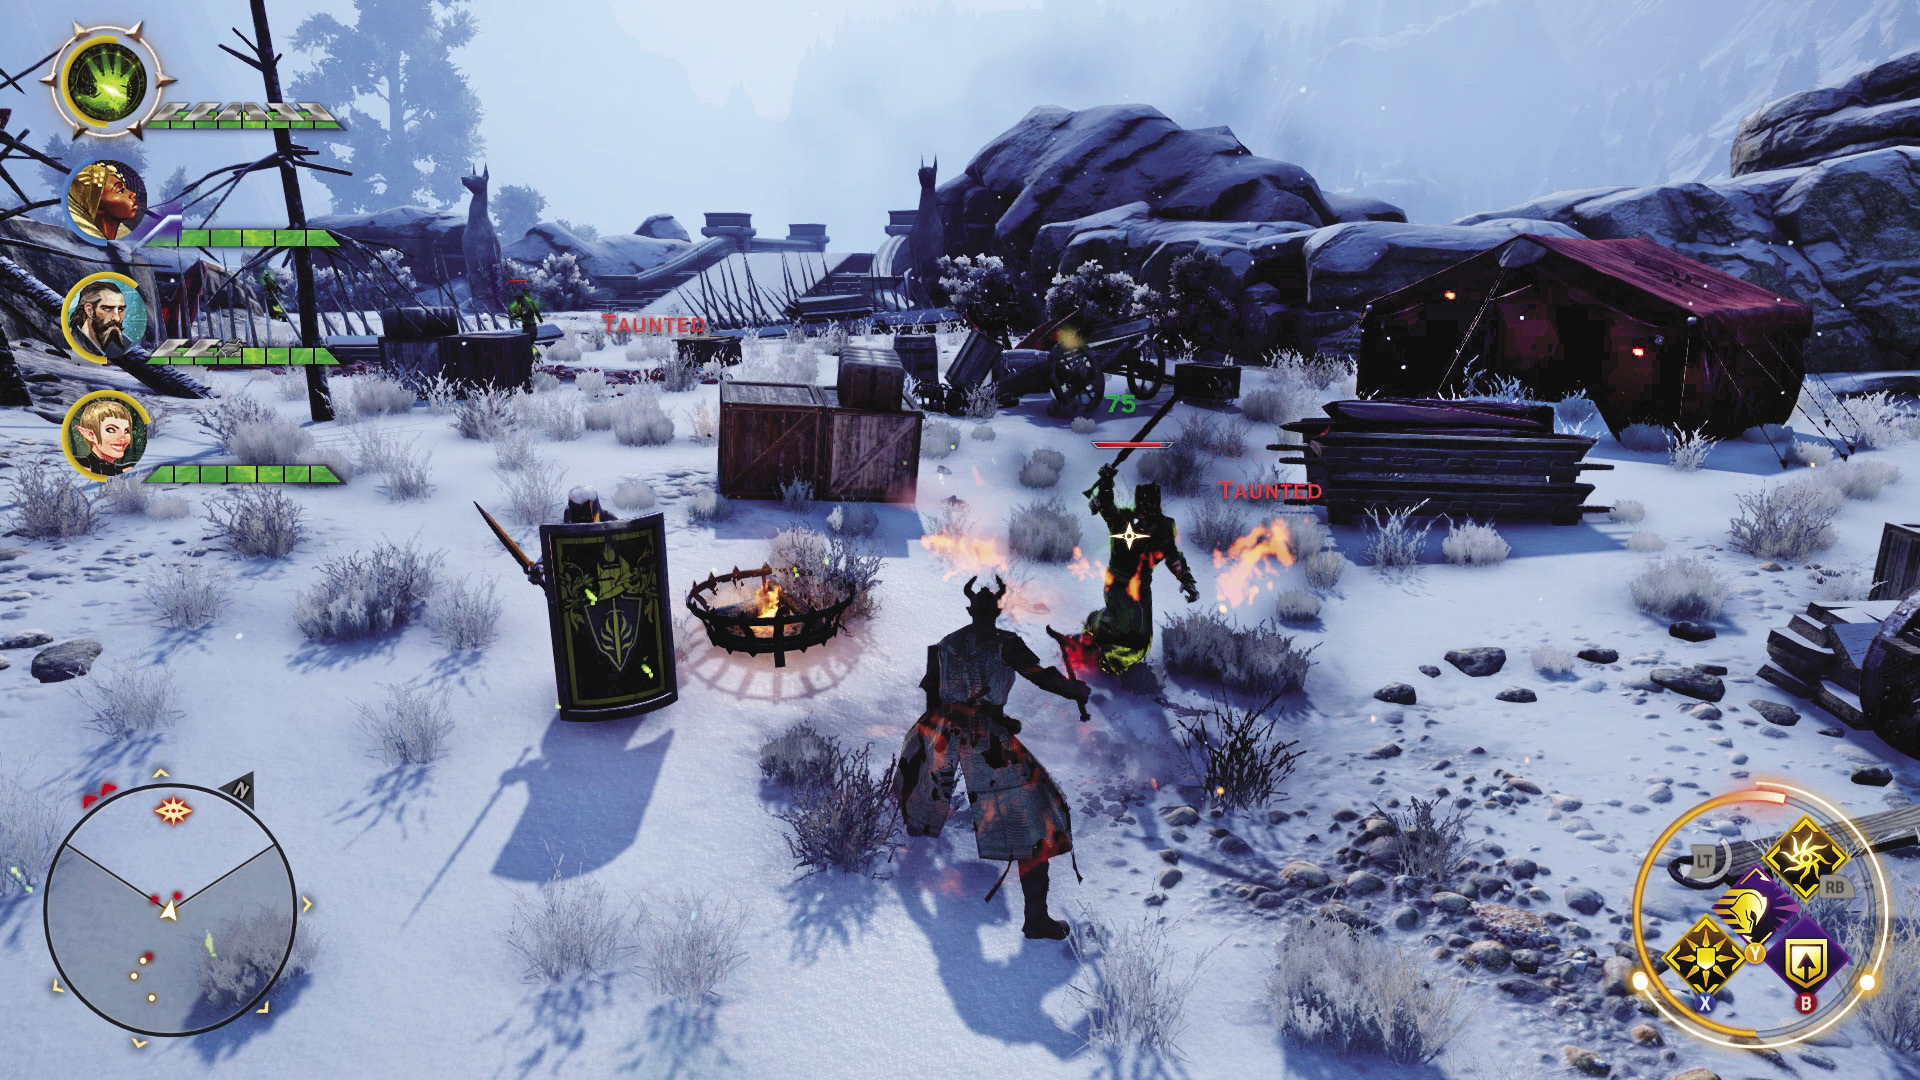
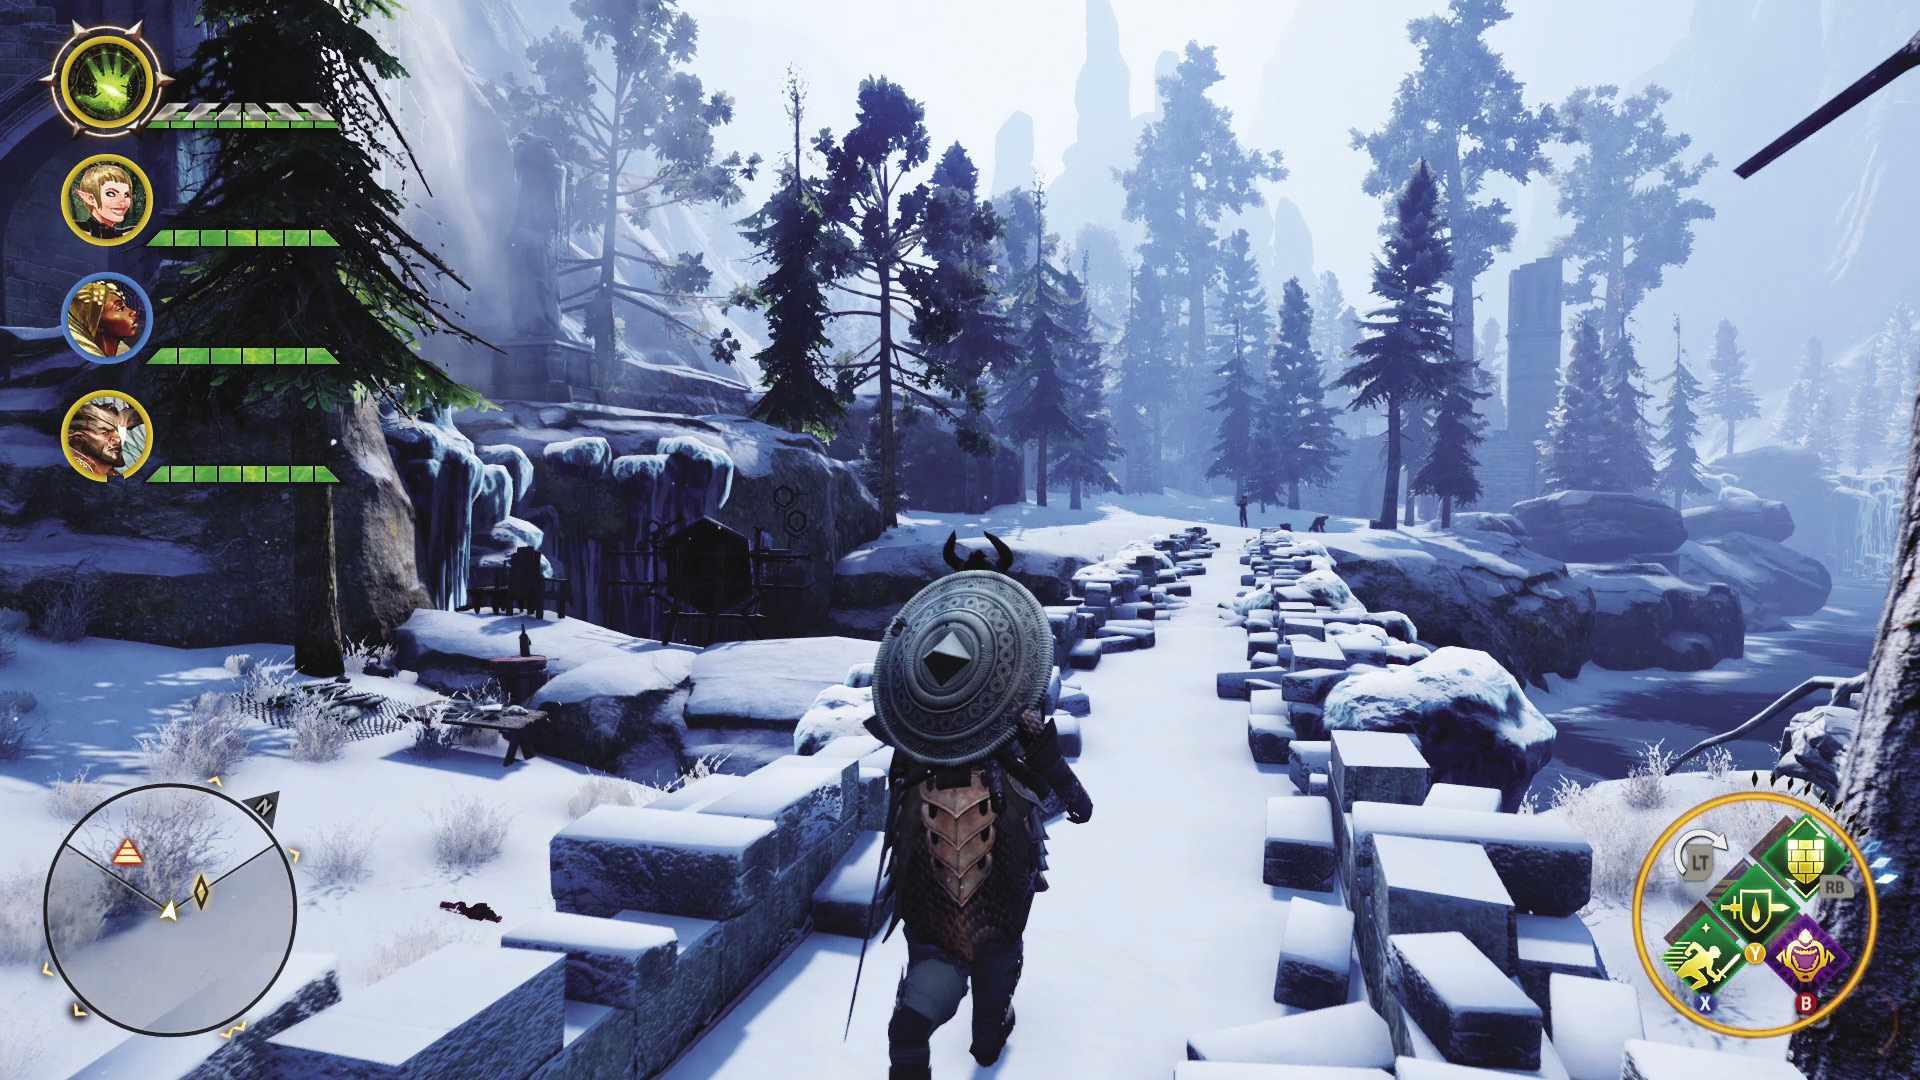
The Tower of Bone is your next target, but the hike to it is made more difficult by the presence of Fade rifts. They’re part of the Rifts at Drakon’s Cleft quest, and it’s worth knocking these out of the way to avoid extra backtracking in the future.
The gate before you enter the Tower of Bone region is the first line of defense the enemy has set up. Breaking through them and continuing south, you’ll come across a much larger second group at the base of the tower. There’s enough clutter in the area that it can be easy to lose ranged attackers in the chaos, so keep an eye on your mini-map, lest you get sniped to oblivion.
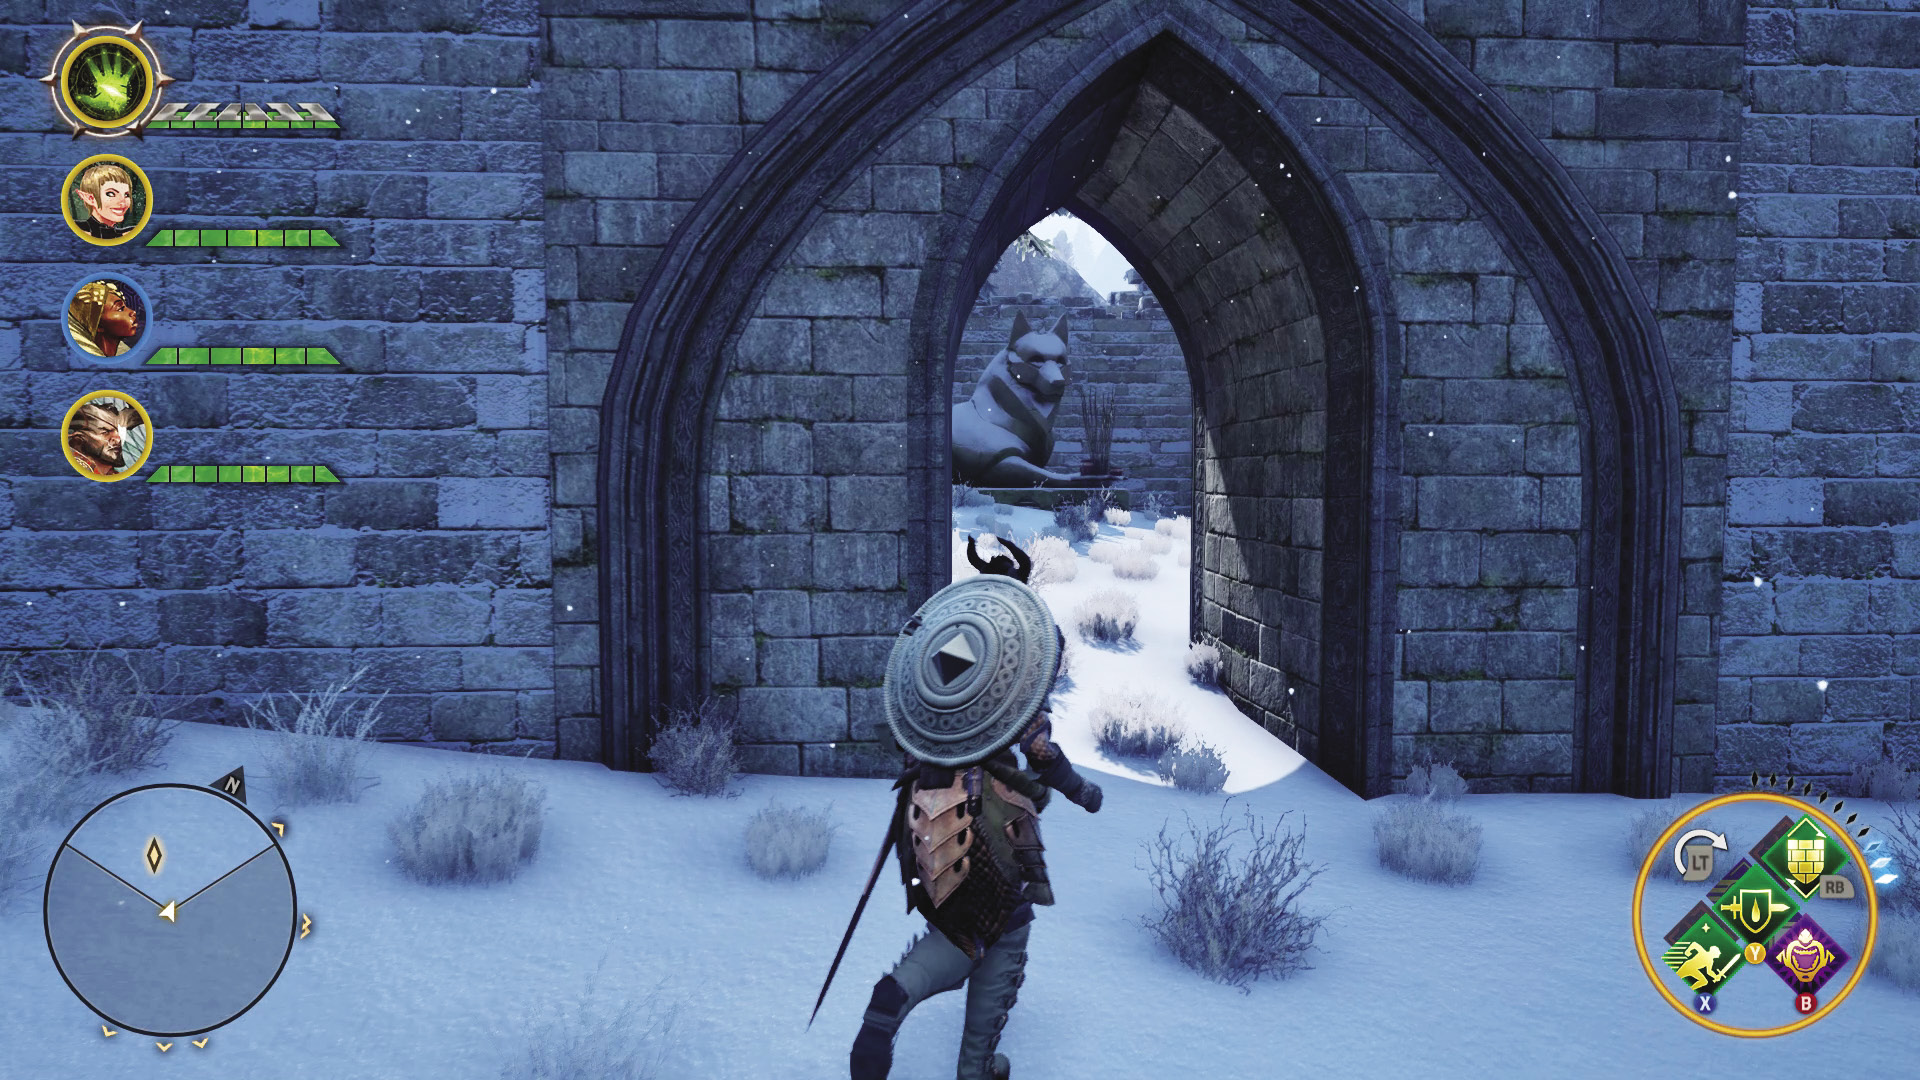
With the base of the tower cleared, you’ll have to climb up a set of wooden walkways to reach the campsite, which will have another set of defenders waiting for you. Winning this battle allows you to claim the Tower of Bone and complete this quest!
6: Valeska’s Watch
Quest Giver: Find the key to enter the dwarven ruins.
Description: An old key, found in Emprise du Lion and shaped vaguely like a griffon, has the words “Valeska’s Watch” scratched into its face.
Requirements: Locate the key to the ruins.
Reward: 331 XP, 150 Influence
Objectives:
 Enter Valeska’s Watch.
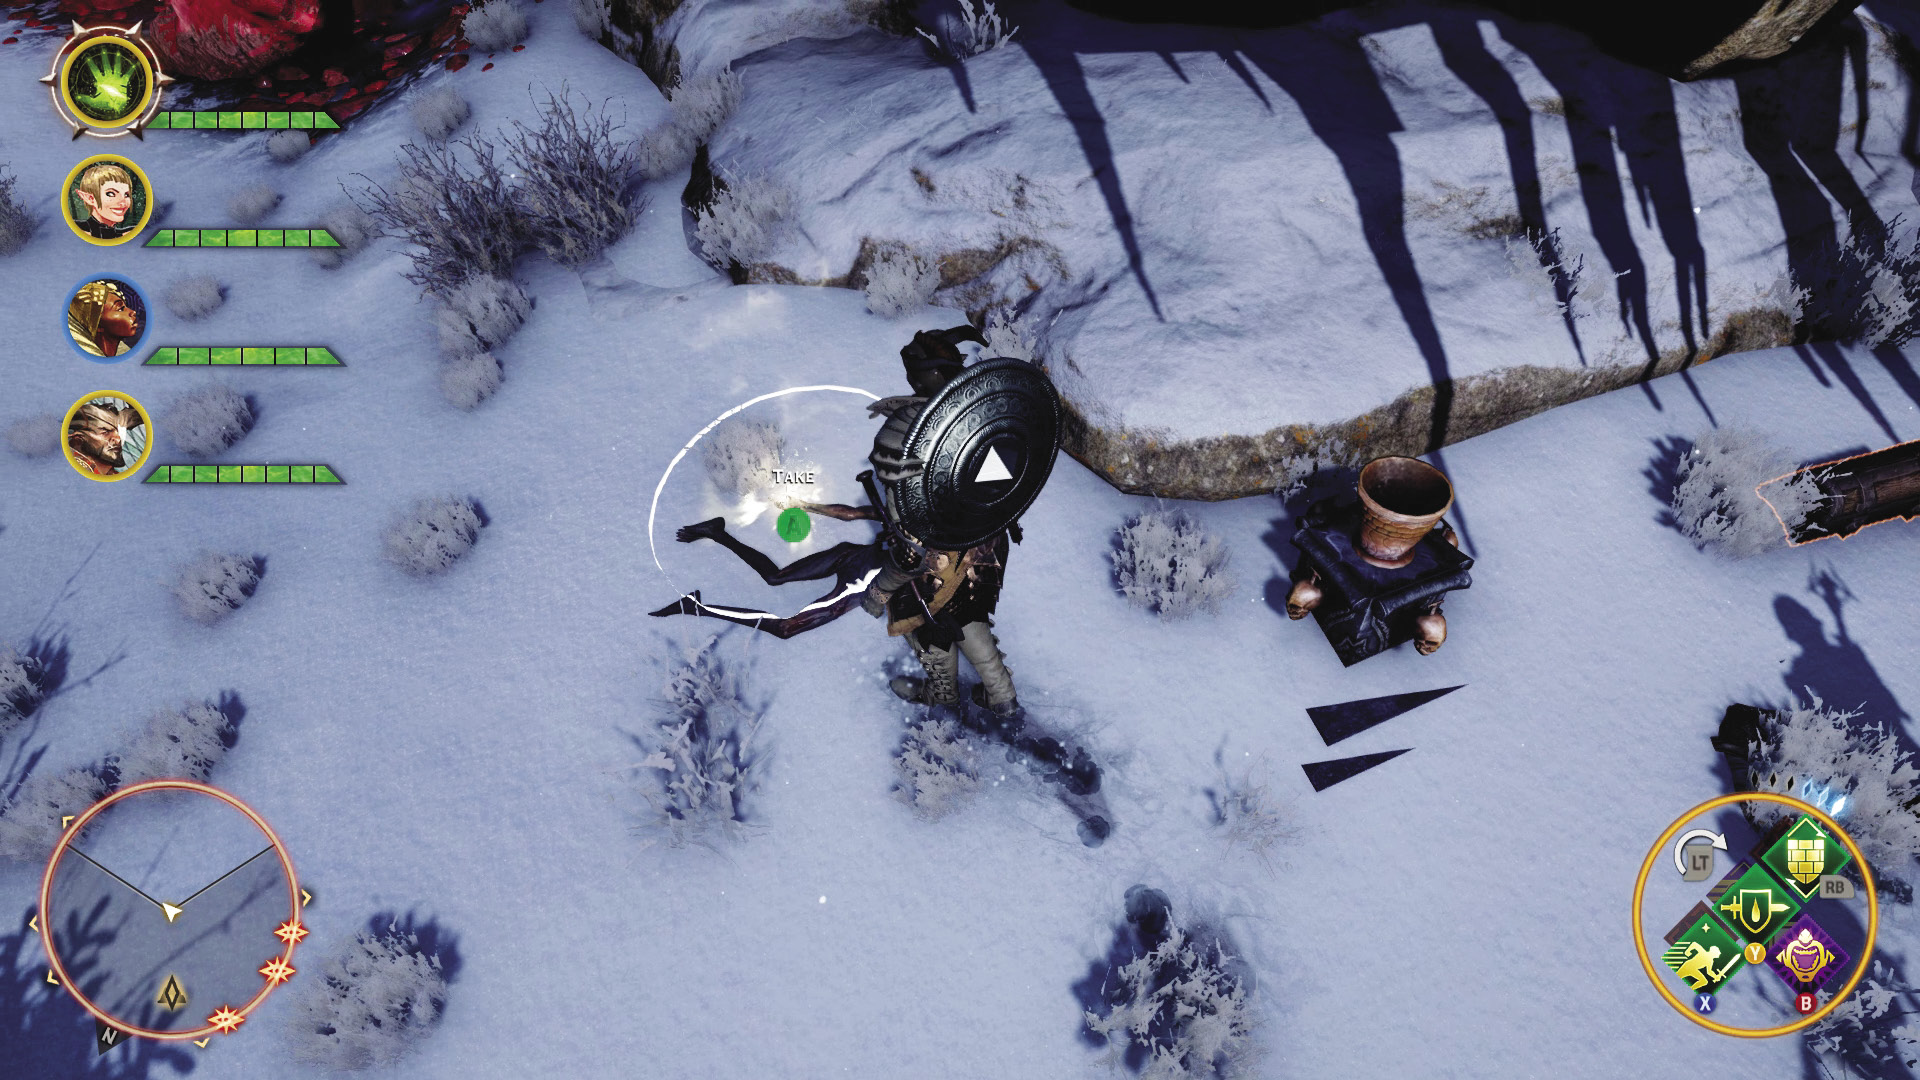
It is a simple enough quest. Find the key on a corpse at the abandoned camp, unlock the door to the dwarven ruins, and the quest is automatically completed. However, for those willing to press forward through the darkspawn gathered in these ruins, there is useful treasure, along with plenty of experience for the hardy adventurer.
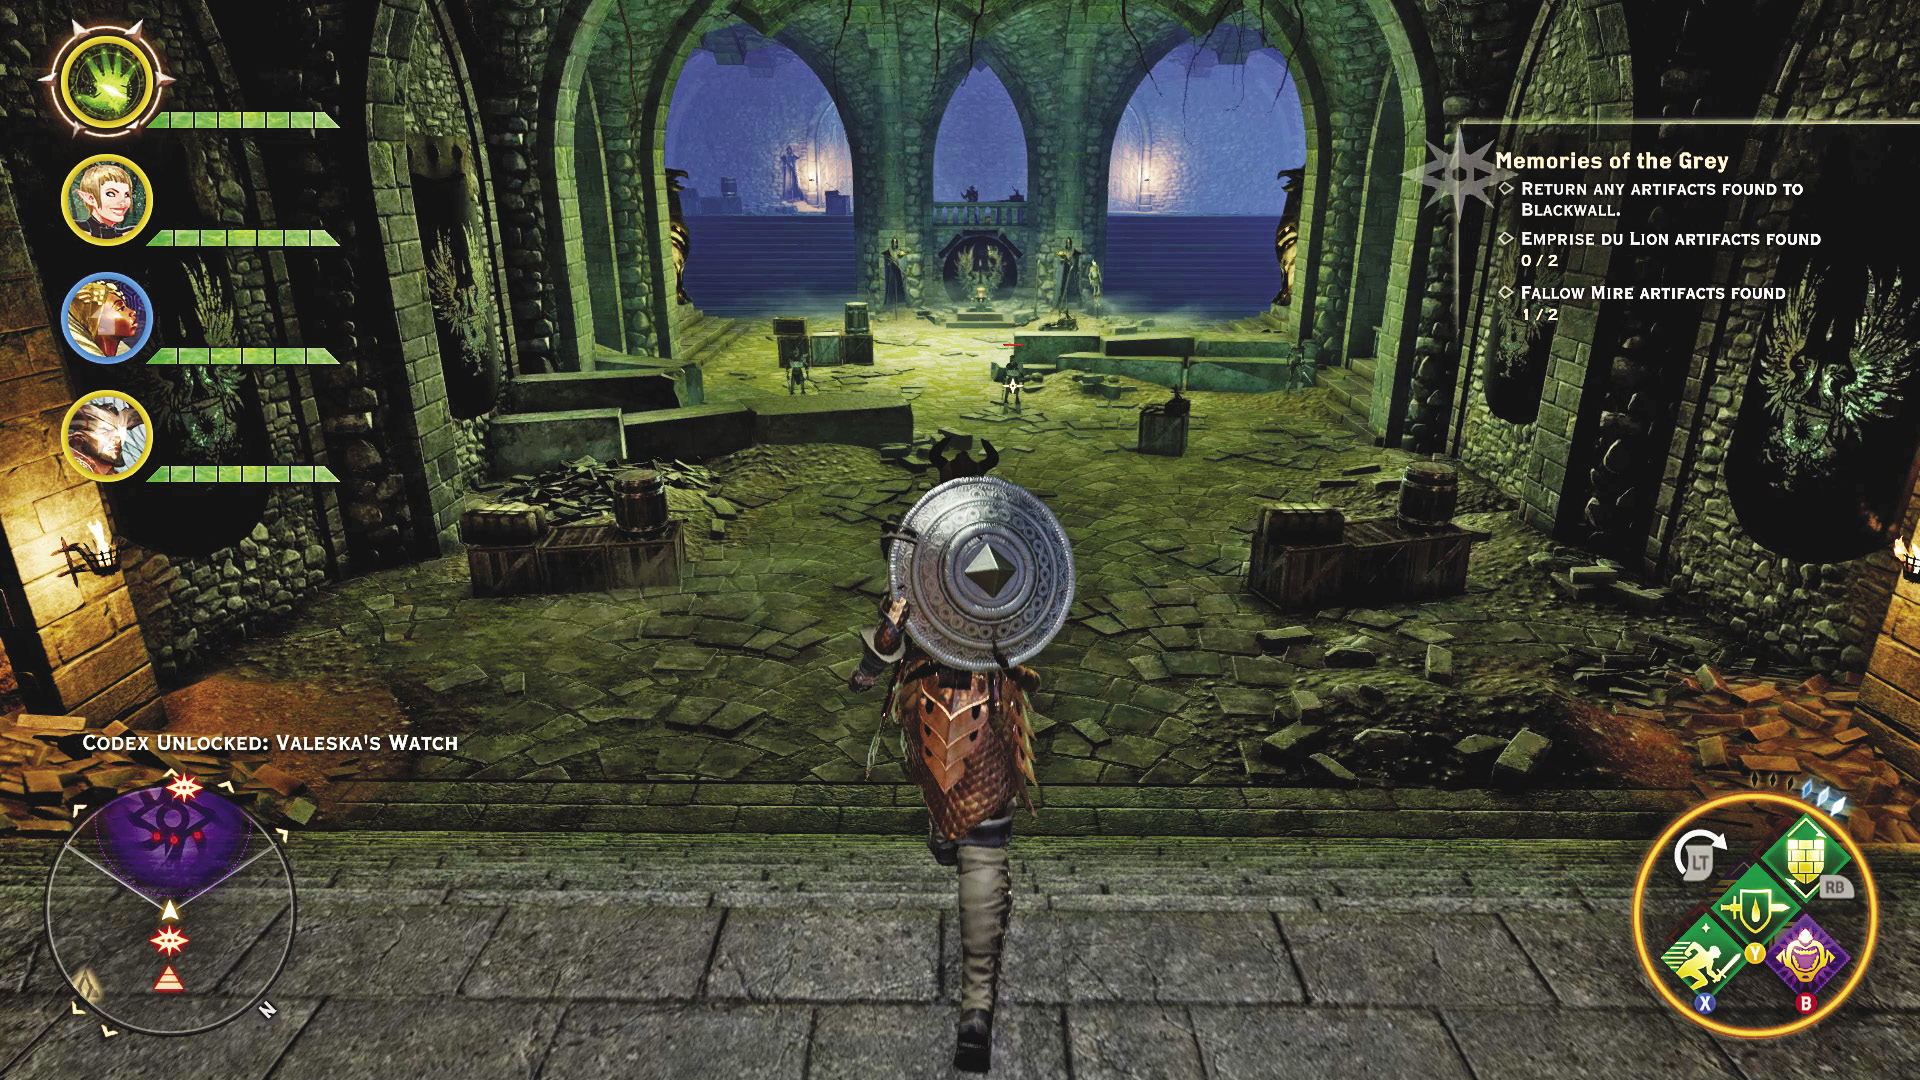
The first chamber, just beyond the landmark, is filled with ghouls. Hurlocks are on the upper-level ledges surrounding the area, and they have clean lines of sight on anyone fighting in the center of the room. Charging in recklessly means you’ll just get picked off with arrows from the hurlocks.
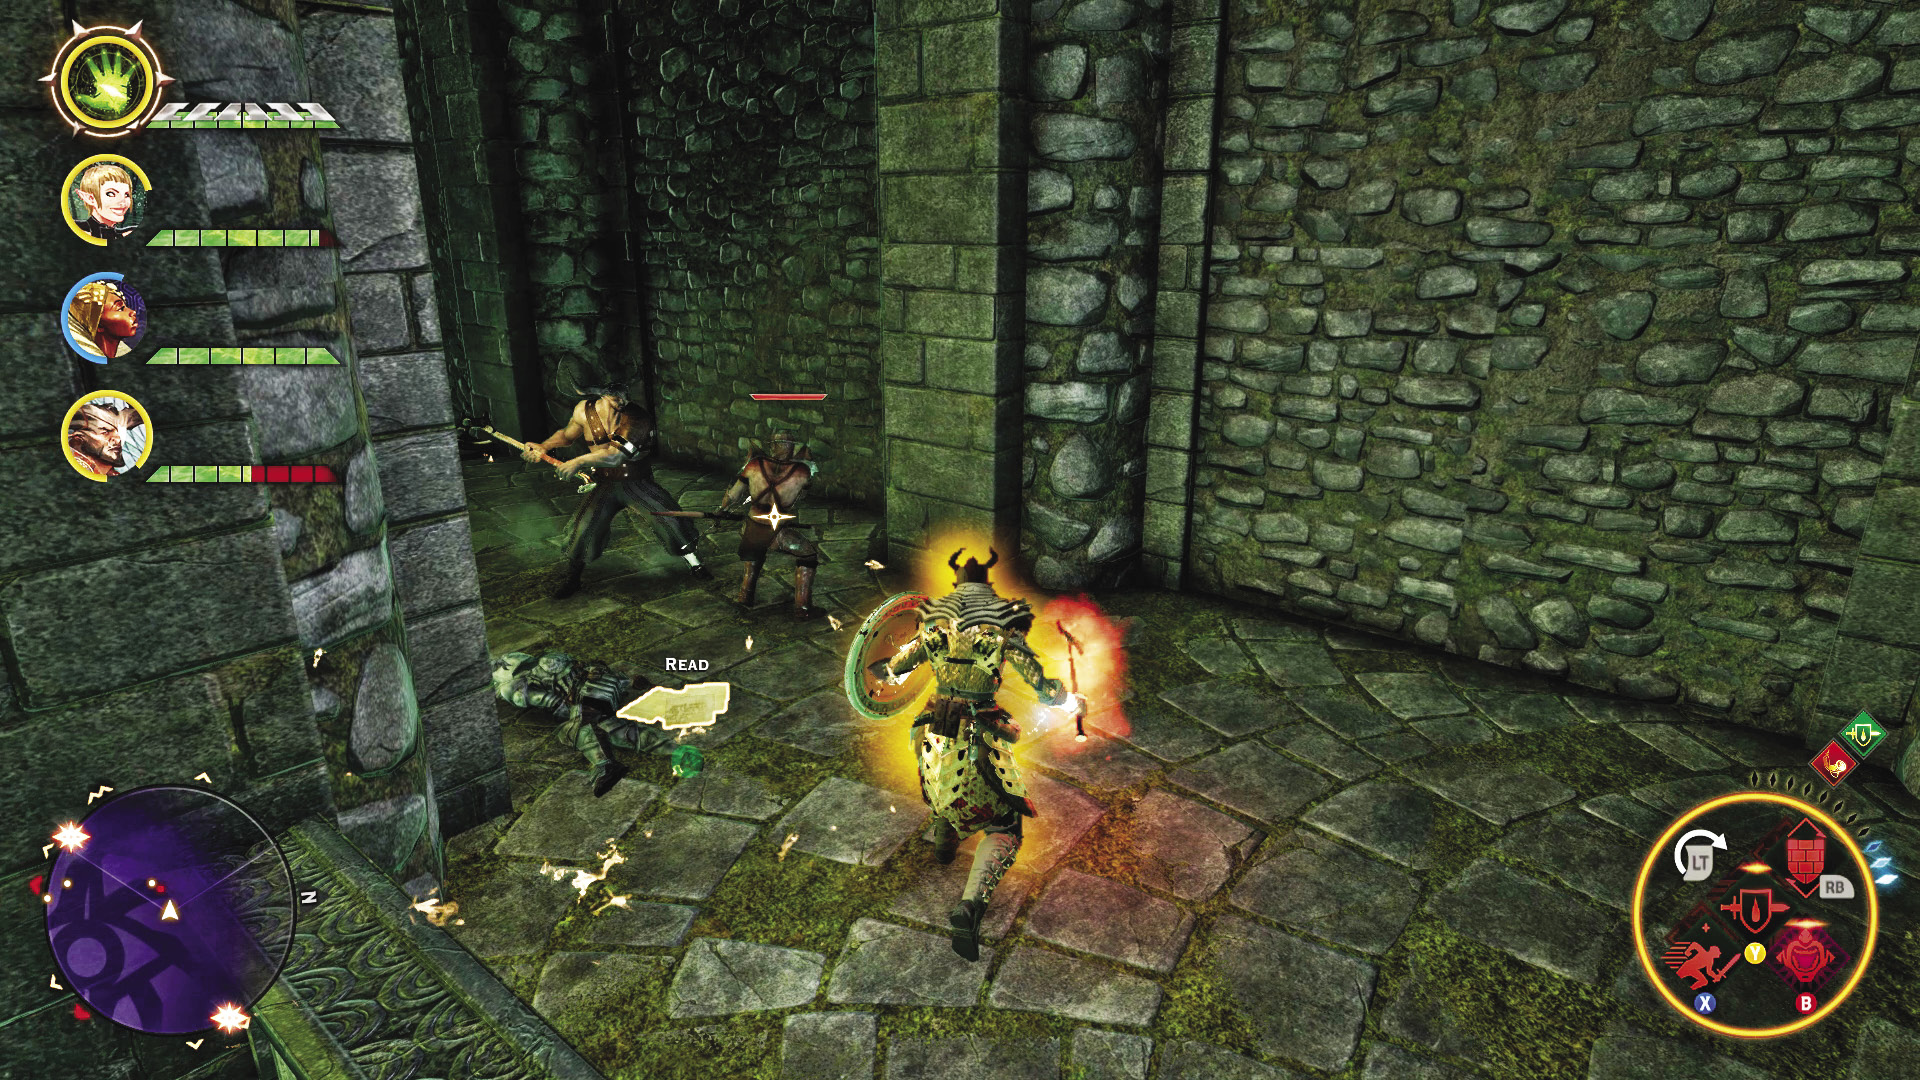
As you’re fighting off the first wave, more ghouls and hurlocks come pouring in through a door on the west side of the room. They are led by a hurlock alpha. Now might be a good time to drop your Mark of the Rift if it’s ready, along with any major focus abilities other party members might have!
After clearing out this first room, collect your spoils and loot any chests you find, then proceed deeper into the watch. Don’t miss the locked door that a rogue can pick!
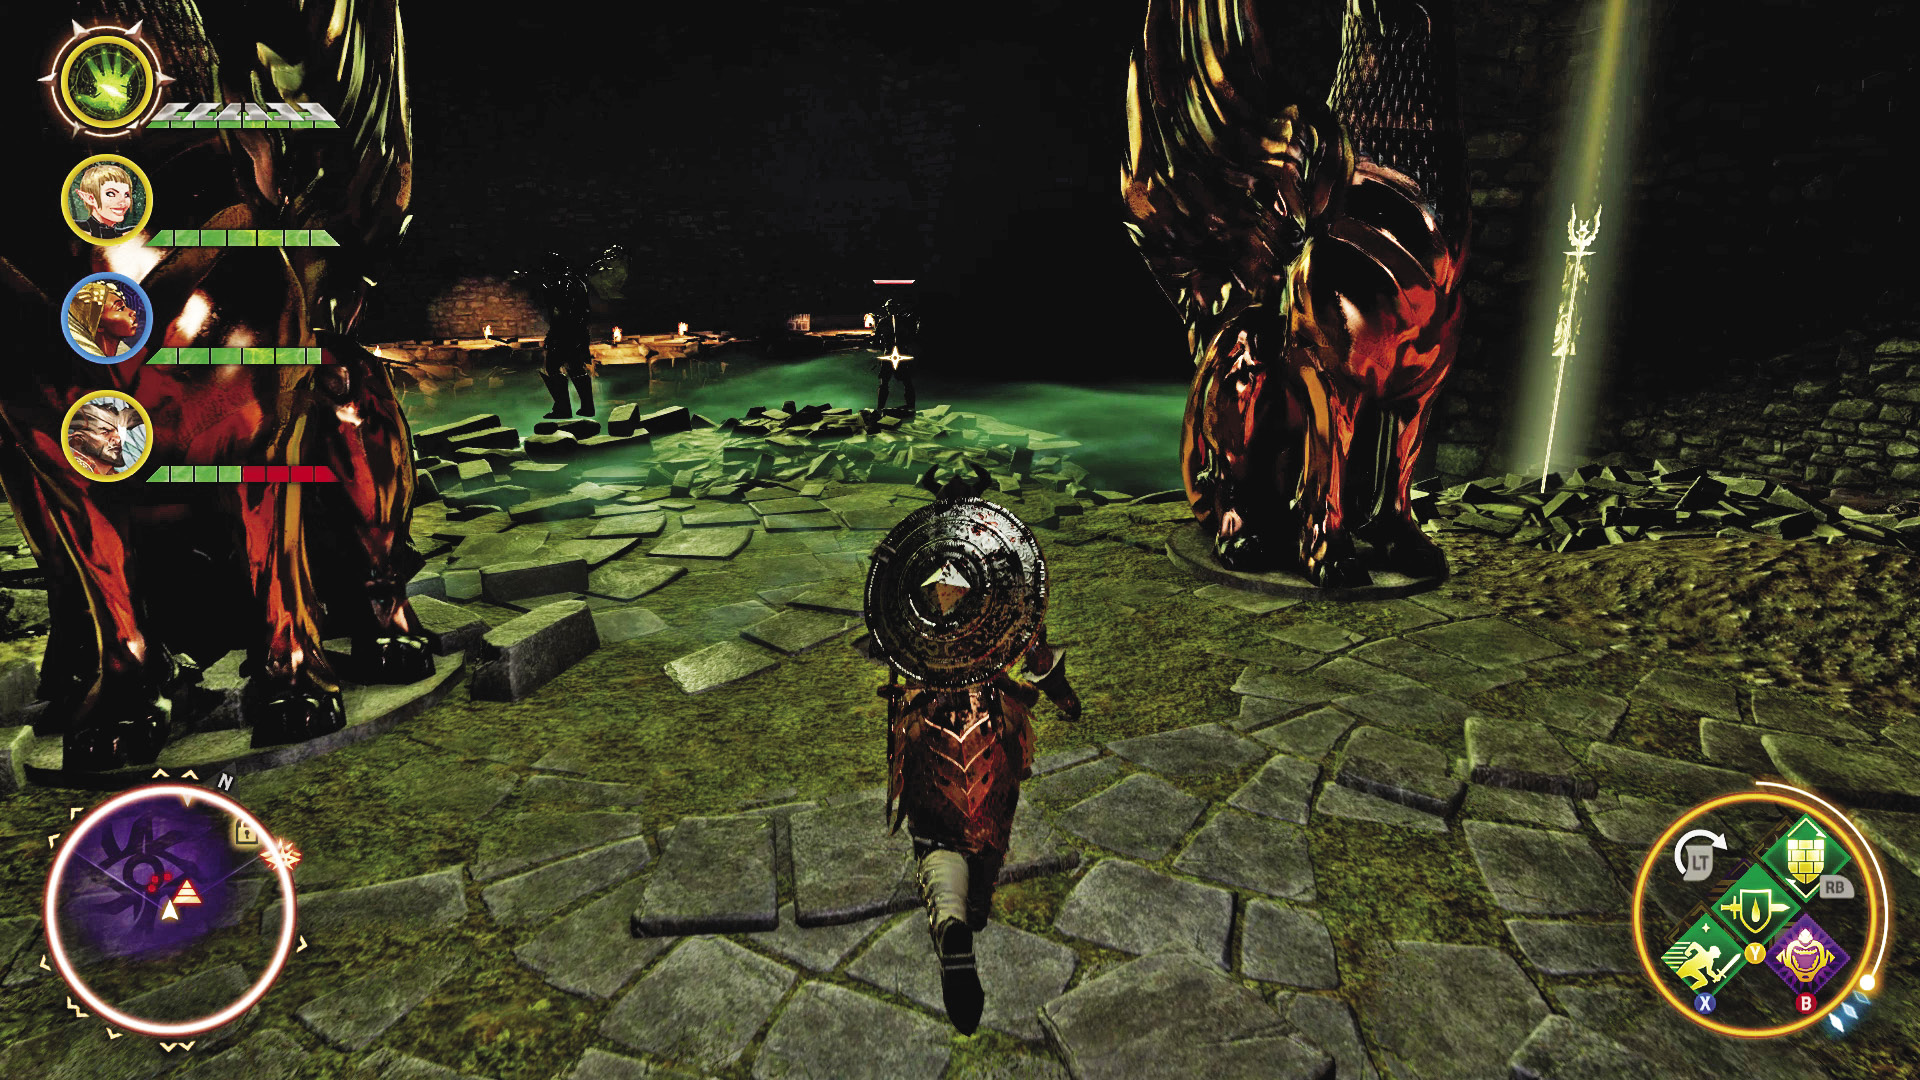
In the lowest parts of the watch is another hurlock alpha, flanked by two lesser hurlocks. As you fight them, ghouls stream up from the massive chasm at the center of this final chamber. Again, if Mark of the Rift is ready, this is an excellent opportunity to take pressure off your party! Once you kill the hurlock alpha, the reinforcements cease, and you can seal the chasm with a mage. Make a sweep of this last room to claim another landmark and some more loot before you leave this dreadful place behind.
7: Capturing Suledin Keep
Quest Giver: Quest is given as soon as you claim the Tower of Bone.
Description: The red templars/mages have been pushed back to the long-abandoned Suledin Keep. If they lose this ancient elven fortress, their grip on the region will be severely weakened.
Requirements: Complete the quest Take Back the Lion.
Reward: Suledin Keep falls under Inquisition control.
Objectives:
 Travel to Suledin Keep.
 Claim the keep for the Inquisition.
Having lost every outpost from Highgrove up to the Tower of Bone, Corypheus’s chosen army has effectively been pushed out of much of Emprise du Lion. Now it is time to go for the jugular! Make sure you are fully stocked with potions. The fighting along the winding paths to reach the top of the keep is going to test your ability to maintain your resources through many battles.
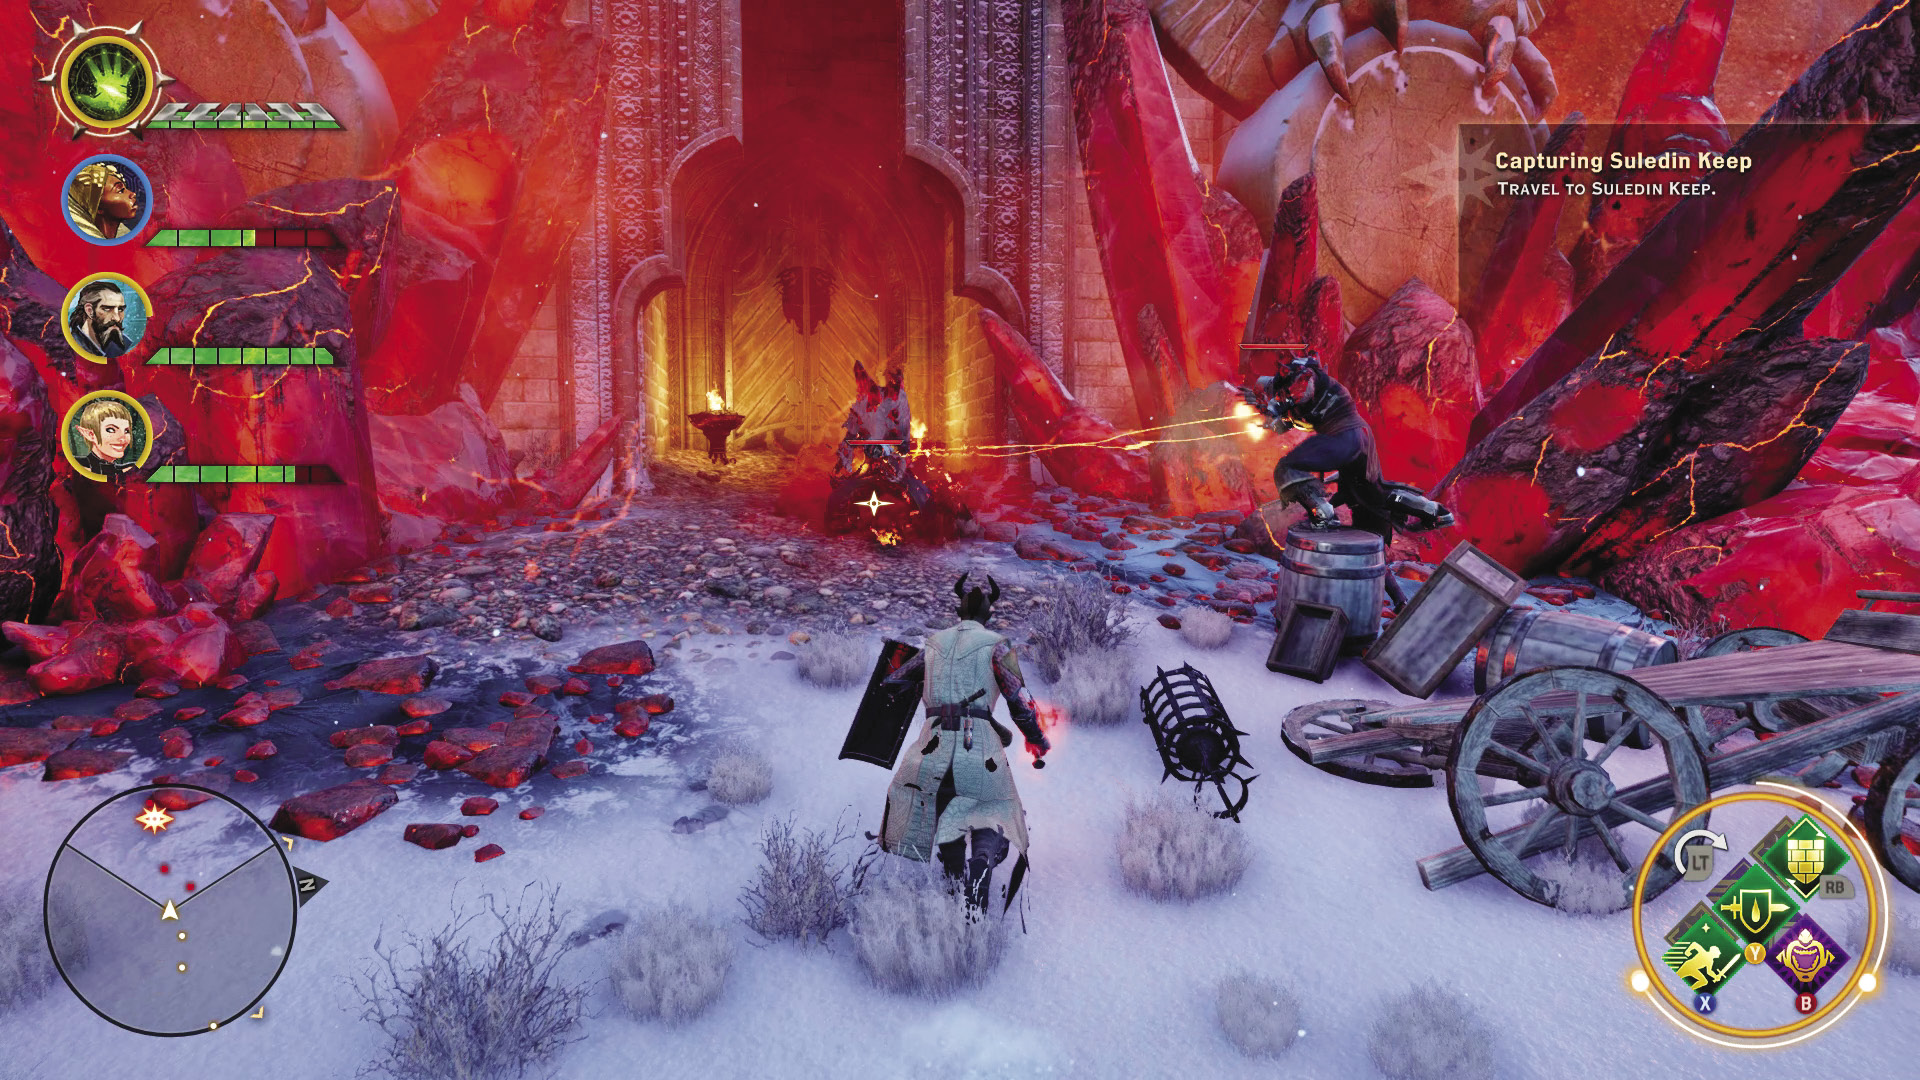
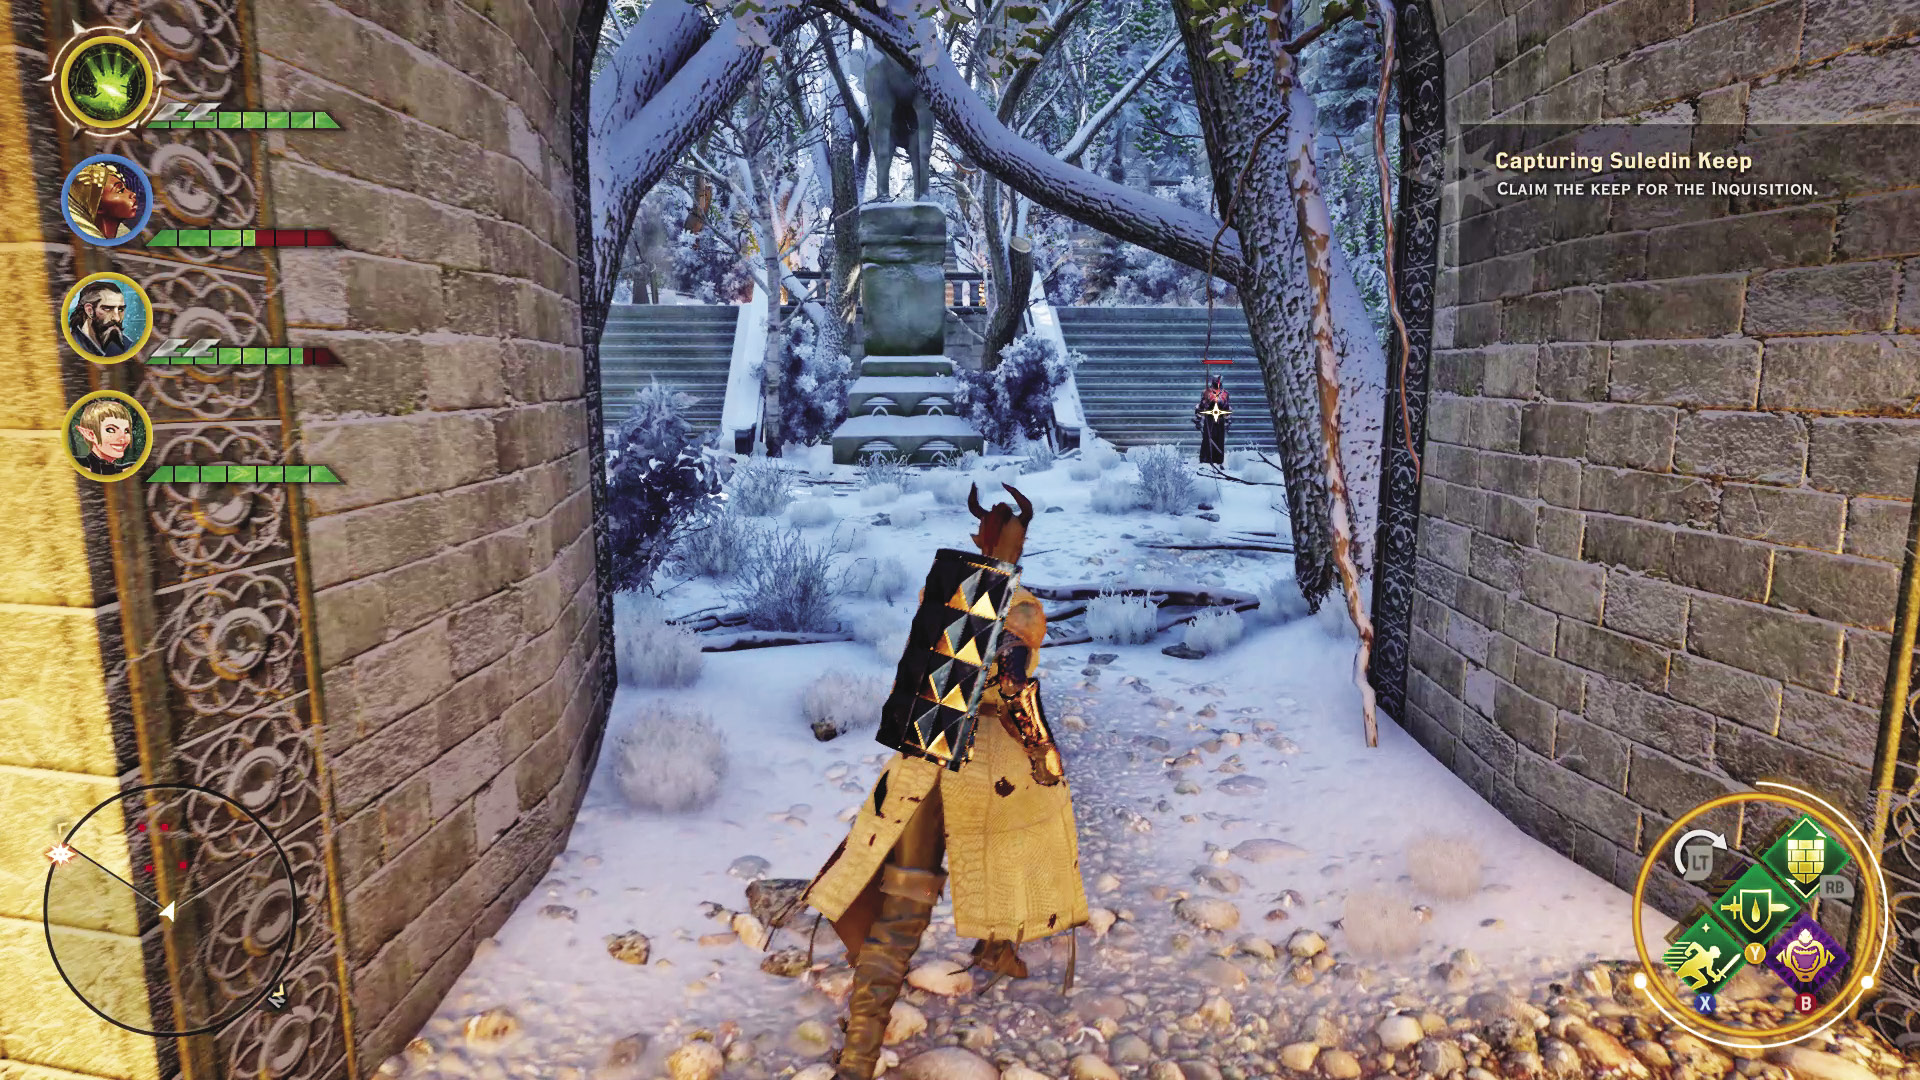
The approach to Suledin Keep begins by busting through a wooden gate. Of course, it is protected by a squad of red templar/mages. More enemies await inside the first courtyard. As the main route toward the top of the keep continues, you will pass cages filled with giants that have been experimented on with red lyrium. You can open these cages with a rogue to check for loot.
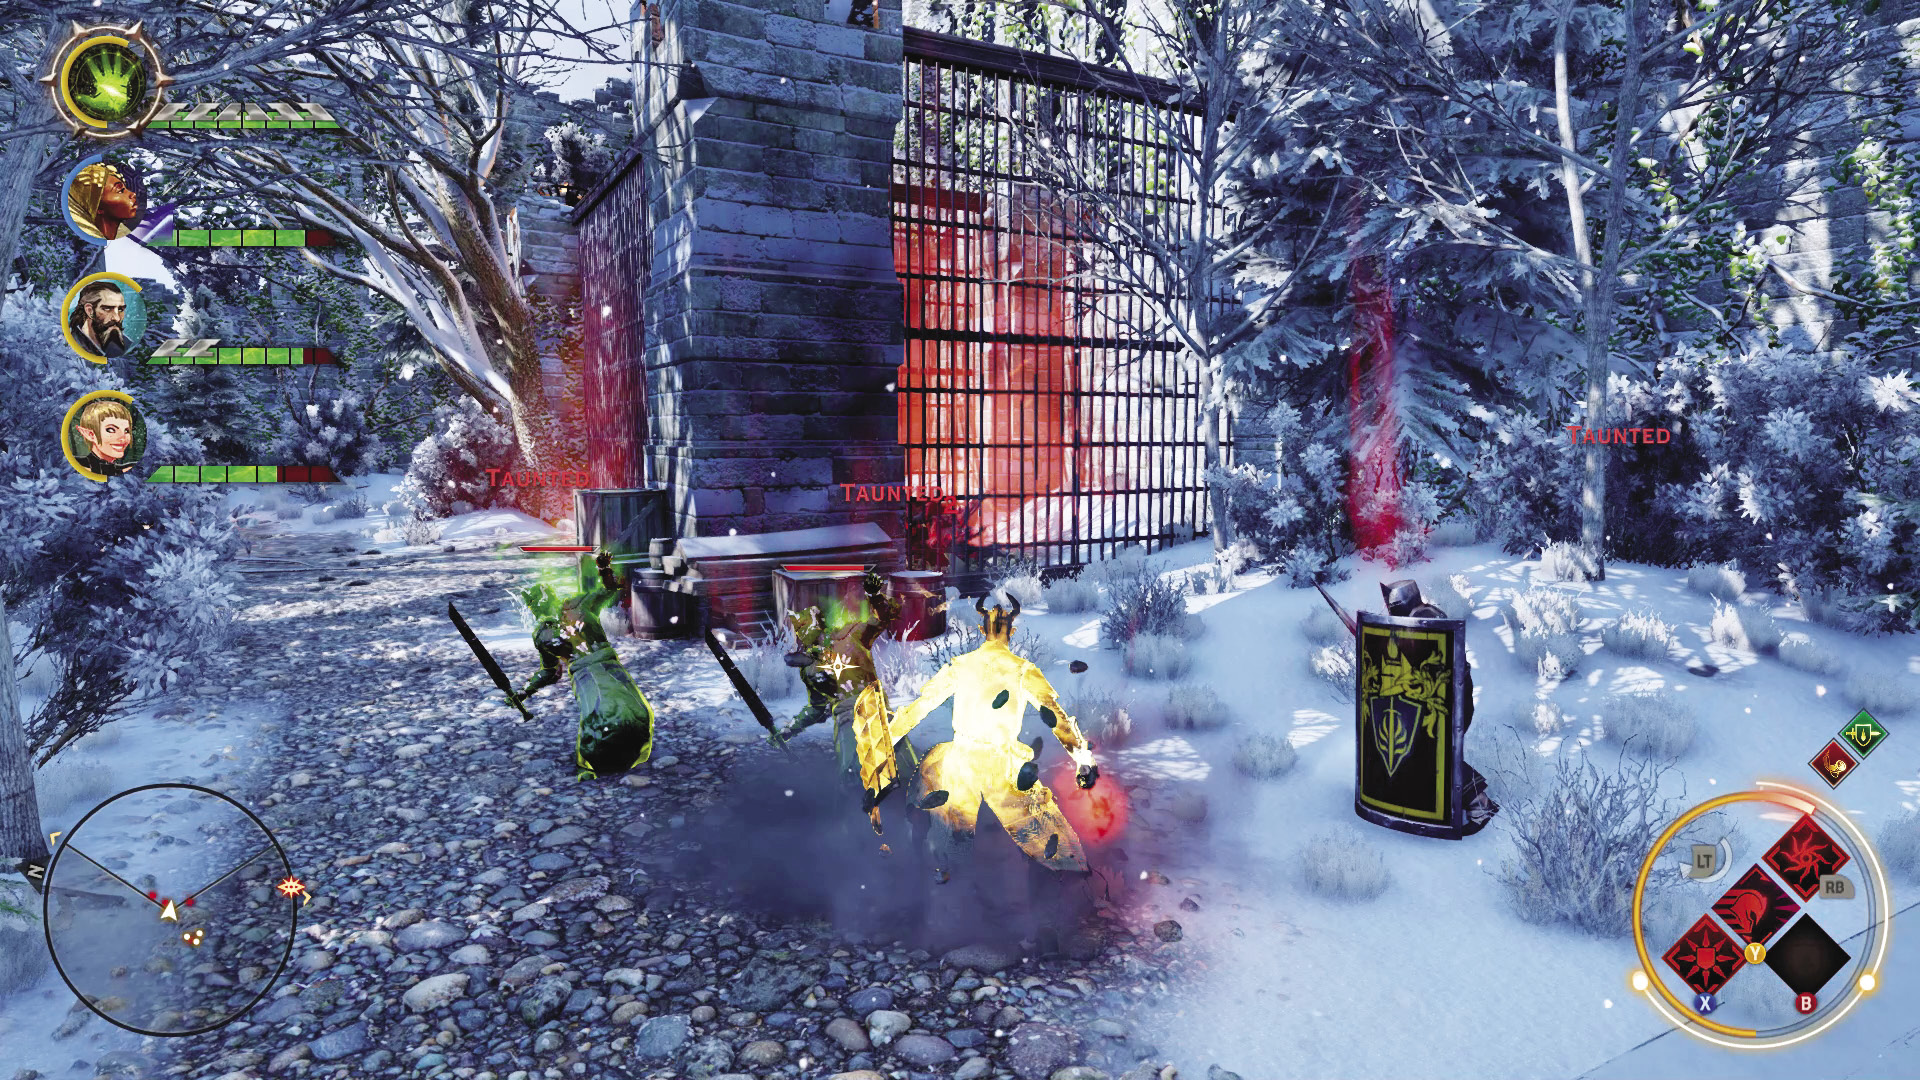
From the cages, keep winding south, batting aside any hostile groups as you meet them. Watch for your mini-map to start pinging. There’s a bottle of Thedas, Abyssal Peach, hanging out on a wall in the snowy forest section. Reaching it takes some clever scaling of the nearby terrain.
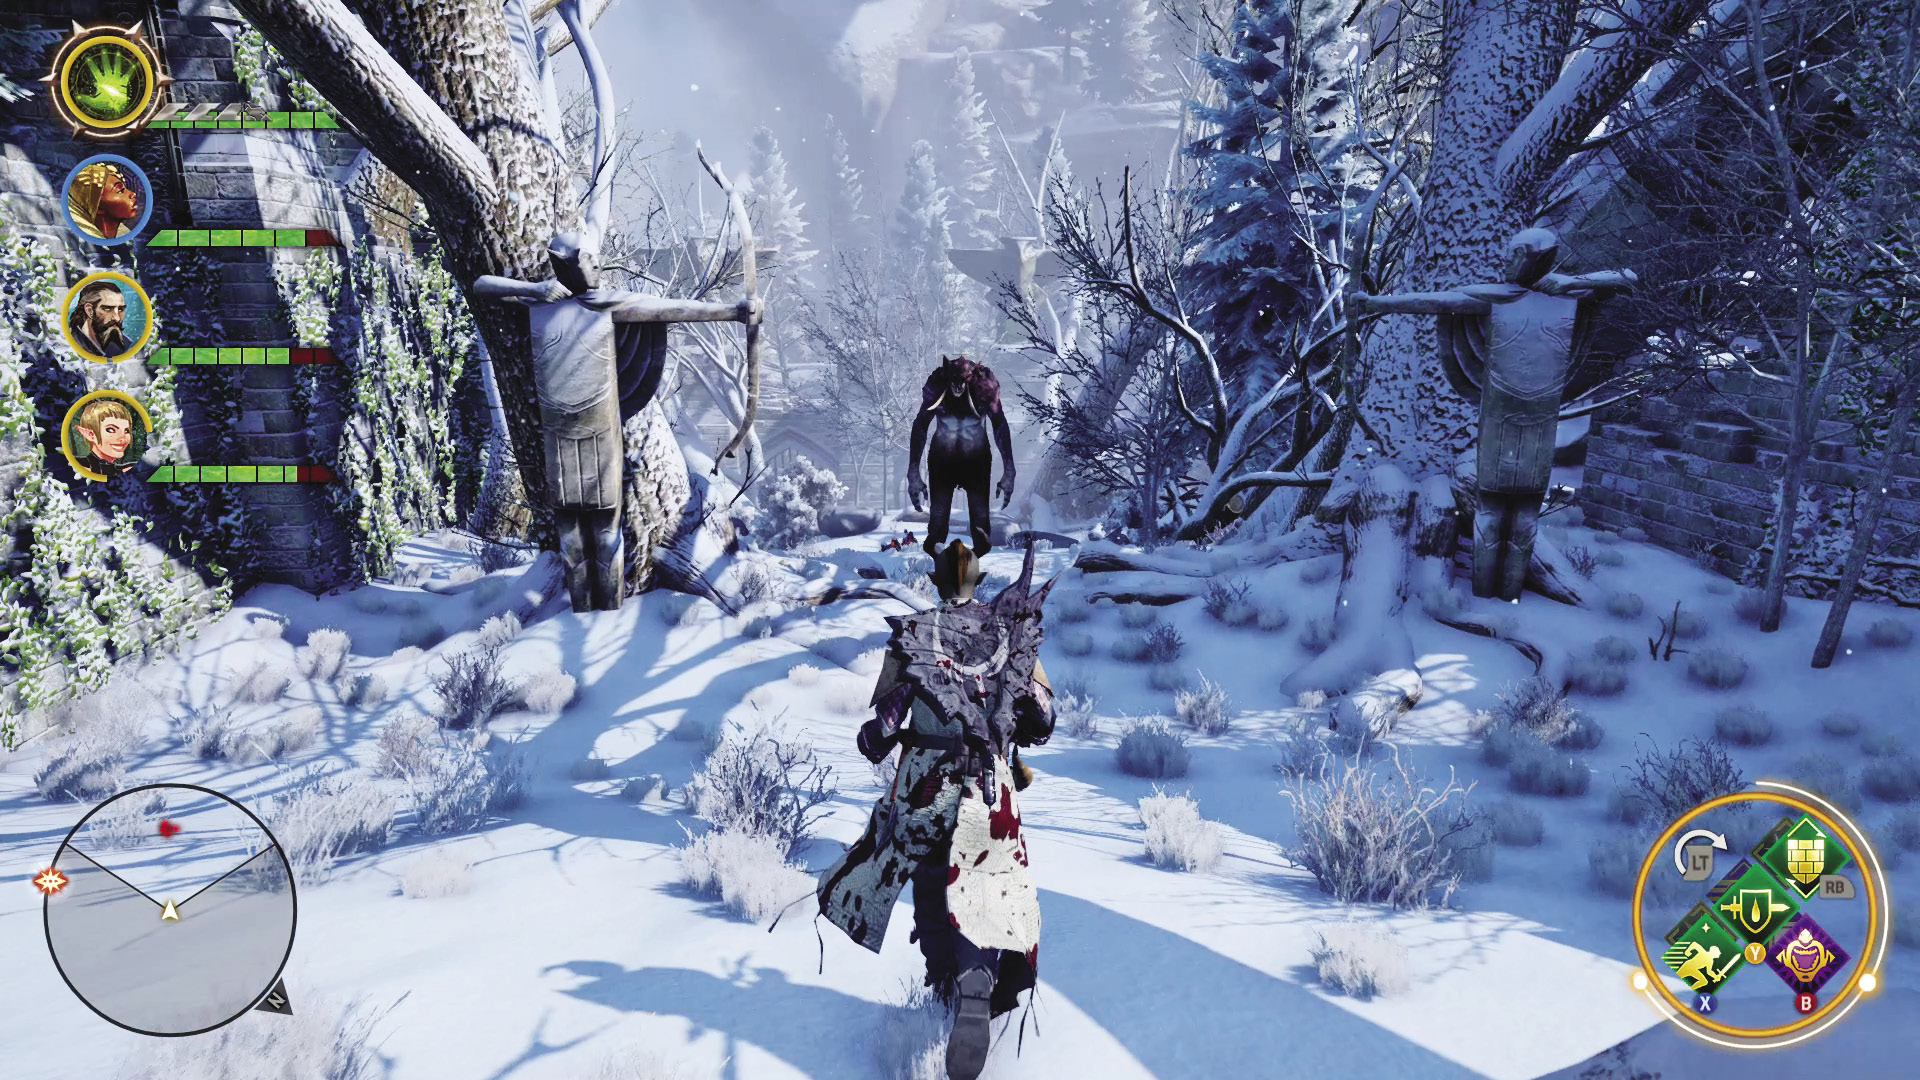
Not far from the bottle is a large contingent of red templars/mages protecting a gap in the walls of the keep. Inside is an infected giant, much stronger than the ones found in Emerald Graves thanks to red lyrium experimentation. Try not to take all of these enemies on at once, if you can help it. Go for the standard troops first, then eliminate the infected giant.
Before you enter the paddock the giant was in, take the time to explore the paths leading away from its cage. You can find some extra loot in the side areas, and an alternative route that will take you closer to the heart of the keep. Or, you can skip that and keep following the stairs inside the giant paddock upward.
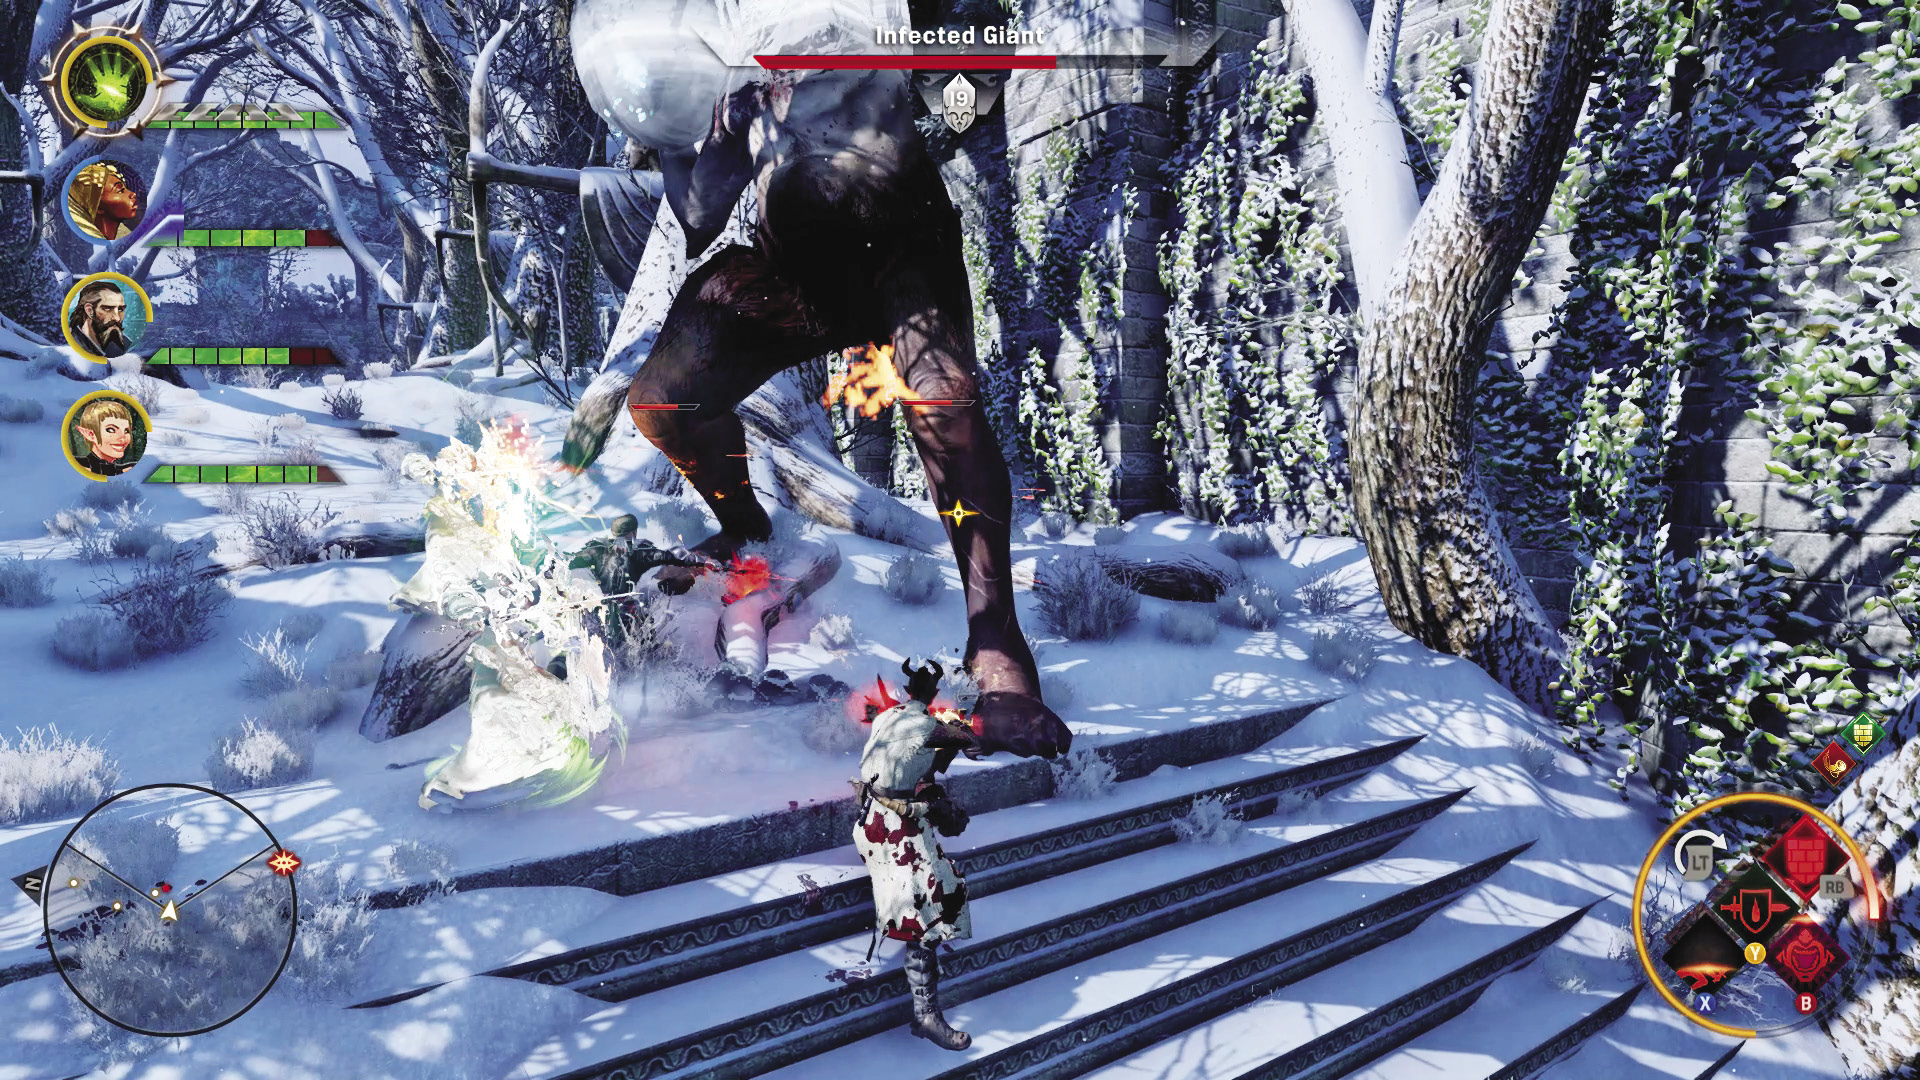
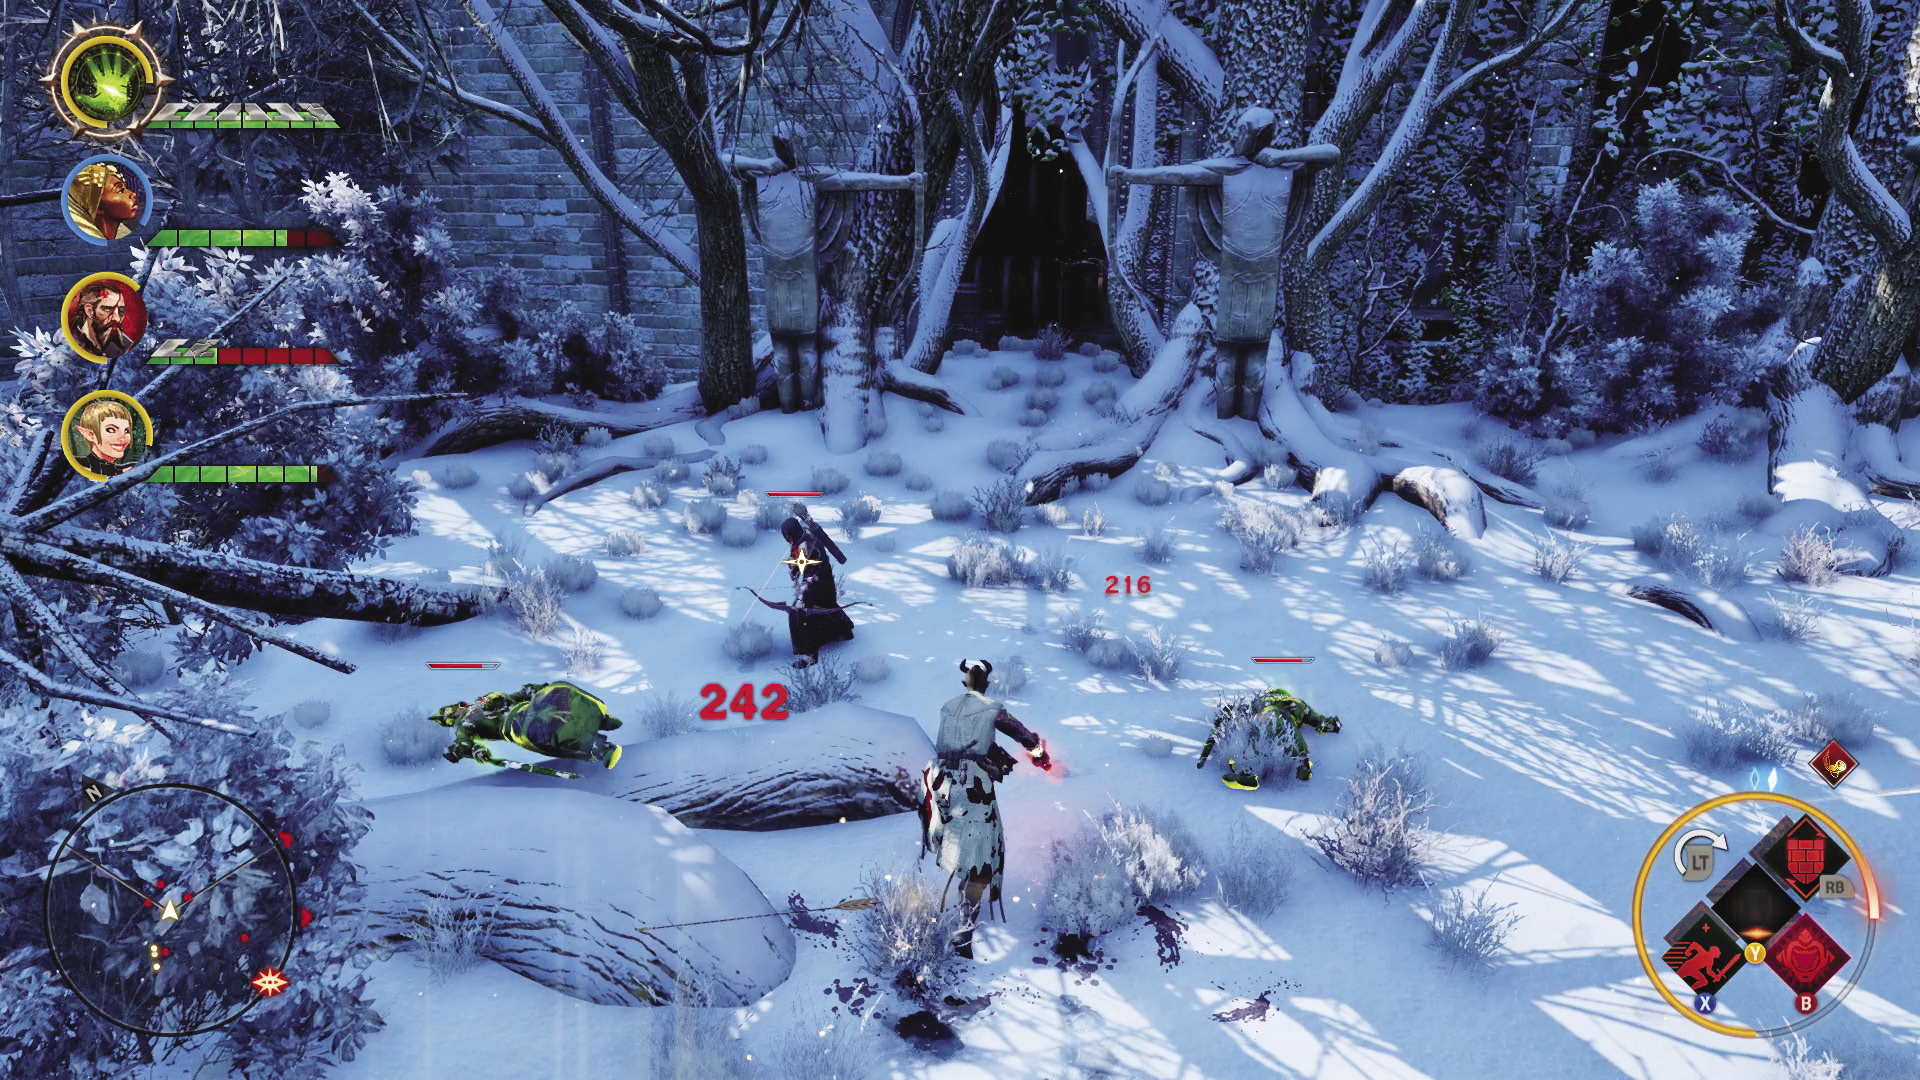
After several sets of stairs, there’s another clearing where hostiles are gathered. Take the next set of stairs behind those goons to the south and pass through the doors. You arrive in another large courtyard with yet another group of enemies lying in wait.
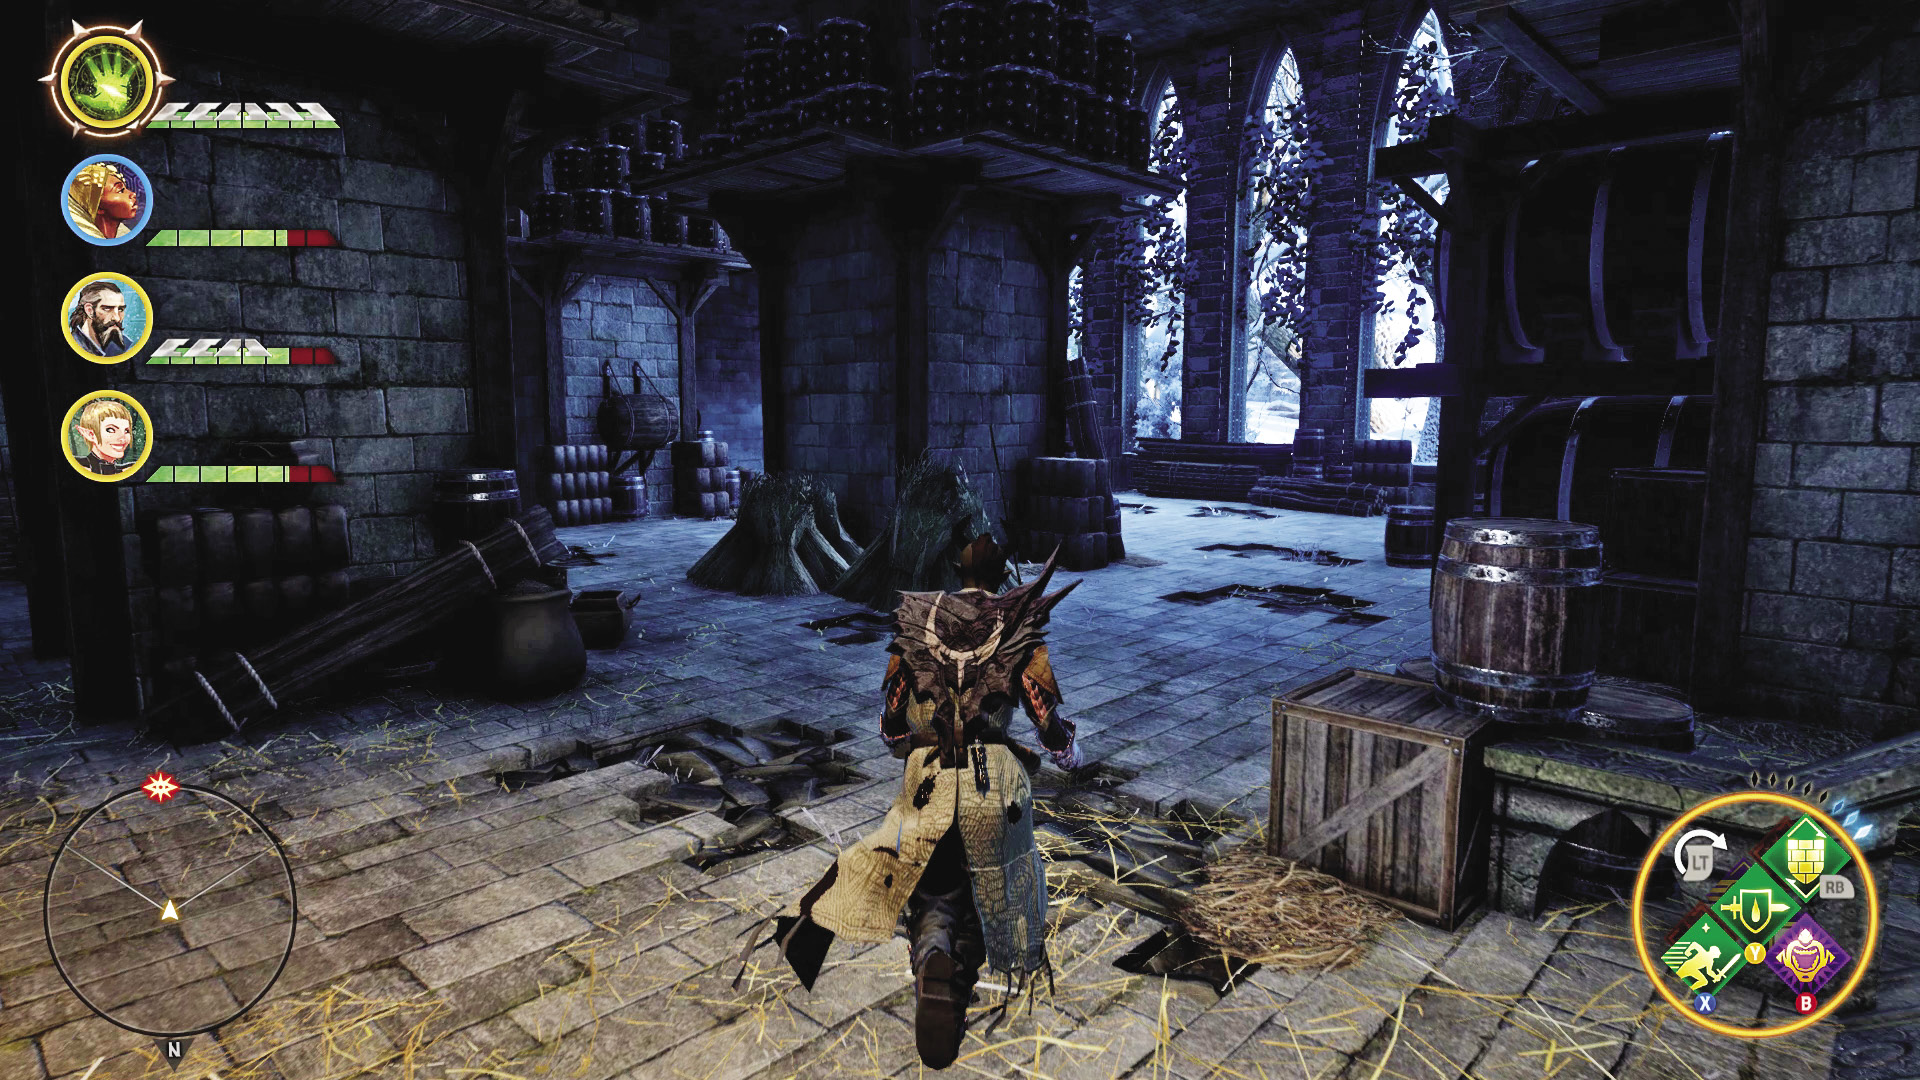
If you’ve not strayed from your route, you will eventually encounter a potion supply cache. Take this time to save and take a breather: You’re about to face Imshael, the demon that Michel de Chevin warned you about back in Sahrnia.
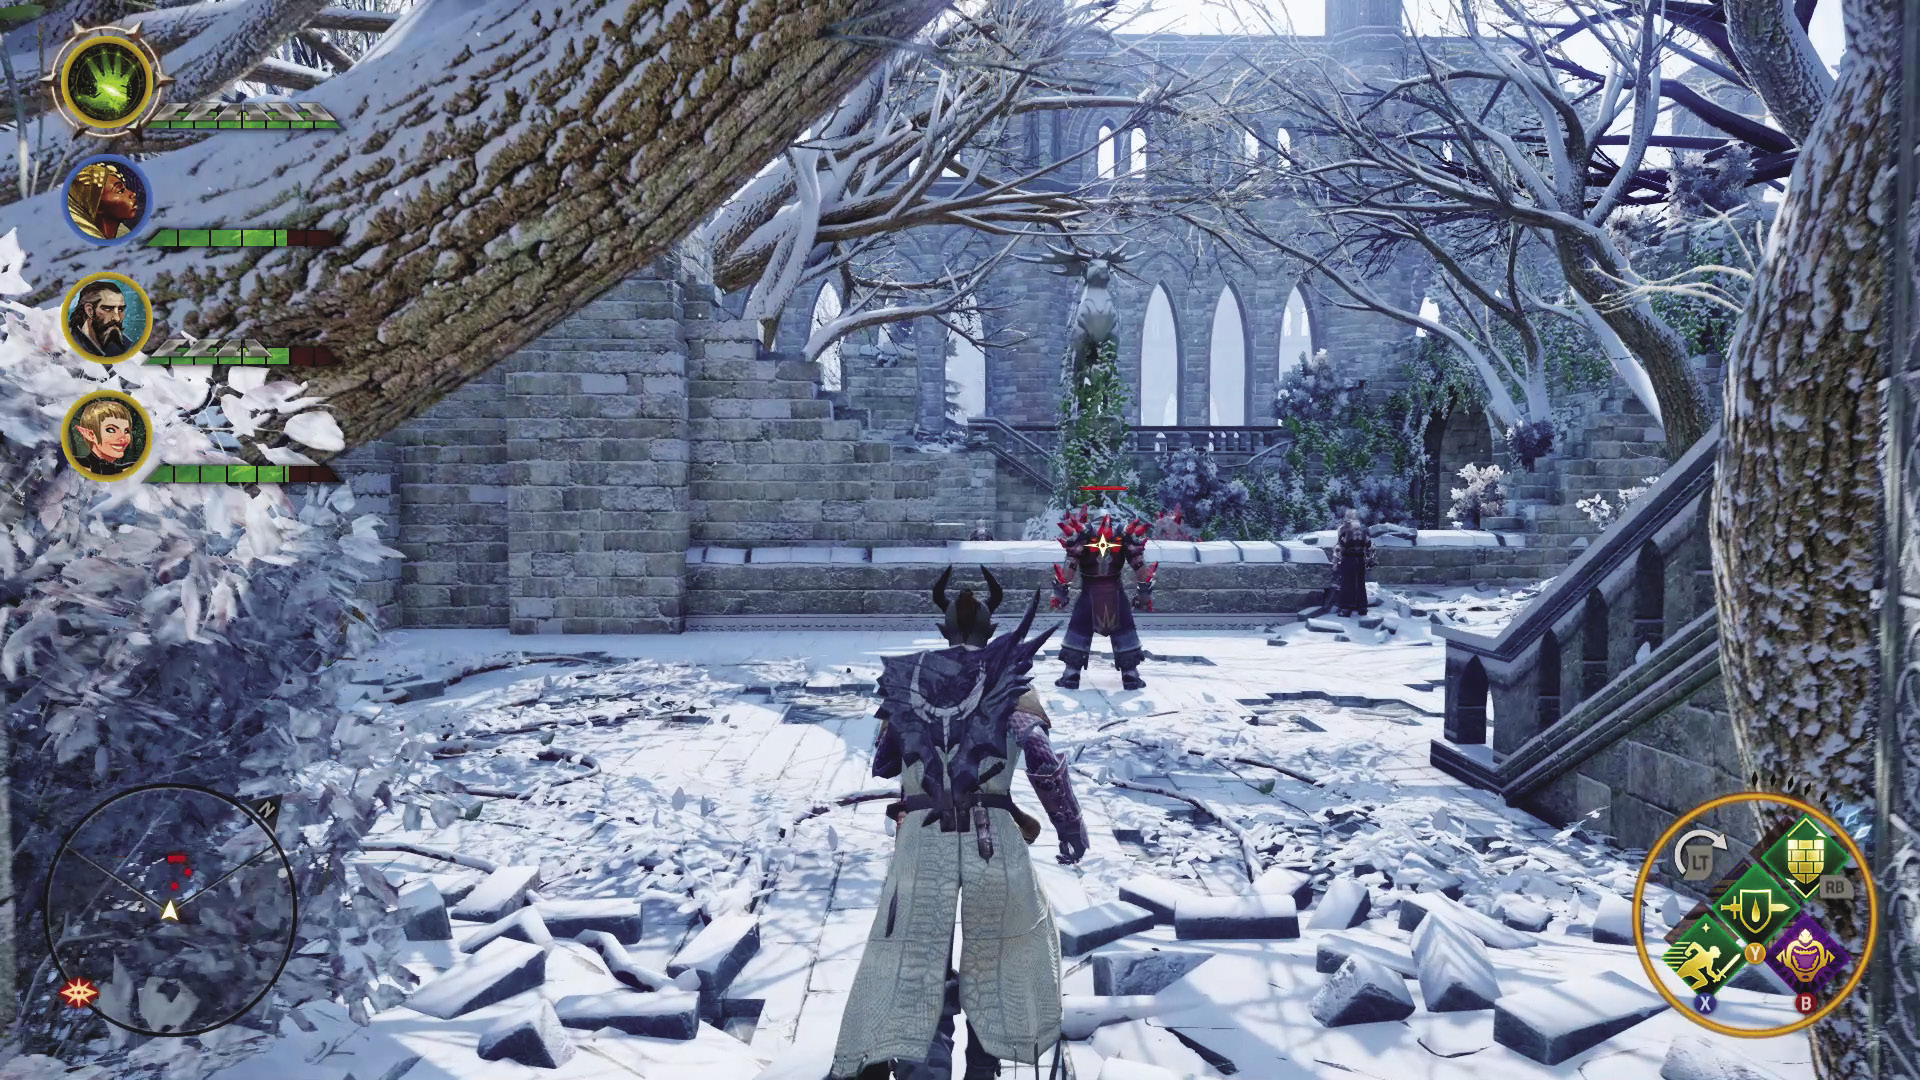
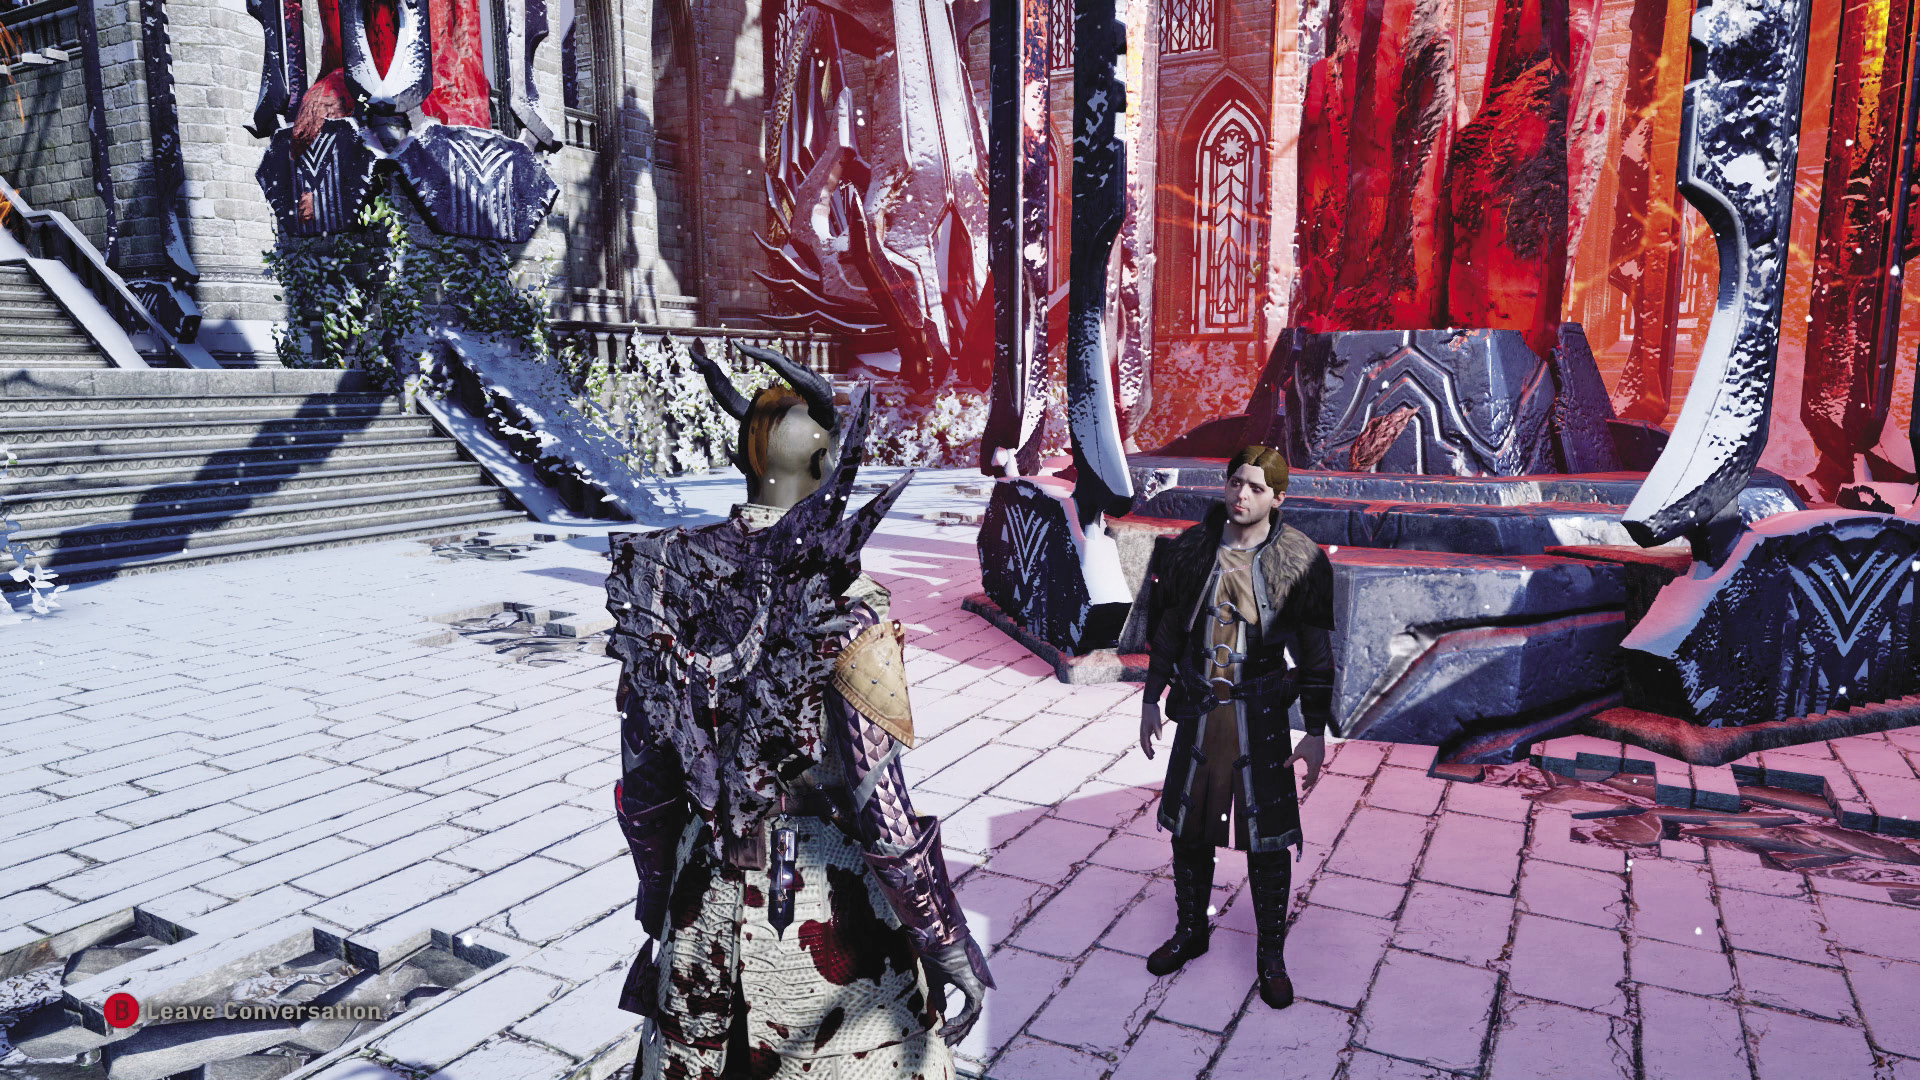
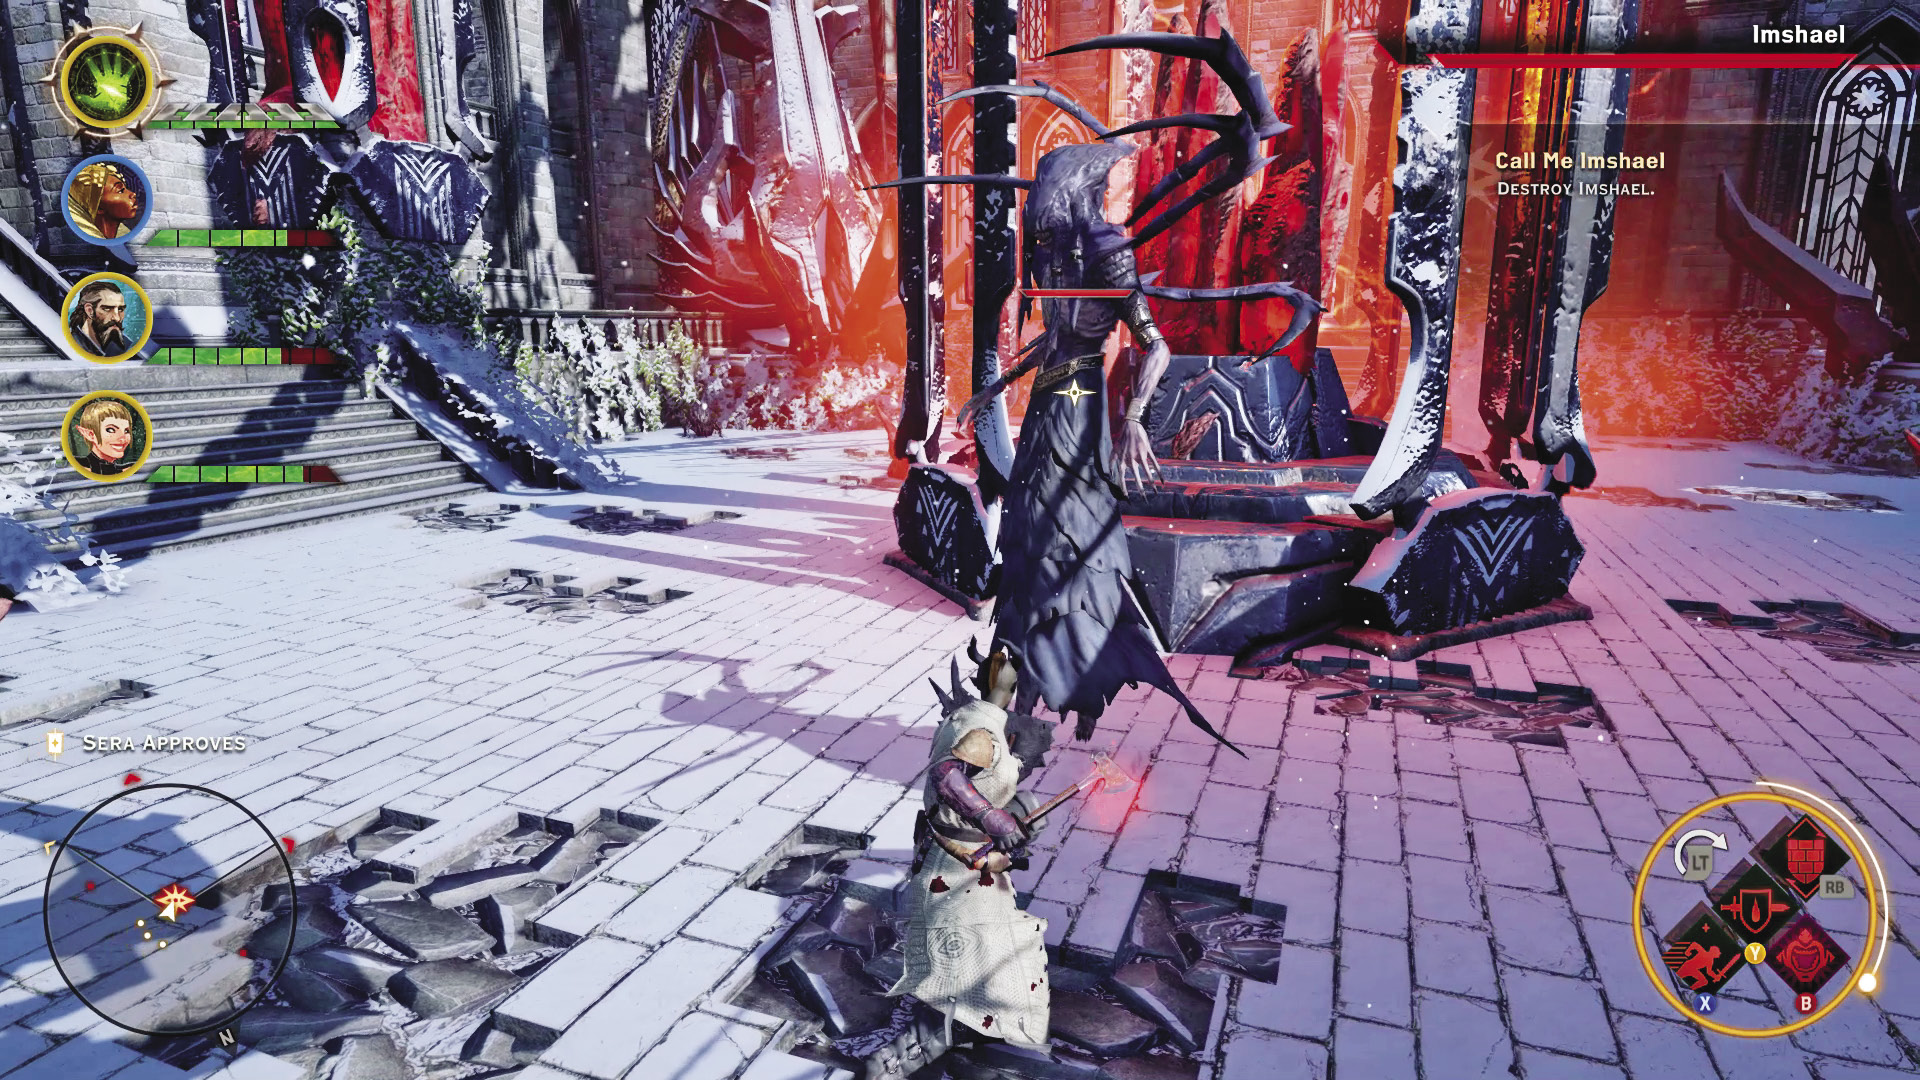
Imshael is a smooth talker. He attempts to negotiate with you with three offers: riches, power, or virgins. You can also end the conversation early by attacking him outright, before he even provides the options!
If you ask for virgins, Imshael complains that he can’t find any. Lazy demon. If you ask for riches, he will bestow upon you expensive valuables that you can sell for a tidy profit. If you seek power, Imshael grants you an amulet of power, pure spirit essence, and a unique warrior shield: the March of the Everlasting. However, accepting this deal has consequences. Imshael runs free, and as he leaves Emprise du Lion, he will murder Ser Michel, making it impossible to recruit the brave soldier into the Inquisition.
When the fight begins, Imshael shifts into a demonic form, summoning fearlings and the assistance of nearby red templars/mages. As Imshael grows weaker, he will shift into different forms, such as that of a rage demon and finally a pride demon. While he’s got a lot of health, and he starts with assistance, once you’ve got him alone, it’s only a matter of time for a well-equipped party to put him down.
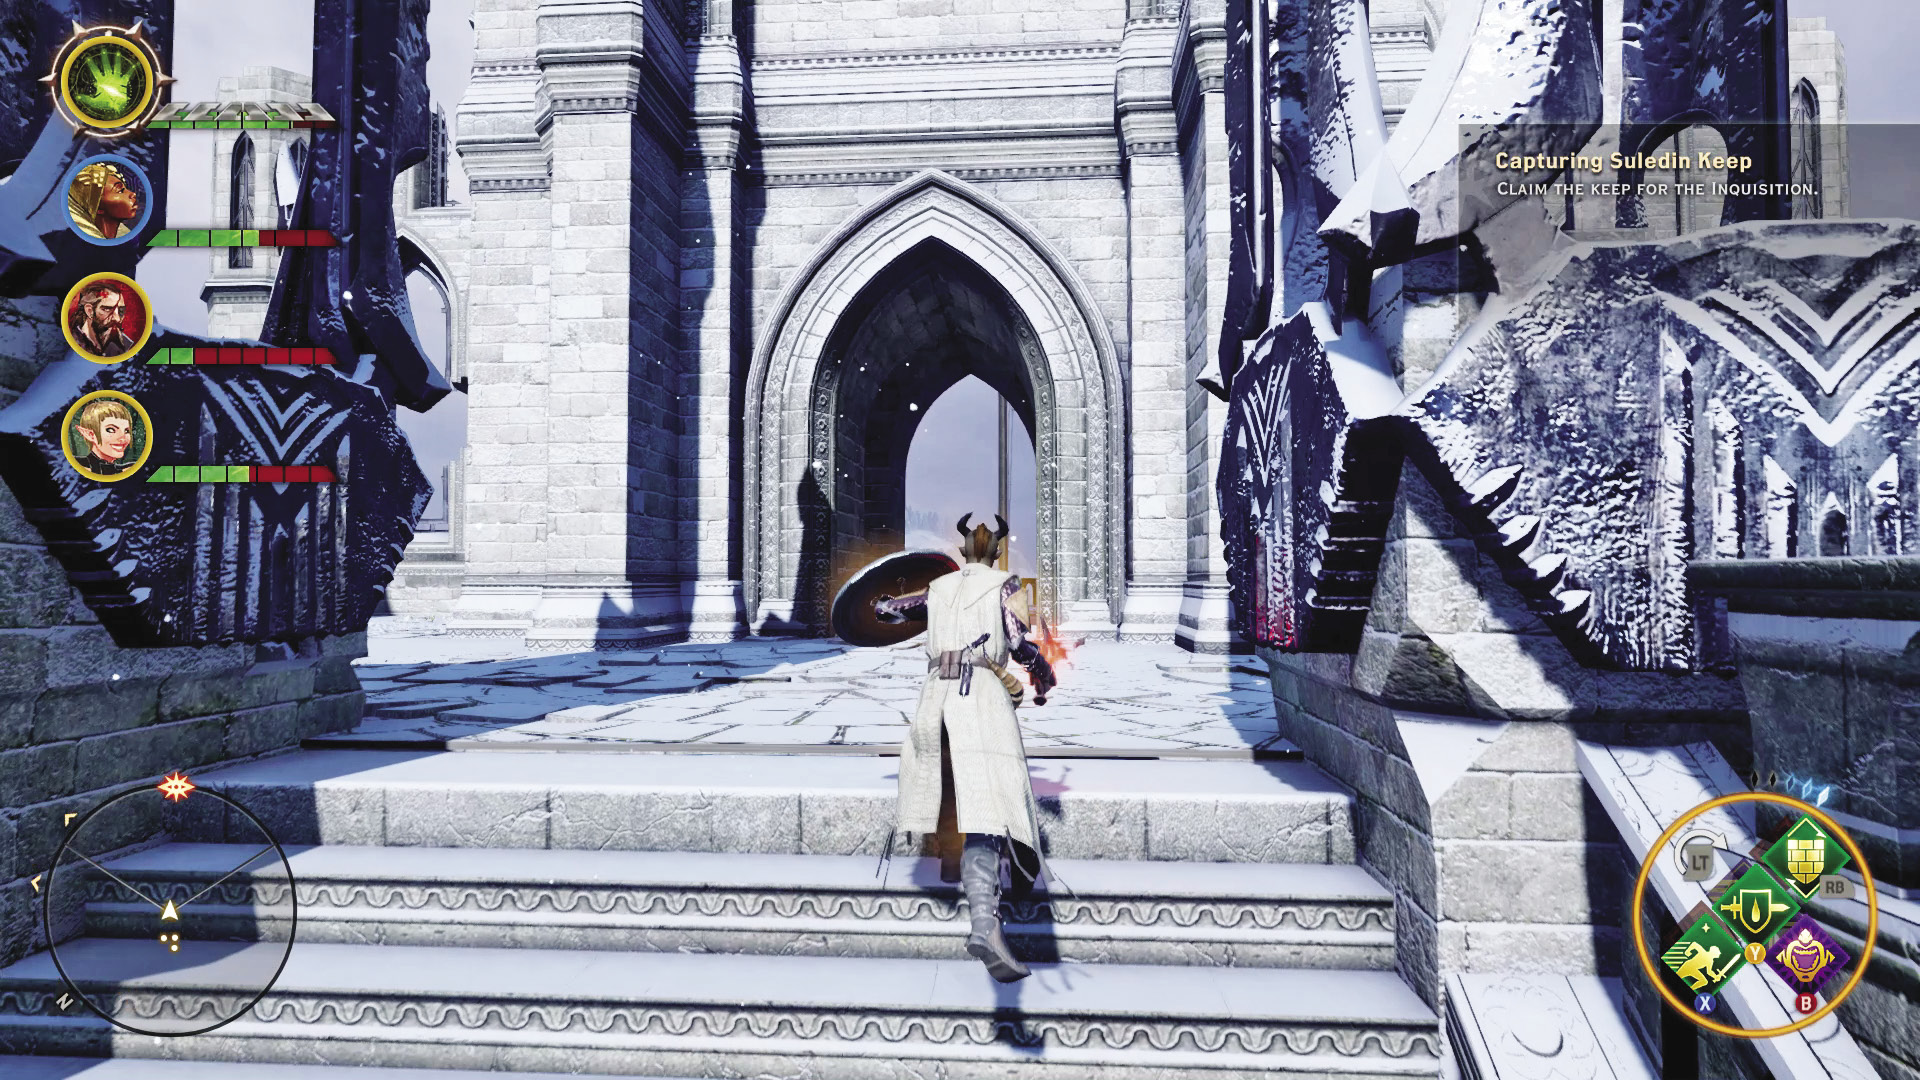
After killing Imshael, you are able to get through a magic barrier that had prevented you from claiming the keep. At the top of the final stairwell, a dying soldier greets you. If you speak to him in his final moments, you can learn more about the true madness behind Imshael’s work with the red lyrium. Claim the keep for the inquisition to complete the quest complete.
8: Sifting Through the Rubble
Quest Giver: A note found in the ruins east of the Tower of Bone
Description: A fisherman was near Judicael’s Crossing when the red templars/mages brought the bridge down. He thought he saw something glimmering in the rubble but was too scared to investigate, worried the red templars/mages might spot him.
Requirements: Take Back the Lion completed
Reward: 331 XP, 150 Influence
Objectives:
 Find what was glimmering in the rubble.
To reach the treasure mentioned in the notes, you need to repair Judicael’s Crossing. Return to Skyhold and complete the war table mission to repair the bridge and open a new part of Emprise du Lion. There are complications, however. Corypheus’s forces have made the place unsafe to travel through. More worrying are the high dragons spotted flying over the Tevinter ruins.
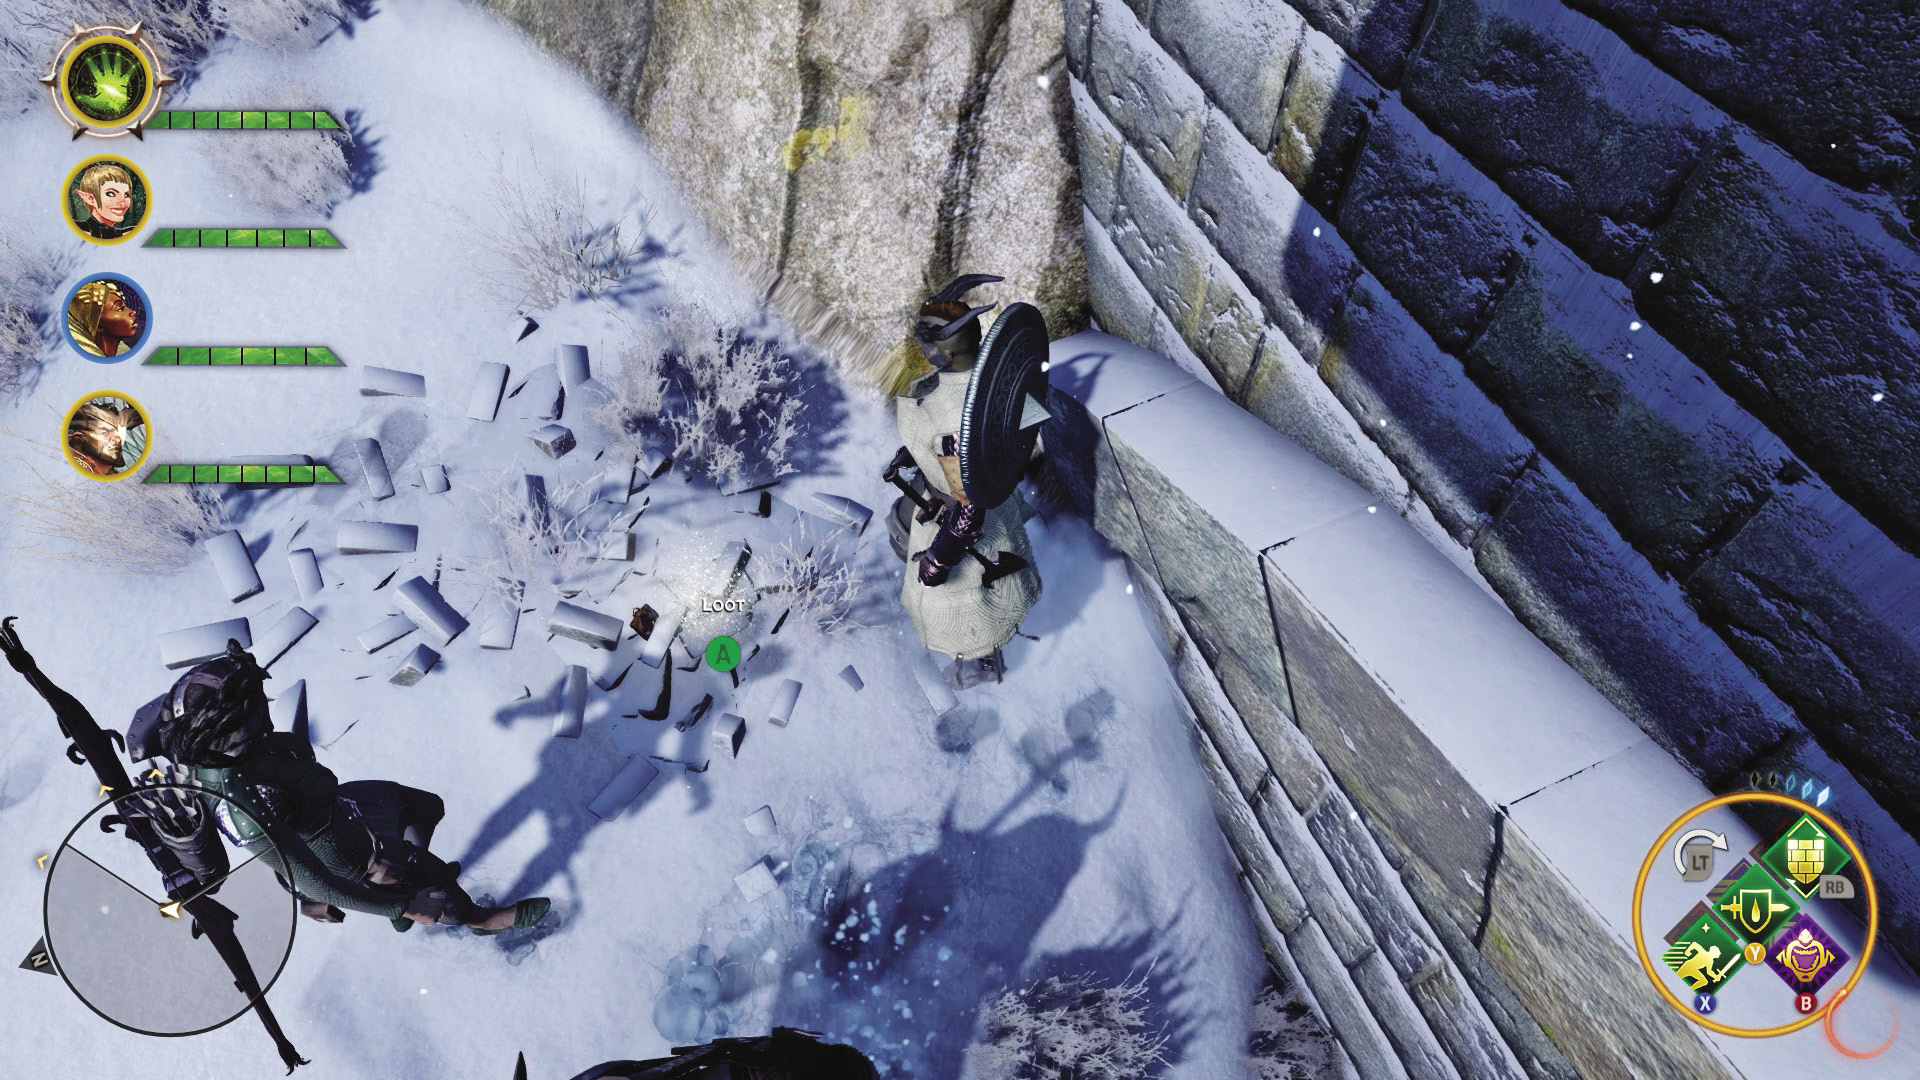
Fortunately, you don’t have to go dragon hunting just yet. Once the bridge is repaired, make your way across, then investigate the ground on the north side of the bridge, specifically a small pile of bricks in the snow. Take what you find in the rubble to complete the quest.
9: Turning the Tables
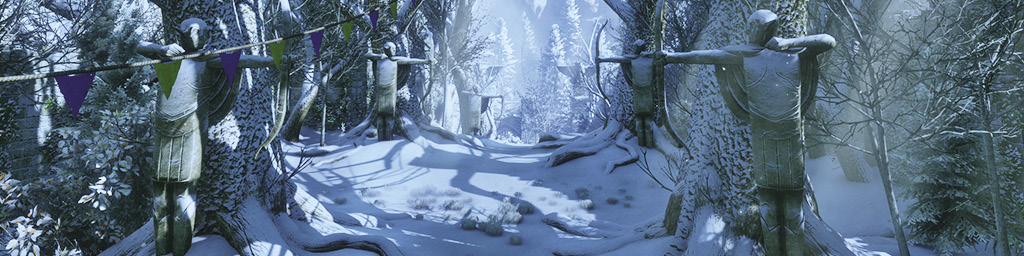
Quest Giver: Diary found in the ruins east of the Tower of Bone
Description: A note at an abandoned camp, left by a huntress, suggests she is being tracked by a former lover and intends to turn the tables on him.
Requirements: Reach the note after claiming the Tower of Bone.
Reward: 331 XP, 150 Influence
Objectives:
 Learn her next move.
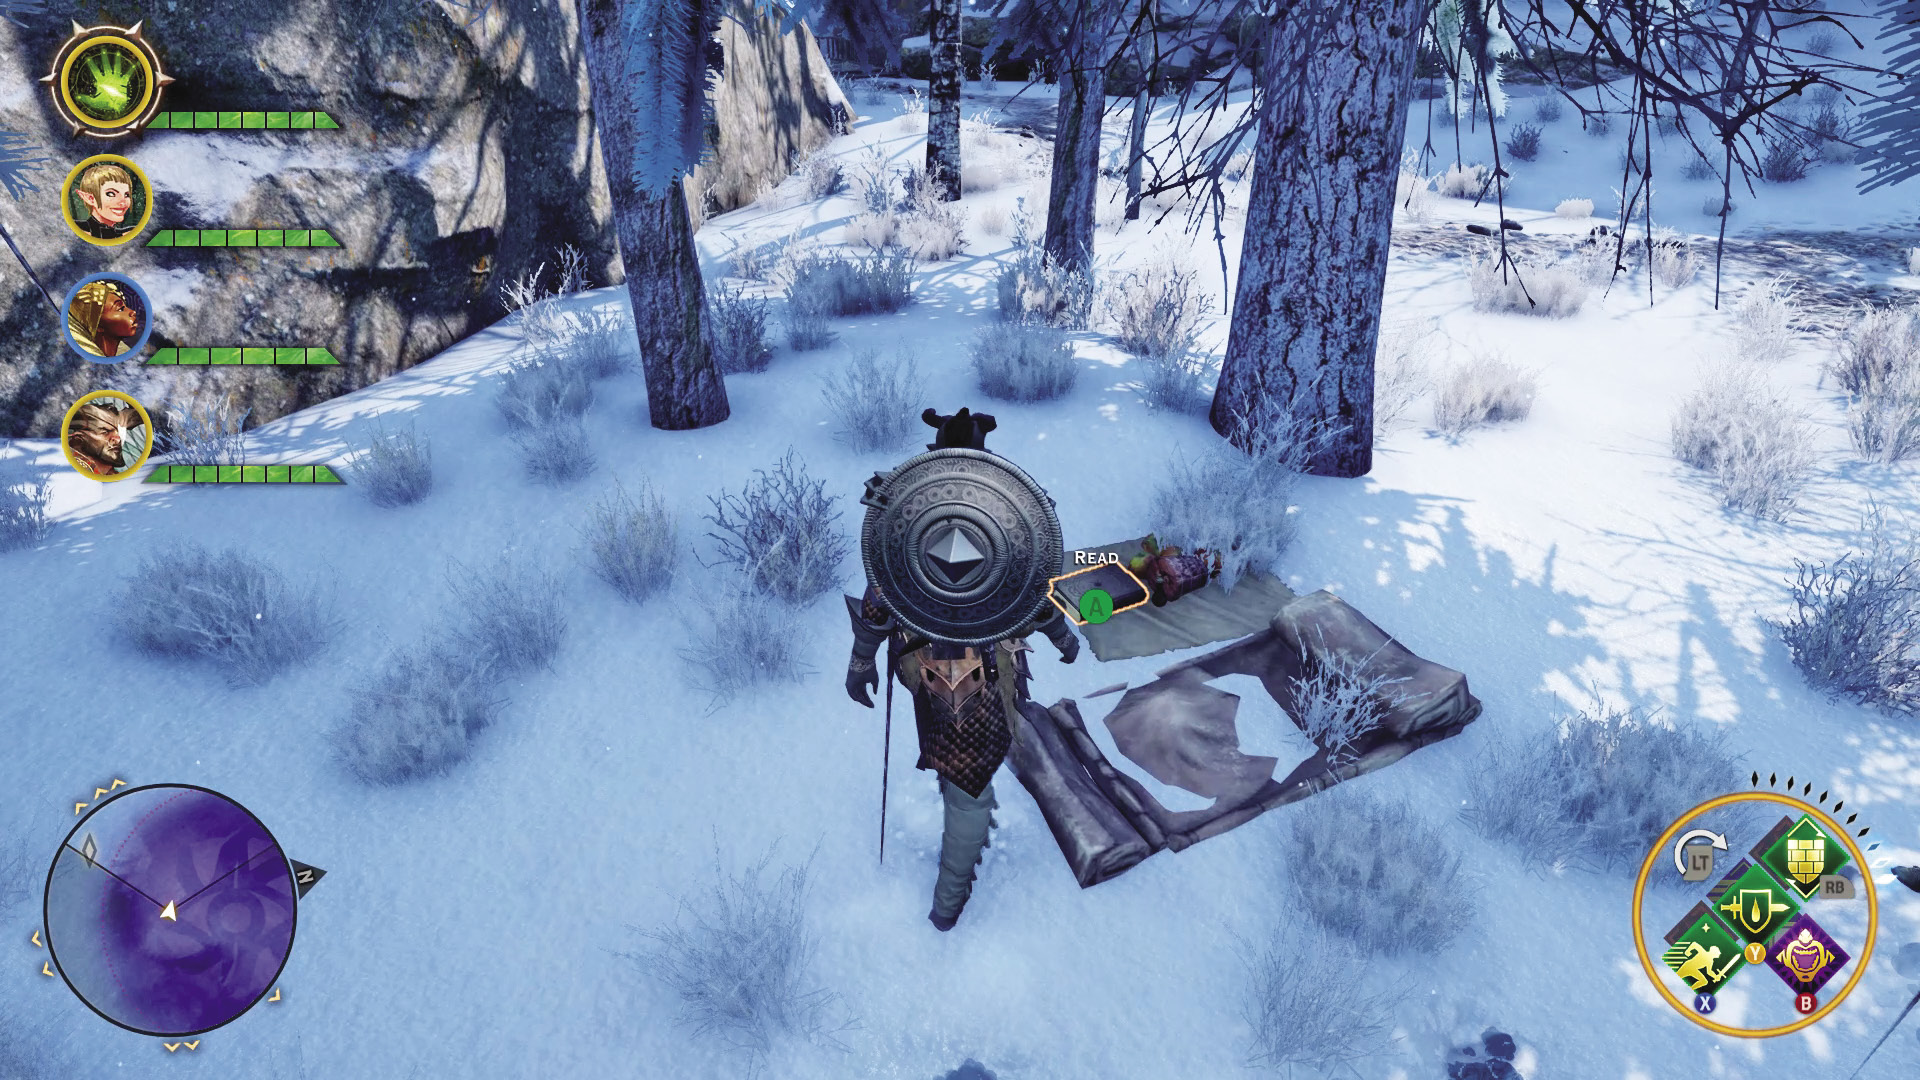
The huntress that was being stalked made camp within the Sahrnia Quarry region, hidden among the trees. Recover her journal at this camp to complete the quest.
10: Rocky Rescue
Quest Giver: Papers found at the Tower of Bone
Description: Mistress Poulin said the red templars/mages “took workers” from the town. They may be held captive somewhere in the quarry.
Requirements: Complete Take Back the Lion.
Reward: 1,324 XP, 600 Influence, 2 Power
Objectives:
 Search the quarry.
 Free seven villagers.
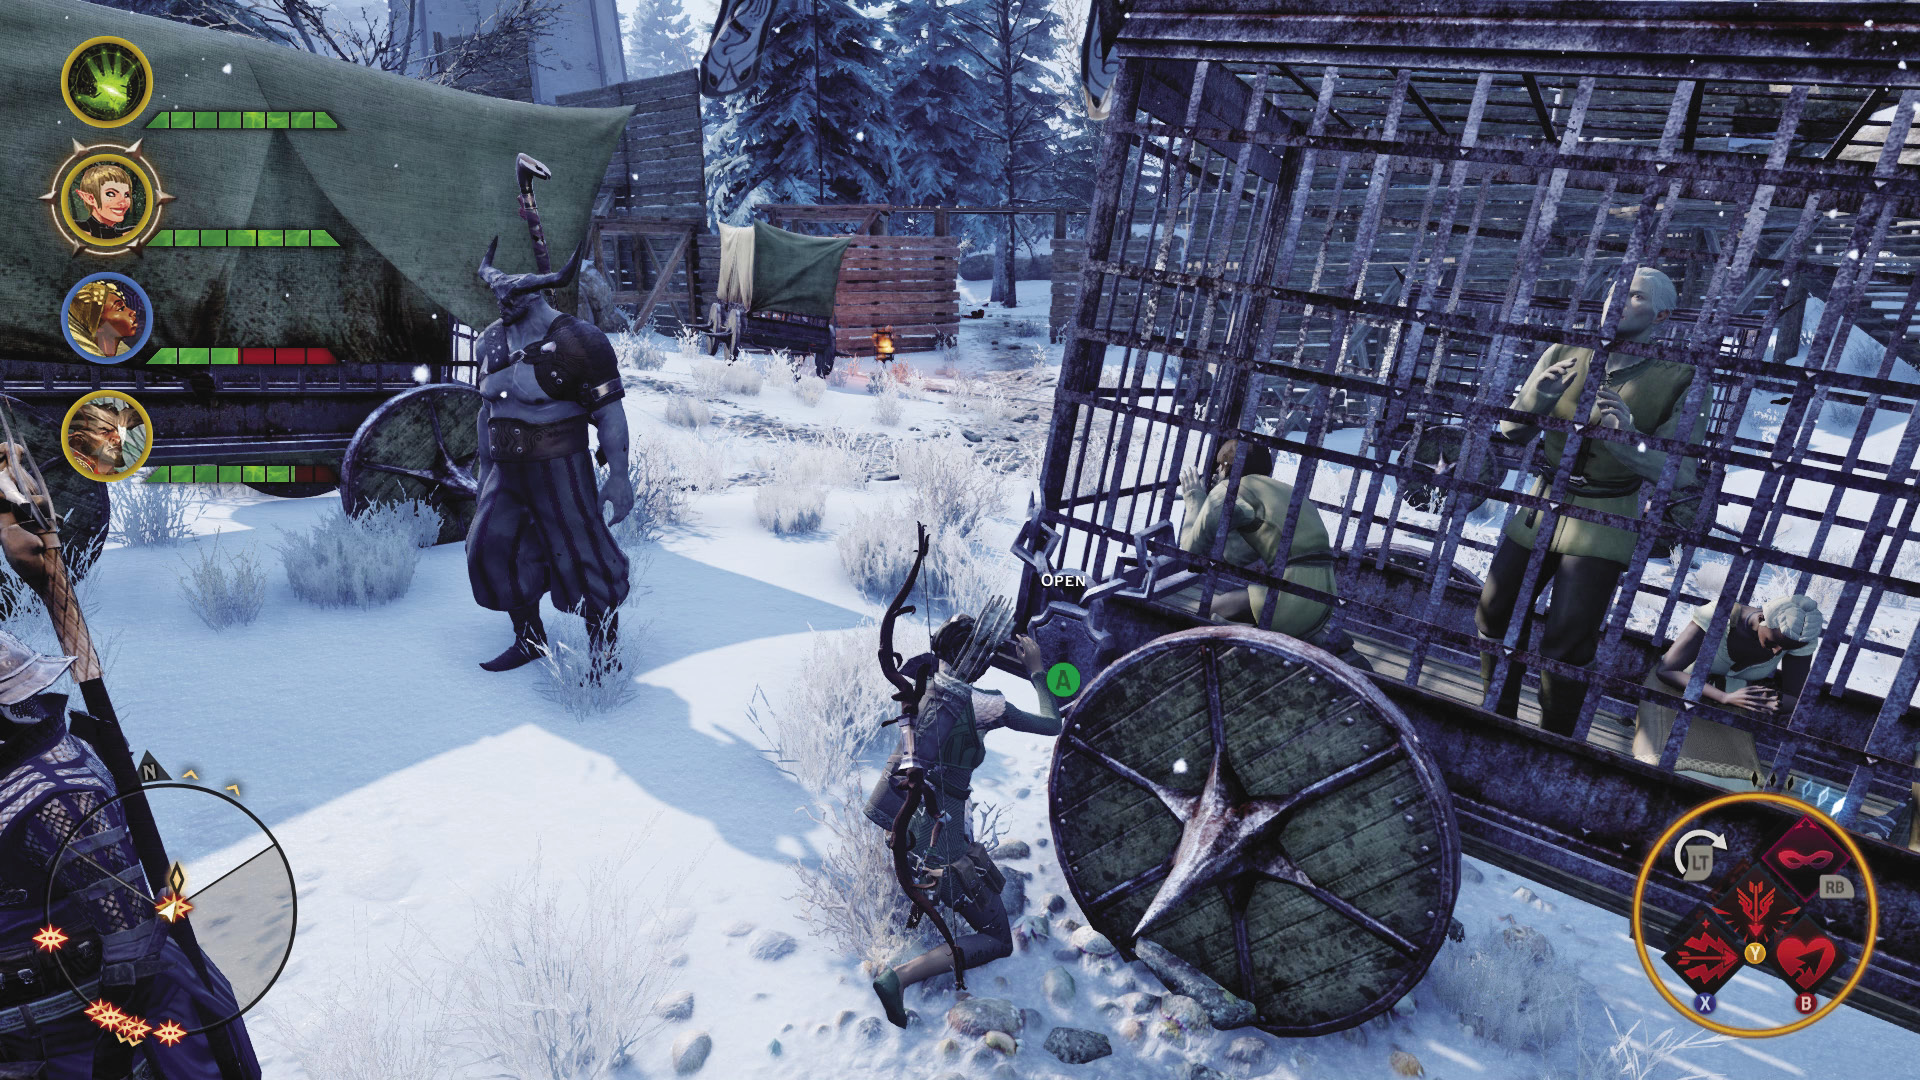
Rescuing the villagers is a simple matter of finding their cages and unlocking them. However, Corypheus’s troops will put up a terrible resistance to deny you this. Make sure you enter the quarry fully stocked on supplies, since you will you be encountering resistance every step of the way.
11: Red Captors
Quest Giver: Kill a red templar/mage lieutenant.
Description: The red templars/mages captured townspeople to mine the quarry in the heart of Emprise du Lion.
Requirements: Kill one of the designated enemy officers to start the quest.
Reward: 1,324 XP, 600 Influence, 2 Power
Objectives:
 Rid the quarry of five red templars/mages.
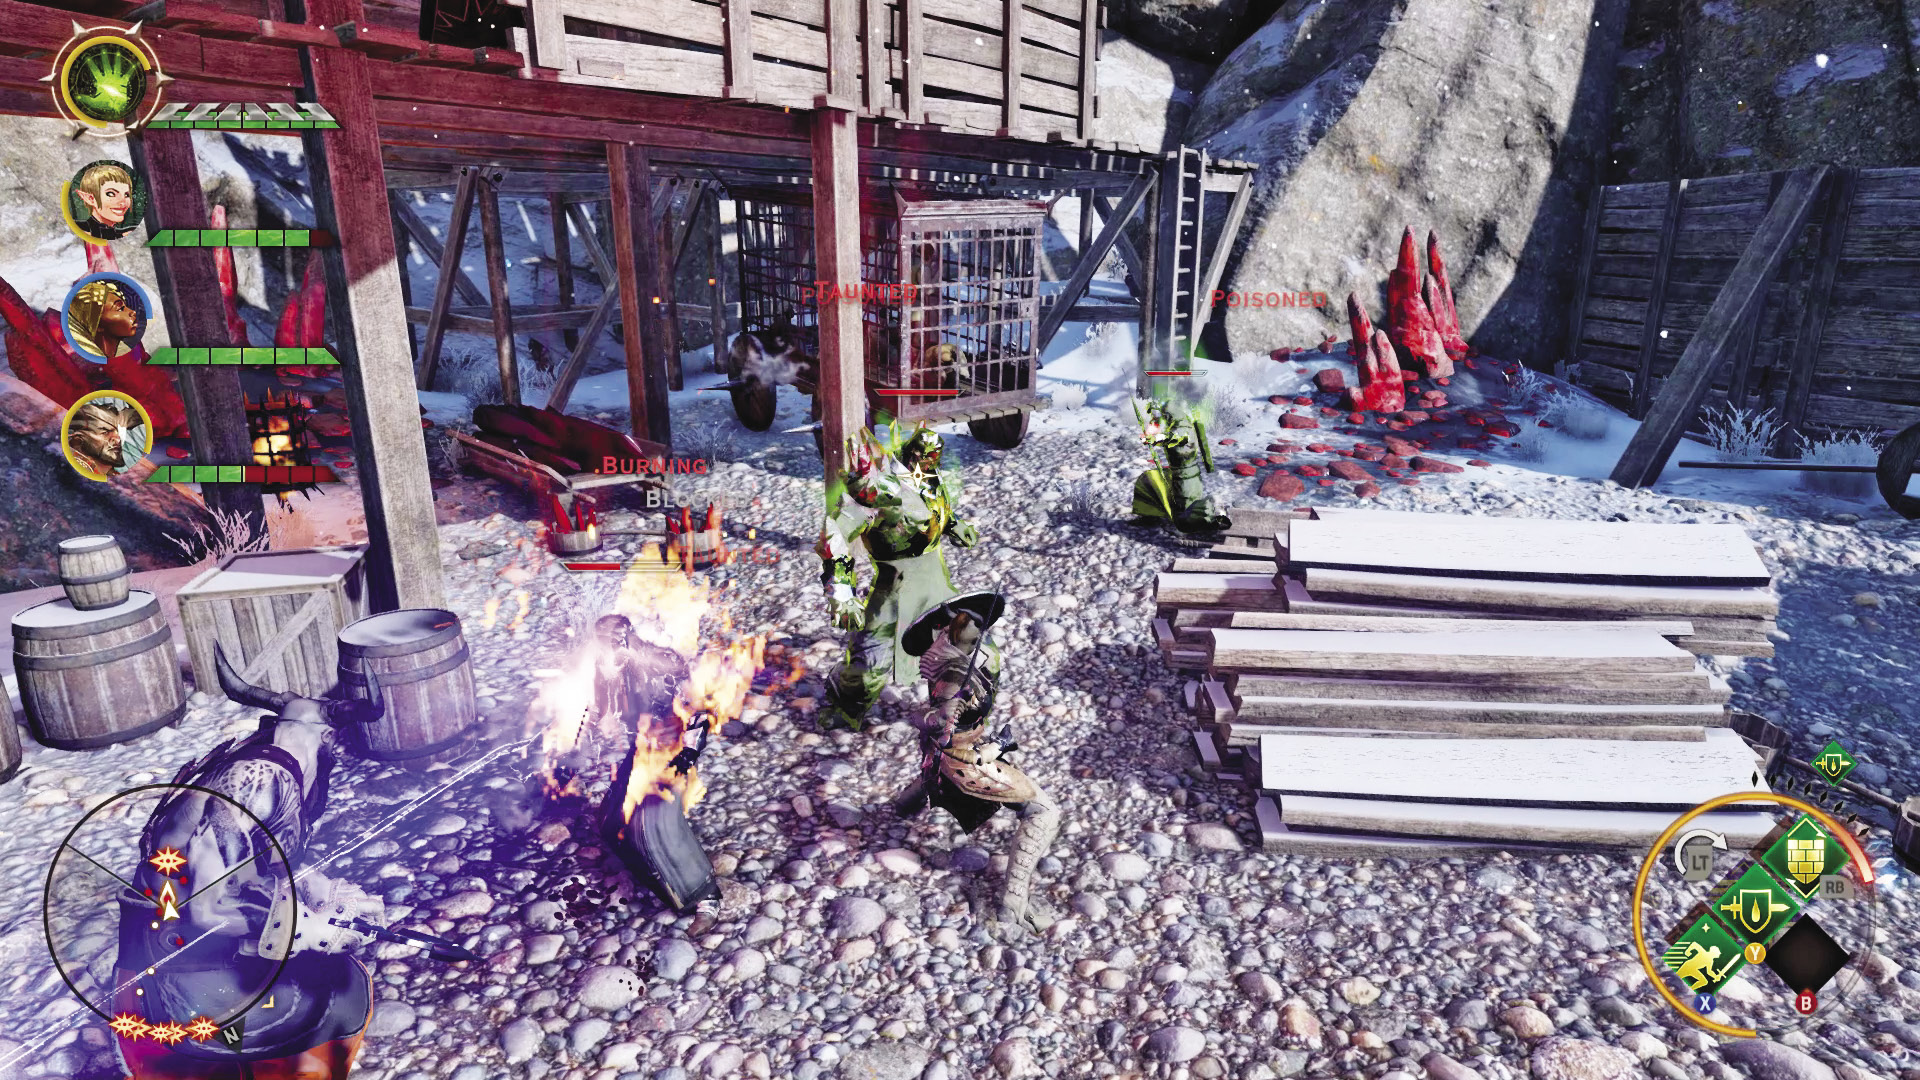
As you fight through the enemy forces guarding the quarry, you’ll encounter particularly aggressive commanders among their number. Killing one starts you on the quest to hunt down all five lieutenants running the show here at the quarry.
12: Caged Confession
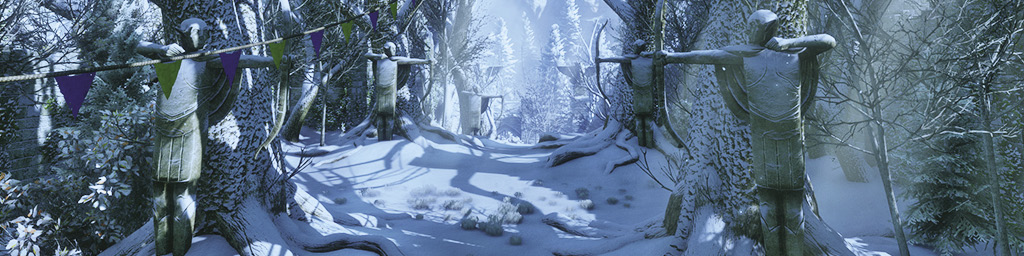
Quest Giver: A note found within the quarry
Description: After Louis was captured by the red templars/mages, he wrote a note confessing to the murder of his wife’s brother, Garde.
Requirements: Available at the start of Emprise du Lion
Reward: 331 XP, 150 Influence
Objectives:
 Return to Sahrnia with Louis’s note.
 Give the confession to Louis to keep his secret.
 Give the confession to Linette to reveal what really happened to her brother.
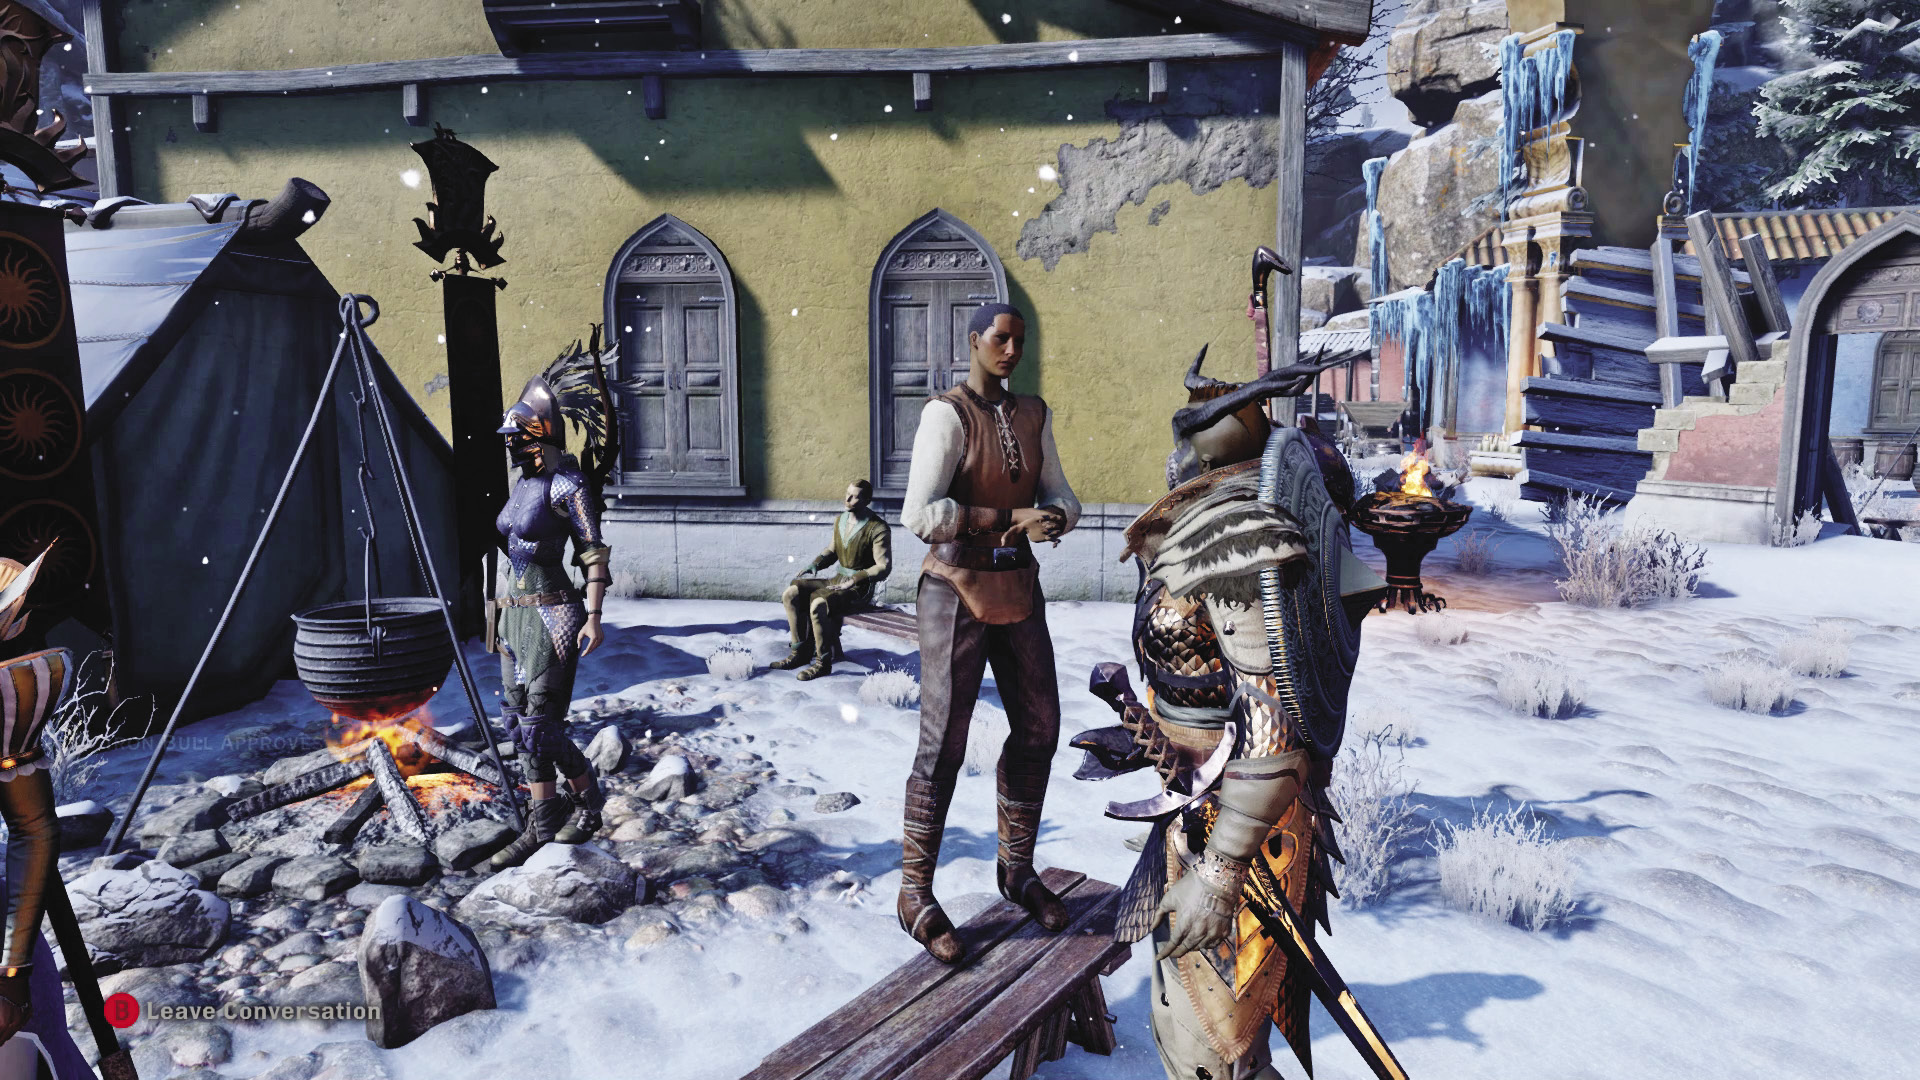
When you return to Sahrnia to deliver the letter, you discover that Louis, author of this note, is alive and well, living with his wife in the ruins of the town. Linette’s brother, Garde, has gone missing, and the letter Louis wrote contains the truth of his fate. She is unaware of this, and Louis would would prefer to keep it that way. You can either shatter her faith in Louis or allow the man to continue living his lie.
13: Words Not Hollow

Quest Giver: Dying woman in the Sahrnia quarry
Description: A woman, infected by red lyrium and unable to walk, has asked for a letter to her husband to be placed in a hollow tree by the river.
Requirements: Find the woman in Sahrnia Quarry.
Reward: 331 XP, 150 Influence
Objectives:
 Place the woman’s letter in the hollow of a marked tree by the river.
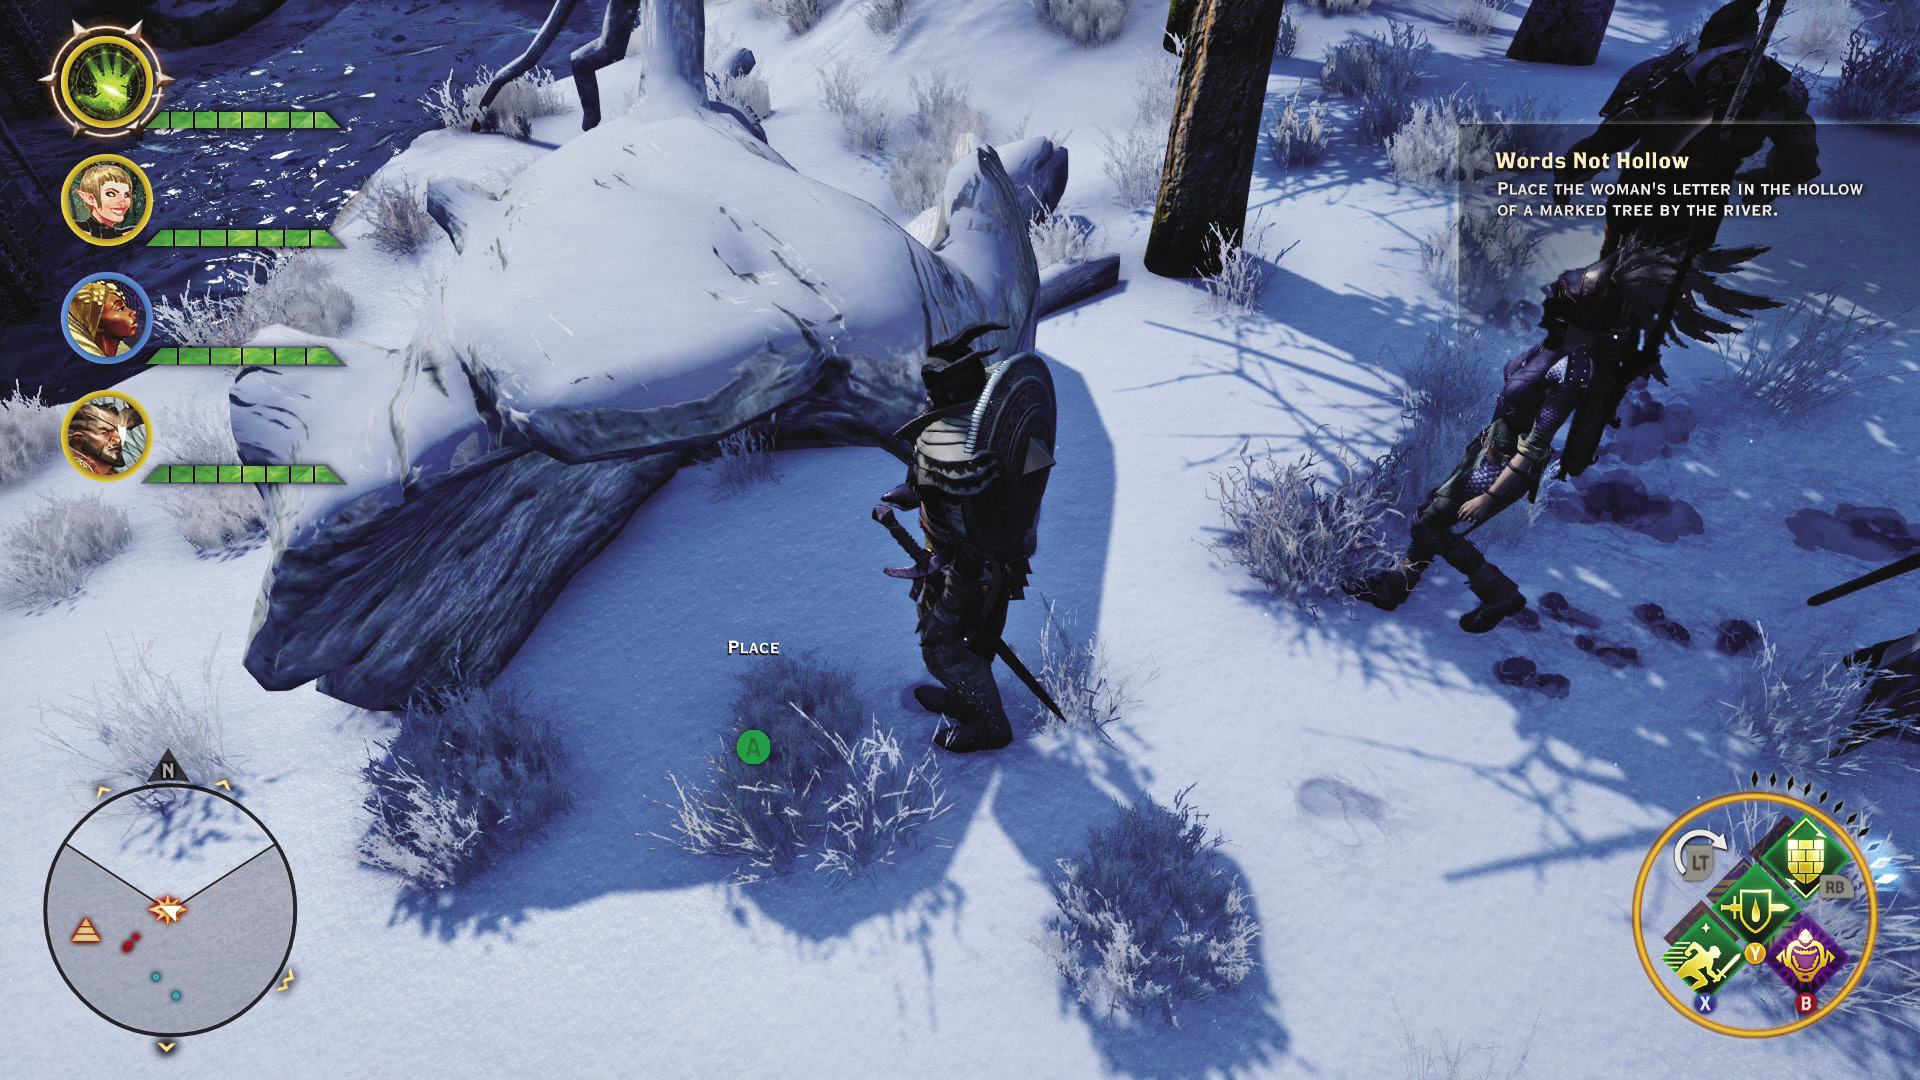
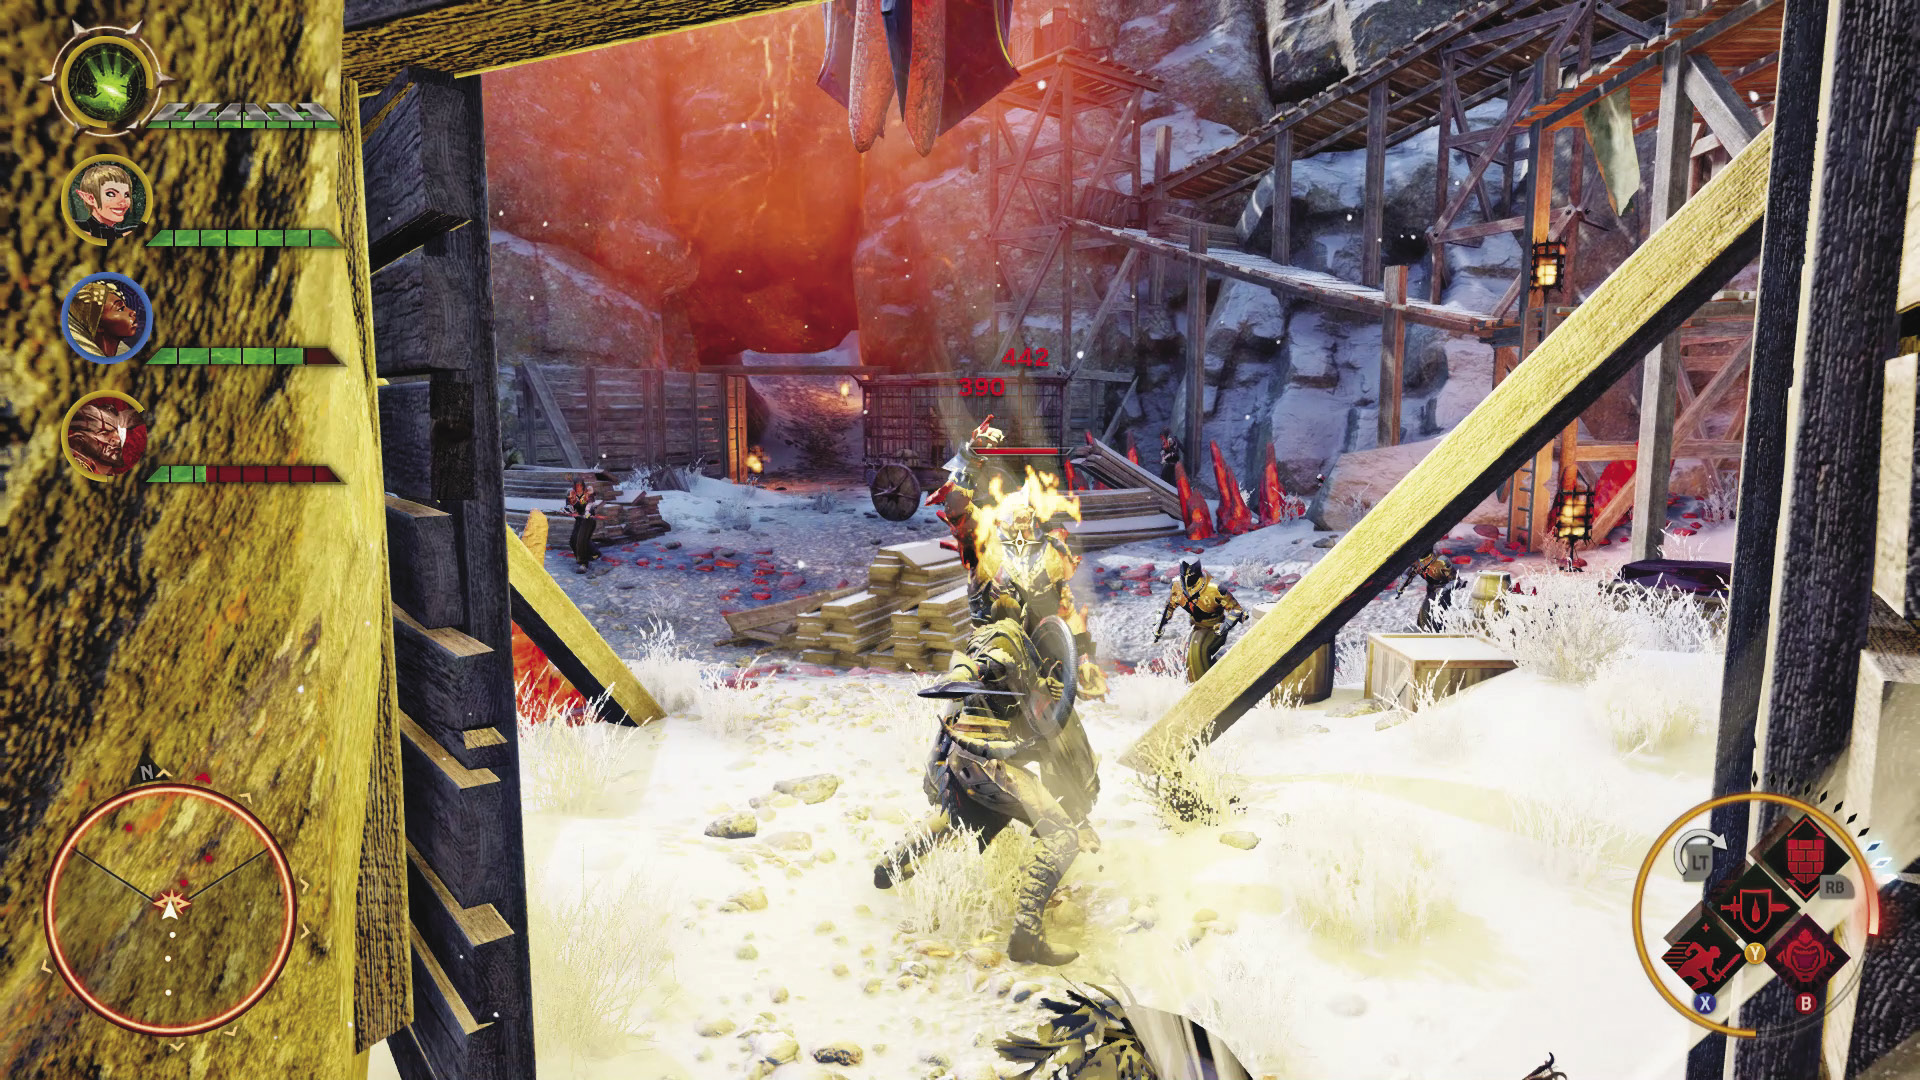
You find the dying woman next to one of the cages filled with prisoners. She wants you to deliver a letter to a spot indicated on your quest map, quite close to the town of Sahrnia. Compared to everything else you’ve done in Emprise du Lion, this is refreshingly simple.
14: Quarry Quandary
Quest Giver: Orders found in the quarry
Description: Mistress Poulin confessed to selling her family quarry to the red templars/mages. But what would they want with a quarry?
Requirements: Find the letter in the quarry.
Reward: 331 XP, 150 Influence
Objectives:
 Speak with Mistress Poulin.
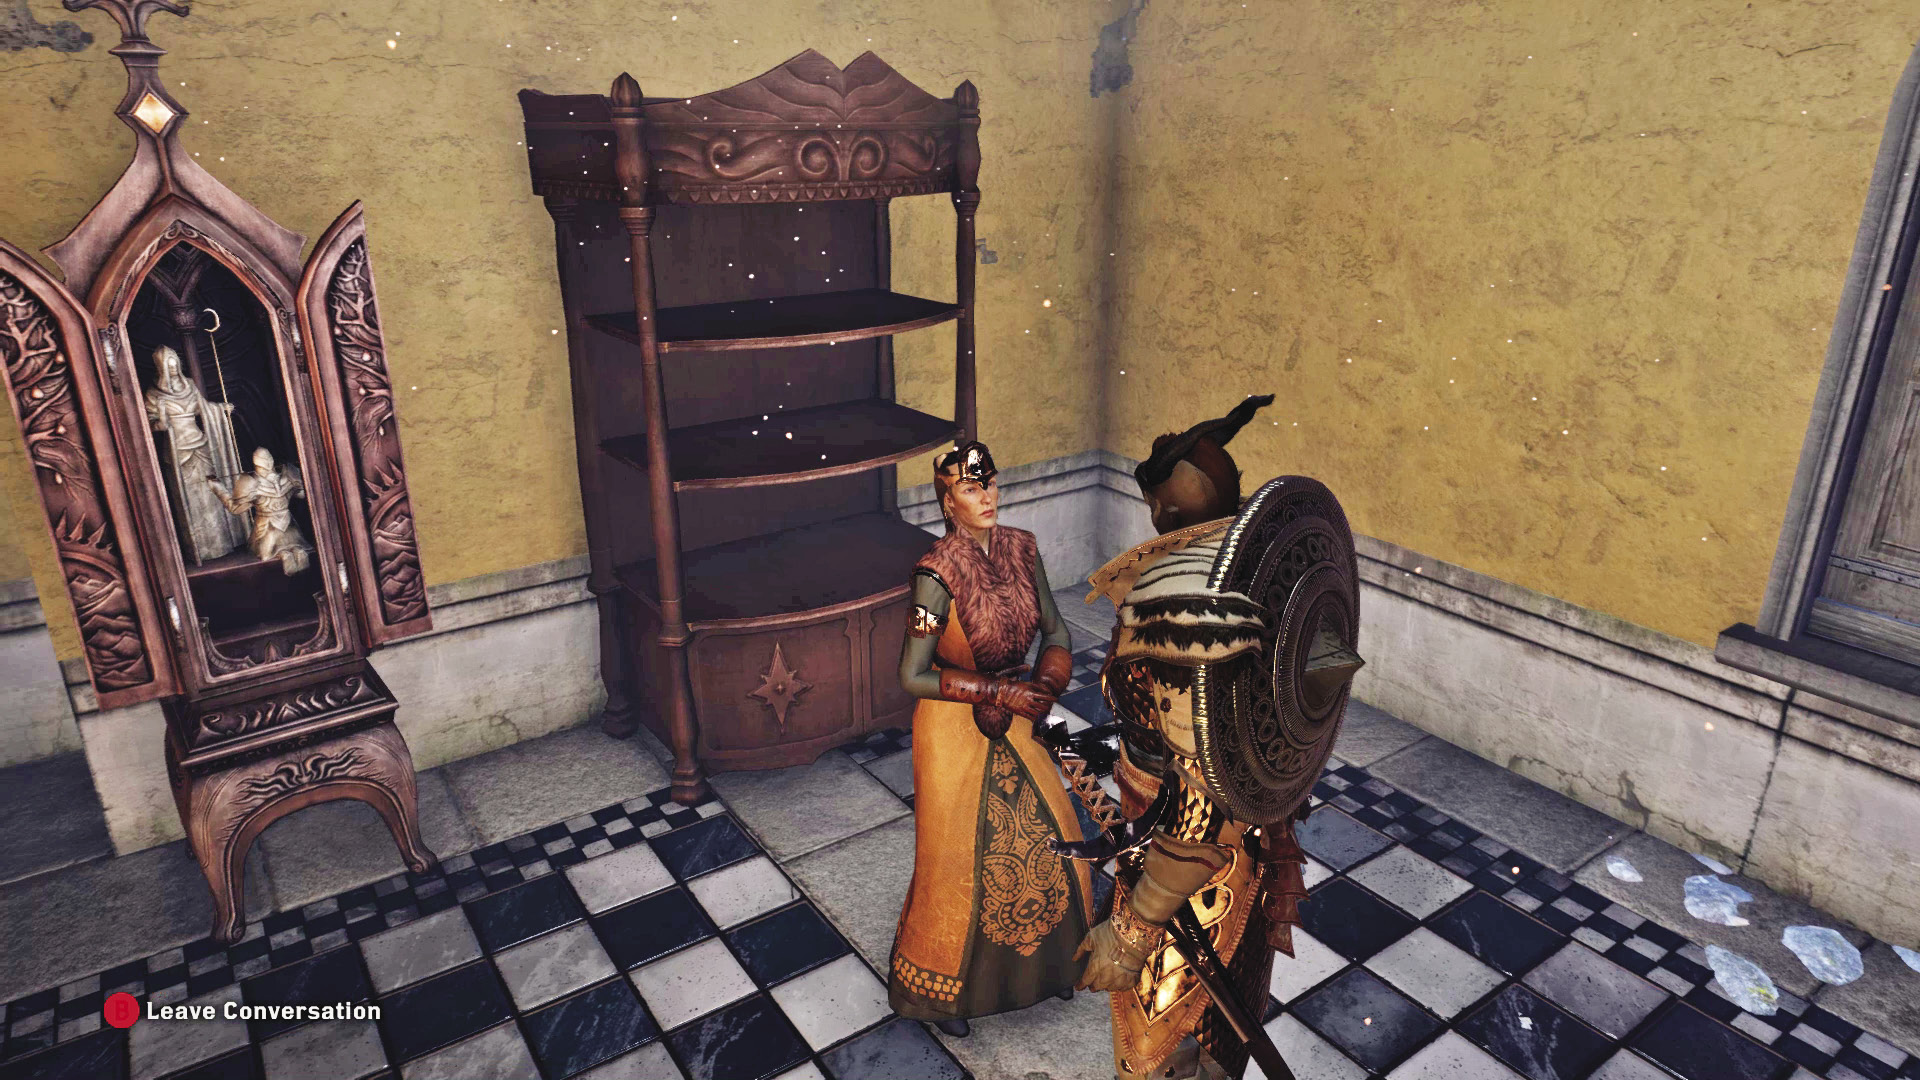
According to documents found in the quarry, it’s apparent that Mistress Poulin was collaborating with the enemy, providing villagers she picked herself for the red lyrium operation to keep moving forward. But when you confront her, she argues that had she not collaborated in some way, she would be dead, as would every villager. Regardless of how you respond, this quest is complete...but justice has not been served. You may preside over her fate at Skyhold after her fellow villagers turn her in to the Inquisition.
15: They Shall Not Pass
Quest Giver: Baron Edouard Desjardins
Description: Judicael’s Crossing has been destroyed, presumably by the red templars, to restrict access into the region.
Requirements: Capture Suledin Keep.
Reward: 331 XP, 150 Influence
Objectives:
 Inspect the bridge to see if it can be repaired.
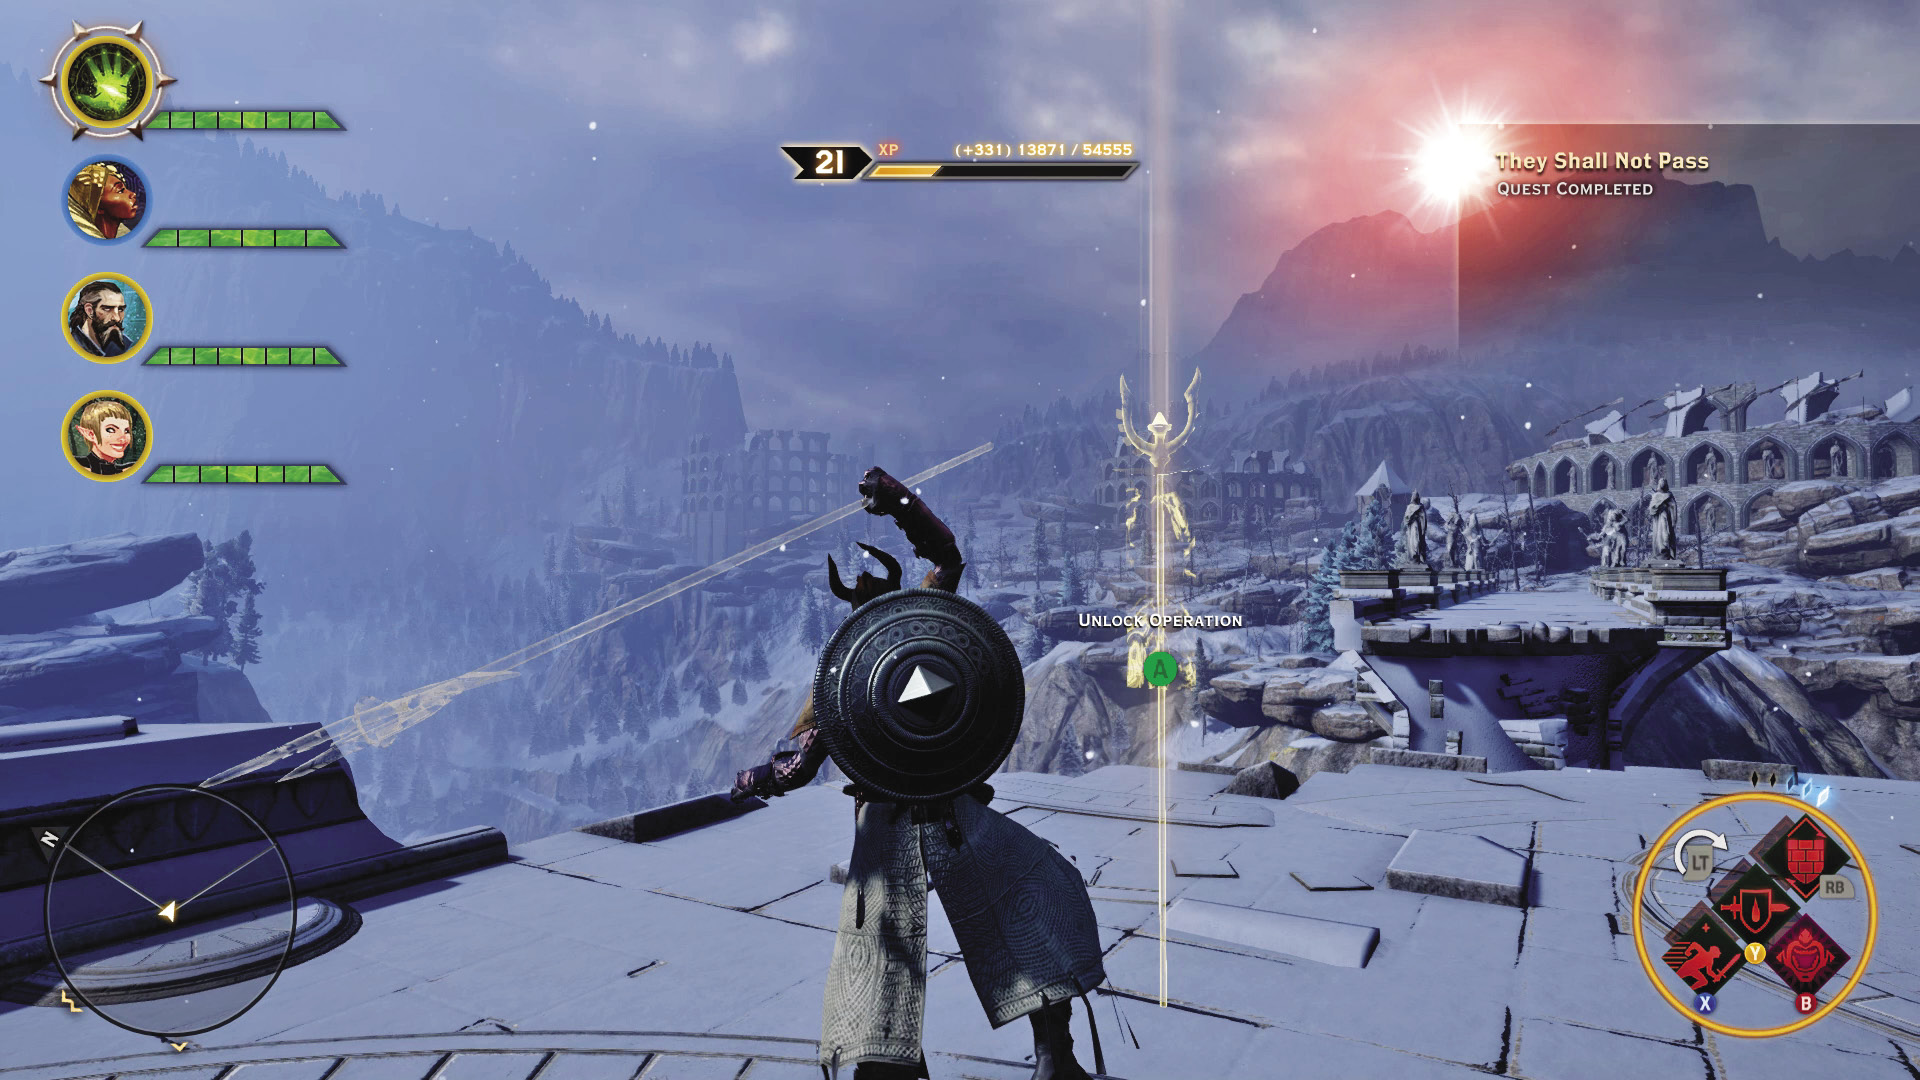
After capturing Suledin Keep, the Inquisition moves in with fresh troops, and administration of the keep itself is left to Baron Edouard Desjardins. He’s got a lot on his mind, and one of those problems is the impassable bridge of Judicael’s Crossing. If you haven’t already repaired the bridge, you can speak with him and he will point you in its direction. Go there and claim the bridge, then return to Skyhold and use the war table to send people out to Emprise du Lion to fix the bridge. Once the bridge is complete, you can cross it to complete the quest.
16: Securing Safe Passage
Quest Giver: Quest starts as soon as you repair Judicael’s Crossing.
Description: Now that Judicael’s Crossing is rebuilt, the road must be secured to allow free travel in and out of the area. There are abandoned towers along the road that, if secured, may be ideal for keeping watch.
Requirements: Repair Judicael’s Crossing.
Reward: 5076 XP, 600 Influence, 2 Power
Objectives:
 Secure the first tower.
 Claim the first tower for the Inquisition.
 Secure the second tower.
 Claim the second tower for the Inquisition.
 Secure the third tower.
 Claim the third tower for the Inquisition.
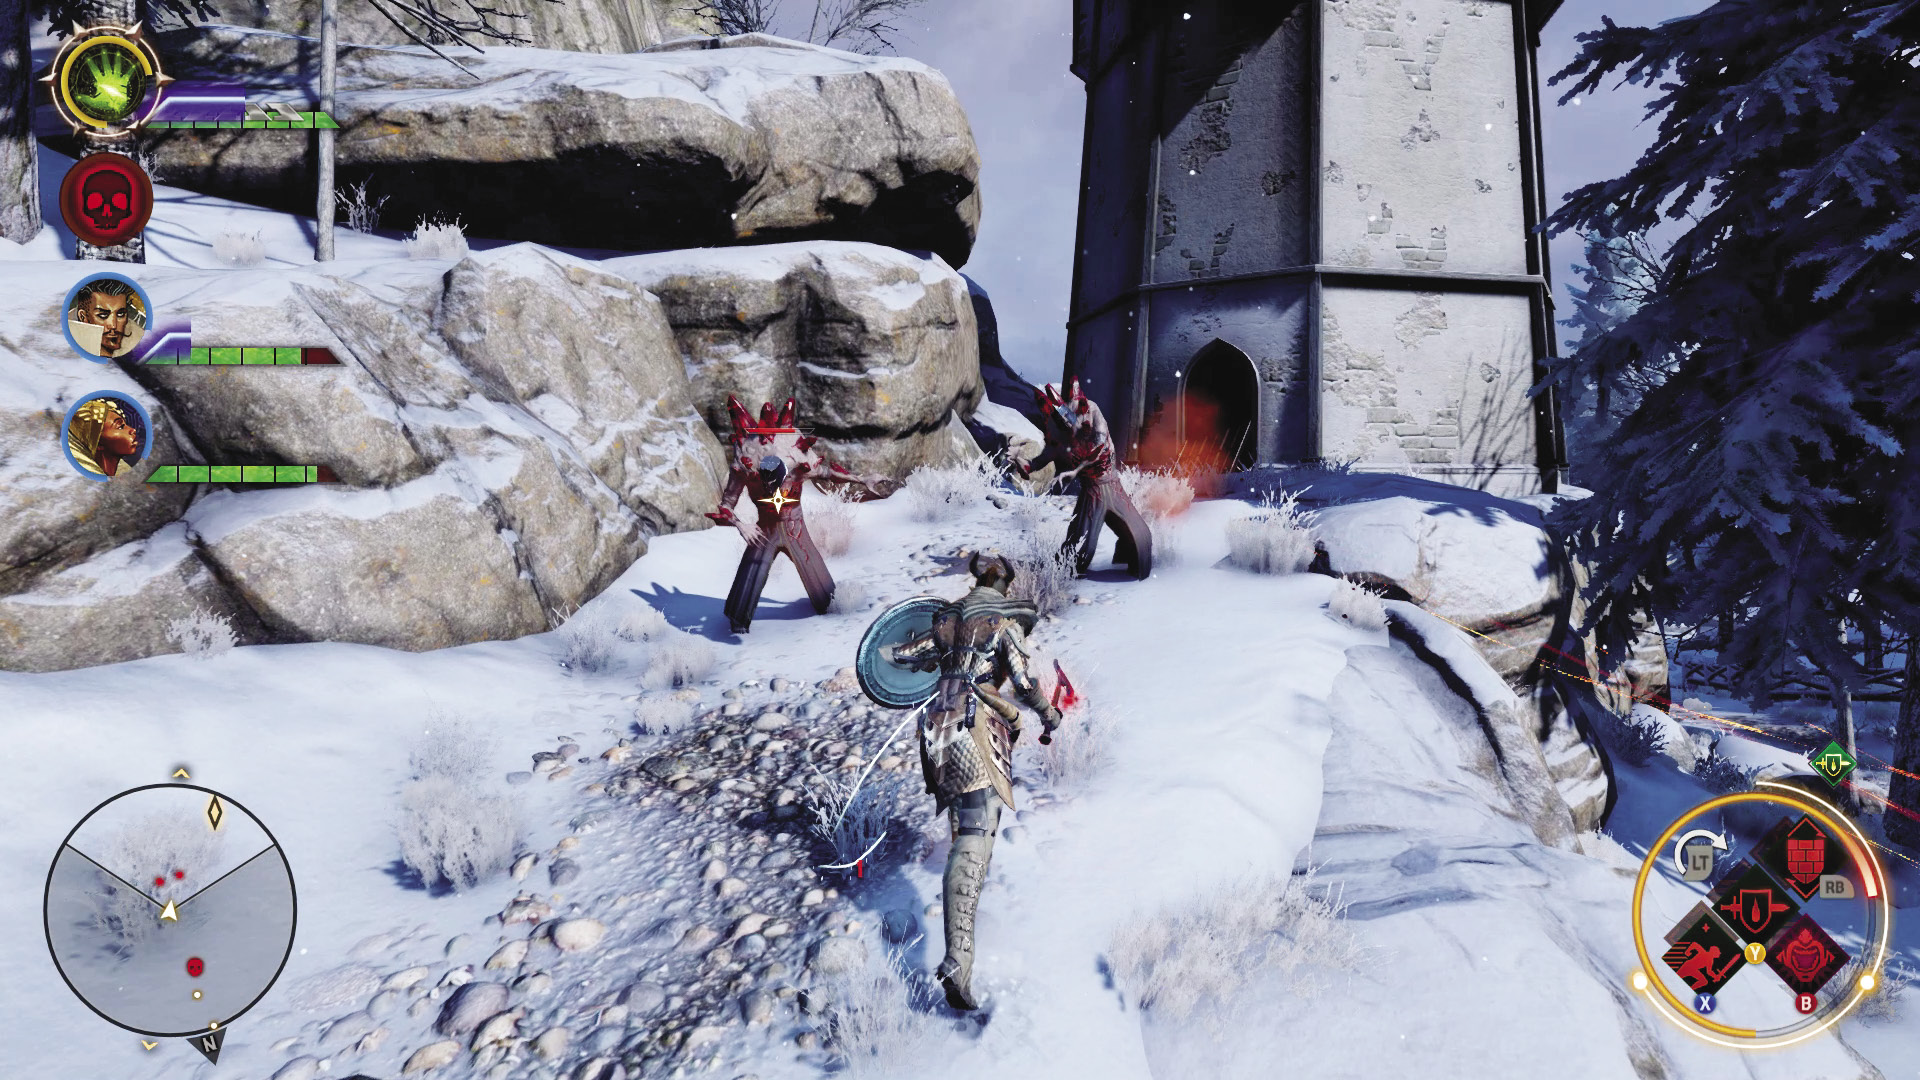
There are three guard towers in the Pools of the Sun region that are currently occupied by Corypheus’s troops. Simply wipe out these enemies, then claim the towers to turn them over to the Inquisition.
17: Breeding Grounds
Quest Giver: Baron Edouard Desjardins
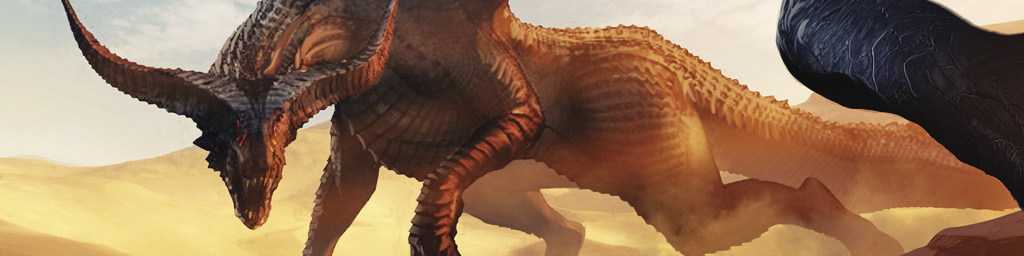
Description: As if the red templar/mage occupation isn’t enough, dragons have moved into the region. So far, only a few high dragons have been spotted: a Hivernal, a Kaltenzahn, and a Highland Ravager. But if they breed, the presence of these unique and powerful beasts could prove an even greater threat to the local population than the templars/mages.
Requirements: Capture Suledin Keep and speak with the baron.
Reward: 1,324 XP, 600 Influence, 2 Power
Objectives:
 Slay the Highland Ravager.
 Slay the Kaltenzahn.
 Slay the Hivernal.
It’s only three high dragons. What could possibly go wrong?!
If you’ve been hunting high dragons before coming to Emprise du Lion, you already have a fair idea of what to expect from these powerful creatures. However, each one of these dragons has some unique capabilities that you should be ready to deal with.
High Dragon: The Hivernal
Recommended Level: 19+
Recommended Party Composition: One warrior (sword and shield), one rogue, two mages (armed with fire damage staves)
Alternative Party Composition: Two warriors (sword and shield, two-handed weapon), two mages (armed with fire damage staves)
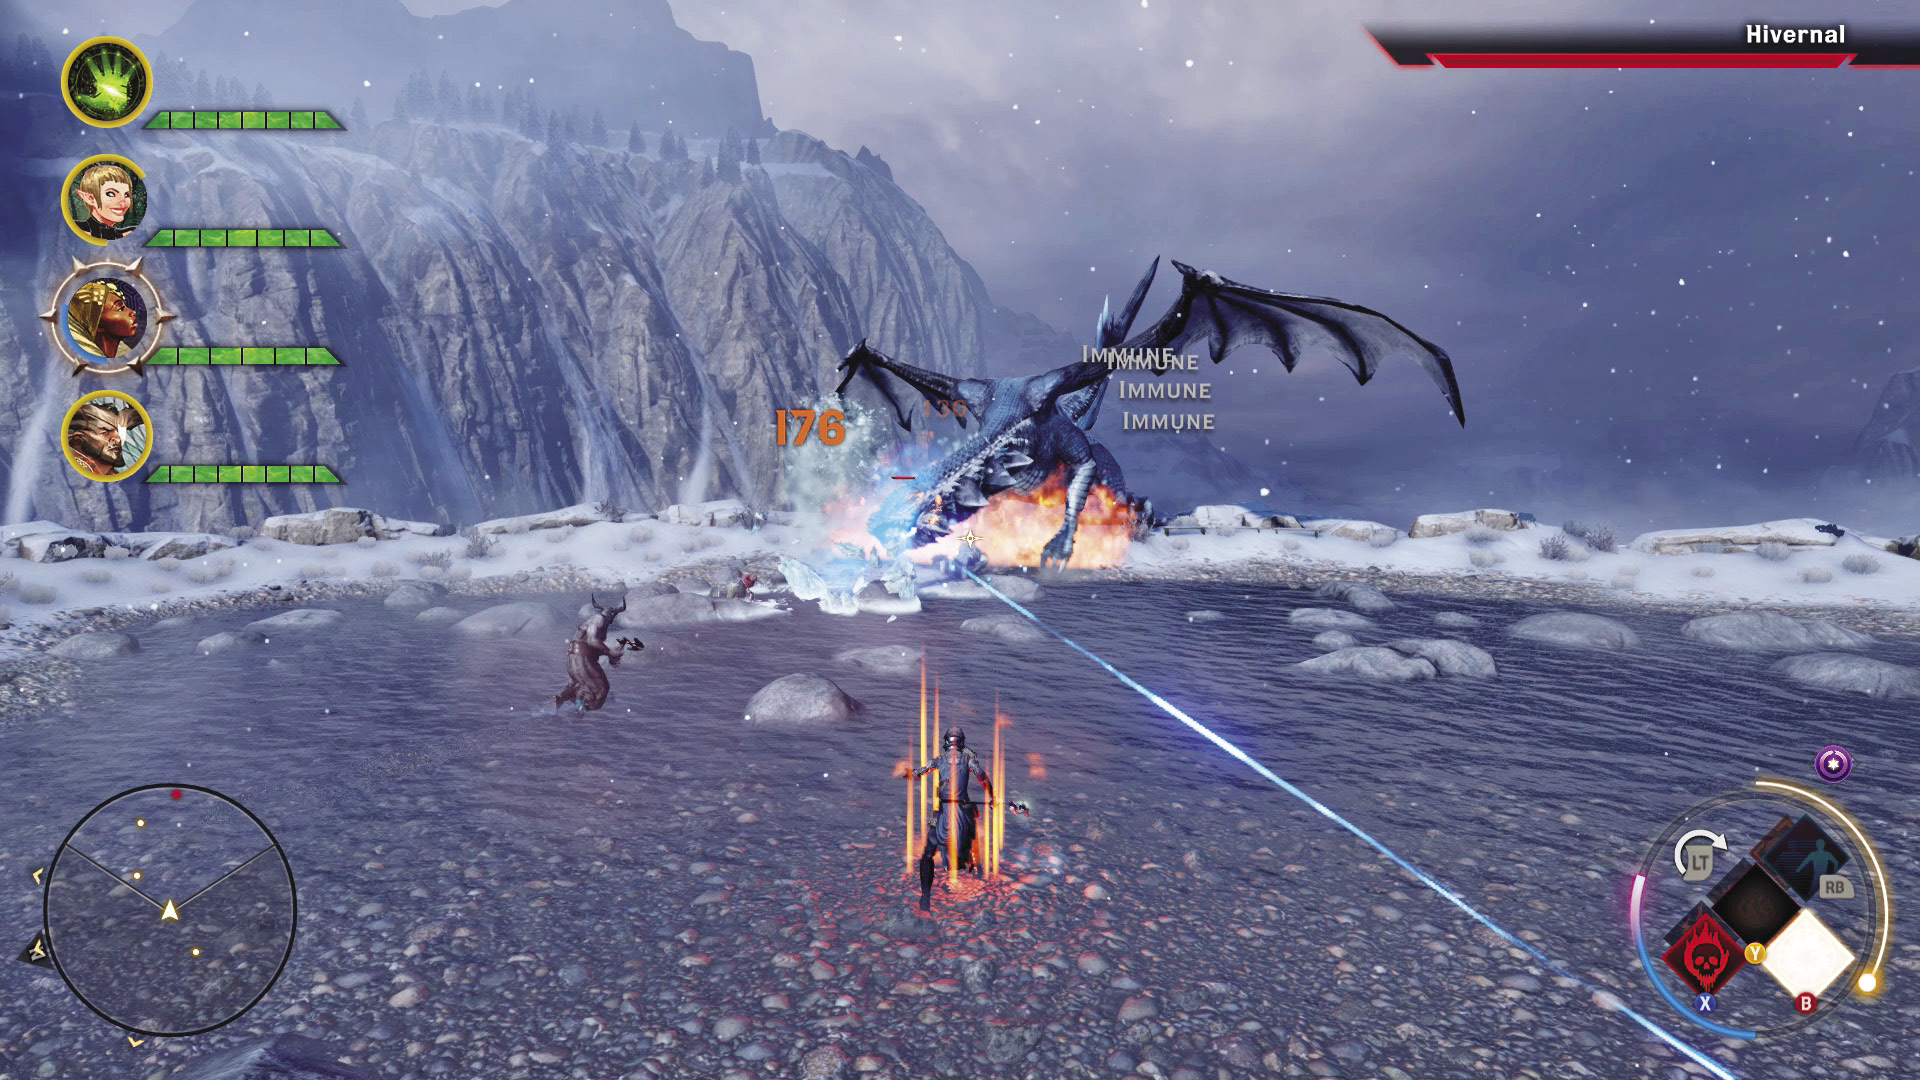
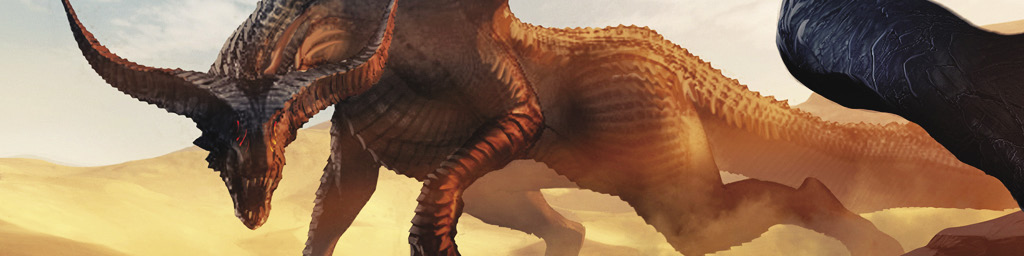
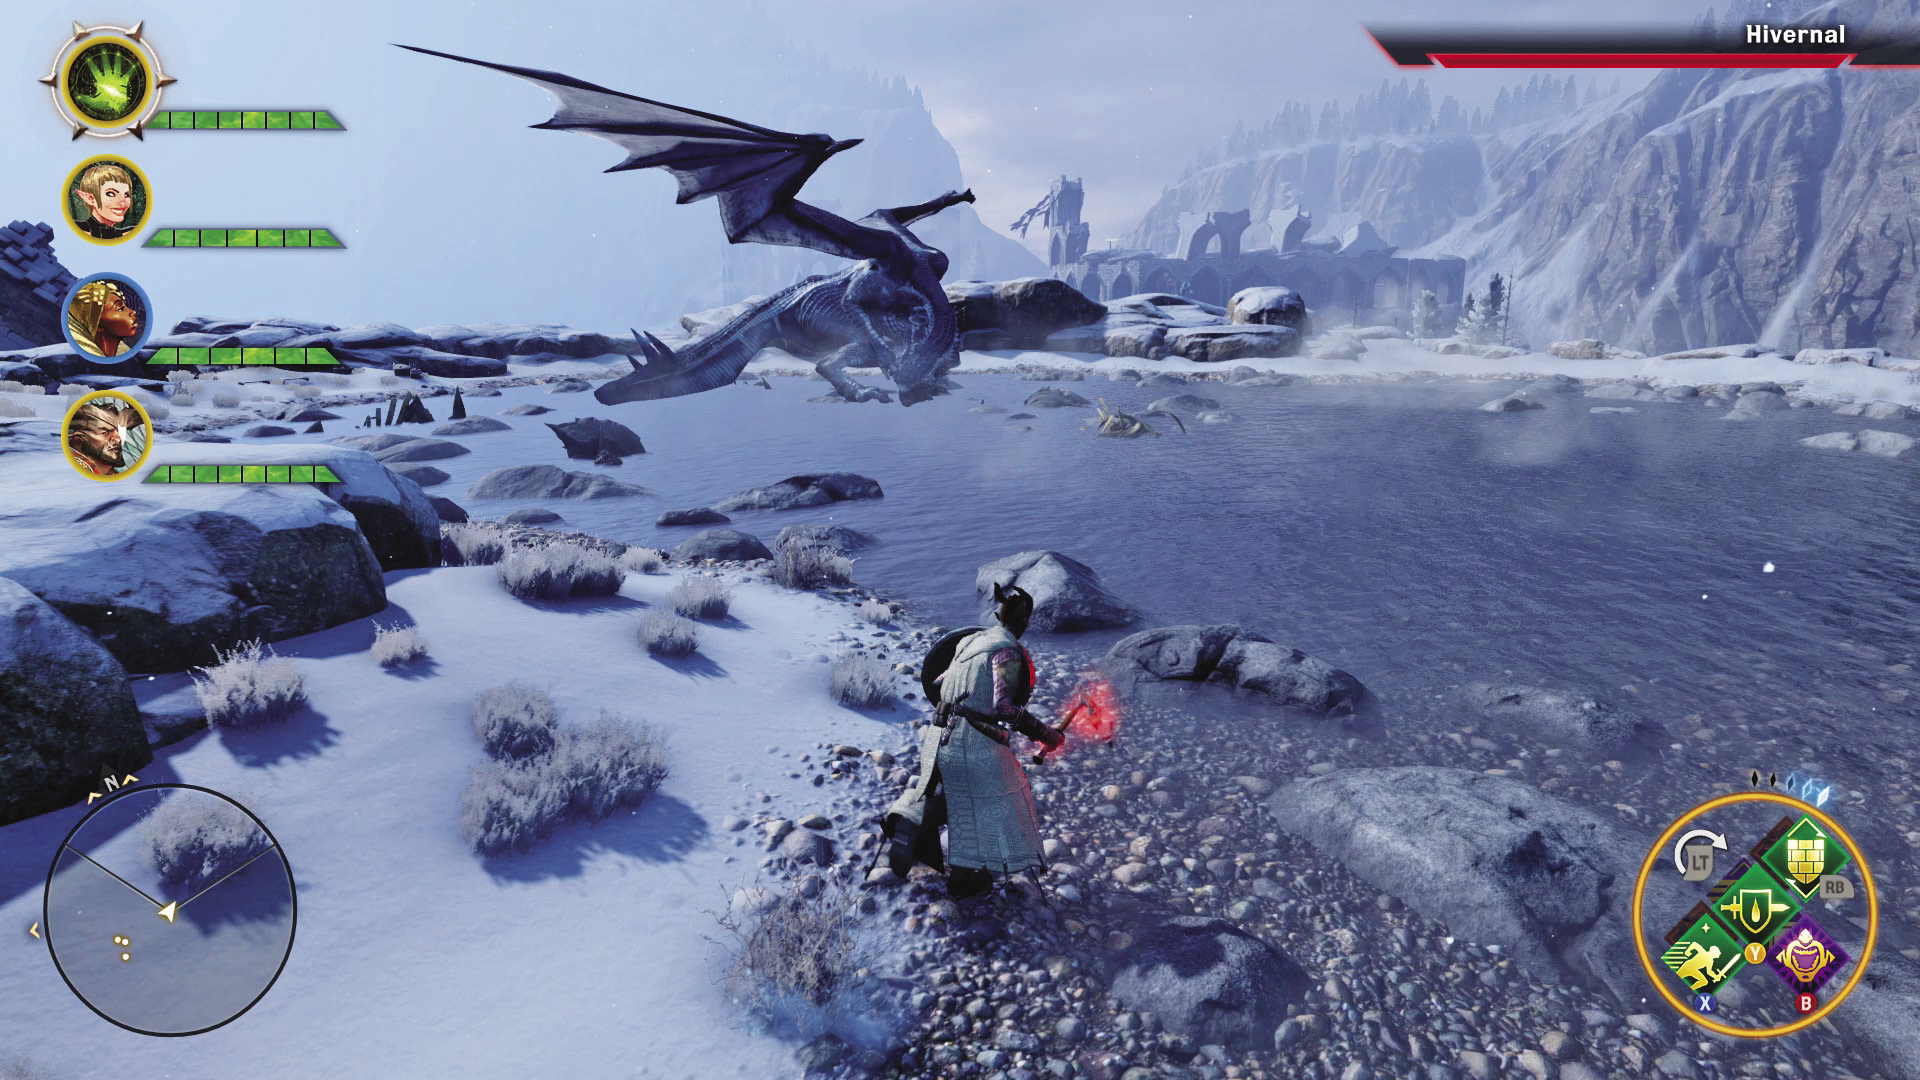
The first of two cold-typed high dragons in this locale, the Hivernal is the easiest target in relative terms. She will still destroy you if you don’t prepare. Any cold protection you can bring is of high value. Ideally, your mages should have their most powerful fire staff equipped, with a full battery of fire spells for offense, while they maintain your emergency focus Heal and shielding spells.
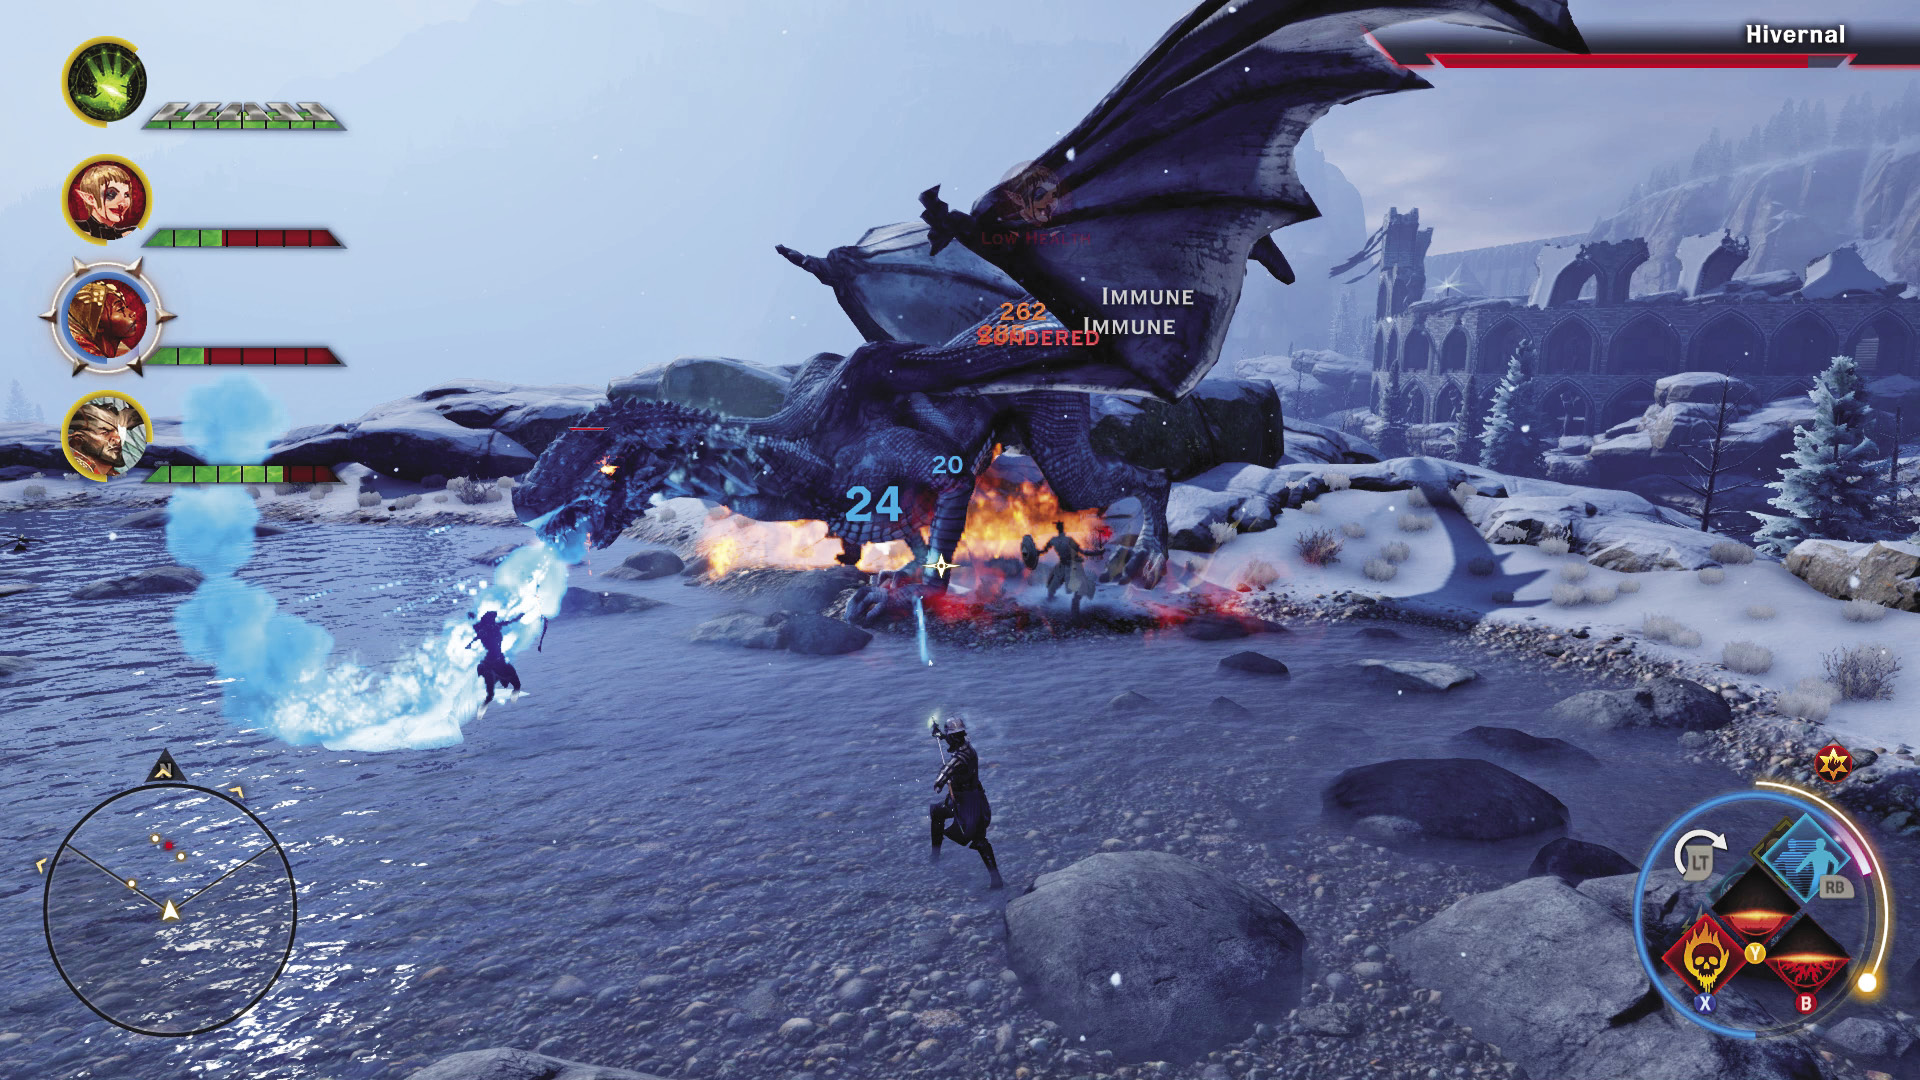
In addition to all the usual high dragon melee attacks, the Hivernal uses her ice breath to devastating effect, singling out a party member for a high-damage puff that can also freeze them entirely, making a follow-up melee strike a day ruiner. The Hivernal can also produce a icy wind barrier that causes damage to party members within it and deflects any ranged attacks.
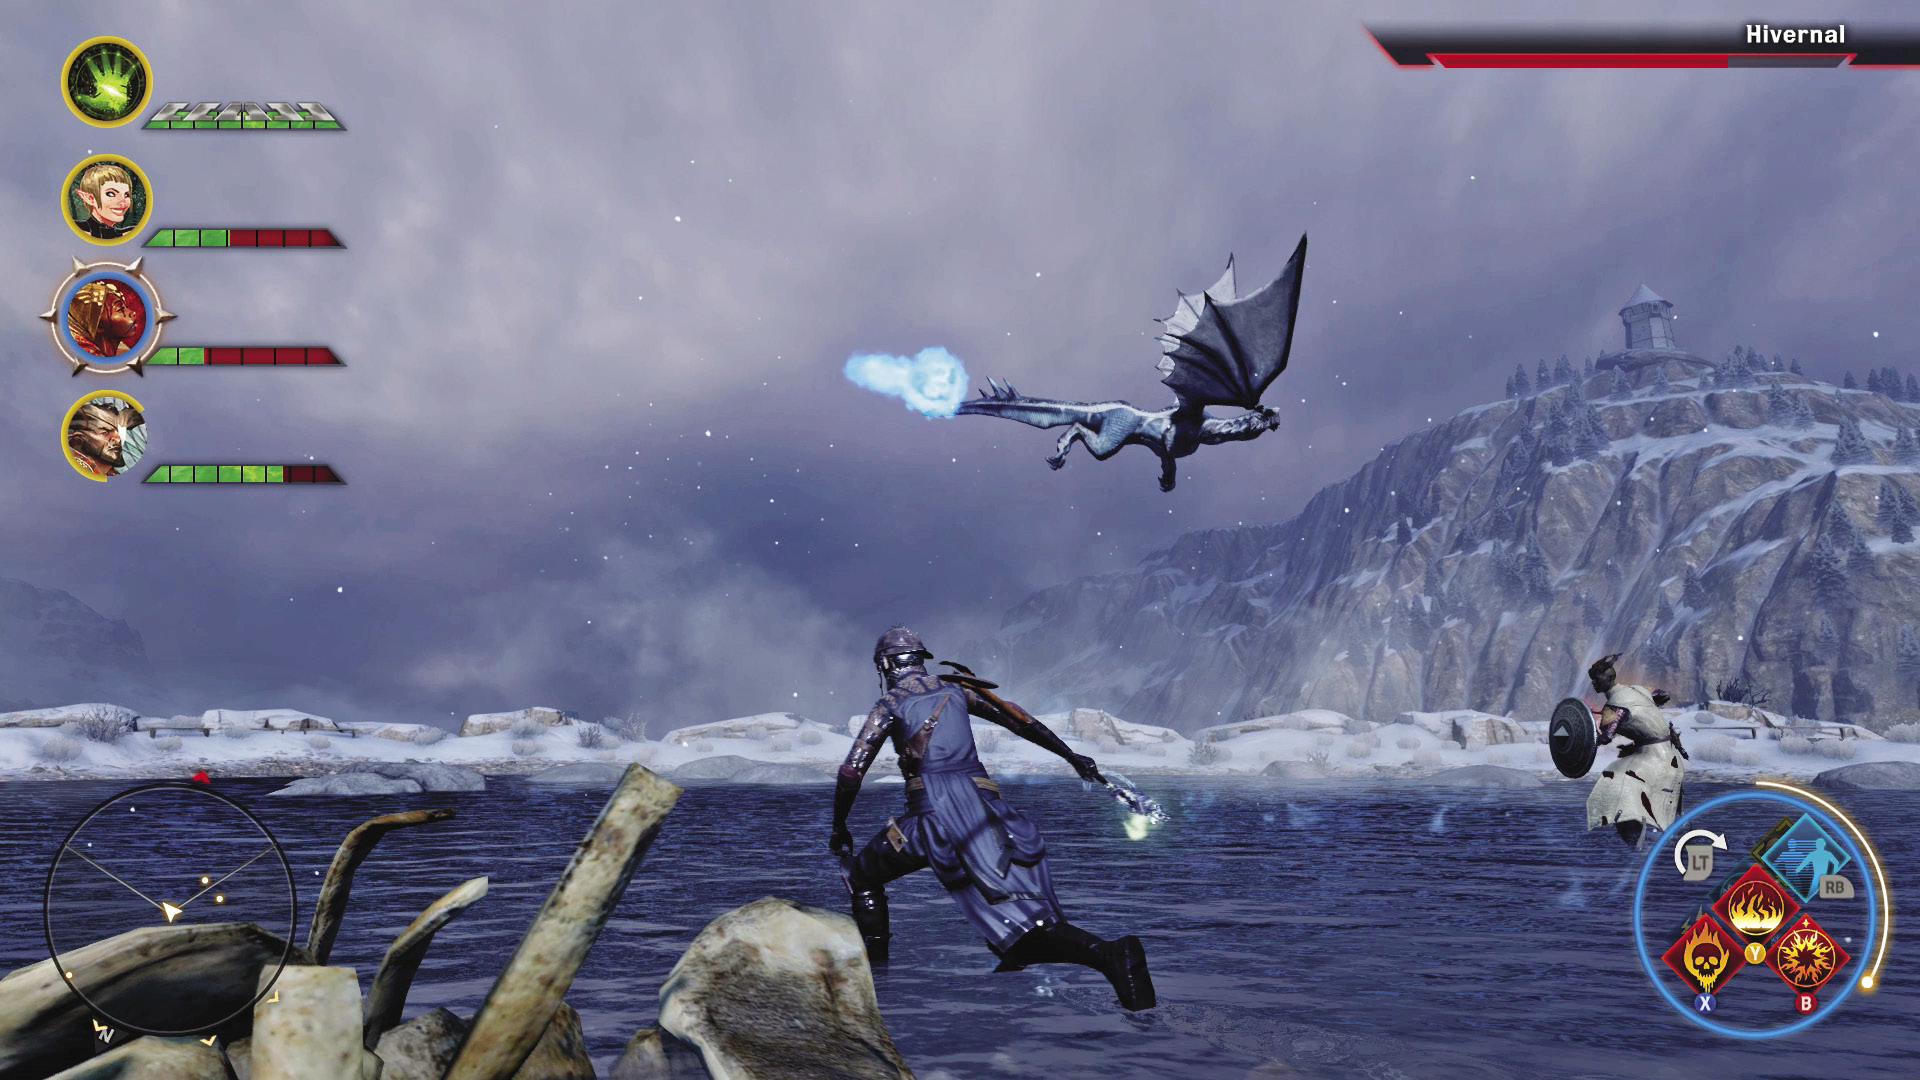
After sustaining a certain amount of damage, the Hivernal takes flight, sweeping around the arena and trying to pelt the party with ice blasts. She also occasionally swoops over the arena while breathing a trail of ice as it passes overhead. This can be highly lethal, so keep your eyes on the Hivernal and stay on the move.
As the fight progresses, the Hivernal can buff itself with a full guard bar. This can lengthen the fight considerably if you do not have abilities that can do additional damage to guard.
High Dragon: The Kaltenzahn
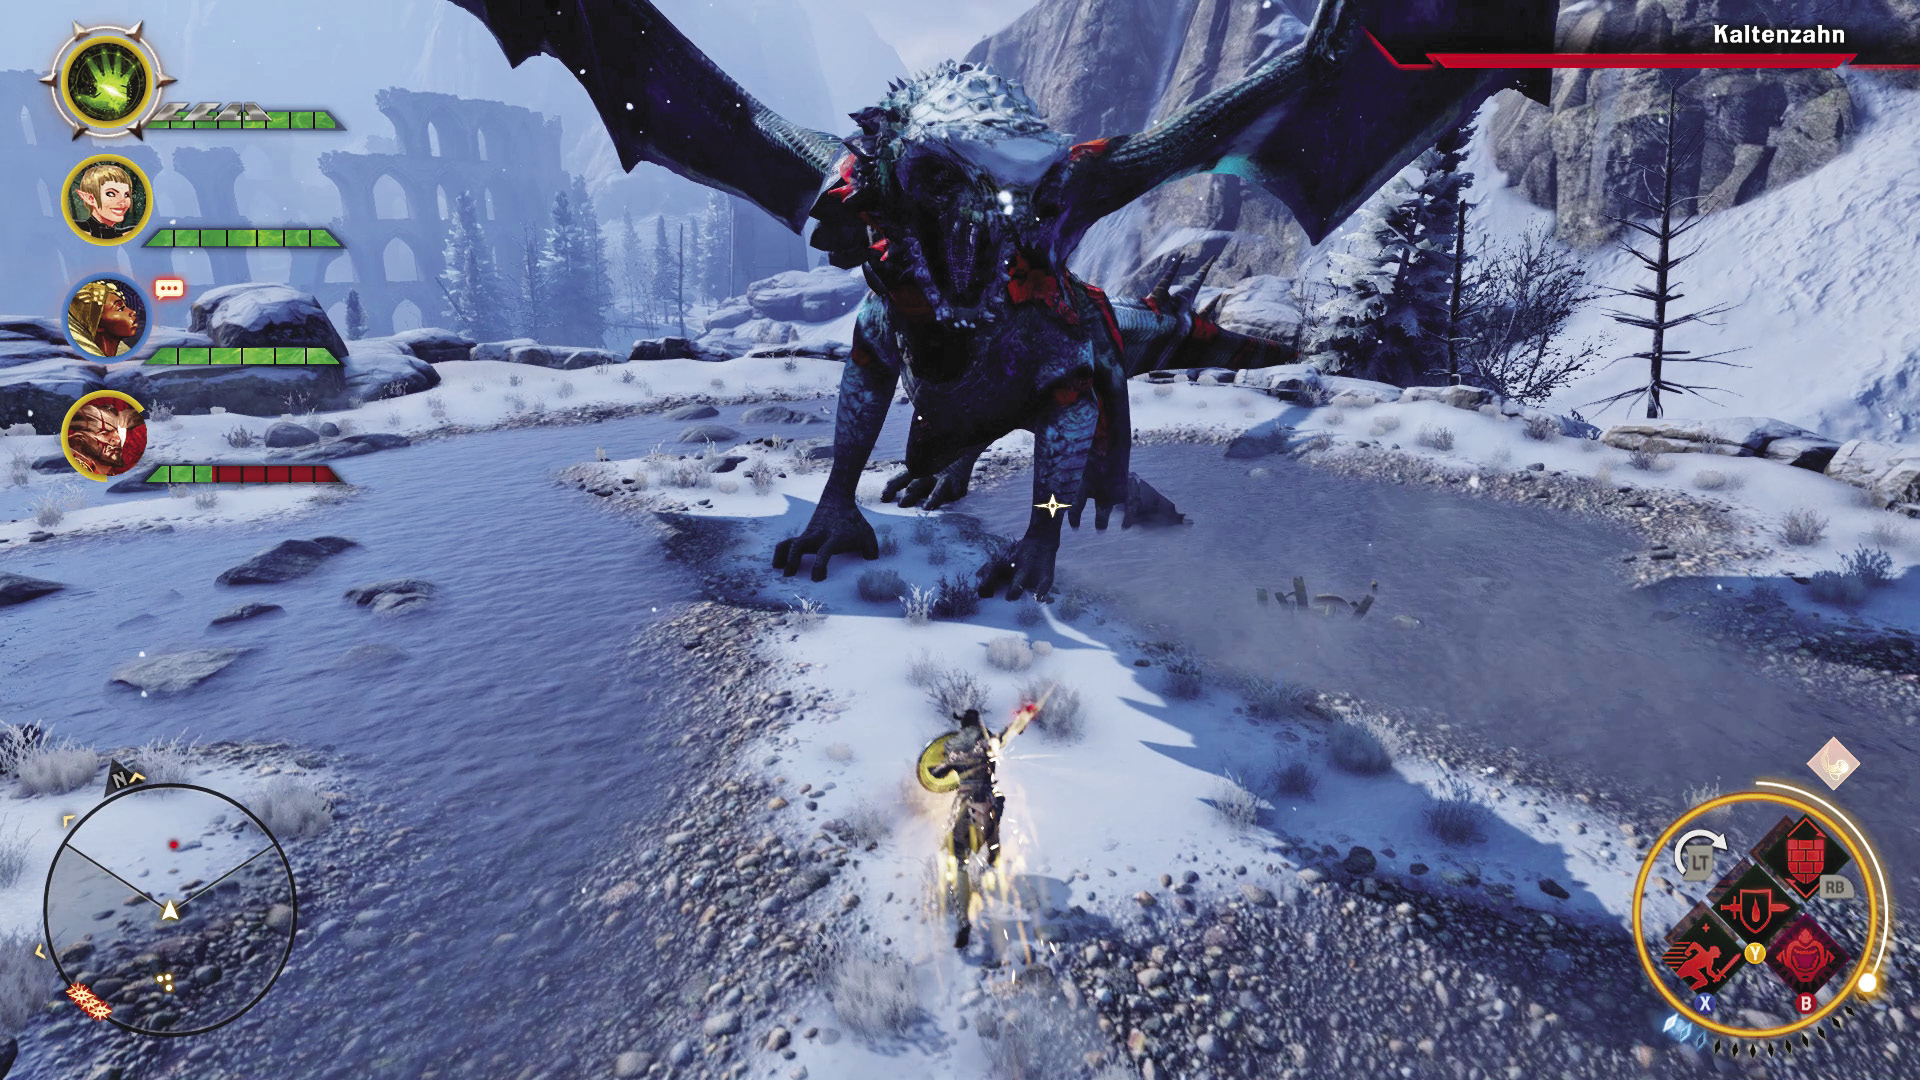
Recommended Level: 21+
Recommended Party Composition: Two warriors (sword and shield), one rogue, one mage (armed with fire damage staff)
Alternative Party Composition: Three warriors (sword and shield, two-handed weapon), one mage (armed with fire damage staves)
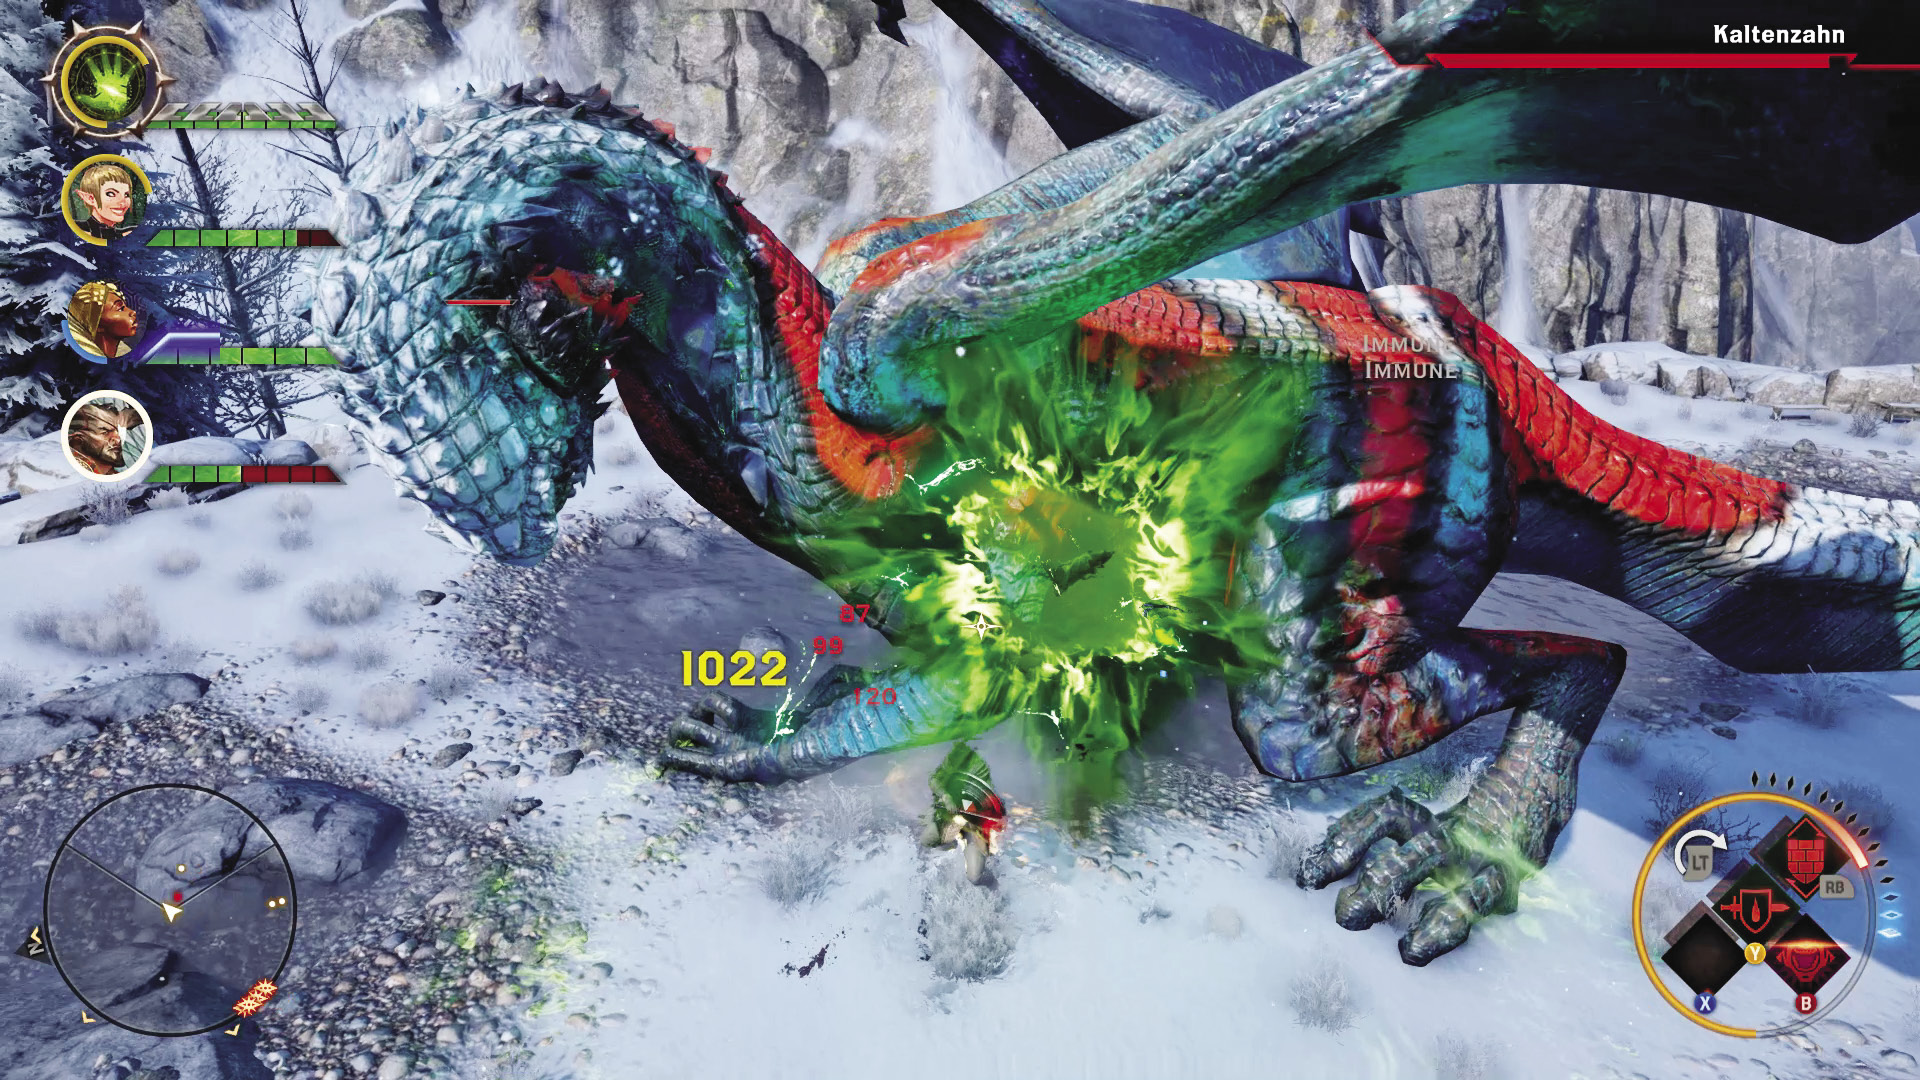
The Kaltenzahn is larger and tougher than the Hivernal. She shares some similarities: untauntable, stunning roar, and the ability to buff herself with a full guard bar. Your preparations should be similar: cold protection, weapons that can cause fire damage, fire-based skills at the ready. Try to come with your Inquisitor’s Mark of the Rift ready to be used.
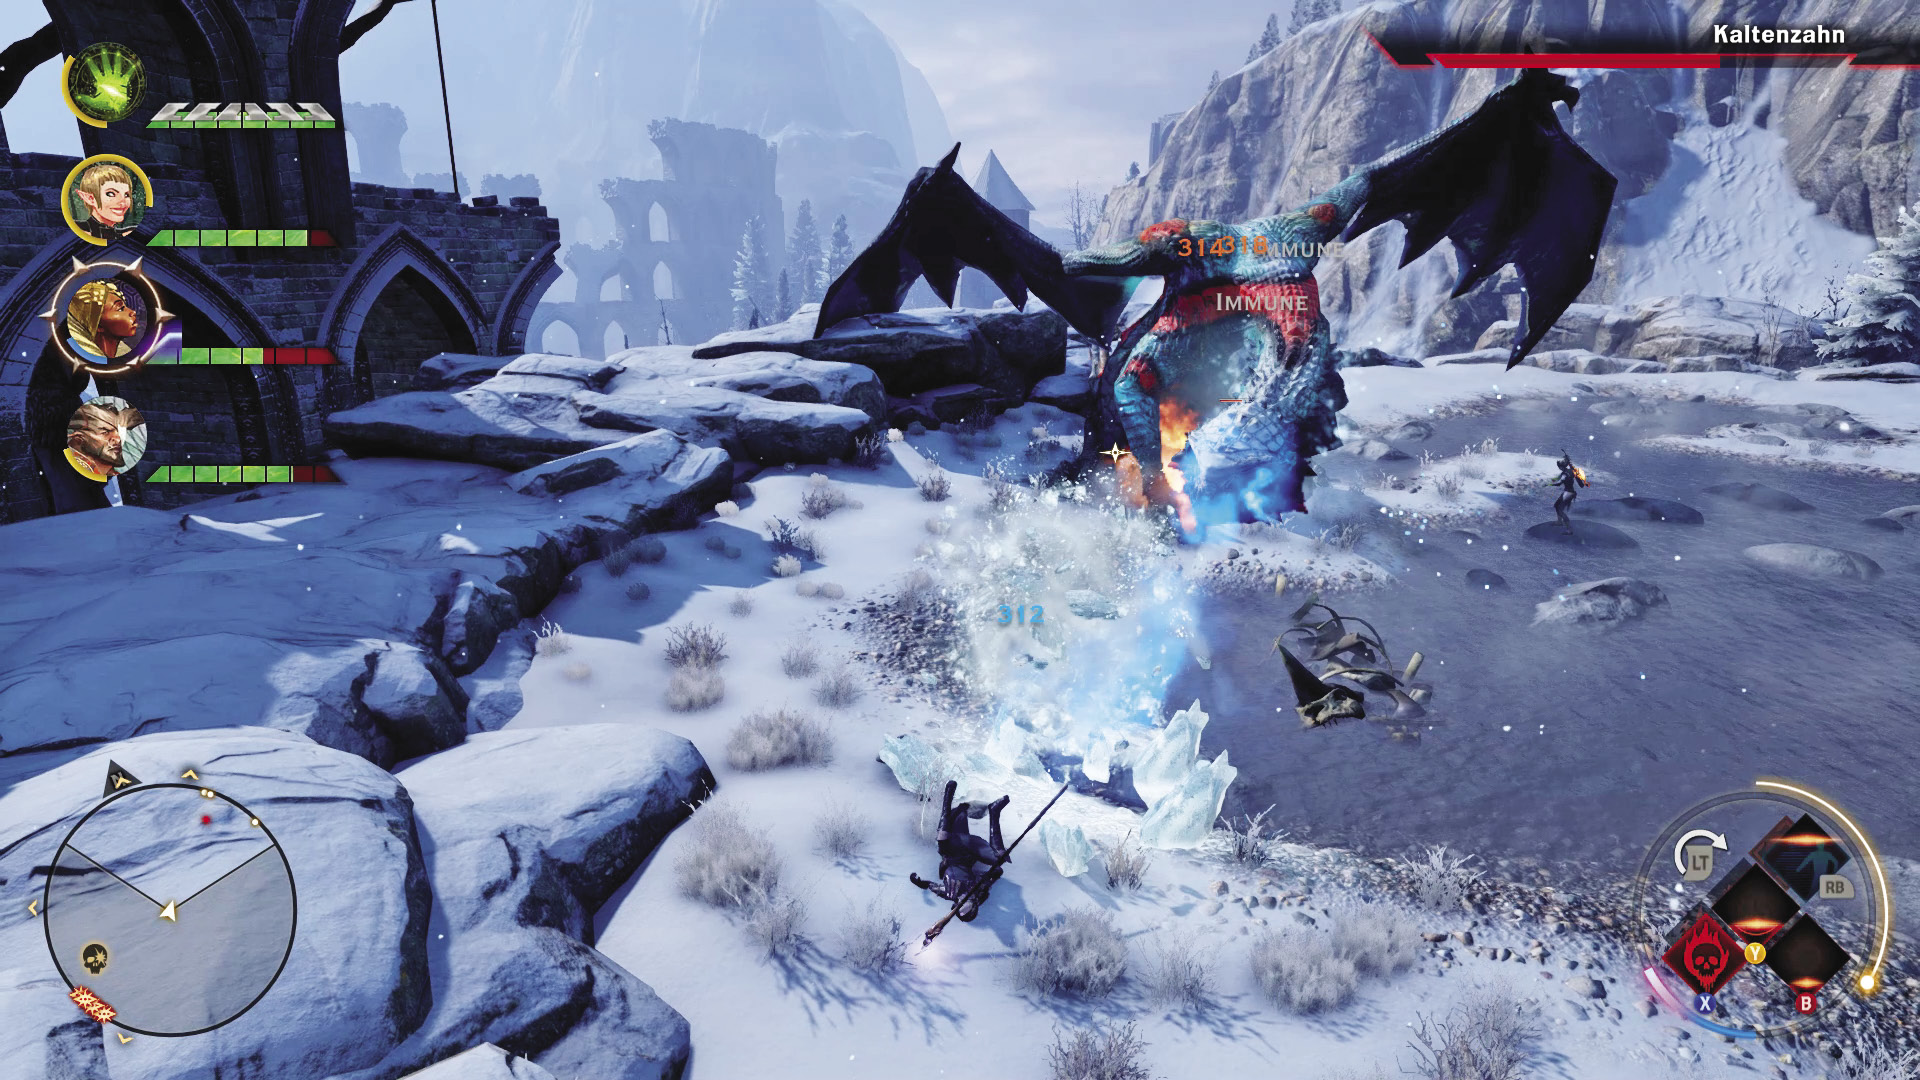
The Kaltenzahn’s cold breath works a bit differently, as it is a continuous stream that leaves formations of ice on the ground for a short amount of time, slowing characters caught in it, while still causing damage. The dragon can also spit ice balls at targets for heavy damage, and often tries to do this if all possible targets are outside of range for its attacks. She can also spit ice at you while she flies around the battlefield. The Kaltenzahn can also perch herself atop part of the ruins on the western side of the arena, shooting more ice blasts at the party.
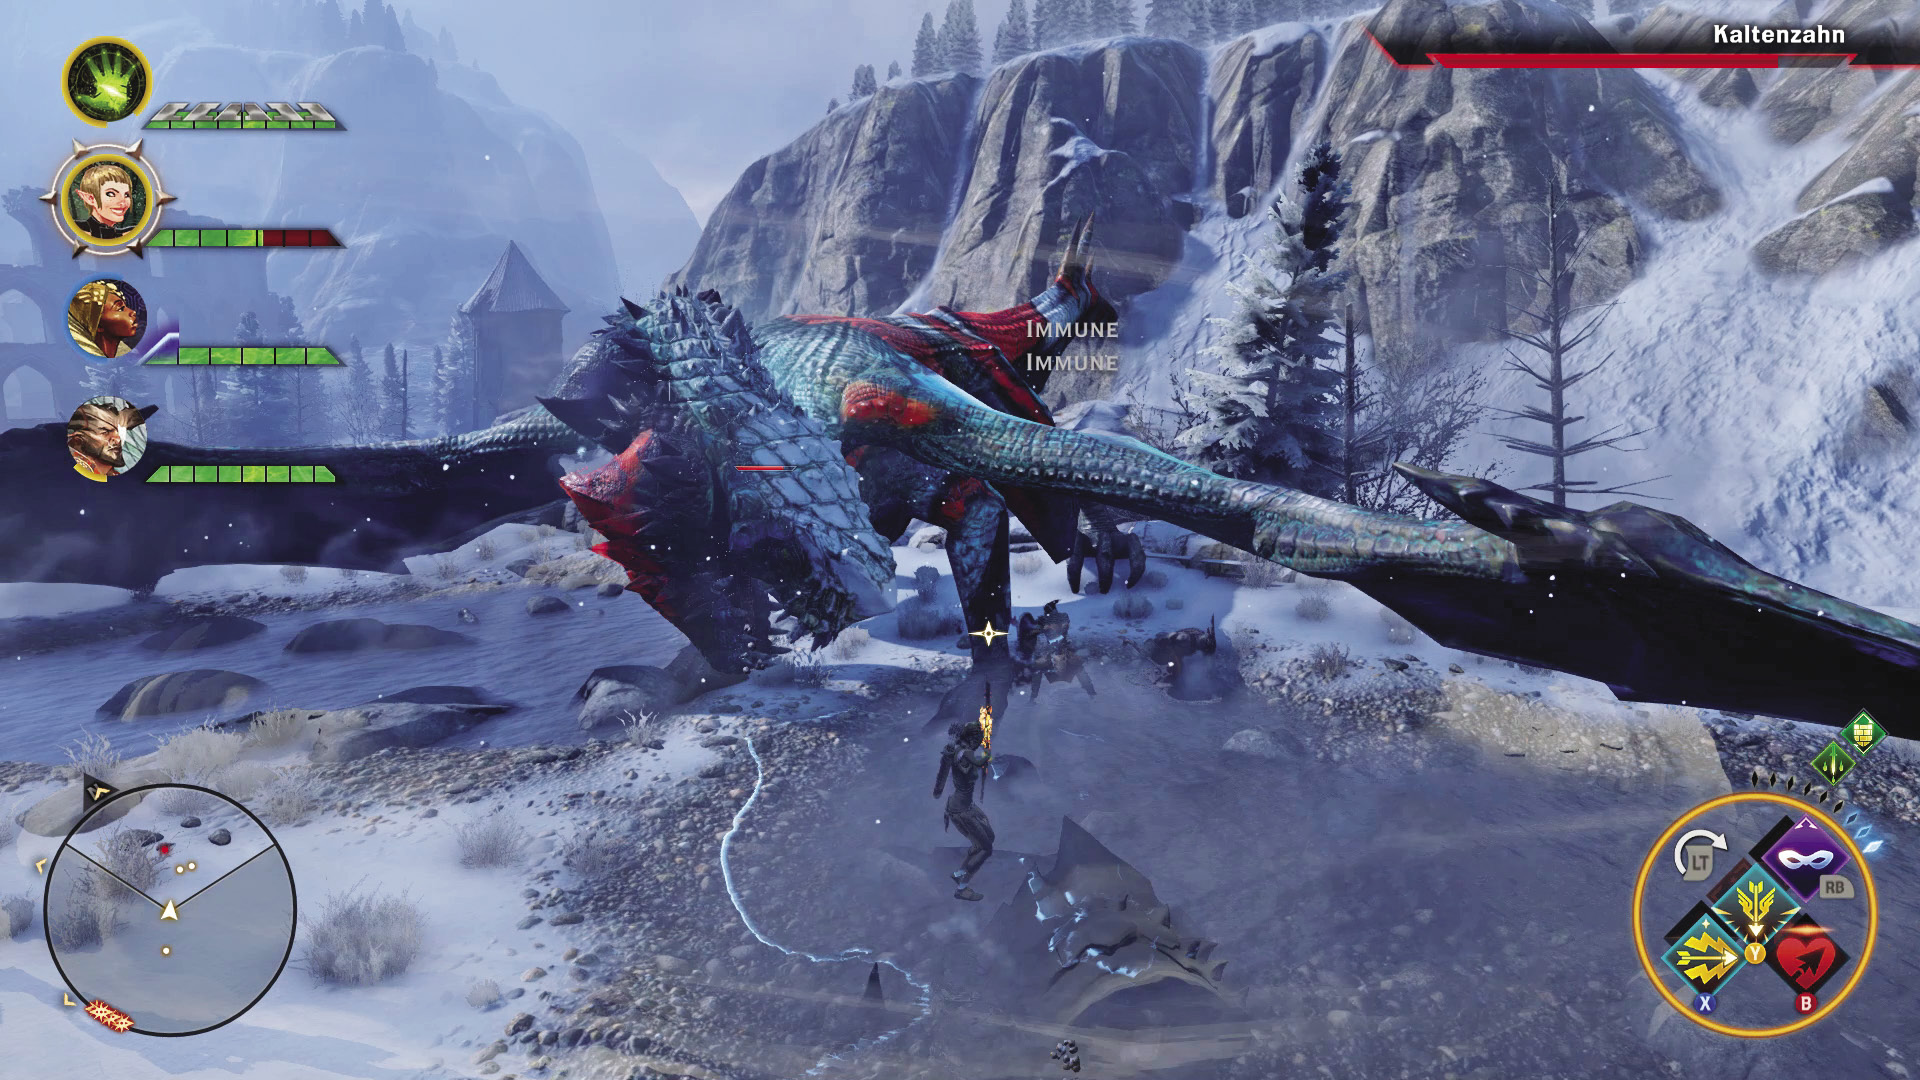
A major threat to your survival in this fight is the Kaltenzahn’s ability to pull the entire party into melee range by flapping her wings. Ranged characters suffer the most from this, as anyone caught outside the “field” that appears around the dragon will take damage until they are inside the Kaltenzahn’s melee range. Because of this we recommend a melee-heavy party, ideally with weapons enchanted with fire runes. One mage should be present, to shield and revive party members or provide an emergency focus ability Heal for the whole party.
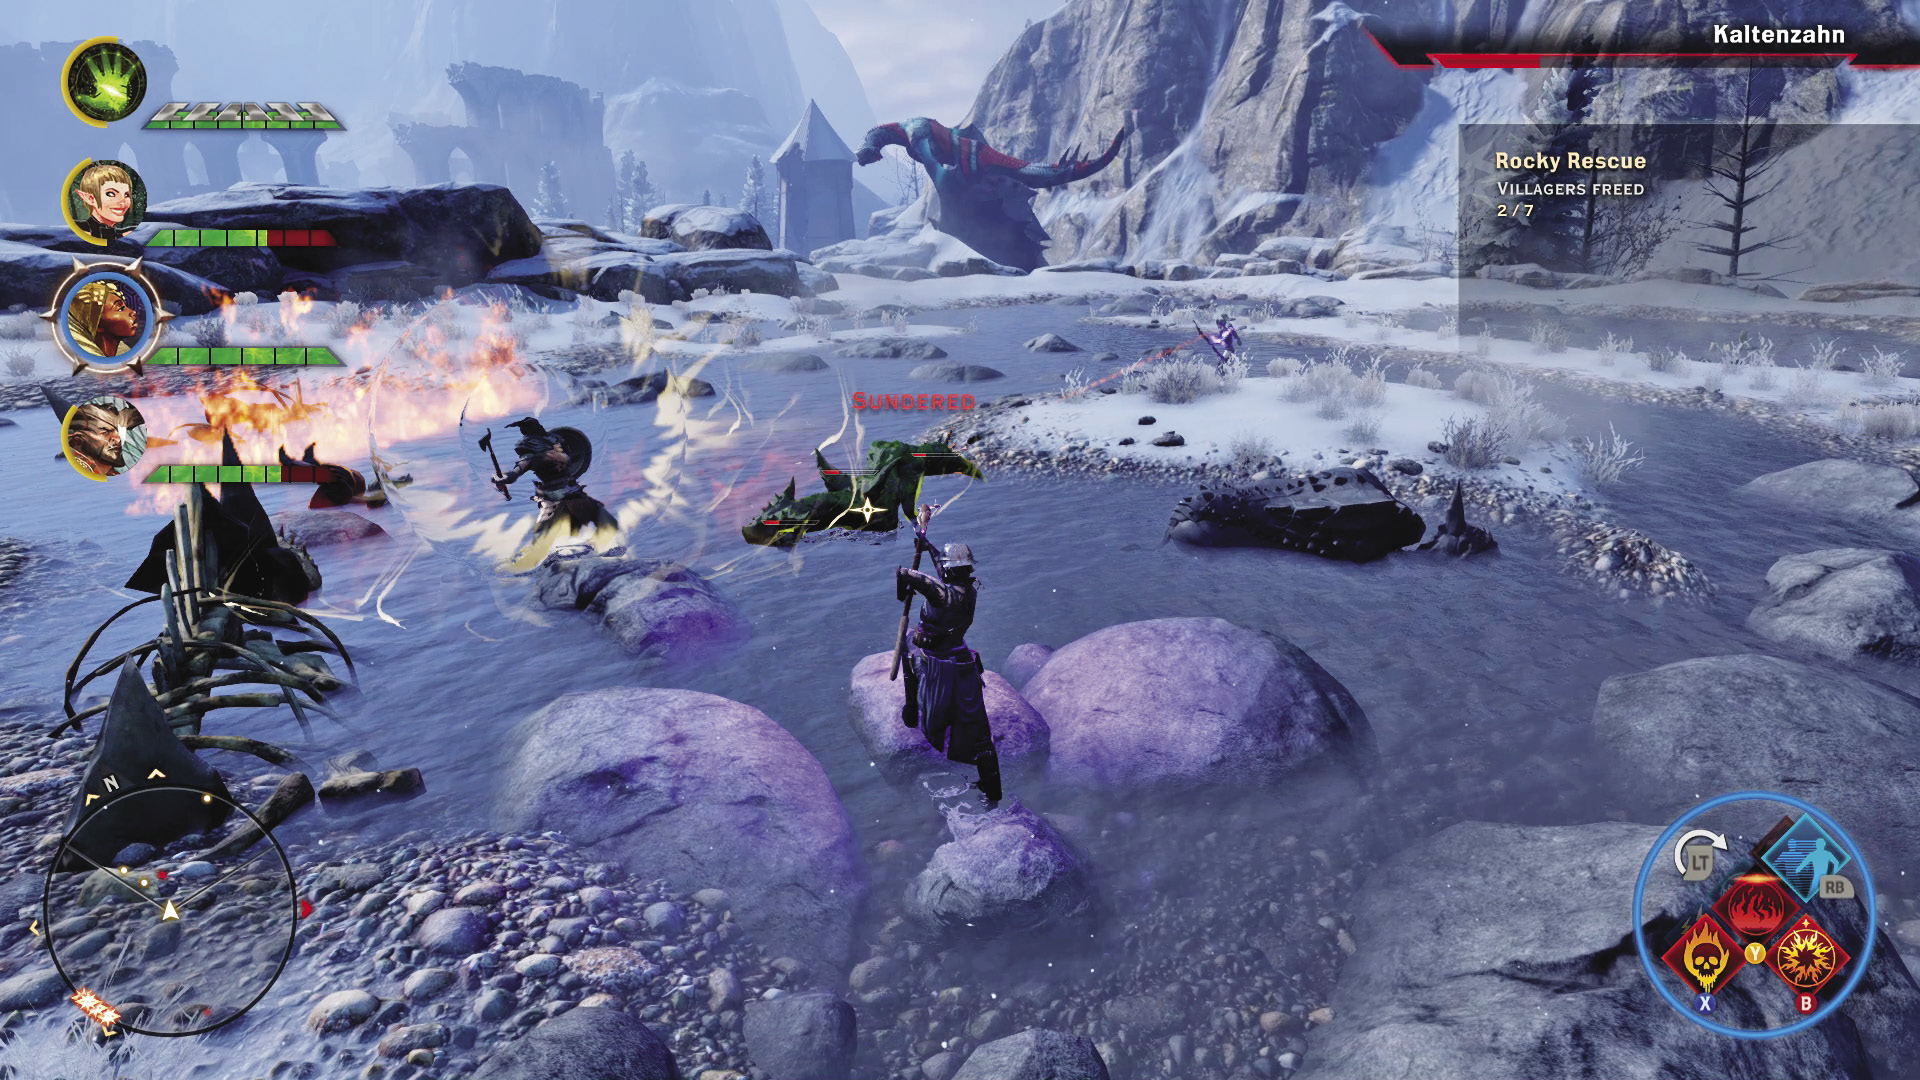
At around half health, the Kaltenzahn begins roaring for help from dragonlings, which will start to put a serious amount of pressure on your party’s survivability. The roars that summon the dragonlings also stun your party, so if you fail to clear out each wave before new ones arrive, you can quickly be overwhelmed. During this phase of the fight you want to have Mark of the Rift ready. If you can pull off a knockdown of the dragon, drop Mark of the Rift right on the center of her body to pile on the damage. This last phase of the fight is a sprint: If you can’t kill her before you run out of extra healing potions, you’ll either need to play almost flawlessly to avoid taking damage, or be prepared to try again.
High Dragon: The Highland Ravager
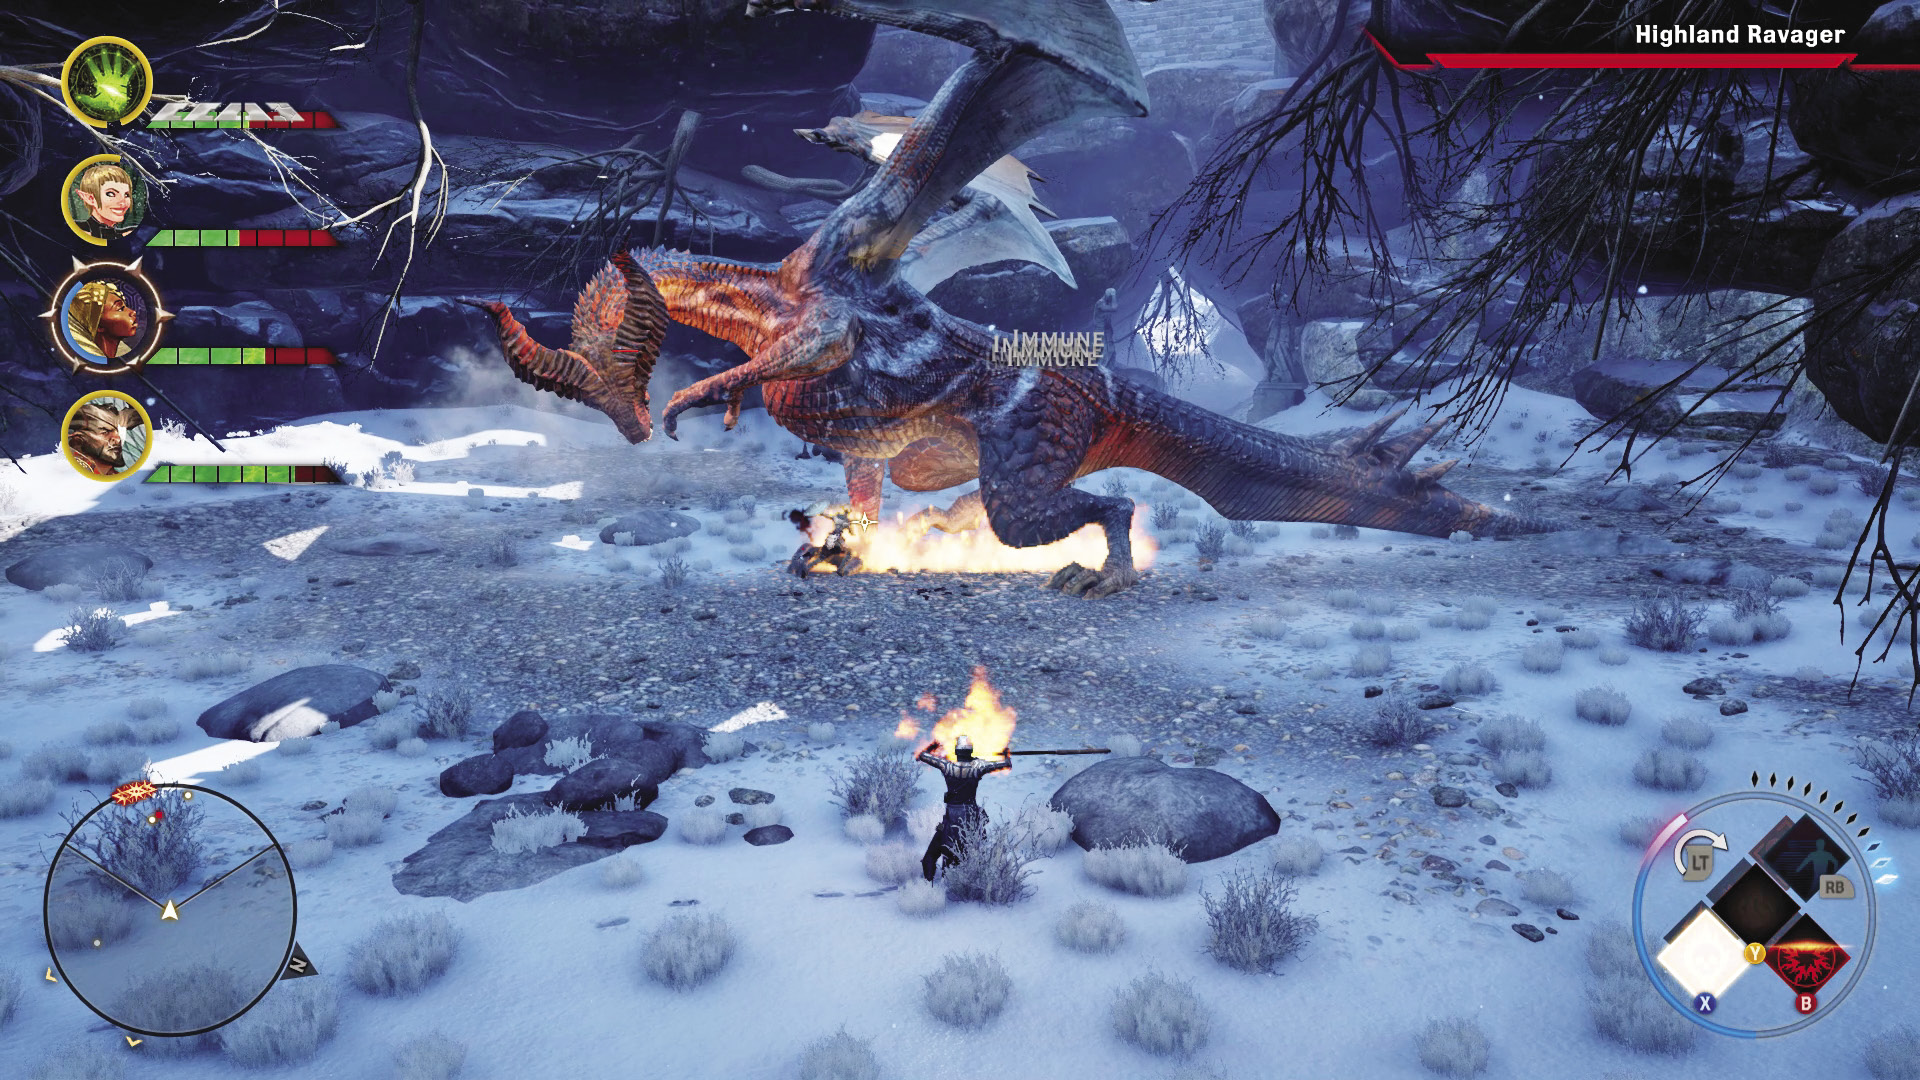
Recommended Level: 22+
Recommended Party Composition: One warrior (sword and shield), one rogue, two mages (armed with frost damage staves)
Alternative Party Composition: Two warriors (sword and shield, two-handed weapon), two mages (armed with frost damage staves)
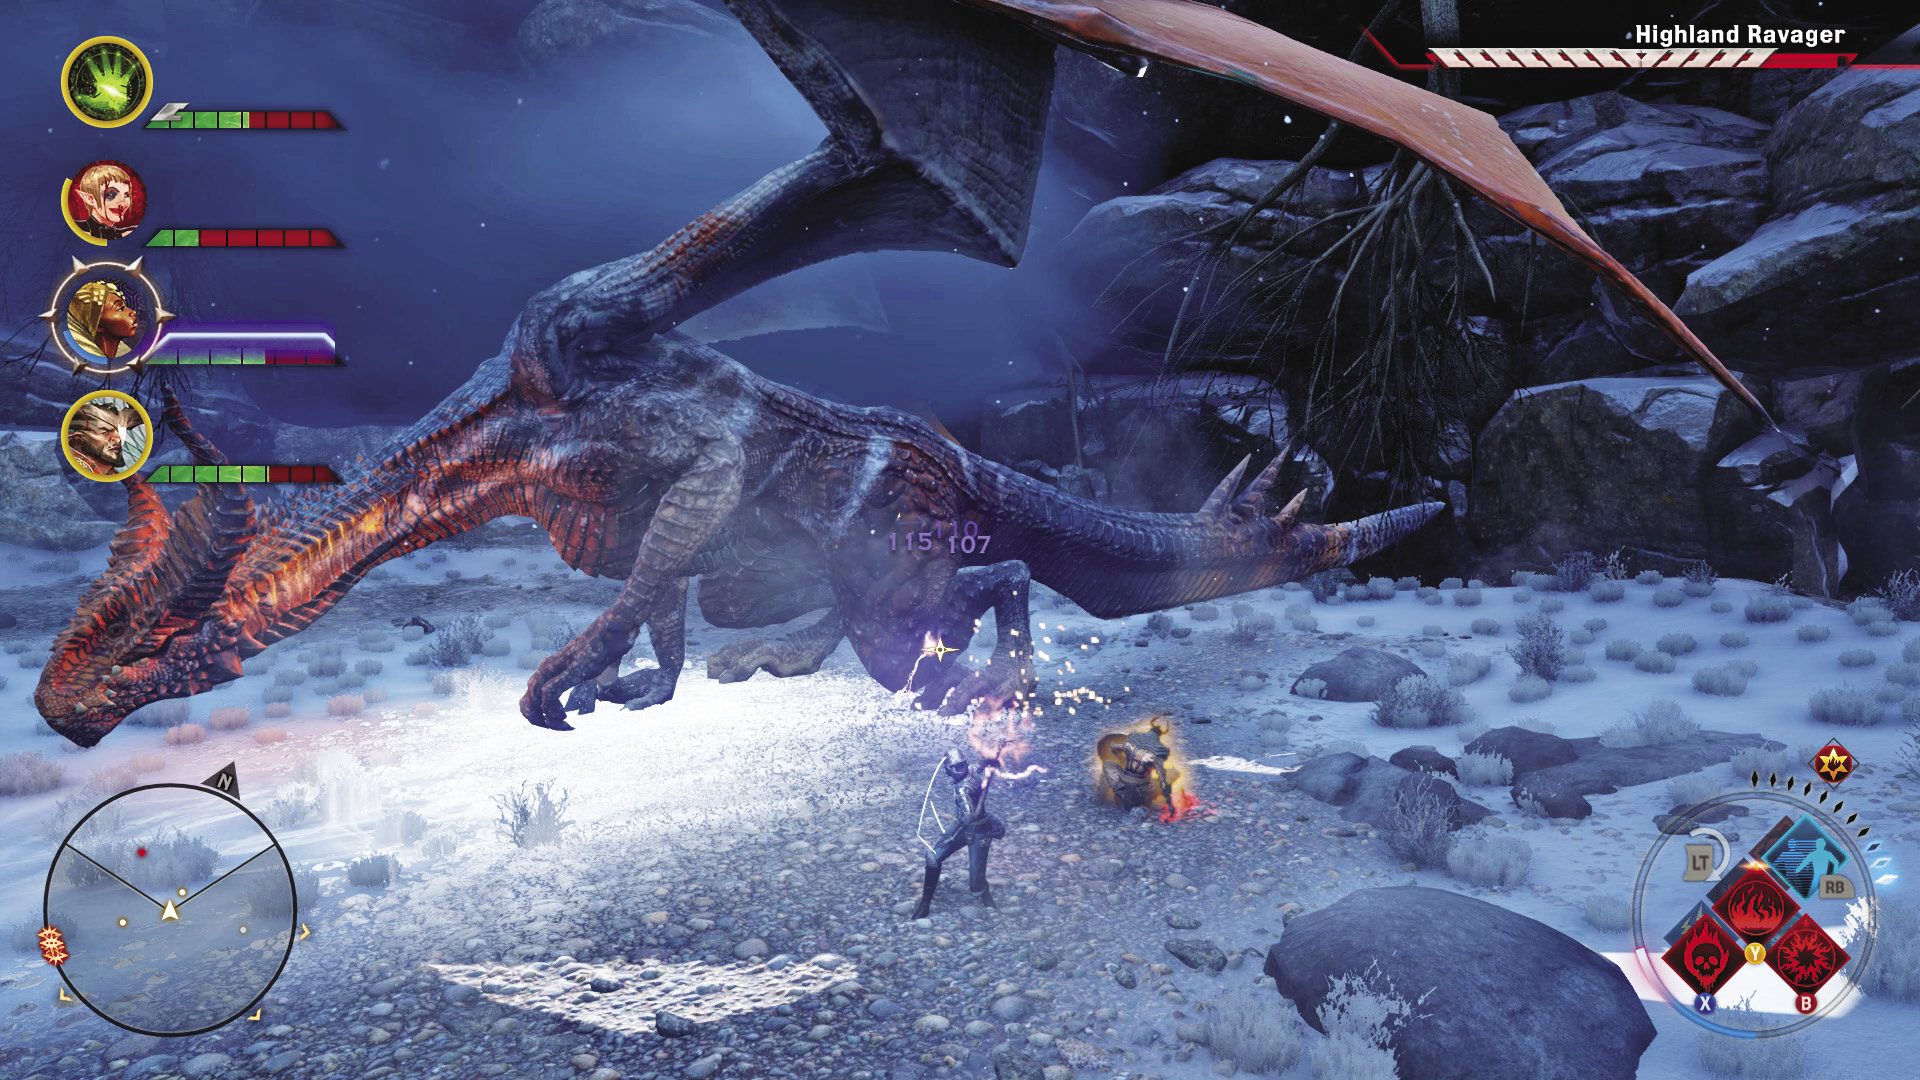
The Highland Ravager begins this battle asleep, a good chance for you to get into position to start the attack. Unlike the last two high dragons you’ve fought here, this one is based around the fire element. Switch out your weapons to cause cold damage if you can, and get yourself some fire resistance! Because the Highland Ravager starts out asleep, it’s a good plan for your Inquisitor to drop a Mark of the Rift right on top of Sleeping Beauty here. If you’ve leveled up your focus through the Forces Inquisition perks, you can easily take out almost a third of her life before the fight can really get going!
As the strongest of the three high dragons, the Ravager’s melee attacks are the most dangerous. Rogues should be prepared to flee out of range at any time, and warriors may be better served using sword and shield to better protect themselves. Mages should stay far away and try to keep melee fighters shielded as often as possible.
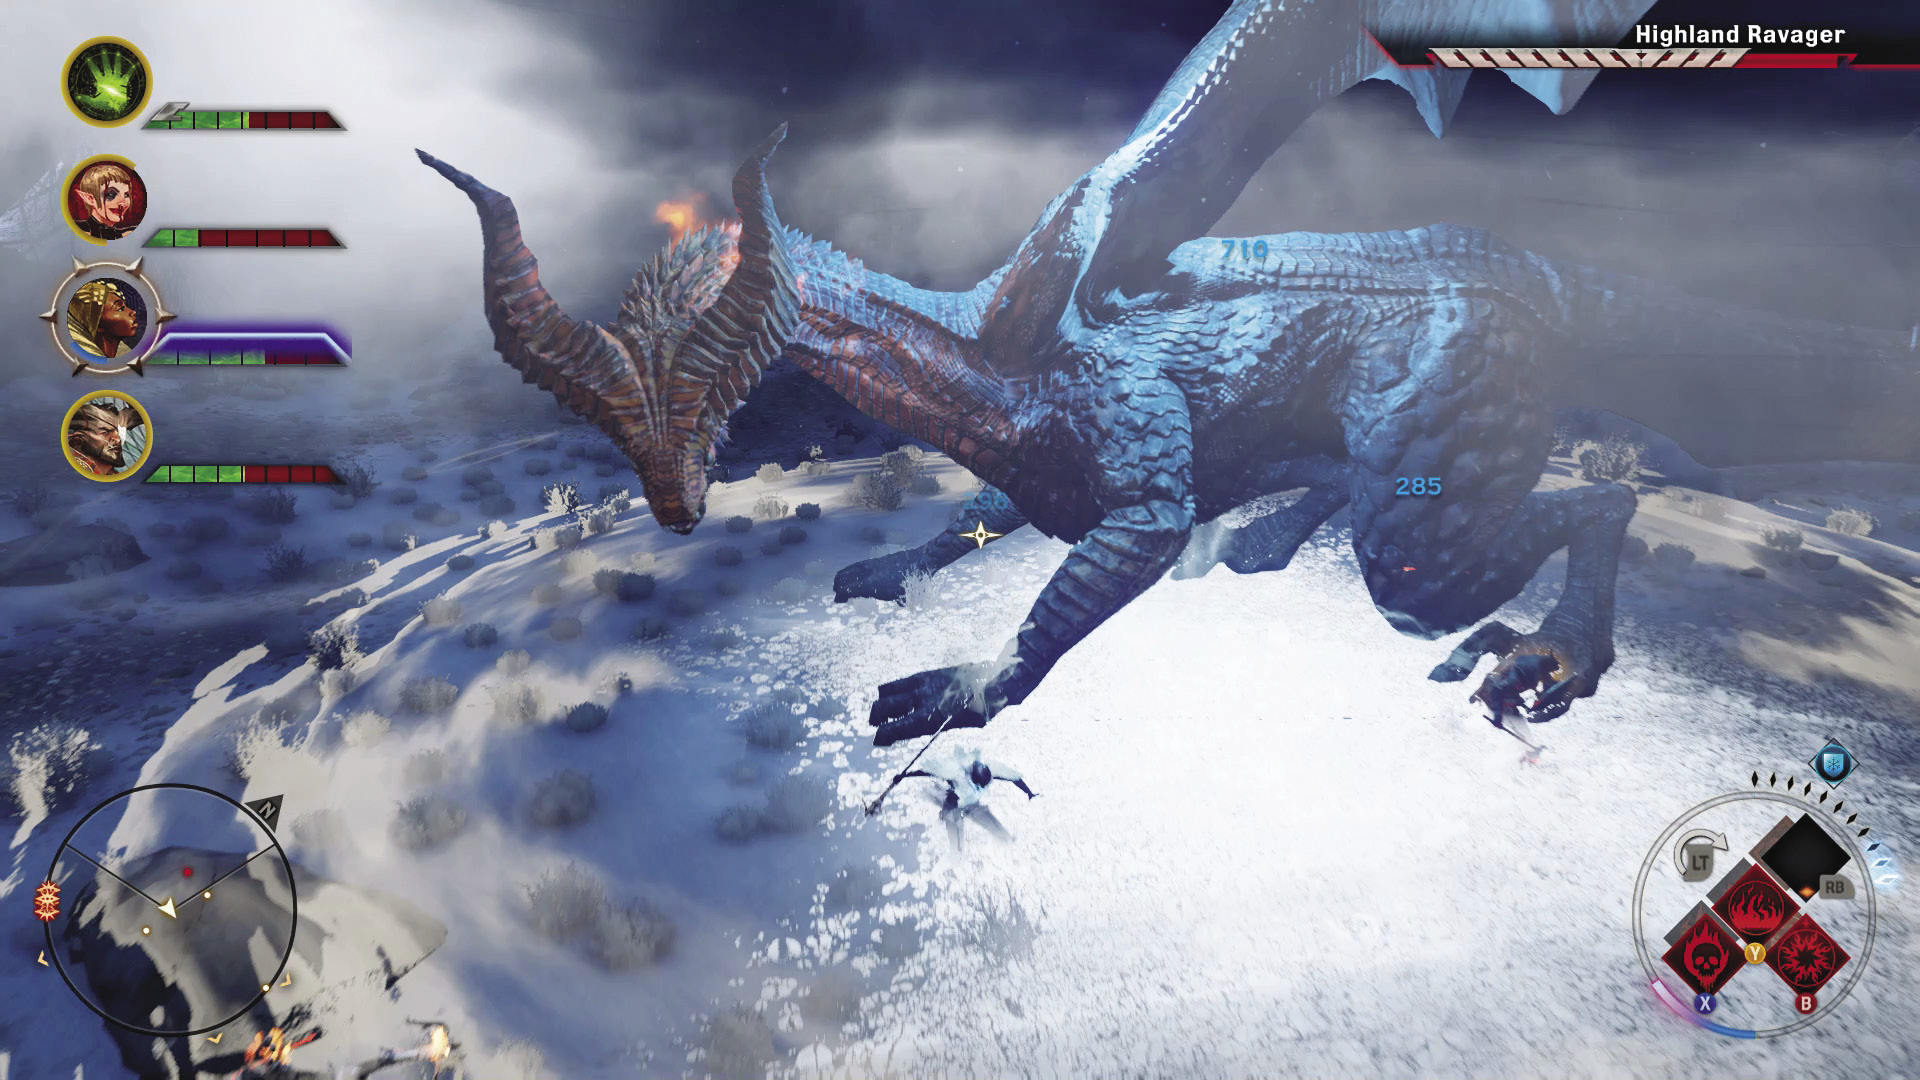
Like the other two high dragons, the Ravager can use her wings to create a dangerous wind barrier. This one causes damage to anyone in close range to the dragon, which is why it isn’t a bad idea to bring two mages to the fight. They can stay well outside of range of this ability, while still keeping the pressure on from afar with cold magic. You will have to babysit them a bit, because the Ravager likes to leap around the arena.
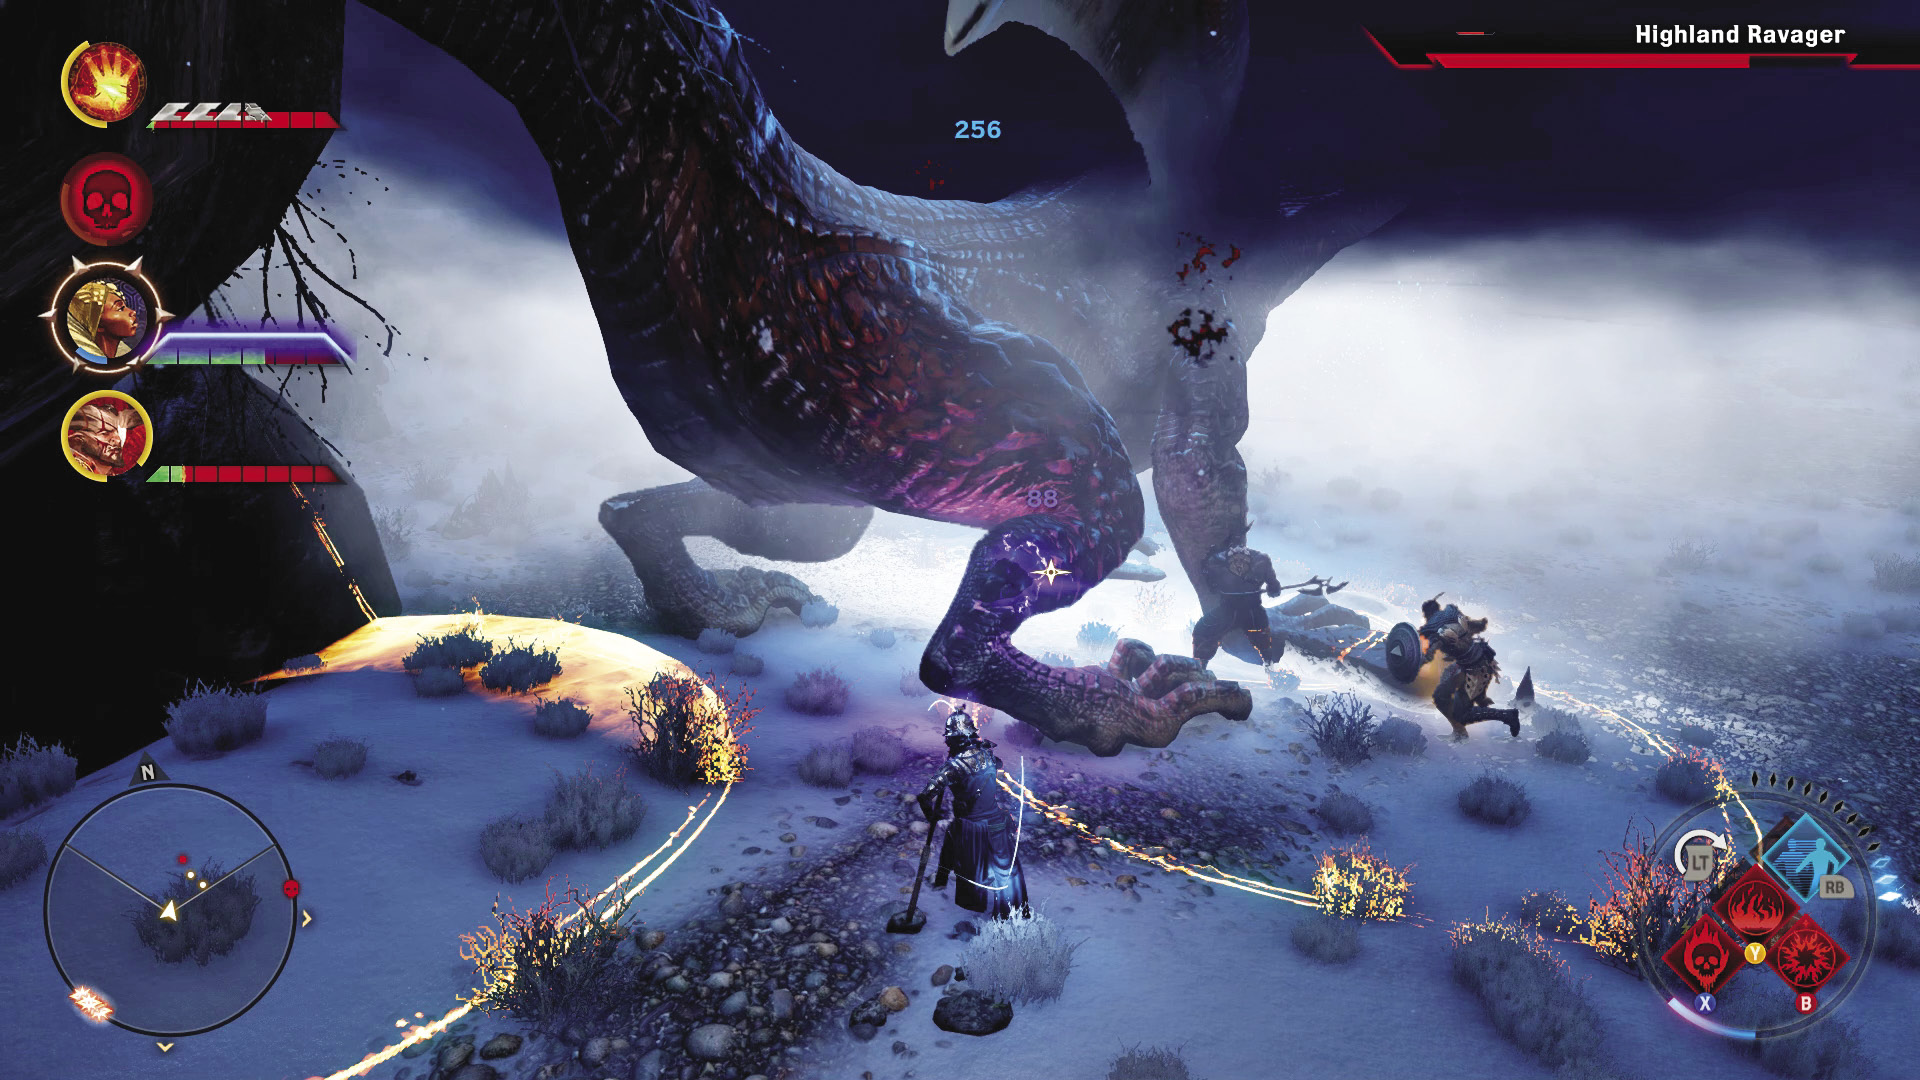
The Highland Ravager can breathe streams of fire at a swath of ground in front of her, and when she rears back with a shout, fire circles appear on the ground. When she slams her forelegs back down, the circles erupt into flames. Don’t be in a circle when that happens.
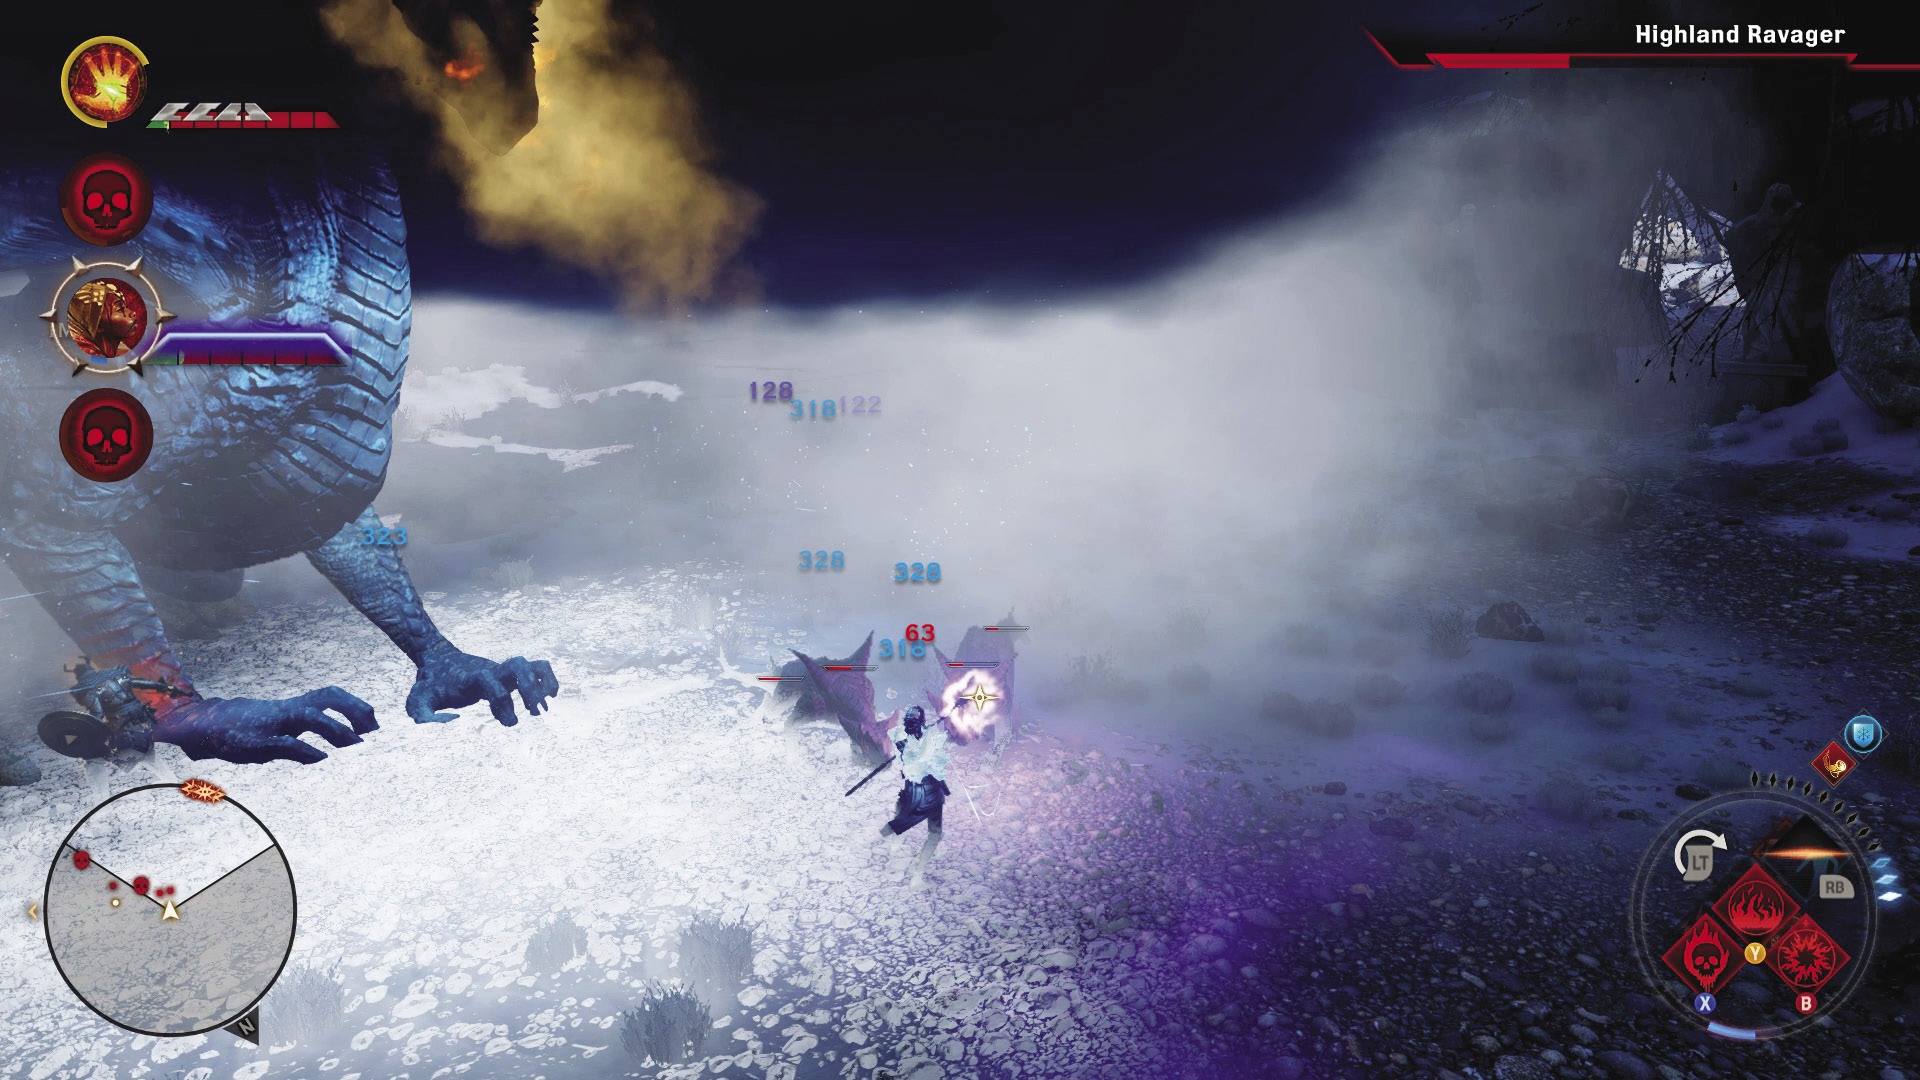
Like the Kaltenzahn, the Highland Ravager calls in dragonlings at about the halfway point of her health. Try to bring down the dragonlings quickly, so you don’t get overwhelmed should the Ravager use a stunning roar to freeze your party defenselessly in place.
It should be noted that the arena you fight the Highland Ravager in is the smallest of all three battle locations. This can make getting away from the fire breath or wind barrier difficult if it’s in the center of the arena.
If you manage to defeat all three high dragons, the Breeding Grounds quest will be complete!
18: Dungeon: The Cradle of Sulevin
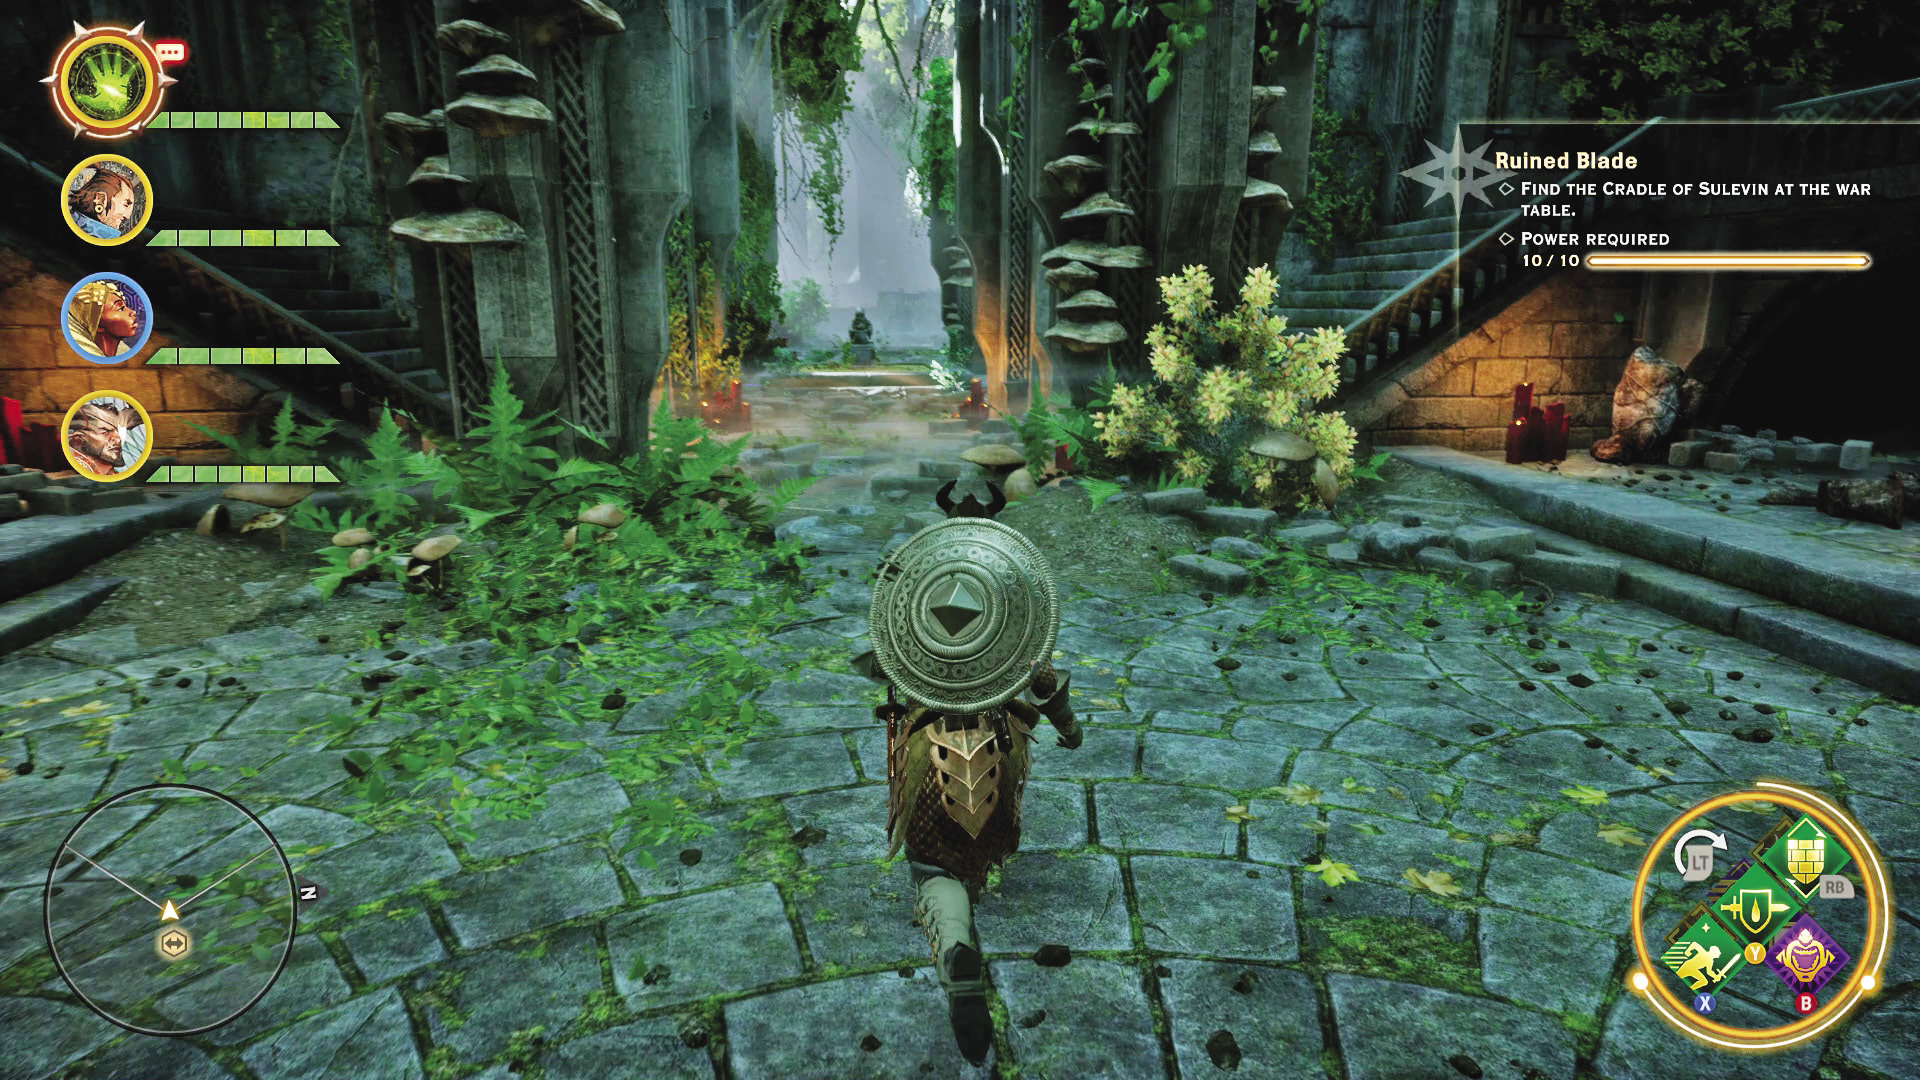
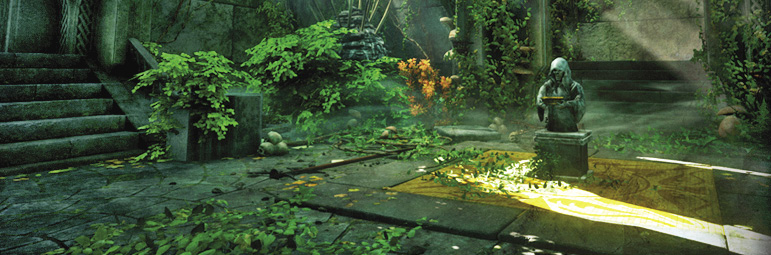
An ancient temple that is said to hold the finest blade ever produced by elven hands, the Cradle of Sulevin is where the storied blade was apparently hidden away. Because it was relegated to myth and the story around the blade was corrupted and twisted over the centuries, modern elves scarcely believe the blade actually existed. However, some Dalish continue to pursue this weapon, in hopes of retaining yet another part of elven lore.
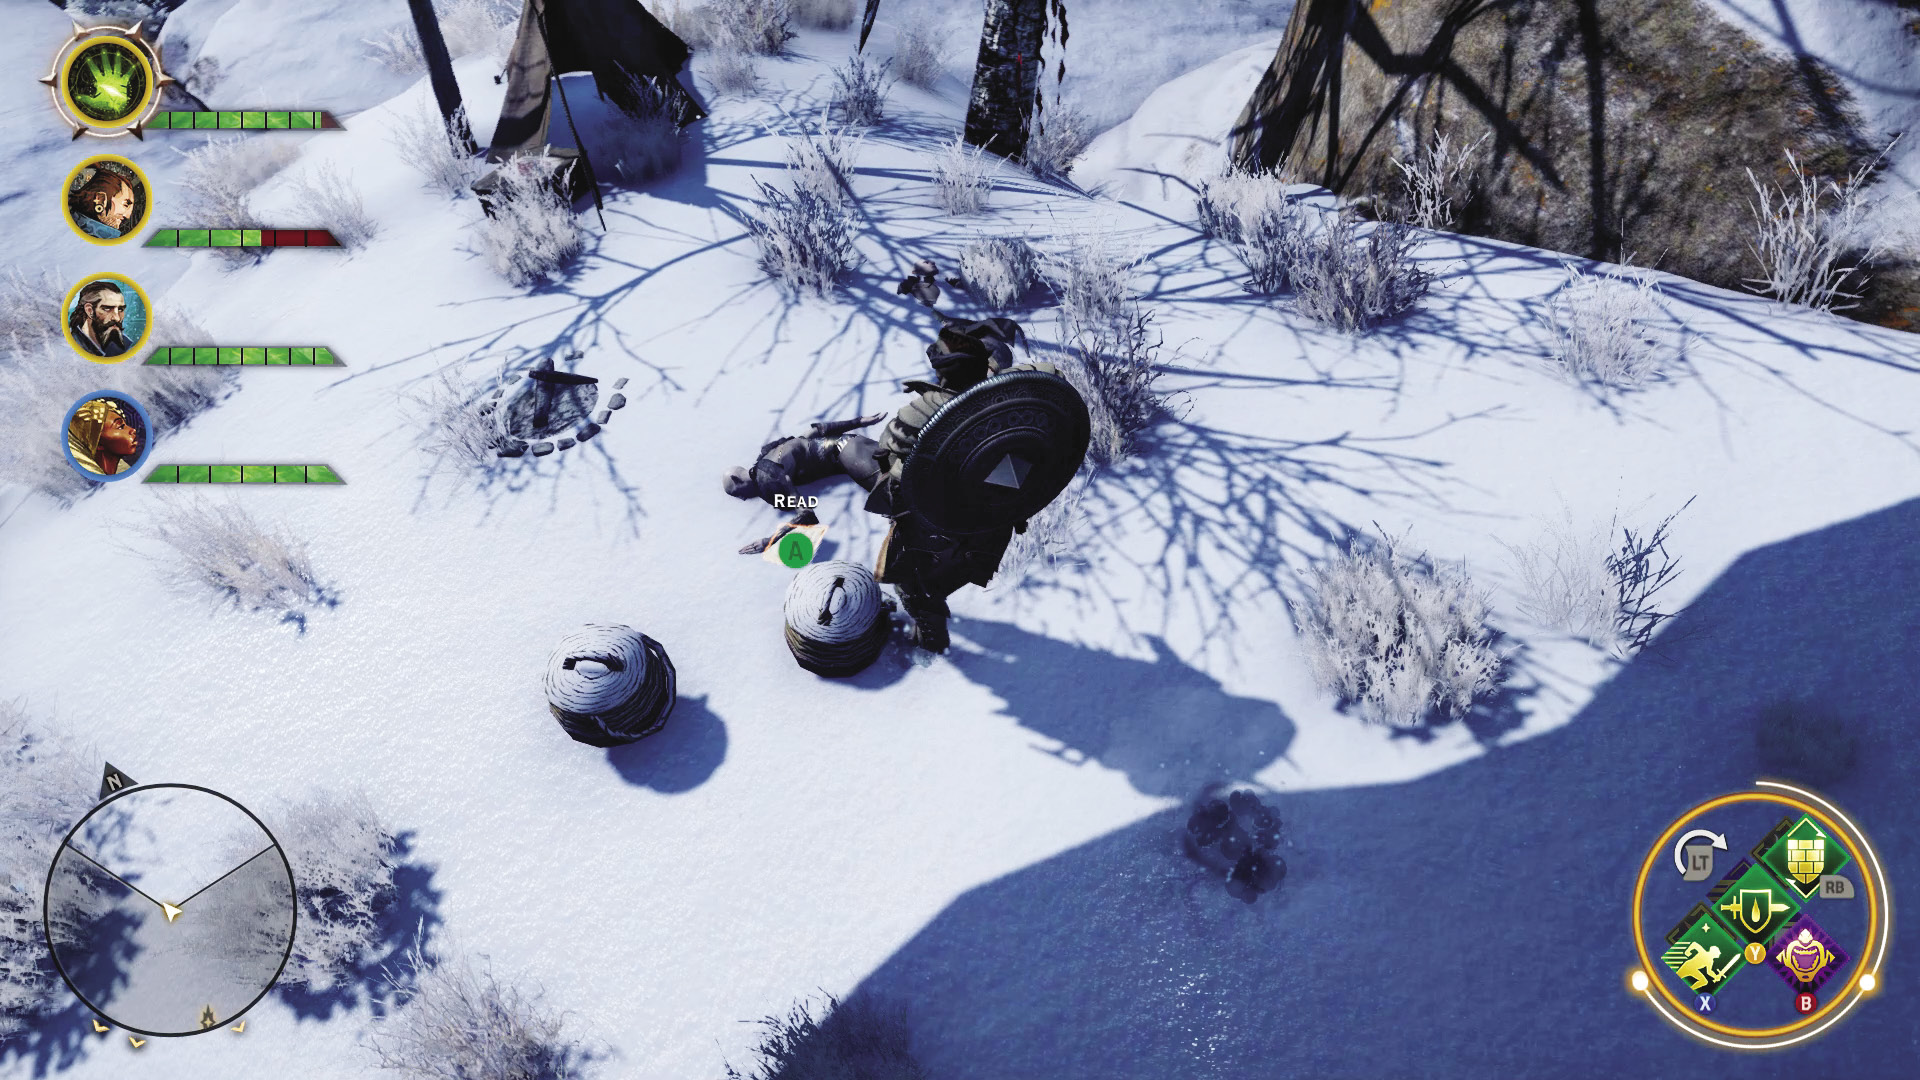
North of Drakon’s Tower, you’ll find a primeval red lyrium vein that can be destroyed for the Varric’s Seeing Red quest. A short distance north from that vein is a camp near the cliff’s edge. You find a journal on one of the elven corpses that contains information on the Cradle of Sulevin. This prompts you to return to Skyhold and use the war table to send out scouts to find the location of this temple. You can then select it as a location to visit on your world map.
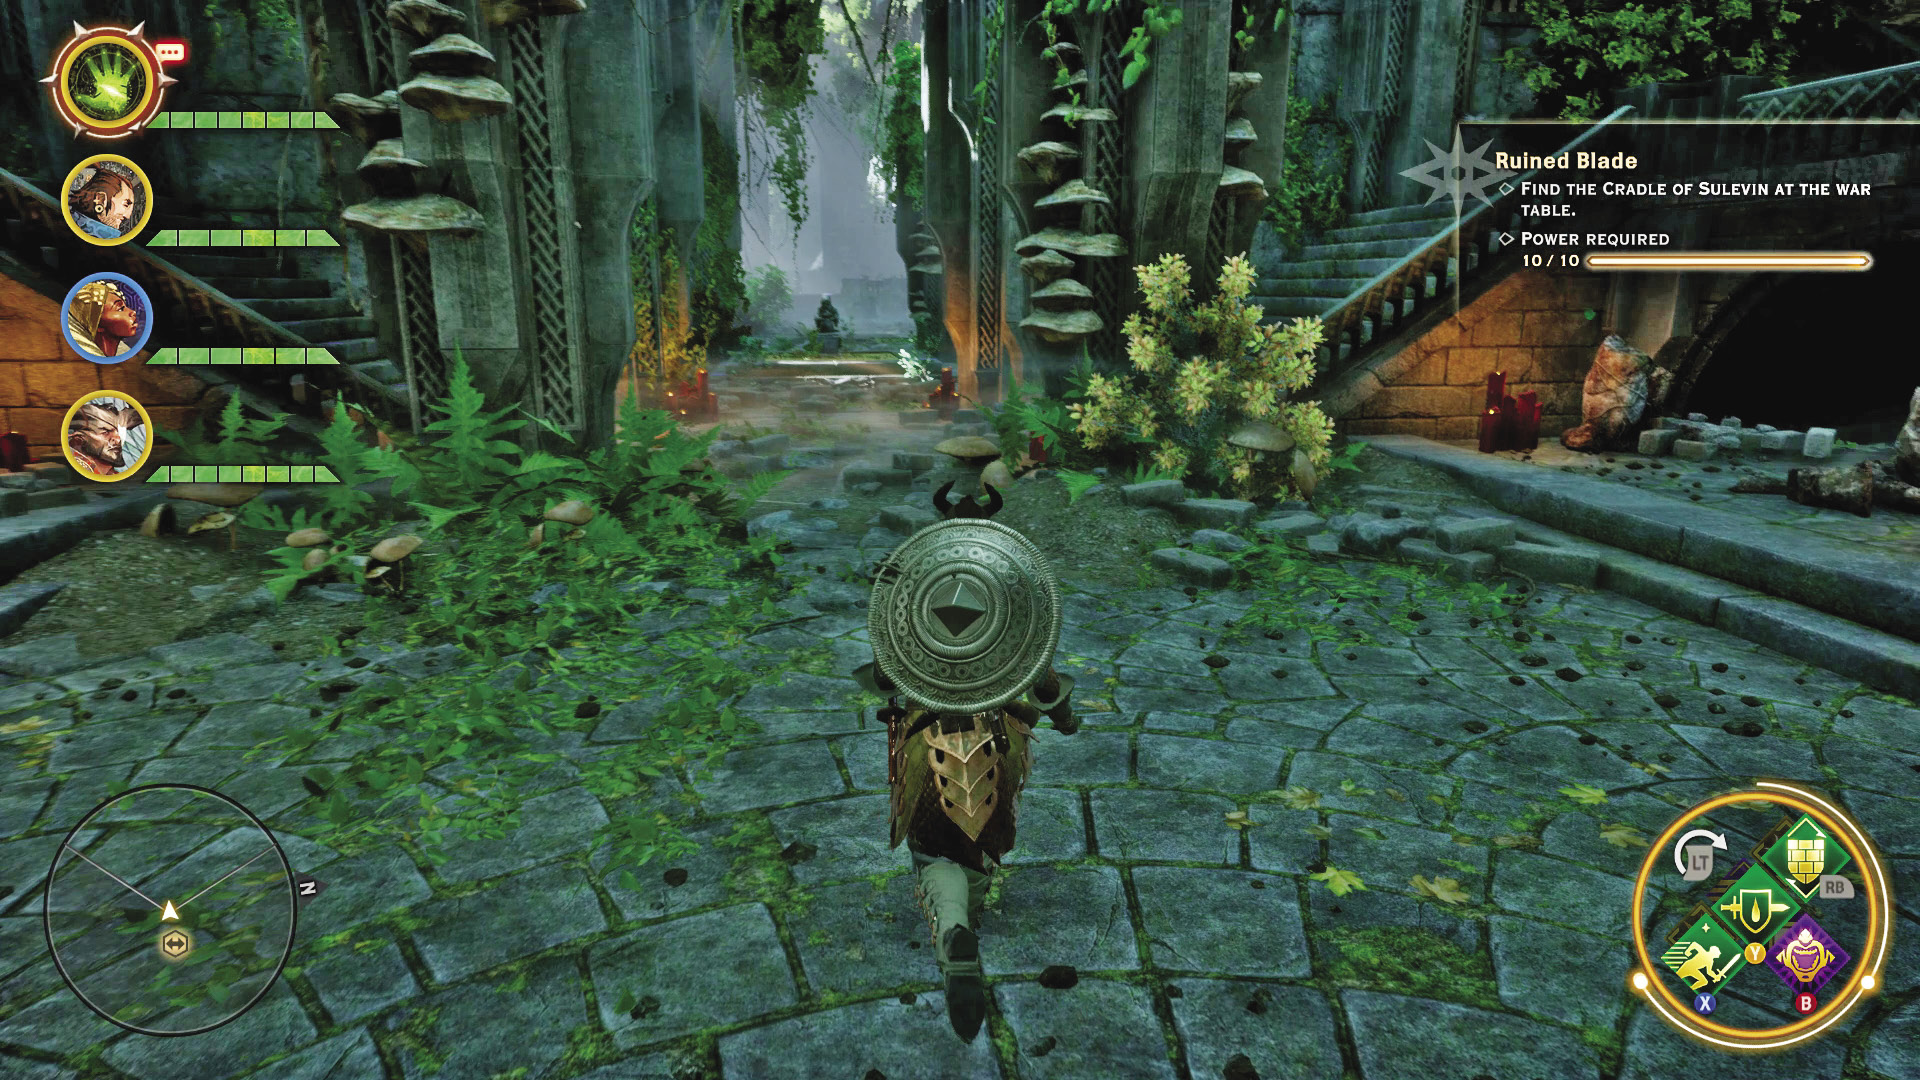
Ruined Blade
Quest Giver: A journal found on dead elves in Emprise du Lion
Description: There is a legendary elven sword rumored to be found within an overgrown ruin on the edge of the Arbor Wilds.
Requirements: Available as soon as you reach the journal
Reward: 10,152 XP, 2,000 Influence, 3 Power
Objectives:
 Find the Cradle of Sulevin at the war table (10 power required).
 Collect the shattered pieces of the Sulevin Sword.
 Recover four sword pieces.
 Bring the pieces of the sword to someone who can repair it.
Cradle of Sulevin
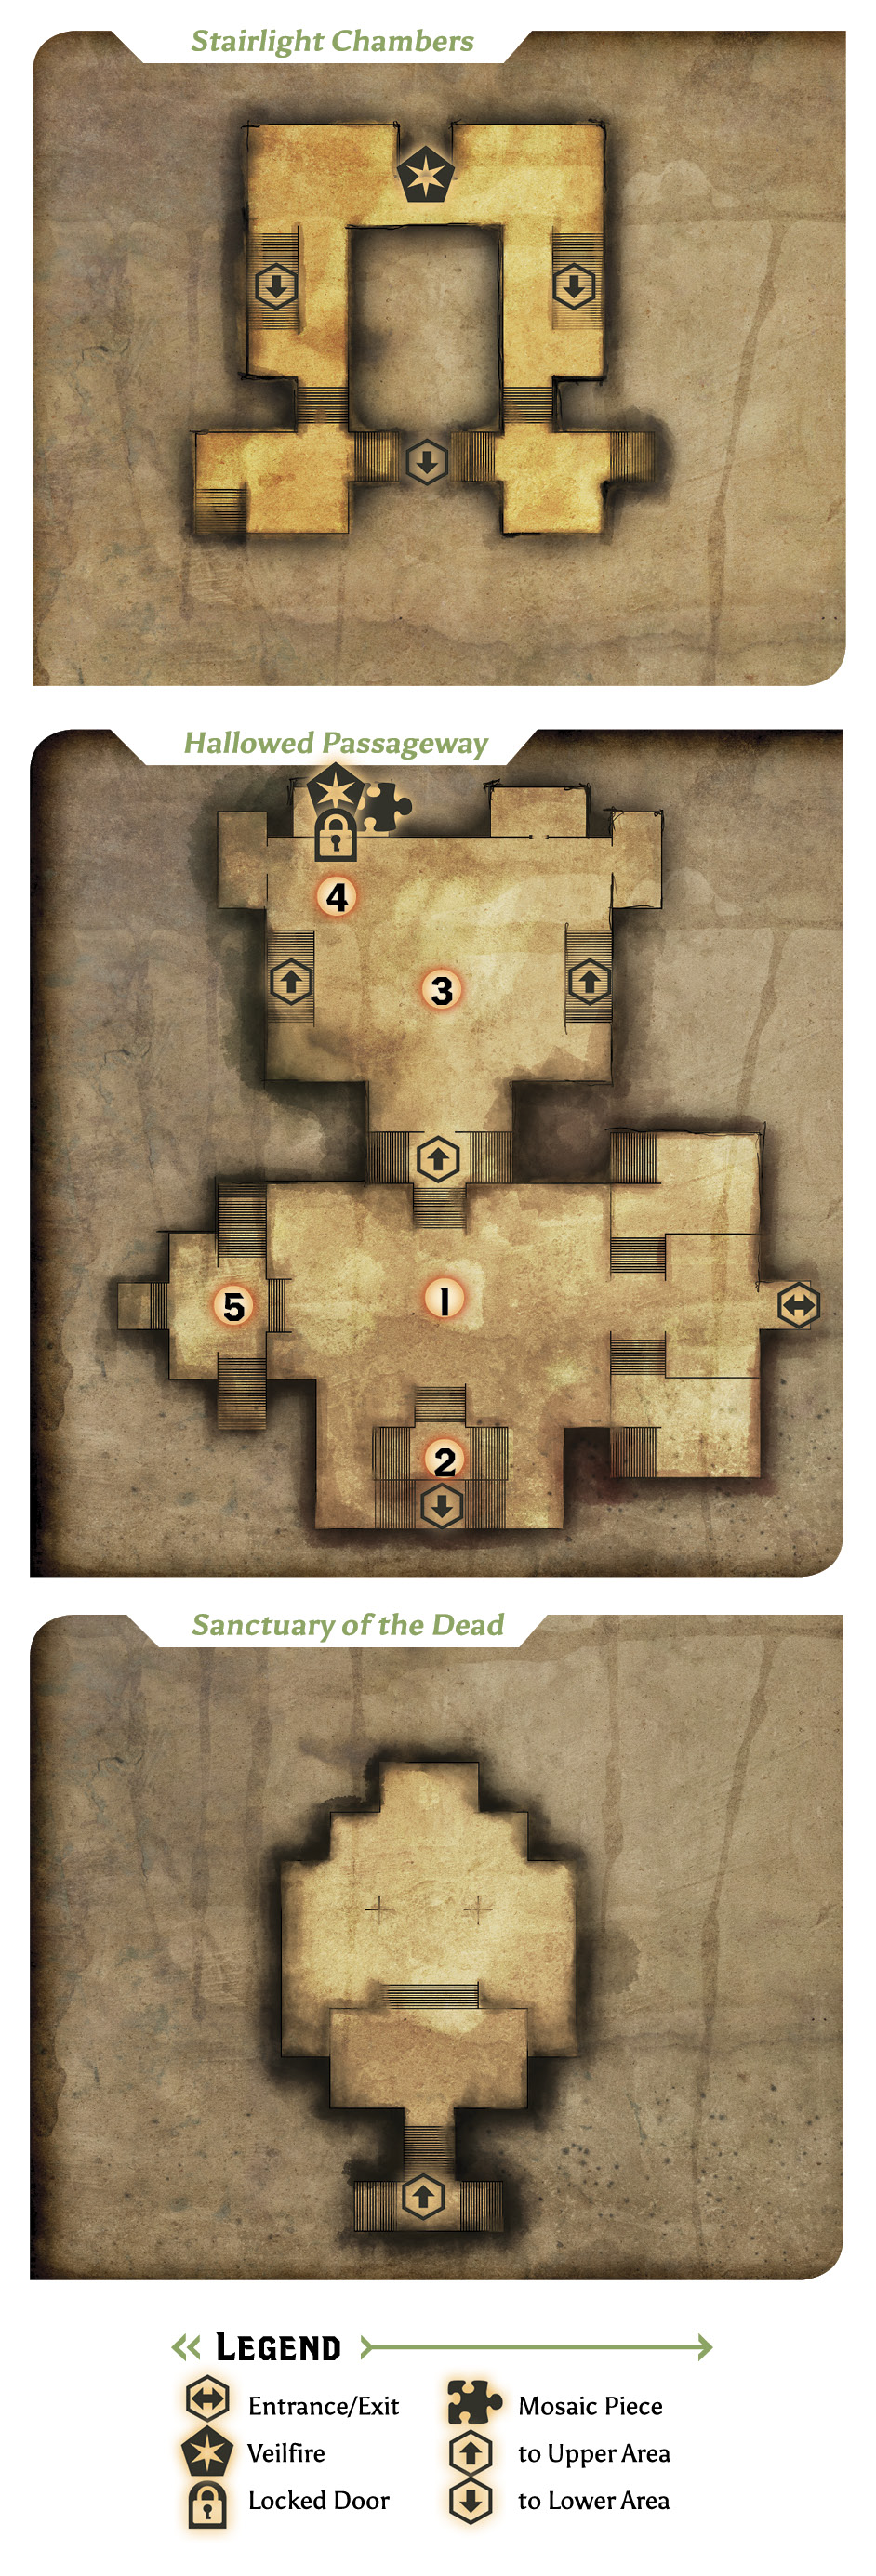
1.You begin in the Hallowed Passageway, a short distance away from one of the altars containing a sword piece. Grab a nearby veilfire torch and return to the altar. This causes a revenant to appear. After defeating it, you can loot one of the sword pieces from the remains.
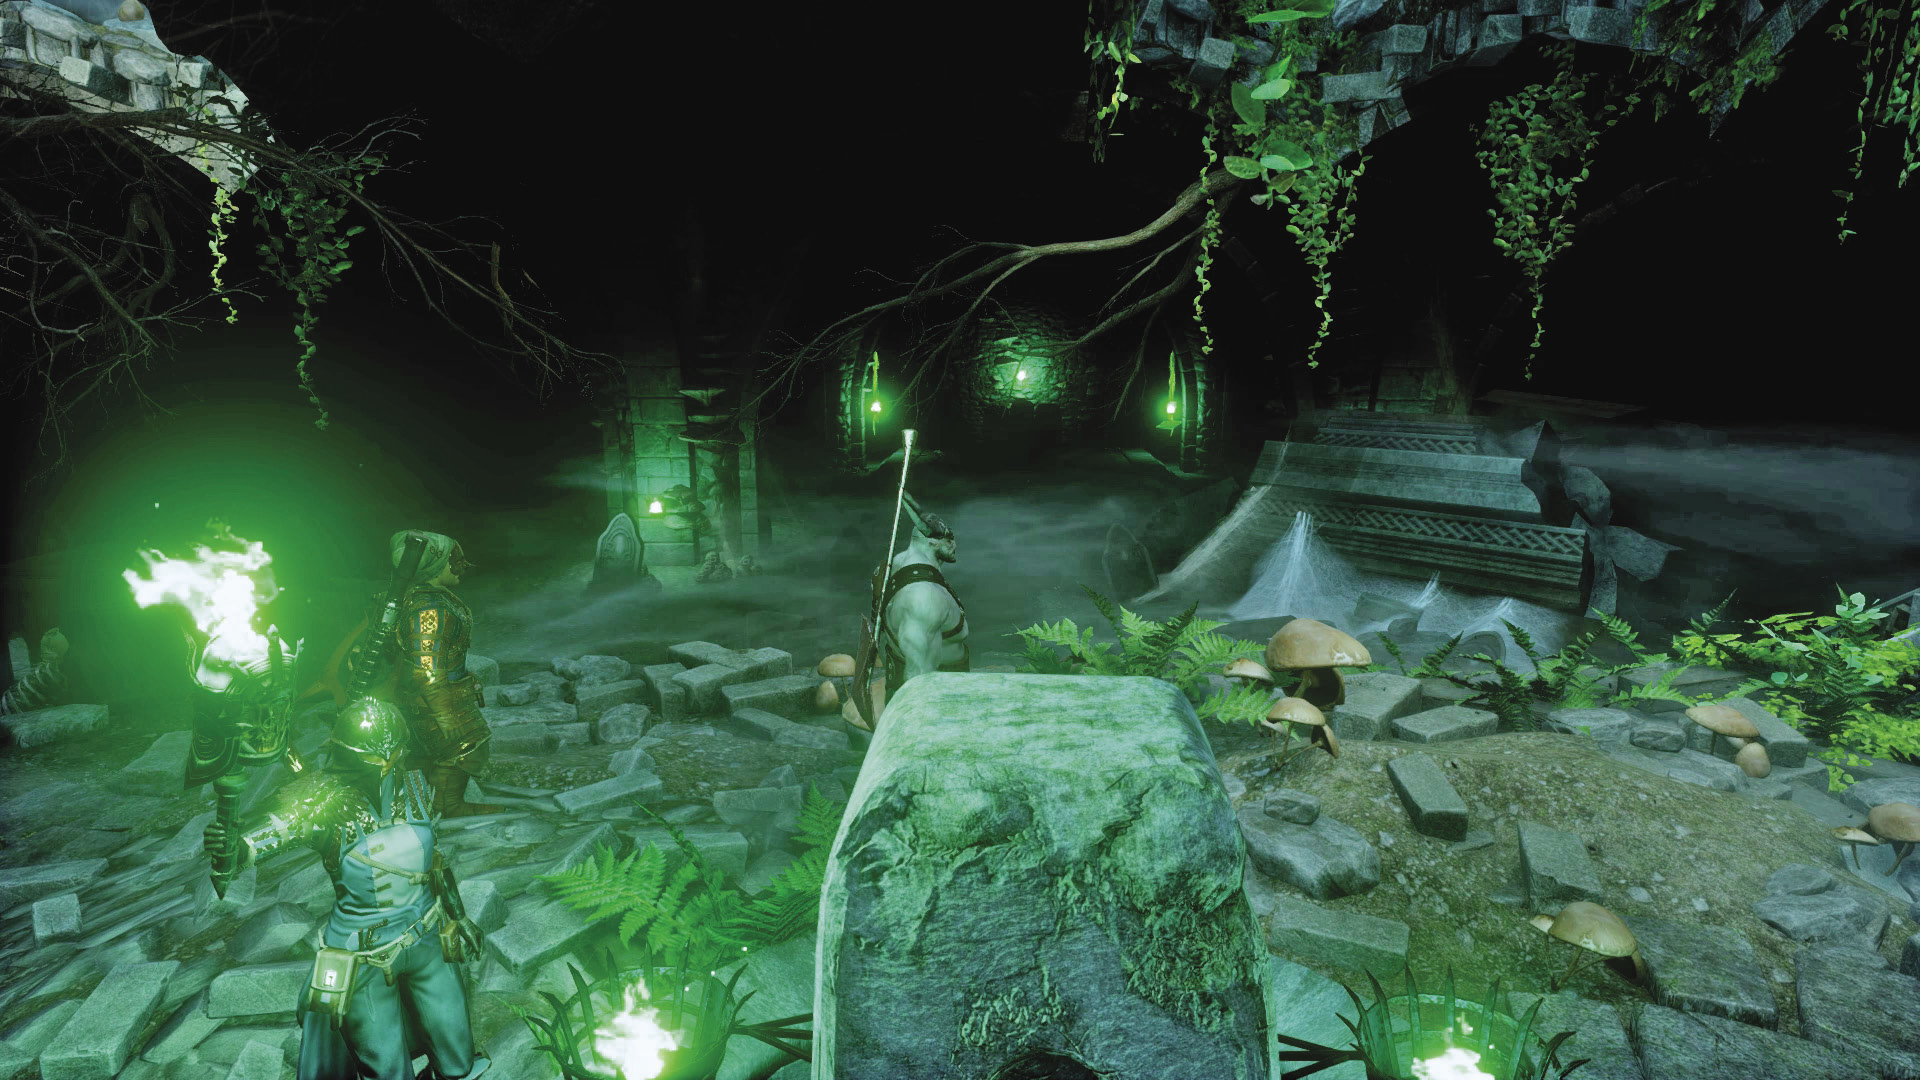
2. To the left of the first altar is a stairwell that leads down to the Sanctuary of the Dead. Take the next stairwell that leads you deeper underground, light the up the area using a veilfire torch, and proceed toward the next altar. Bringing the torch to the altar calls out a second revenant and a swarm of undead. After clearing out the enemy and retrieving the sword piece, be sure to sweep the chamber to collect the piles of gold left lying around.
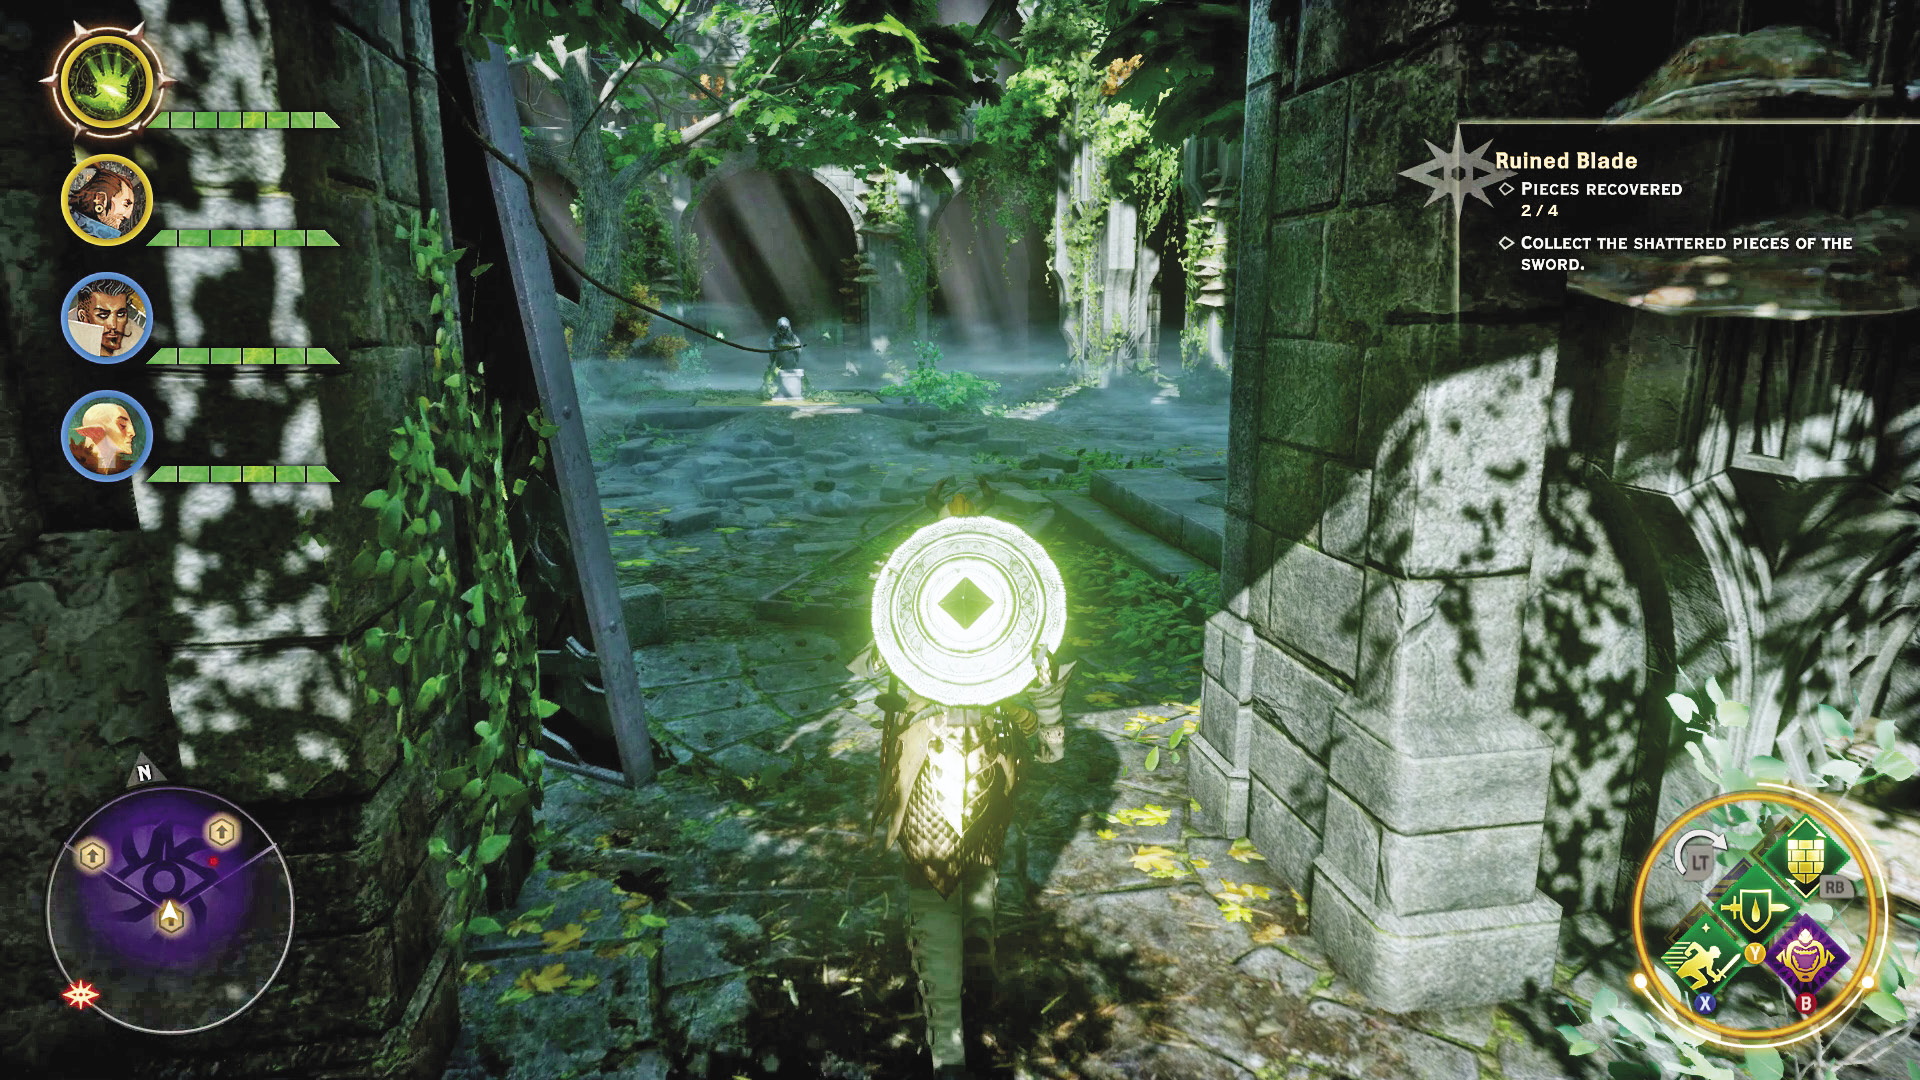
3. Lighting the altar in the Starlight Chambers brings out another revenant and even more undead.
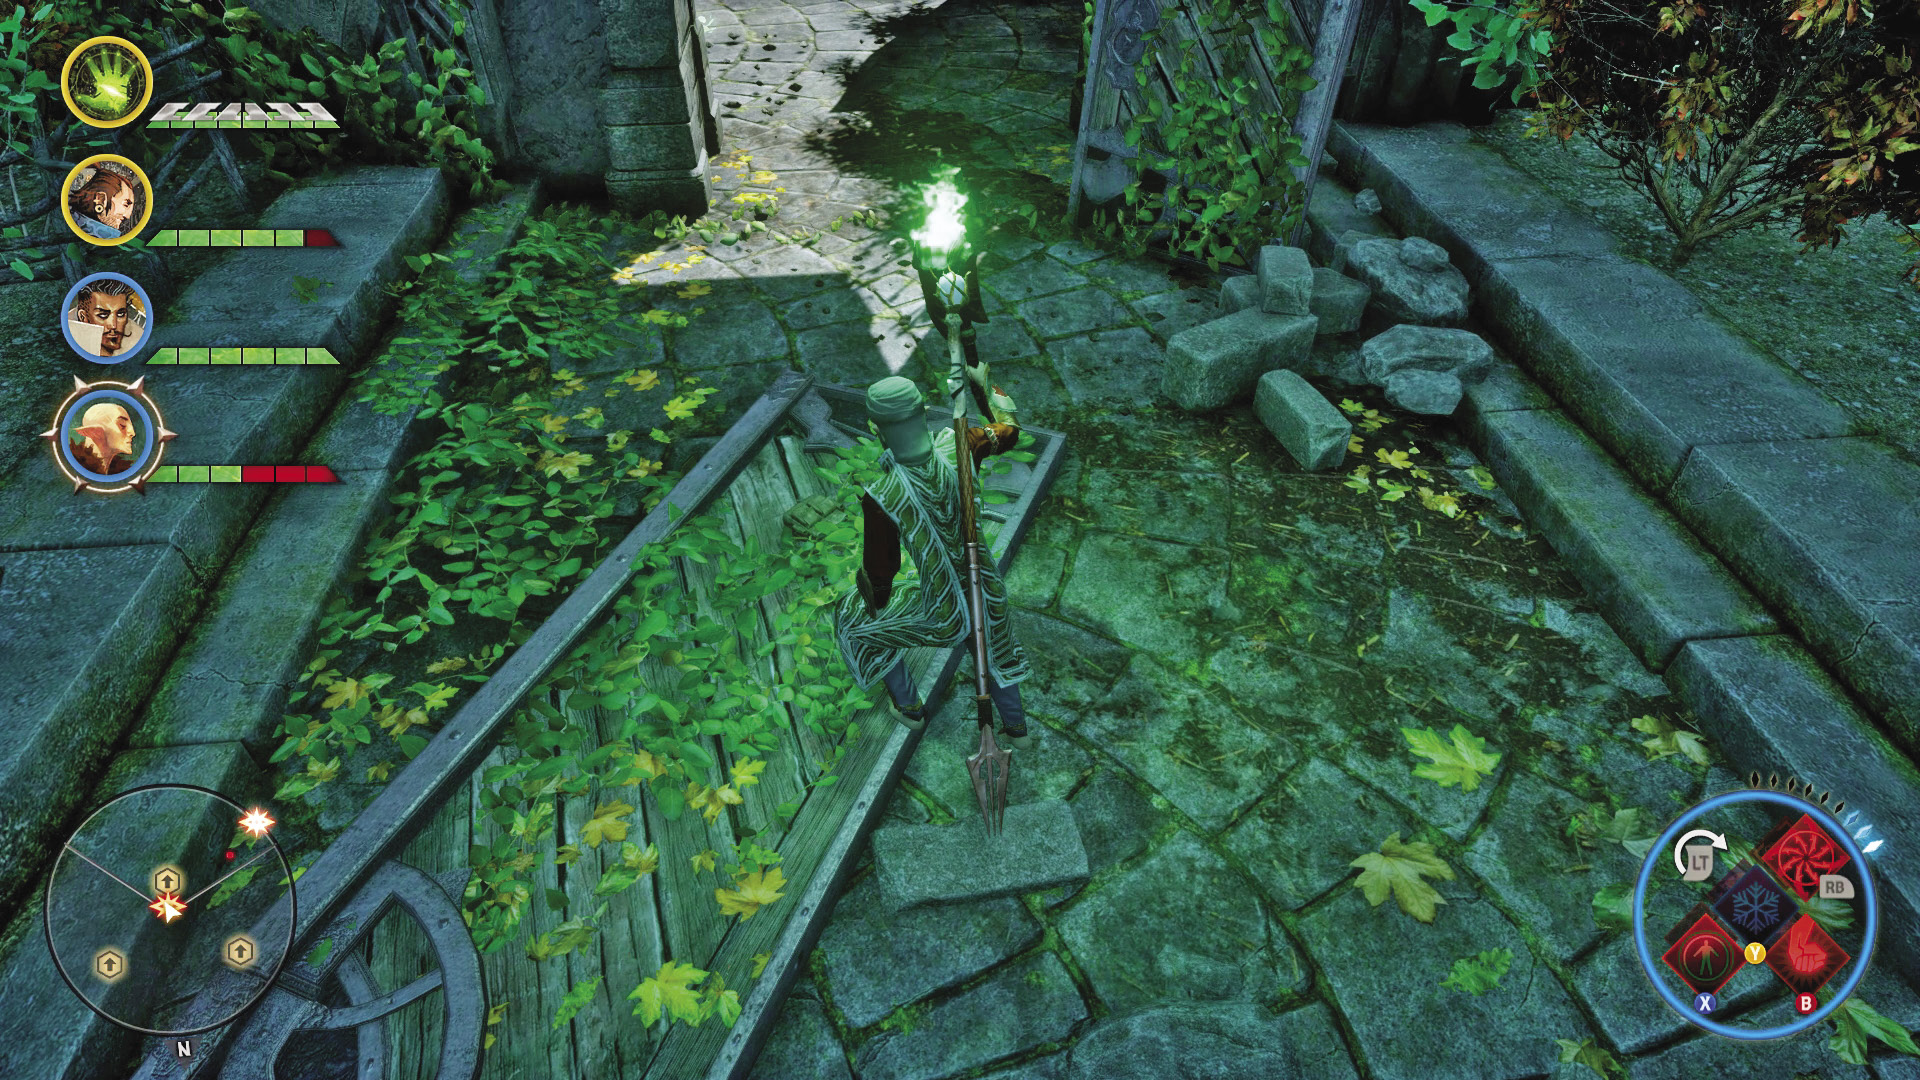
4. There’s lots of loot to find throughout the Cradle of Sulevin, and among it all is a locked door in the Starlight Chambers, on the northern wall of the first floor. You need Deft Hands, Fine Tools to open it. Inside you’ll find a mosaic piece for the Freed Are Slaves set and a superb spirit rune schematic on one of the walls. Bring a veilfire torch!
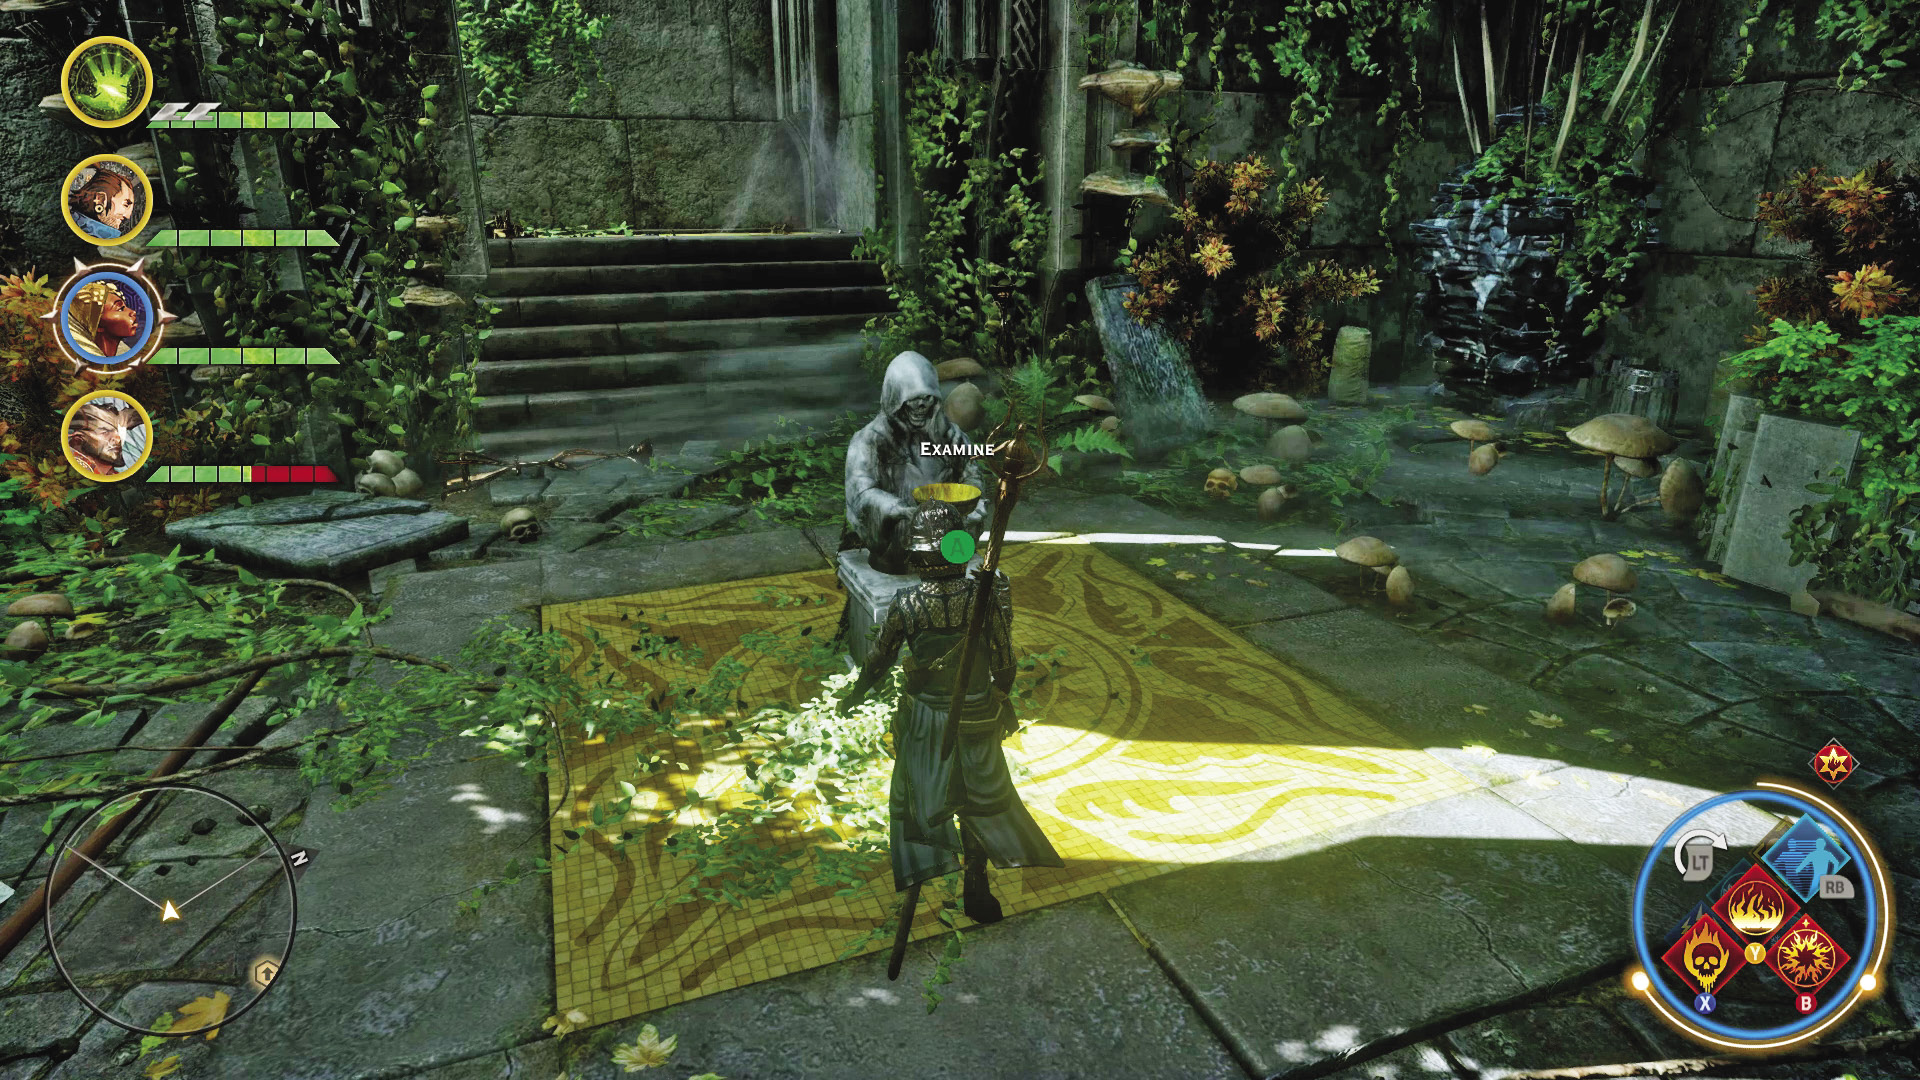
5. At the western end of the Hallowed Passageway is a fourth altar, which summons a final revenant/undead group to put down. With all four sword pieces recovered, you can return to Skyhold to complete the quest, but make a thorough sweep of the temple grounds. There are a lot of chests to pick through and a lot of loot to grab!
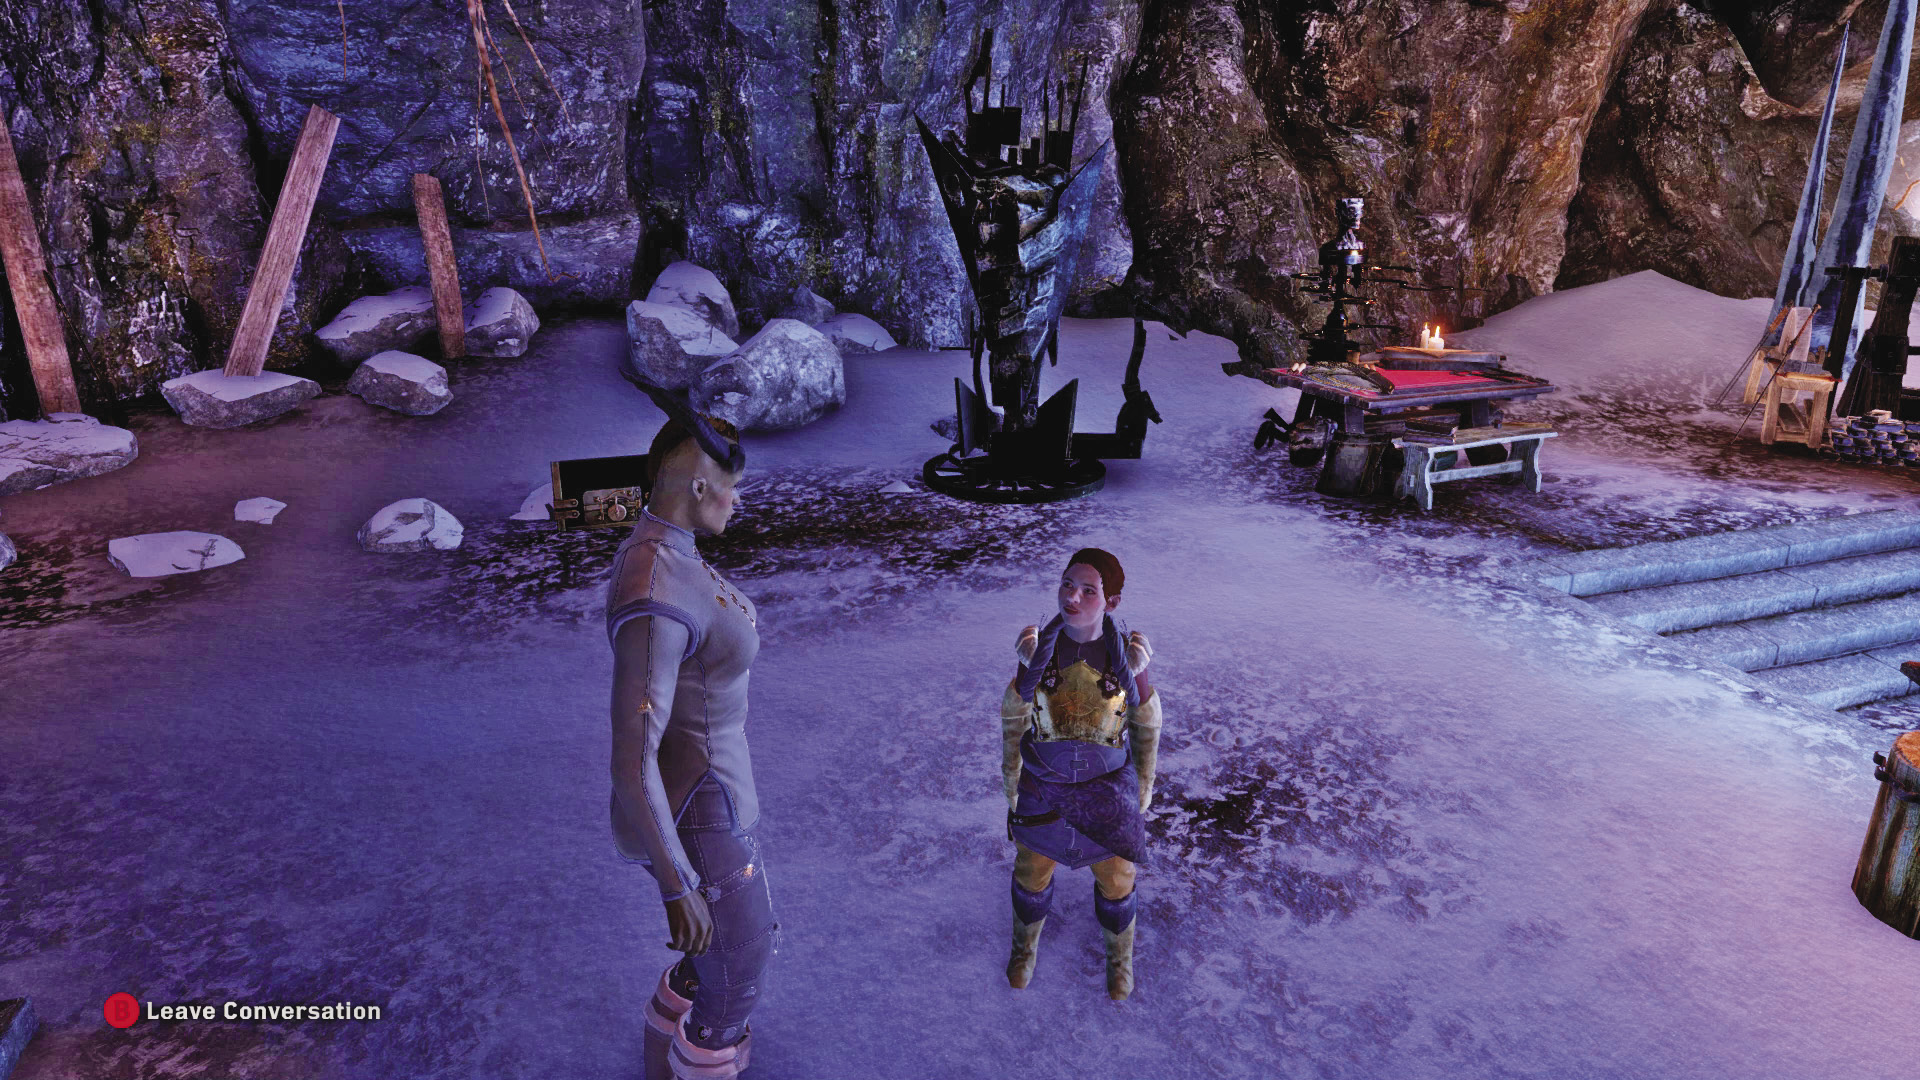
With all four sword pieces in hand, go to Dagna at Skyhold. She will enthusiastically use those sword pieces to create a powerful two-handed sword, the Sulevin Blade. It requires the user to be at level 20, but rest assured the warrior using it will hit like a high dragon.