
Dragon Age Inquisition Guide Exploration Crestwood
Side Quests (Recommended Level 10-12 and 13+)
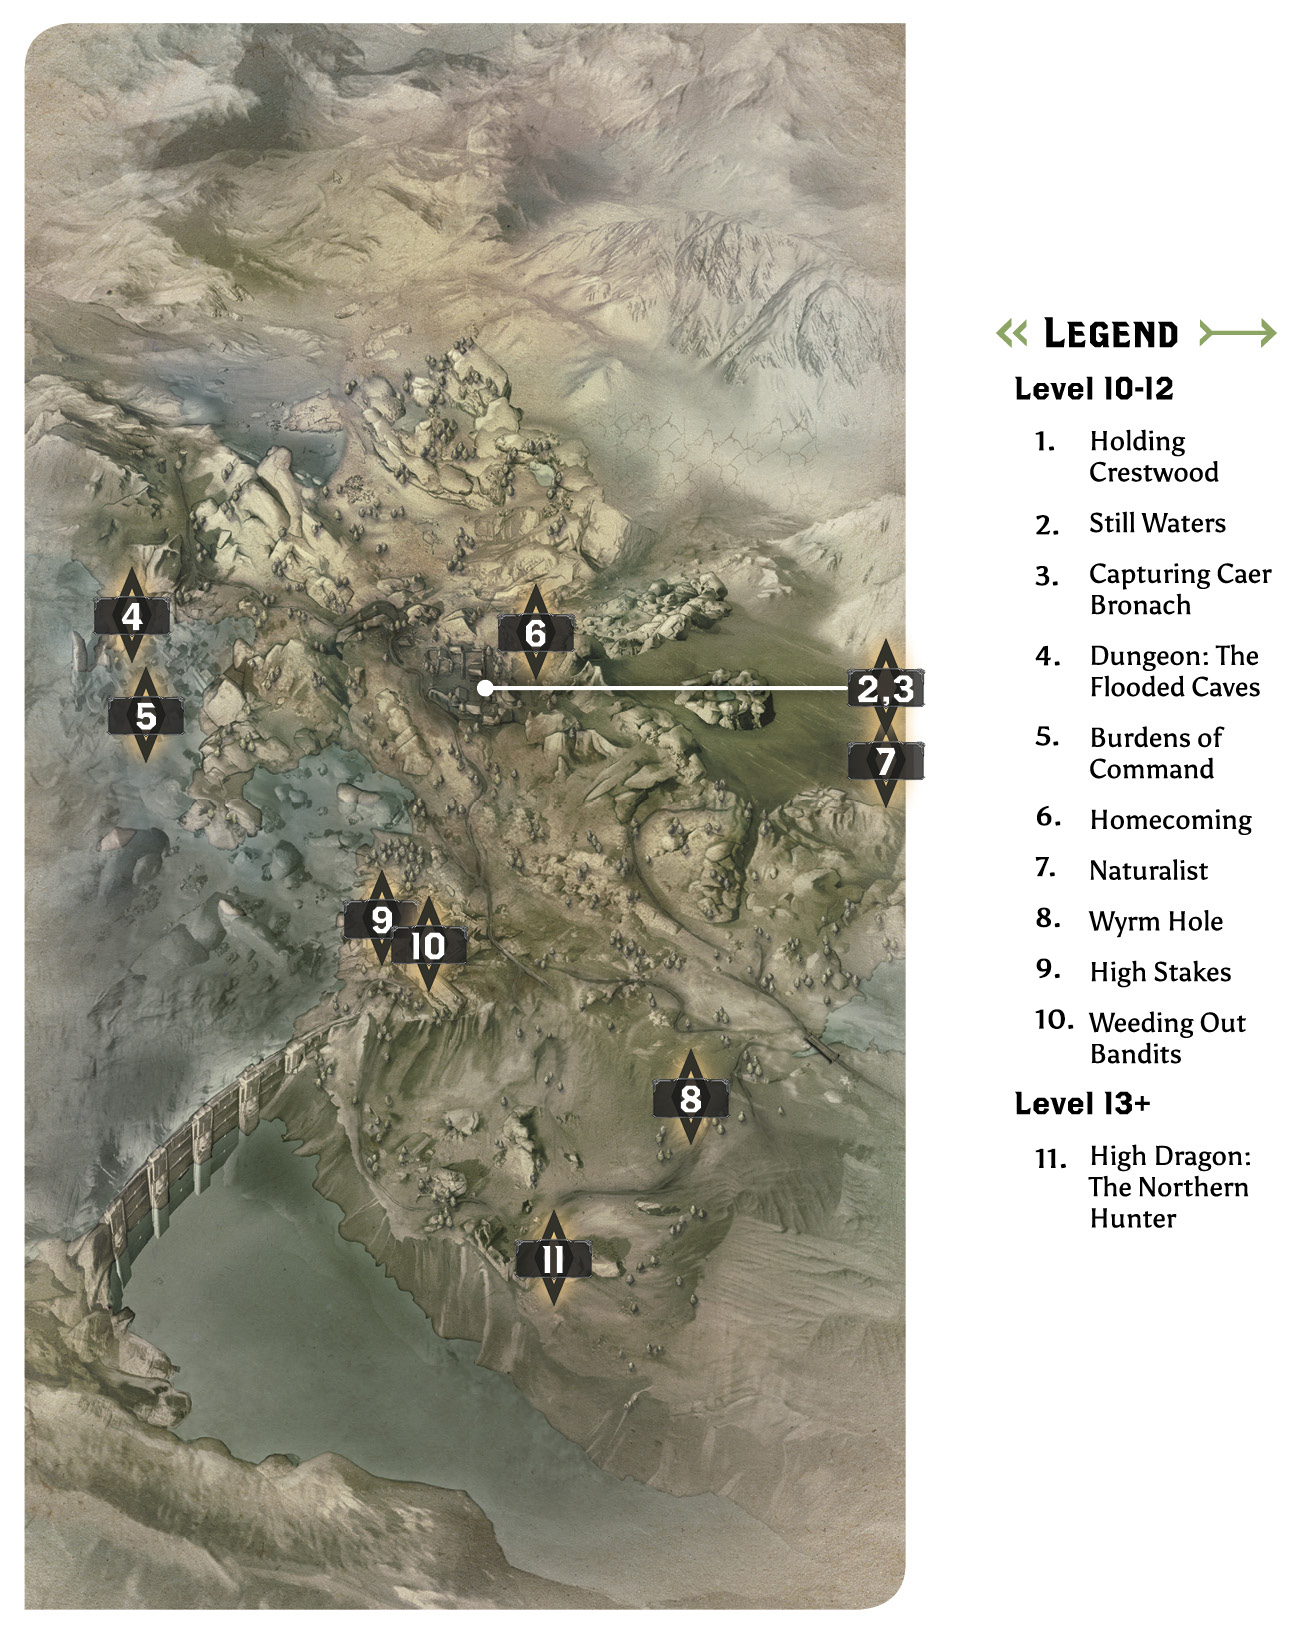
1: Holding Crestwood
Description: Establish camps to hold Crestwood and support Inquisition activity in the region.
Quest Giver: Scout Harding
Requirements: Started as soon as you arrive in Crestwood
Reward: 100 Influence and 1 Power per camp, except for the starting camp
Objectives:
 Establish two camps.
As with the Forbidden Oasis, a mere two camps can be set up by the Inquisition here in Crestwood. However, the terrain here isn’t nearly as complicated to navigate. Both camps are in good spots, placing you near areas where multiple quests overlap. It’s worth establishing the second camp as early as possible to cut down on your travel times across the whole locale.
2: Still Waters
Quest Giver: Scout Harding
Description: Undead have terrorized Crestwood since a Fade rift appeared in the lake. There must be a way to close it.
Requirements: Using eight power, unlock Crestwood via the war table once you’ve spoken to Hawke in Skyhold. Arrive at Crestwood for the first time to begin this quest.
Reward: 1,934 XP, 400 Influence, 3 Power
Objectives:
 Help Crestwood fight back the undead.
 Speak to Crestwood’s mayor.
 Claim the keep to reach the dam.
 Enter the building on the dam.
 Unlock the door to reach the controls and drain the lake.
 Find an entrance to the Flooded Caves.
 Enter the Flooded Caves under Old Crestwood.
 Close the Fade rift.
 Inform the mayor that the rift is closed.
Your ultimate goal during Still Waters is to somehow reach the Fade rift in the lake near the new Crestwood and seal it. Prepare yourself—this is a long side quest. By its very nature, it will take you throughout Crestwood, and during it you can start, and complete, other side quests: Burdens of Command, Homecoming, High Stakes, and Capturing Caer Bronach. All of these quests will at some point be encountered during and overlap with Still Waters.
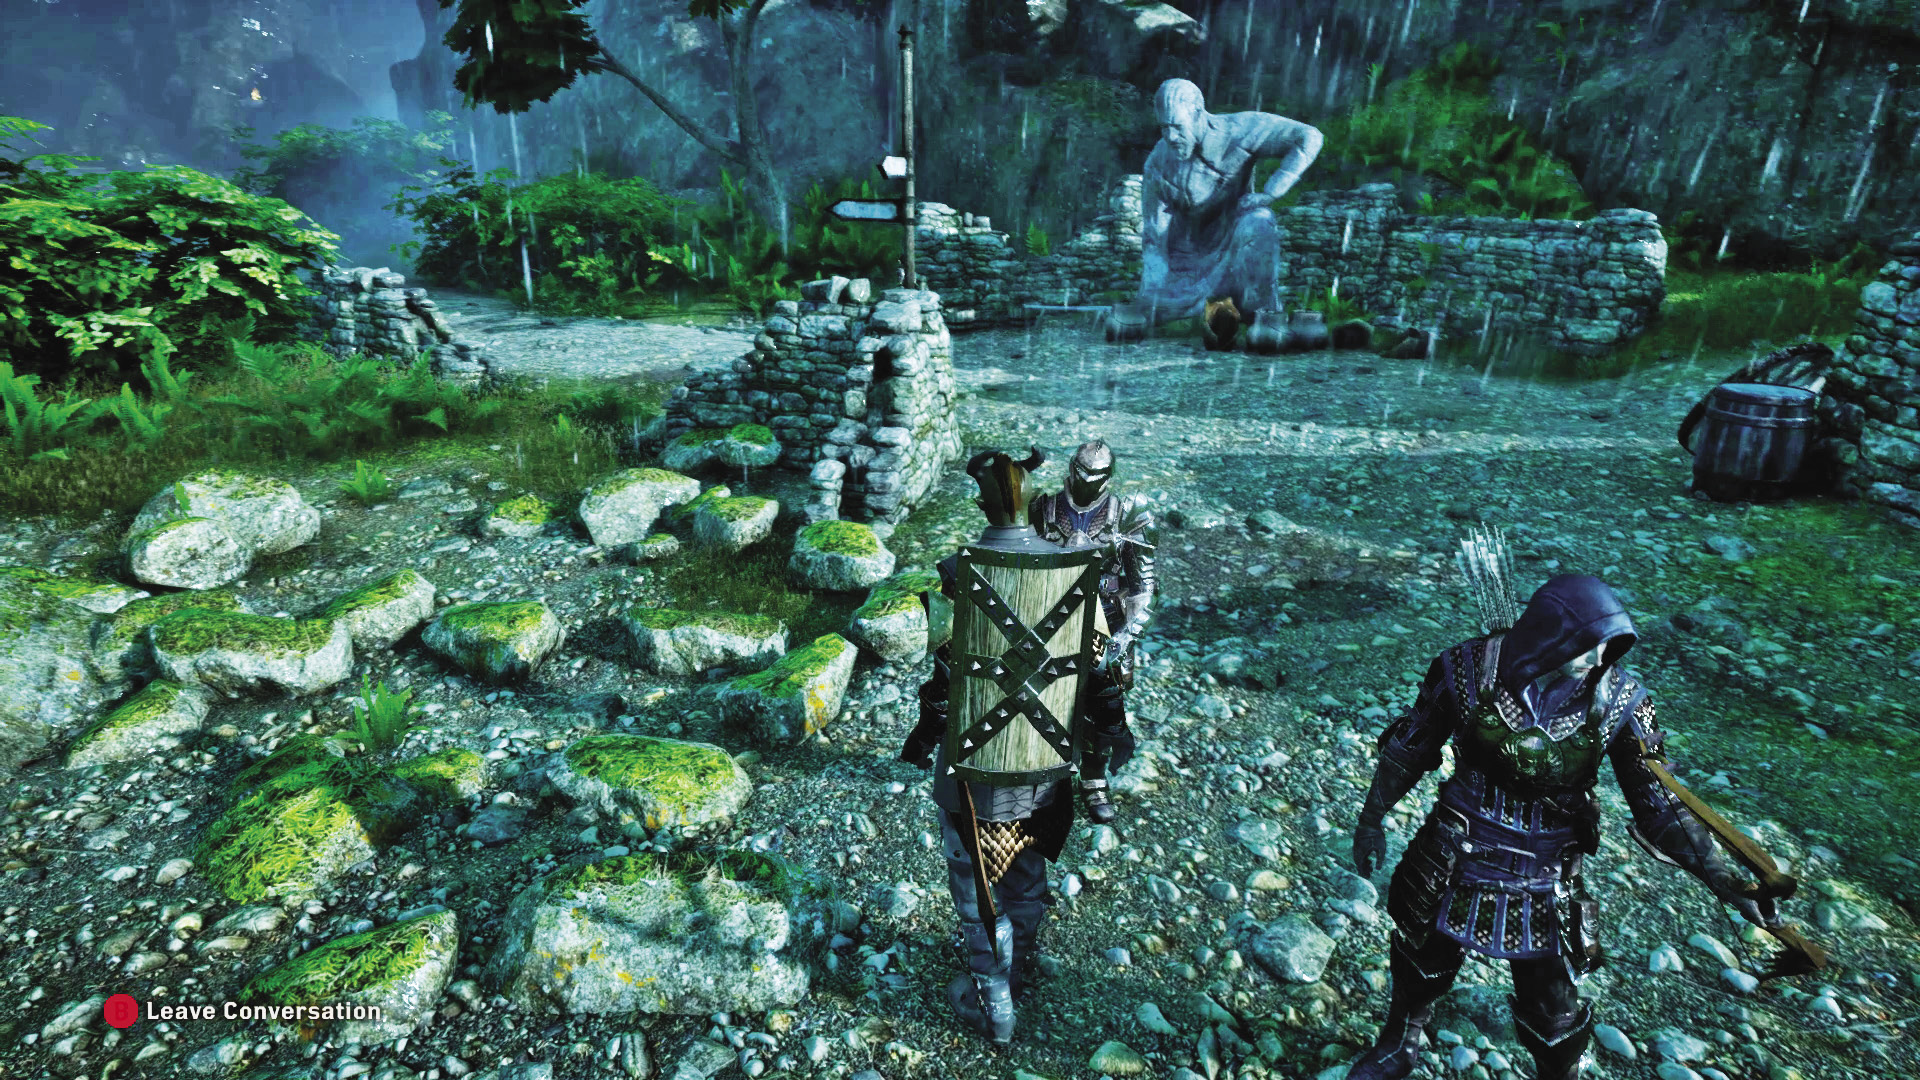
After leaving the starting camp, head toward the town of Crestwood following the main road. You encounter a pair of Grey Wardens defending a elven woman from the undead. Help put an end to the battle. The grateful woman runs off, while the Wardens plead for the Inquisition to help Crestwood. They’re here looking for Stroud, the Warden that Hawke spoke of back at Skyhold, and their orders do not allow them to stay in the area.
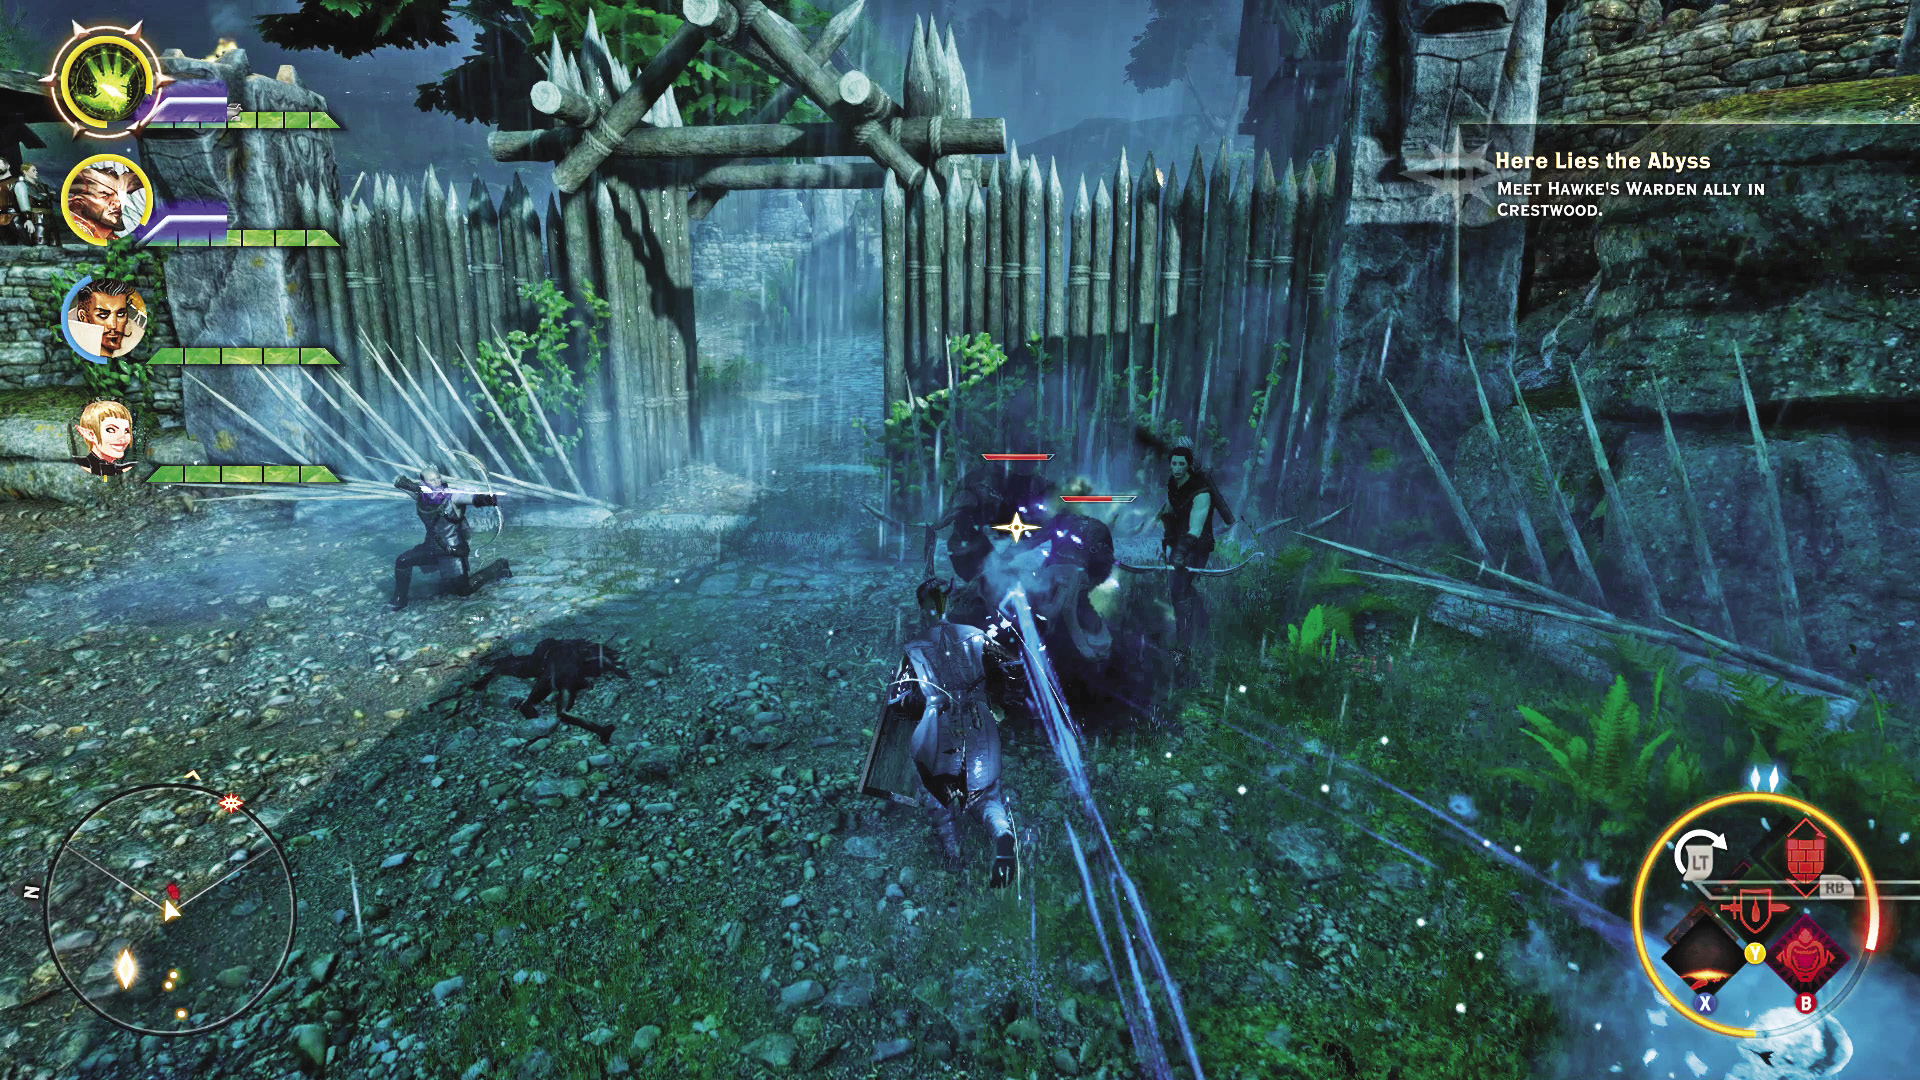
Continue heading toward the town, fighting off the undead as you encounter them. You’ll reach the gates of the town, currently being held by a few defenders while undead and demons try to break through. After saving the gate guards, you’re invited into town to go speak with the mayor.
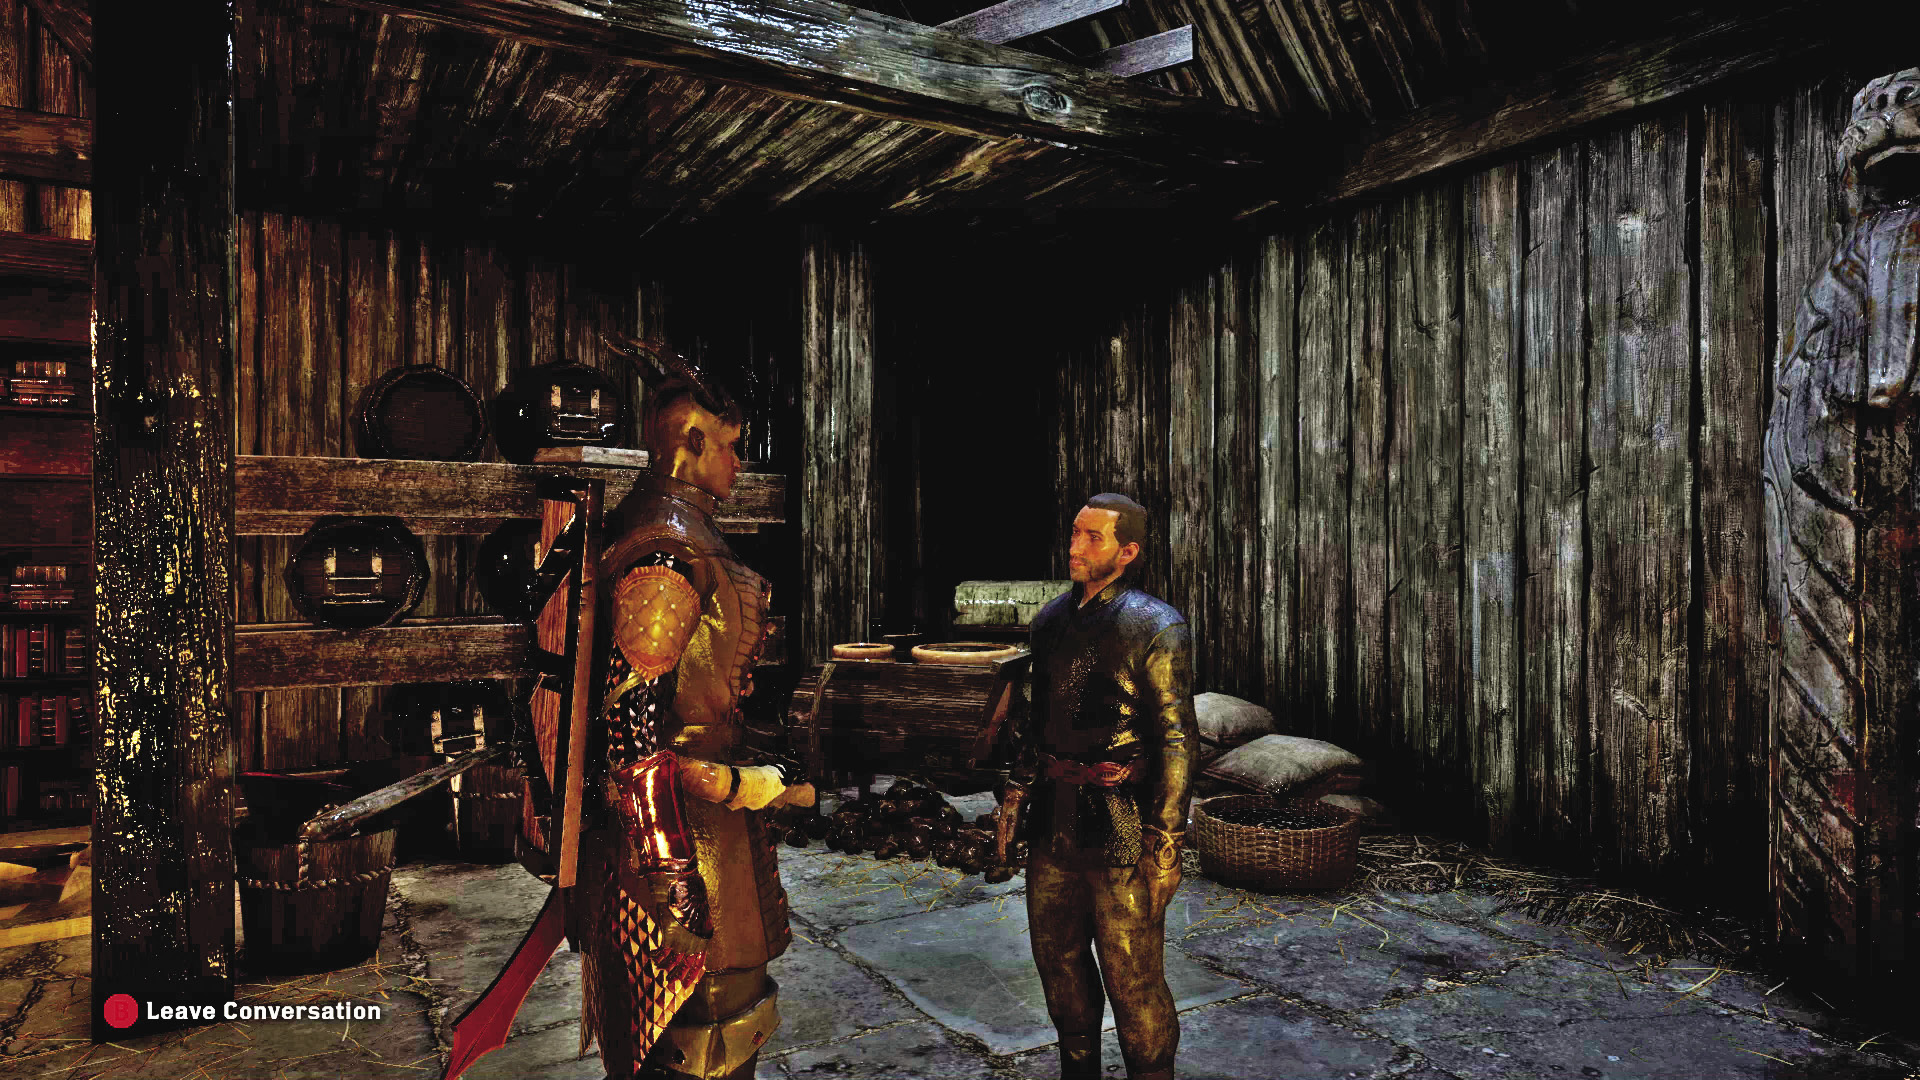
Mayor Dedrick is initially glad for the help, but when the Inquisitor mentions draining the lake by opening the dam to reach the Fade rift, he becomes very nervous about what it may unleash. Even so, he says that the only way to get the dam open requires going through the old fort of Caer Bronach. After further conversation, he offers a key that will let you reach the gate controls, assuming you can get past the bandits in the fort. This starts the Capturing Caer Bronach side quest. You must take the keep before you can drain the lake, so get your party geared up for a fight and then go start one with the bandits of the keep. This can be a grueling series of battles, so don’t hesitate to fall back to a camp to restock potions if necessary.
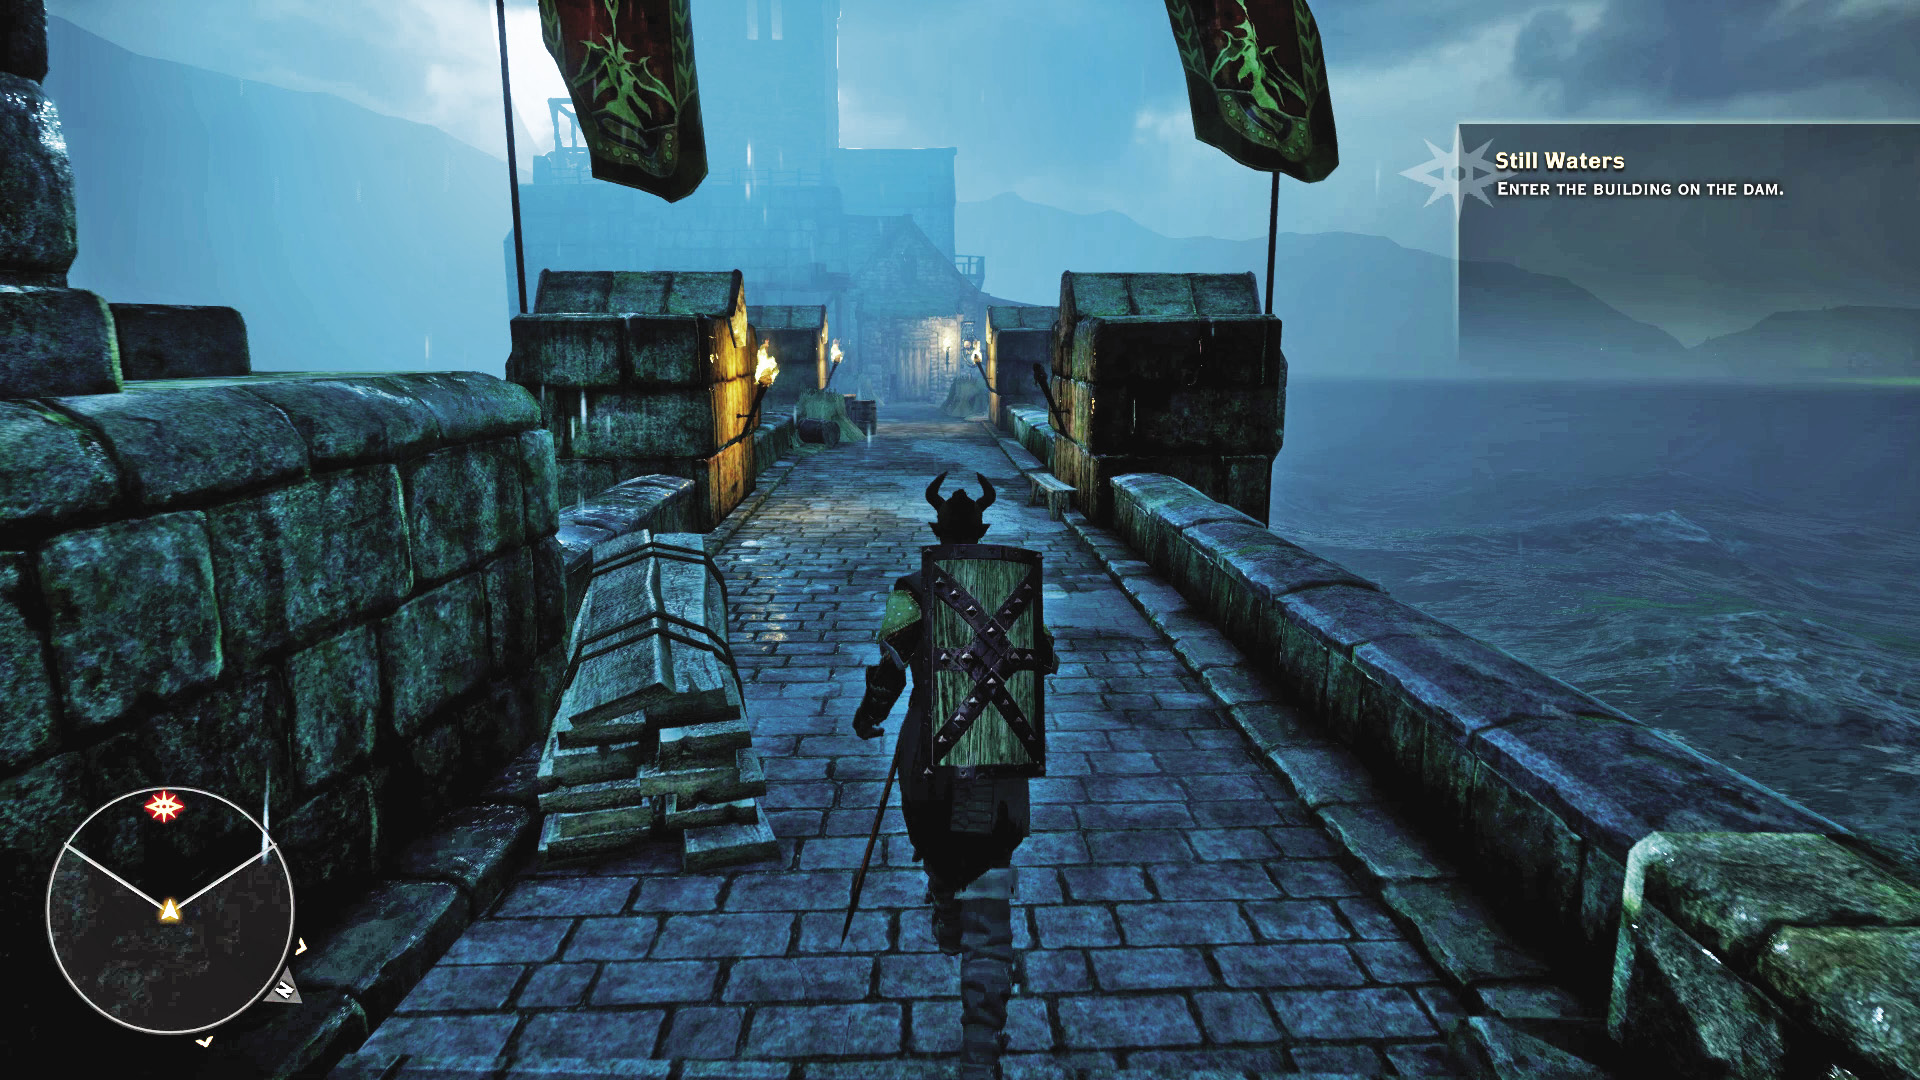
After you deal with the bandits in Caer Bronach, a door leading to the keep’s rear exit will be marked on your map. Go through until you are back outside the keep, and follow the winding path to the west until you reach the dam itself. Cross over the dam until you reach The Rusted Horn, then enter the tavern.
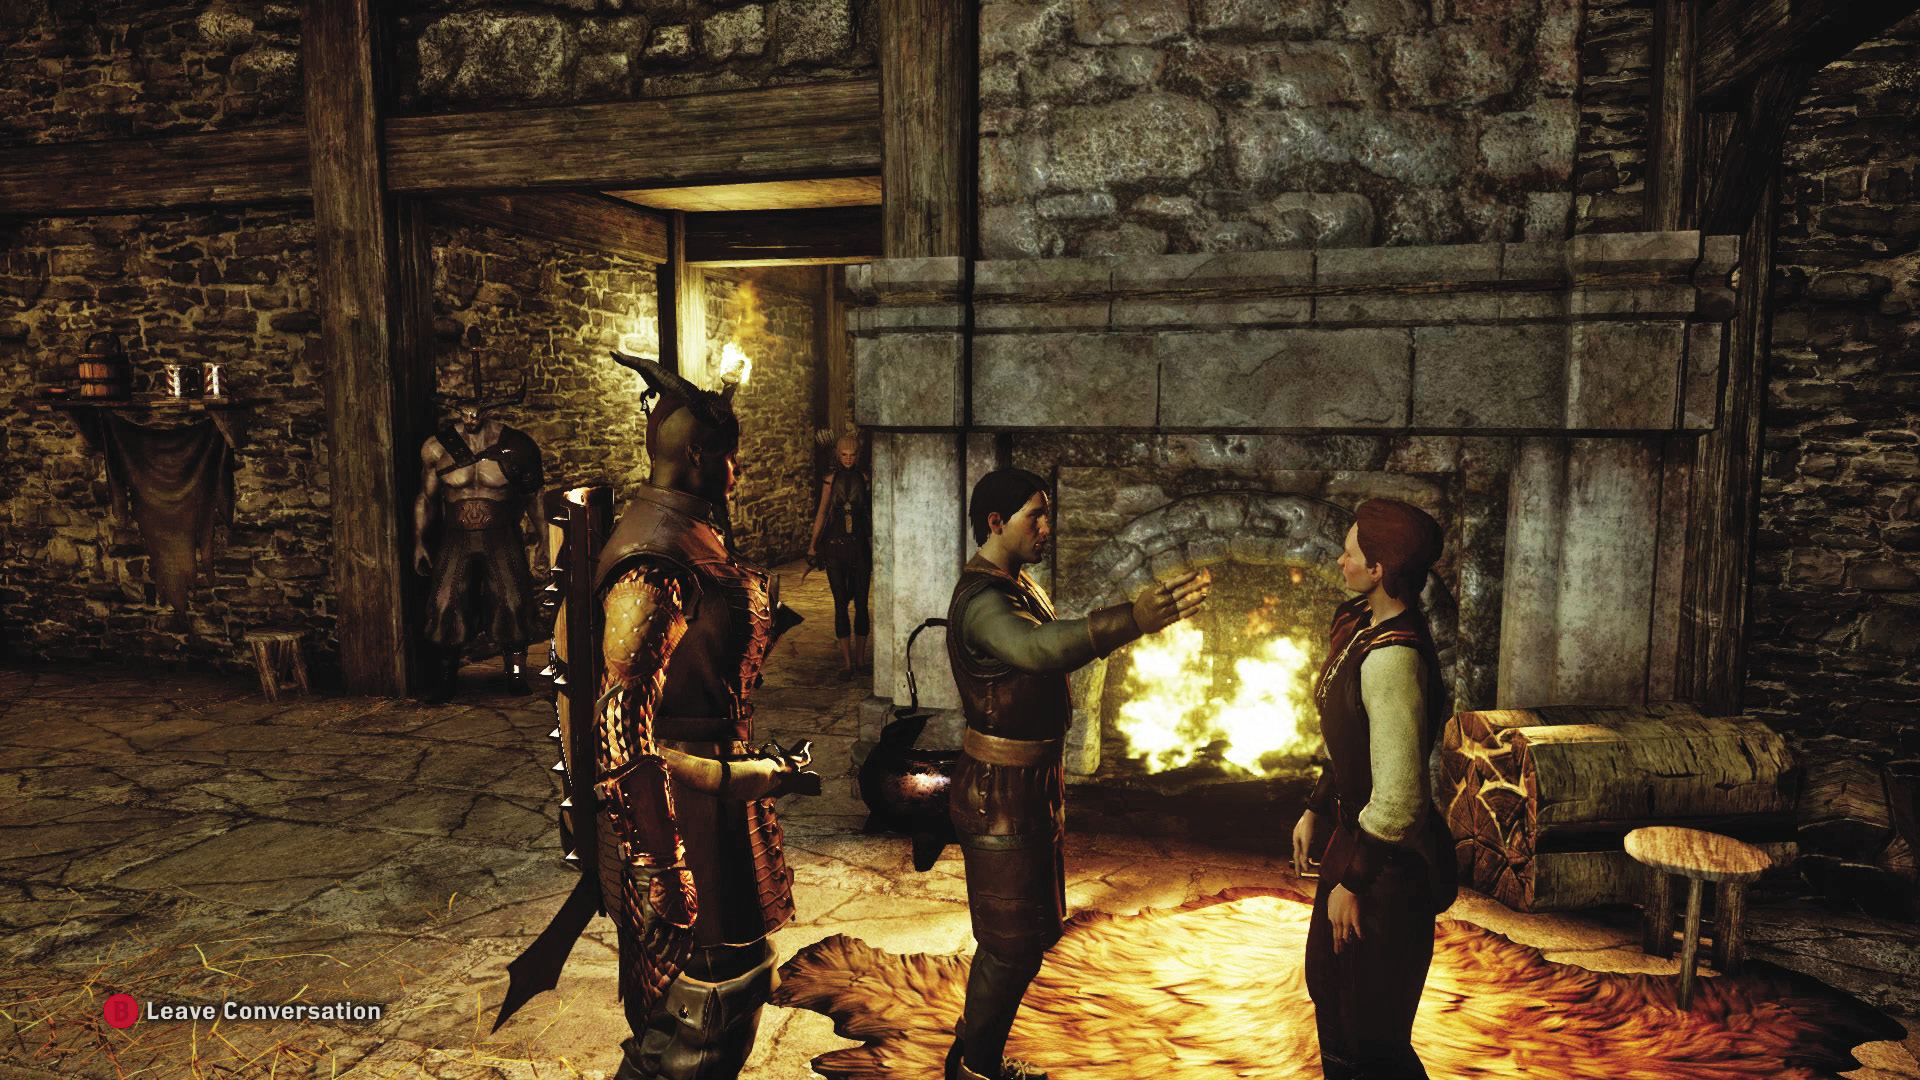
Inside the tavern, you encounter a couple trying to spend some private time together. Obviously, this is not a very happening place if they can get away with that. Depending on your answers during this short conversation, you might get Cassandra’s approval for reporting this dalliance or her disapproval of keeping it a secret. After looting the tavern of any goods you find, head over to the controls for the dam and drain the lake. Travel back to North Gate camp to load up on supplies, then head into Old Crestwood. With the water drained, you can now look for an entrance to the Flooded Caves, where the Fade rift awaits.
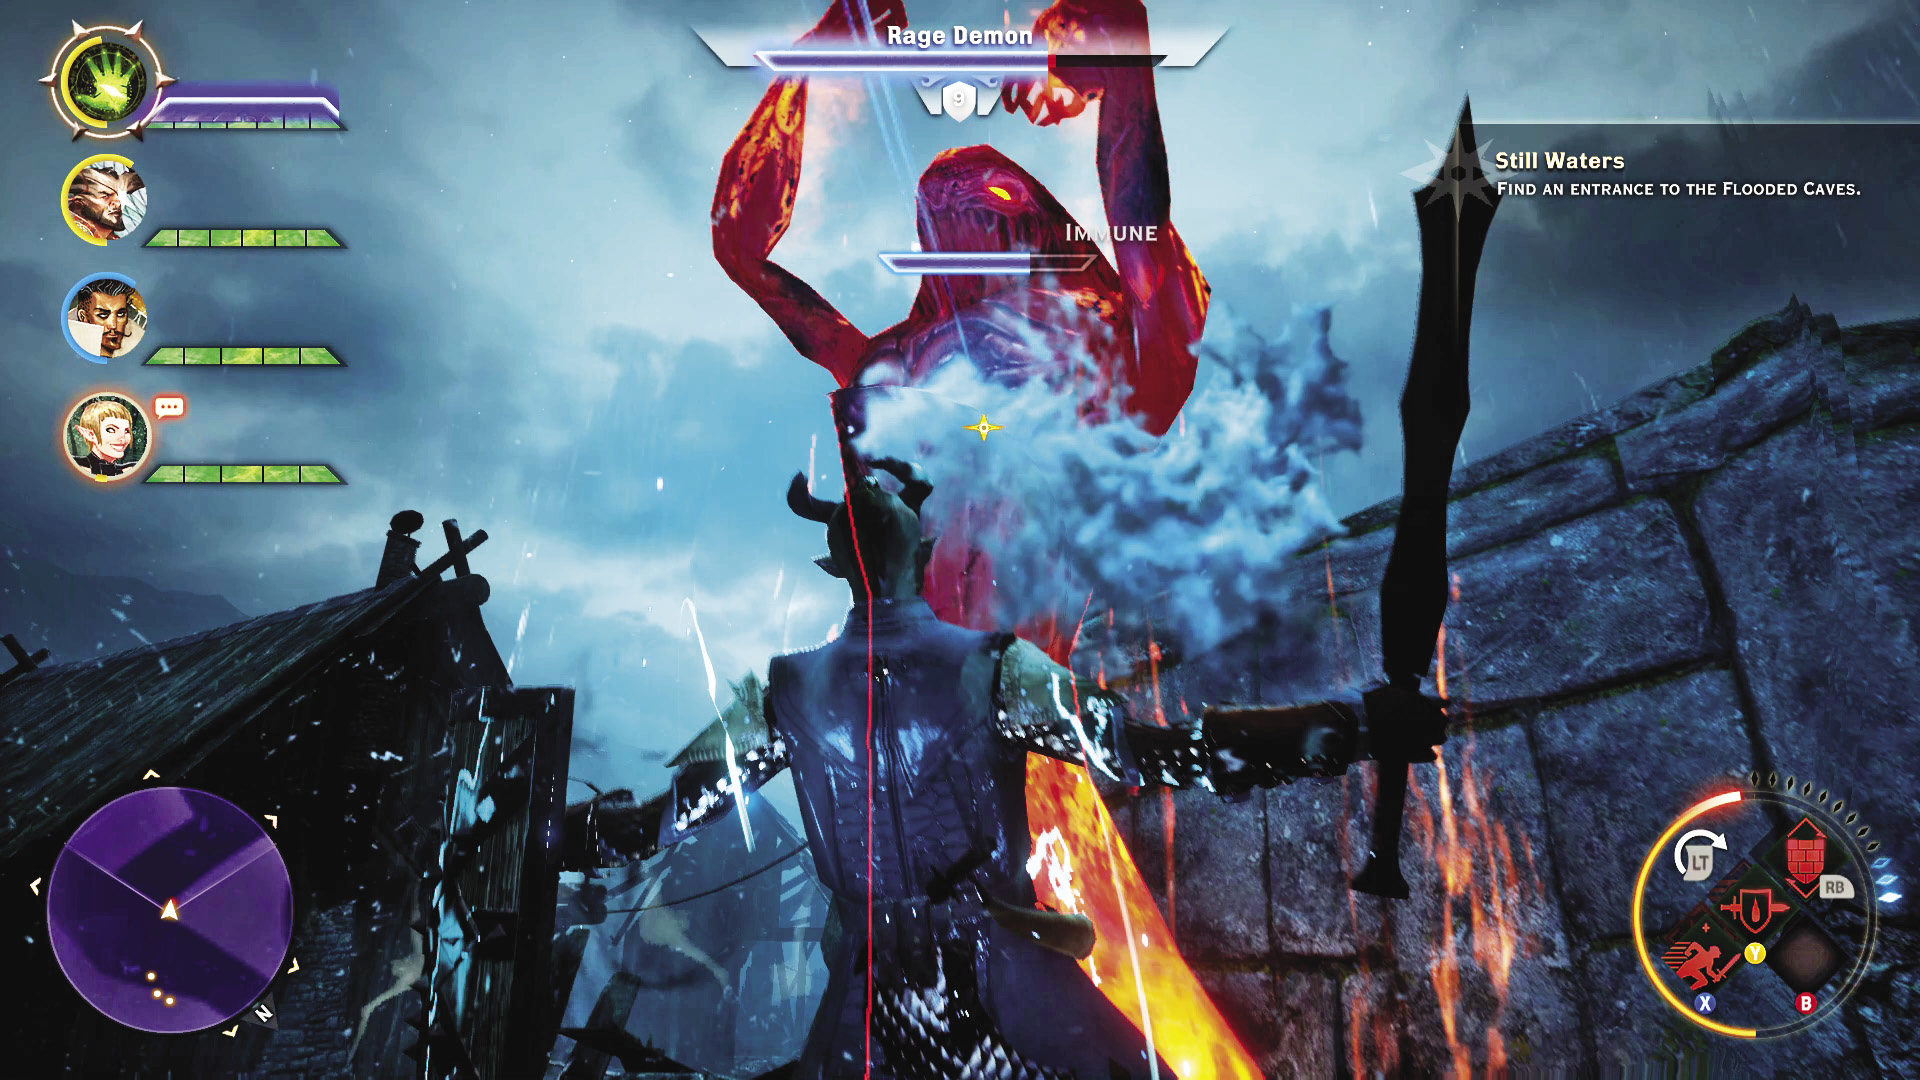
Old Crestwood’s buildings remain in surprisingly good shape for having been covered by floodwaters for 10 years. Spirits haunt this place, along with other, more dangerous demons. Search the homes for any supplies as you seek the Flooded Caves. You can even enter the mayor’s old home and find an interesting piece of reading. Going back to speak with the mayor after either draining the lake or finding his home will open up a judgment later in Skyhold.
3: Capturing Caer Bronach
Quest Giver: Mayor of Crestwood
Description: Bandits known as the highwaymen have occupied Caer Bronach. Without the fortifications of this legendary keep for protection, the villagers of Crestwood and the surrounding area are left exposed to undead plaguing the region.
Requirements: Speak to Mayor Dedrick as part of the Still Waters side quest.
Reward: Caer Bronach falls under Inquisition control.
Objectives:
 Take back Caer Bronach.
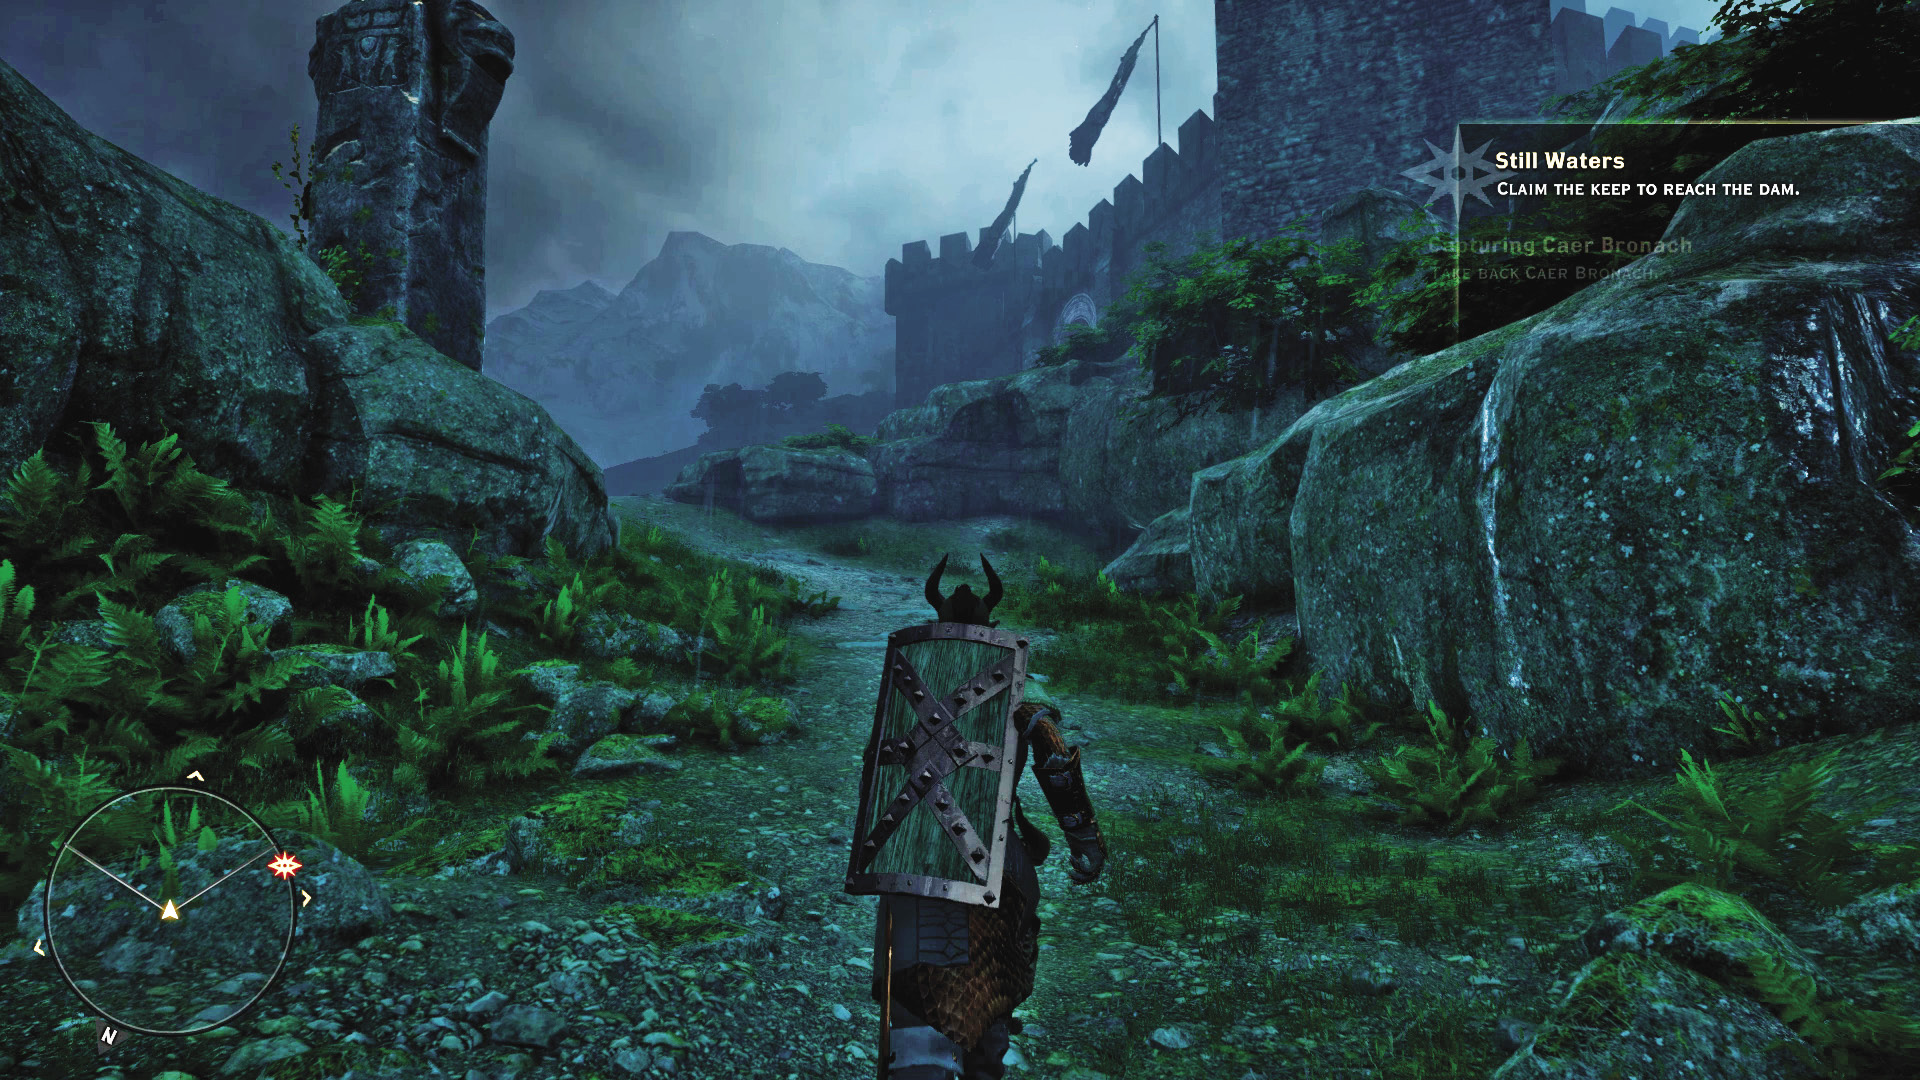
The fight for Caer Bronach begins by shattering the front door. This alerts every bandit in the courtyard that you have arrived for their heads, so make sure you don’t even begin your siege until you are fully stocked with potions and have your party set up the way you are most comfortable with.
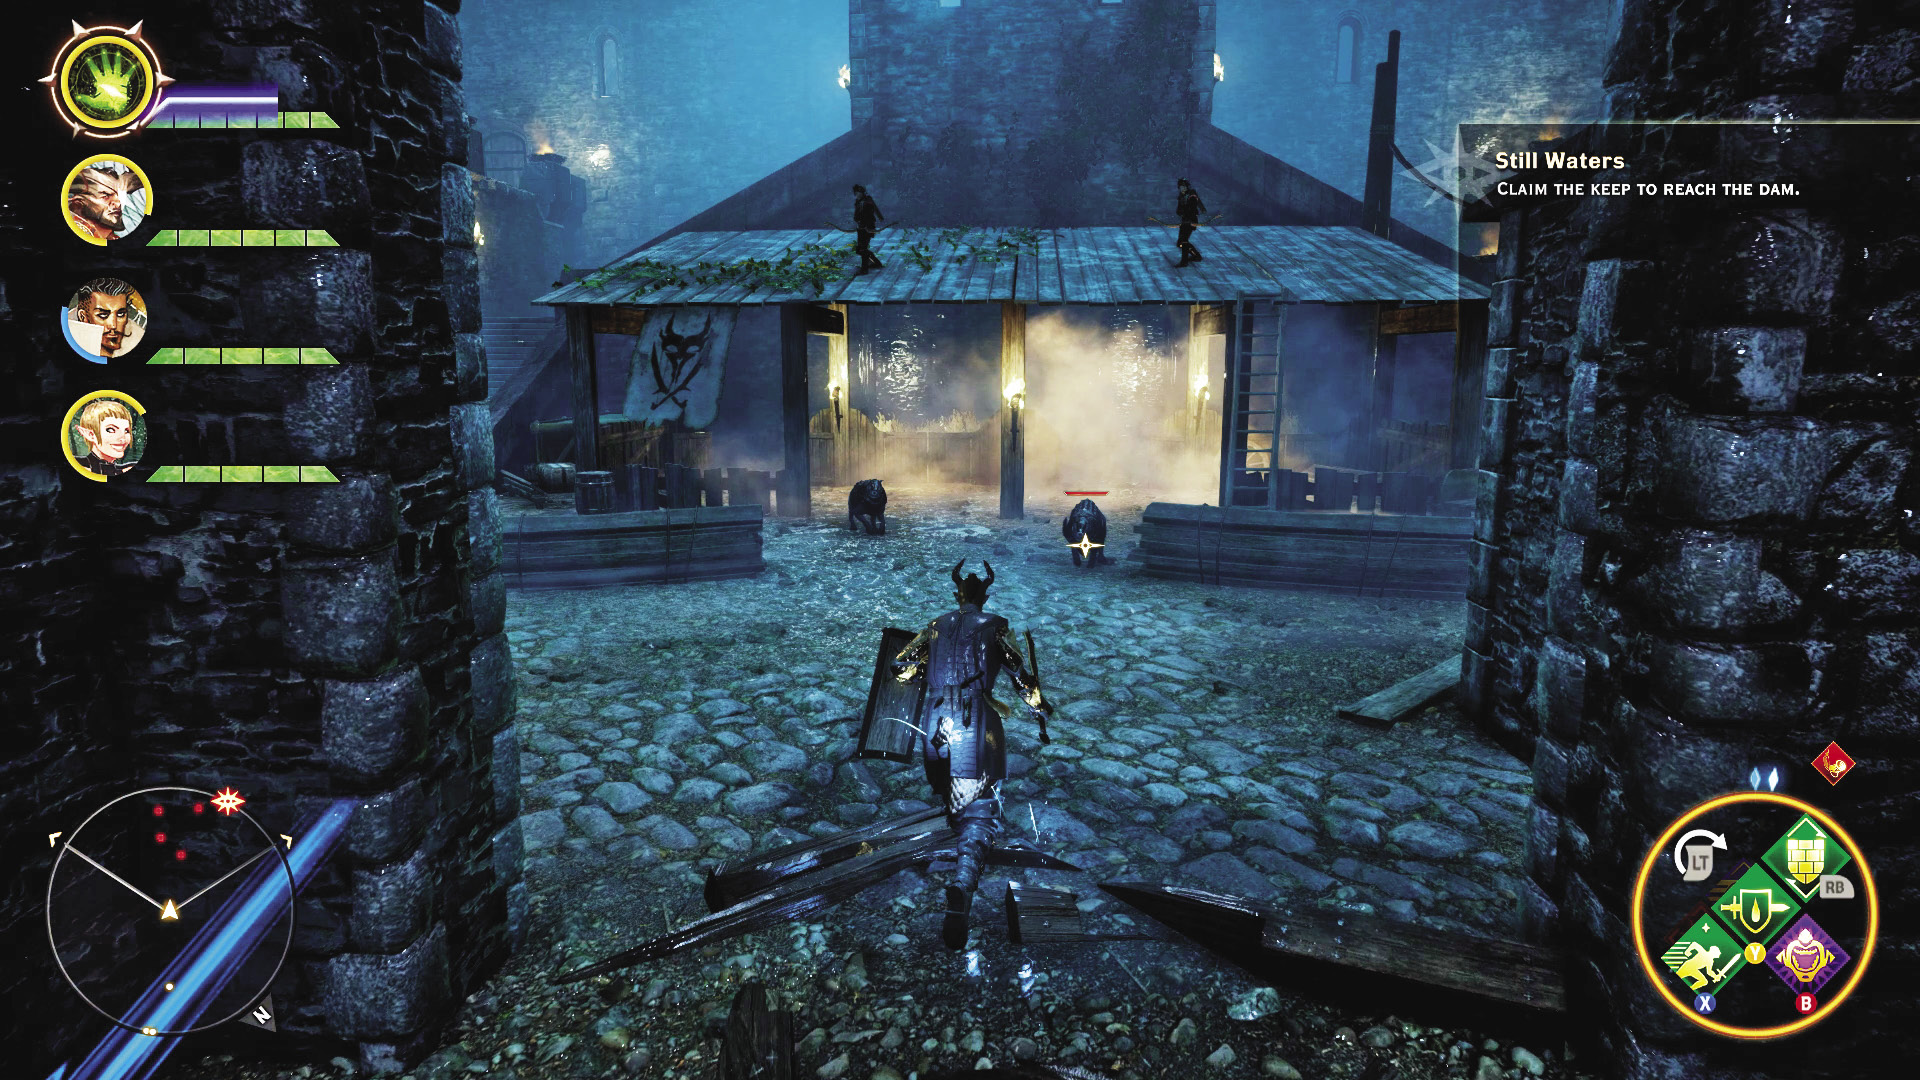
As you enter the courtyard, mabari hounds rush the party, while archers try to shoot you from a rooftop ledge facing the front door. If you have a melee rogue in the party, get them up there to assassinate these shooters, while the rest of the party handles the hounds. Alternatively, a warrior with the Grappling Chain ability can bring them down to your level.
From the stairwells to the left and right of the archers’ position, more bandits rush after you as soon as the first group is defeated. Take them out, then advance up the stairs and enter the next courtyard.
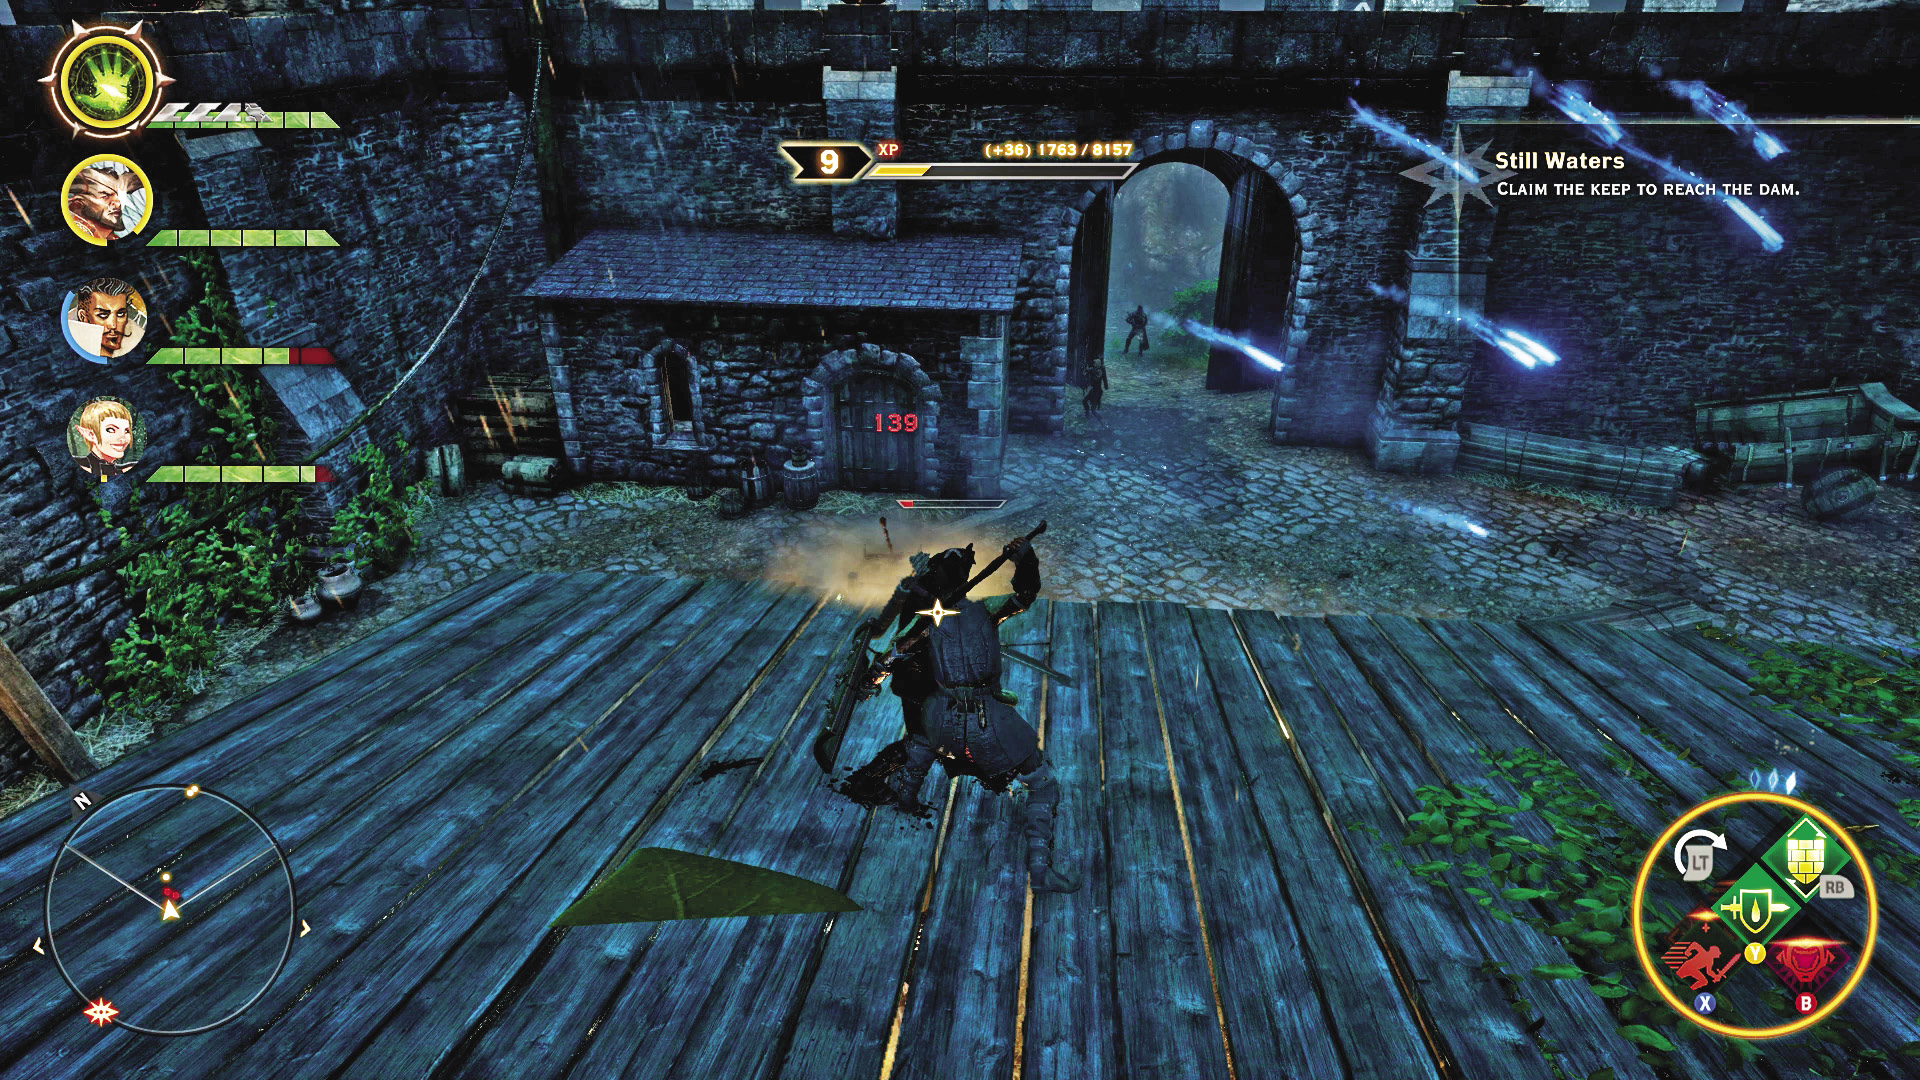
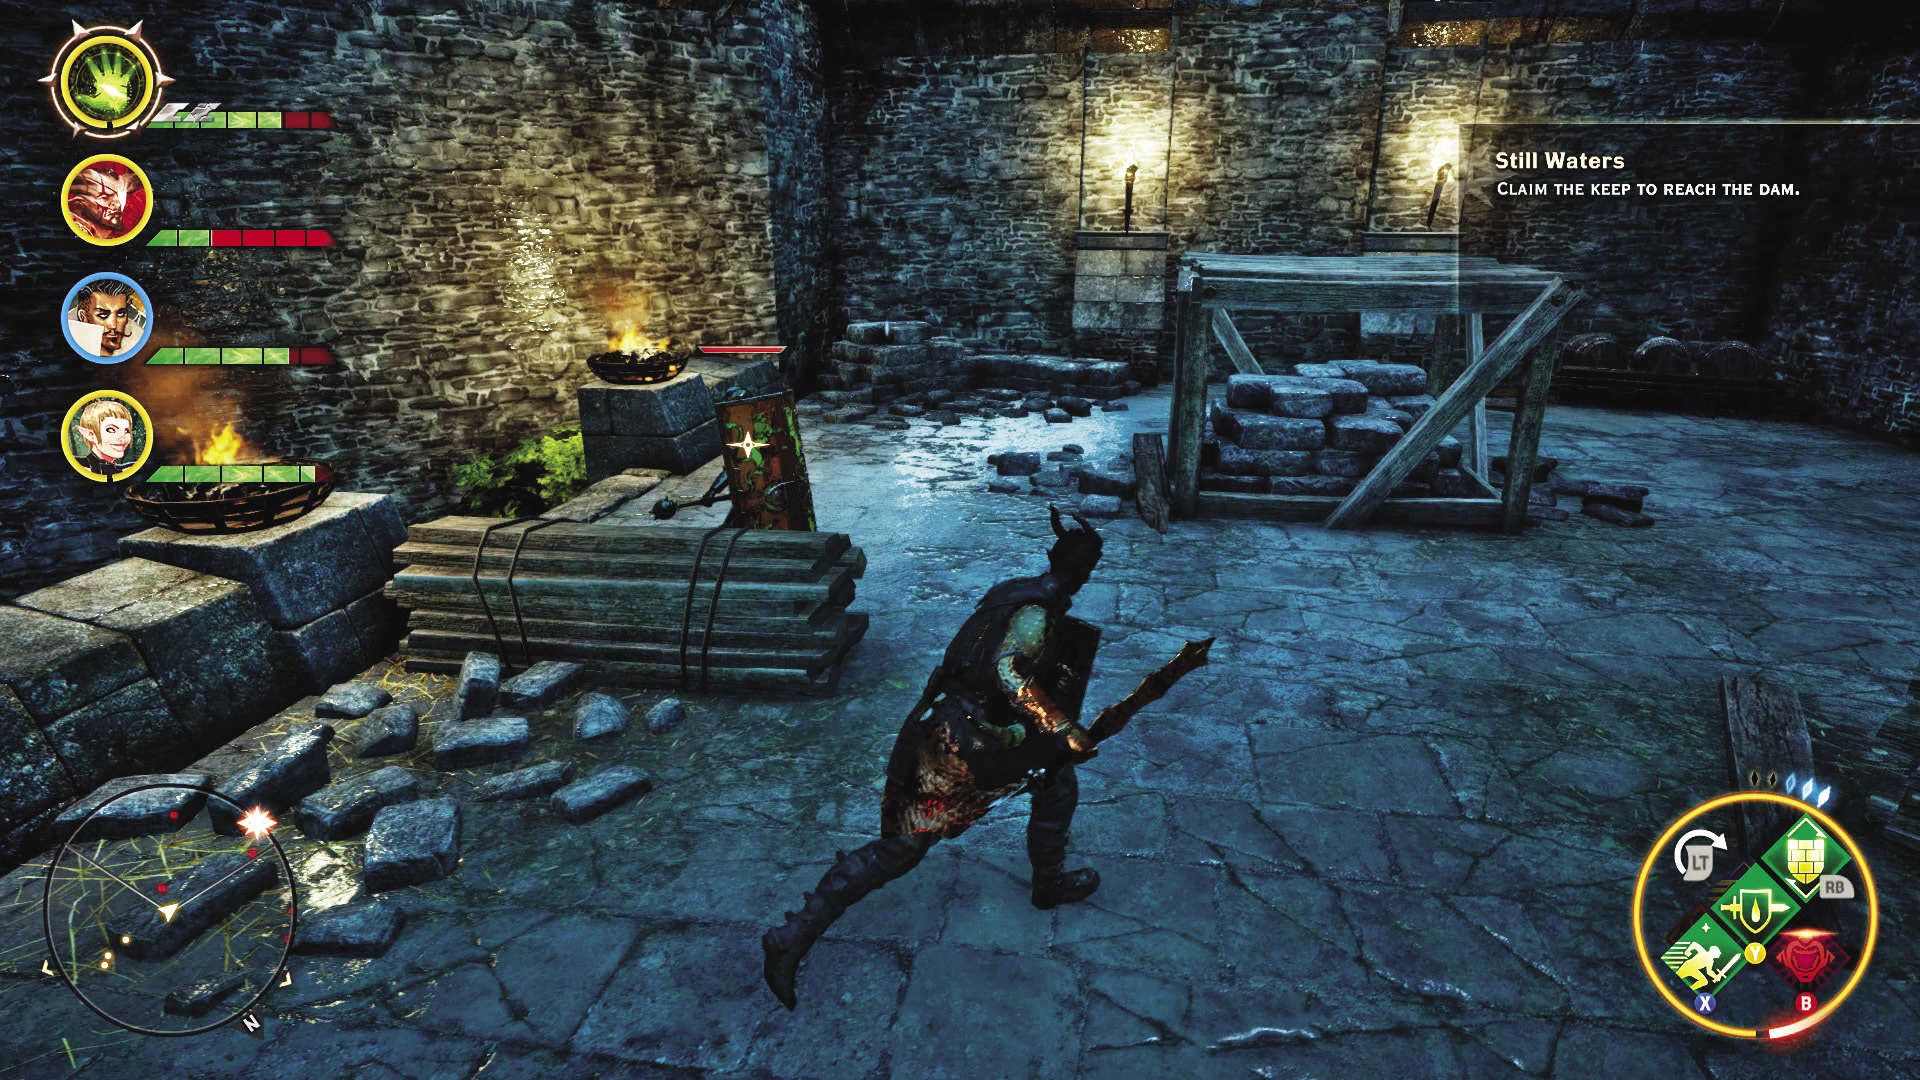
A highway guardsman holds the ground level of the second courtyard, while more archers fire from the upper level and the stairwell leading up to it. Don’t let your party get torn up by those archers—try to bring the fight to them. The guardsman will follow. Also, be on the alert for highwaymen prowlers! Their acrobatics, combined with stealth and the ability to take an unassuming mage or rogue out of the fight in mere seconds, cannot be underestimated!
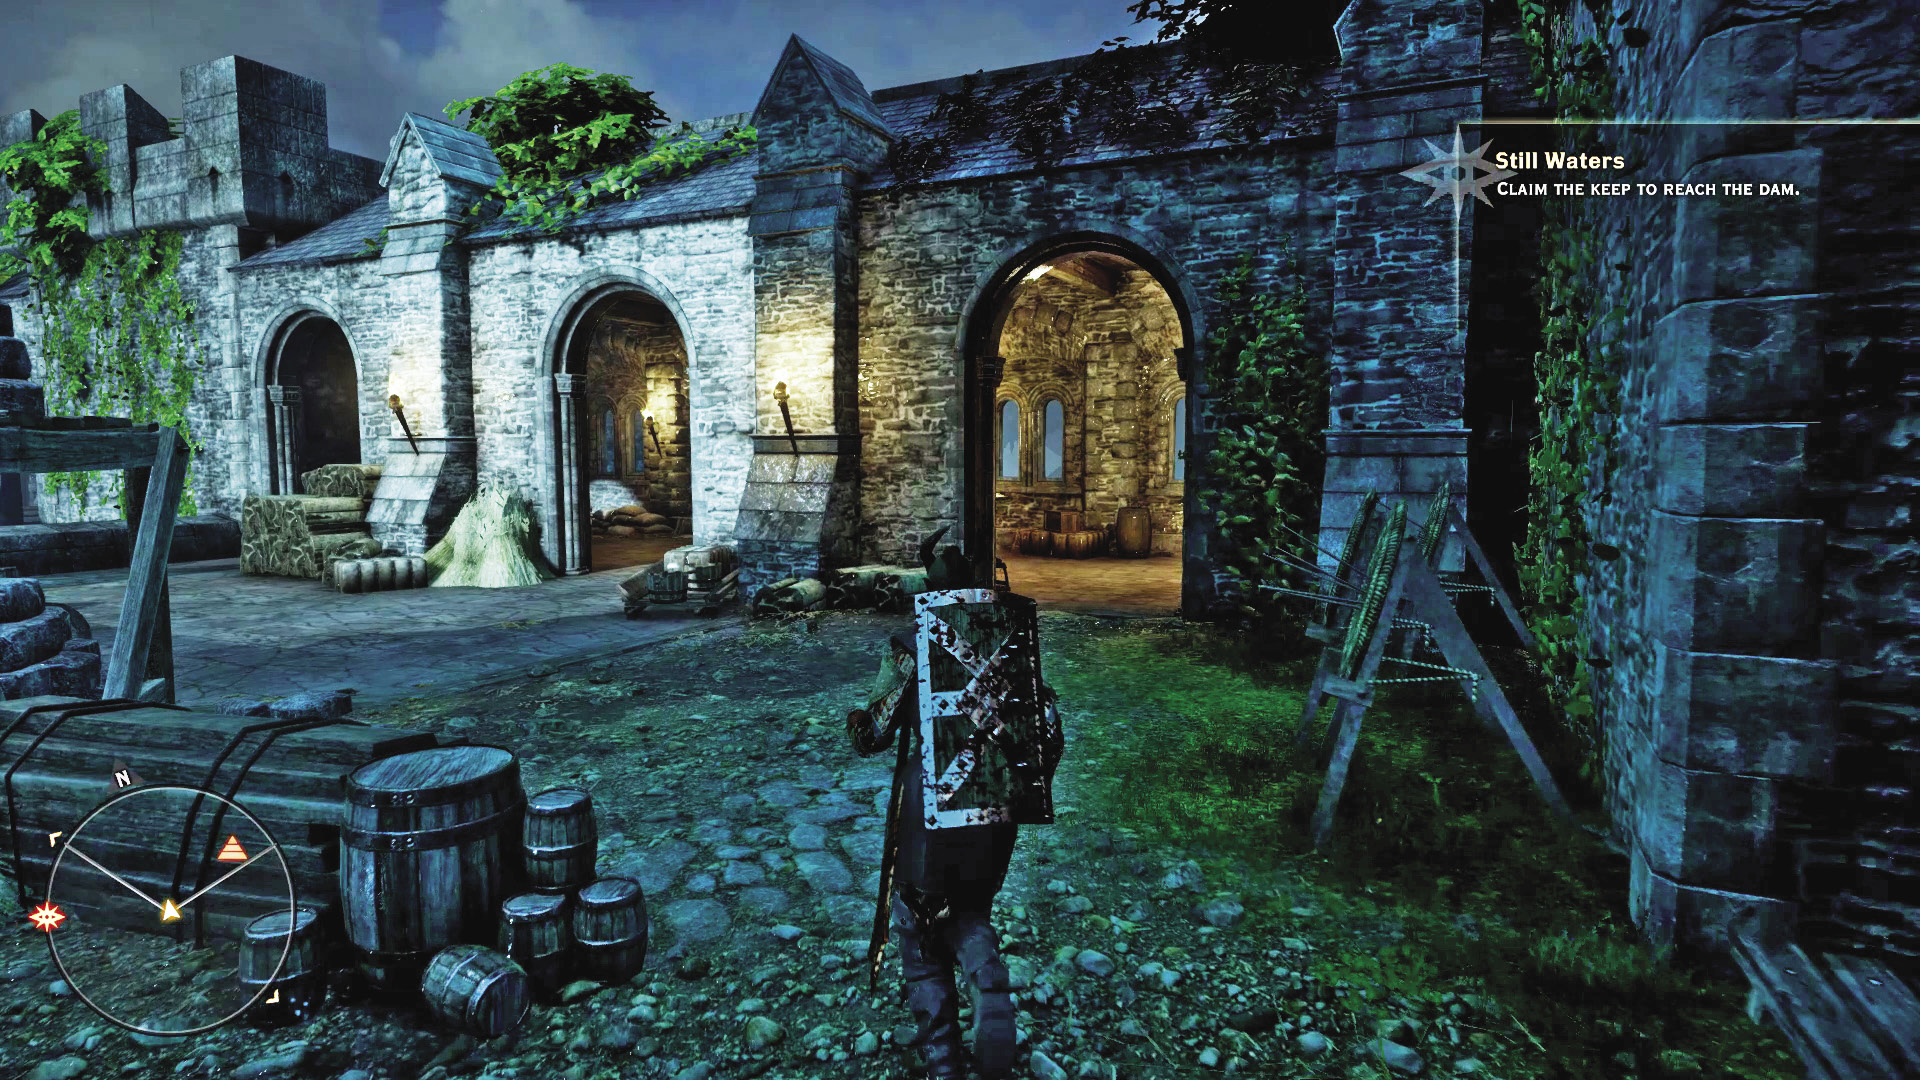
From the upper level, you’ll pass through another courtyard that is surprisingly empty. Keep pushing forward until you reach another set of stairs, leading to another open area and another ambush led by highwaymen lieutenants. Don’t let them distract you too long from the archers supporting them from afar!
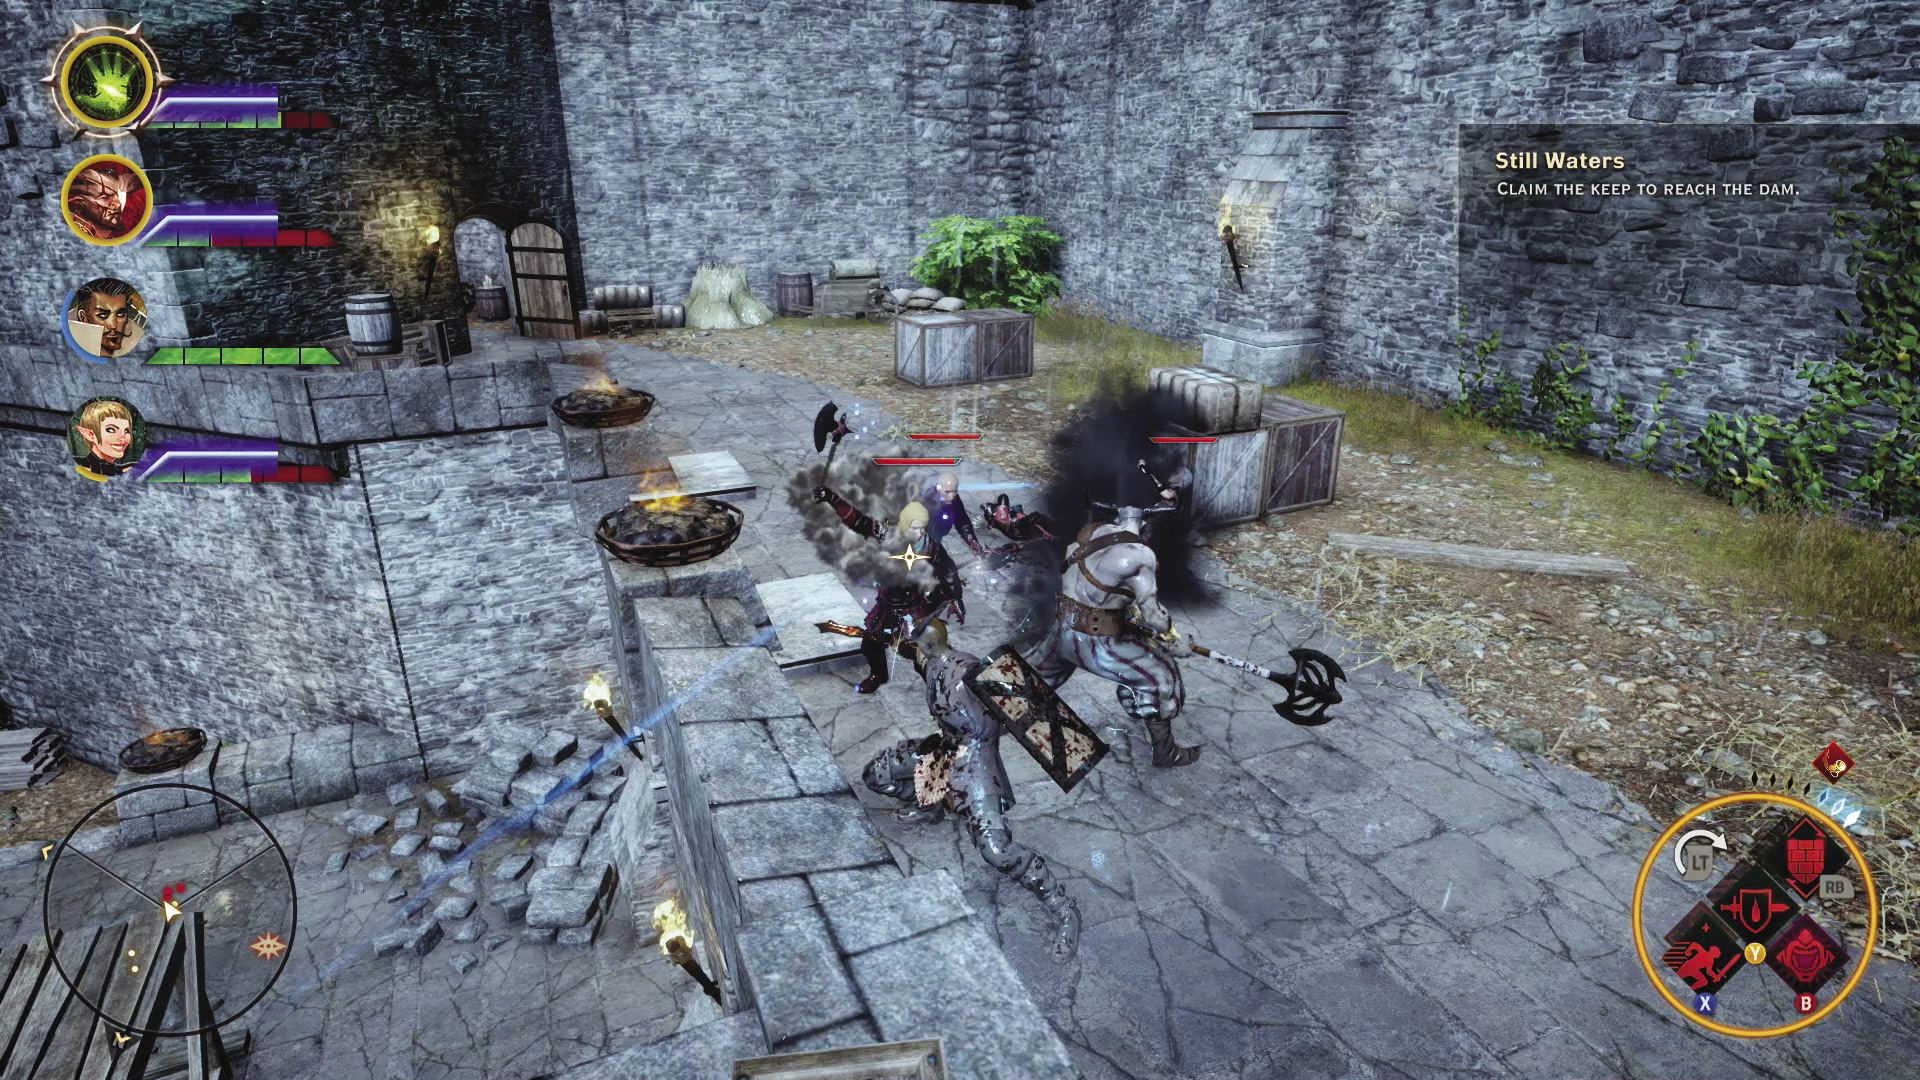
Killing off this group prompts the leader of the bandits to rush down a final set of stairs, along with his most trusted men. The leader is an Avvar with incredible strength and stamina. If you can, blast him with Mark of the Rift, and if you’re a melee fighter, try not to fight him on the narrow walkway he and his lieutenants run down to greet you. The narrow confines mean that his broad melee strikes can easily hit multiple party members.
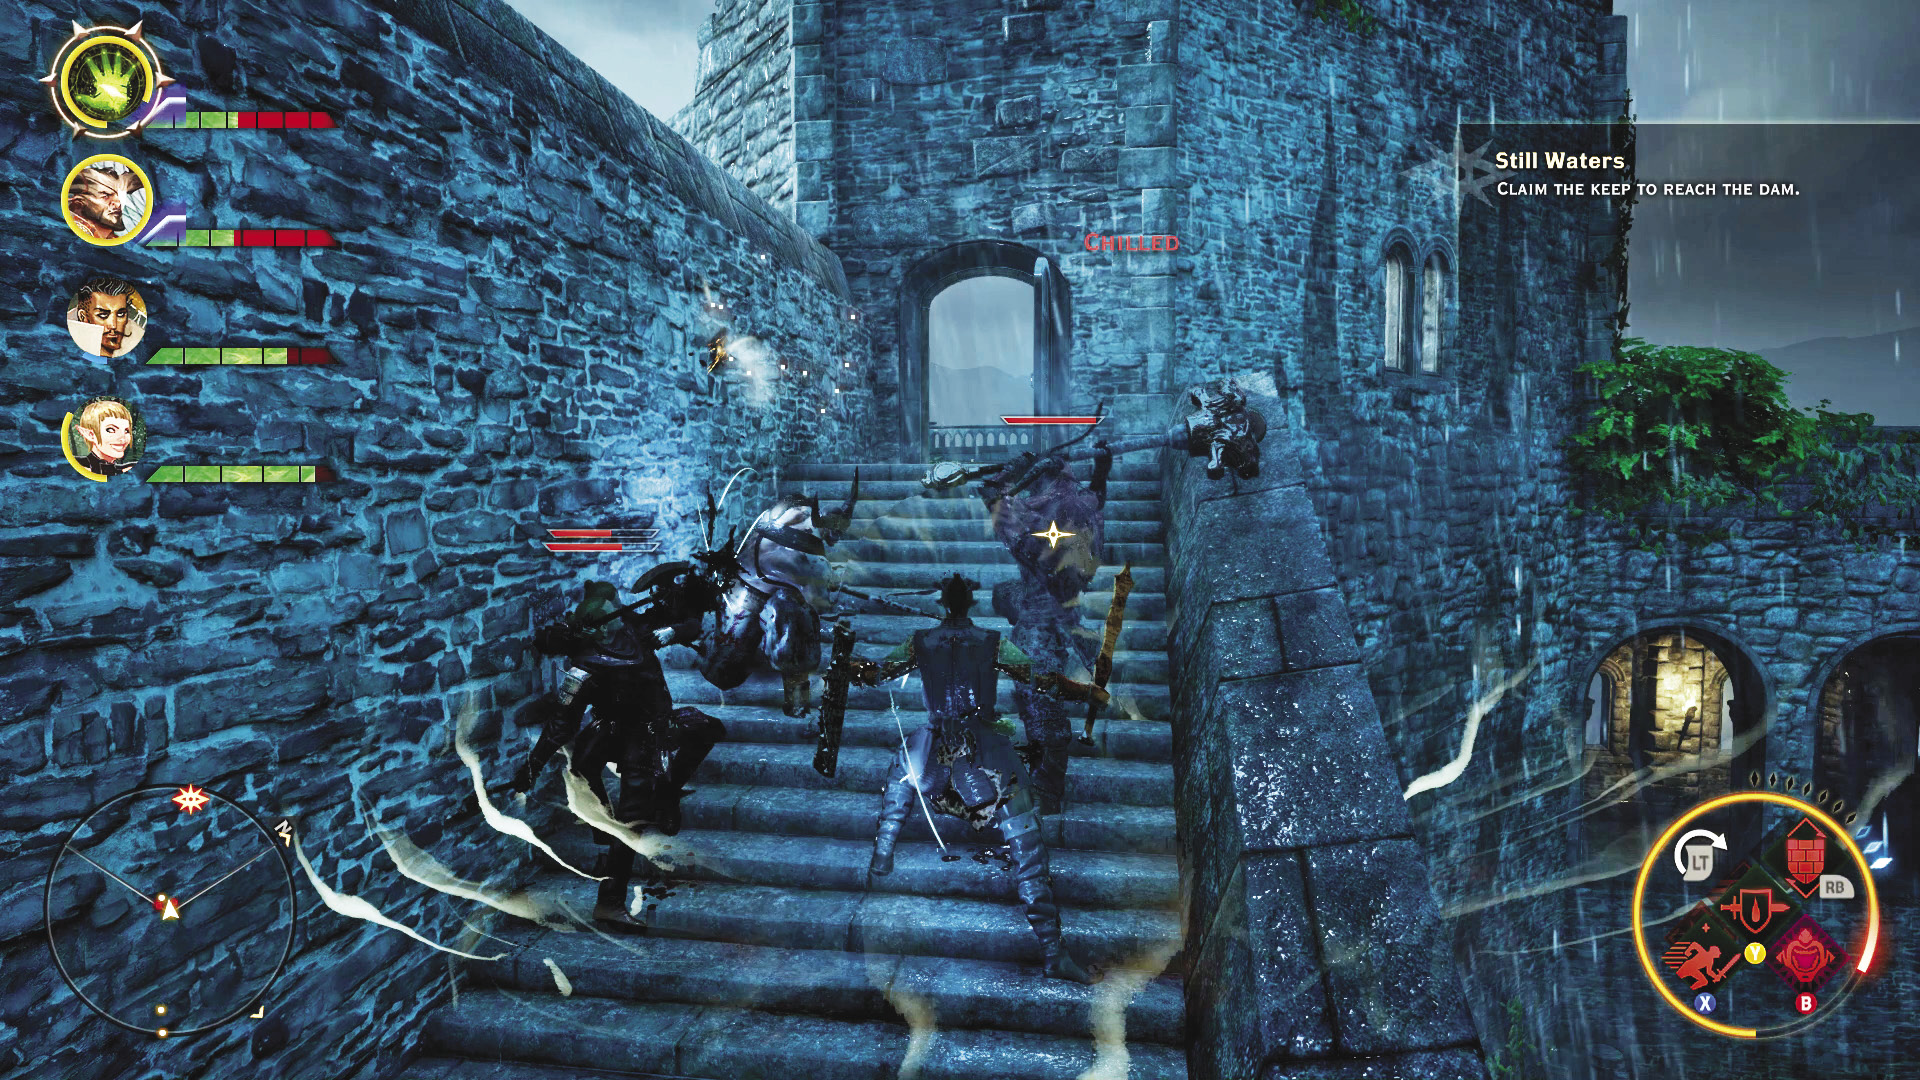
With the bandits completely routed, go up the stairs the leader charged down and set the Inquisition banner on the flagpole to make the keep yours, completing this quest. Inquisition forces move in to the keep in short order, setting up useful facilities for you. Additionally, one of Leliana’s scouts, a man named Charter, has moved into the area and has some important work for you to do. Most important of all, now that the keep is in your hands, you can use the key given to you by the mayor to reach the controls to the dam and drain the water of the lake to gain access to the Fade rift.
The entrance to the Flooded Caves is on the northern side of Old Crestwood, in an abandoned mine entrance. Replenish your potions before diving in—demons infest this place.
4: Dungeon: The Flooded Caves
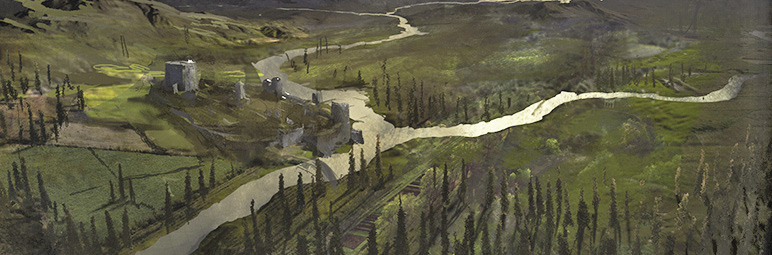
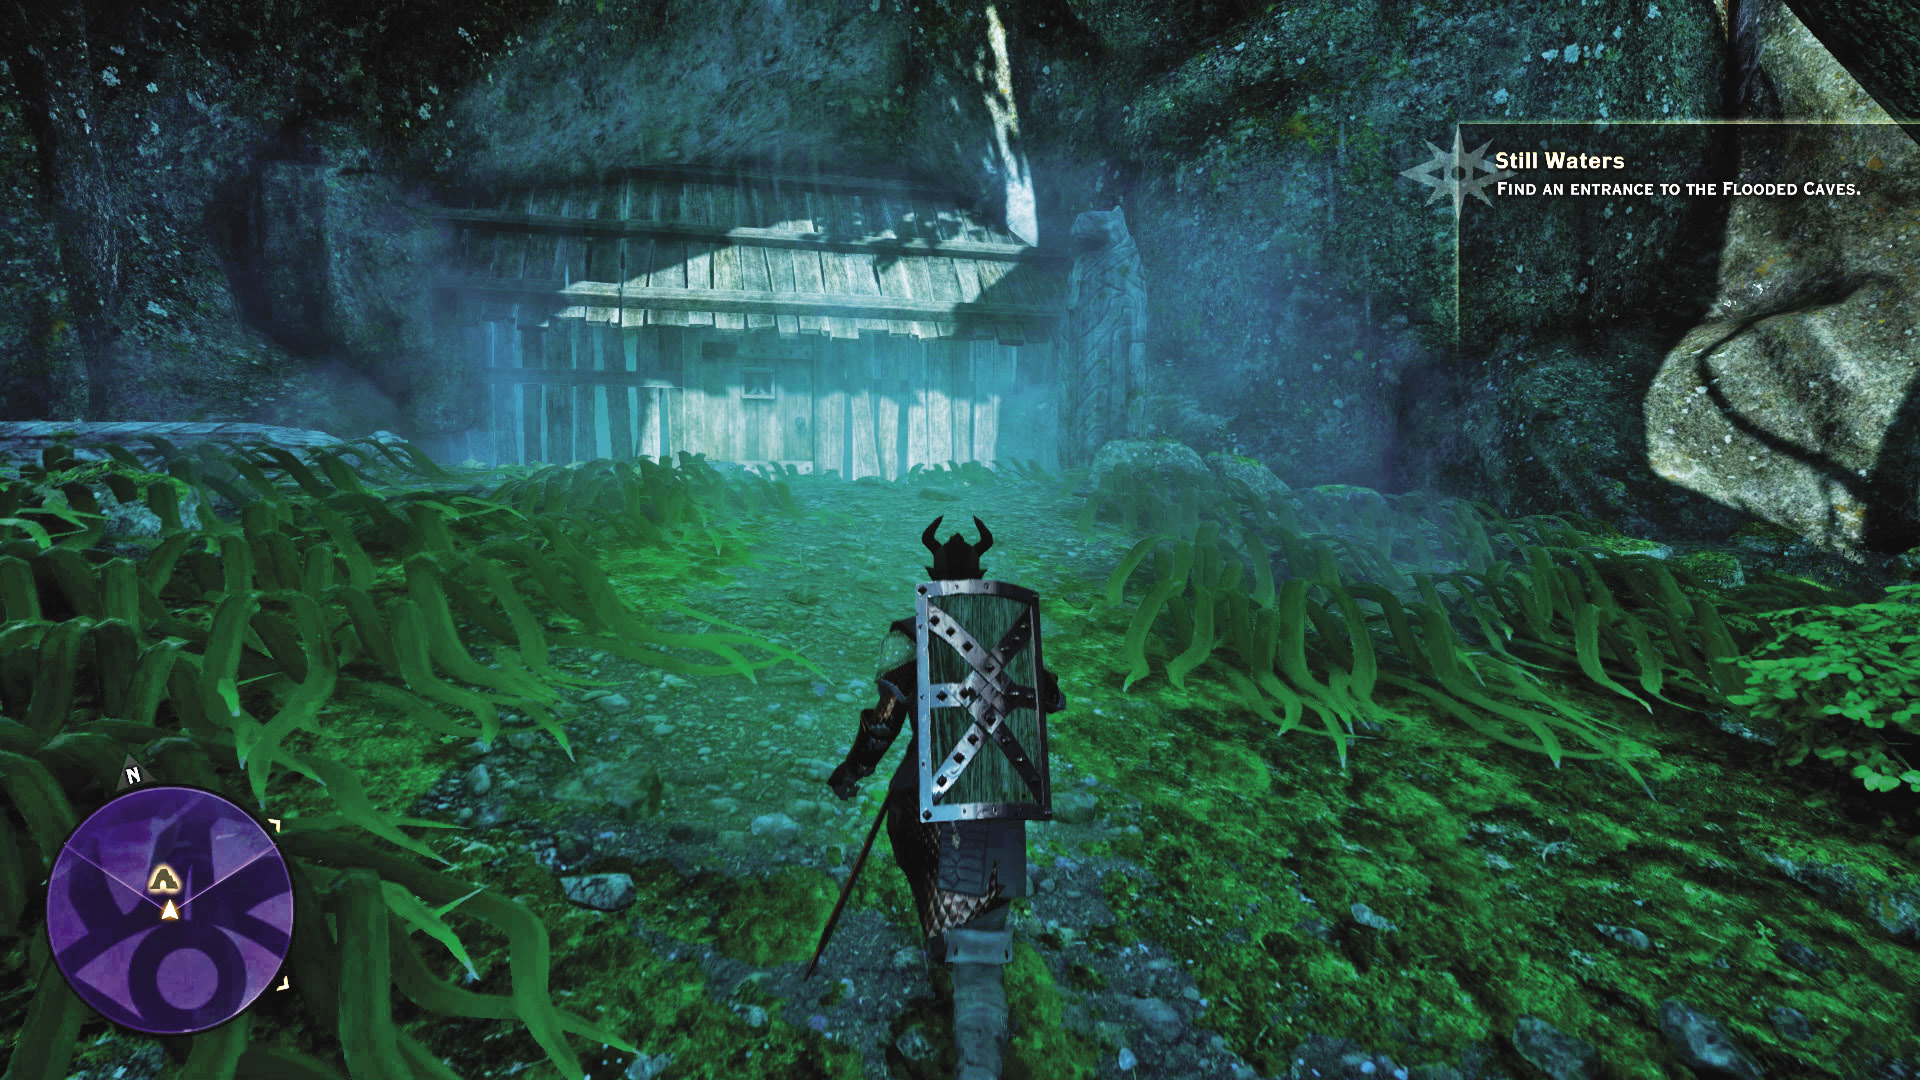
The Flooded Caves are filled with spirits attracted to the death and destruction caused by the floods a decade before. Many are harmless, wandering about and reliving the terror of the flood victims. However, through the Fade rift traveled more hostile demons, and the corpses of the dead rise up under the influence of the Fade. The caves give way to an ancient dwarven ruin, filled with secret treasures to tempt the bold. Explore carefully and thoroughly if you intend to see all there is in this place.
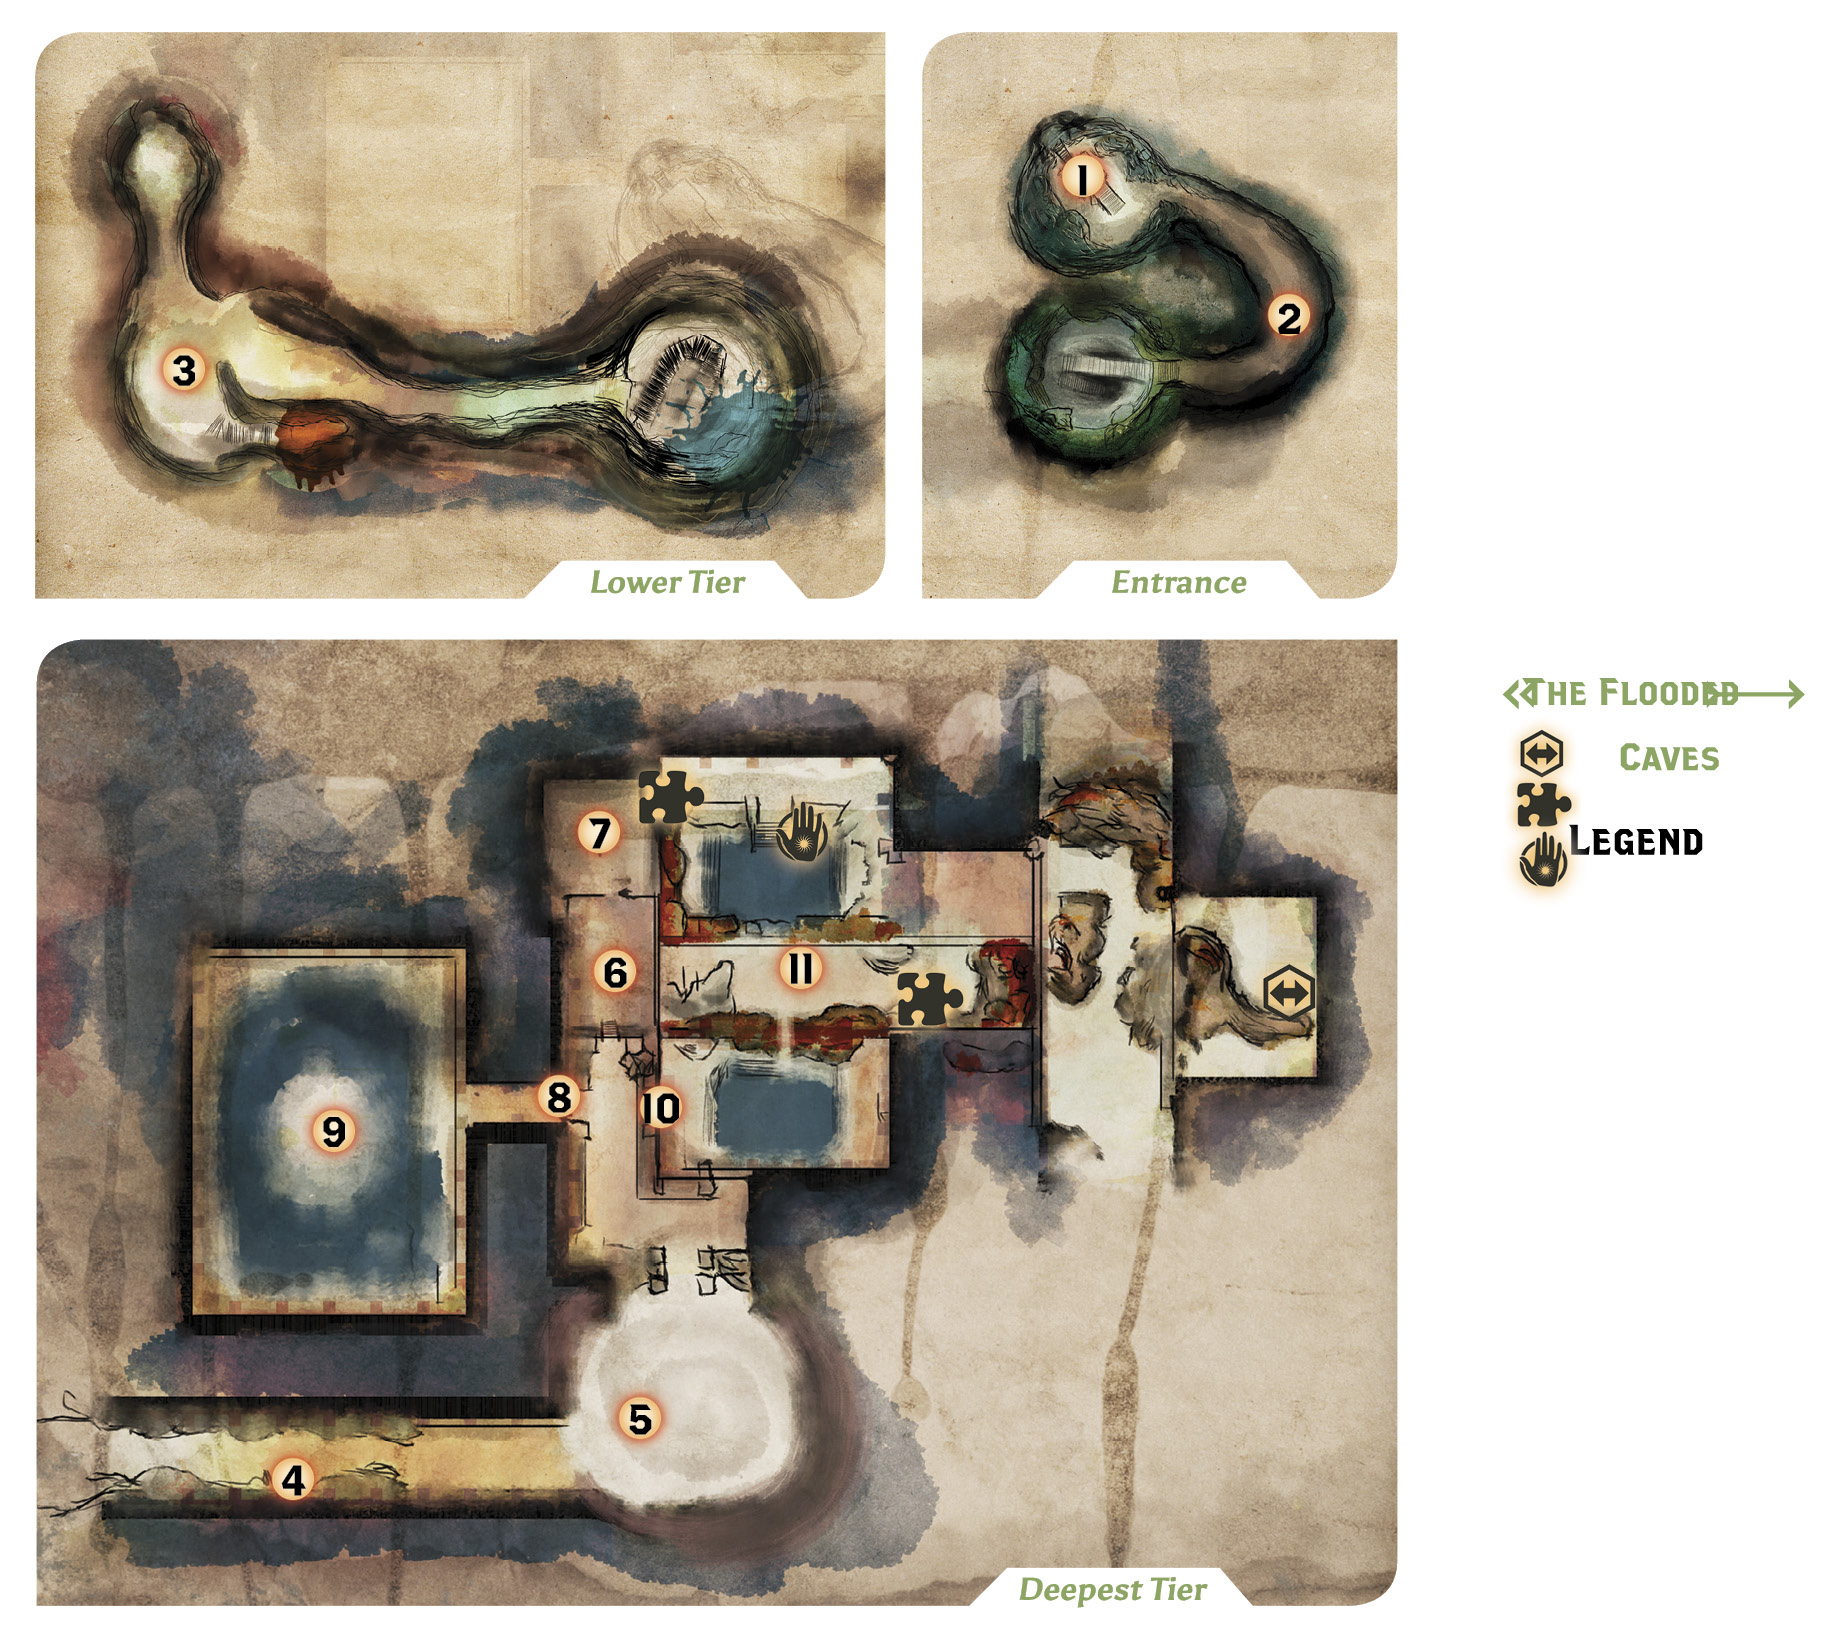
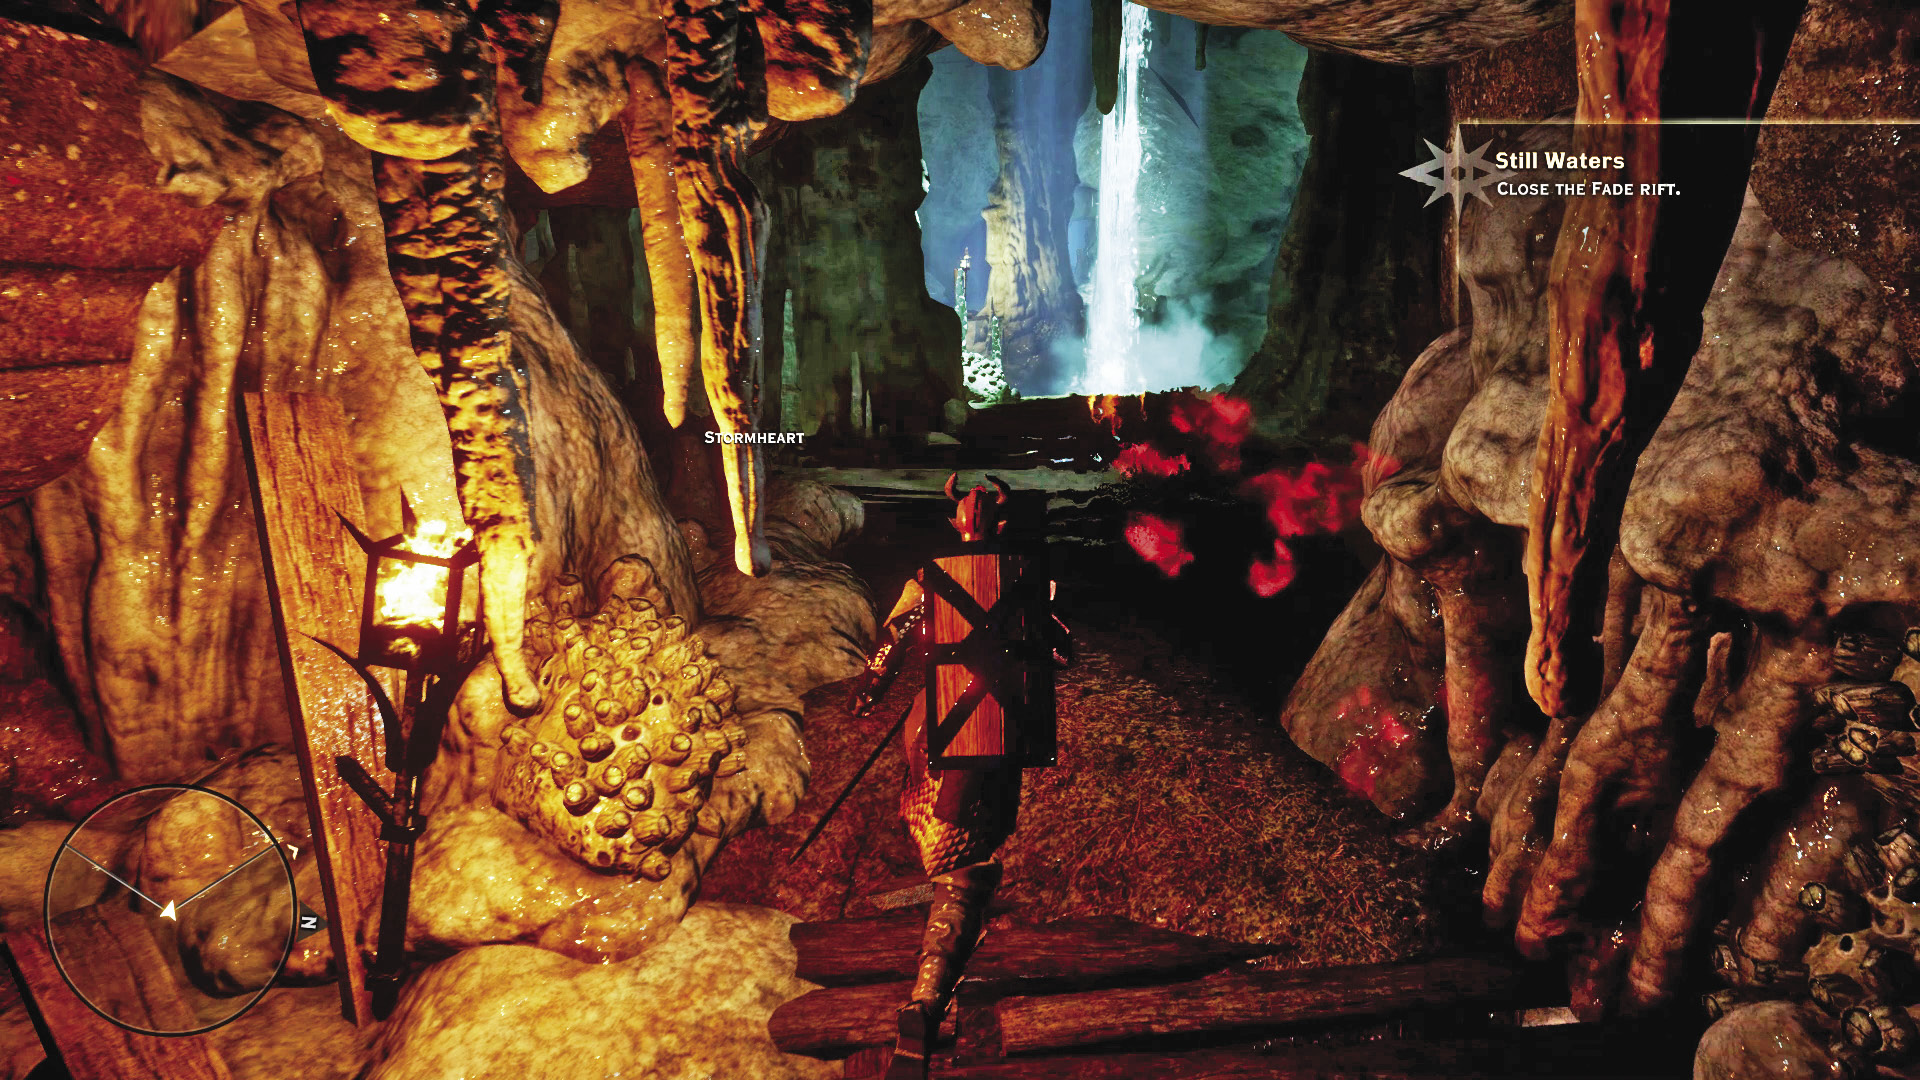
1. The first floor of the caves is straightforward. Proceed down the dark cave, lighting torches as you go, until you reach a large chasm, lit by the moon through the cracks in the ceiling. A wooden walkway takes you down to the lower tier of the caves.
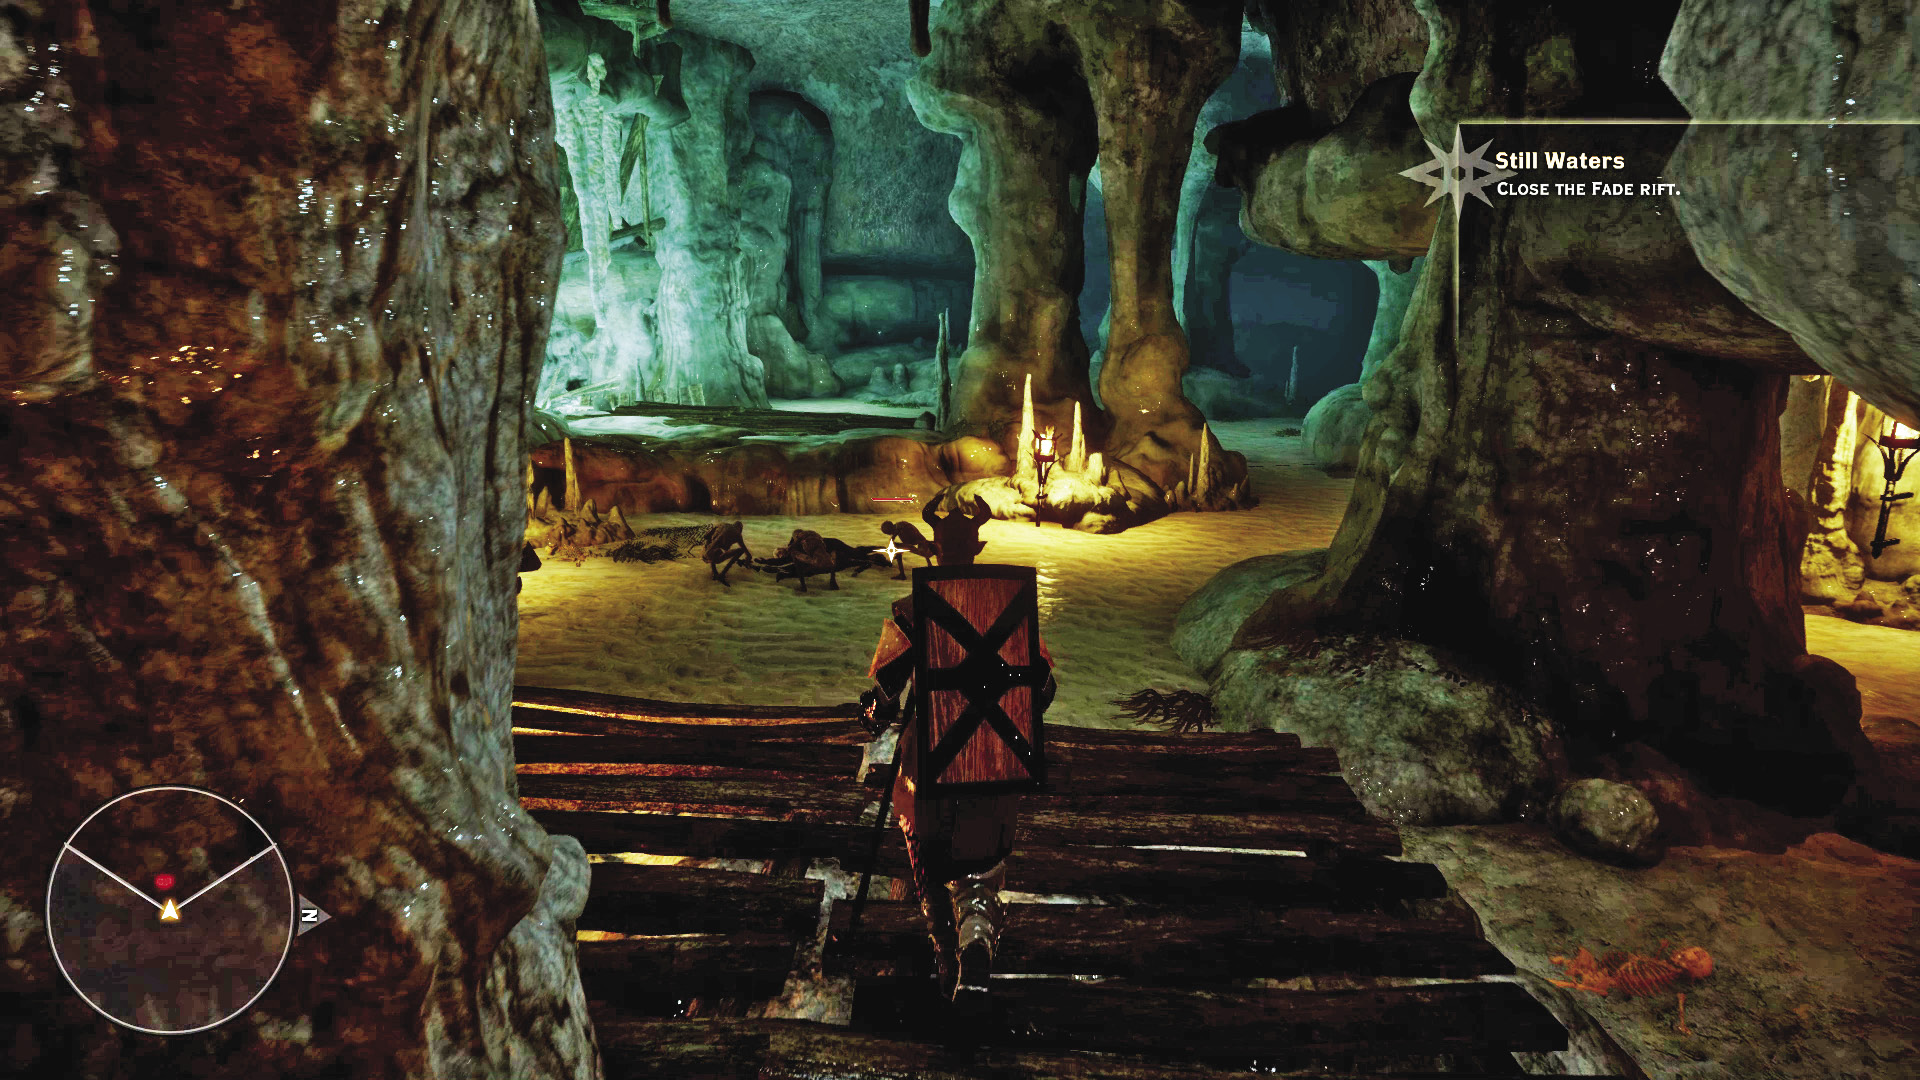
2. Reaching the lower tier, travel down the eastern corridor until you encounter a strange sight: undead corpses kneeling in supplication before a despair demon. Destroy them all, then explore the area to uncover some more hidden treasure. After you’re done looting, proceed down another wooden walkway to reach the dwarven ruins at the bottom of the caves.
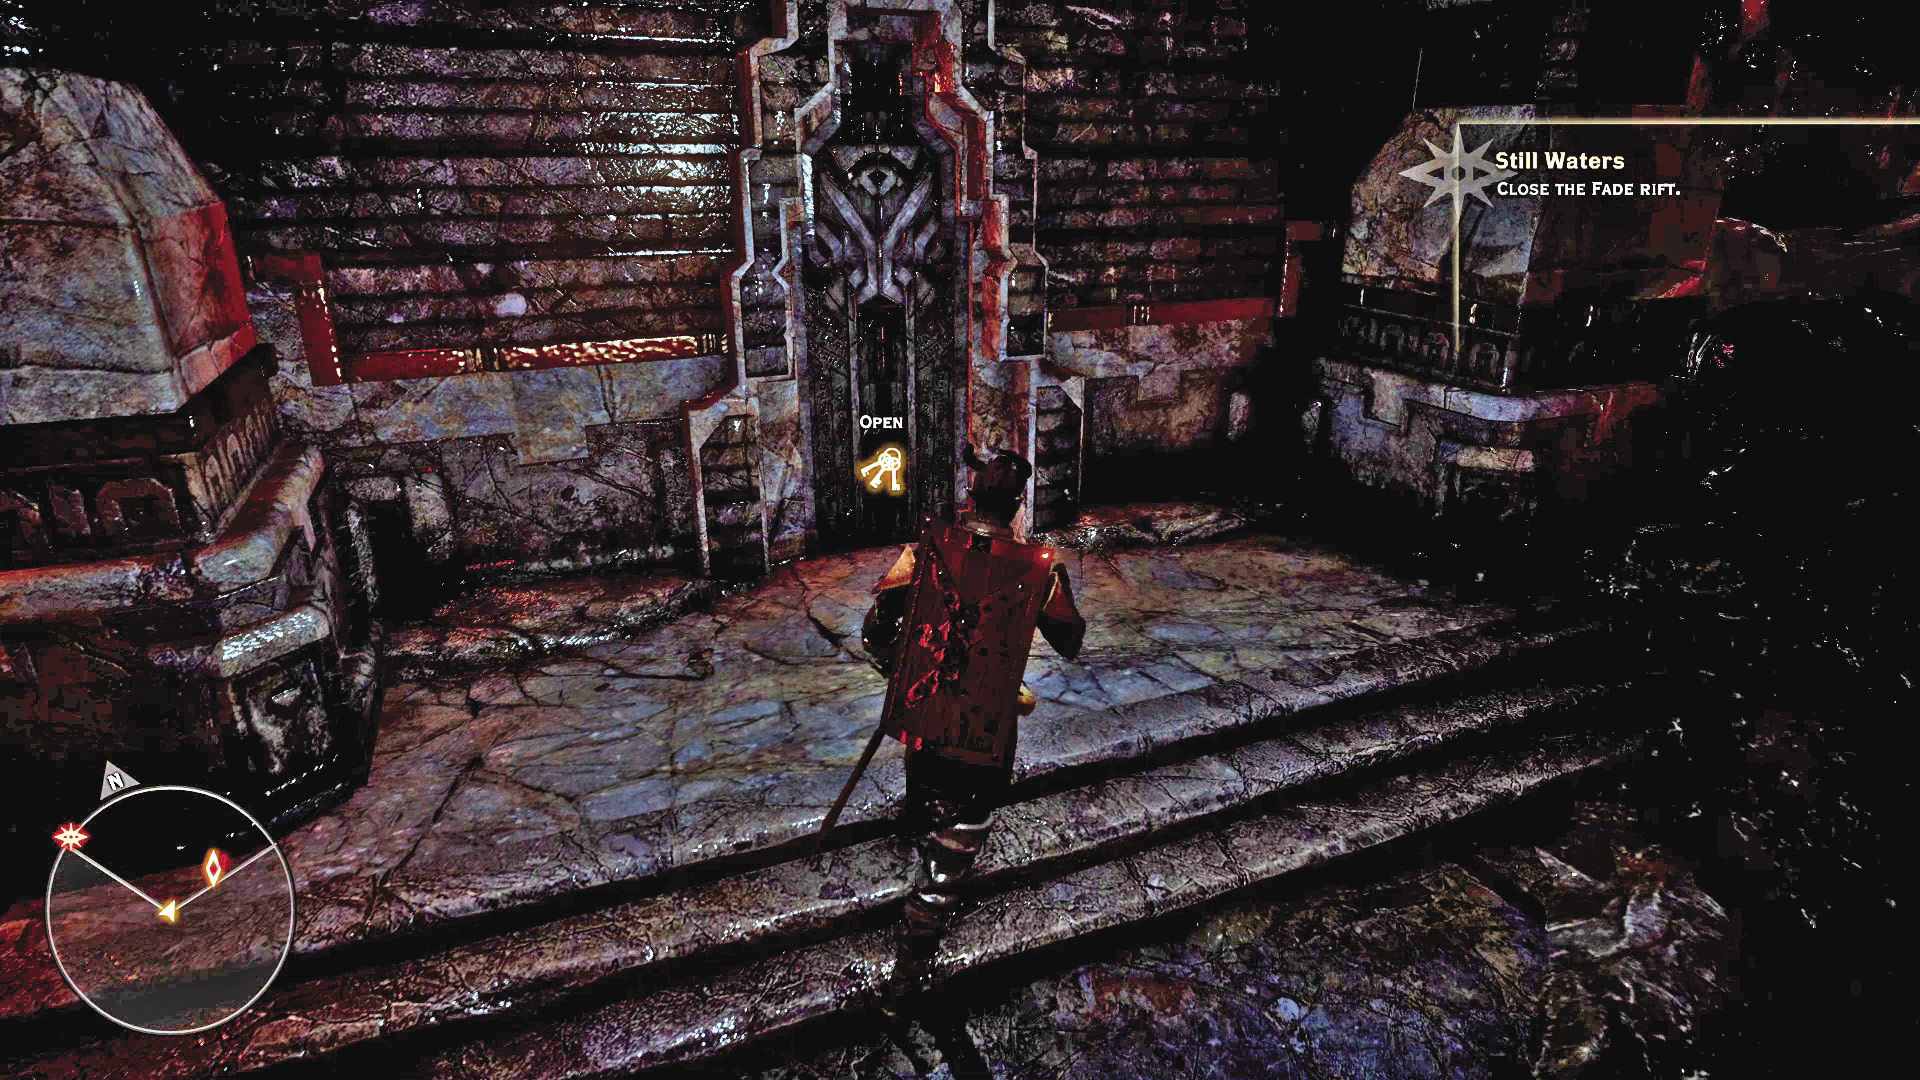
3. As you move into the ruins, look for a door on the right. It requires the Deft Hands, Fine Tools perk to unlock. Inside the room, you find some interesting codex entries on the dwarven society, along with a treasure chest.
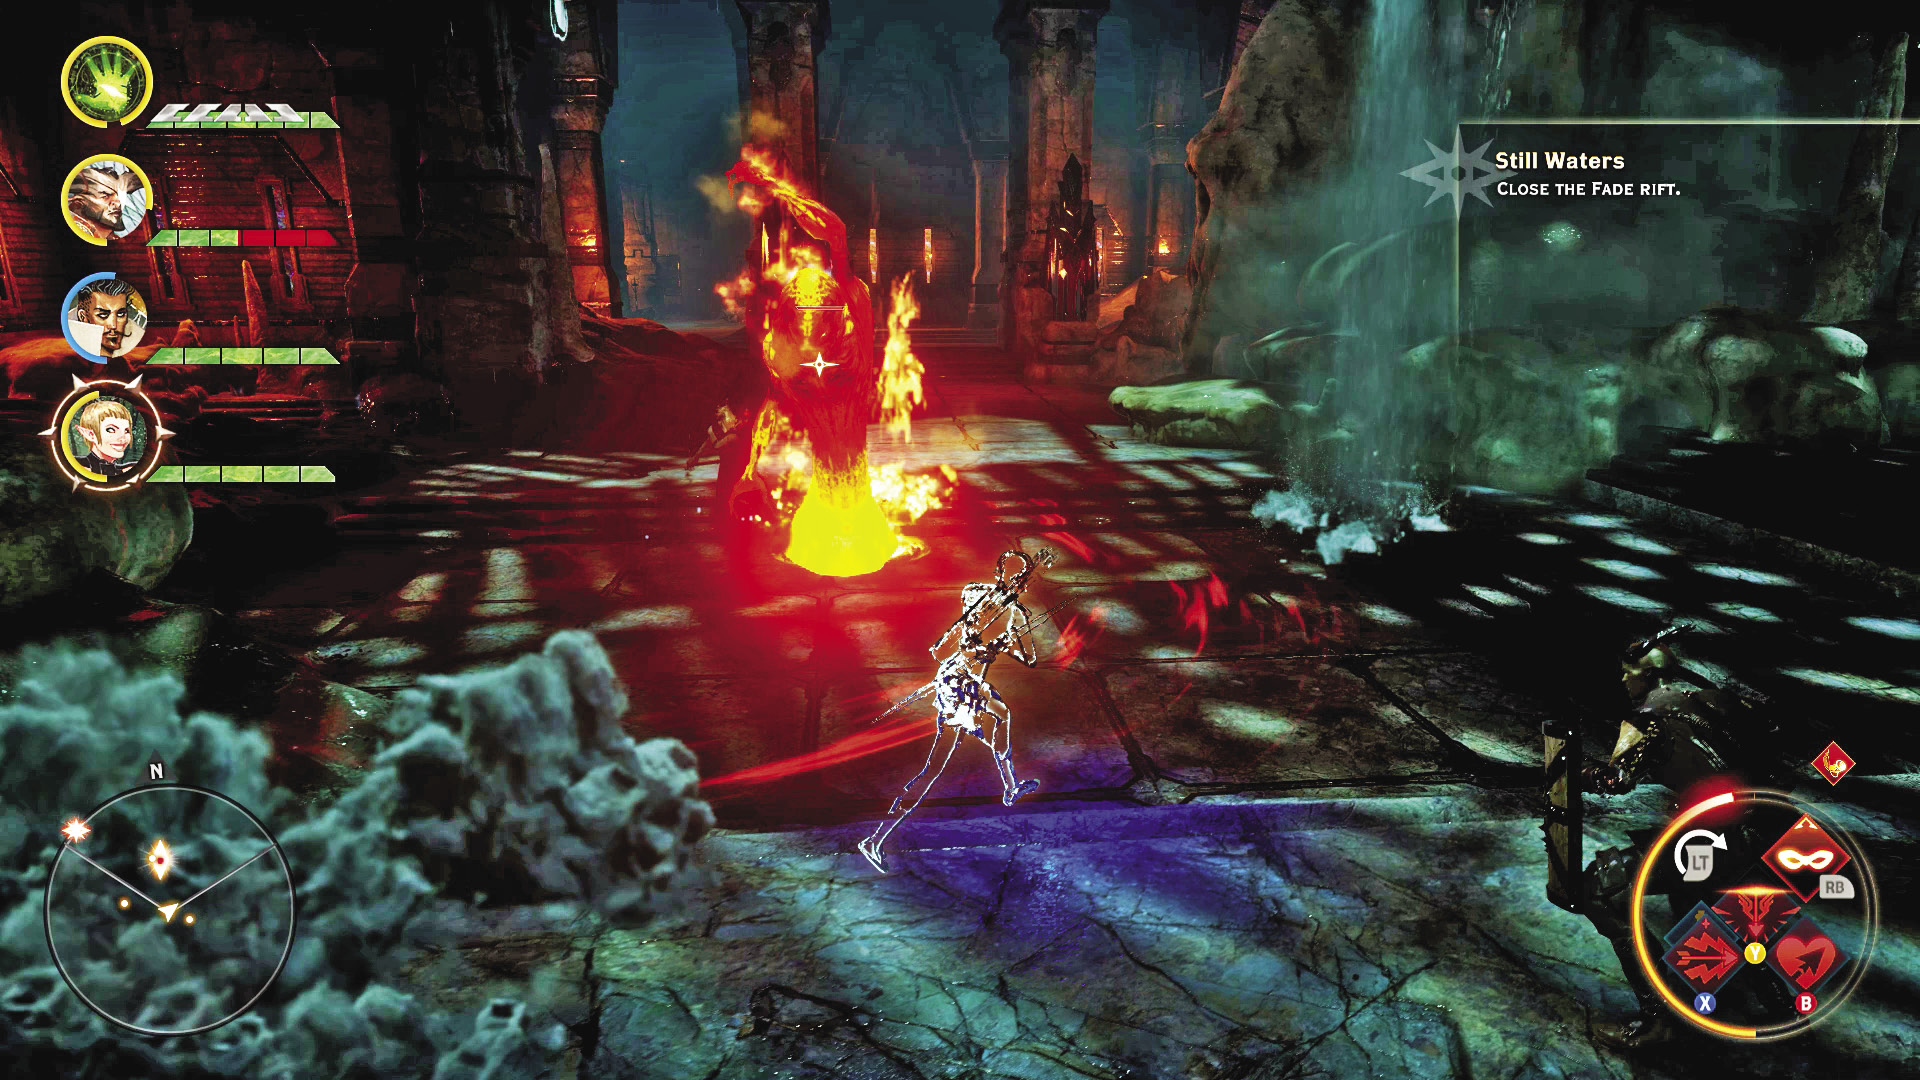
4. A rage demon patrols the first large chamber of the dwarven ruins. This is the rage demon the wraith in Old Crestwood spoke of. Banish it from this world and return to the surface once you’ve sealed the Fade rift to complete the Burdens of Command side quest.
5. A warrior can kick down this weakened wall, allowing your party to explore a tomb.
6. This tomb contains some treasure chests and a mosaic piece for the Freed Are Slaves collection.
7. The entrance to the chamber containing the Fade rift has a crate full of potions. Restore your stocks before taking on the demonic threat!
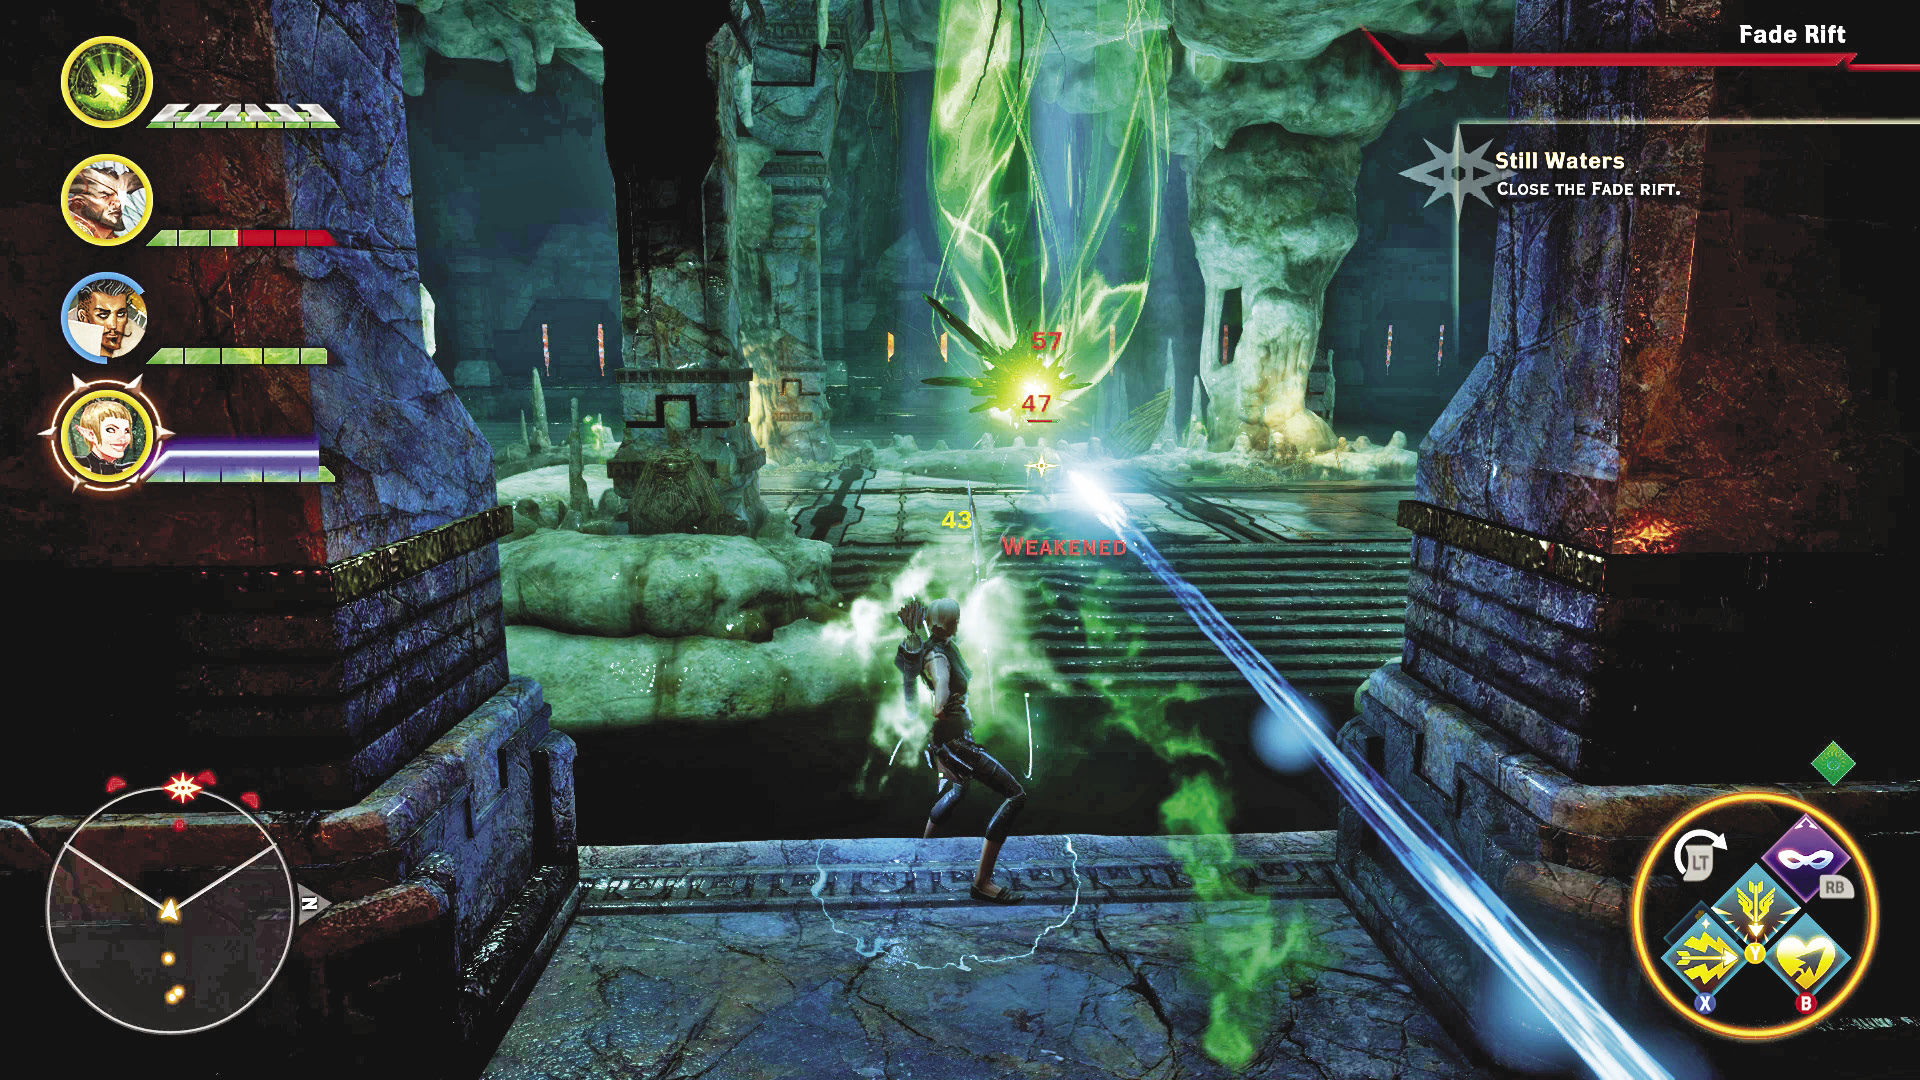
8. Unlike many other Fade rifts you’ve come across up to this point, this one is very resilient. Four waves of demons will assault your party. Expect wraiths, shades, terrors, rage demons, and despair demons! Here is where having a mage or two to dispel the demonspawn before they can manifest can come in handy. If you’re lucky, you might even be able to dispel two demons with one spellcast! Additionally, the area the demons appear in is relatively small, so a well-placed Mark of the Rift can wreck an entire wave in short order. Once you seal the rift, you can return to Crestwood and inform the mayor of the good news. But don’t leave the caves until you’re certain you’ve looted as many valuables as you can carry.
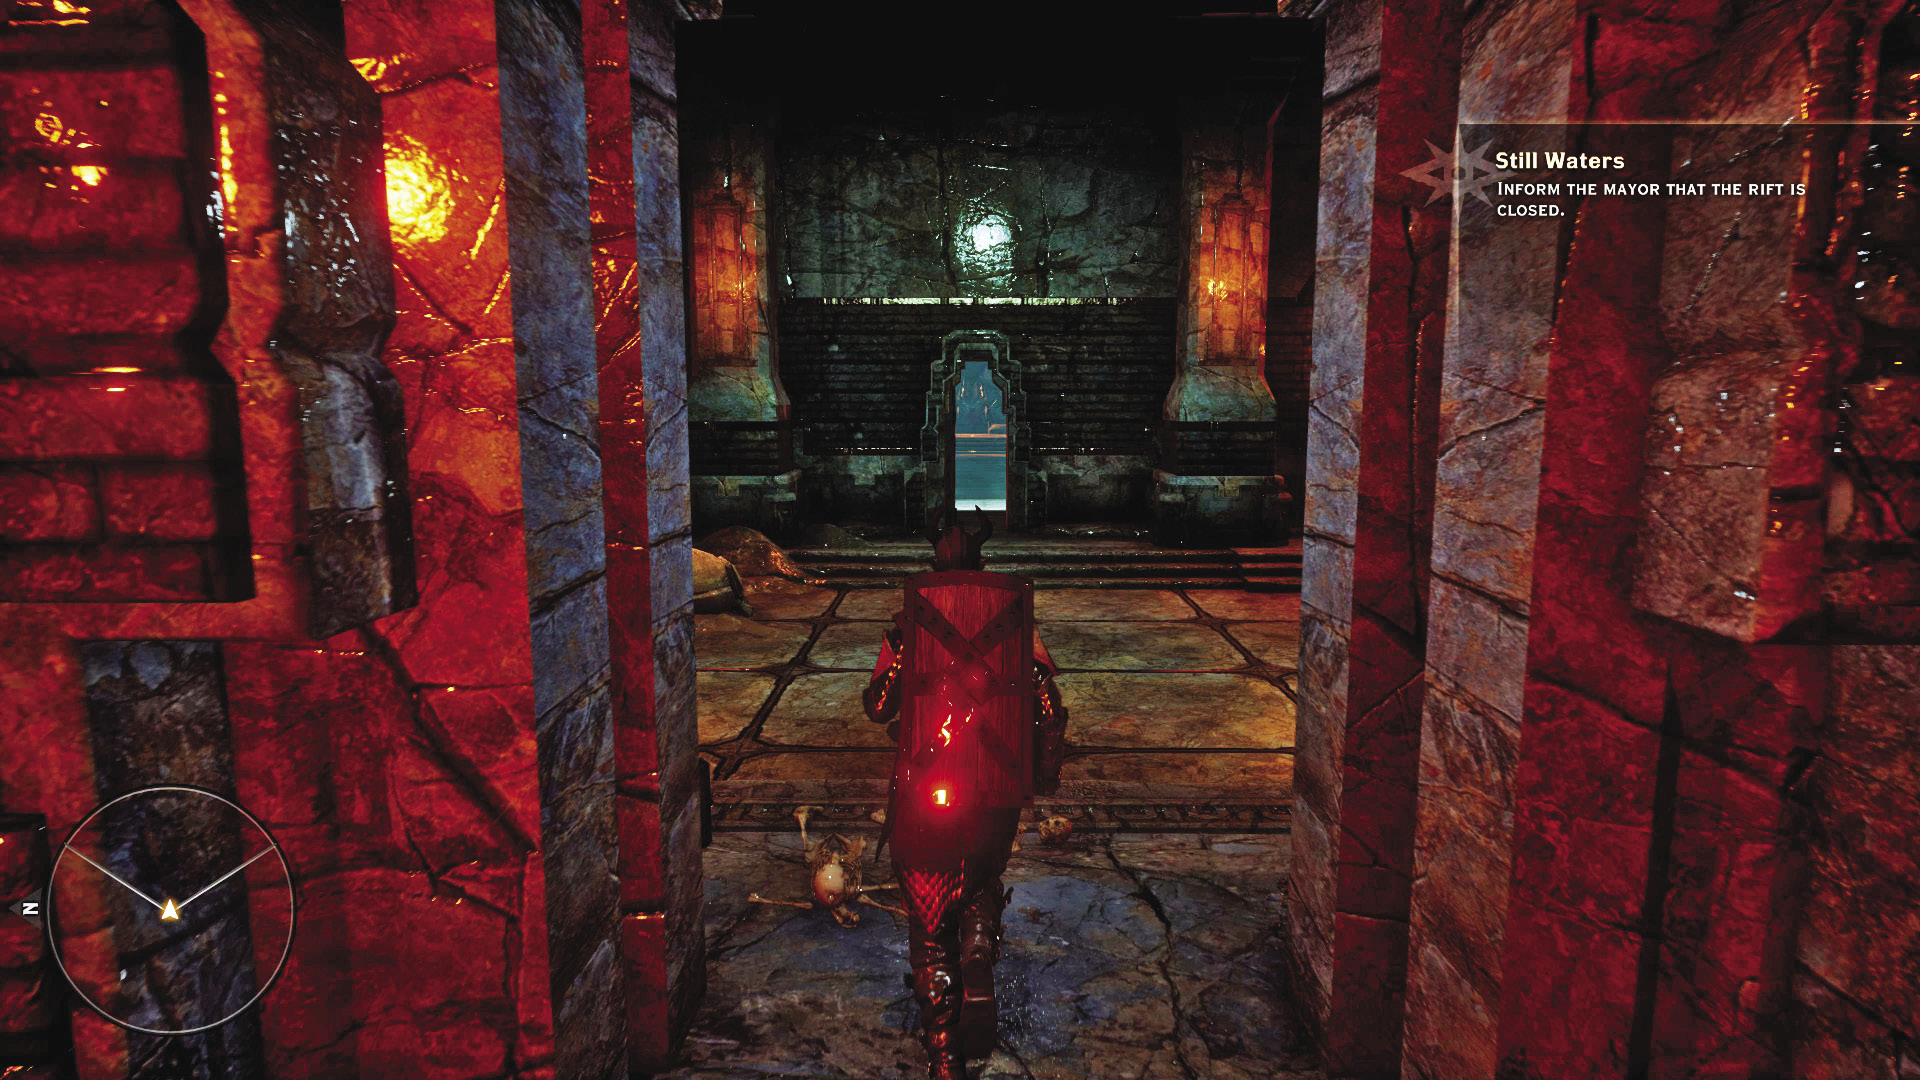
9. The door across from the passage leading to the Fade rift room leads to another section of the dwarven ruins. On an altar in the west side of this chamber is another mosaic piece for the Freed Are Slaves collection.
10. After making another sweep of this last chamber, head out through another door on the west side of the room. After a couple more chambers, you’ll eventually reach a ladder that acts as an alternative exit to the Flooded Caves. Faster than going all the way back to the first floor entrance!
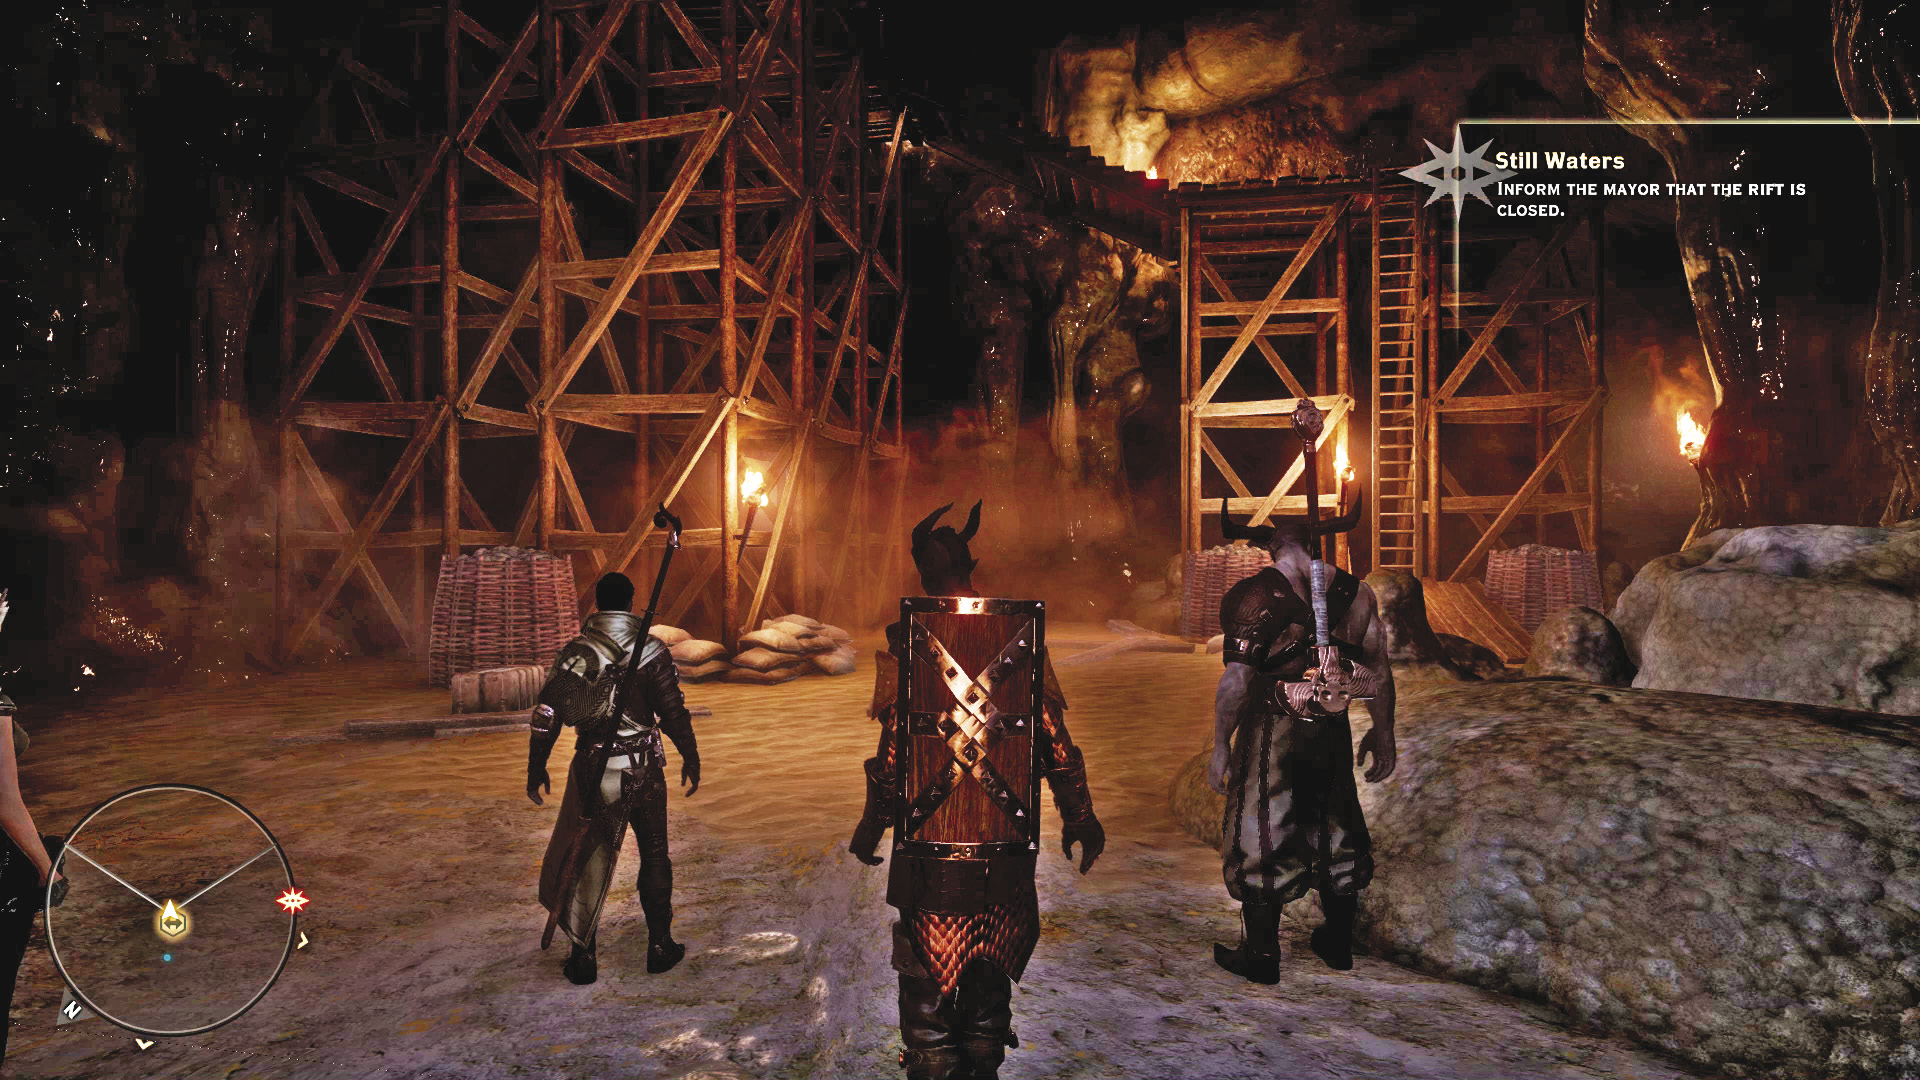
The alternative exit leads to another ladder to climb and a locked door that can be opened with a lever. Don’t leave too hastily, as there’s more loot to grab and yet another mosaic piece for the Freed Are Slaves collection.
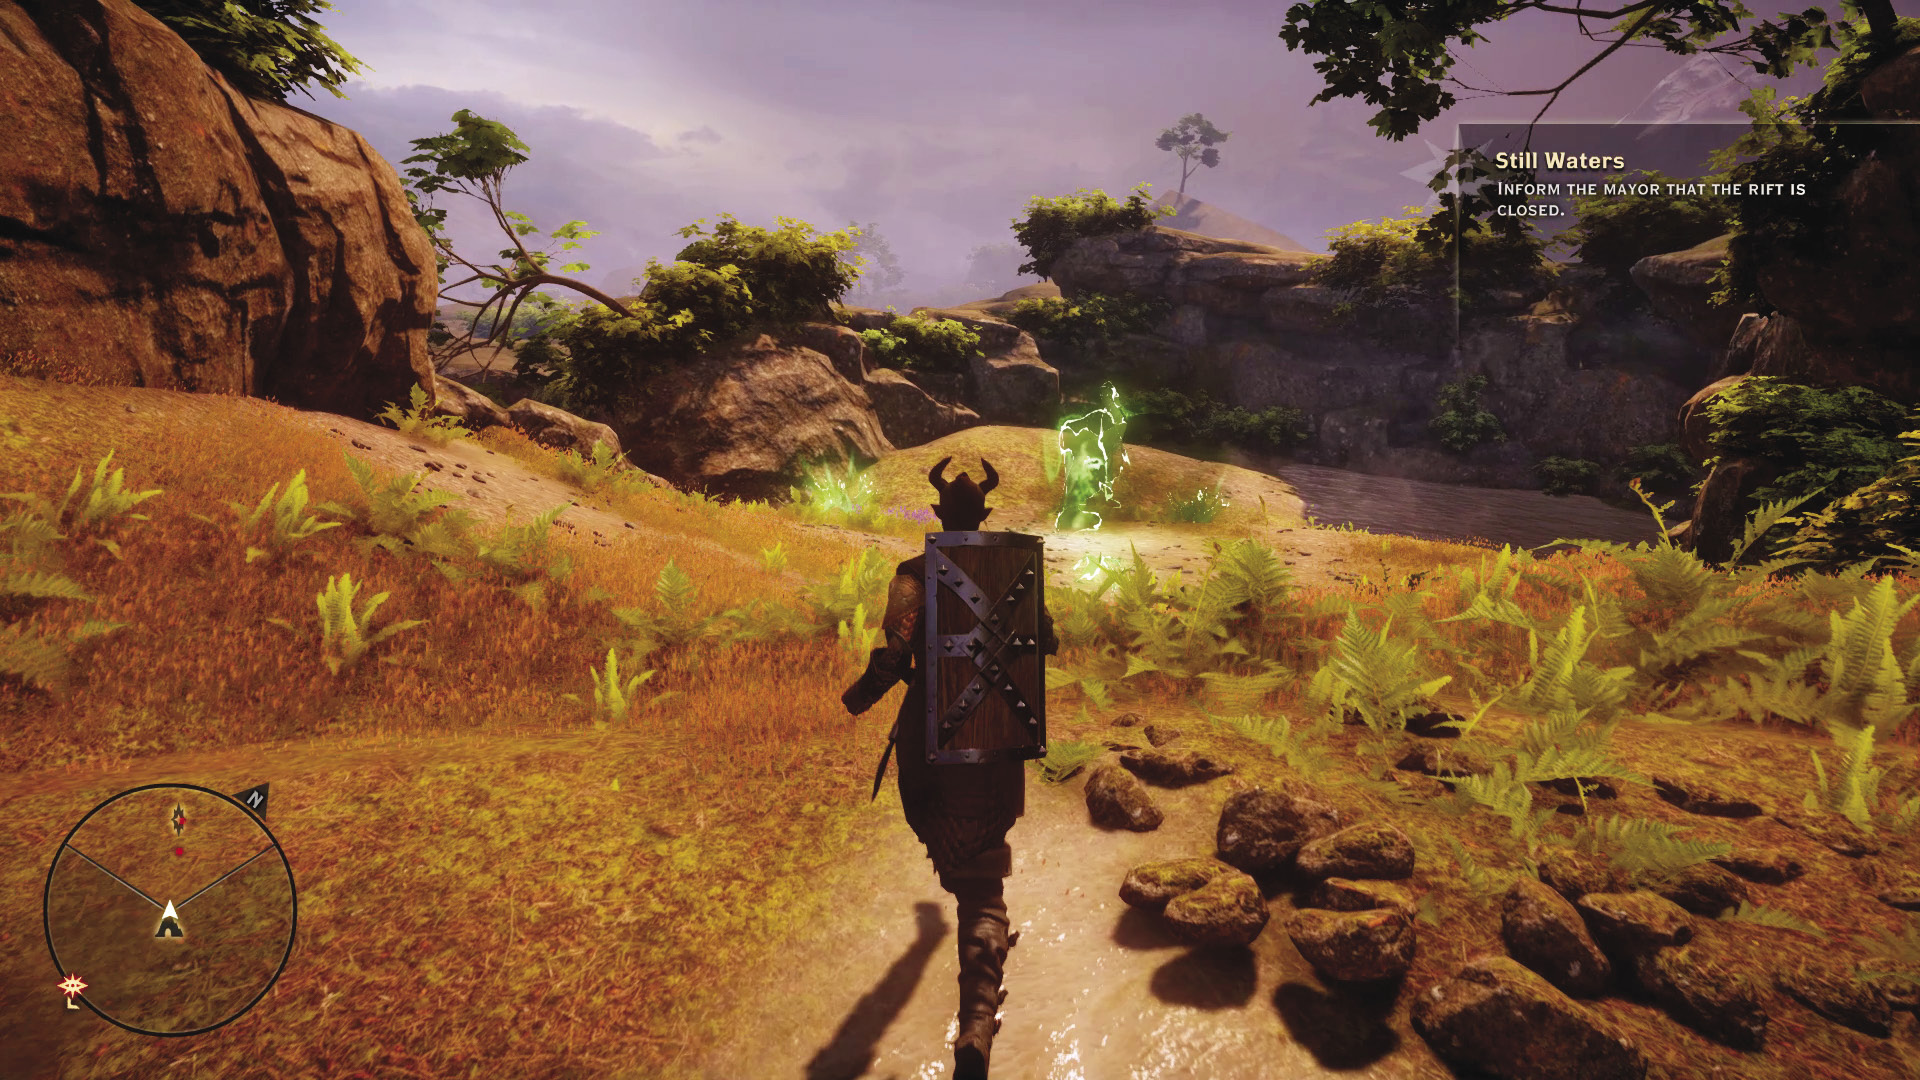
The exit takes you to a cave in the East Side Hills, not far from the new Crestwood. The sun has come out, with only a light rain shower as opposed to the oppressive darkness and thunderstorm that blanketed the place before. Head down to Crestwood to deliver the good news to the mayor...except that the man is long gone, leaving only a letter of confession in his home, a full disclosure of the truth behind the events of 10 years ago. Your quest is complete, but justice is not yet served. If you spoke to the mayor after finding his house or draining the lake, you can return to Skyhold and use a war table quest to hunt down the mayor, then judge him before the Inquisition.
5: Burdens of Command
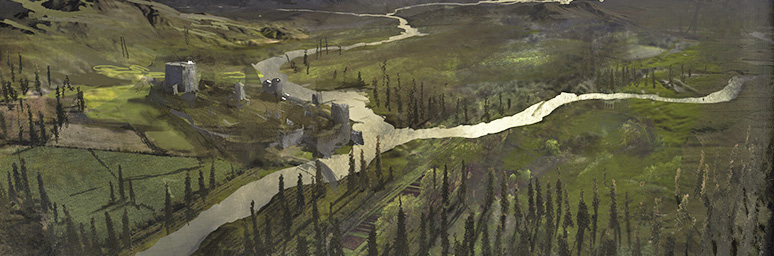
Quest Giver: A wraith in Old Crestwood
Description: A spirit in Old Crestwood has a task for you.
Requirements: You must drain the lake before you can reach Old Crestwood, where this spirit haunts.
Reward: 512 XP, 200 Influence, 2 Power
Objectives:
 Destroy the rage demon in the Flooded Caves.
 Inform the spirit in Old Crestwood of the demon’s demise.
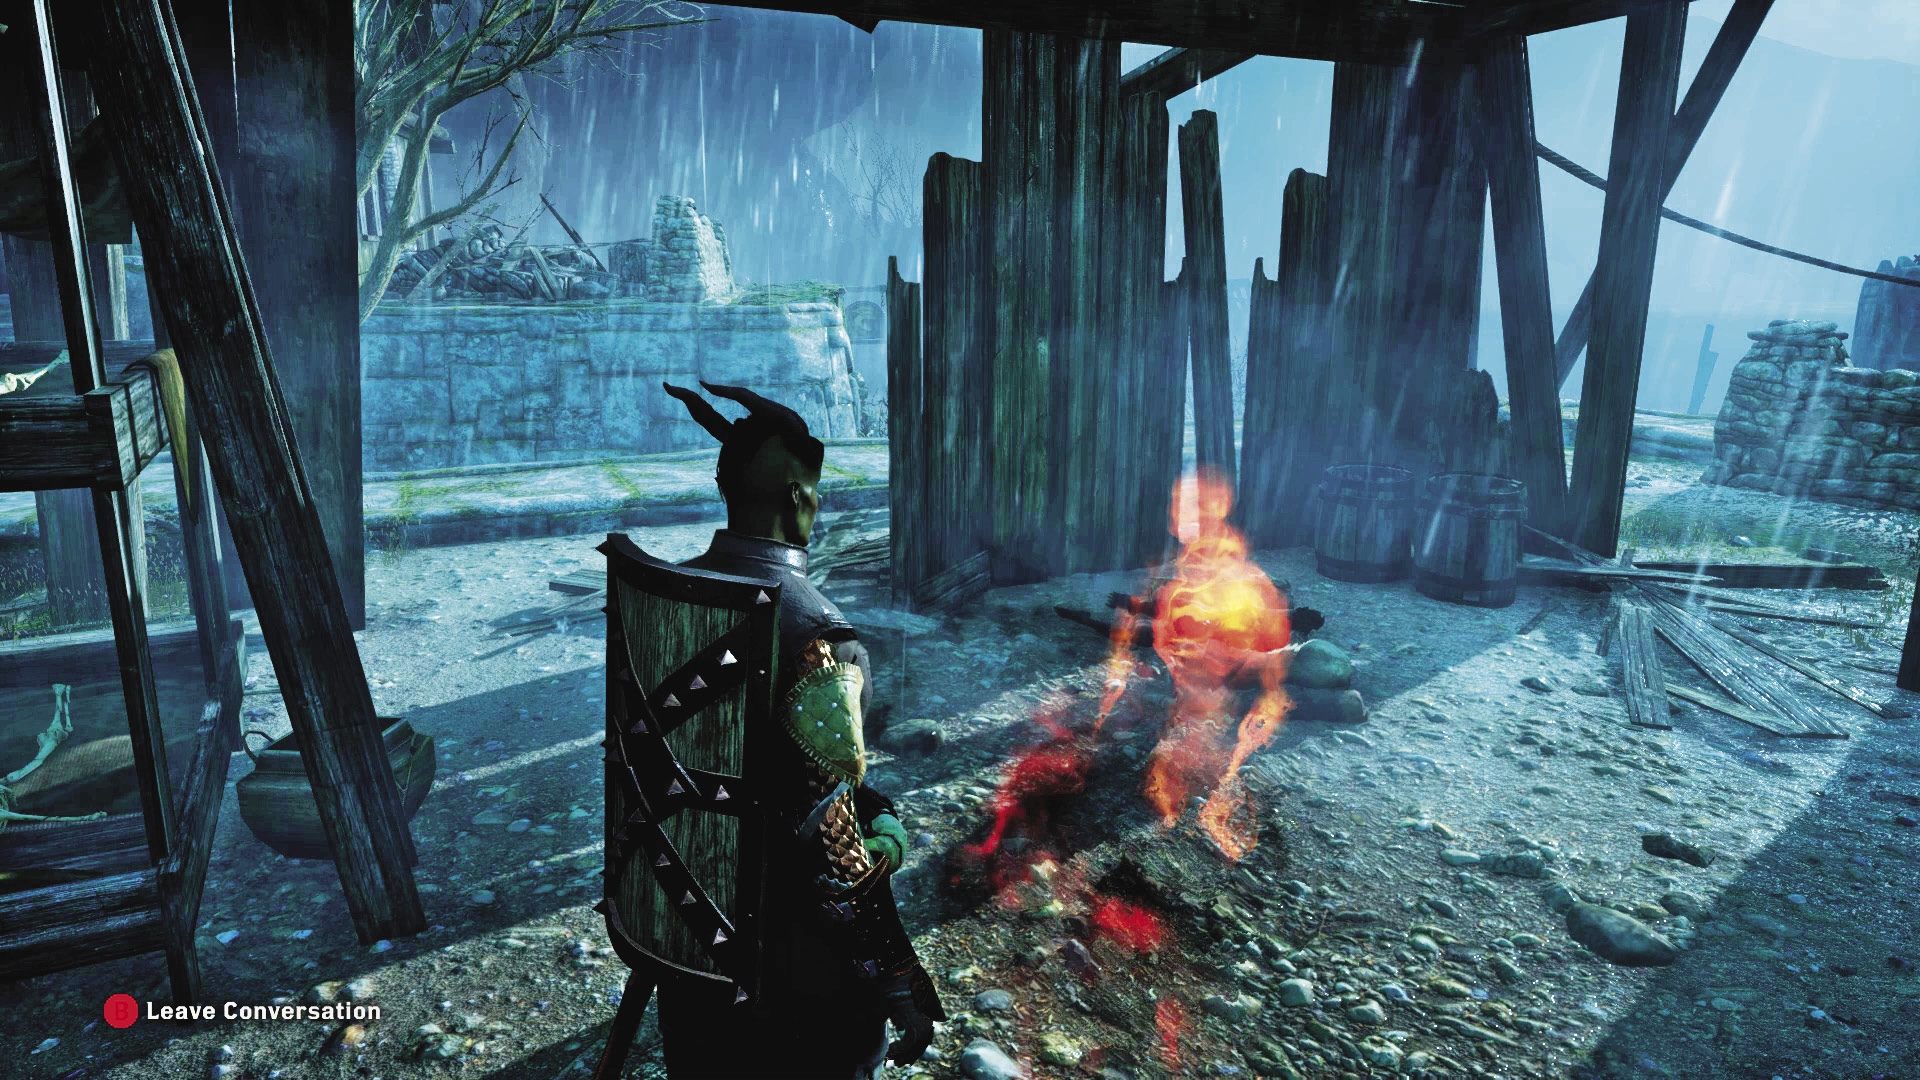
A wraith in Old Crestwood shouts commands at you as you pass by the home it has taken residence in. If you take the time to speak with it, you learn that it despises demons, or “those who would suck this world dry.” It claims that it is the concept of leadership and command personified, and it will not leave this world until something in it obeys its instructions. If you’ve talked to it to learn all you can from it, you can offer to follow its commands, beginning this side quest.
The wraith demands vengeance: A rage demon chased it across the lake, and incensed by this the wraith orders you to destroy it. This requires delving into the Flooded Caves. You can take on this side quest while also dealing with the Still Waters quest. See the section for Still Waters for a map of the Flooded Caves and more details on how to reach this rage demon. After you report successful mission completion to your “commander,” the wraith is satisfied and rewards you for your actions.
6: Homecoming
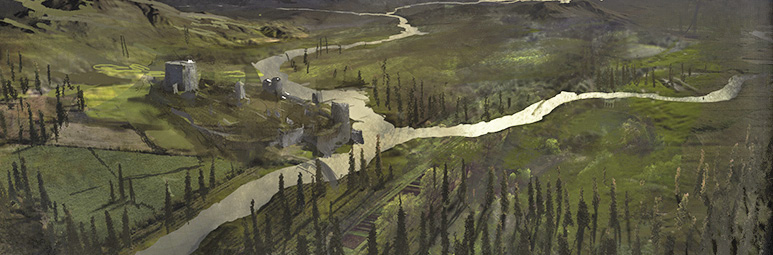
Quest Giver: Sister Vaughn, Crestwood
Description: Sister Vaughn wants to cremate the bodies of people lost in a flood 10 years ago.
Requirements: Available after speaking with the mayor of Crestwood
Reward: 512 XP, 200 Influence, 2 Power
Objectives:
 Find three piles of bodies.
 Return the remains to Sister Vaughn.
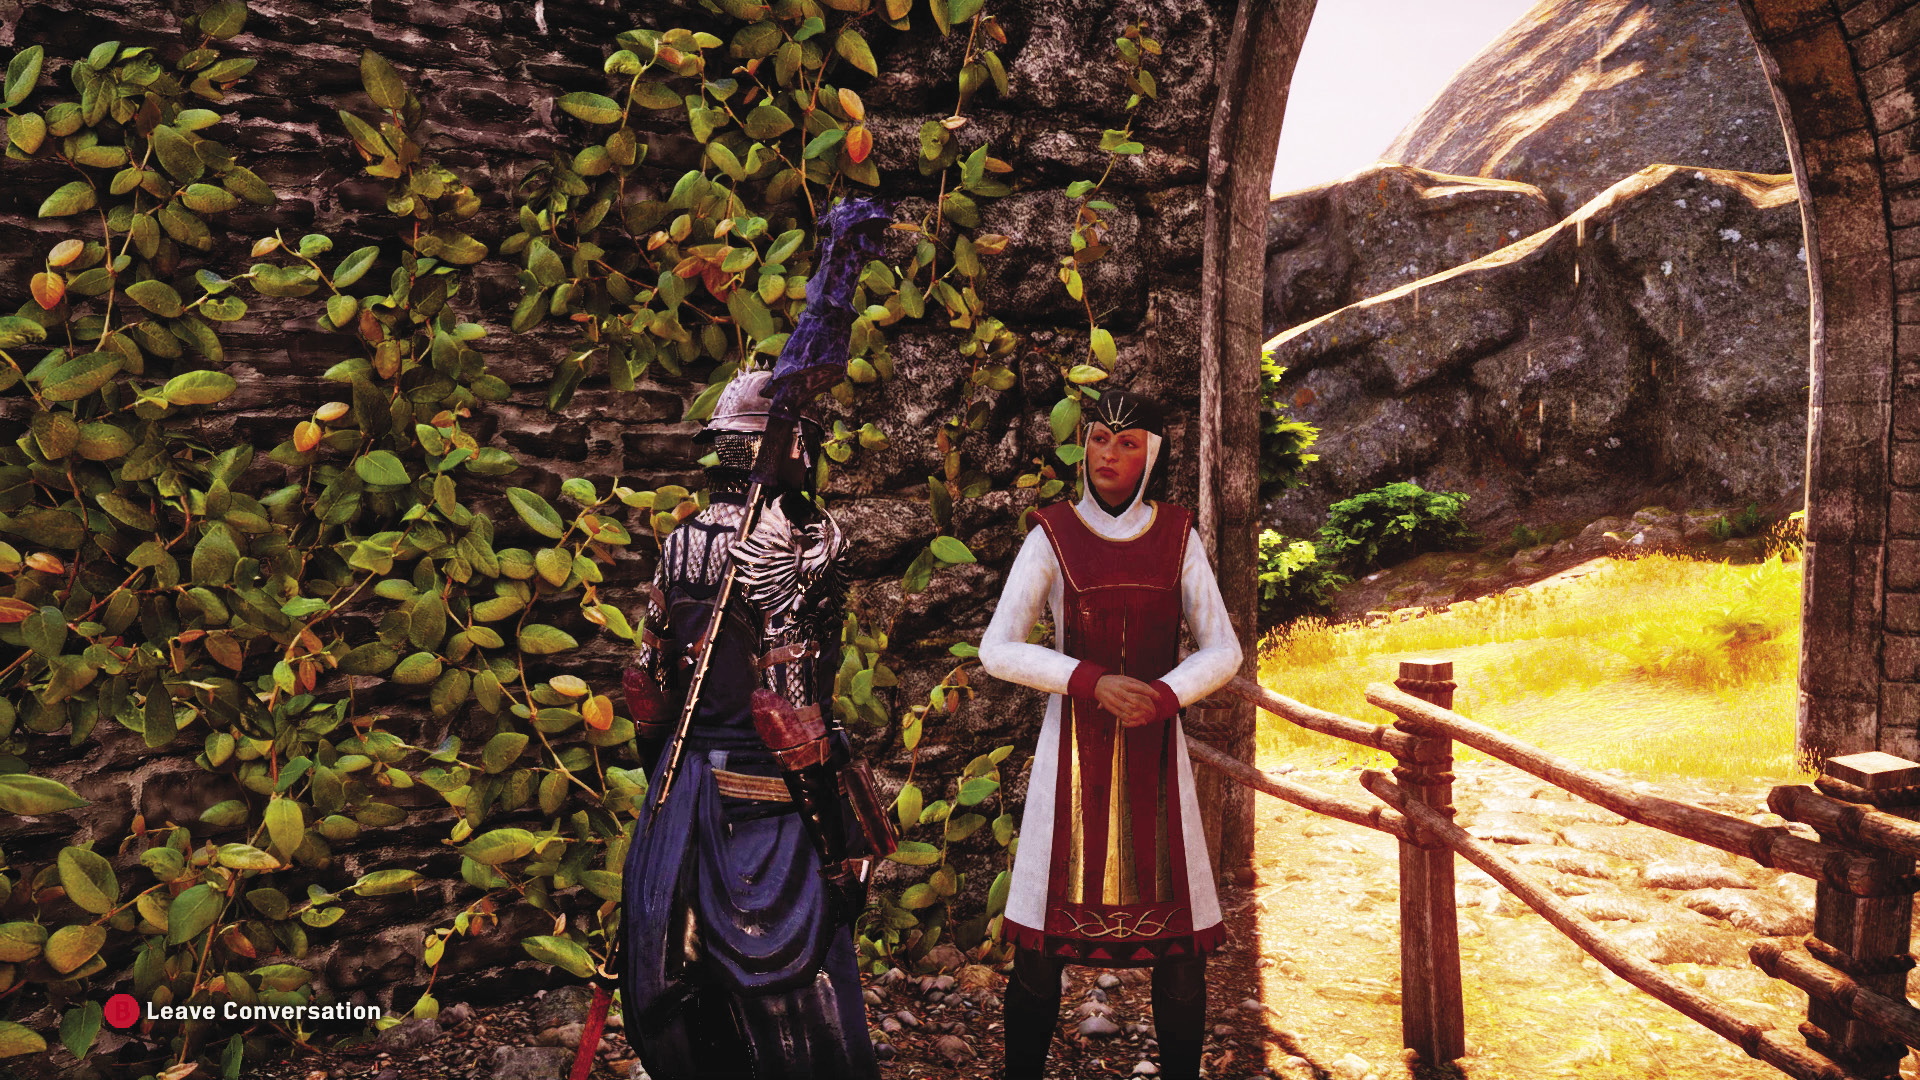
Sister Vaughn has wanted to retrieve the bodies of the dead from Old Crestwood so that she may give them a proper funeral pyre as per the Chant. However, this would require draining the lake, an act the mayor has been reluctant to commit to. Fortunately, that happens to be in the cards for Inquisitors looking to seal the Fade rift in the lake depths.
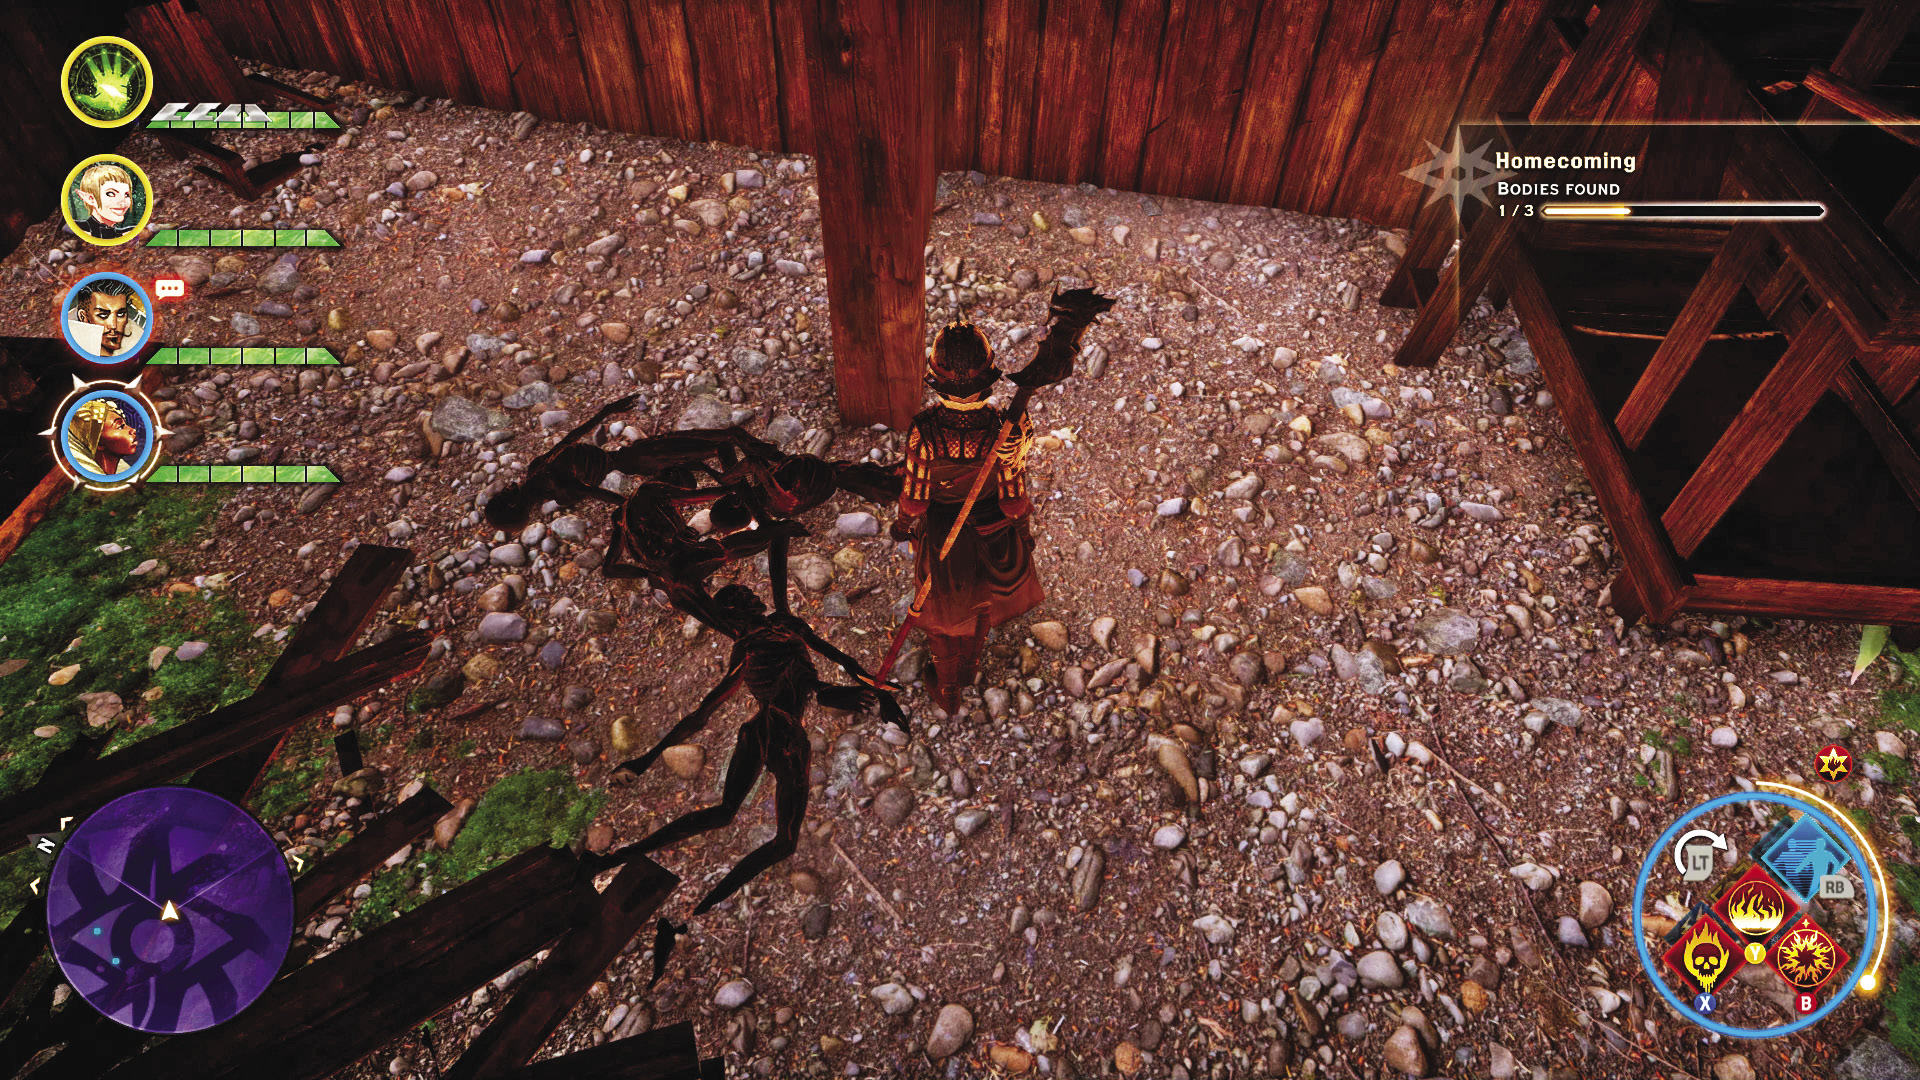
After draining the waters of the lake, you’re able to enter Old Crestwood and see the aftermath of the flood for yourself. Be mindful of the demons and the undead lurking throughout the ruined village, and search for piles of bodies that the sister can reclaim for the funeral pyre. After finding all three groups of bodies, inform the sister to complete the quest.
7: The Naturalist

Quest Giver: Gauld, a villager in Crestwood
Description: A man in Crestwood is concerned that a friend of his, Judith, isn’t safe living outside of town. He’d appreciate someone checking up on her.
Requirements: Available upon arrival in Crestwood
Reward: 128 XP, 80 Influence
Objectives:
 Check up on Judith.
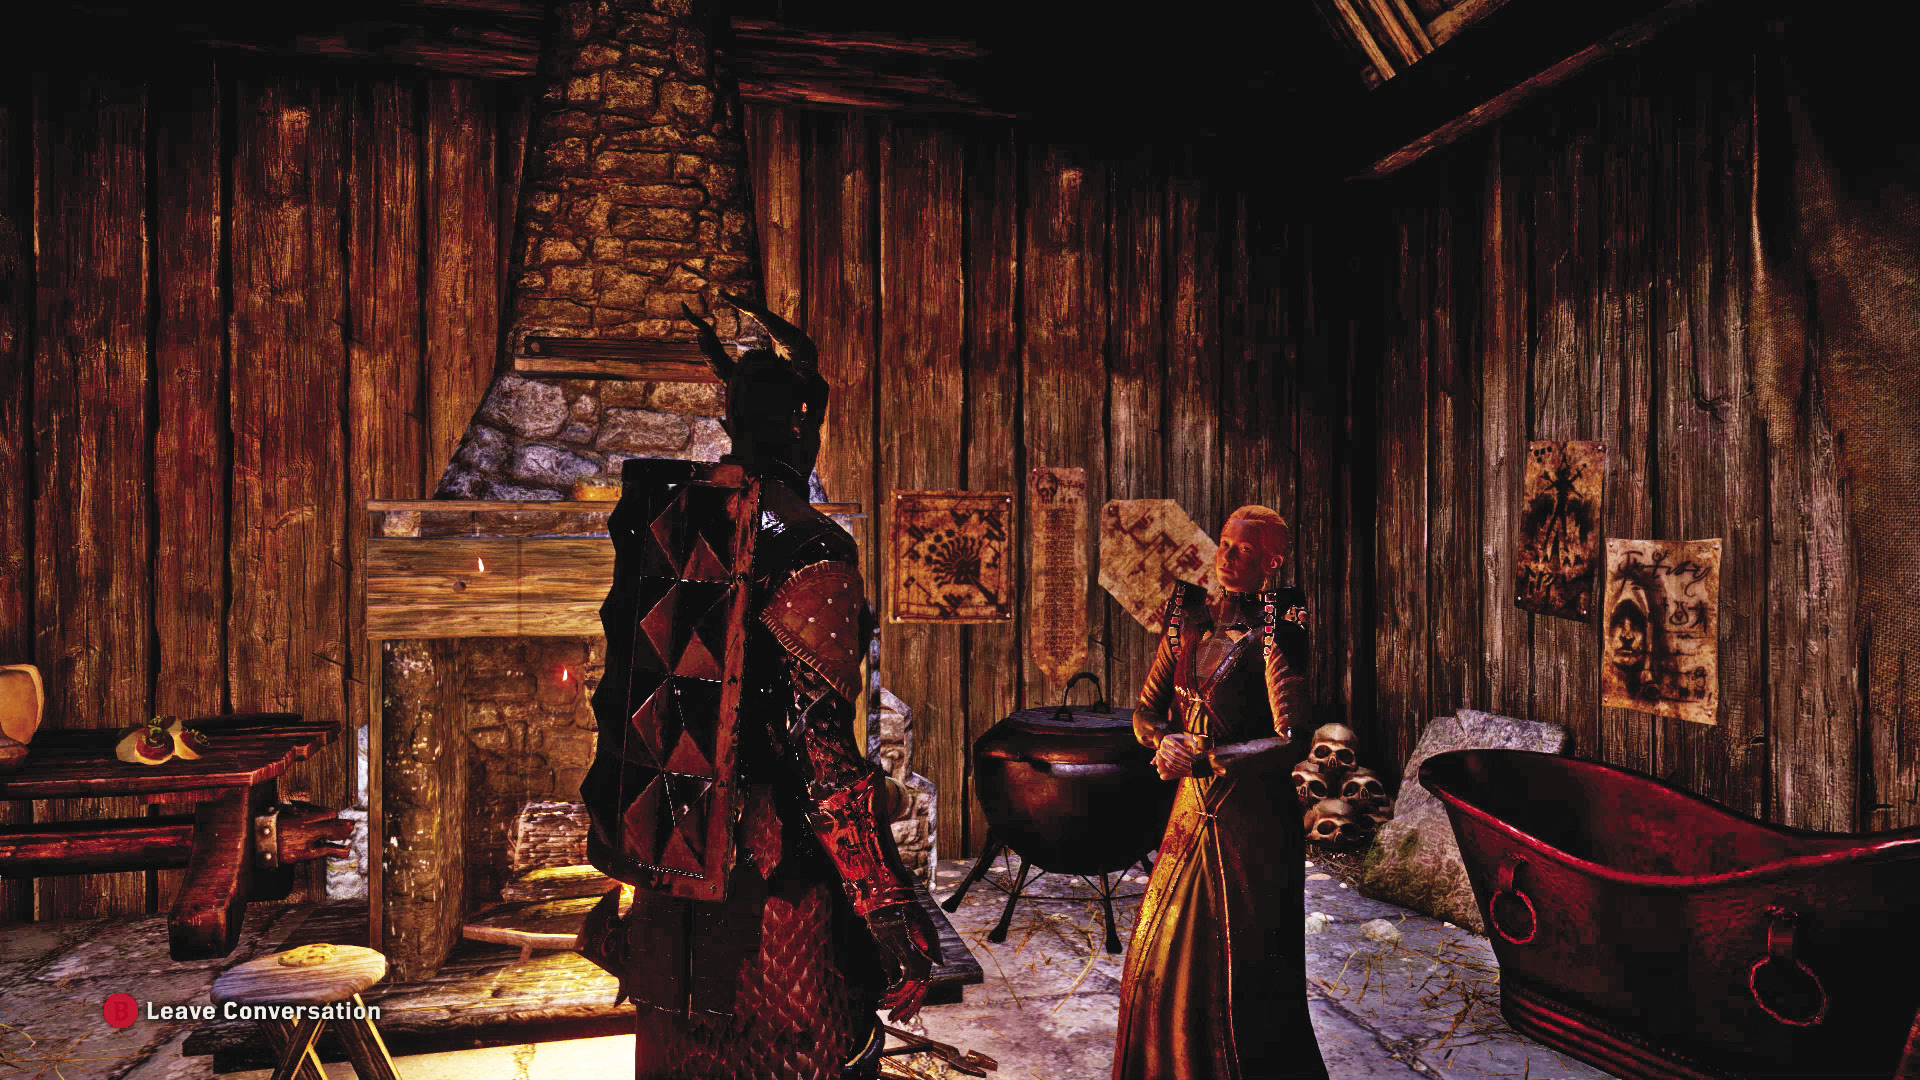
Given the weather and constant attacks by demons and the undead, Gauld’s concerns for Judith are well founded. However, when you do reach the woman at Forester’s Homestead, she’s in perfect health, and even chides you for the visit while citing the dangers you were sent to secure her from. She does appreciate Gauld’s gesture and provides you with plenty of good information about the surrounding area, including the presence of a lethal wyvern that has gotten more territorial in recent days, and of a roaming high dragon.
You can also ask her the most important question: “Seriously, why does anyone live out here?” There’s no good answer to that. Quest completed anyway!
8: Wyrm Hole

Quest Giver: Judith, hermit of the homestead
Description: An aggressive wyvern is harassing Crestwood’s villagers. It lives in a cave up in the hills. A woman named Judith outside of town seems interested in the body if someone manages to kill it.
Requirements: Speak with Judith about the wyvern after completing Naturalist.
Reward: 242 XP, 80 Influence
Objectives:
 Kill the cave wyvern.
 Return to Judith.
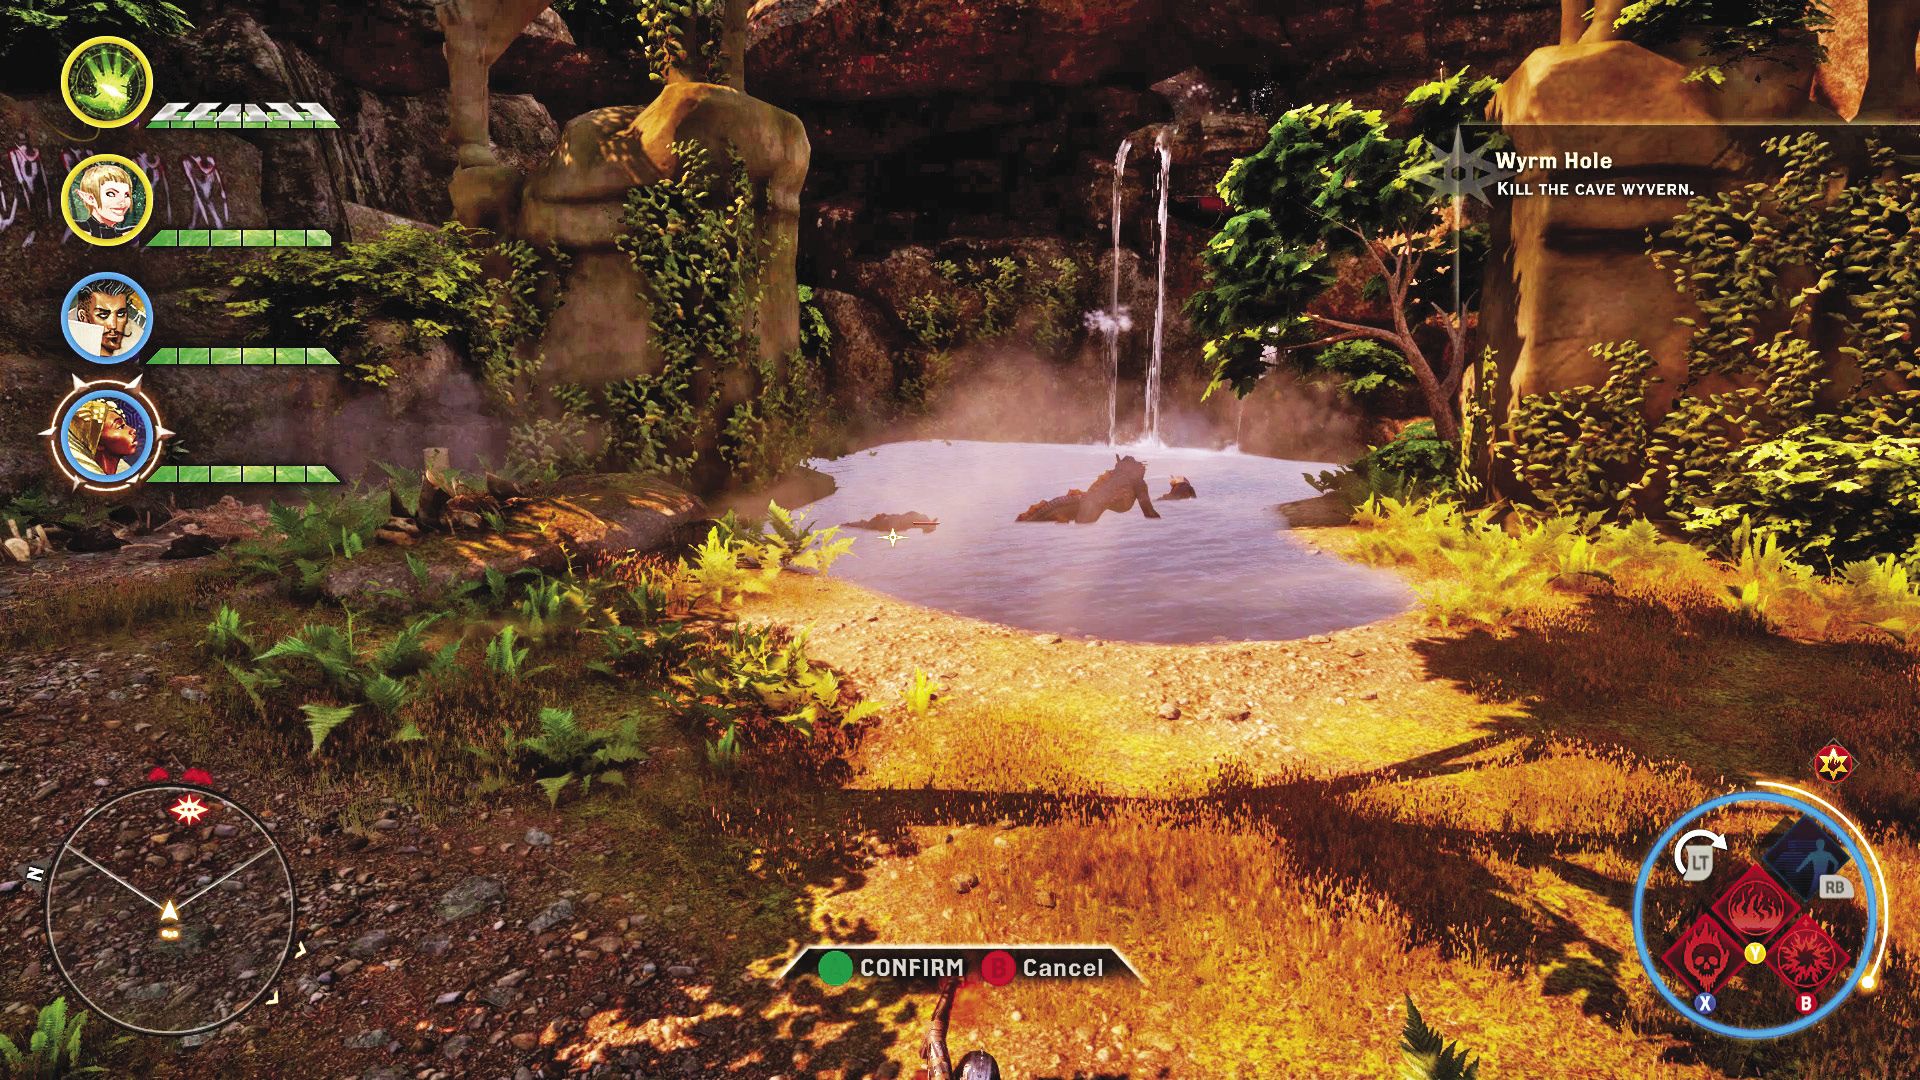
Make a stop at the Three Trout Pond camp before heading up the rocky slope; you’ll want to be well prepared for this fight, as well as the fights leading up to it! As you climb up the rocky slope, you encounter a hostile force dependent on the choice you made back in Redcliffe. Be they red templars or rebel mages, they are a step up from mere bandits wandering the roads and can surprise an ill-prepared party. After eliminating the threats outside of the cave they were guarding, loot their camp for all its worth, then enter the cave.
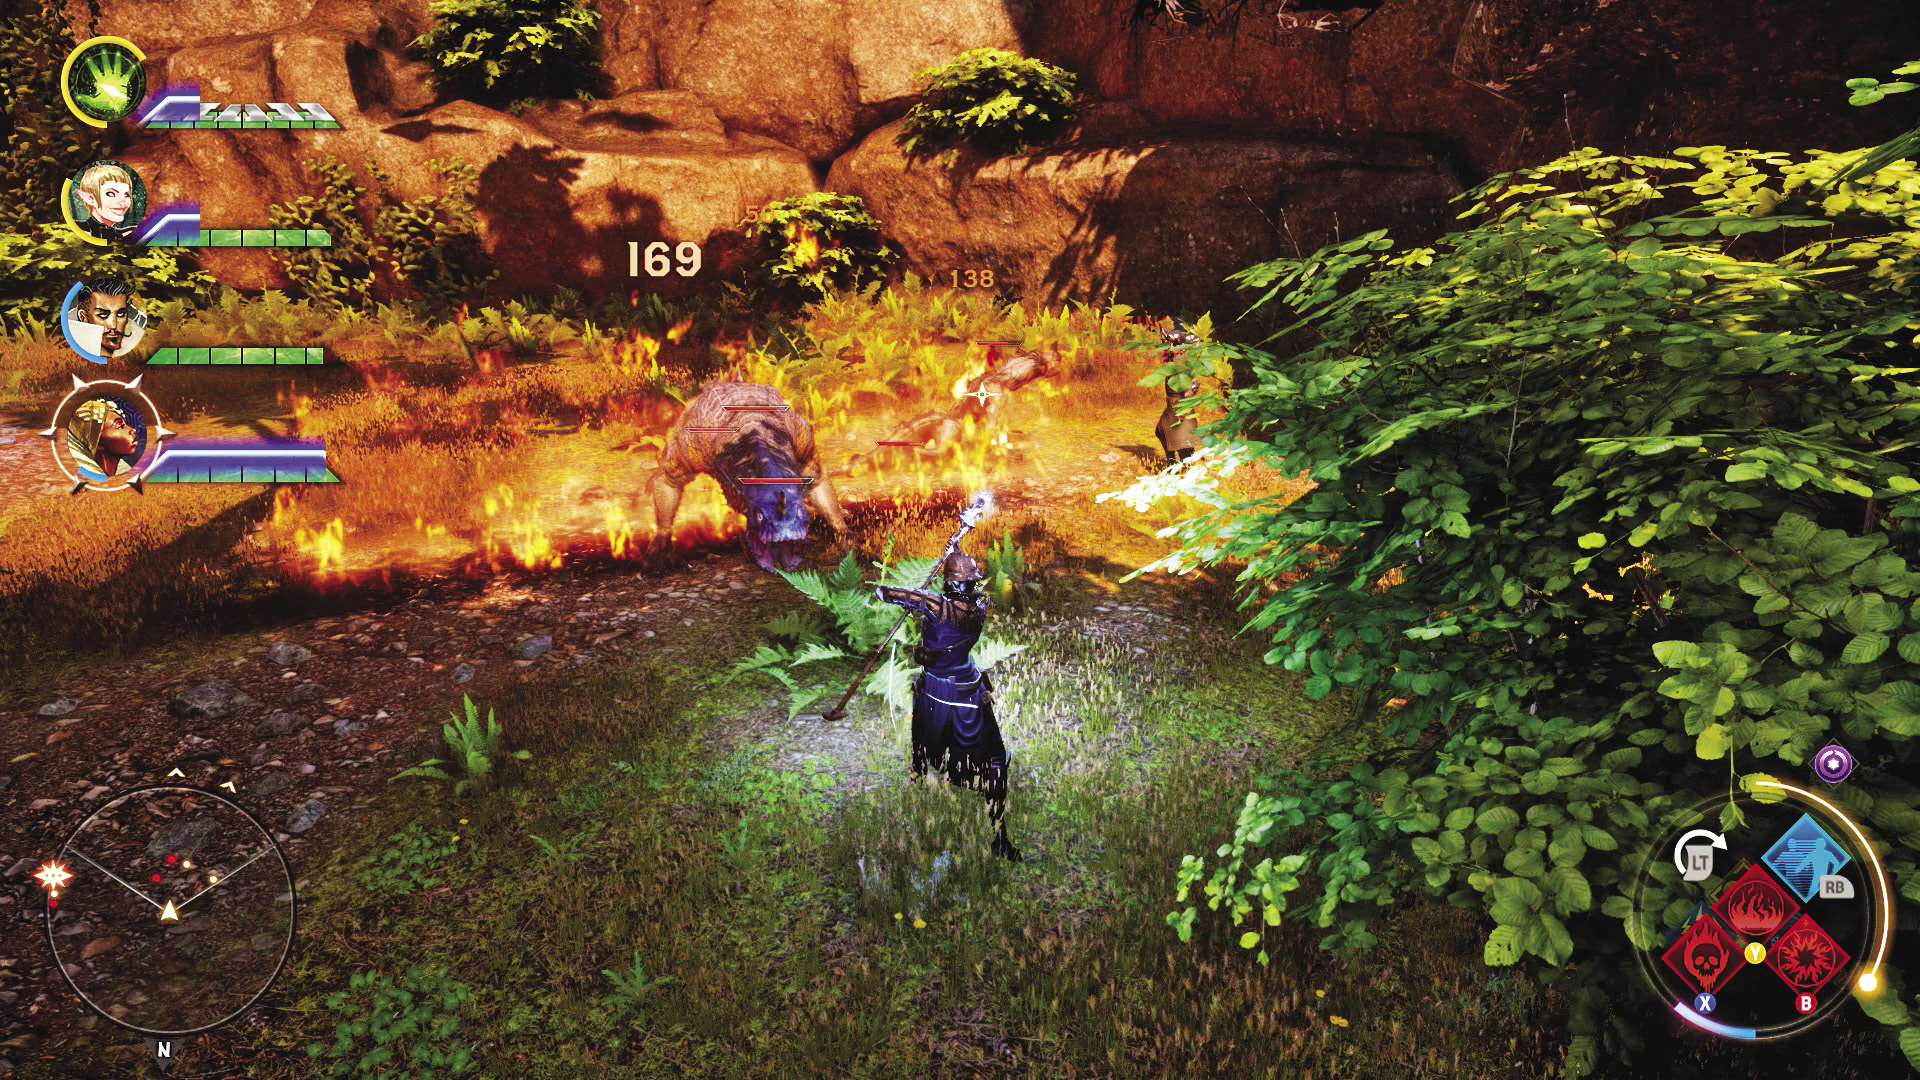
The wyvern Judith mentioned is not alone; it has two smaller wyverns at its side when you find it. It is not to be taken lightly. As a level 12 elite, this wyvern’s bite can brutalize rogues or mages caught in its reach, and worse still, the bite is poisonous enough to finish off those it wounds. Its young are also elites, and even at level 11 they are more than capable of ruining your party if they should be allowed to run free. Fortunately, the monsters have a vulnerability to cold-based damage, so plan accordingly. Mages should bring cold-damage staves and spells to the fight and be prepared to shield any comrades in melee range.
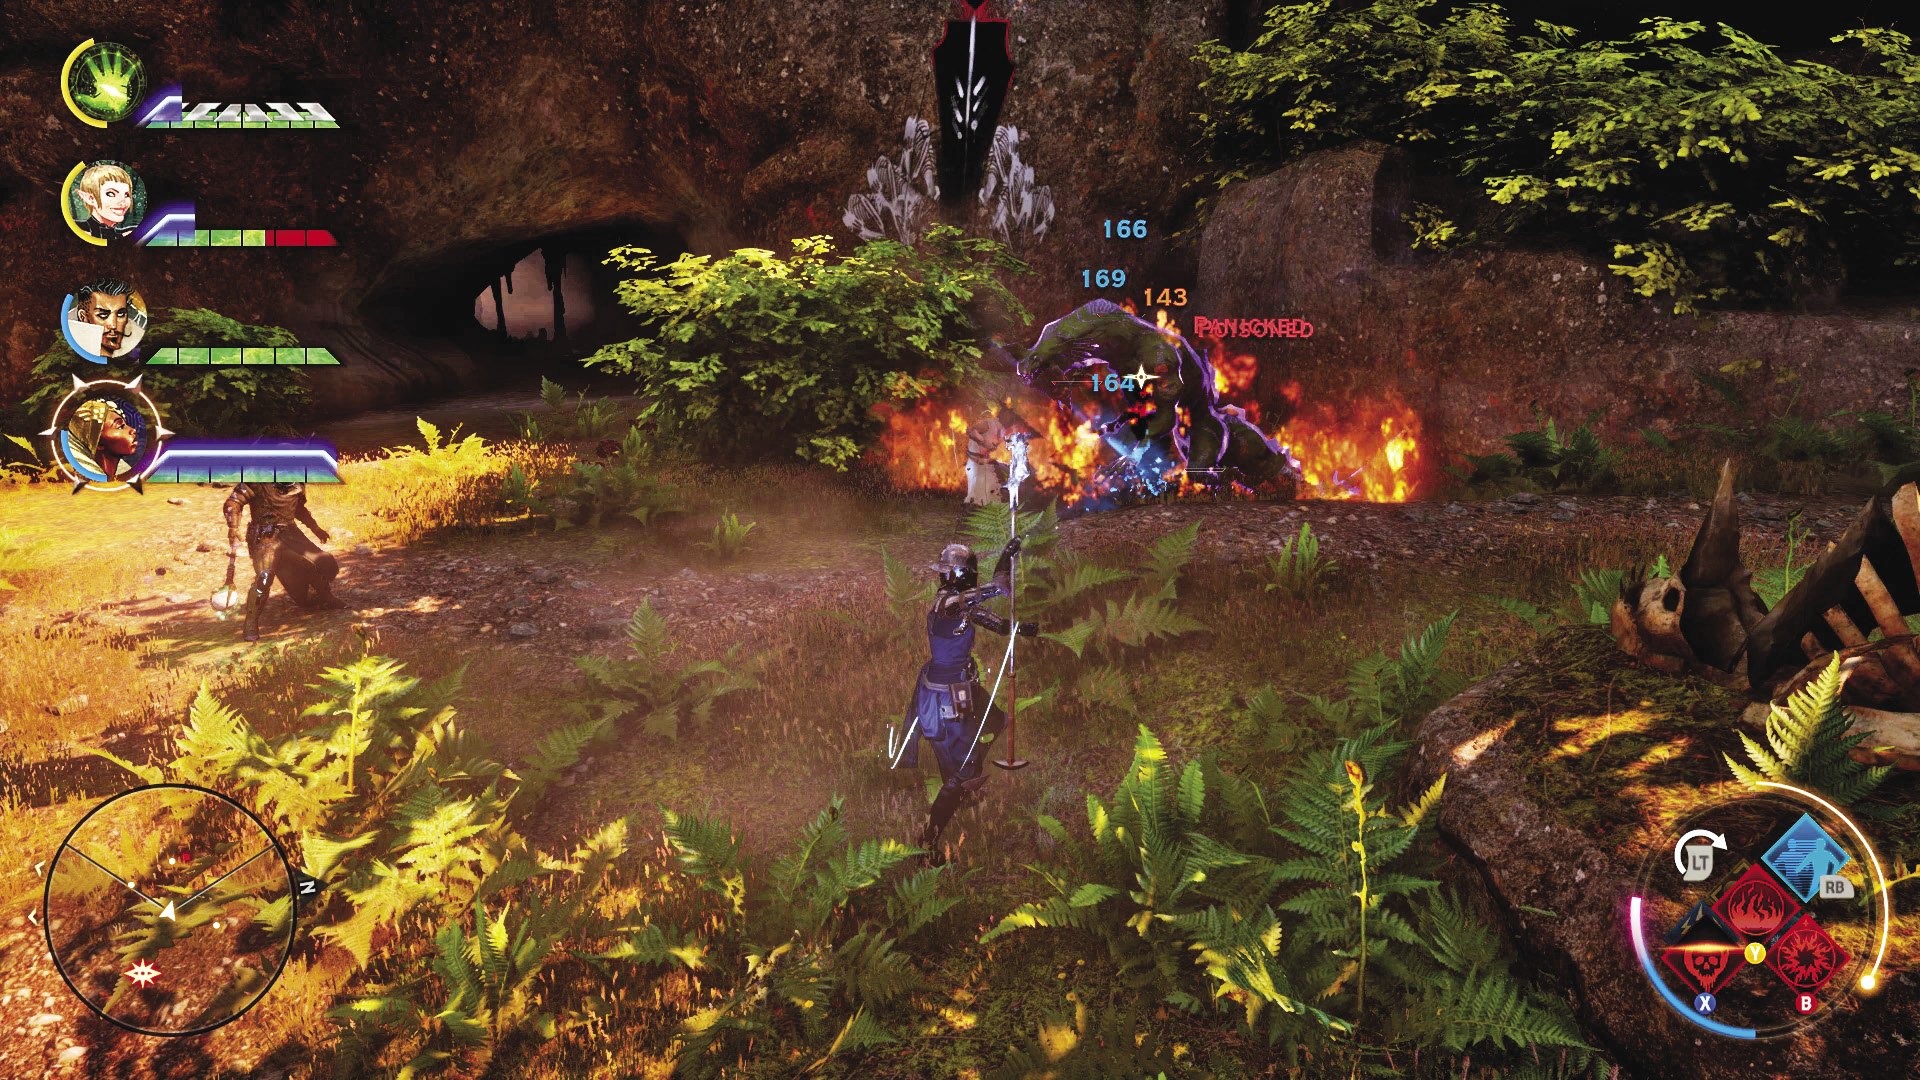
Initiate the fight by sending a warrior tank in first, to get the attention of the beast and its young before the rest of the party attacks. Then direct any mages in the group to stand back and let the monster have it from afar, or force your rogues to flank the wyvern before they strike. Hold nothing back—use Mark of the Rift on the wyverns to help speed things along. The fight outside of the wyvern’s cave should have built you enough focus to use even a tier 1 version of that spell.
After surviving this tough fight, return to Judith to inform her that the wyvern is dead by your hand. The quest is complete. For your trouble, Judith hands over an armor schematic.
9: High Stakes
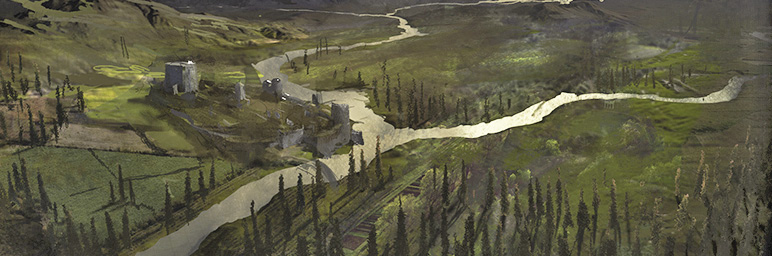
Quest Giver: Charter.
Description: Leliana’s “eyes and ears” in the region, a spy named Charter, mentions that her man Butcher seems to be running a little behind.
Requirements: Capture Caer Bronach and speak with Charter.
Reward: 128 XP, 80 Influence
Objectives:
 Find Butcher.
 Inform Charter of Butcher’s fate.
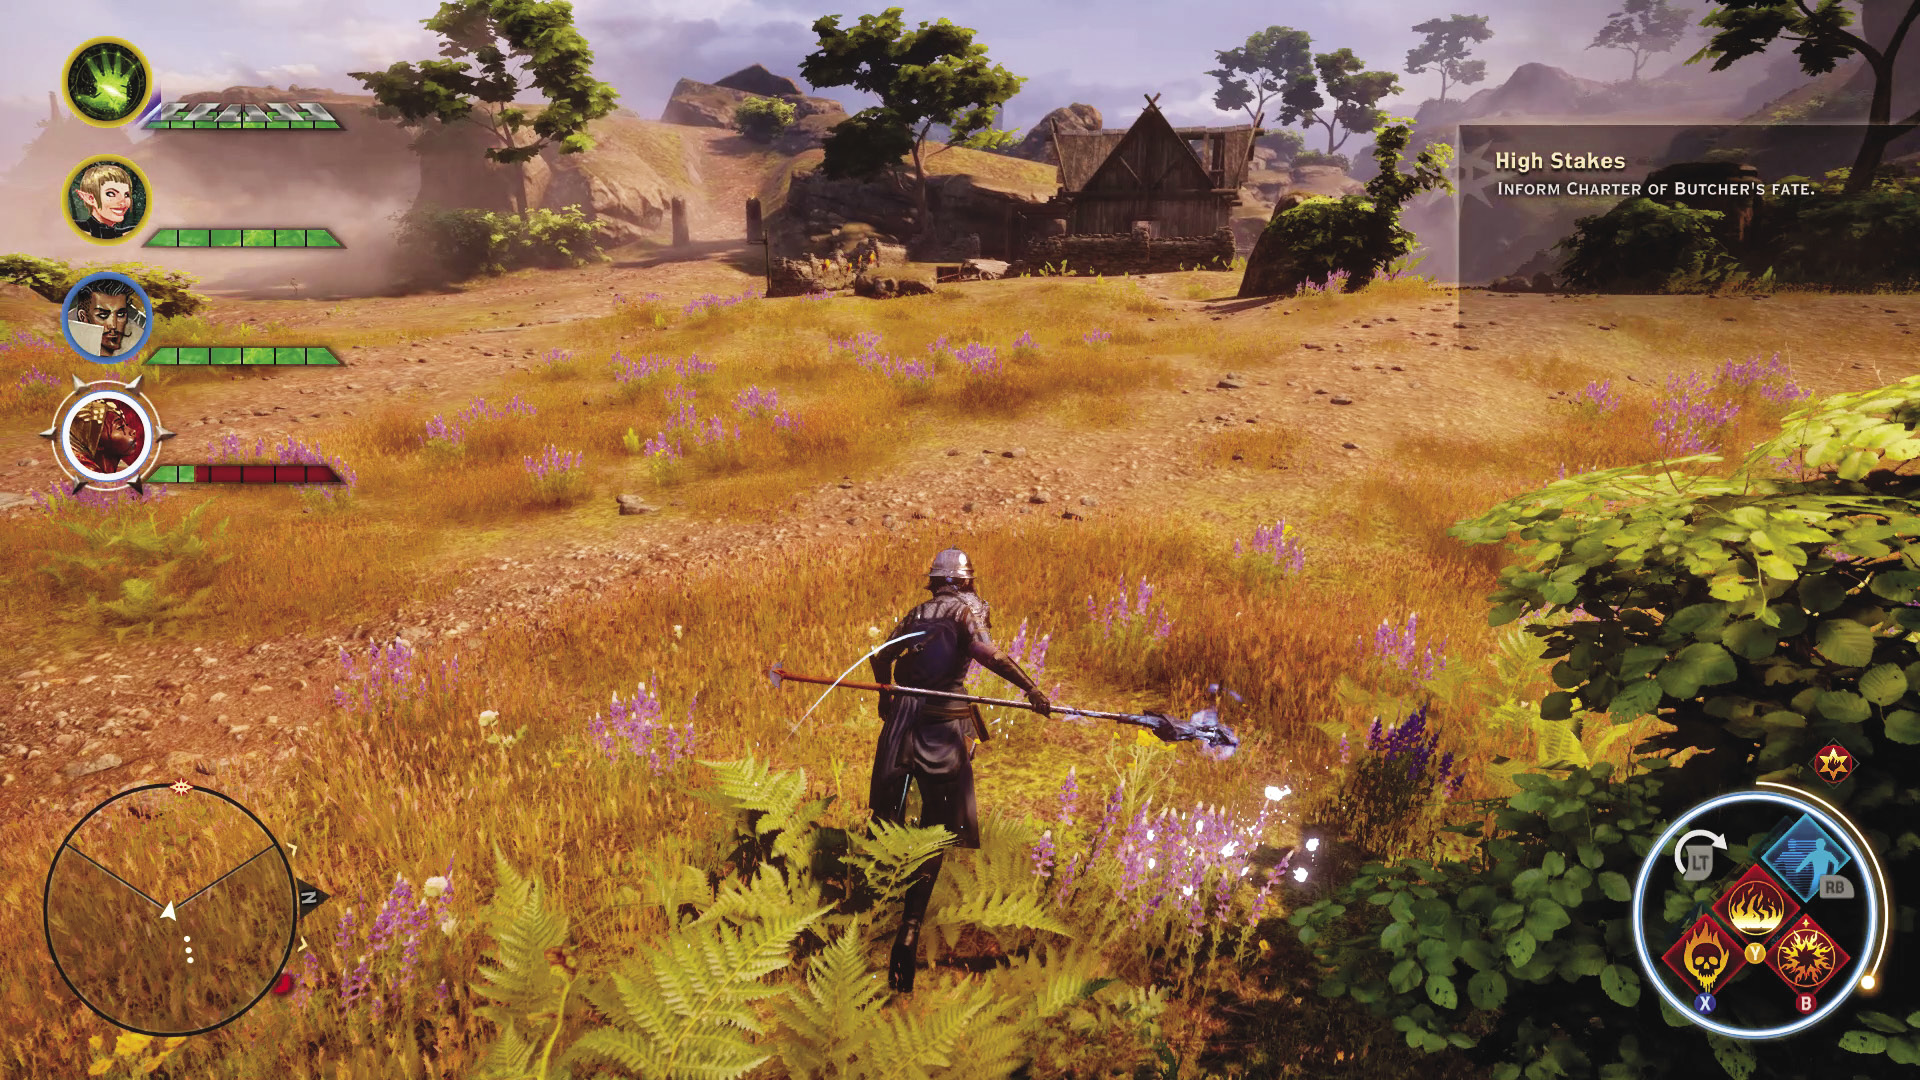
Head toward the Three Trout Farm camp and search to the southeast. Look for a set of stone spires rising from the ground. It’s there that you’ll find Butcher and learn of his fate. The enemies of the Inquisition reached him before he could reach Caer Bronach.
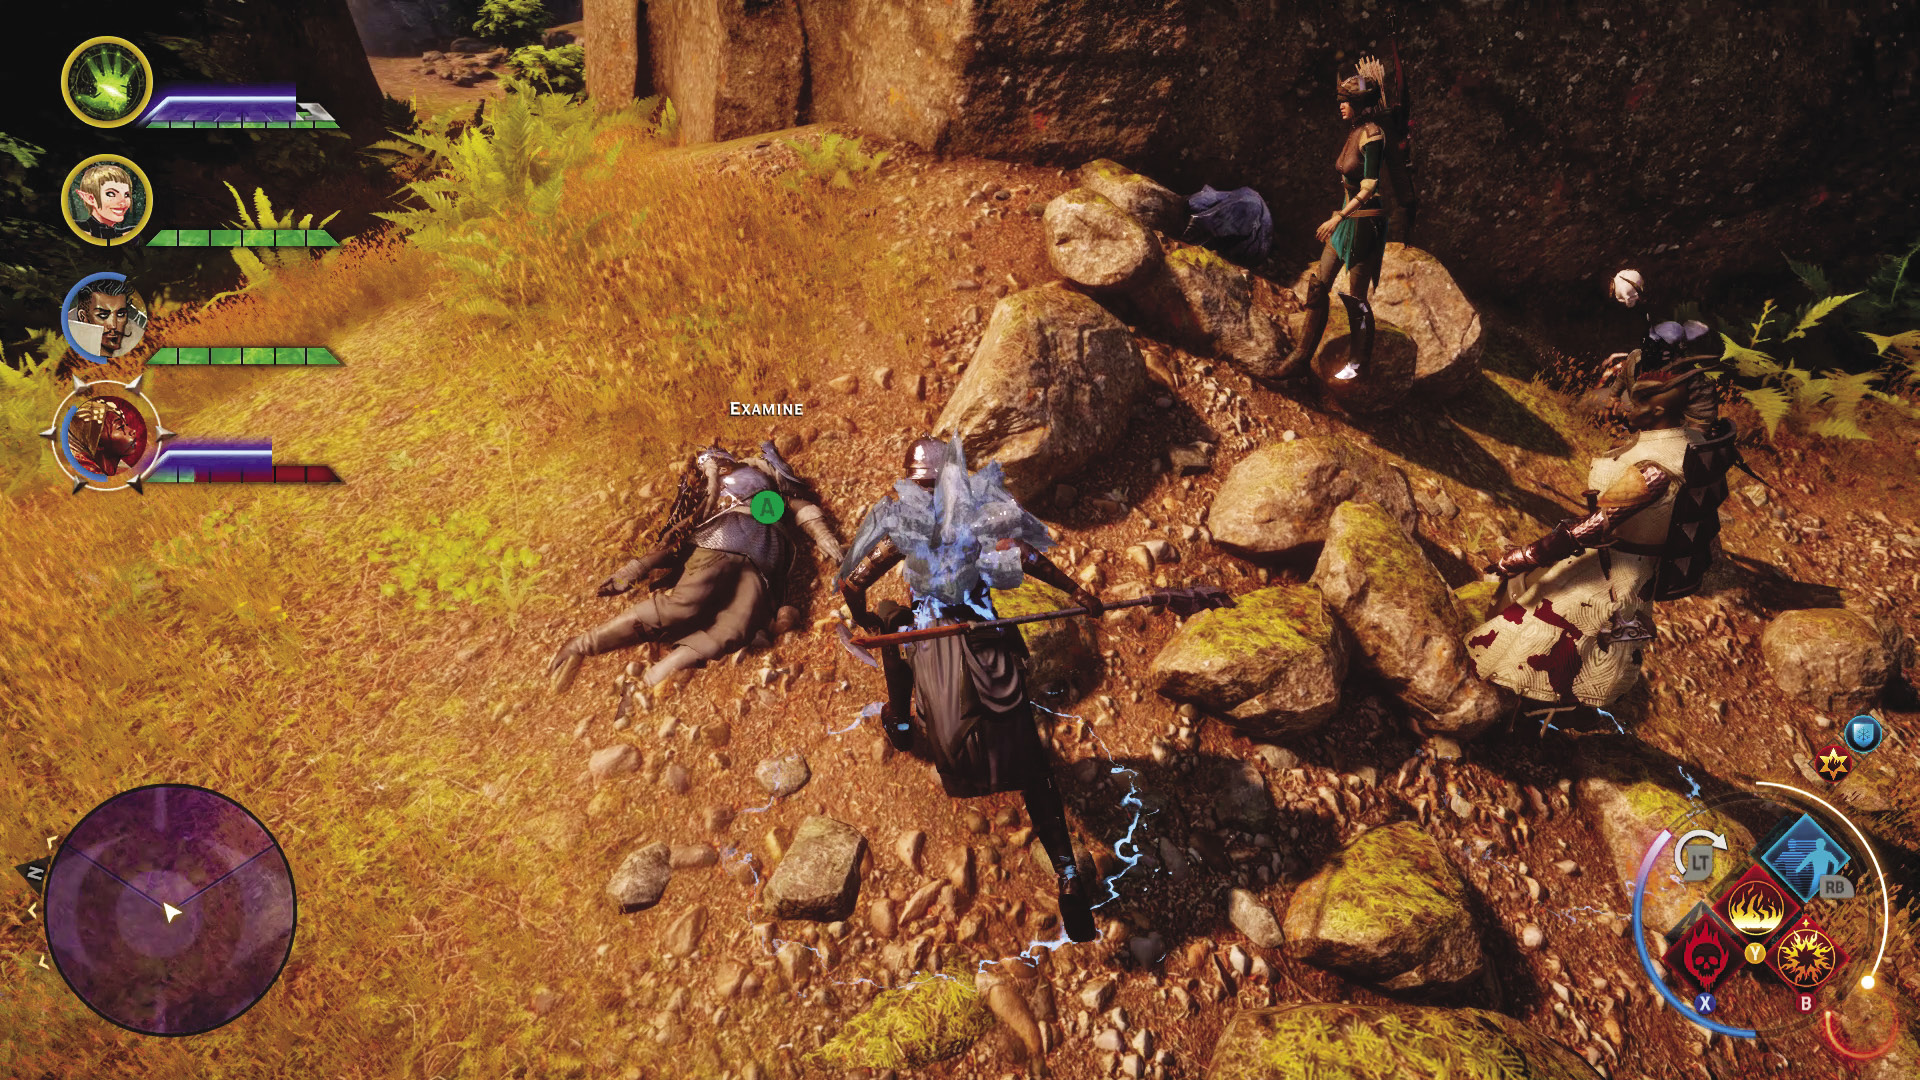
Just as you finish reading the notes on the body, red templars or mages attack your party. Eliminate them with all haste, then return to Caer Bronach to inform Charter of Butcher’s death, and of the notes he carried. The quest is complete, though Charter is concerned that there’s a traitor in the ranks of the Inquisition. This creates a mission that can be assigned on the war table to expose who this traitor is.
10: Weeding Out Bandits
Quest Giver: An agent in the Caer Bronach keep
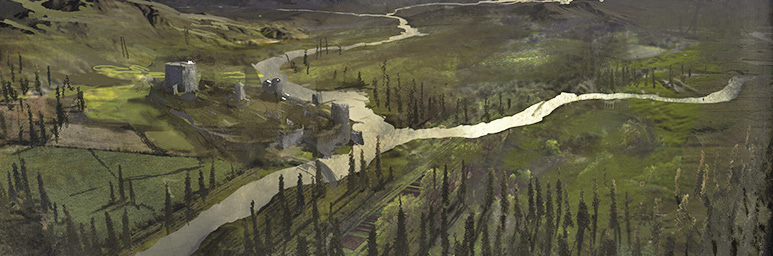
Description: A handful of highwaymen remain on watch at farms around Crestwood and should go the way of their brethren in the keep.
Requirements: Capture Caer Bronach
Reward: 128 XP, 80 Influence
Objectives:
 Kill all eight bandits.
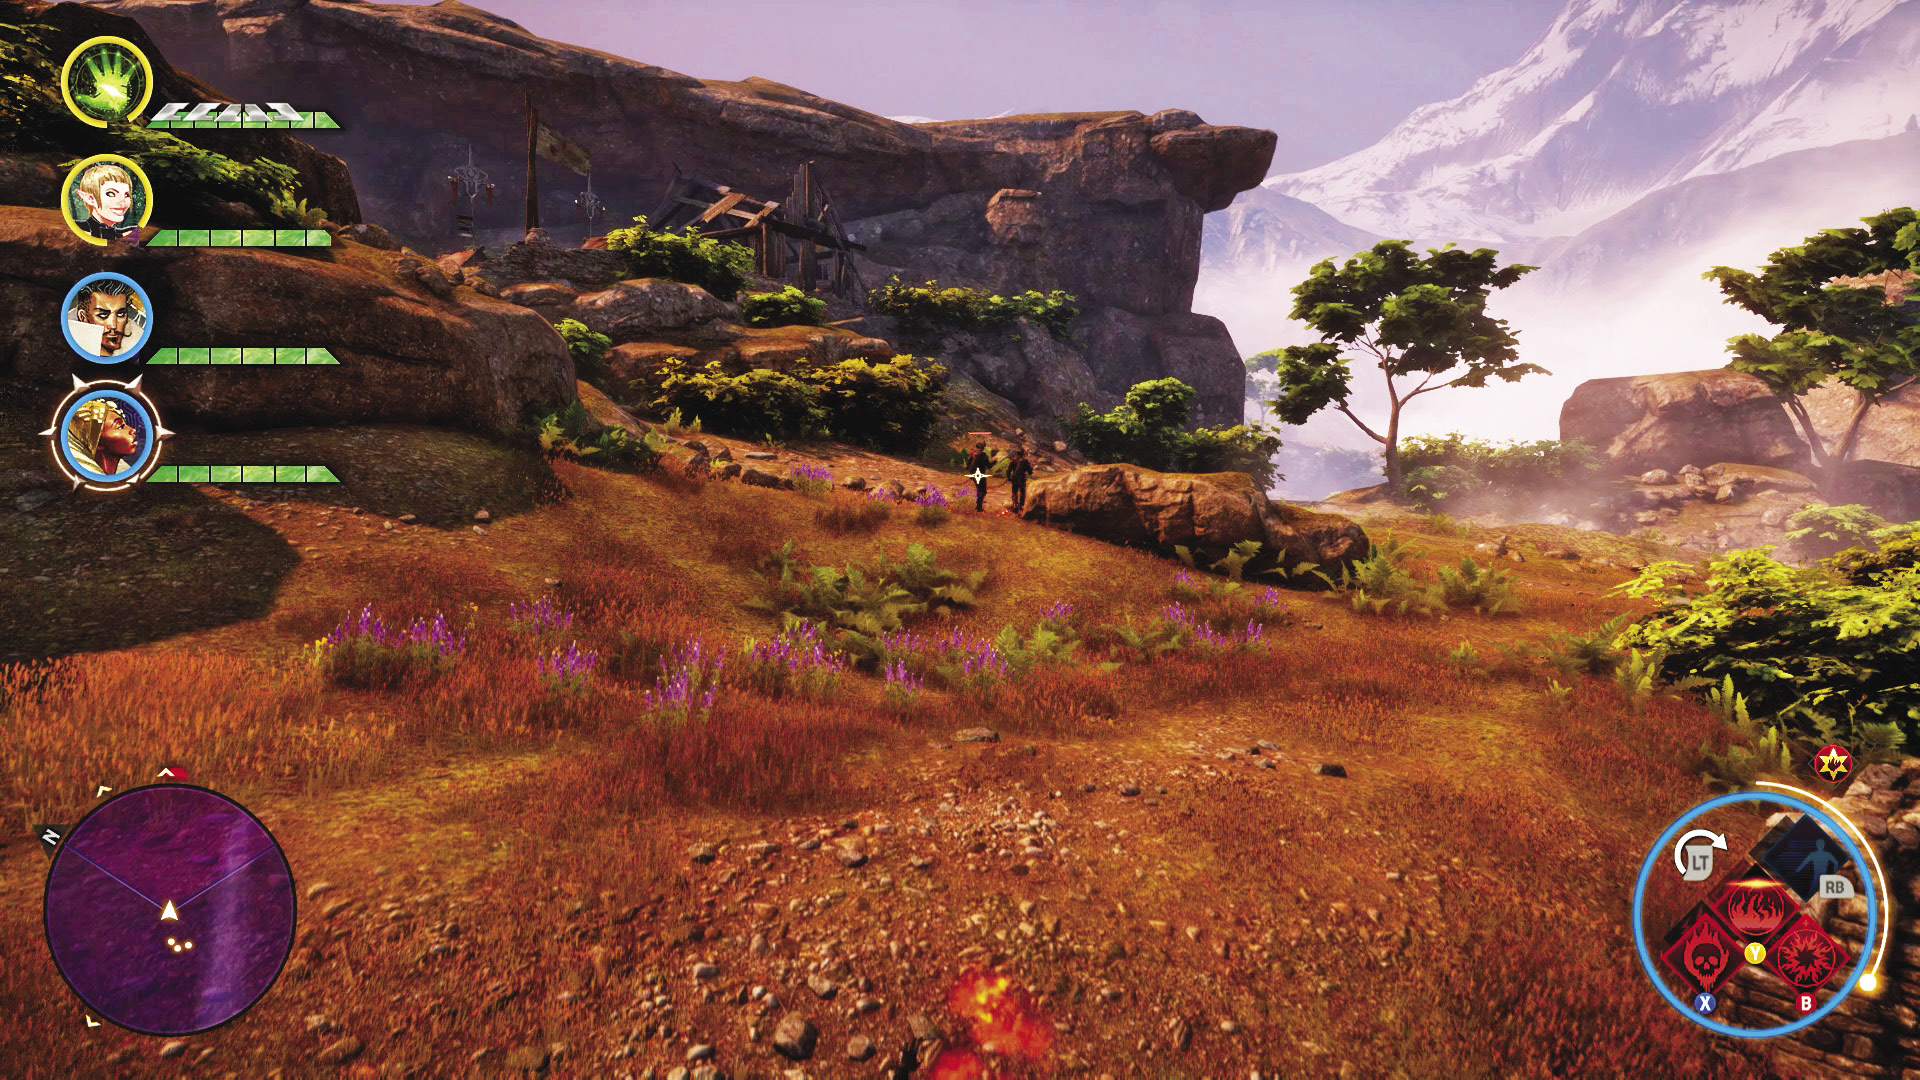
A simple job. Find bandits, remove them, with all the prejudice worthy of an Inquisition. They tend to roam in groups, and occasionally you may find a prowler among them. Or rather, the prowler will suddenly find its daggers in the back of someone in your party; these things happen. Aside from that, you should be more than capable of handling these stragglers to complete this quest.
11: High Dragon: The Northern Hunter

Recommended Level: 13+
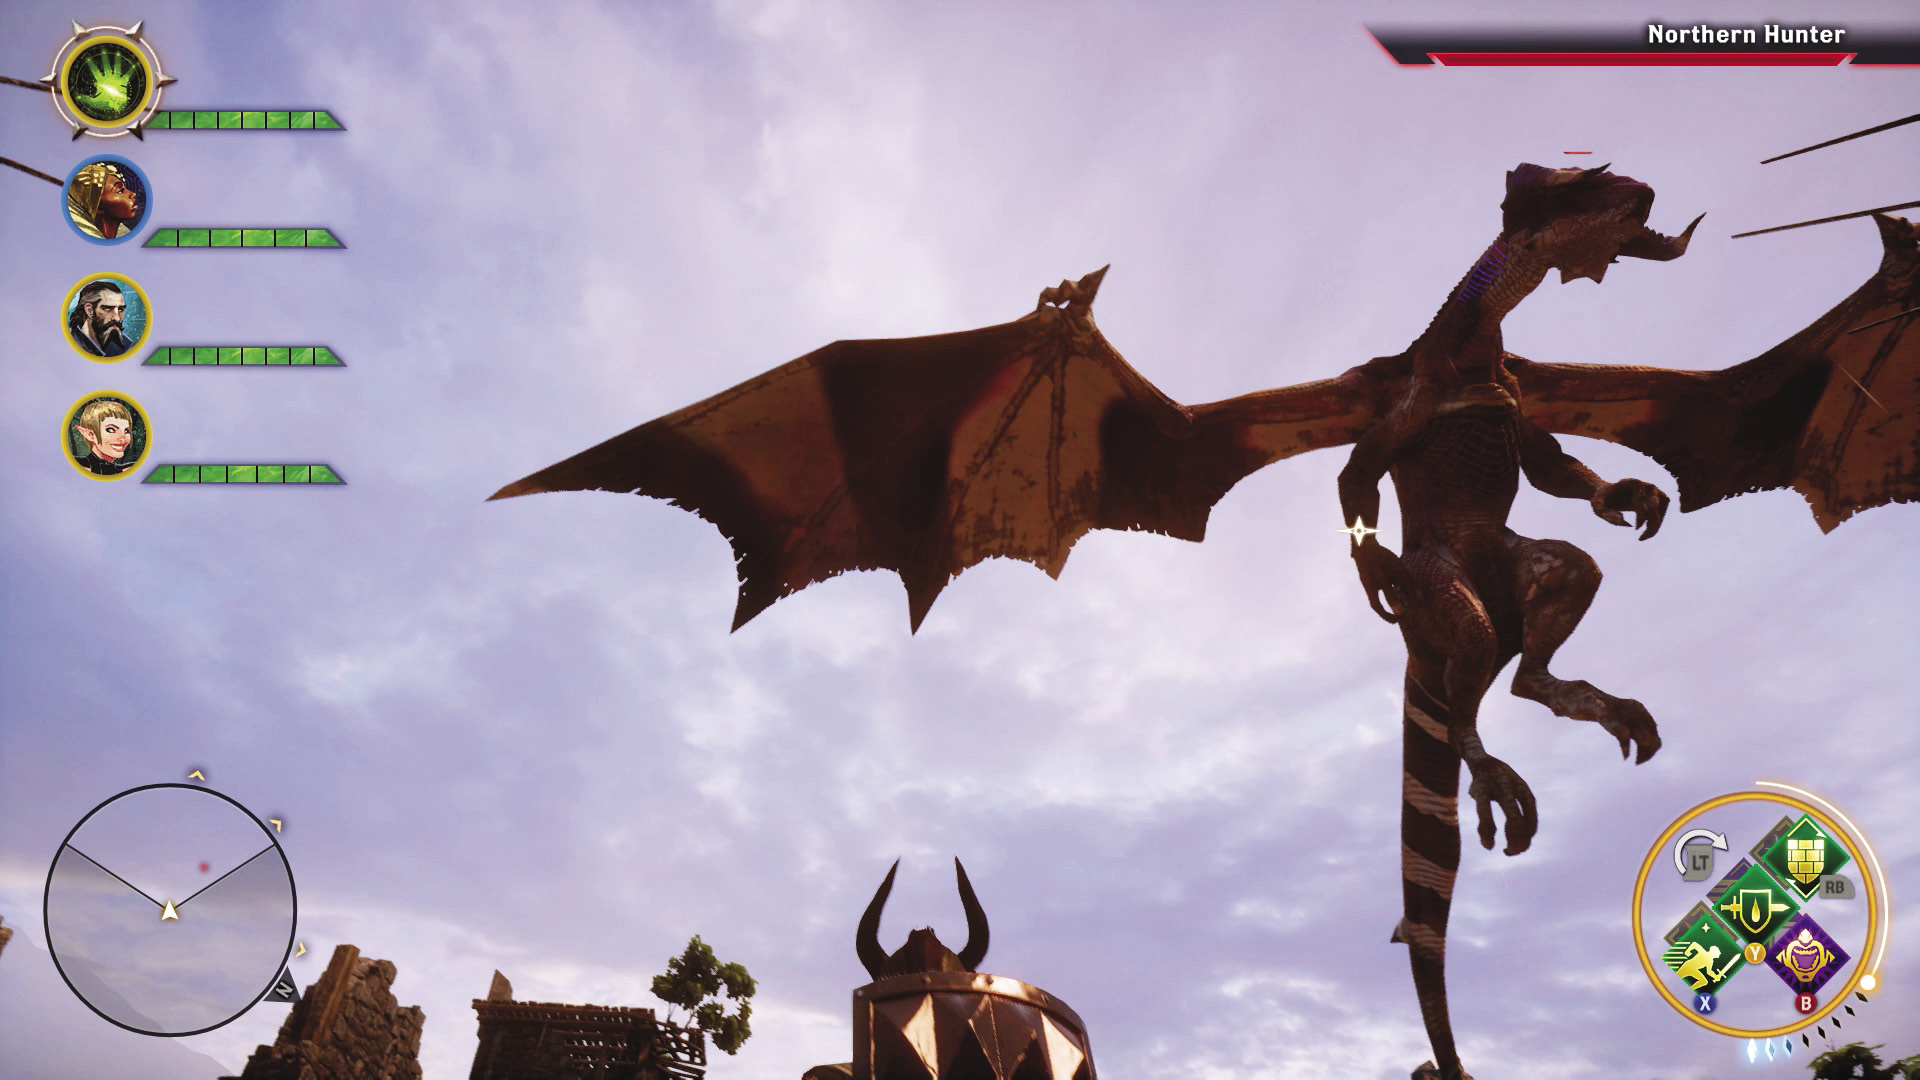
Recommended Party Composition: Two warriors (sword and shield, two-handed weapon), two mages (armed with frost or fire damage staves, with spirit damage enchantments); rogue optional
Alternative Party Composition: Three warriors (sword and shield or two-handed weapon), one mage (armed with frost or fire damage staves, with spirit damage enchantments), rogue optional
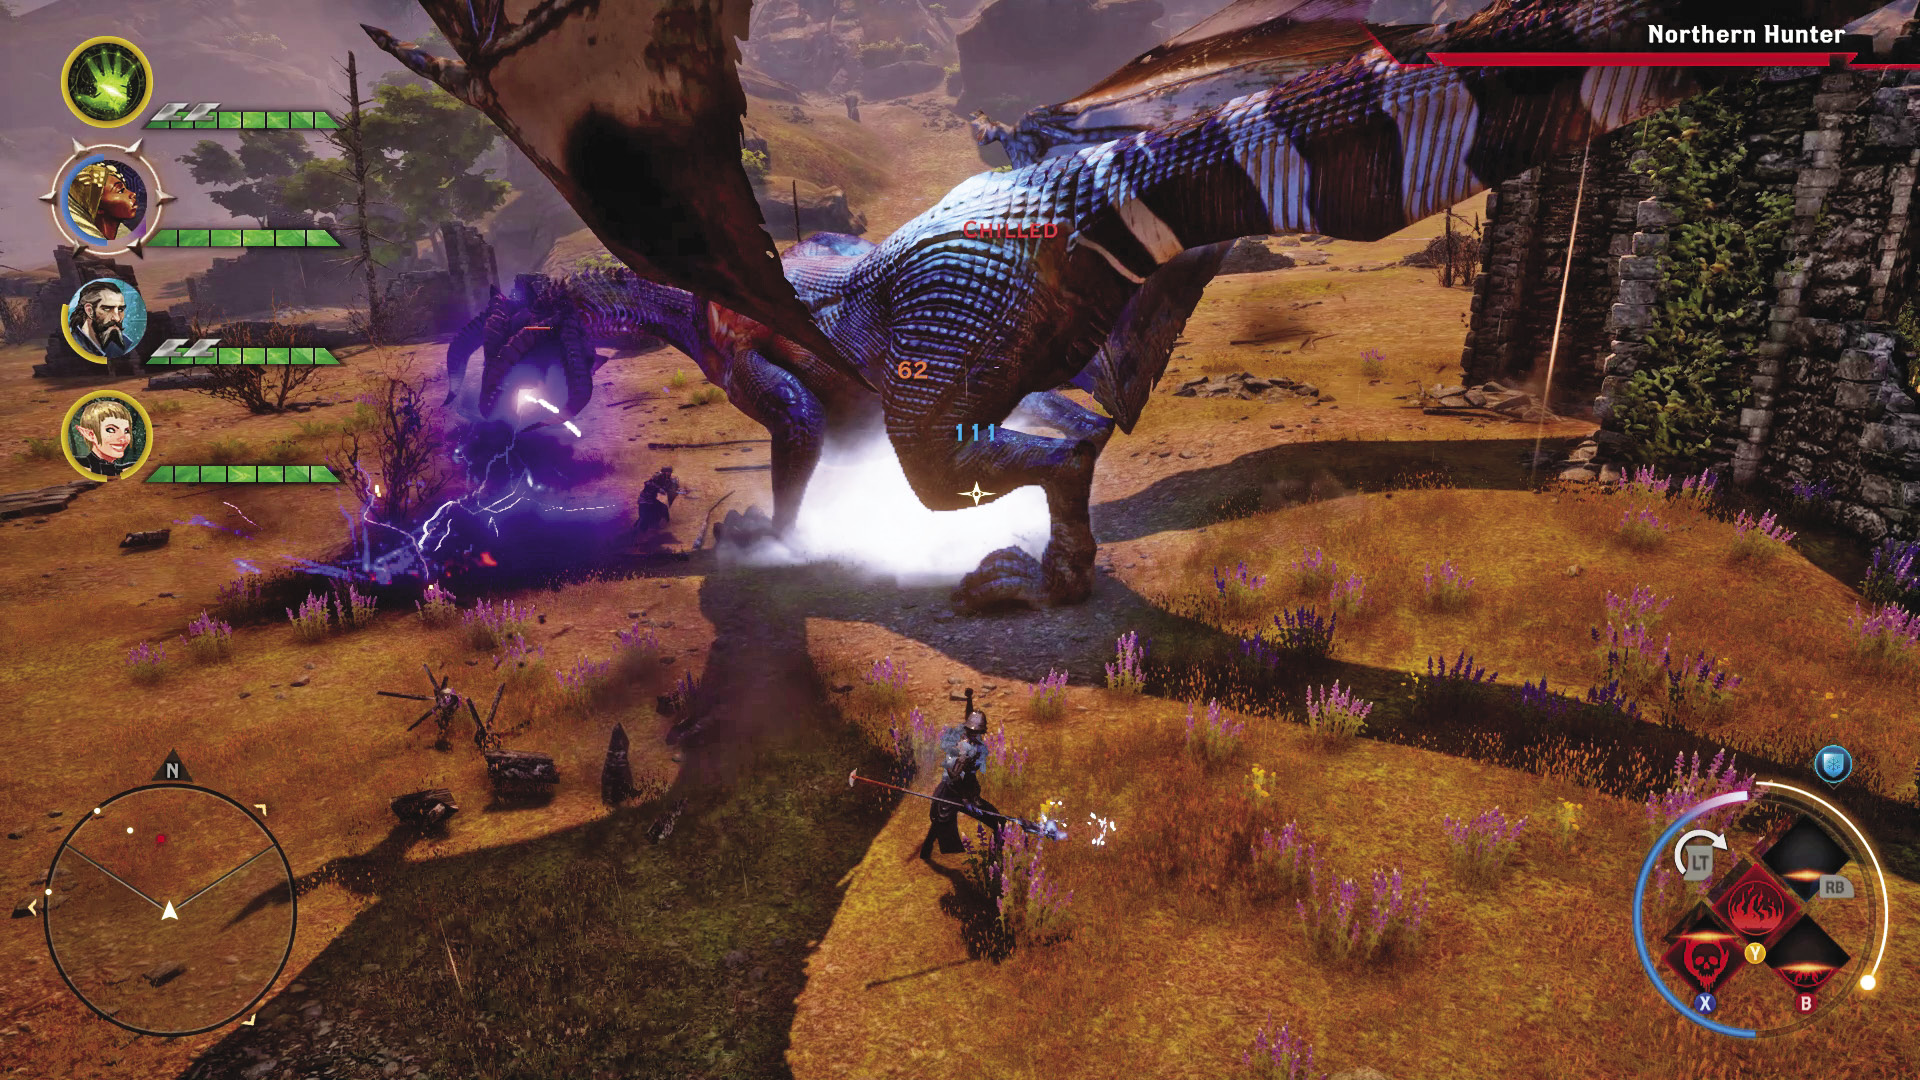
The Northern Hunter uses powerful electrical breath, just like the Vinsomer on the Storm Coast. She is an untauntable, raging beast that will go after whoever is hitting her the hardest at a given time or whoever is generating the greatest threat. Bounding and charging around the castle ruins of the Black Fens, the Northern Hunter naturally stymies the efforts of rogues, who rely on positioning to deal the best damage.
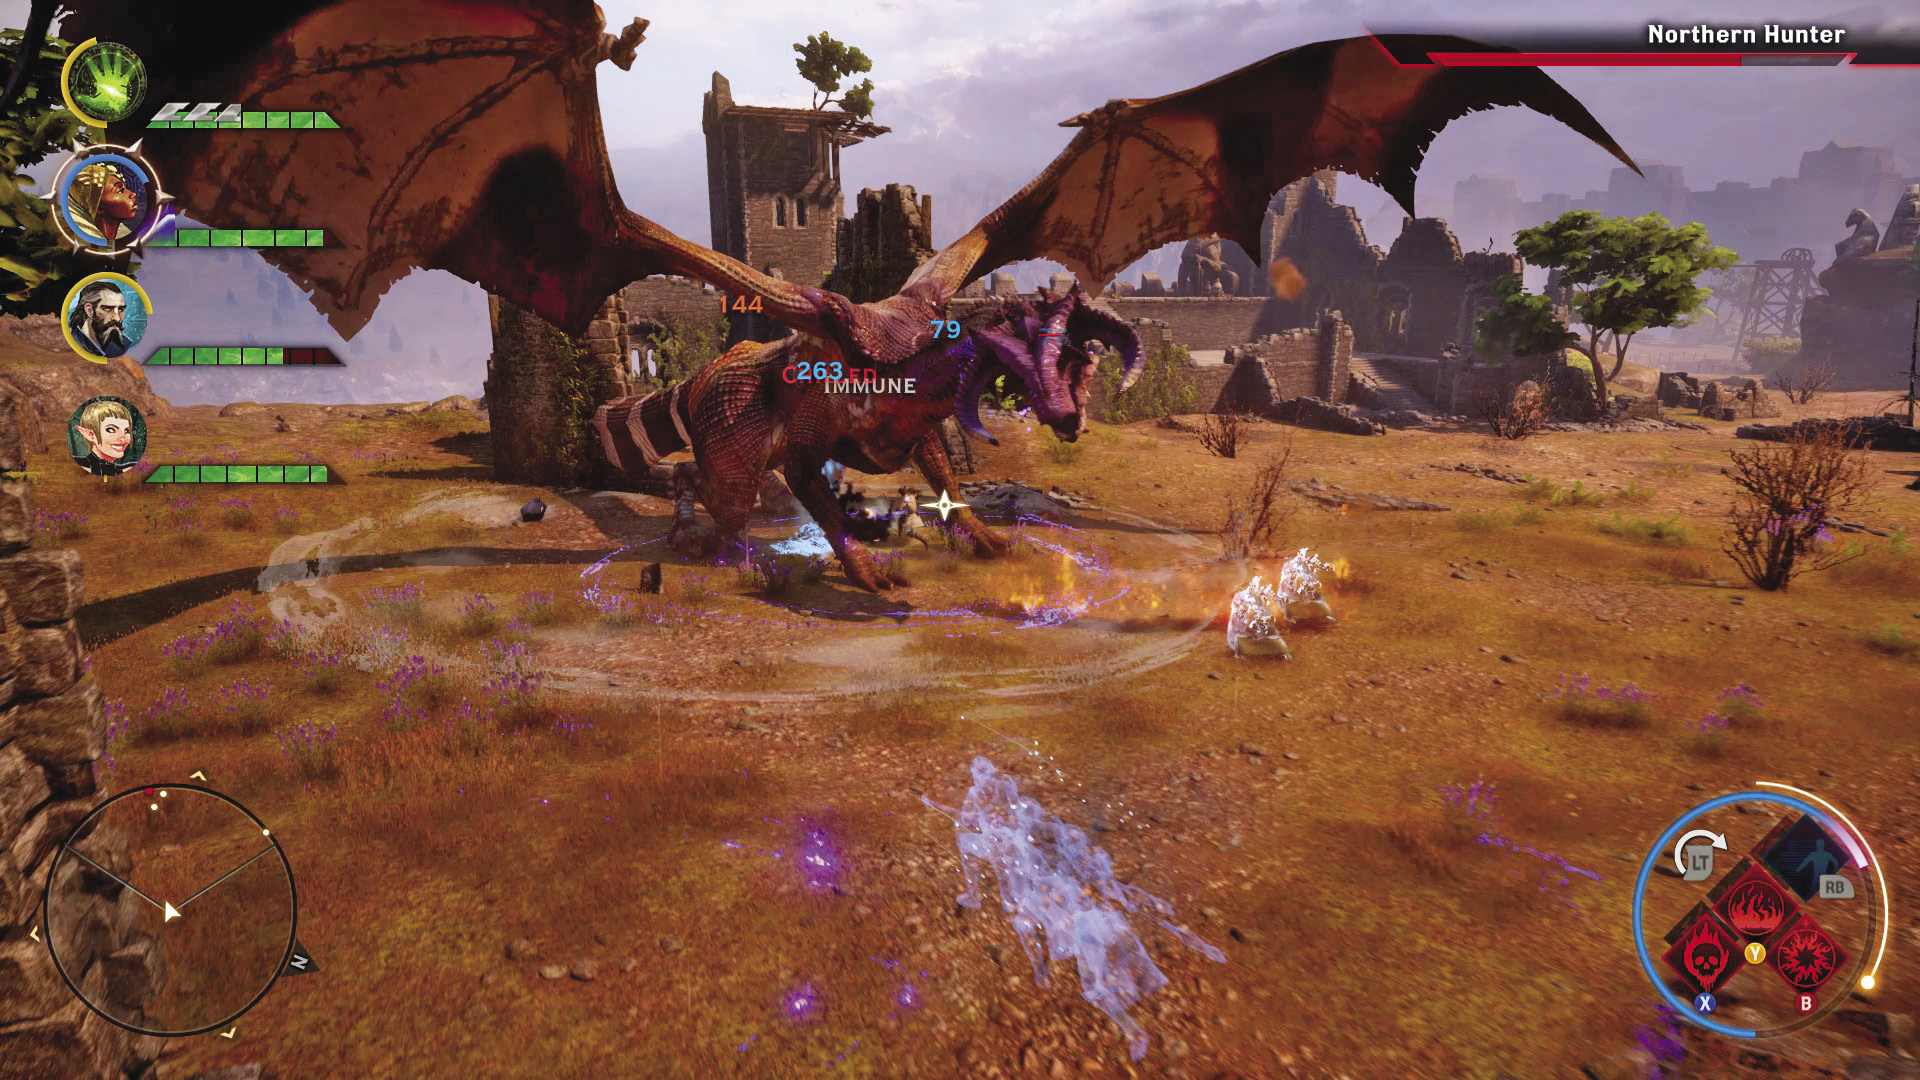
Beyond this, the Northern Hunter fights similarly to other high dragons you encounter. As always, watch the limbs or tail to prepare yourself to avoid taking unnecessary damage, and watch the dragon’s mouth to spot the electric breath and move yourself accordingly. The Inquisitor should try to come to the fight with some levels in focus built up to be able to drop Mark of the Rift right on the Northern Hunter for very heavy damage.
Warriors excel during this fight. They have the armor to survive heavy damage, and their ability to build guard allows them to stay safe even if the dragon should manage to get past their defensive abilities. A mage or two should be on hand to use the focus Heal ability should things go pear-shaped in the middle of the fight.
For mages you bring, try to ensure their staves can produce spirit damage. The Northern Hunter resists electricity and isn’t too bothered by other elements. The extra spirit damage can help burn the beast down that much faster.