
Dragon Age Inquisition Guide Exploration The Exalted Plains
Side Quests (Recommended Level 10-13 and 13-16)
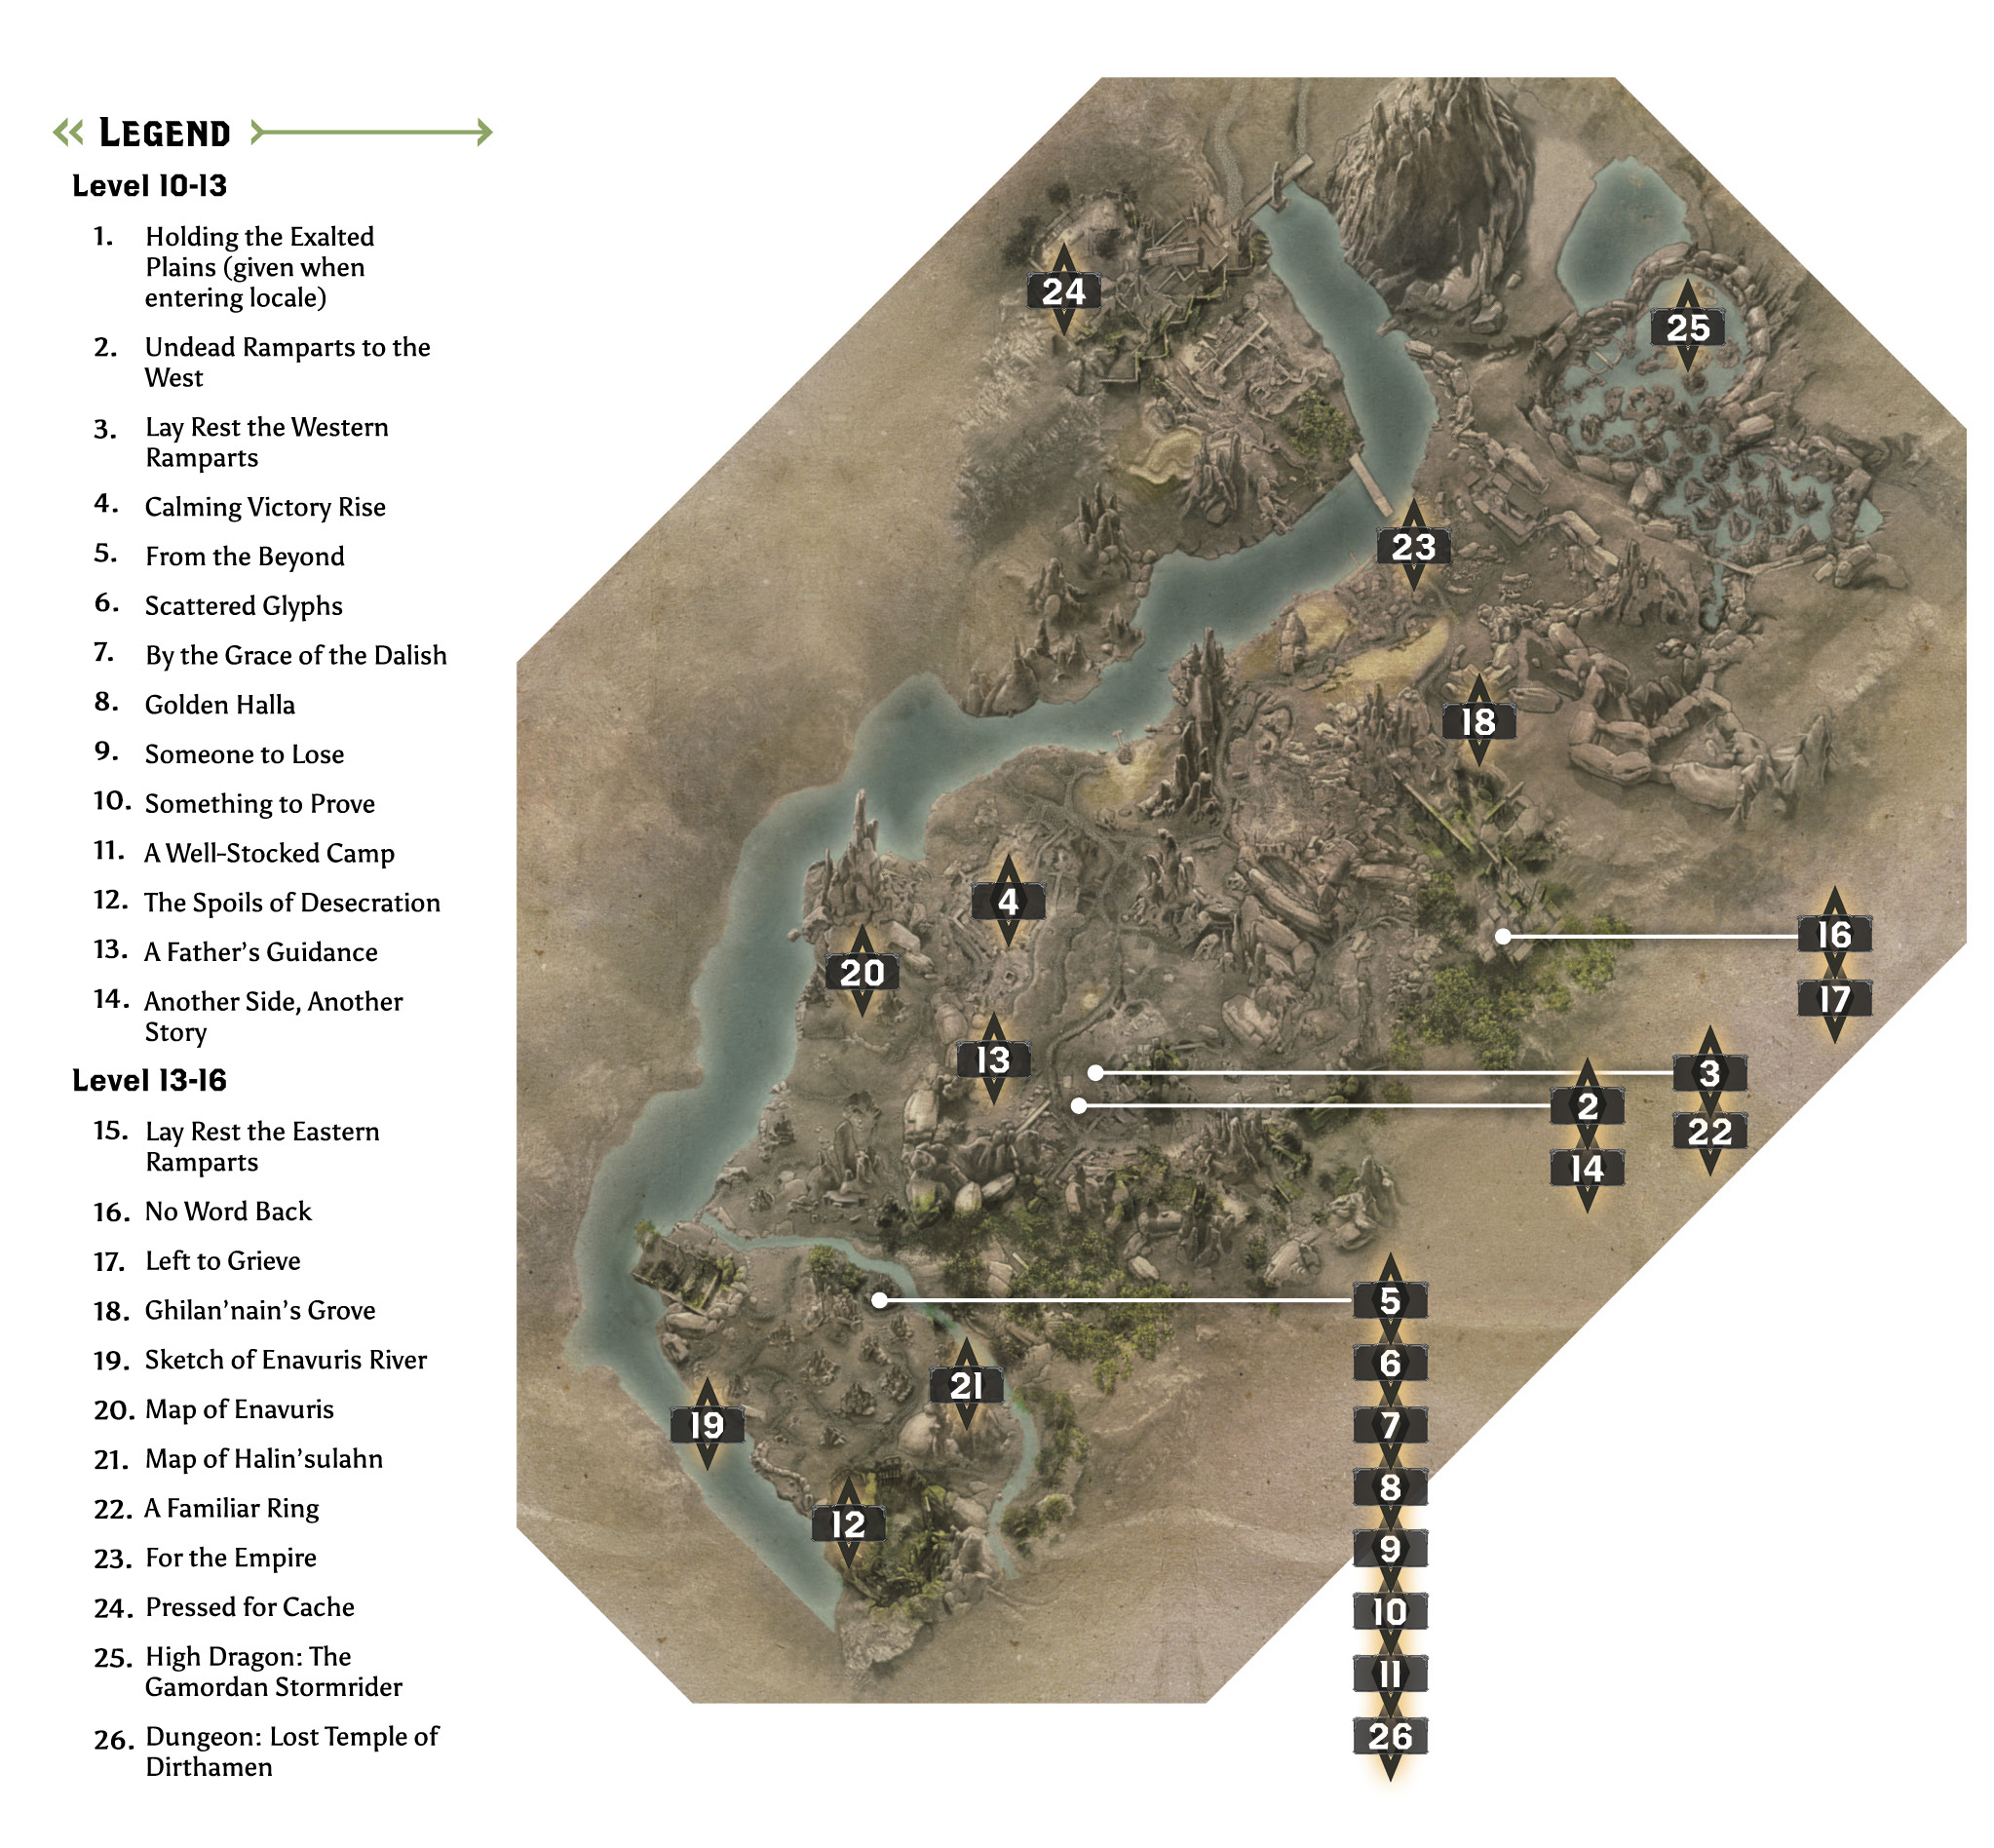
1: Holding the Exalted Plains
Description: Establish camps to hold the Exalted Plains and support Inquisition activity in the region.
Quest Giver: Scout Harding
Requirements: Started as soon as you arrive in the Exalted Plains
Reward: 100 Influence and 1 Power per camp, except for the starting camp
Objectives:
 Established three camps.
There are only three camps available throughout the Exalted Plains, so be prepared to be on a mount often. While the camps do place you near very important locations, the Exalted Plains are massive. Between the camps and your ability to fast-travel to the Dalish camp (and Fort Revasan and the Riverside Garrison once you have freed them from demonic assault), you can quickly cut your travel time.
One of the camps, Ghilan’nain’s Grove, is not accessible right away, as it is blocked by collapsed stone. For that camp, you need to claim the blocked passage, then return to Skyhold and use the war table to get workers out to the Exalted Plains to clear your path. It’ll cost you five power, but it is well spent.
2: Undead Ramparts to the West
Quest Giver: Scout Harding
Description: Corporal Rosselin reports undead holding the Western Ramparts. They are rising from somewhere within the trenches. He believes it may have something to do with the group Freemen of the Dales.
Requirements: Arrive in the Exalted Plains for the first time
Reward: 128 XP, 80 Influence
Objectives:
 Investigate the Western Ramparts.
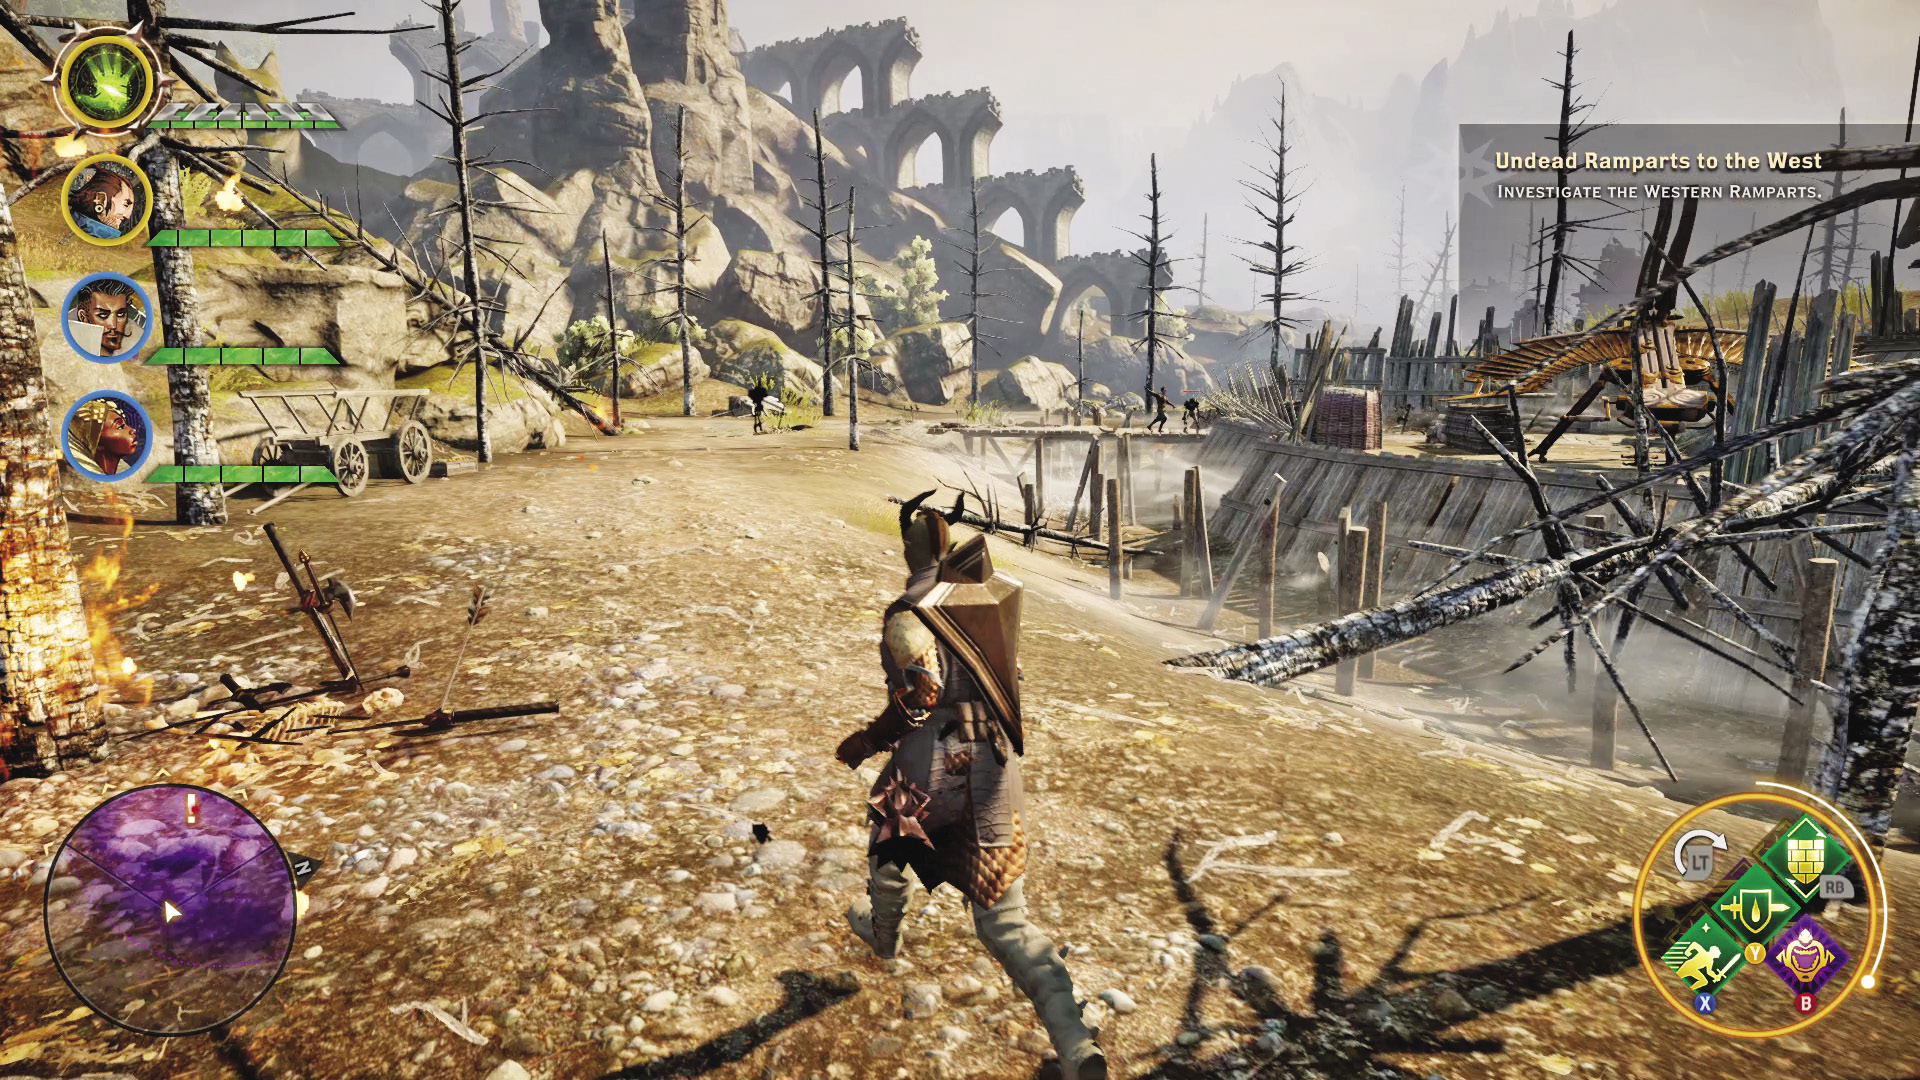
Leaving the starting camp, you encounter a group of Freemen of the Dales. These rebels immediately recognize your party and attack without mercy. After killing them, you can loot a letter from one of the dead, containing orders to deny the Inquisition access to the ramparts, but without mentioning why this is important.
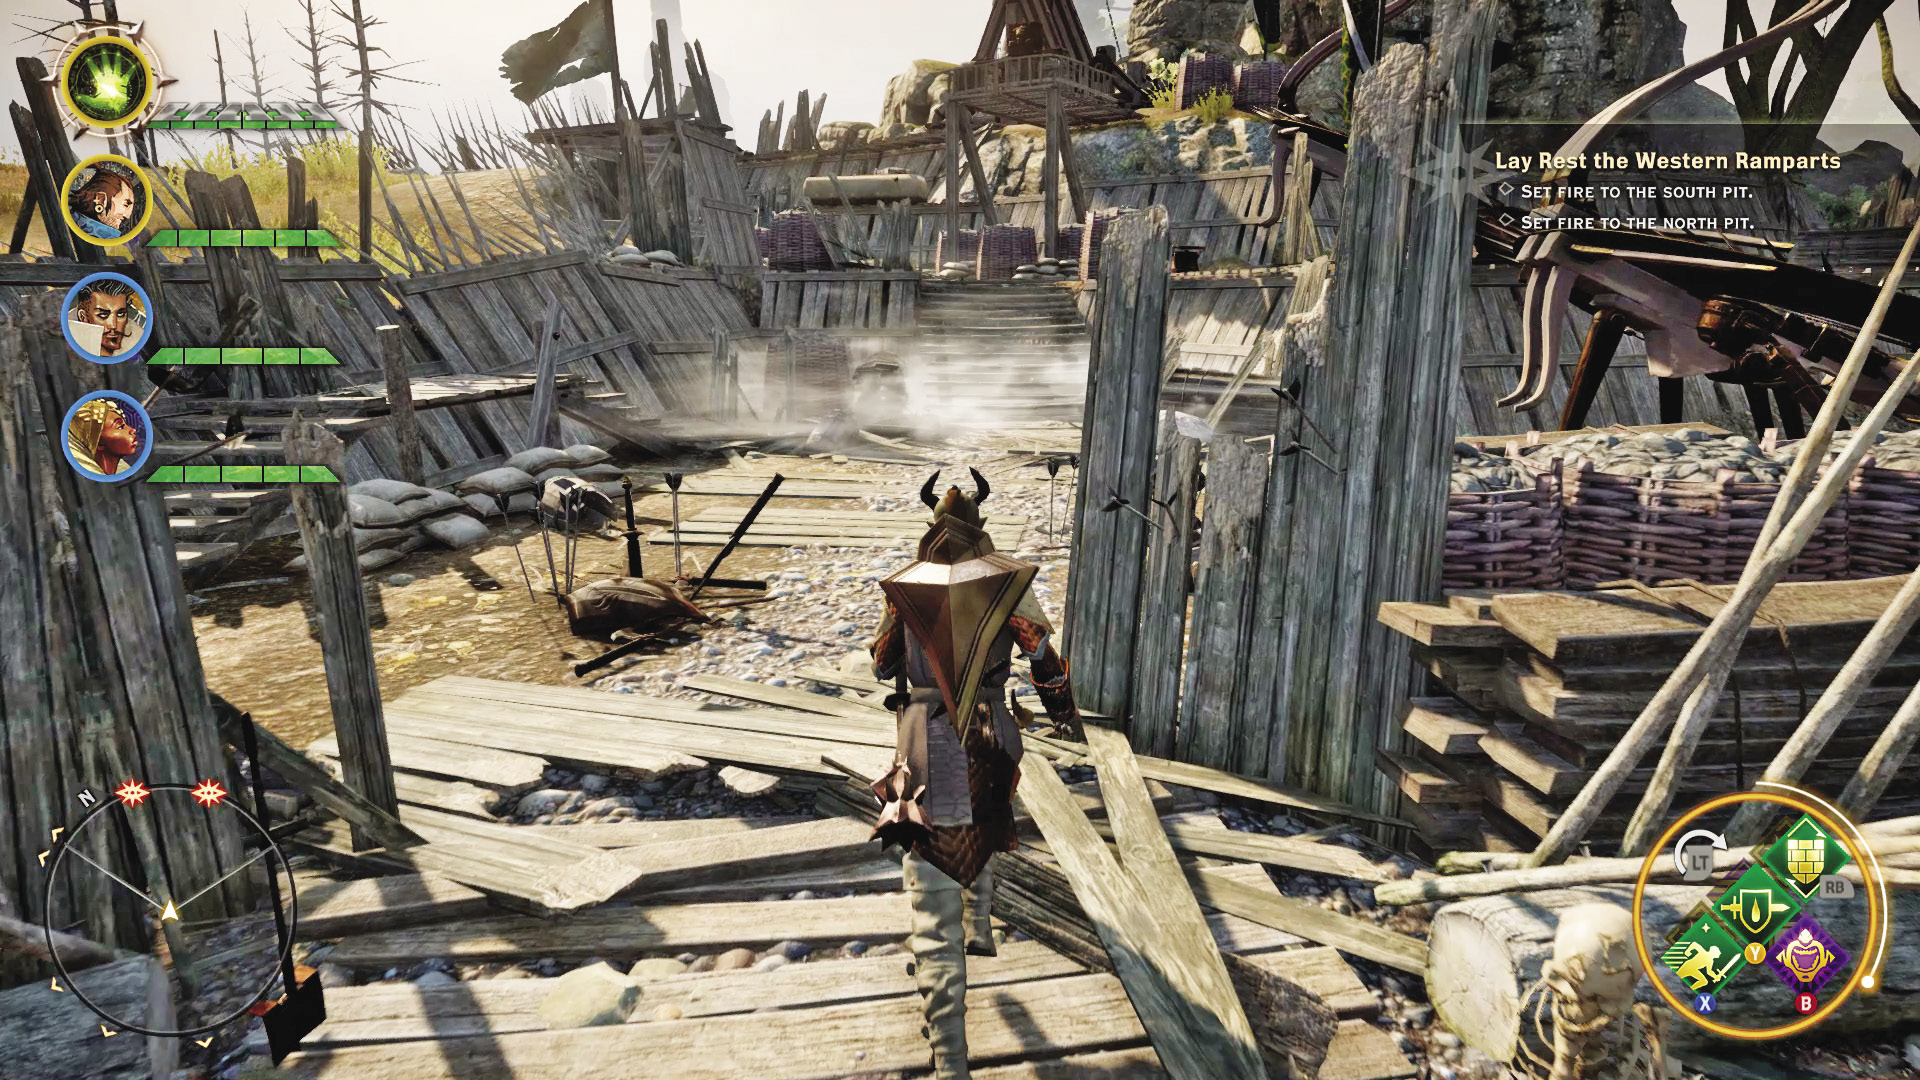
Traveling out farther west, you can start to see the devastation the war has wrought, and you begin encountering demons. You’ll also encounter Corporal Rosselin, attempting to fight off undead at the southern entrance to the Western Ramparts. Rescue him from his fate, and try to learn more about what is happening. It turns out that the Freemen used some form of magic in the ramparts, and now the dead are rising in ever increasing numbers.
3: Lay Rest the Western Ramparts
Quest Giver: Corporal Rosselin
Description: Pits are piled with bodies, attracting spirits and causing the dead to rise. To make matters worse, the pits are protected by magical barriers, preventing anyone from reaching the dead to burn the remains. Once all the bodies are burned, a signaling horn will alert Gaspard’s troops that the undead threat to the ramparts has been dealt with.
Requirements: Available immediately upon arriving at the Exalted Plains
Reward: 512 XP, 200 Influence, 2 Power
Objectives:
 Set fire to the south pit.
 Set fire to the north pit.
 Blow the signaling horn.
 Return to Corporal Rosselin.
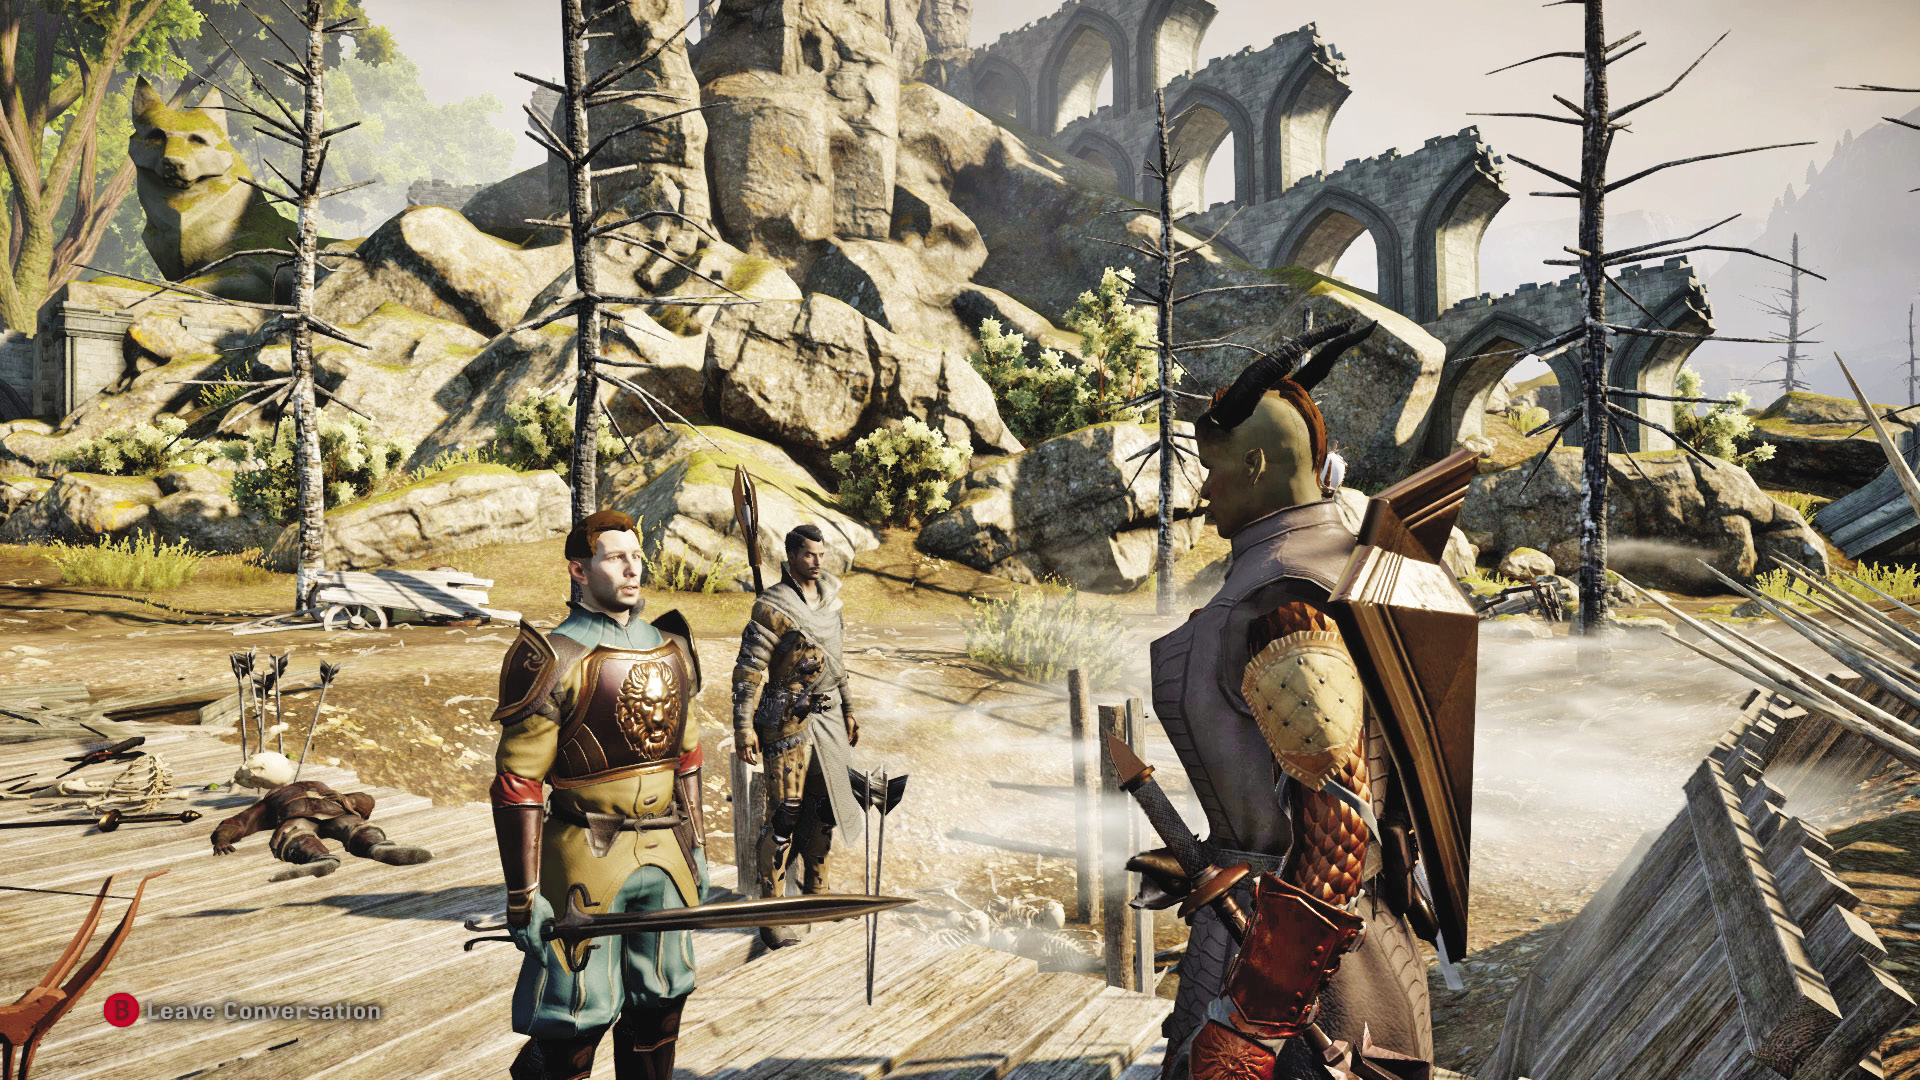
Each of the pits is guarded by a magical barrier. Each of the pits is guarded by a magical barrier. The northern pit is protected by an ice barrier, while the southernmost pit is protected by a fire barrier. As long as the bodies remain unburned, undead will continue to rise from these pits. Further complicating things is the presence of an arcane horror at these pits.
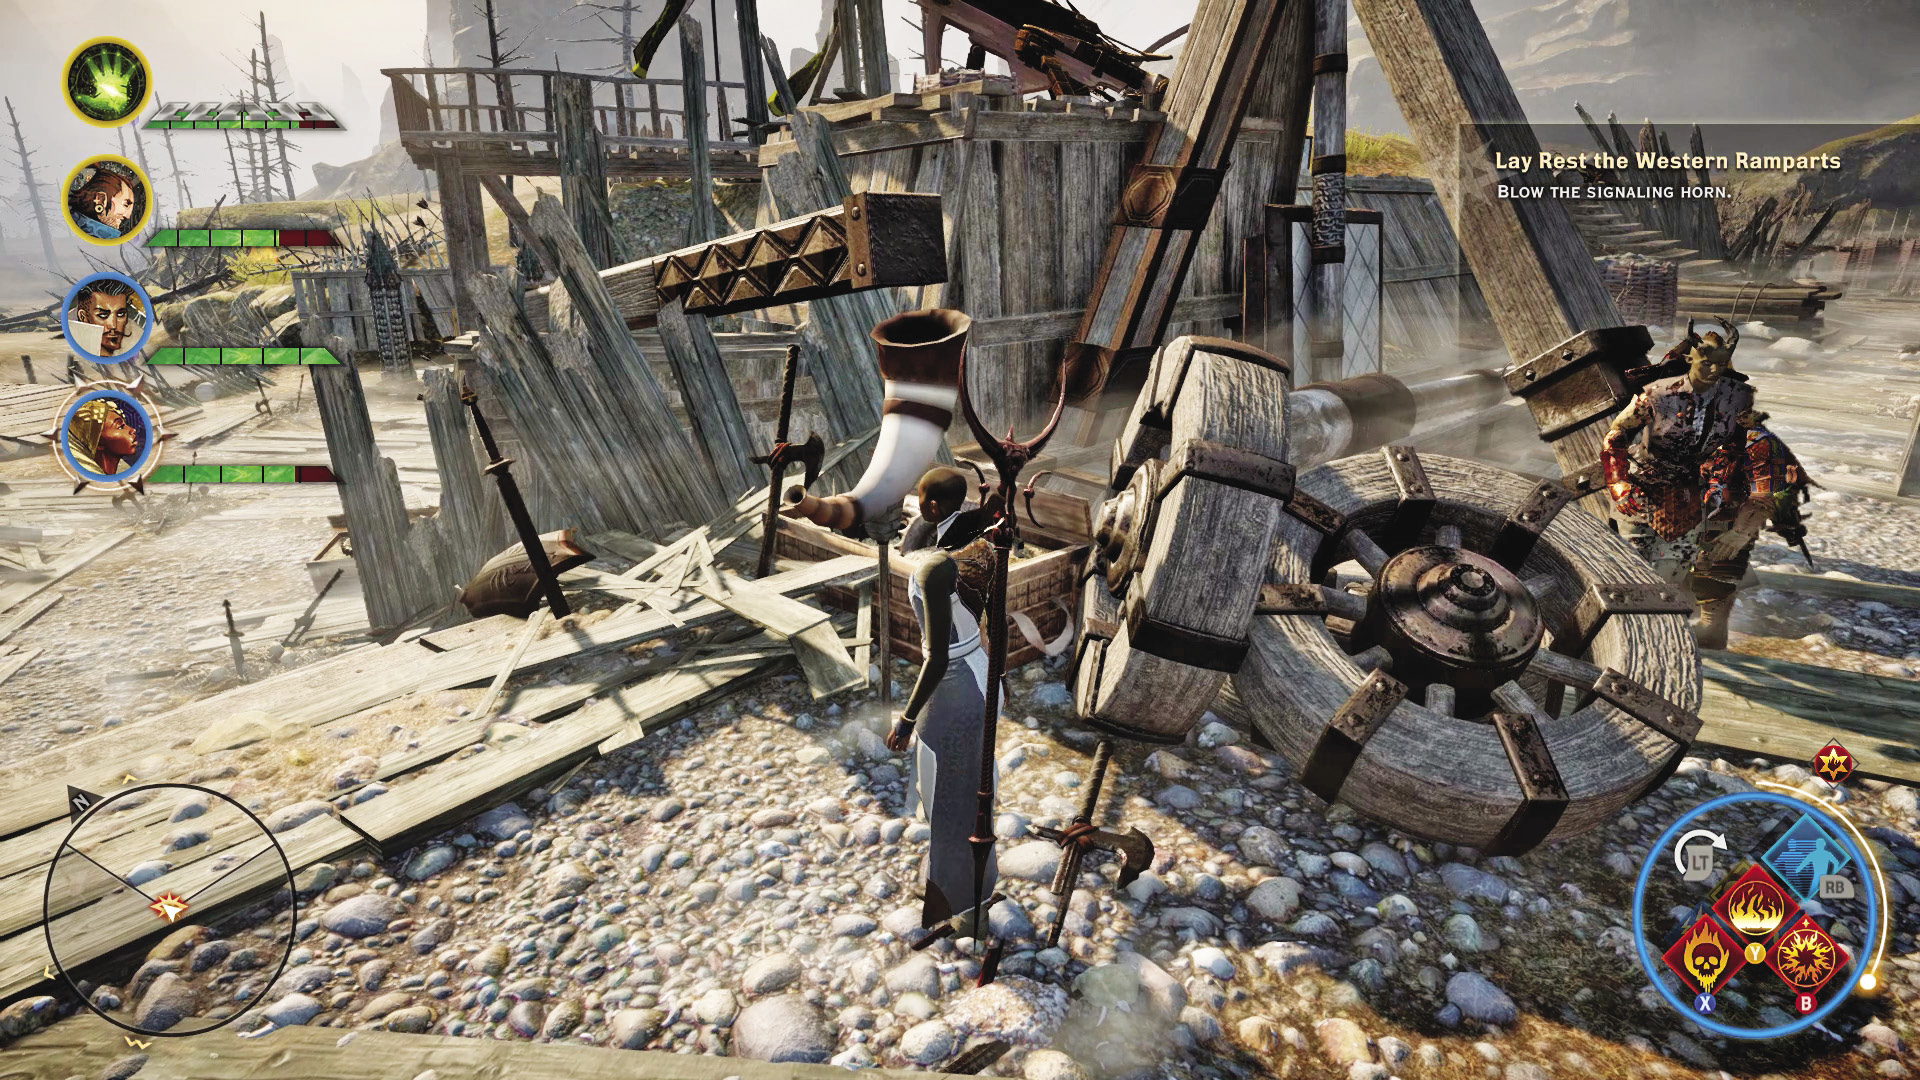
Once you’ve burned both pits of corpses, go to the signaling horn to call Gaspard’s troops back to the trenches. Your mission is complete! Go report to Corporal Rosselin to learn more.
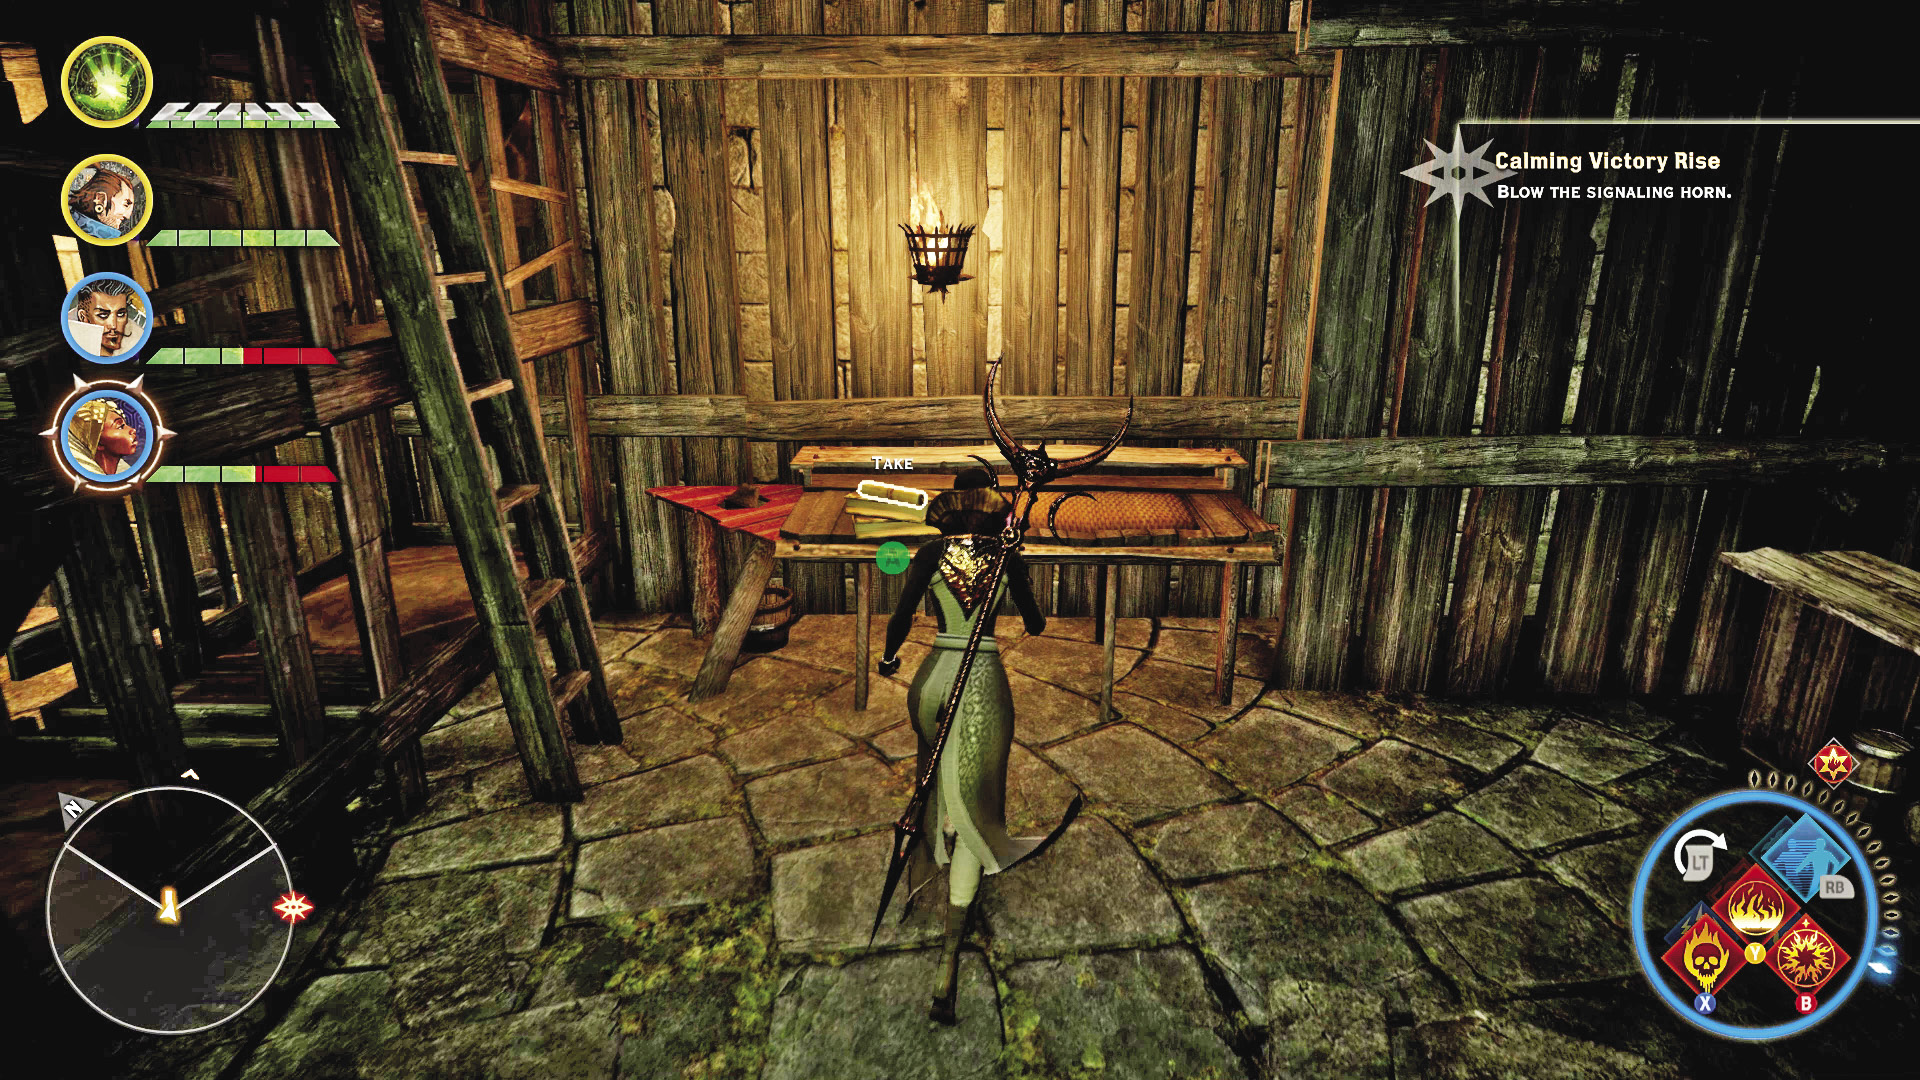
4: Calming Victory Rise

Quest Giver: Marshal Proulx
Description: Victory Rise is under siege just as the Western Ramparts were.
Requirements: Can be done immediately after arriving in the Exalted Plains.
Reward: 512 XP, 200 Influence, 2 Power
Objectives:
 Set fire to the west pit.
 Set fire to the east pit.
 Blow the signaling horn.
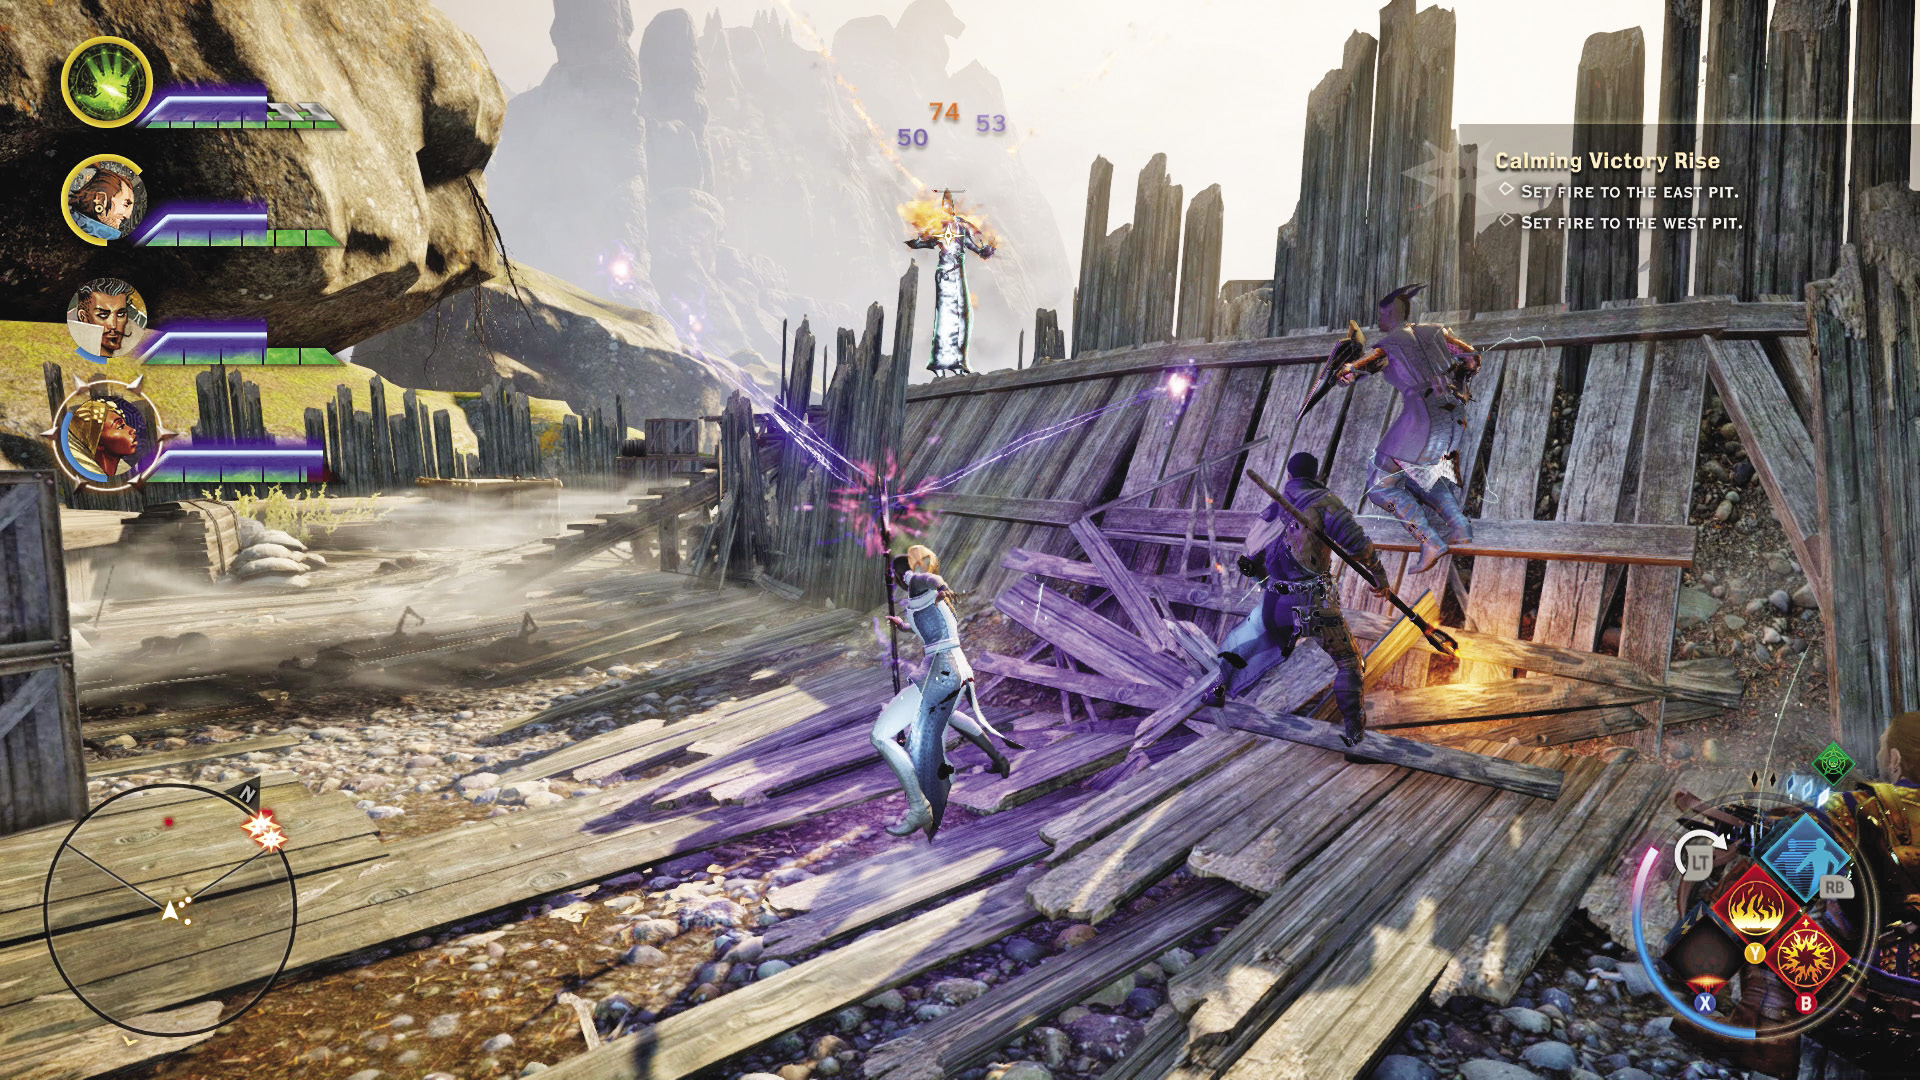
The Freemen assault has also affected Victory Rise, another defensive position to the west of the Western Ramparts. You’ll have to dispel fire and ice elemental barriers to reach the pits as before, then contend with waves of undead and the arcane horrors commanding them. Once both pits of Victory Rise are set aflame, use the signaling horn to call for Gaspard’s troops.
5: From the Beyond
Quest Giver: Keeper Hawen
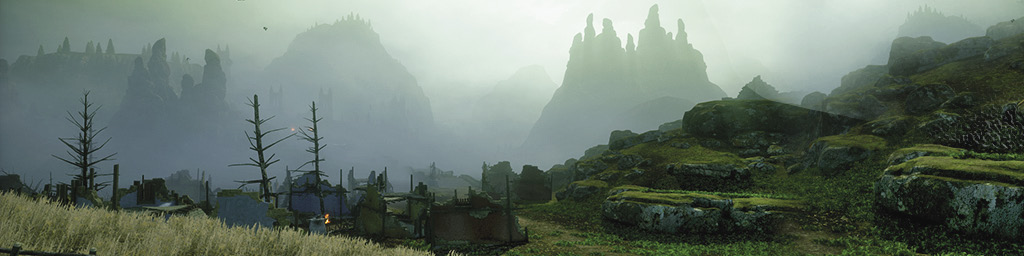
Description: There’s an old Dalish burial site in the plains known as Val Bellanaris. Spells protecting the dead there have been broken, attracting demons. Cleansing the grounds of the demons would gain favor from the Dalish.
Requirements: Encounter the Dalish at Halin’sulahn and offer your assistance.
Reward: 967 XP, 200 Influence, 2 Power
Objectives:
 Defeat the demons at Var Bellanaris.
 Speak with Keeper Hawen.
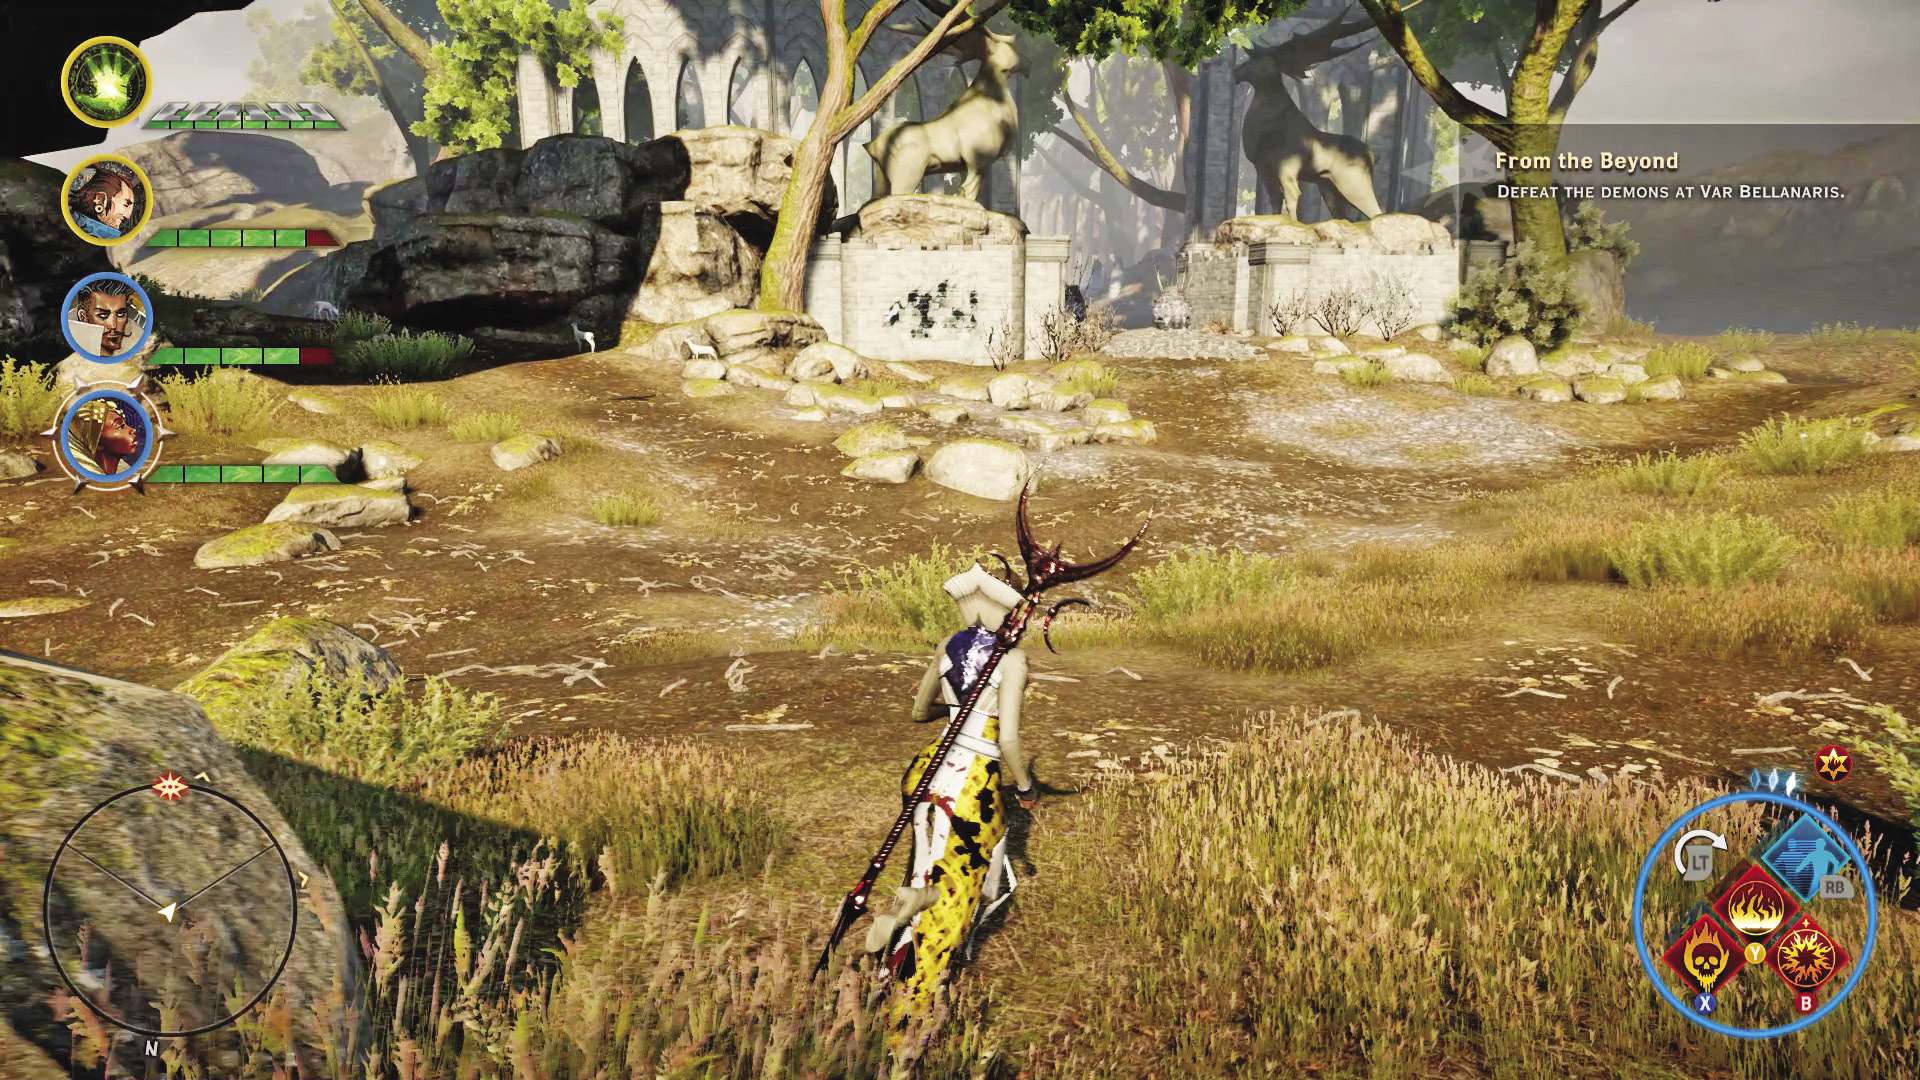
When you discover the Dalish elves camped out in Halin’sulahn, Keeper Hawen has little time or patience to deal with the likes of you. However, if you offer to help his people with the problems they face, you will earn his good graces. An immediate problem is that hostile spirits infest Var Bellanaris, and he needs them dealt with.
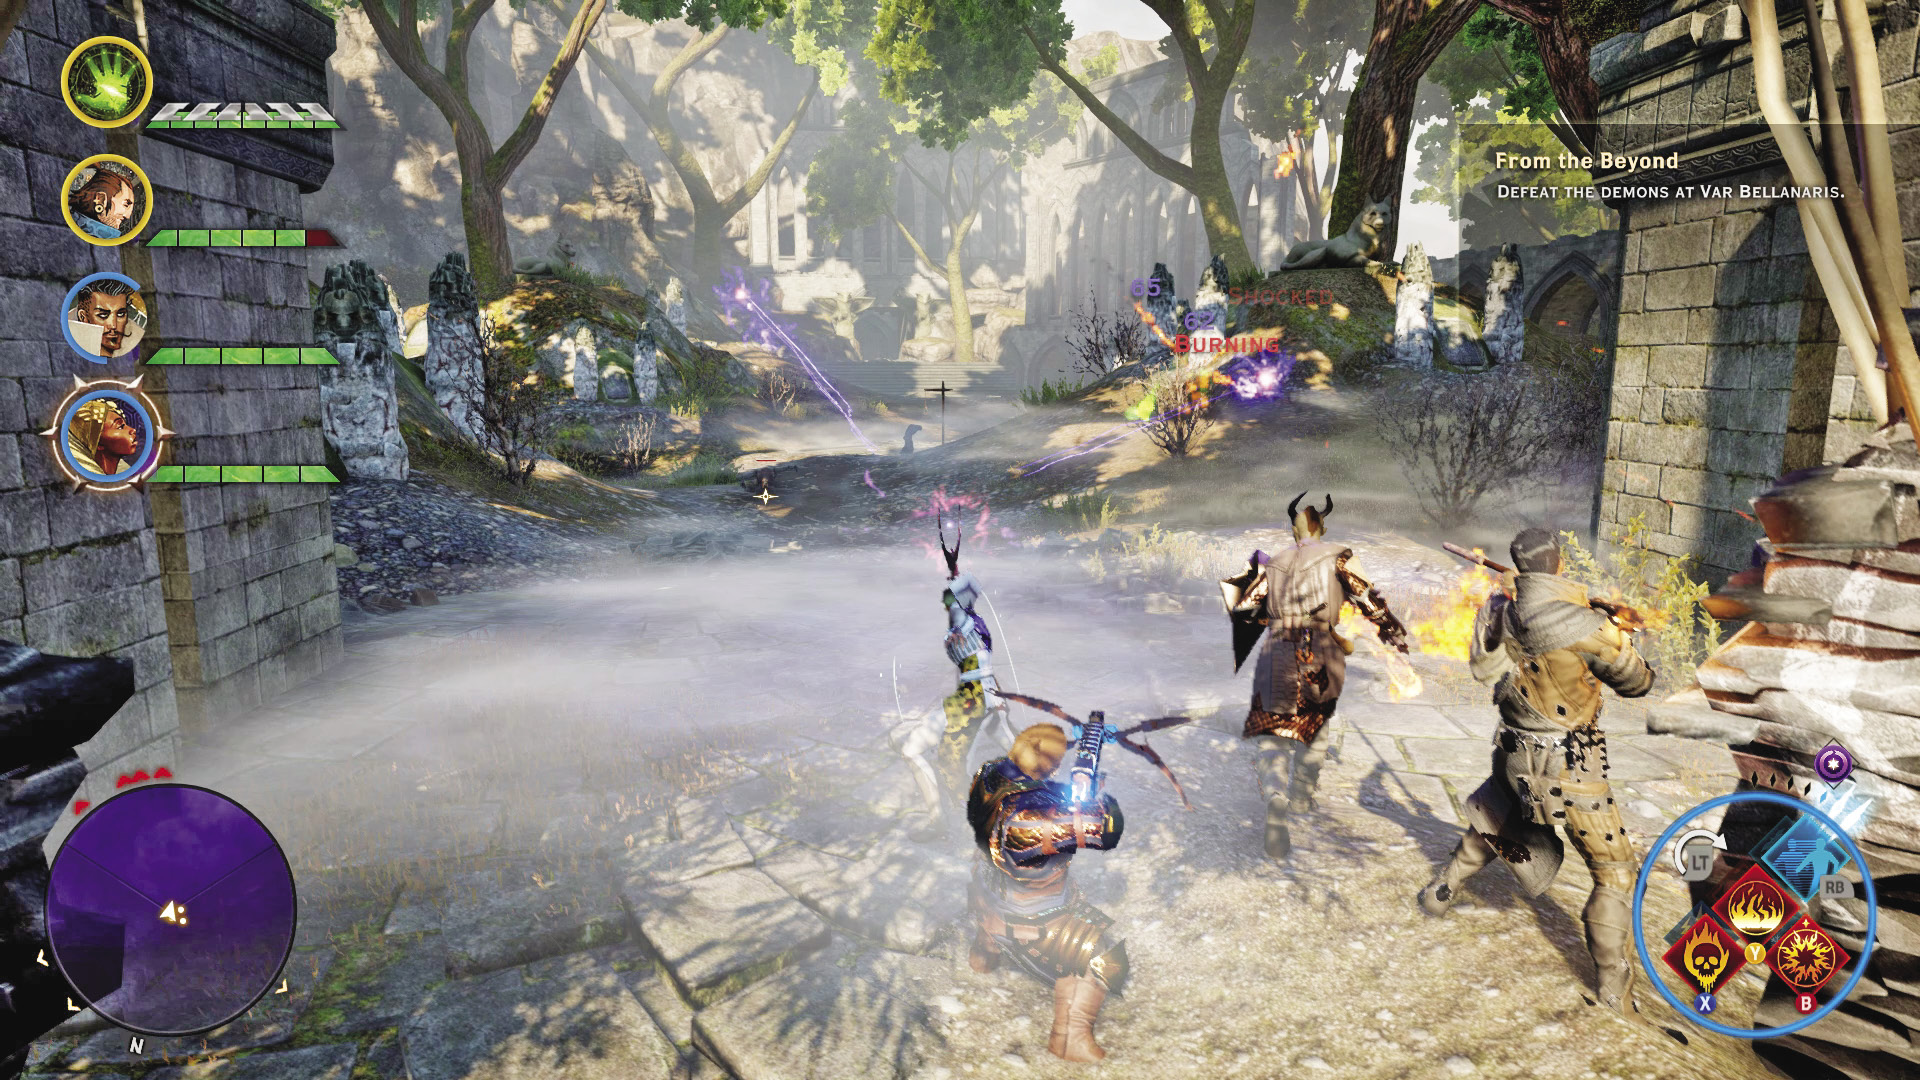
Wraiths and shades swarm throughout the burial ground and attack as soon as you approach. Keep yourself well away from the tombstones and wipe out the demons you see. As soon as that’s done, return to Keeper Hawen to report that the task is complete. Out of thanks, he informs you of glyphs scattered throughout the Exalted Plains that could be of use to the Inquisition, starting another side quest if you have not already completed it.
6: Scattered Glyphs

Quest Giver: A glyph found somewhere in Halin’sulahn or the Ancient Baths, or Keeper Hawen of the Dalish
Description: There are ancient elven glyphs scattered across the plains that appear to be pieces of a greater message.
Requirements: Available upon entering the Exalted Plains
Reward: 512 XP, 200 Influence, 2 Power
Objectives:
 Find four glyphs.
 Go to the war table to investigate the glyphs (five power required).
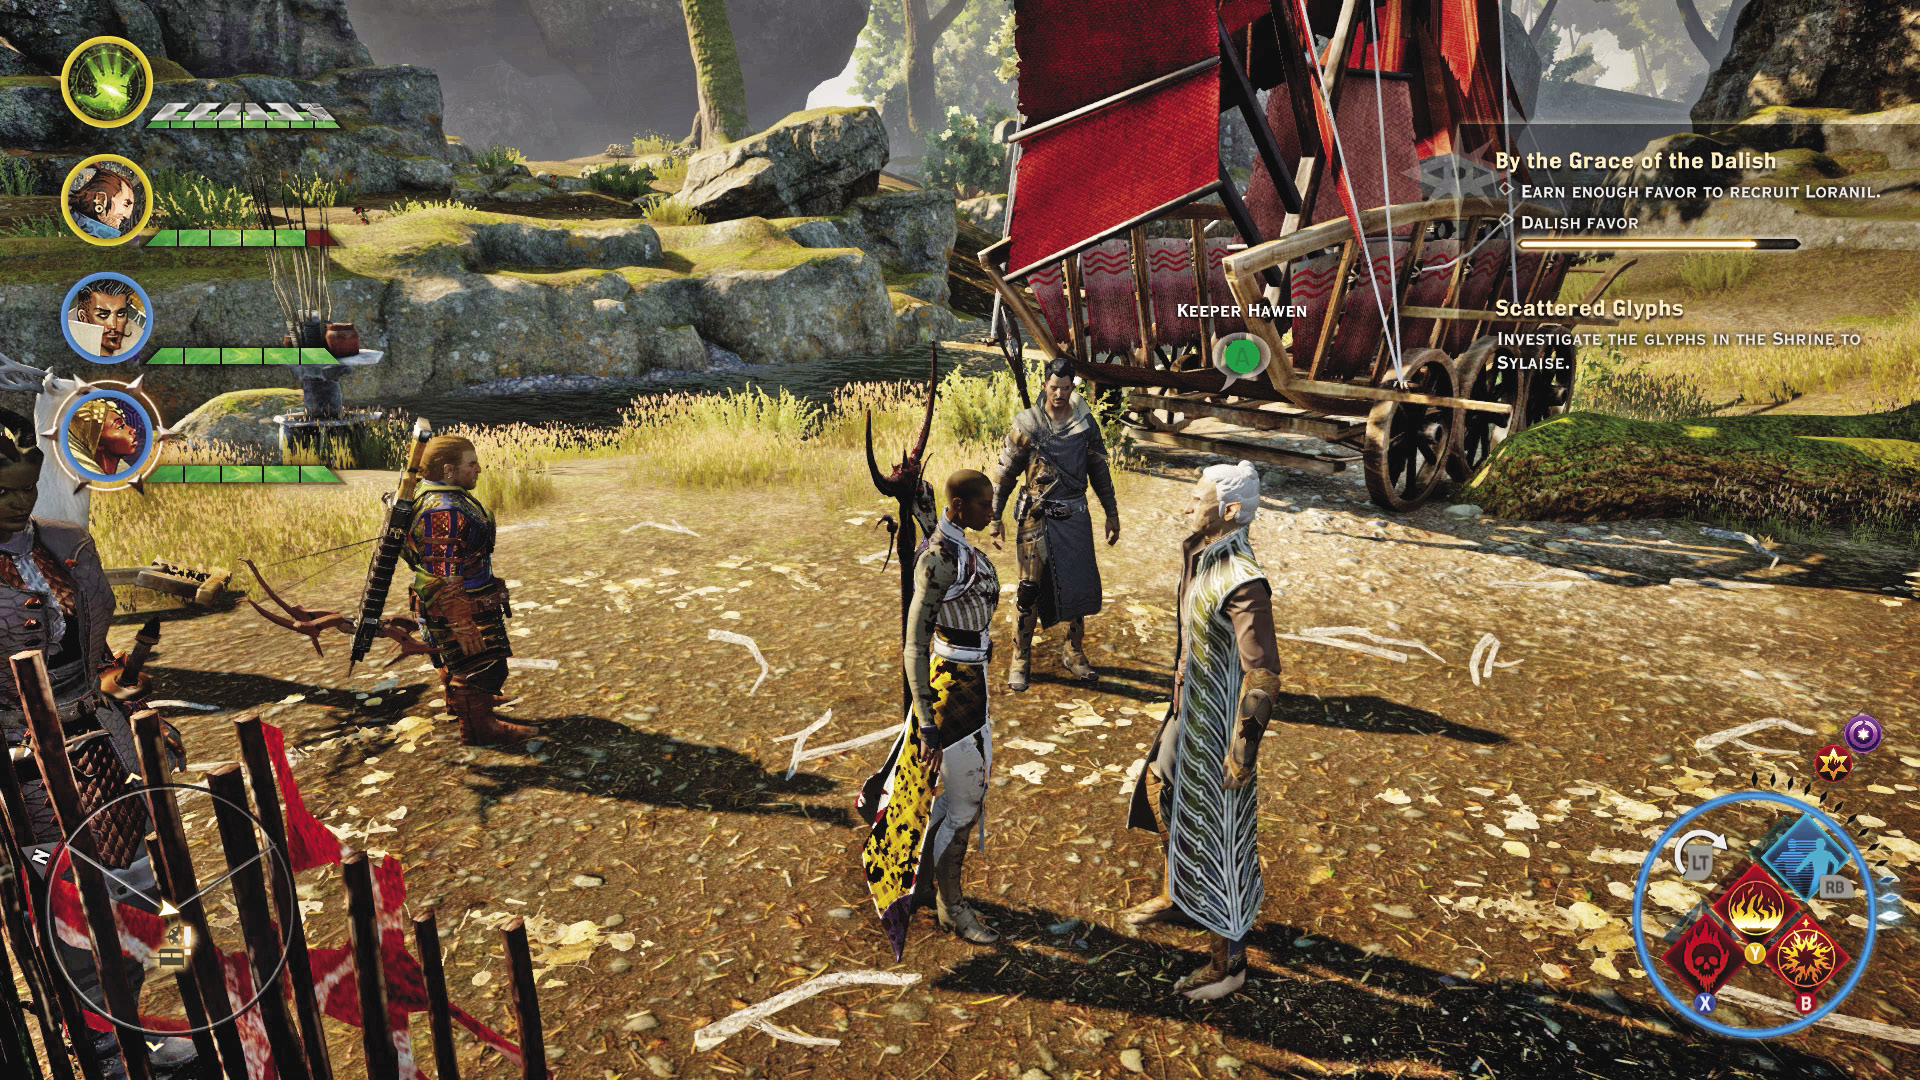
There are two ways to begin this quest. One is to speak with Keeper Hawen of the Dalish. He will assign you a side quest to earn his trust, and afterwards he will tell you of glyphs scattered across the plains.
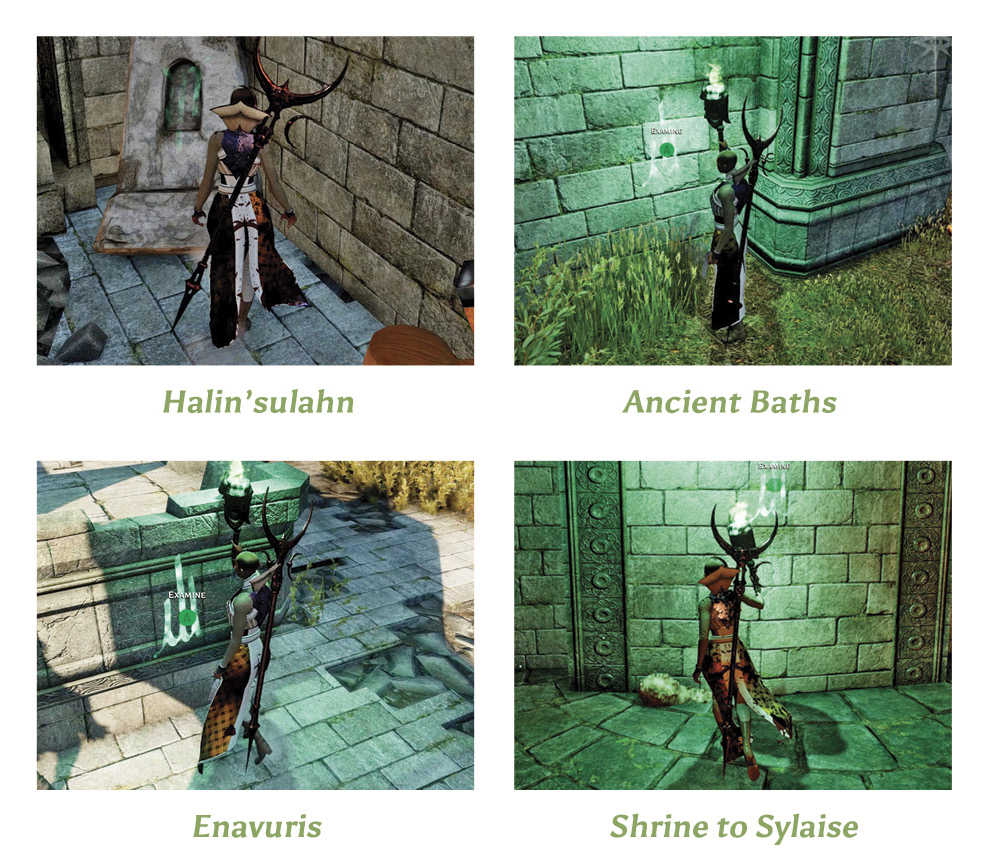
Alternatively, as you explore parts of Halin’sulahn, the Shrine to Sylaise, or the ruins of the Ancient Baths, you may find a veilfire torch. Use these torches to find glyphs scattered throughout the southern half of the Exalted Plains. As soon as you find one, the quest map will show you general search areas to comb over. For reference, we have screenshots showing where exactly four glyphs can be found. The quest requires only four glyphs, but there are more than four hidden in this locale.
With four glyphs found, the Inquisitor decides to take the information back to Skyhold so researchers can try to decipher it. Using the Inquisition’s connections (and five power), you reveal the location of an ancient temple meant to worship Dirthamen, elven god of secrets. Coverage for the Lost Temple of Dirthamen dungeon is at the end of the Exalted Plains quest walkthroughs.
7: By the Grace of the Dalish
Quest Giver: Loranil
Description: Dalish would be skeptical of any force as powerful and connected as the Inquisition. It will take considerable effort to earn the favor of Hawen’s clan.
Requirements: Available as soon as you enter the Exalted Plains
Reward: 512 XP, 200 Influence, 2 Power
Objectives:
 Earn enough favor to recruit Loranil.
 Speak to Loranil about joining the Inquisition.
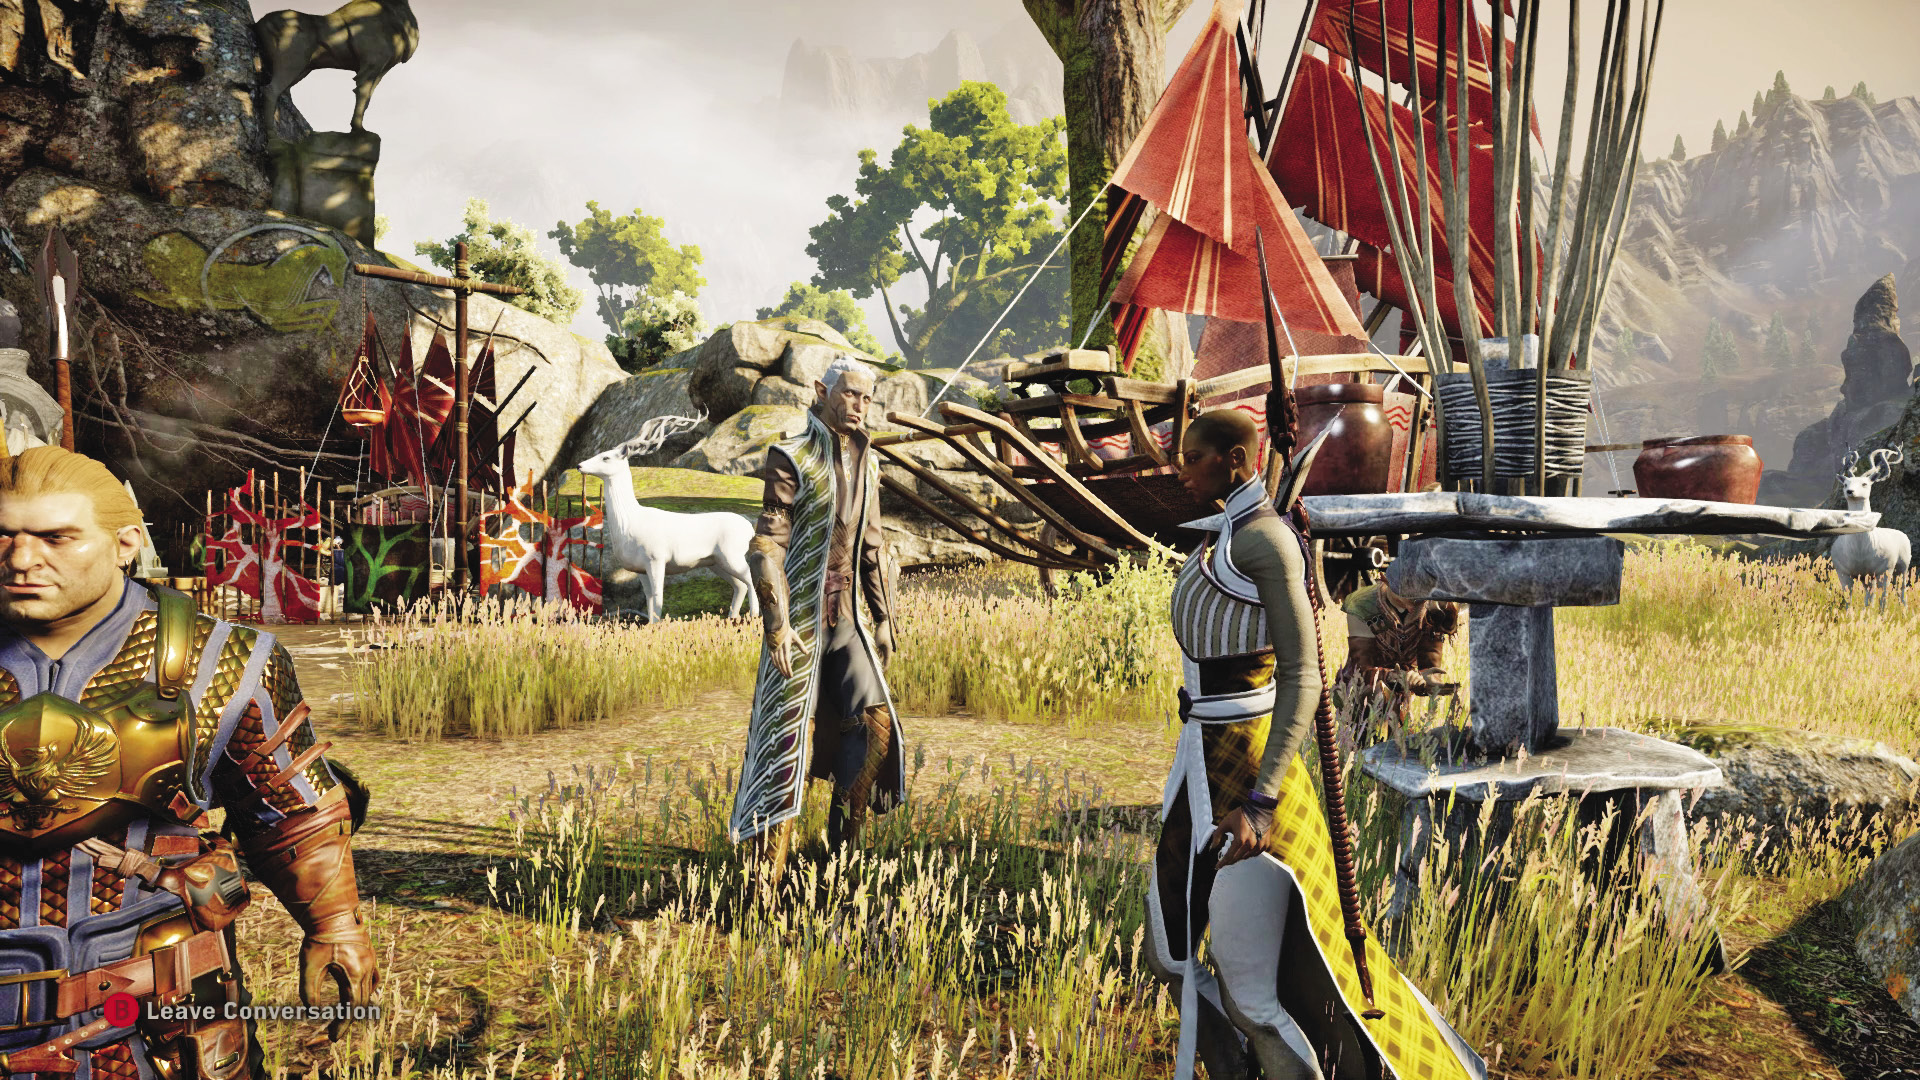
Loranil recognizes the Inquisitor immediately and has much praise to shower. He wants to join the Inquisition, but Keeper Hawen is understandably suspicious of anything to do with the Chantry in any way. You can convince him of the righteousness of your cause to recruit Loranil by completing the requests the Dalish have for you.
8: The Golden Halla
Quest Giver: Ithiren
Description: A golden halla known as Hanal’ghilan is said to visit the Dalish in times of great need. A hunter named Ithiren believes the legendary halla now roams the Exalted Plains.
Requirements: Speak with Ithiren at the Dalish Camp.
Reward: 512 XP, 200 Influence, 2 Power
Objectives:
 Find the golden halla.
 Herd the halla to the Dalish.
 Return to Ithiren.
Ithiren of the Dalish would like for you to retrieve the golden halla, to ensure that the Orlesians in the Exalted Plains don’t poach the majestic creature for its hide and horns.
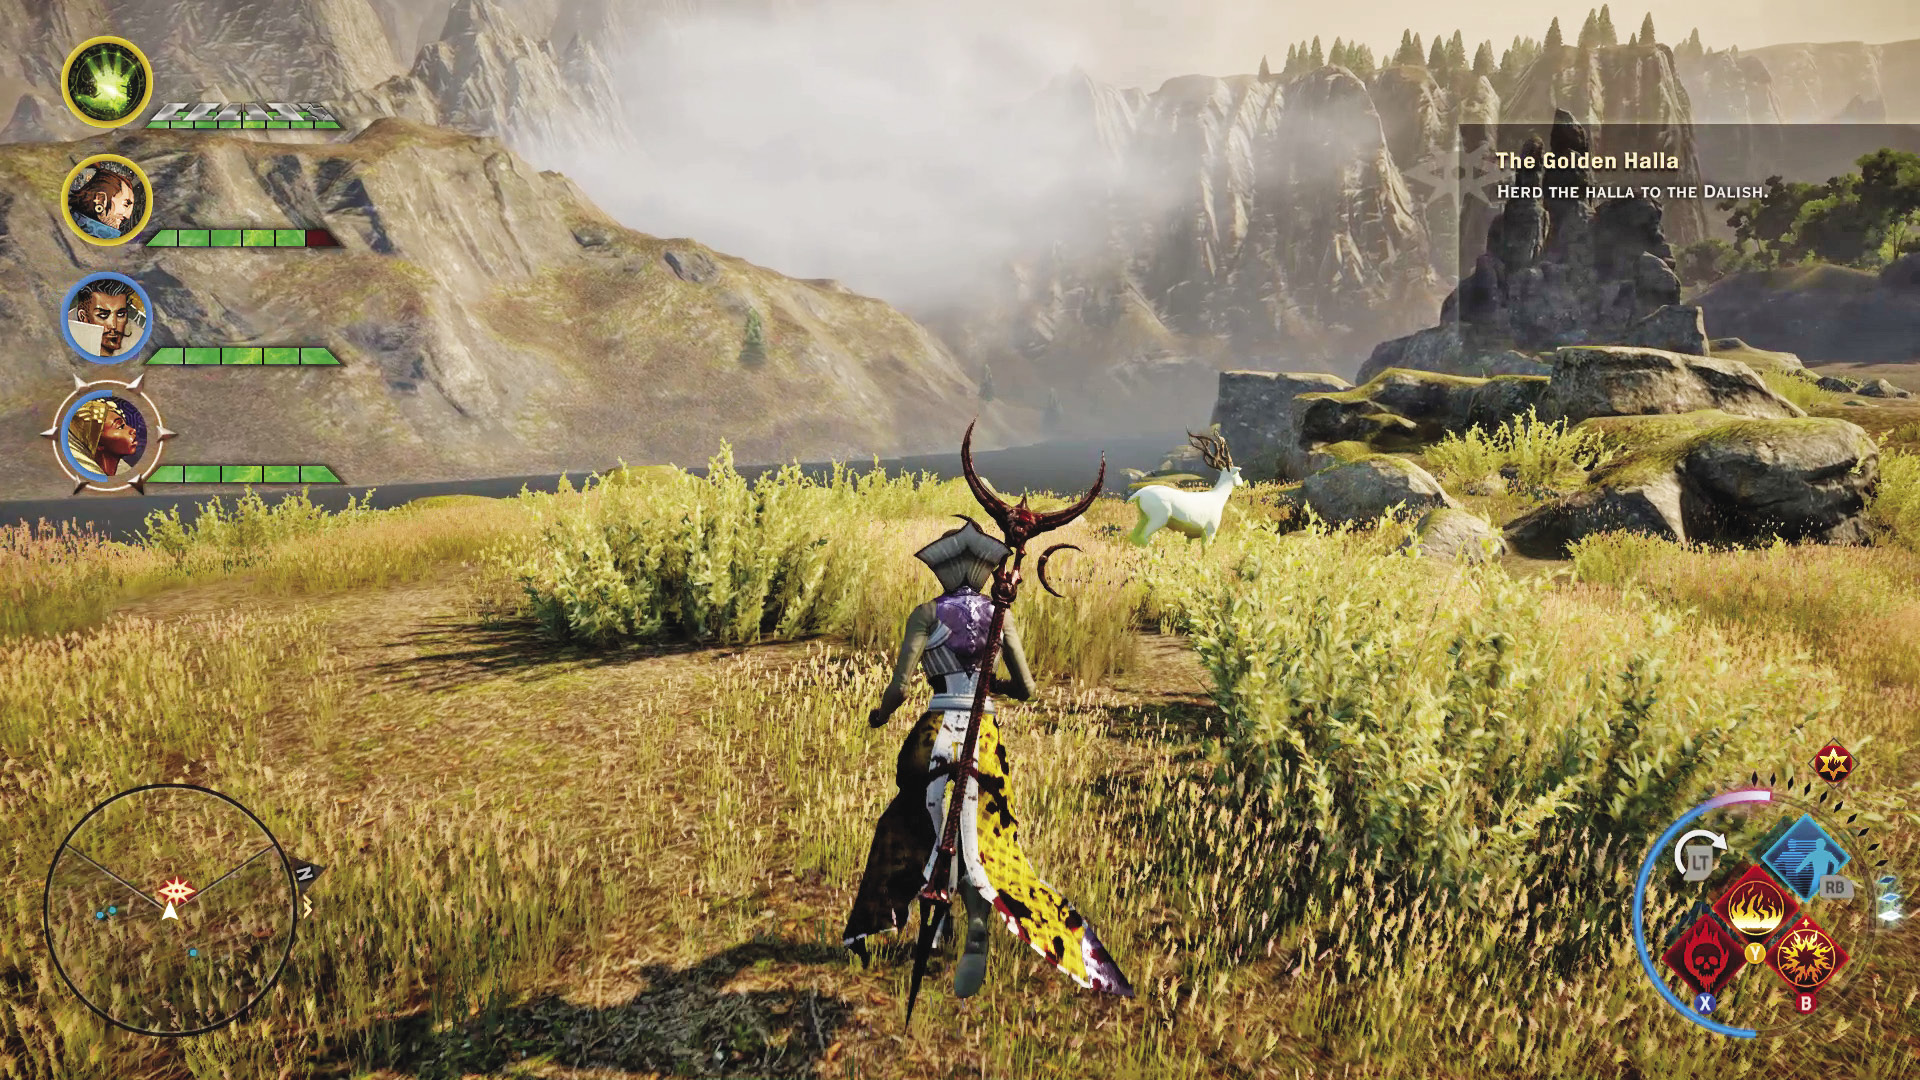
The golden halla is fairly simple to find, grazing peacefully on the plains southwest of the Dalish camp. Herding it to the camp is a bit time consuming because of how fast it runs and how it doesn’t always go exactly where you want it to. Just keep following it to try to “urge” it to go toward the camp. When you get close enough to Ithiren, the golden halla will go to the cage where the rest of the halla are being held on its own, and Ithiren will be most grateful.
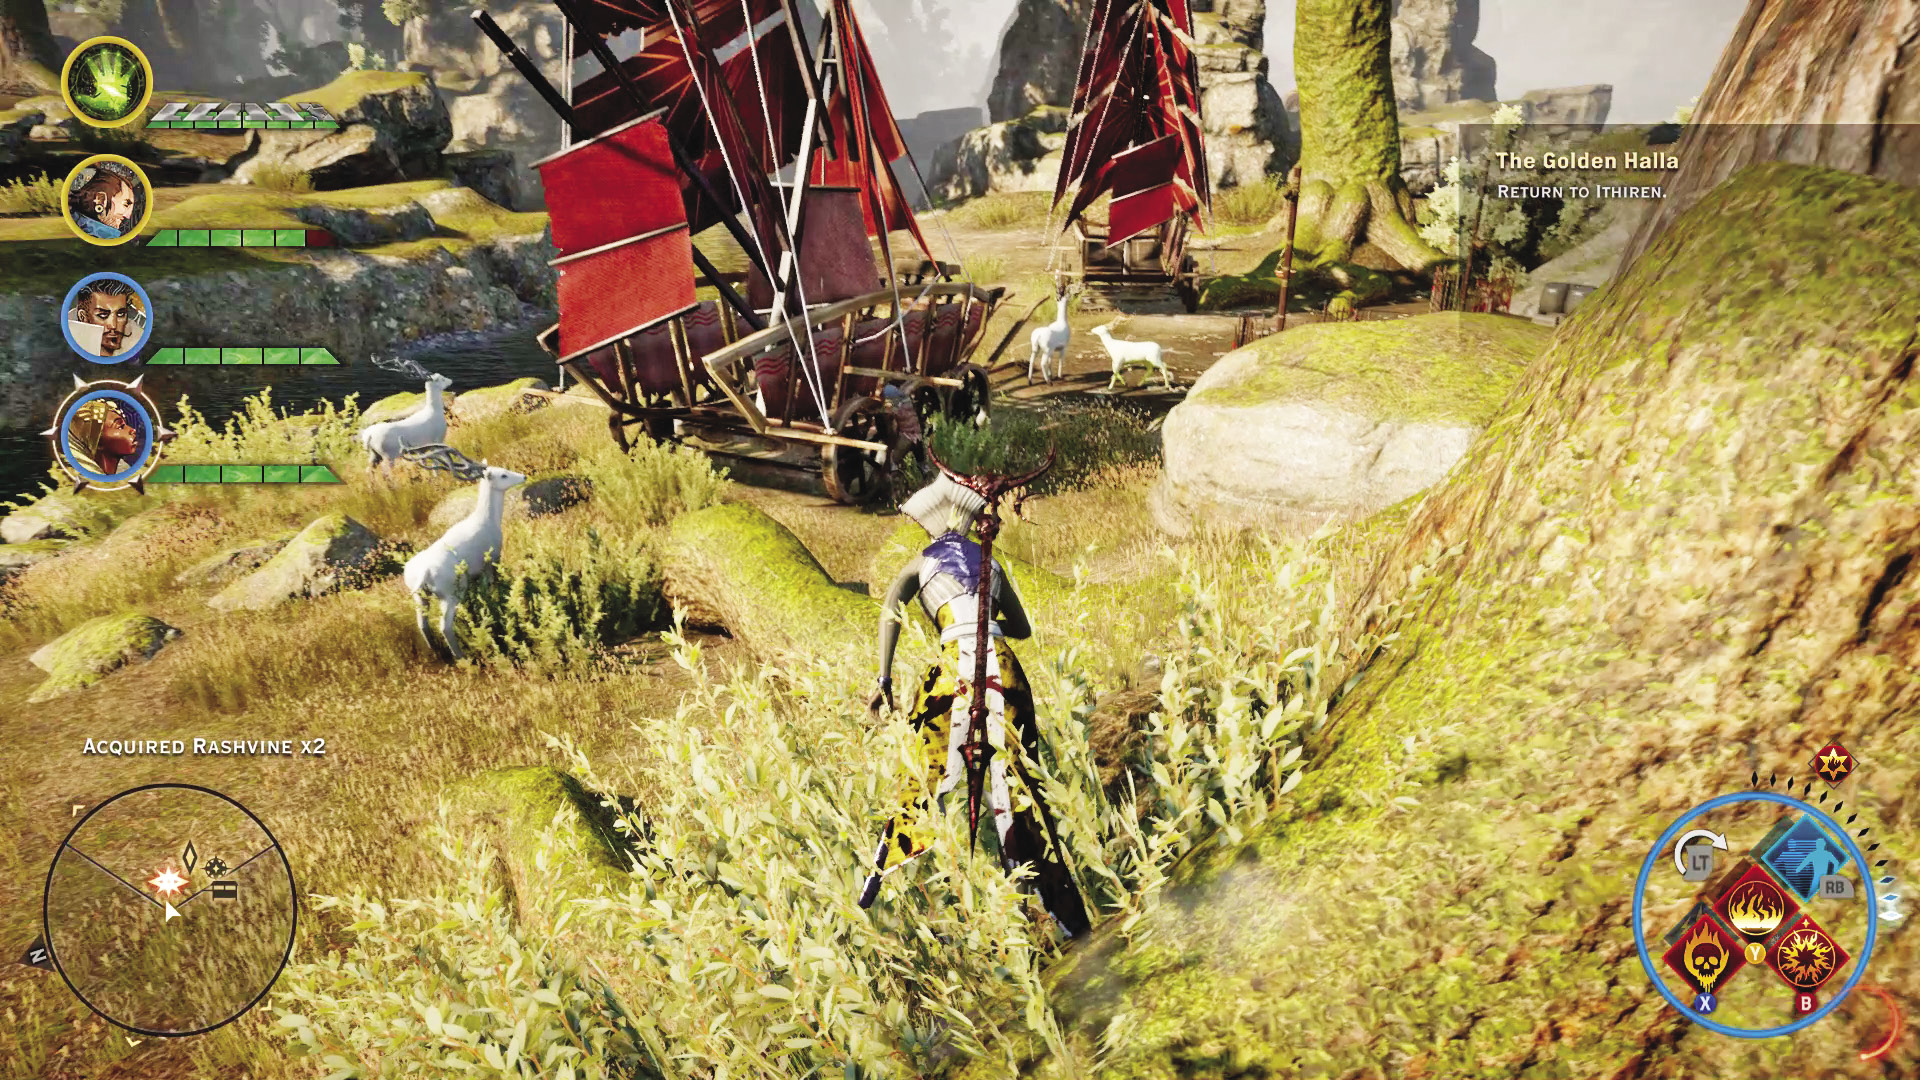
This can go fairly smoothly if you’re lucky. However, Freemen are also camped out in Halin’sulahn, and they will attempt to kill the beast. Don’t let this happen; it will cost you favor with the Dalish. Aim for the marksmen among any Freemen groups, to prevent them from shooting at the golden halla. After you kill the Freemen, the halla will likely have fled somewhere safe. Approach it slowly and continue herding it toward the camp.
9: Someone to Lose
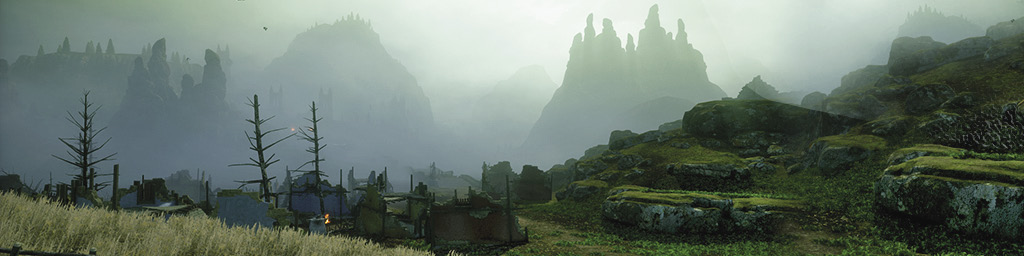
Quest Giver: Emalien
Description: A Dalish teenager named Valorin ran off after being passed over for the keeper’s apprenticeship. He has yet to return, and his sister Emalien fears the worst.
Requirements: Complete From the Beyond to be able to speak with Emalien.
Reward: 128 XP, 80 Influence
Objectives:
 Find Valorin.
 Return Valorin’s effects to Emalien.
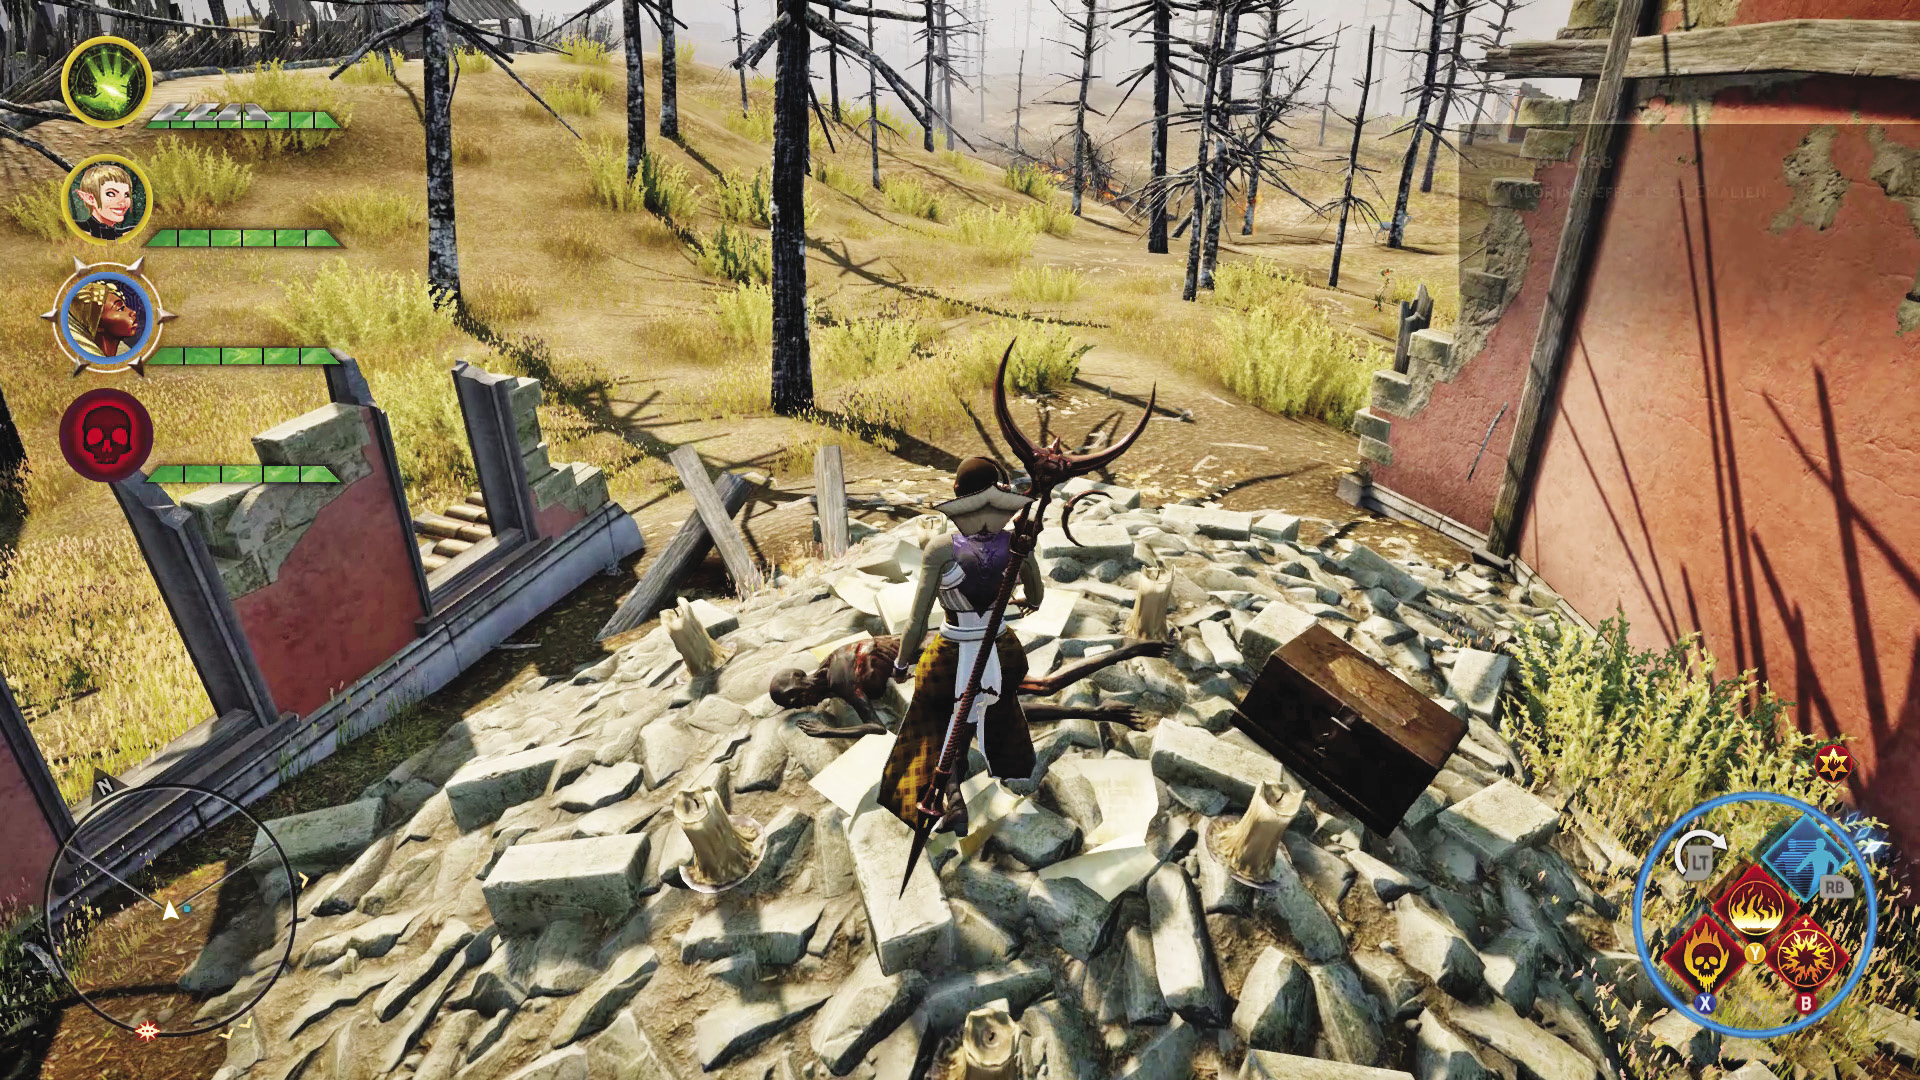
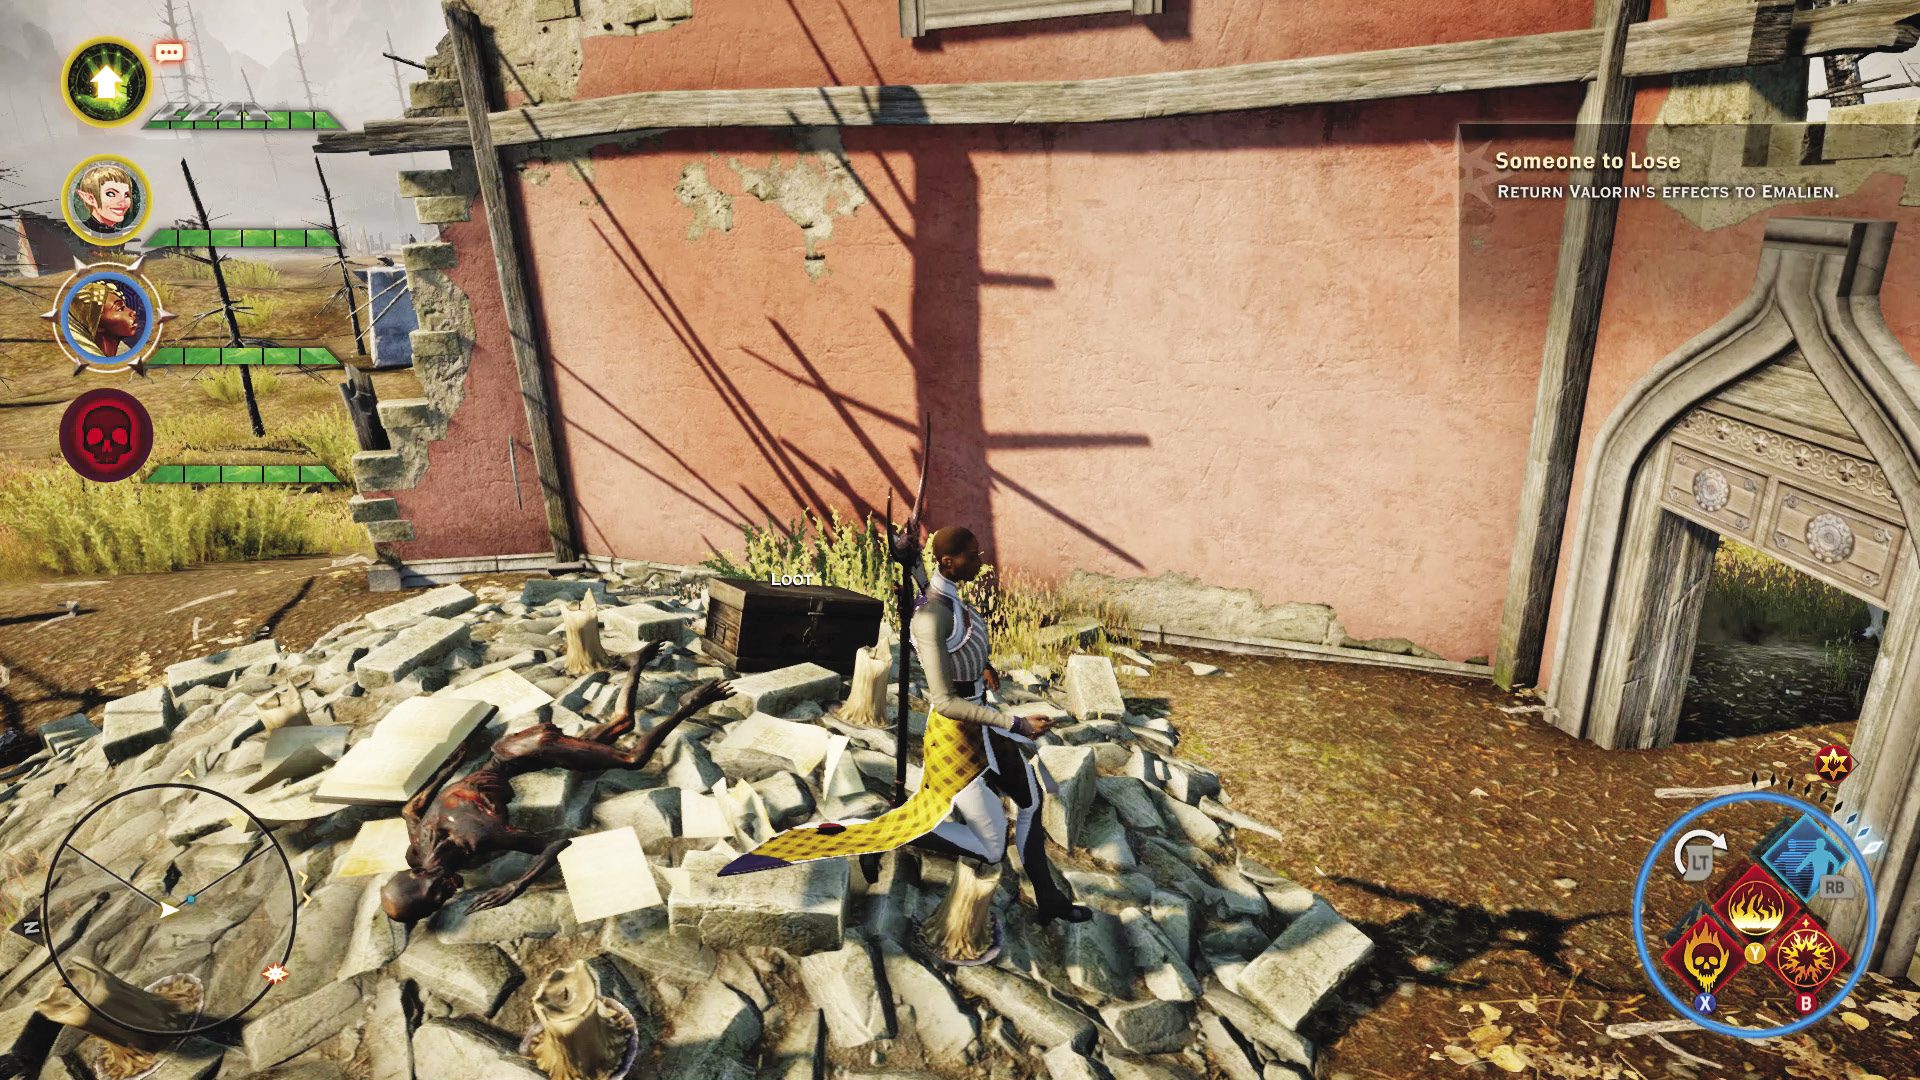
After speaking to Emalien, head north from the Dalish camp, toward the Western Ramparts. In the remains of a house, you find a corpse, with evidence of blood magic having been used. The journal found on the body confirms that this is Valorin. The boy was attempting to use the blood magic to help him in recovering the Lindiranae’s Talisman. It did not go well. You must now return to Emalien to deliver the sad news. You can either speak the truth, that he used blood magic, or refuse to sully her memories of a younger brother.
10: Something to Prove
Quest Giver: Valorin’s journal
Description: Valorin was searching for Lindiranae’s Talisman, a lost Dalish artifact of particular importance to Hawen’s clan. Valorin’s journal mentions ruins on the plains where the talisman may be found.
Requirements: Available as soon as you enter the Exalted Plains; you can either find this journal first or speak with Emalien to begin Someone to Lose.
Reward: 128 XP, 80 Influence
Objectives:
 Find Lindiranae’s Talisman.
 Return the talisman to Emalien.
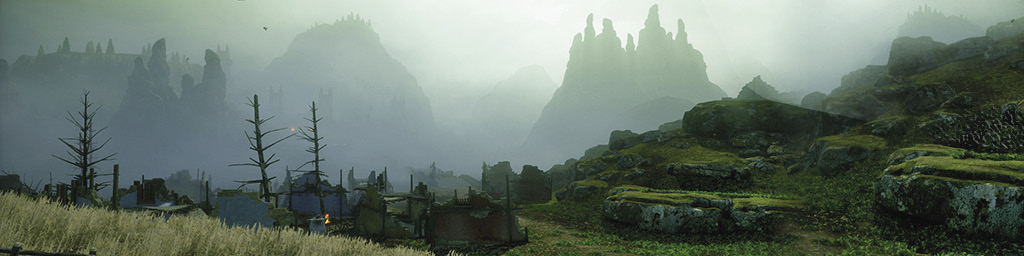
Valorin died attempting to find Lindiranae’s Talisman, an elven artifact of great value. Unfortunately, he was headed in the wrong direction. The Shrine to Sylaise, where the artifact rests, is far to the south of Halin’sulahn. Follow the river south until you reach a waterfall with a statue looking down from it. A little farther south, you’ll find the shrine entrance.
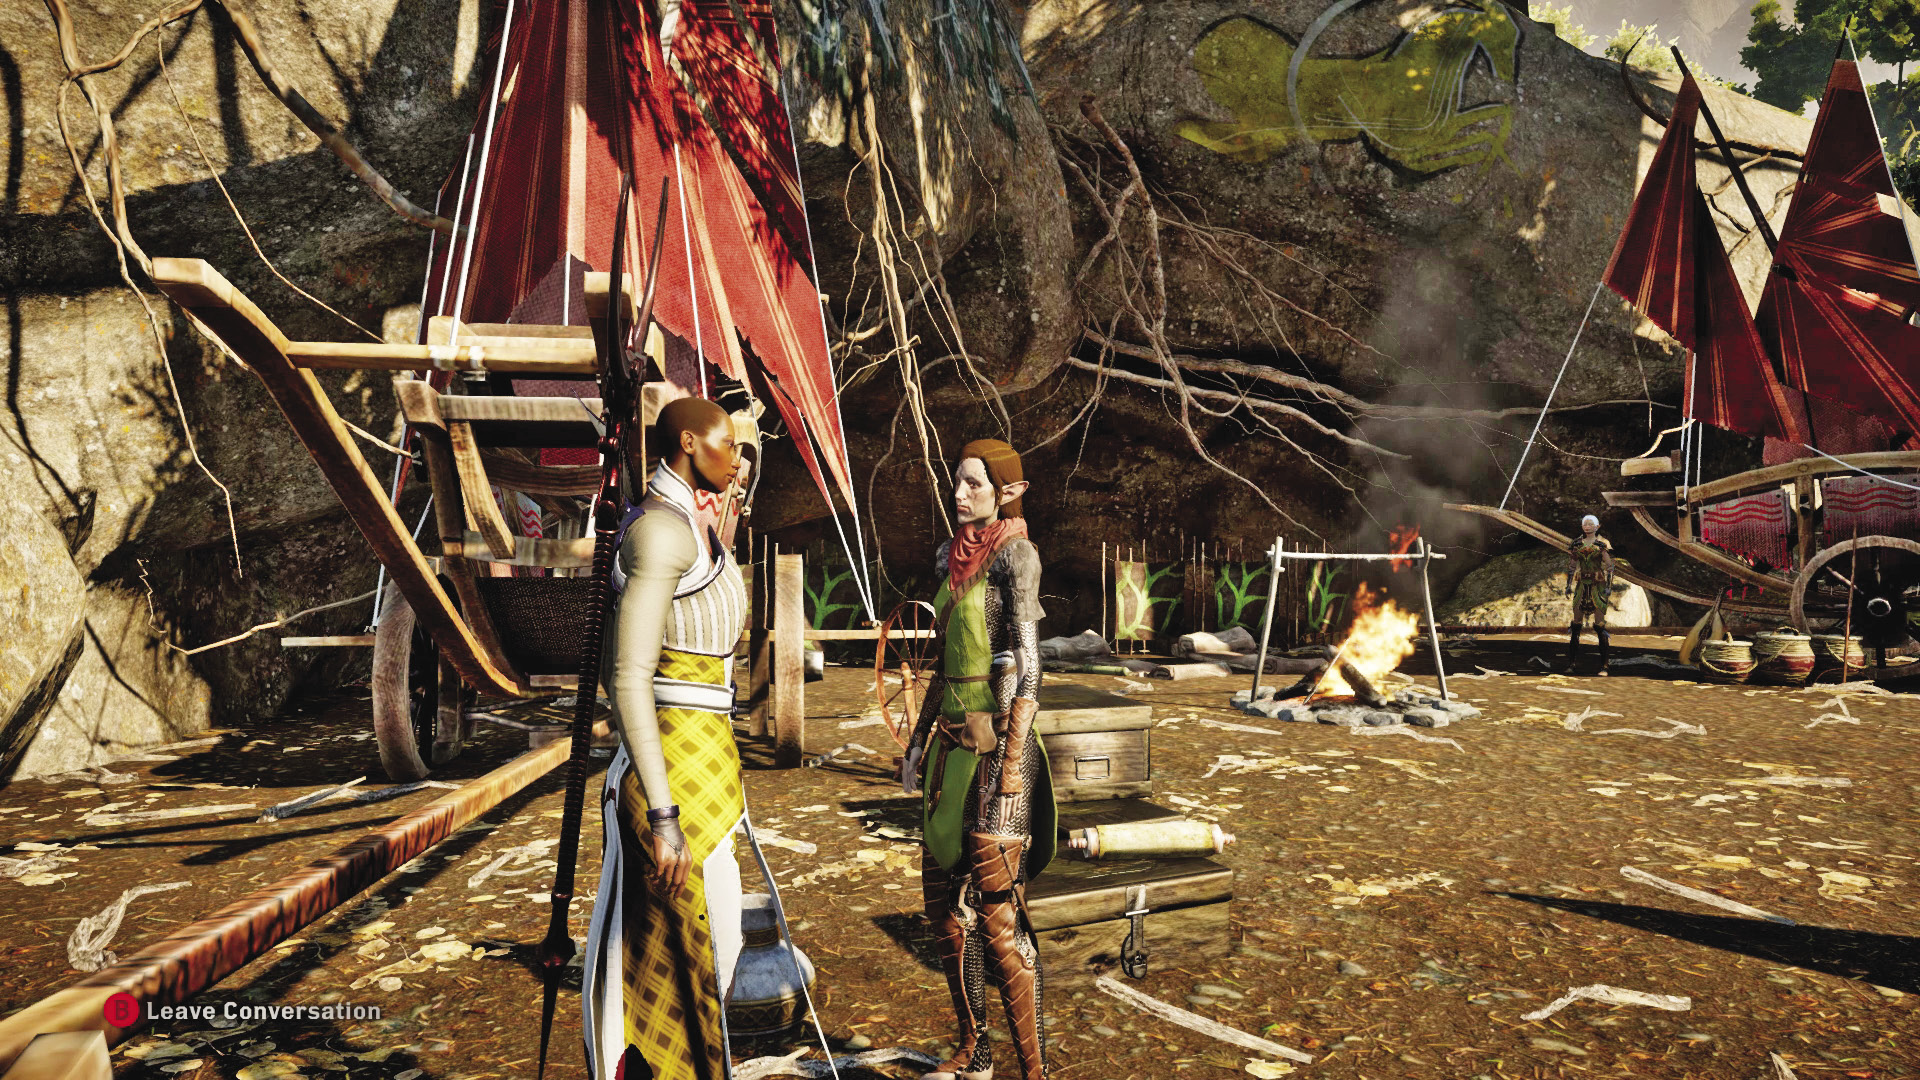
A spirit barrier inside the shrine stands between you and the corpse of an unfortunate soul who tried to take the talisman. Retrieve the artifact, then return to the Dalish camp. Emalien, to whom you may have already delivered the bad news about Valorin, is somewhat comforted by the fact that you completed the task in his name, and the quest is complete.
11: A Well-Stocked Camp
Quest Giver: Nissa
Description: With the war ongoing and demons preventing safe travel through much of the Dales, the Dalish in the plains have had trouble keeping supplies stocked. An elf named Nissa has made a list of what they need for their camp in her ledger.
Requirements: Available after earning favor with the Dalish Camp
Reward: 128 XP, 80 Influence
Objectives:
 Read Nissa’s ledger.
 Find and deliver five bushels of spindleweed.
 Find and deliver ten bushels of elfroot.
 Find and deliver ten pieces of canine leather.
 Find and deliver five pieces of iron.
 Find and deliver three great bear pelts.
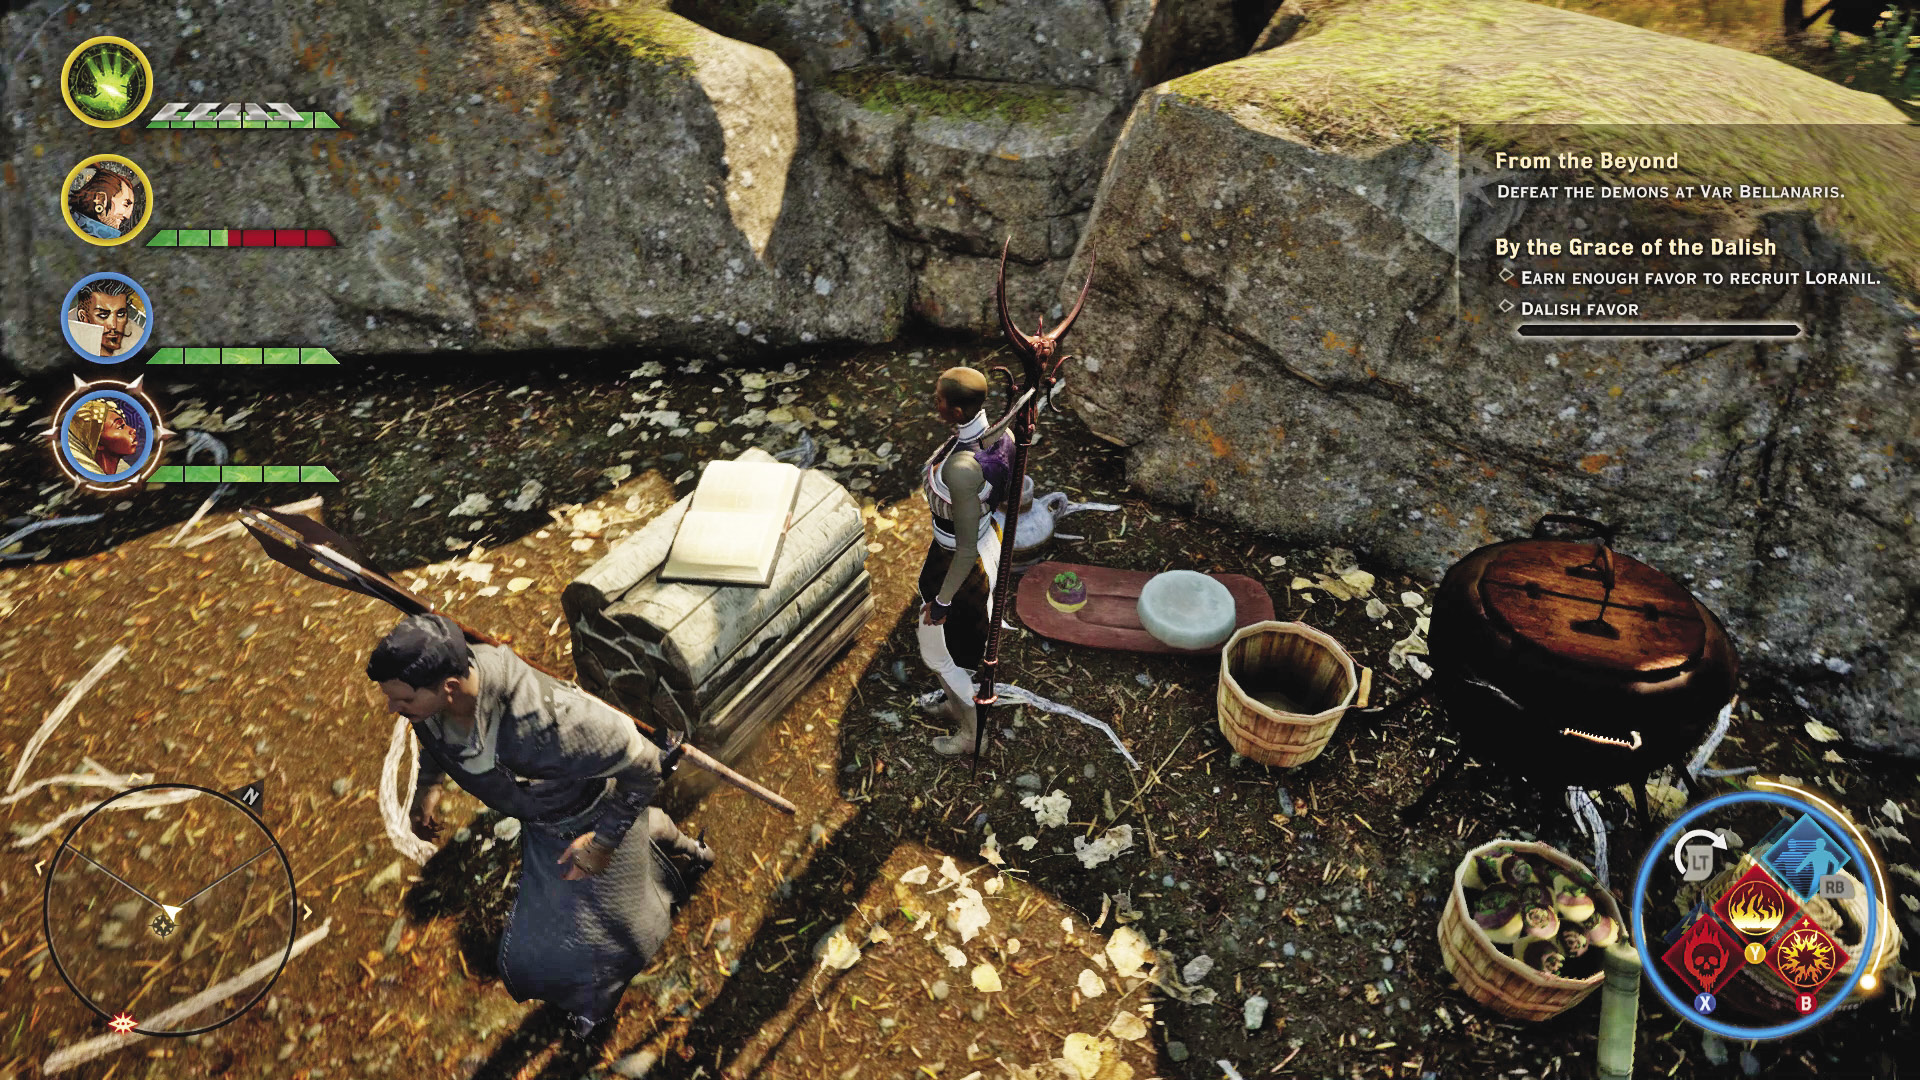
If you have been diligent in gathering materials throughout your quest to save Thedas, four of these deliveries should be a simple affair. You must first read the ledger, then drop off the items requested in her storage container. Then you can read the ledger again to see the next step in this quest.
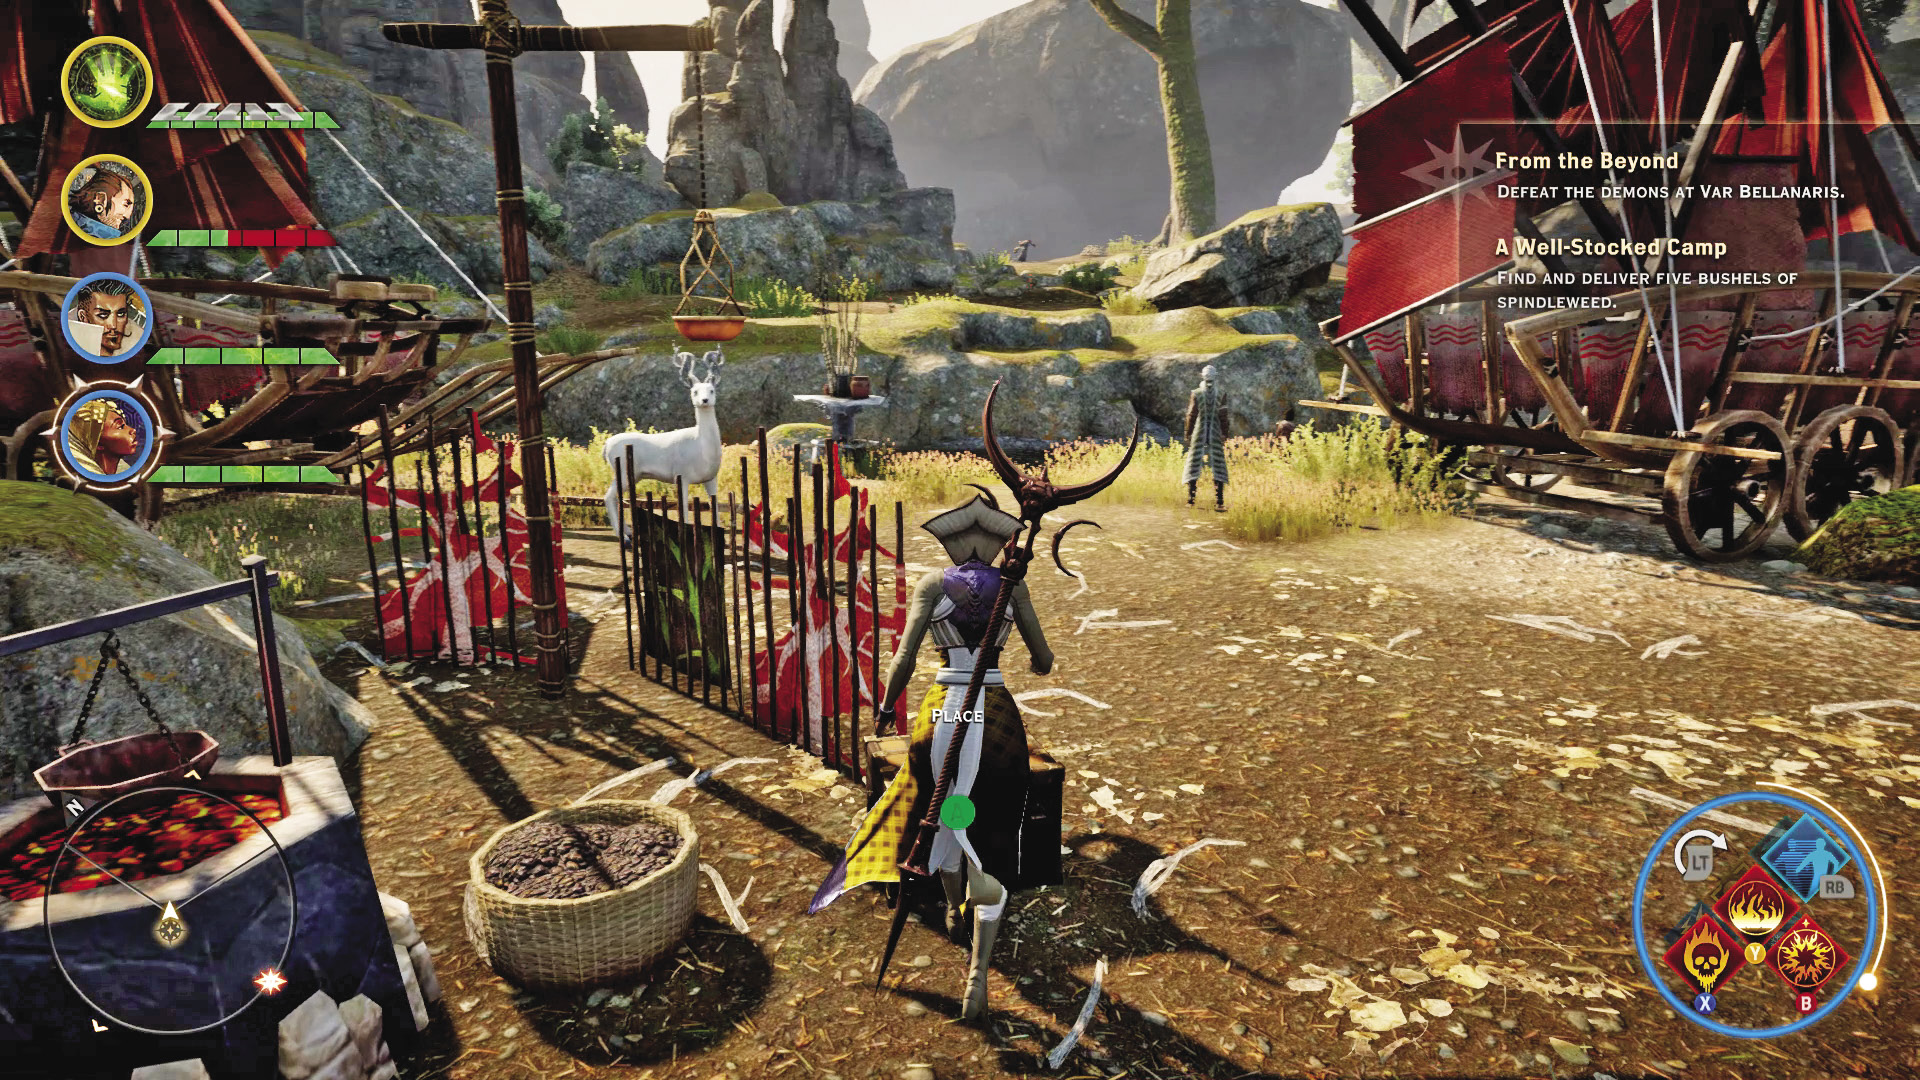
The final item on her list, three great bear pelts, is a bit trickier. The bears in question are in the Emerald Graves, and they are dangerous, enormous, ferocious, and voracious creatures that care very little for what the Inquisitor or the Dalish want if it doesn’t have anything to do with being the next meal. Once you complete this quest, you should have gained more than enough favor with the Dalish to allow Loranil to join the Inquisition, so the effort is worthwhile!
12: The Spoils of Desecration
Quest Giver: The door to Unadin Grotto
Description: The entrance to Unadin Grotto is locked.
Requirements: Go to the Unadin Grotto and attempt to enter it.
Reward: 128 XP, 80 Influence
Objectives:
 Find the key to Unadin Grotto.
 Use the key to open the tomb door.
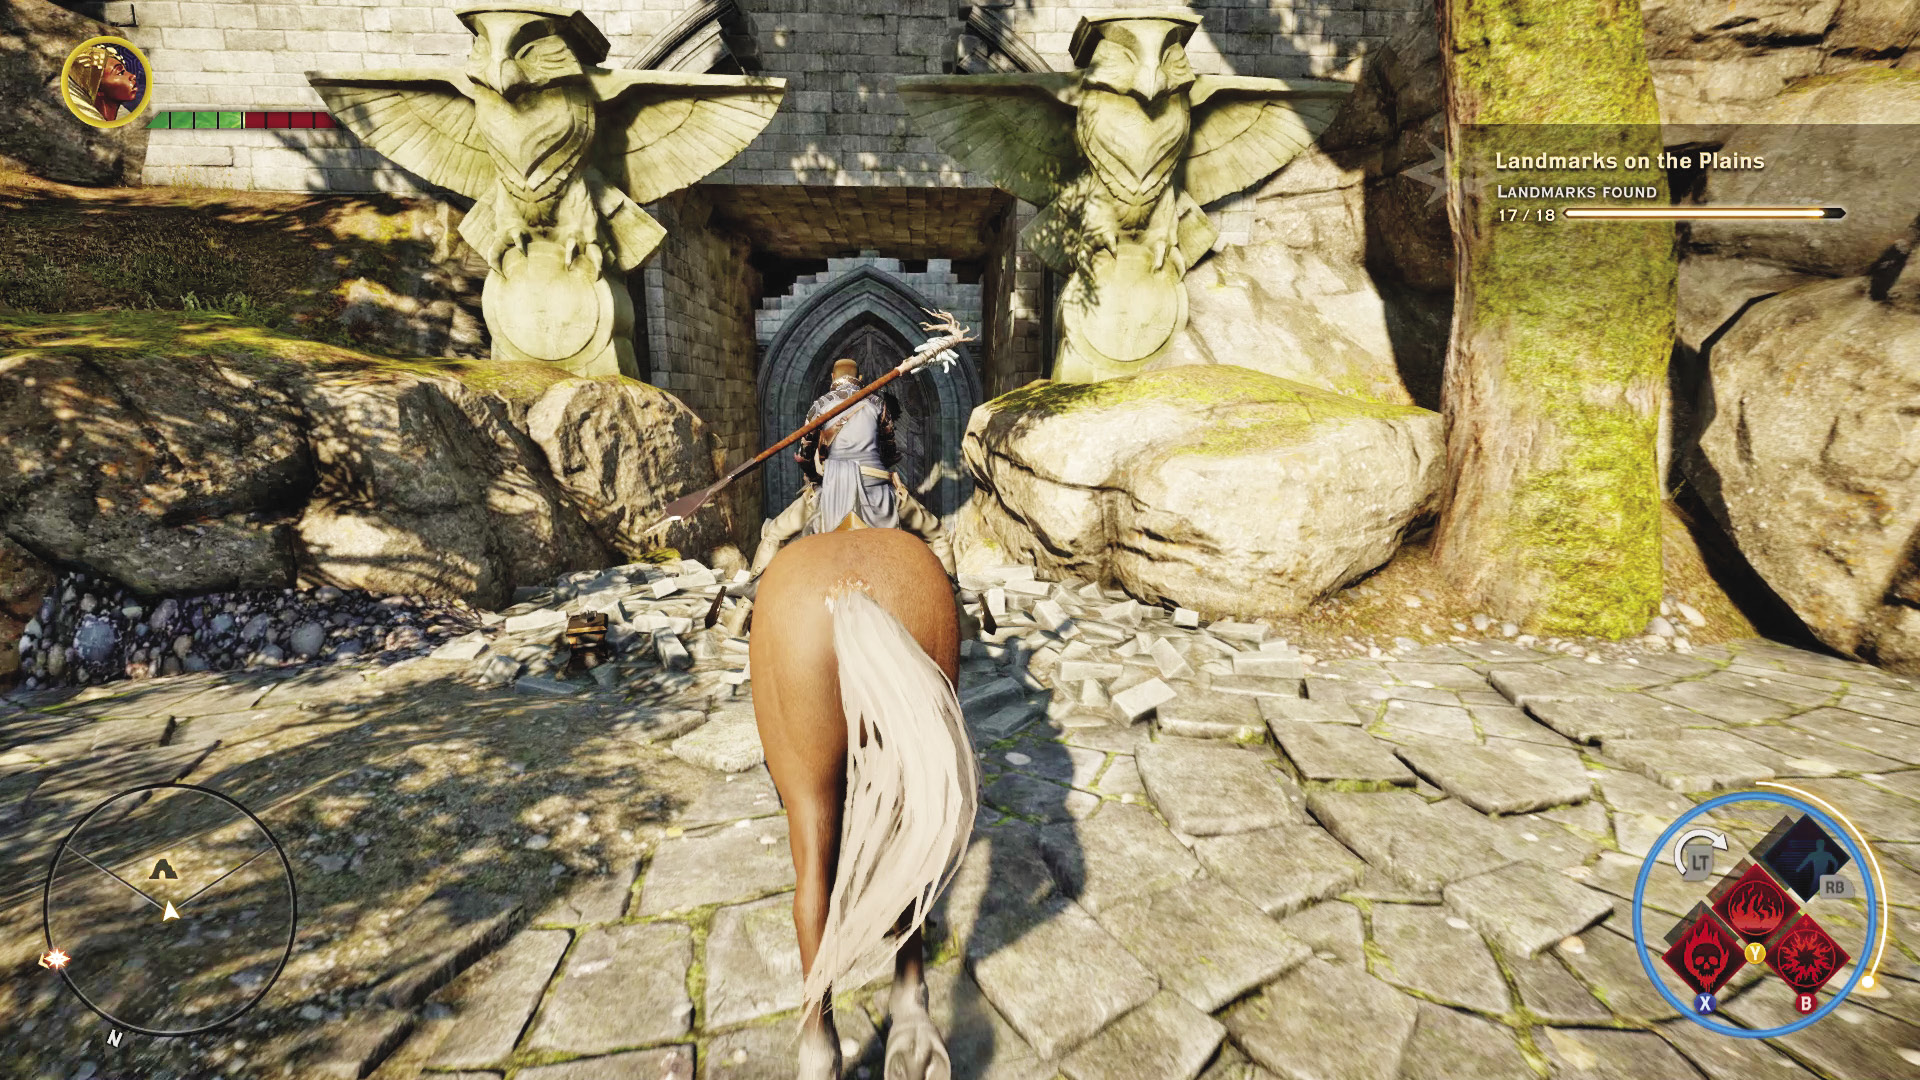
When going to Var Bellanaris for the From the Beyond side quest, you may be tempted to explore the area and may come across the entrance to Unadin Grotto. Unfortunately, the door is sealed tight and requires a key.
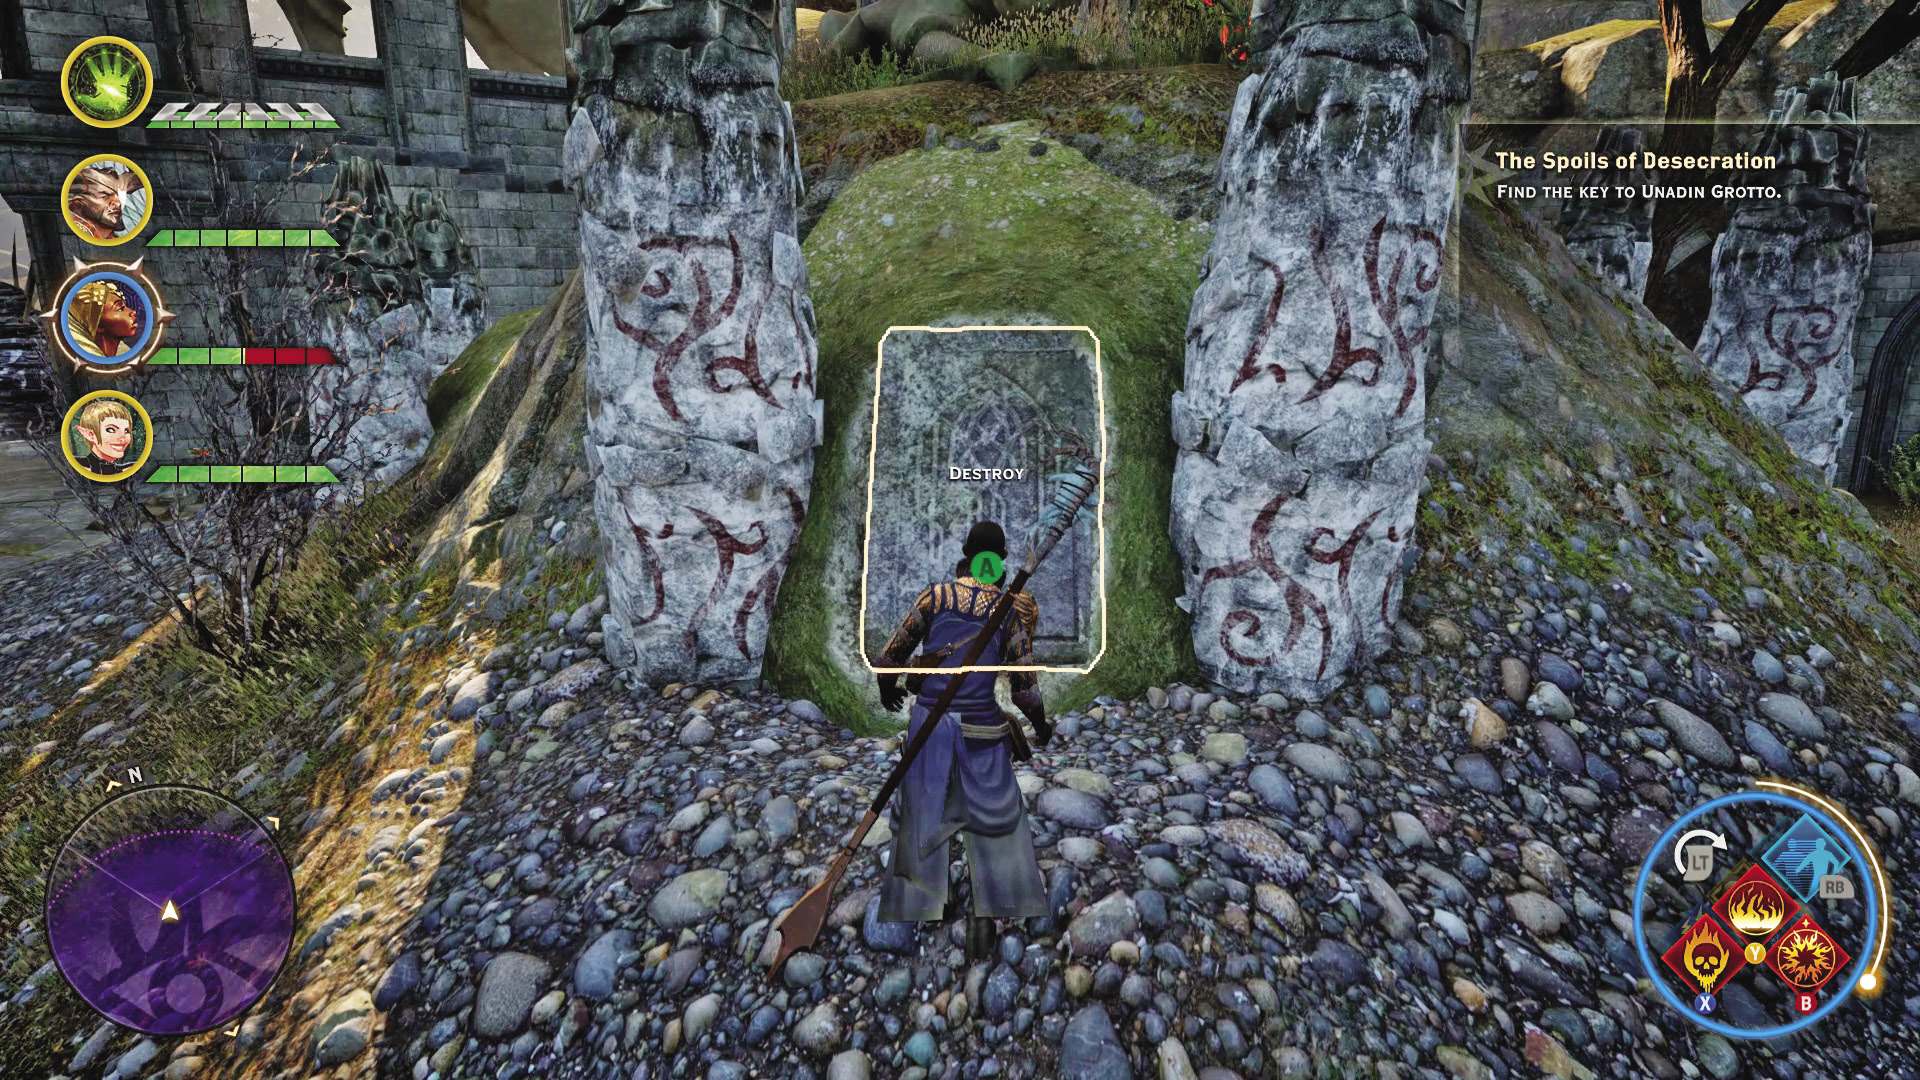
Unfortunately, this key is scattered into multiple pieces, and the pieces are within the burial mounds. You’ll have to crack open the graves to search the corpses for the key pieces. Disturbing each grave causes demons to appear, and you’ll also lose approval with the Dalish clan.
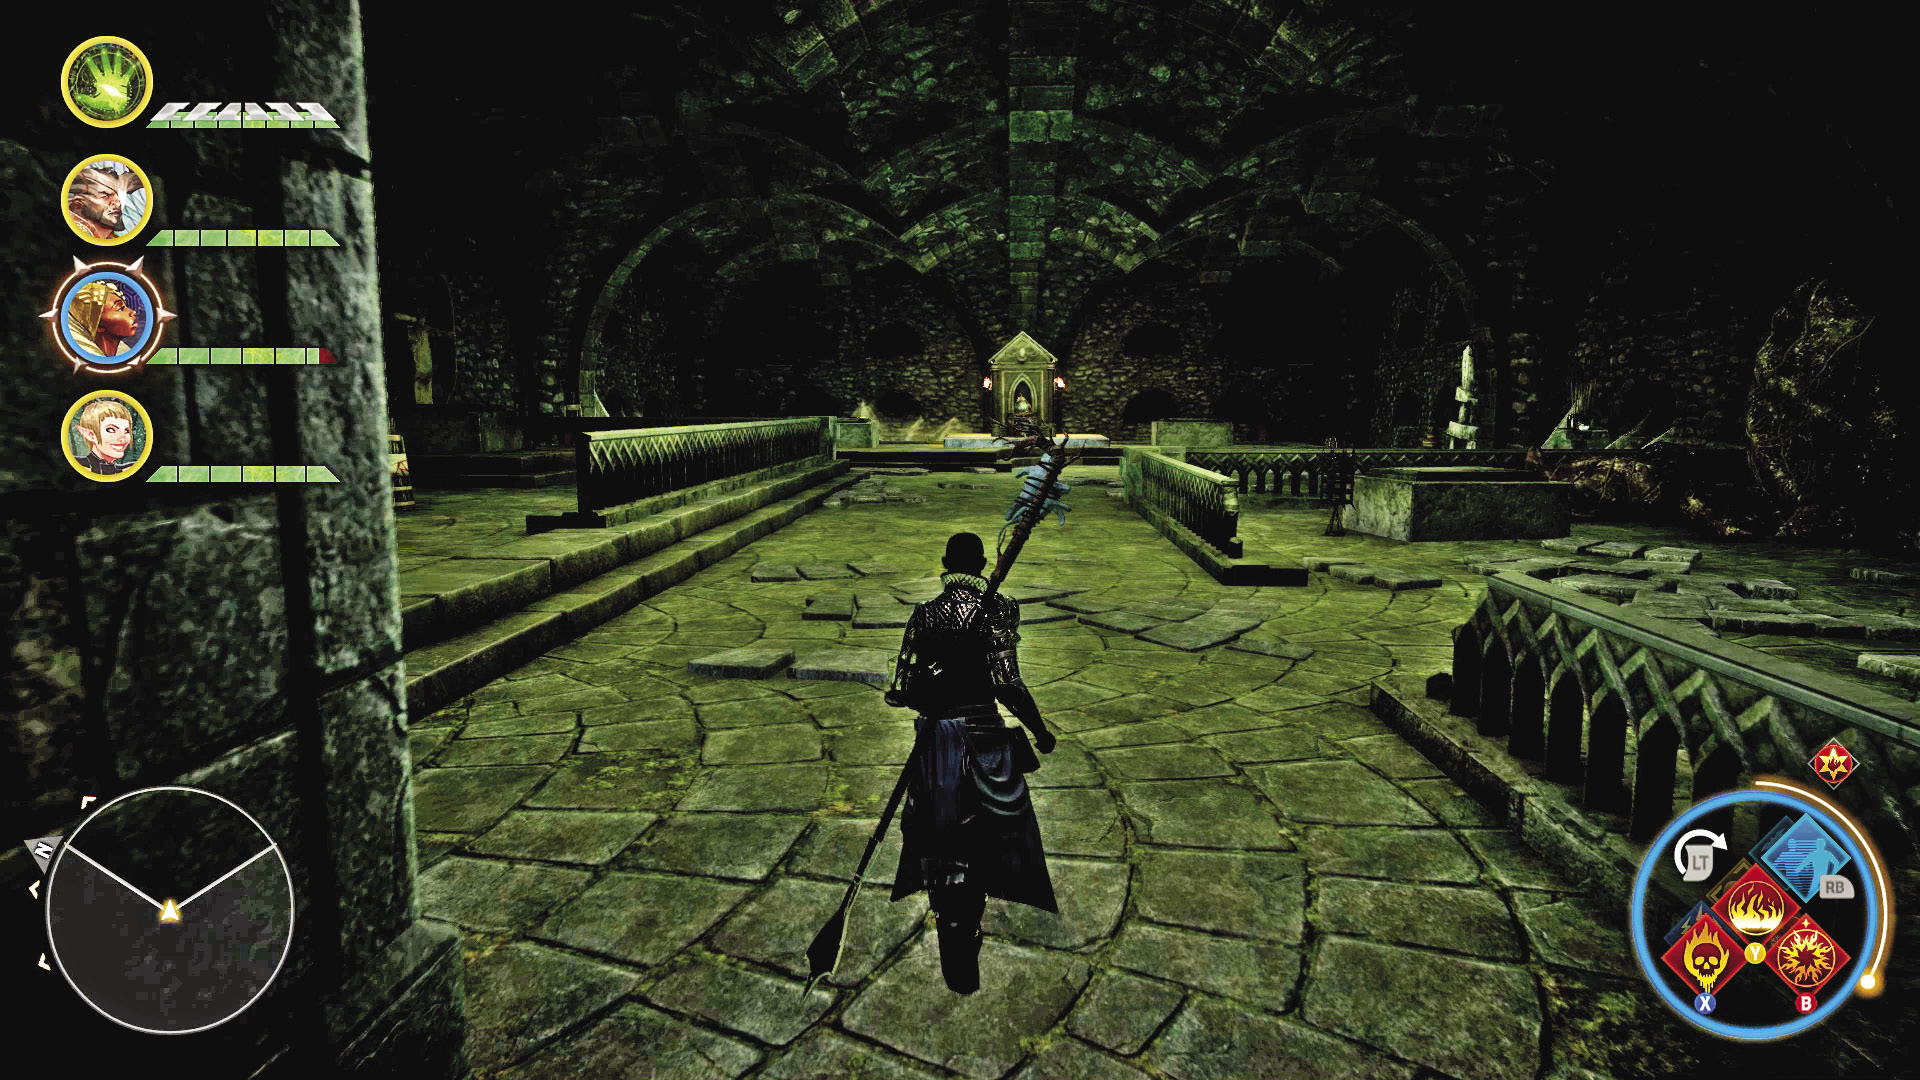
Once you have the key, you can enter the tomb, immediately completing the quest. Treasures to discover while inside the grotto include a mosaic piece for the Invasion set.
13: A Father’s Guidance
Quest Giver: Letter in a ruined home, west of the Western Ramparts
Description: A farmer abandoned his home during the war, but he hid what valuables he could, afraid they might be stolen by bandits.
Requirements: Available upon arriving at the Exalted Plains
Reward: 128 XP, 80 Influence
Objectives:
 Locate the farmer’s valuables.
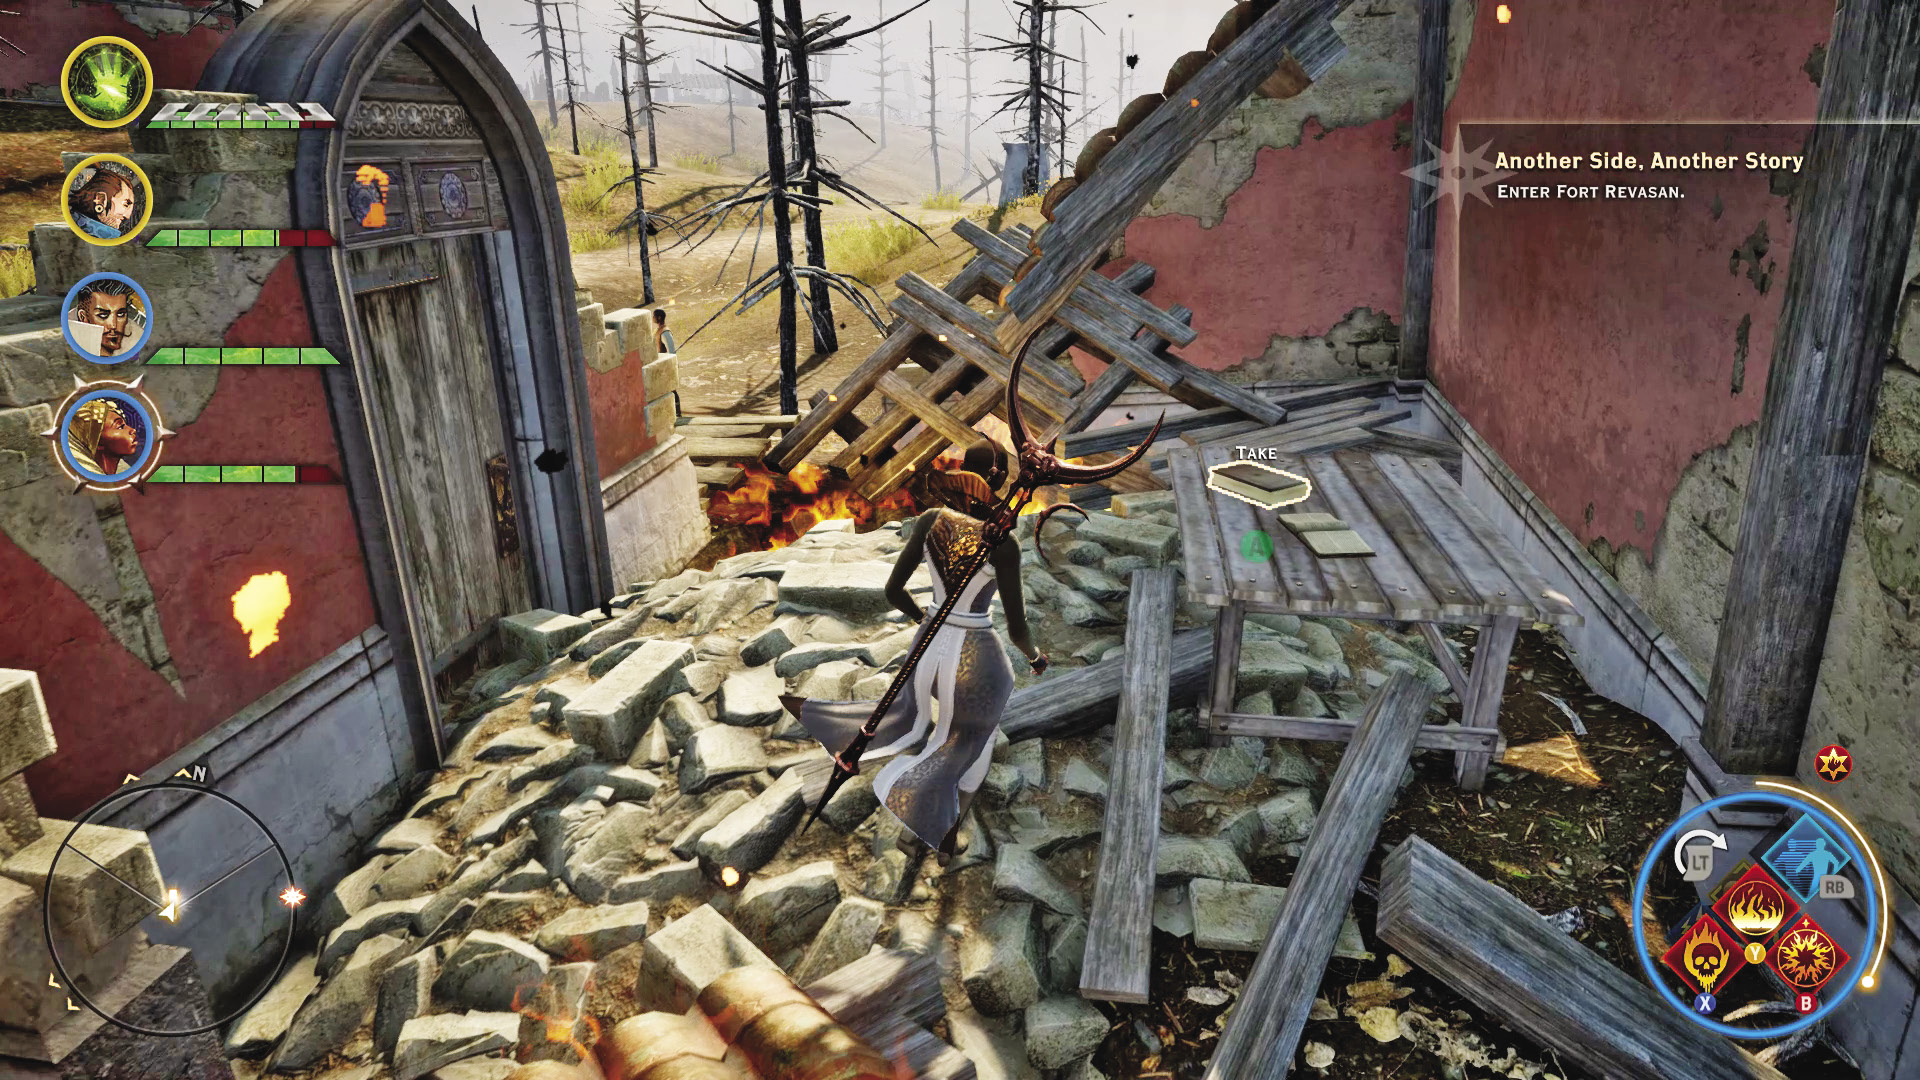
After reading the letter, you’ll have to travel to the Enavuris region. The valuables are hidden in a chest, next to a tree growing out of the ground at an odd angle, obscured by bushes.
14: Another Side, Another Story

Quest Giver: Corporal Rosselin
Description: Now that the undead trouble has been dealt with at the Western Ramparts, it would be wise to meet with Gaspard’s marshal, who is holding Fort Revasan in the name of the usurper.
Requirements: Complete Lay Rest to the Western Ramparts.
Reward: 967 XP, 200 Influence, 2 Power
Objectives:
 Enter Fort Revasan.
 Speak with Marshal Proulx.
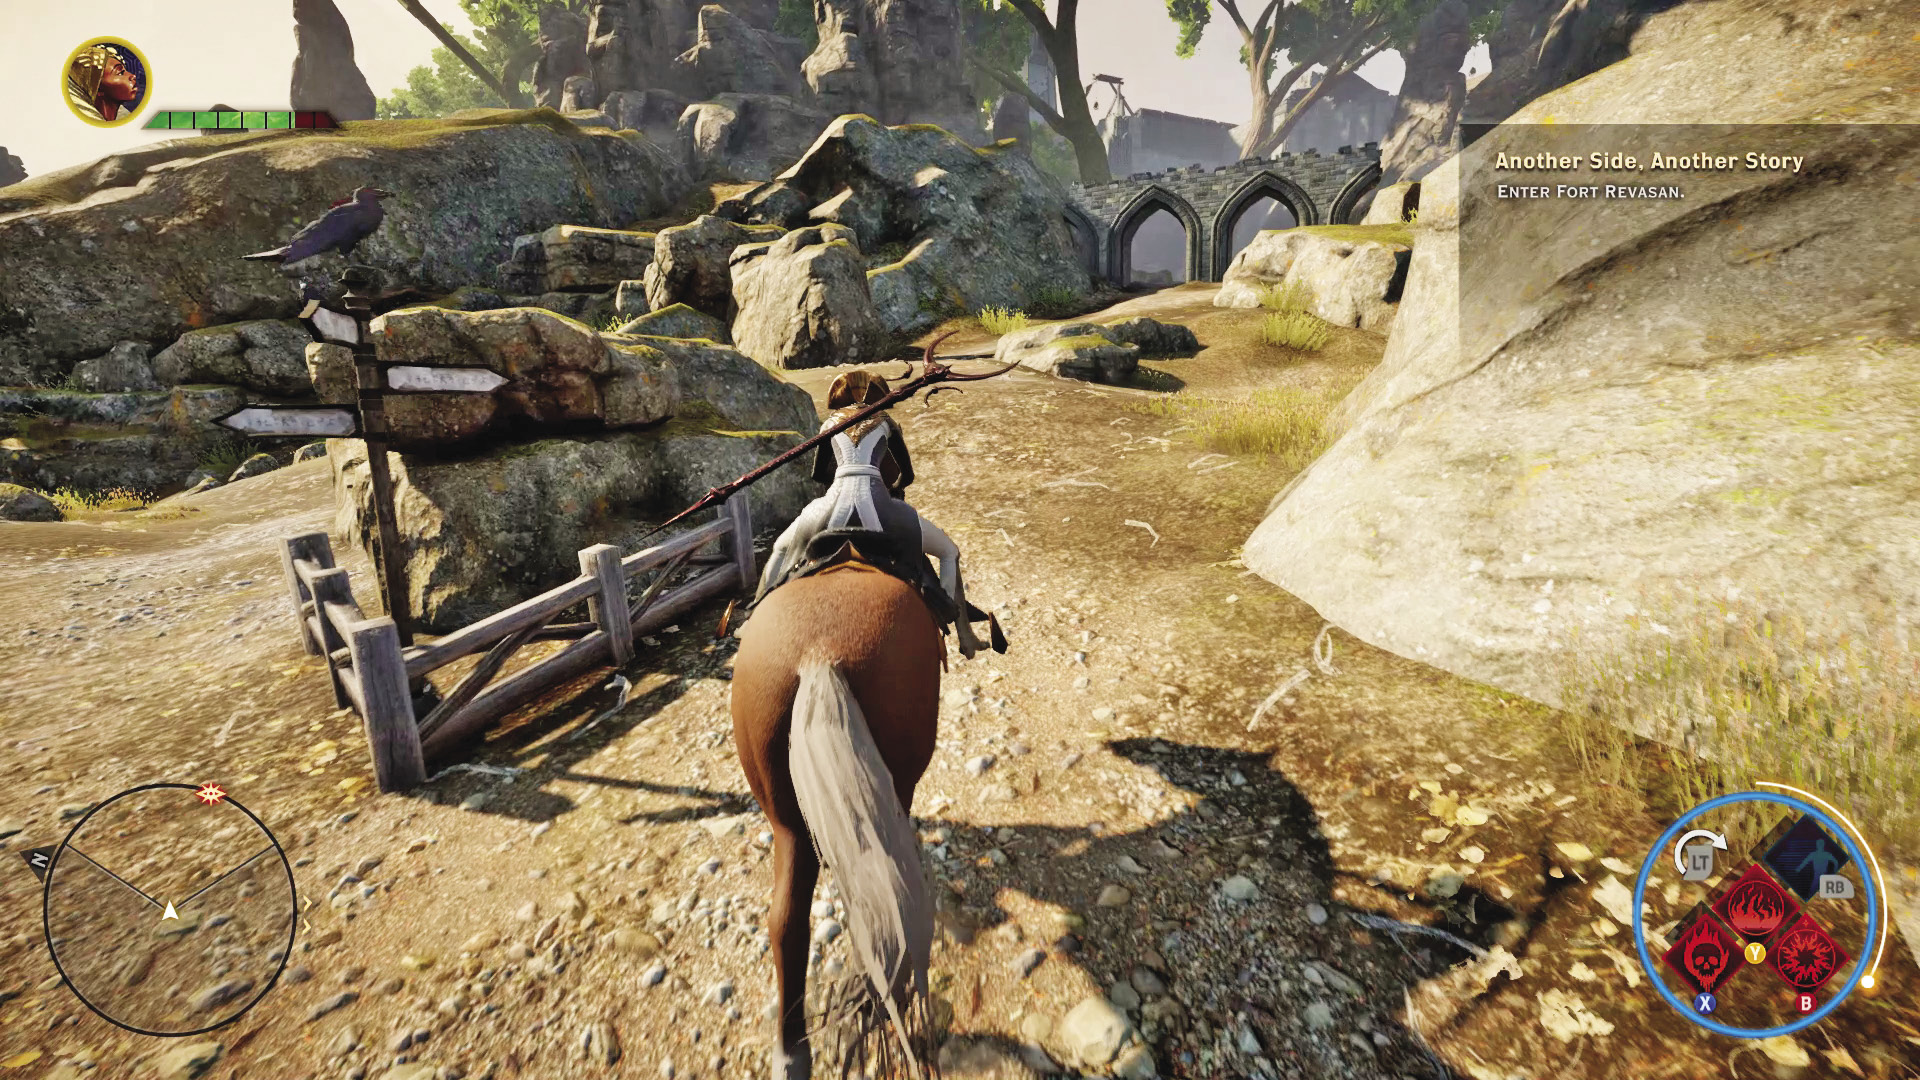
After saving the Western Ramparts, you’re told by Corporal Rosselin about the marshal in Fort Revasan. With the usurper’s army in disarray following the sudden Freemen attacks and subsequent rise of the dead, it falls to you to travel far to the northeast to pass the word of the success in saving a key position. It’s a long trip, and you can expect to run across demons or more Freemen along the way.
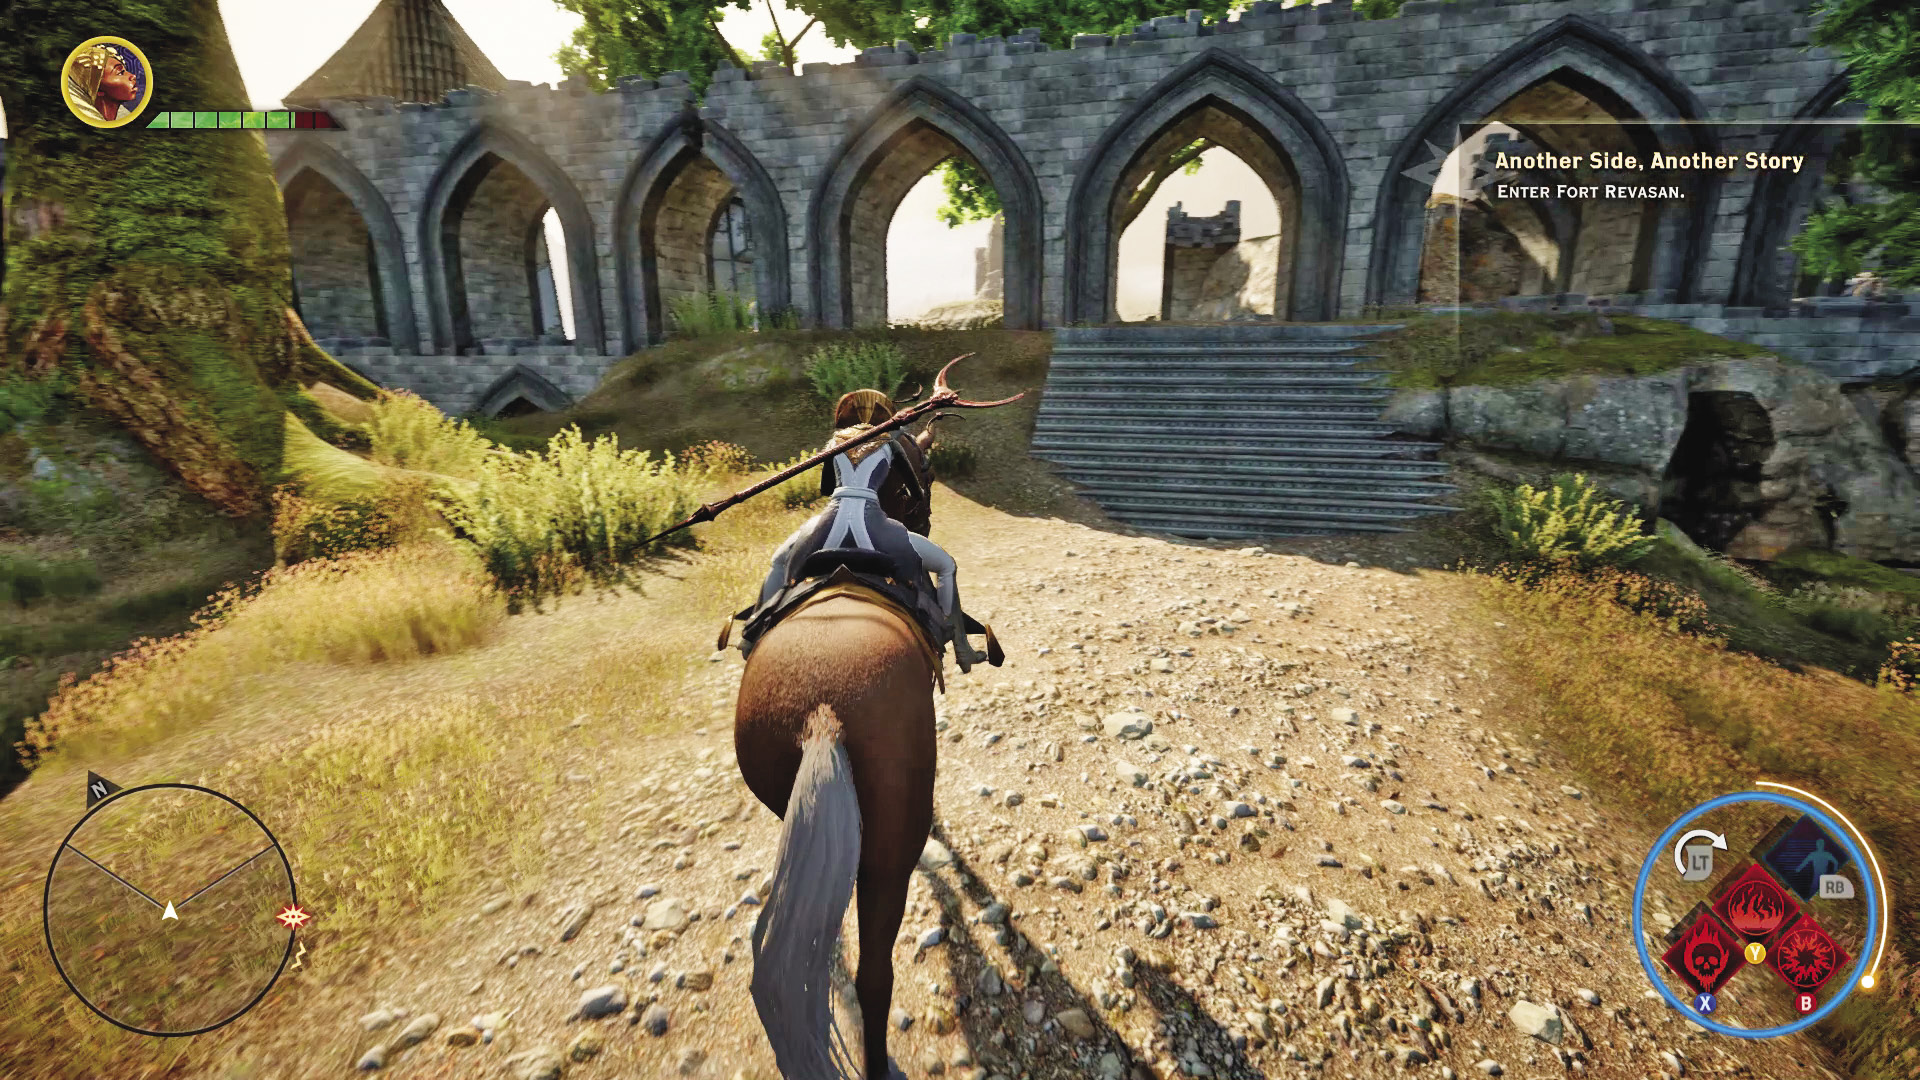
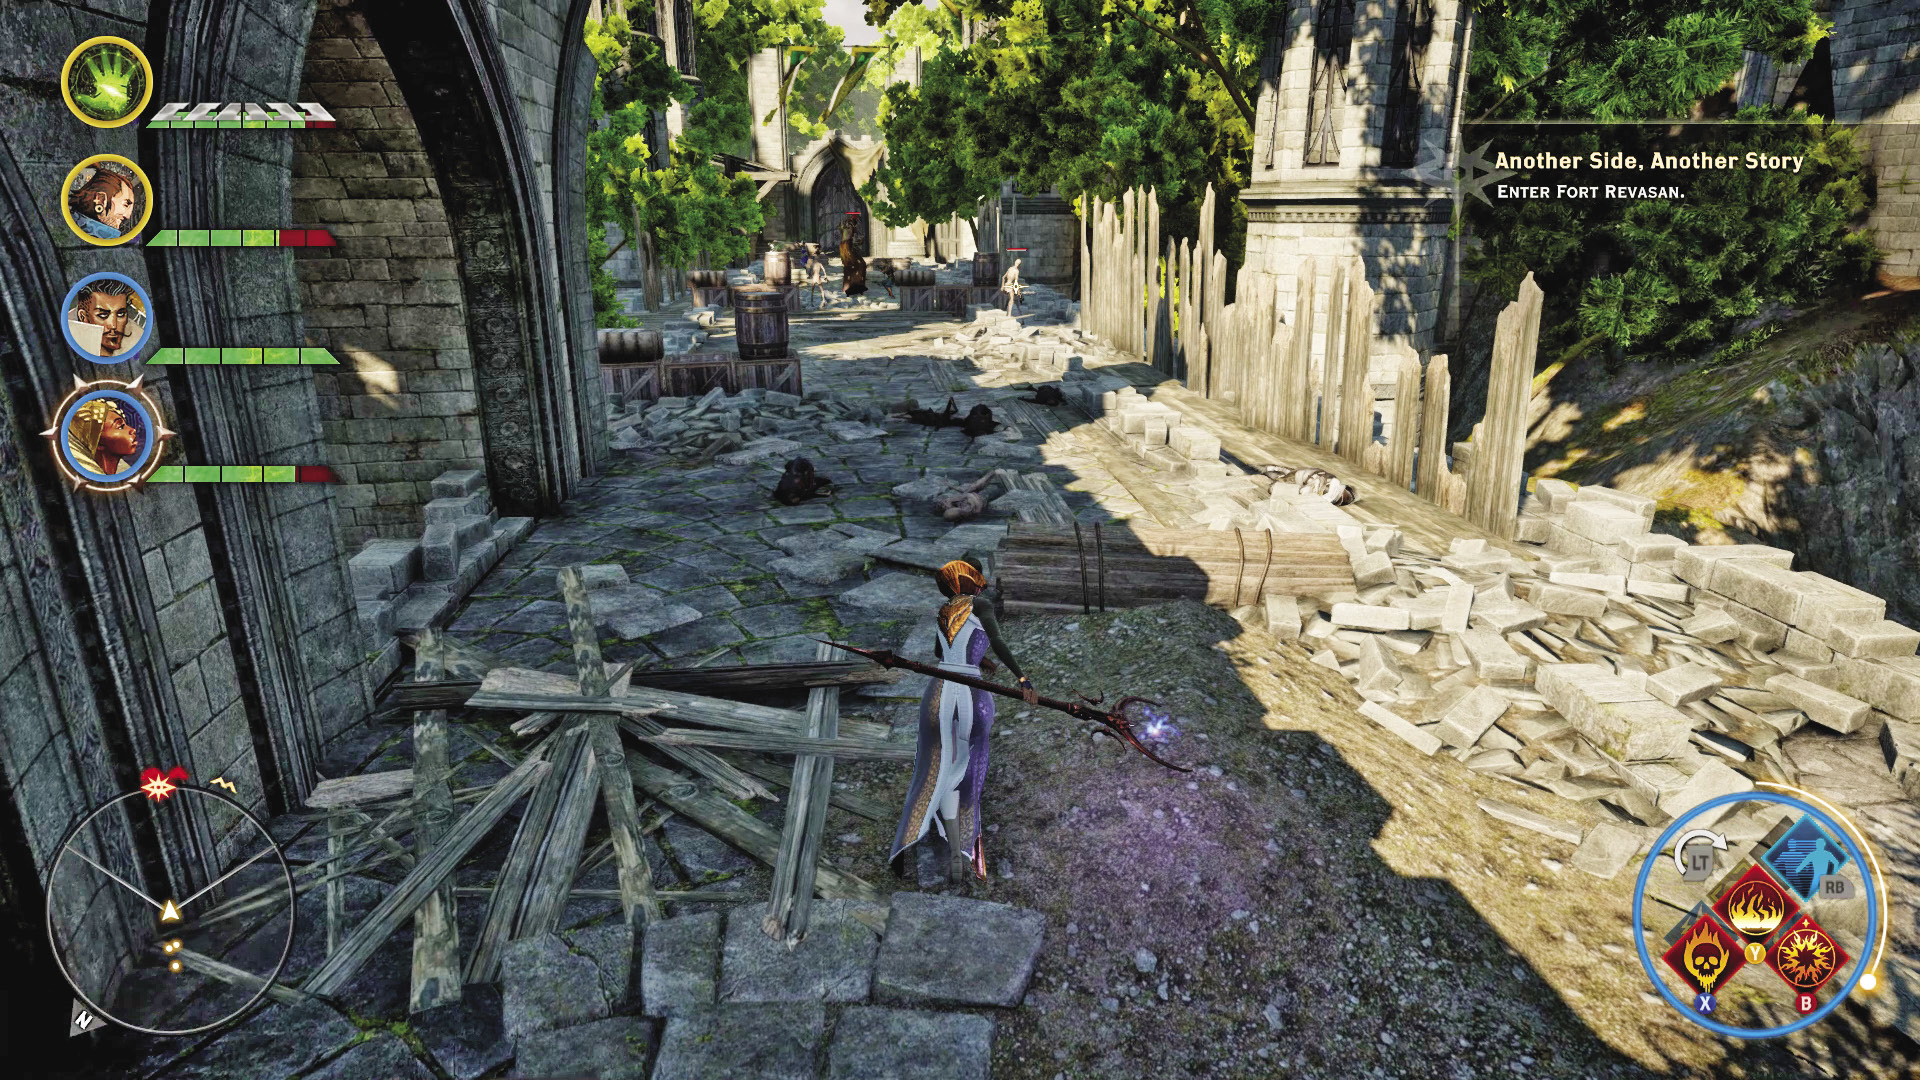
As you reach Fort Revasan, it’s under siege by demons and the undead, and the front gate is threatening to fall. Assist the surviving soldiers until the enemy is vanquished, then enter the fort itself.
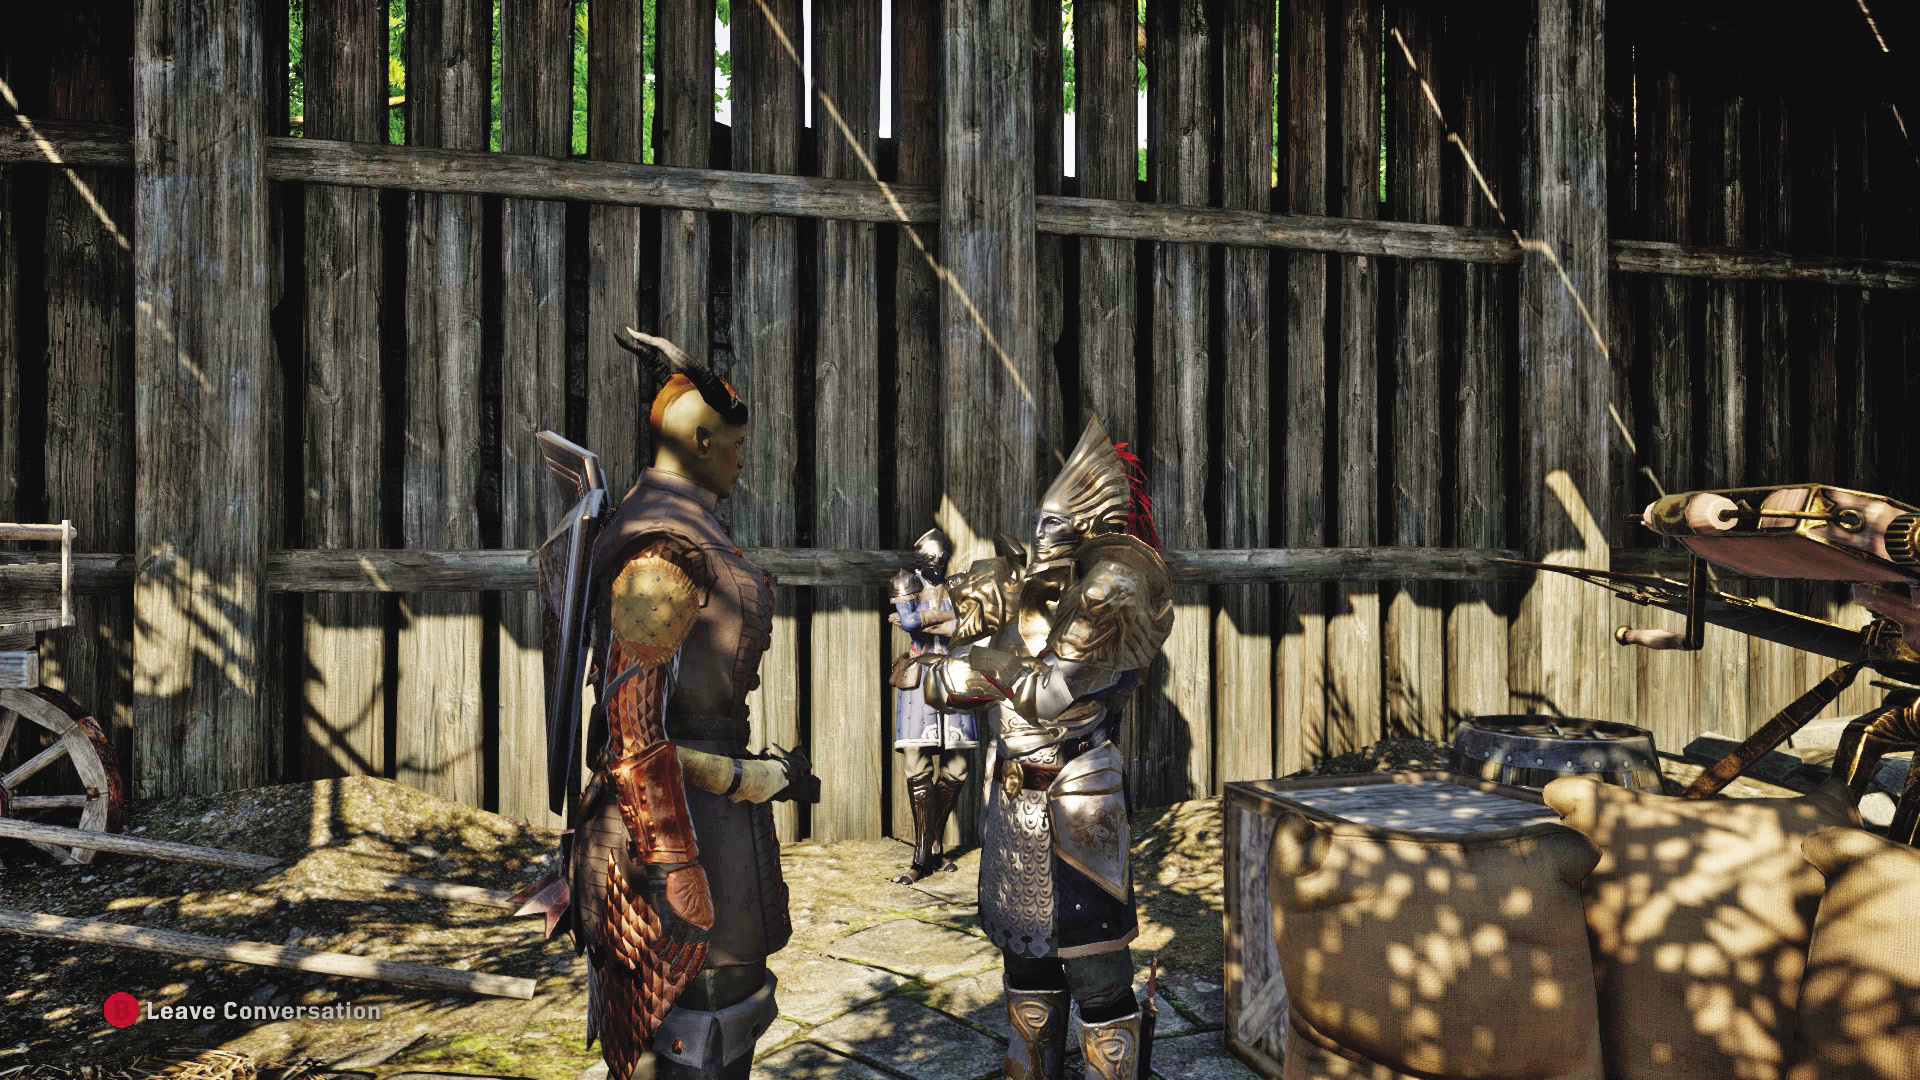
Inside the fort, you find Marshal Proulx, commander of the garrison. Despite the fanciful armor, the marshal is all business, with a touch of humor, as he relays one piece of bad news to after another. Fade rifts are producing demons throughout the entire battlefield. Another set of ramparts closer to Fort Revasan, the Eastern Ramparts, has fallen into the hands of the Freemen, and they are in the process of turning the dead and even more demons on the marshal’s garrison. Messengers are failing to reach outposts to relay news. A frontline riverside outpost has been out of contact for long enough that it is assumed lost to demons. The Inquisition has its work cut out for it, to say the least.
15: Lay Rest the Eastern Ramparts
Quest Giver: Marshal Proulx
Description: The Eastern Ramparts have been overwhelmed by the Freemen of the Dales, and now they raise an army of undead to continue their assault on the forces of both the empress and the usurper.
Requirements: Speak with Marshal Proulx.
Reward: 512 XP, 200 Influence, 2 Power
Objectives:
 Set fire to the body pit.
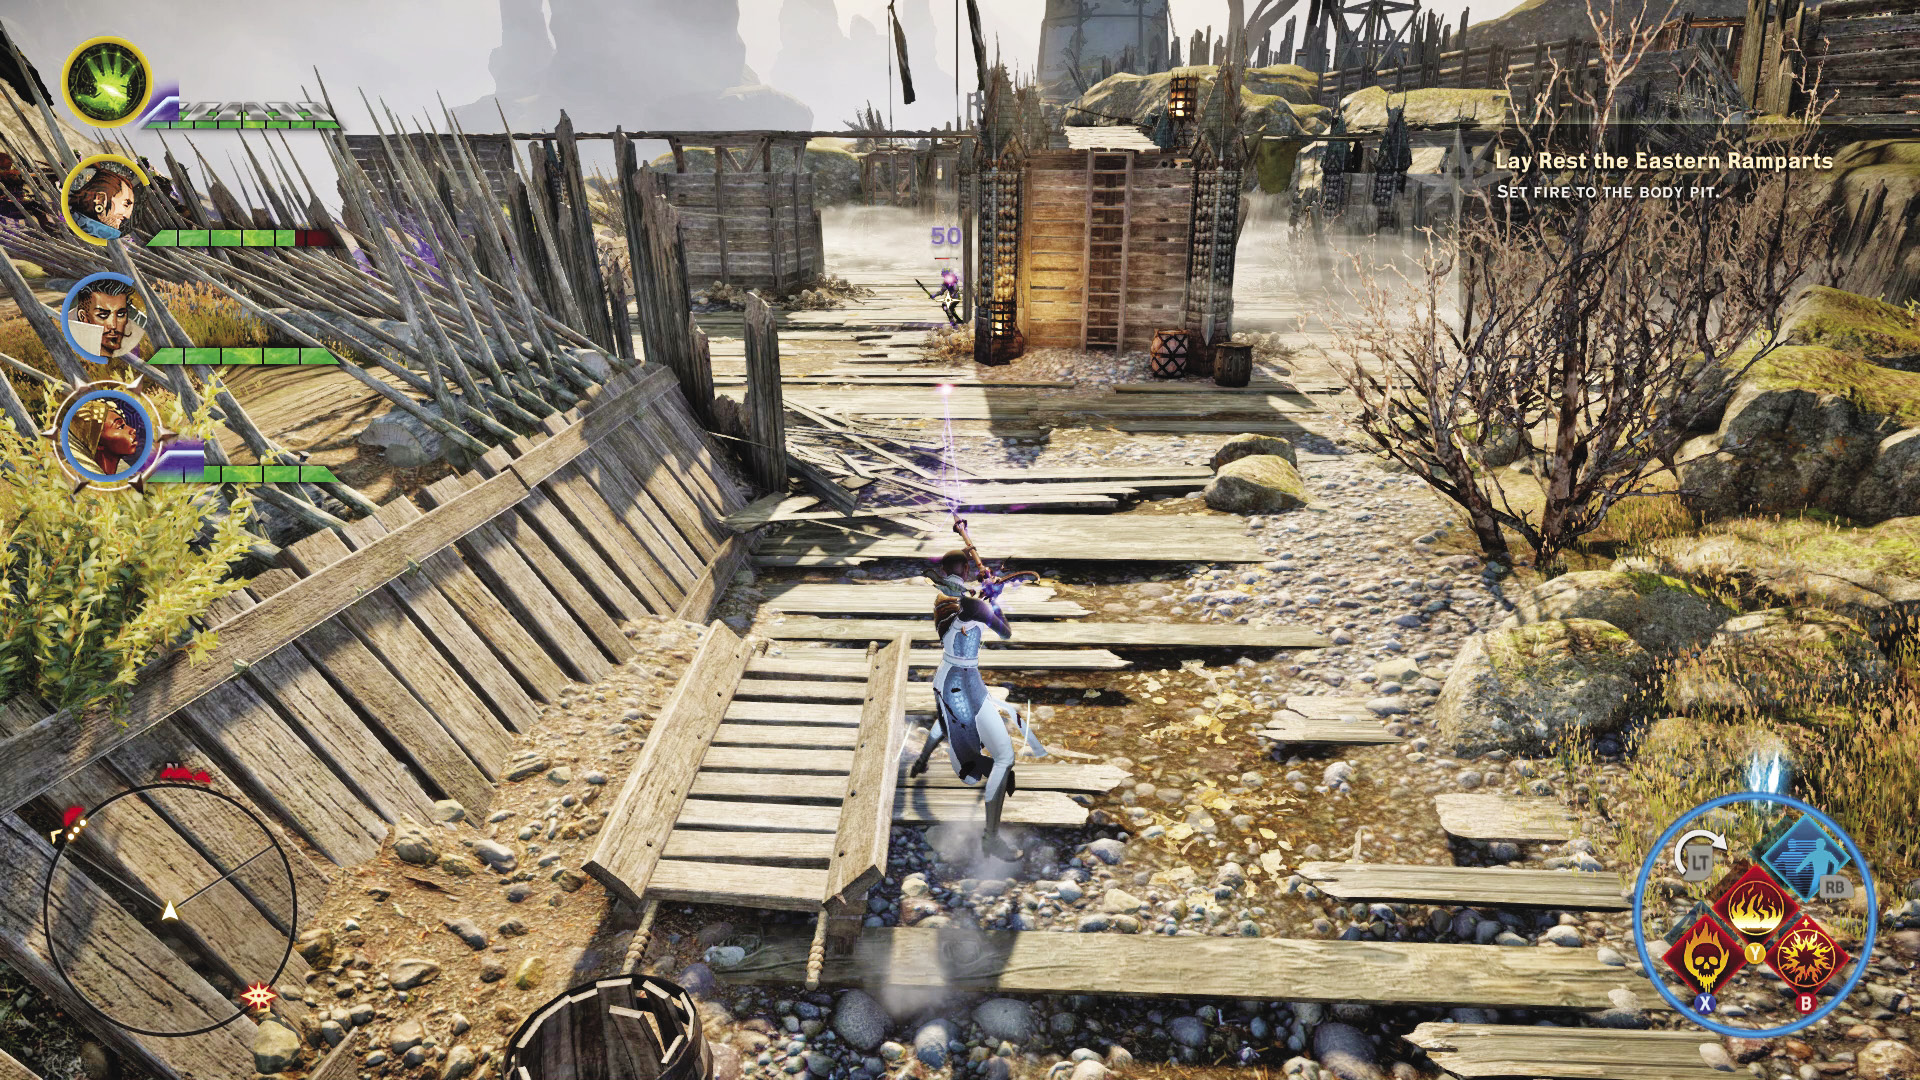
The Eastern Ramparts were the last line of defense before the enemy could reach Fort Revasan, and the Freemen of the Dales now have possession of it. Approaching the ramparts forces you to cross a wooden bridge protected by marksmen and a guardsman. Be prepared; these Freemen are a fair bit tougher than the random groups you’ve found in the field.
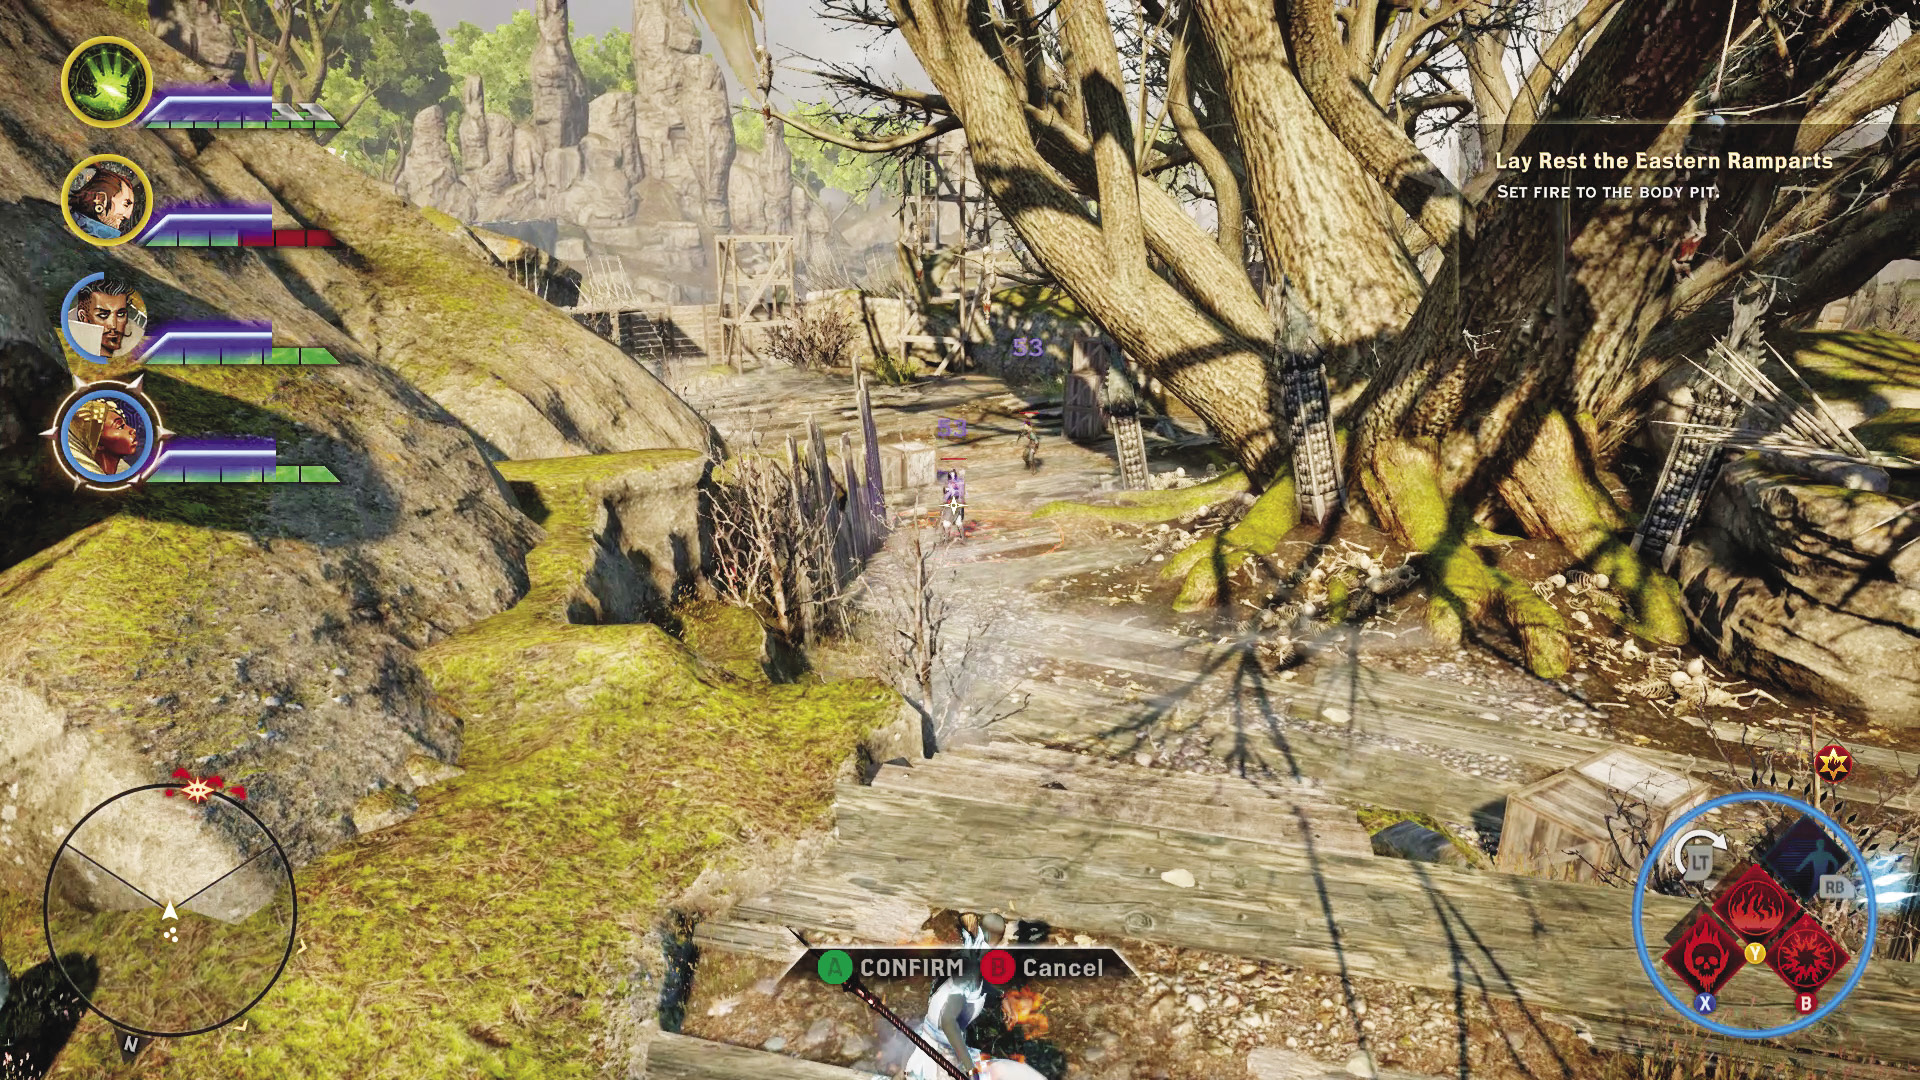
Climbing up the hill from the first ambush, you come across a second group of Freemen next to a large tree. This is a more dangerous encounter thanks to the Freemen infiltrator. Don’t let one slip behind your party members—they can kill with frightening speed.
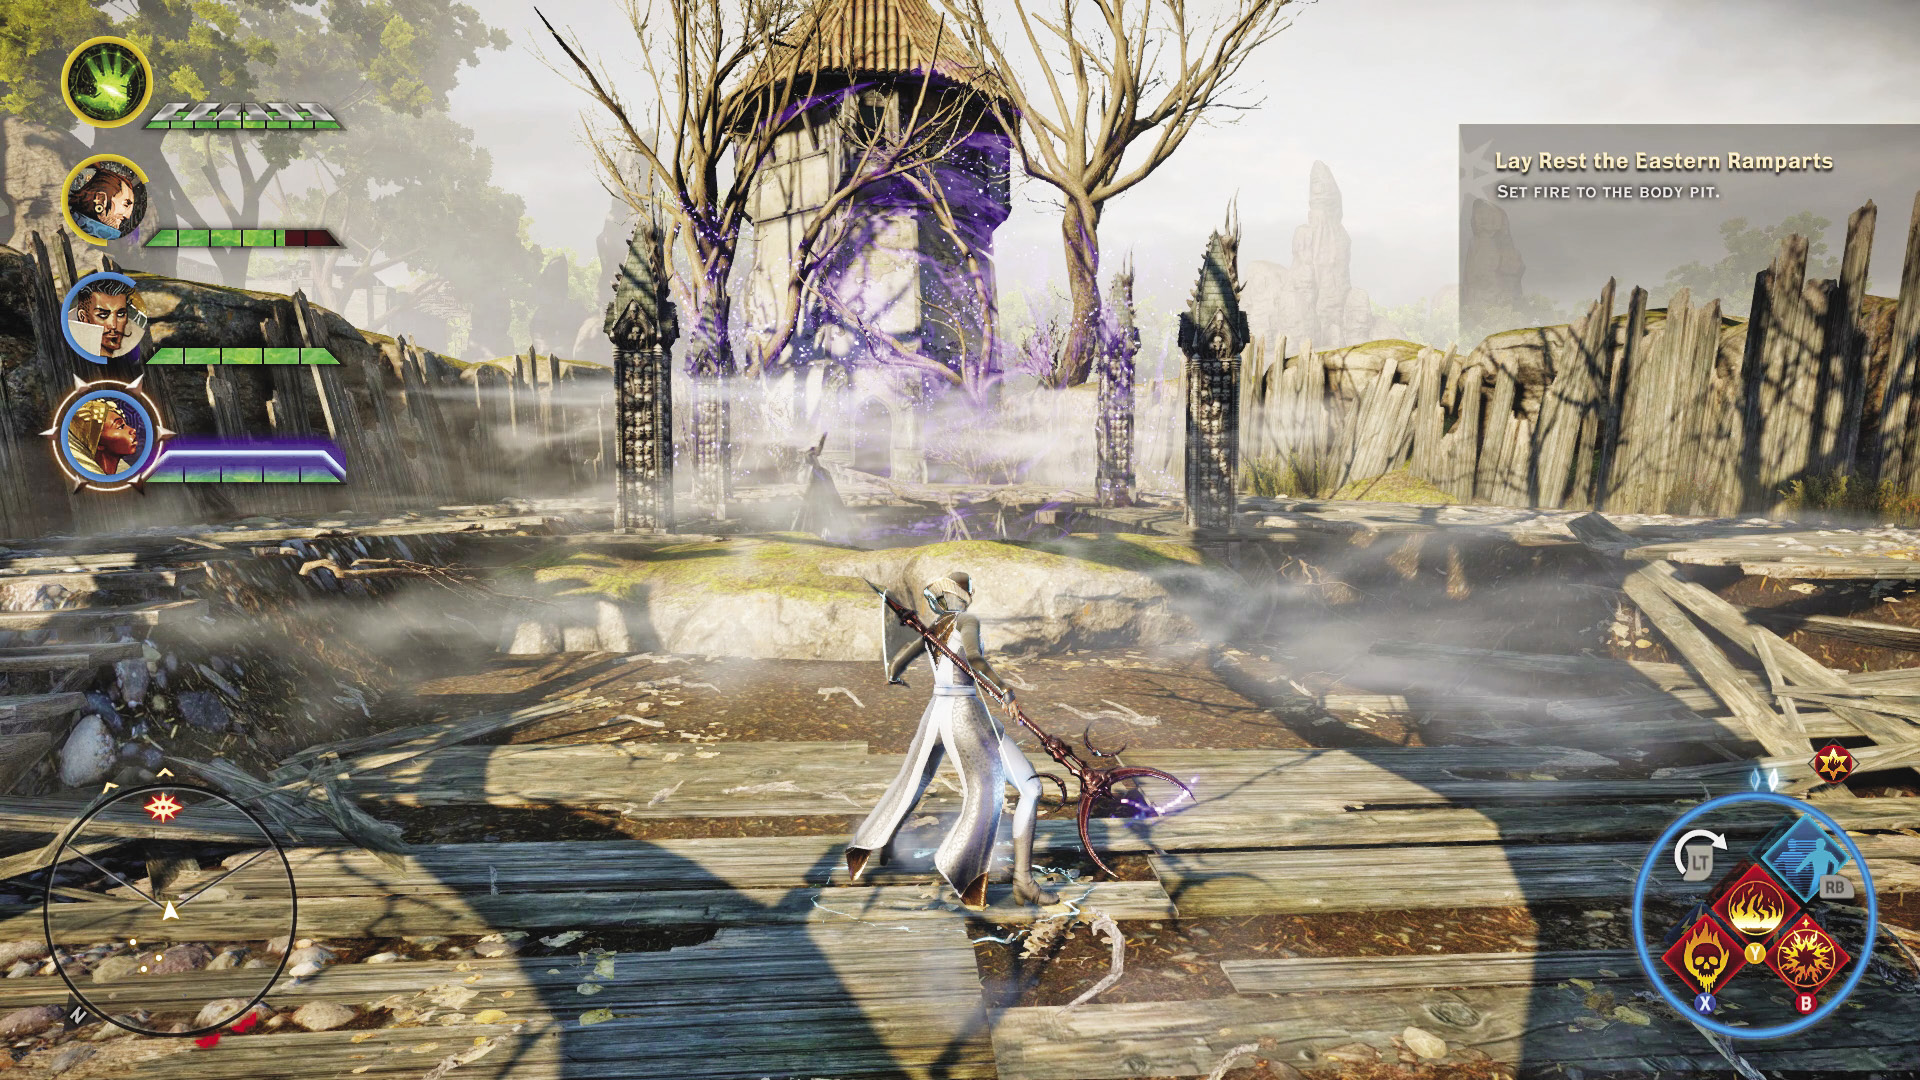
From the tree, take the path to the south so you can reach the body pit. You find it protected by three more Freemen, one of which is Gordian, a powerful mage. As a level 14 elite, he can take a huge amount of punishment despite his fanciful clothes, so it might be best to kill his allies before going to town on him. Be aware that he is immune to cold-related debuffs. He isn’t immune to the various knockdowns caused by other elements, or by rogues and warriors.
With Gordian and his men dead, the body pit is protected only by a spirit barrier. Have a mage break this barrier, then set fire to the pit to put an end to this source of undead. With that, travel west from the body pit to reach the signaling horn, and the quest is complete.
16: No Word Back

Quest Giver: Marshal Proulx
Description: Marshal Proulx sent a patrol out in the hopes of reclaiming the Riverside Garrison. No word has been heard since.
Requirements: Speak with Marshal Proulx, or enter the riverside fort to seal the Fade rift. The quest begins automatically.
Reward: 128 XP, 80 Influence
Objectives:
 Investigate the Riverside Garrison.
 Close the rift.
 Blow the signaling horn.
The Riverside Garrison is a strategic location near Pont Agur, a broken bridge that leads to territory being held by Empress Celene’s loyalists. It’s no surprise that the marshal wants to have a way to control the most important bridge in all of the Exalted Plains.
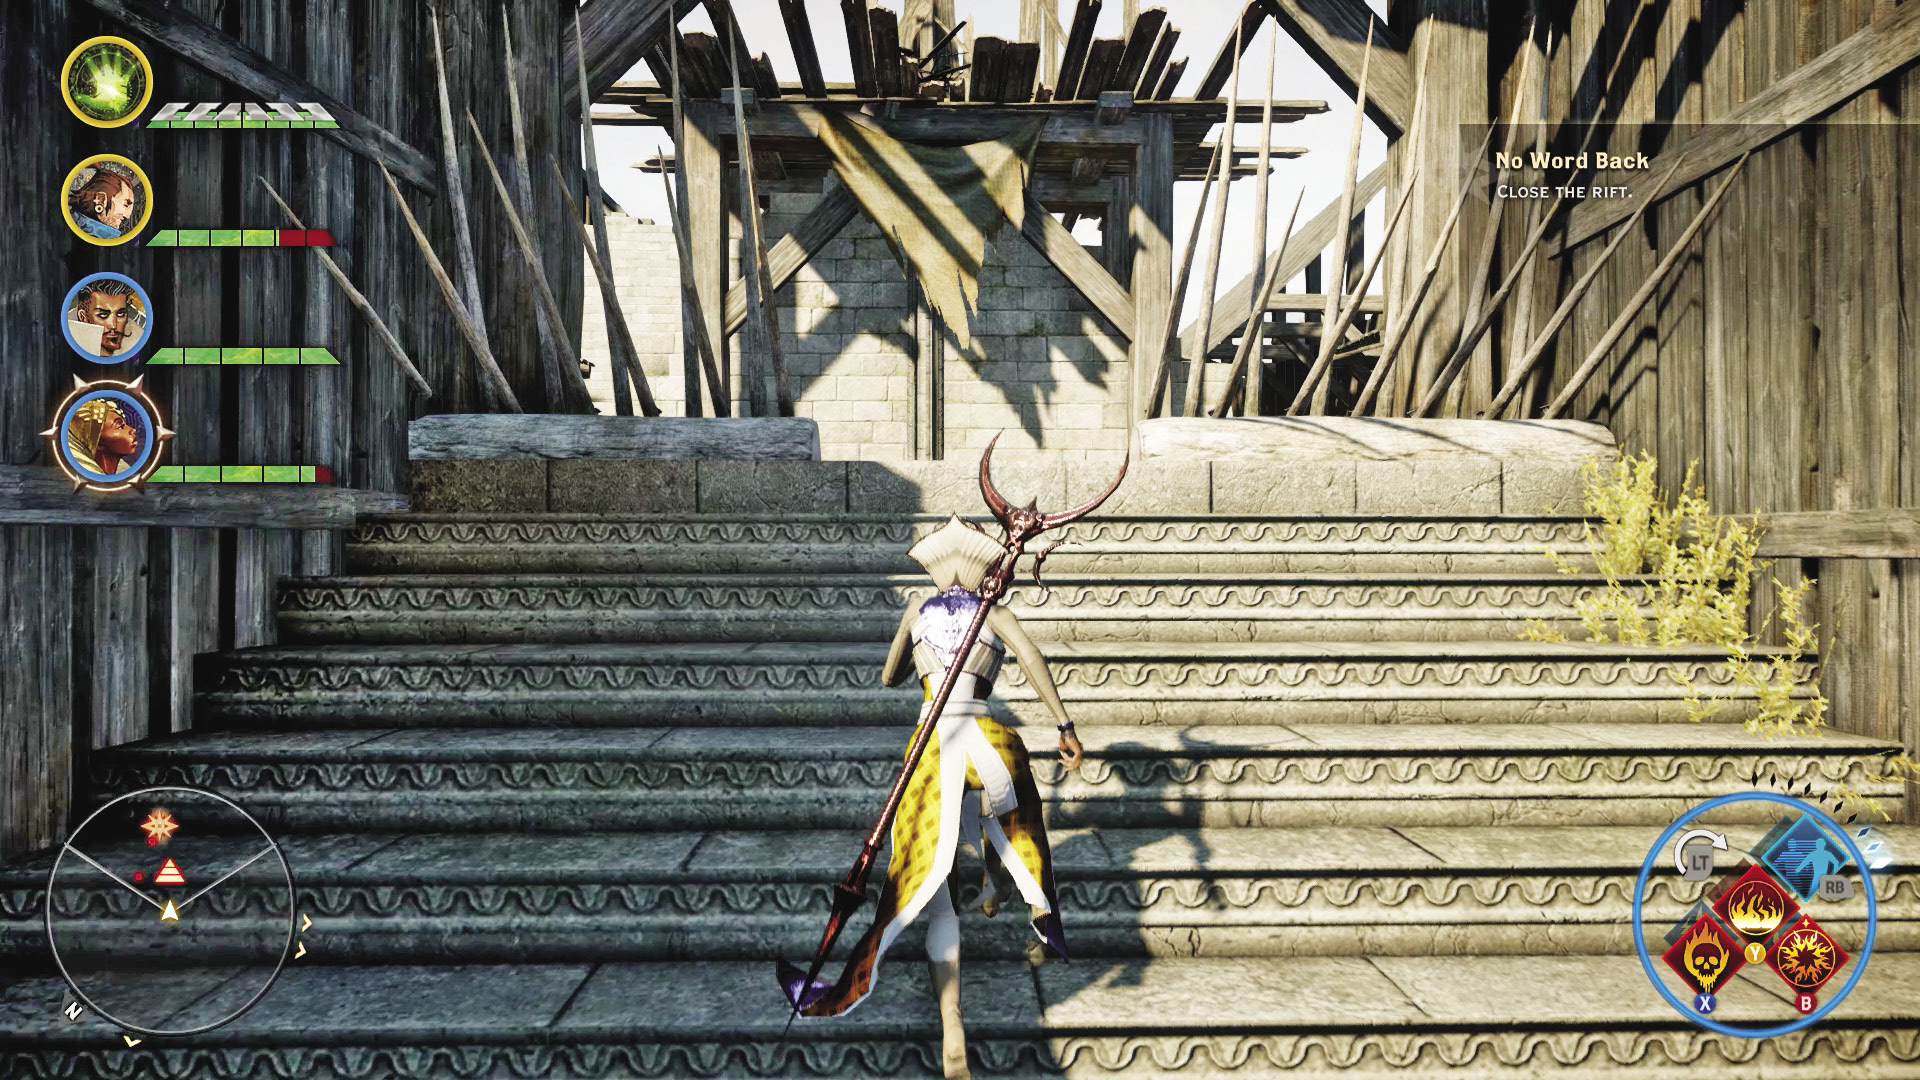
The garrison was occupied by Proulx’s men, but unfortunately for them, a Fade rift is in the depths of the fort. Clear out the surface to assist the survivors, then descend a stairwell into the underground section of the fort. You’ll take ladders deeper into the depths.
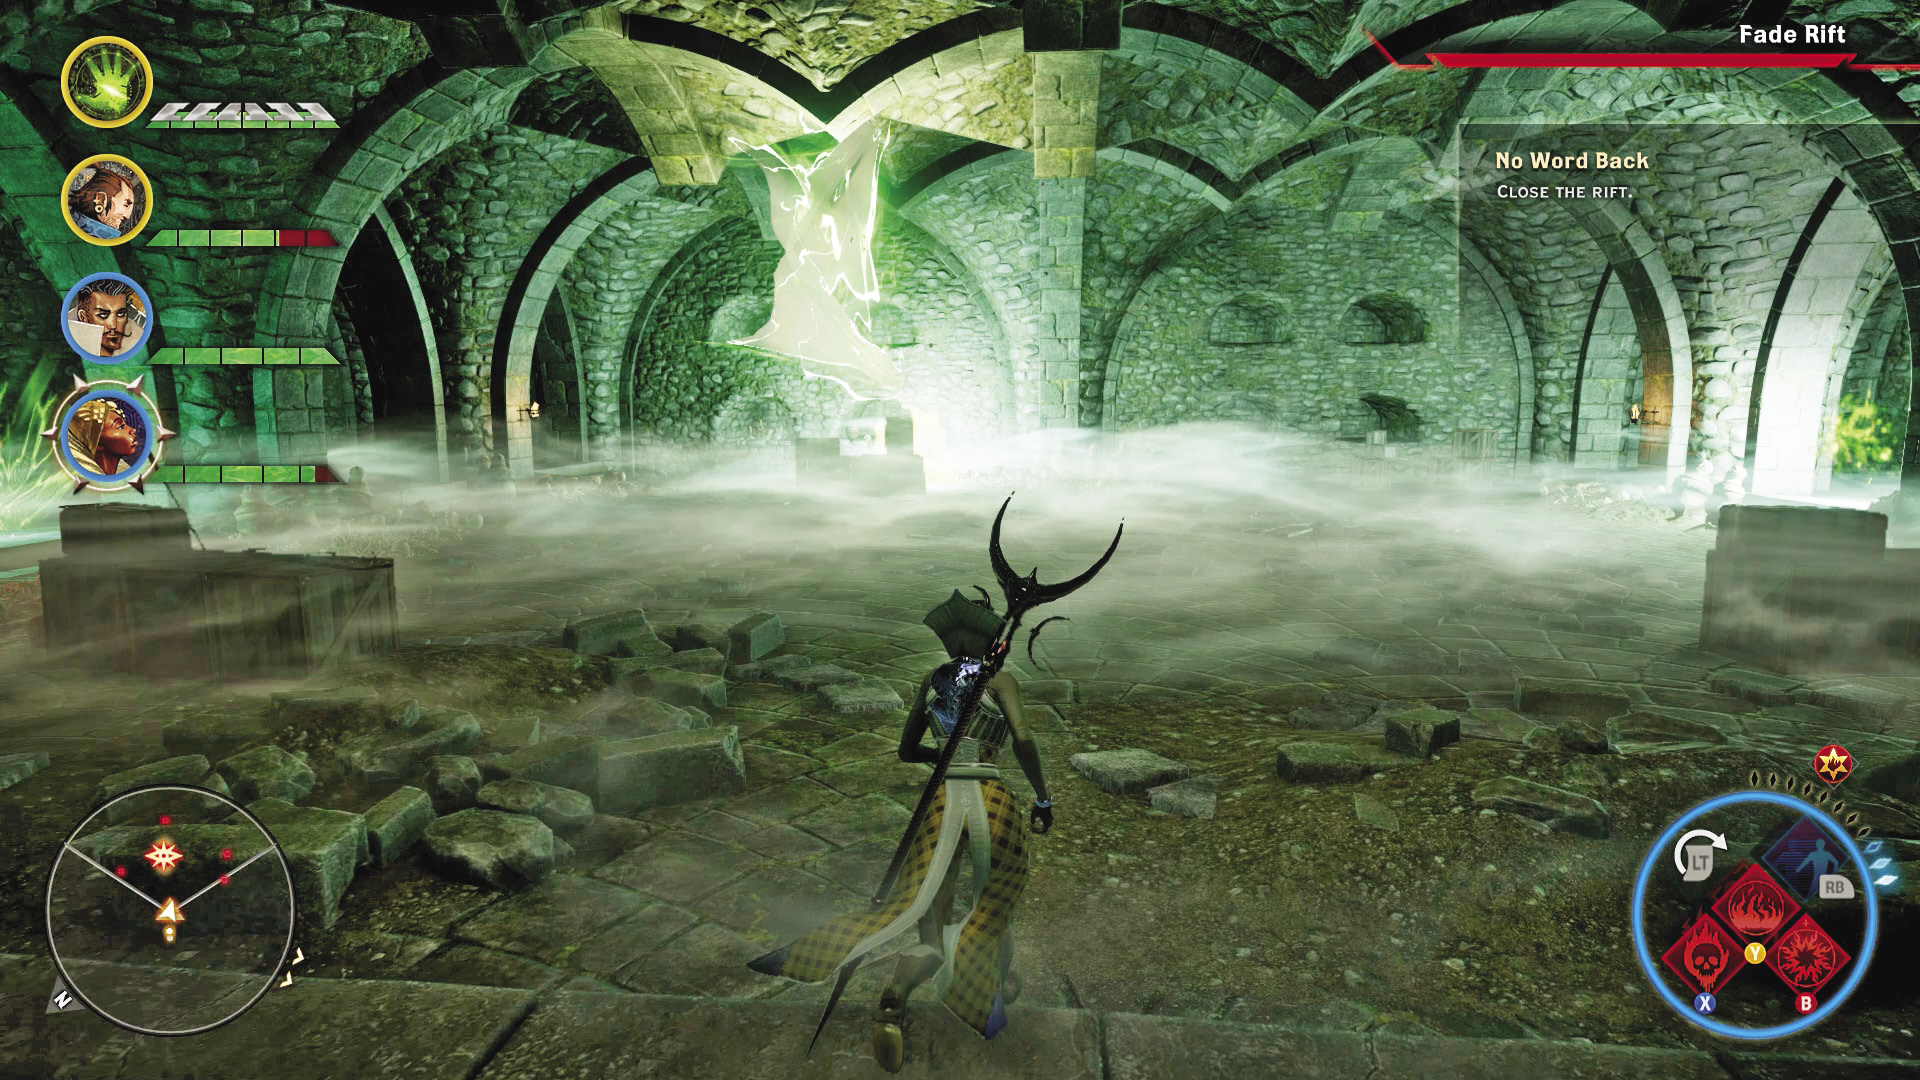
Once you reach the bottom level of the garrison, you will find the Fade rift. Descending to the rift more or less commits your party to victory or death, so make sure you are fully stocked, just to avoid any problems.
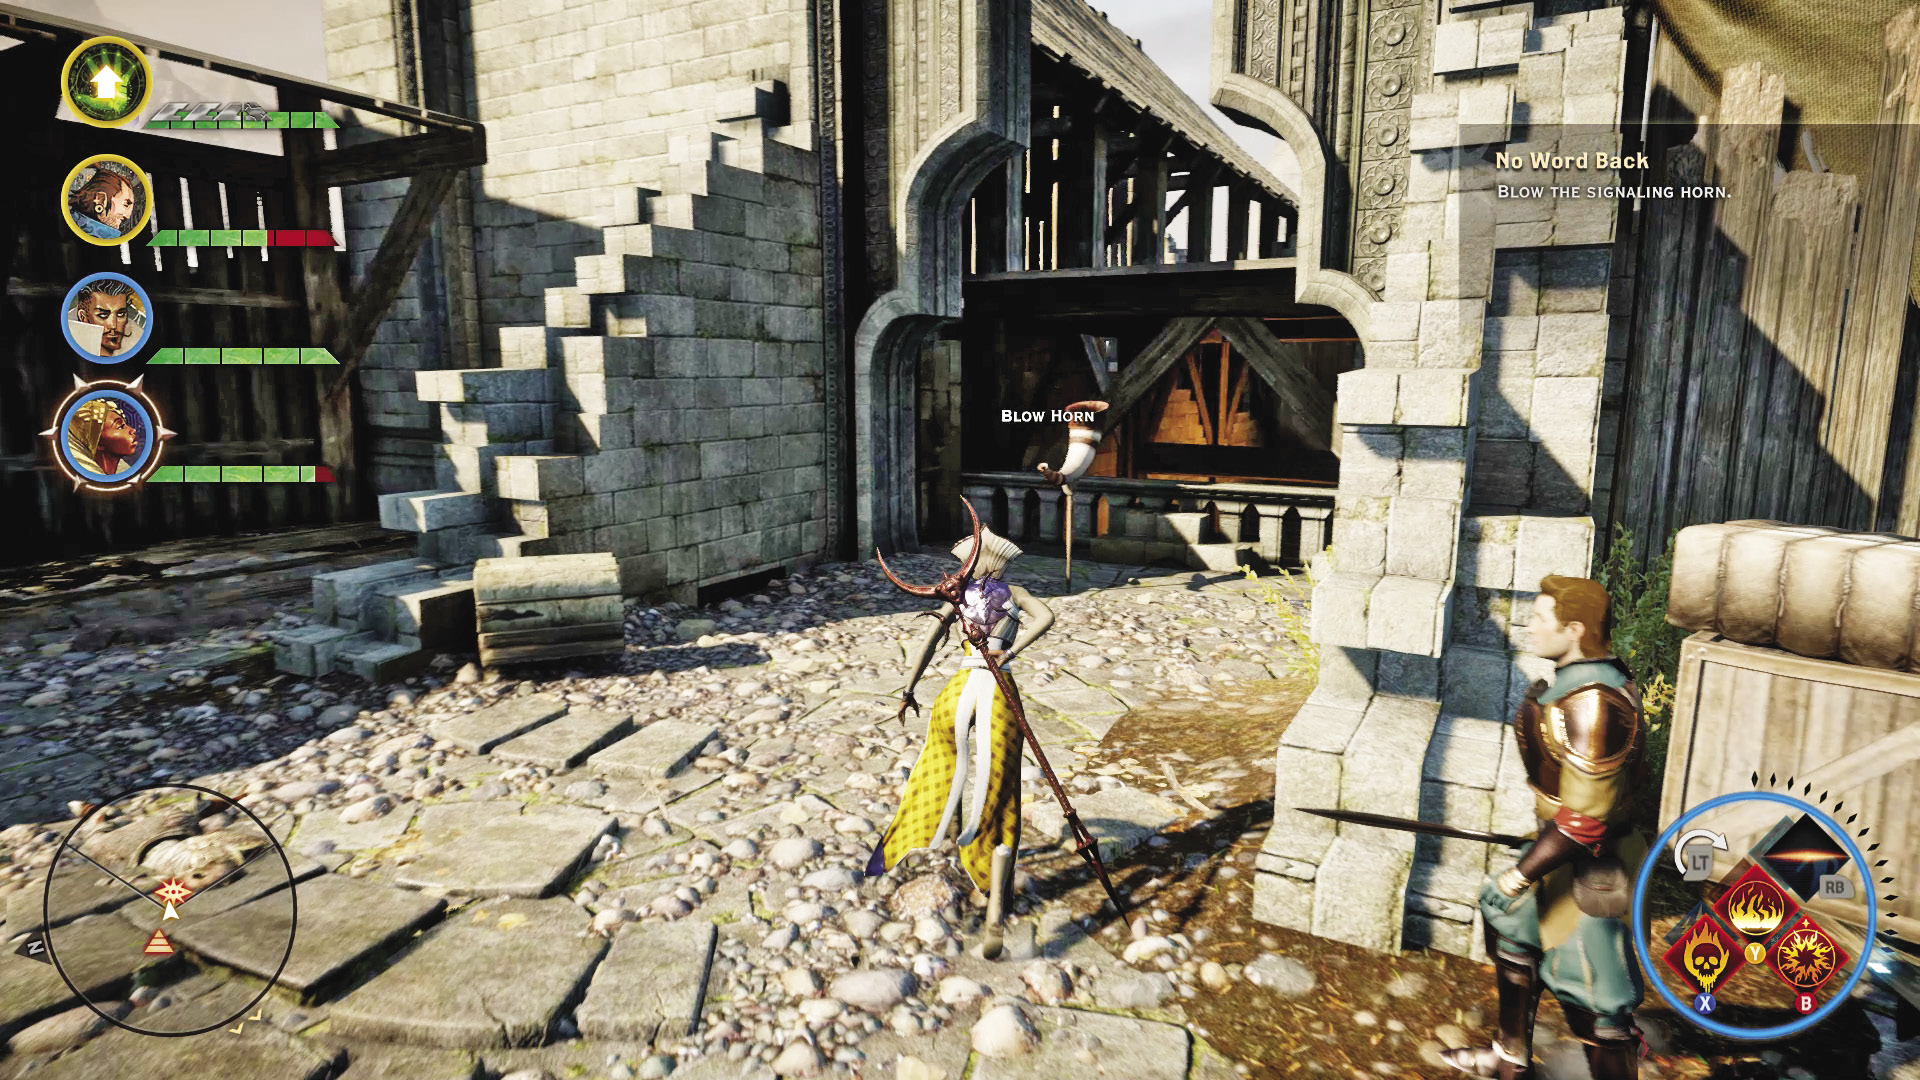
With the Fade rift closed and the demons dead, sound the horn back on the surface to invite friendly soldiers to restore their presence at the garrison. With this last deed, the fort is in the hands of Gaspard’s men.
17: Left to Grieve
Quest Giver: Sergeant Meursault
Description: Letters from soldiers who fell on the plains were left behind in the midst of battle. Sergeant Meursault wants to return them to the families of the dead.
Requirements: Available as soon as you complete Another Side, Another Story.
Reward: 128 XP, 80 Influence
Objectives:
 Find seven soldiers’ letters.
 Deliver the letters to Sergeant Meursault.
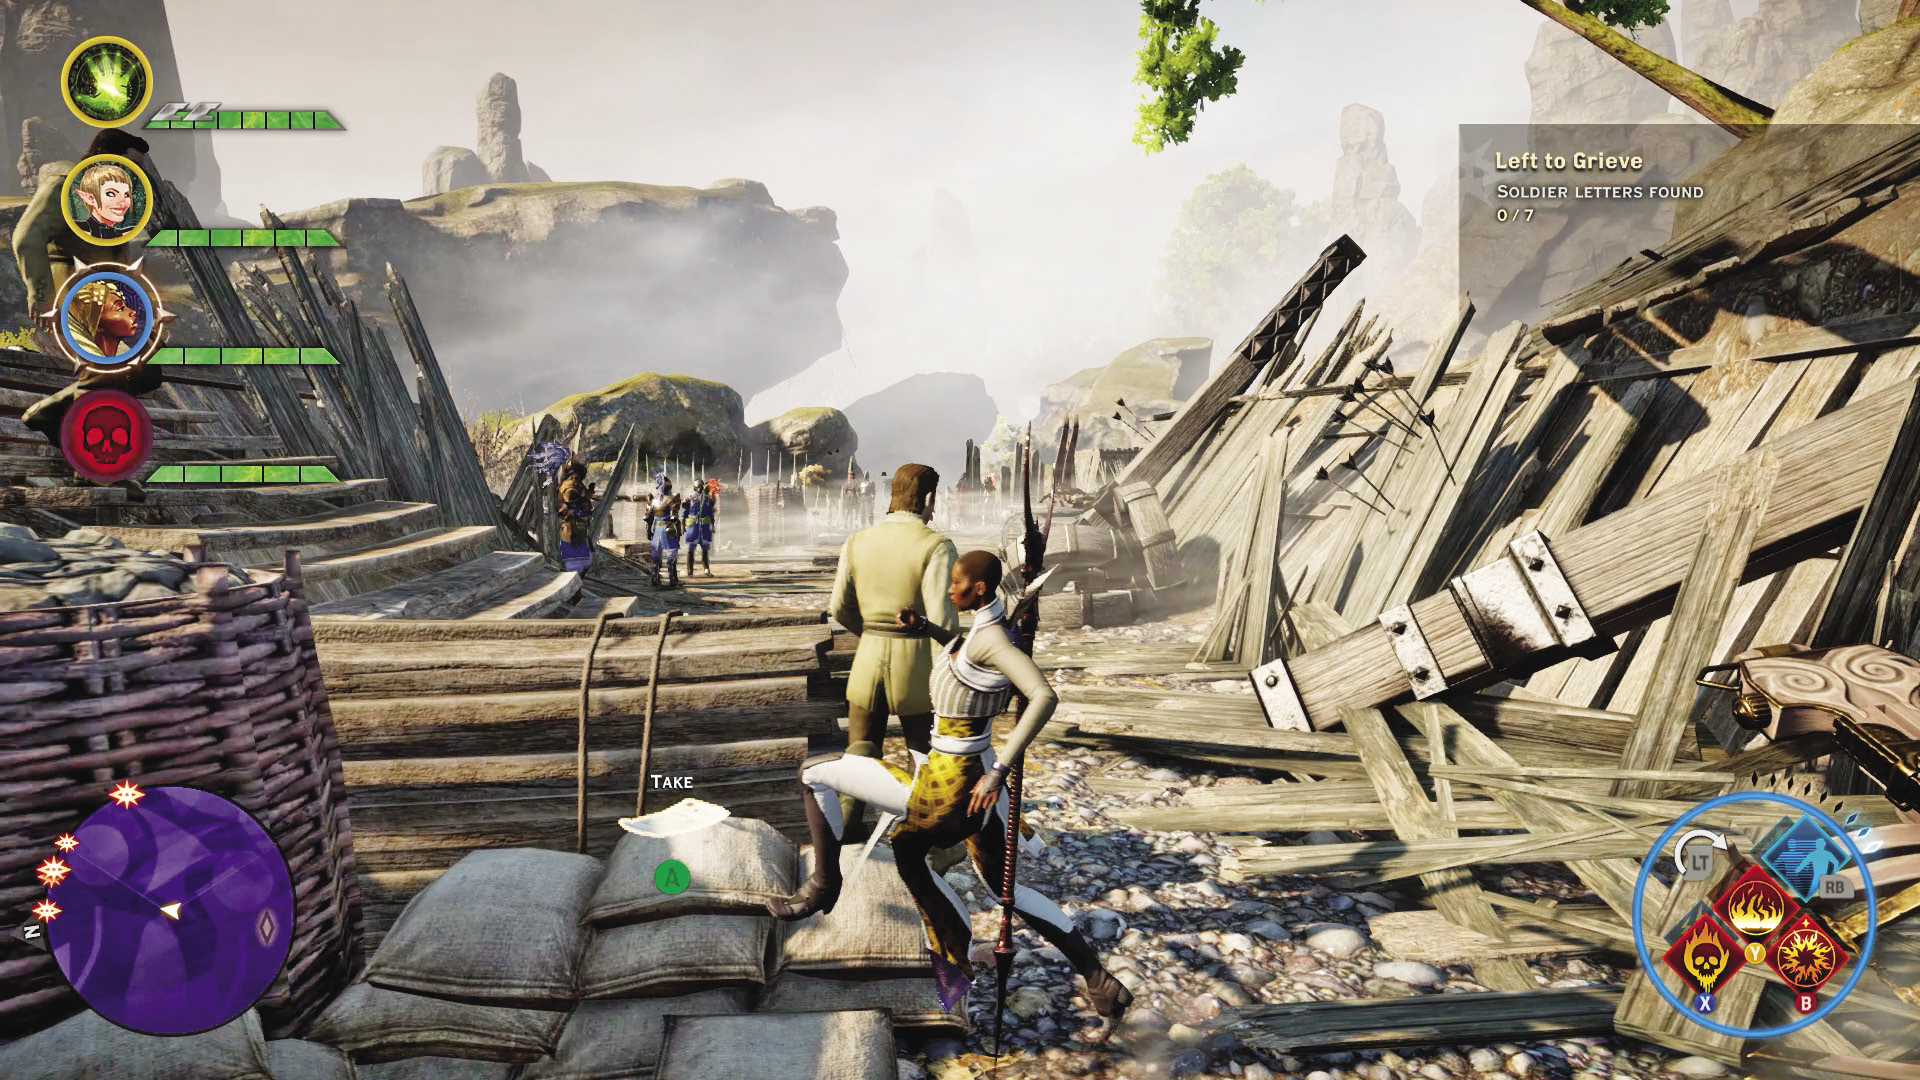
Thankfully, when you accept this quest from the good sergeant, she provides the rough locations of the soldiers carrying letters. Use your Search ability to pick them out from debris and other forms of ground clutter when you reach the search areas. Once you have seven letters, return to the sergeant, and she will reward your kindness.
18: Ghilan’nain’s Grove

Quest Giver: Automatic after completing a war table operation to gain access to the grove
Description: Inquisition laborers have opened a passage to Ghilan’nain’s Grove.
Requirements: Find the blocked passage to the grove, then complete the war table operation to open the passage.
Reward: 242 XP, 80 Influence
Objectives:
 Investigate Ghilan’nain’s Grove.
 Clear out the gurguts.
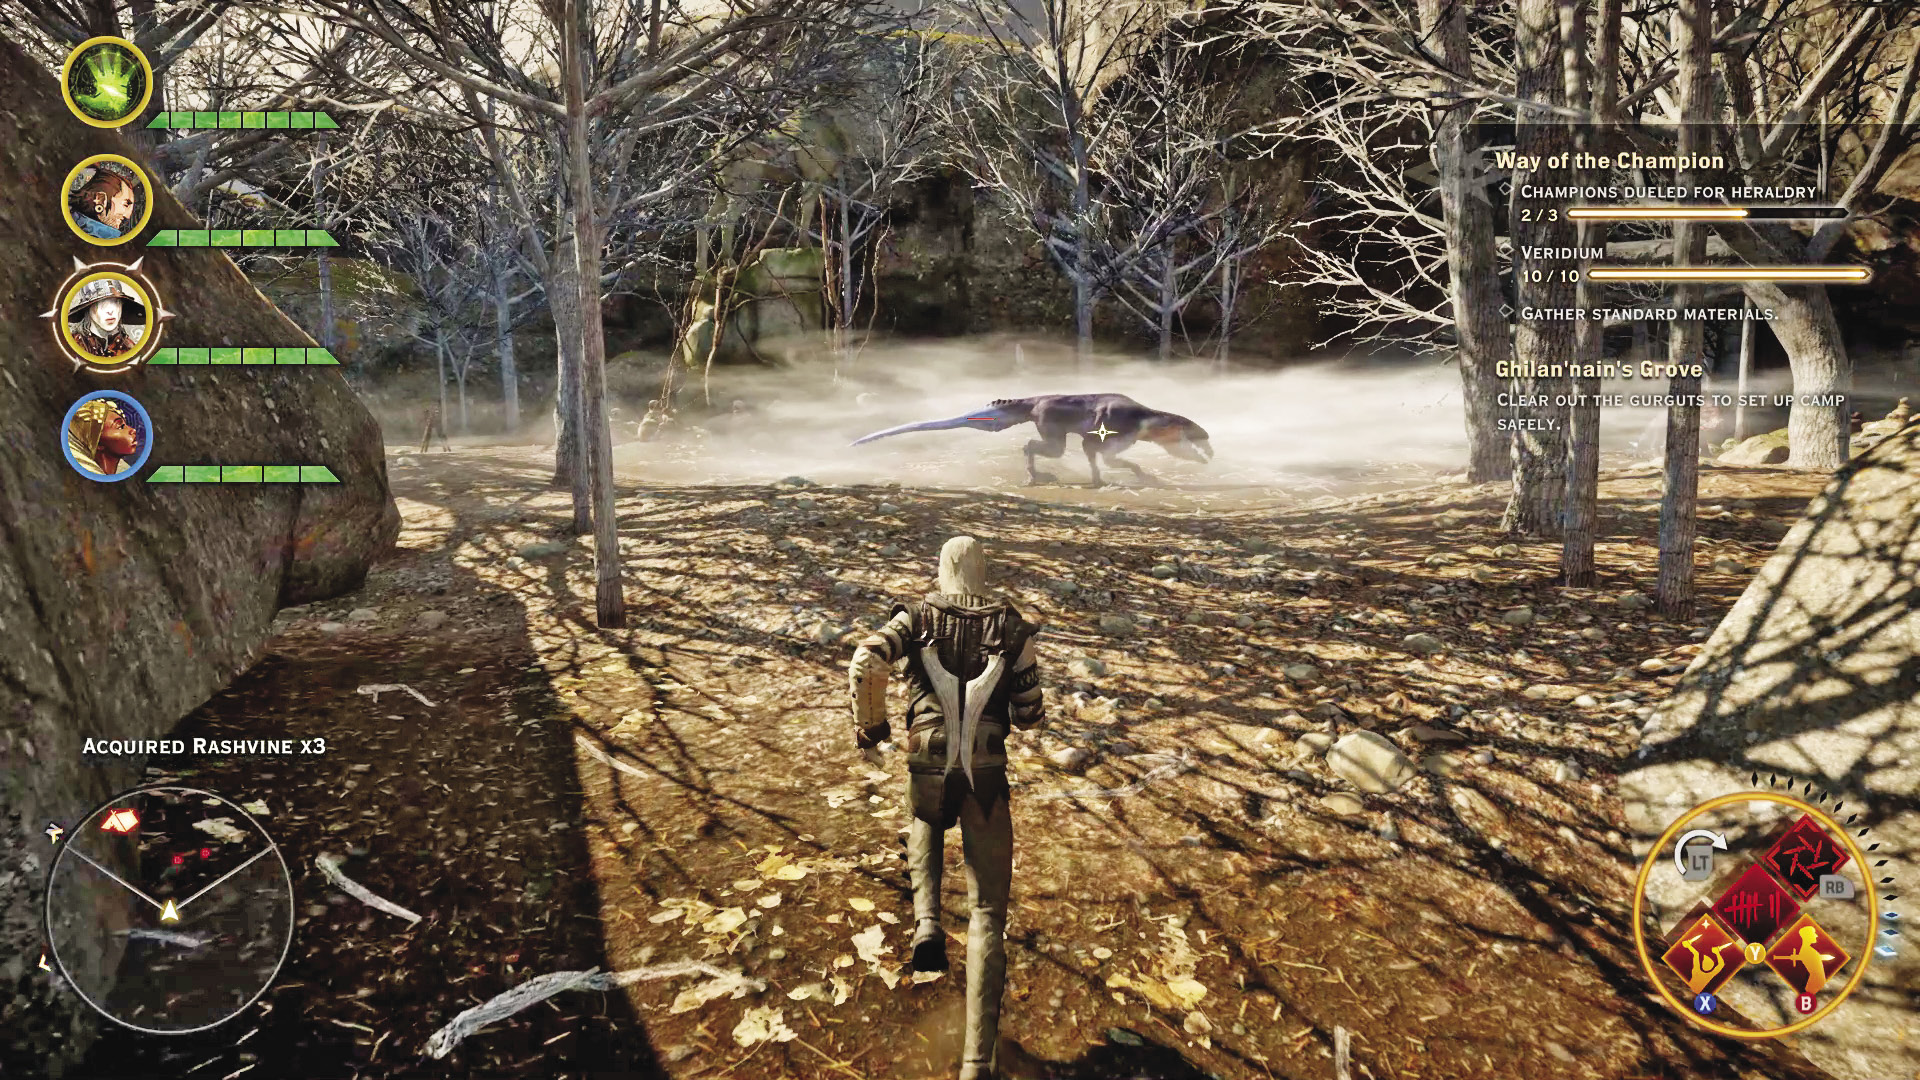
To complete the Holding the Exalted Plains side quest, first find the blocked passage to Ghilan’nain’s Grove. After you claim it, return to Skyhold and complete the war table operation Gain Access to Ghilan’nain’s Grove for five power. When you return to the Exalted Plains, the passage is open and under Inquisition guard.
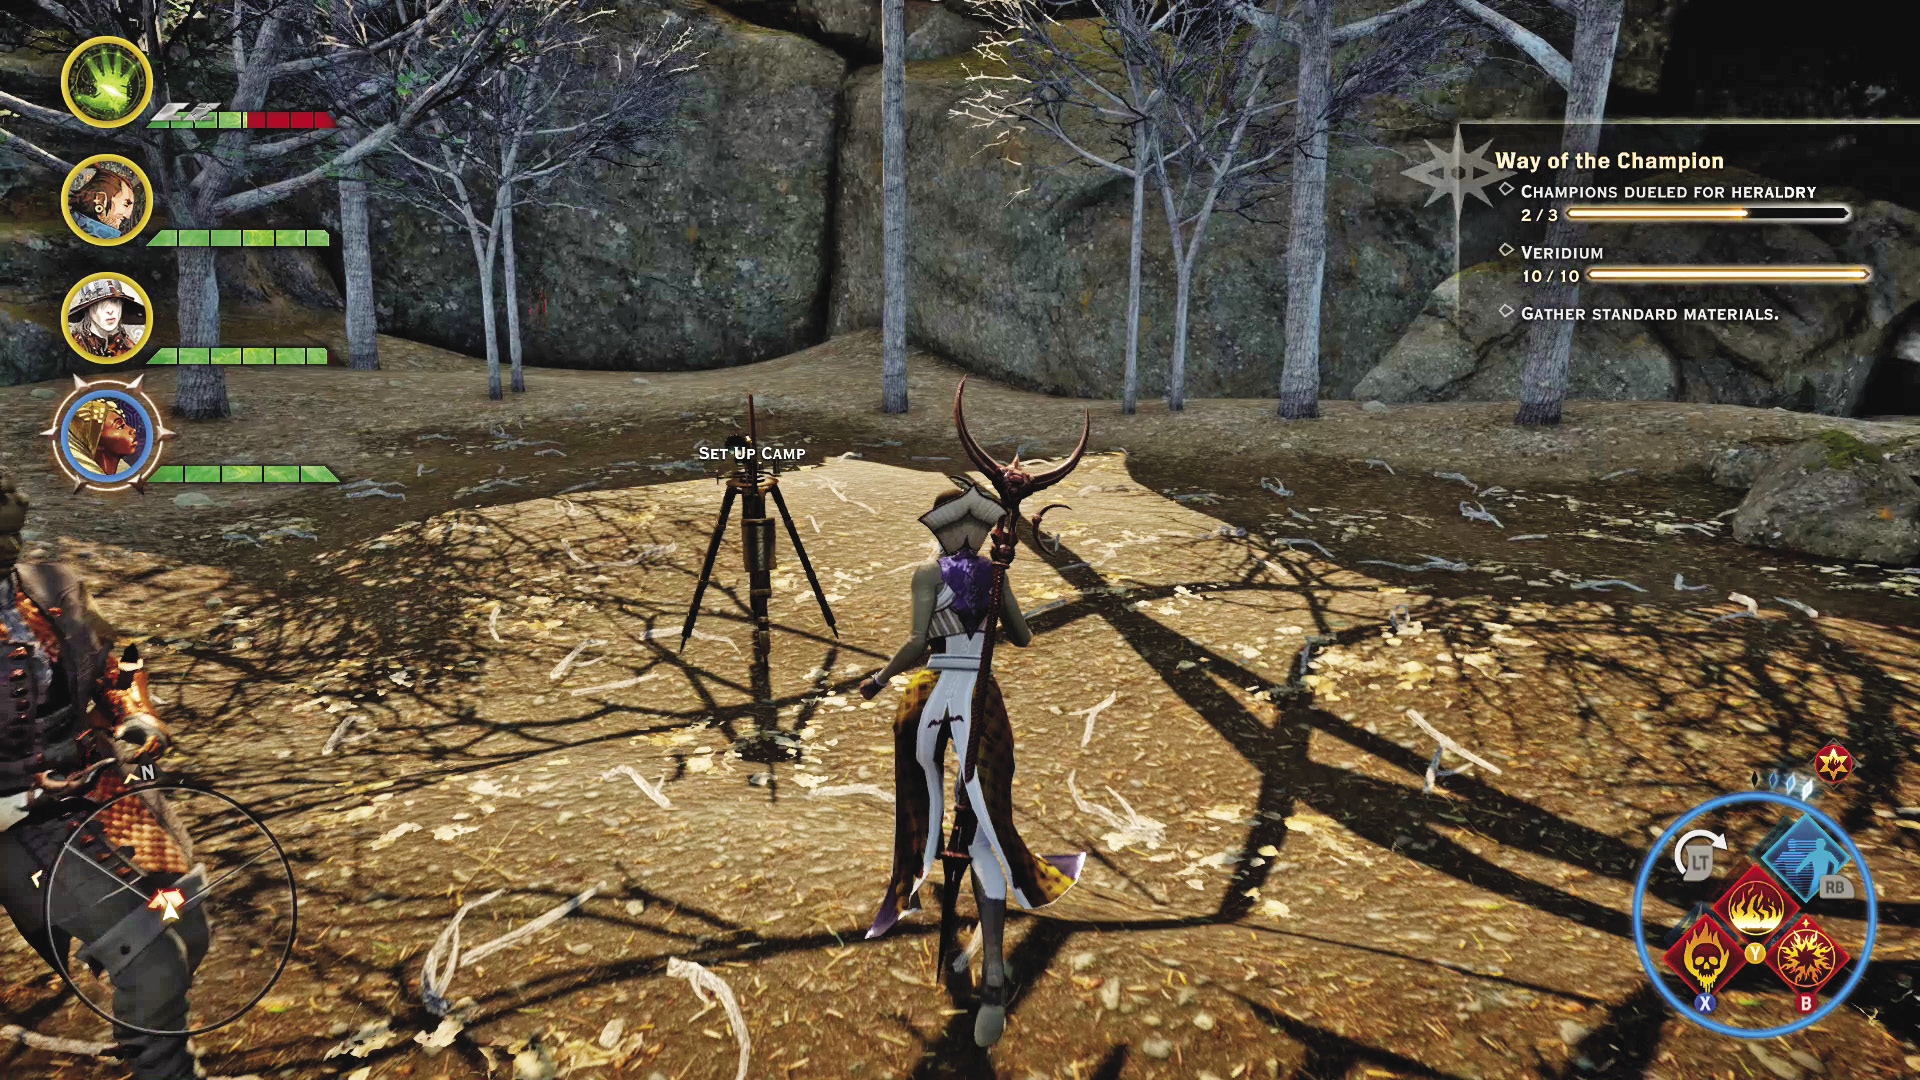
Ghilan’nain’s Grove is currently the home to a pack of gurguts, and they are very displeased at your sudden intrusion. However, they are also weak to electricity and cold damage abilities, which are things you can easily exploit with mages. Once the gurguts are wiped out, the quest is complete, and you can safely set up camp.
Exploring the Fens
With access to the far eastern portion of the Exalted Plains now established, you’ve got some exploring to do. There are rifts in the fens to be dealt with, landmarks to claim, and new regions to explore.
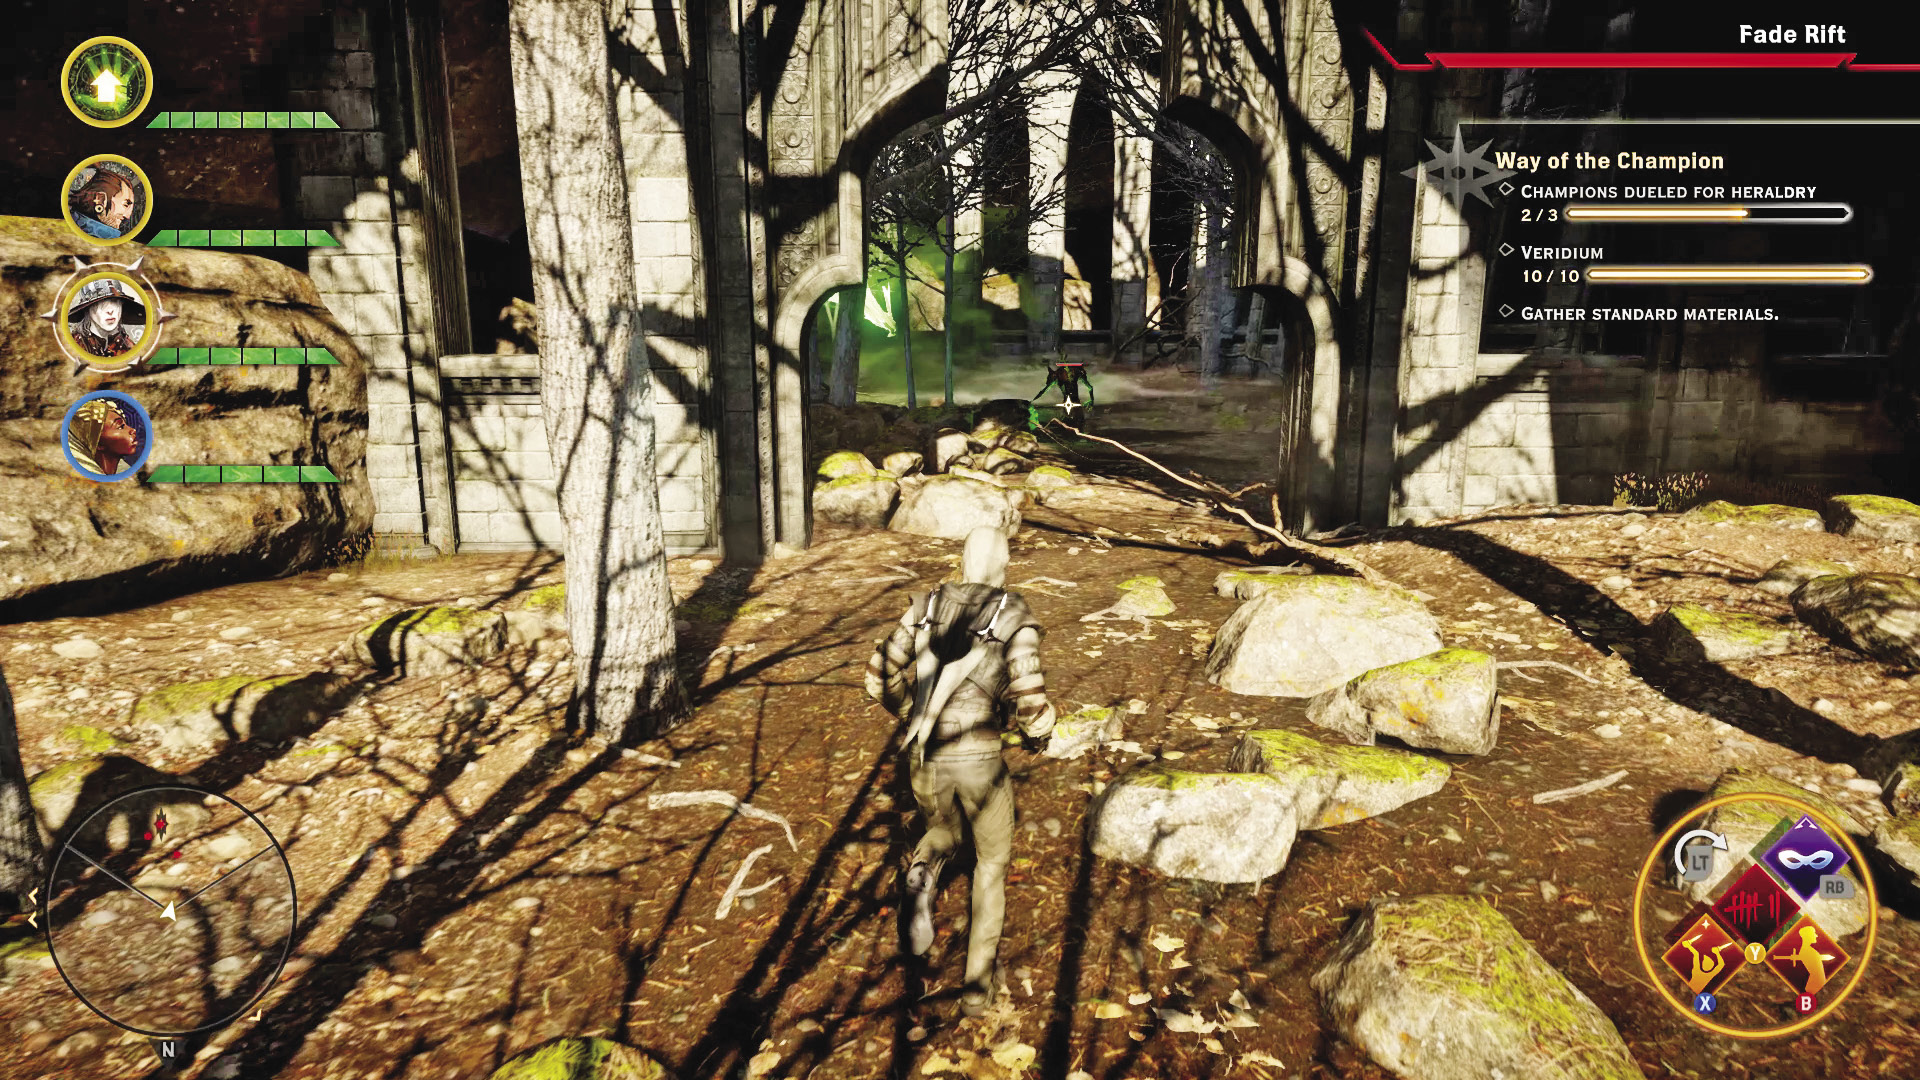
Of these, the most interesting is the Dead Hand, both the landmark and the underground temple. The temple is sealed by a fire barrier, and once you get past it, you are in a chamber that is actually a puzzle writ large. If you correctly light the globes at the center of the chamber, you gain access to another chamber deeper inside the temple. It holds a superior amulet of cunning, some extra loot, and a codex entry for Falon’Din. Just be ready to face an arcane horror and a swarm of undead for your trouble!
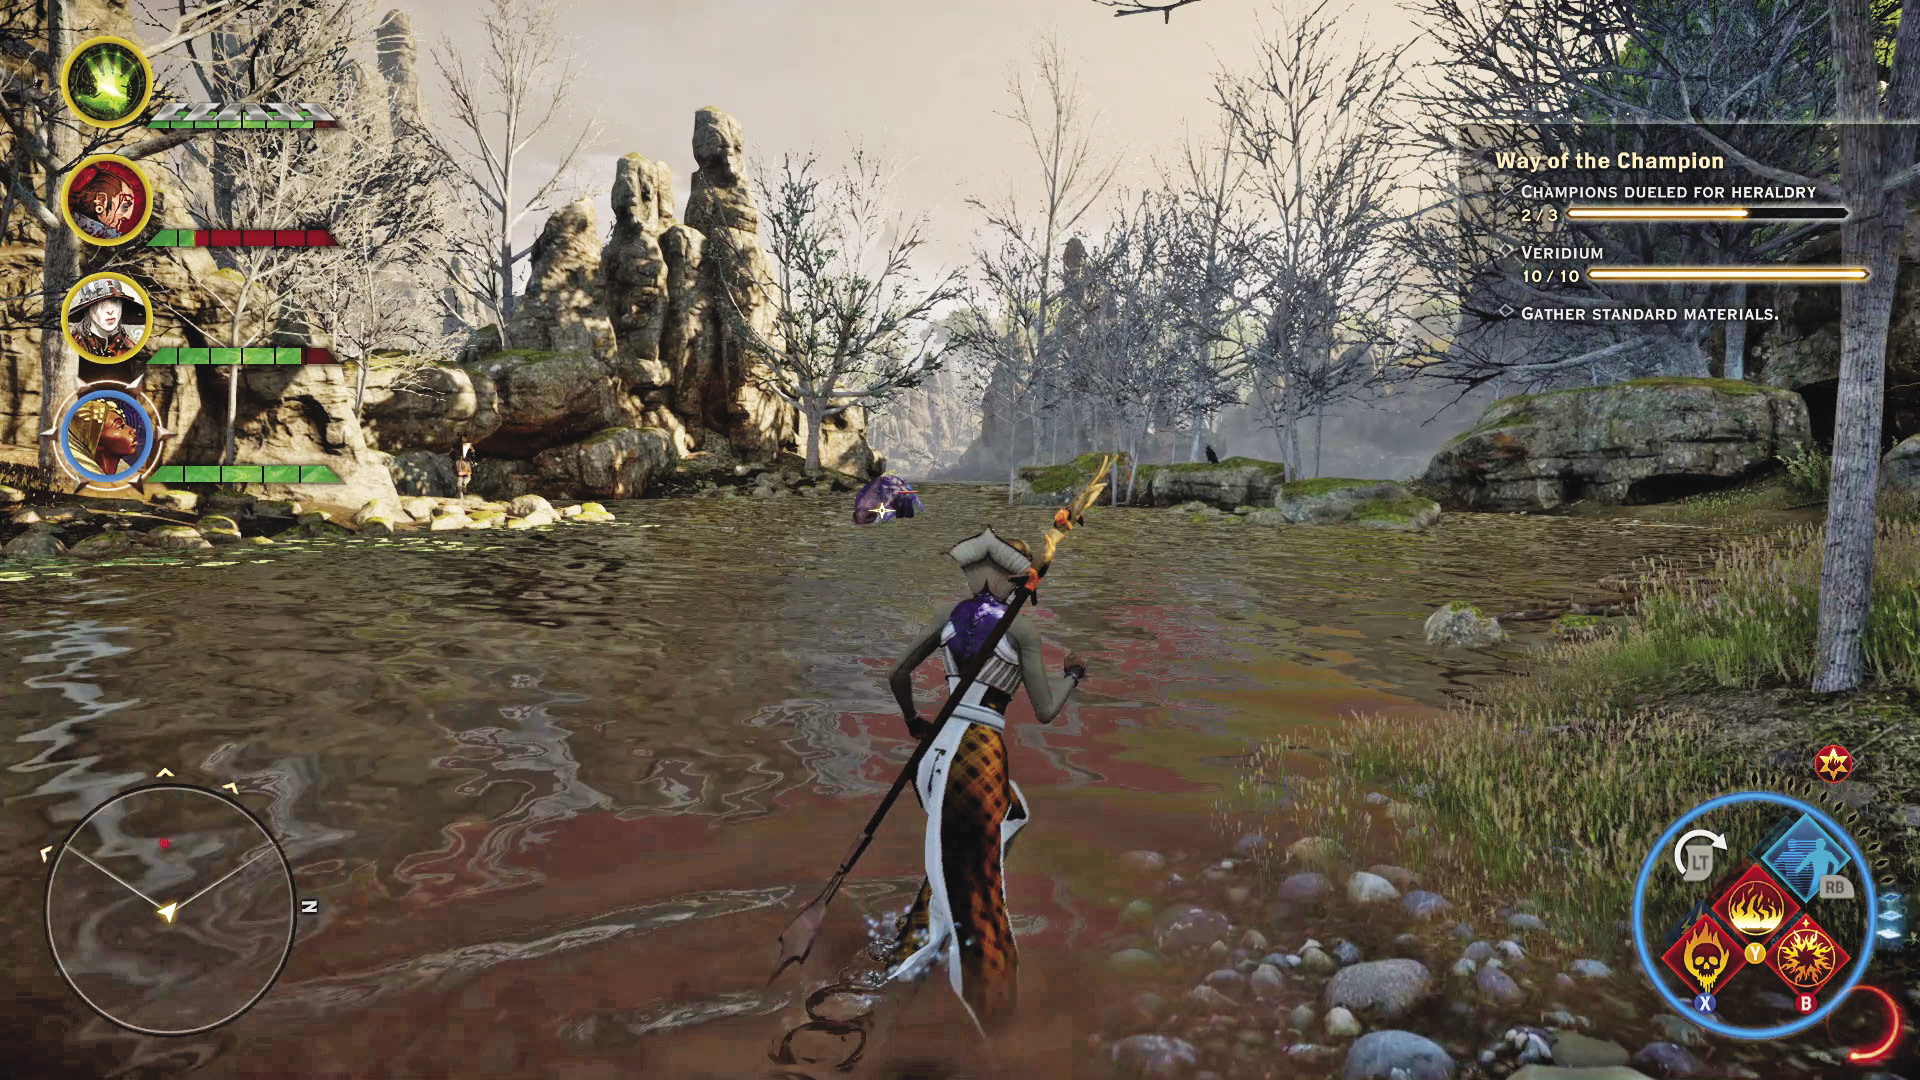
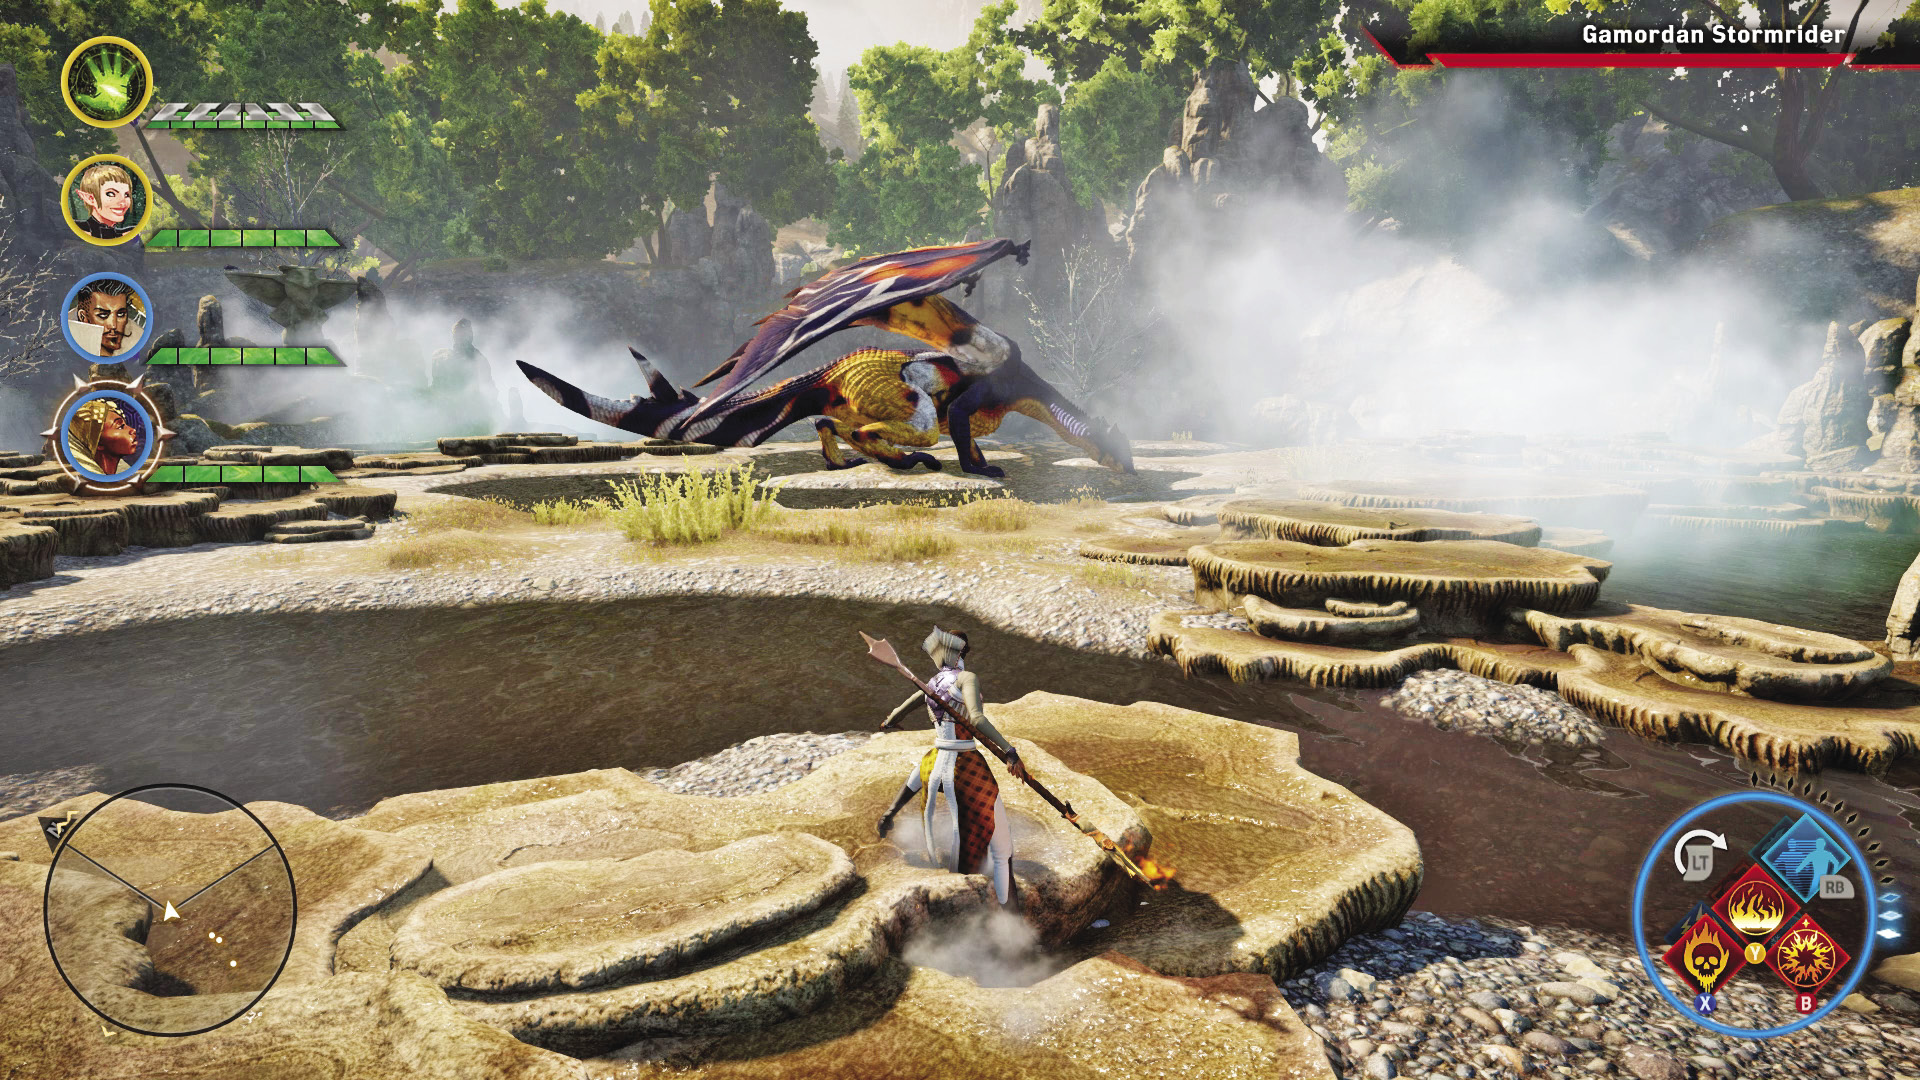
An alternative route from the Ghilan’nain’s Grove camp takes you to the Crow Fens, where the High Dragon Gamordan Stormrider makes its home. Bring electricity protection if you intend to hunt this beast! Also be wary of the gurgut packs roaming the fens, as two of these monsters can suddenly become five or six when their friends come to play.
19: Sketch of Enavuris River
Quest Giver: A scroll found southwest of Fort Revasan
Description: Someone died with this sketch of a river in his hands. A spot is marked on the water’s edge.
Requirements: Arrive in the Exalted Plains for the first time.
Reward: 242 XP, 80 Influence
Objectives:
 Find the spot marked on the sketch.
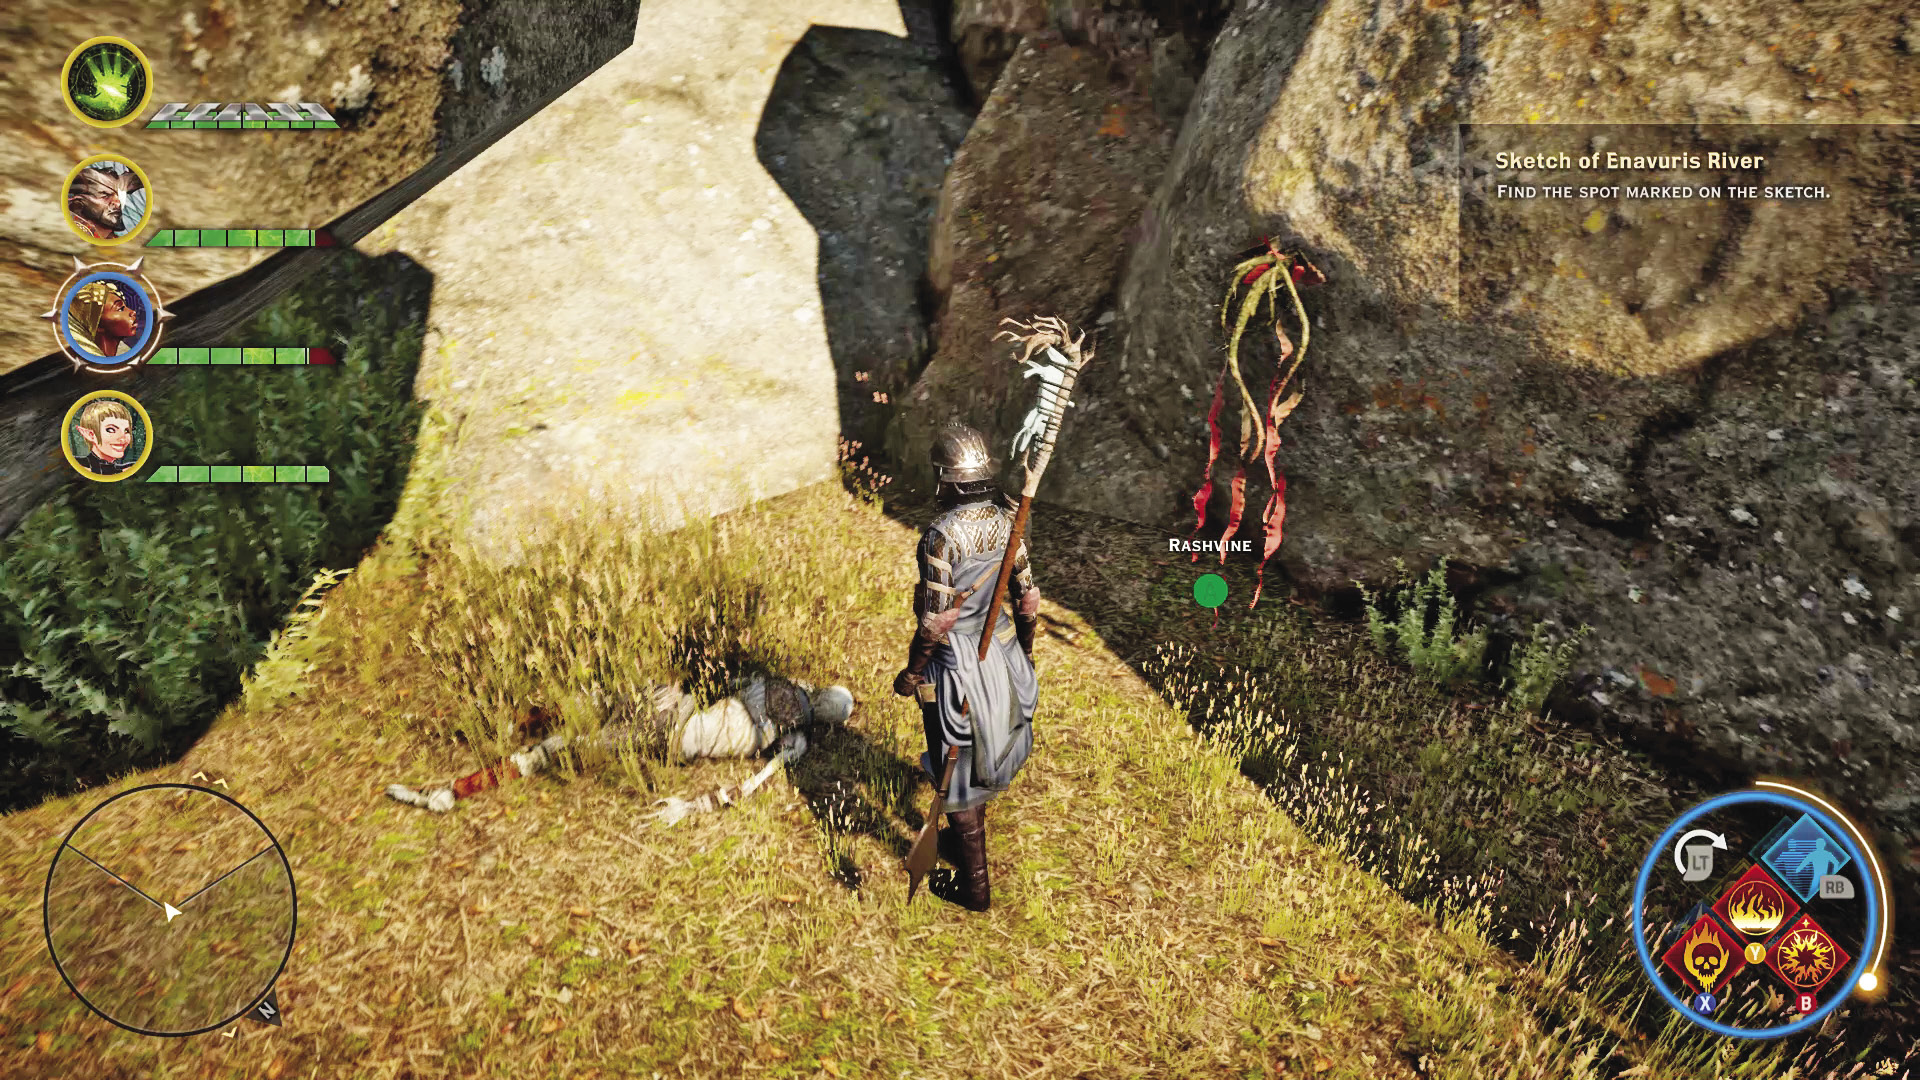
The sketch is found in the hands of someone who decided to die inconveniently very far from where the actual treasure is hidden. Travel to the Halin’sulahn region and search the shores to the south of the Ancient Baths. Nestled behind some stones that block the view upriver is a pile of loose dirt containing the treasure.
20: Map of Enavuris
Quest Giver: A scroll to the south
Description: This map, found in a bunker of Celene’s Victory Rise ramparts, depicts a spot visible through three tall windows.
Requirements: Arrive in the Exalted Plains for the first time.
Reward: 242 XP, 80 Influence
Objectives:
 Find the spot marked on the map.
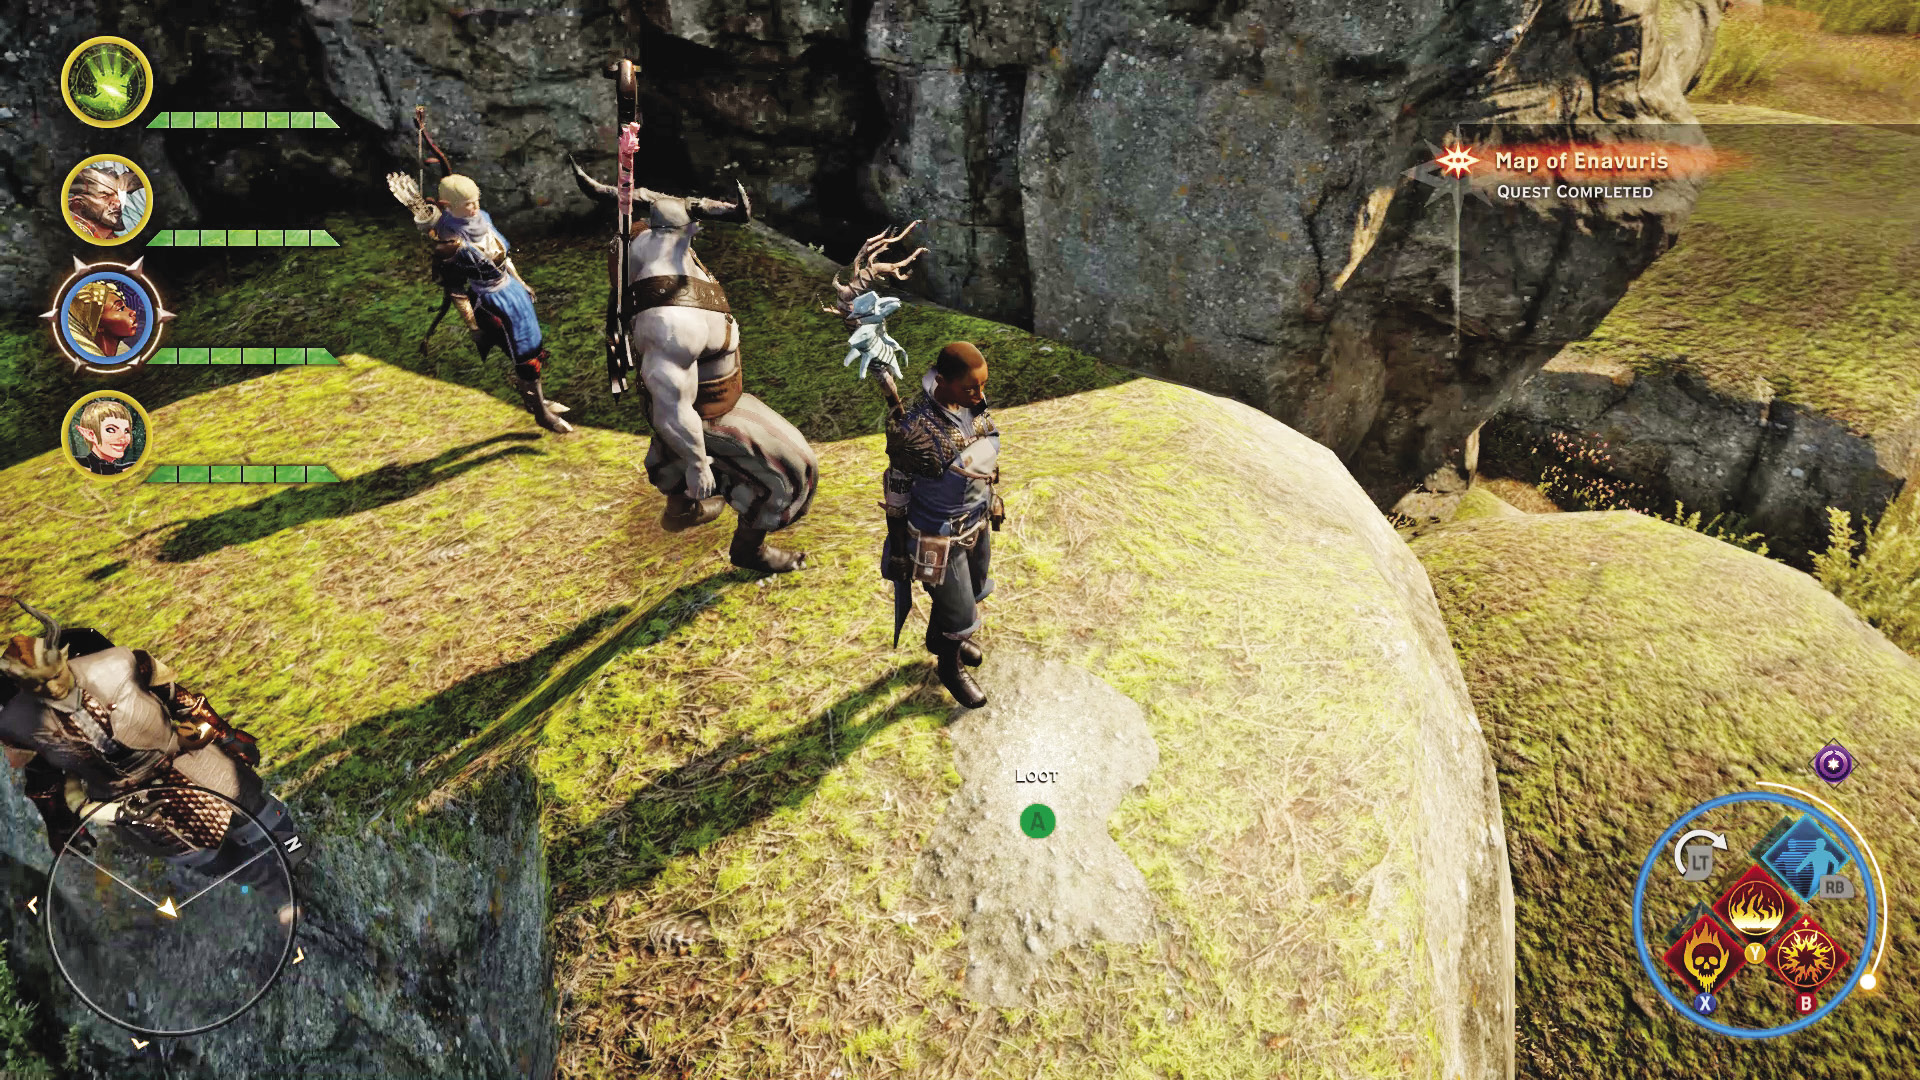
The ruins of Enavuris south of Victory Rise have the windows in question, and they are pointing at a pair of stone spires found roughly halfway between the ruins and the rise.
21: Map of Halin’sulahn
Quest Giver: A scroll found in a small camp in the Crow Fens
Description: This map was in a hunter’s shack in the fens. It appears to mark a spot on high ground in the Exalted Plains.
Requirements: Available after getting access to Ghilan’nain’s Grove
Reward: 242 XP, 80 Influence
Objectives:
 Find the spot marked on the map.
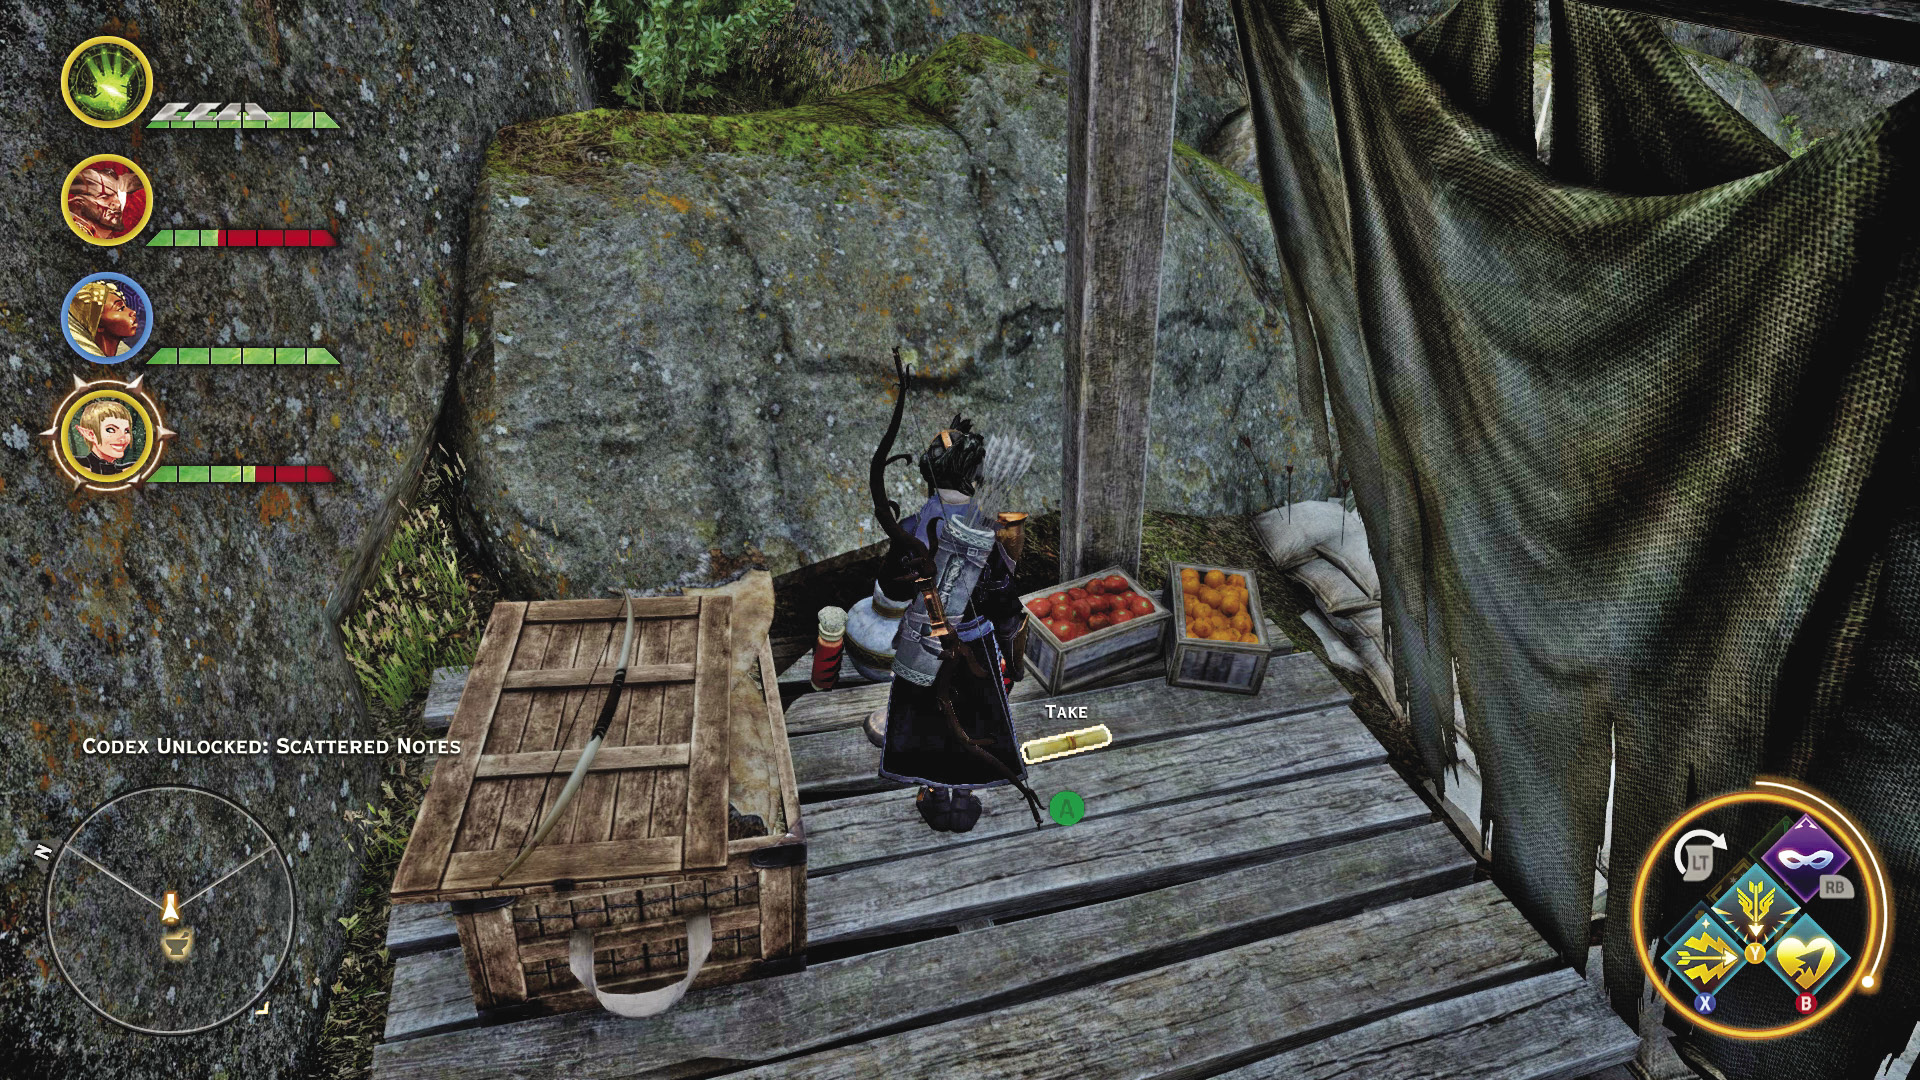
After collecting the note, return to the Dalish camp in Halin’sulahn, then follow the river south toward the Shrine to Sylaise. On the western side of the river, just before the waterfall, is the vantage point described by the map. You’ll have to do some tough climbing, but eventually your mini-map should start pinging that you’re close to the treasure. The actual location has a direct view of the stone spire that the Dalish camp is located by.
22: A Familiar Ring
Quest Giver: A soldier locked away in a bunker at Victory Rise
Description: With her dying breath, a soldier fighting for Celene has asked that a ring be delivered to her commander in the citadel.
Requirements: Complete war table mission Repair Pont Agur, in order to reach the citadel where the commander is.
Reward: 128 XP, 80 Influence
Objectives:
 Give the ring to Commander Jehan.
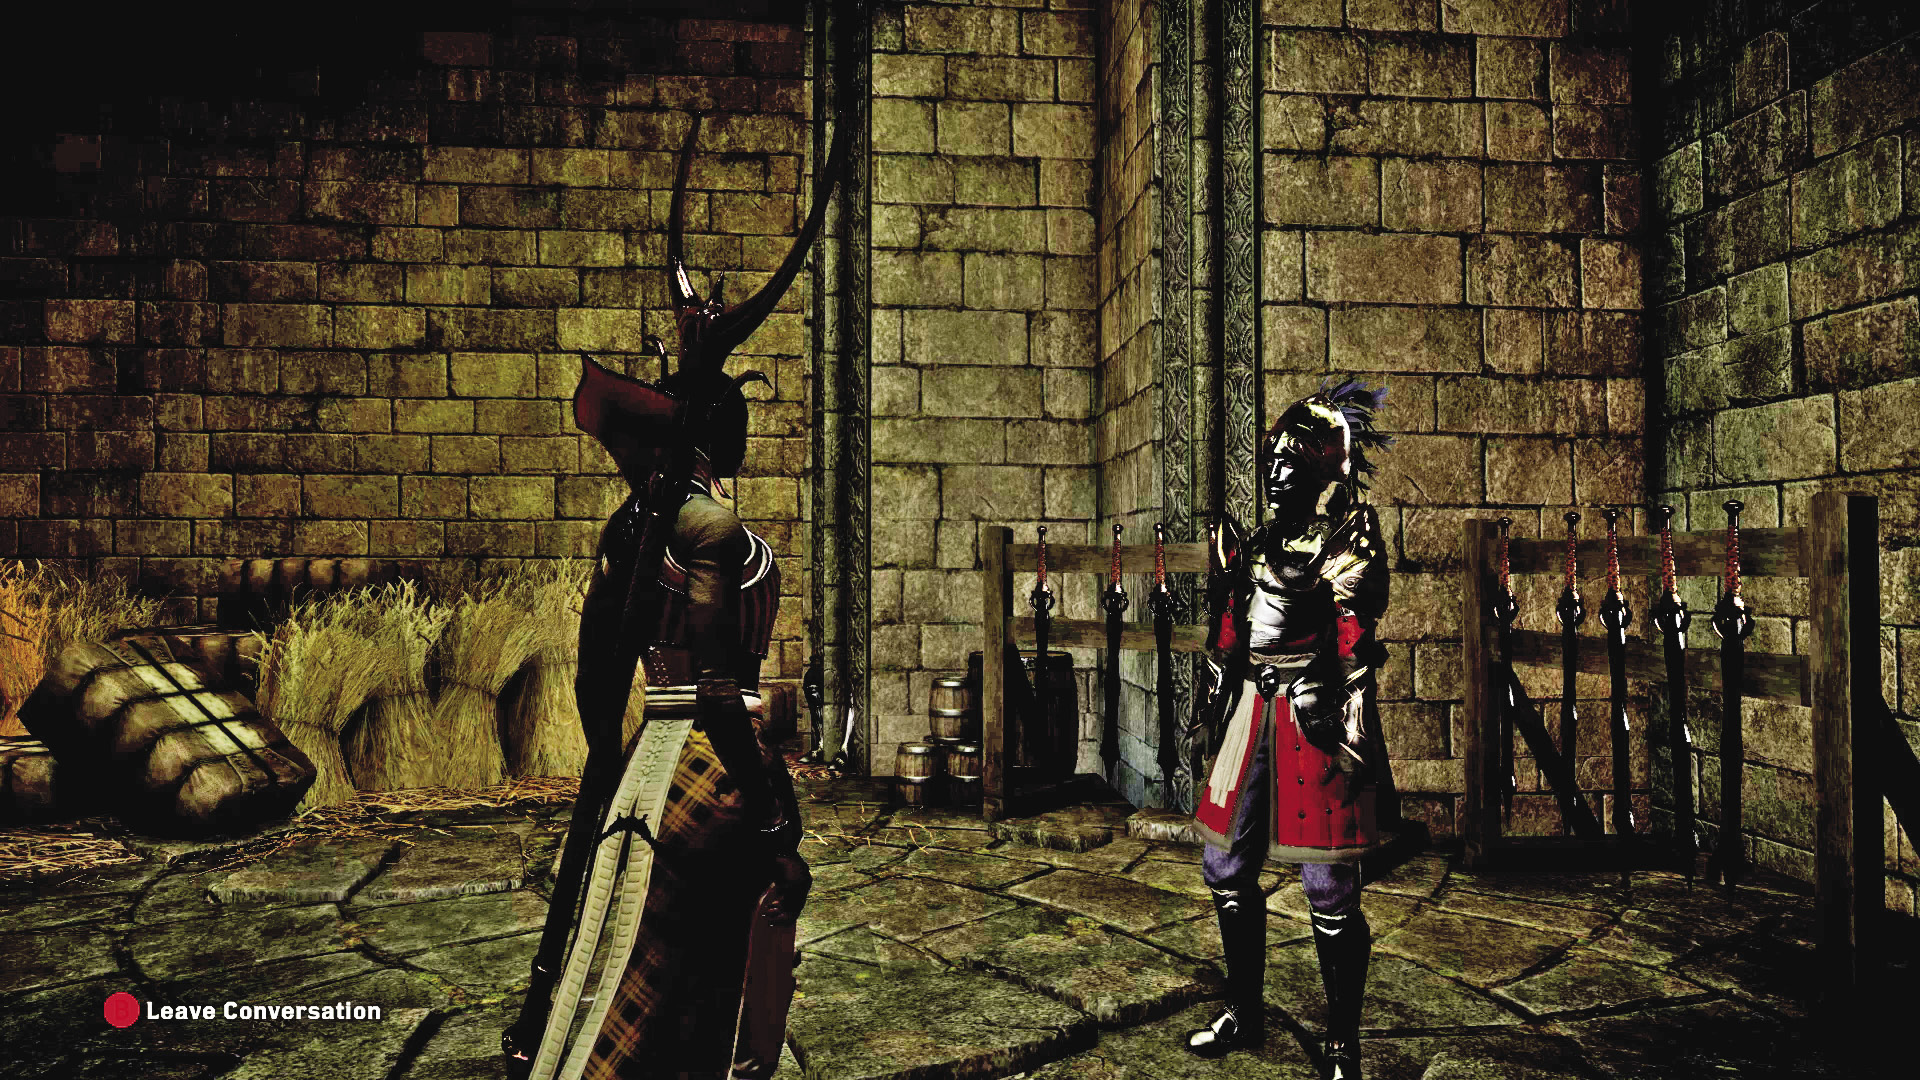
The bunker the soldier is found in is locked, and you’ll need a rogue to get to her. She’ll hand over the ring just before expiring, wanting it delivered to Commander Jehan, the leader of Celene’s forces at the Exalted Plains.
Commander Jehan is at the Citadelle du Corbeau, across the Pont Agur near the Riverside Garrison. However, you discover upon trying to cross the bridge that it needs to be repaired. Once it’s repaired, you face another obstacle standing between you and the commander: a swarm of undead infesting the citadel.
23: For the Empire

Quest Giver: Available at the start of questing in the Exalted Plains
Description: The bridge to Citadelle du Corbeau has been repaired by the Inquisition. Celene’s forces were stationed beyond the bridge and have not been seen since it was destroyed.
Requirements: Complete war table mission Repair Pont Agur.
Reward: 967 XP, 200 Influence, 2 Power
Objectives:
 Go to Citadelle du Corbeau.
 Burn two body pits.
 Reach the stranded troops.
 Disable the defenses.
 Rescue Celene’s troops.
The usurper’s forces are not the only ones affected by the sudden assaults by the Freemen of the Dales. Empress Celene’s soldiers have been pushed back to a castle on the eastern side of the Enavuris River. Unfortunately, reaching them isn’t immediately possible without first surveying the destroyed Pont Agur bridge, claiming it, and returning to Skyhold to complete a war table operation. With the bridge repaired, you can finally cross the river and see to relieving Celene’s forces.
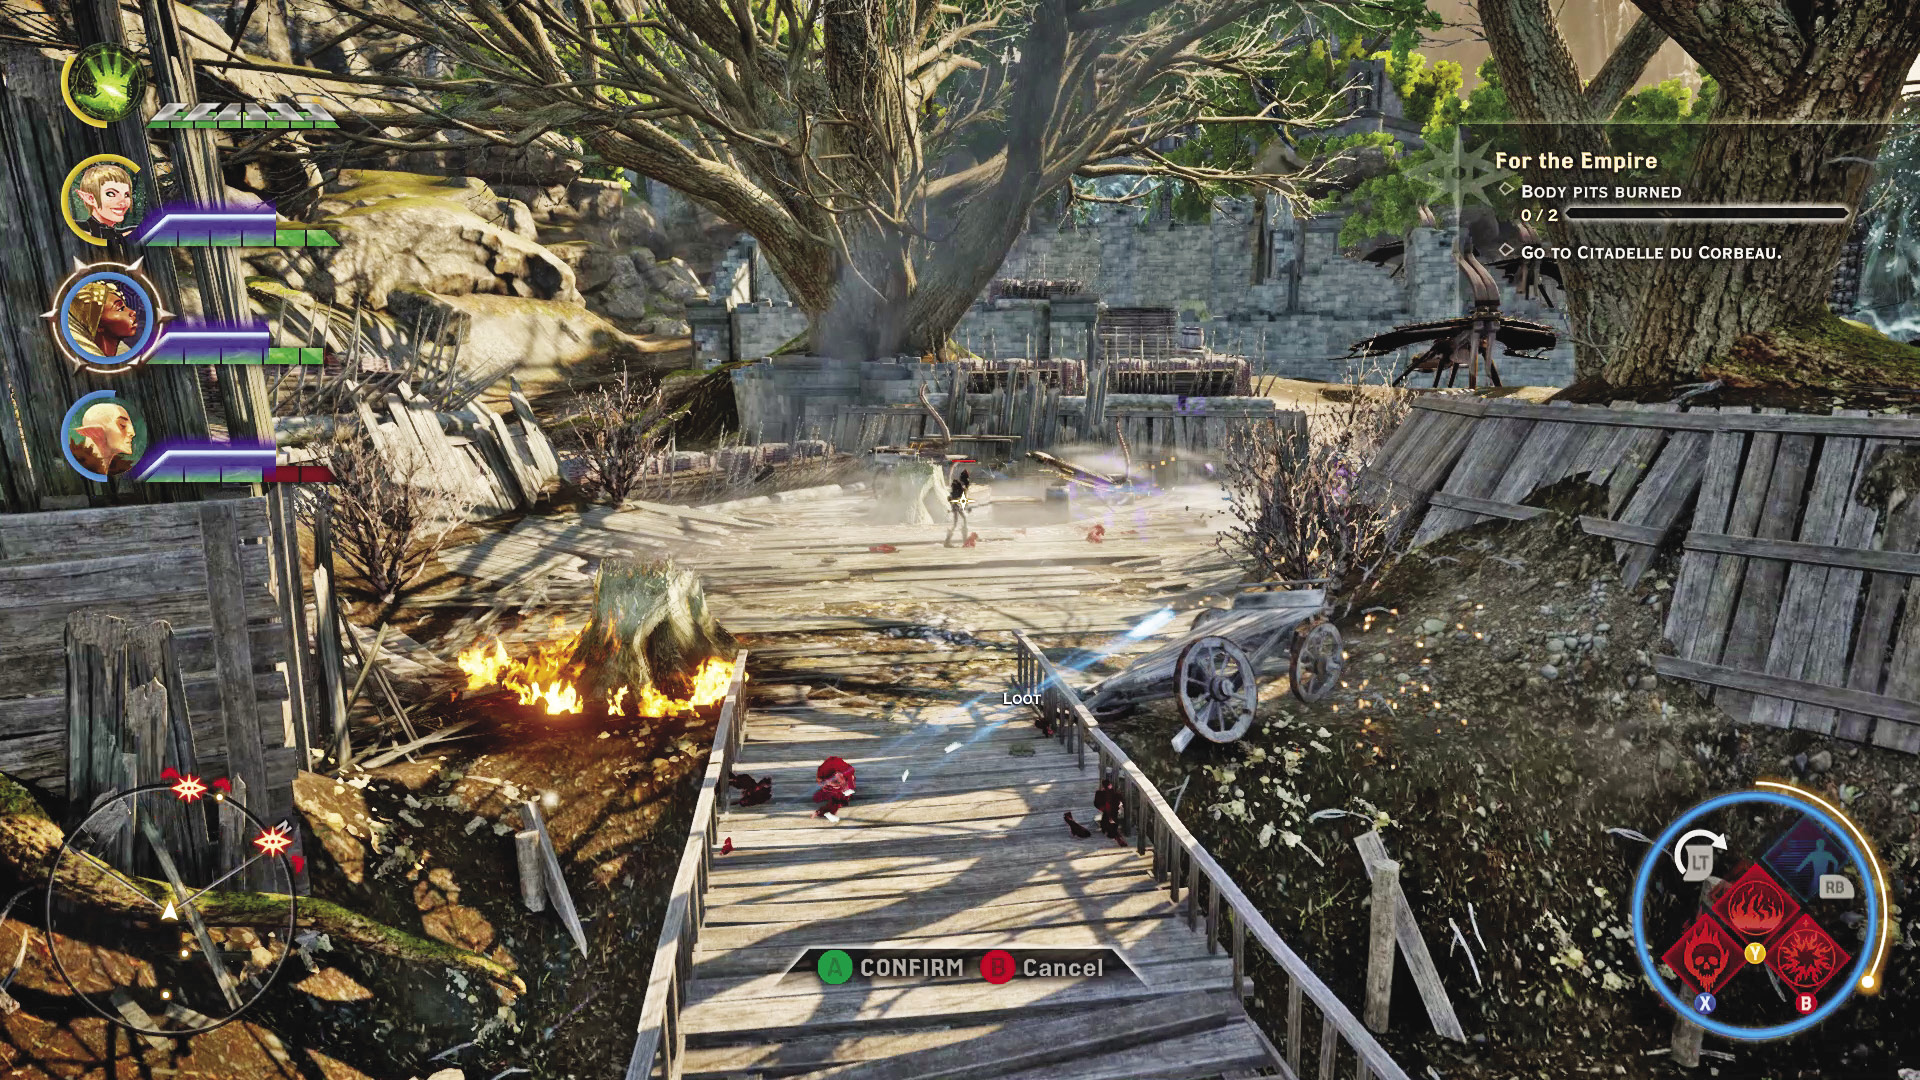
Crossing the bridge, you immediately encounter undead along the dirt roads heading up toward the Northern Ramparts. These defenses were once all that stood between the Usurper’s forces and Citadelle du Corbeau. Now, demons and undead control the ramparts. As with the other positions you secured on the eastern side of the river, you must fight your way to the body pits and remove the defensive barriers before you can burn the pits.
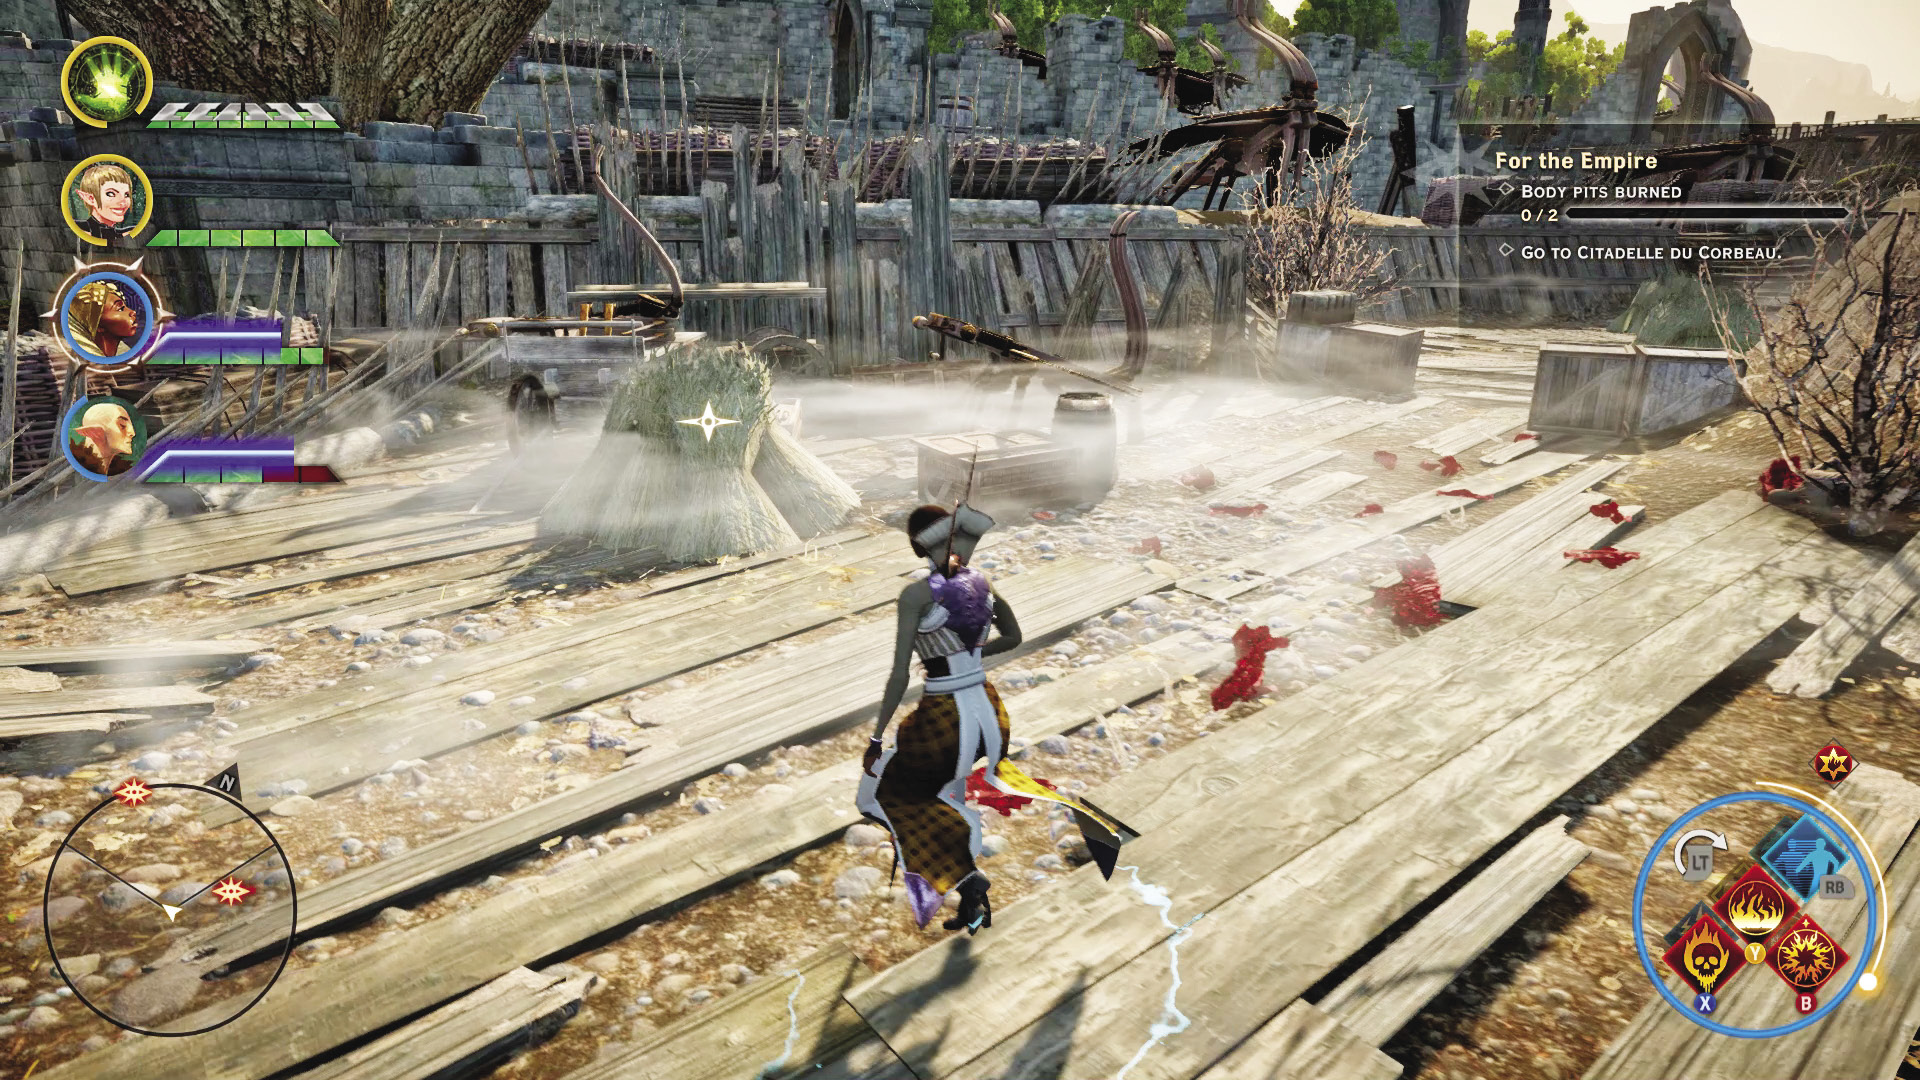
Watch for hay bales as you fight your way to the body pits. You can set them on fire, a good way to hurt the undead as they swarm toward you. It also wouldn’t hurt if you kept fire staves on hand. The undead and the arcane horrors protecting the body pits are especially vulnerable to fire, and you can break through the ice barriers protecting the body pits even faster.
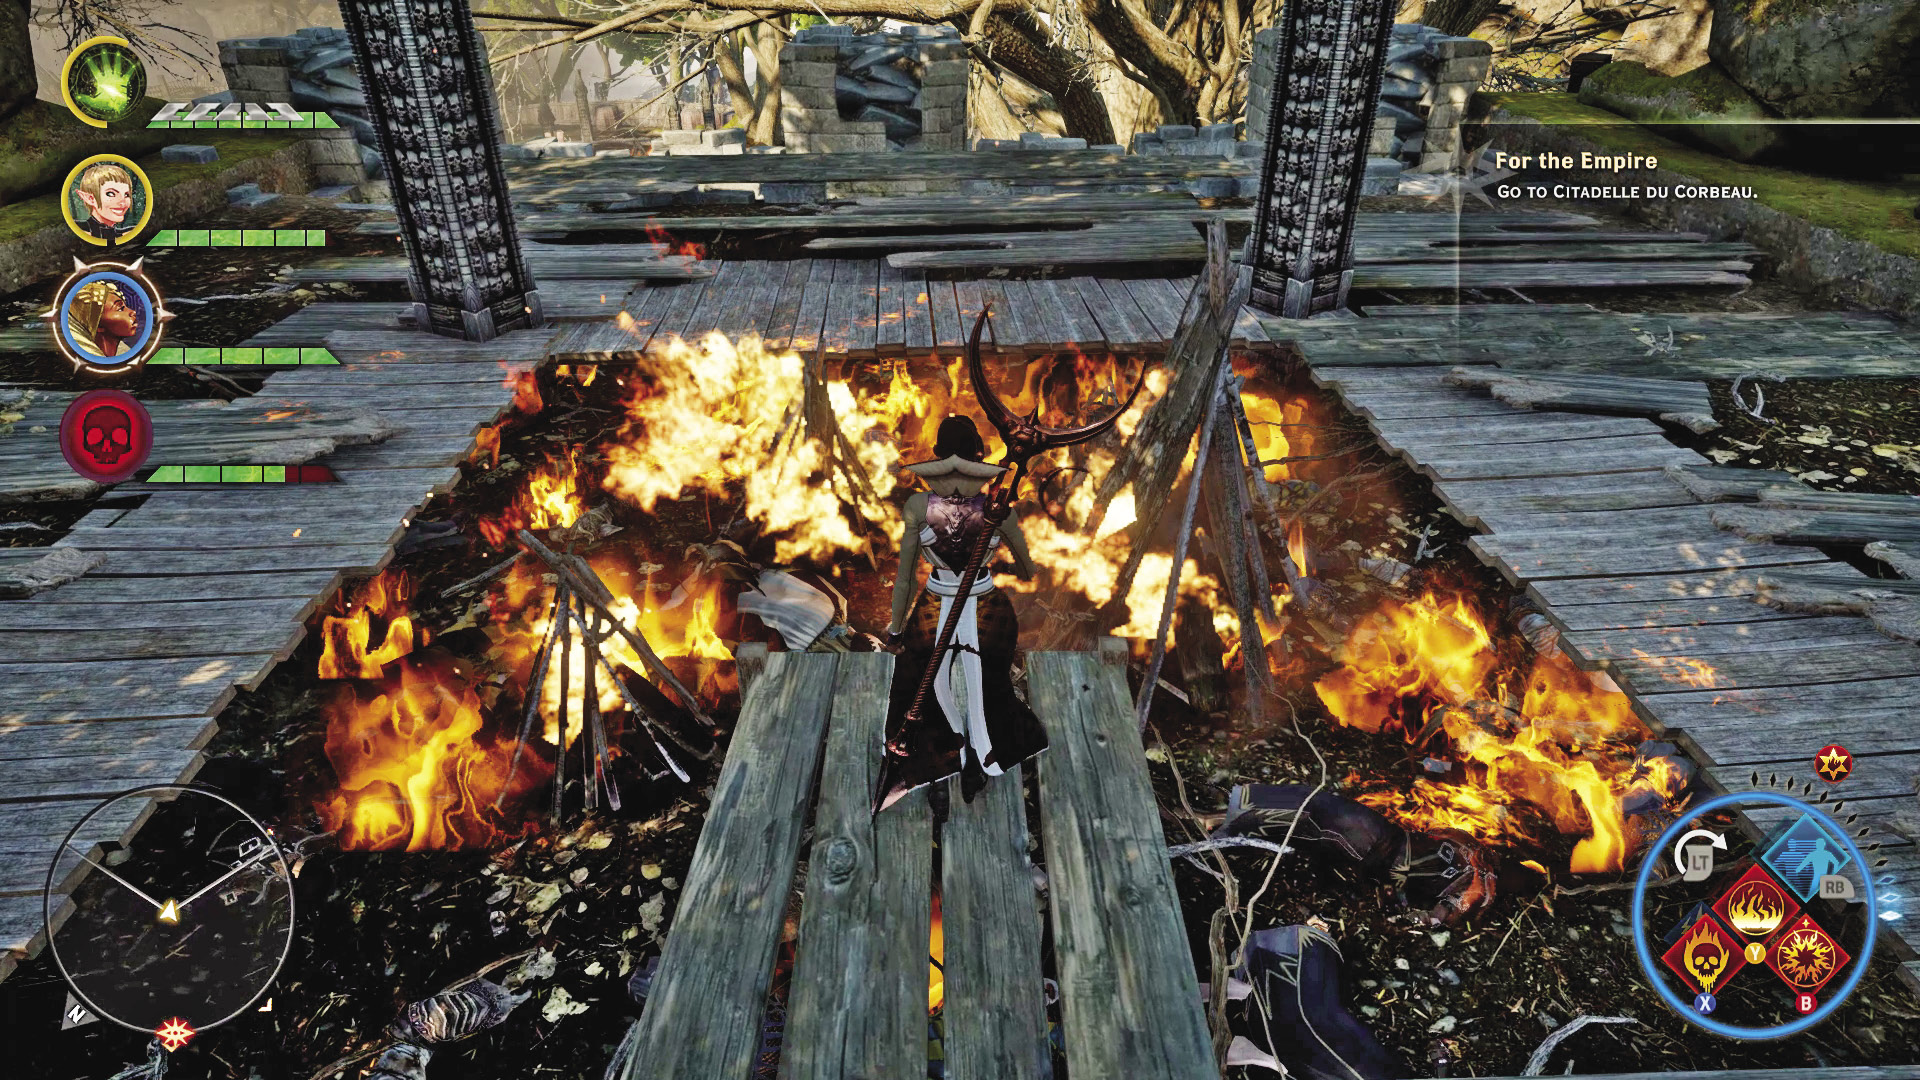
As soon as you set fire to the second pit, a door leading deeper into the ramparts is kicked down by a revenant. Get your warrior tank on it right away, as a revenant can one-shot an equal-level mage or rogue if it blindsides them! Push past the revenant to enter Citadelle du Corbeau.
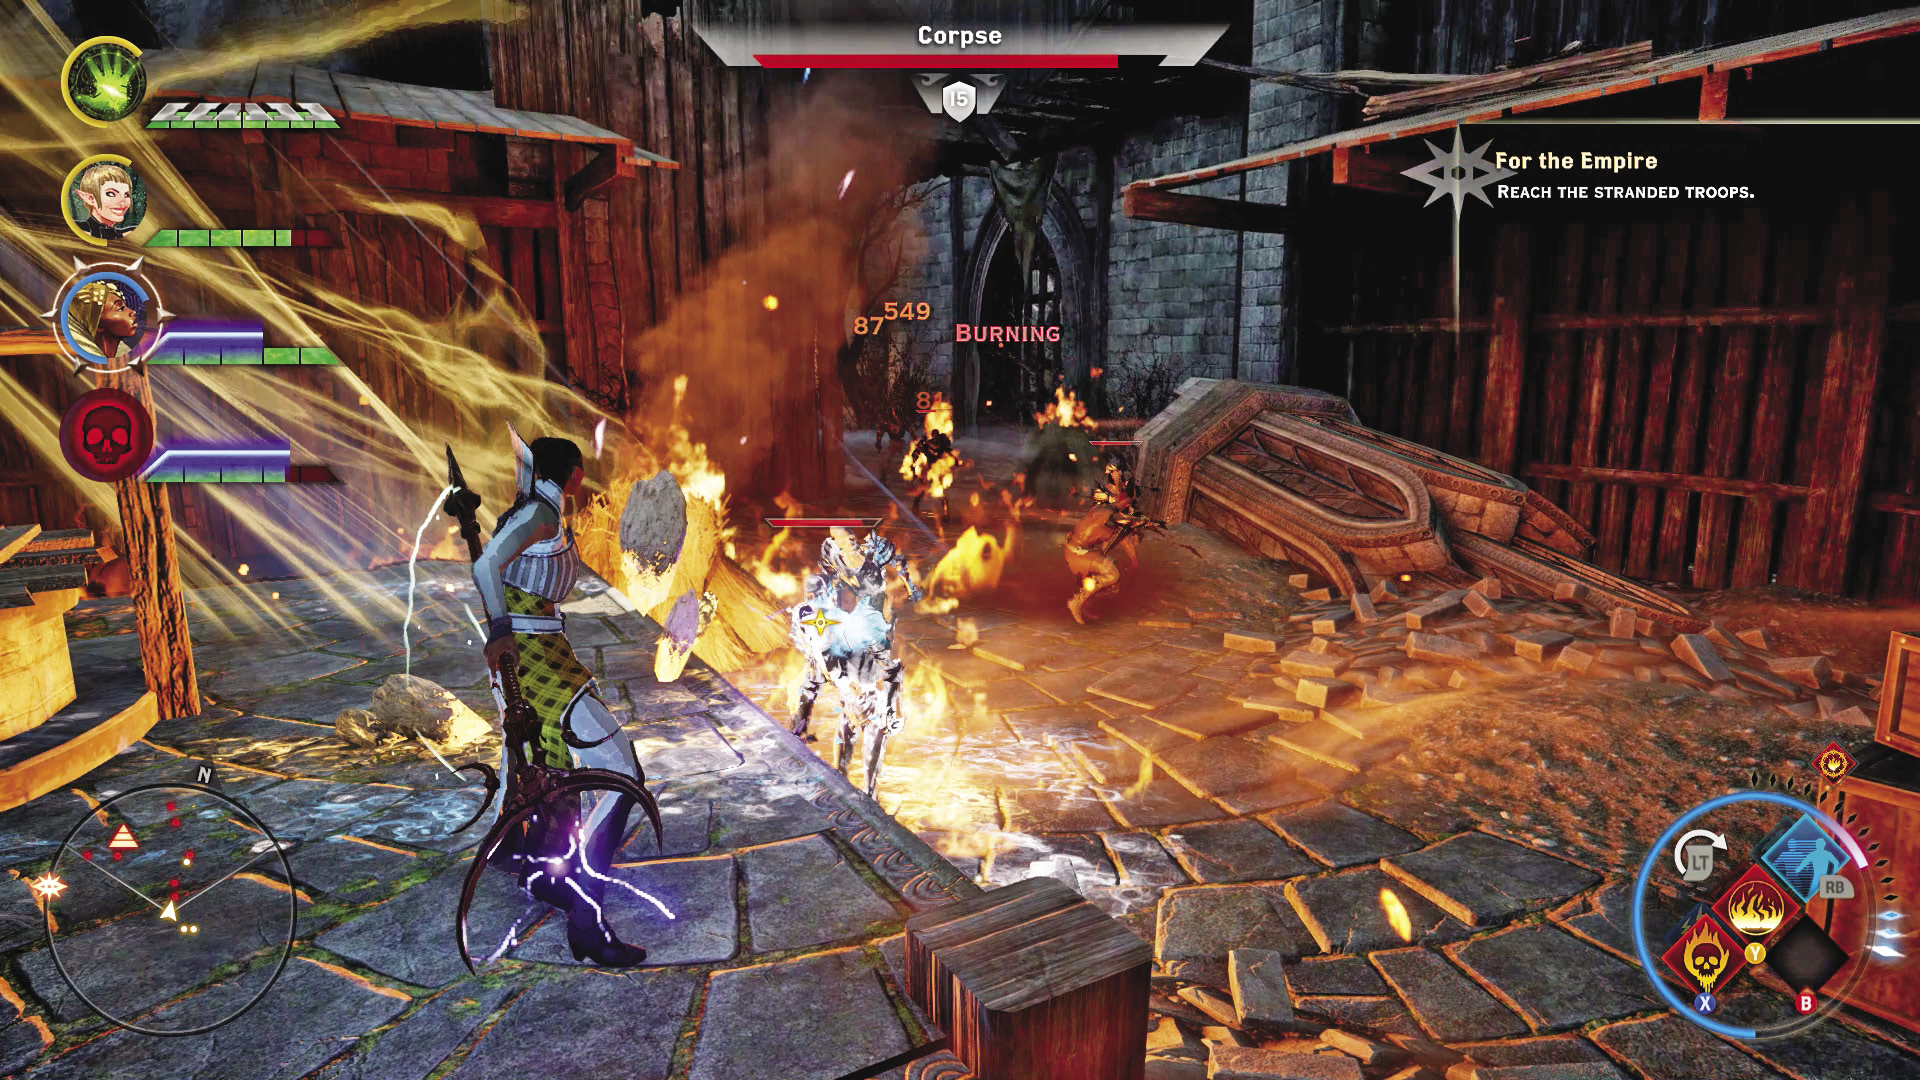
Right away, you know something is up when a beam of fire shines down from a castle tower, burning across the ground and through the undead swarming to greet you. The beam follows a specific pattern, so you can stay out of it while fighting the undead that manage to make it to you. Don’t miss collecting the landmark in the courtyard, then push past it to find a locked gate. A wounded survivor explains that the castle defenses were uncontrollable, but that there may still be survivors. Open the gate and press forward.
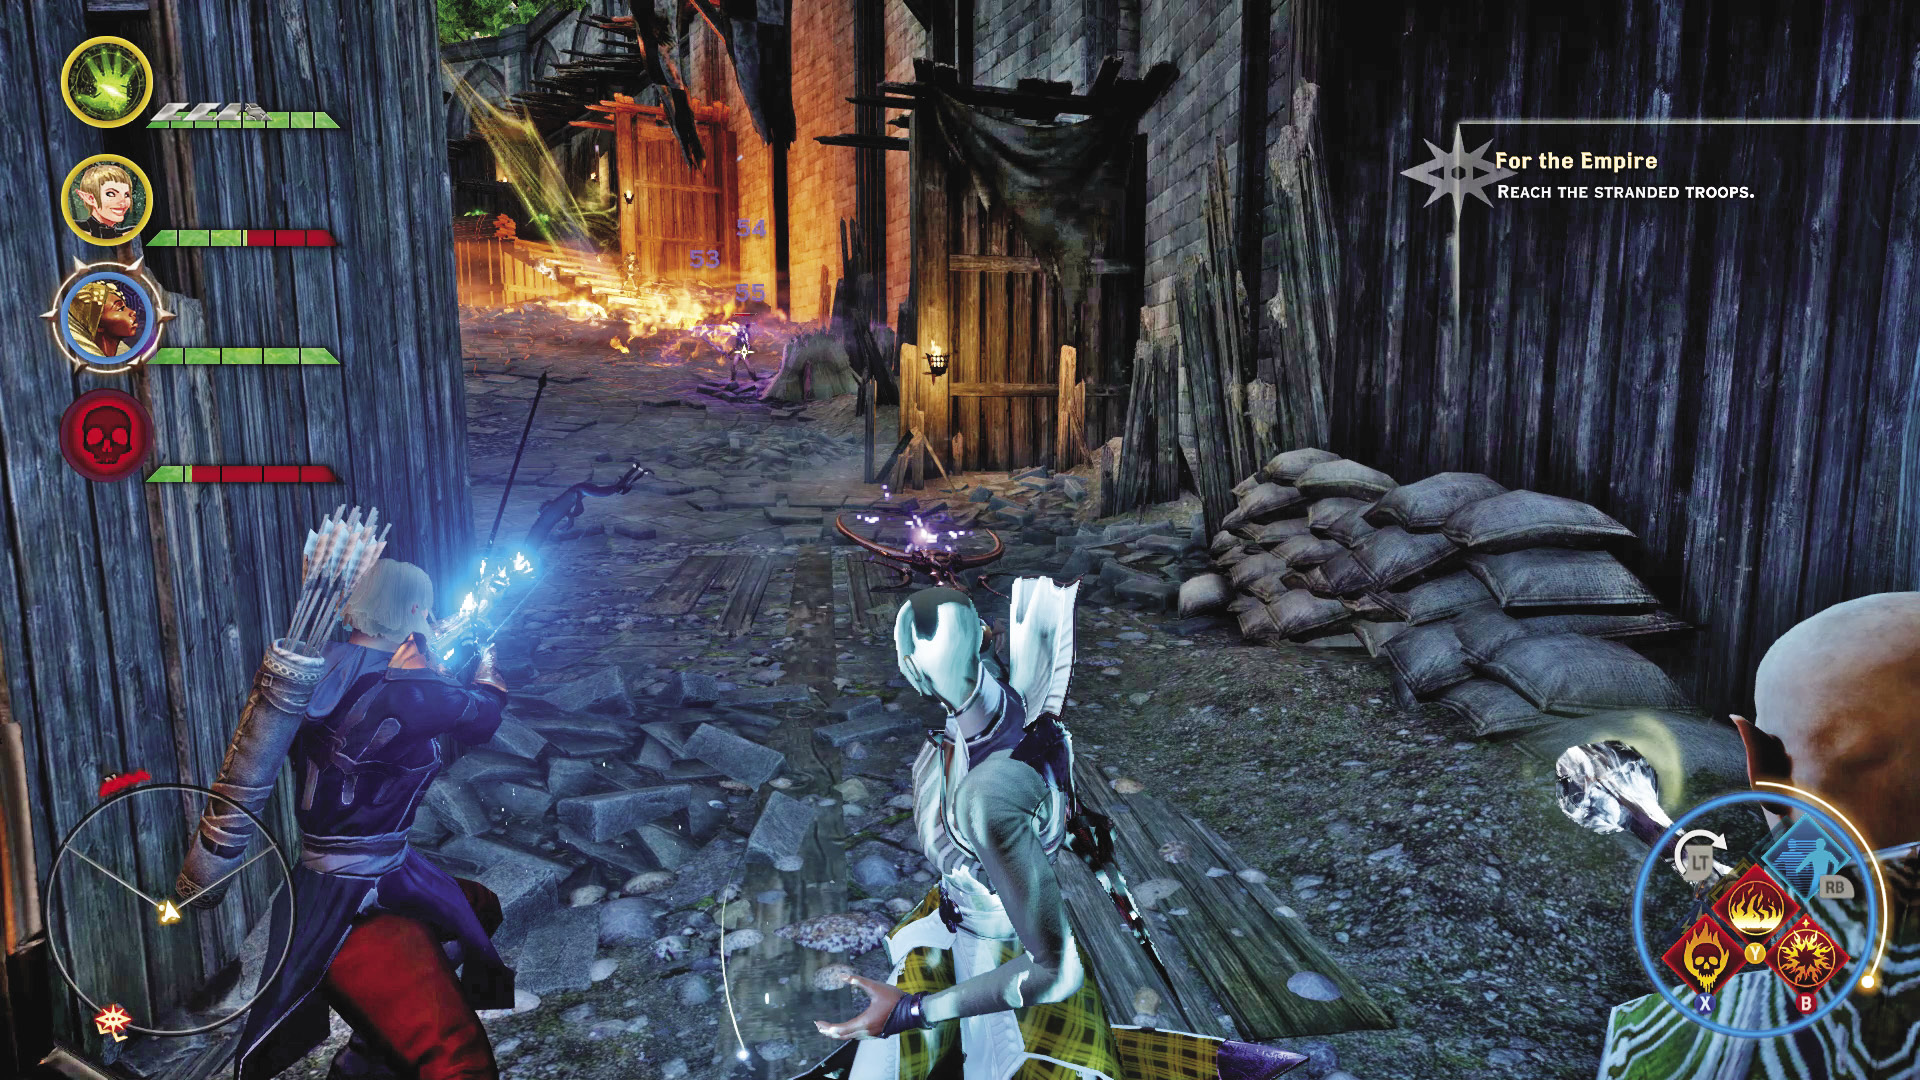
The next corridor leads you past another section under guard by that magic weapon. Don’t dally in that corridor for too long, lest the beam catch your party and the undead together. Fight through them as quickly as you can, and keep following the stairs up.
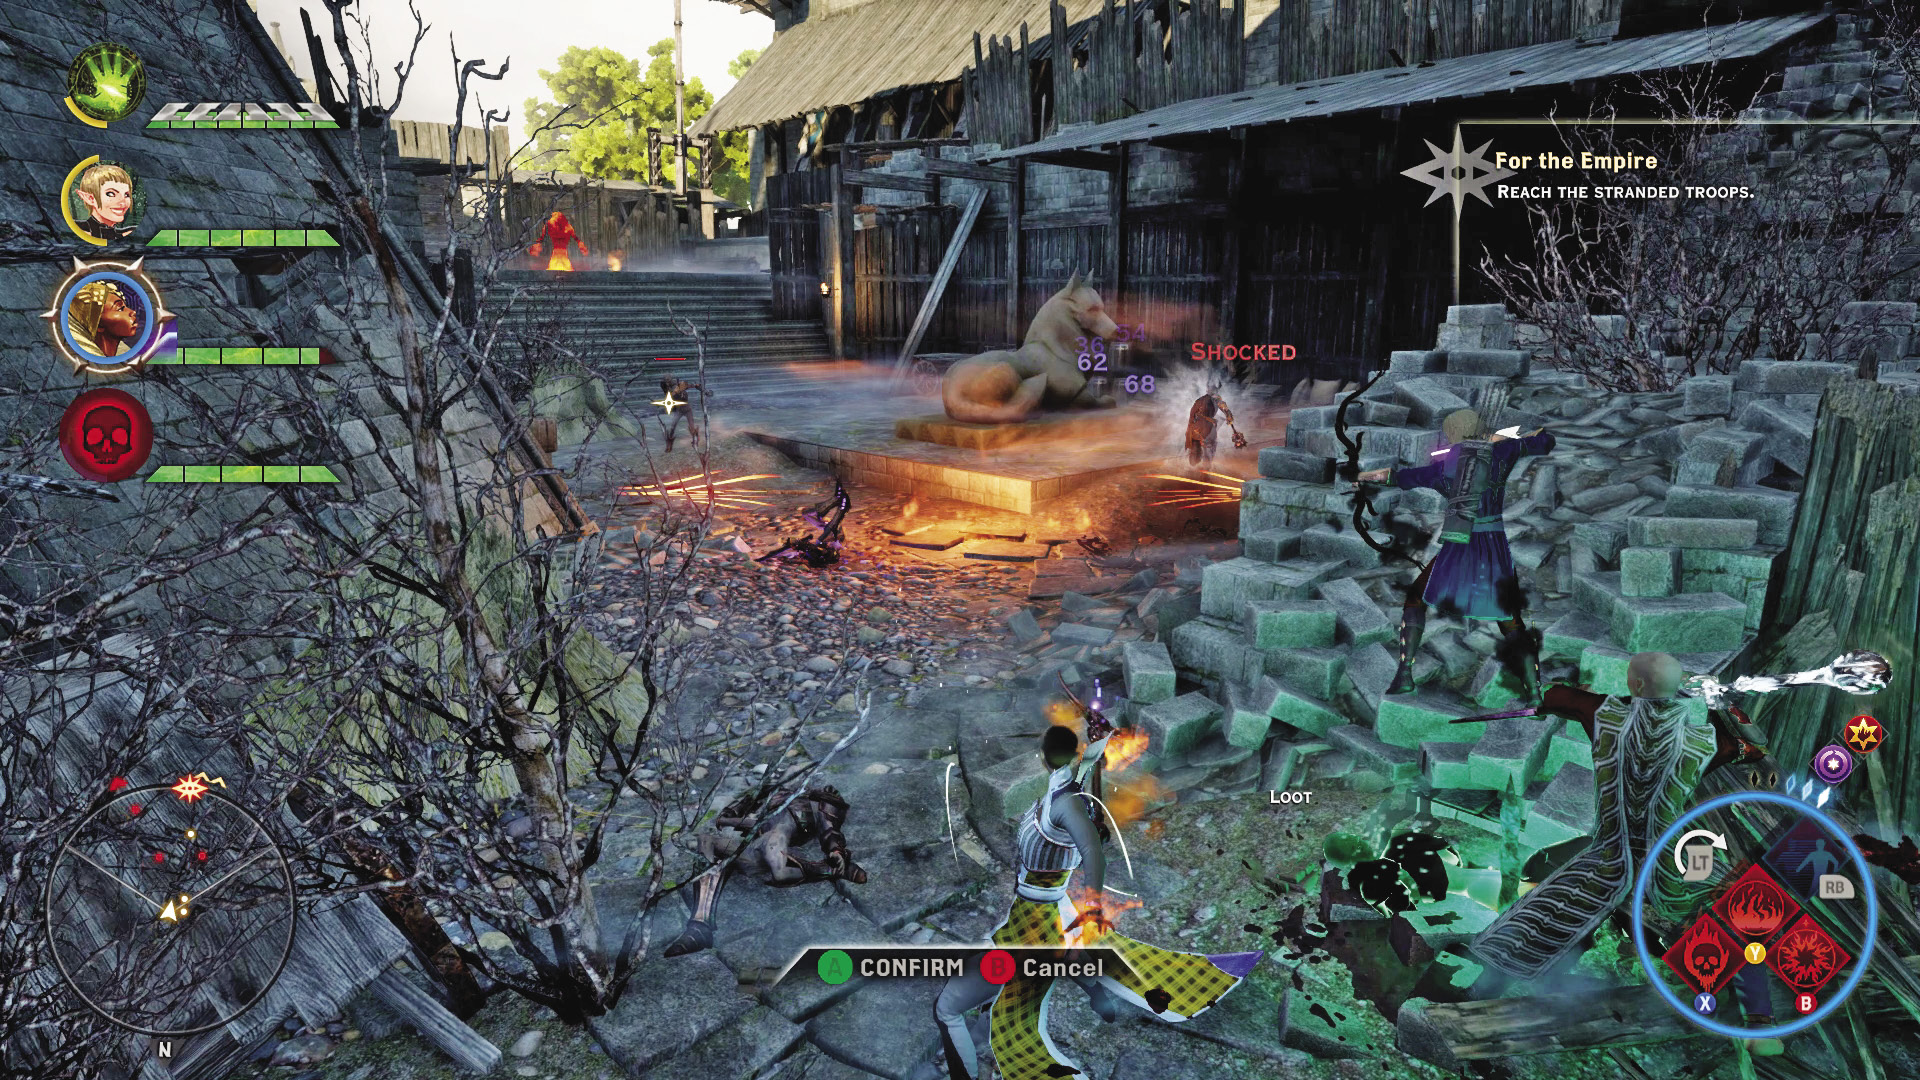
The upper level of the citadel is a disaster zone, totally ravaged by the tower’s beam and the hordes of undead. It is possible to search the area for treasures, but it might be best to push toward the survivors’ position. That way, you’ll be able to shut down the magical defenses scouring the place and make your treasure hunting easier.
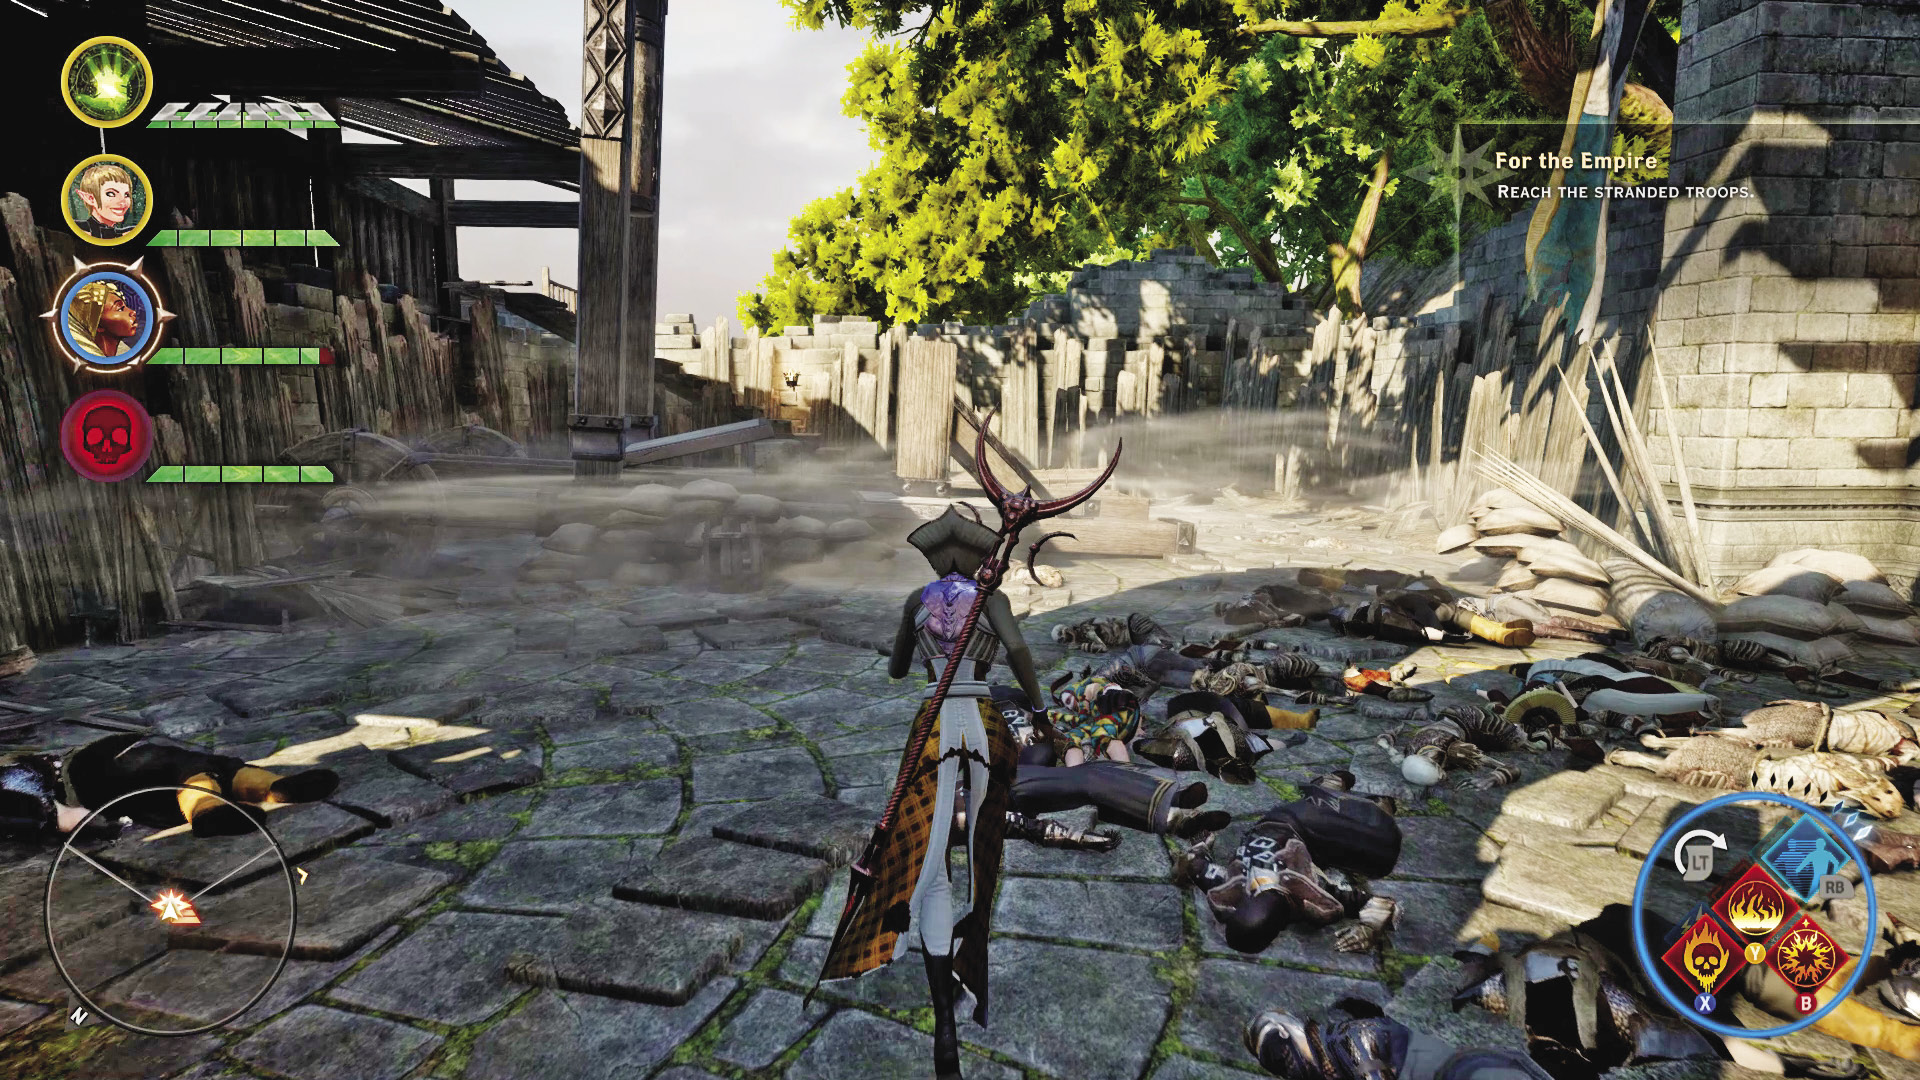
Eventually, you encounter a mass of corpses lying in front of a locked door. You’ve found the last place the holdouts could have run. Before you can greet the survivors, you must disable the castle defenses by working a rotating lever on one of the walls. Afterward, you can go down to the door where a survivor will, after some convincing, allow you inside, completing the quest.
24: Pressed for Cache

Quest Giver: Commander Jehan
Description: Supply caches belonging to the Imperial Army have gone missing in Lake Town. Mark the crates so they can be collected.
Requirements: Complete the For the Empire quest.
Reward: 967 XP, 200 Influence, 2 Power
Objectives:
 Find 10 supply caches.
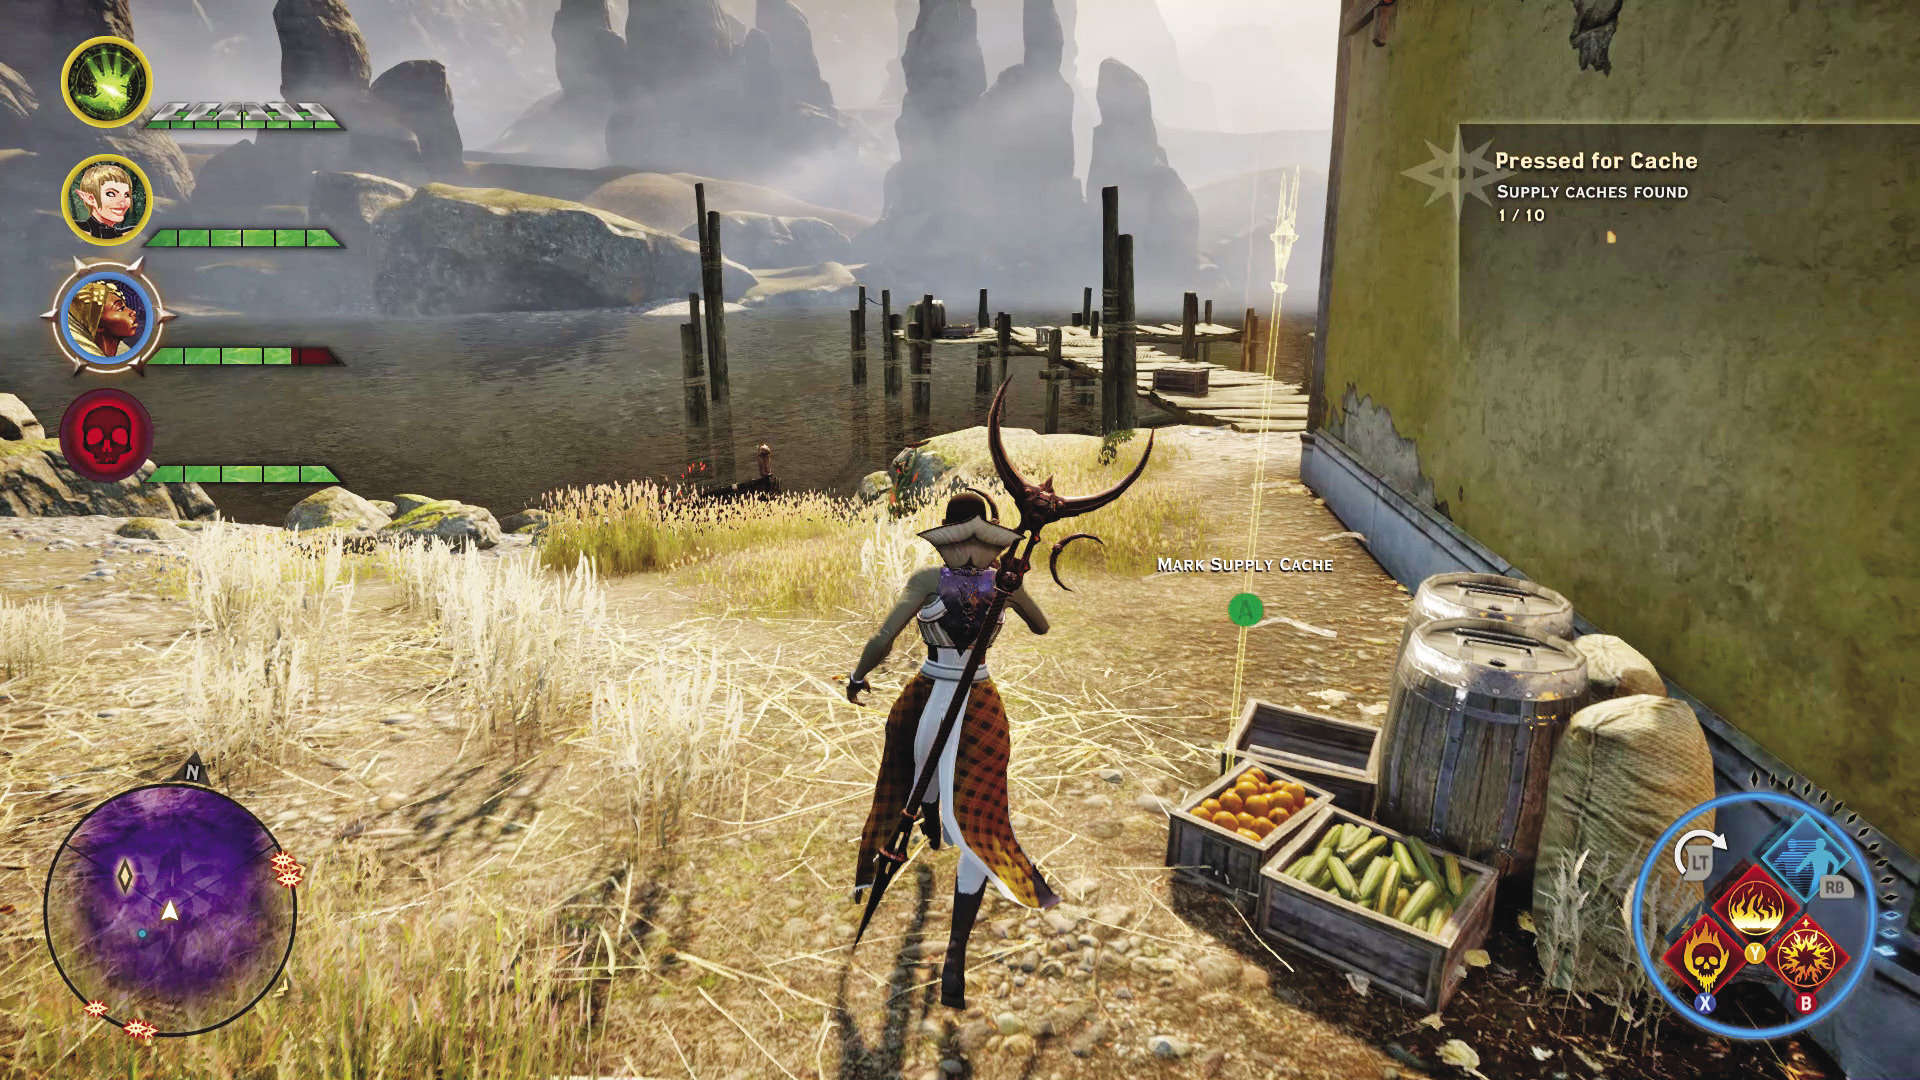
The few survivors in Citadelle du Corbeau have been scraping by on minimum supplies in the weeks following the cease-fire and the flood of undead storming the castle. Ten crates, scattered throughout the Exalted Plains, belong to the Imperial Army, and if they are marked for pickup, Celene’s troops can get resupplied. Compared to what you just did to simply reach the troops, this is a walk in the park. Find all 10 caches to complete the quest.
25: High Dragon: The Gamordan Stormrider

Recommended Level: 13+
Recommended Party Composition: One warrior (sword and shield), one rogue (set up for ranged combat), two mages (armed with non-electric damage staves)
Alternative Party Composition: Two warriors (sword and shield, two-handed weapon), two mages (armed with non-electric damage staves)
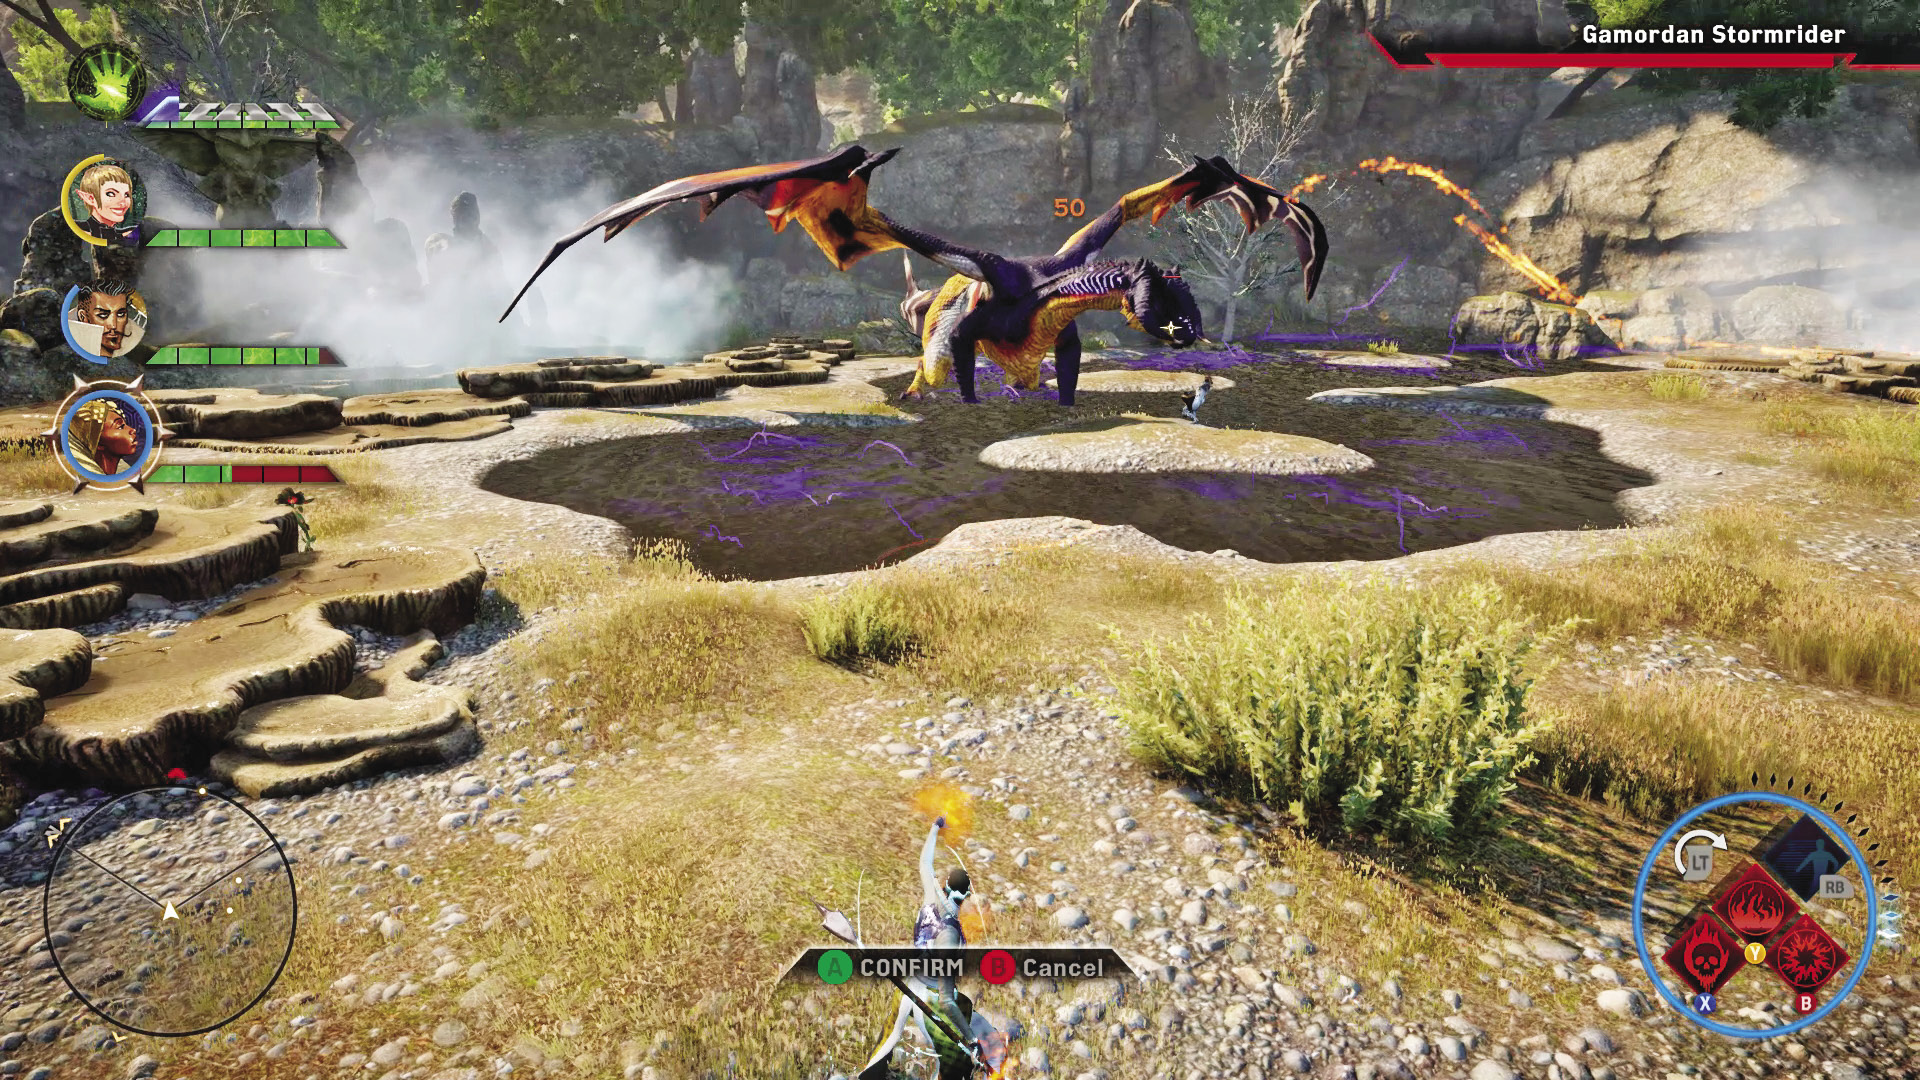
Initial contact with the Gamordan Stormrider occurs as soon as you enter the Crow Fens. She ignores you and travels north, to the place where you will battle her. An electric-type high dragon, the Stormrider fights as you’d expect most other high dragons to fight, in terms of melee abilities: tail swipes, claw strikes, and piercing roars that stun the party are all part of its arsenal. She will leap around the watery arena and lash out at seemingly random targets of her ire.
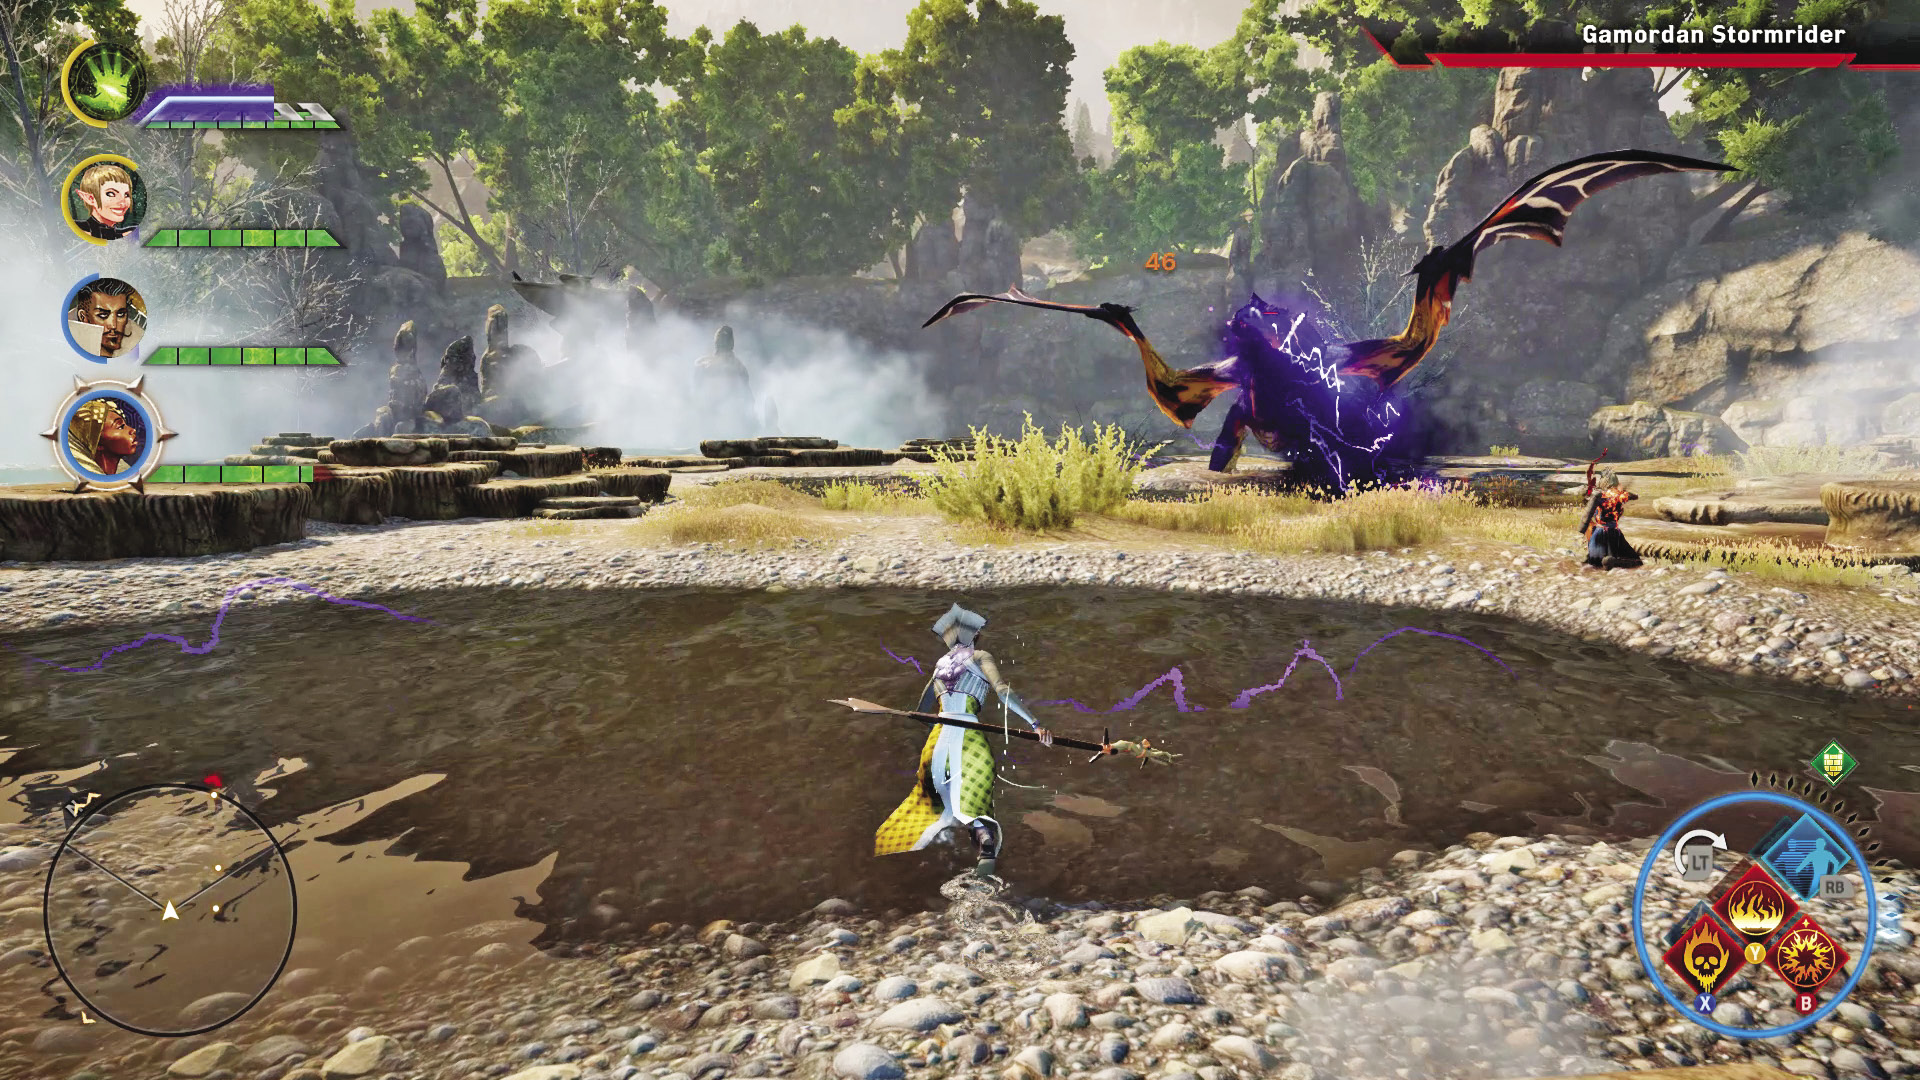
However, the real threat comes from her electric breath. When the Stormrider begins spitting lightning, that’s your cue to get out of the water. After several seconds, any party member in the water will be stunned in place while taking damage!
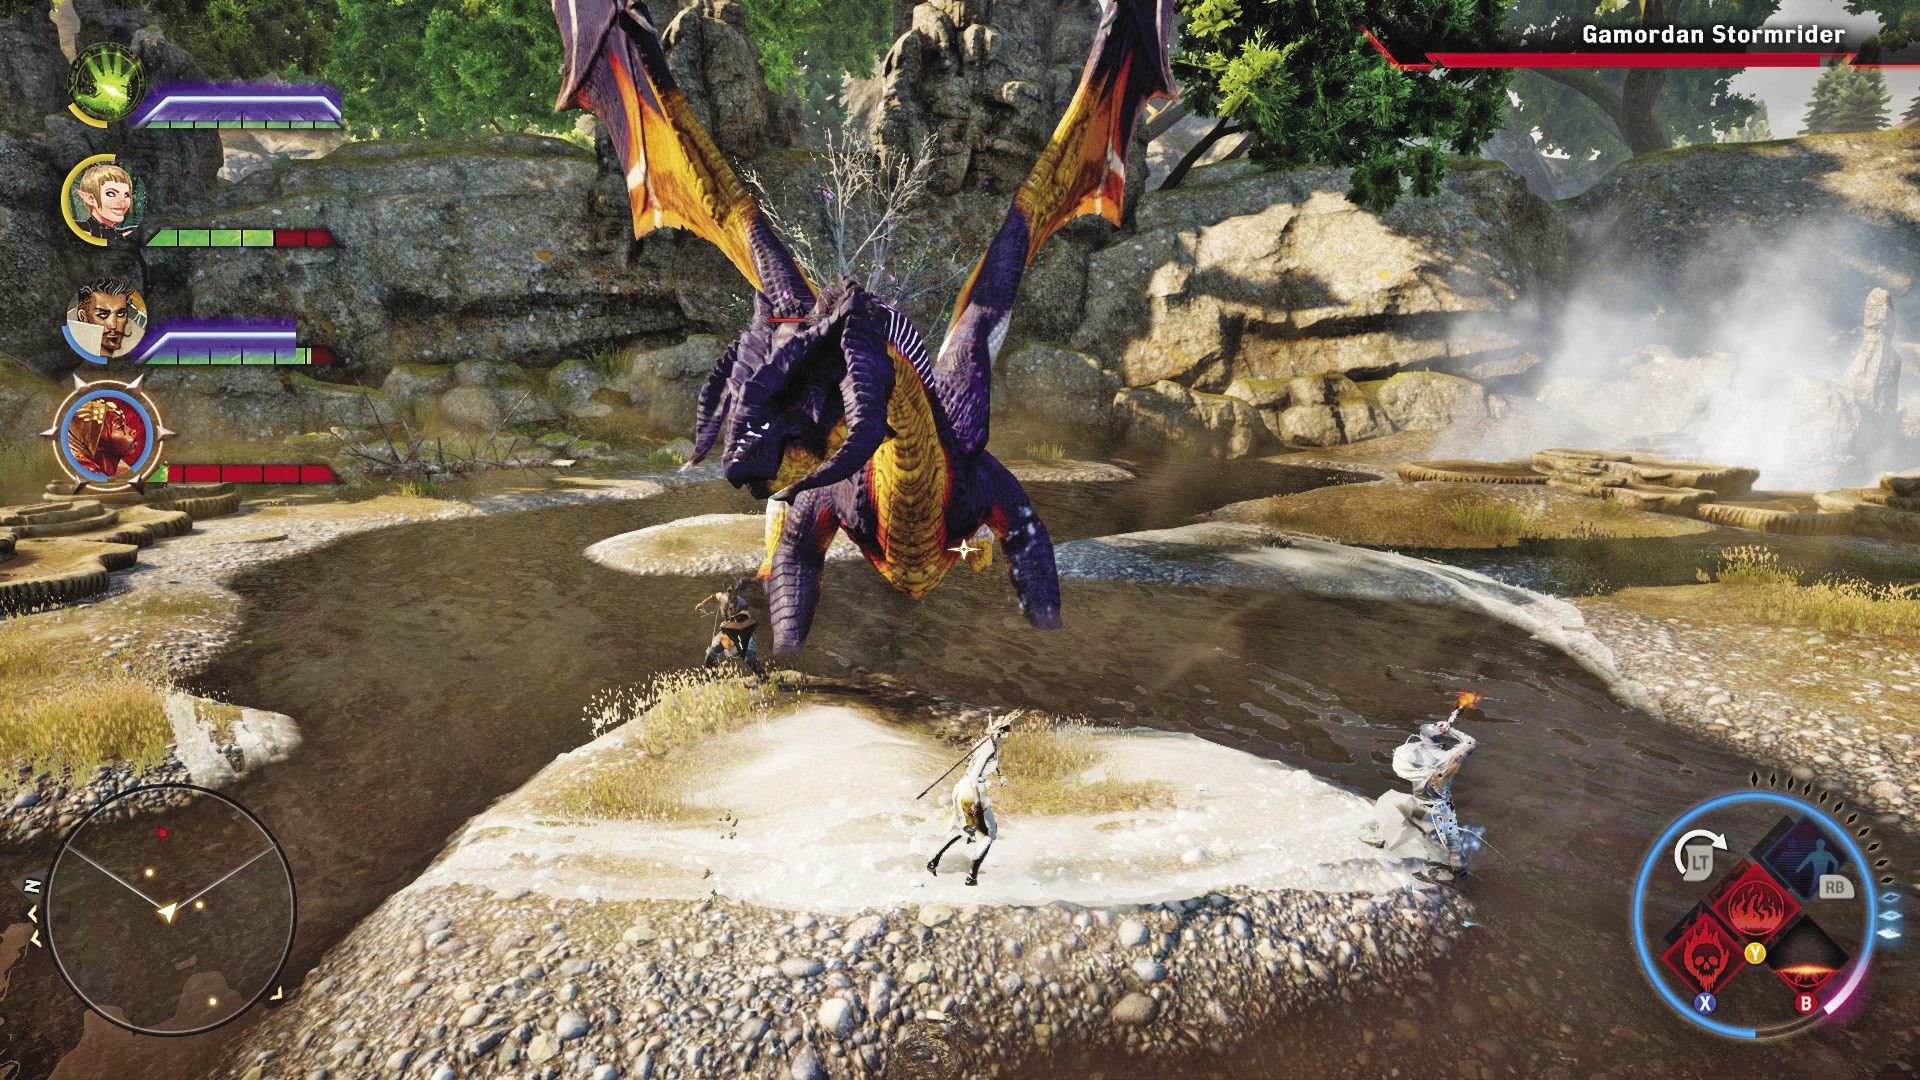
This makes engaging the Stormrider a difficult task for melee characters, as they’ll spend a good portion of the fight unable to do anything. Since the Stormrider can’t be taunted, a stunned tank will not be able to grab her attention when she decides to go eat a mage or ranged rogue.
Bring electric resistance and any stun-reducing items if you can, especially for the Inquisitor. Have your mages ready with Heal to spend their focus on, and make sure they are standing on dry land as the fight progresses, so they can’t get stunned by the electric breath. Mages should also have spirit damage runes on their chosen staves, to get that extra bit of damage rolling. Fortunately, when the Stormrider breathes lightning, she’s also standing in place, allowing your ranged fighters to really go to work.
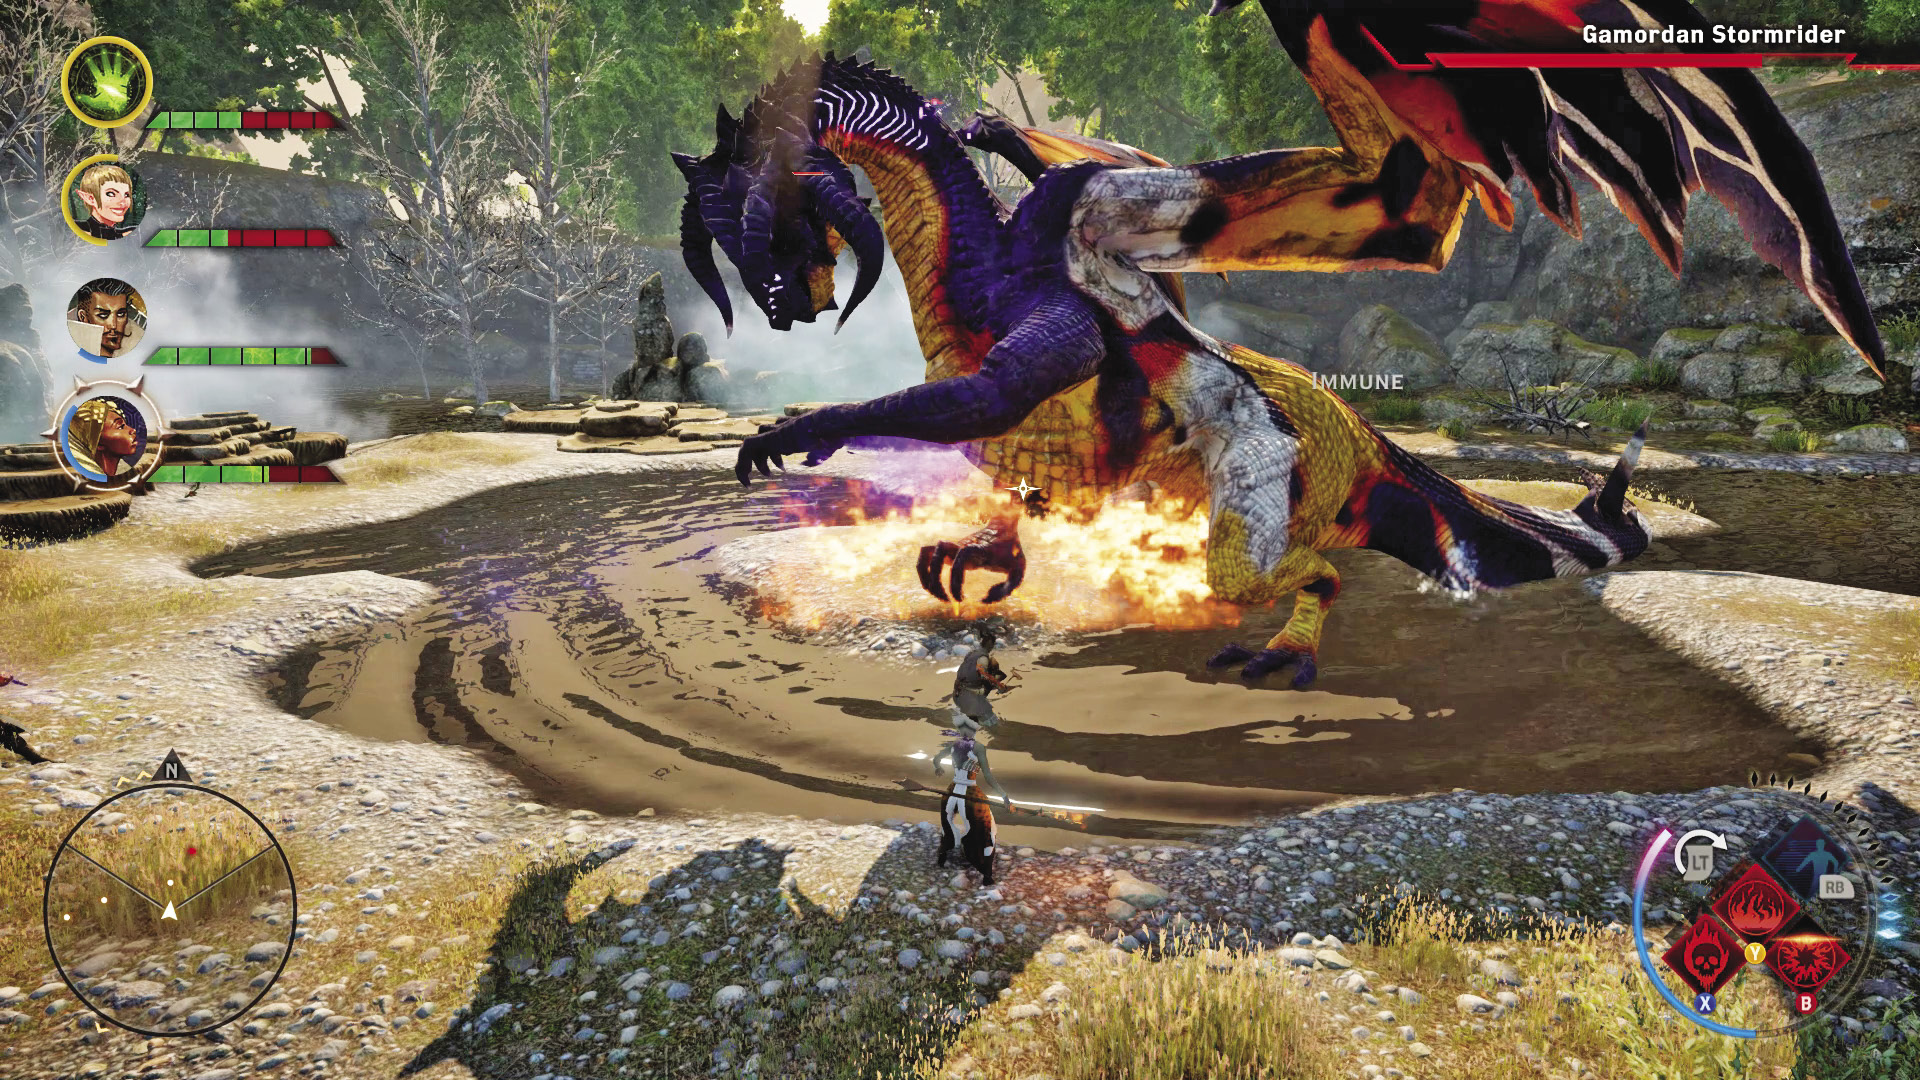
Ideally, your Inquisitor comes to the fight with a filled focus meter, so Mark of the Rift can be dropped on the high dragon if the party manages to knock her down. Other preparations should include jars of bees or other damaging concoctions to throw at the Stormrider throughout the fight.
Above all else, this is a fight that demands patience and finesse, especially if you’re at or just under the Stormrider’s level. You only have so much in the way of healing resources, so you really have to be on the ball when it comes to avoiding preventable damage and stuns—otherwise you’ll be whittled down before long.
26: Dungeon: Lost Temple of Dirthamen
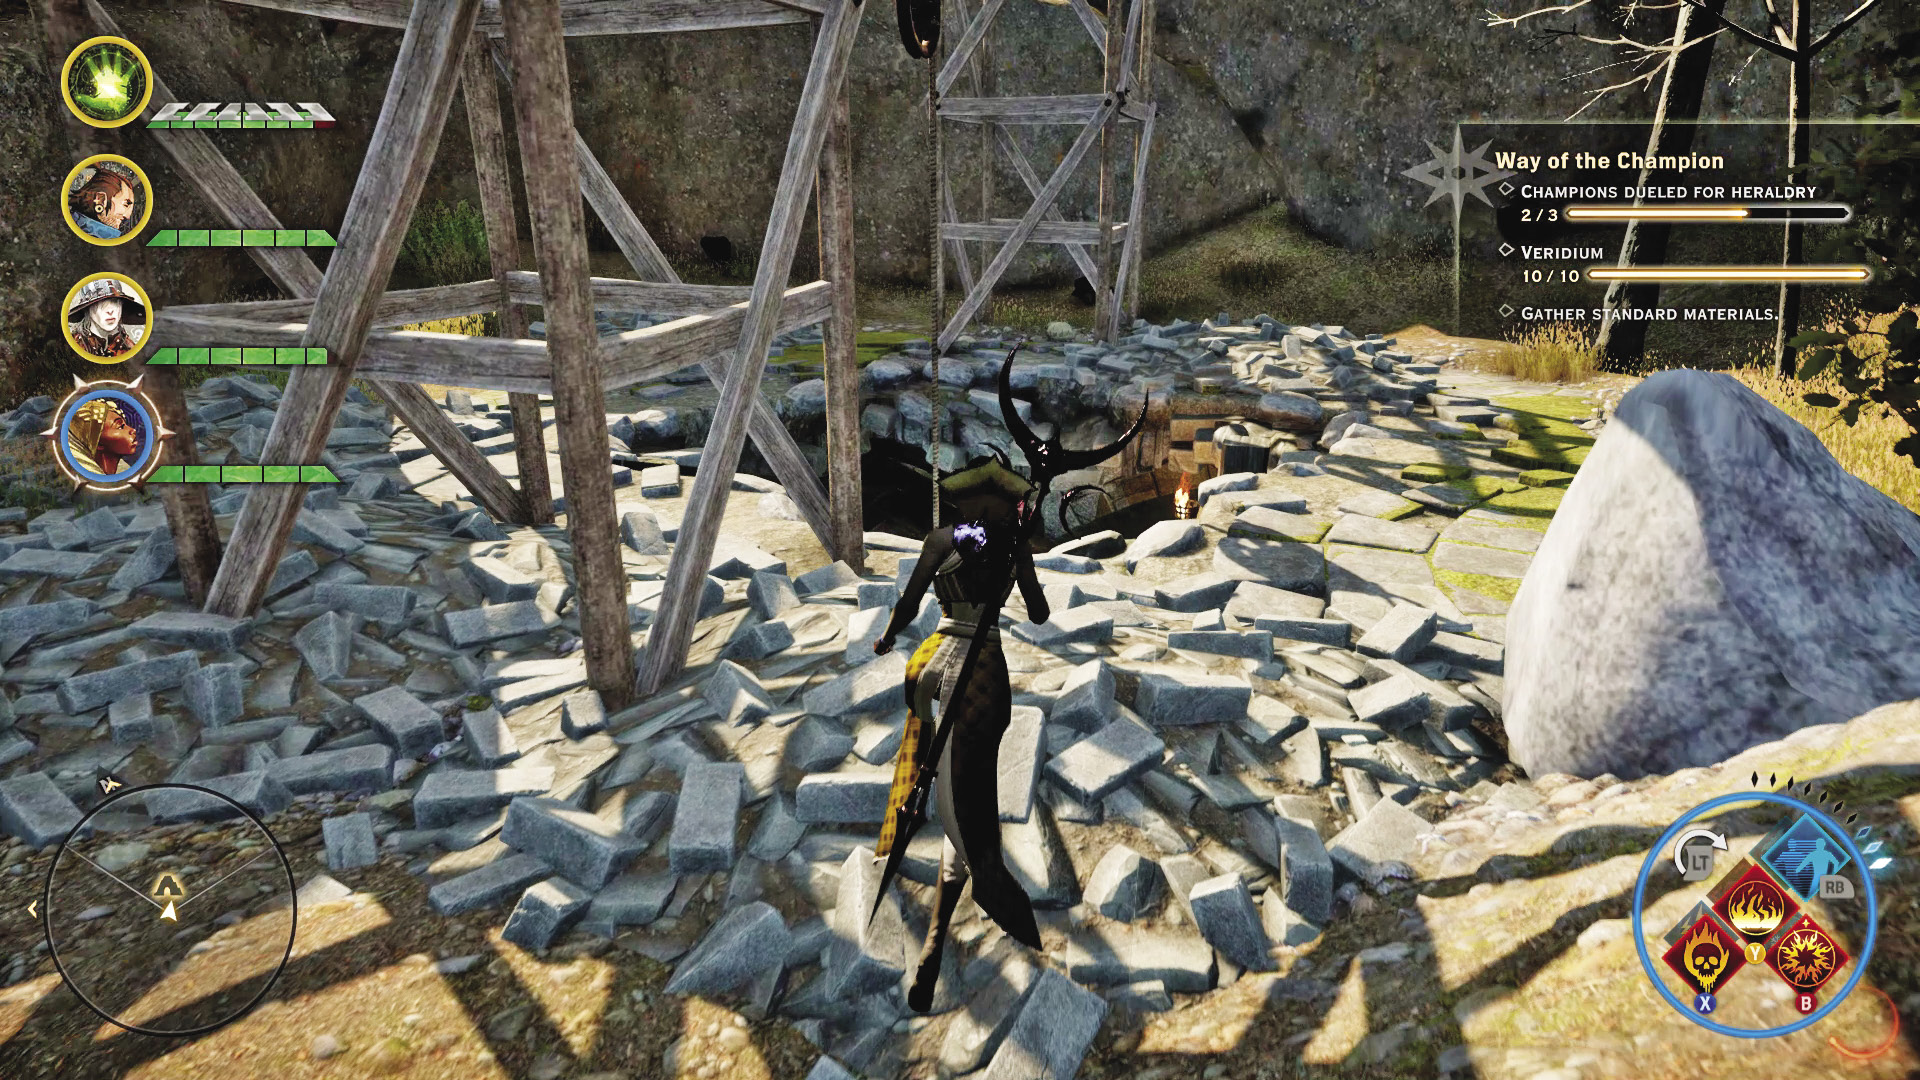
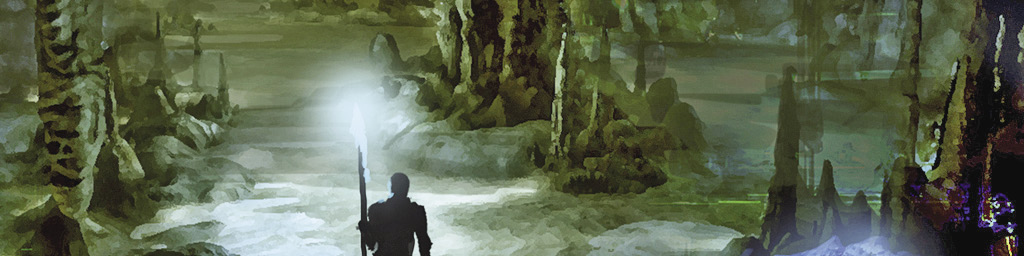
Thanks to the research done on the glyphs found in the Exalted Plains, this temple dedicated to the elven God of Secrets has been revealed on the world map. While it’s not an absolutely critical location for the Inquisition, the secrets that lie within this long-abandoned shrine may provide an additional boost to the Inquisition’s war effort. Bring a mage to make veilfire and a rogue to pick locks if you want to fully explore this place.
Lost Temple
God of Secrets
Quest Giver: War table in Skyhold
Description: Cillian’s reading of the glyphs has revealed the location of the Lost Temple of Dirthamen. Who knows what secrets this ancient eleven ruin may hold.
Requirements: You must complete the Scattered Glyphs quest.
Reward: 1,934 XP, 400 Influence, 3 Power
Objectives:
 Investigate the area.
 Recover six sets of remains.
 Summon the Highest One.
 Search the Chamber of the Oracle.
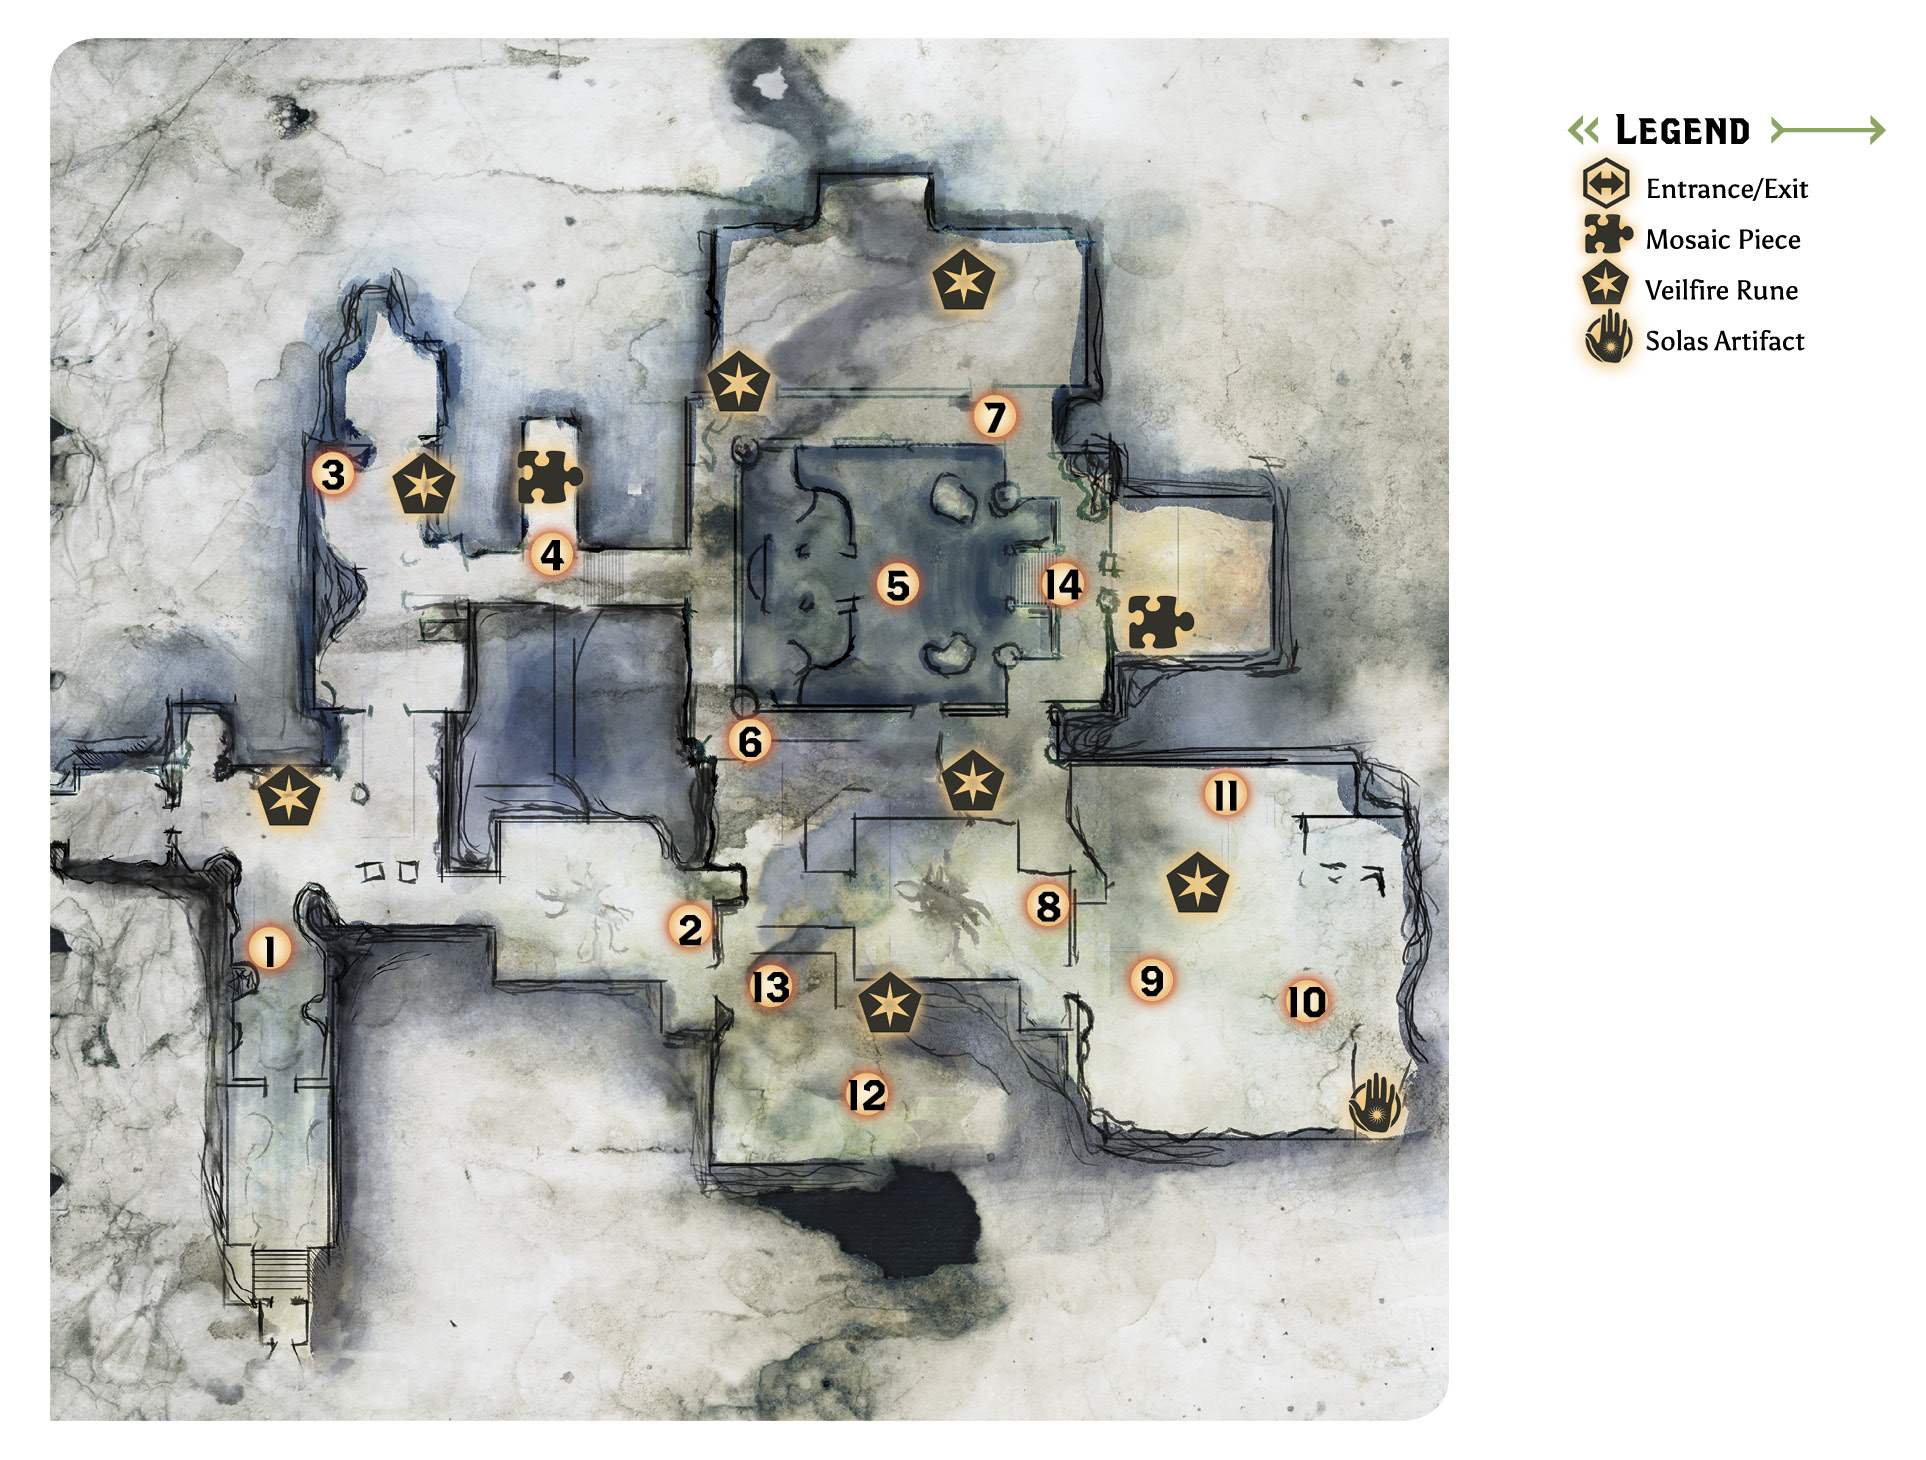
1. Arriving in the temple, you find it wet and dark, though you encounter a veilfire torch as you reach a T junction in the corridor. Hang a left to reach the Chamber of Misery. There’s a statue inside that requires the veilfire torch to light the offering bowl in its hands. This causes an ambush of undead to appear in the room. Take them down, then continue down the main corridor in the opposite direction. Every time you pick up one of the remains, you are attacked by undead! Be sure to not only wipe them out but search the loot they drop.
2. There is a locked gate at this location, but you have to go through the rest of the temple to reach the mechanism that opens it from the other side.
3. Another chamber of remains is just past this waterfall, but you can’t take the torch through the water without losing it. First use the lever to the left of the waterfall to shut off the water flow, allowing you to take a veilfire torch into the Chamber of Whispers. Once again, collecting the remains from the statues causes an undead ambush. This room also contains a rune for the Runes in the Lost Temple quest.
4. An ice barrier on the left side of this corridor can be taken down, leading to some loot and a mosaic piece in the Freed Are Slaves collection.
5. The sanctuary is the central area of the temple. It is where you will return to once you have all six remains.
6. The Chamber of Sorrow is in a room on the south side of the sanctuary as you enter it for the first time. Taking the remains from here will cause more undead to rise up and assault your party.
7. On the north side of the sanctuary is the Crypts of the Forgotten room. It has a door that a rogue needs to unlock. This lets you reach another of the six remains. More undead rise to take back what you’ve stolen. Make sure to loot their corpses for a key that will let you go farther into the temple. Also, thoroughly search the full extent of the Crypts of the Forgotten for another two veilfire runes.
8. Another locked door for a rogue is at the end of this corridor. To the left is another gate opened via level, allowing to make your way toward the Chamber of Unheeding.
9. A warrior can kick through a section of wall just past the gate. One of the runes is inside this secret room, along with more loot.
10. Across from the breakable wall is another winding corridor that takes you to another veilfire rune.
11. Taking the remains from the Altar of Unheeding causes an arcane horror and two undead to appear.
12. Going through the Path of Secrets, make sure you search for another veilfire rune to the left of the stairs as you’re climbing up them.
13. The Chamber of Despondency takes you back to the gate you found near the start of this little jaunt, with the final piece of the remains. A lever near the offering statue allows you to open the gate and take another path back to the central sanctuary or the temple exit. Taking the remains here causes a trio of arcane horrors to appear in this room. Have your mage ready with fire spells to help take them down faster!
With all the remains recovered, return to the central sanctuary and place them on the altars at the center of the room to summon the Highest One. What appears is a level 15 elite despair demon. At random intervals, the Highest One will create an arcane barrier that should be dispelled by your mage as soon as possible. Meanwhile, throughout the fight, you will be forced to contend with undead constantly rising from the waters in the lower part of the room. Remember to use Mark of the Rift should you need the extra damage boost.
14. With the Highest One defeated, the door to the Chamber of the Oracle can be unlocked. Don’t miss another Freed Are Slaves mosaic piece inside that chamber while you loot the room. Cleaning out the glowing chest at the back of the room completes this quest! To leave, head back to the entrance of the temple.
However, it appears that you’re not the only ones who knew of this place. Depending on your choice of whom to side with, you will face mages or red templars as you reach the exit to the temple!
Runes in the Lost Temple
Quest Giver: Finding a veilfire rune
Description: Find all veilfire runes.
Requirements: You must complete the Scattered Glyphs quest.
Reward: 200 Influence
Objectives:
 Find seven veilfire runes.
Close to the veilfire torch in the starting corridor is a statue. Walk next to it with the torch in hand to reveal a veilfire rune. Seven are hidden throughout the temple, and it’s worth your while to collect them all. You can reference their locations on the map.