
Dragon Age Inquisition Guide Jaws of Hakkon DLC
Side Quests (Recommended Level 20-24, 24+)
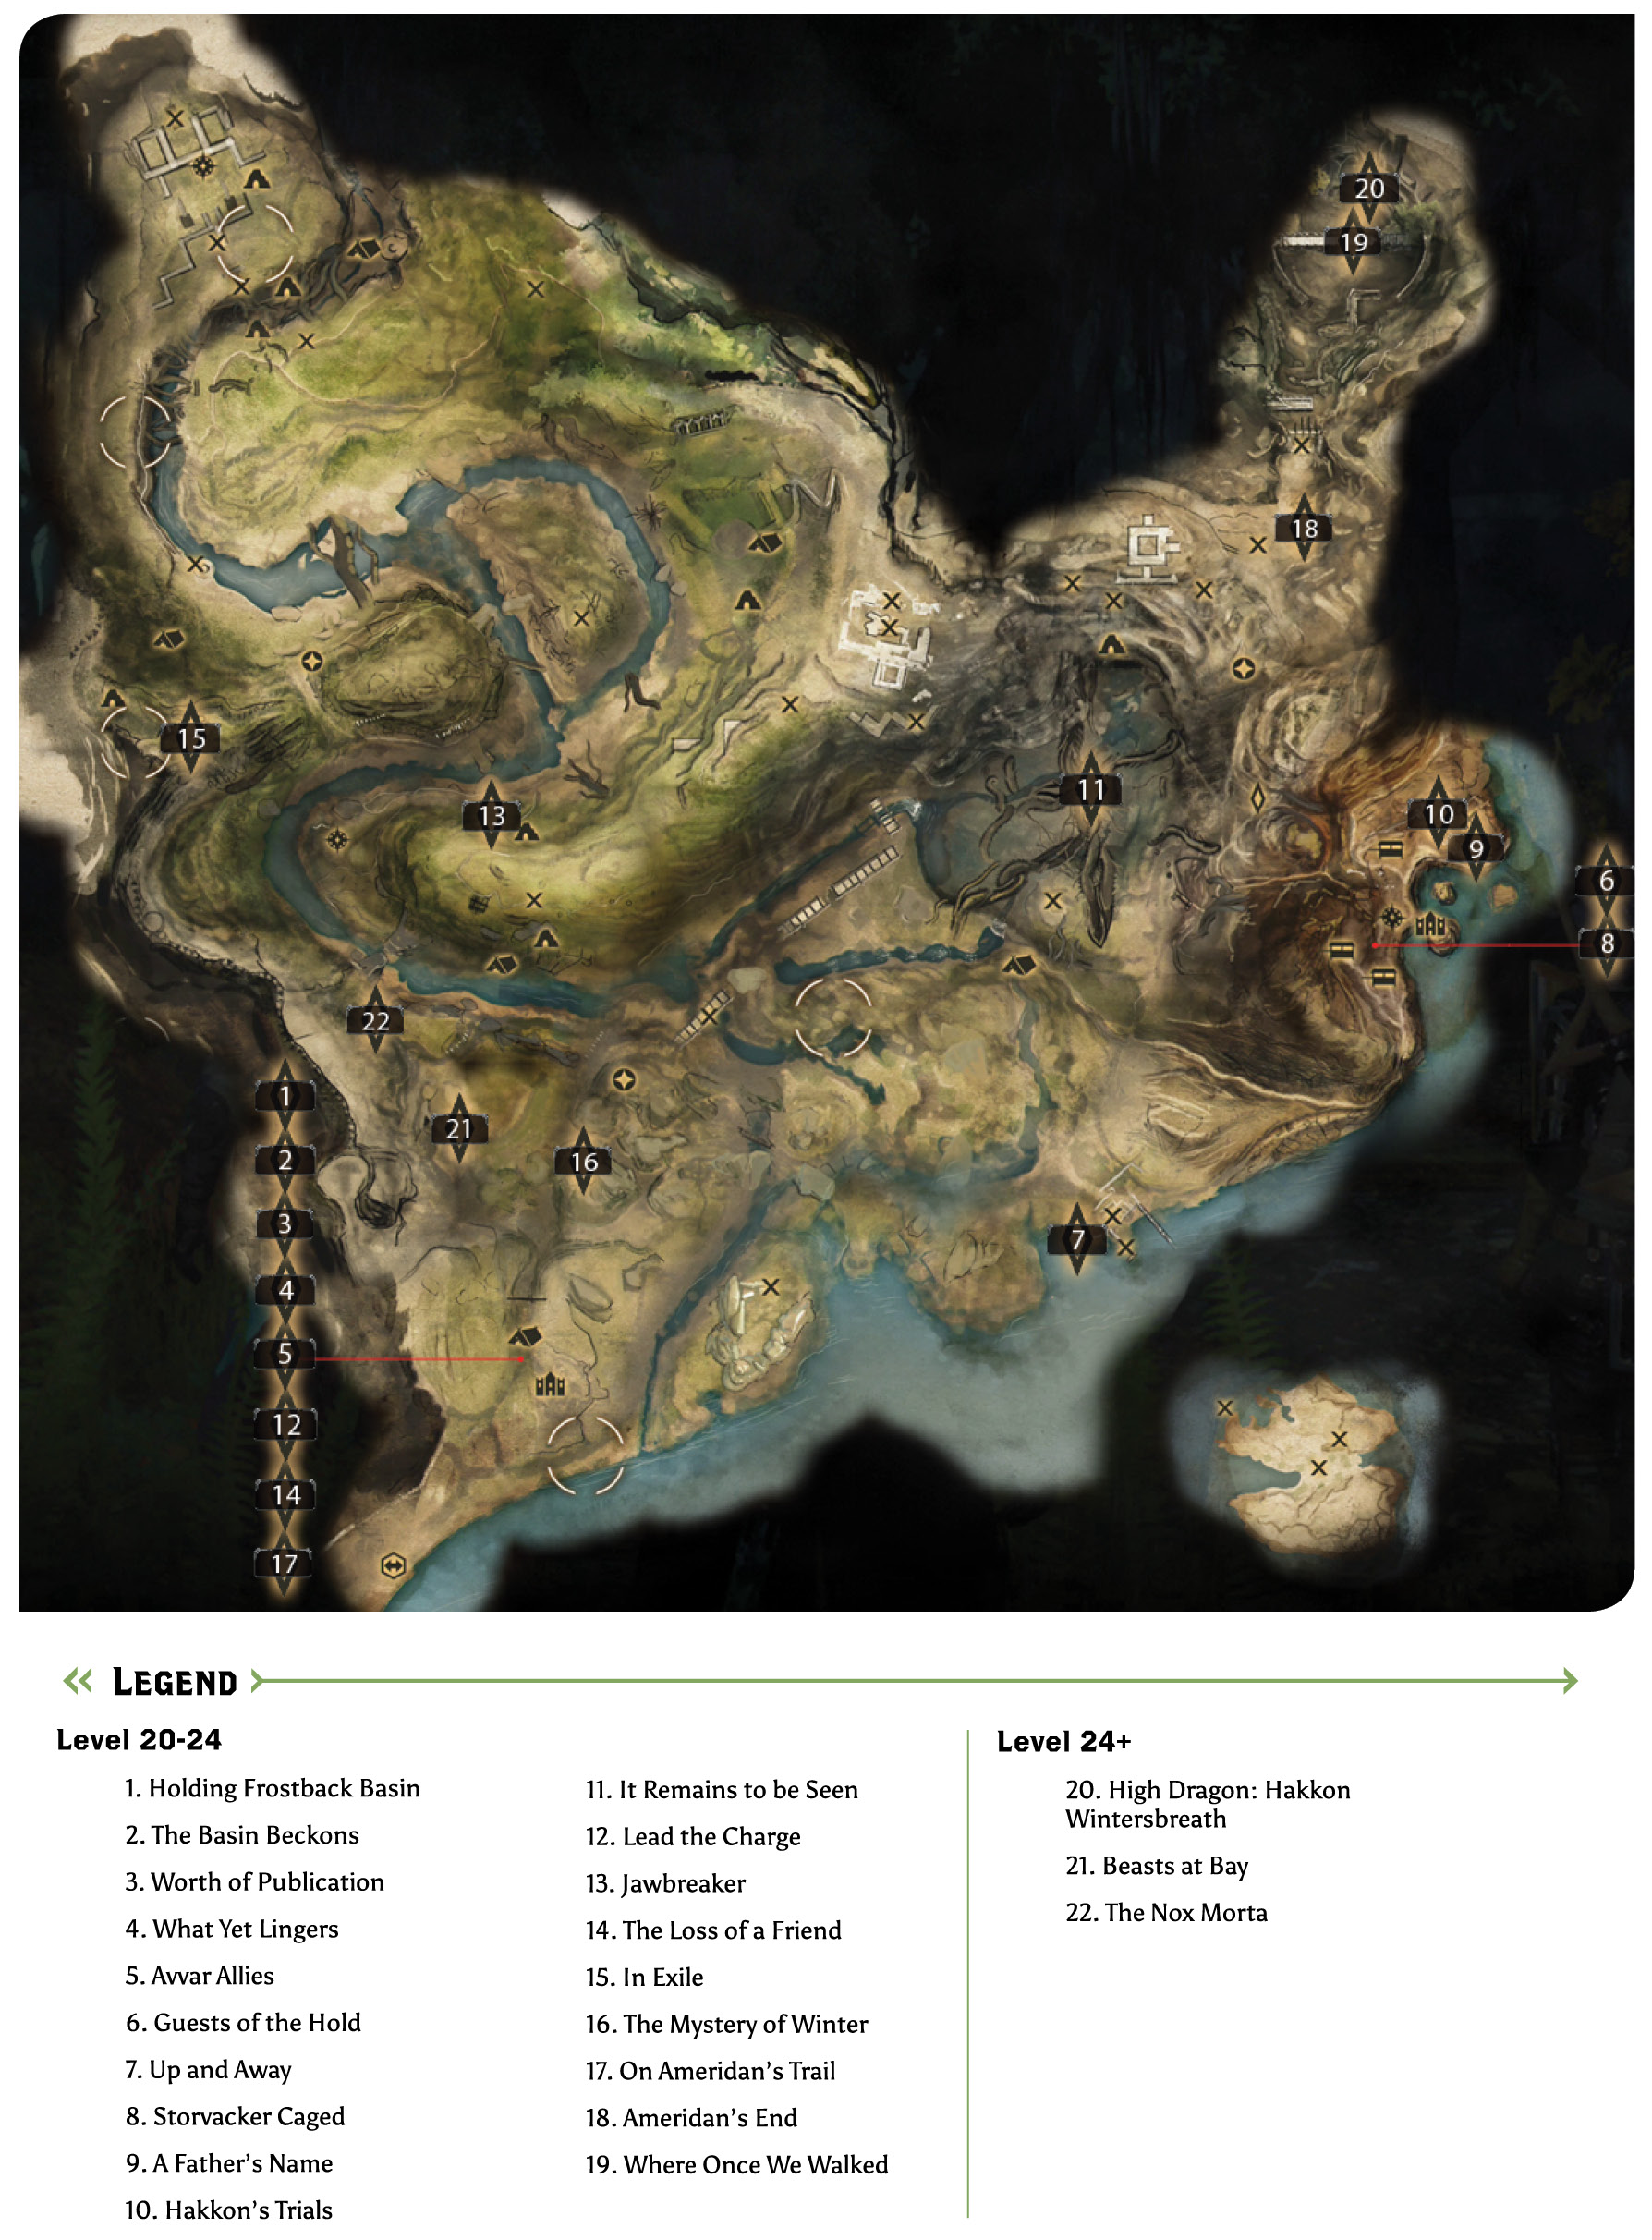
1: Holding Frostback Basin
Quest Giver: Scout Harding
Description: Establish camps to hold Frostback Basin and support Inquisition activity in the region.
Requirements: Started as soon as you arrive in Frostback Basin
Reward: 200 Influence and 1 Power per camp, except for the starting camp
Objectives:
 Establish six camps.
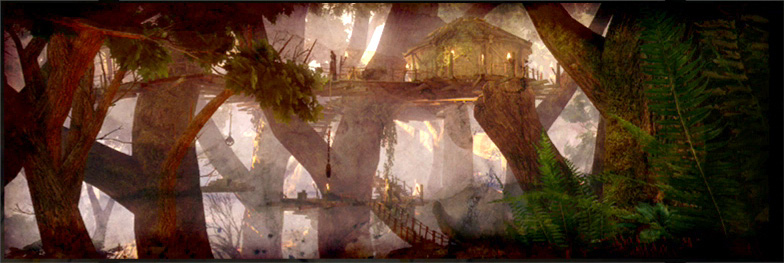
Six campsites are clearly marked on your Frostback Basin map while you have this quest actively tracked, and the first is set up as soon as you arrive in this locale. The first few camps are relatively simple to find because they are business as usual and they help you discover brand-new areas that have not yet been explored by the Inquisition. Venturing deeper into the woods and mountains of Frostback Basin, you will come across intricate tree houses stocked with crafting tables and providing shelter to stay safe from the large and dangerous animals below. Watch your footing on the treacherous terrain, but actively look up for alternative paths through the trees.
2: The Basin Beckons
Quest Giver: Scout Harding
Description: Now that the Inquisition has established a presence in Frostback Basin, Professor Kenric has a lead on Inquisitor Ameridan, and Scout Harding can outline potential risks in the region.
Requirements: Started as soon as you arrive in Frostback Basin
Reward: 100 XP
Objectives:
 Speak with Professor Kenric.
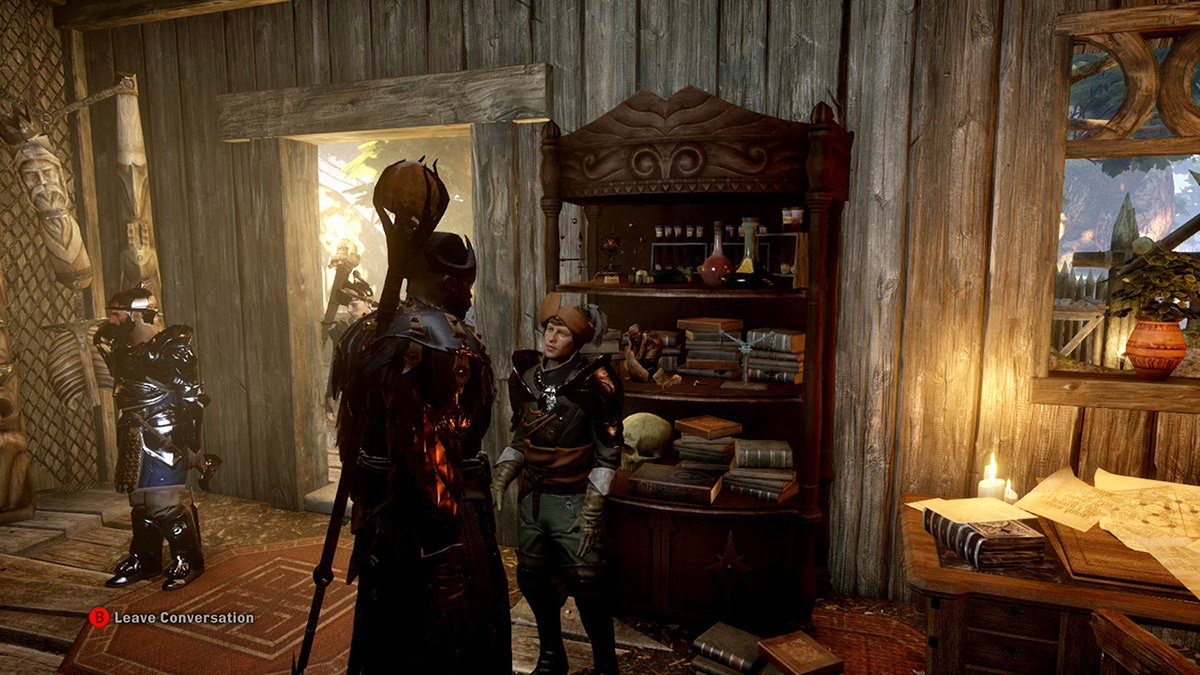
This quest is simply to lead you to speak with Professor Kenric, who has some information about Inquisitor Ameridan. Based on his research, he knows a little about an island off the coast of Frostback Basin. Speak with him and he will share what he knows to lead you on your way. He also mentions that a research assistant of his is currently investigating an old structure to the north, and she may have some useful information, so it may be worth meeting with her.
3: Worthy of Publication
Quest Giver: Professor Kenric
Description: Kenric’s research assistant, Colette, left to survey Tevinter ruins. Her findings could offer historical insight into the basin’s past.
Requirements: Complete the quest The Basin Beckons.
Reward: 1,316 XP, 150 Influence
Objectives:
 Find Colette.
 Rescue Colette.
 Speak with Colette.
 Meet Colette at the Tevinter ruins.
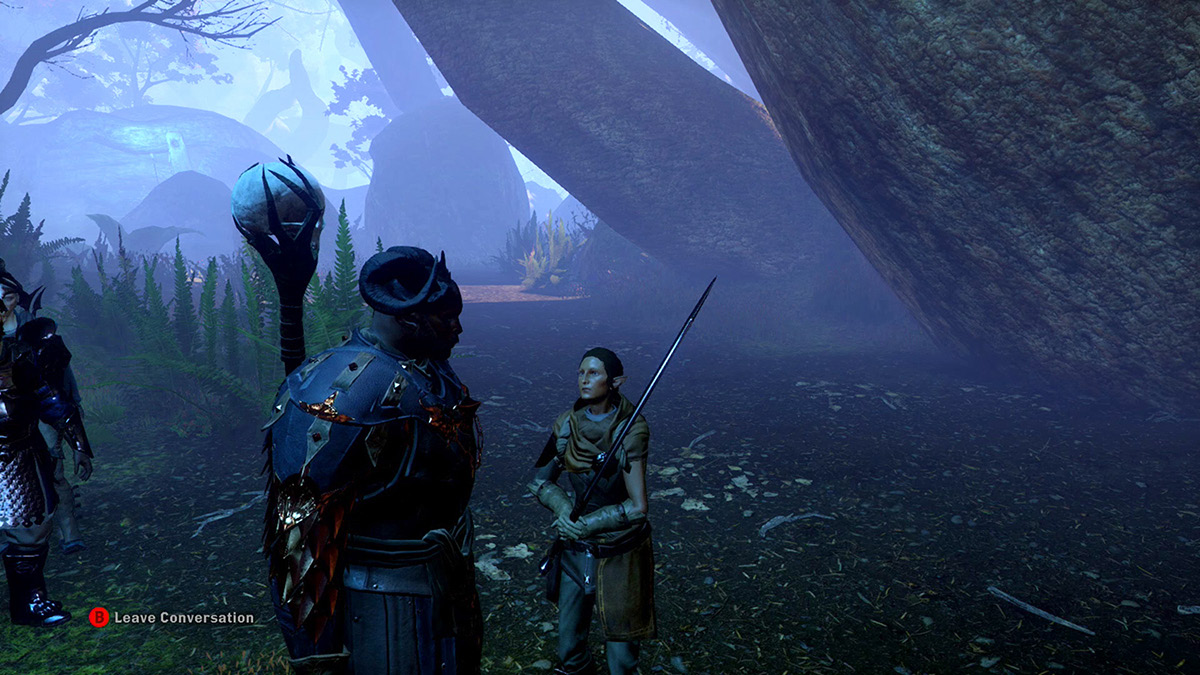
Professor Kenric mentioned that one of his research assistants had left to survey the Tevinter ruins; unfortunately, she went alone and might be in danger. As you travel to Swamp Kuldsdotten, prepare to come across a pair of lurkers attacking Colette. Save her and speak with her—she will thank you and ask you to meet her at the Tevinter ruins where she originally intended to venture.
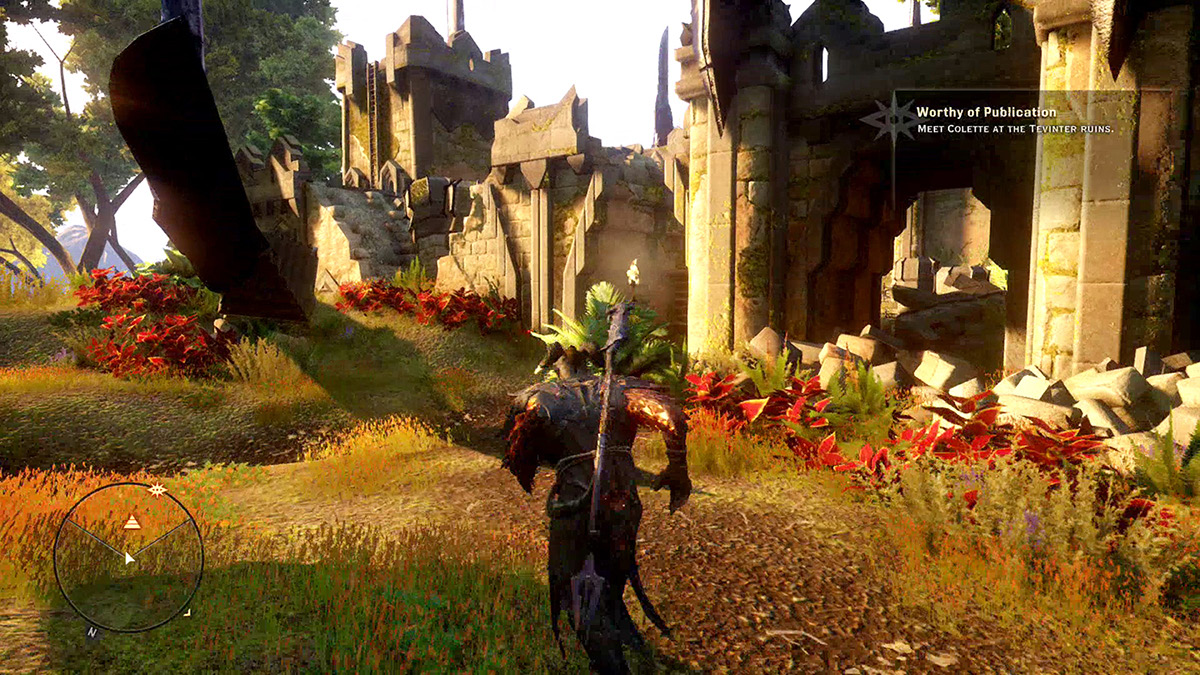
Make your way to the Tevinter ruins, but before you go downstairs to meet Colette, make your way up to the eastern wall of the ruins to find the snake box, which contains some useful loot. Colette has found information on Inquisitor Ameridan’s companions, Haron and Orinna, and the history of their mission as well as their deaths. Based on the inscriptions, Colette concludes that there was a battle here against ancient Avvars, where Ameridan and his companions were heavily outnumbered. Signs do not point to these Tevinter ruins as being the location of Inquisitor Ameridan’s death, so his companions must have given him an opportunity to escape.
4: What Yet Lingers
Quest Giver: Professor Kenric
Description: A mysterious island in Frostback Basin may yield clues to the region’s past.
Requirements: Started as soon as you arrive in Frostback Basin
Reward: Aegis of the Rift
Objectives:
 Find a way to get to the island.
 Take a boat to the island.
 Look for information on Inquisitor Ameridan.
 Speak with Professor Kenric.
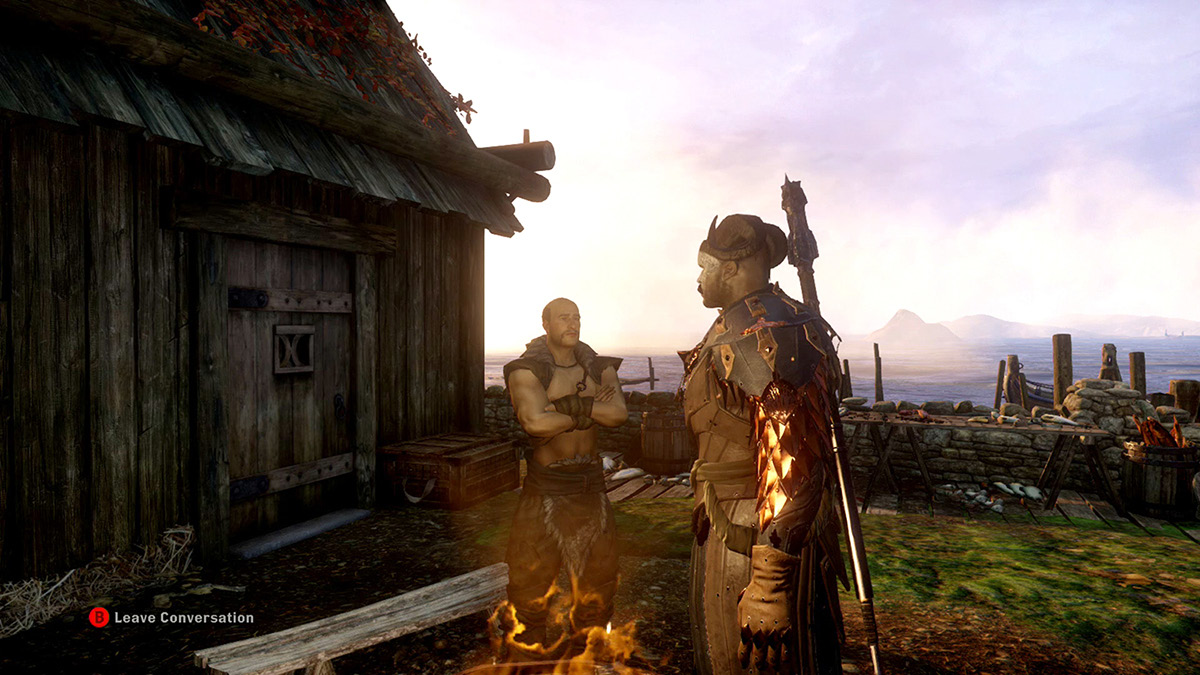
If you follow the quest tracker to the objective location you will come across a fisherman’s house. Find the fisherman, Arvid, and ask to use his boat. Before you can actually use his boat, however, you must receive guest welcome from Thane Sun-Hair of Stone-Bear Hold, because Arvid is the hold’s fisherman. Once you have received guest welcome you can convince Arvid to let you borrow his boat and take it to the island.
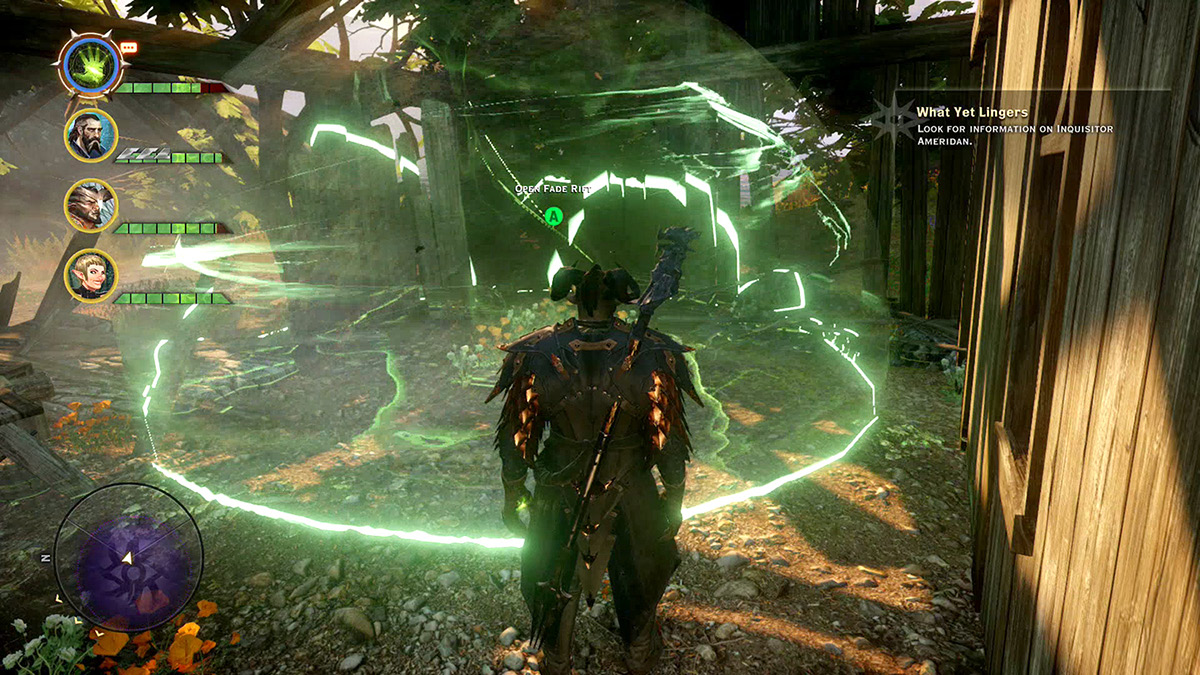
Once you take the boat to the island, known as Lady’s Rest, you hear a distressed voice coming from what sounds like a spirit. Go to the top of the hill and find the shattered shack. Inside the house is a Fade rift that you must open to advance the quest.
Once you have opened the rift you are greeted by the spirit of Talana, Inquisitor Ameridan’s beloved. She died on this island in search of Ameridan. She tells you some information about the previous Inquisitor’s mission and says that you must slay a dragon to save Orlais. Listen to the information that the spirit gives you and collect Talana’s belongings to unlock the Aegis of the Rift ability.
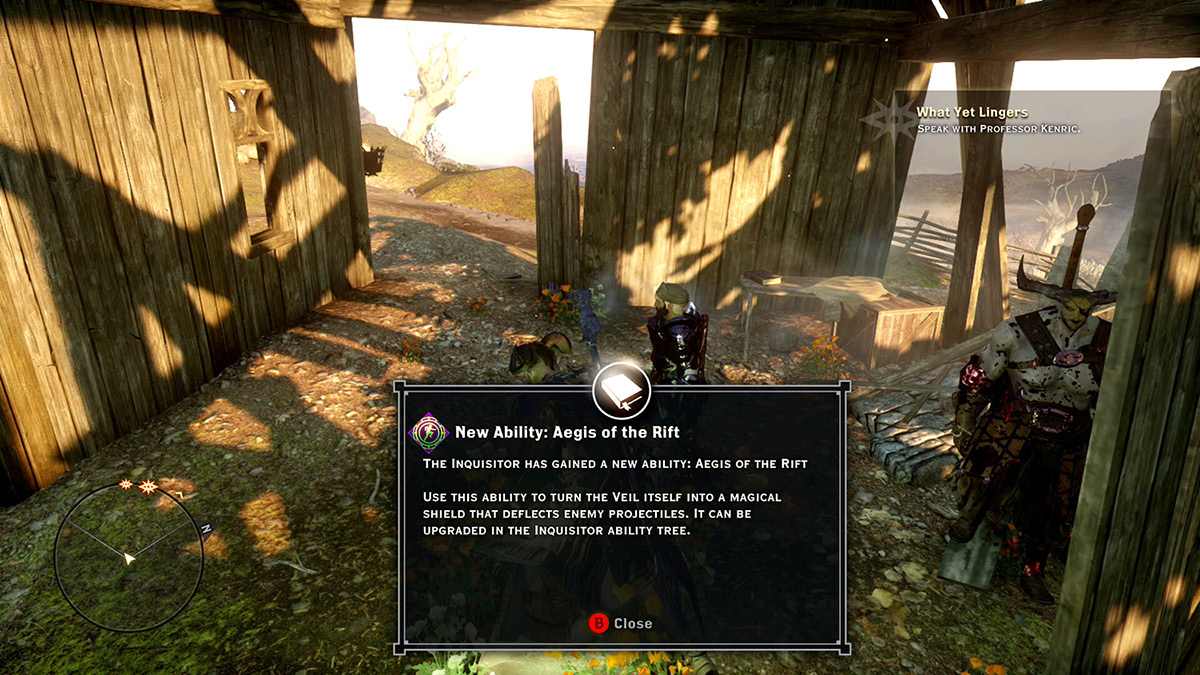
The Aegis of the Rift ability allows you to turn the Veil itself into a magical shield that deflects enemy projectiles.
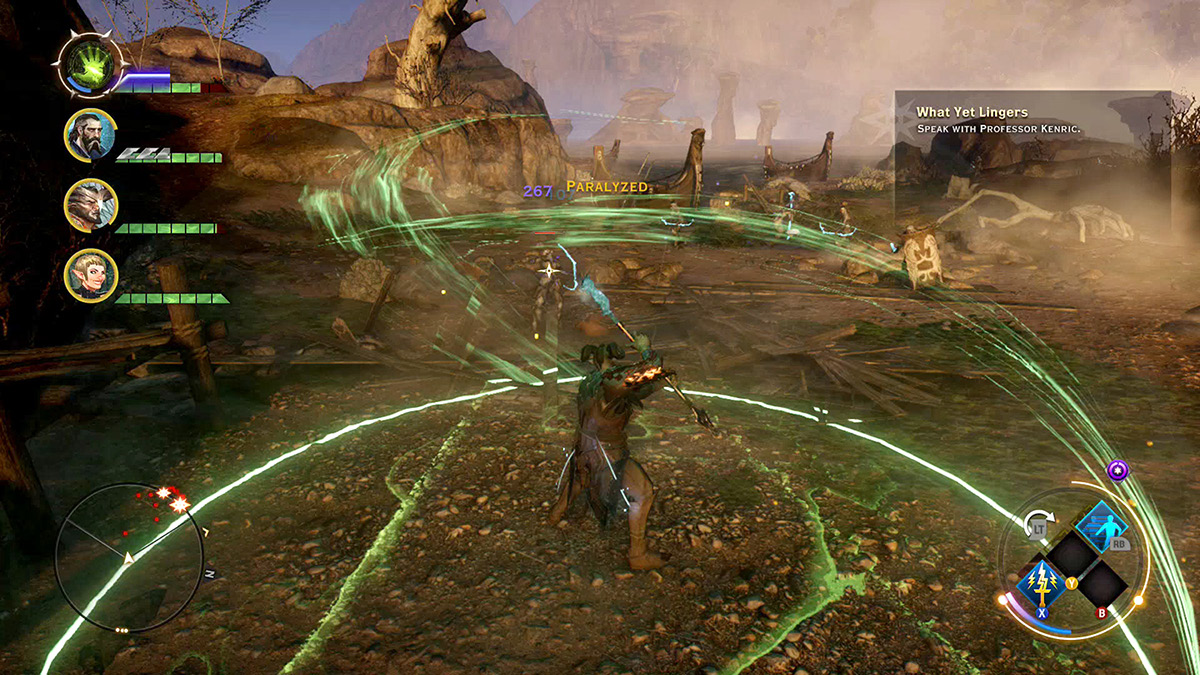
To complete the quest, you must make your way back to the camp and speak with Professor Kenric. However, before you can make it back to the boat you meet a band of Hakkonites, giving you a chance to use your new ability. Set up the Aegis of the Rift as soon as possible and take out the most dangerous foes first. As long as the enemy doesn’t enter your shield, you are invincible to all enemies except for the spellbinder for the duration of the ability, so take him out first.
After the fight, go find Professor Kenric. He fills you in on what could be going on here in Frostback Basin.
5: Avvar Allies
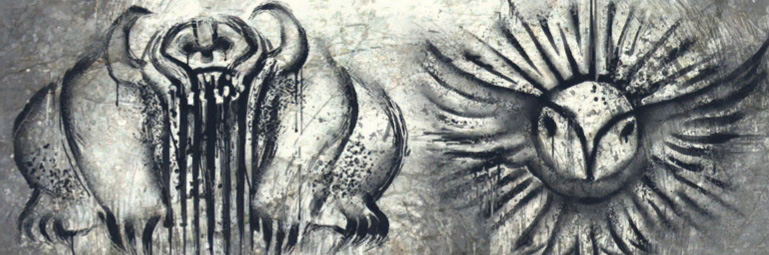
Quest Giver: Professor Kenric
Description: Making contact with the Avvar hold to the east could provide the Inquisition with useful allies.
Requirements: Available as soon as you arrive in Frostback Basin
Reward: 1,360 XP, 150 Influence
Objectives:
 Find the Avvar hold.
 Wait for the climb to finish.
 Speak with the hold’s leader.
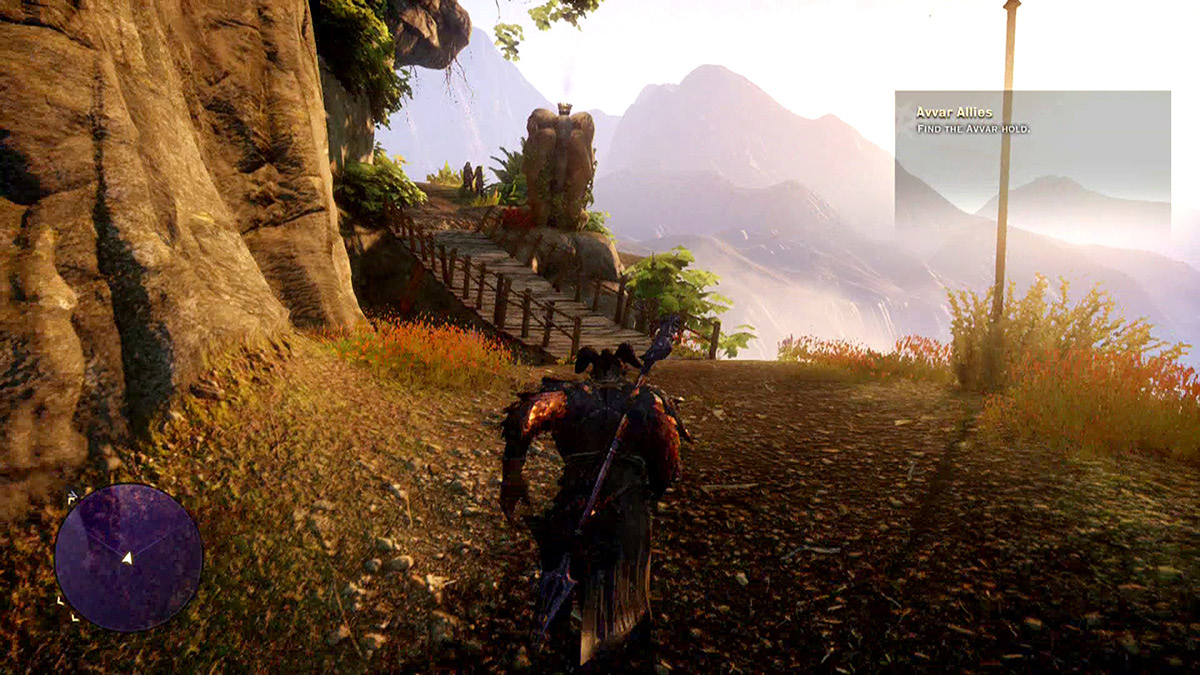
When you arrived in Frostback Basin, Scout Harding mentioned that there is a group of Avvars that may be friendly to the Inquisition. She isn’t quite sure what these Avvars can do to help, but she believes they might be familiar with the Jaws of Hakkon and could provide support. Under her suggestion, you have tasked yourself with searching for Stone-Bear Hold and introducing yourself to the leader.
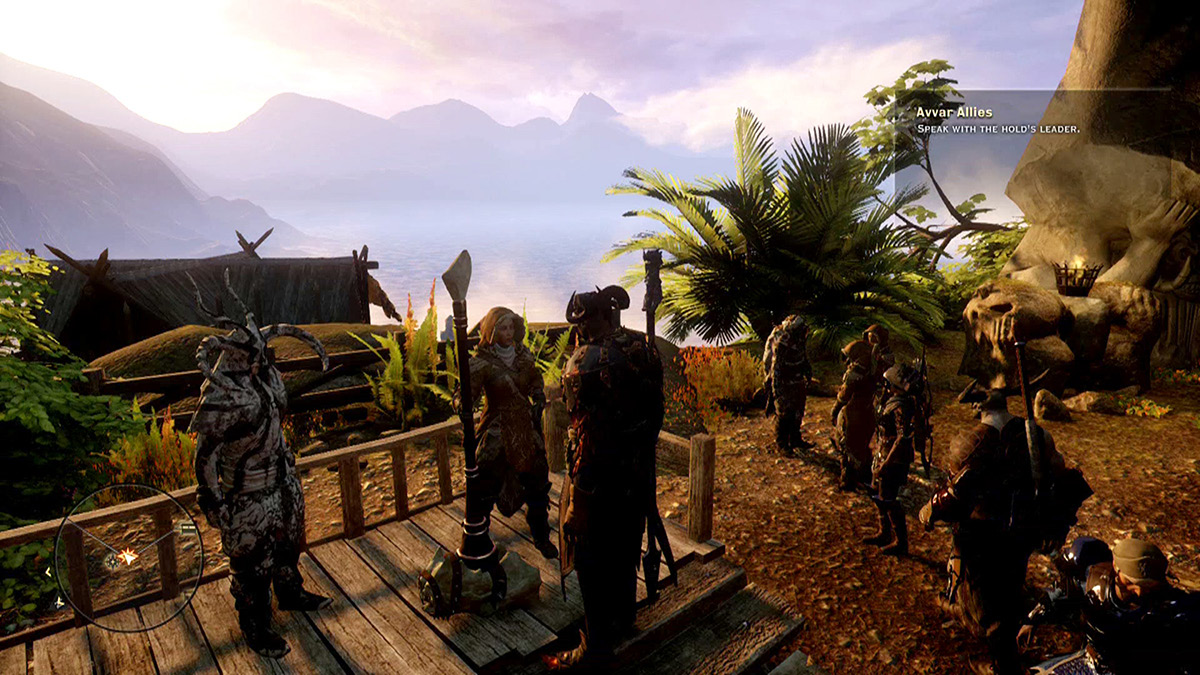
As far as you can tell, Thane Svarah Sun-Hair is friendly and is willing to help in any way that she can. She doesn’t show much animosity towards the Jaws of Hakkon, but she knows they are dangerous and will not like the presence of the Inquisition in Frostback Basin. Thane Sun-Hair tells you a little about her hold and what she knows about the Jaws of Hakkon, but she also explains that she cannot help fight against the Jaws of Hakkon due to a peace treaty.
6: Guests of the Hold
Quest Giver: Thane Svarah Sun-Hair
Description: Though guest status has been granted, it will take some effort for Stone-Bear Hold to view the Inquisition as a trusted friend.
Requirements: Available when you arrive in Stone-Bear Hold
Reward: 3 Power, 1 Inquisition perk
Objectives:
 Gain approval from five members of Stone-Bear Hold.
 Impress the hold.
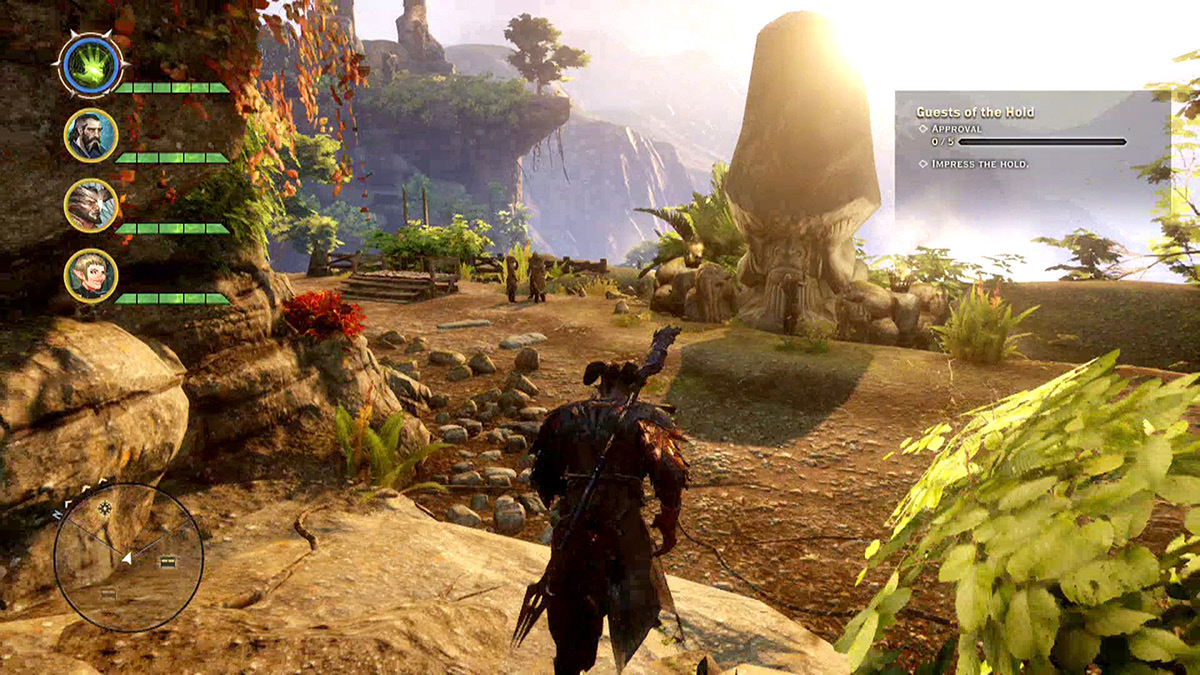
Having met the thane of Stone-Bear Hold, you have been welcomed as a temporary guest. However, the hold must be convinced that you can be trusted and must be shown that the Inquisition is something that should be respected. To do this, you must impress five of the more respected members of Stone-Bear Hold by completing the quests Storvacker Caged, Up and Away, Hakkon’s Trials, A Father’s Name, and It Remains to Be Seen. Do this and you will be granted status as a guest of the hold, which may be useful in the future.
7: Up and Away
Quest Giver: Linna
Description: An Avvar fisher cannot find her cousin, Runa. She believes Runa went climbing in the hills. Hopefully Runa has not met with any harm.
Requirements: Speak with Linna near the harbor.
Reward: 5,263 XP, 600 Influence, 2 Power, +1 Approval of the Hold, +1 permanent stat buff (optional)
Objectives:
 Follow the trail to find Runa.
 Protect Runa.
 Speak with Runa.
 Optional: Observe the prayer.
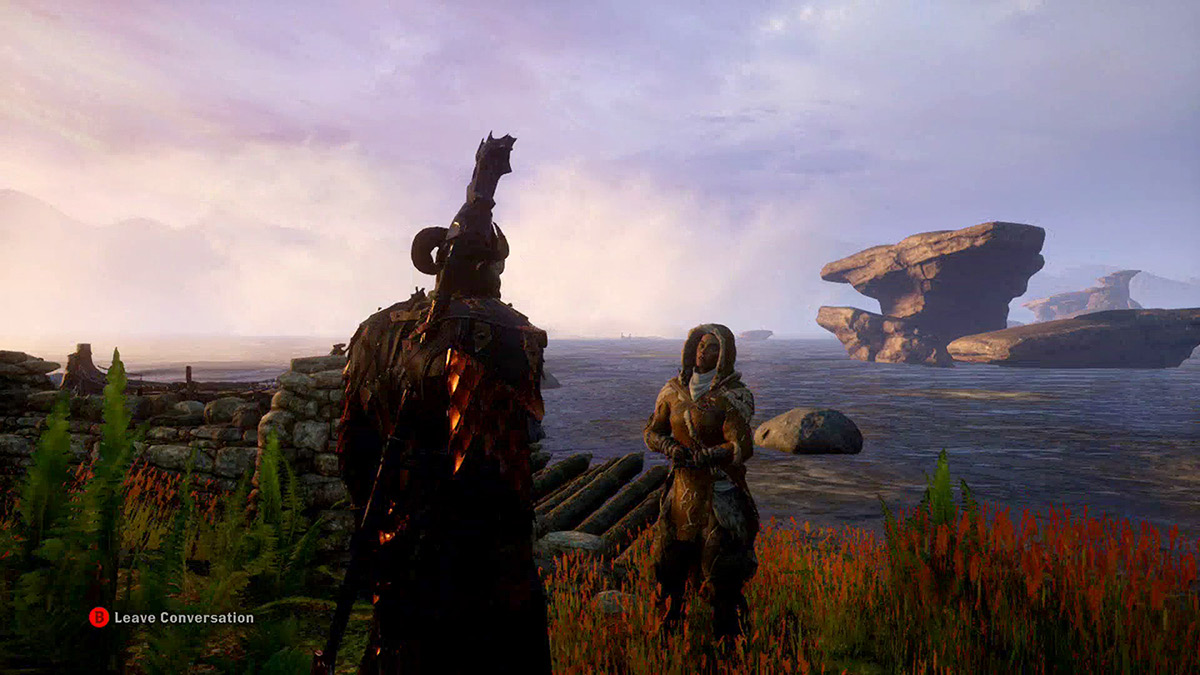
An Avvar fisher named Linna has requested that you find her cousin, Runa. She has been gone a little longer than expected after planning to go on a small climb.
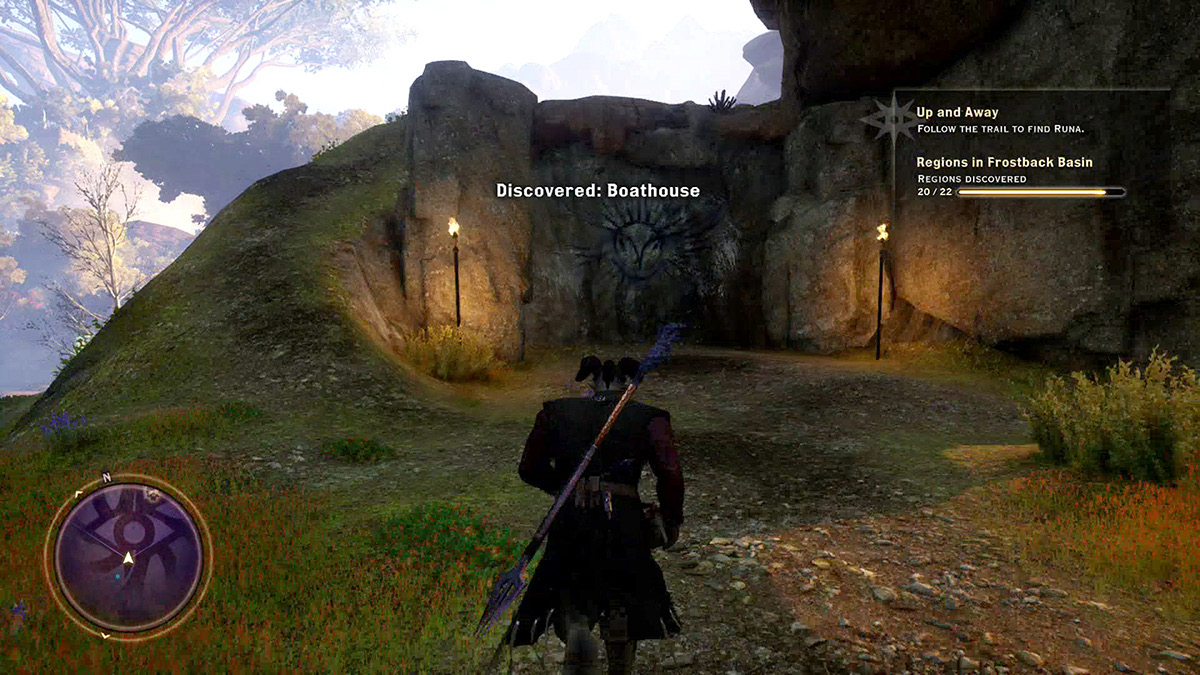
Follow the trail as it leads you up the mountain. Along the way are very steep climbing spots that have been marked by someone. Look to the top of the marked walls for clues as to where Runa may have gone.
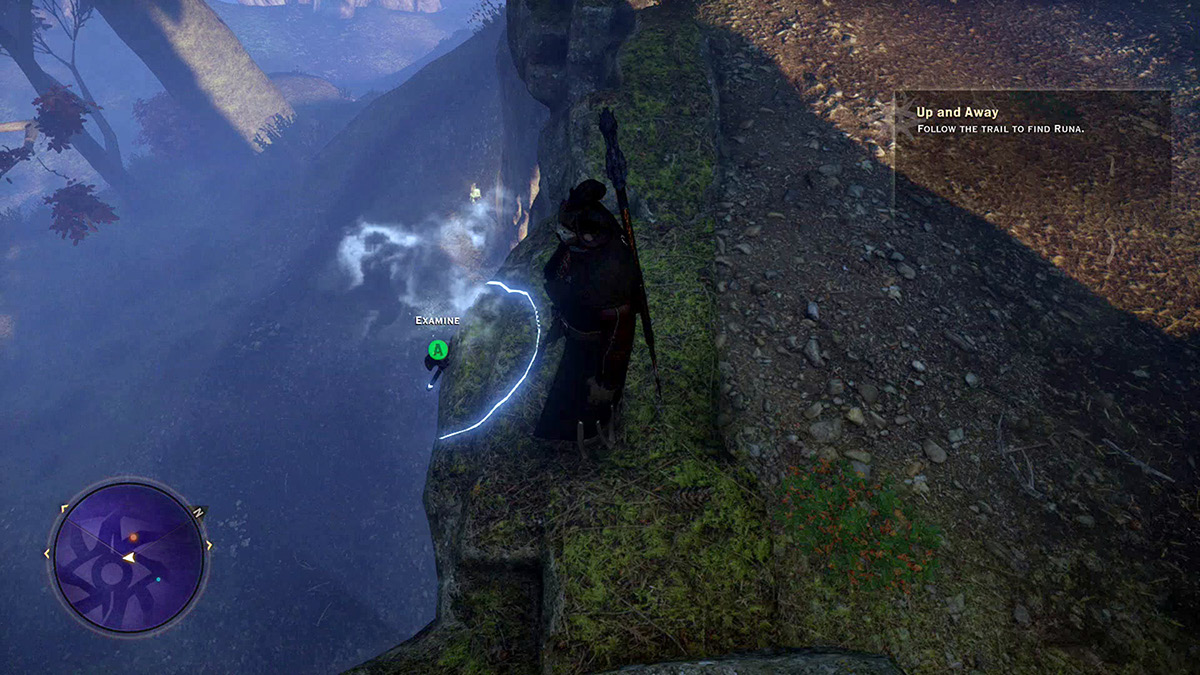
Find all three climbing spots and find your way to Runa. She is being attacked by a gurgut when you finally catch up with her, and you must protect her before the gurgut gets the best of her. Fight off the beast and she will thank you and apologize for being gone for so long. However, she won’t leave until she makes an offering to the gods.
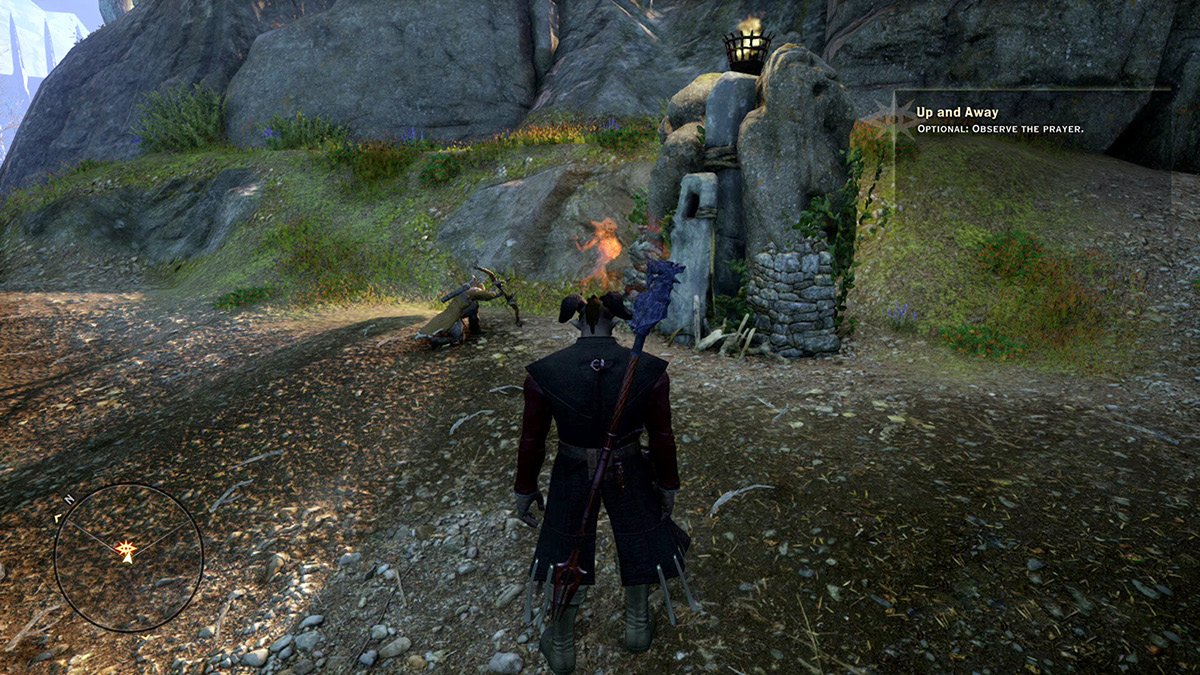
After you’ve spoken to Runa, the quest is technically complete, but you can stay and observe Runa as she says her prayer to earn a bonus +1 stat buff.
8: Storvacker Caged
Quest Giver: Thane Svarah Sun-Hair
Description: The Avvar hold-beast has vanished. Thane Svarah Sun-Hair cannot in good conscience fight the Jaws of Hakkon until the bear is returned.
Requirements: Complete the Avvar Allies quest.
Reward: 600 Influence, 2 Power, +1 Approval of the Hold
Objectives:
 Find the Avvar hold.
 Wait for the climb to finish.
 Speak with the hold’s leader.
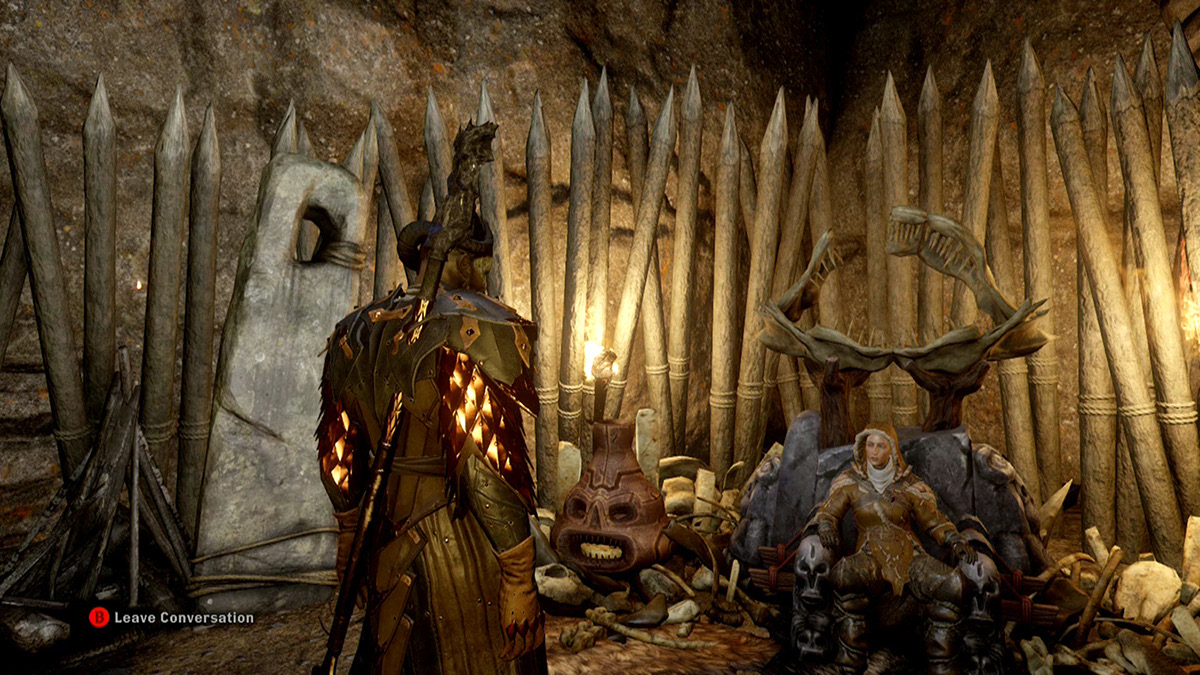
Thane Svarah Sun-Hair mentioned that something wasn’t right about her hold’s hold-beast, Storvacker. She hasn’t been seen in some time, which is very unusual. The hold-beast is treated as a fellow member of the hold and is considered the Avvars’ connection to the gods. The fact that she has been missing for a few days does not necessarily mean something bad has happened, but it is strange and has the people of Stone-Bear Hold worried. However, a hunt for Storvacker would show weakness to the Hakkonites. Thane Sun-Hair knows she is still alive, and hunters are watching for tracks and signs of where she might be. Finding Storvacker would bring the people of Stone-Bear Hold great relief and the strength they need to aid the Inquisition against the Hakkonites.
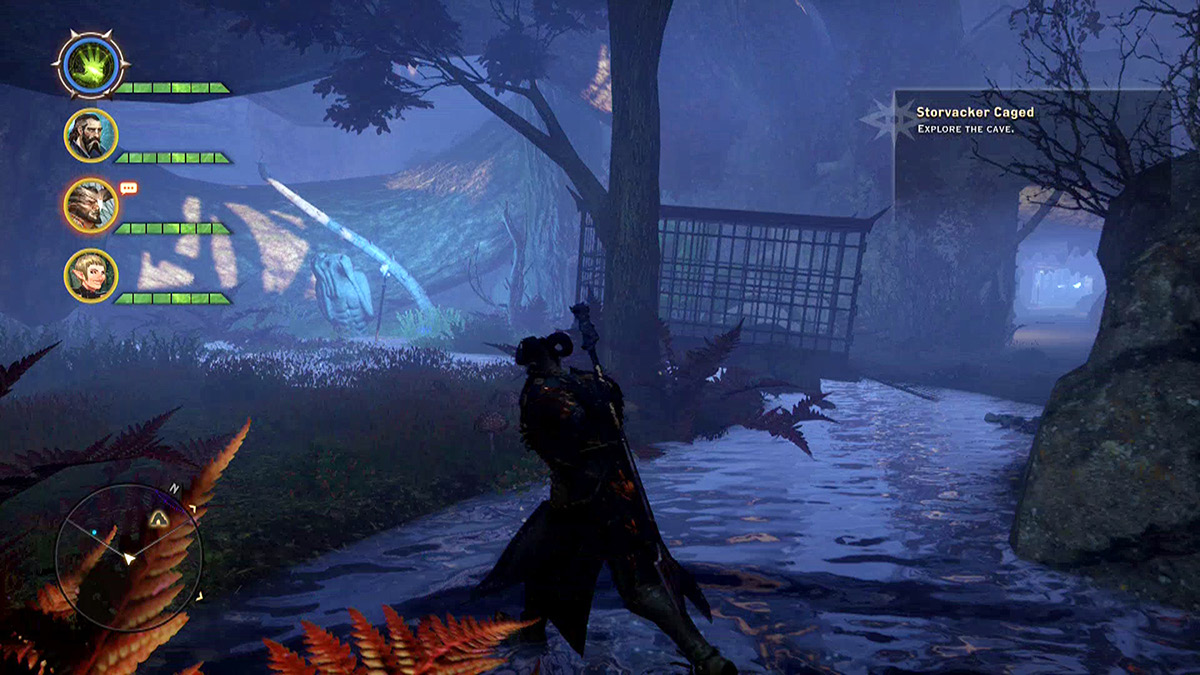
Travel to Swamp Kuldsdotten. Deep in the swamp a cage sits near a large cave. It appears there was a fight here, and all signs point to a connection with the missing hold-beast.
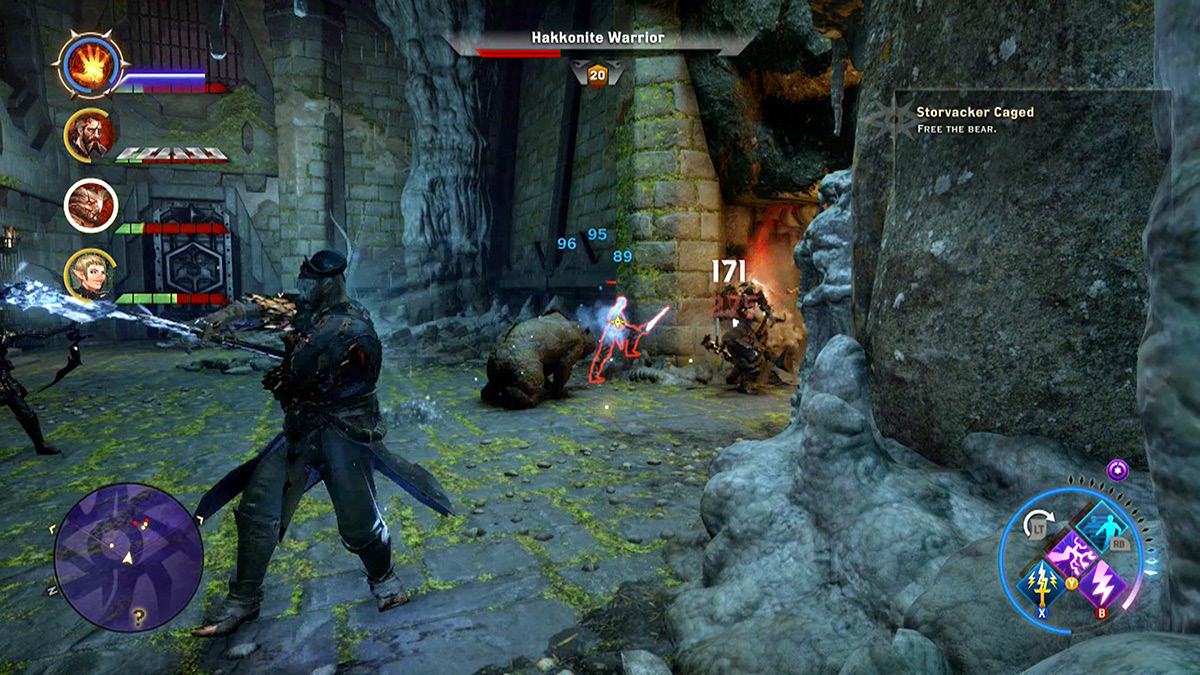
Explore the cave to find a small group of Hakkonites guarding some sort of jail, which happens to be holding Storvacker. Kill the Hakkonites and release Storvacker by pulling the lever in the center of the room; she will fight at your side. If you have the Deft Hands, Fine Tools Inquisition perk, you can open two doors on either side of the room that contain some loot.
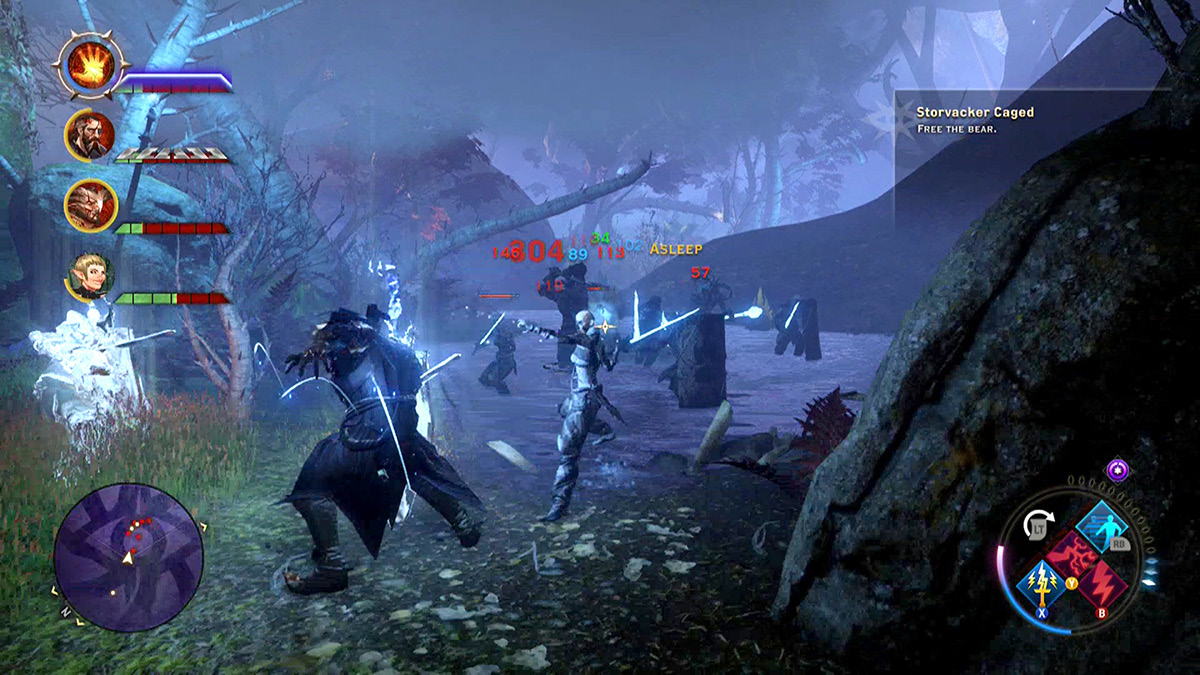
When you leave the cave with Storvacker you are greeted by a band of Hakkonites extremely unhappy with what you have just done. Fight them off and protect Storvacker so that she can escape to safety. There are quite a few Hakkonites, so be sure to take out the bowmen and spellbinders quickly before they all team up on one target and do a deadly amount of damage.
Finish the fight and inform Svarah Sun-Hair right away, as she will want to know that the Jaws of Hakkon meant to sacrifice Storvacker to their gods.
9: A Father’s Name
Quest Giver: Gyda Myrdotten
Description: A woman prepares bodies for sky burial at Stone-Bear Hold. Caldan Enversen’s body should receive special rites; however, his son failed to complete them. As guests of the hold, the Inquisition may present the required offering as a gift. The offering for Caldan Enversen’s sky burial can be given to the huntmaster, who is now responsible for it but who hasn’t completed it yet. Return the offering to the huntmaster, as tradition dictates, or give it to Caldan’s son, Finn.
Requirements: Available after receiving the Guests of the Hold quest
Reward: 600 Influence, 2 Power, +1 Approval of the Hold
Objectives:
 Speak with the huntmaster.
 Kill three Fade-touched creatures.
 Optional: Speak with Caldan’s son.
 Return to the woman preparing bodies.
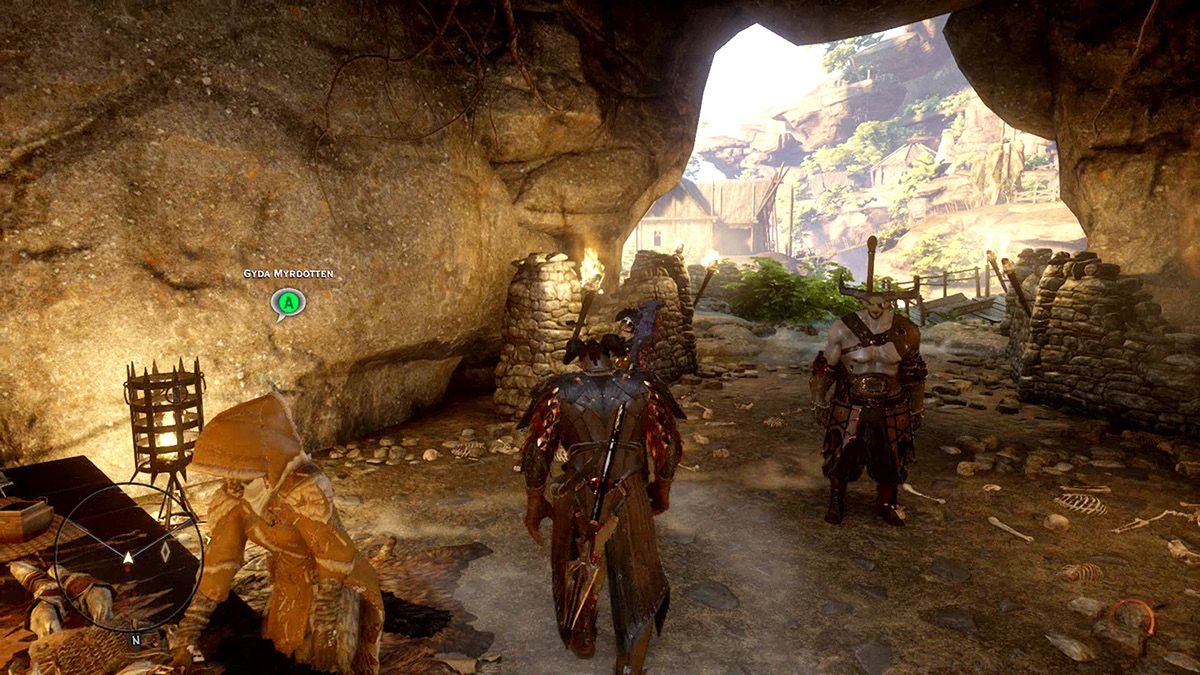
When you speak with Gyda Myrdotten, she tells you about Avvar tradition and sky burials, and she explains that an offering was to be gathered by Caldan Enversen’s son, Finn. He failed. Since it is tradition that a gift from an outsider cannot be refused, Gyda has asked you to gather the offering and give it to the huntmaster (who is now responsible for the offering) so that the sky burial can be performed properly. Speak with the huntmaster; he instructs you to kill three Fade-touched creatures and collect their remains for the offering.
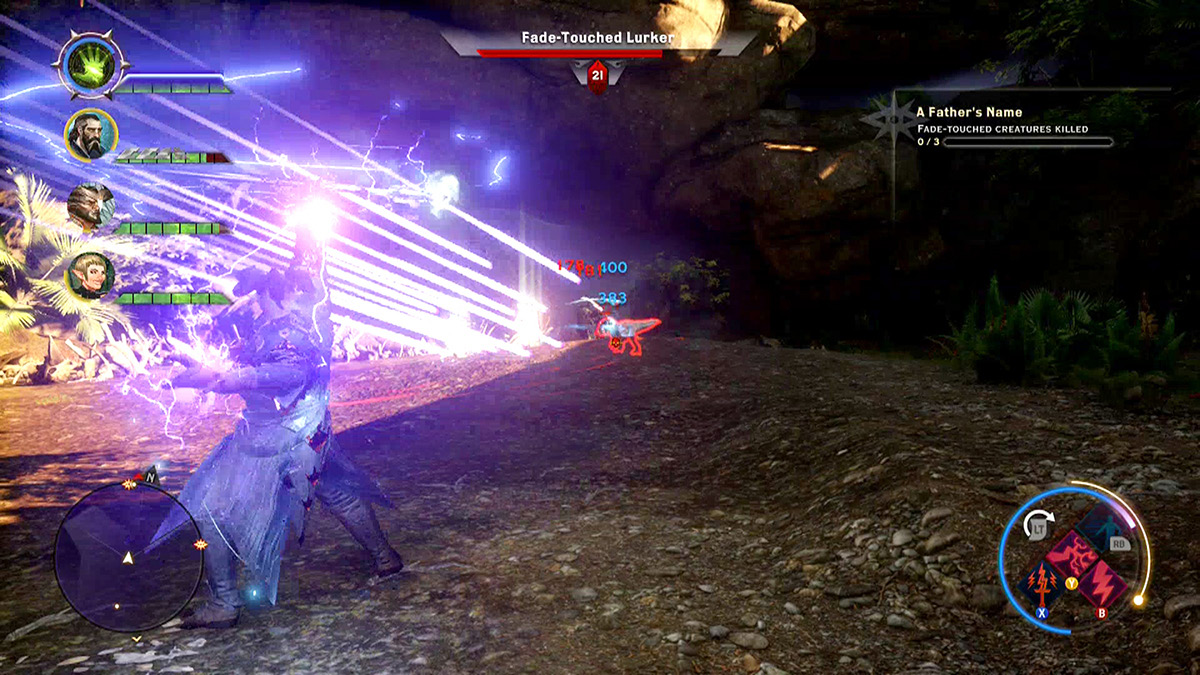
The first creature is a Fade-touched lurker. She is in her nest with a few smaller lurkers that will have to be dealt with as well. She is a level 21 Fade-touched lurker, so unless you are powerful enough to take her head on, keep your distance and try not to get hit by her vicious bite. You can see her before she sees you, so plan your attack accordingly and take her down as the first of three creatures required for the offering.
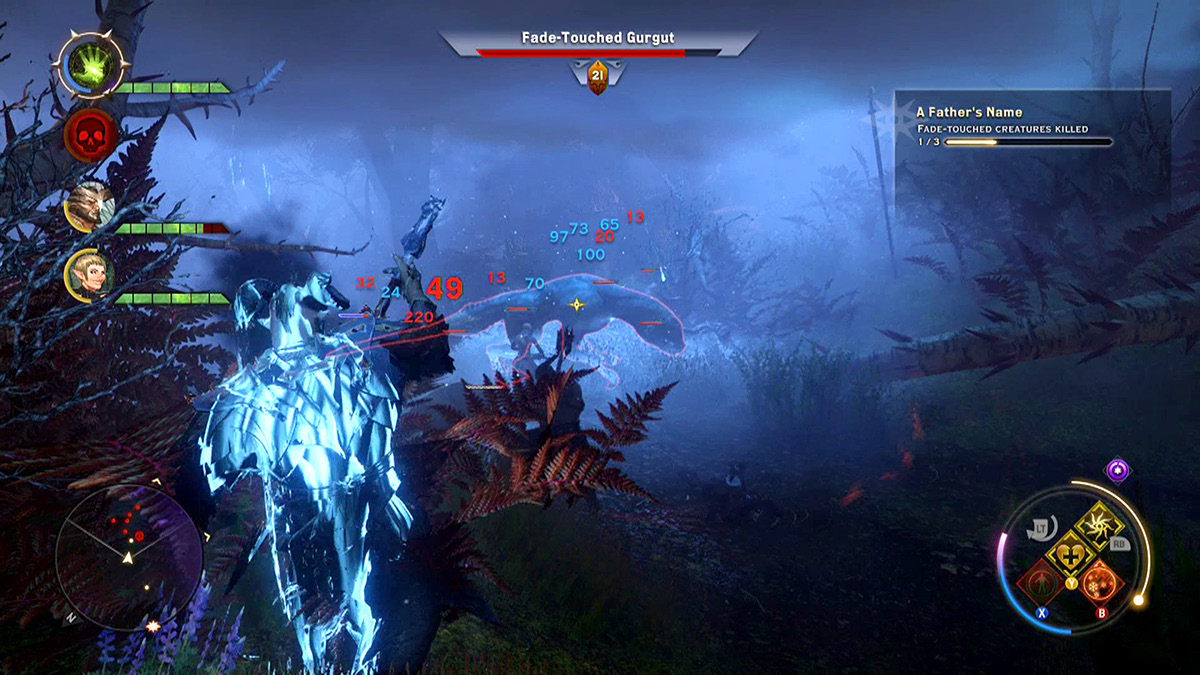
The second creature is in the swamp, so travel to Swampside Camp and go northwest, a heading that should take you straight to her. This creature is a Fade-touched gurgut; she walks on all fours and has a dangerous tail. If you are a rogue, attack her legs and try to keep on one of her sides to avoid any damage that will come from both her bite and her tail. Beware of any Hakkonites in the area; it is best not to take them on at the same time as the gurgut. Be sure to loot the corpses in this area, as there is plenty of value there for the taking.
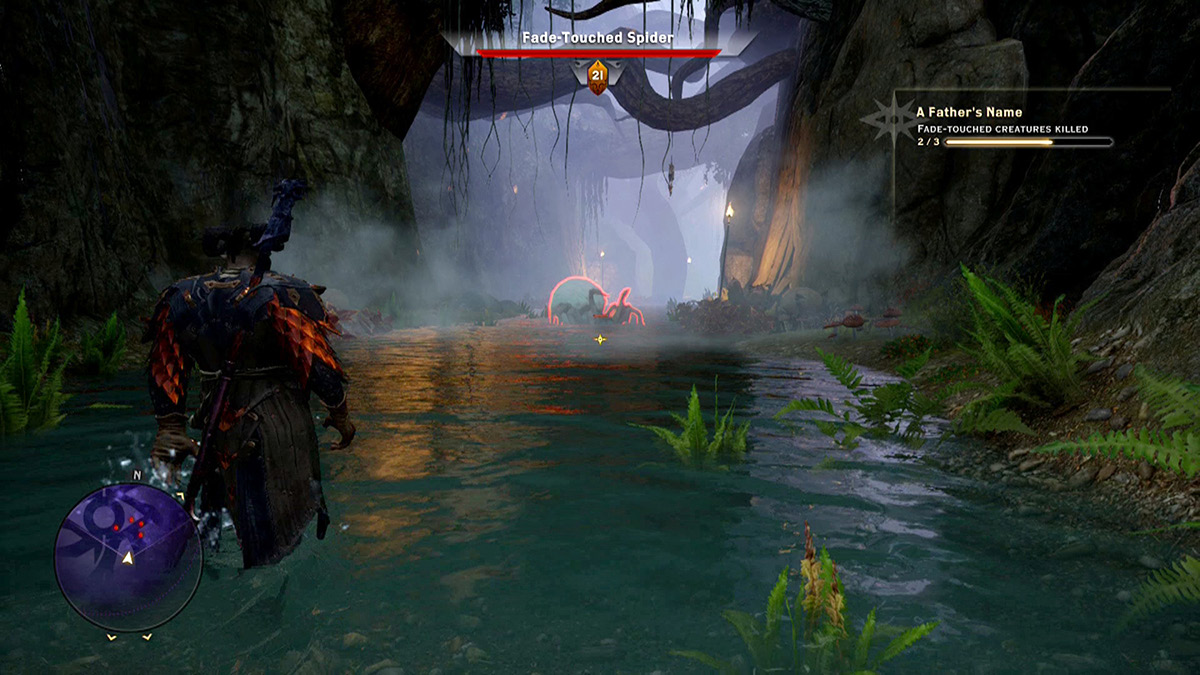
The third and final creature is in the western riverbank of the Varsdotten River. This creature is a Fade-touched spider that has many tricks up her sleeve. She’s accompanied by a cluster of smaller giant spiders. Kill the giant spiders as quickly as possible, because about halfway through this fight, the Fade-touched spider will summon another cluster of giant spiders to attempt to slow you down as she retreats into her cave. Back in her cave are some poison spiders; both the Fade-touched spider and the poison spiders have ranged attacks, so keep your distance and watch out for flying poisonous spores and heavy balls of web. They hurt quite a bit, and if you’re not careful, your ranged companions will go down quickly. Kill the final creature and return to the huntmaster to gift him the offering.
Decision PointOnce you have killed the final Fade-touched creature, you have enough materials to complete the quest and bring the offering to the huntmaster so that he can complete the sky burial. However, you also have the choice to give the offering to Finn. You have learned that because he failed to gather the offering, Finn will no longer be Caldan’s son. However, if you gift the offering to Finn, he will attempt to salvage the situation and hope to keep his father’s name. |
10: Hakkon’s Trials
Quest Giver: Trainer Arrken
Description: The Avvars measure a warrior’s worth by his or her skill in arena combat. Completing Hakkon’s trials could increase the Inquisition’s reputation in the hold.
Requirements: Available after receiving the Guests of the Hold quest
Reward: 5,263 XP, 600 Influence, 2 Power, +1 Approval of the Hold
Objectives:
 Requisition an offering to bring to the arena.
 Offer two everite and three silverite deposits.
 Speak to the arena master.
 Enter the arena.
 Survive the trial.
 Return to the arena master.
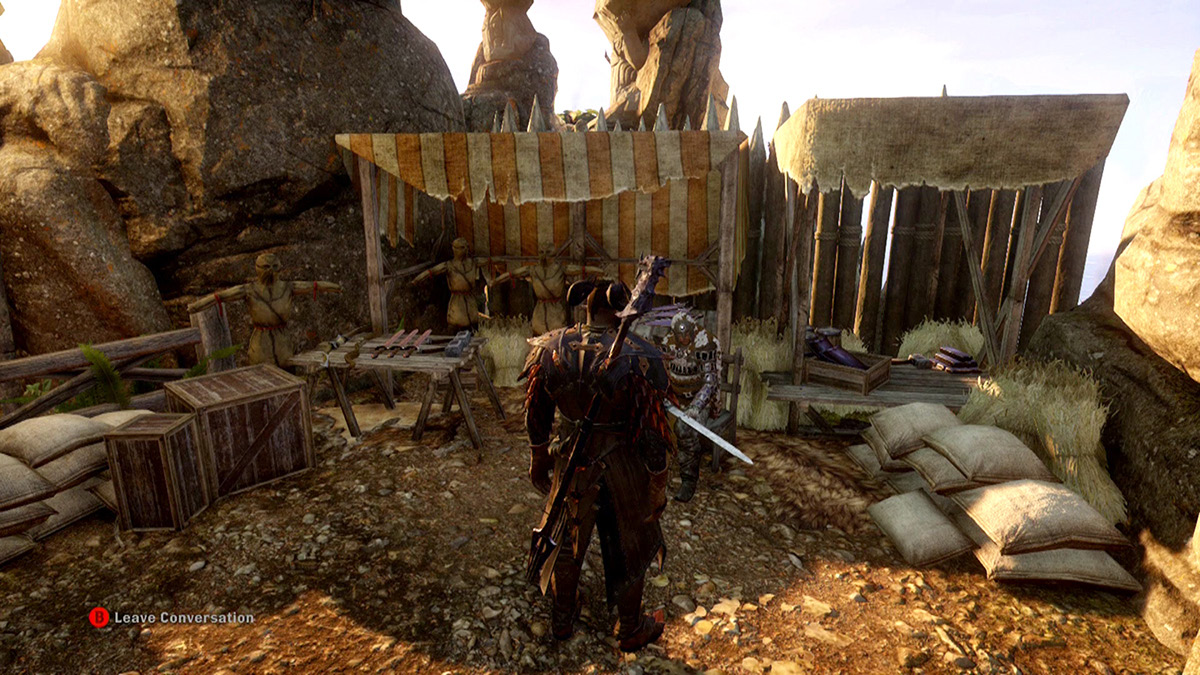
After speaking with the arena master, Trainer Arrken, you have learned that Avvar people test themselves and their gods’ favor towards them in the arena of battle. Arrken has offered you a trial in the eyes of the gods and reveals that the people of Stone-Bear Hold, including himself, will believe that the spirits favor you. But first, you must requisition an offering. If you have been exploring Frostback Basin a little before starting this quest, the requisition should be easy to complete, but if you went straight to Stone-Bear Hold, you may need to roam around a bit before you have the correct materials to begin this quest.
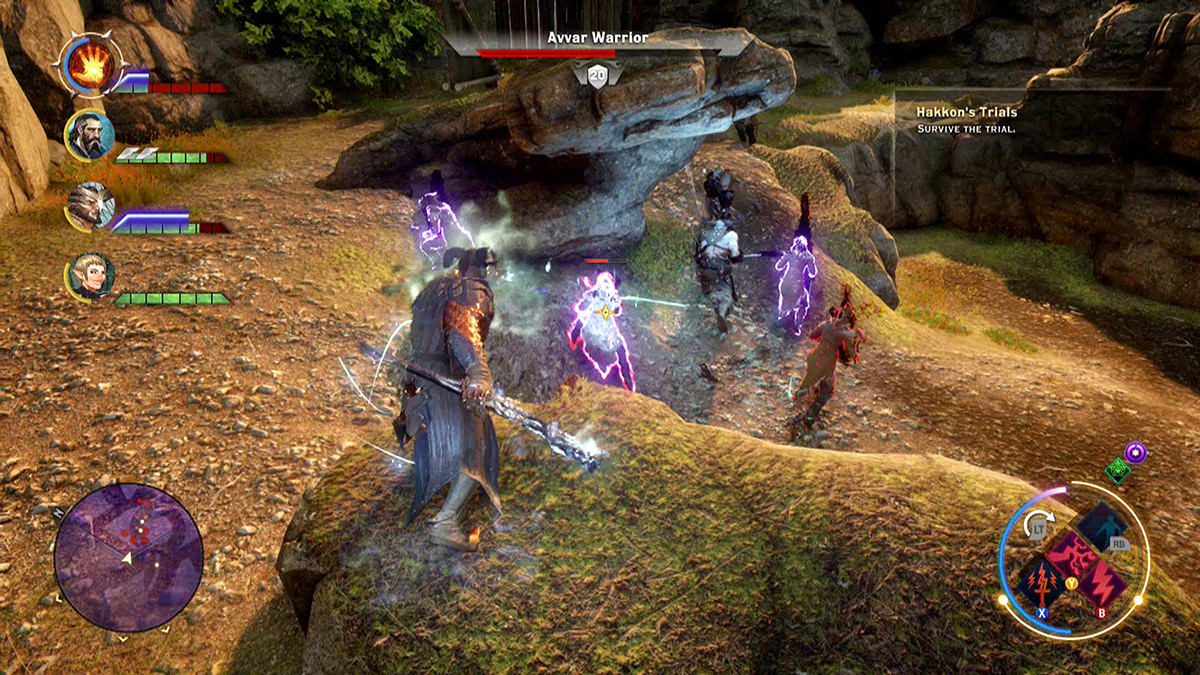
You must survive three waves to complete this quest. The first is a group of six Avvar bowmen and warriors; they come charging straight for you, so take the high ground and defeat the archers first, as they are the most dangerous to your party. The first wave will be the quickest, and as long as you defeat the archers first, it will be painless.
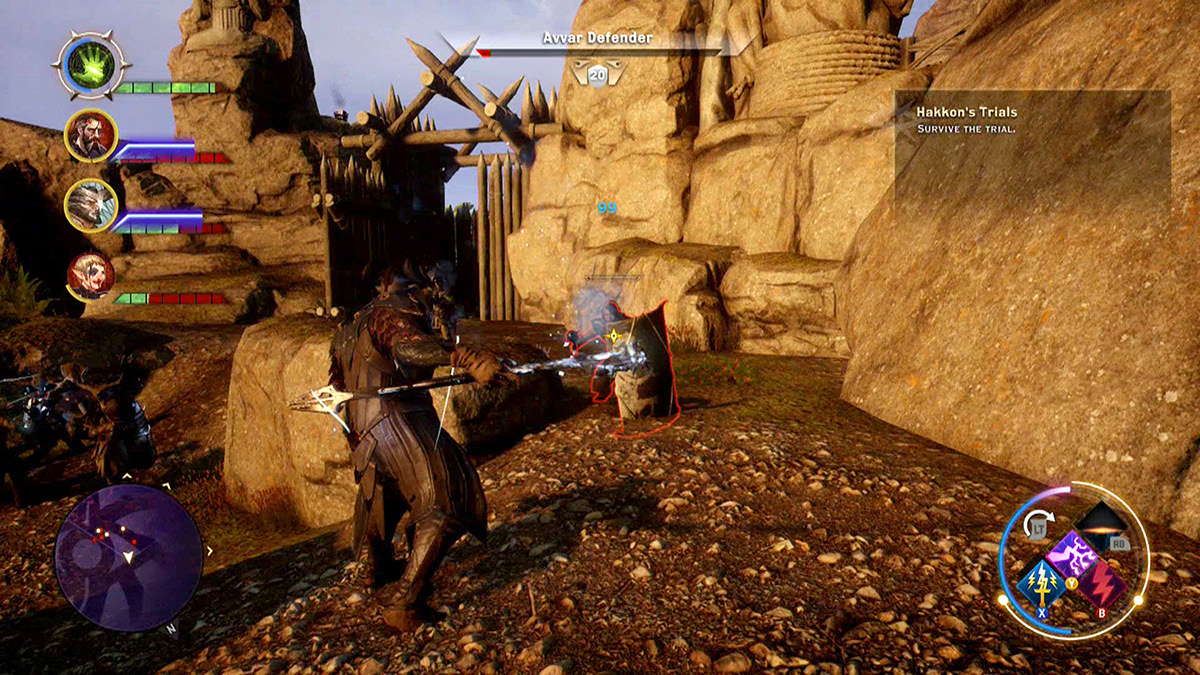
The second wave contains bowmen, warriors, and two defenders. Using the same tactics as against the first wave will do the trick, but keep your distance from the defenders to keep them from affecting the battle while you eliminate the bowmen. Avvar defenders have a shield charge that will interrupt any attacks or abilities you are attempting to cast. If they are affecting the battle too much for your party to do any significant damage, then take them out; however, stay aware of the bowmen’s positions because they can gain the advantage on your party if you’re not careful.
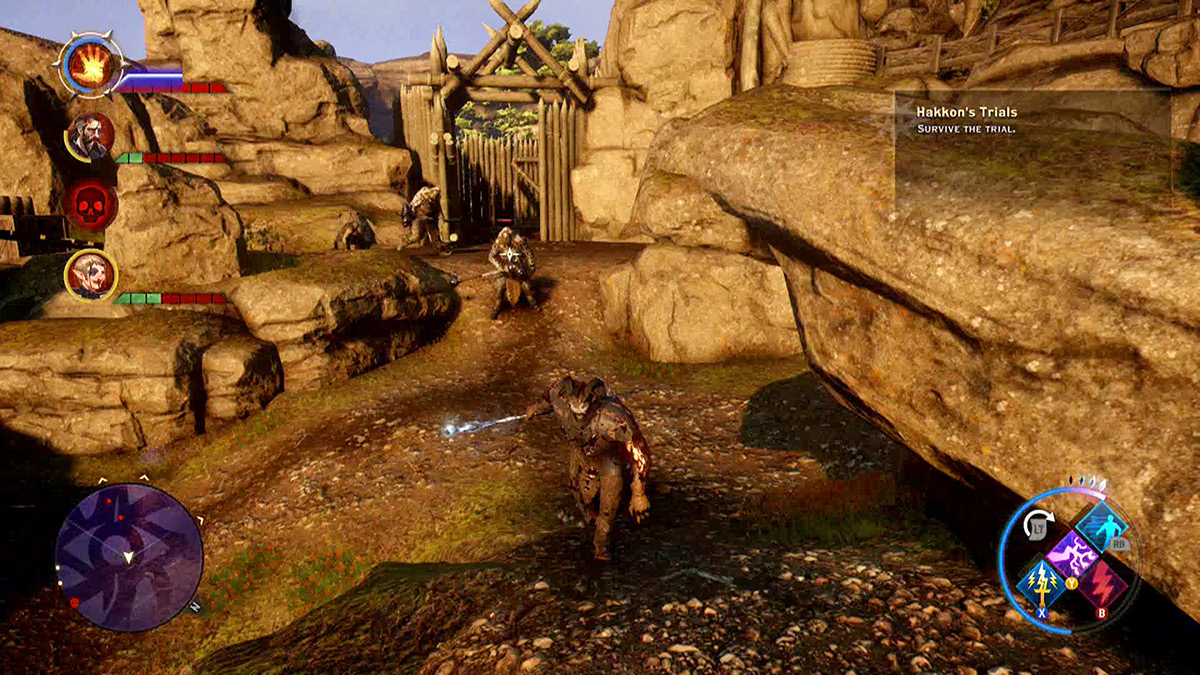
On the third and final wave, the Avvars send you everything they’ve got: bowmen, warriors, defenders, and champions. As before, your primary targets should be the Avvar bowmen, then the Avvar warriors, then the Avvar defenders. In the third wave keep to this strategy, but move around the arena as much as possible, taking shots at anything that is in your way. The champions are tough, and they will hit you for a great amount of damage, so it is a good idea to move them around and keep them away from your party; they are slow, so flat-out running will put some distance between you and them. Save the champions for last because taking them down requires a lot of damage, and you want your entire party focused on each one, with as few distractions as possible.
11: It Remains to Be Seen
Quest Giver: Enchanted Skull
Description: The Jaws of Hakkon have used human bones in some sort of magic ritual. Learning more about this magic could offer insight into their intent.
Requirements: Available as soon as you arrive in Frostback Basin
Reward: 5,703 XP, 2 Power, +1 Approval of the Hold
Objectives:
 Recover five enchanted skulls.
 Talk to the augur about enchanted skulls.
 Use veilfire to learn more about Avvar magic.
 Return to the augur.
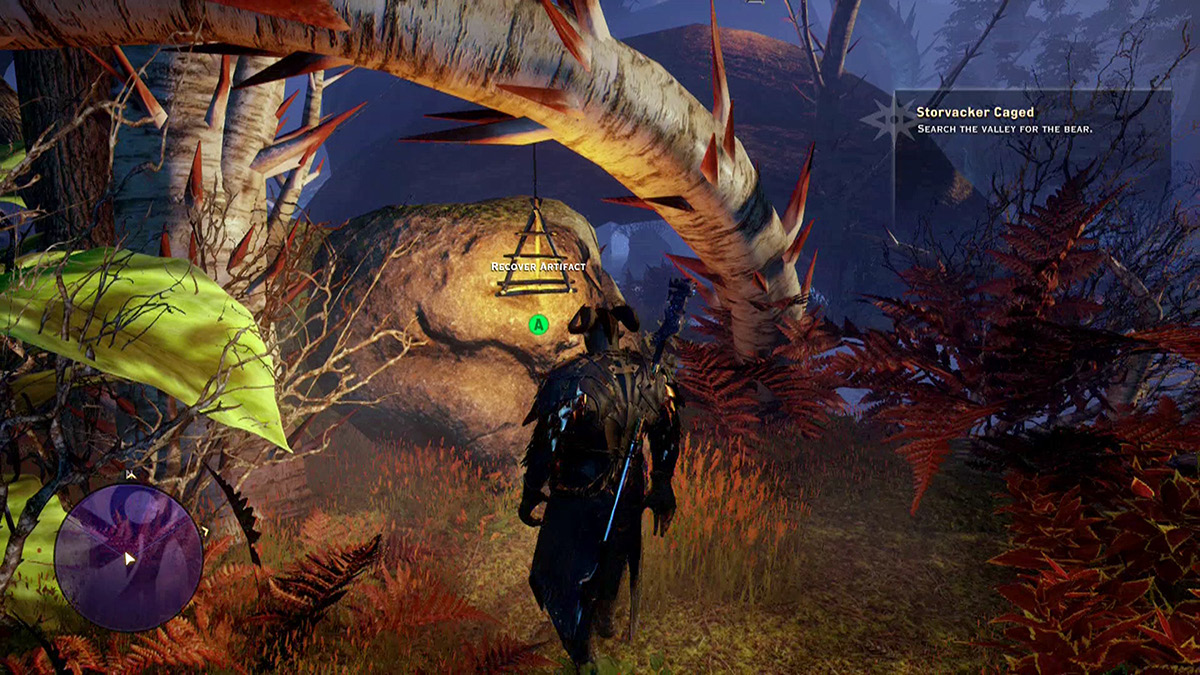
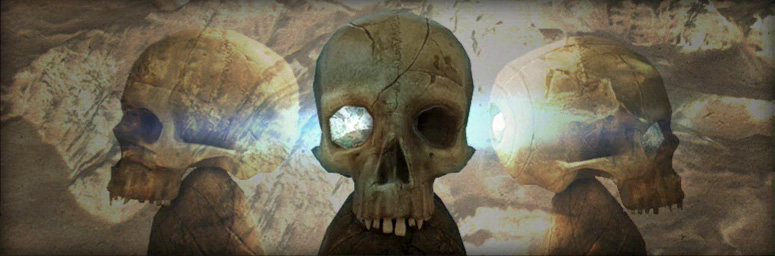
To start this quest you must travel to Swamp Kuldsdotten and find any of the enchanted skulls. Knowing a little about the Hakkonites, you know that these enchanted skulls are more than likely being used for blood magic. Collect all five enchanted skulls and return them to the augur so that he can give you some more information as to what they might be for. Beware of Hakkonites patrolling the area while you are searching for these skulls, because they appear frequently to guard this secret area.
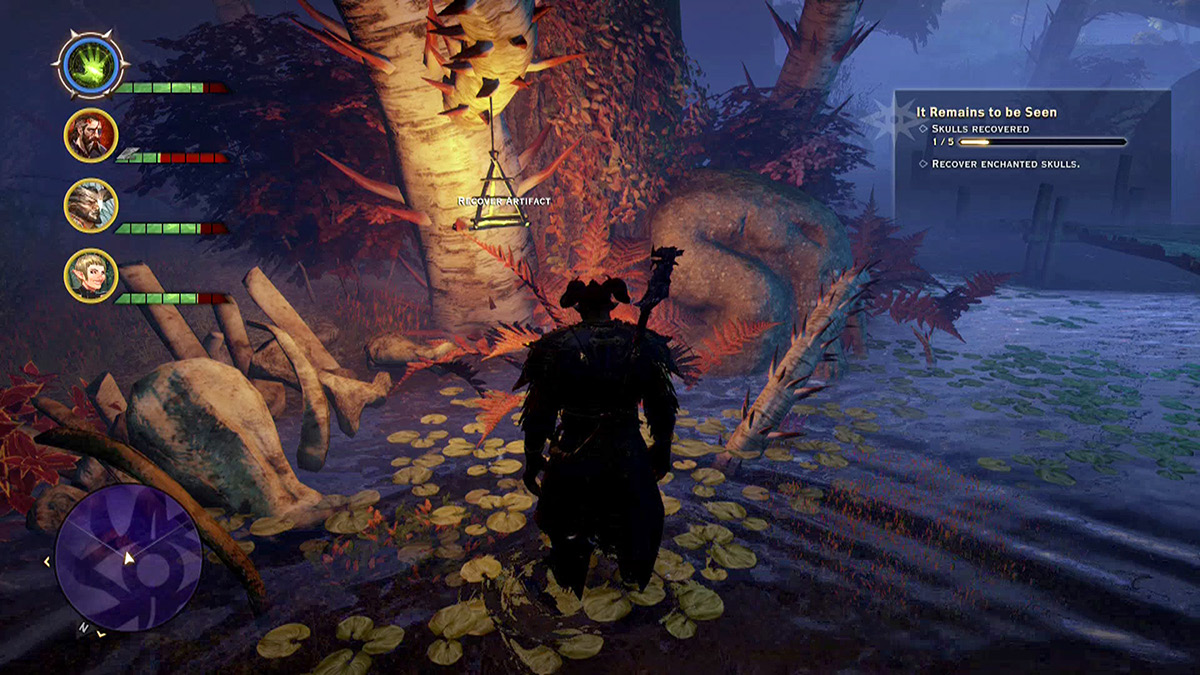
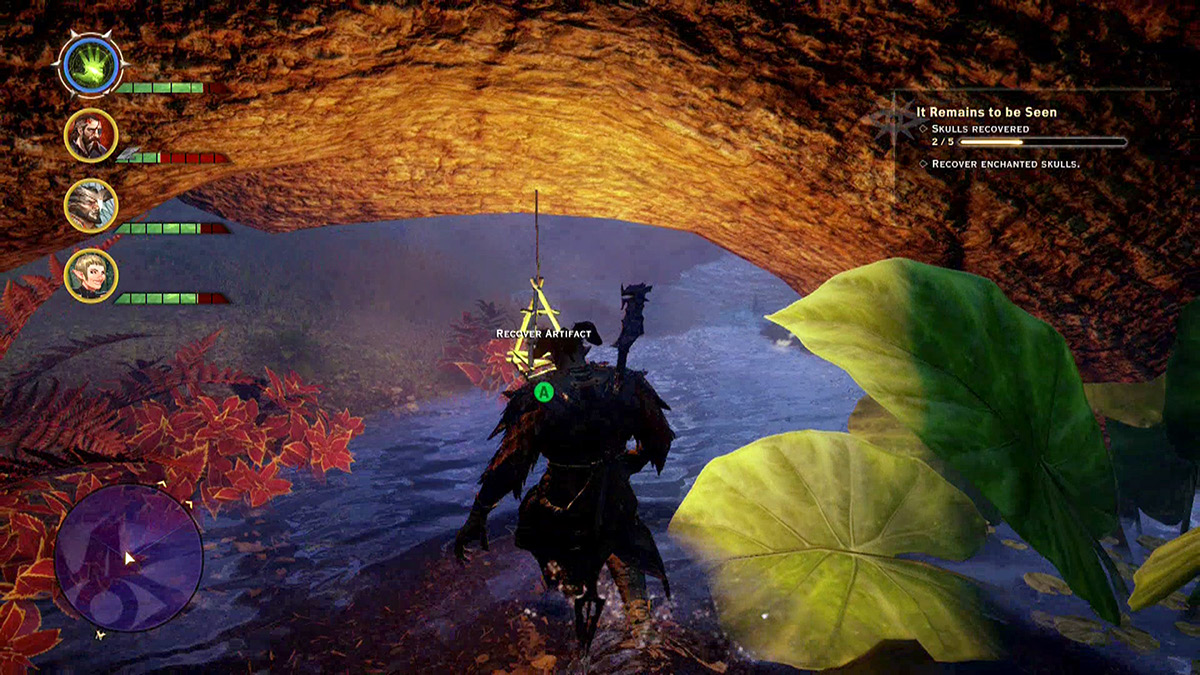
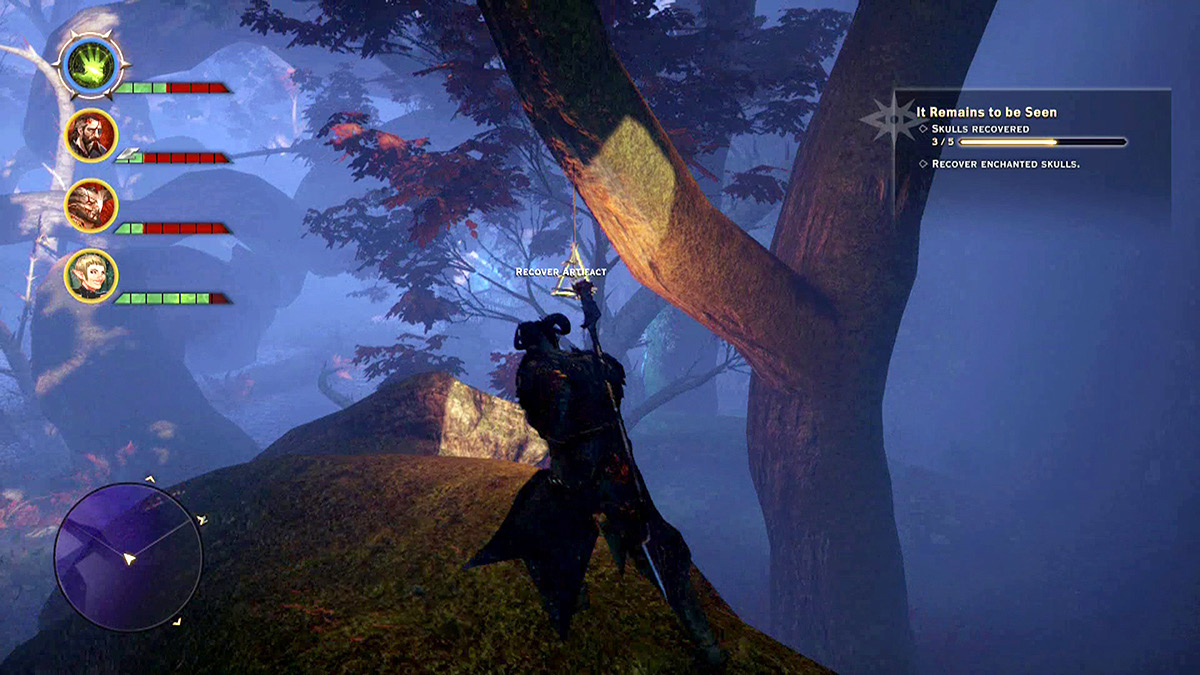
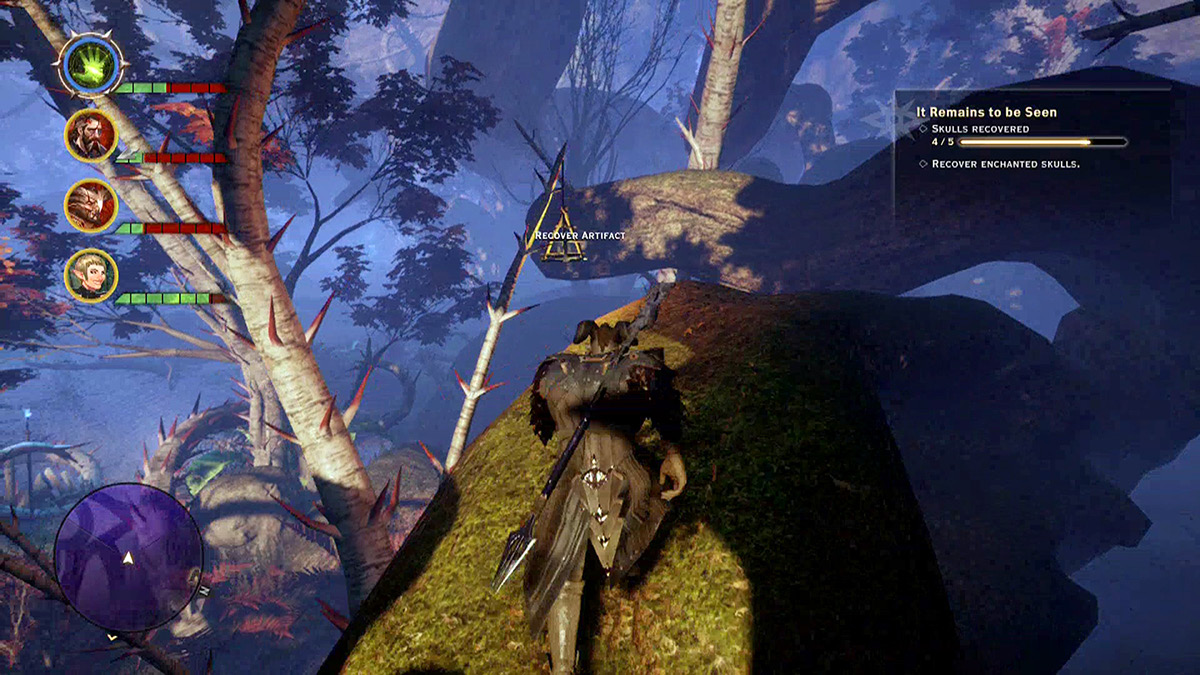
When you arrive back in Stone-Bear Hold to see the augur, he instructs you to use veilfire to read the glyphs located in the cave where they prepare the dead for funerals. Through a few codex entries you learn a little more about how the Avvar gods die, how the Avvar people mourn, and how the gods return in different forms. Through this context it will be easier for the augur to explain why the skulls were being used.
12: Lead the Charge
Quest Giver: Scout Harding
Description: The Jaws of Hakkon are attacking Inquisition soldiers.
Requirements: Available when you arrive in Frostback Basin
Reward: 1,269 XP
Objectives:
 Fight with Inquisition soldiers against the Jaws of Hakkon.
 Speak with Lieutenant Farrow at the forward camp.
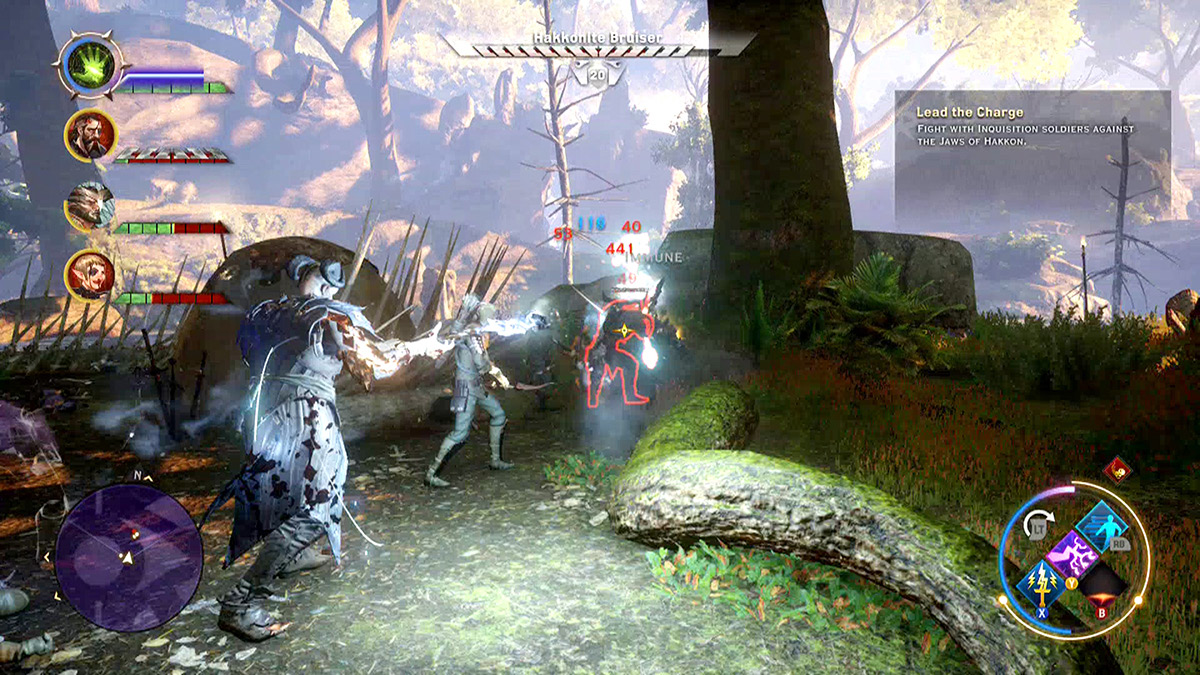
In Scout Harding’s report, she informs you that Hakkonites are attacking Inquisition soldiers. You must help them and lead the fight against the hostile Jaws of Hakkon. Find Lieutenant Farrow, who is under attack and could use a bit of assistance. When you’ve found the lieutenant and fought off the attacking Hakkonites you will have completed this quest and the first part of the Jawbreaker quest.
13: Jawbreaker
Quest Giver: Lieutenant Farrow
Description: Lieutenant Farrow has reports of Hakkonite camps along the river. Their hostile presence prevents the resupply of Inquisition encampments and makes travel through the region dangerous.
Requirements: Complete Lead the Charge.
Reward:
Objectives:
 Clear three Hakkonite camps.
 Return to Lieutenant Farrow.
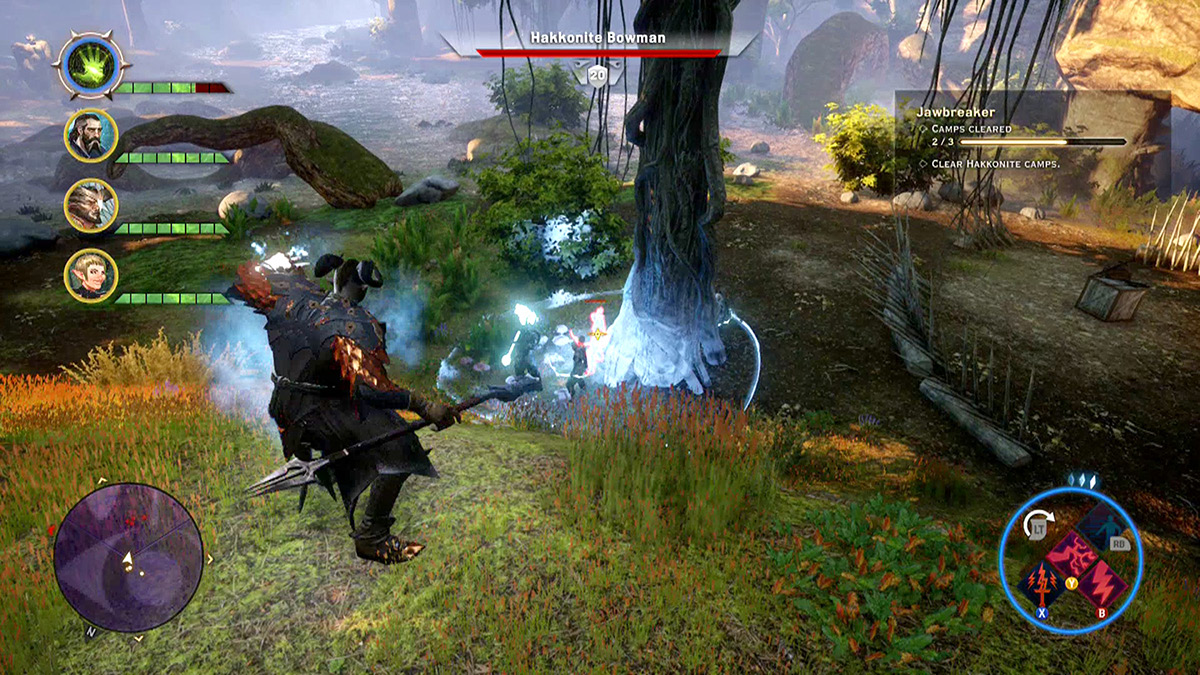
In Lead the Charge you fended off a group of attacking Hakkonites who were looking to destroy one of the Inquisition’s camps along the river. Lieutenant Farrow is in charge of these camps and claims them to be the best route of travel for supplies and gear for the Inquisition. However, he is having problems at two other camps along the river because it seems as though the Hakkonites attack all Inquisition forces in sight. Head down the Varsdotten River to find the camps that are being attacked and defend them. It is crucial that these areas are clear for the sake of the Inquisition soldiers’ safety.
14: The Loss of a Friend
Quest Giver: Scout Harding
Description: Grandin, an Inquisition scout, has disappeared in Frostback Basin. Grandin’s friend was recently murdered, and Scout Harding is concerned about Grandin’s safety.
Requirements: Complete the Jawbreaker quest.
Reward:
Objectives:
 Go to Scout Grandin’s last known location.
 Track the trail of carnage.
 Deal with Scout Grandin.
 Report to Harding.
When you get back from clearing the Inquisition camps, check in with Scout Harding. Something happened while you were away from the main camp, and Scout Grandin hasn’t been reporting in. He happens to be a friend of Scout Harding, so naturally she is worried about him, especially since he is distraught after the death of one of his closest friends. Grandin’s friend was killed by Hakkonites, so it is likely that he is off taking revenge on the Jaws of Hakkon in any way that he can.
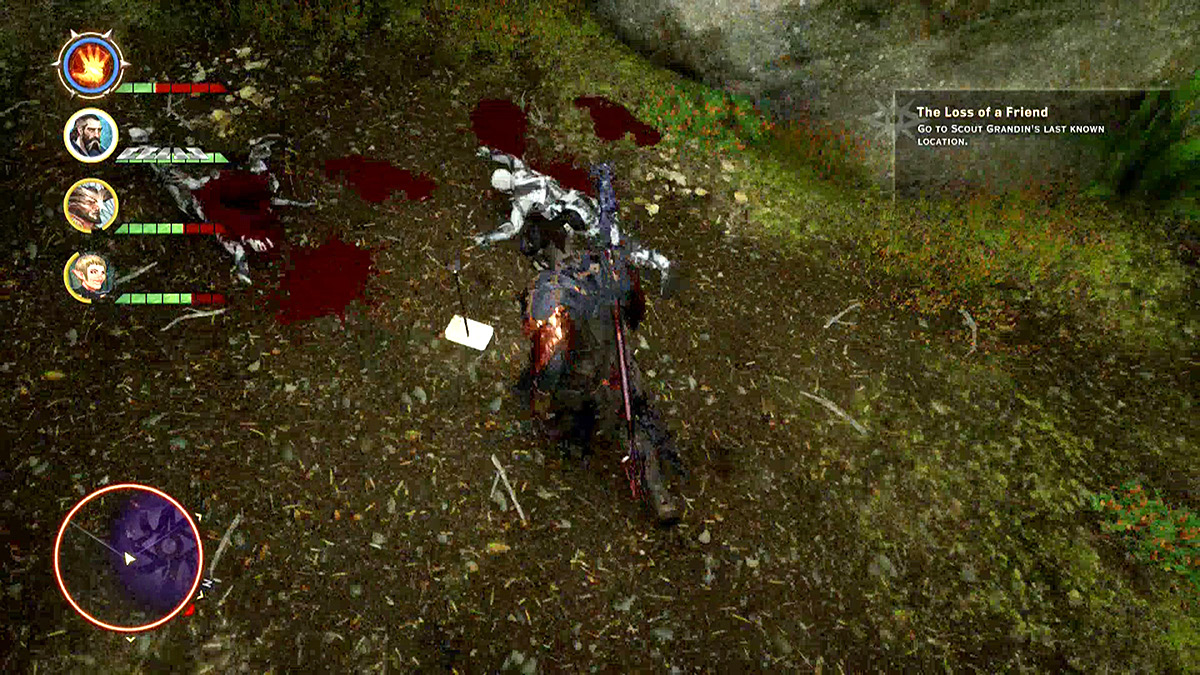
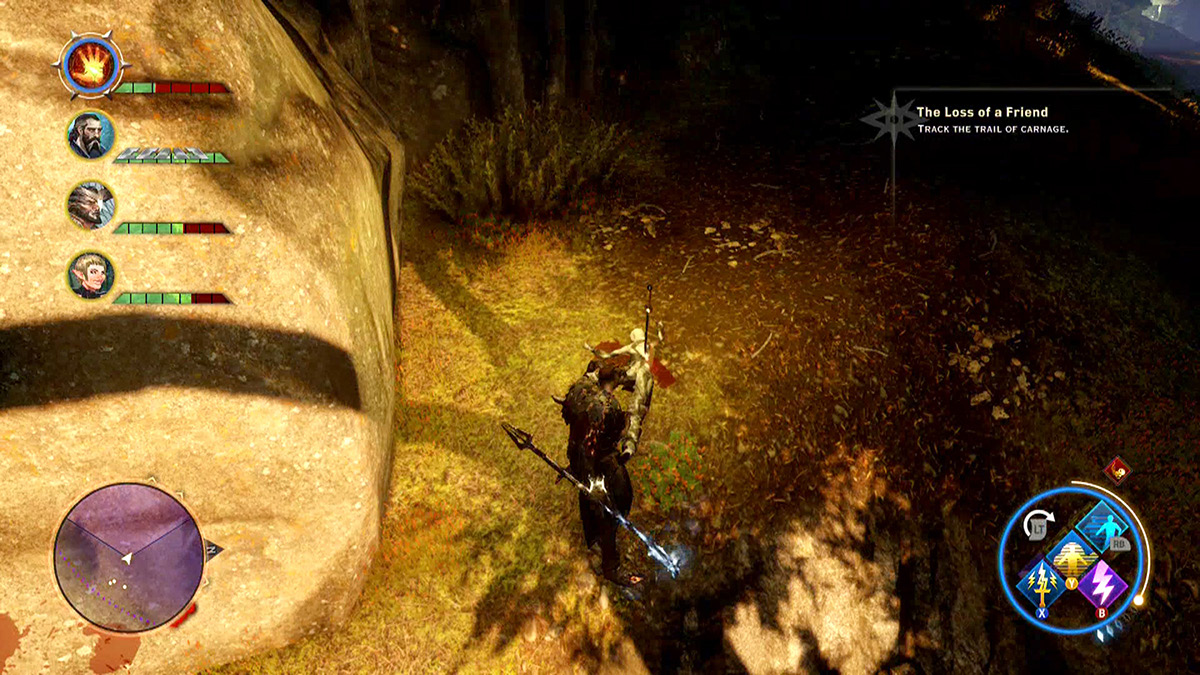
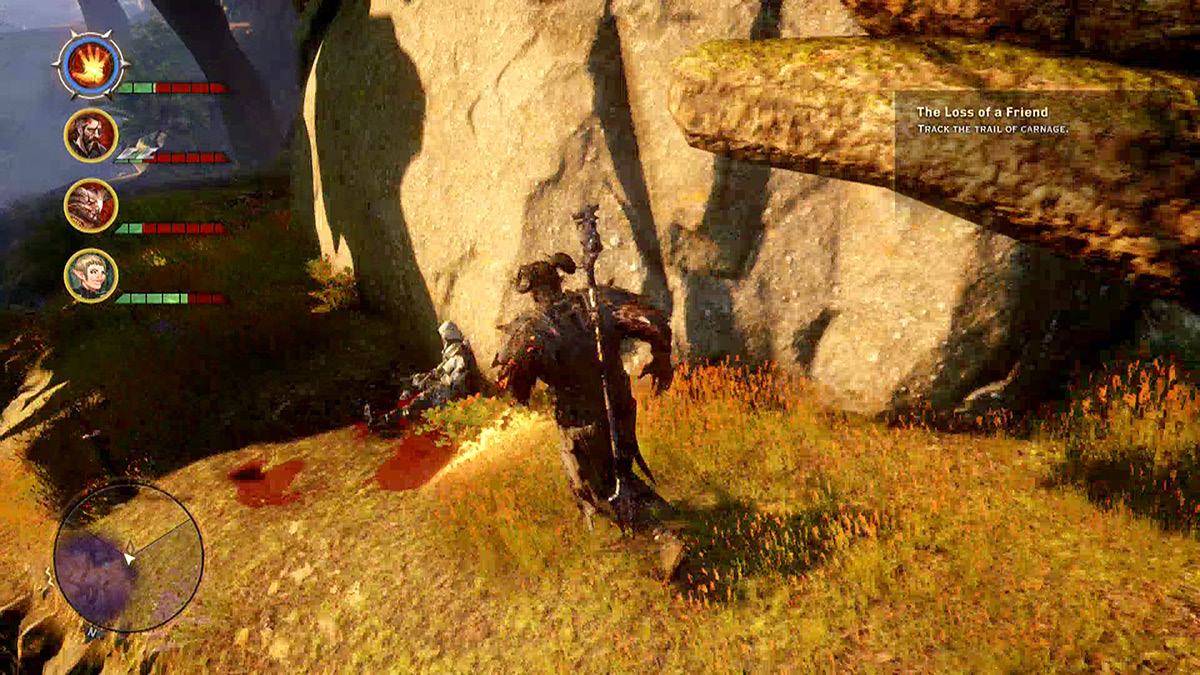
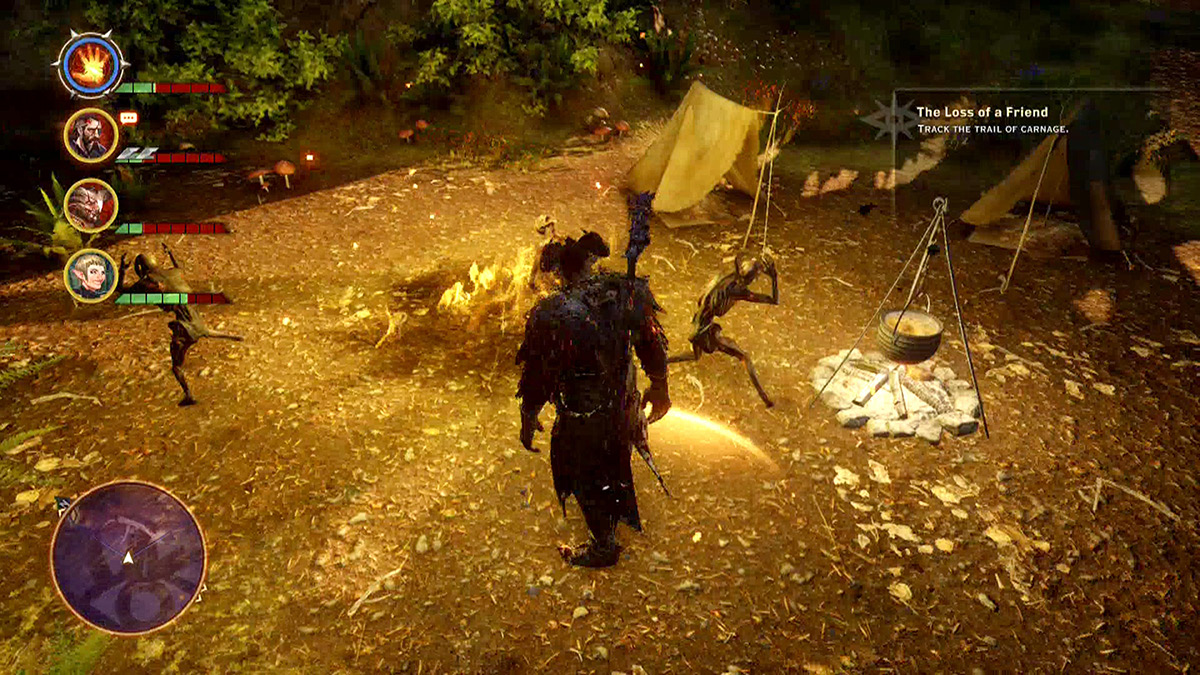
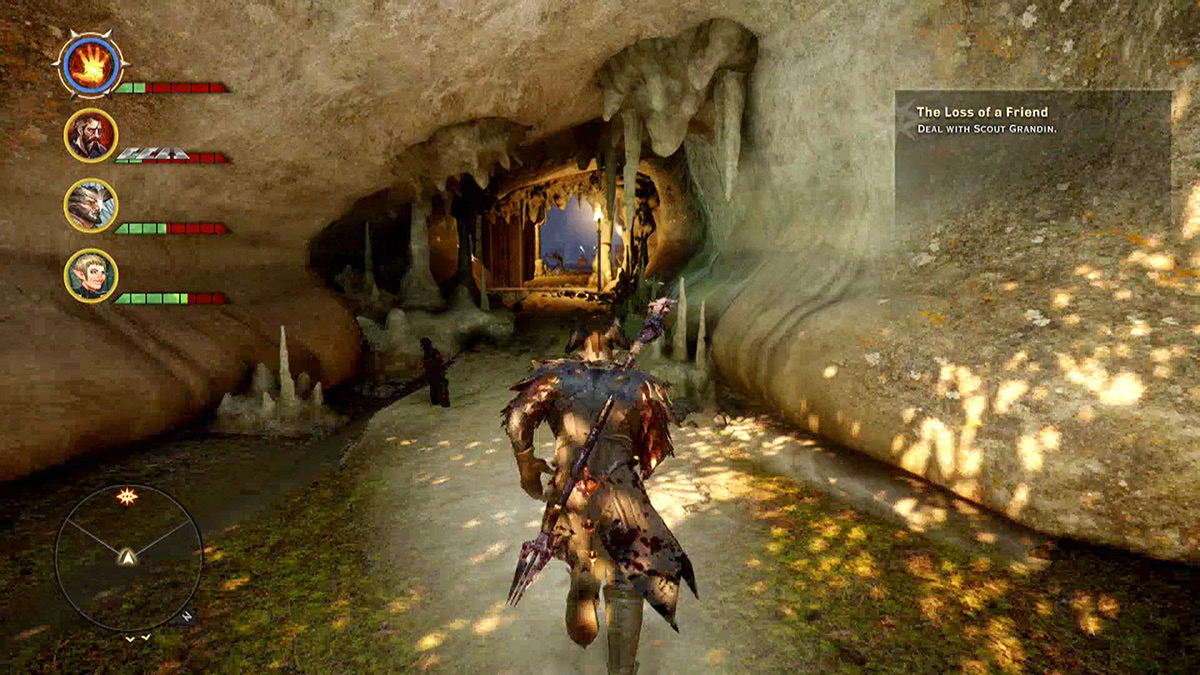
Find his last known location and make your way up the hill while following his path of destruction. As you may notice, there is severe damage to all who were in his path, and you’re not sure exactly what is going on, but surely not all of this damage was done by one lone scout.
Finally, after all of the destruction and carnage, you find Scout Grandin in a cave alive and well, so to speak. Grandin became very injured in his expedition for revenge, and a spirit took hold of him, allowing him to get the revenge he desired. You have a choice; you can either let him live the way he is, possibly looking to inflict more destruction and carnage on the Jaws of Hakkon, or you can destroy the spirit—along with Grandin, unfortunately. Either option will leave you with unfortunate news for Scout Harding, but return to her and let her know what happened; she will understand.
15: In Exile
Quest Giver: Sigrid the Exile
Description: Sigrid Gulsdotten exiled herself from Stone-Bear Hold. Though Sigrid refuses to explain why, it may still be possible to discover the reason.
Requirements: Available when you arrive in Frostback Basin
Reward: 100 Influence, Inquisition agent (optional)
Objectives:
 Learn more about Sigrid from someone in the hold.
 Investigate the ritual site.
 Confront Sigrid.
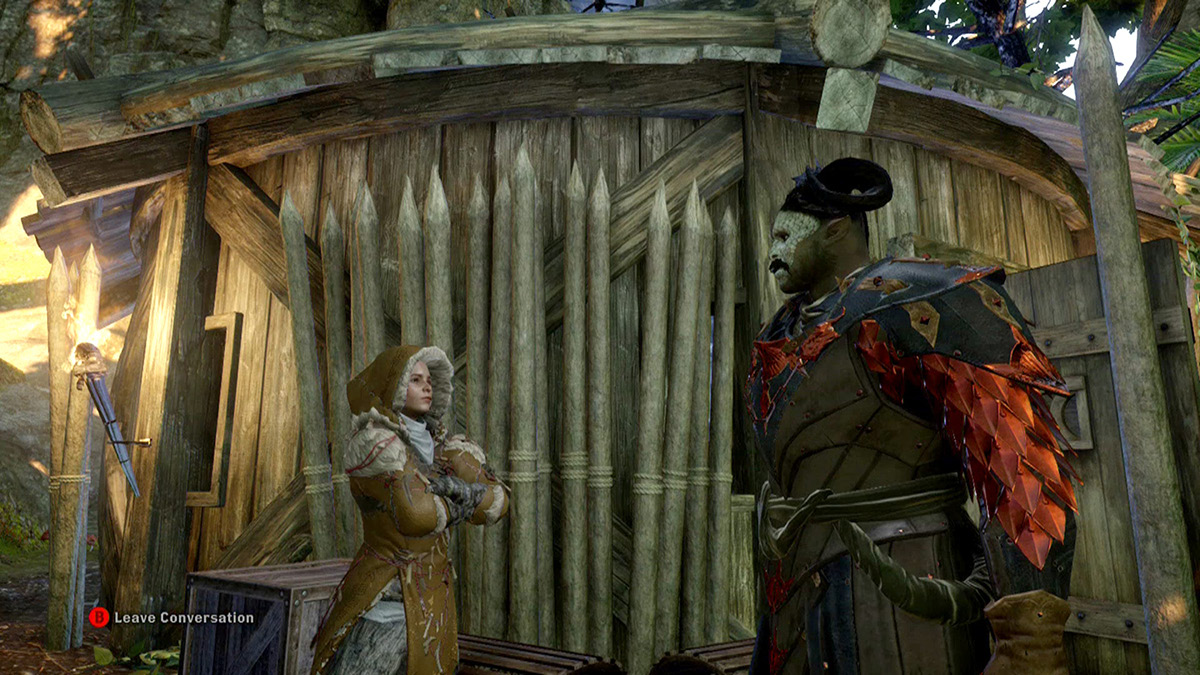
In your travels, you might come across an Avvar woman quite surprised to see you out exploring Frostback Basin. She is a little suspicious in her speech, and it is evident that she might be hiding something. You find out that she exiled herself from Stone-Bear Hold and simply will not tell you why. Your next move is to travel back to the augur of the hold and find out any more information he might have on Sigrid.
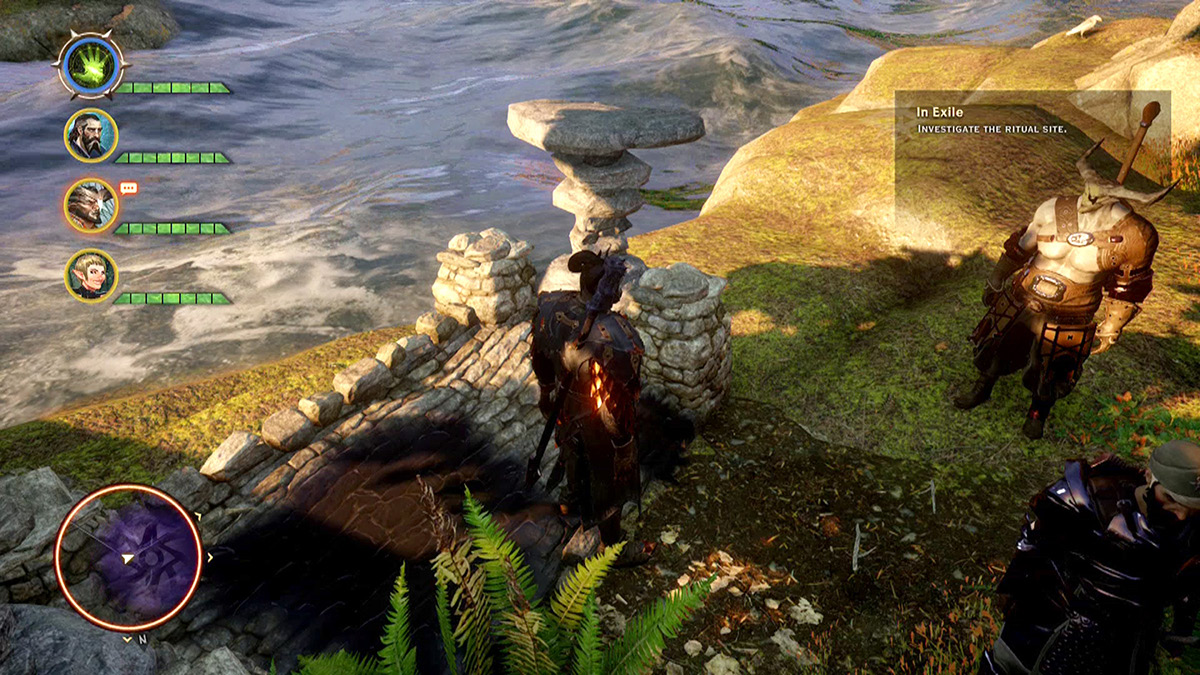
The augur knows exactly who you are talking about but also isn’t quite sure exactly why it was that she exiled herself. Was it because she failed her ritual? Simply didn’t do it? He’s not sure, so he asks you to investigate the ritual site and see what you can find from what remains there.
After investigating the ritual site, you come to find out that Sigrid never performed the ritual—never really attempted it, even. Confront Sigrid and get her side of the story. After she has explained why she did not perform the ritual, you have a choice; you can either let her return to the augur to explain what happened and have him deal with Sigrid, or you can use Sigrid’s skills, abilities, and knowledge for the Inquisition by making her an agent. Making her an agent will give you the inquisition perk that speeds up the rate at which Josephine completes operations by 5 percent.
16: The Mystery of Winter
Quest Giver: Any shard in Frostback Basin
Description: An unnatural but strangely familiar cold emanates from a locked door within Frostback Basin.
Requirements: Available when you arrive in Frostback Basin
Reward: 1,493 XP, 230 Influence, 1 Power, +15 Cold Resistance
Objectives:
 Unlock the door.
 Explore the chamber.
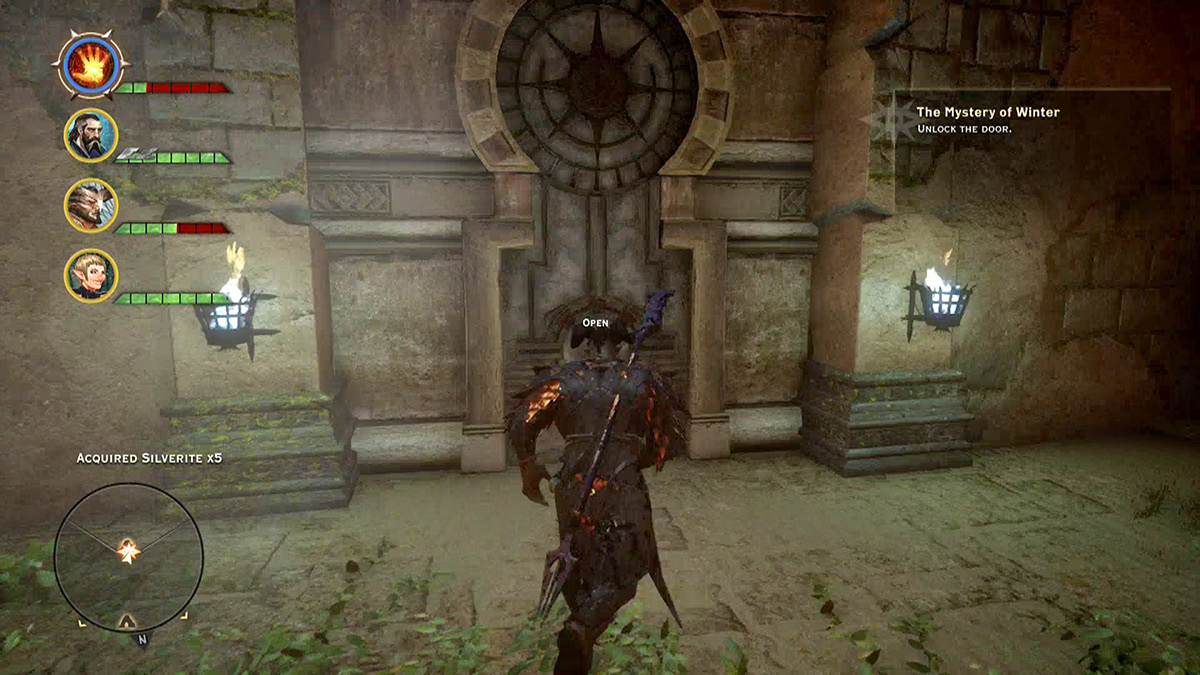
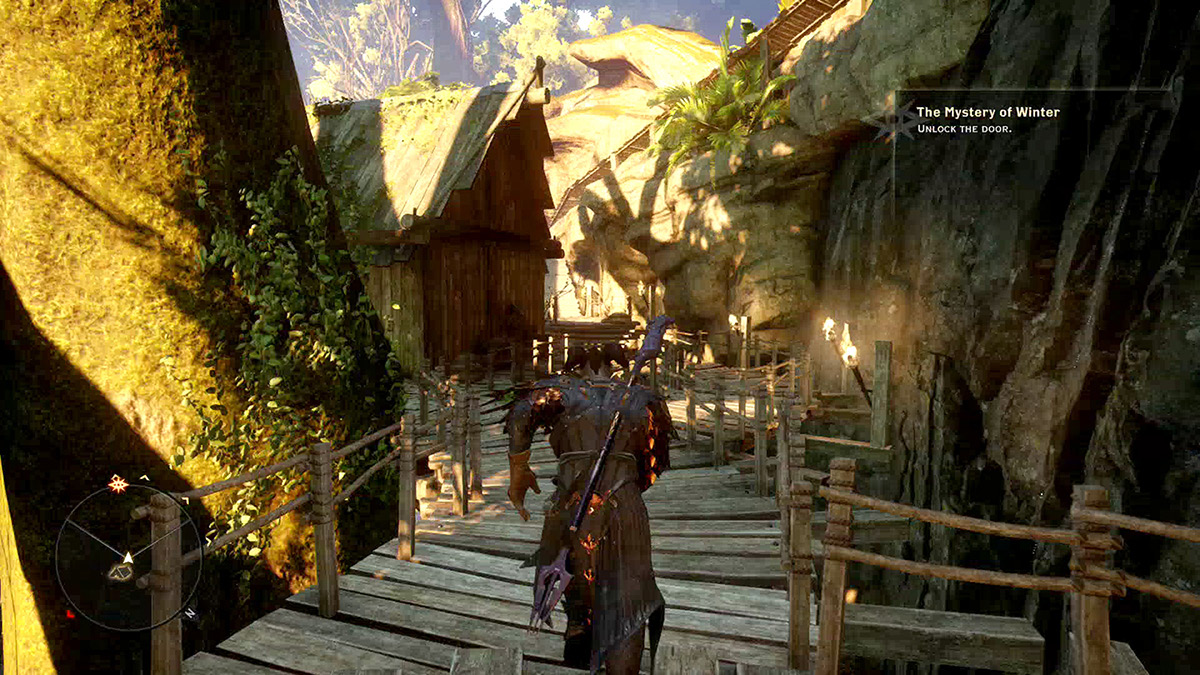
Picking up your first shard in Frostback Basin triggers The Mystery of Winter. If you haven’t been to the Forbidden Oasis yet, you may have enough shards to go ahead and open the chamber for this quest. However, assuming you have used all of your shards prior to exploring Frostback Basin, you must collect all 12 of the shards hidden here.
Once you’ve collected all 12 shards, travel to the Varsdotten River near Canyon Camp and look for the chamber hidden in the canyon. In addition to the glorious treasure, experience points, influence, and power, you also receive +15 to your cold resistance. The rewards available make this an excellent quest to do early because they will become extremely useful as you progress through the locale.
17: On Ameridan’s Trail
Quest Giver: Professor Kenric
Description: The wards on the wall have been disabled, but the wall is still guarded by the Hakkonites.
Requirements: Complete the What Yet Lingers quest.
Reward: None
Objectives:
 Follow the river and look for spires.
 Follow the spire path to an ancient ruin.
 Clear Hakkonites from the ruin.
 Wait for Harding and Kenric to arrive.
 Investigate the area.
 Find a way to take down the barrier.
 Explore the chamber.
 Look for more clues.
 Activate the trail marker.
 Light all of the trail markers.
 Talk to Thane Svarah Sun-Hair about how to get over the wall.
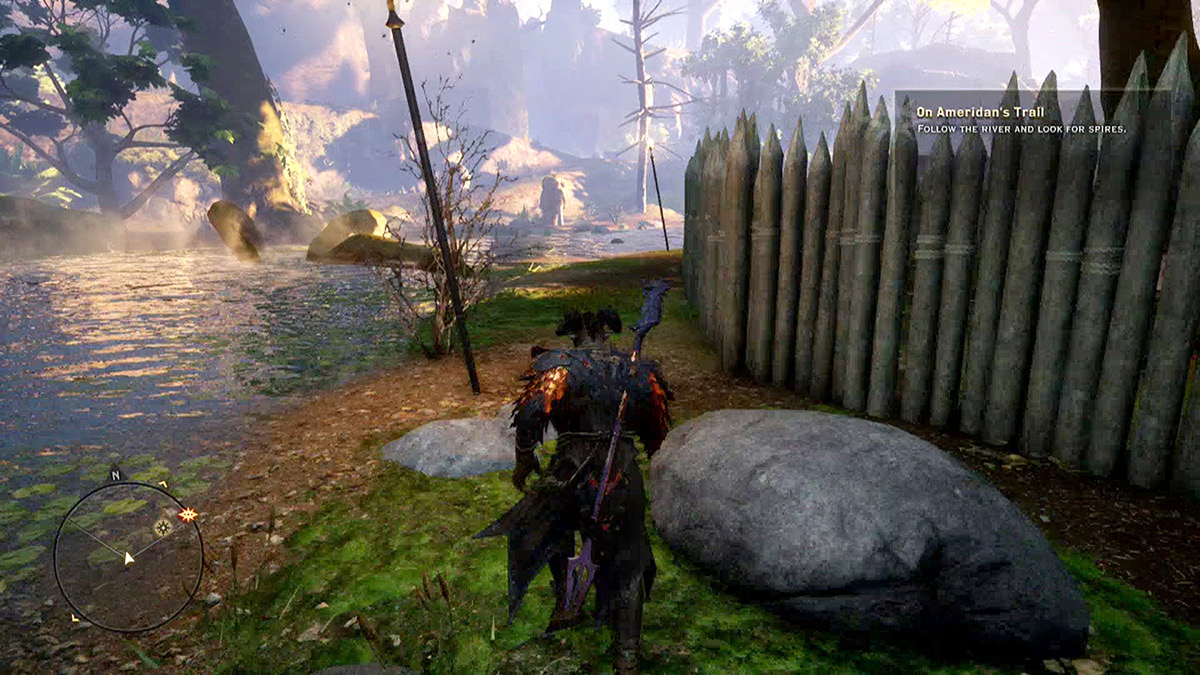
Through your adventures in Frostback Basin, you have discovered that there are spires that directly connect to Inquisitor Ameridan’s death. After speaking with Professor Kenric, he suggests that you follow the river in search of where these spires lead. He says he will meet you wherever they end.
Find the first objective on your map as you have the quest tracked. This first marker leads you to the river, and the best course of action is to follow the river as it leads you directly to your destination. This path is quite dangerous, however, so it is a good idea to use your mount and ride with haste towards the destination to avoid as much conflict as possible.
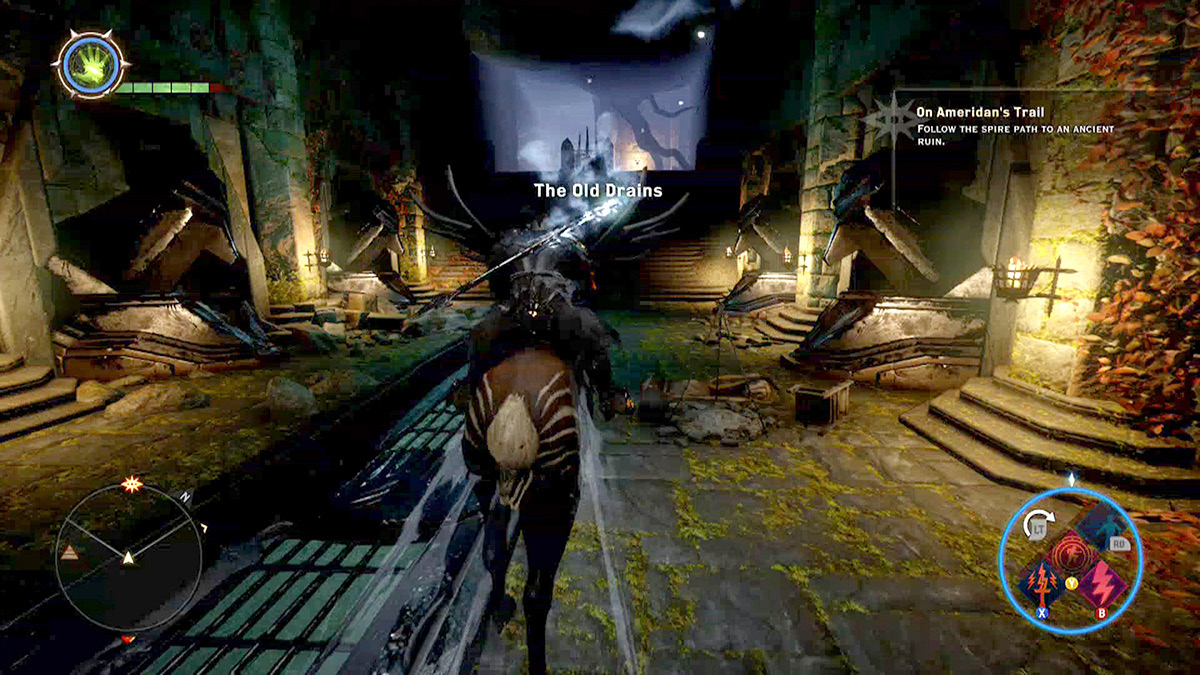
The river flows through a large cavern, where you can dismount and head northwest to find the old drains. Follow the drains as they lead you straight to Razikale’s Reach, which is guarded by Hakkonites.
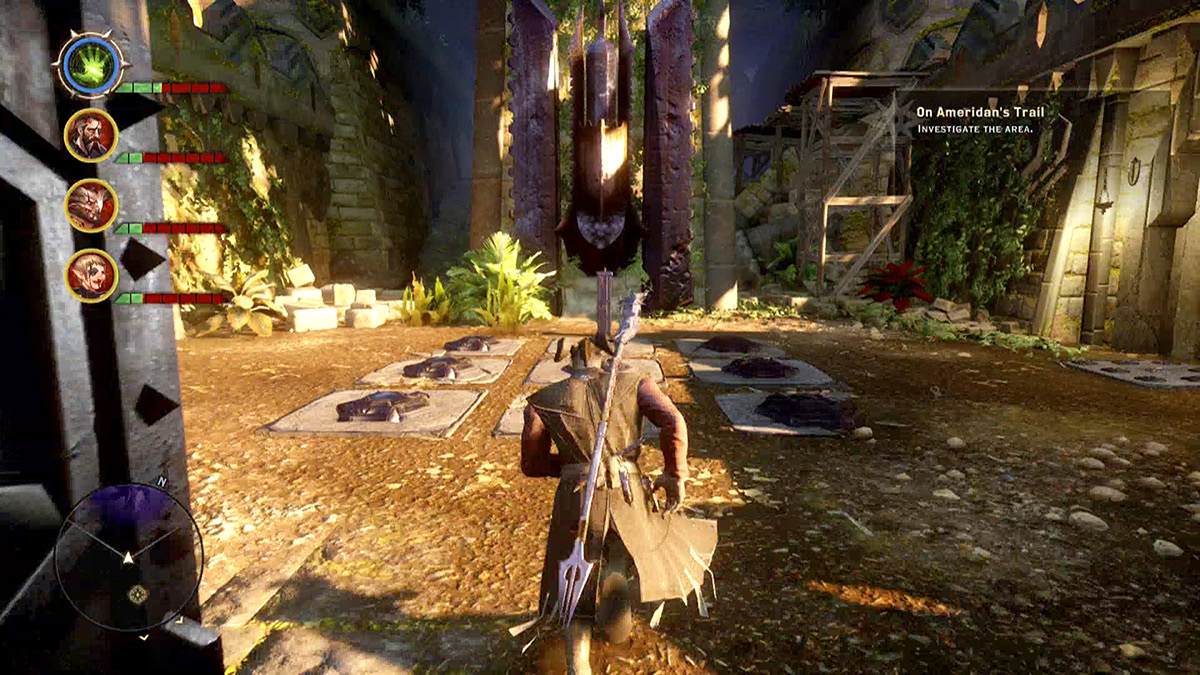
Defeat the Hakkonites and move in. Professor Kenric meets you, escorted by Scout Harding. The professor is excited to find this location and suggests that it might be a scouting area for the keep to the east. As you advance you run across a puzzle on the floor. This puzzle is completely optional and does not affect the advancement of the quest, but there are two solutions to the puzzle, and each solution opens a door on either side of you. Inside the doors is extremely valuable equipment, and you should complete the puzzle, but it is completely optional.
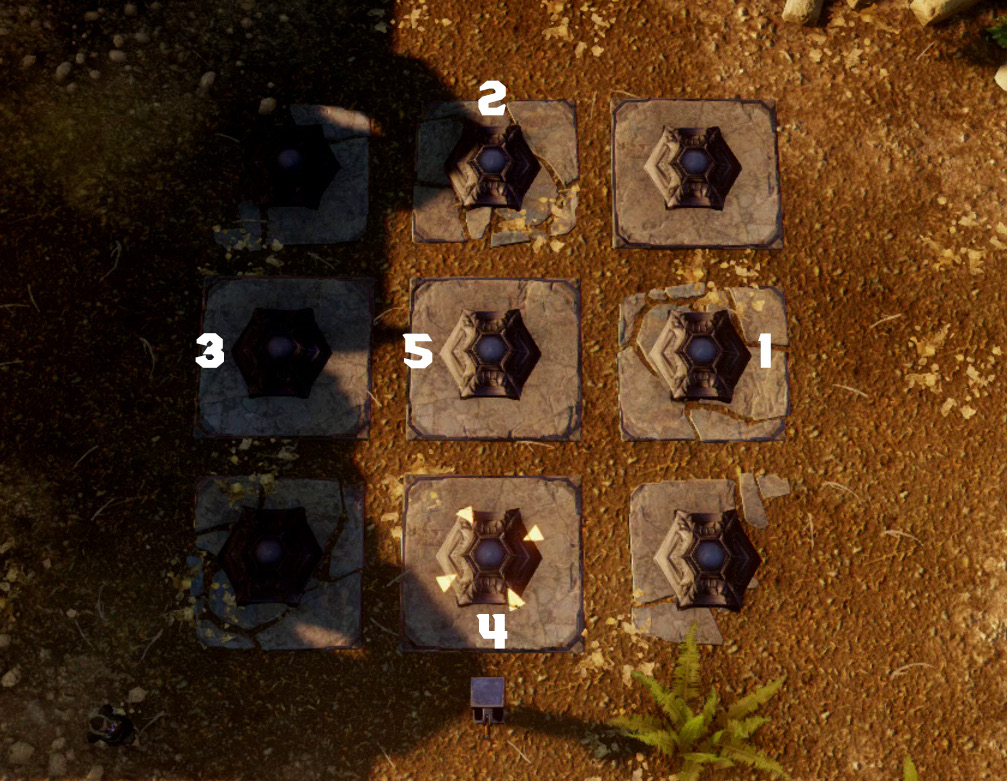
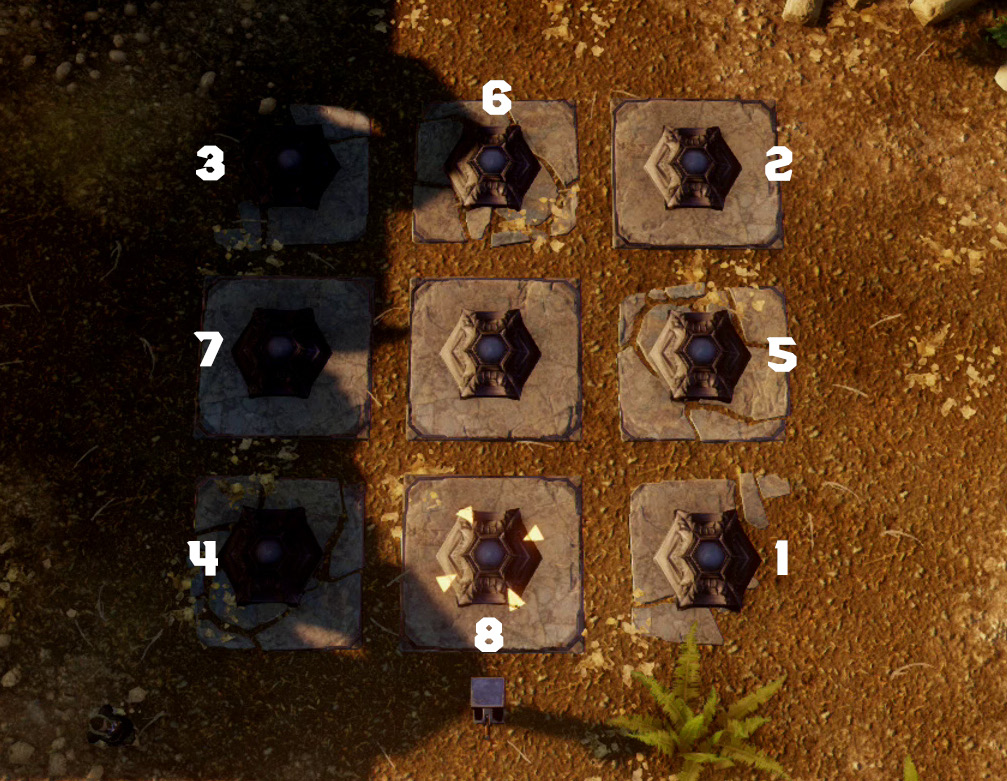
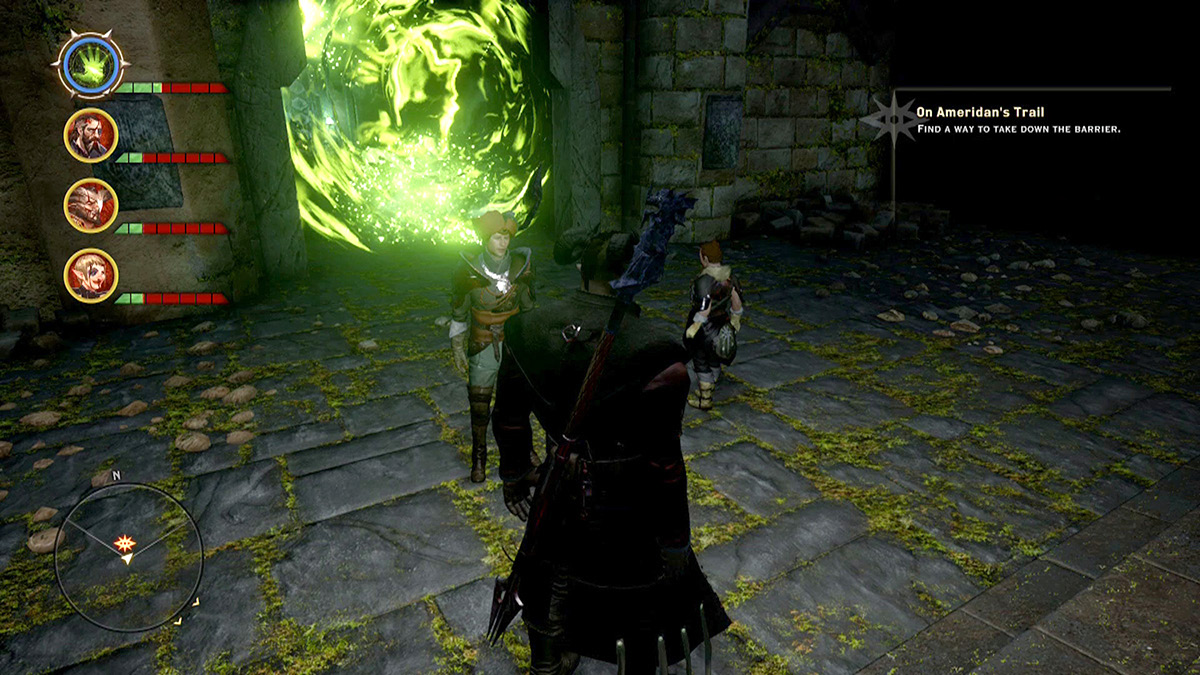
Up the stairs on the other side of the puzzle is a magical barrier, but this one is not vulnerable to any kind of magic. You must find veilfire to destroy this barrier. Fortunately, if you run to the opposite set of stairs you took to get to the barrier there will be a wooden walkway, and if you take this walkway all the way to the closest interior wall you’ll find a veilfire torch. Use it to destroy the barrier and walk on through.
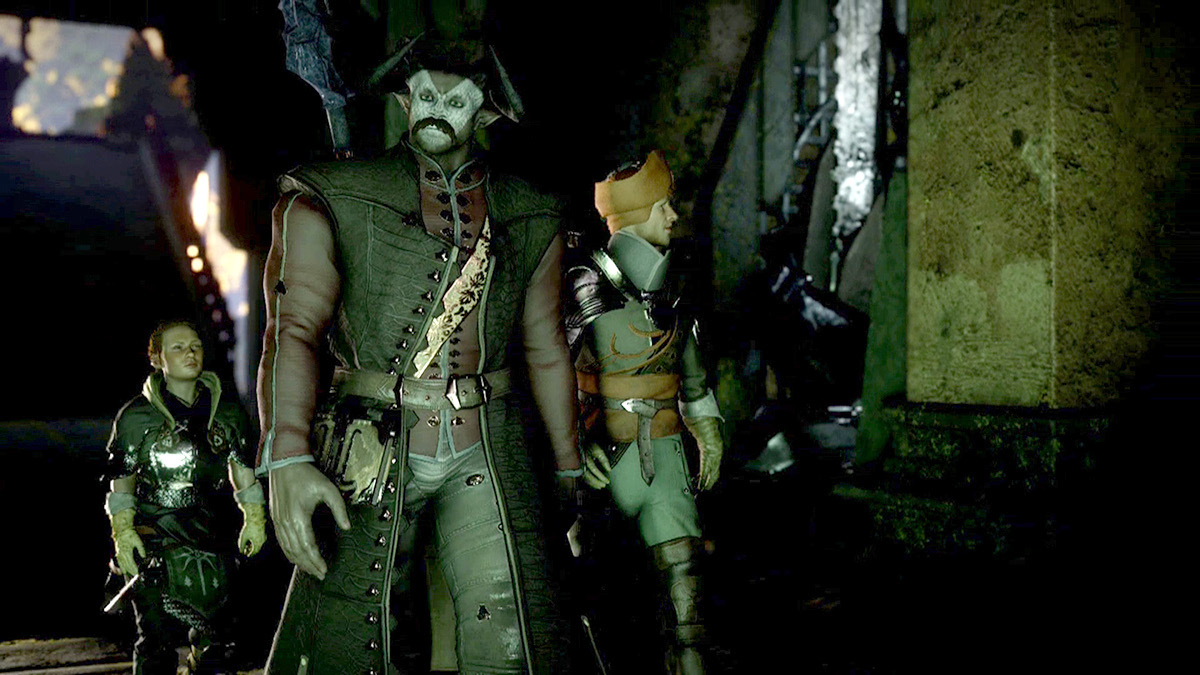
Past the barrier is a dark room with a shrine, most likely built by Inquisitor Ameridan and Talana. After Professor Kenric figures out what it is, he begins to look for something; take the veilfire torch and touch the two large fixtures on either end of the shrine. This activates the power needed to use the trail markers that are right outside.
Once the power is activated you must find a way to connect the two columns. On the other side of the courtyard, where you found the veilfire to open the barrier, there is a lever that activates a mechanism that connects the two columns. Once they’re connected, you can activate the trail markers. Fortunately, the first trail marker is directly underneath this mechanism, and all you have to do is pull the lever on it. While exploring Frostback Basin, you may have come across a great many of these, and now it’s time to put them to use.
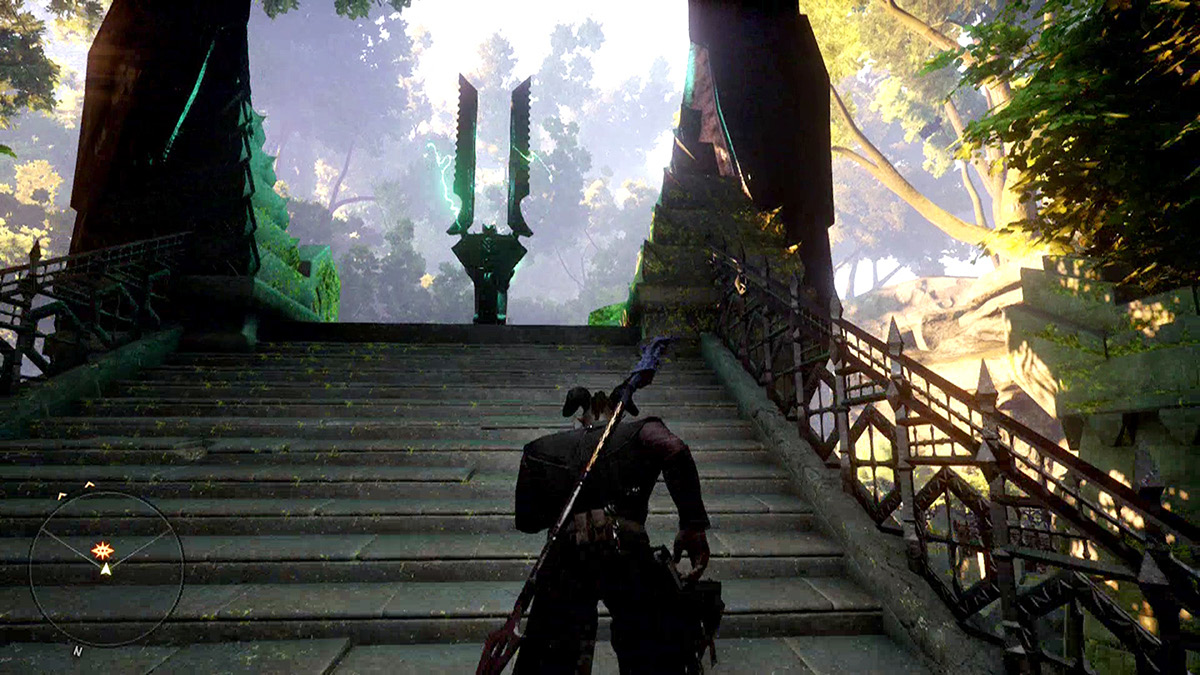
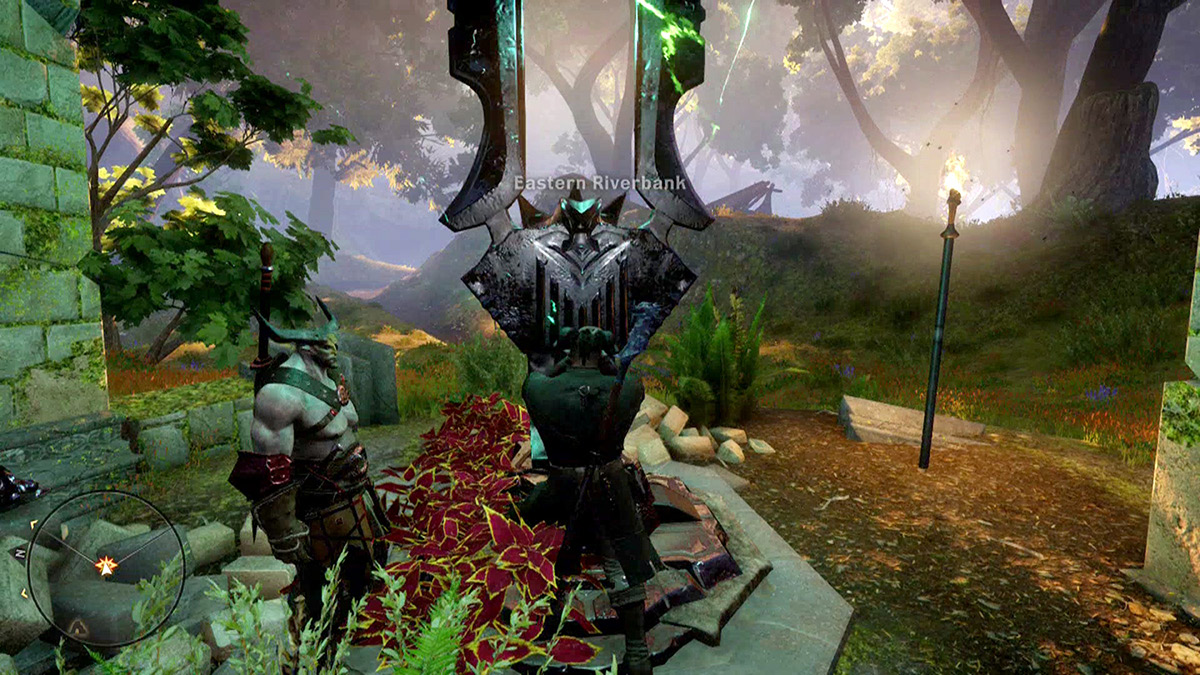
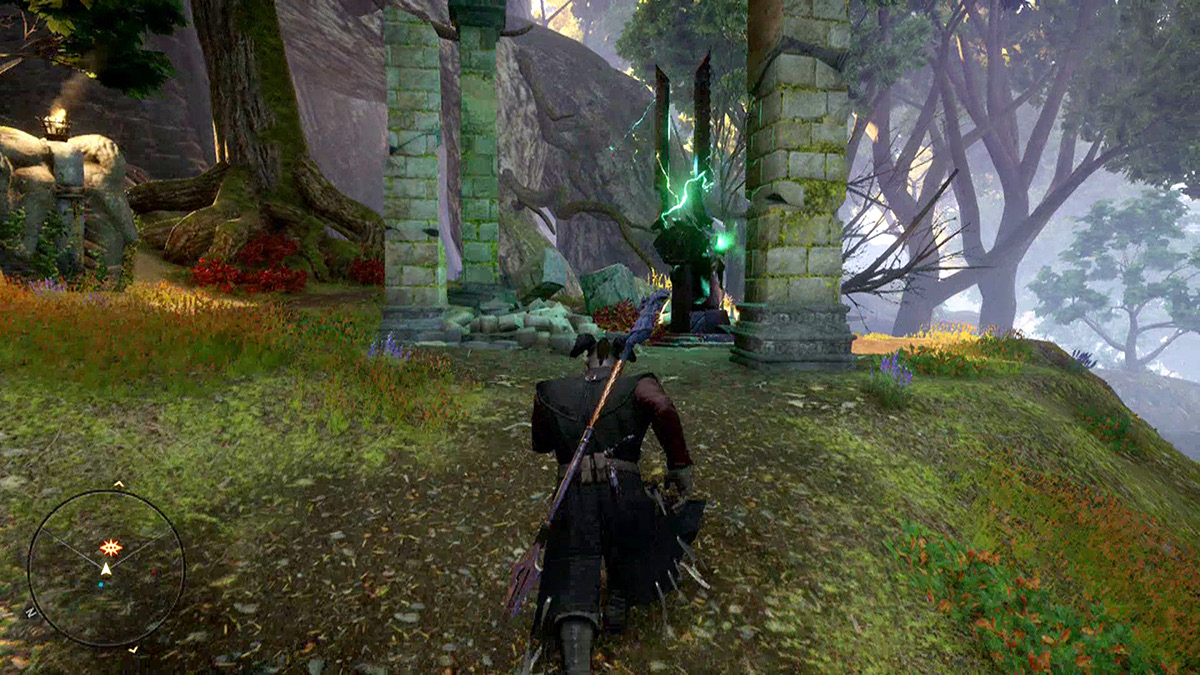
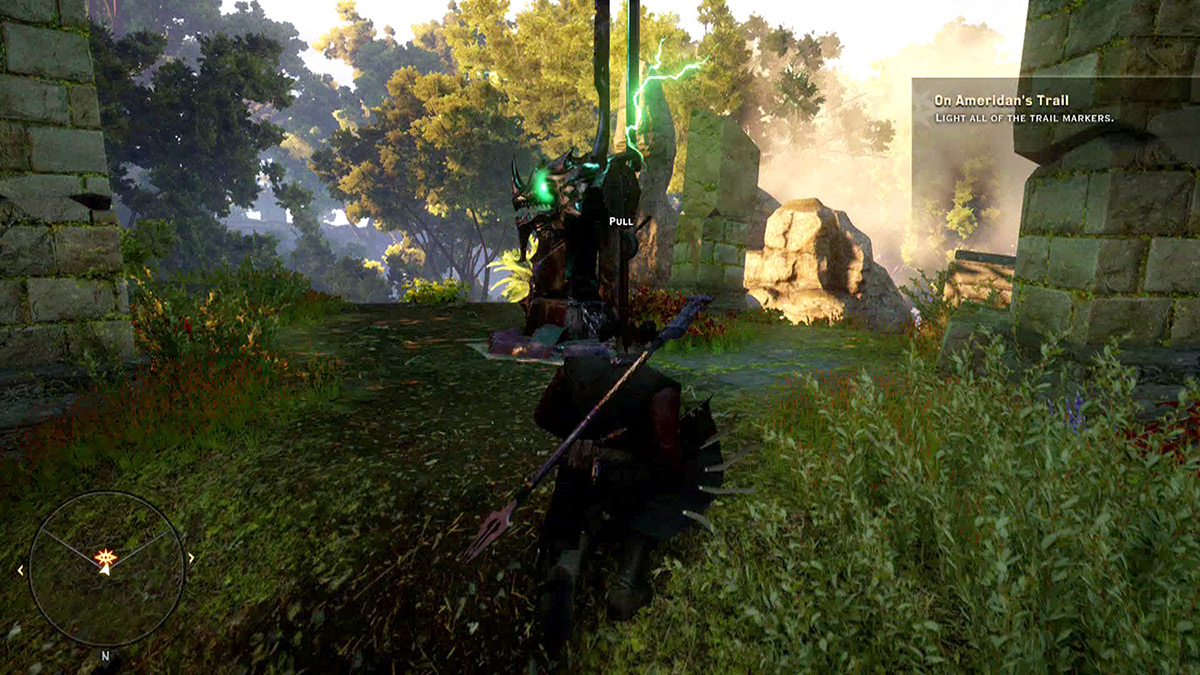
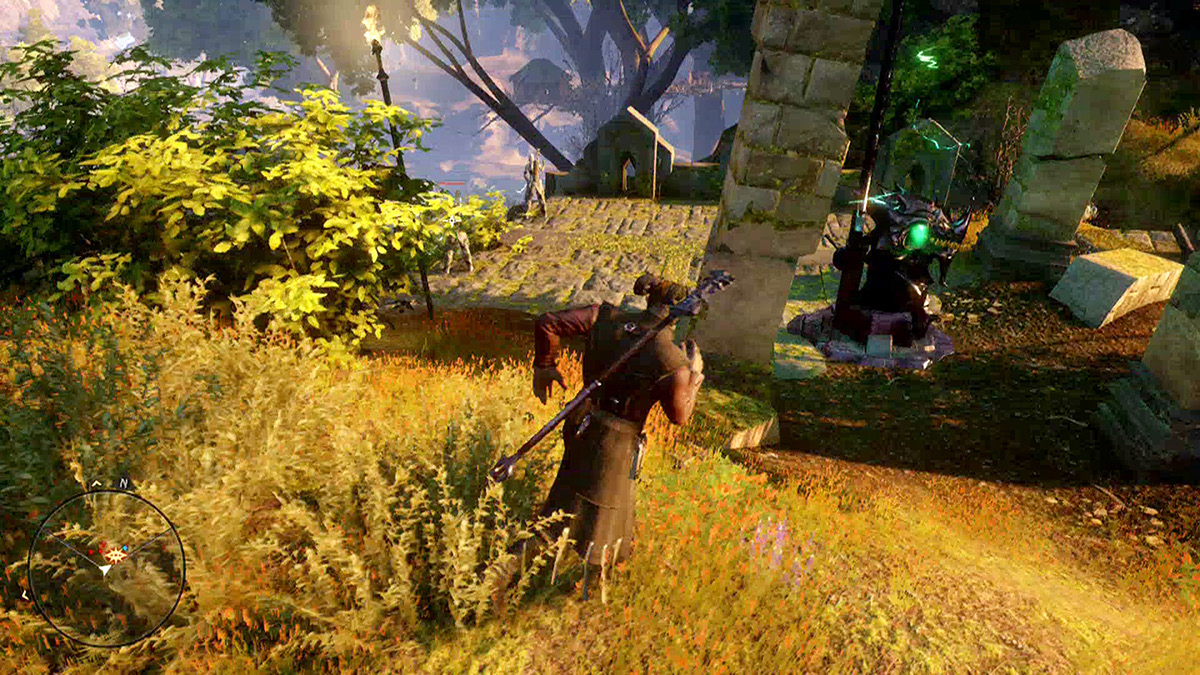
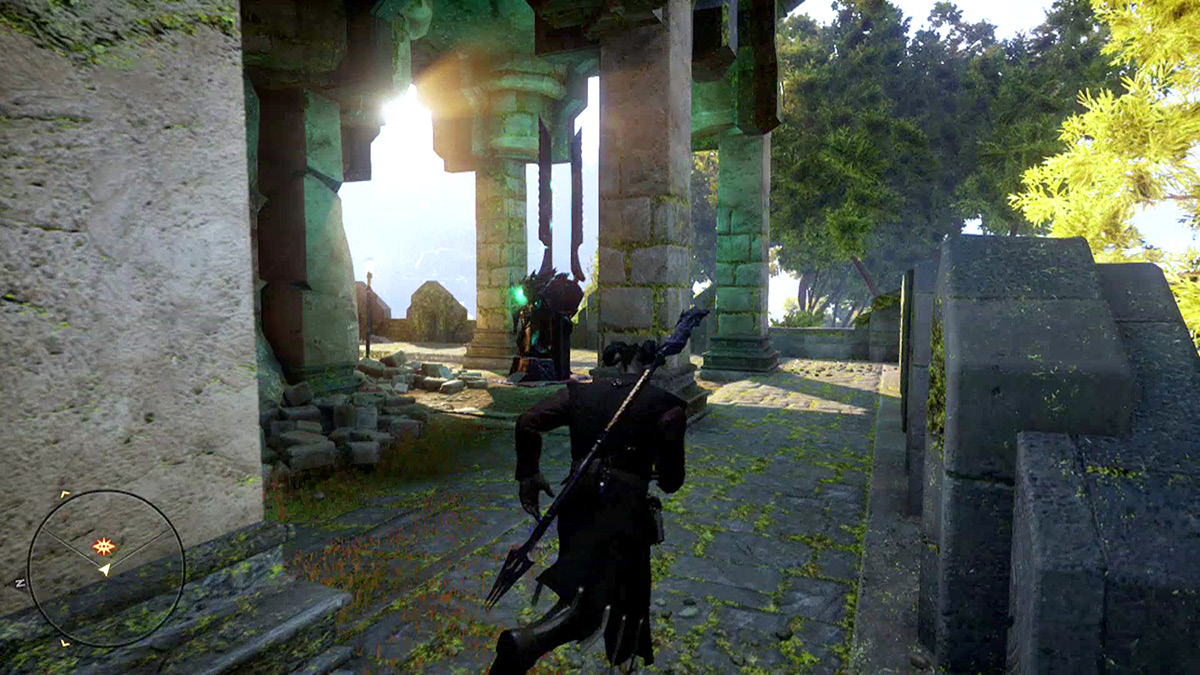
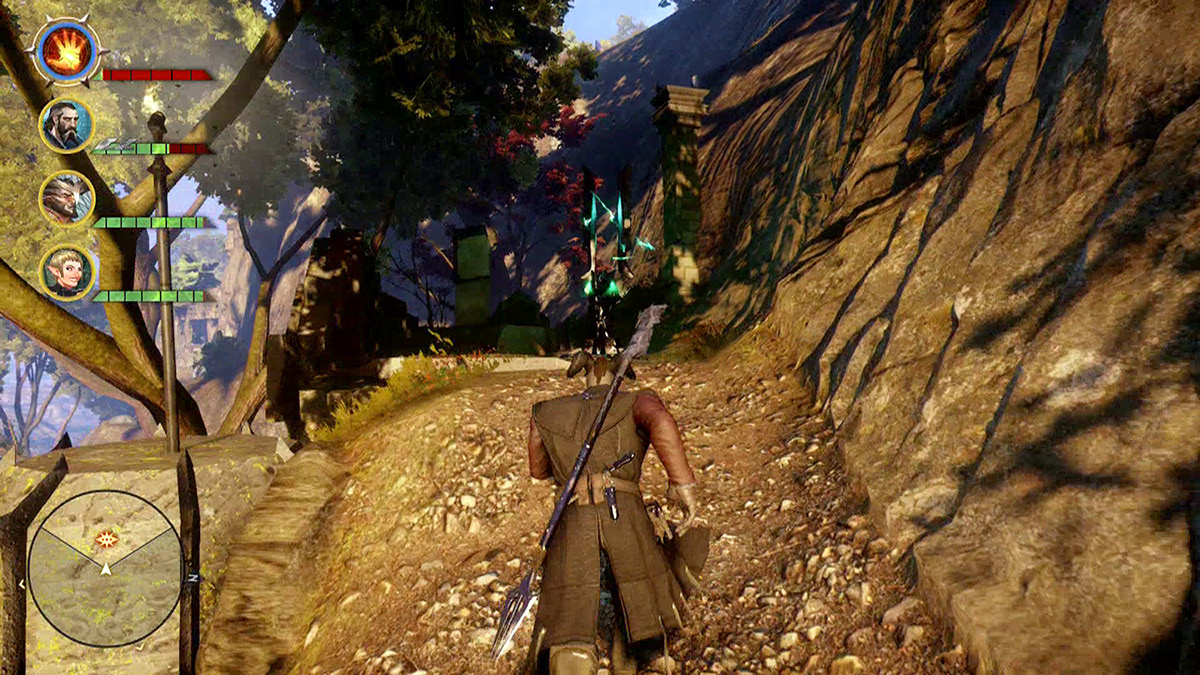
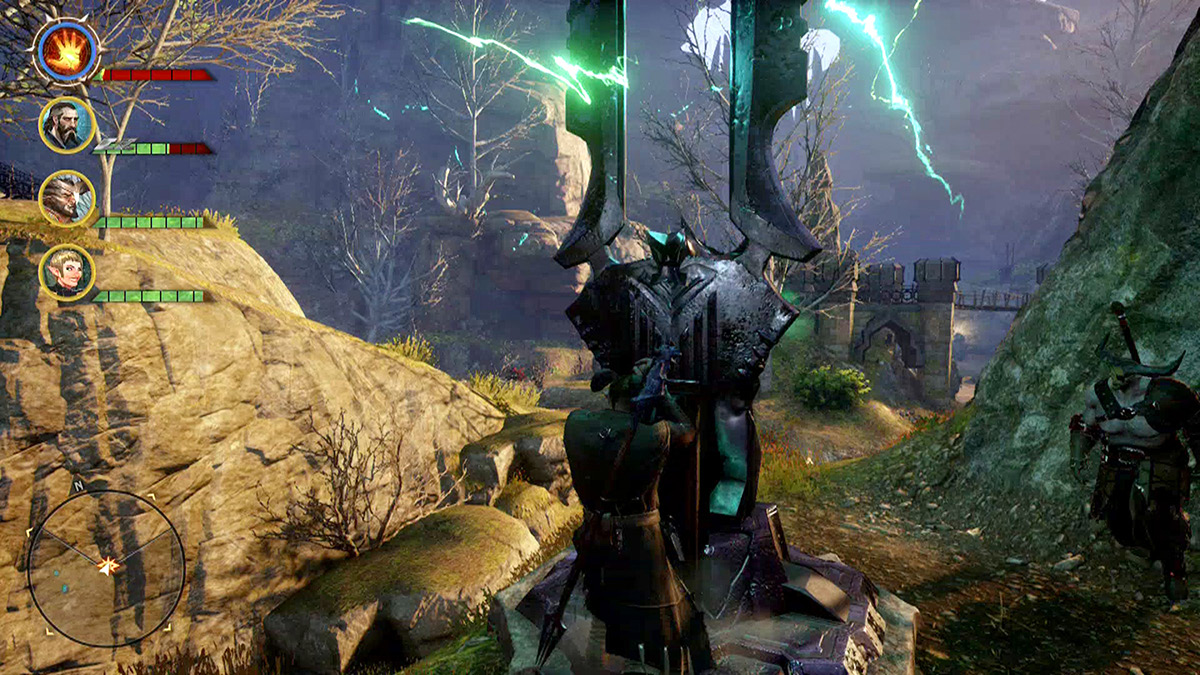
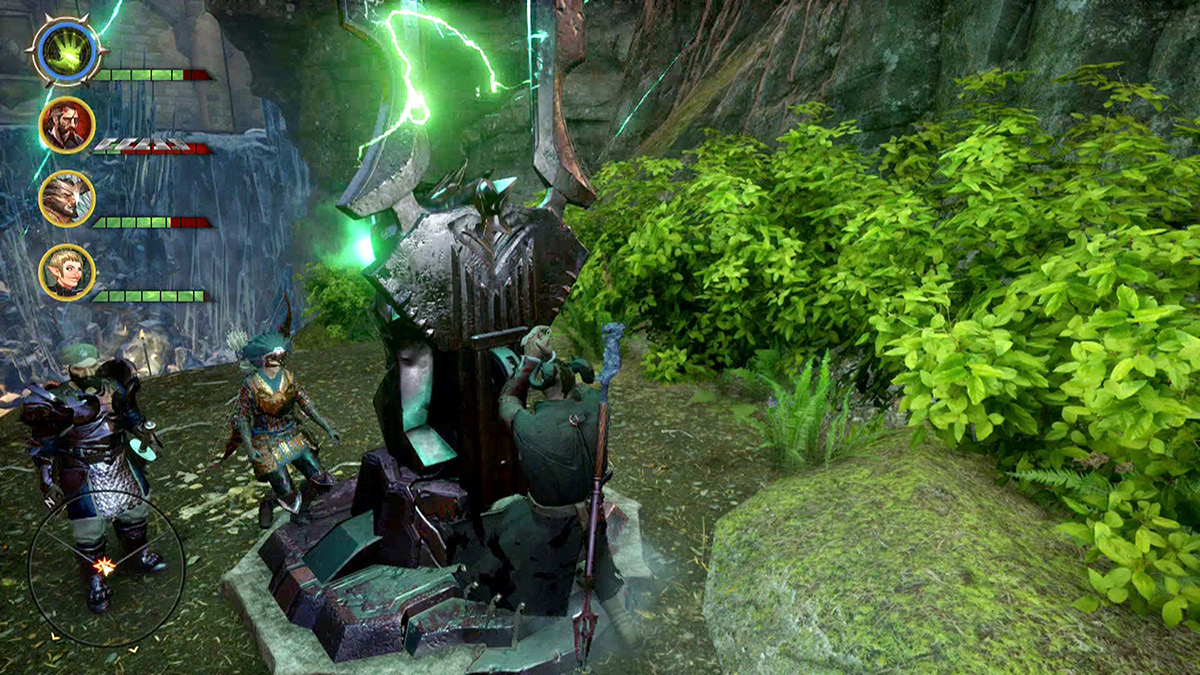
The final trail marker takes down the magic ice barrier that protects the Hakkonites and the rituals they are performing inside the northern fortress. Once the barrier is destroyed, return to Stone-Bear Hold and inform Thane Svarah Sun-Hair that you found have destroyed the barrier but are still not sure how to effectively attack the fortress.
18: Ameridan’s End
Quest Giver: The completion of On Ameridan’s Trail
Description: Preparations are in place to wage assault on the Jaws of Hakkon.
Requirements: Complete the On Ameridan’s Trail quest.
Reward: 18,247 XP
Objectives:
 Speak with Thane Svarah Sun-Hair.
 Assault the gate.
 Find Inquisitor Ameridan’s resting place.
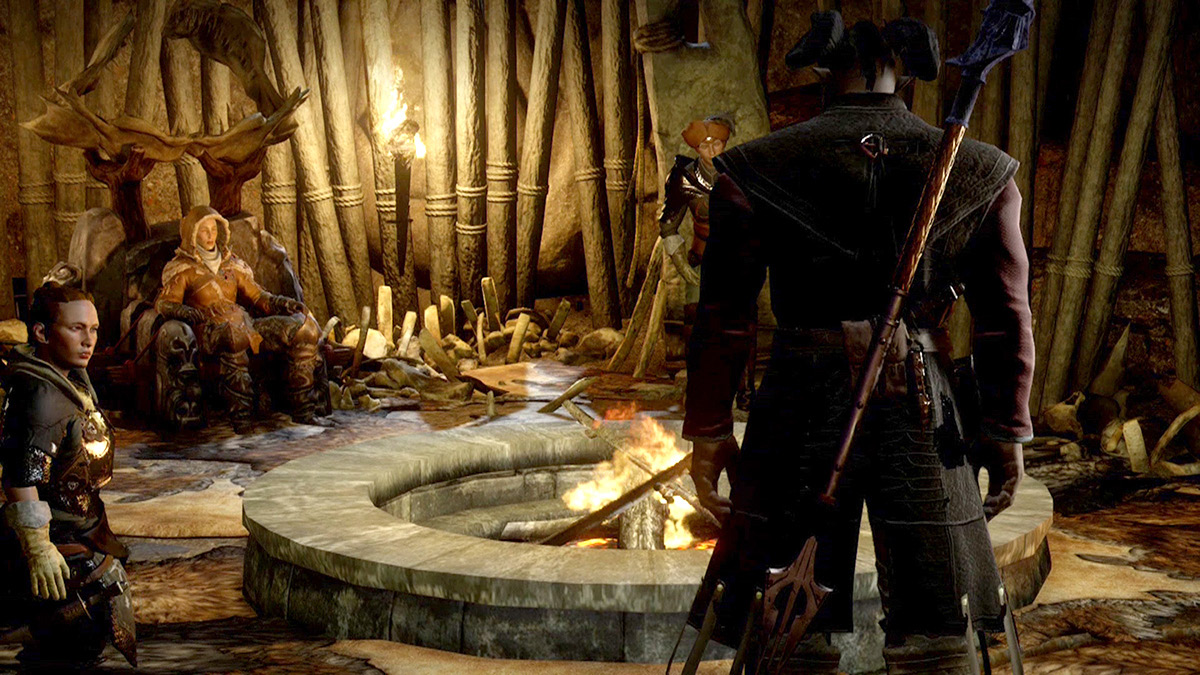
All of the clues that have led you to this point suggest that the Tevinter fortress that was recently covered in ice is the resting place of Inquisitor Ameridan, since he never left the fortress after he entered it. There’s a good chance that the Jaws of Hakkon are performing the rite to release Hakkon Wintersbreath. Now is the time to attack; there isn’t enough time to get Inquisition forces to Frostback Basin with siege equipment, so you must trust your Avvar allies to lead the way effectively.
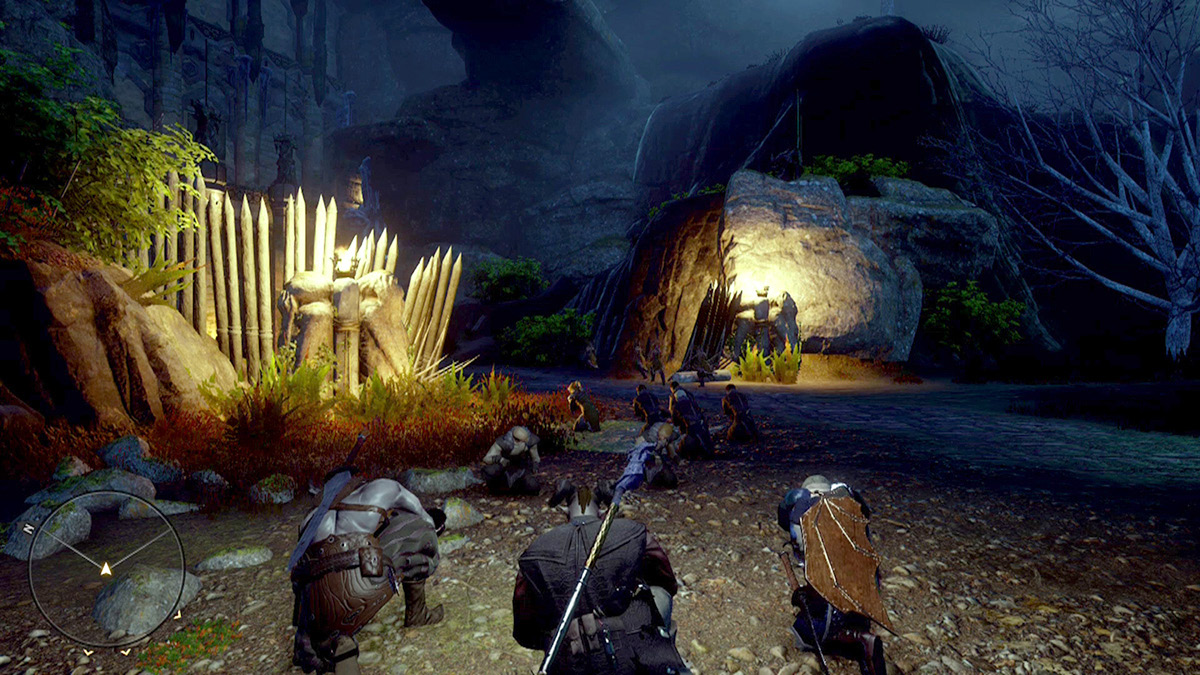
The sun is down and it is time to strike. As you and your Avvar allies attack the front gate, your job is to cover the climbers while they attempt to unlock the door for the rest of your forces. Make use of your new ability, Aegis of the Rift, and activate it once the Hakkonite bruiser jumps from the top of the wall; you will be able to barrage the bruiser while not being hit by the archers above you.
Directly inside the fortress you are greeted by another group of Hakkonites, and the spellbinder among them can heavily hinder your advancement if you don’t move to avoid his Ice Mine attack. Make your way down the hill and into the old temple.
The Old Temple
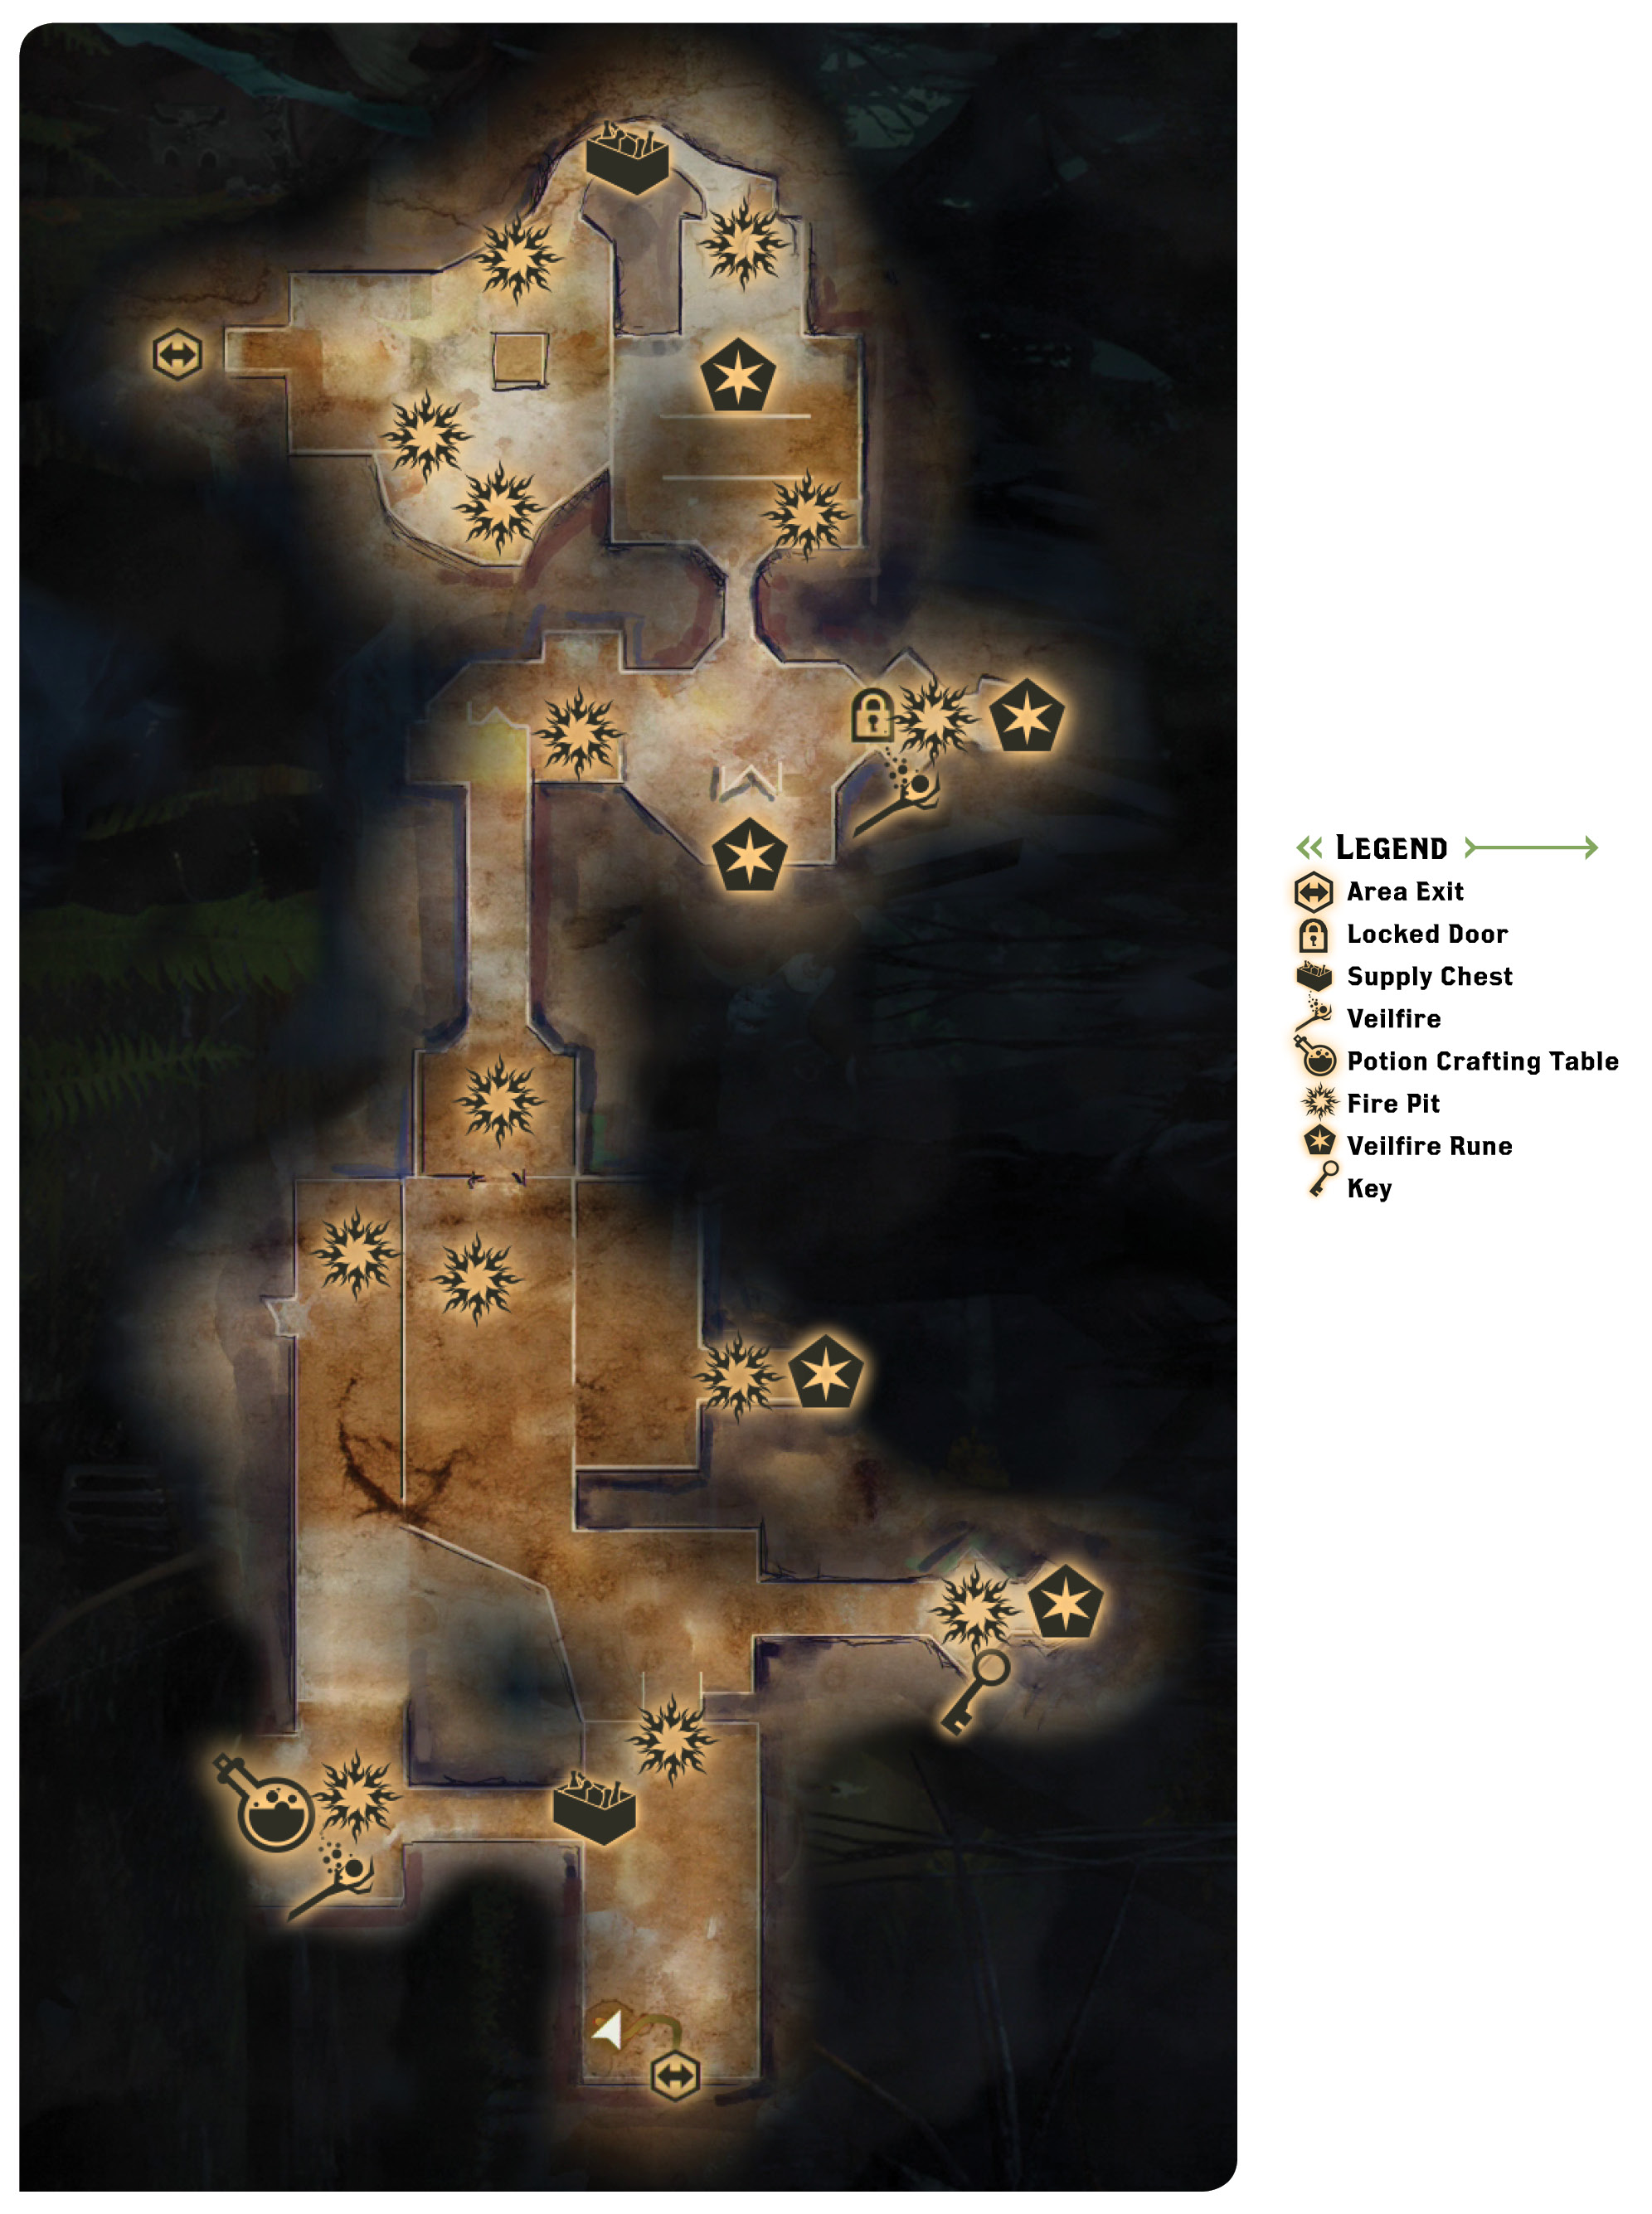
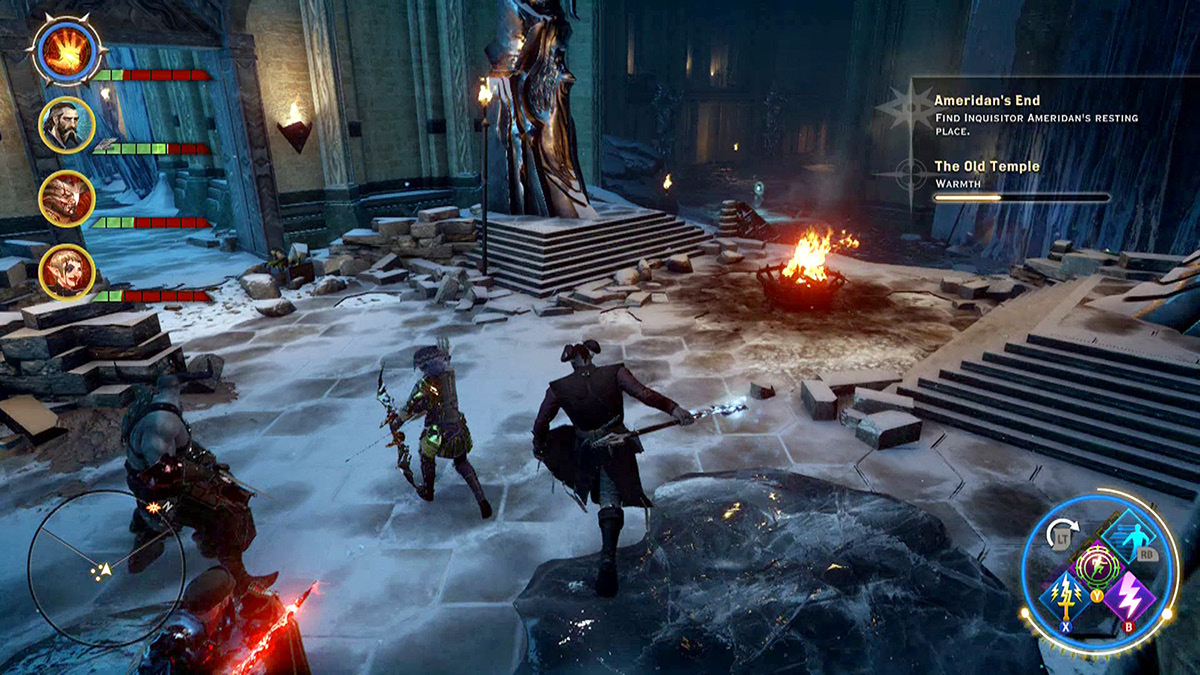
Once you’ve entered the old temple, you have a “warmth” status bar on your HUD. Pay attention to your warmth, because if that bar depletes to zero, you start to freeze and lose health, which can eventually kill you. You can warm yourself up by standing near one of the many fire pits throughout the temple. This is a time-management task; don’t stay away from a fire pit for too long and you will be okay.
First, head left from the first fire pit to find a room with another fire pit and a potions table. Look for the new cold resistance tonic—this will come in handy later in this quest because Hakkonites specialize in cold damage, so using this tonic can deflect most of that damage for two minutes at a time. Don’t miss the opportunity to activate the veilfire that is also nearby, because there are glyphs hidden all over the old temple that will grant you rewards and codex entries.
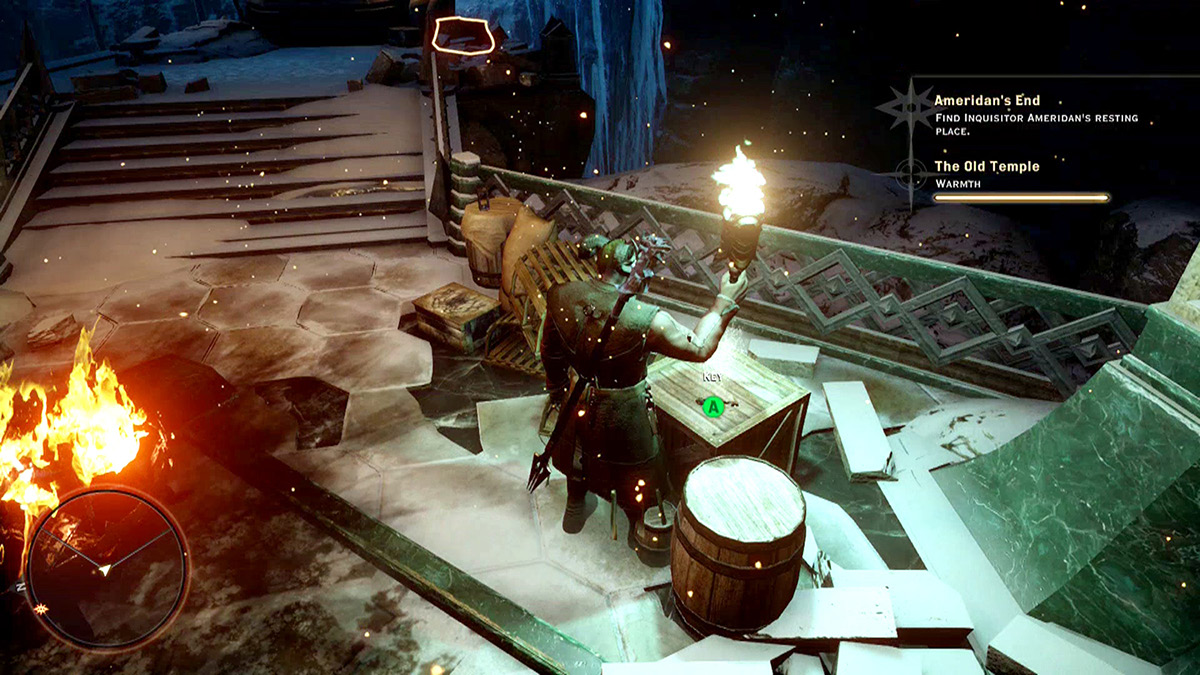
When you come across a locked door in the main hallway, you must head to the east side of the hallway towards a room where you will find another glyph and a key. Use the key on the door and head to the inner sanctuary.
In the inner sanctuary you begin to hear a rite to release the dragon in the distance; you must fight your way through the Hakkonites and make it to Gurd Harofsen to stop him.
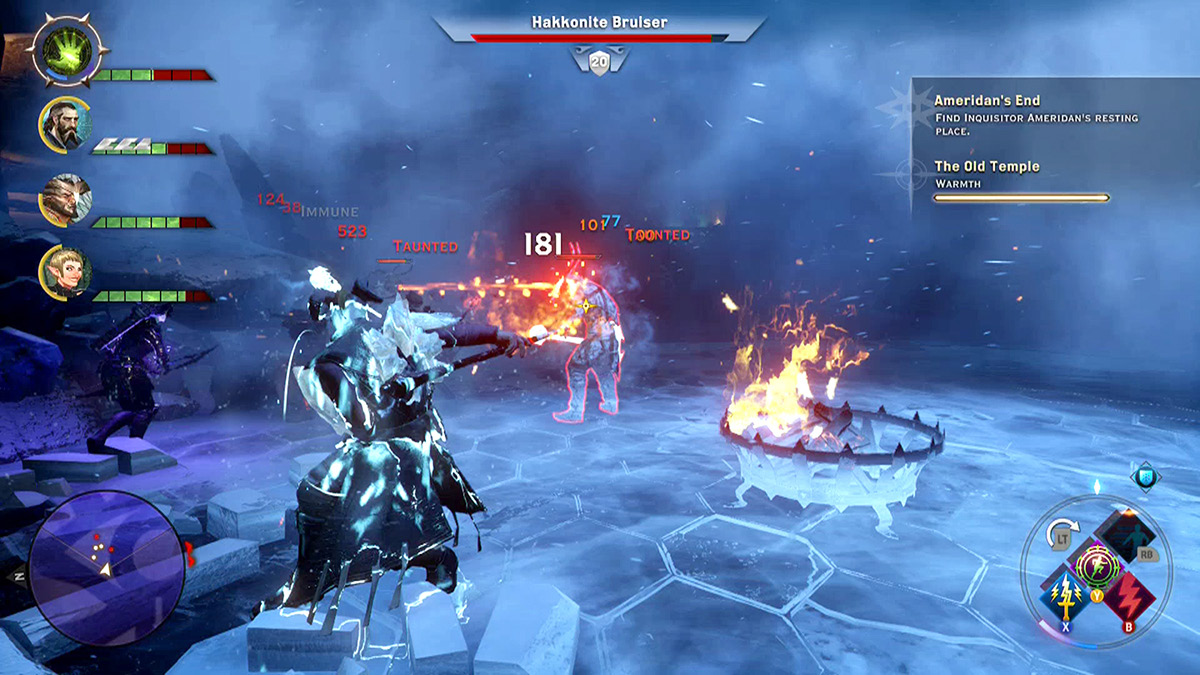
Arriving at the altar begins the boss fight. You must defeat Gurd Harofsen and his minions. You can’t attack Gurd until you kill his two Hakkonite bruisers and the four Hakkonite spellbinders. Attempt to draw the bruisers over to you first, because there’s a chance that the spellbinders won’t notice you during their focused chant. The warmth bar stays active throughout this fight, so keep your eye on it and stay close to the fire as much as possible. Take down the foes and prepare to fight Gurd.
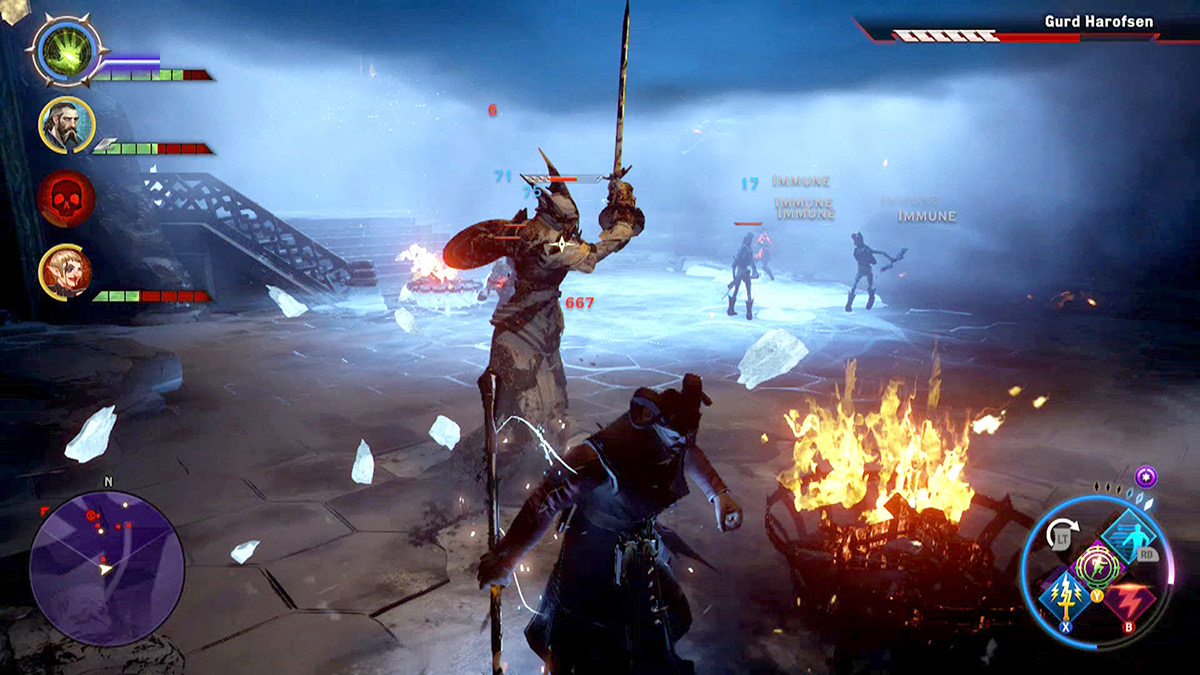
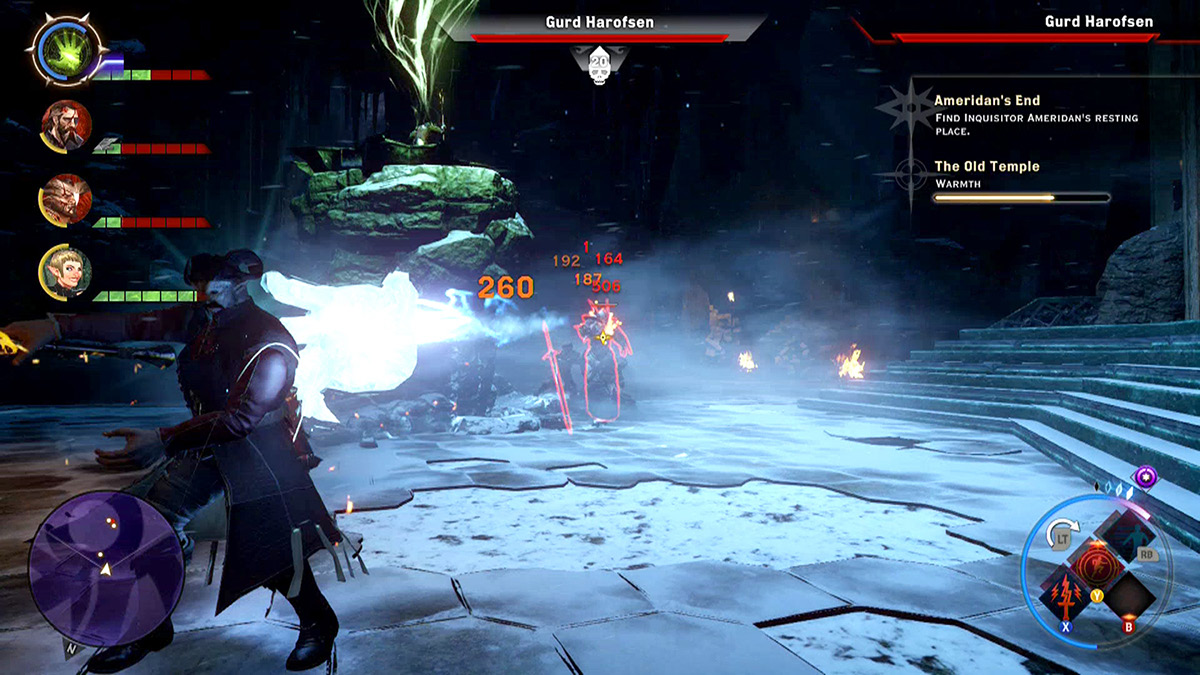
Gurd Harofsen is large and mighty, and he has one move that is completely unavoidable, so if you have a mage in your party who is able to put up barriers, make sure to use them as often as possible. Gurd’s attention shifts quite rapidly, so sending your warriors in first to anger him will keep the rest of your party somewhat safe. Early in the fight he freezes the first fire that you see when you enter the battlefield, forcing you to move to the other half of the room; he freezes another fire as he gets closer to death.
About a quarter of the way through the fight, Gurd summons skeletons to fight alongside him, and your mages and rogues must focus on them and take them down as quickly as possible while your warriors keep him busy. The skeletons won’t do nearly as much damage as Gurd does, but they do enough to take a party member or two out of the fight, leaving your warriors vulnerable. He gains guard from time to time, so any attacks that do high damage to guard will come in extremely handy.
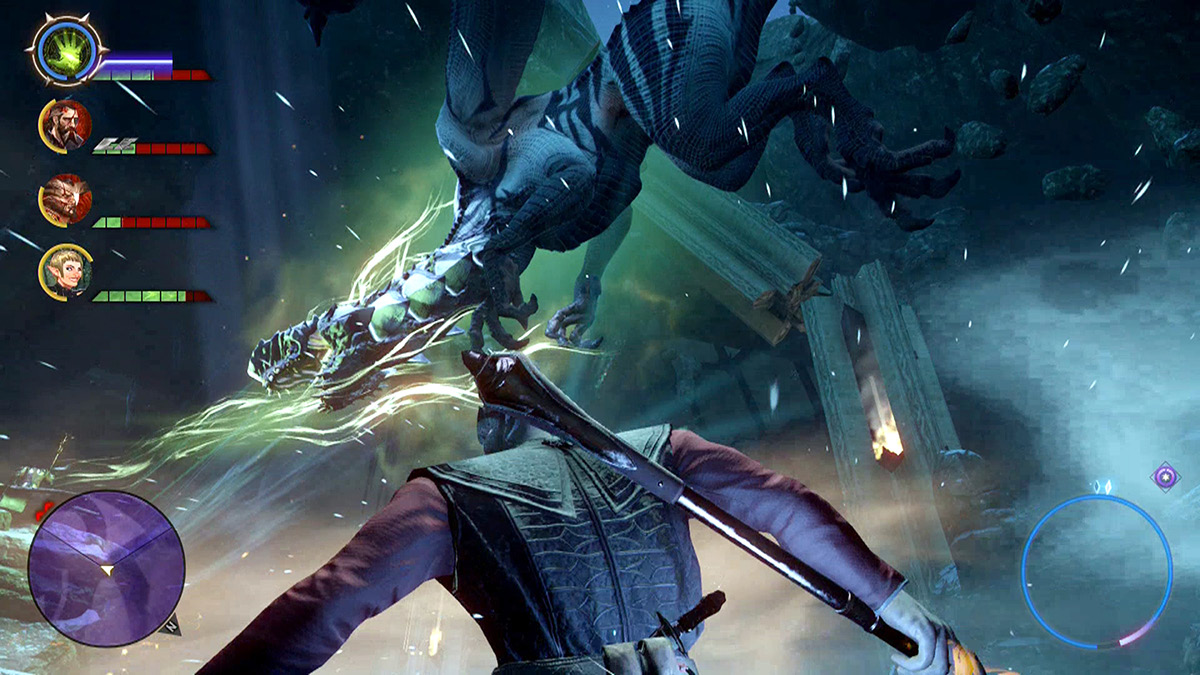
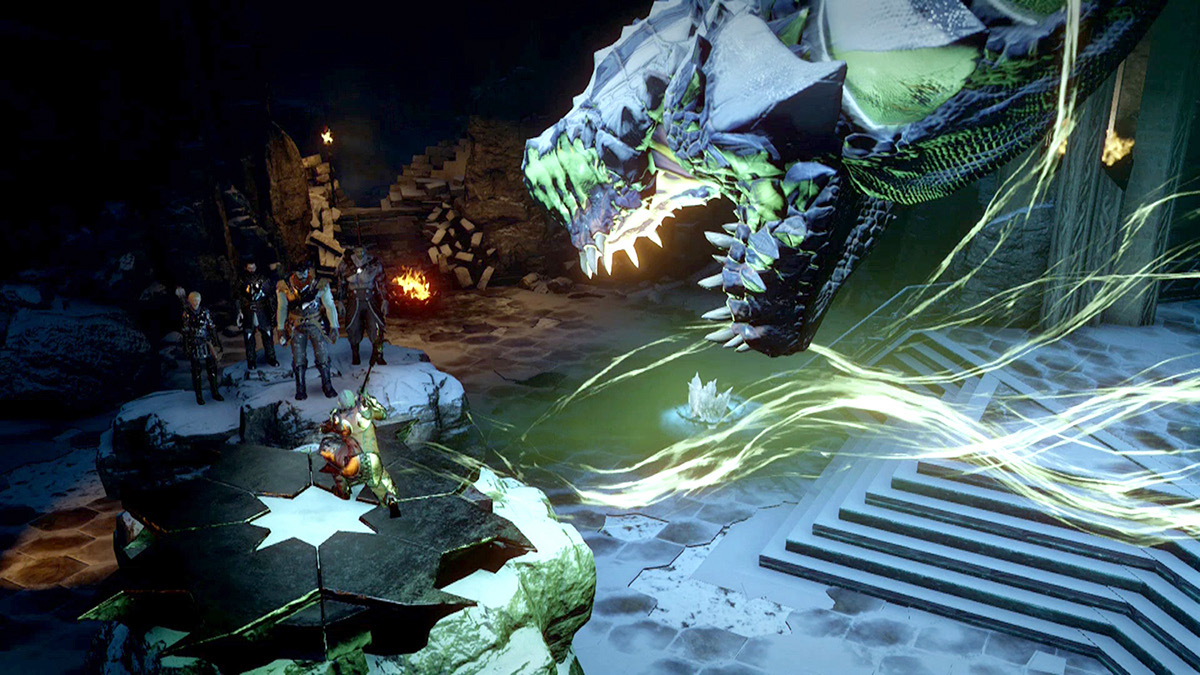
As long as you have formidable armor and damaging weapons, this fight isn’t too complicated, but it could last awhile because Gurd Harofsen is rather rugged. Defeat him and release Inquisitor Ameridan from the grip of time. Speak with Inquisitor Ameridan and learn about his quest and why he was here. He explains that due to the many years he has been locked in place he cannot stay and then sadly vanishes into the wind. He had no choice but to release the dragon who is carrying the spirit of an Avvar god. Since Inquisitor Ameridan cannot help you, you must fight the dragon on your own at a later time.
19: Where Once We Walked
Quest Giver: Inquisitor Ameridan
Description: Inquisitor Ameridan has granted the current Inquisition access to his final memories. Retracing his steps will offer insight into the former Inquisitor’s life.
Requirements: Complete Ameridan’s End.
Reward: 1,316 XP, +5 Willpower, 160 Influence
Objectives:
 Recapture the memory at the Tevinter ruin.
 Recapture the memory along the beach.
 Recapture the memory on the island.
 Recapture the memory at Tevinter cavern.
 Recapture the memory at the shrine.
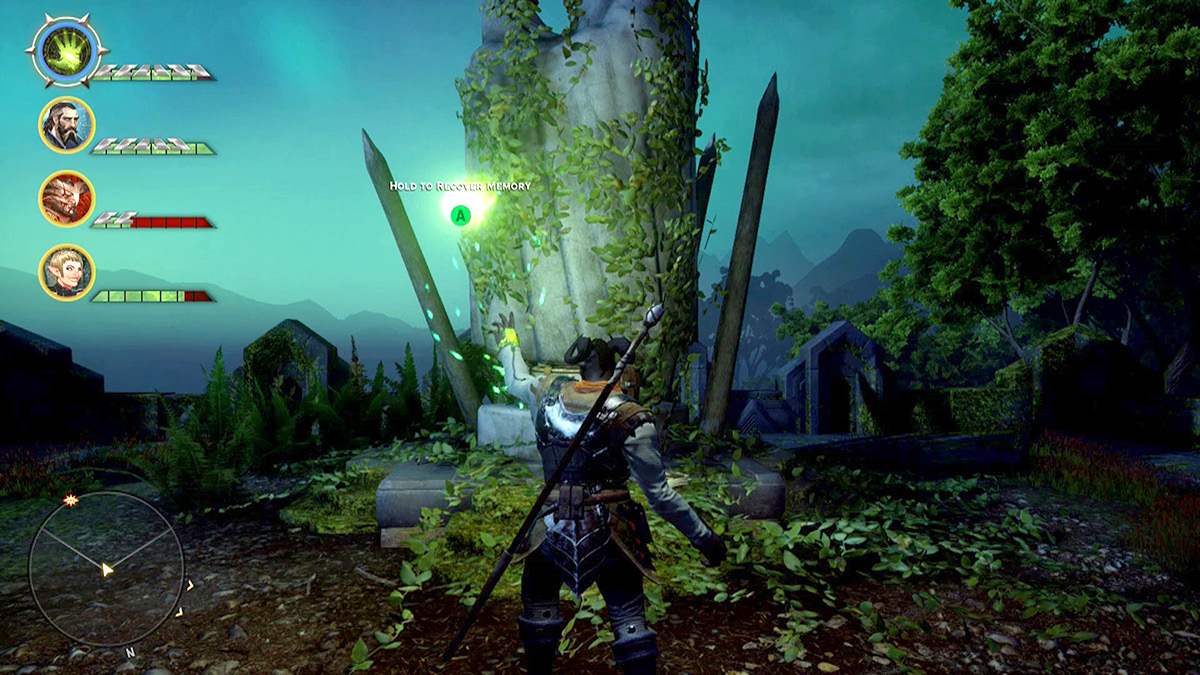
After you defeated Gurd Harofsen, Inquisitor Ameridan was released from his time lock and left you with some of his memories, since he cannot help you physically. Unfortunately, these memories are scattered all around Frostback Basin in coordination with the context of each memory. Search for them and use the knowledge to your advantage in your upcoming battle against Hakkon Wintersbreath.
20: High Dragon: Hakkon Wintersbreath

Quest Giver: Inquisitor Ameridan
Description: The Jaws of Hakkon have released a dragon said to carry the spirit of an Avvar god. The dragon flew into the Frostback Basin and will wreak havoc unless stopped.
Requirements: Complete Ameridan’s End.
Reward: 25,740 XP, Influence, 4 Power
Objectives:
 Return to Frostback Basin.
 Kill the dragon.
 Report to Harding.
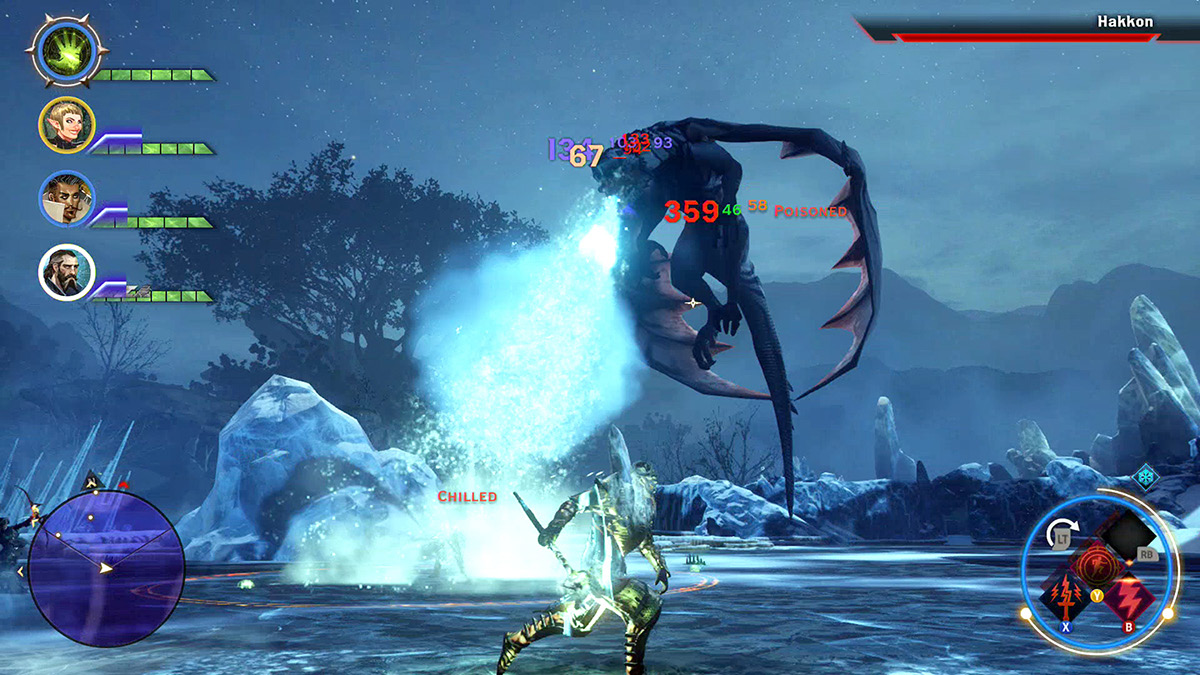
Recommended Level: 22+
Recommended Party Composition: One warrior (sword and shield), one rogue (ranged), and two mages (armed with fire damage staves).
Alternative Party Composition: One warrior (sword and shield), two rogues (ranged), and a mage (with healing and barrier capabilities).
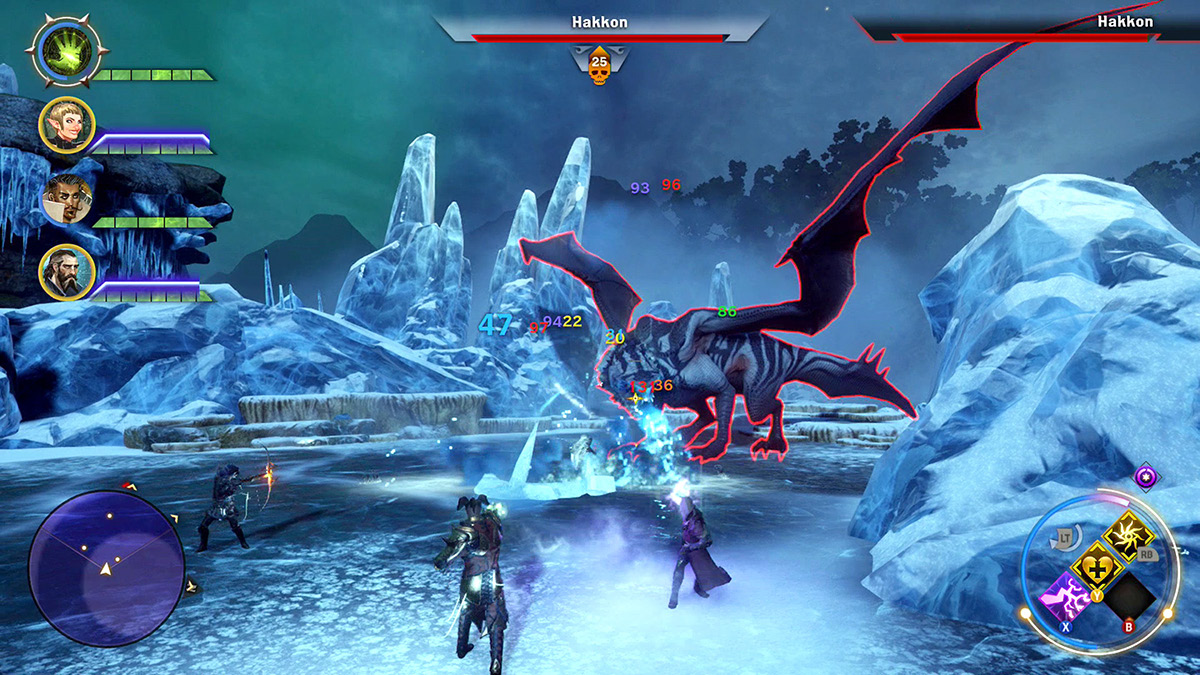
Now that Gurd Harofsen has been killed, you must fix what he has done. The Jaws of Hakkon placed the spirit of Hakkon in the high dragon now called the Hakkon Wintersbreath. She is a level 26 high dragon, and she has all sorts of tricks that will take you off your feet if you’re not careful. Before you start the fight, make sure you bring some of the new weapons you picked up in your ventures through Frostback Basin or any fire damage and cold resistant gear, which will come in handy against the Hakkon Wintersbreath.
When you enter the Wintersbreath’s arena you may notice a group of frosted gibbering horrors (sort of resembling deepstalkers) roaming around. Kill them as soon as possible so that they do not get in the way of the start of your fight. The high dragon will call these out starting at the halfway mark of the fight, so remember this as she flies away and you are focused on her.
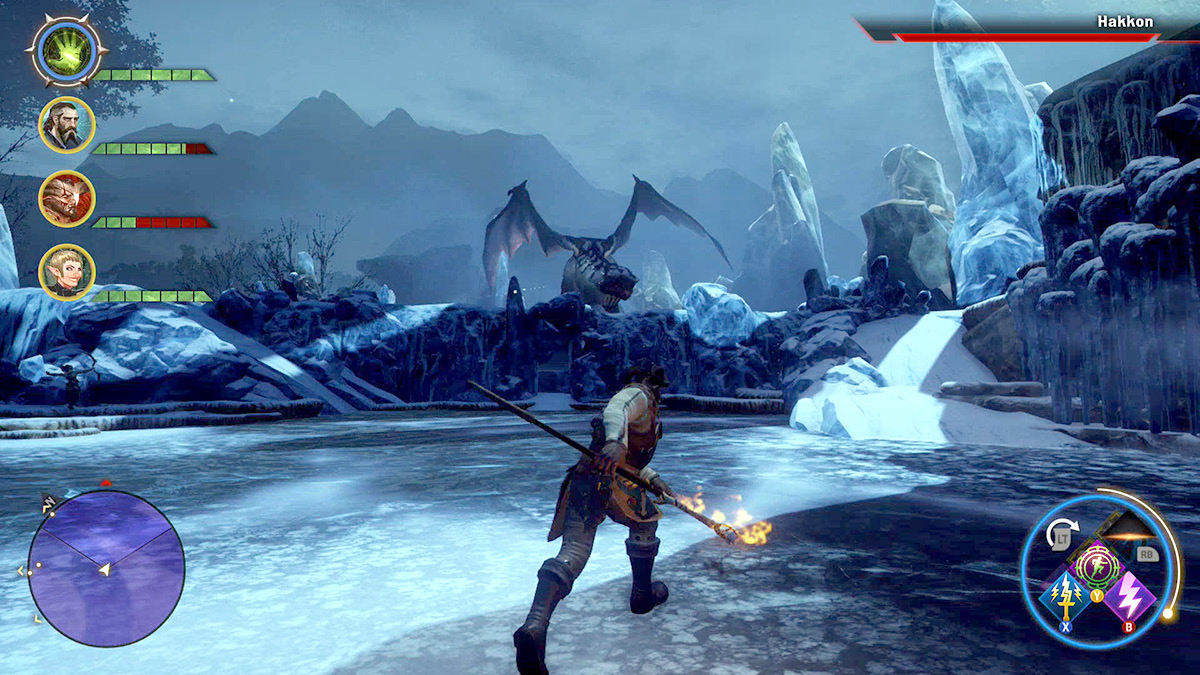
She begins by staying on the ledge next to where you spotted her before you entered the arena, and this is where your range-heavy party will come in handy. If you can, put some distance between you and her and see if you can lure her off the ledge so that your party can get some cleaner hits on the dragon. Like most high dragons, she will sweep her front legs and swing her tail at flanking enemies—not to mention she also has a wind vortex that she uses whenever she feels her enemies are too spread out.
Something a little different about the Hakkon Wintersbreath is that she will take flight in a hovering pattern and use her chilling ice breath weapon to slow your party down. She is trying to slow you down because she is looking for a good place to drop and put all of her weight on her target. Stay behind her and don’t get caught by this pounce; it is incredibly deadly and could wipe out your entire party in one single move.
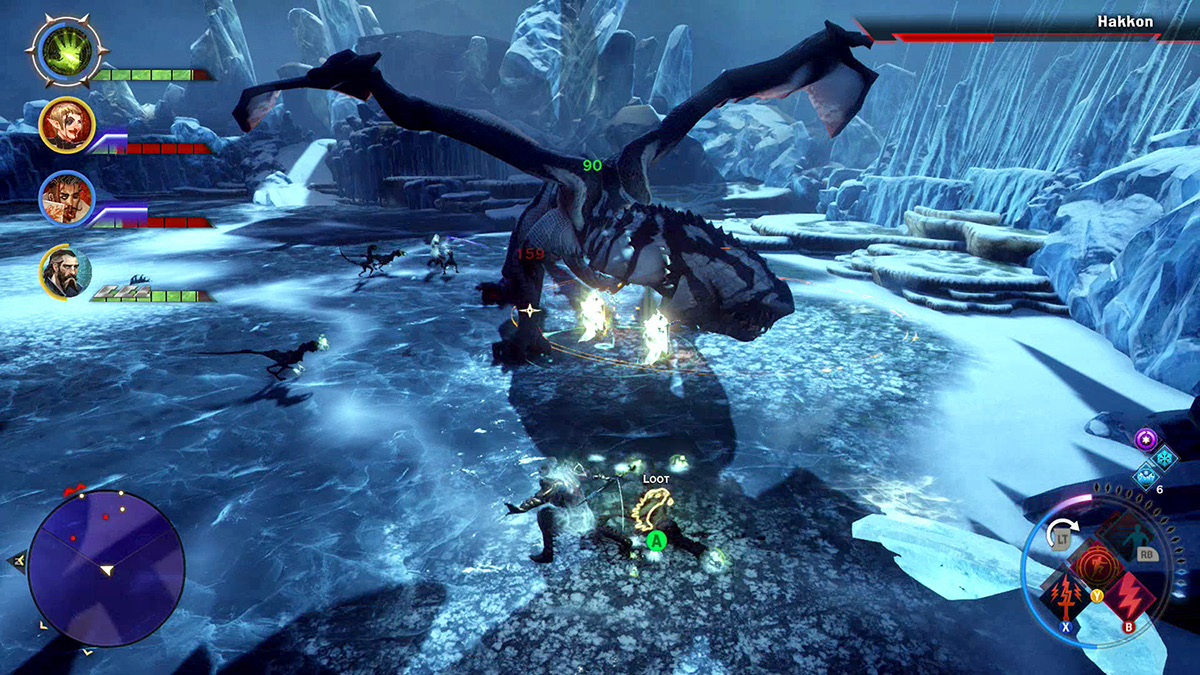
Halfway through the fight and repeatedly throughout the rest of the fight she will put out a high-pitched scream that stuns you as she calls out those frosted gibbering horrors. These horrors come out in a solid group and attack whomever is closest to them. Watch out for the horrors’ stunning bite and area-of-effect breath weapon; even though they won’t do a great amount of damage to any of your party members, they will slow you down or stun you, leaving you extremely vulnerable to the Wintersbreath.
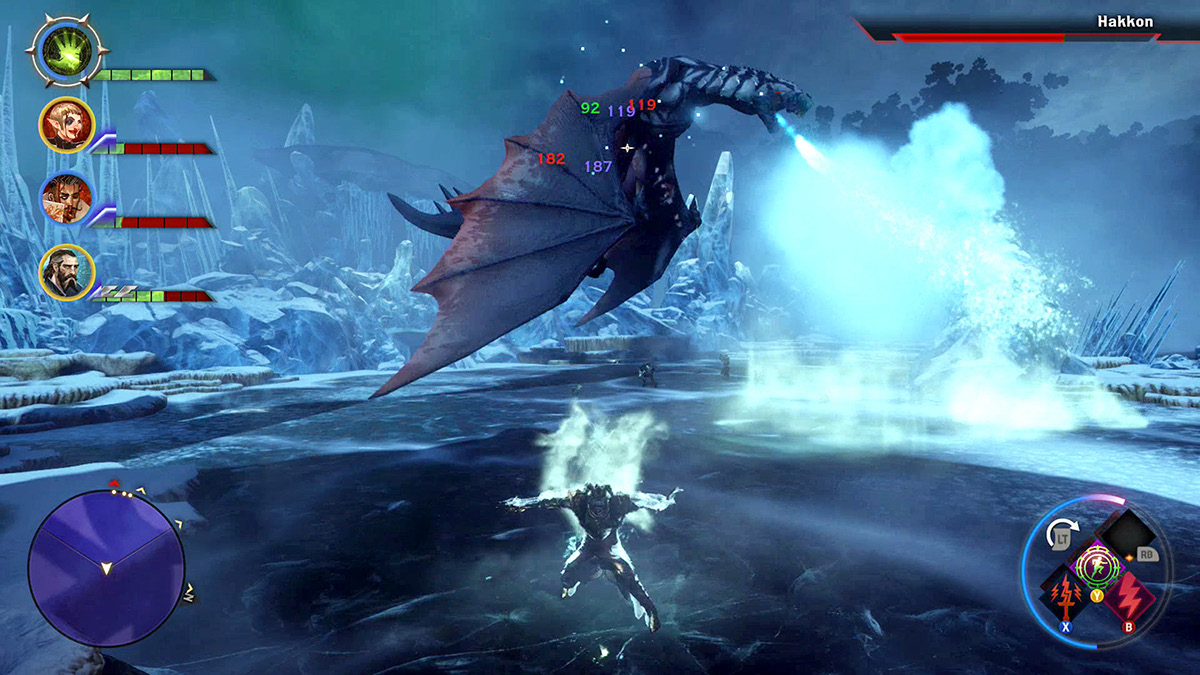
Periodically throughout the fight, the high dragon takes full flight and flies outside the battle arena. It is important to stay on the move because she strafes the area with frost balls, aiming for anyone she can hit. These frost balls are easily avoided, but one lucky shot could be the death of any one of your companions. Save up focus abilities like Focus Heal and Mark of the Rift for extreme situations, because this fight is not an easy one and will take both stamina and strength to complete.
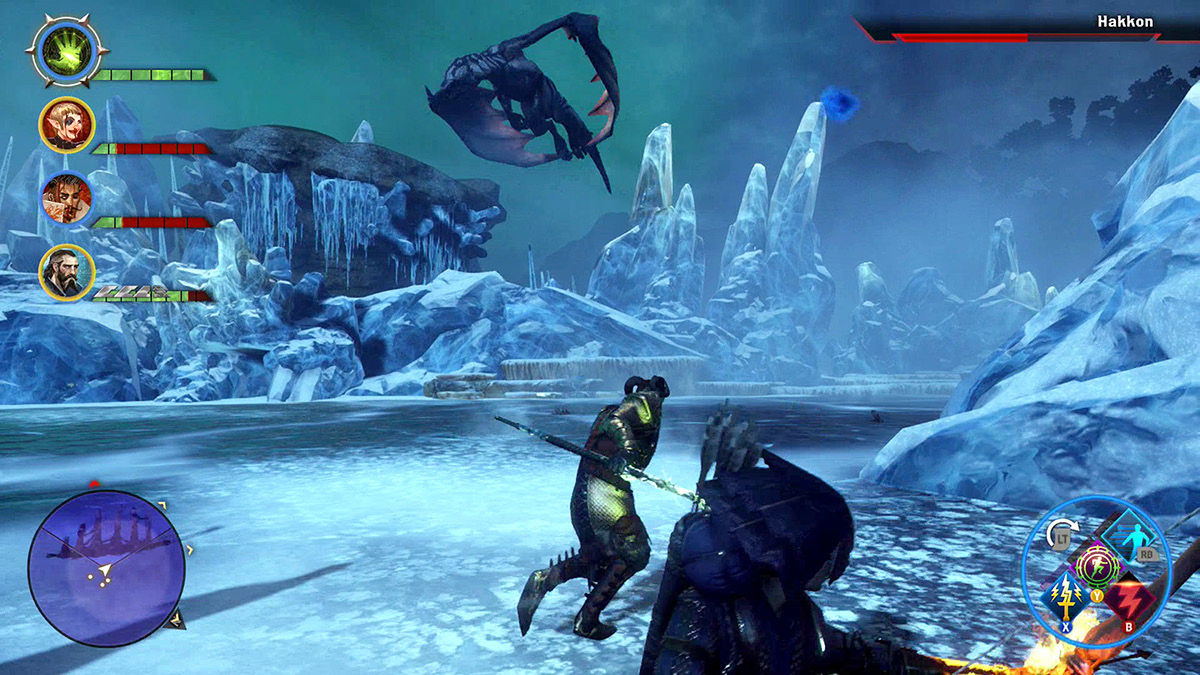
Once the Hakkon Wintersbreath is defeated you will observe the spirit leave the high dragon’s body, thus losing its physical form and the means to do harm to Thedas. Be sure to loot the dragon’s body, but also notice that by killing the high dragon you have completely earned the approval of Stone-Bear Hold. Return to Thane Sun-Hair and speak with her. She grants you full kinship of the hold and makes one last request of you.
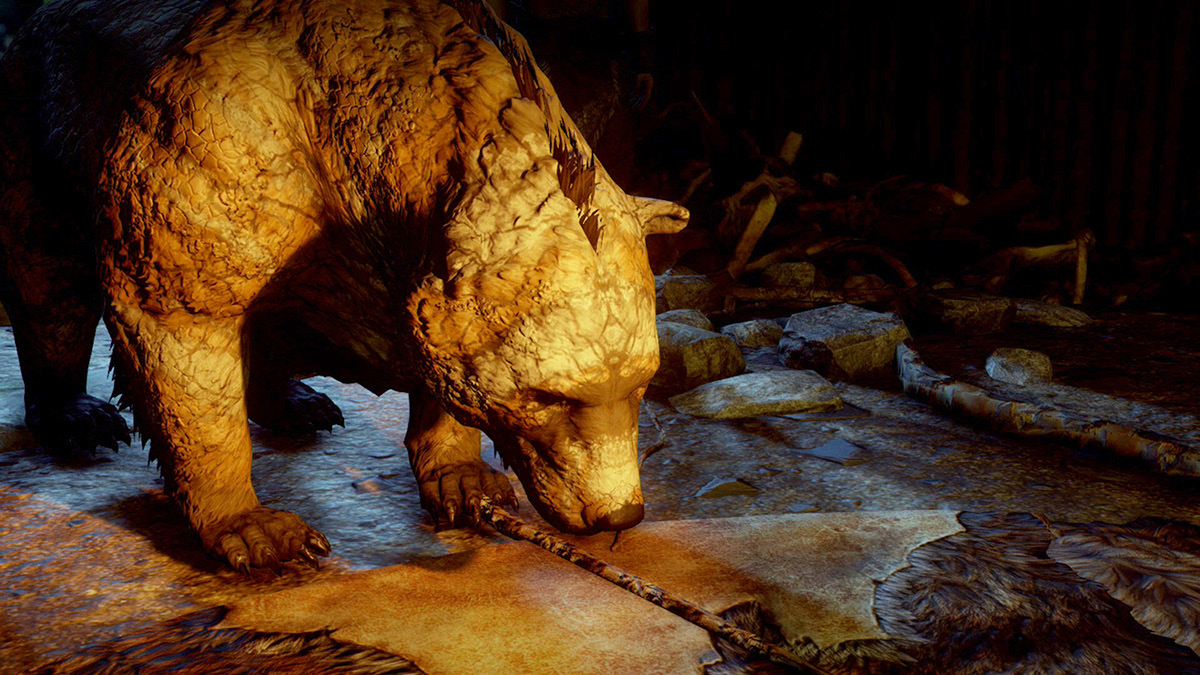
Judgment:This final request is a judgment. You must judge Storvacker for breaking the hold’s oath by being captured instead of dying in the name of the hold. You have a few options, but one of them is to take Storvacker back to Skyhold and make her an Inquisition agent. |
21: Beasts at Bay
Quest Giver: Havard-Pierre d’Amortisan
Description: Inquisition soldiers face delays setting up camps due to interference from the local wildlife. Baron d’Amortisan believes his herb wards may keep the beasts at bay.
Requirements: Kill the Hakkon Wintersbreath High Dragon.
Reward: 1,316 XP, 150 Influence
Objectives:
 Speak with Havard-Pierre d’Amortisan.
 Place four wards.
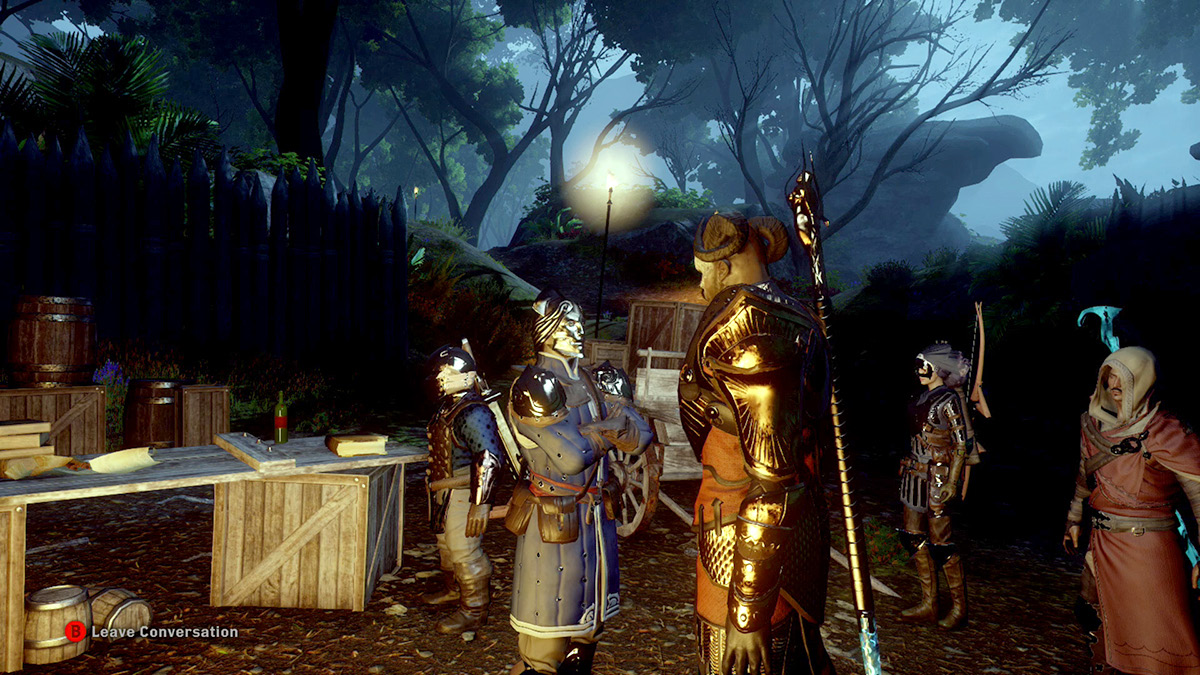
After the dragon has been dispatched, Frostback Basin has become a land full of great opportunities for scholars and researchers to study exotic creatures and beasts most have never had chance to observe. A man named Havard-Pierre d’Amortisan has set up camp right outside yours and plans to study the creatures, and he has a few suggestions that may help the Inquisition. Wild beasts make supply routes very dangerous, and Havard-Pierre has developed a ward recipe that will help keep the area somewhat safe. Help him place the four wards and make the roads a little safer.
22: The Nox Morta
Quest Giver: Dunwich
Description: Baron d’Amortisan and his scribe, Dunwich, are searching for the Nox Morta. With assistance, they may be able to prove the existence of this mysterious creature.
Requirements: Available after speaking with Havard-Pierre d’Amortisan
Reward: 5,263 XP, 600 Influence, 2 Power
Objectives:
 Retrieve evidence.
 Return the evidence to d’Amortisan.
 Bait the Nox Morta.
 Wait for the Nox Morta, then kill it.
 Return to d’Amortisan.
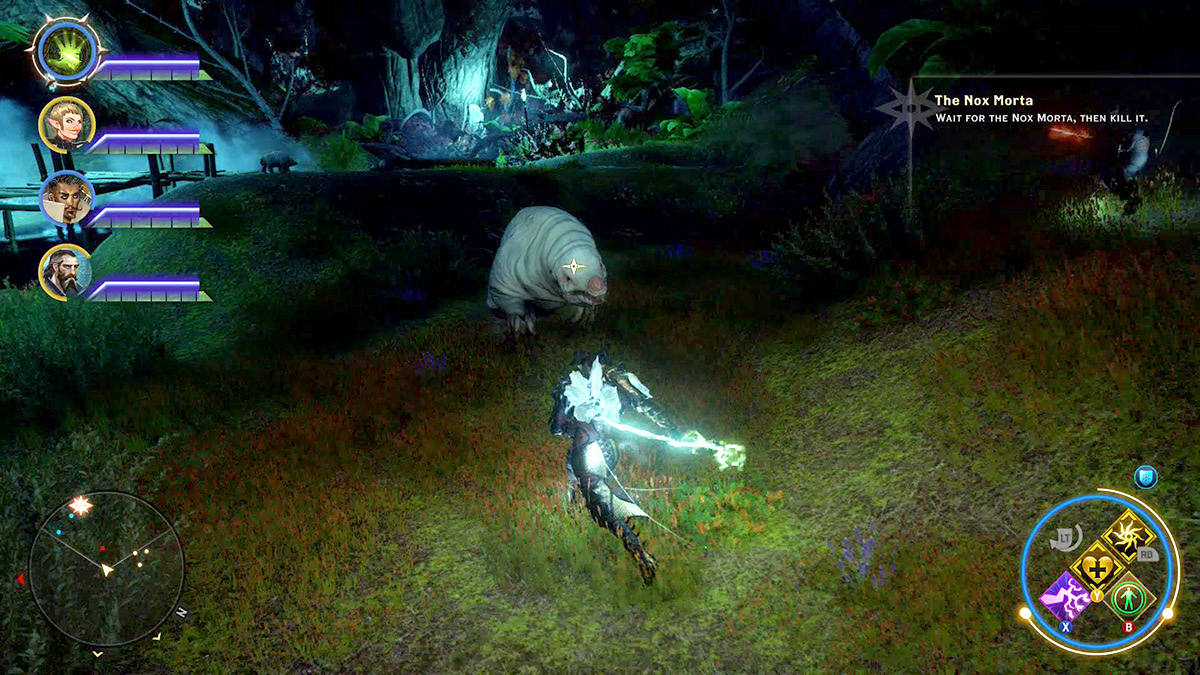
Partway through Beasts at Bay, you may come across d’Amortisan’s scribe, who was presumed dead. He explains that he was only gone for a while because he was off looking for evidence of a creature called the Nox Morta. Speak with the baron to learn a little about the Nox Morta, then search for evidence of its existence.
Once you’ve found some evidence on the Nox Morta, d’Amortisan will give you a location of where this creature might be. What you find there may be quite surprising and rewarding.