
Dragon Age Inquisition Guide The Inquisitors Path Champions of the Just
Therinfal Redoubt
Therinfal Redoubt
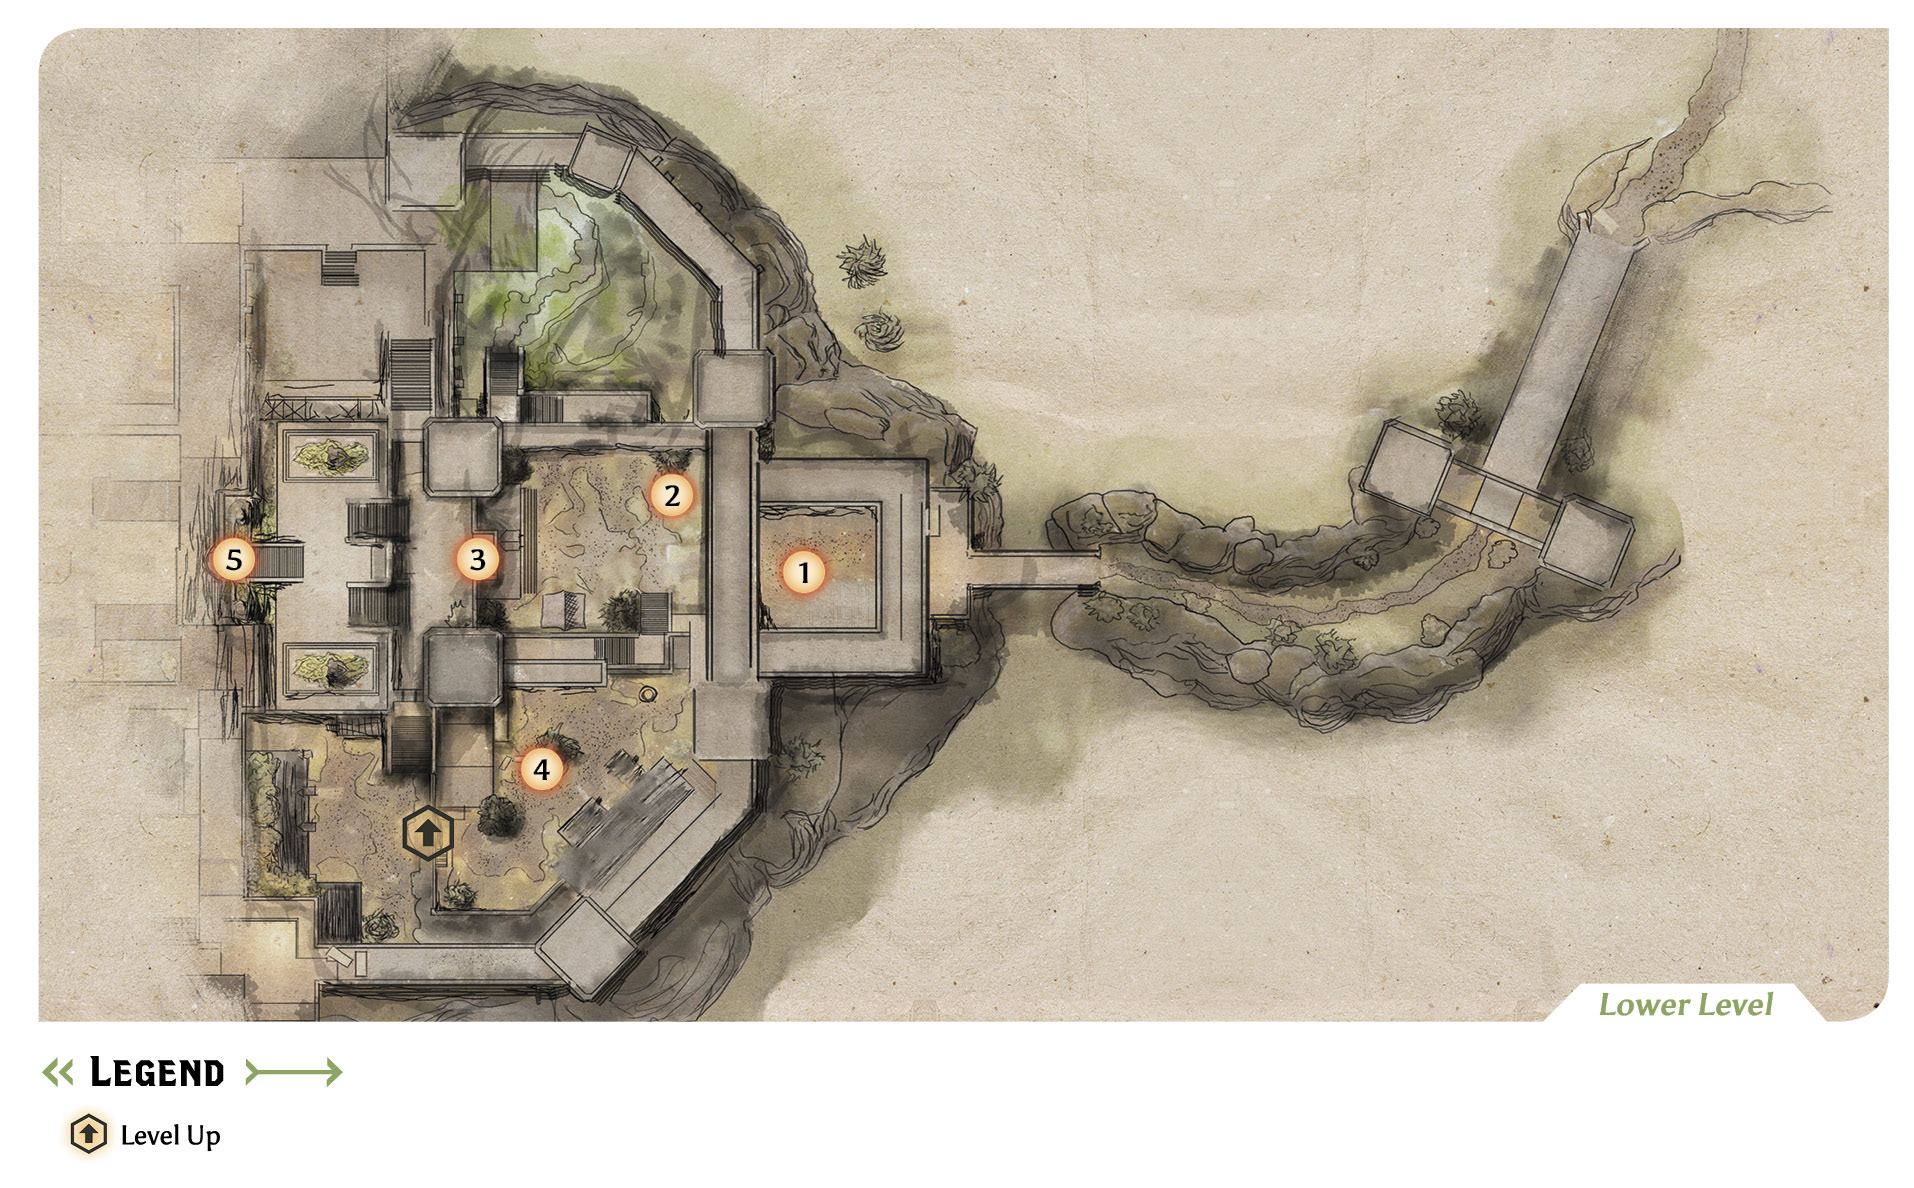
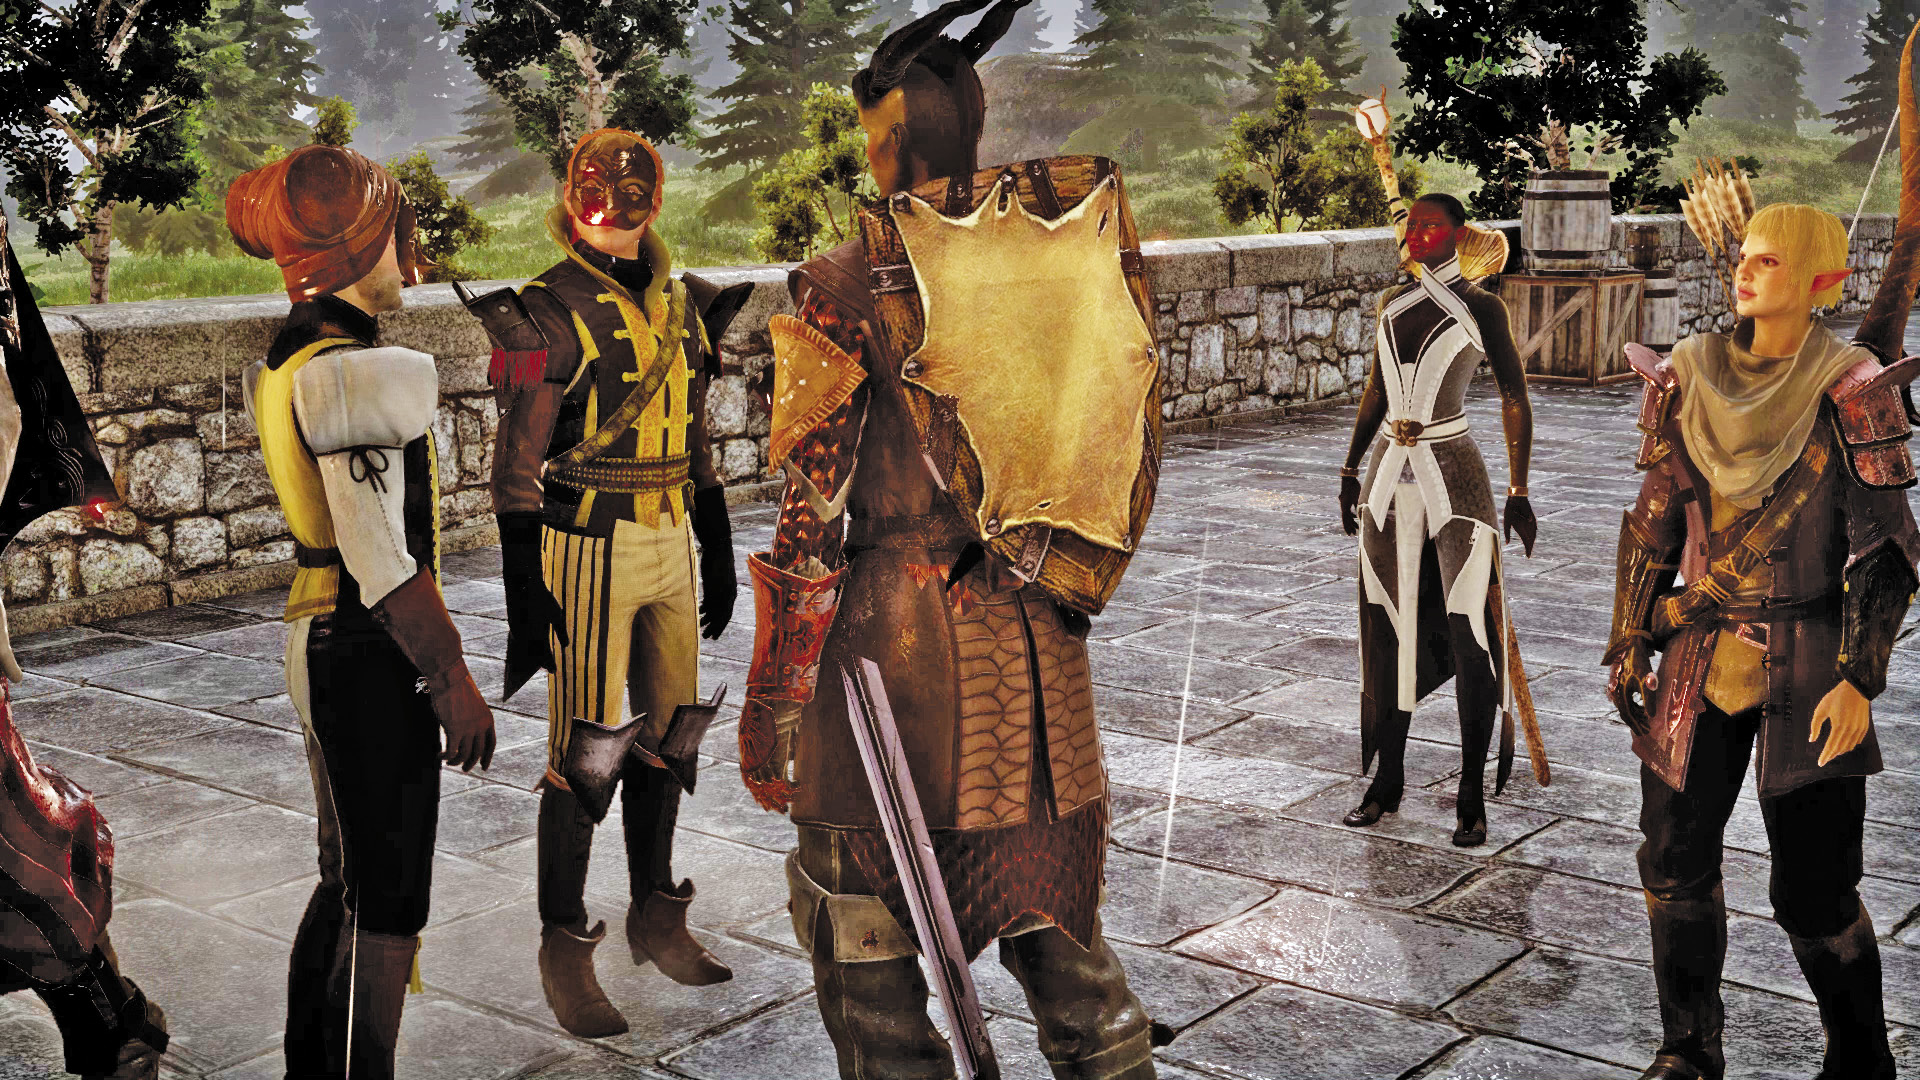
1. Upon arrival at Therinfal Redoubt, you’re greeted by Lord Abernache, head of one of the noble Orlesian houses—he’ll be pleased if Vivienne is in your party. Abernache states that the Lord Seeker will not meet any of the nobility until he’s met the Inquisition in person. After speaking to Lord Abernache, advance across the bridge into the gatehouse and talk to Knight-Templar Barris. Barris seems somewhat confused by the actions of Lord Seeker Lucius, but he remains loyal nonetheless.
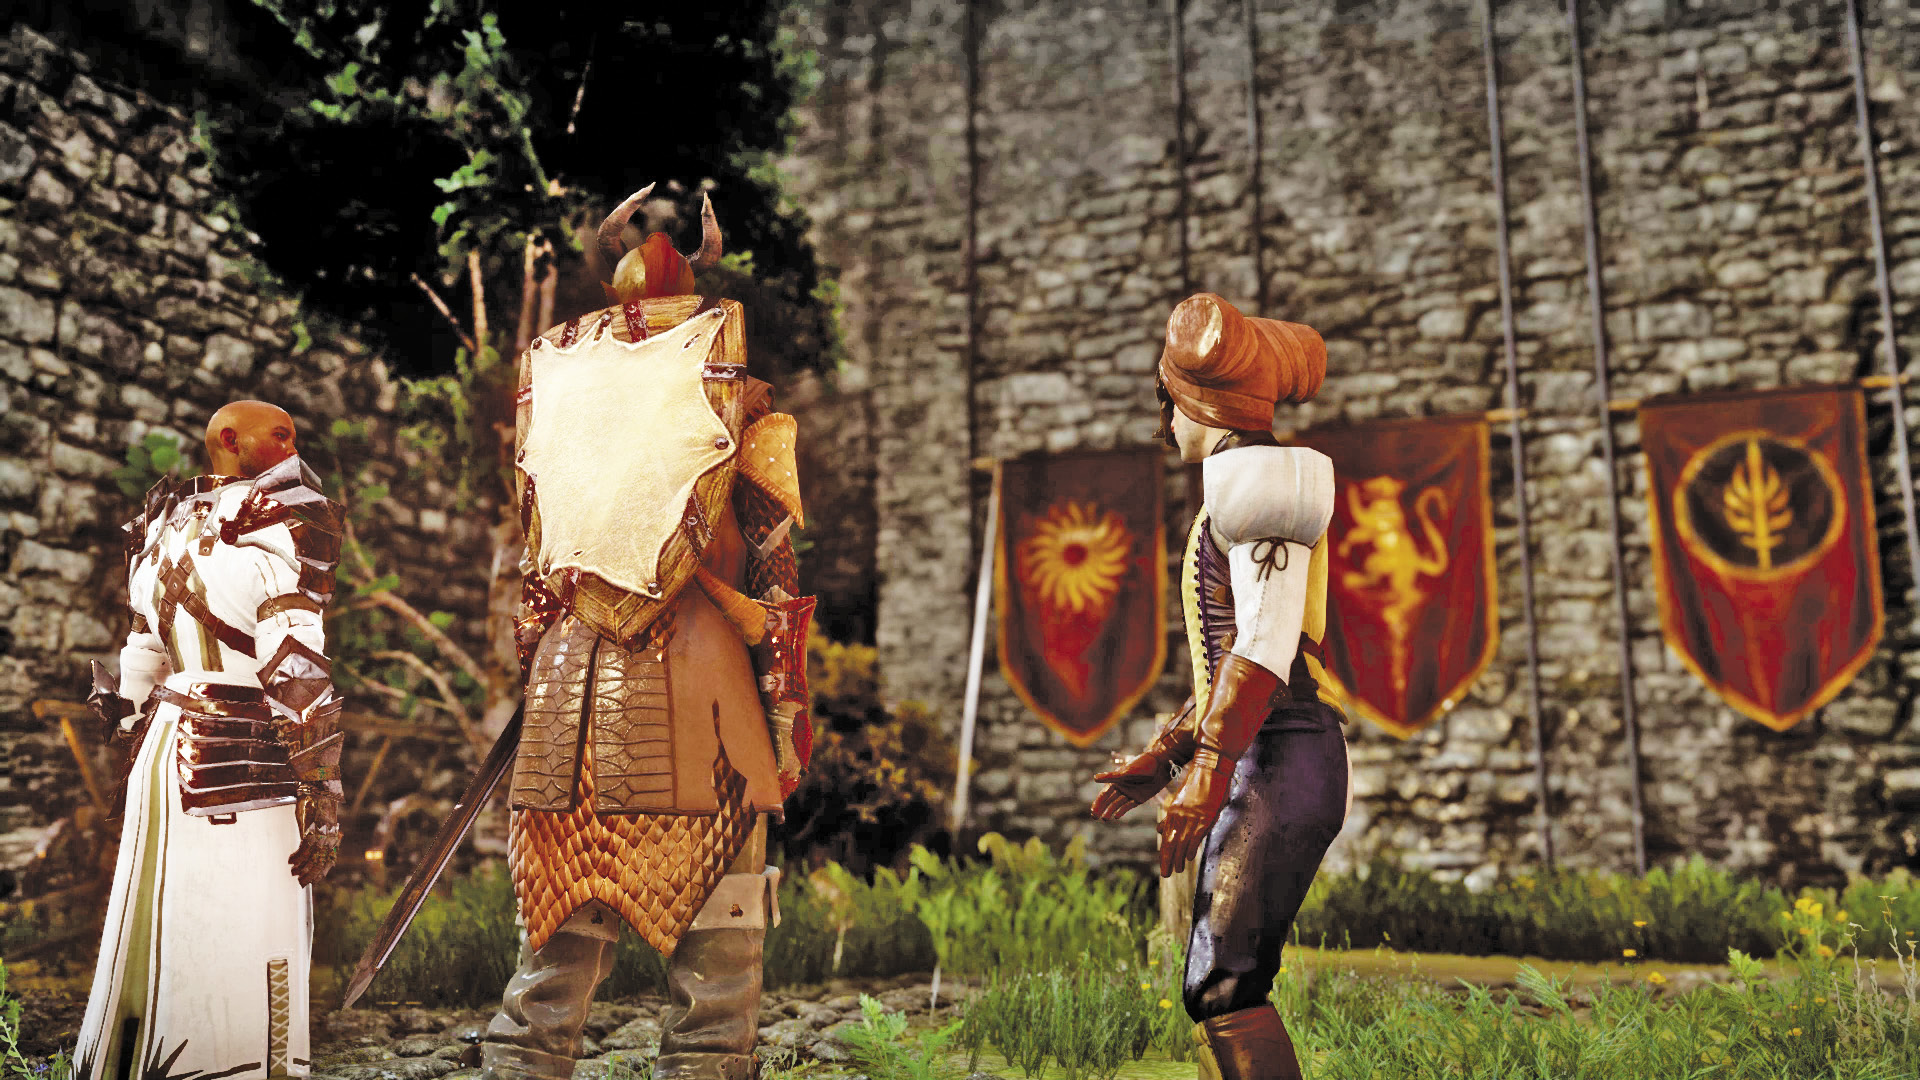
2. Before you meet with the Lord Seeker, Barris asks that you complete a ritual in the courtyard, requiring you to raise three flags representing Andraste, the people, and the Templar Order. You can either complete this ritual or refuse to. Lord Abernache is annoyed if you “waste time” doing these rituals, which impacts what happens to him in the following scene. If you choose to complete the ritual, interact with the wheels to raise the corresponding flags in any order you wish—there is no correct answer. In the ritual, the highest flag signifies the faction of greatest importance to you. Once the flags are arranged in the order you see fit, speak to Barris and explain your choices. Afterward, enter the door next to Barris.
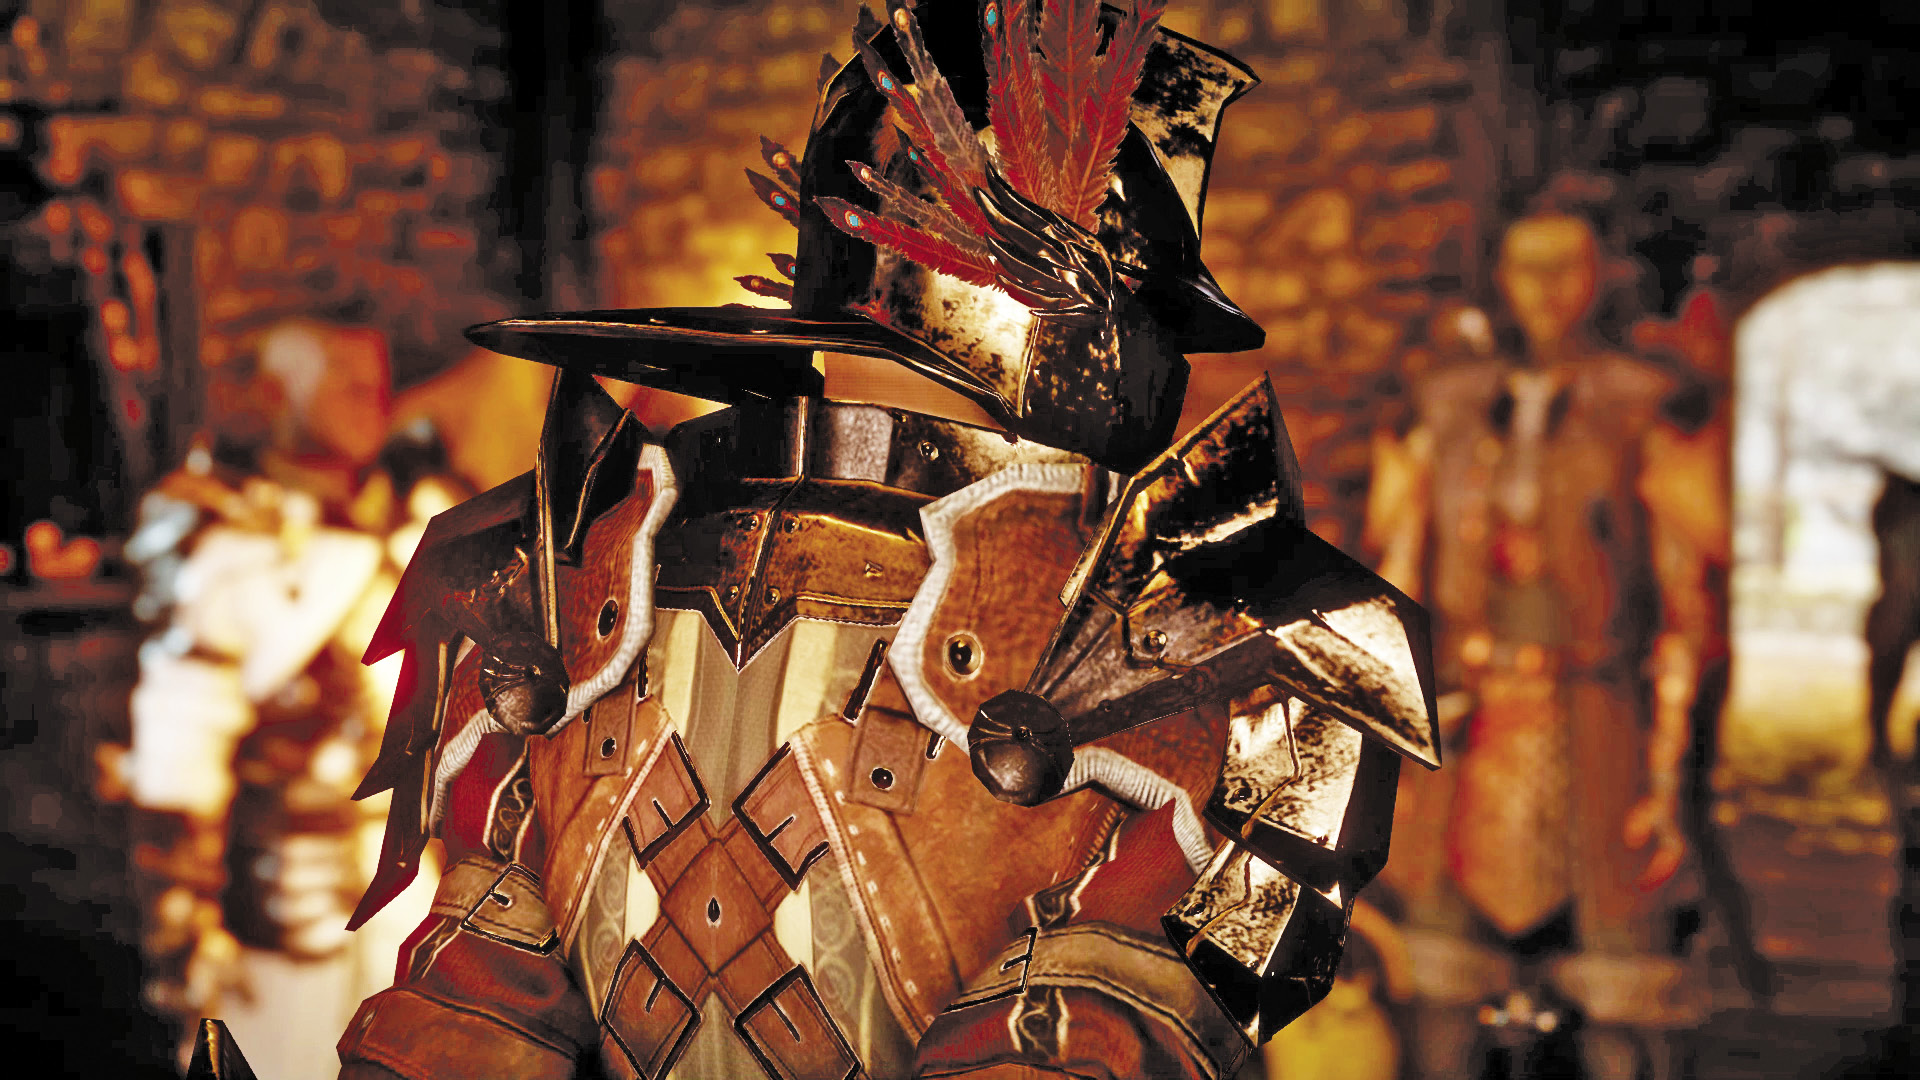
3. Inside, Knight-Captain Denam approaches your delegation with some troubling news. Apparently you have somehow ruined the Lord Seeker’s plans by arriving “with purpose.” If you completed the flag ritual earlier, an irritated Lord Abernache attempts to butter up the templars on his own, and is shot by an arrow when Captain Denam and his men turn on you. If you skipped the rituals, Abernache stays safely by your side and lives through this battle. Knight-Templar Barris is shocked by Captain Denam’s betrayal, and joins your party in the fight against Denam and his men. Focus on taking out the red templar marksmen first, followed by the red templars. Engage Knight-Captain Denam last, preferably scoring flanking strikes that he can’t block with his shield. After the fight Denam is unconscious but alive. Later on in the game, you can judge him for his betrayal of the Order.
4. Fight your way through a couple of more red templars on your way to this courtyard. Here you’re attacked by more enemies, including several red templar marksmen firing from elevated positions. Eliminate these archers as quickly as possible. Otherwise they’ll quickly deplete the health of your party. On the east side of the courtyard is a building whose door is locked until you kill enough red templars. Once the door is open, rush through to help an uncorrupted templar who’s fighting the red ones. If you get to him quickly enough, he’ll survive the battle and follow you, helping out in combat. This staircase gives you access to an upper level walkway. Prepare to engage more red templars up here while proceeding north. There is a door to the west, with a templar banner above it, in this area. It leads to Captain Denam’s office. You’ll need a rogue to pick the lock. Inside is the body of a templar officer. Barris is shocked—talk to him for more information on the murder. Discovering this room will open up a new option when judging Captain Denam later on in the game.
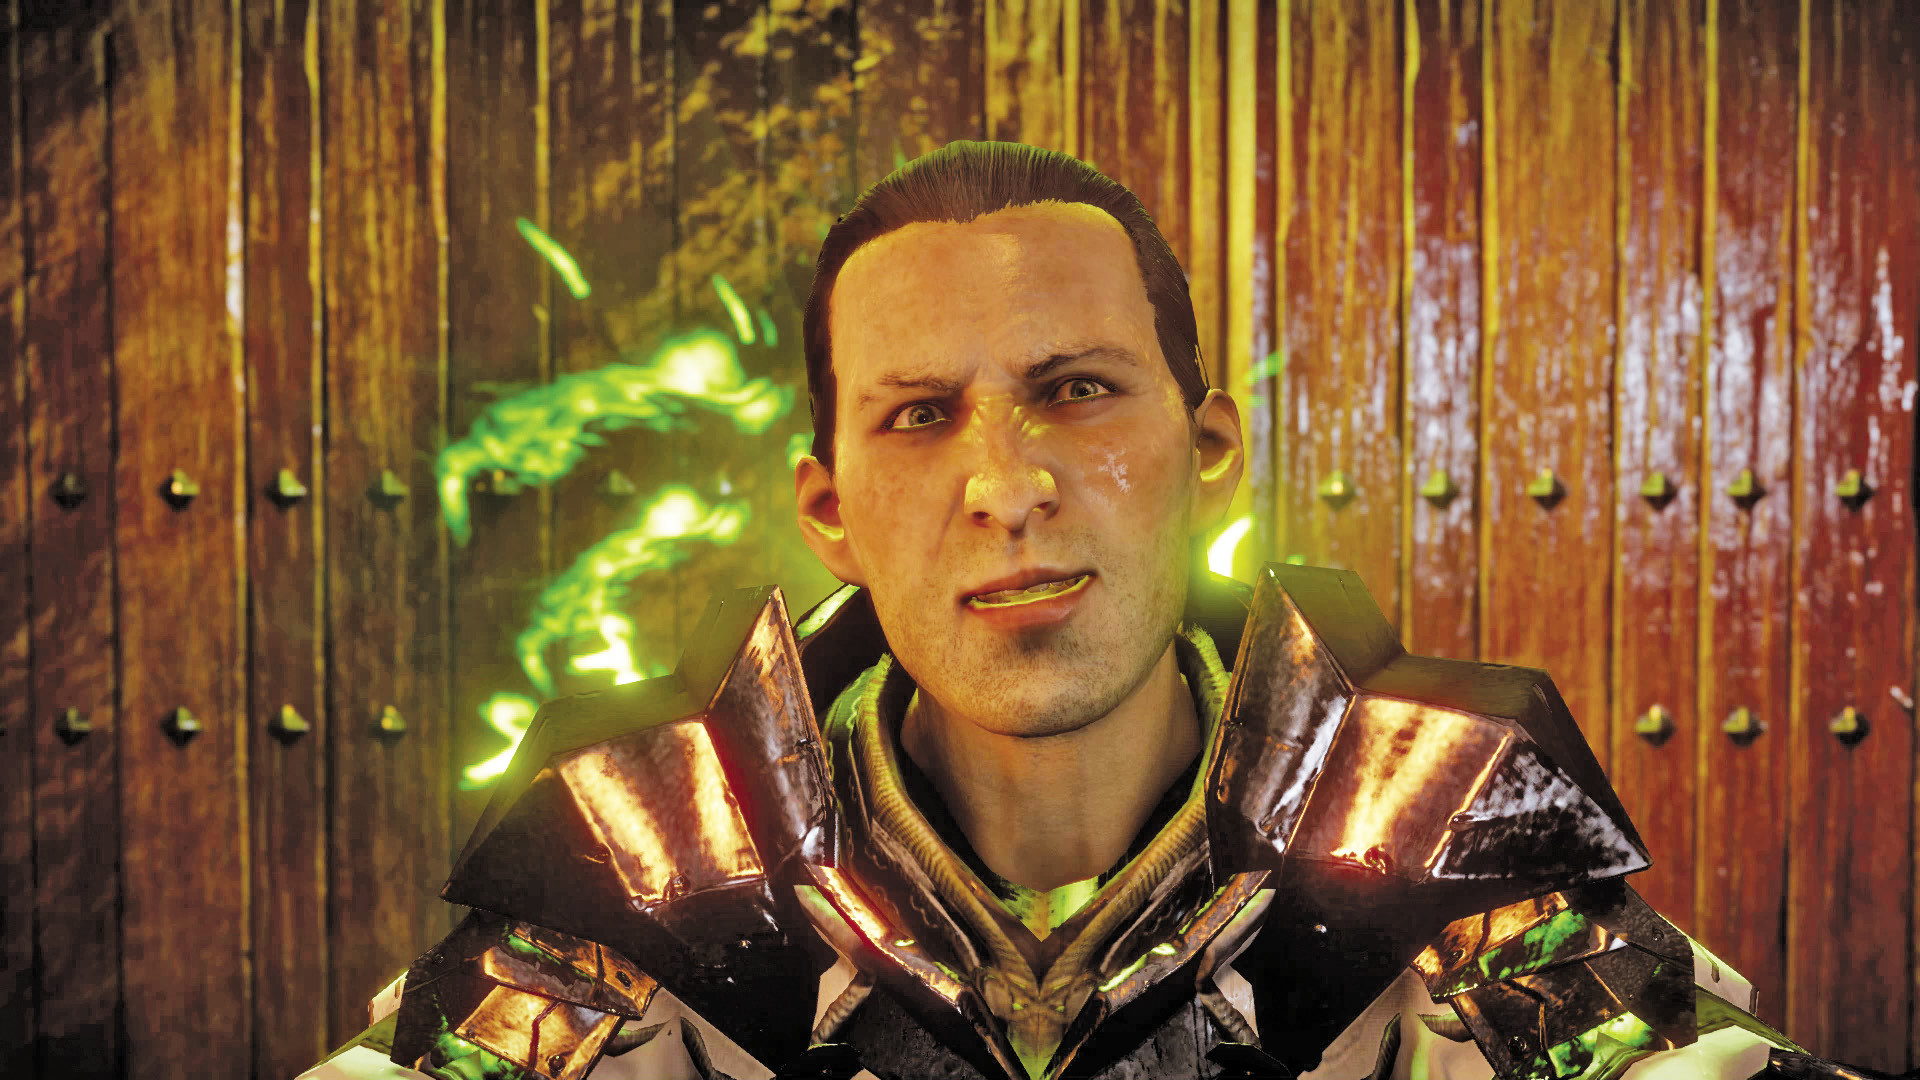
5. You encounter Lord Seeker Lucius at the door leading to the great hall. But something isn’t right. As you approach, the Lord Seeker grabs you and pulls you into a nightmare-like dream world.
Nightmare Chantry
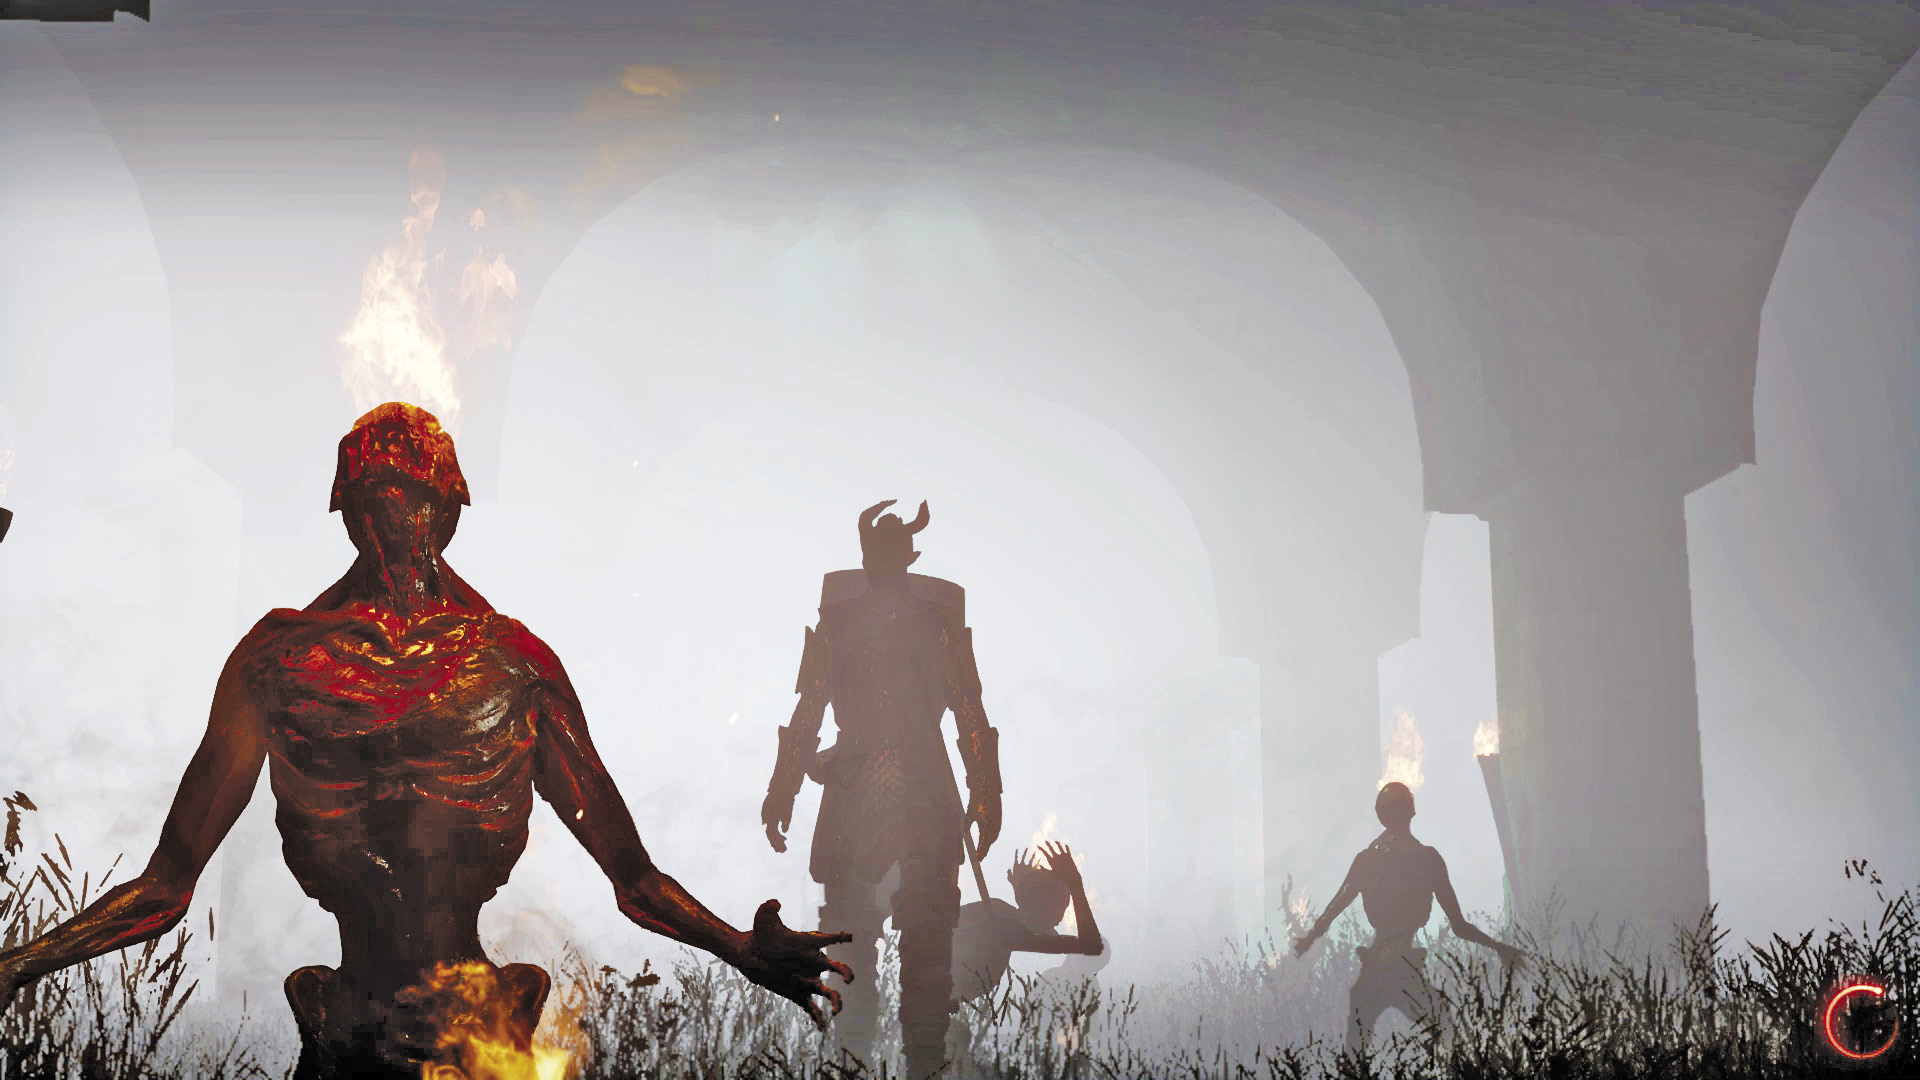
The Lord Seeker has pulled you into a surreal environment obscured by fog. Walk past the flaming corpses to speak with visages of Josephine, Leliana, and Cullen. It becomes apparent you’re dealing with an envy demon that has been masquerading as the Lord Seeker, preparing the templars for someone it calls “The Elder One.” This nightmare world is a vision being woven inside your mind. Question the envy demon to learn more about what it wants: It wants to take your place, the same way it took the place of Lord Seeker Lucius. Following the conversation, continue through the doorways to the west.
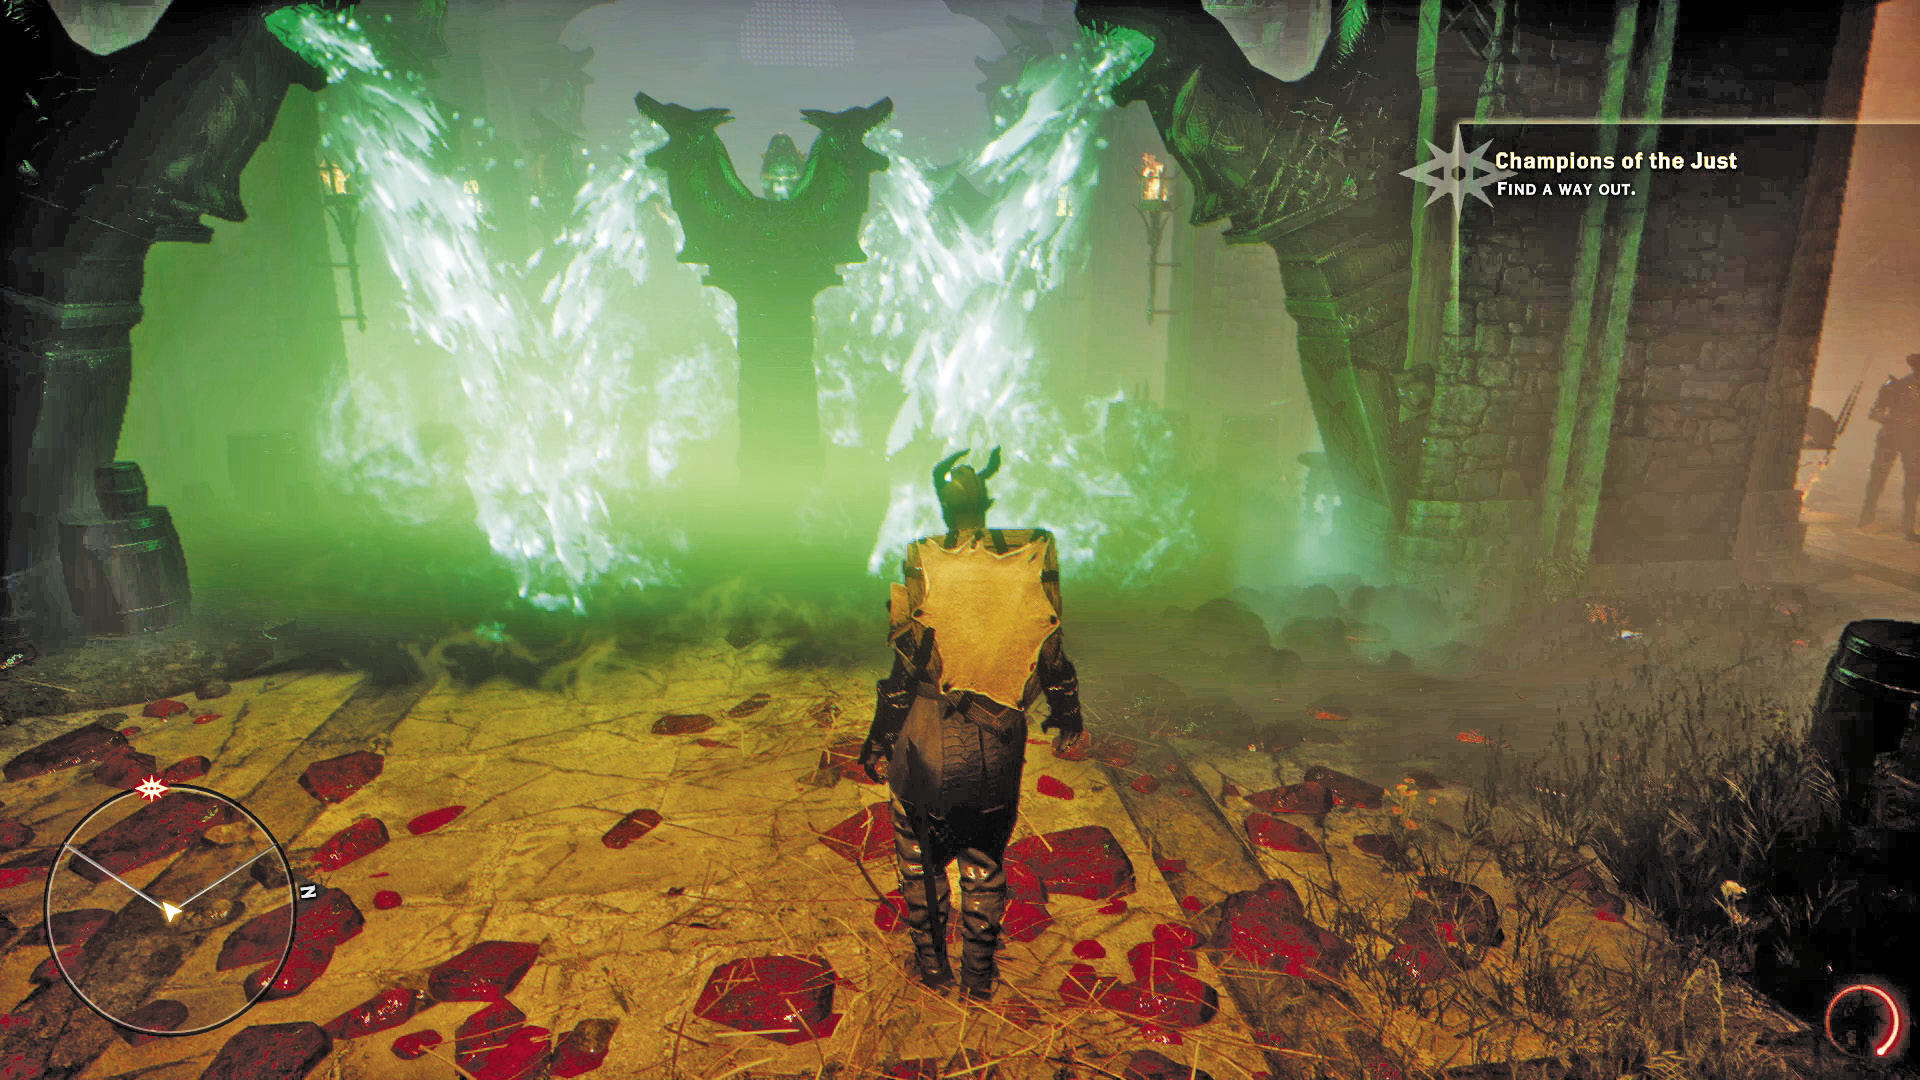
The fountains in this room spew green flames. Don’t make contact with the flames or else you’ll die. Instead, monitor the rotations of the fountains in the center of the room and look for openings to sneak by. Zigzag through this room to avoid taking damage from the green flames. In the last “safe” alcove, there is a pile of boxes and barrels you have to jump over to get past the rotating fountains. At the west end of the room, enter the side room on the north. Here you encounter an entity named Cole. It’s unclear who or what Cole really is, but he offers you help. He helps you extinguish the last set of flames blocking the exit. Pass through the door to enter the prison.
Nightmare Prison
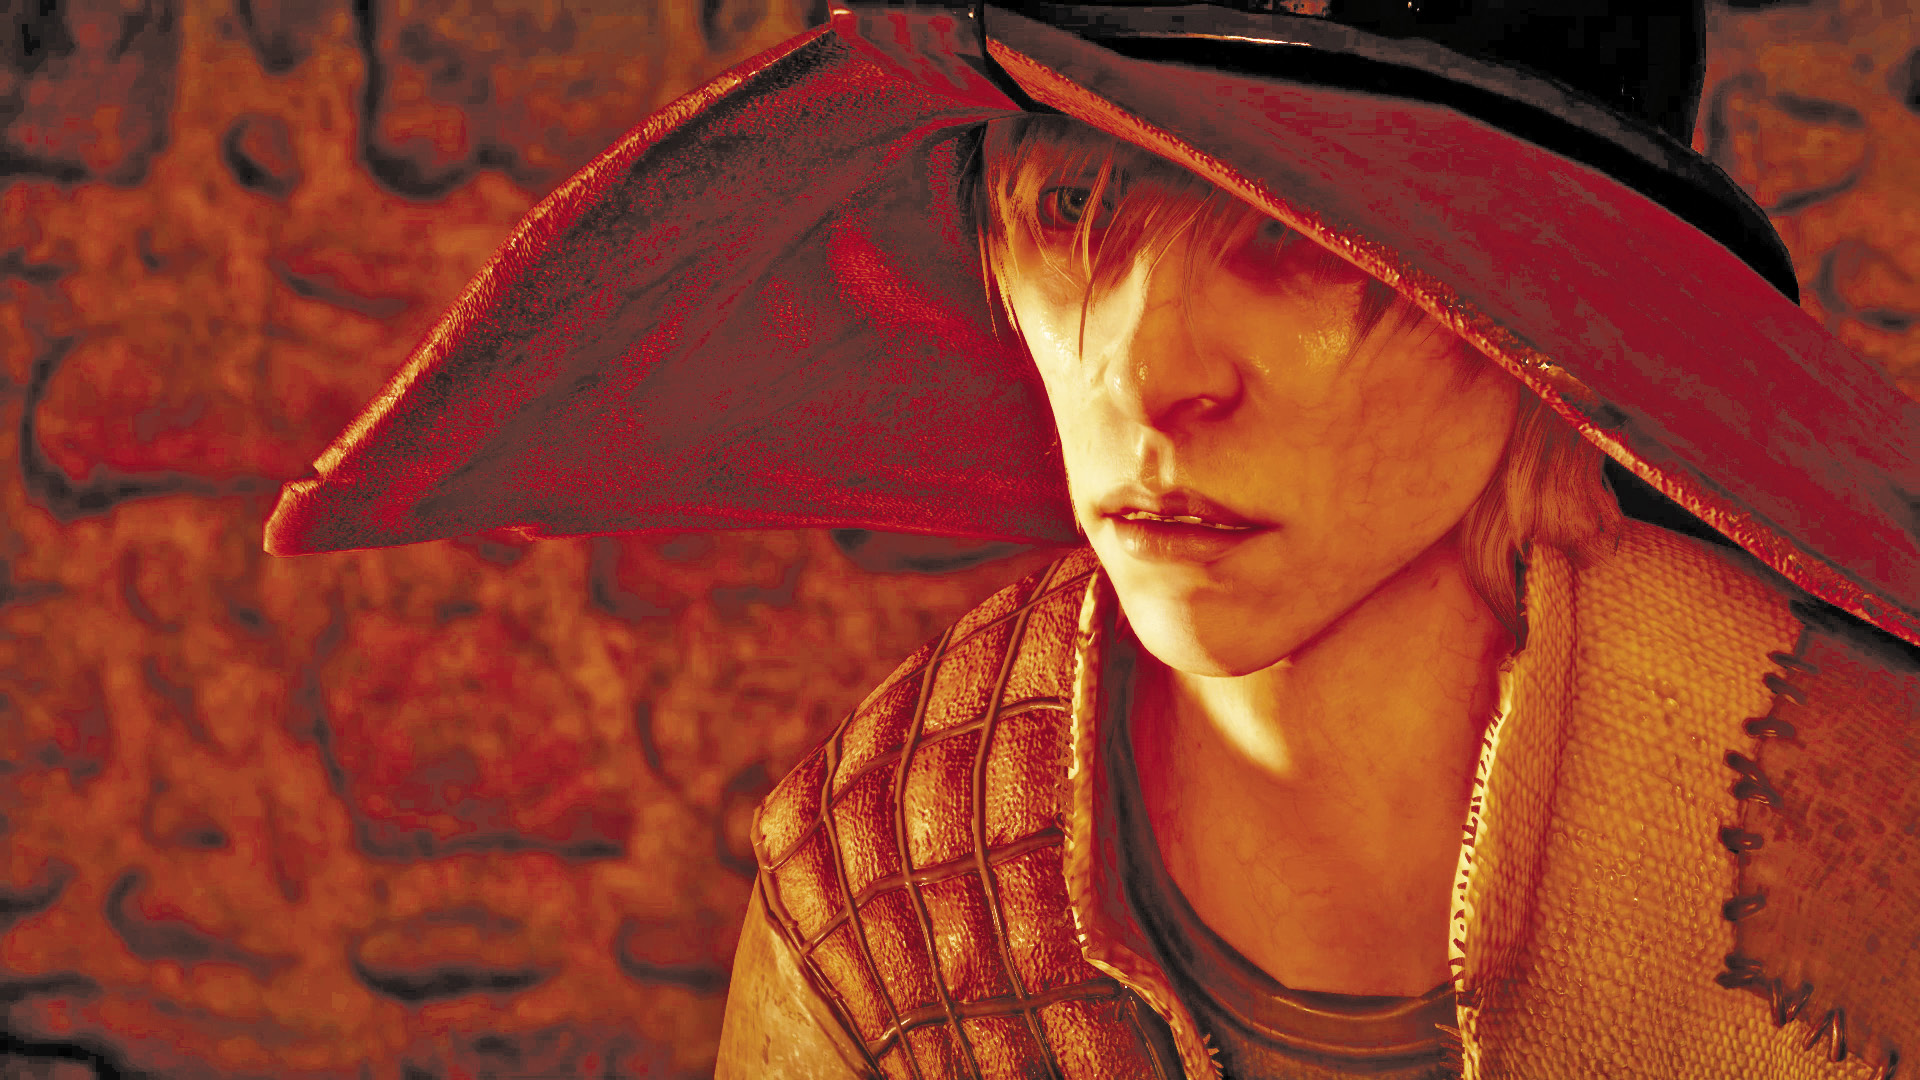
Advance through the prison. Note the side chambers, where you can see what the envy demon intends to do to “dissidents” when it takes your place. Keep going east until you come to this room. Here you encounter Cole once again. He offers some hints on escaping the prison. Cross the hall to the cell to the north and light a torch from the veilfire brazier. With torch in hand, seek out three unlit braziers in the cells lining the main corridor. Return to the east side of the cell block to light the fourth and final brazier. This reveals the exit. Before you leave, note the locked door opposite the exit. Go west, back to where you started in the prison. Inspect the cell to the south; the veilfire will reveal a prison key on a table hanging from the wall. Pick it up and return east, to the locked door across from the exit. Unlock the door and light the brazier inside the room. Go back into the main corridor—there is now a new brazier on the east wall. Light it to reveal a secret chamber with another inscription for the second Demonic Dogma codex. It will also add two points to your Constitution. Follow the path to a door and ascend the stairs to enter the forest.
Nightmare Forest
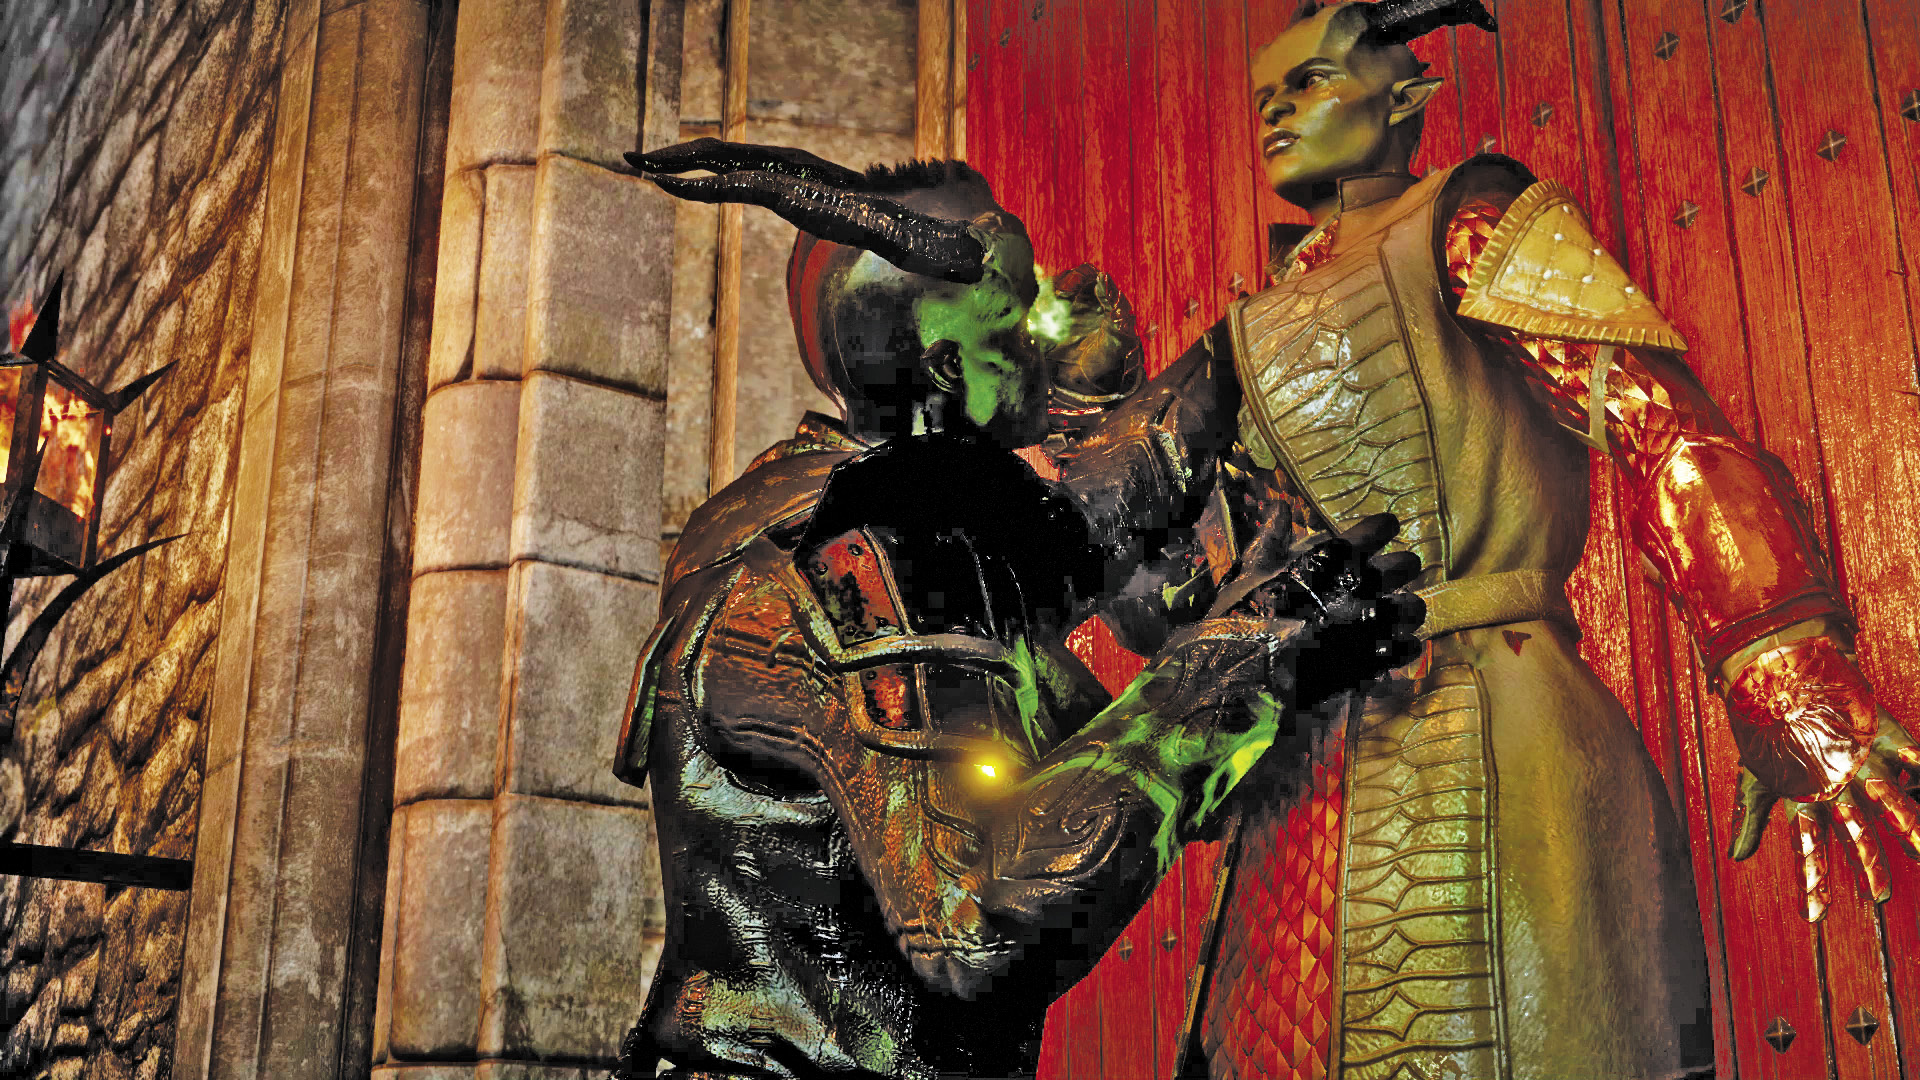
Violent imagery awaits as you advance through the dense fog of the forest. Stay on the stone path to avoid getting lost. Cole is waiting for you near this gate. Interact with the nearby switch to open the gate and proceed deeper into the courtyard. This is a recreation of the Therinfal Redoubt courtyard. Retrace the same steps you took earlier while advancing toward the doors of the great hall. Enemies may attack you along the way, but they pose no real threat—they can be defeated with a single hit. When you enter a building with stairs that lead you to an exit to the west, look around on the second level of the building for the last Demonic Dogma inscription. Select it to finish the quest and gain three points of Willpower. Head out of the building’s western exit and up the stairs. This will lead you back to a dream version of the doors to the great hall. You’ll be confronted by the envy demon, who is trying to cling on to your form even though you’ve almost broken free of its nightmare. Complete the conversation with the envy demon to return to reality.
Great Hall
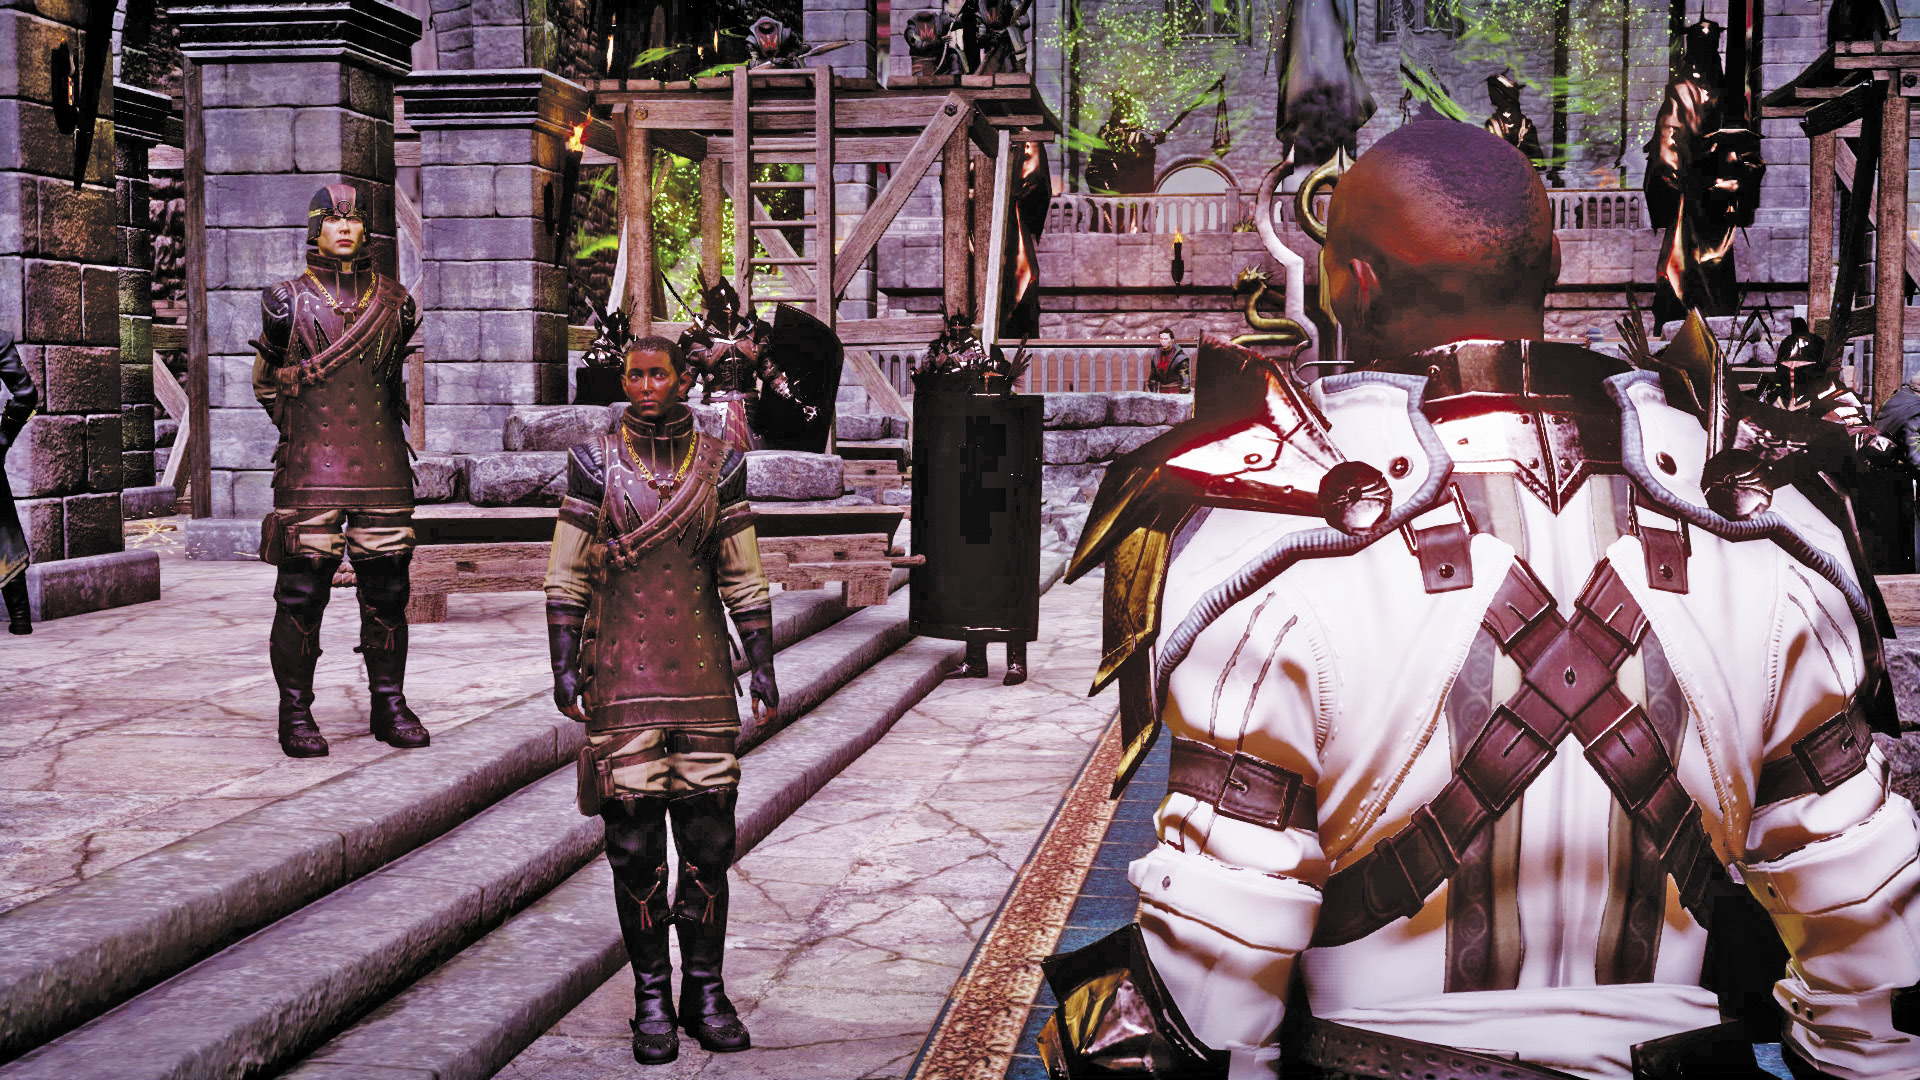
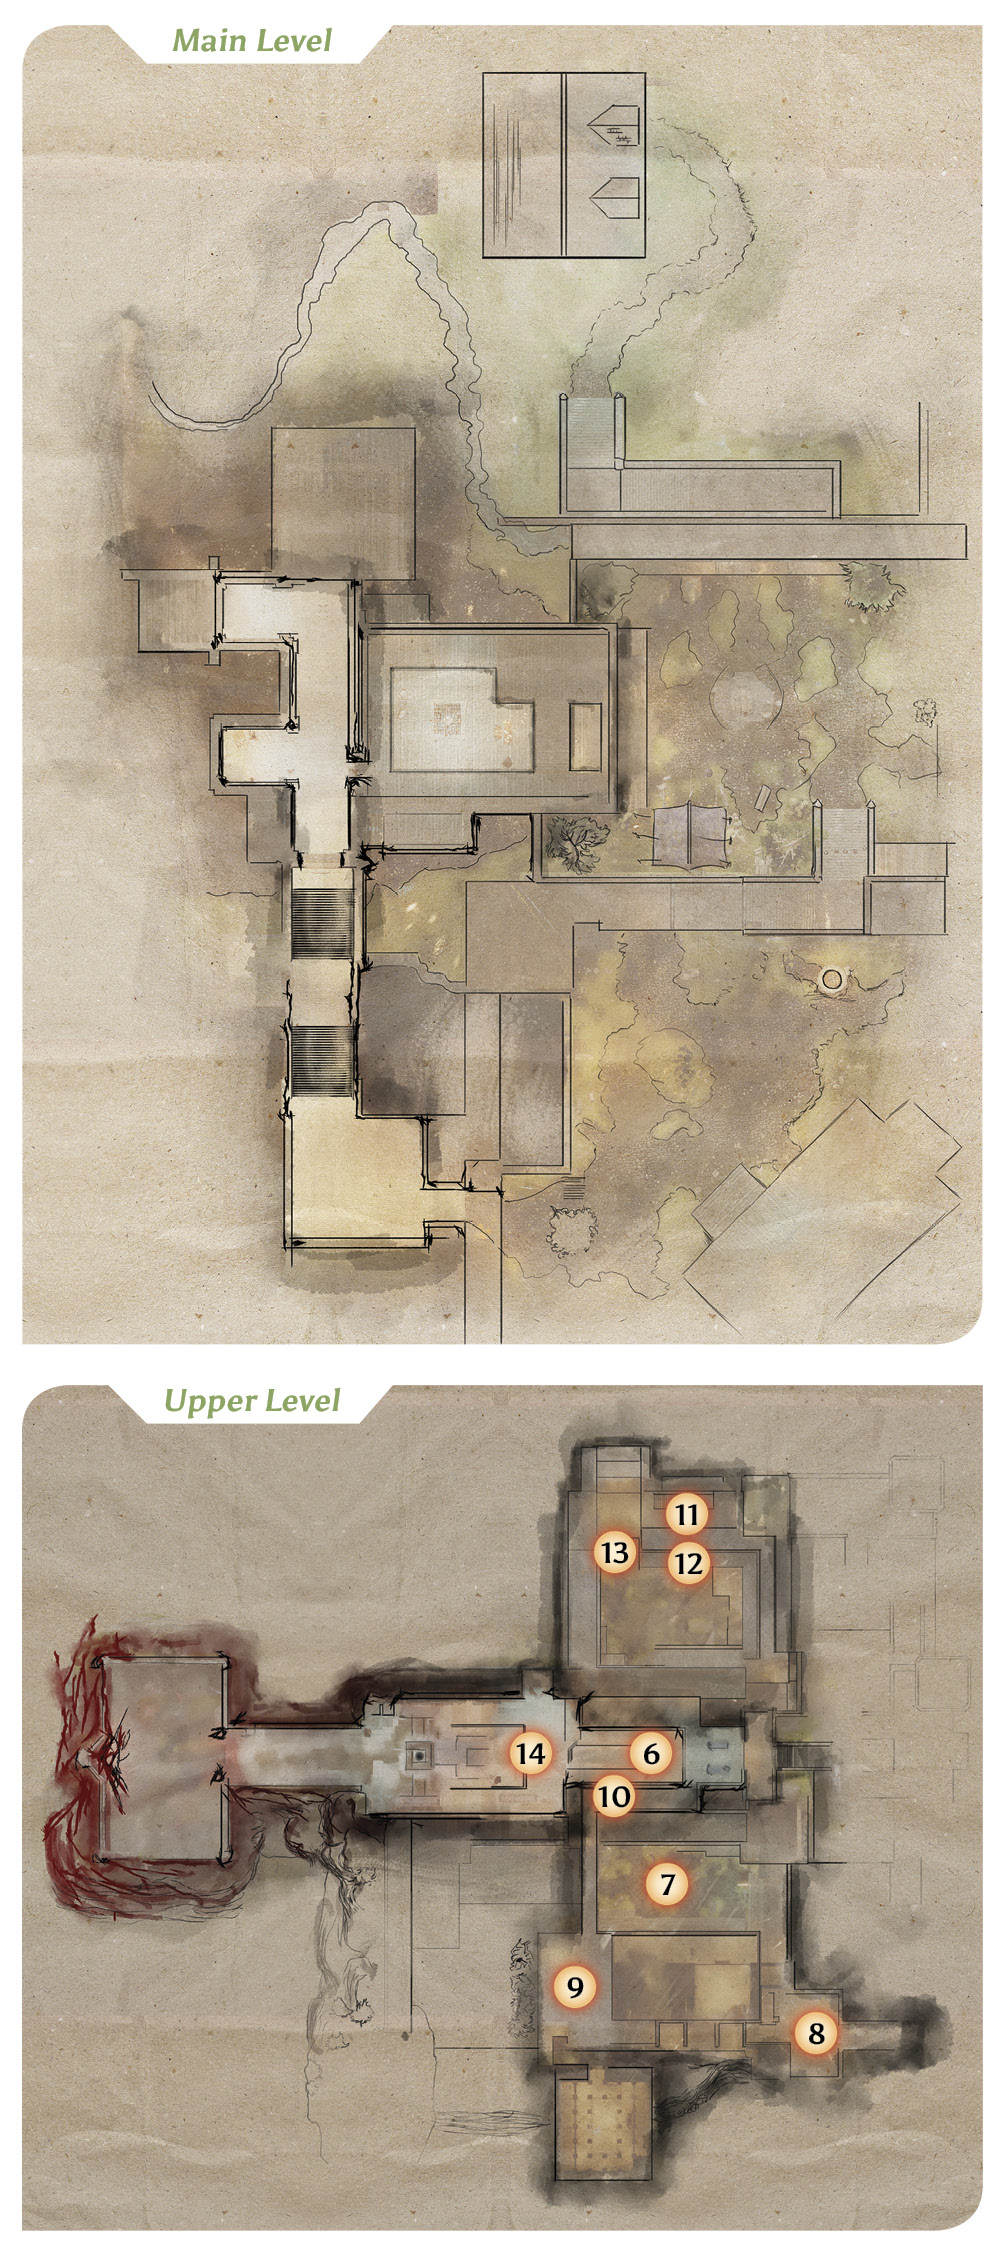
6. You rejoin your party in the great hall. Knight-Templar Barris has rounded up a small group of templars who haven’t been poisoned by red lyrium. Barris and his templars agree to fight together with the Inquisition to stop the envy demon, who has retreated and blocked off part of the fortress with a magic barrier. But Barris will need the support of his lieutenants. He needs your party to find three templar veterans and locate the uncorrupted lyrium stores. Start your search by heading south.
7. You’re ambushed by several enemies here, including red templars and red templar horrors. The red templar horrors are vulnerable to cold-based attacks, so make sure your mage(s) have the proper staves equipped. Focus on freezing, chilling, and defeating the red templar horrors before dealing with the red templars. But don’t linger long—while you’re fighting, the status bar of the great hall ticks down. There is an entrance to a secret room hidden in the south wall, west of a closed door. Have a warrior wall-bash the entrance open, loot the room, then turn east as soon as you exit the room. To your right will be a closed door. Open it, and continue pushing south to proceed.
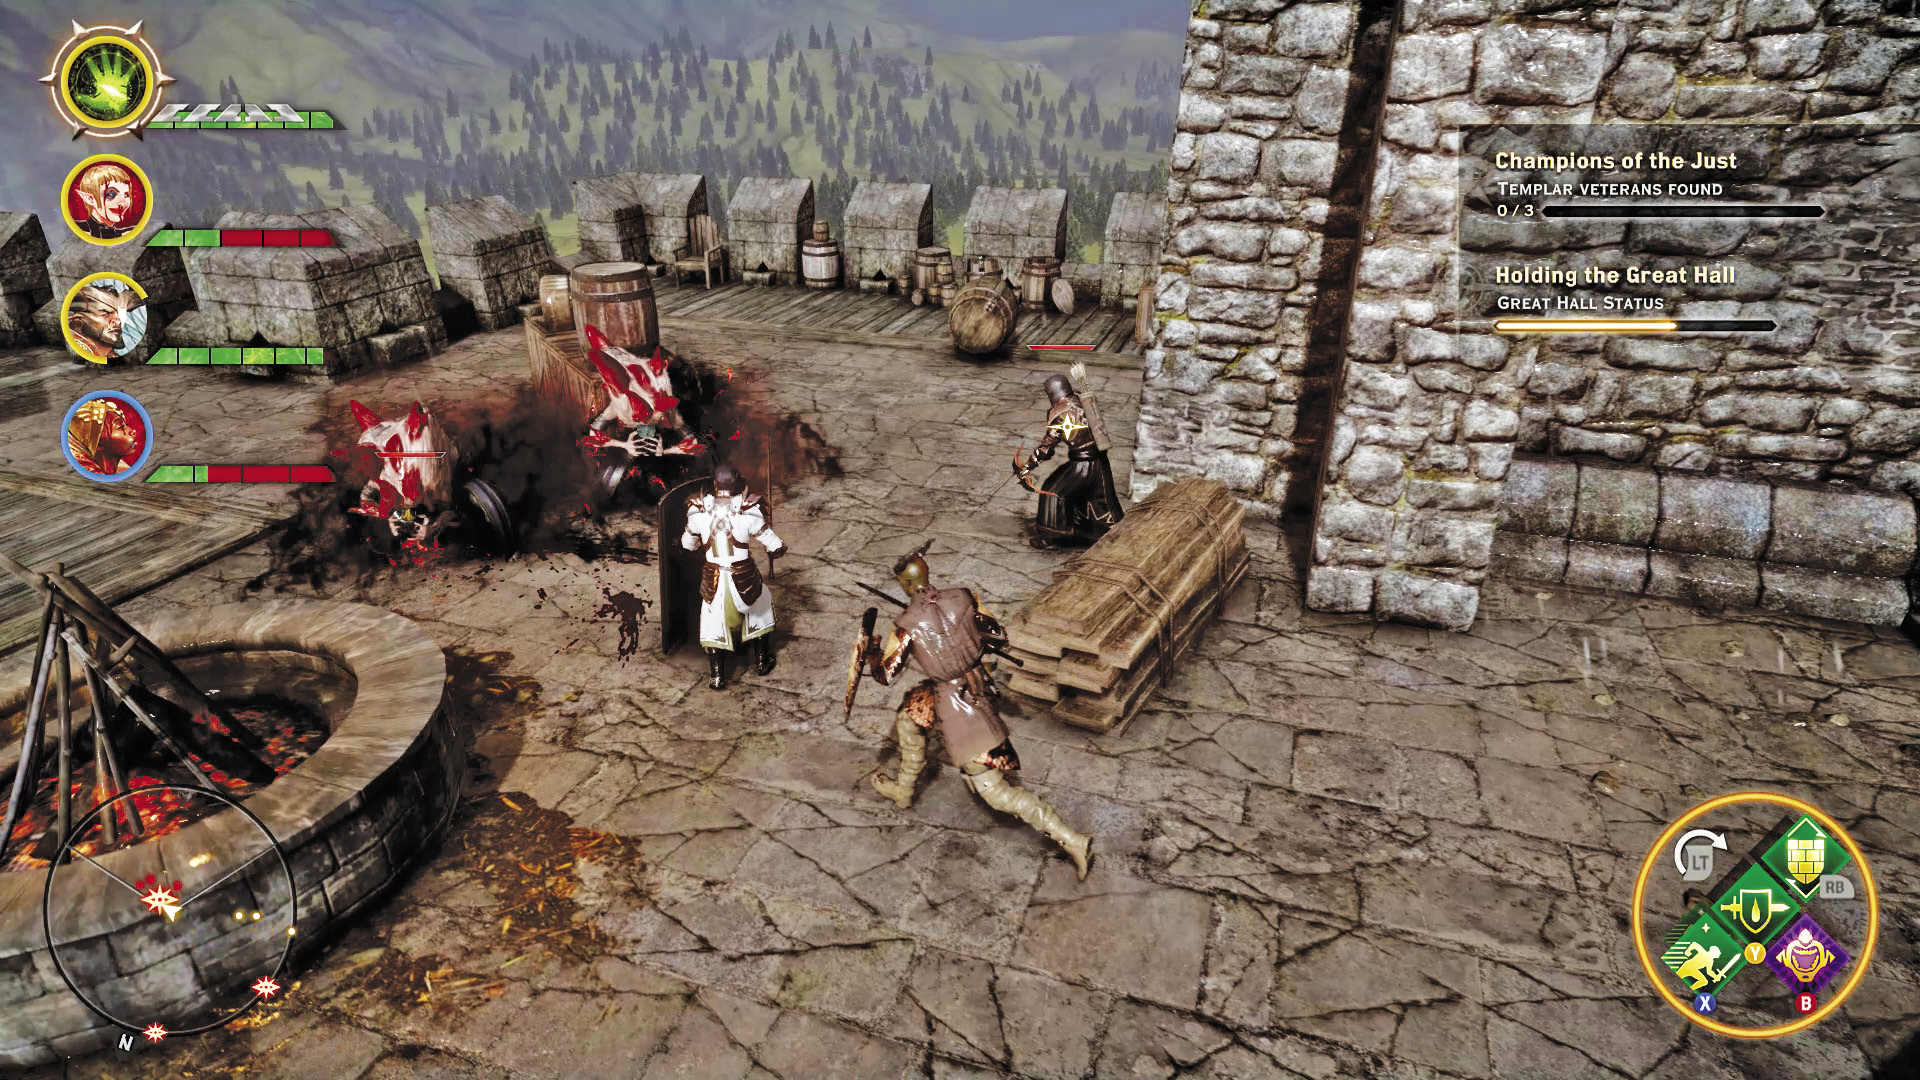
8. Here you encounter the first templar veteran busy fighting off some red templar horrors and a red templar marksman. After the enemies here are defeated, the templar veteran agrees to rendezvous with Barris in the great hall. Before heading back to the great hall yourself, advance along the narrow corridor to the west to find the second veteran.
9. If time allows, make an effort to rescue the second veteran here before returning to the great hall. This veteran has also come under attack by red templar horrors and a red templar marksman. Help the veteran fight off his attackers, then immediately head north to enter the great hall.
10. You arrive back in the great hall on the second floor. Lower the ladders here and climb down, helping Barris and his templars defeat several red templars. When the great hall is secure, climb the ladders back up to the upper level and proceed through the exit to the north.
11. Fight past the red templars on the upper level walkway to reach the third templar veteran. Pay particular attention to the red templar marksman on the scaffolding to the north. Have your ranged party members deal with this archer while your melee specialists help the templar veteran fight off the rest of the enemies. Now that you’ve rescued all three templar veterans, it’s time to find that cache of uncorrupted lyrium. Head east and descend the stairs to the ground floor.
12. Clear out the adjoining courtyard before entering this room in the northwest corner. Grab the Lord Seeker’s key at the back of the room.
13. Using the Lord Seeker’s key, open the door to this room and collect the lyrium cache. Immediately return to the great hall.
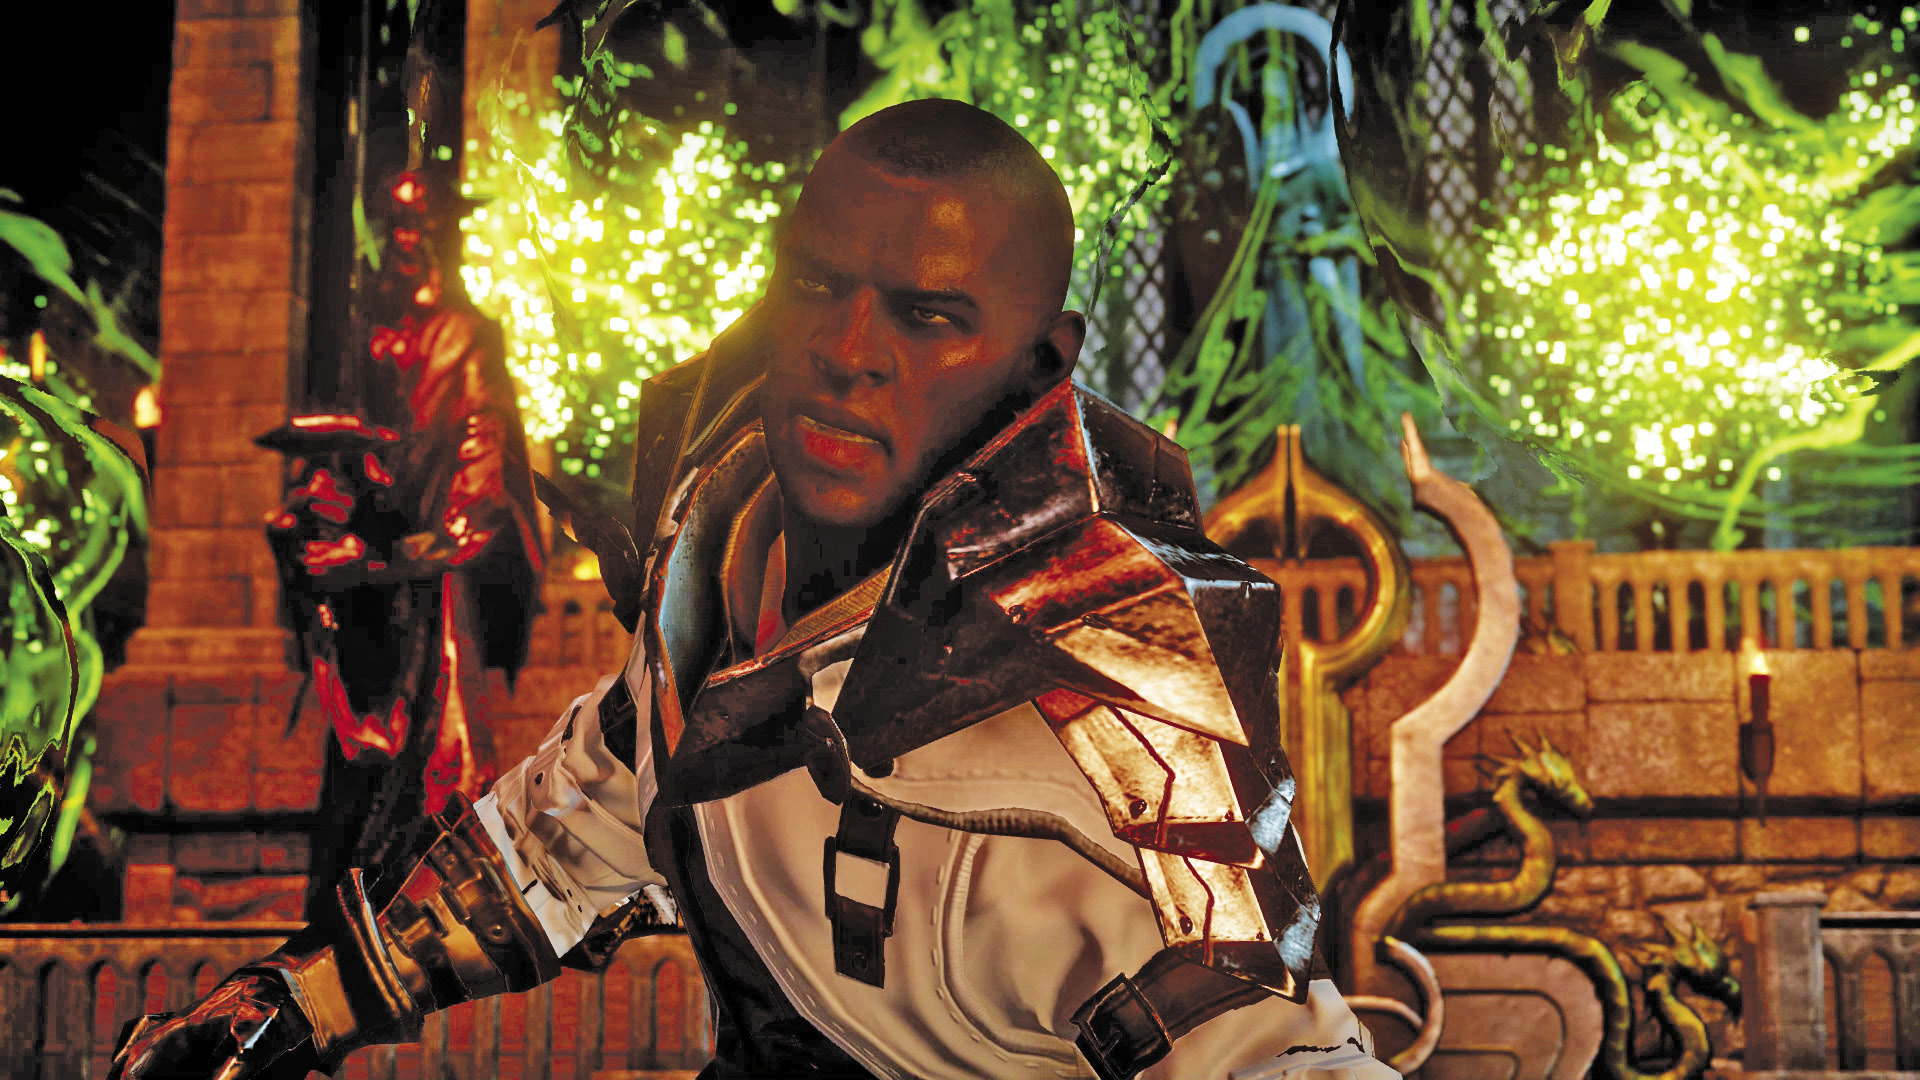
14. Upon your return to the great hall, assist in clearing out the red templars. Afterward, speak with Knight-Templar Barris. He asks your party to hold off the attackers while he and his small group of templars perform a ritual in an effort to bring down a magic barrier. During this sequence, you must simply survive as red templars, red templar horrors, and red templar marksmen emerge, wave after wave, from the magic barrier to the west. The enemies funnel in along the north and south sides of the central altar, making these narrow choke points ideal locations for devastating area-of-effect attacks. If you have two warriors, place one on the north side and and one on the south side while your ranged party members assist from a distance. Little by little the magic barrier strength is diminished. Keep fighting until Barris and his templars can destroy the magic barrier. If Barris was grievously wounded earlier because the great hall status bar went below 30 percent, he collapses and dies here. Finish off the remaining enemies, then head west to confront the envy demon.
Envy Demon Battle
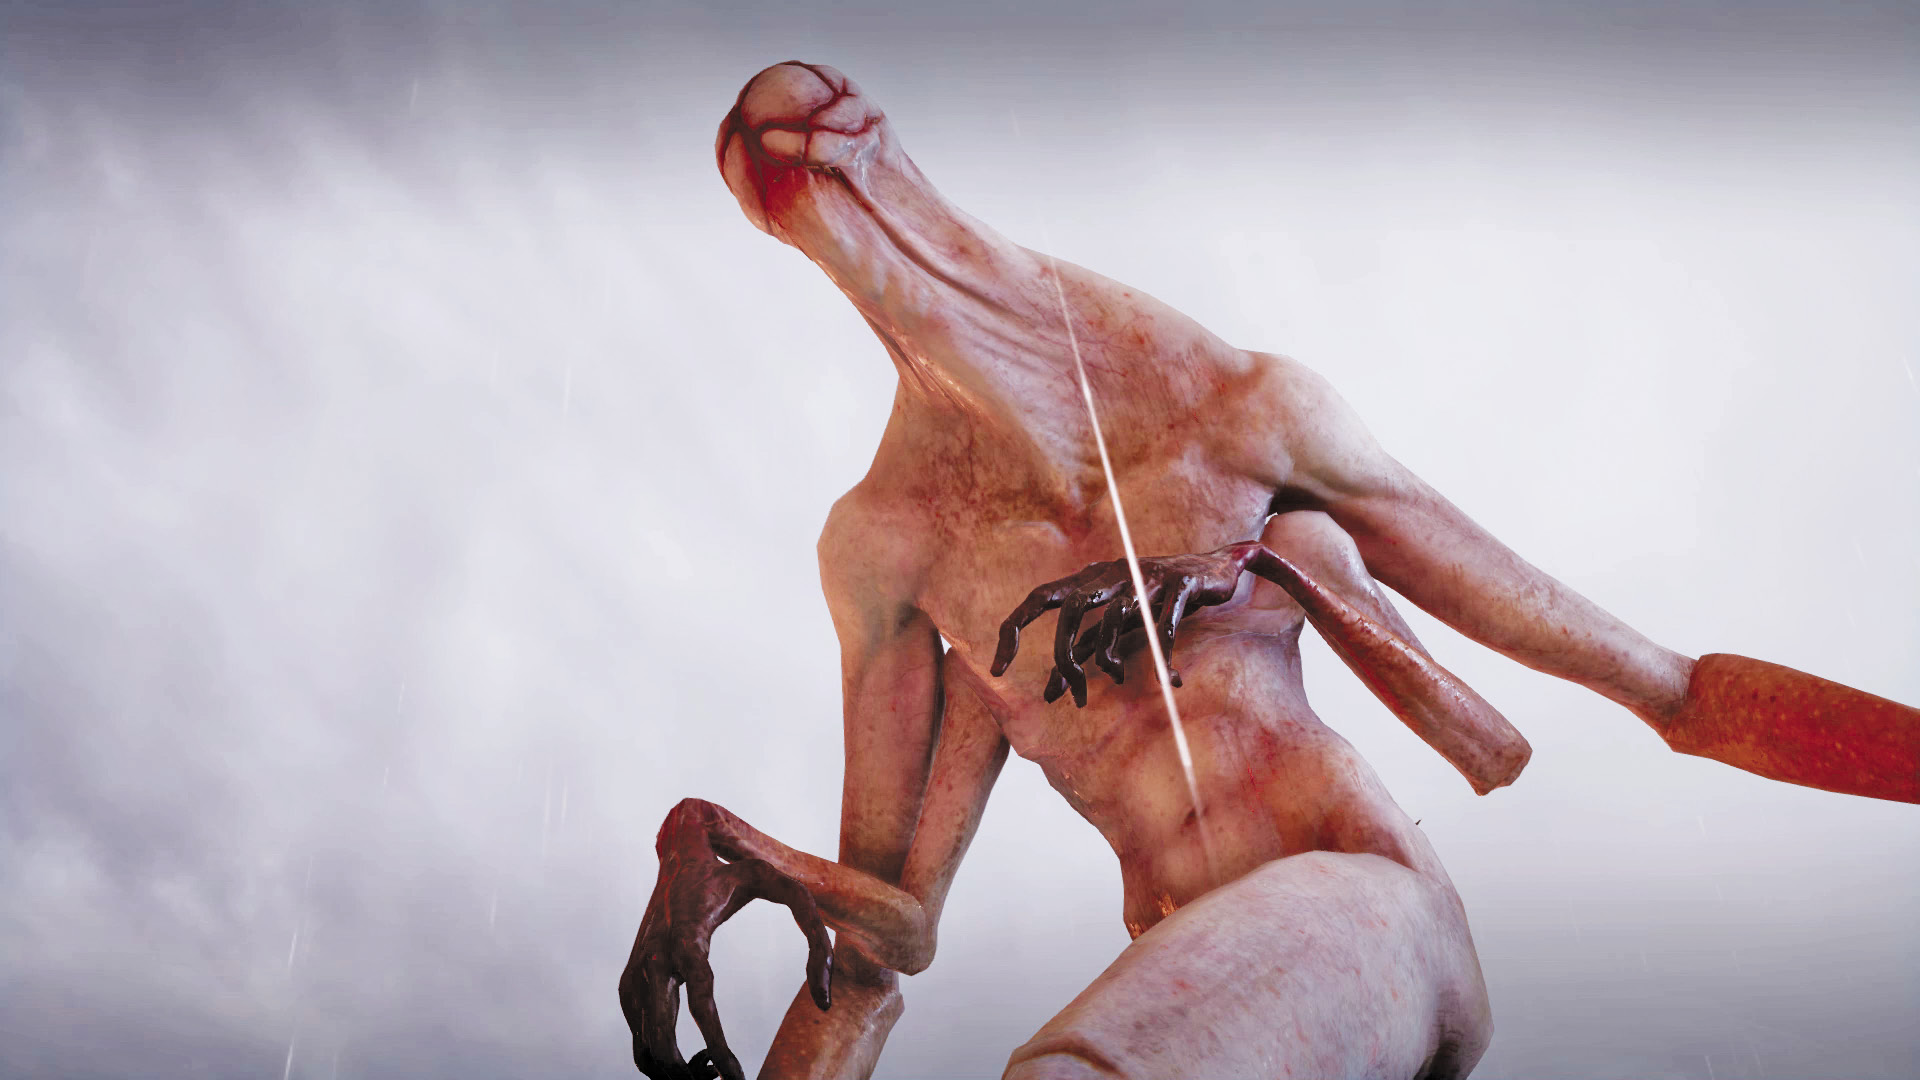
The envy demon reveals itself in the courtyard west of the great hall. Your party is joined by Cole, who wastes no time attacking the envy demon. The envy demon has attacks similar to a terror, including a powerful area-of-effect attack that can knock your party off their feet. Look for opportunities to disrupt these attacks. While the envy demon has no vulnerabilities or immunities, cold-based attacks work well—two mages casting back-to-back Winter’s Grasp spells can keep the envy demon chilled and frozen for much of the fight. When the envy demon’s health is reduced to 75 percent, it hides behind a barrier to the west while summoning red templars. After you’ve eliminated the red templars, the envy demon takes the form of your character. Don’t get discouraged by the envy demon’s latest trick. Keep hammering away with everything you’ve got, pouring on as many status effects as possible to hinder the envy demon’s performance. While the envy demon is durable, it won’t stand up to repeated attacks by your party and Cole. Once the envy demon has been killed, be sure to grab the loot it drops.
Decision Point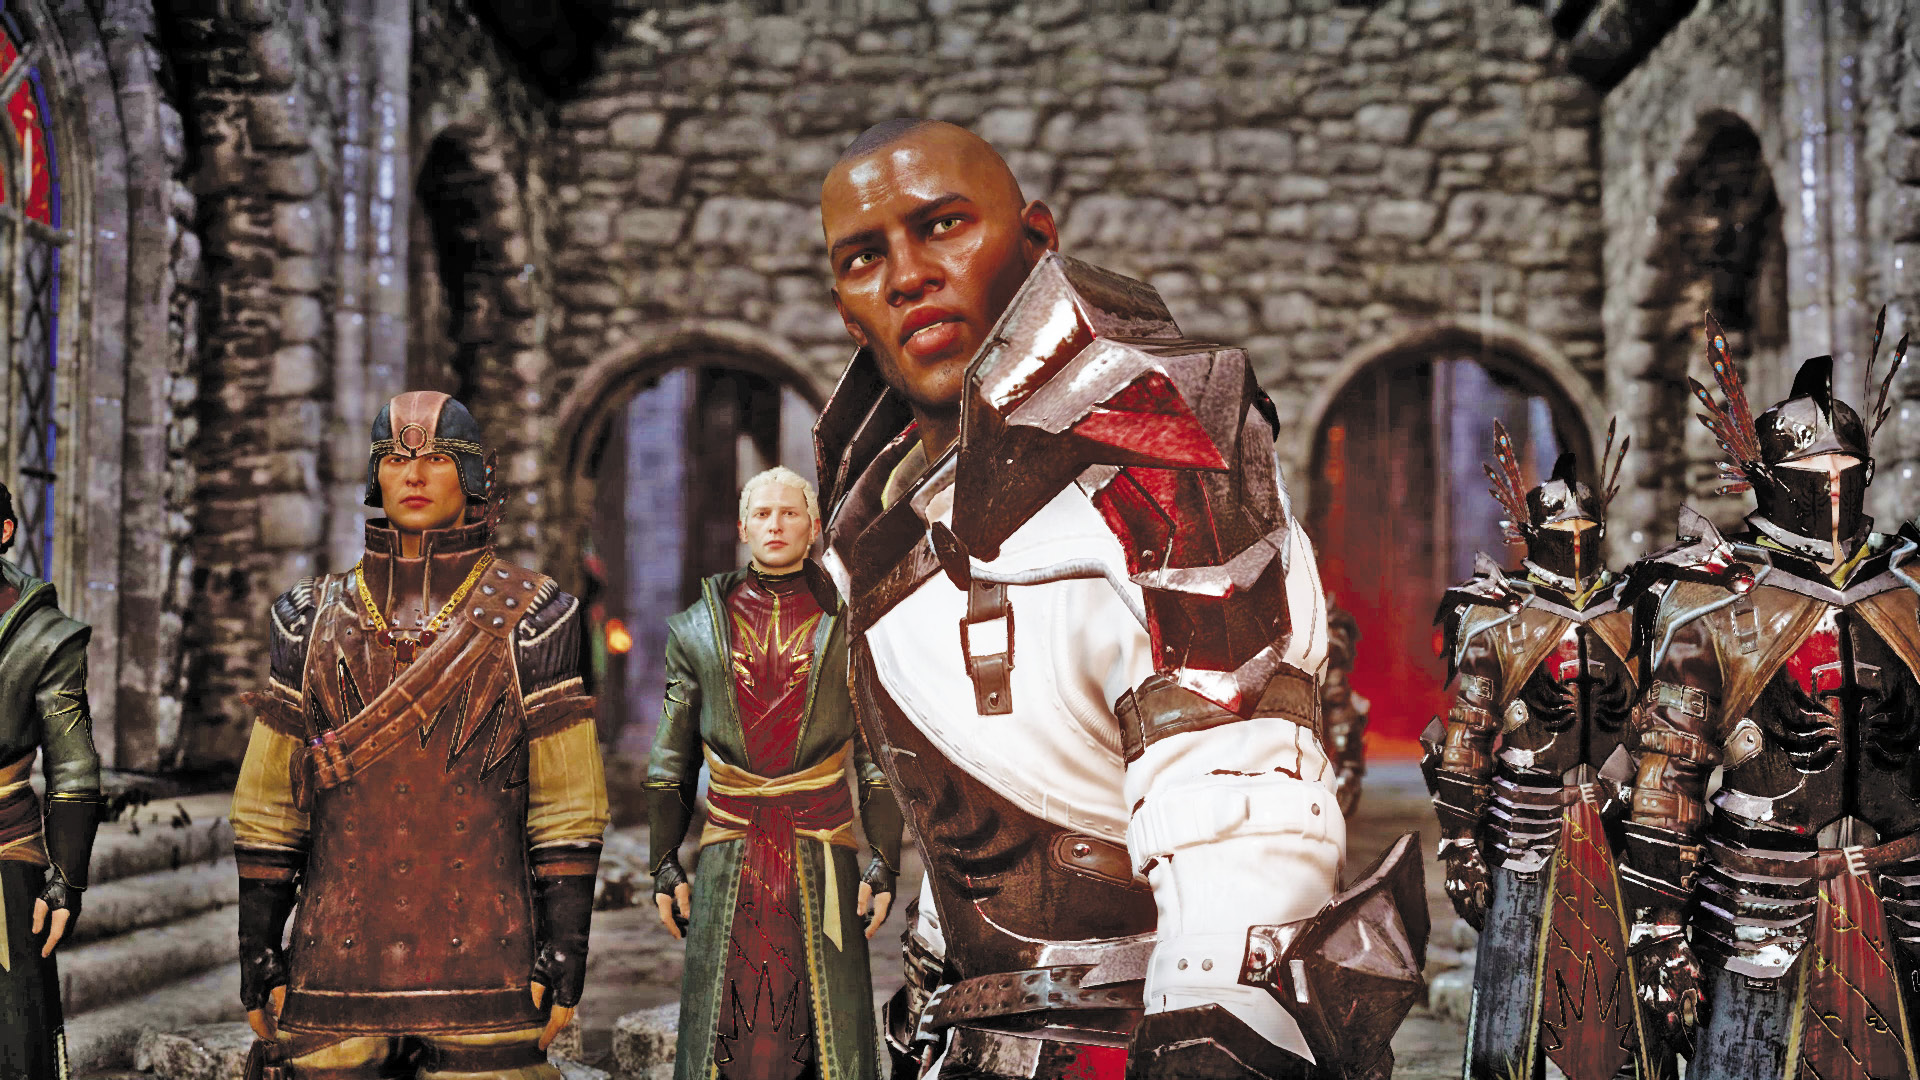 Following the battle with the envy demon, approach the templars. You have a big decision to make regarding the future of the Order. You have another big decision to make regarding the future of the templars. Will you have them disband and join the Inquisition? Or will you help them rebuild as allies? Your decision is not without consequences. Some of your party members will support your decision, and others will oppose it. Choose carefully. |


