Dragon Age Inquisition Guide The Inquisitors Path The Wrath of Heaven
Frostback Mountains
The Temple of Sacred Ashes was at the heart of the blast that tore open the sky. Reach the temple and see what can be done.
Prologue
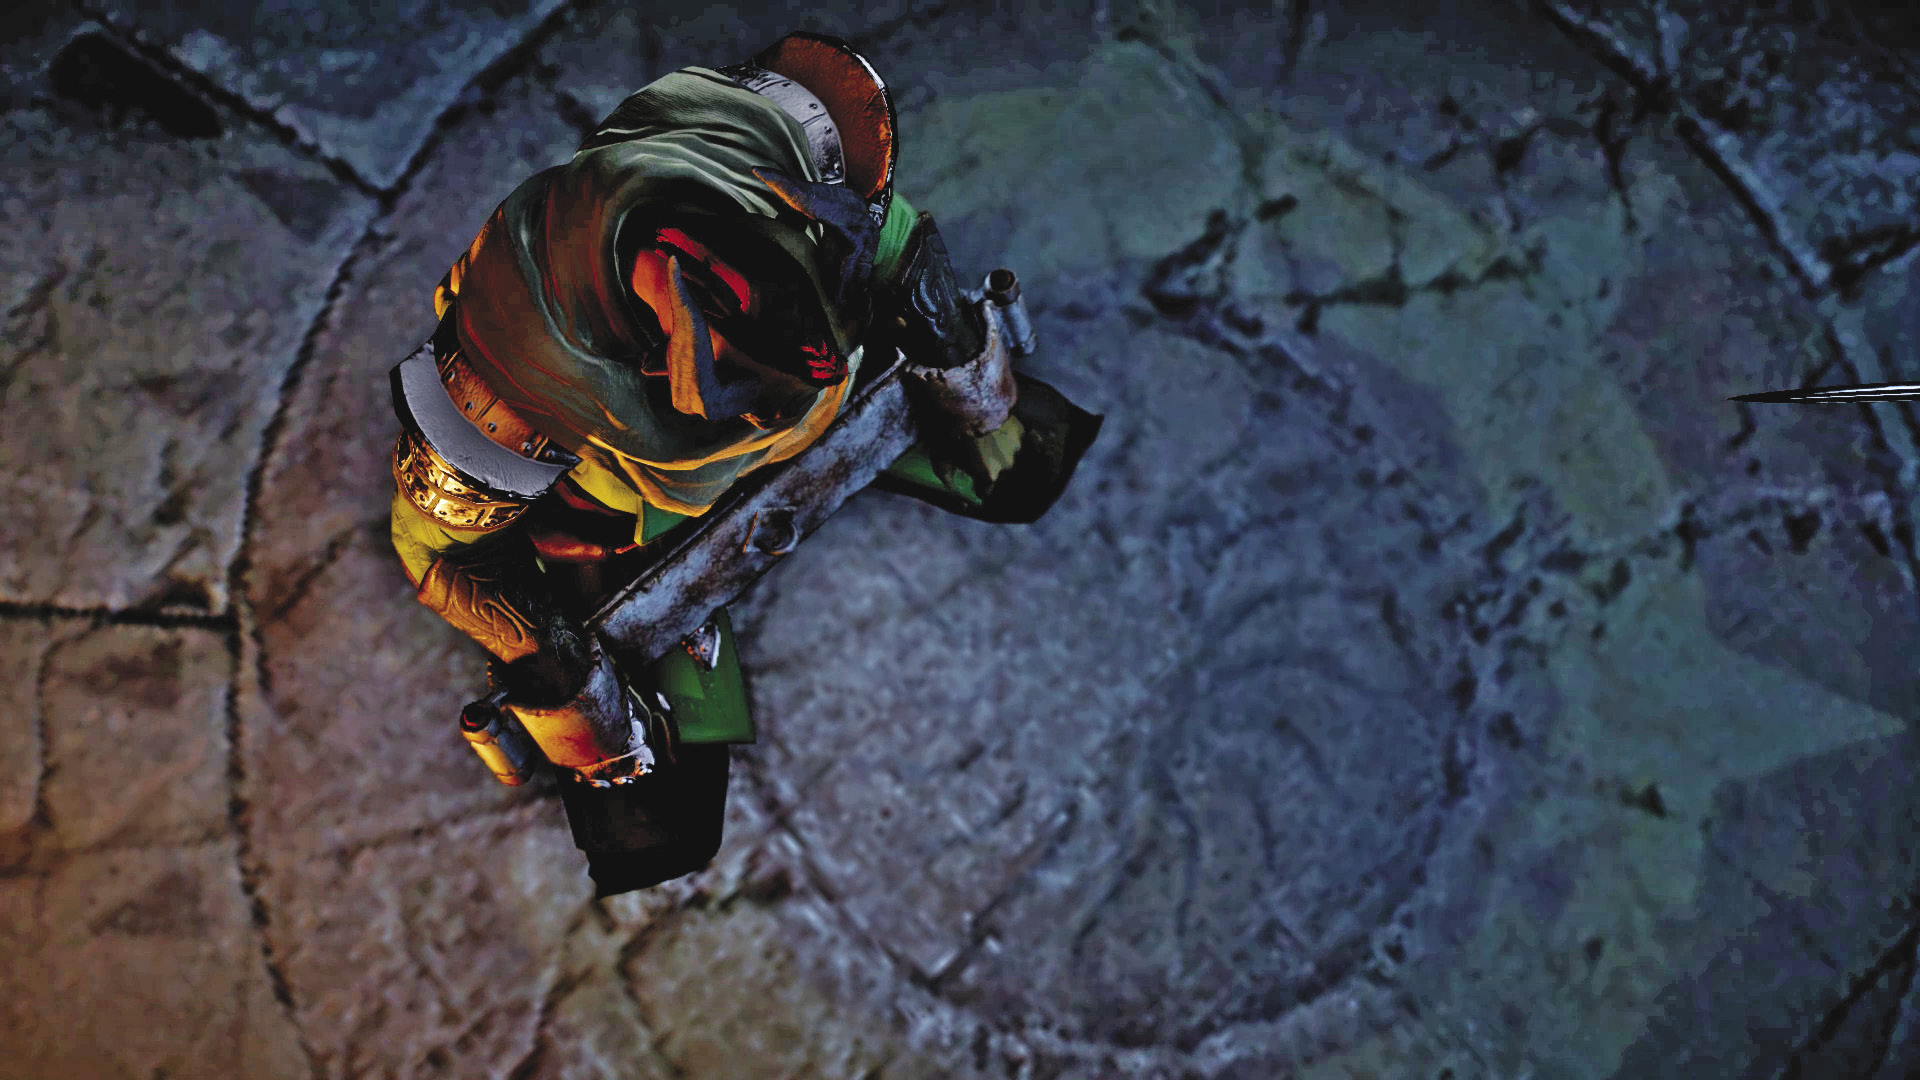
Something terrible has happened... and you’re the prime suspect. Held in a cell beneath the chantry in Haven, your character is questioned by Seeker Cassandra Pentaghast and Leliana about the events leading up to the explosion at the Temple of Sacred Ashes. The temple was the site of a Conclave attended by many from across Thedas. Almost all attendees were killed in a massive explosion that completely leveled the temple. Among the deceased was none other than Divine Justinia V, leader of the Andrastian Chantry. But there was one survivor—you. Unfortunately, your character has no clear recollection of what happened—this only fuels Cassandra’s suspicions. In an effort to refresh your character’s memory, Cassandra decides to escort you to a rift while Leliana travels to a forward camp.
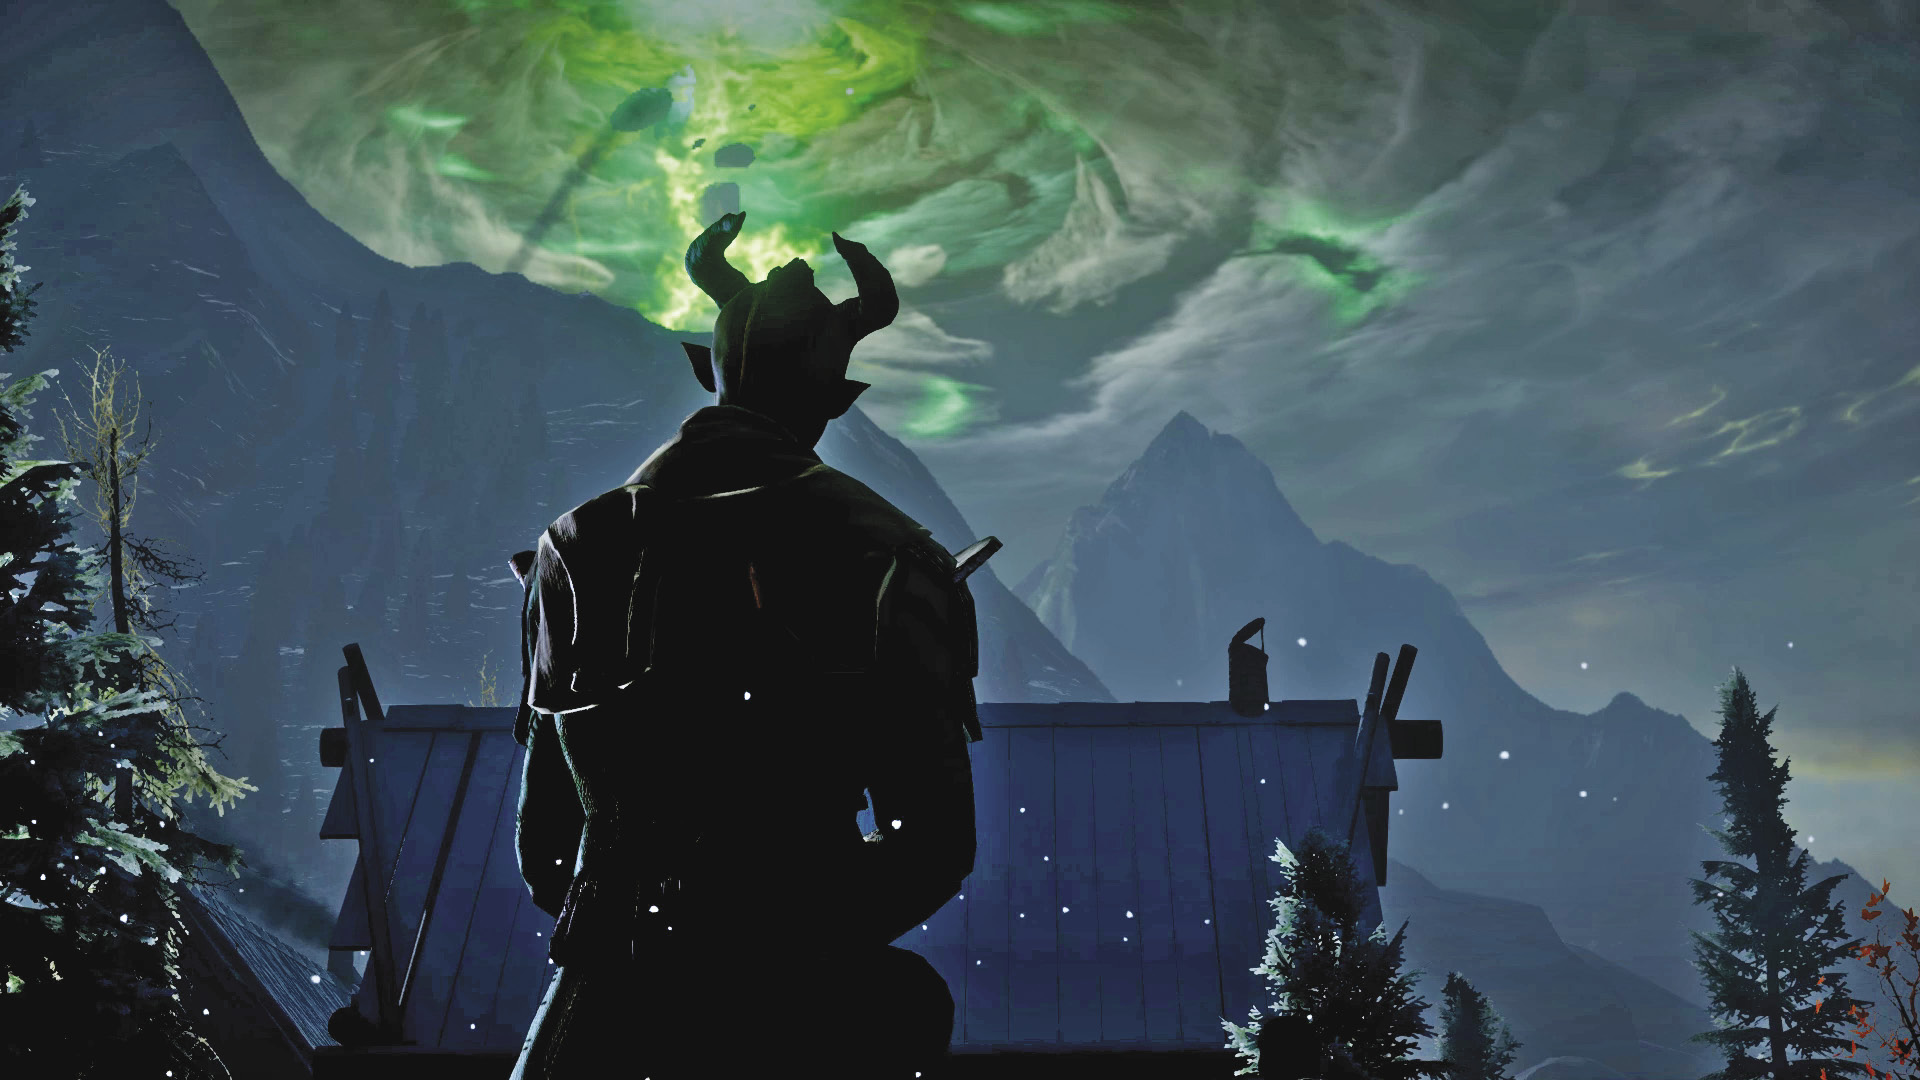
Outside the chantry a massive hole in the sky is visible, located just above the ruins of the temple. What could have caused such devastation? Cassandra says they’re calling the hole in the sky the Breach. It’s a massive rift into the Fade. And apparently this Breach is growing. Cassandra fears it will expand until it swallows the world. There seems to be a direct link between the Breach and the green, glowing mark on your character’s hand—a sudden pulse from the Breach causes the mark to emit a painful surge through your character’s body. Cassandra feels this mark may be the key to closing the Breach. Are you really responsible for all of this? The inhabitants of Haven seem to think so, casting accusatory glances in your direction as you and Cassandra begin your journey to the Breach.
Journey to the Rift
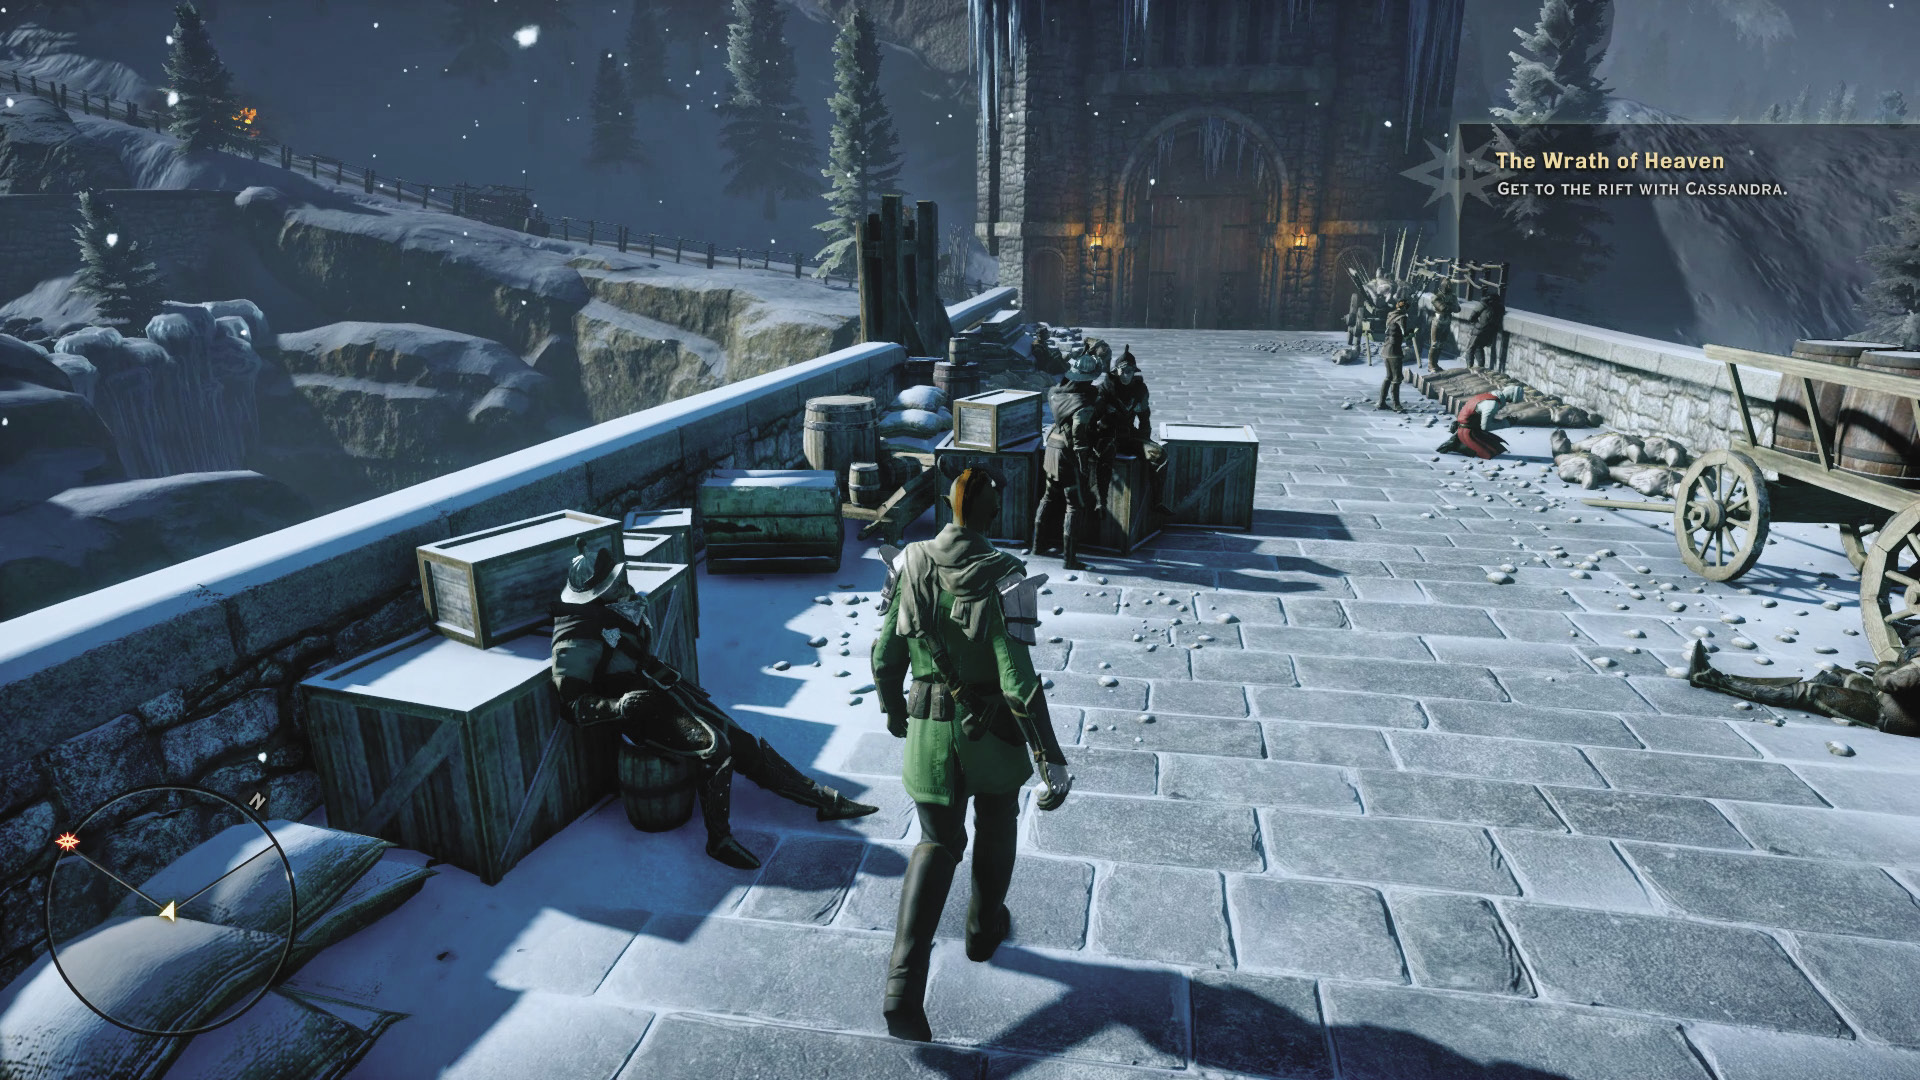
Following the opening cinematic, you gain control of your character. Accompanied by Cassandra, you’re on a stone bridge, not far from Haven. Take a moment to familiarize yourself with the movement and camera controls before approaching the gate at the end of the bridge. As you move forward, Cassandra orders a pair of soldiers to open the gate on the north side, allowing you to access the path to the valley. A new Inquisition icon appears on the compass, indicating the location of your current objective.
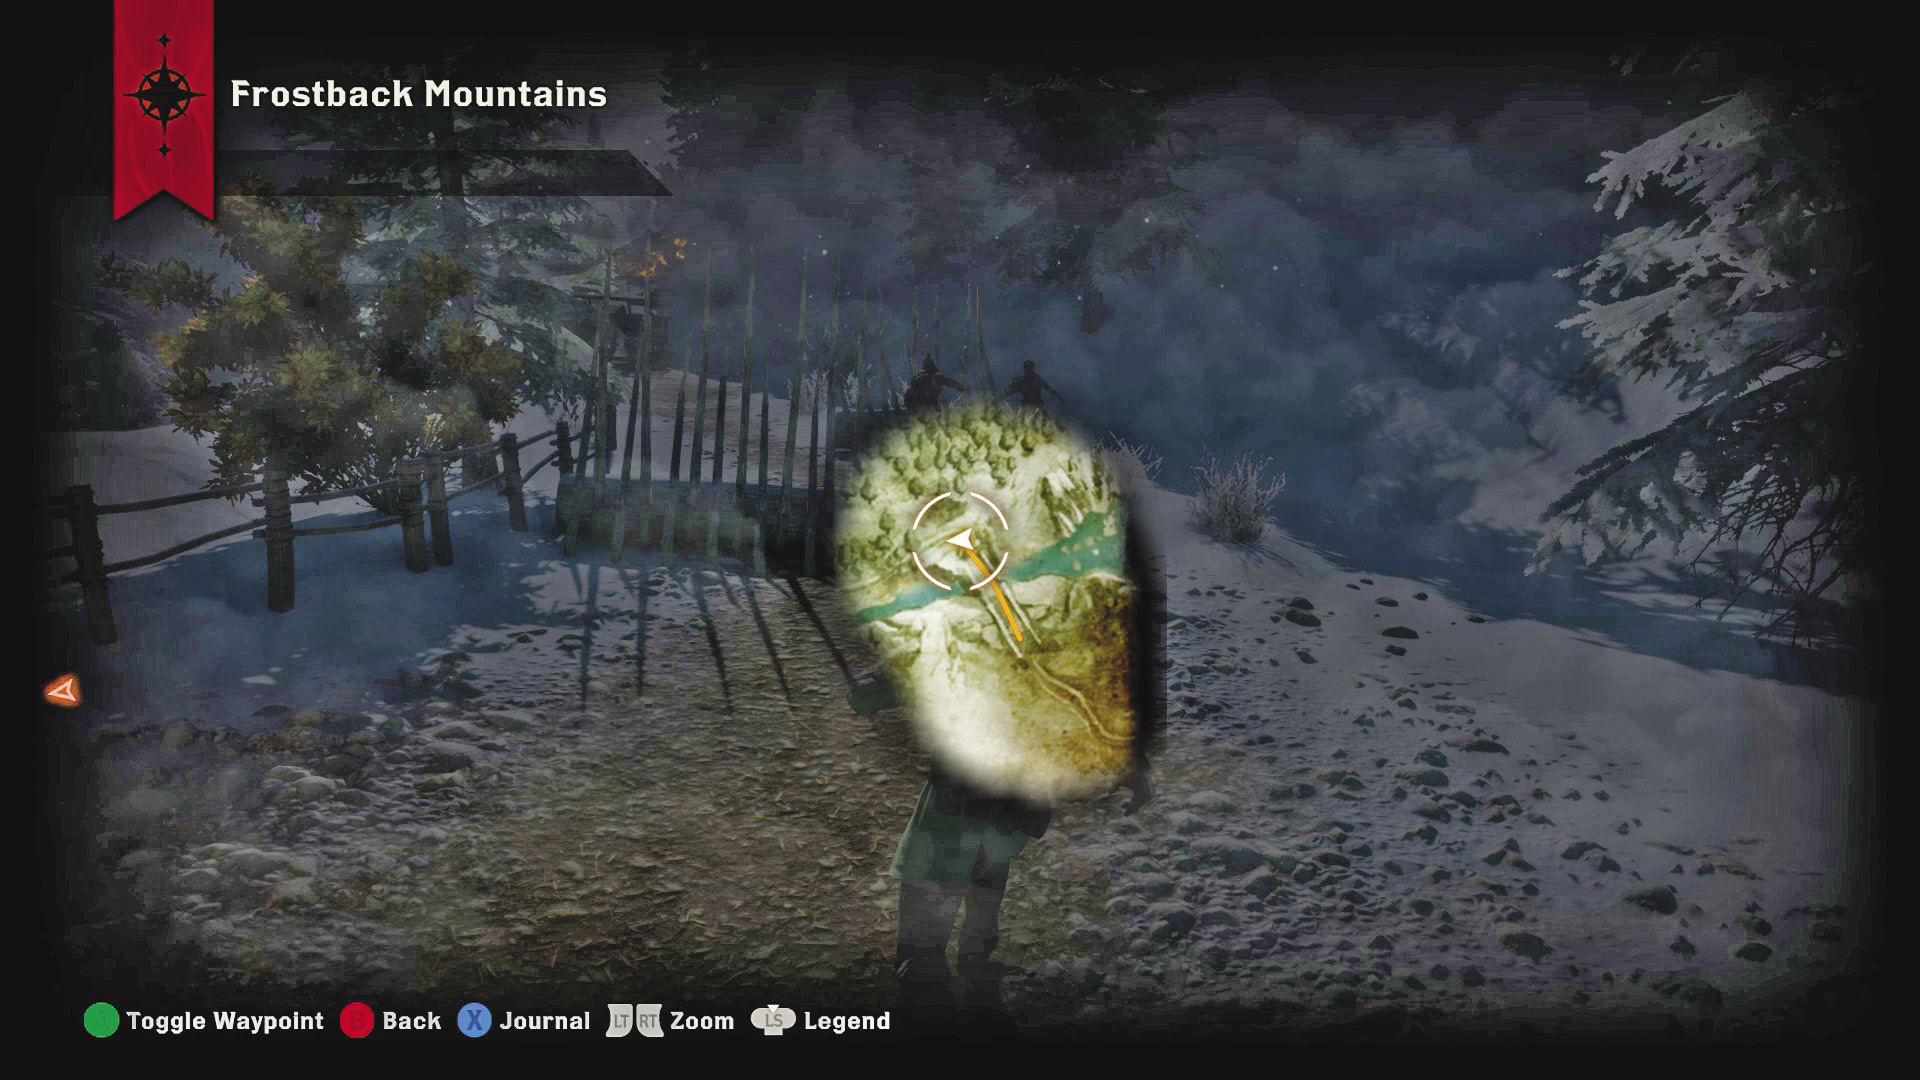
Soon after passing through the gate you can access the quest map to gain a greater perspective of the Frostback Mountains. Only the area you’ve explored appears on the quest map. The rest of the map is shrouded in darkness, representing areas you haven’t explored. The more you travel around the locale, the more the map is uncovered. Pan the map to the left to see the Inquisition icon—this is the location of the rift, your current destination. Close the quest map and continue along the path beyond the bridge.
Codex Entries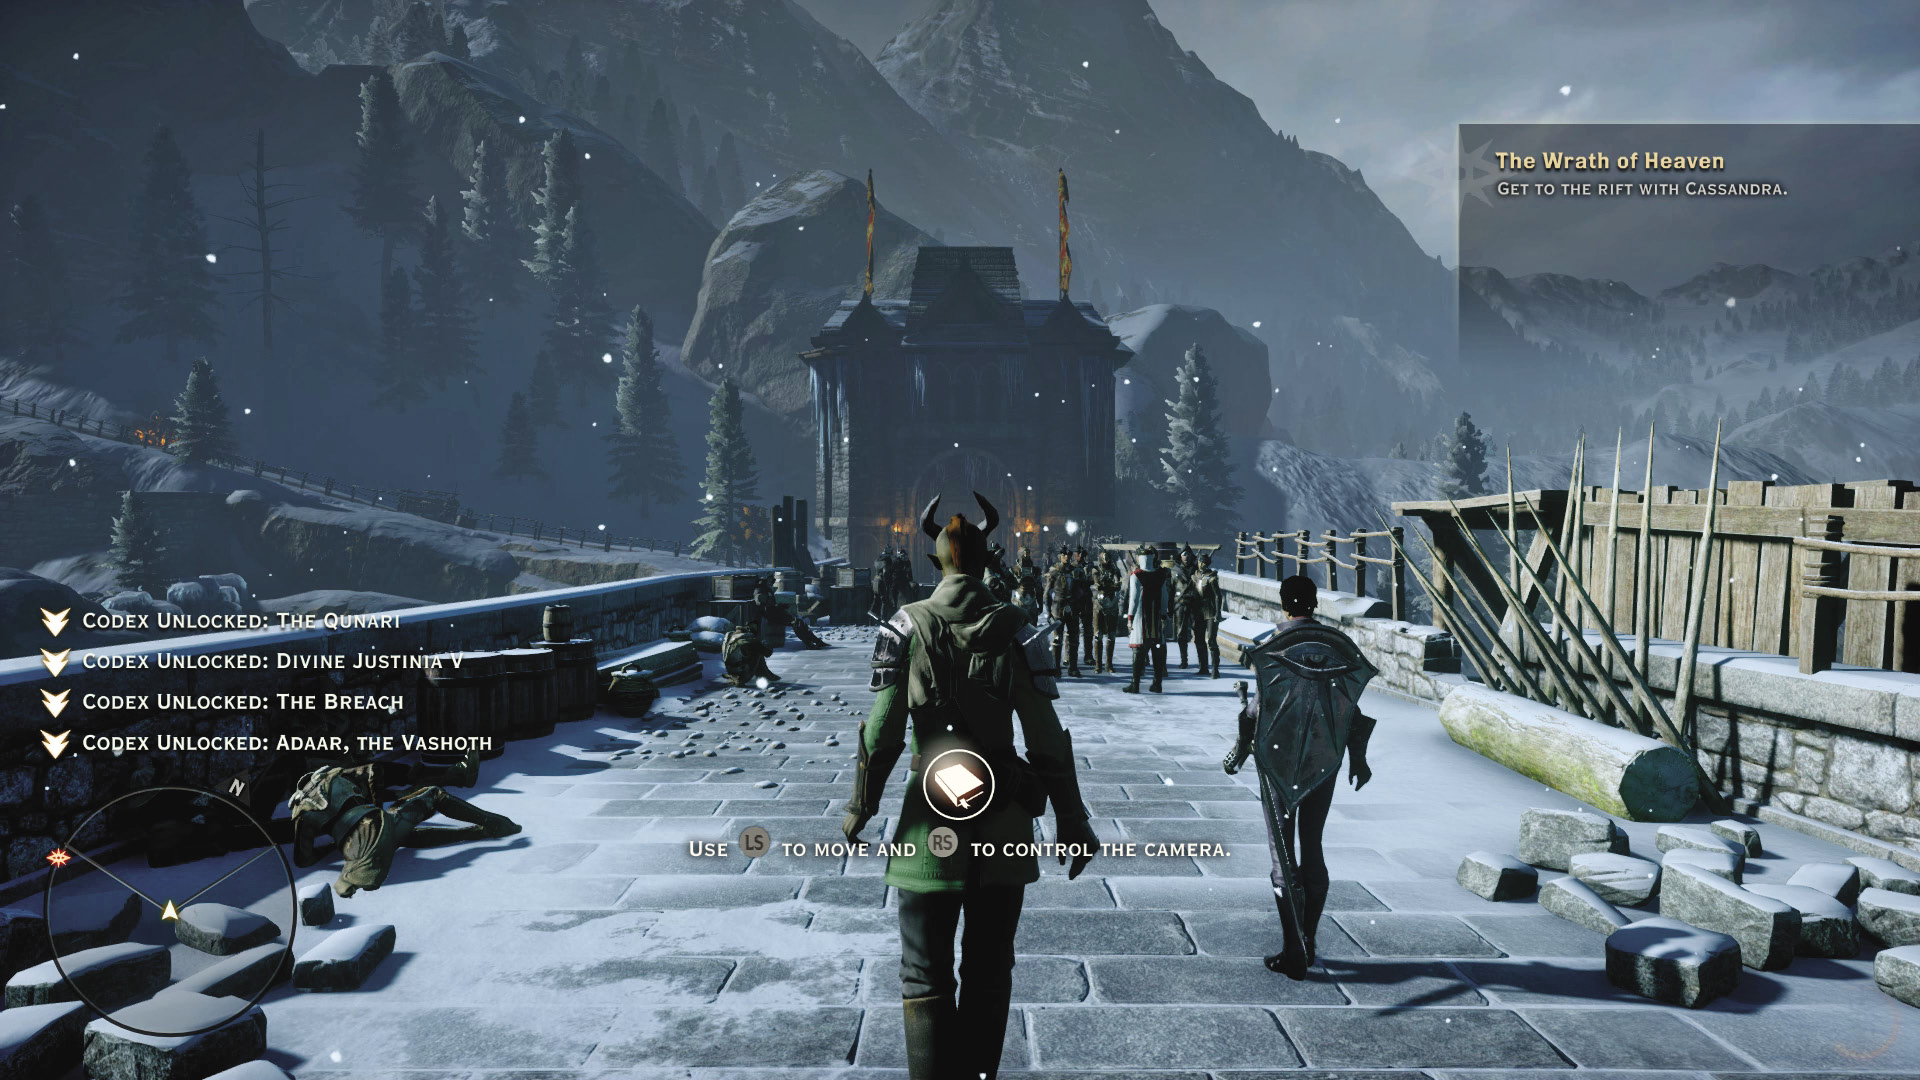 Sometimes conversations or object interactions unlock a codex entry—the entry for Divine Justinia V is unlocked when Cassandra mentions her soon after passing through the gate at the bridge. These entries offer more background on particular subjects. Whenever a codex entry is unlocked, a notification appears on the left side of the screen—press the accompanying button/key to open the entry and read up on the topic. All unlocked codex entries can also be accessed from the Hero menu—choose the Codex option. There are hundreds of codex entries waiting to be unlocked during your journey, so make an effort to interact with as many objects as possible. |
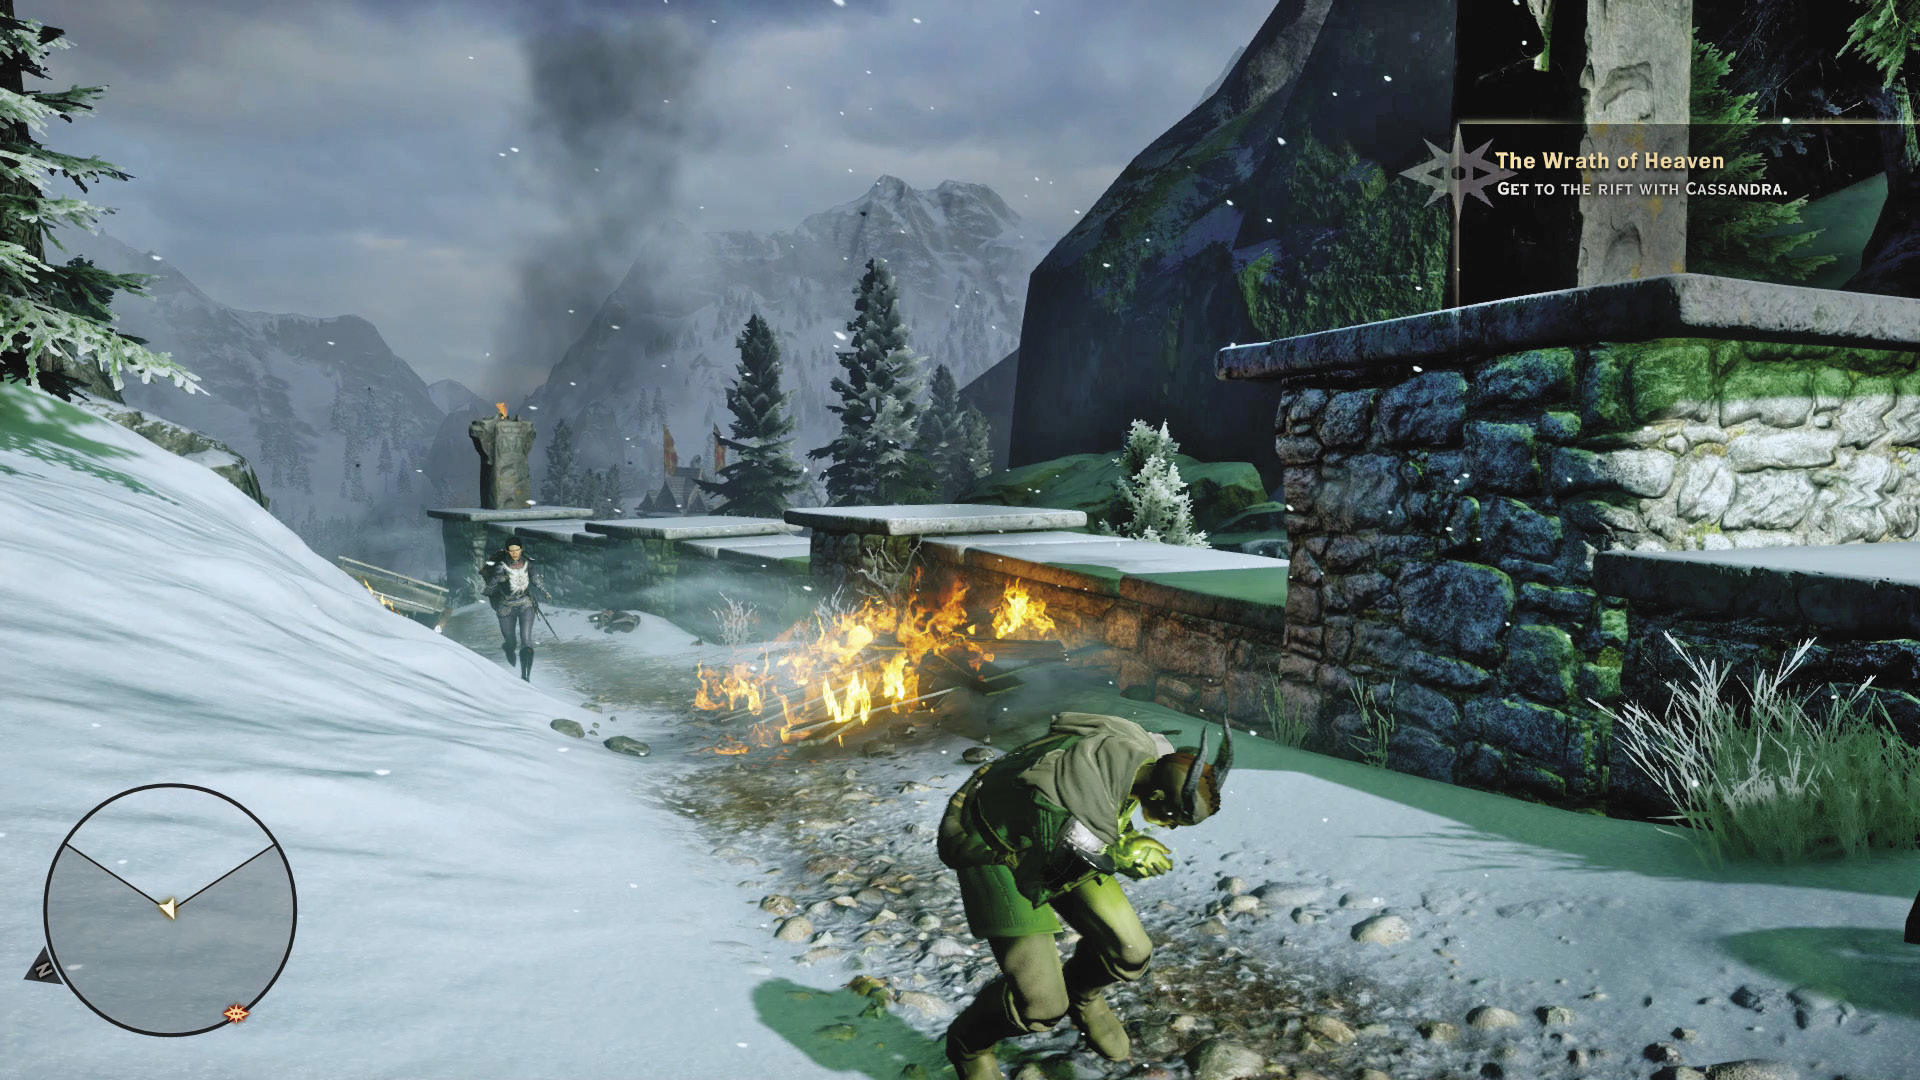
While moving along the path your character’s left hand emits a green glow, accompanied by a sharp jab of pain. Cassandra helps your character to their feet and initiates a conversation. Speaking to Cassandra gives you the opportunity get some background information on the current situation. After the conversation continue along the path.
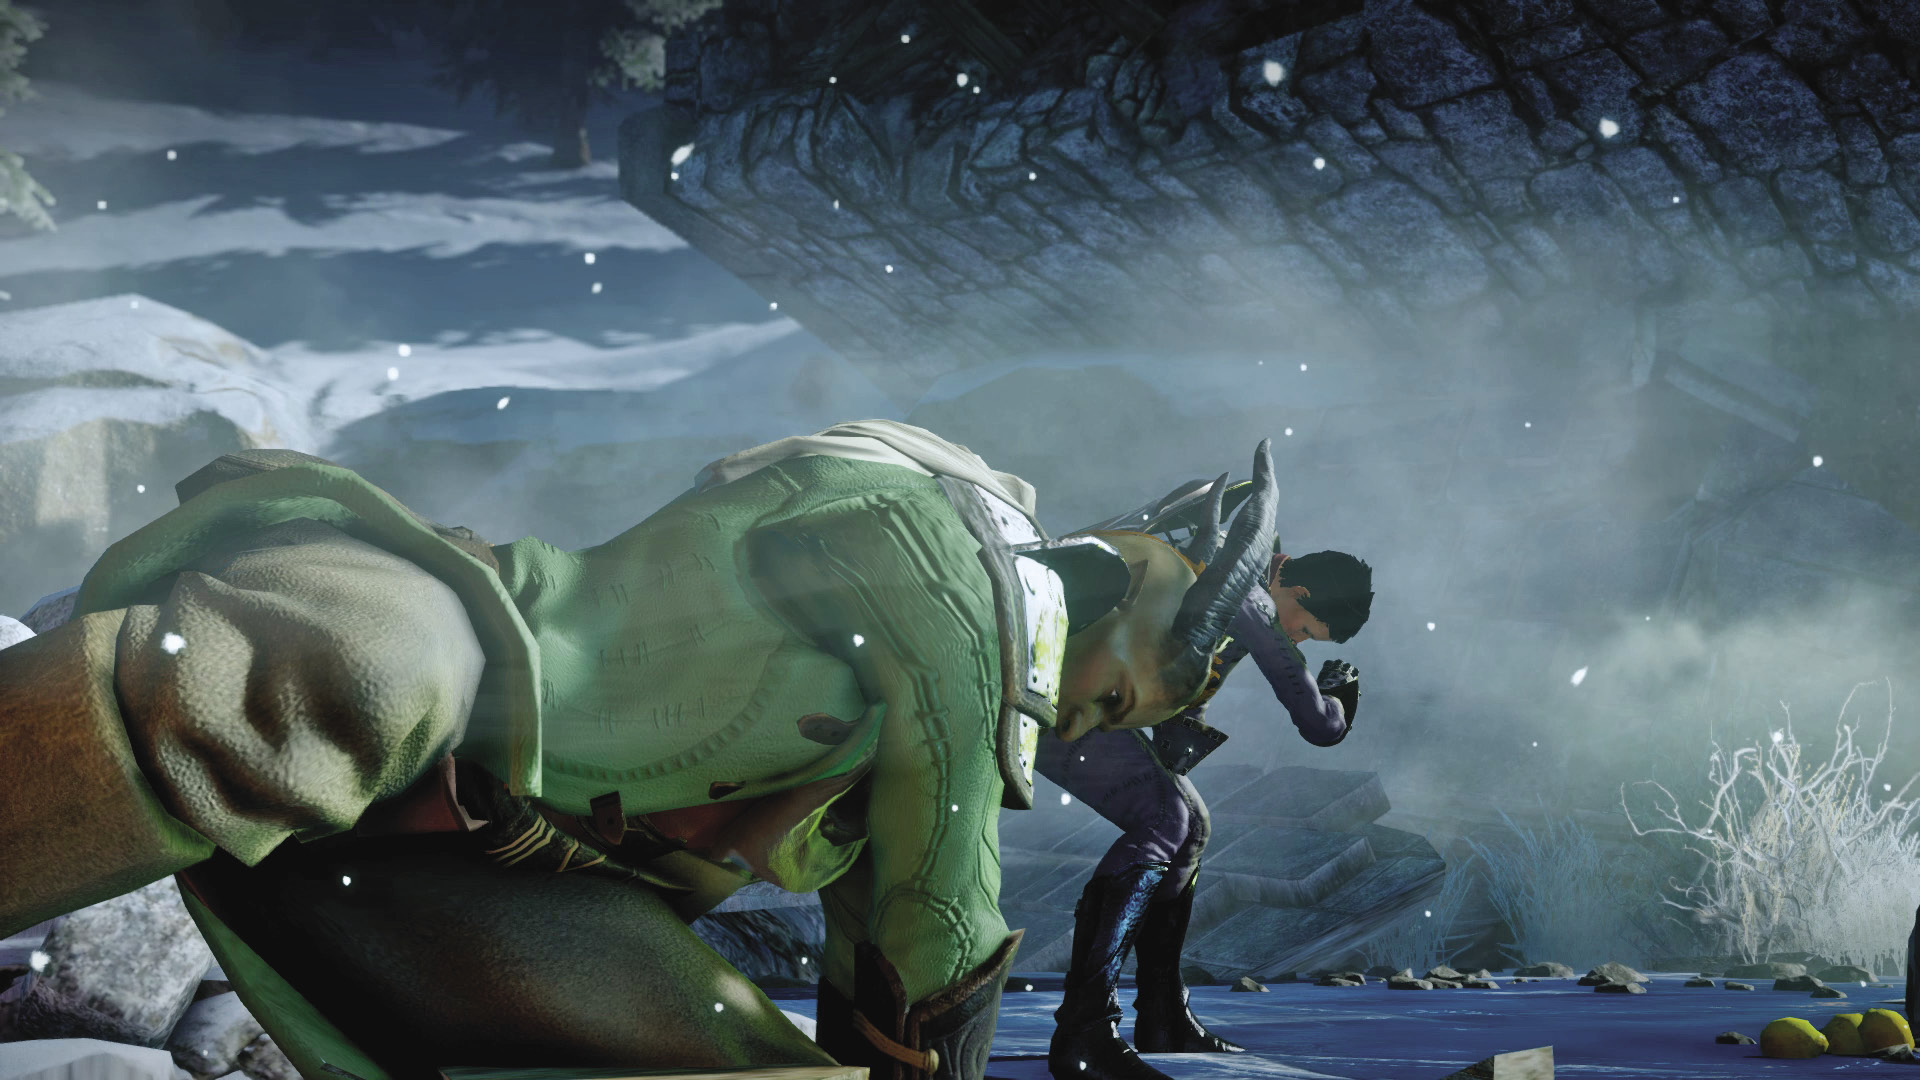
While crossing the next bridge, green bolts of energy fall from the sky, impacting the surrounding landscape. Suddenly, the bridge itself is rocked, causing it to crumble beneath your feet. As your character recovers on the frozen river below, two demon-like creatures, called shades, appear nearby. As Cassandra charges ahead to confront these demons, your character recovers a weapon from the debris of the bridge. The type of weapon you recover depends on what class of character you’re playing. But regardless of what kind of weapon your character is wielding, you can help Cassandra fight off the shades.
Combat Primer
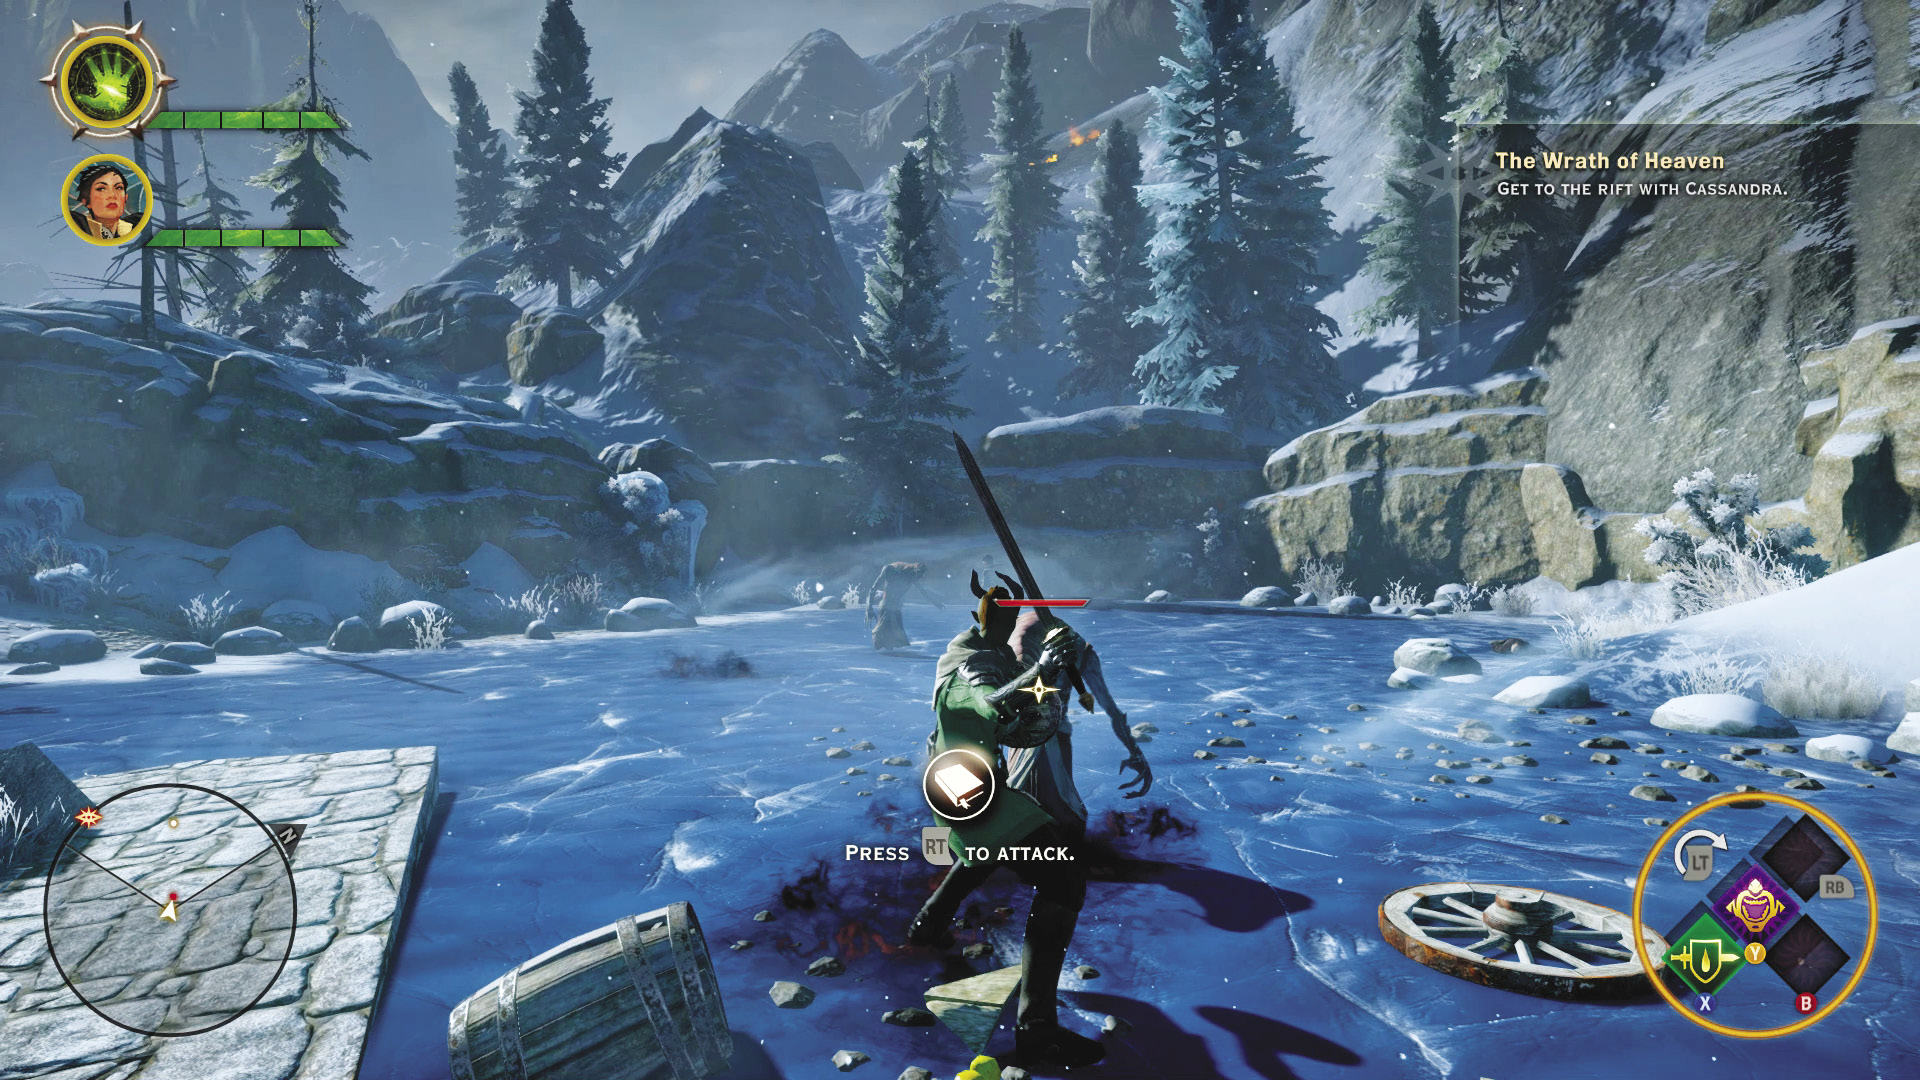
Follow the on-screen instructions to perform a basic attack. Hold down the basic attack button/key to continuously strike one of the shades—for best results, focus on Cassandra’s target. These enemies are persistent and continue lashing out with savage melee attacks. Keep hitting back with basic attacks until both shades are defeated. Following the battle convince Cassandra that you need a weapon to defend yourself. Regardless of what dialogue options you choose, Cassandra eventually stands down and allows your character to remain armed. Before moving on, consider healing by opening the tactical wheel and consuming a potion—follow the on-screen prompts. You can also loot one of the corpses lying near the ice. This usually yields a helmet you can equip through the inventory screen in the Hero menu.
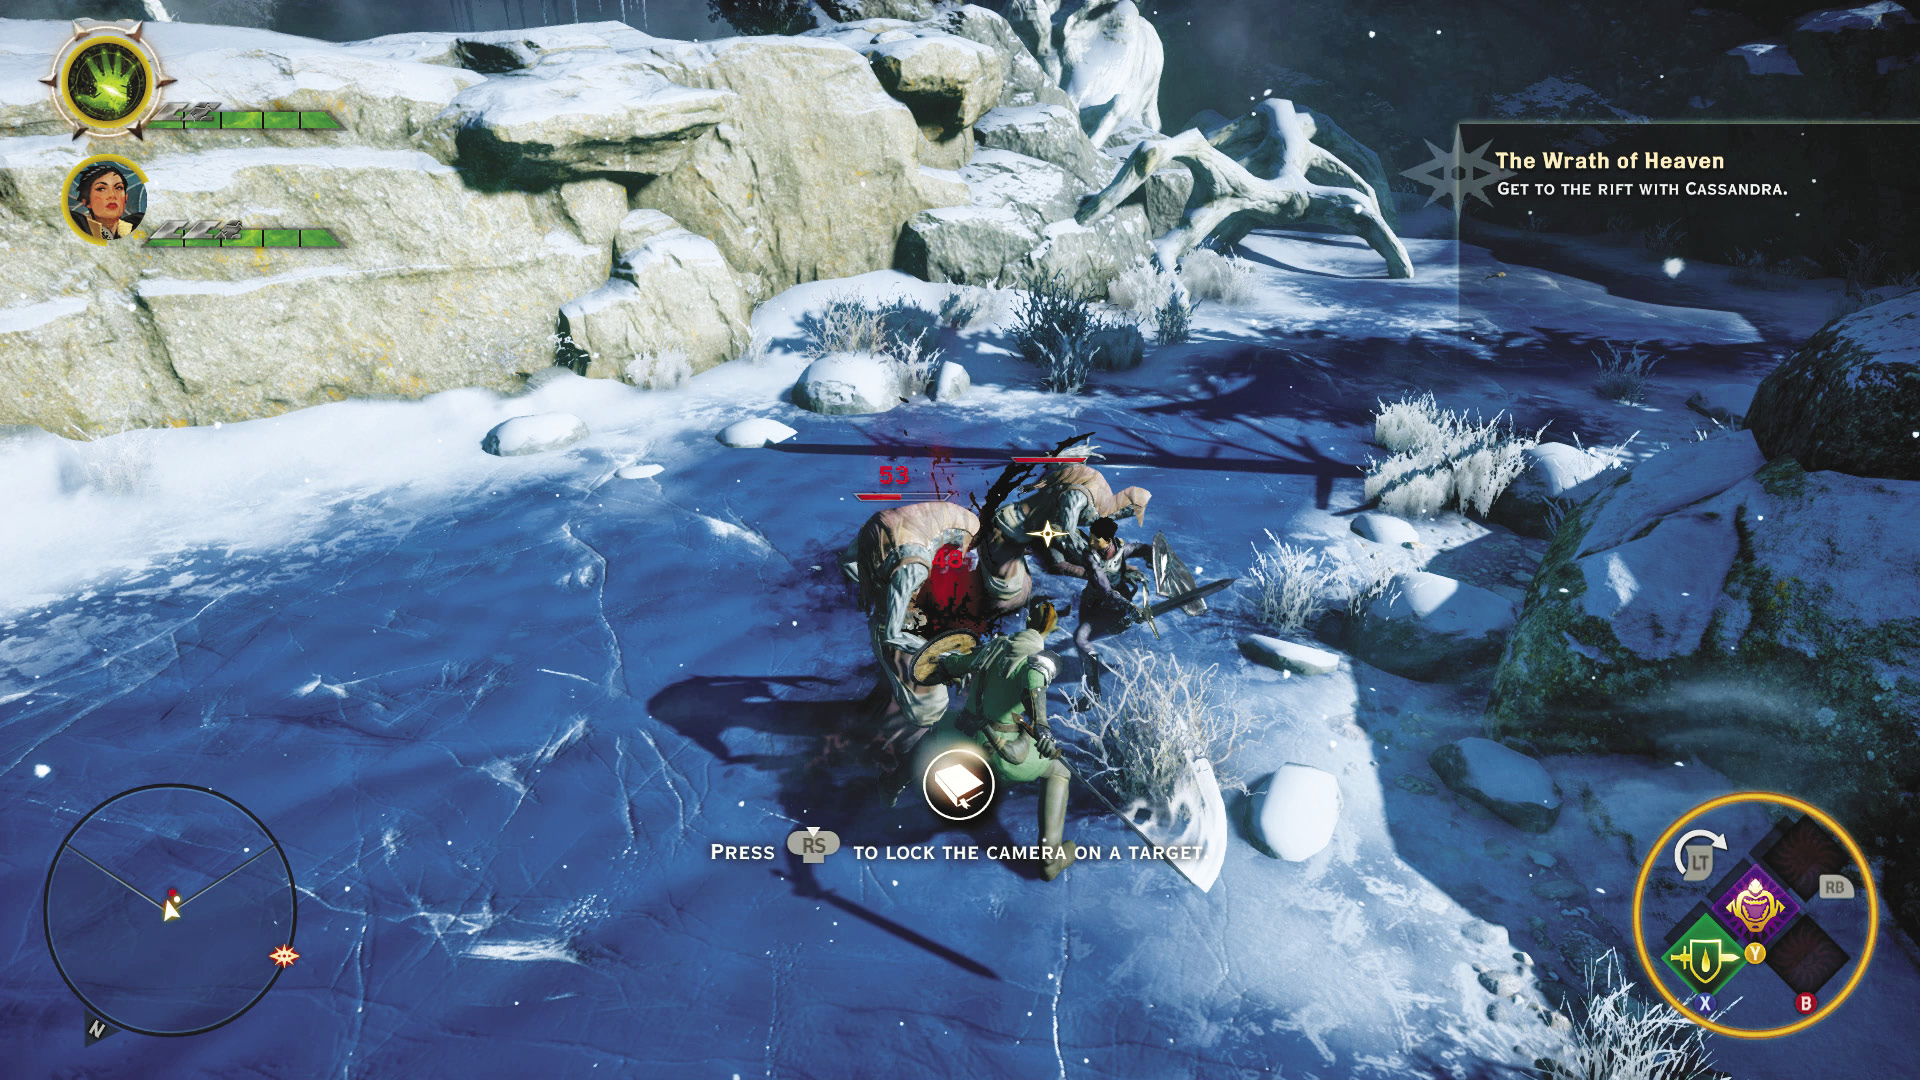
Using the compass as your guide, continue following the path to the rift, engaging two more shades along the way. The on-screen tutorials walk you through the basics of combat, including how to lock the camera onto a target and how to trigger class-specific abilities. Using a mix of basic attacks and abilities, defeat the next two shades.
A shade and wraith block the path ahead. Try to engage and defeat the shade first without drawing the attention of the green, glowing wraith. Unlike shades, wraiths rely solely on ranged attacks, often striking from a distance by firing green orbs of energy. They’re best defeated with ranged attacks of your own. However, if your character isn’t equipped with a staff or bow, you’ll need to rely on basic melee attacks to defeat this demon. Once the wraith and shade are defeated, search the west side of the frozen river to obtain some loot from a corpse.
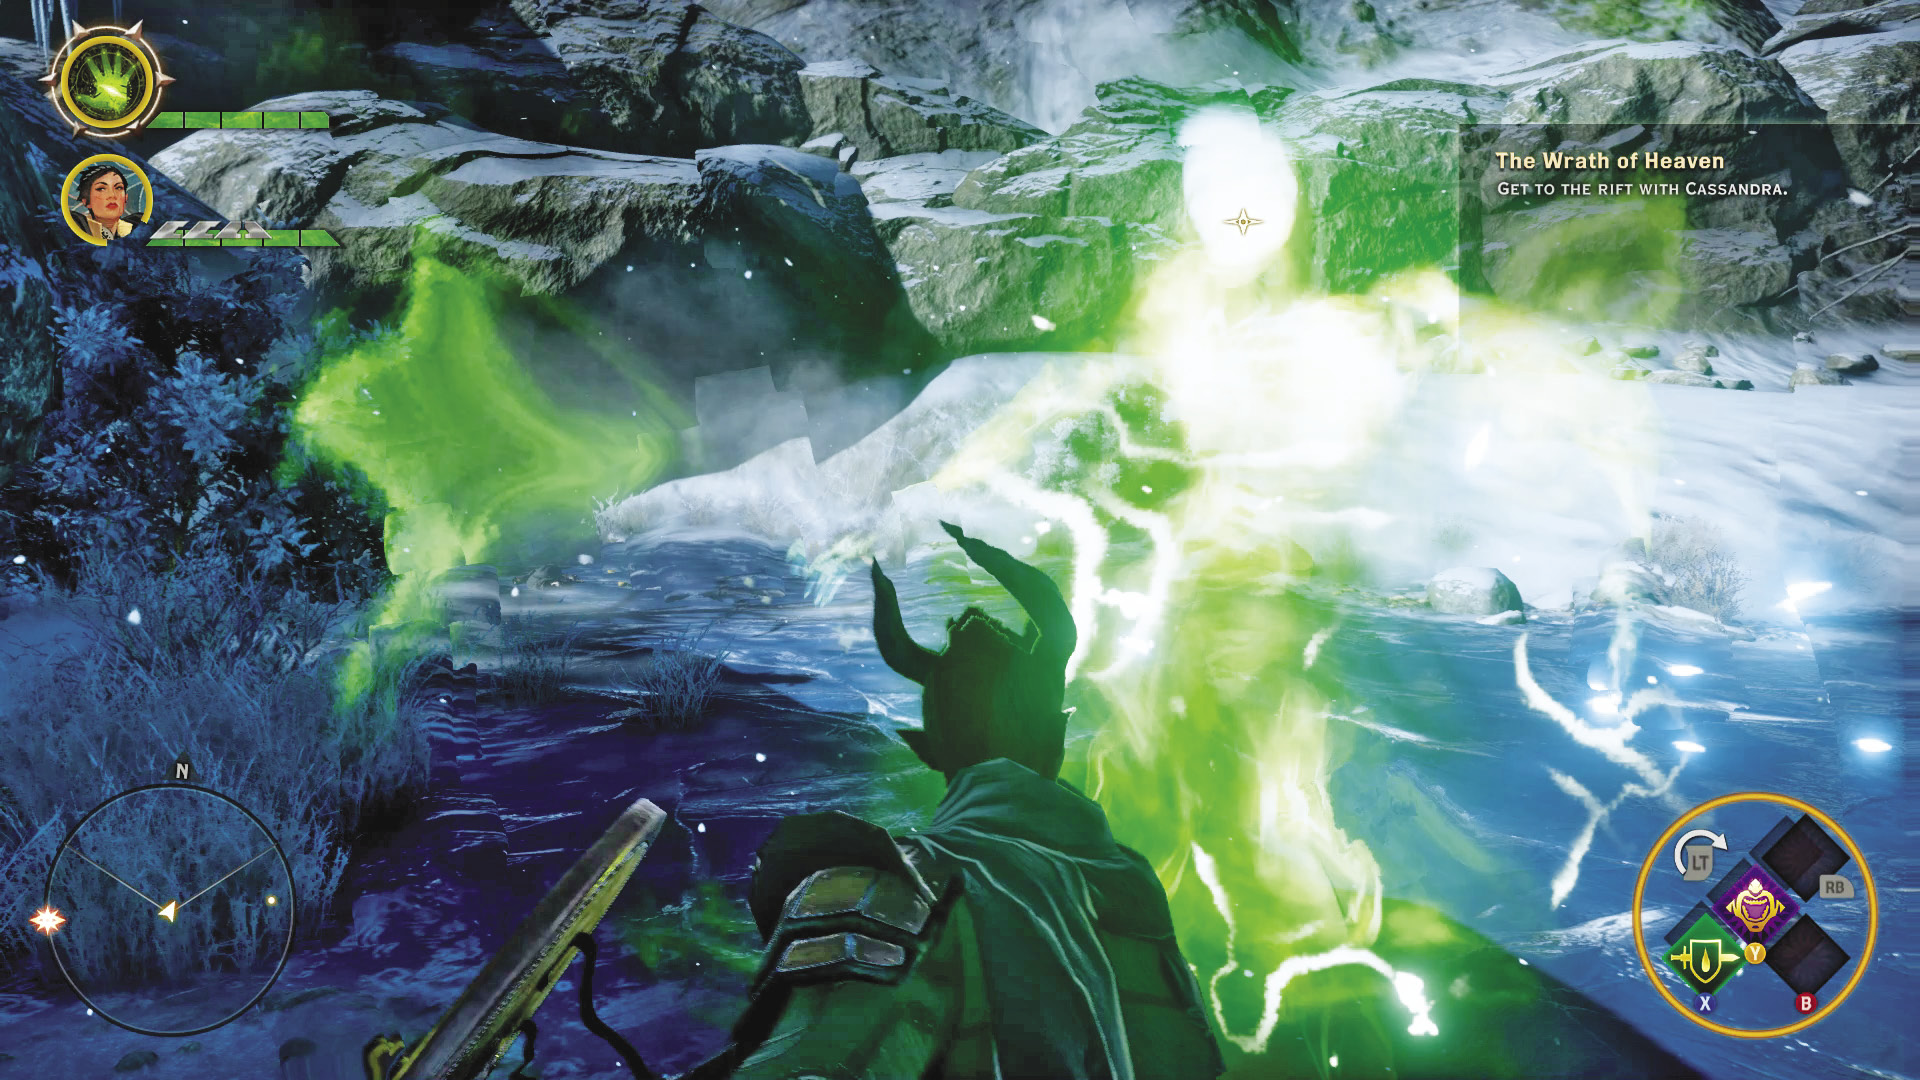
Wraiths and shades loiter along the path ahead. Try to isolate and engage these enemies in small groups to avoid setting off a large, challenging battle. If possible, draw the first set toward you with ranged attacks, defeating the wraith before attacking the shade. Once the first set is dispatched, approach the next group of demons, consisting of a shade and two wraiths. Once the area is clear, move to the north side of the frozen river to loot another corpse. Backtrack to the steps to the west and continue your journey to the rift.
Fade Rift
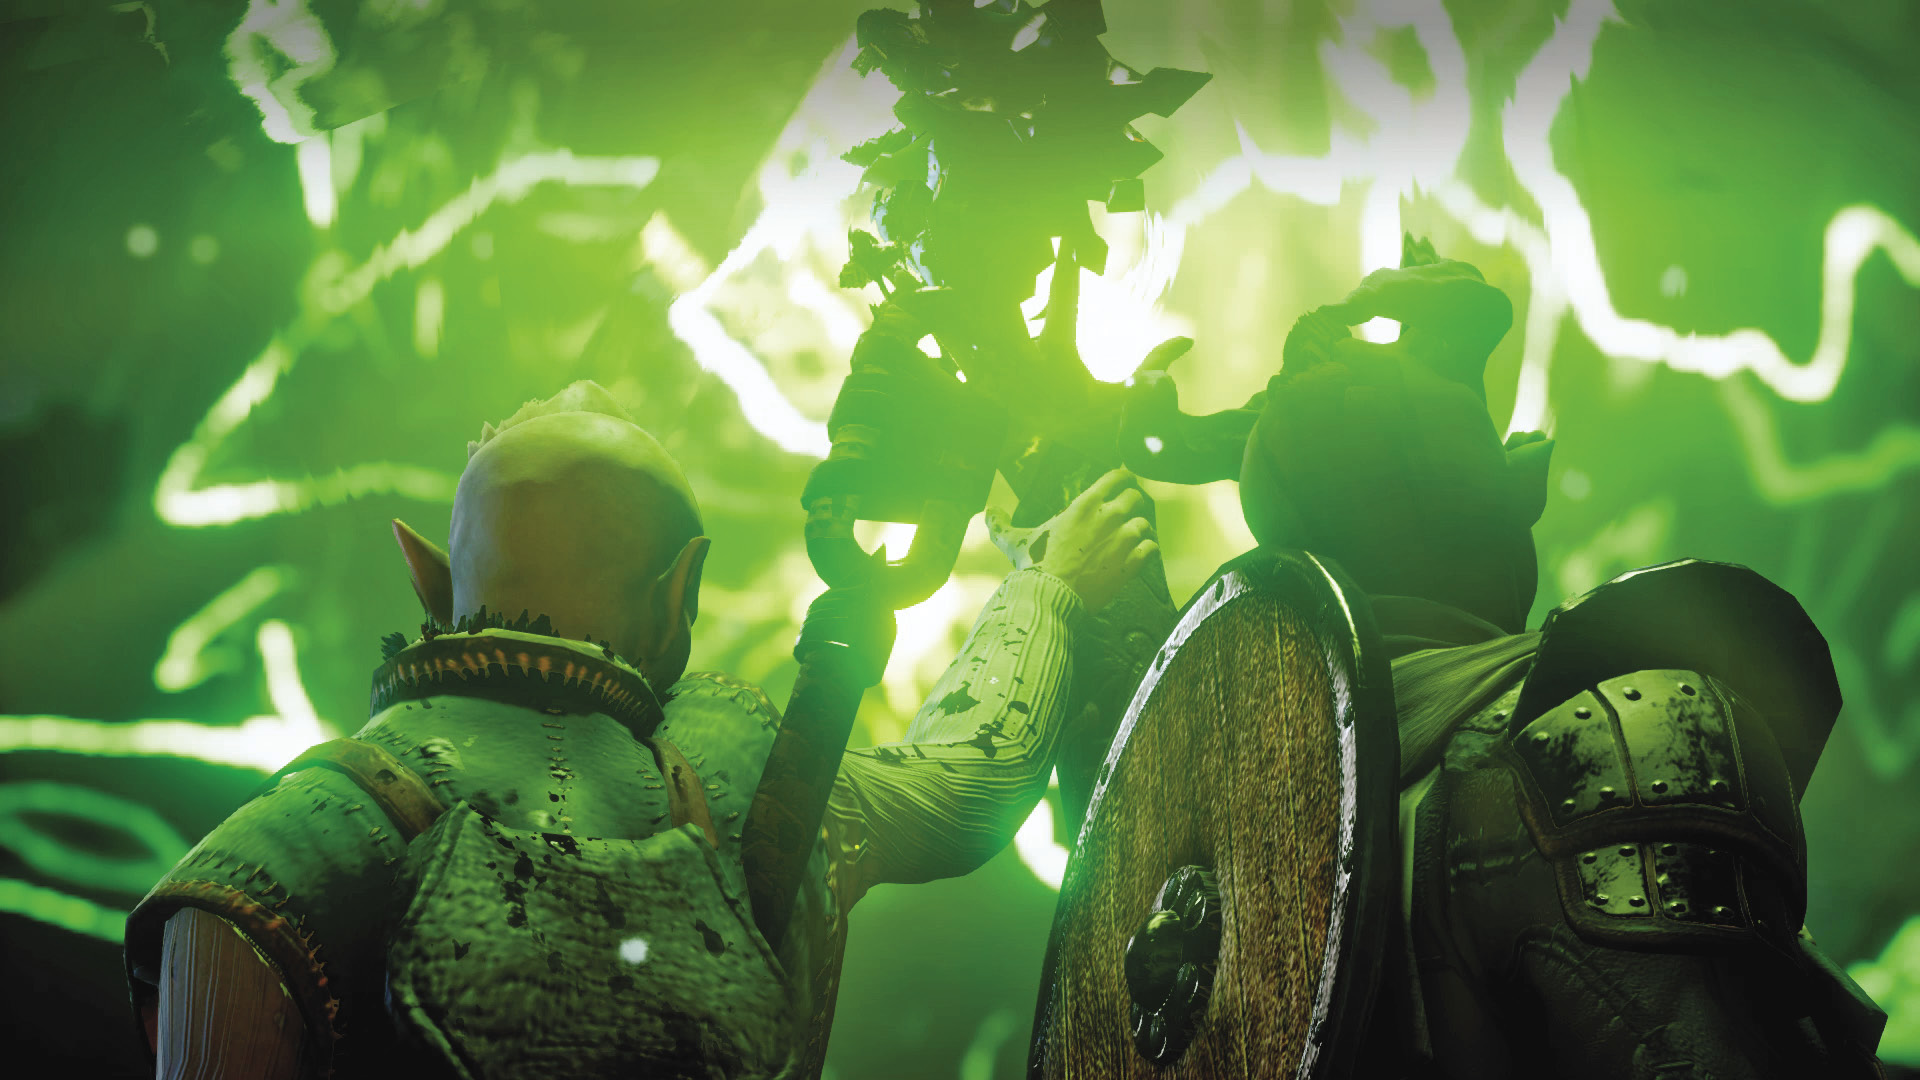
Just ahead, the green glow of the rift comes into view. Friendly forces are engaged in combat with several shades. Rush forward and join the fight, helping defeat the shades. After the battle, a cinematic is triggered, introducing Solas and Varric. Solas urges your character to use the mark on your hand to close the rift before more demons come through. This mark has the ability to close Fade rifts. Cassandra theorizes the mark could also be used to close the Breach above the nearby temple. Following proper introductions, Solas and Varric join your party. Jump over the nearby barrier and lead your new party down the adjoining slope. You must regroup with allies at a forward camp before proceeding to the temple.
Reach the Forward Camp
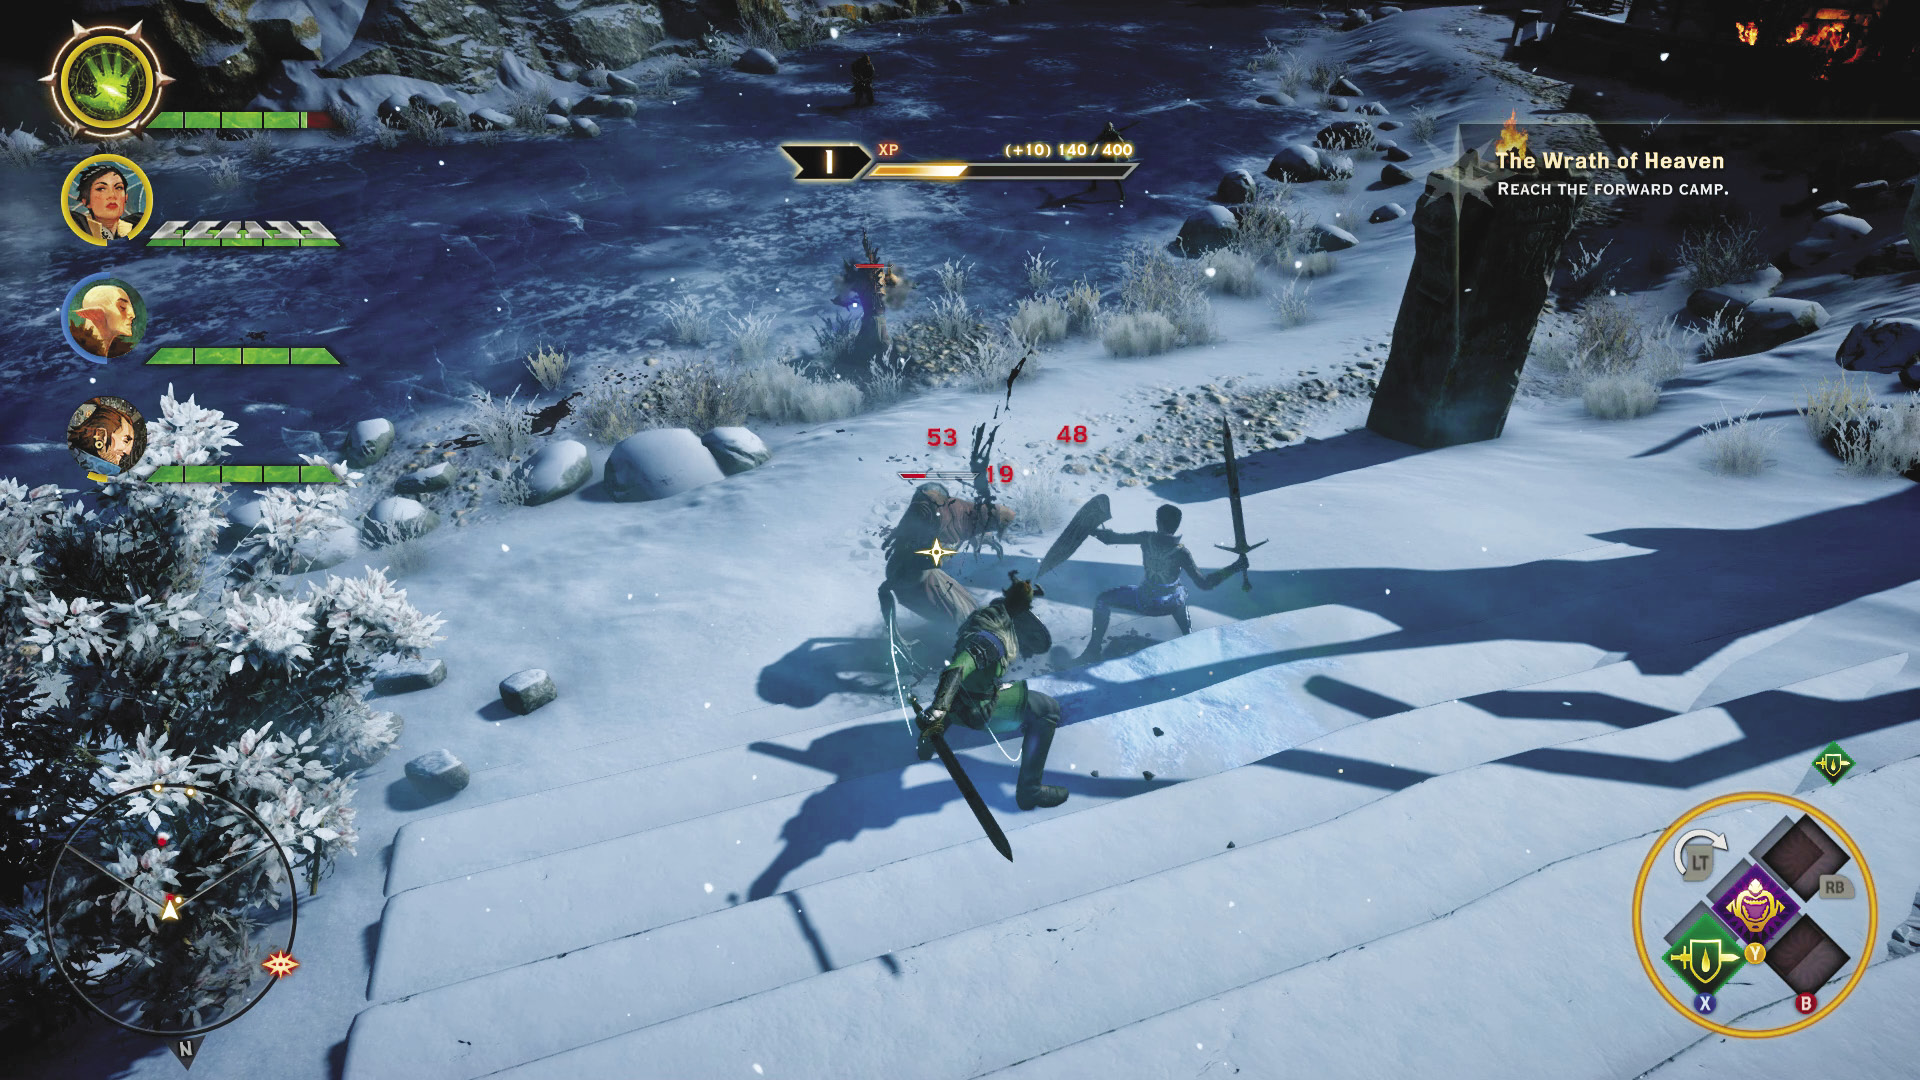
More shades and wraiths appear on the frozen river ahead. Here you’re prompted to use the tactical camera. This feature allows you to pause the game and issue specific orders to each party member. If using a ranged weapon, like a staff or bow, stay on the southern banks of the frozen river and help Solas and Varric rain down fire while Cassandra charges ahead. But if you’re carrying a melee weapon, join Cassandra on the icy surface to defeat the demons at close range. After the battle, head to cabin on the east side of the riverbank. Feel free to loot the chest inside—you may find something you or your party members could use.
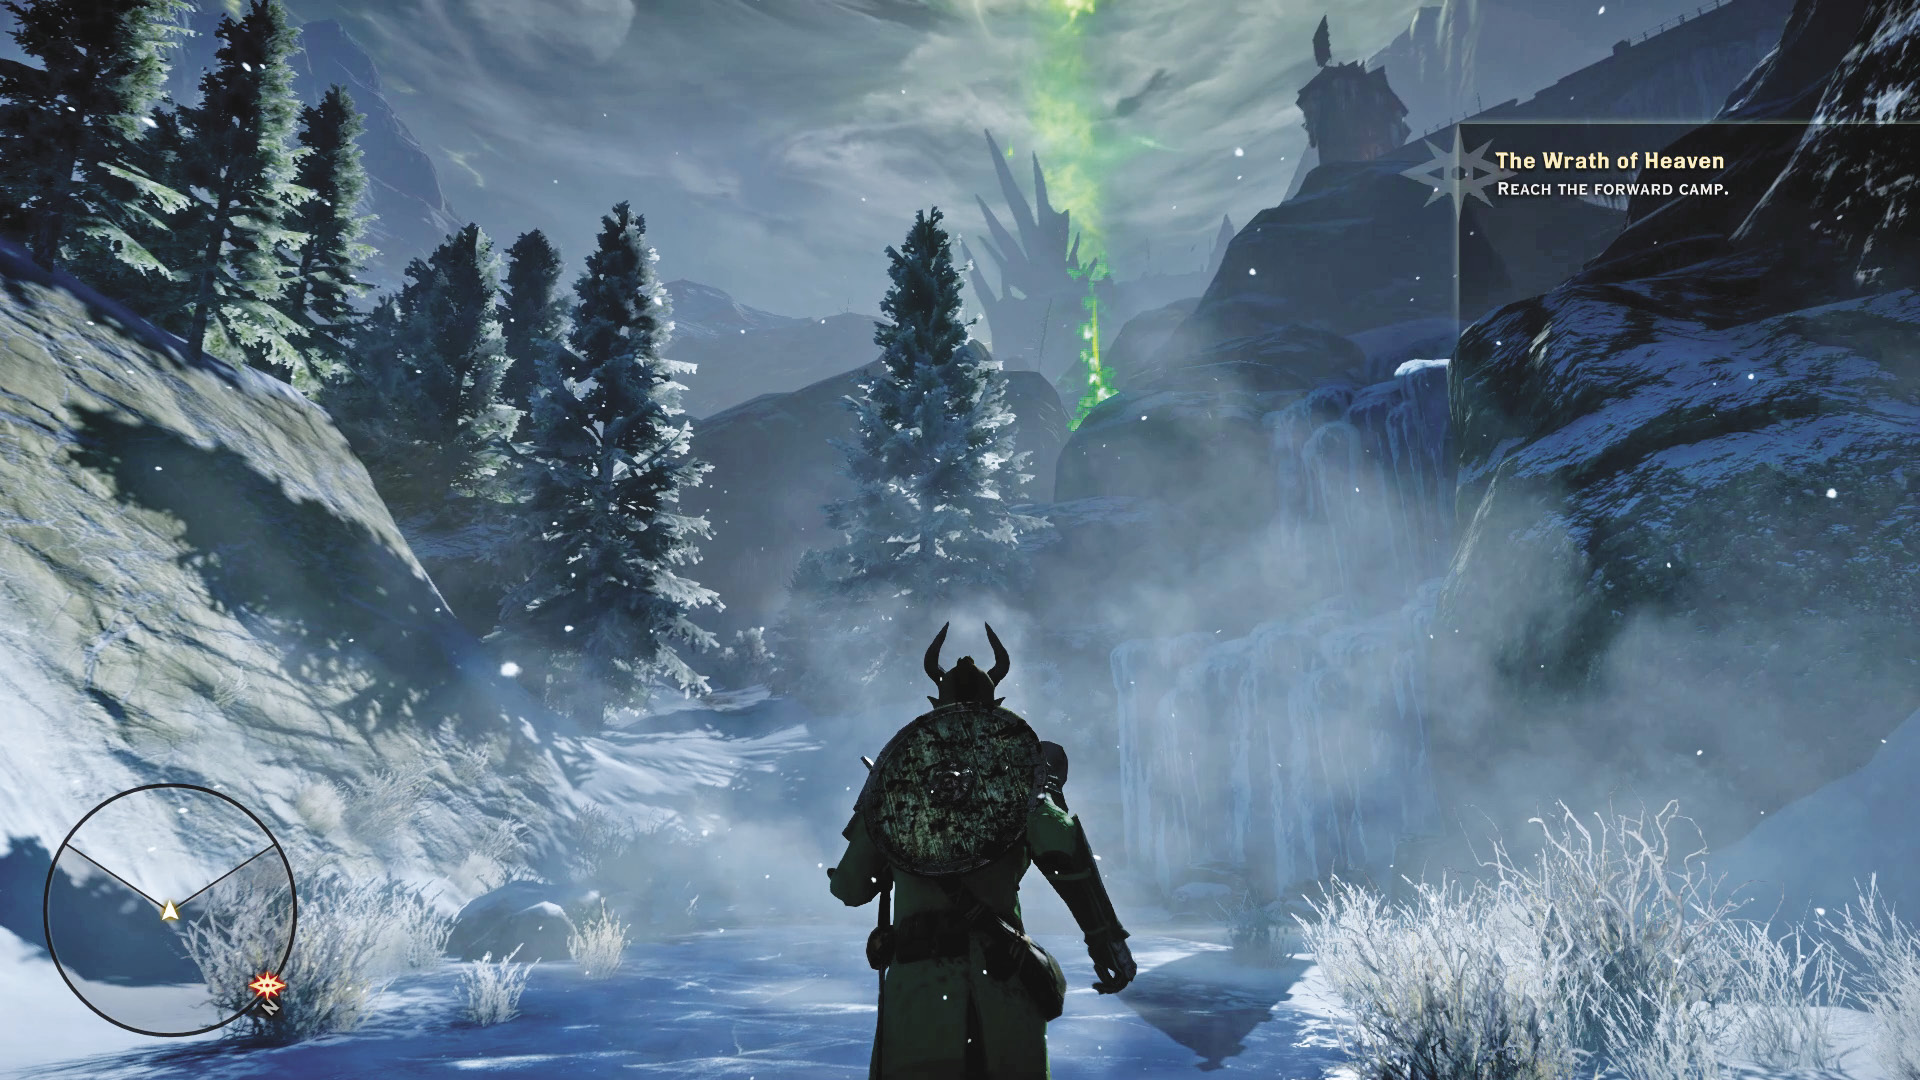
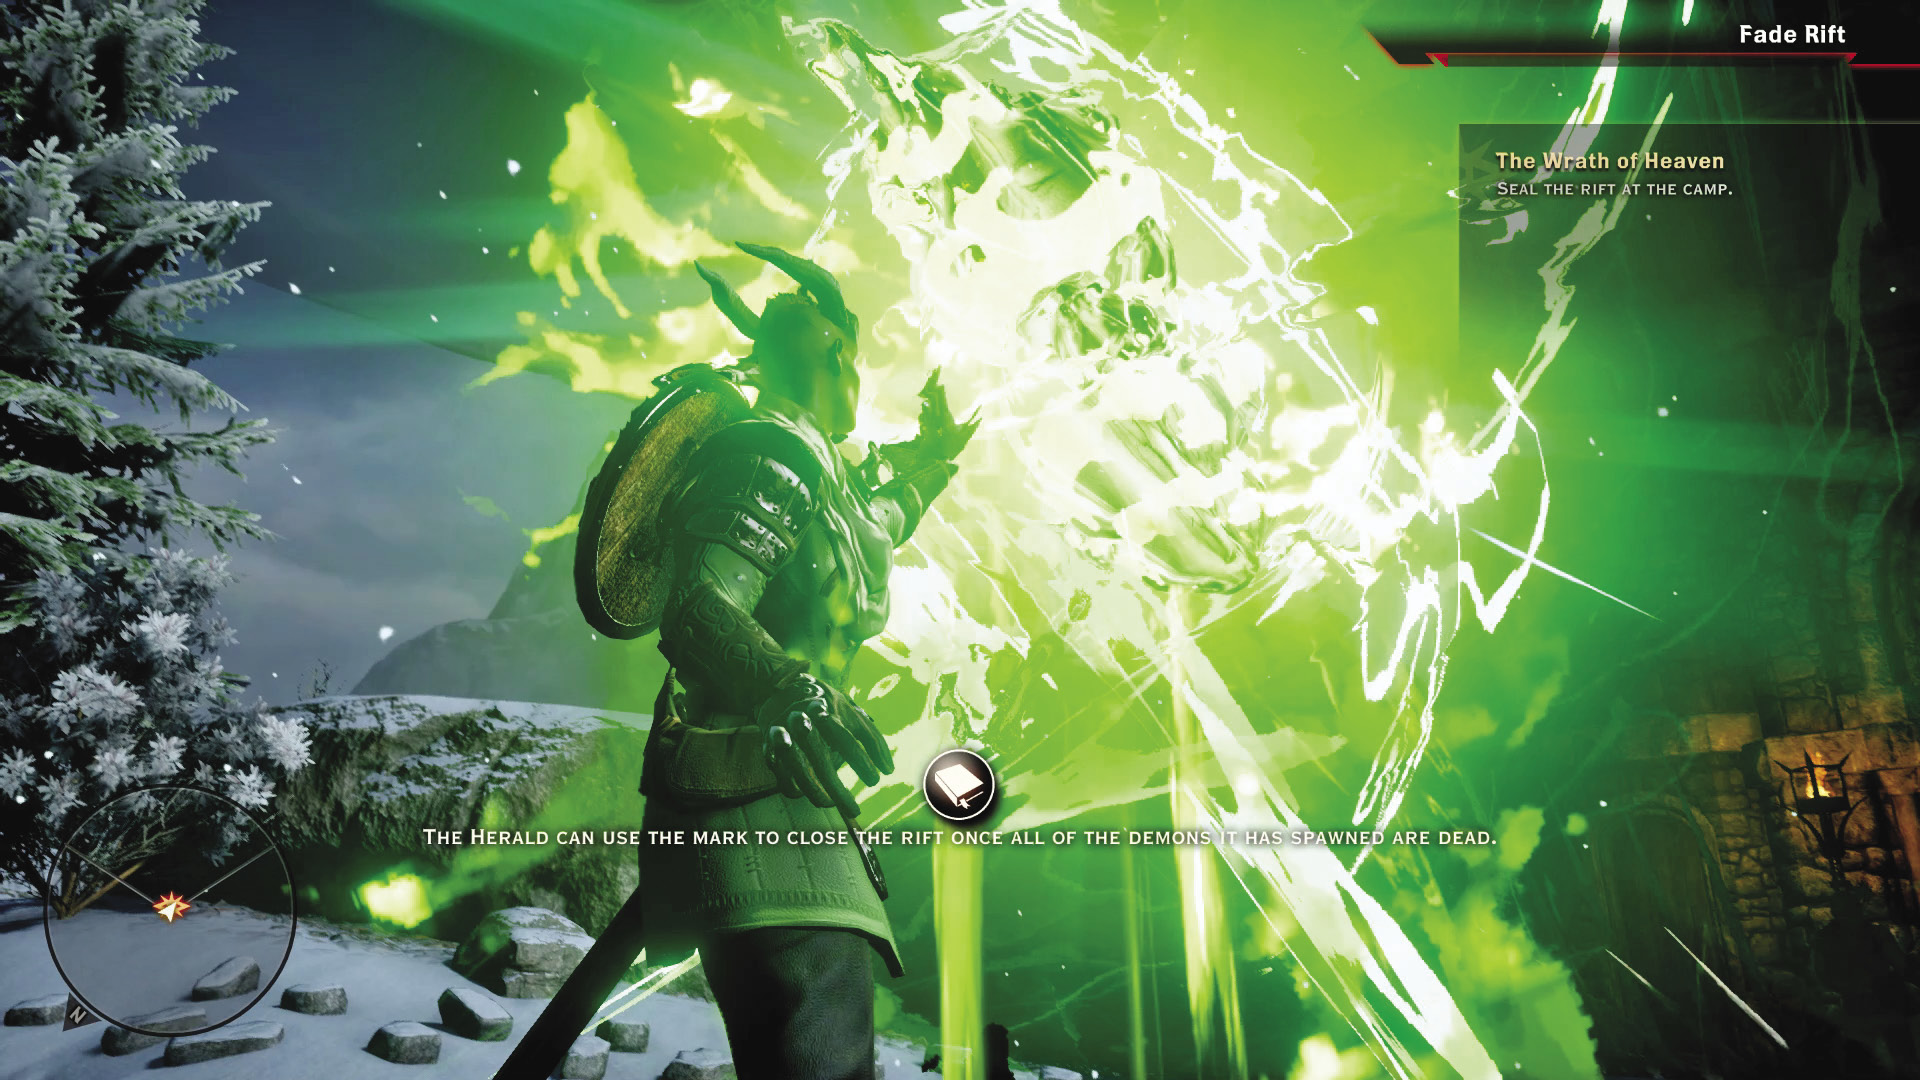
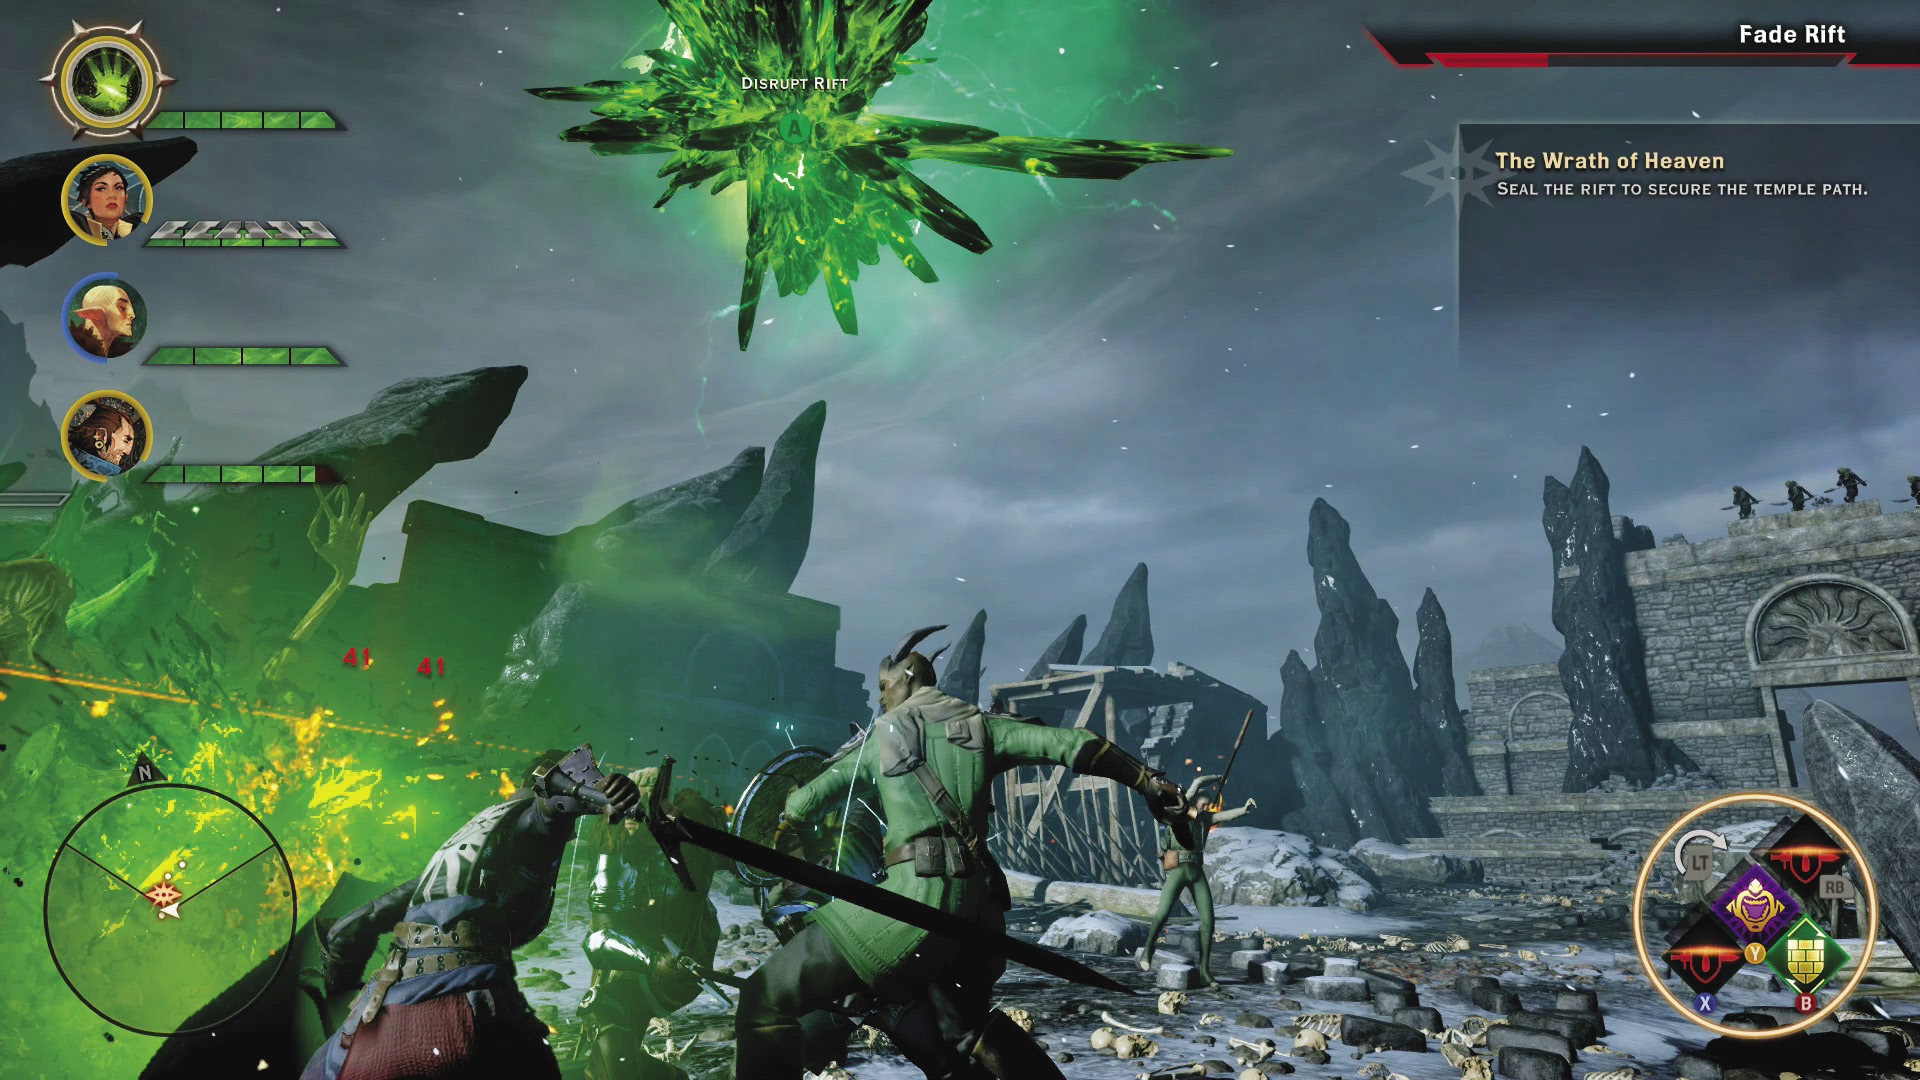
Climb the slope west of the river and engage more demons along the way. The gate outside the forward camp is blocked by another Fade rift guarded by wraiths and shades. Fade rifts are caused by weaknesses in the Veil. Rifts spawn demons, and can only be sealed once all nearby demons are killed. The mark can disrupt the rift and cause damage to enemies. When you’re not being attacked, interact with the rift to damage all of the demons. Once all the demons are dead, interact with the Fade rift to close it, using your mark.
Leveling Up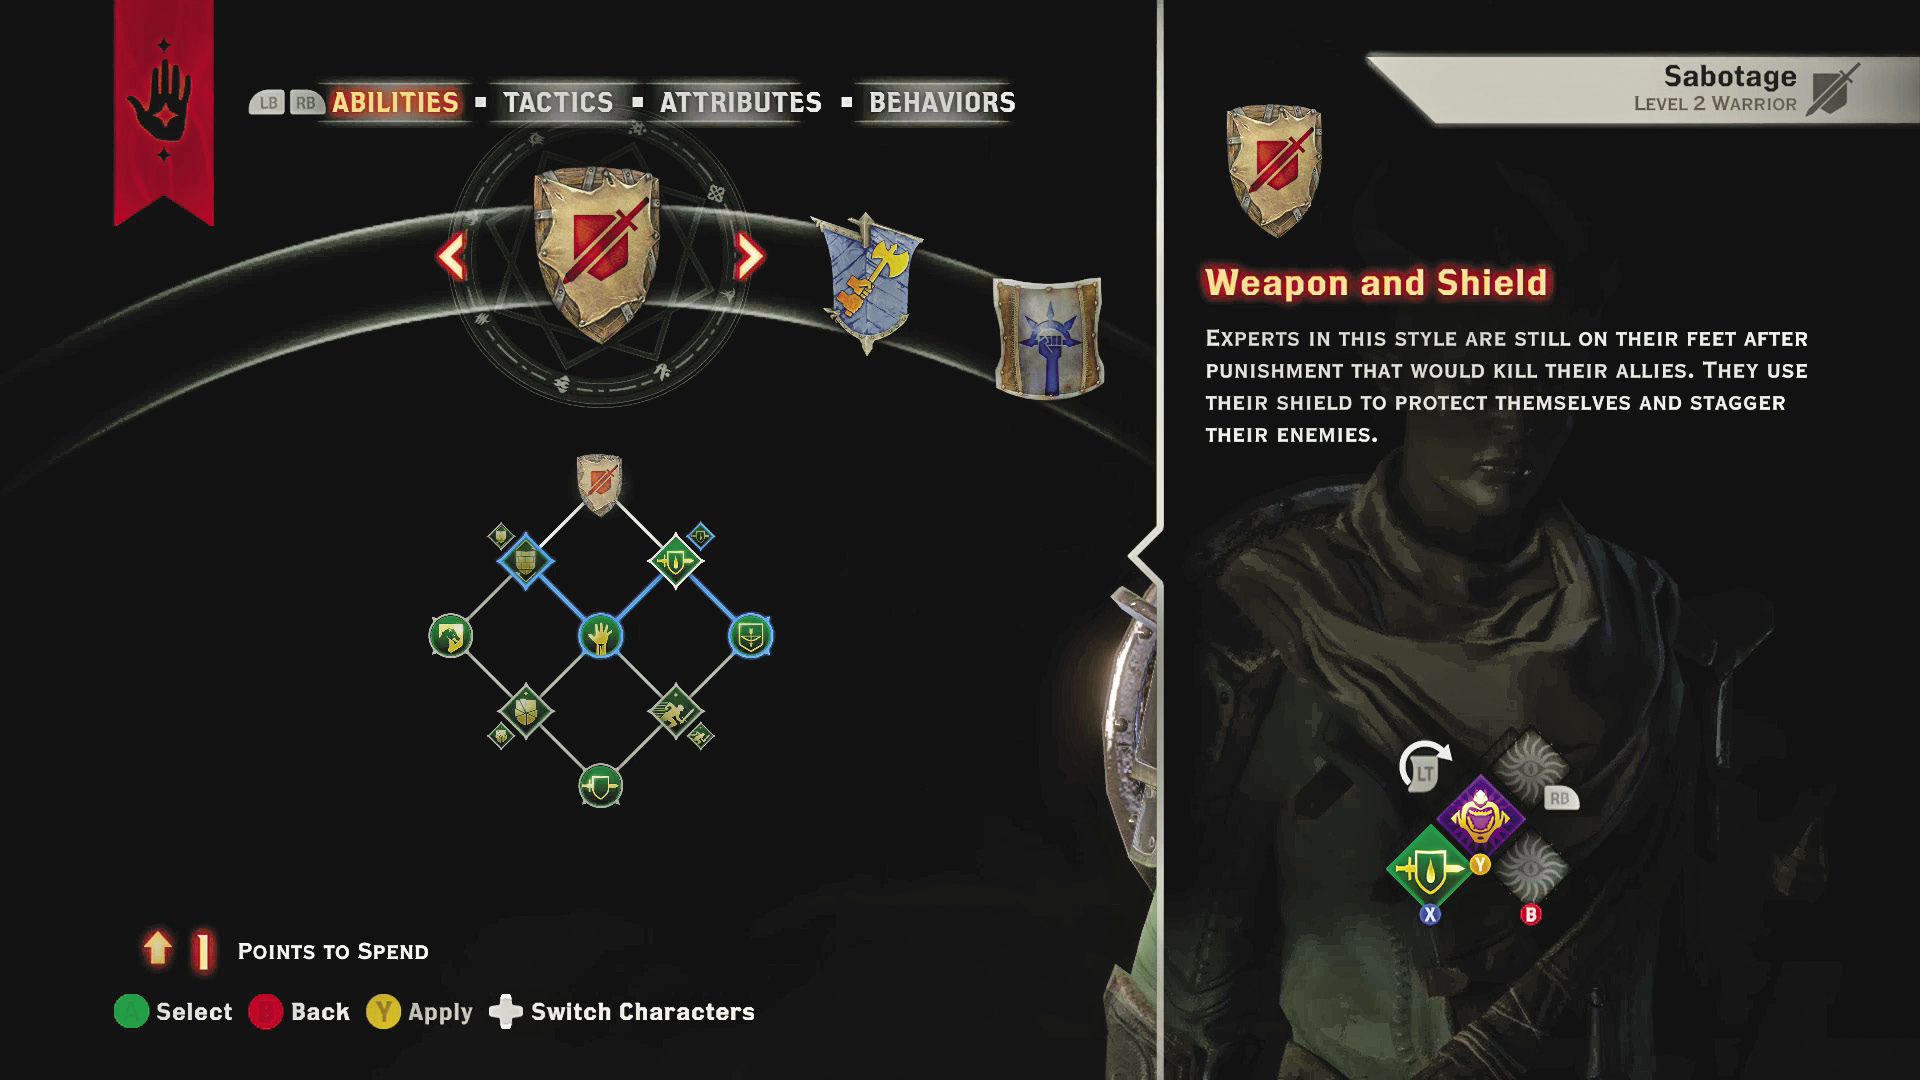 Closing the rift outside the camp awards your character (and party) enough XP to level up. Each time you level up you get one ability point to spend. From the Hero menu, choose Character Record and select a new ability. Each class has a variety of abilities to choose from. Take your time browsing through the options and determining the best long-term path for your character. The diamond-shaped icons represent active abilities. When selected, active abilities are automatically mapped to a button or key for quick access during combat. Passive abilities, indicated by the circular icons, are not mapped to buttons or keys. Instead, your character automatically benefits from passive abilities—you don’t have to do anything. In addition to your character leveling up, your party members have leveled up too. Take a moment to choose new abilities for Cassandra, Varric, and Solas. |
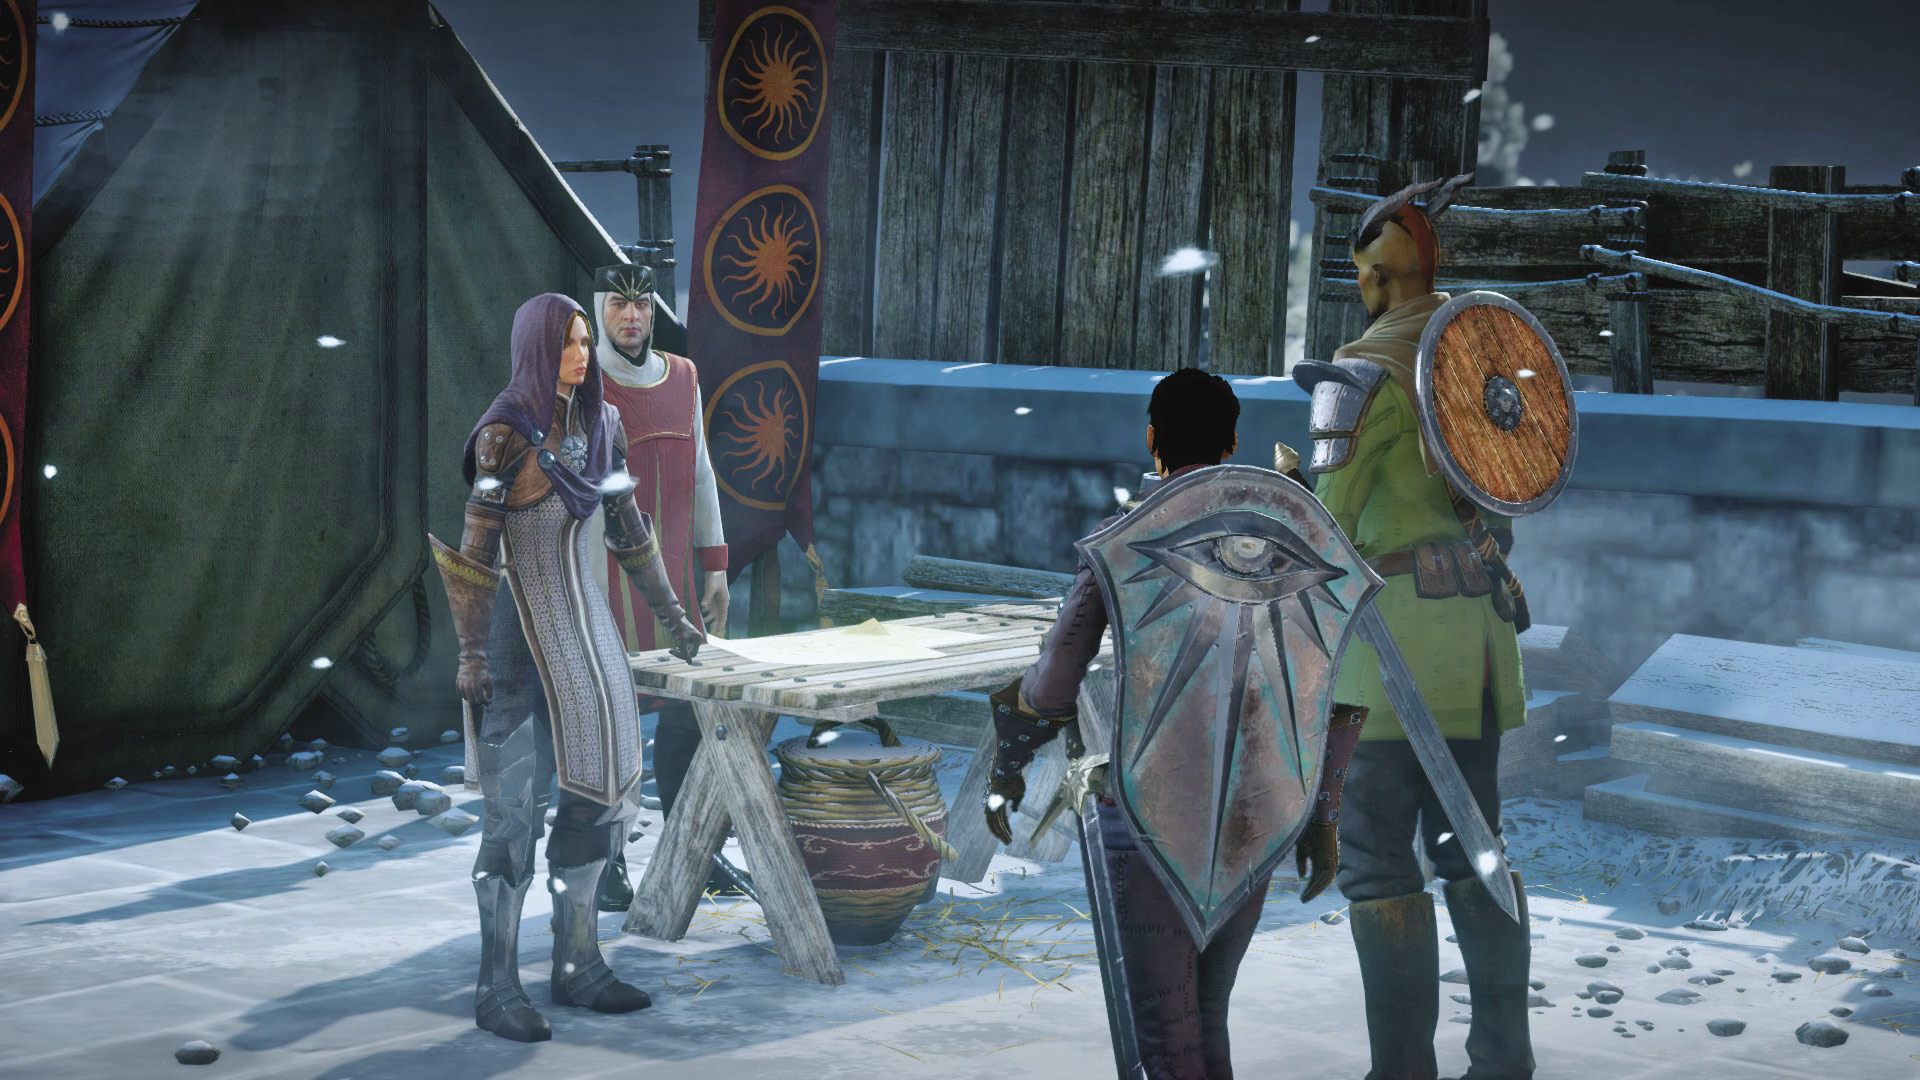
After closing the rift, open the gate and enter the forward camp. Interact with the supply cache here to refill your potions. Beyond the supply cache, speak with Leliana, standing near the tent with Chancellor Roderick. The ensuing conversation is rife with accusations, panic, and indecision as Leliana, Roderick, and Cassandra argue over which path to take to the temple. Meanwhile your character is brought to their knees, writhing in pain as the mark is once again illuminated. When Cassandra asks which path you suggest, you have the opportunity to make your first key decision.
Decision Point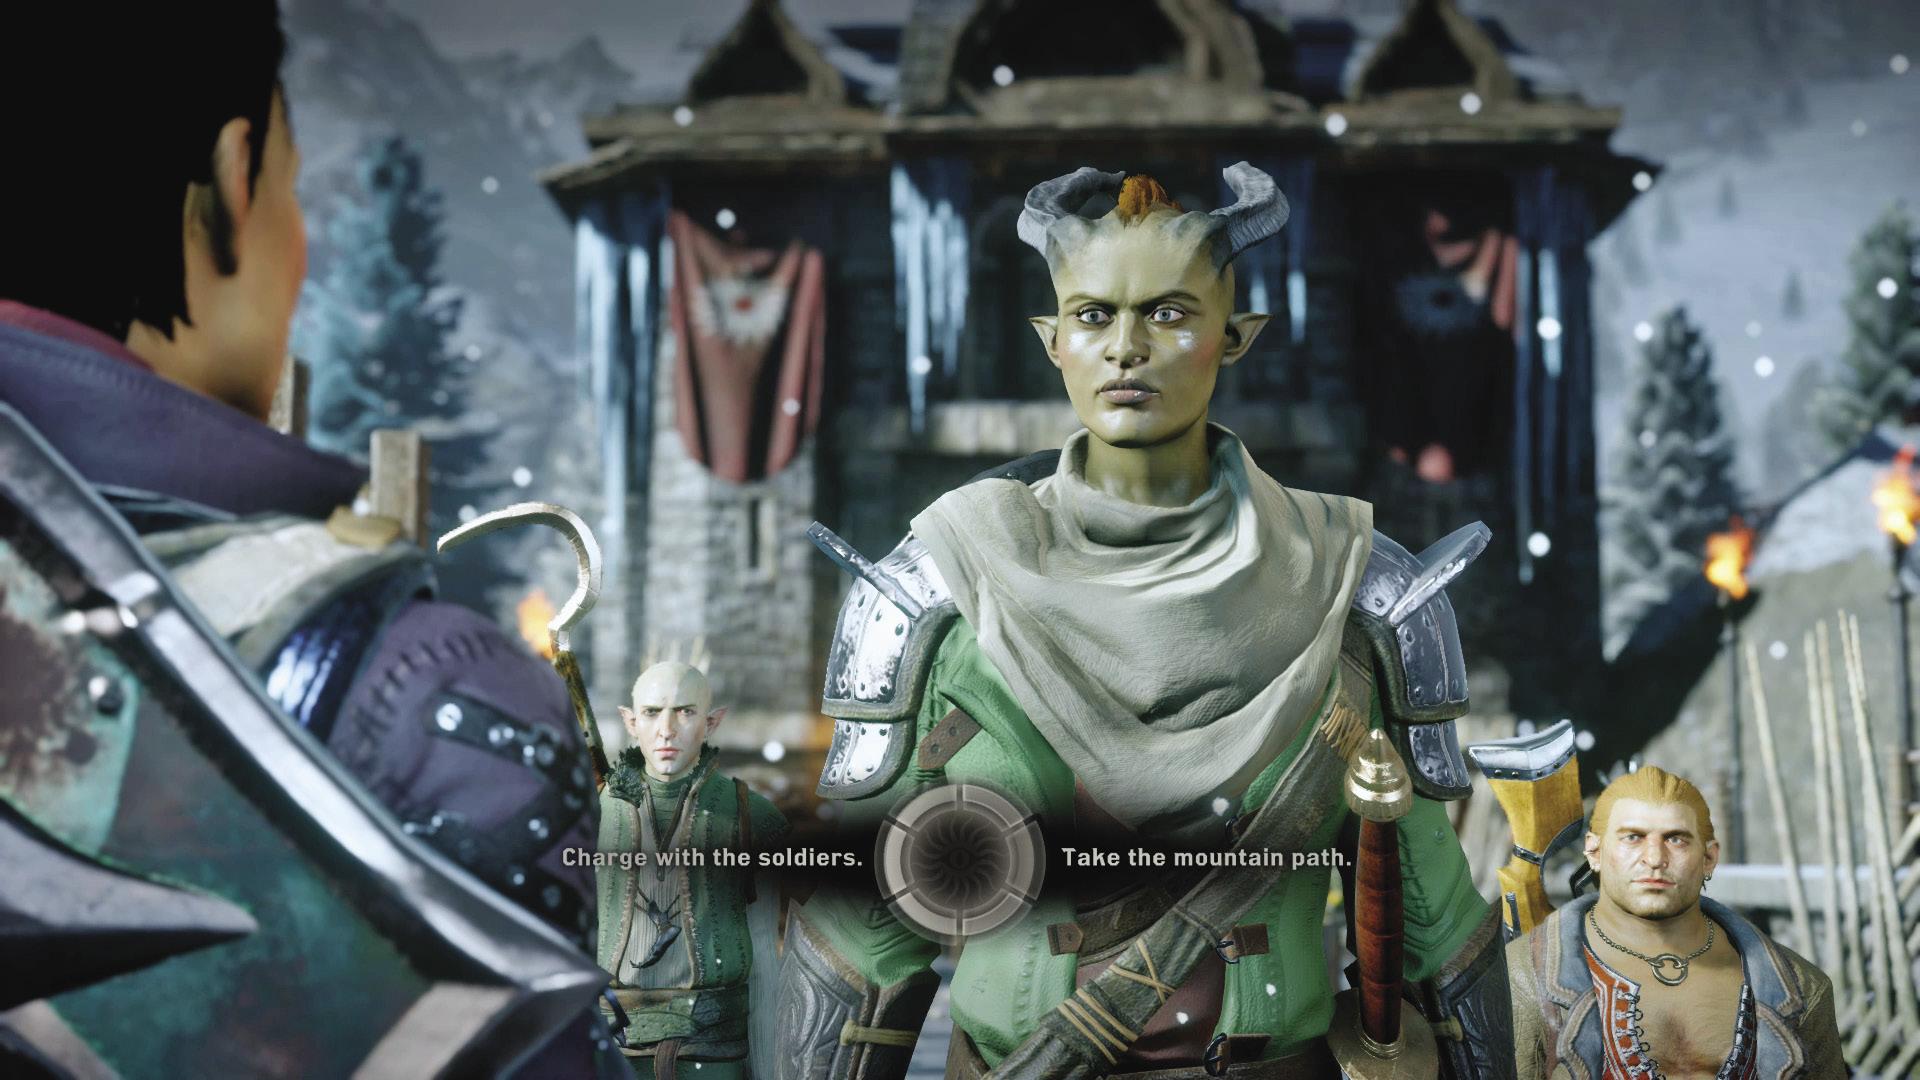 There are no win-win decisions in Dragon Age: Inquisition. As in all BioWare games, major decisions have consequences you’ll have to live with. Furthermore, your decisions may have an impact on relationships, either gaining or losing approval with your party members. This can positively or negatively affect your ability to pursue successfully a romance with certain characters. So reference these Decision Point sidebars to understand the consequences of these major decisions before you make them. If you take the mountain path, as Leliana suggested, you can attempt to find a lost squad of soldiers—but more demons will come through the breach and kill innocent people. If you choose Cassandra’s option and charge with the soldiers, you’ll reach the temple faster, but more soldiers will die in the process. As the following table shows, you’ll gain approval with Varric if you choose the mountain path—but you’ll lose approval from Cassandra. The opposite is true if you choose to charge with the soldiers—Solas remains neutral during this decision. |
Approval: Path to the Temple
| Party Member | Mountain Path | Charge with Soldiers |
|---|---|---|
| Cassandra |  |
  |
| Solas | — | — |
| Varric |   |
— |
The Mountain Path
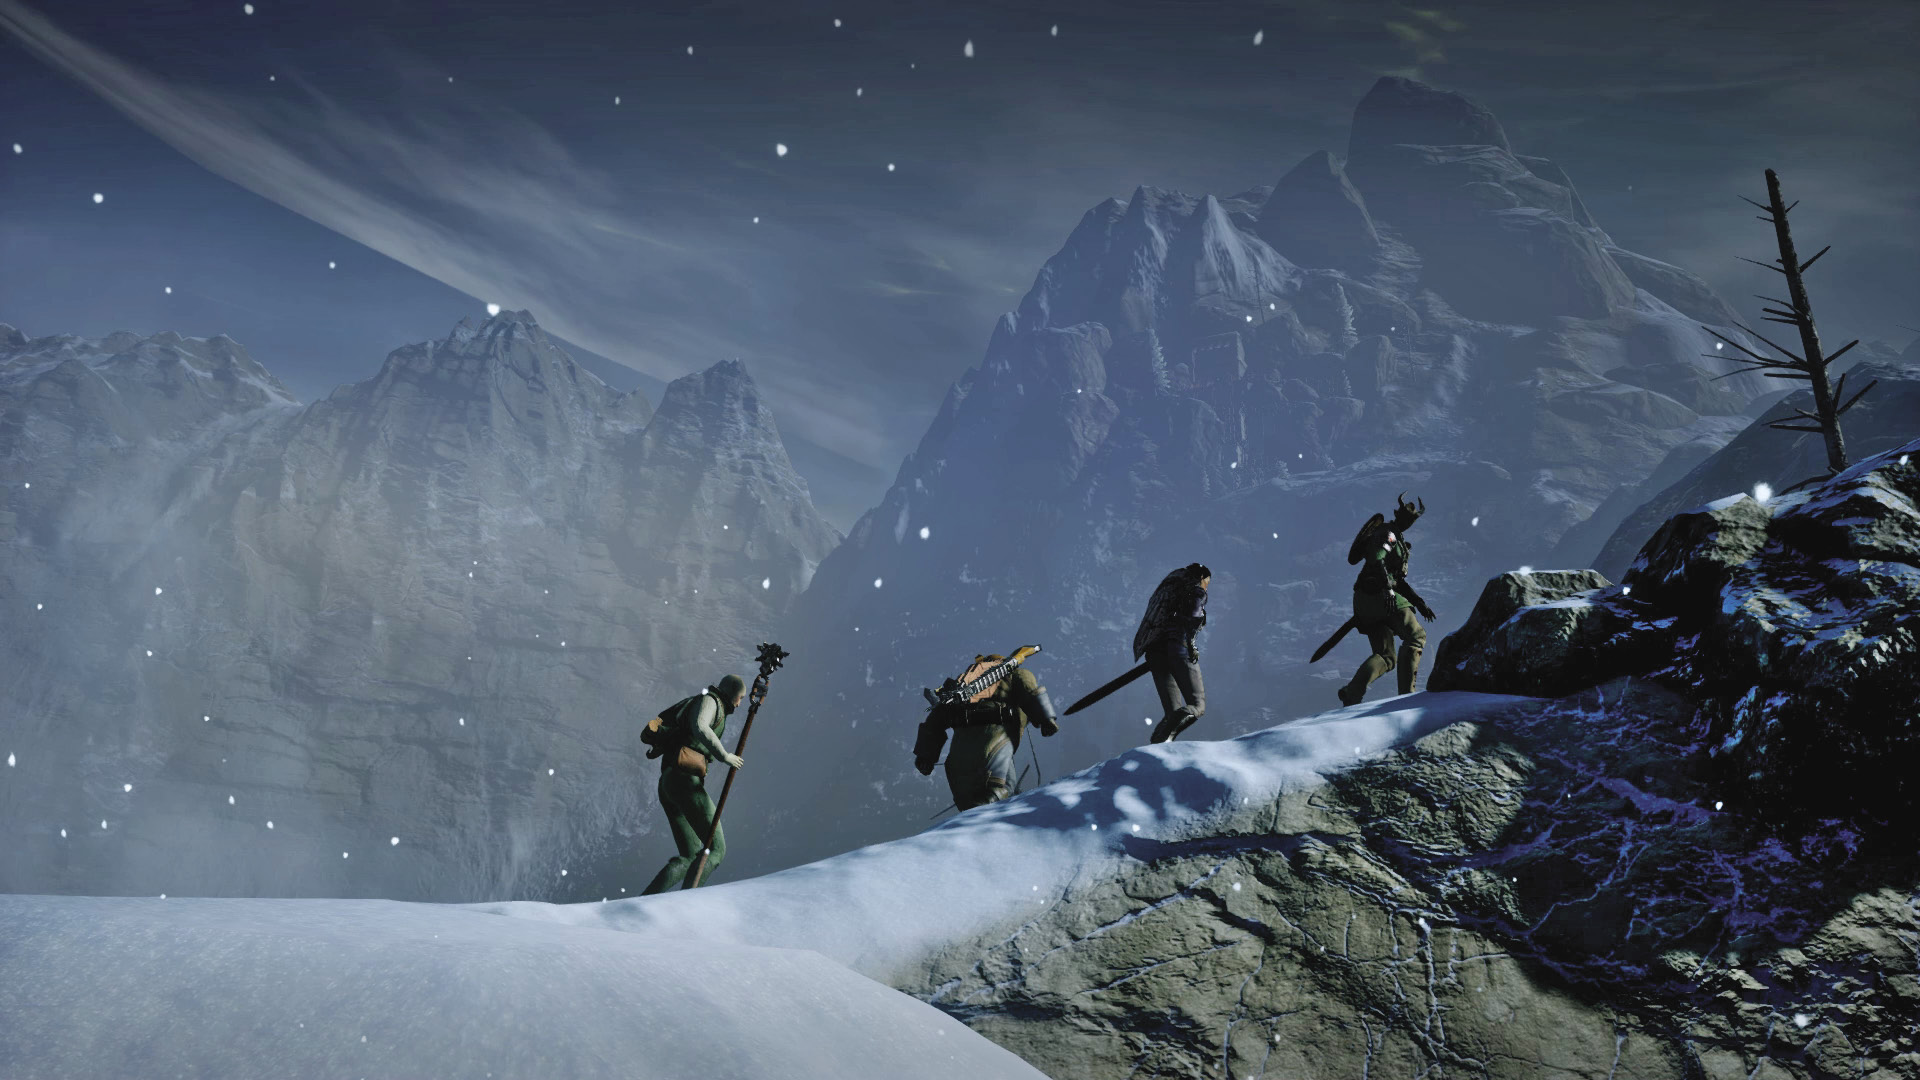
The mountain path is steep, requiring your party to traverse a series of three ladders before gaining access to an old mining tunnel. Fight through the shades and wraiths in the tunnel. Try leading with Cassandra, using her Challenge ability to taunt the enemies, causing them to attack her instead of the others. You can also play as Solas or Varric. At the tunnel’s exit you find the remains of three soldiers—but this isn’t all of them. Continue along the snowy path until you spot another Fade rift, where the surviving soldiers are fighting off several demons. Rush forward and join the fight, defeating the first wave of demons.
After eliminating the first wave of enemies, prepare for a second wave emerging from the Fade, consisting of one terror. These tall, creepy demons are extremely dangerous, and deserving of your entire party’s attention. Terrors inflict heavy damage with their melee and area-of-effect attacks. Taunt the terror using Cassandra while the rest of your party members (and the soldiers) assist. Little by little the terror’s health is depleted until it is dead. Take this moment to close the Fade rift. The soldiers are grateful for your decision to take the mountain path—surely they would’ve perished if you didn’t come this way. After speaking with the soldiers, descend a couple of ladders nearby and proceed to the temple.
Charge with the Soldiers
This path leads directly into the temple’s main entrance, where another Fade rift has spawned more demons. Commander Cullen and his men are busy fighting off more demons, so give them a hand. Upon approaching the rift, engage the tactical camera. Move the circular targeting reticle around the battlefield to highlight different enemies. This reveals the enemy’s name, level, and health. In some cases it may show vulnerabilities and applied status effects. The usual mix of shades and wraiths surrounds the rift. Send Cassandra into close range to battle these enemies while Solas and Varric attack from a distance—preferably from the ledge to the east. If your character has a ranged weapon, stay put with Varric and Solas. Otherwise, charge into the heat of the battle with Cassandra. The idea is to keep Varric and Solas out of harm’s way. Using Cassandra’s Challenge taunt ability draws enemies toward her, an ideal tactic for keeping enemies away from Varric and Solas.
Following the first wave of enemies, prepare for a single terror, emerging from the rift. These tall, creepy demons are extremely dangerous, and deserving of your entire party’s attention. Terrors inflict heavy damage with their melee and area-of-effect attacks. Taunt the terror using Cassandra while the rest of your party members (and Cullen’s men) assist. Keep hitting the terror over and over until it’s down for good. Now, close the Fade rift using your character’s mark. After a brief conversation with Cullen and Cassandra, proceed into the temple... or what’s left of it.
The Breach
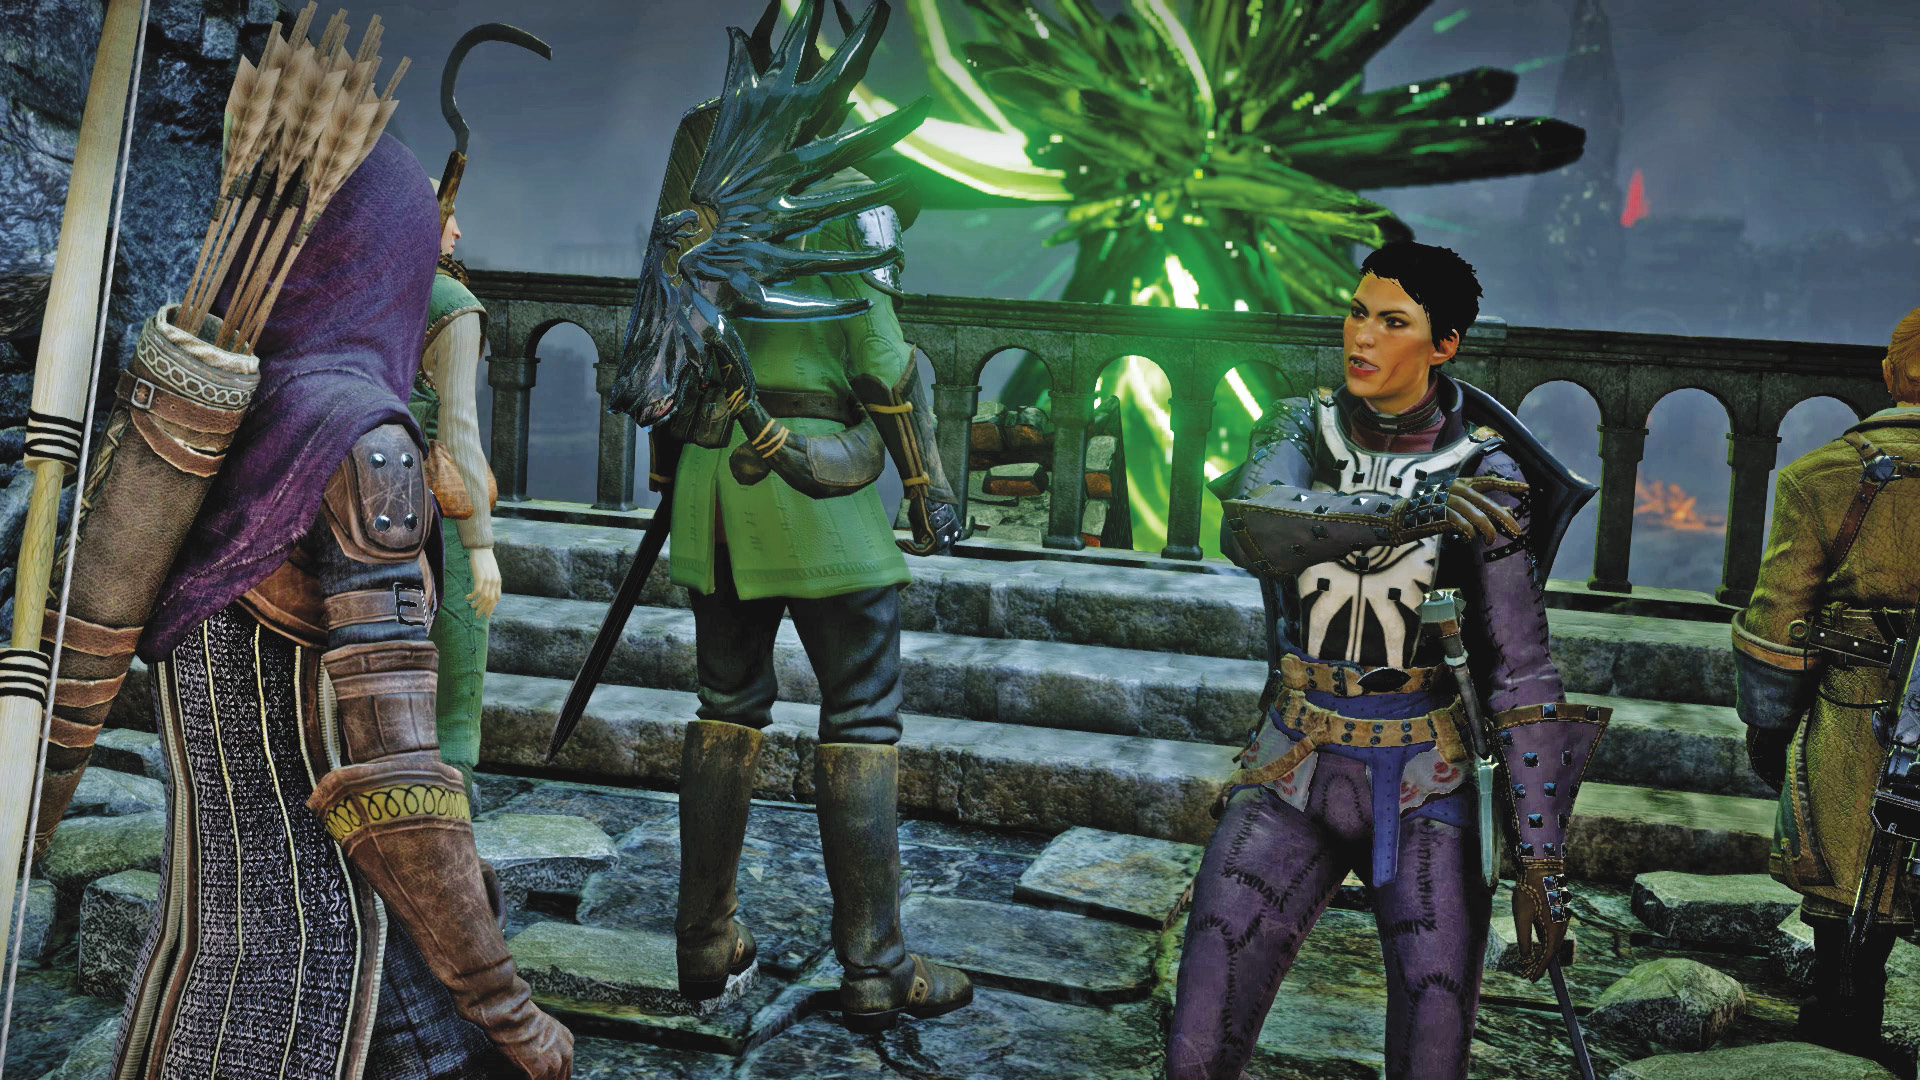
Here your party meets up with Leliana as the Breach looms high above. Just below the Breach is another rift. Solas suggests that sealing this rift may be the key to closing the Breach. Follow the path on the west side of the temple to reach the rift. Along the way Varric is unsettled by the presence of red lyrium—after what transpired in Kirkwall, his uneasiness is understandable. The perimeter path leads to a shallow ledge leading down to the rift. Before stepping off the ledge, consider healing your party with potions and equipping new weapons. Fire-based weapons and spells will come in handy for the fight ahead.
When you reach the floor of the temple, voices can be heard emanating from the rift. A transparent vision above the temple floor replays the events leading up to the explosion during the Conclave. Apparently some malicious entity was holding Divine Justinia V captive when your character intervened. Cassandra seems surprised and confused by this revelation, but there are other matters to attend to. Solas reports that the rift is closed but not sealed. He suggests using the mark to open it. But that will likely draw more demons. As your character reaches out with the mark, the rift is opened, drawing forth a massive pride demon.
Pride Demon Battle
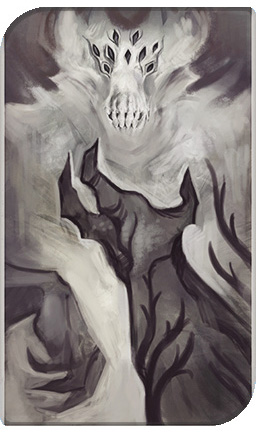
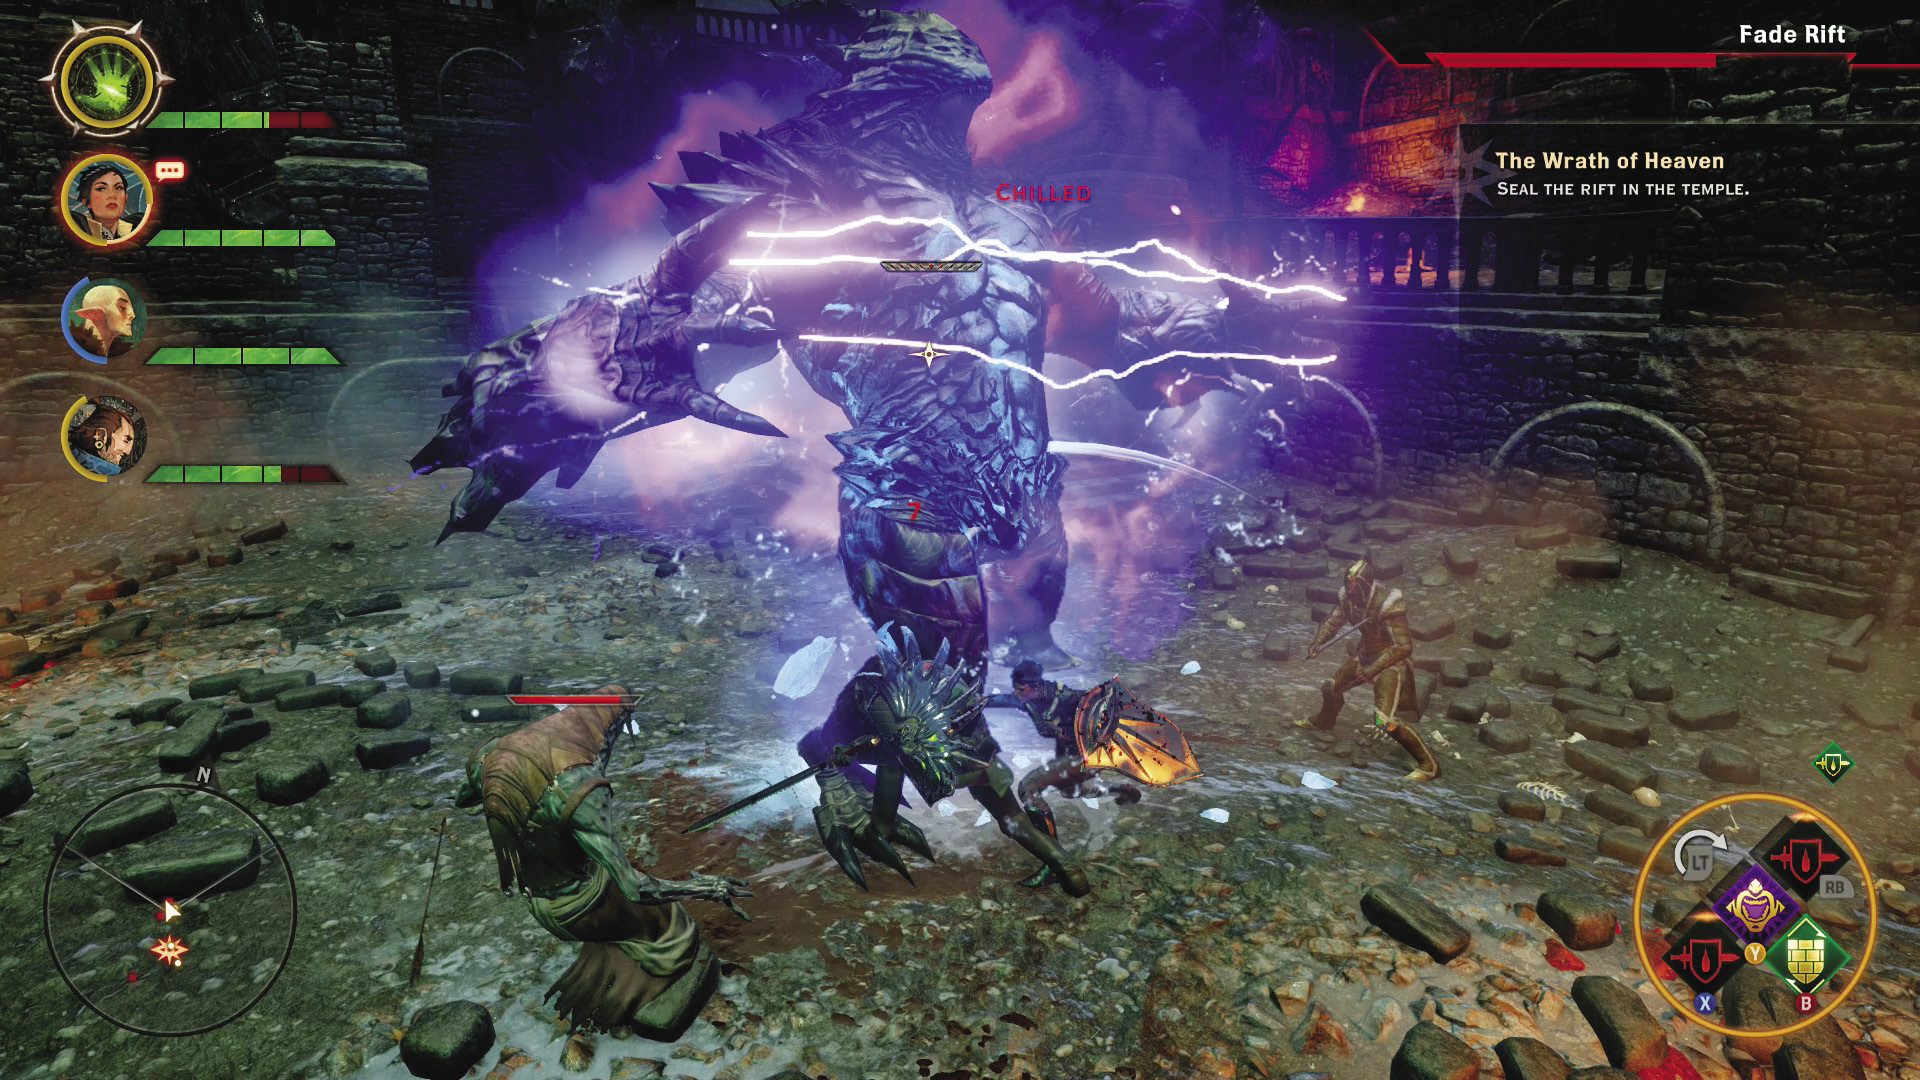
Immediately following the cinematic, begin attacking the pride demon. Make note of the gray bars covering the pride demon’s health meter. These armor-like icons represent the pride demon’s guard. When an enemy (or ally) builds up its guard, it can’t be injured. In a sense, this guard serves as a secondary health meter. Before you can inflict damage on an enemy’s health, you must first eliminate the guard. Fortunately, disrupting the Fade rift with the mark can temporarily eliminate the pride demon’s guard. So approach the rift and interact with it to cause a disruption. This stuns the pride demon, making it vulnerable to attacks. While the pride demon attempts to recover, hit it with everything you have, slowly depleting its exposed health meter. But watch out for more demons pouring out of the rift—use Cassandra’s Challenge to draw their attention. Eliminate the shades swarming your party and then resume your attack on the pride demon. When the pride demon has restored its guard, disrupt the Fade rift again. Keep disrupting the Fade rift and attacking the pride demon while it’s vulnerable until its health is fully depleted. Once the pride demon and all shades are eliminated, close the Fade rift. This triggers a massive surge of energy to shoot skyward. Yet the Breach in the sky remains.