
Dragon Age Inquisition Guide Exploration The Storm Coast
Side Quests (Recommended Level 7-11 and 13-15+)
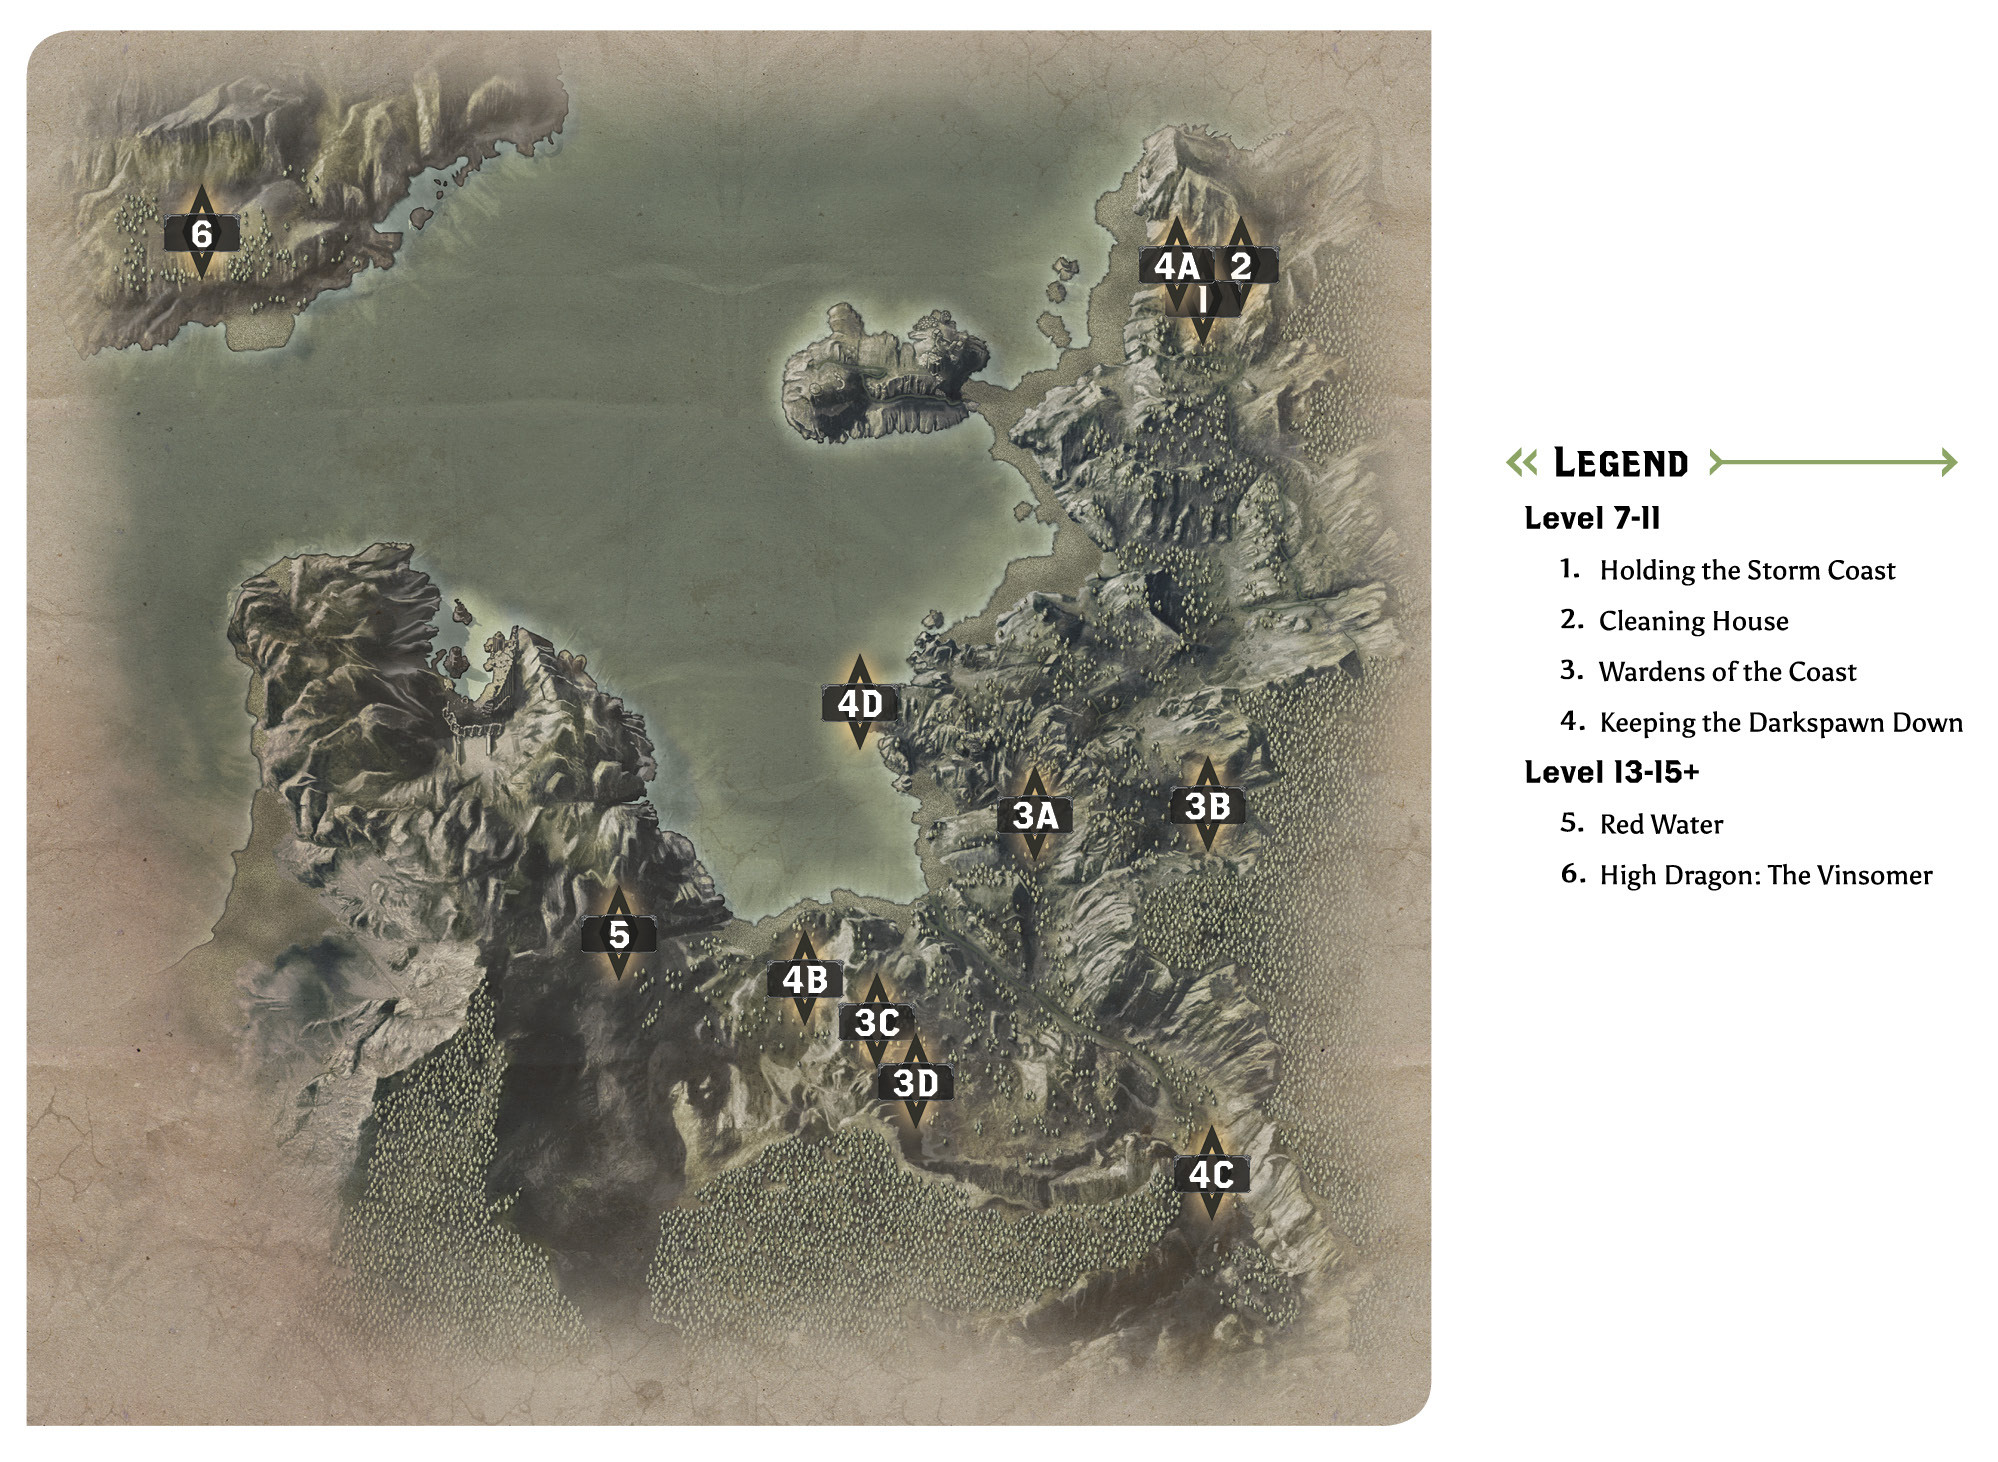
1: Holding the Storm Coast
Description: Establish camps to hold the Storm Coast and support Inquisition activity in the region.
Quest Giver: Scout Harding
Requirements: Started as soon as you arrive in the Storm Coast
Reward: 50 Influence and 1 Power per camp, except for the starting camp
Objectives:
 Establish three camps.
The camps of the Storm Coast are not too close to each other, but they are close to key objectives that take you all across the region. Establish the camps as early as you can—it’ll make taking care of quests like Keeping the Darkspawn Down and Wardens of the Coast much easier to handle.
2: Cleaning House
Quest Giver: Scout Harding
Description: Inquisition soldiers were dispatched to meet with a group of bandits operating on the Storm Coast. The Inquisition lost contact with its soldiers before their planned rendezvous with the bandits.
Requirements: Unlock the Storm Coast via the war table using eight power. Arrive at the Storm Coast for the first time.
Reward: 177 XP, 80 Influence, 1 Power
Objectives:
 Advance to the rendezvous point.
 Find the bandits and deal with them.
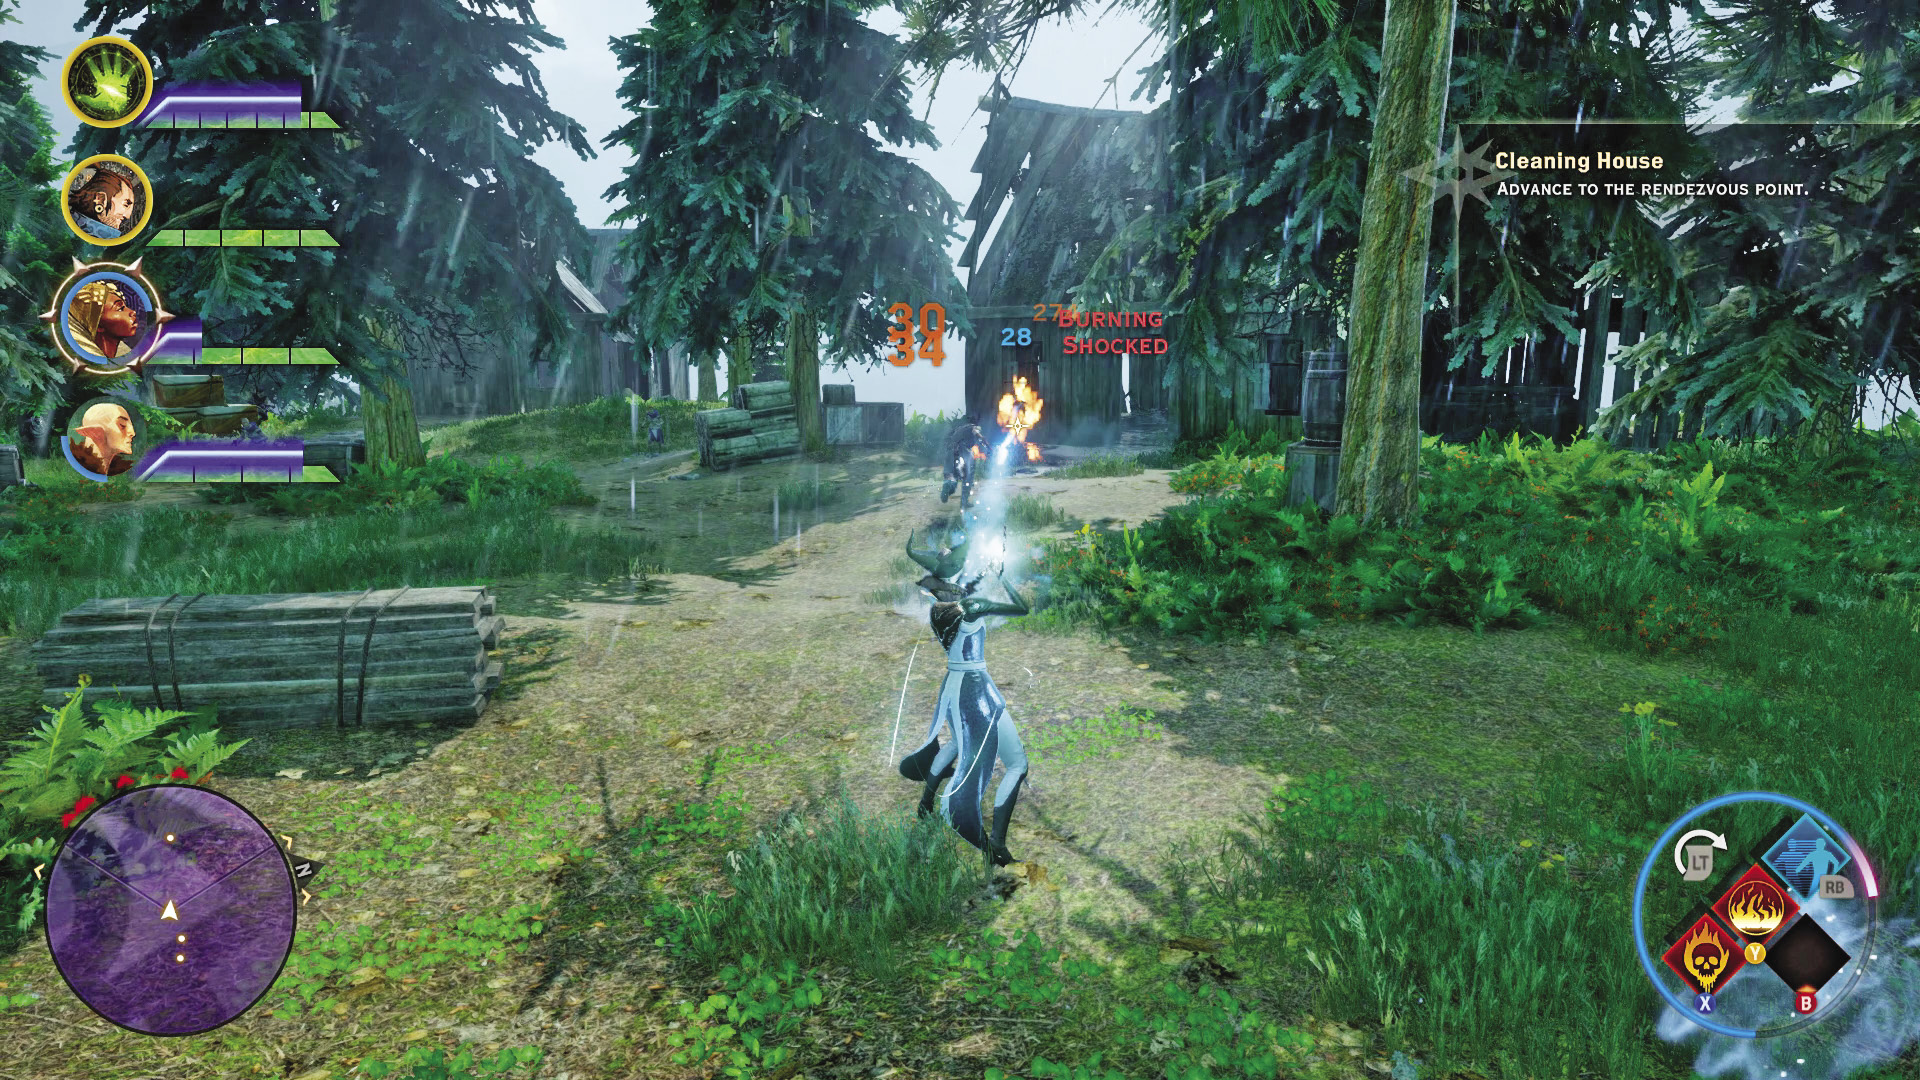
After you learn about the situation from Scout Harding, the rendezvous point is marked on your quest map. Follow the winding, mountainous path until you reach the ramshackle homes at the center of the search area. Bandits are already there, and they attack as soon as they catch sight of you. Unfortunately, the Inquisition soldiers are already dead.
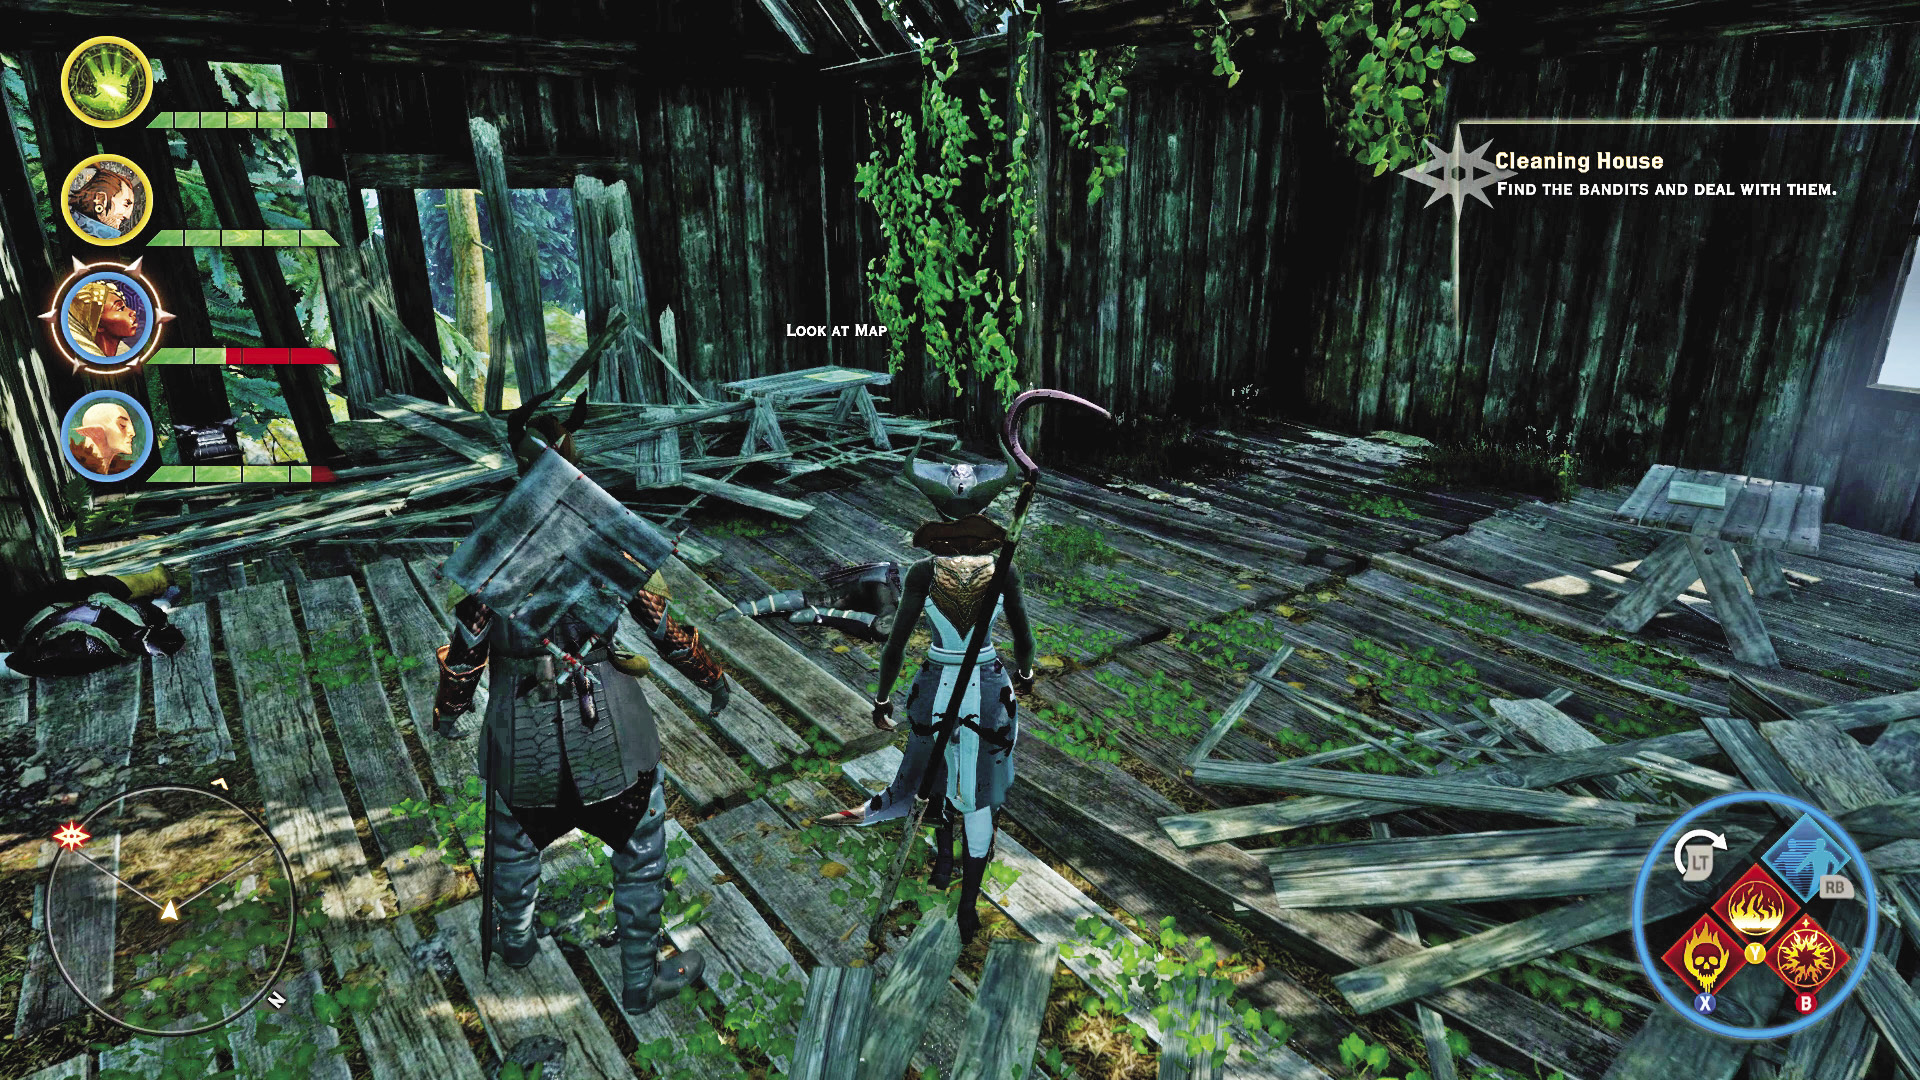
Searching the houses, you can find some loot, as well as a map showing the location of the bandit hideout. More importantly, there’s a message from the killers. They are no ordinary bandits, but rather they are the Blades of Hessarian. They wanted to test the mettle of the Herald (the soldiers were of no consequence to them). They were merely following a code of conduct.
An optional objective is offered here: Go directly to the Hessarian hideout and eliminate them immediately, or craft the Mercy’s Crest at the requisition table of any camp in the region and challenge their leader. This requires one deepstalker hide and two serpentstones. It’s possible to gather these materials in the Storm Coast, if you’re lacking.
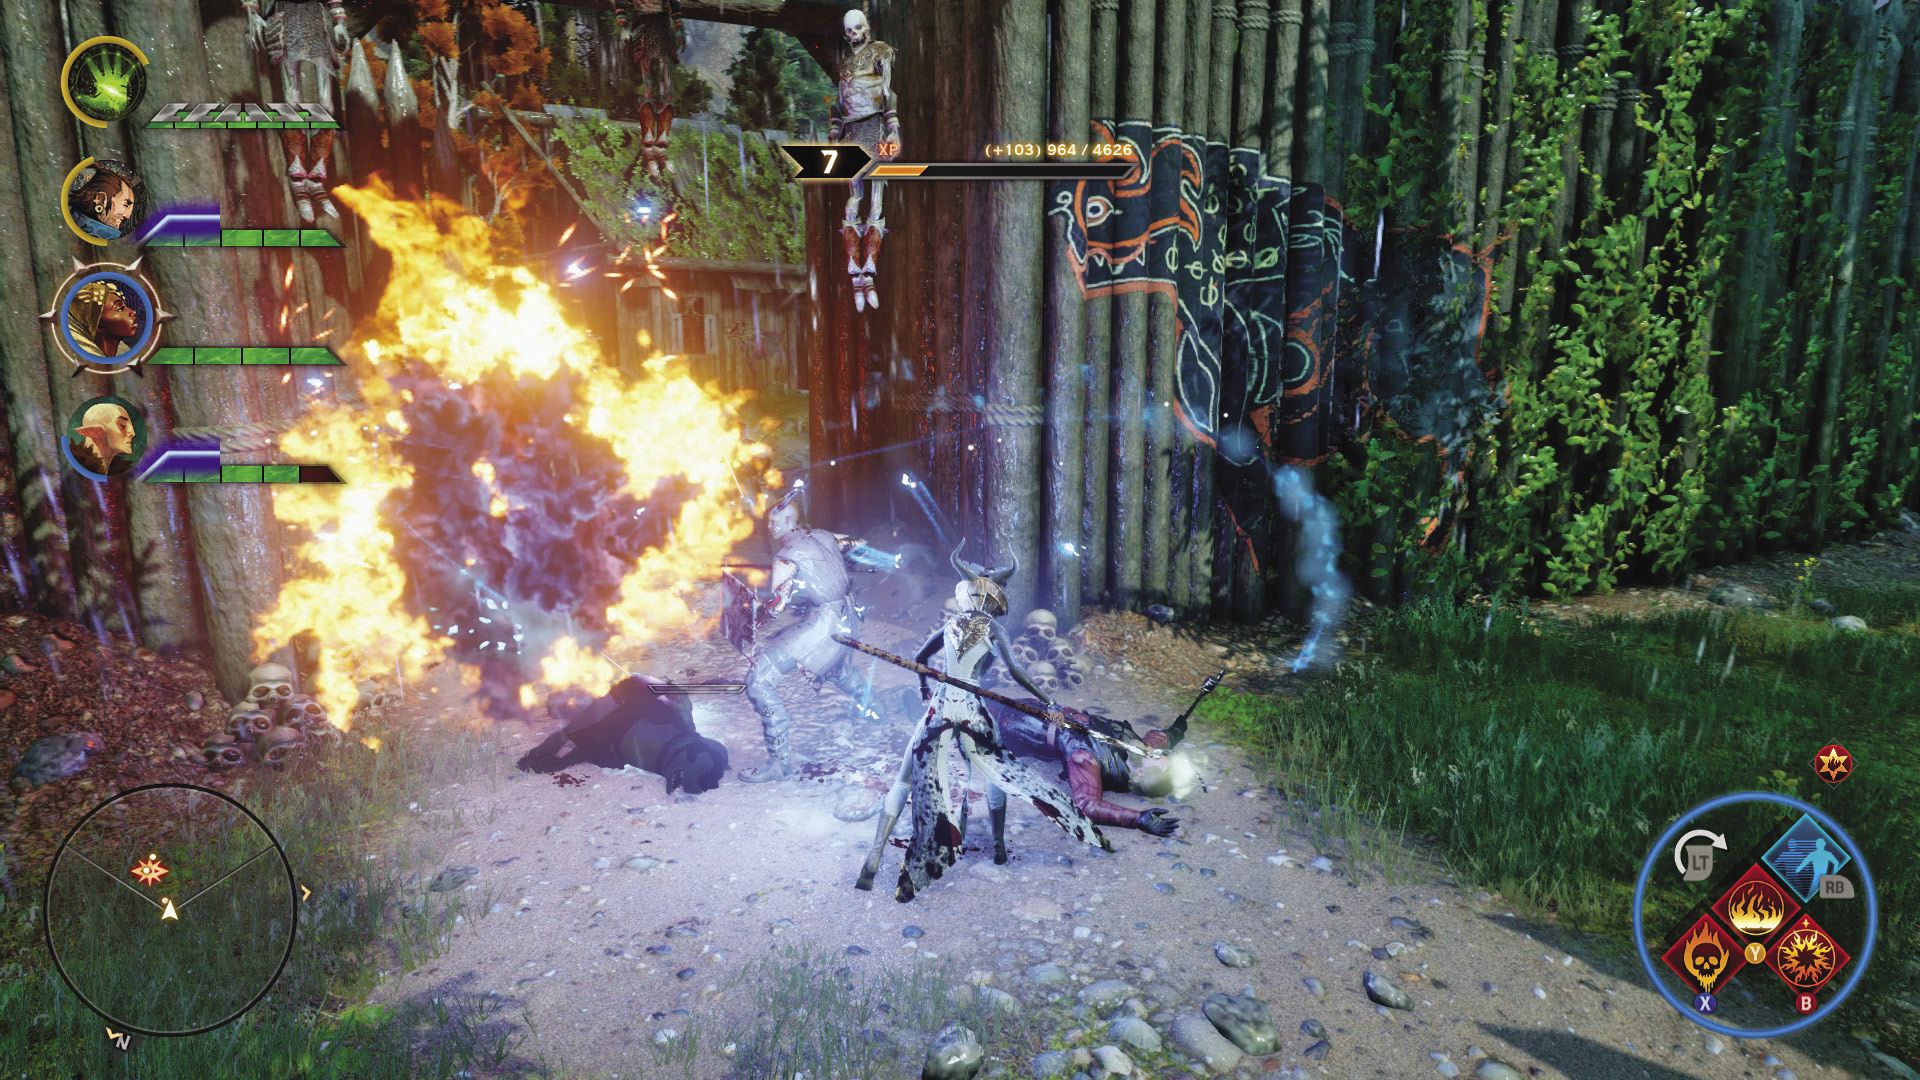
With or without the Mercy’s Crest (it must be equipped by someone in your party), go to the Hessarian hideout farther south from the rendezvous point and kill every bandit that stands in your way. After the guards at the gate are killed, more bandits rush out to challenge you. They include guardsmen and archers in their ranks and are clearly better equipped than mere bandits.
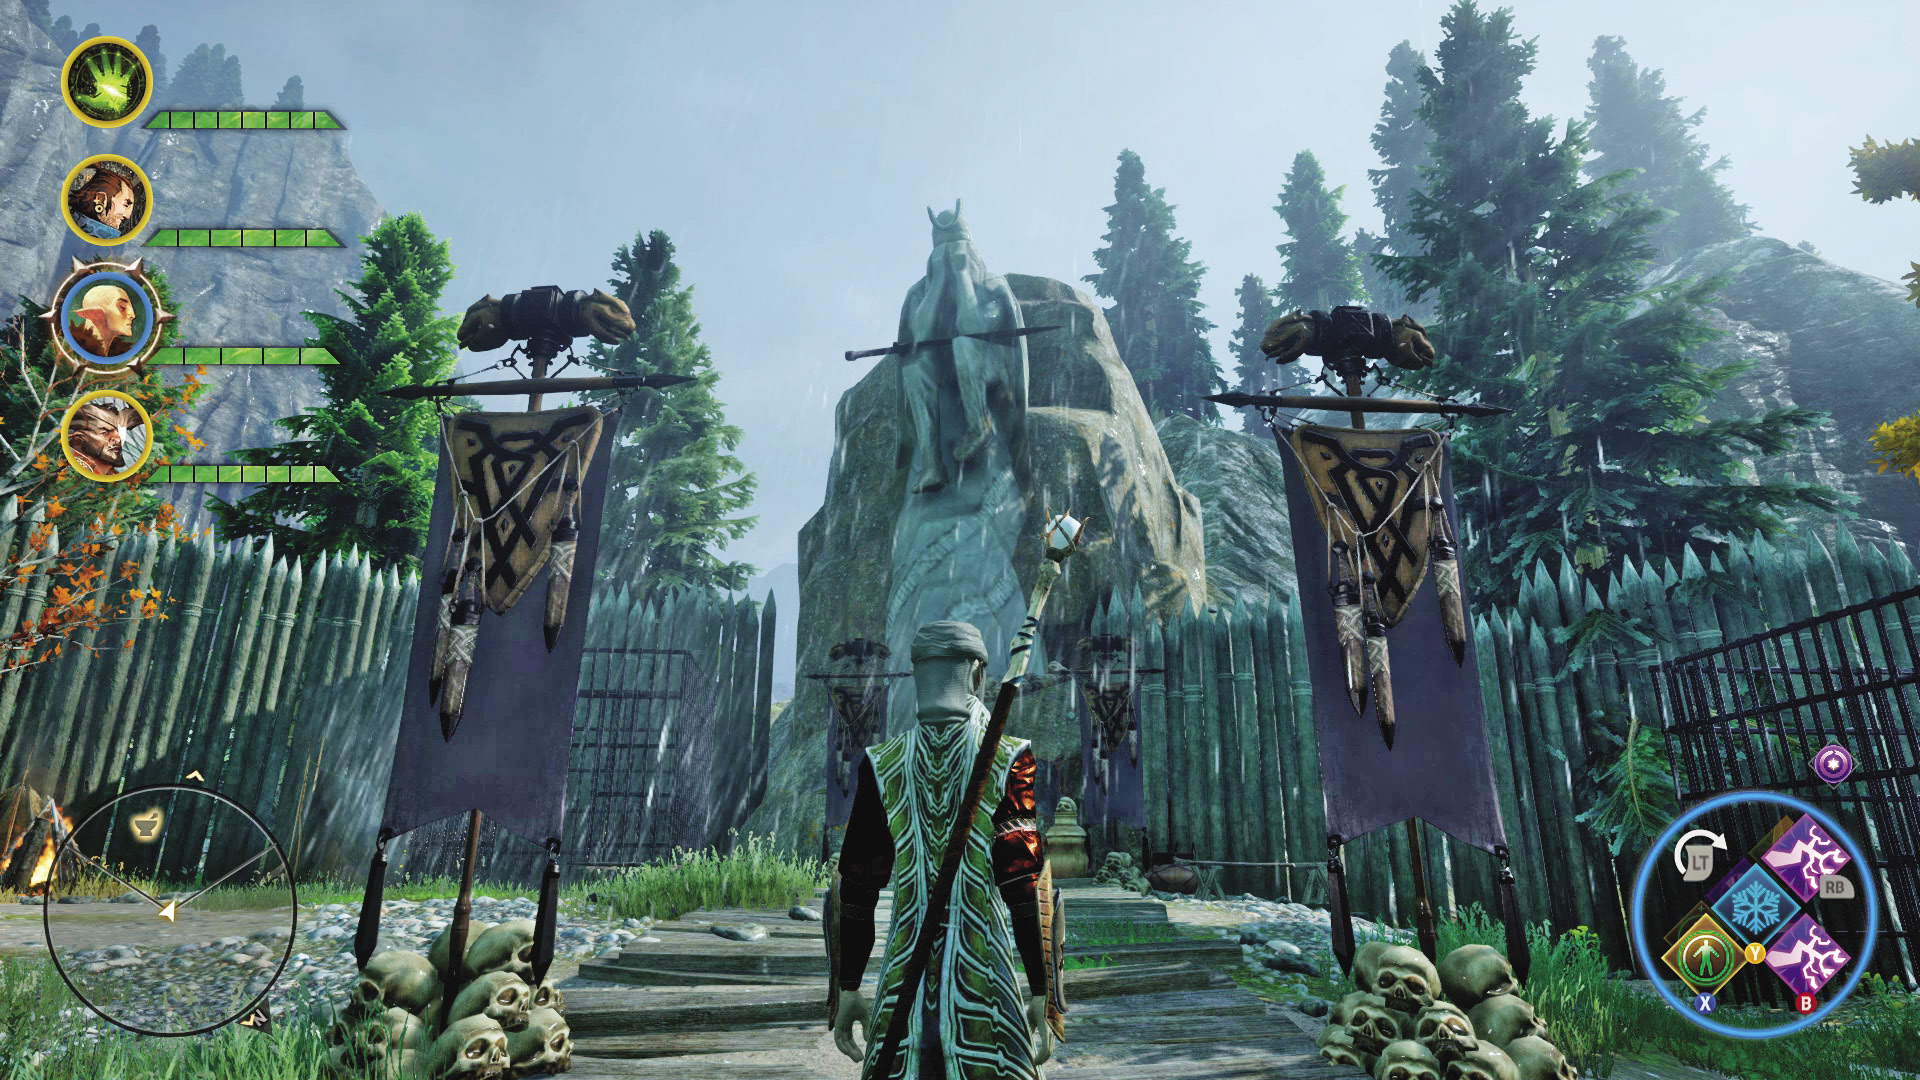
If you have the crest equipped, the massive Hessarian leader, along with two of his equally massive Hessarian hounds, will challenge your party to battle. Hold nothing back, and eliminate the leader and his hounds to put an end to the Hessarian threat to the Inquisition. This also allows them to join your forces as agents, providing an additional Inquisition perk.
3: Wardens of the Coast

Quest Giver: War table in Haven
Description: There are signs that several Grey Wardens passed through the area, but scouts have been unable to track them with all the bandits around.
Requirements: This quest opens up after you arrive at the Storm Coast.
Reward: 177 XP, 80 Influence, 1 Power
Objectives:
 Find four signs of the Wardens.
If you have recruited Blackwall, you learn some unfortunate news: All across Thedas, the Grey Wardens are vanishing, and he does not know why. The reason scouts traveled to the Storm Coast was to seek out the Wardens and hope to make use of them against the Breach. Use the war table to scout out the Storm Coast, and then travel there to carry out your own investigation. All four possible search locations are marked on your quest map as soon as you arrive.
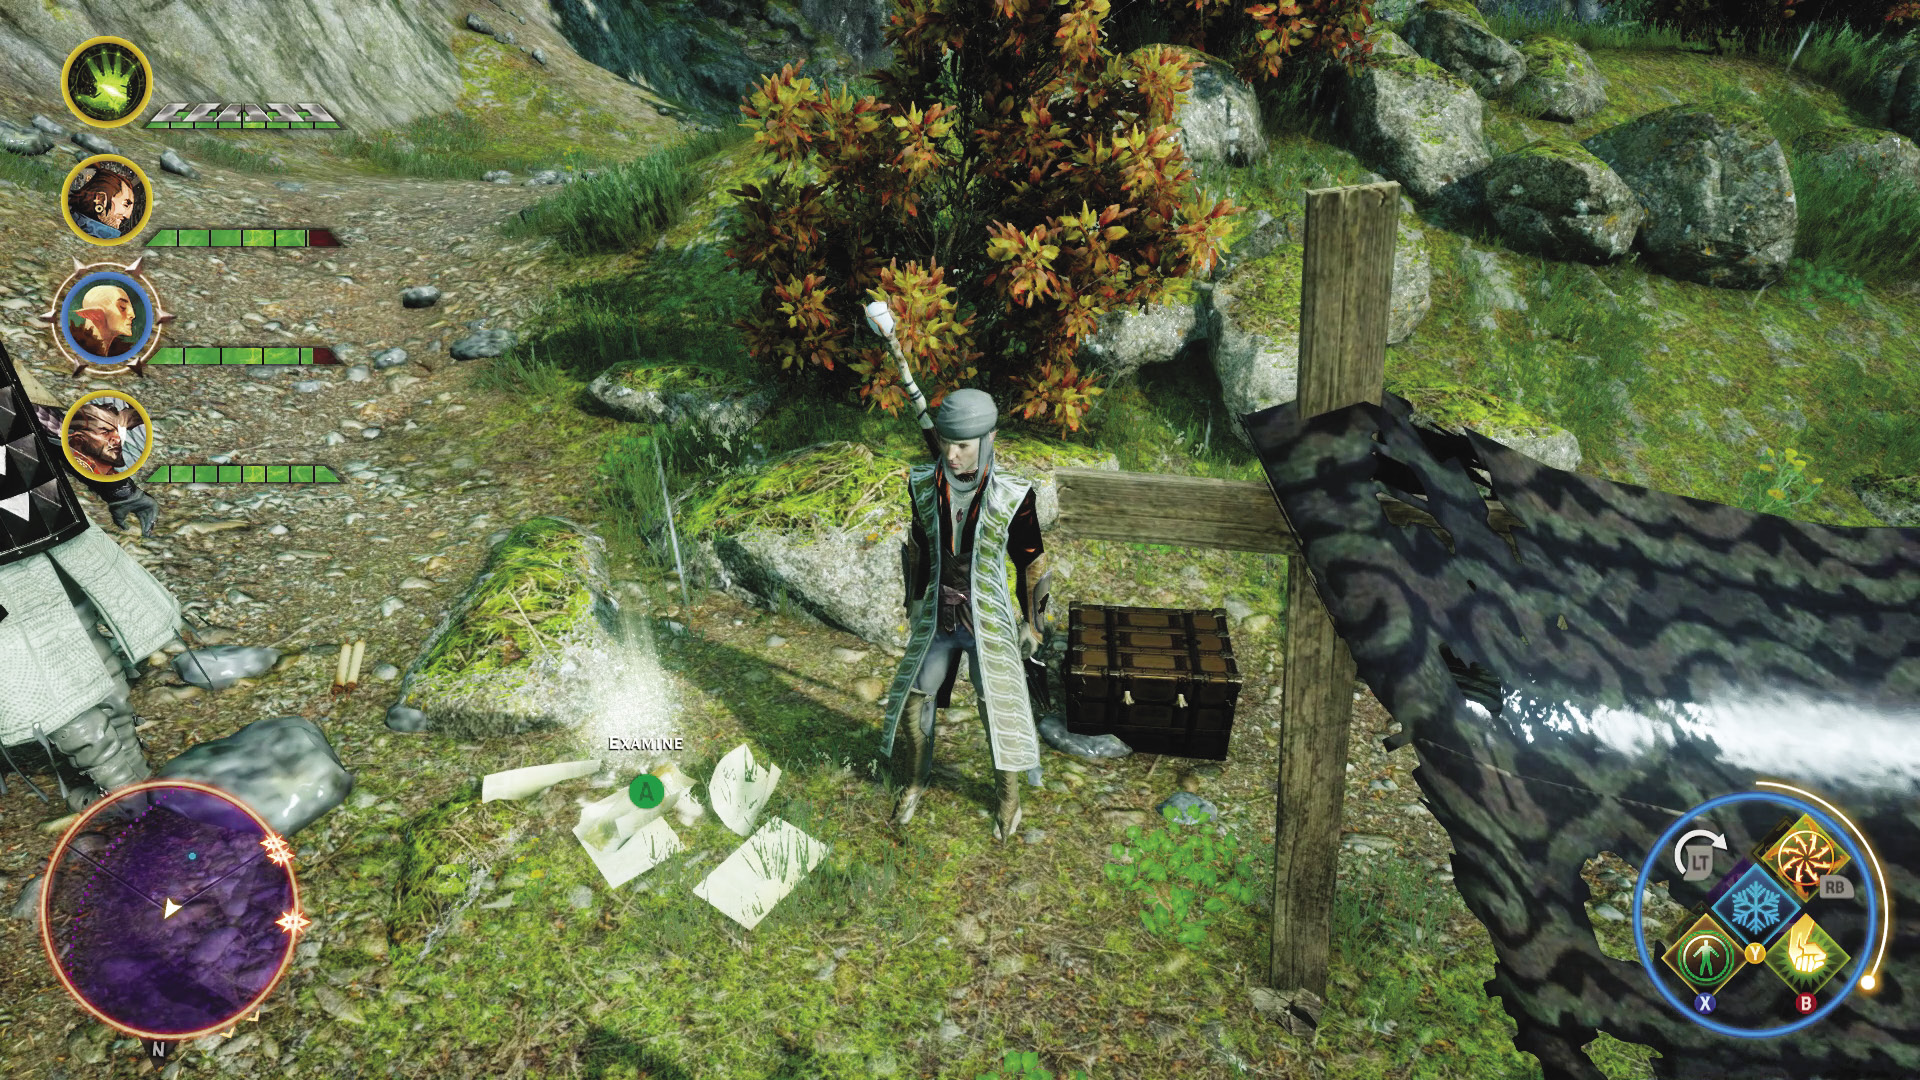
Two of the locations are close to the Small Grove camp, nearly the middle of the coastline. Head east inland from the camp, entering the marked locations. Your Search ability pings as you close in on the abandoned Grey Warden camps. The notes and letters you find reveal more about why the Wardens passed through this region. They are apparently in search of someone, and even the darkspawn are secondary to this mission.
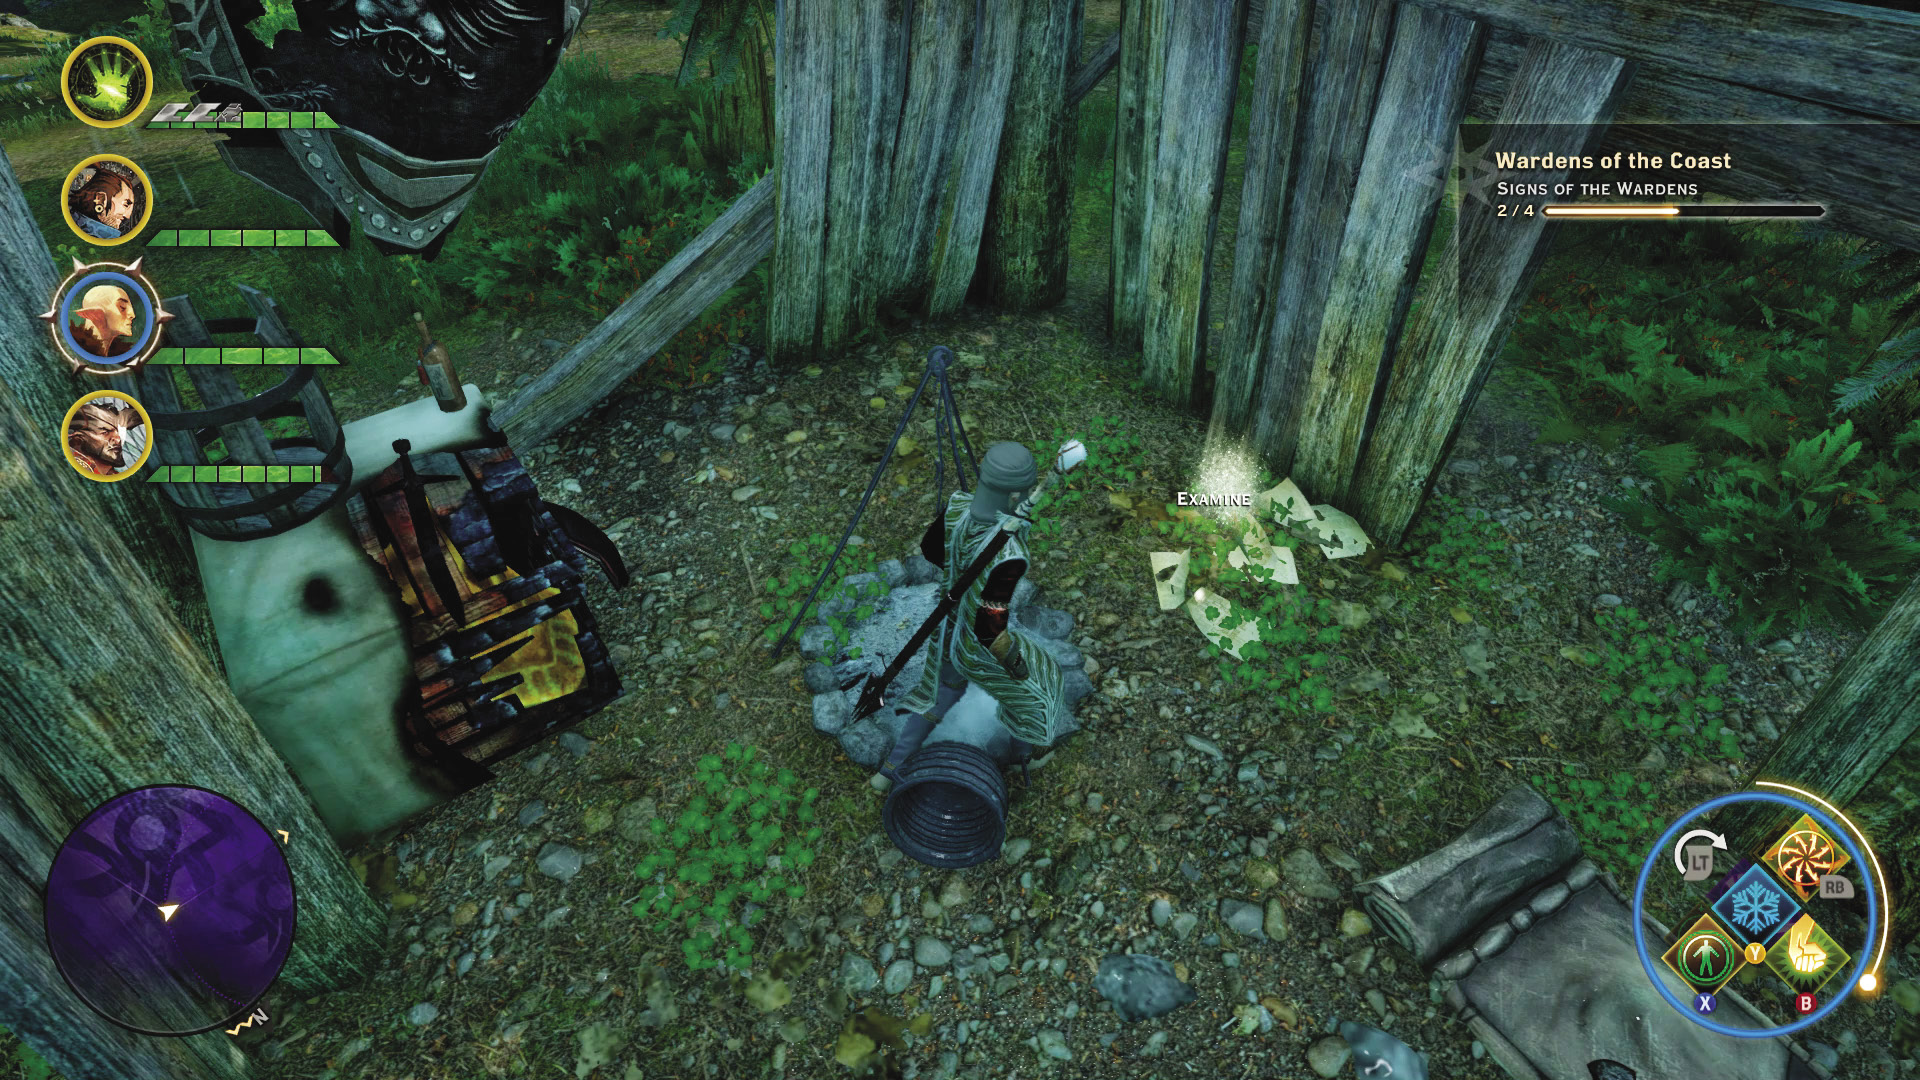
The second set of Warden signs is farther south, close to the Driftwood Margin camp, near the Westridge region. One of the Warden signs you uncover inside an abandoned shack is next to a hidden bottle of Thedas, so be sure to search thoroughly.
Once you recover all four signs of the Wardens, the quest is complete. The Wardens have moved on from the Storm Coast.
4: Keeping the Darkspawn Down
Quest Giver: War table at Skyhold
Description: Darkspawn are surfacing on the Storm Coast, and it’s up to the Inquisition to put them down. They appear to be surfacing through tunnels. If these tunnels are sealed, it should keep the darkspawn underground where they belong.
Requirements: Available in Skyhold
Reward: 512 XP, 200 Influence, 2 Power
Objectives:
 Seal four tunnels.
After you reestablish the Inquisition at Skyhold, reports start coming in from all corners of Thedas. Among them is a report of darkspawn at the Storm Coast. A war table operation opens up, allowing you to scout out the locations of the darkspawn tunnels so that you can seal them yourself, as well as kill all the darkspawn in their vicinity. If you send Leliana, you will be given precise locations for the tunnels.
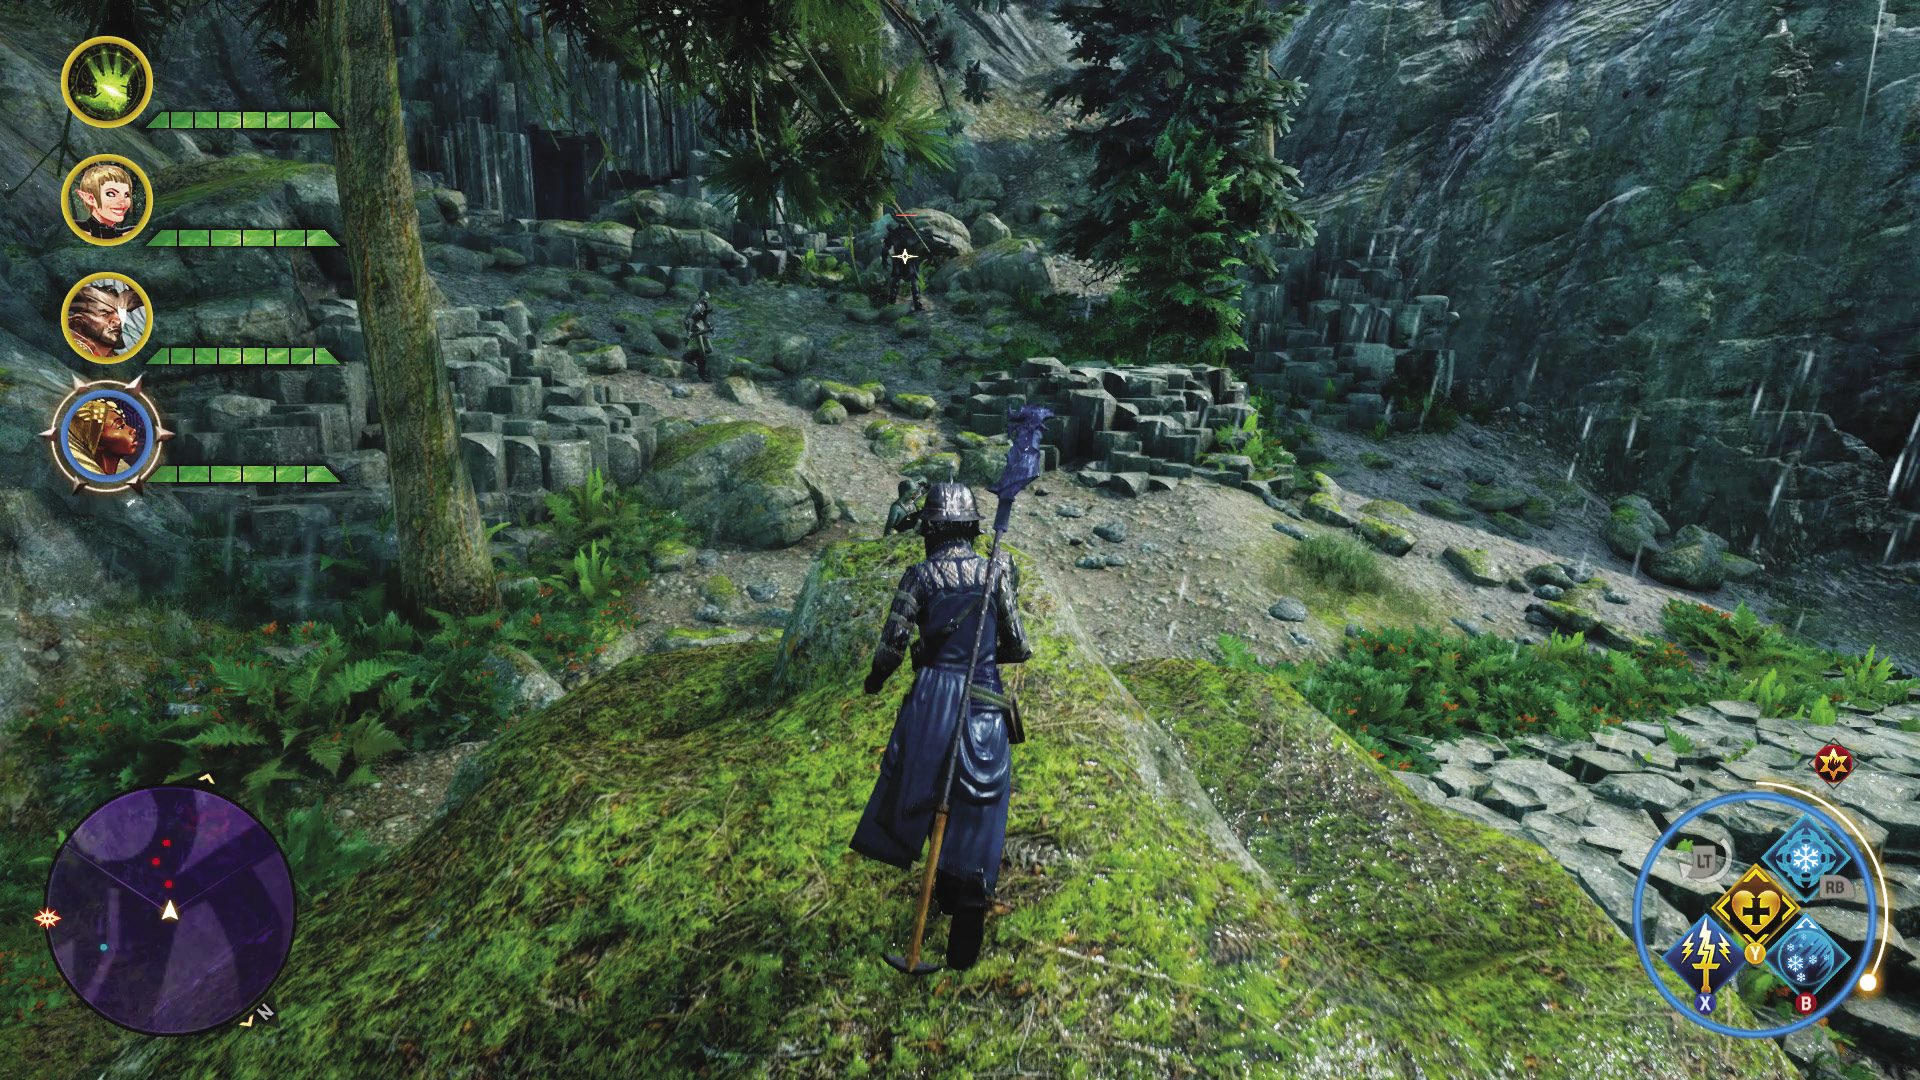
One of the tunnels is east of the Driftwood Margin camp, a little ways inland from the beach. Several hurlocks and a hurlock alpha stand guard near the tunnel they used to reach the surface.
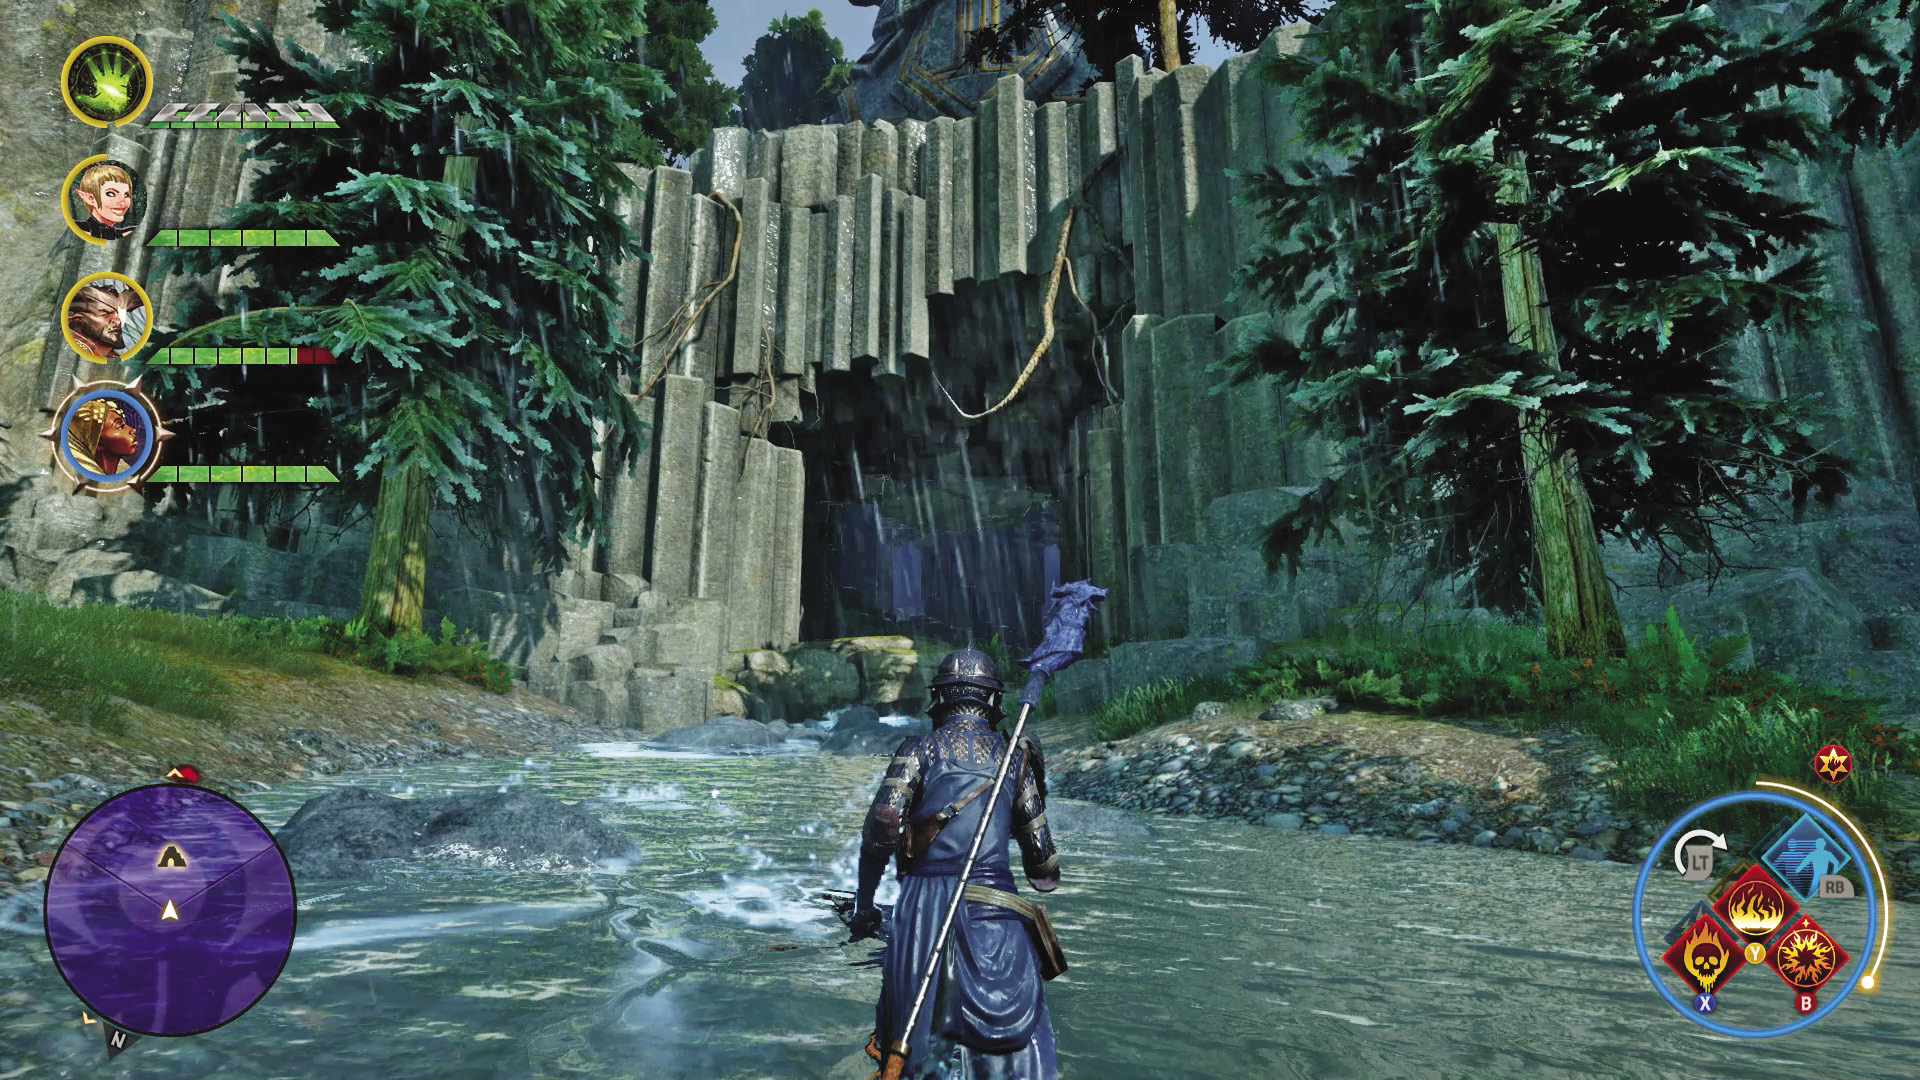
Another tunnel can be found inside the Waterfall Cave. The hurlocks and hurlock alpha here have more than you to contend with: The giant spiders of the cave are fighting anything entering their territory. Purge the area clean of all these monsters and seal the tunnel.
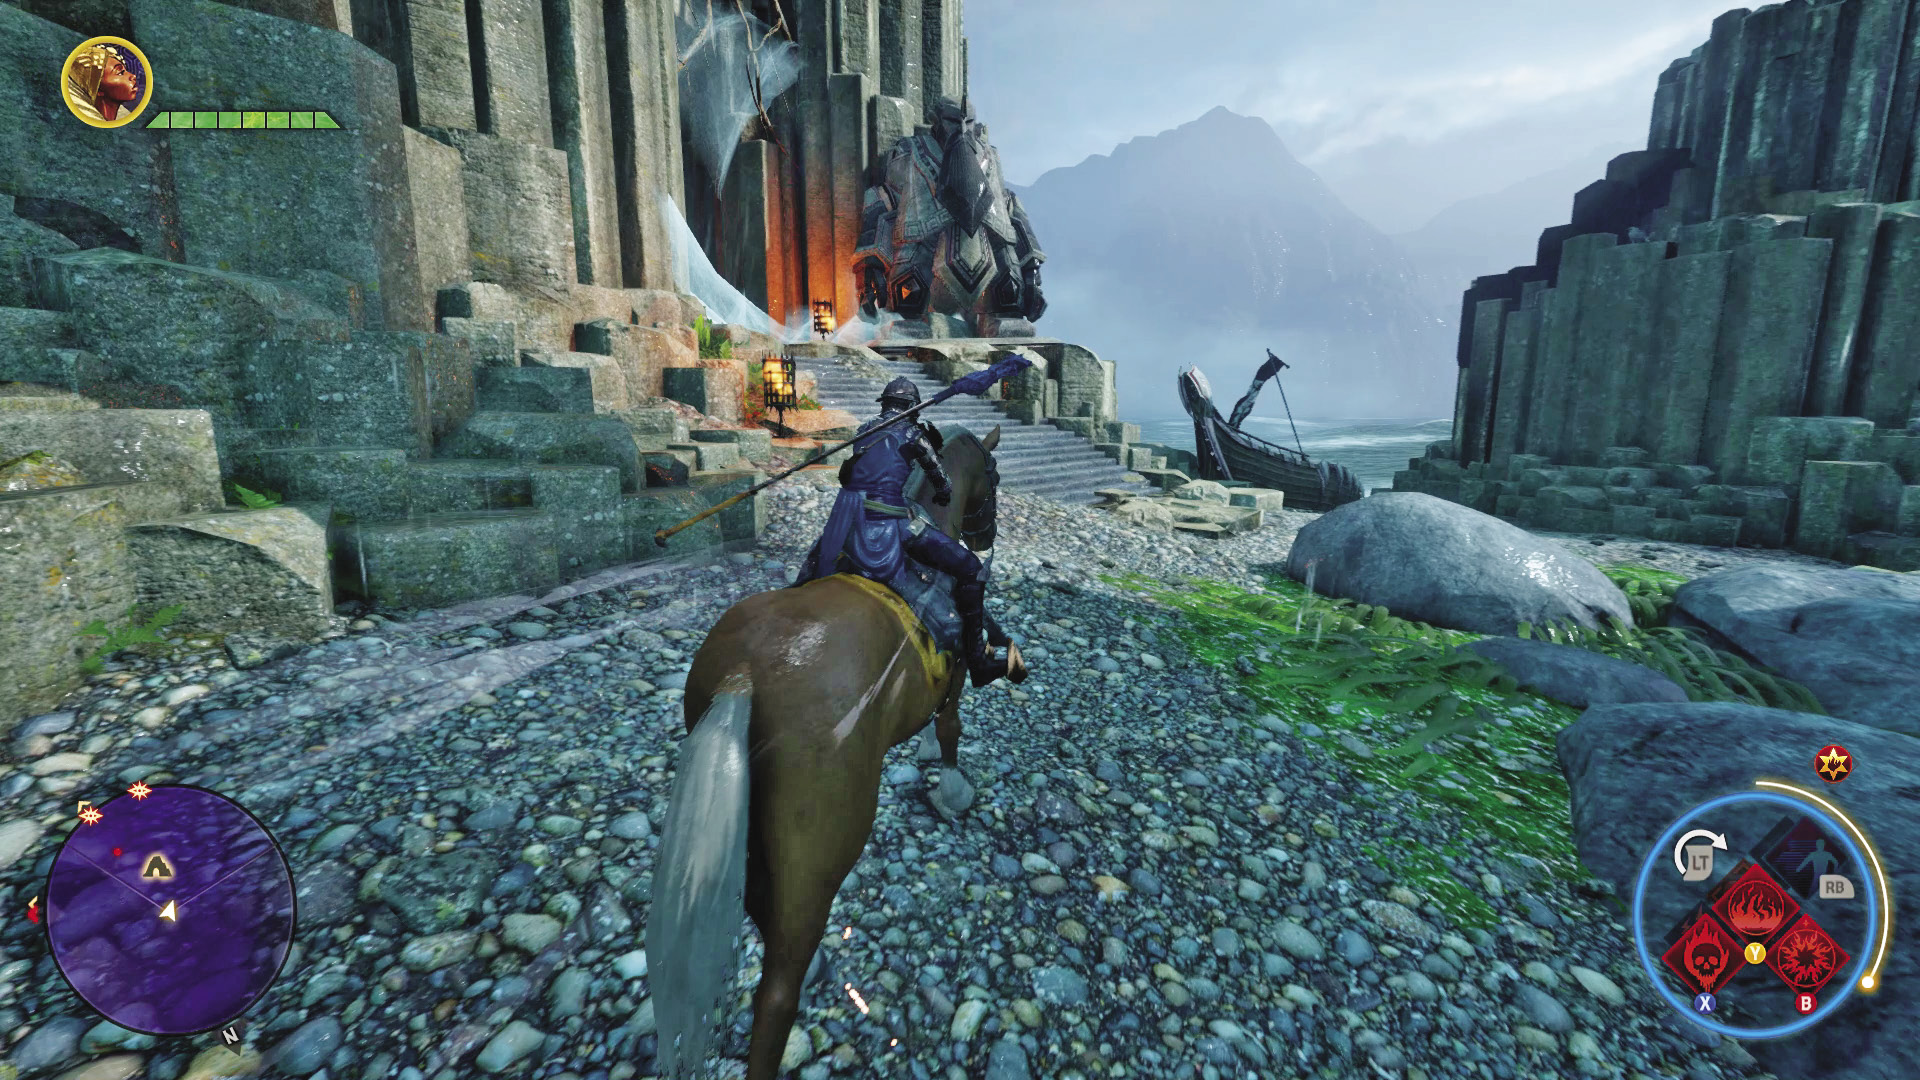
Inside the small cave system near the Great Cove region is a darkspawn tunnel. Be careful, as the caves are very dark, save for a few torches, and the darkspawn hurlocks can join forces with the local spider population to hunt you down.
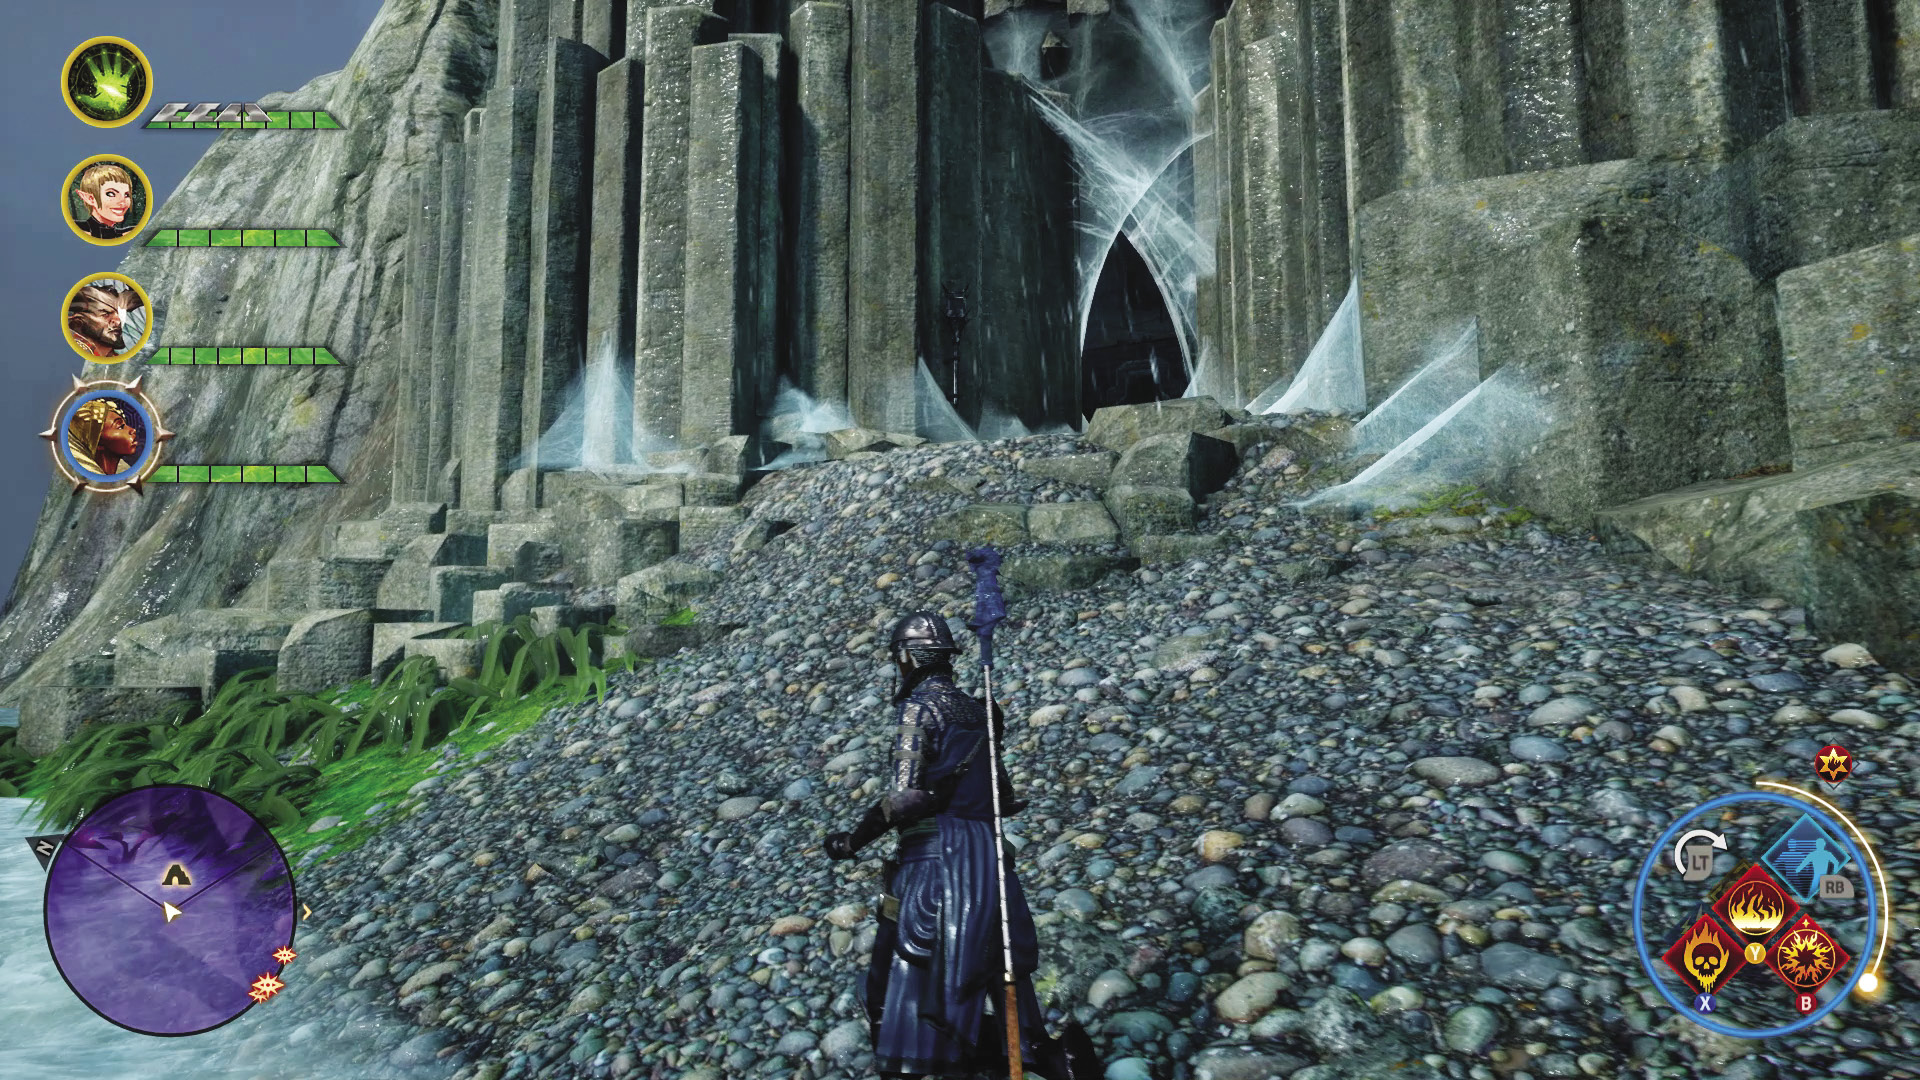
One of the easier tunnels to reach is next to the Storm’s Solitude camp. Head down to the beach from the camp and travel north. You’ll eventually encounter another dark cave system filled with more spiders and more hurlocks.
5: Red Water
Quest Giver: War table at Skyhold
Description: Inquisition soldiers were dispatched to investigate a dwarven port on the Storm Coast that is currently being held by red templars. The port gives the red templars a foothold in the region. The soldiers have cleared the way to storm the port.
Requirements: Complete the Red Templars on the Storm Coast mission at the war table to start this side quest.
Reward: 512 XP, 200 Influence, 2 Power
Objectives:
 Storm the red templar stronghold.
You may have noticed the sealed dwarven cave entrance near the Driftwood Margin camp in the Storm Coast but have wondered how you can get inside. This quest is where it happens! After sending scouts out to the Storm Coast to unlock the stronghold the red templars have established, travel to the Driftwood Margin camp in the region and be prepared for war.
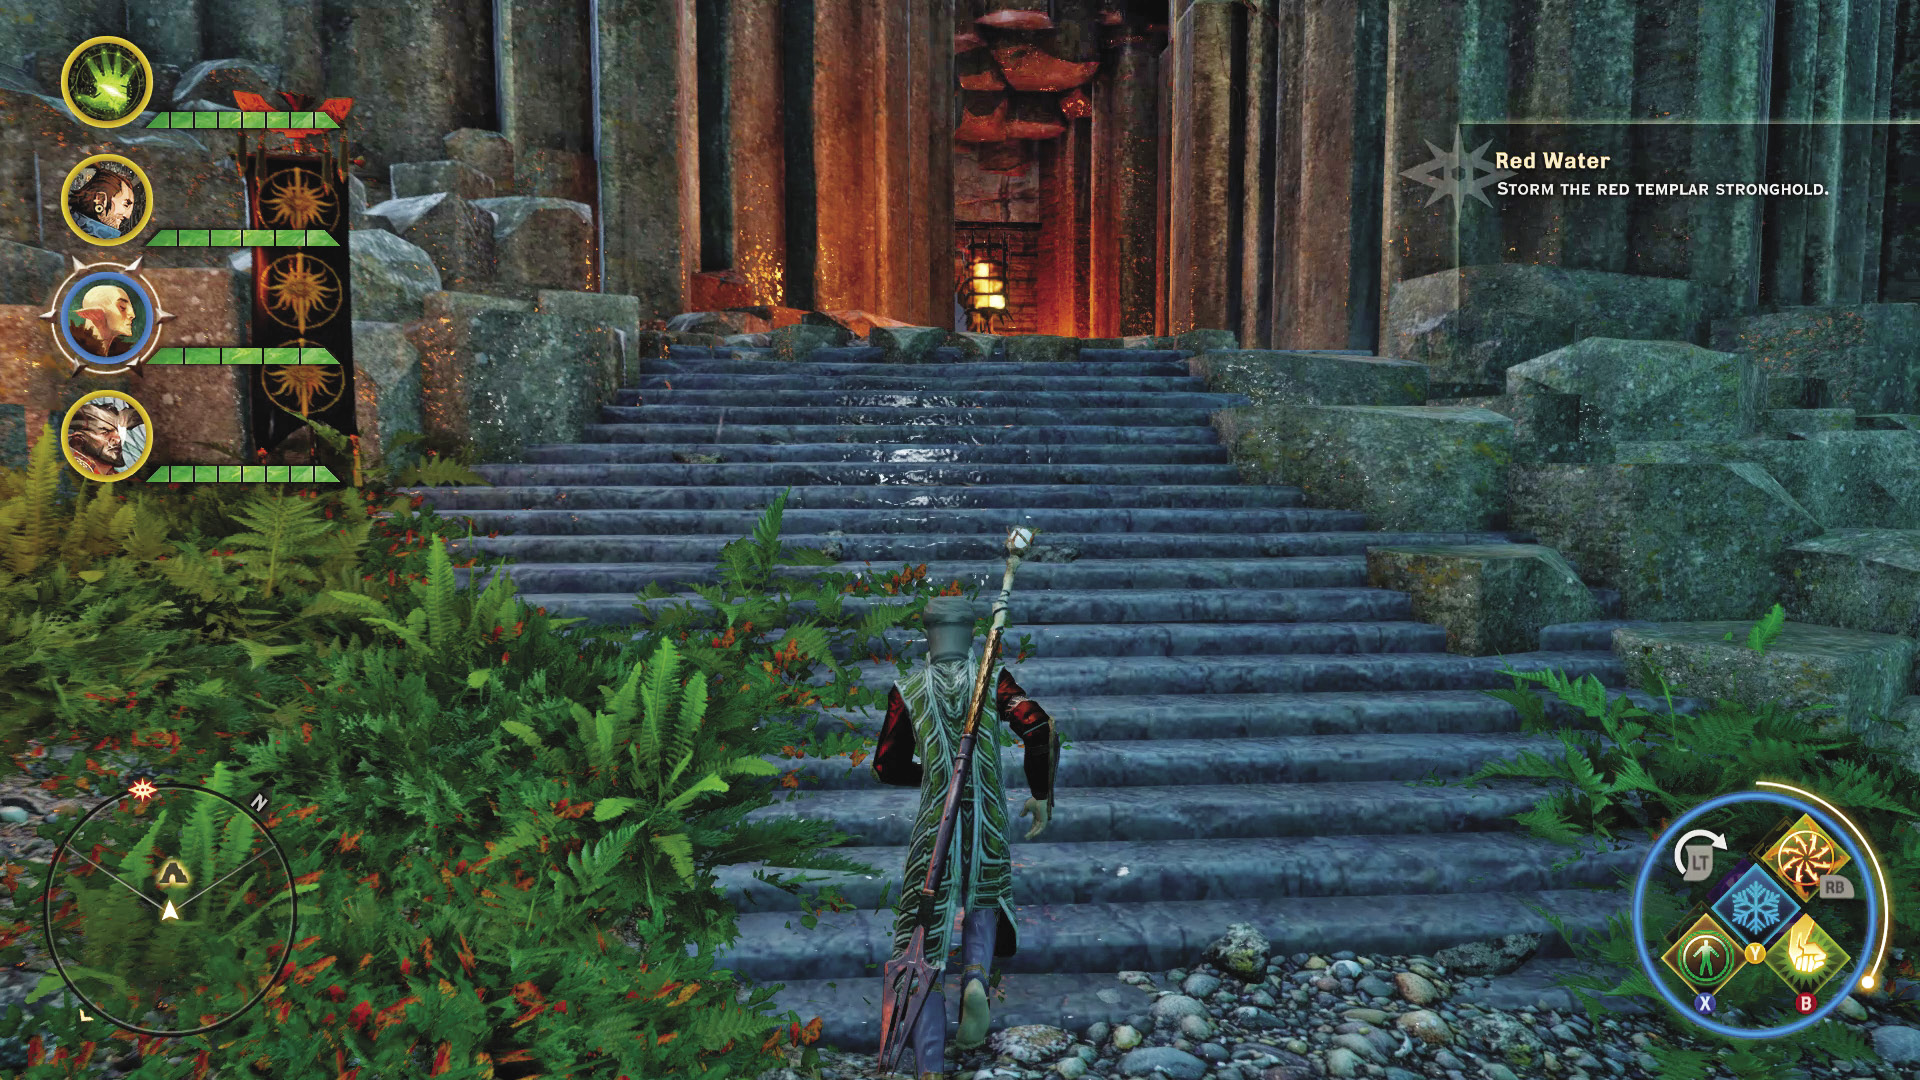
Pass through the unlocked entrance, now under Inquisition protection, and you’ll enter the Daerwin’s Mouth region. Push up the beach until you enter a large cave. Immediately, you’ll discover the presence of red lyrium lining the cavern walls, and not long after that you encounter your first red templar knights. To the right of them is a smaller cave that takes you deeper into the fortress.
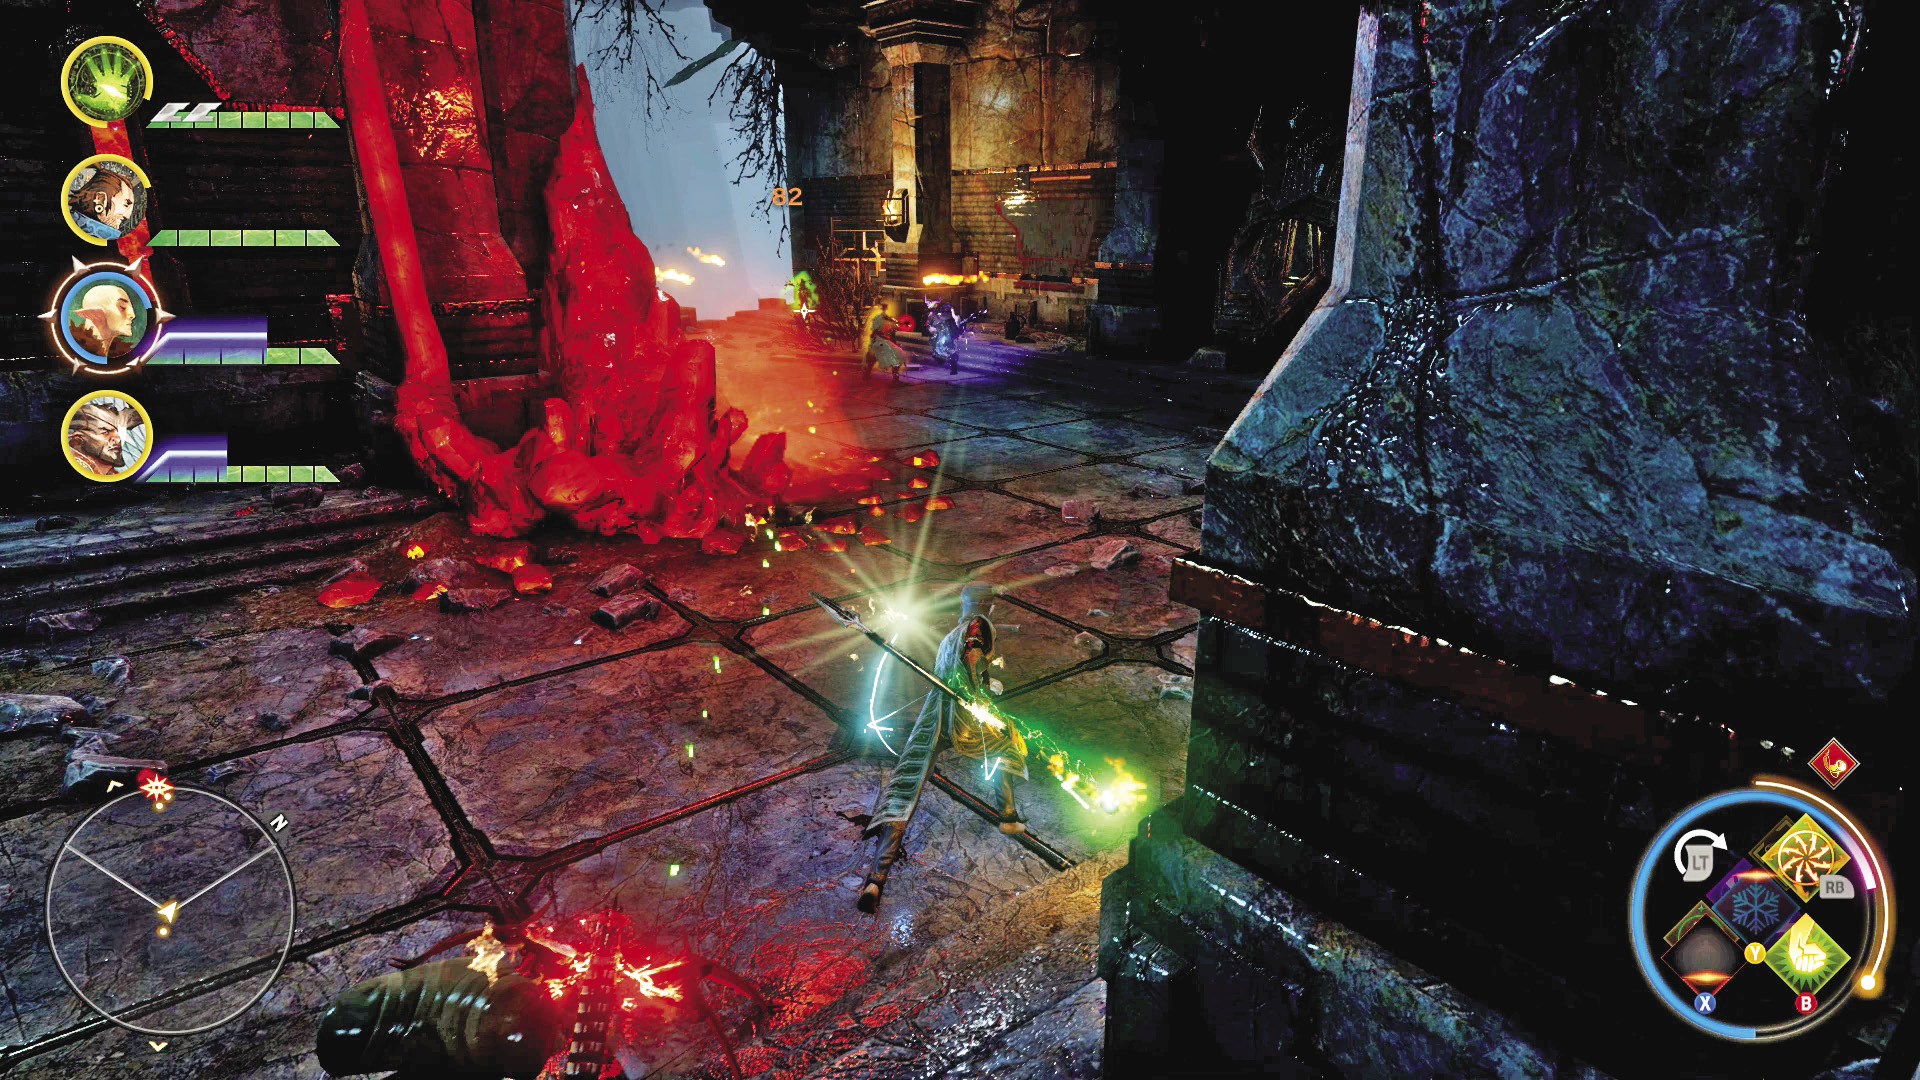
Push past those knights to claim the Daerwin’s Mouth landmark.
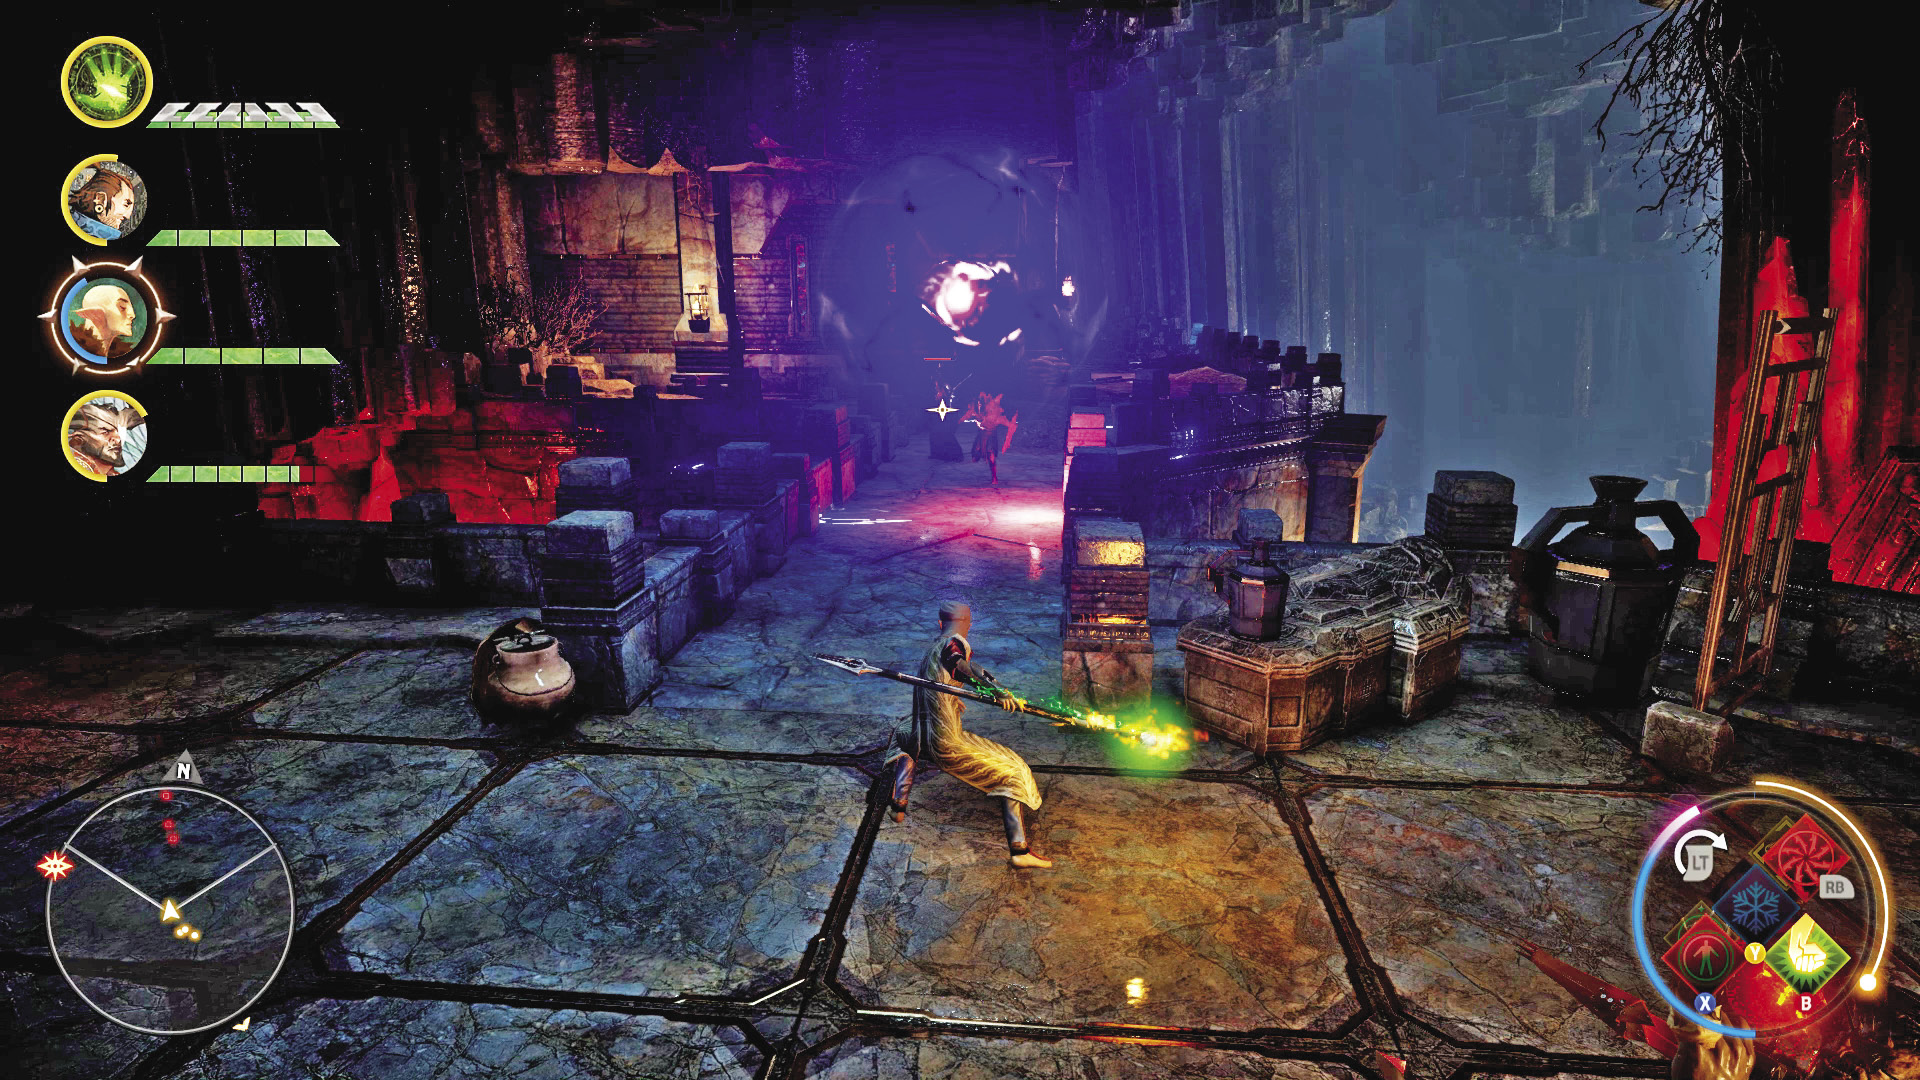
Climbing up the small passage way takes you to a stone walkway, connected to a bridge that crosses over a lower area. On the other side of the bridge are more red templars. If you haven’t been unlucky enough to see them before now, this will be your first encounter with a red templar shadow. These horrific husks of once-men use their red lyrium blade-arms to great effect on your party. They fight similarly to other rogue-classed enemies but are clearly more horrific to look at on top of being very dangerous. Kill them first!
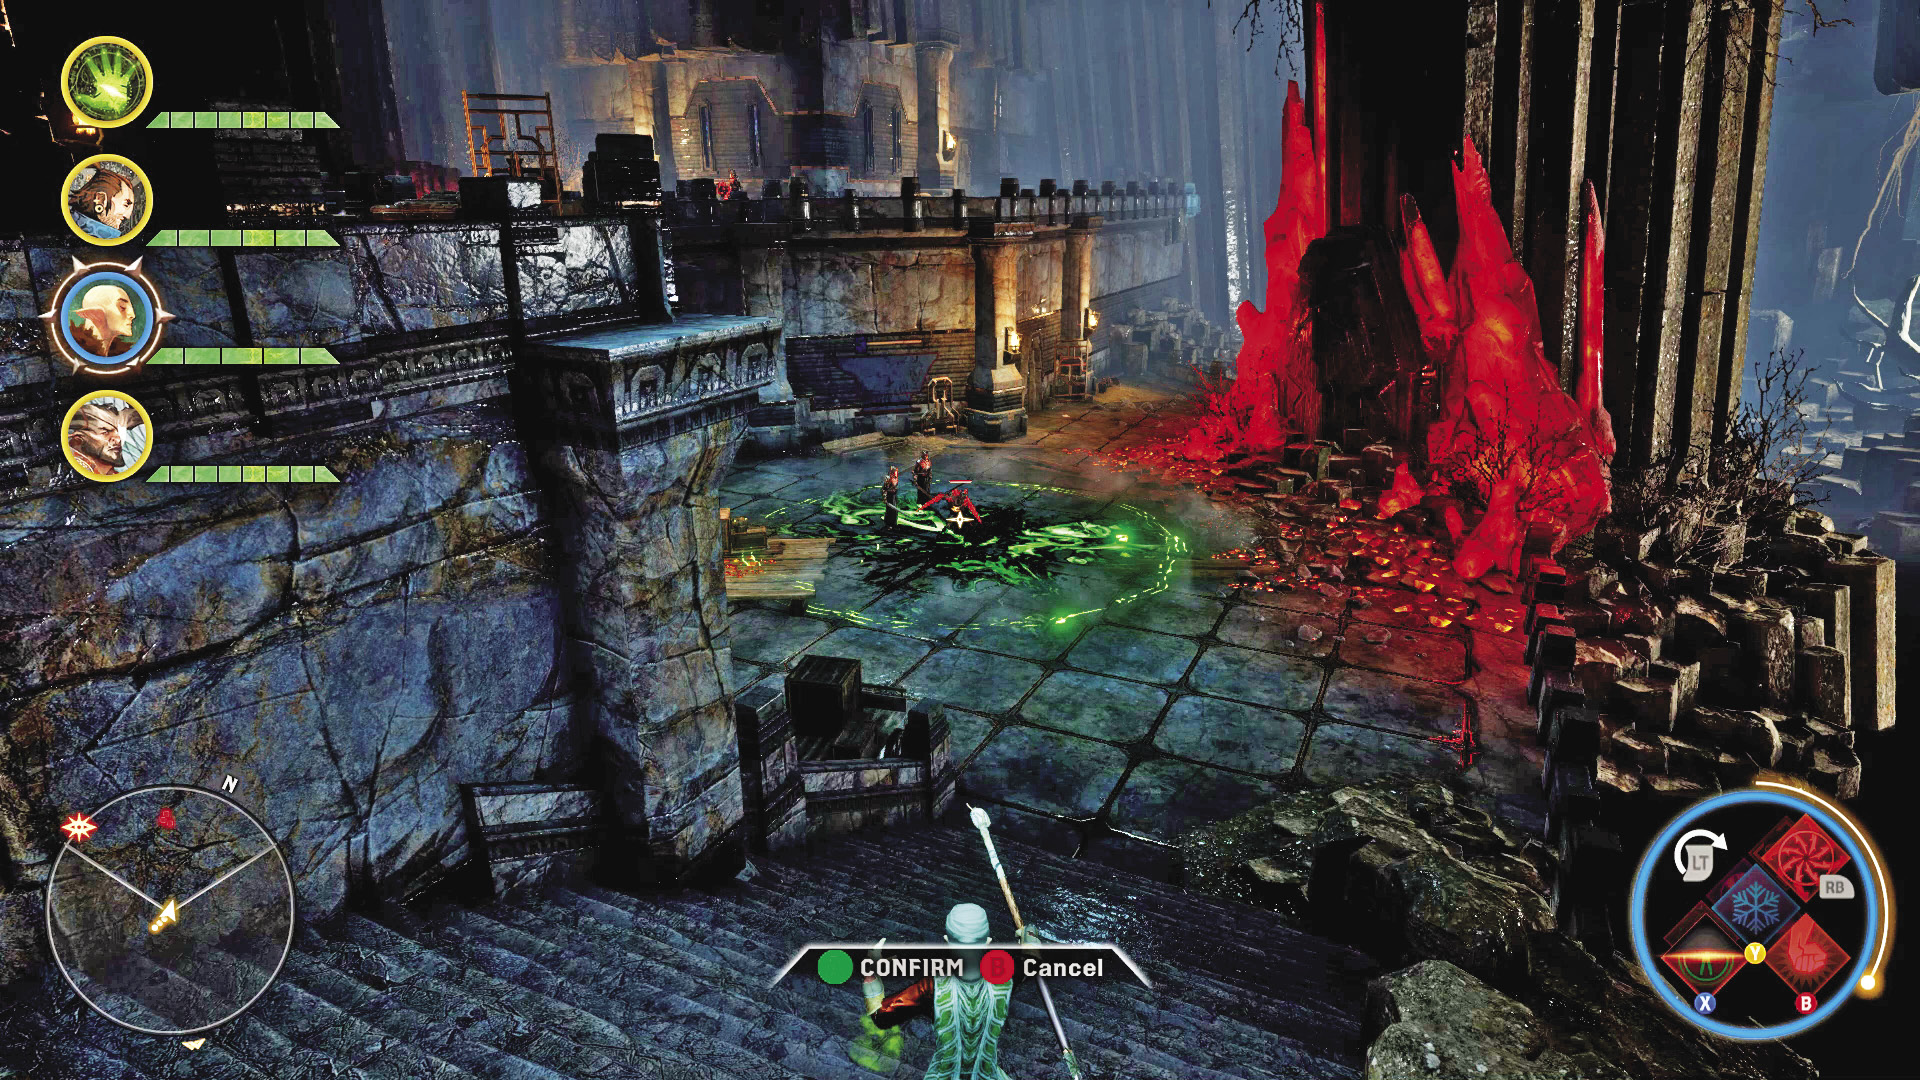
From the bridge crossing, you can go left and head down a staircase to explore the lower area. You might encounter a door that requires a key, but one of the red templars guarding this area will have it. Push past the locked door to find more loot, more deep mushrooms, another primeval red lyrium node, and an elven arcane device that can be activated for Solas’s approval, if he’s in the party. The way forward from all these goodies is cut off by a collapsed bridge, so go back up to the bridge crossing.
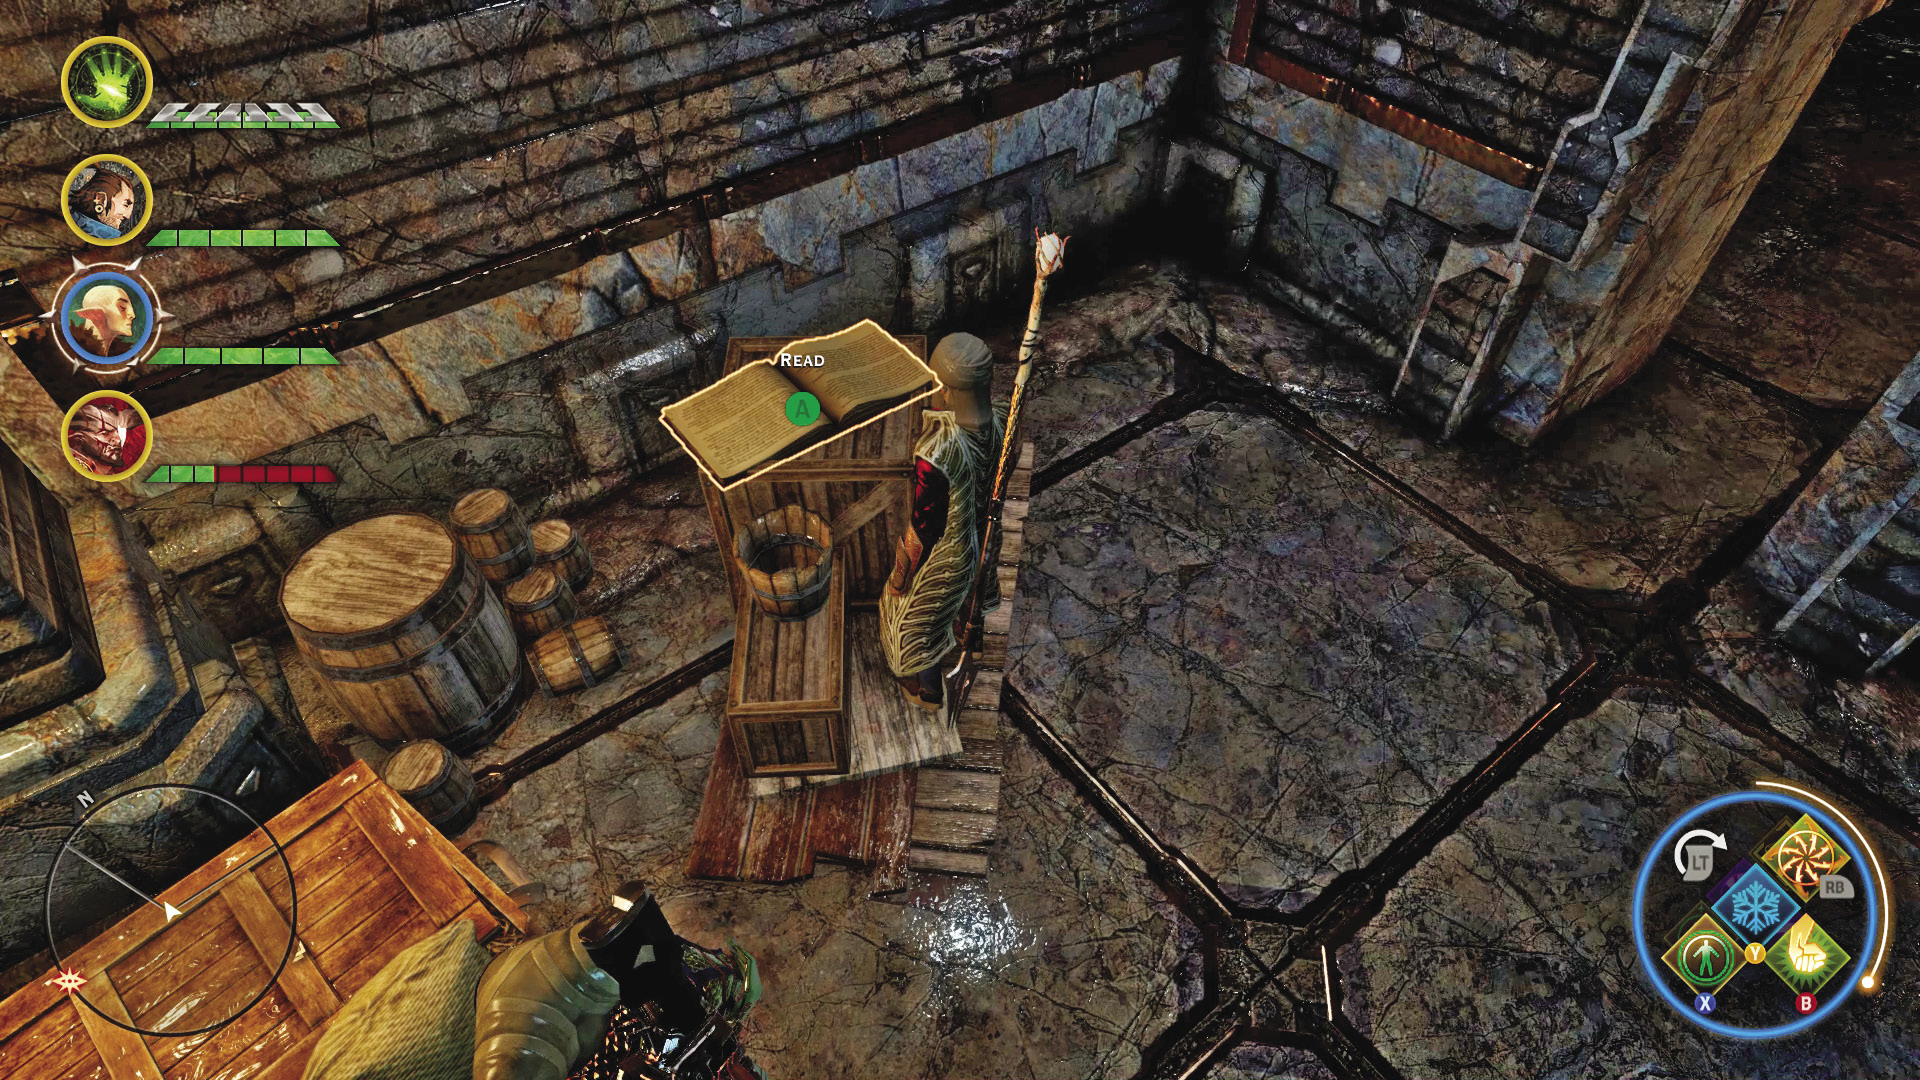
Going right from the bridge crossing, you can enter a treasure chamber on the upper level. Beyond it is another tunnel, then a wooden bridge to cross that leads to an even larger treasure room. Whatever the enemy is planning, they certainly appear to be stocking up for it.
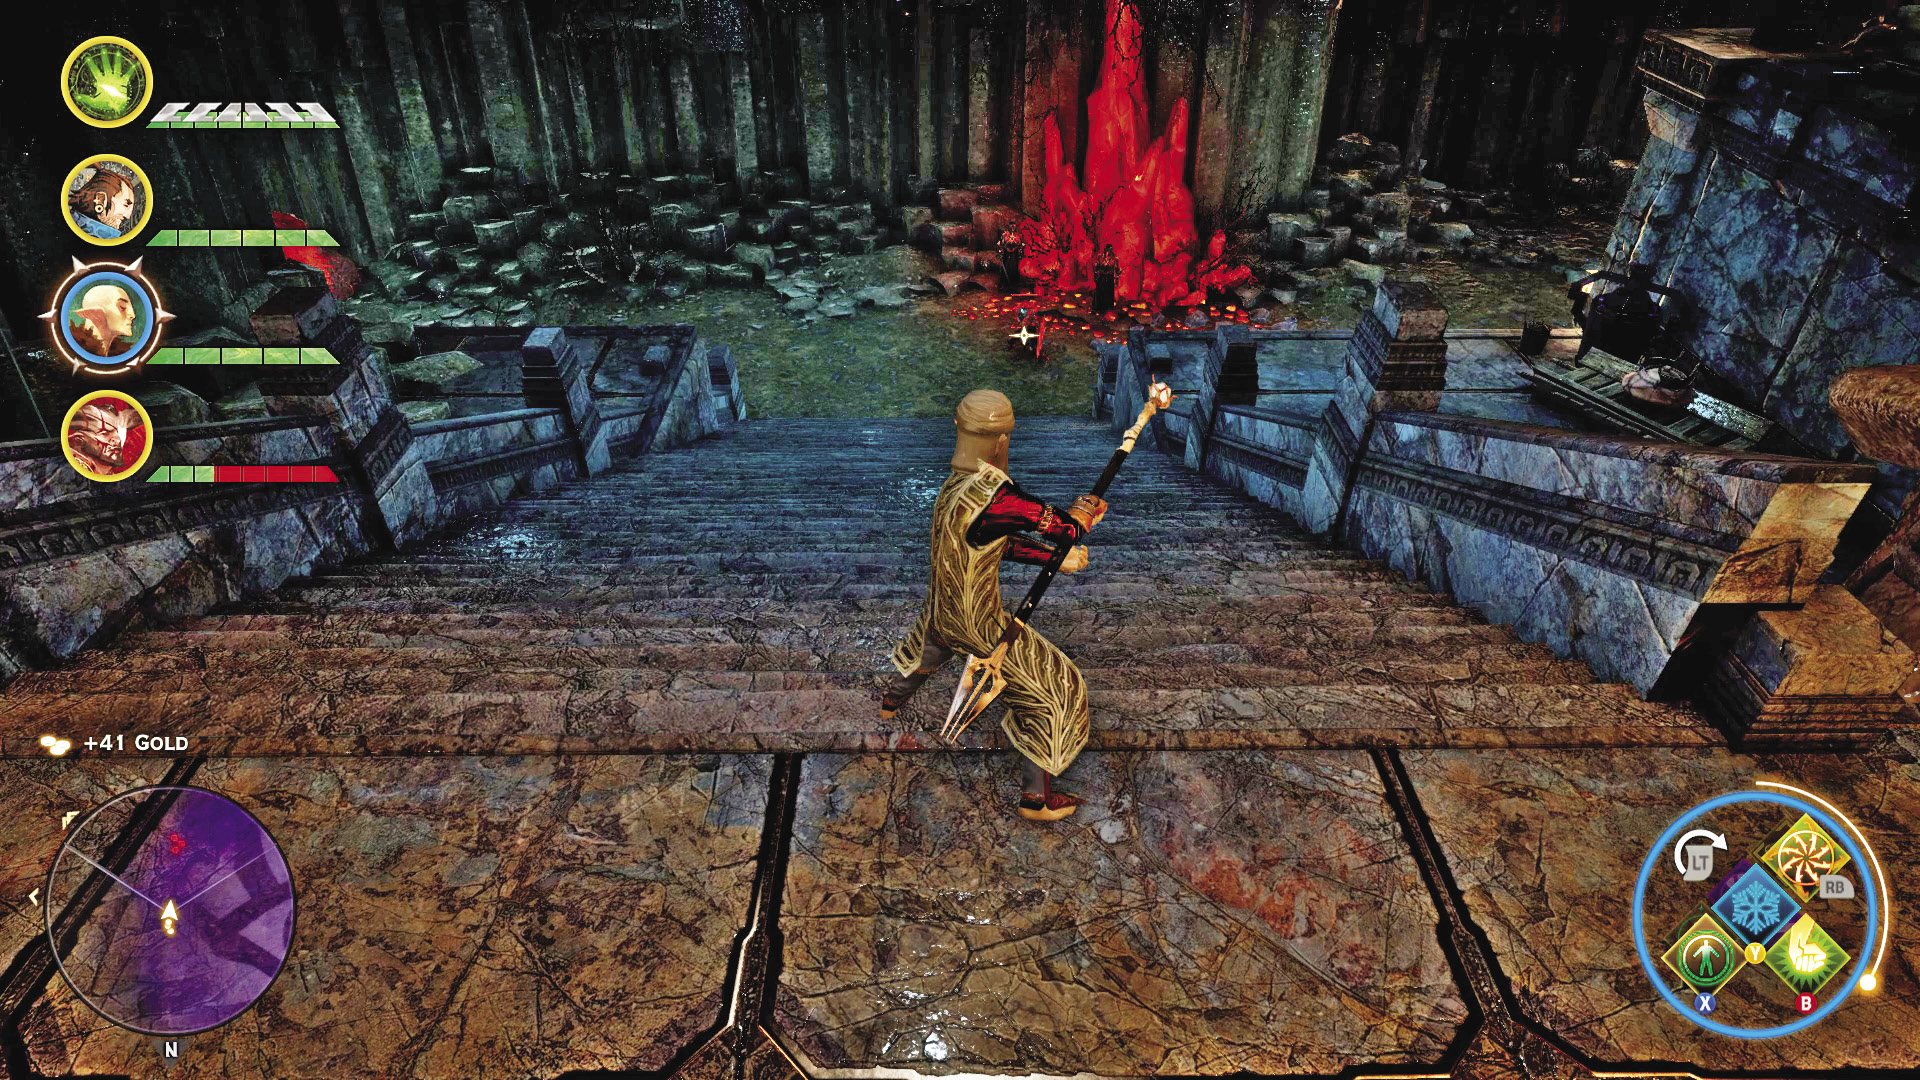
From the second treasure room a stairwell leads down to a red templar ambush. Your chief concern is the presence of the red templar behemoth. Focus your party’s efforts on bringing it down as quickly as possible, before it overpowers your team with its brutal attacks. After the fight, go left from the staircase to find another primal red lyrium node.
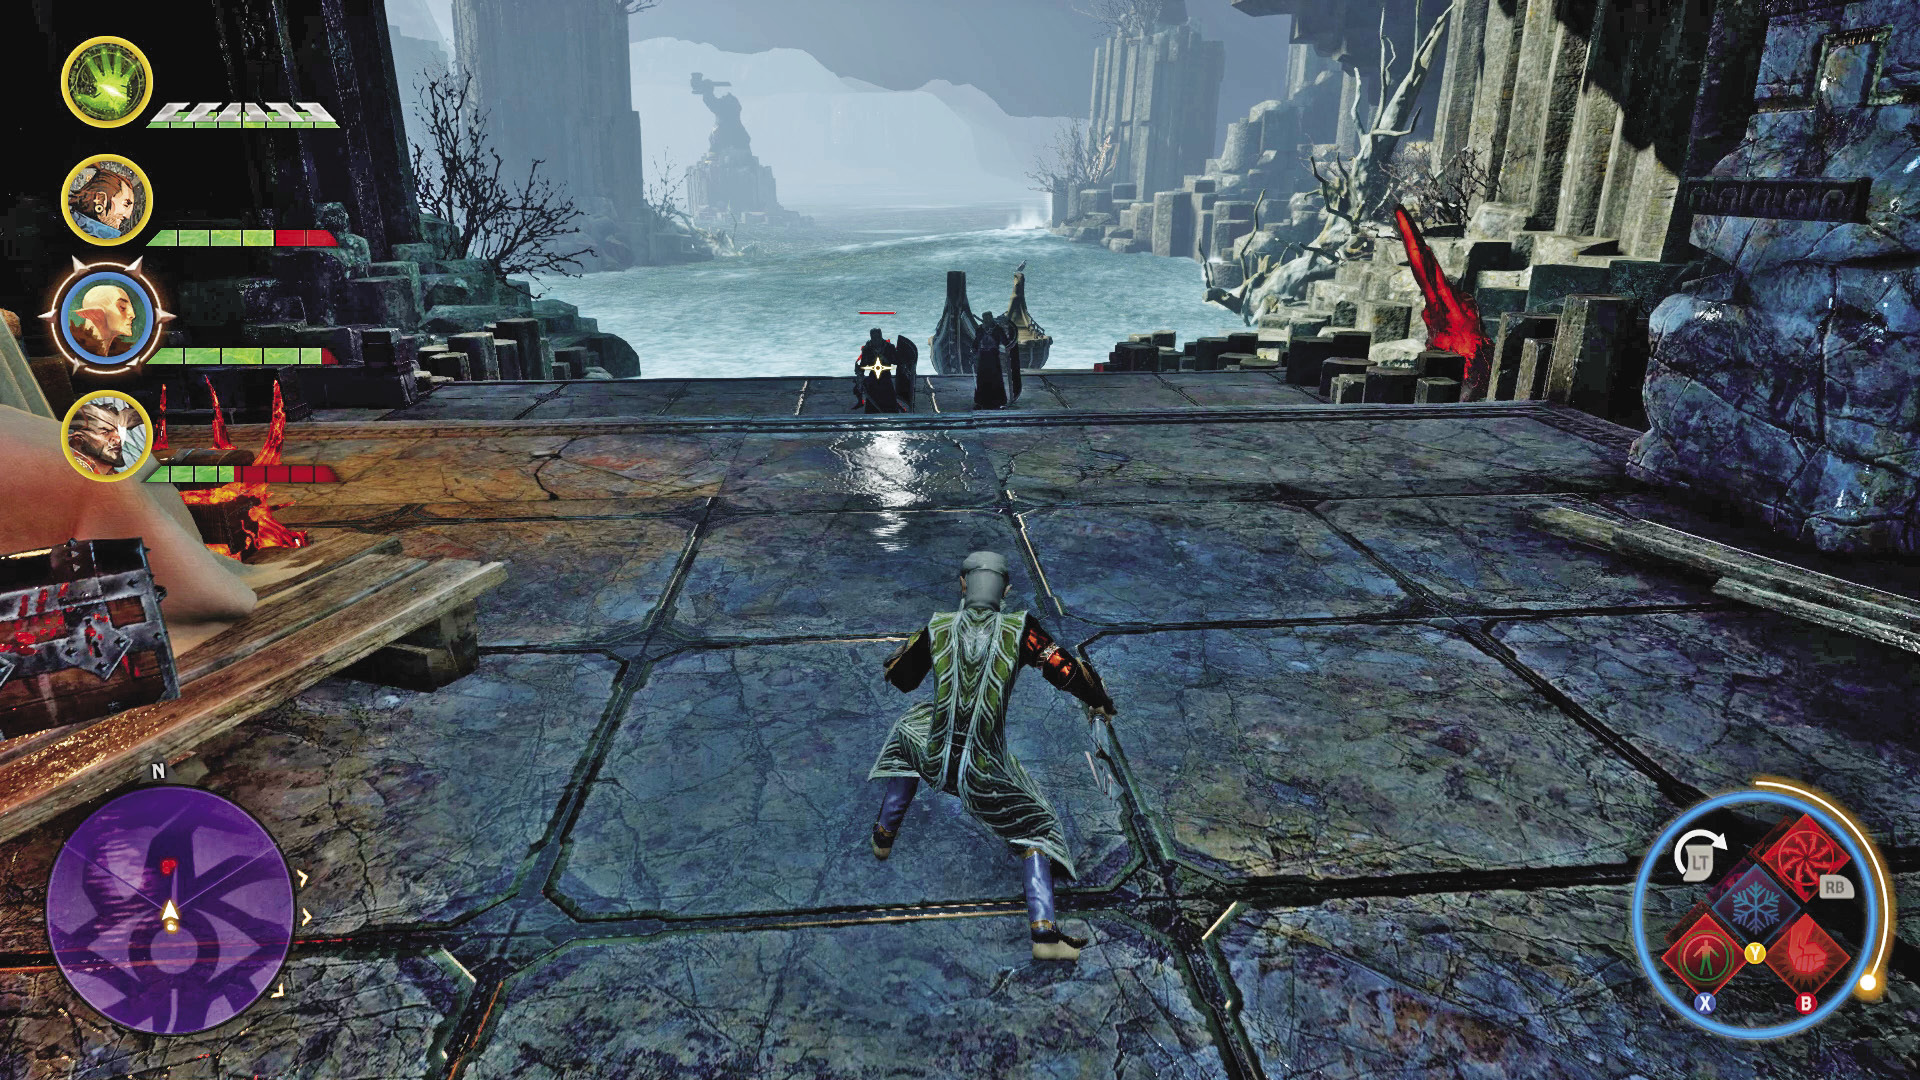
To the right of the behemoth’s position is another passage that leads to the secret docks of Daerwin’s Mouth. One last pair of red templar knights, backed up by a shadow, stand near a final primal red lyrium node. Eliminate them to break the red templars’ control of this vital dock! You discover a seaworthy boat that the last templars were guarding, and it can take you to Dragon Island.
If you’re prepared.
6: High Dragon: The Vinsomer

Recommended Level: 15+
Recommended Party Composition: One warrior (sword and shield), one rogue, two mages (armed with staves that do extra spirit damage)
Alternative Party Composition: Two warriors (sword and shield, two-handed weapon), two mages (armed with staves that do extra spirit damage)
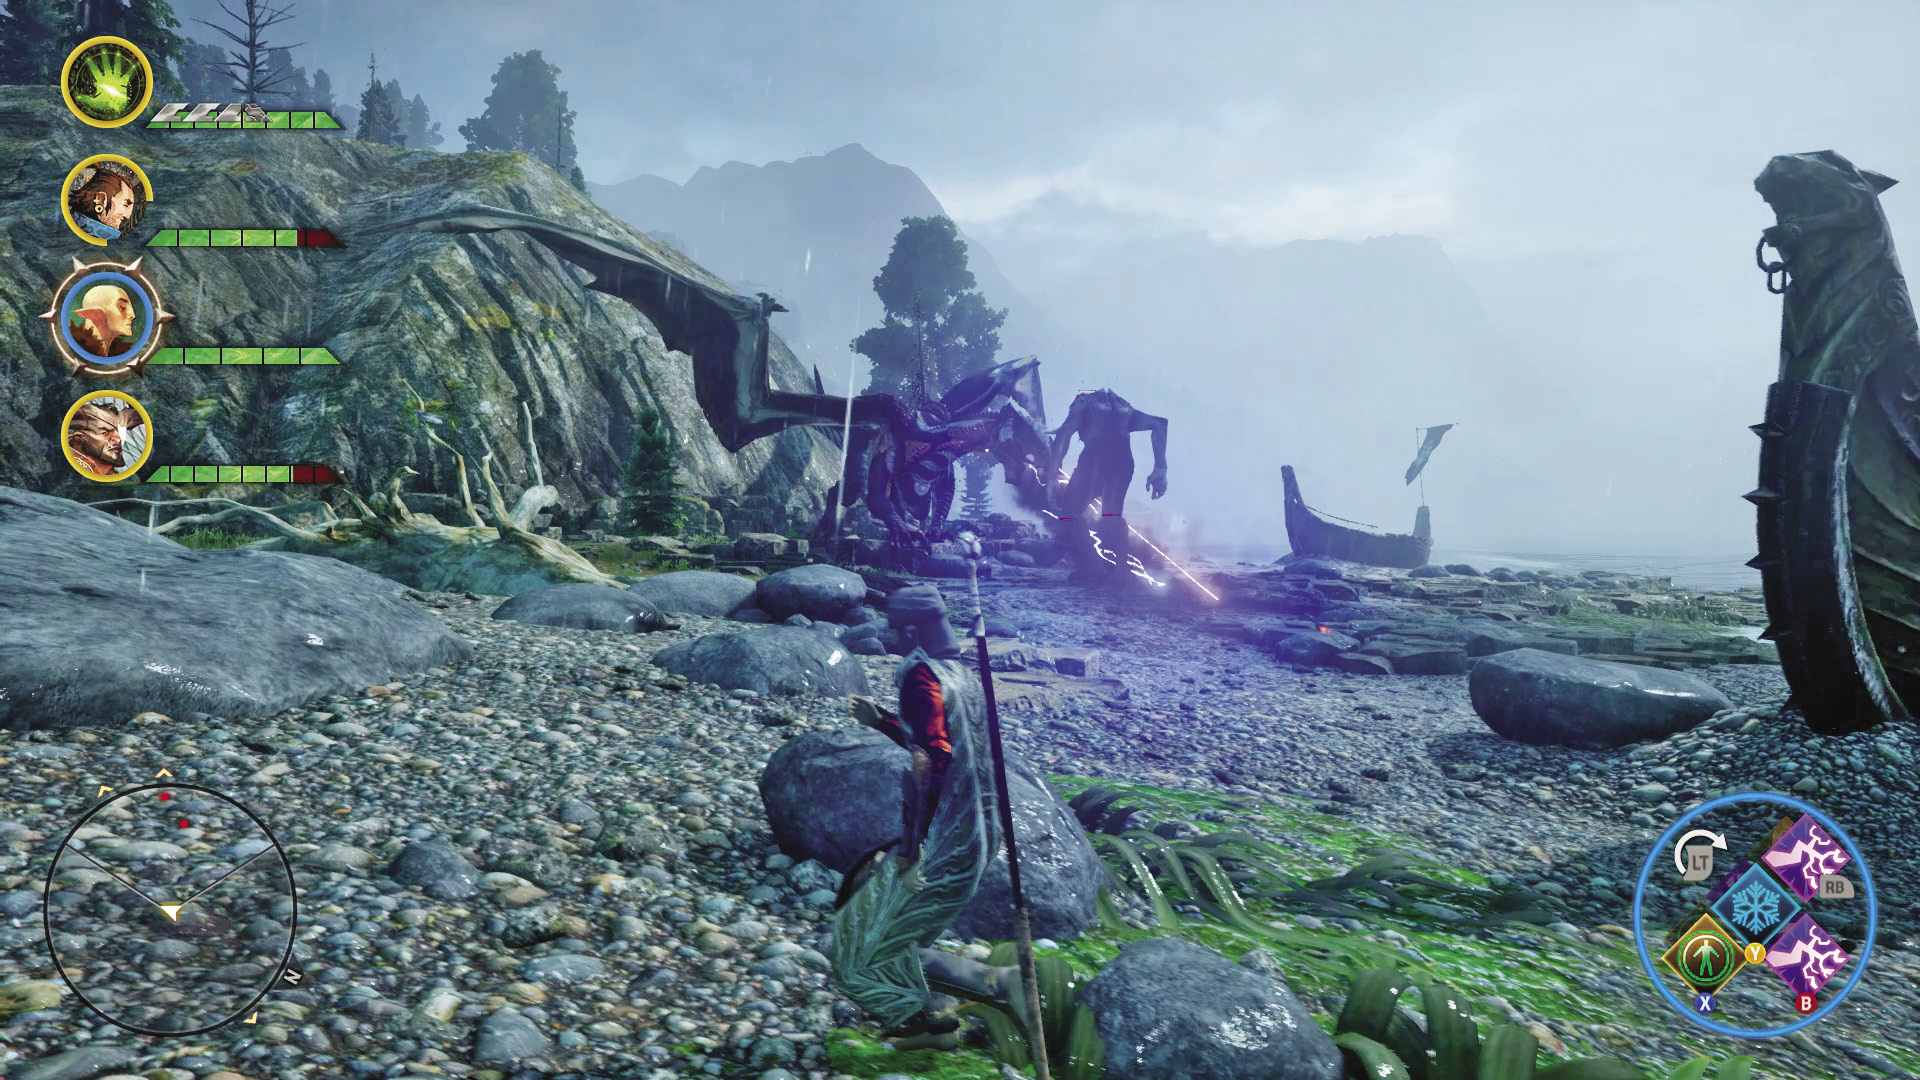
Dragon Island itself is home to the Vinsomer high dragon that rules the Storm Coast, and it can be reached by taking the boat from Daerwin’s Mouth. You may have spied the Vinsomer battling a giant, much earlier in the game. Now it’s time to hunt her down and pry some of the great treasures from her fallen corpse—if you can survive the battle, that is!
The Vinsomer is electric by nature, meaning you should take any form of electric resistance you can muster to make life easier. Mages should not use any form of magic of that element, and their staves should also not be electric. The Vinsomer is vulnerable to spirit damage, but it isn’t easy to come by without rune enchantments. It’s worth it so your mages can bring the hurt that much faster. At level 16, the Vinsomer can flatten unprepared or underleveled parties in a hurry, so don’t slack on gearing up for the fight.
Ideally, you should come to the fight with full focus bars, so you can unleash the power of the Anchor on the high dragon for heavy damage, as well as use your mages’ Heal focus ability to fully restore the party in a pinch.
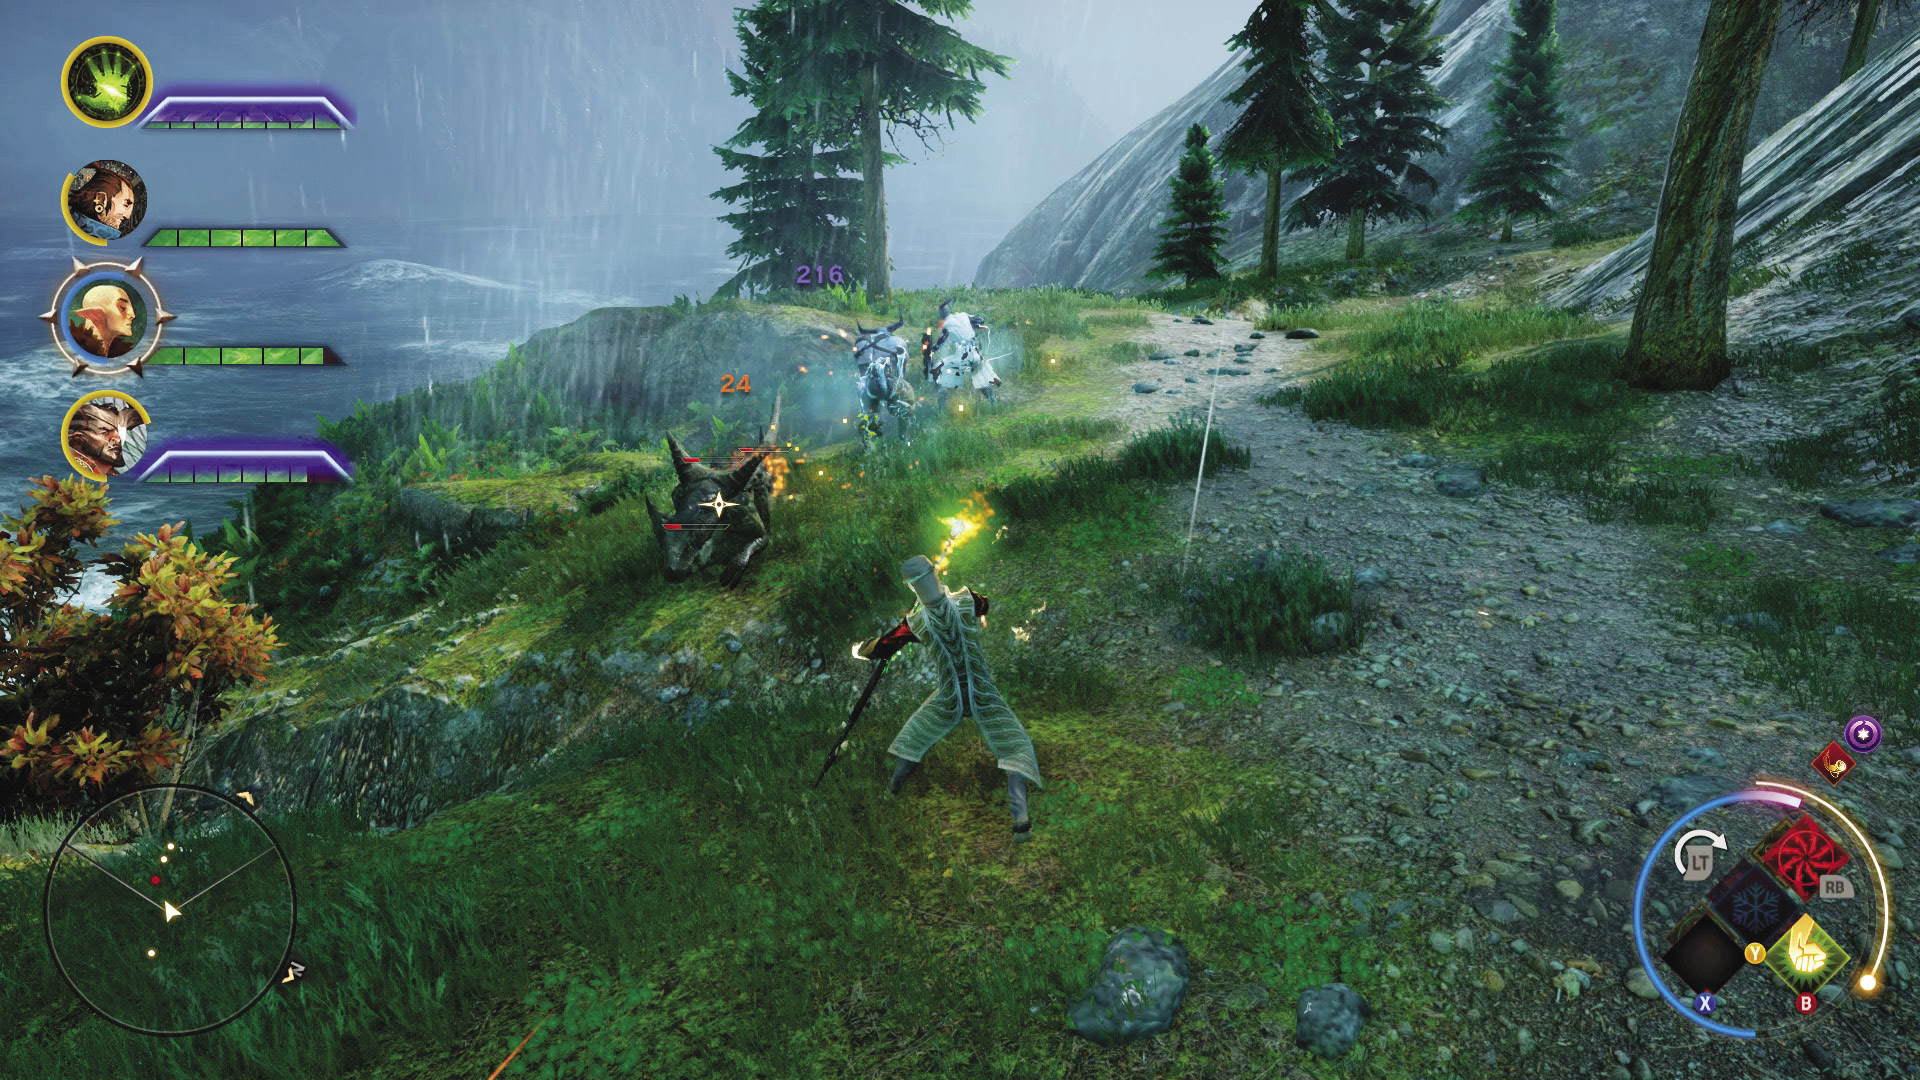
Watch out for dragonlings. Kill them as quickly as possible to avoid spending potions on healing. You want to save as many of your resources as you can for the big battle.
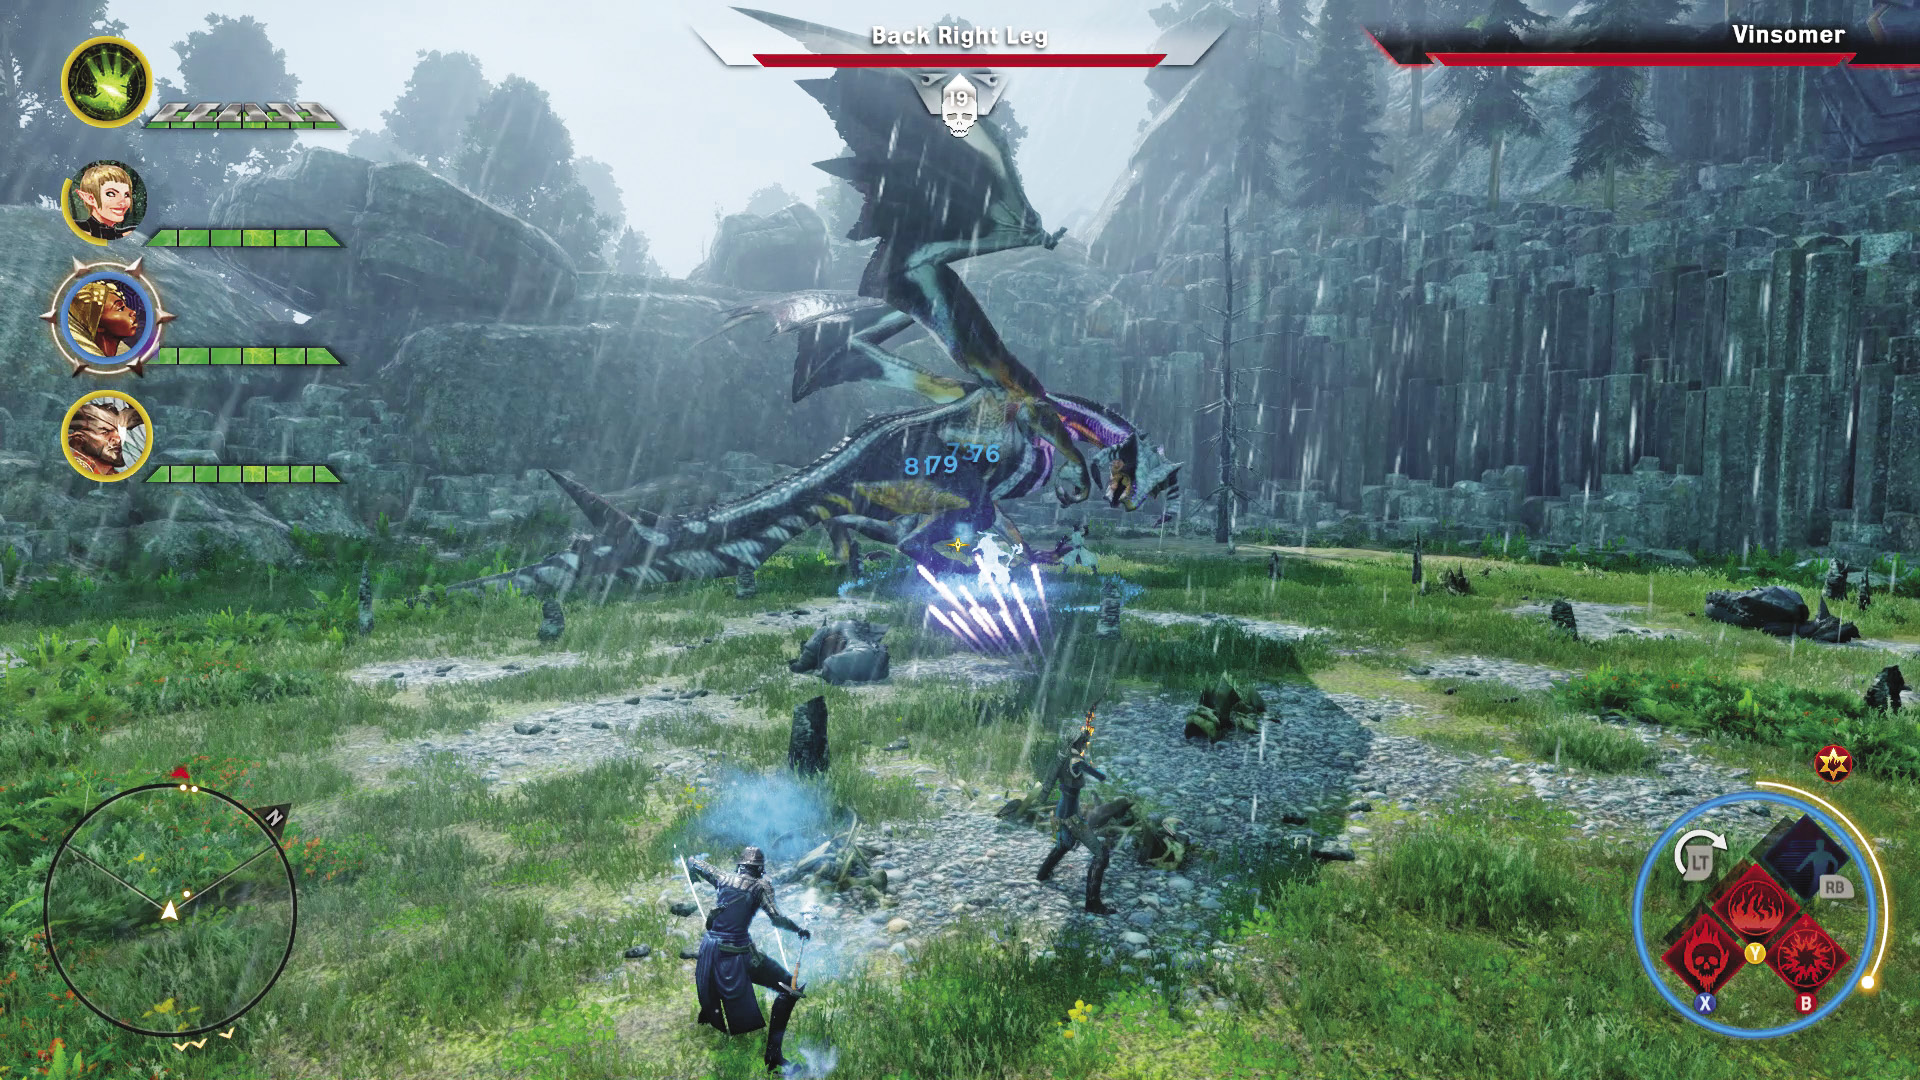
The Vinsomer possesses many of the same physical attacks that the Ferelden Frostback used, complete with the same tells. Attacks with her limbs or tail are preceded by a very clear raising of the implement she wants to inflict pain with. The Vinsomer is also very active, leaping or hovering across parts of the arena often, making life difficult for warriors trying to tank her. This is also a threat to ranged classes that rely on distance to stay alive. She gains a full bar of guard to further stymie any attacks striking her. The Vinsomer calls in dragonlings to assist and can stun the whole party with an inescapable roar.
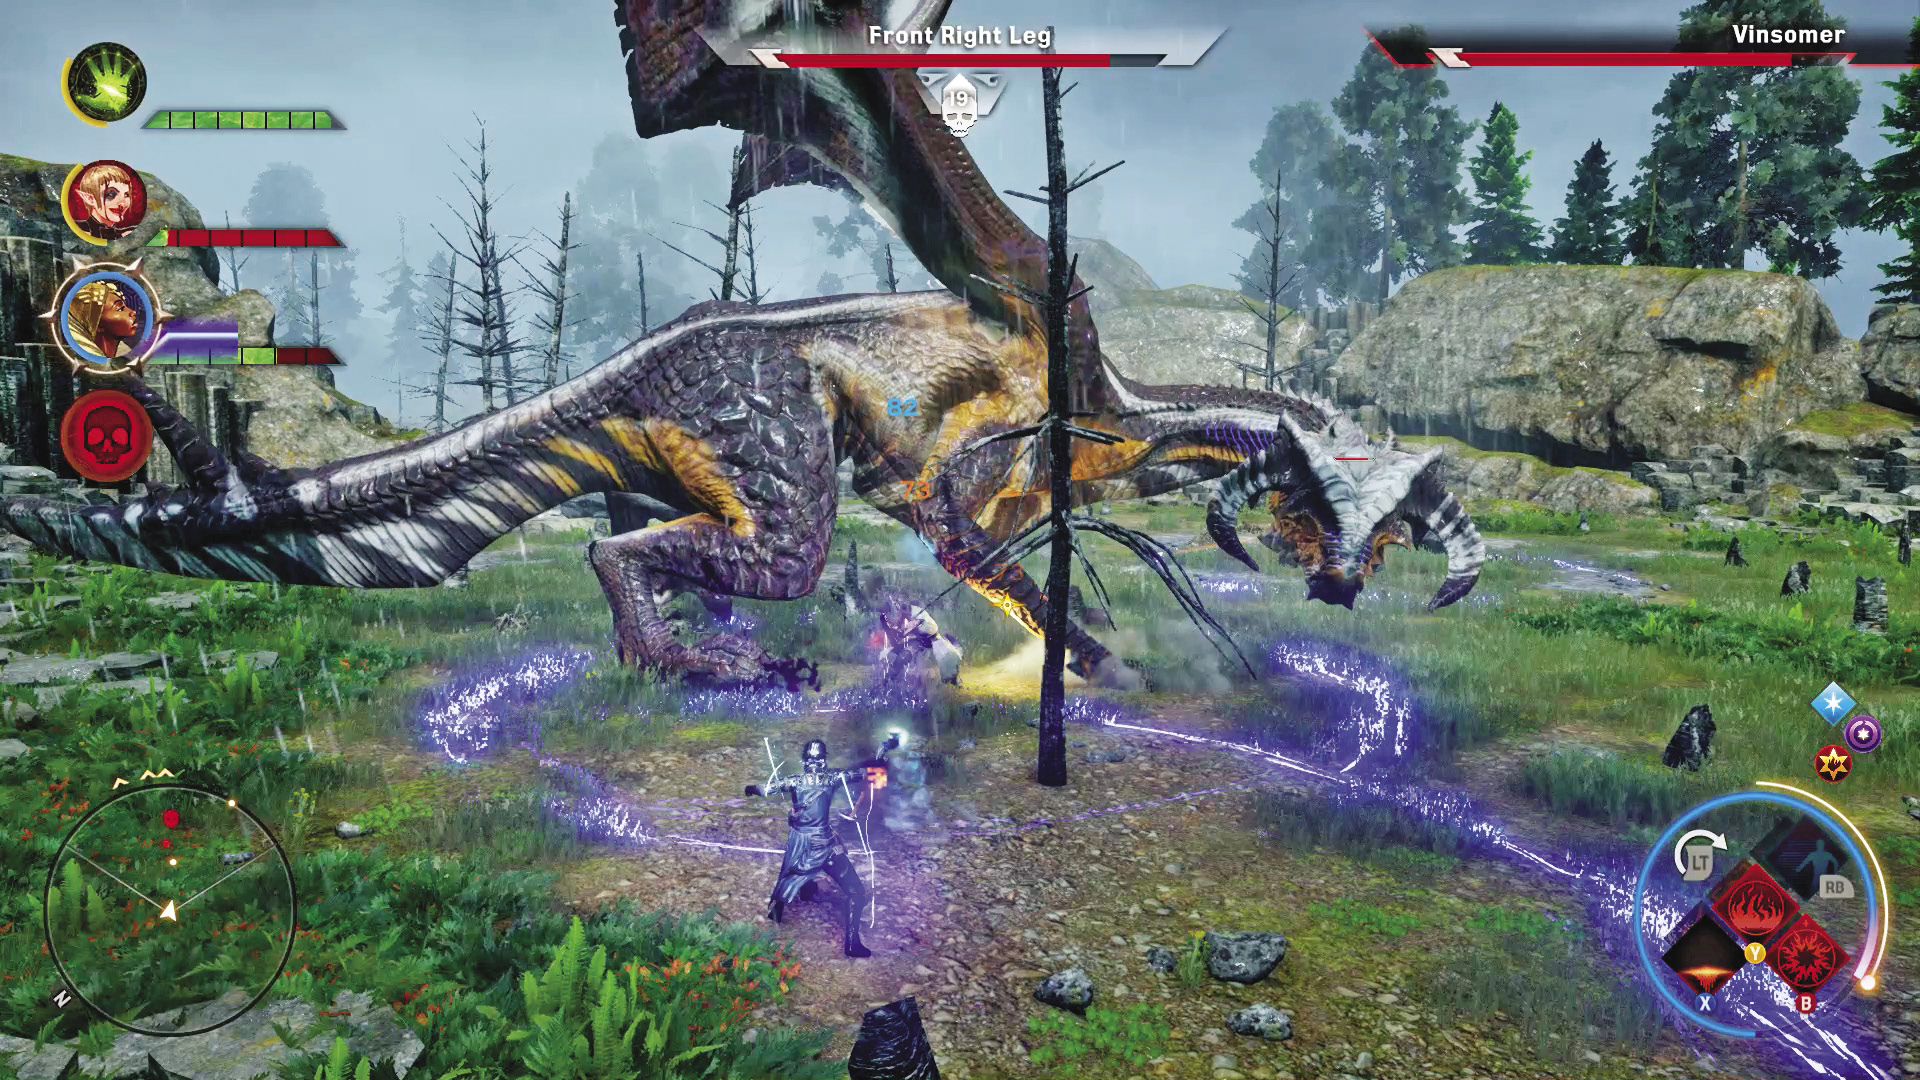
Watch the Vinsomer’s neck if you’re standing in front of the dragon. As the fight goes on, you will see it crackle with lightning. This electric storm will continue to intensify until the Vinsomer unleashes her electric breath onto the field. This devastating attack covers a larger area as the dragon sweeps it across the area in front of her head, and it can fry weaker characters in seconds. Your best hope for escaping the breath is simply to not be where it is when the attack begins.
The Vinsomer is a tough fight, as one would expect of any high dragon, but so long as you stay on top of your game, avoid taking needless blows from the limbs or tail, and avoid the electric breath, you can grind her down even if you’re a couple levels lower than she is. If you’re a warrior, pay attention to attacks you can block to build up for guard. Melee rogues should always remember to get out of the way of a limb that is raised to strike. Ranged attackers need to be aware of Vinsomer’s lightning breath by paying attention to where the Vinsomer’s head is pointed when the lightning storm around her neck reaches its peak.