
Dragon Age Inquisition Guide The Inquisitors Path The Threat Remains
The Hinterlands 1

When you’ve completed all the side quests in Haven, travel to the Hinterlands using the quest map. Upon arrival, the Inquisition scout, Harding, greets you and your party while filling you in on the current situation in the Hinterlands. The conflict between the templars and rebel mages has spread to the Crossroads, where Mother Giselle is tending to the refugees—Harding suggests getting there soon. Corporal Vale and his soldiers are defending the area, but they won’t hold out for long.
Inquisition Camps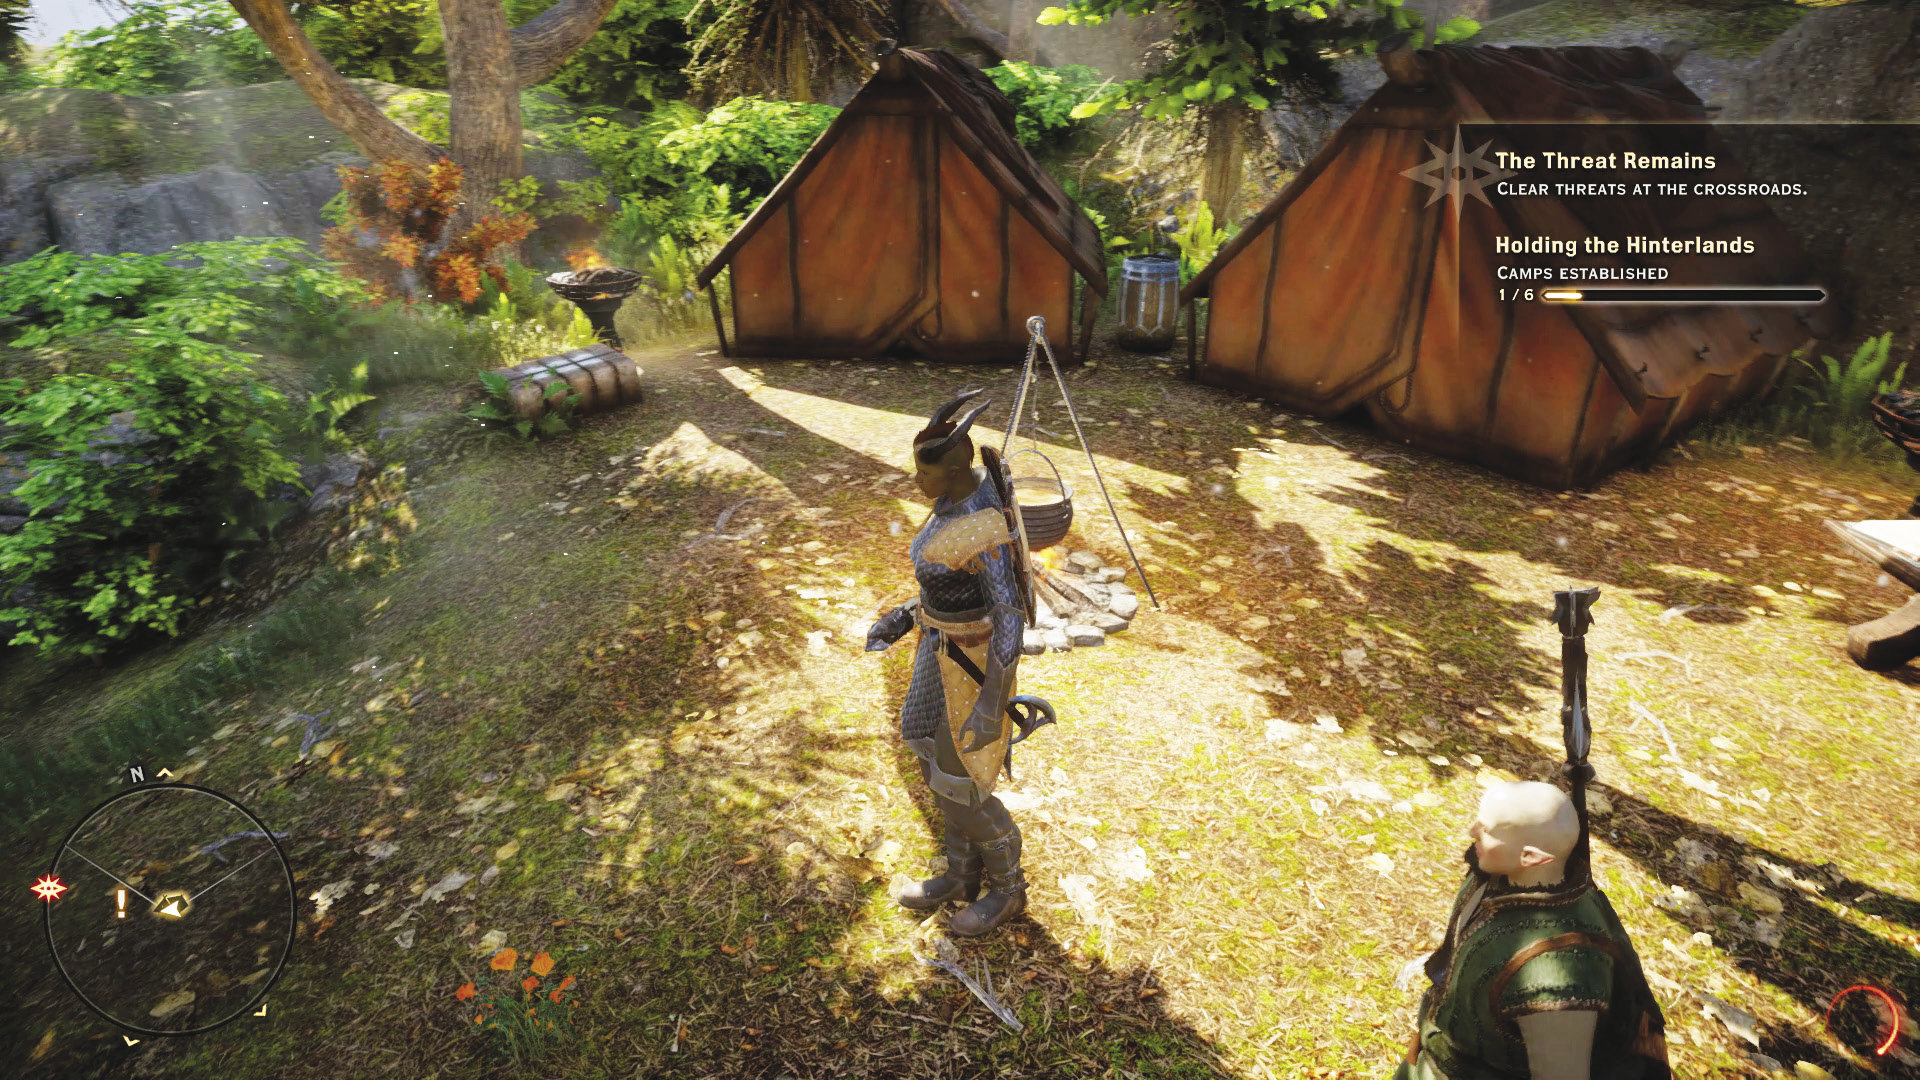
After you perform a scouting operation on the war table, an Inquisition camp is automatically established, serving as your entry point into the locale. At camps you can rest, fill requisitions, equip potions, and change companions. Camps also serve as fast travel points. Establish more camps throughout the Hinterlands and other locales. One power is rewarded for each new camp you establish—this is by far the easiest method to gain power. Camps can only be established at predetermined locations. View the quest map to see these campsites—you can establish five additional camps in the Hinterlands. |
Secure the Crossroads
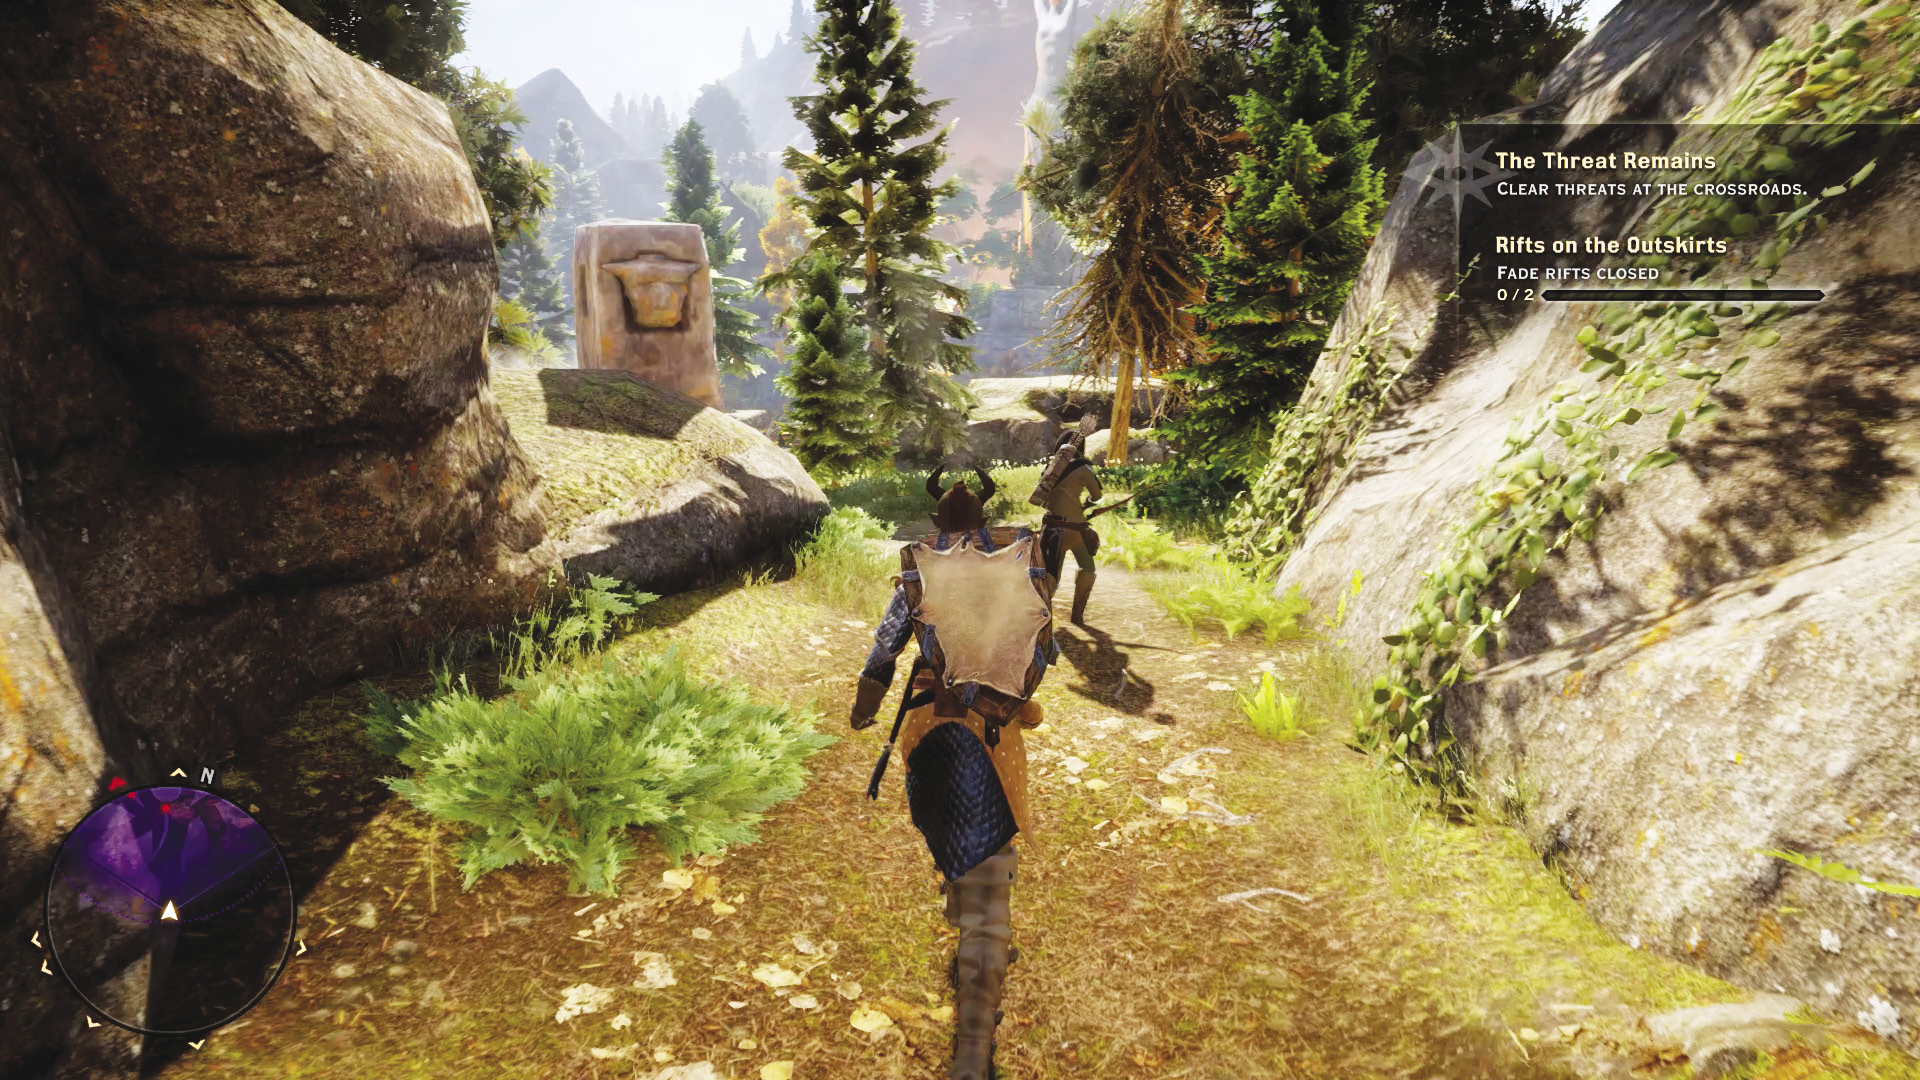
Lead your party to the Crossroads, moving along the trail to the north. As you approach the Crossroads, Corporal Vale and his Inquisition soldiers are under attack by a group of three templar knights. Immediately engage the tactical camera and take a moment to plan your attack. Templar knights perform similar to shades, relying solely on melee attacks to dish out damage. But unlike shades, they have the ability to block incoming melee attacks. Use Cassandra’s Challenge to taunt them, then attack from a distance with Solas and Varric.
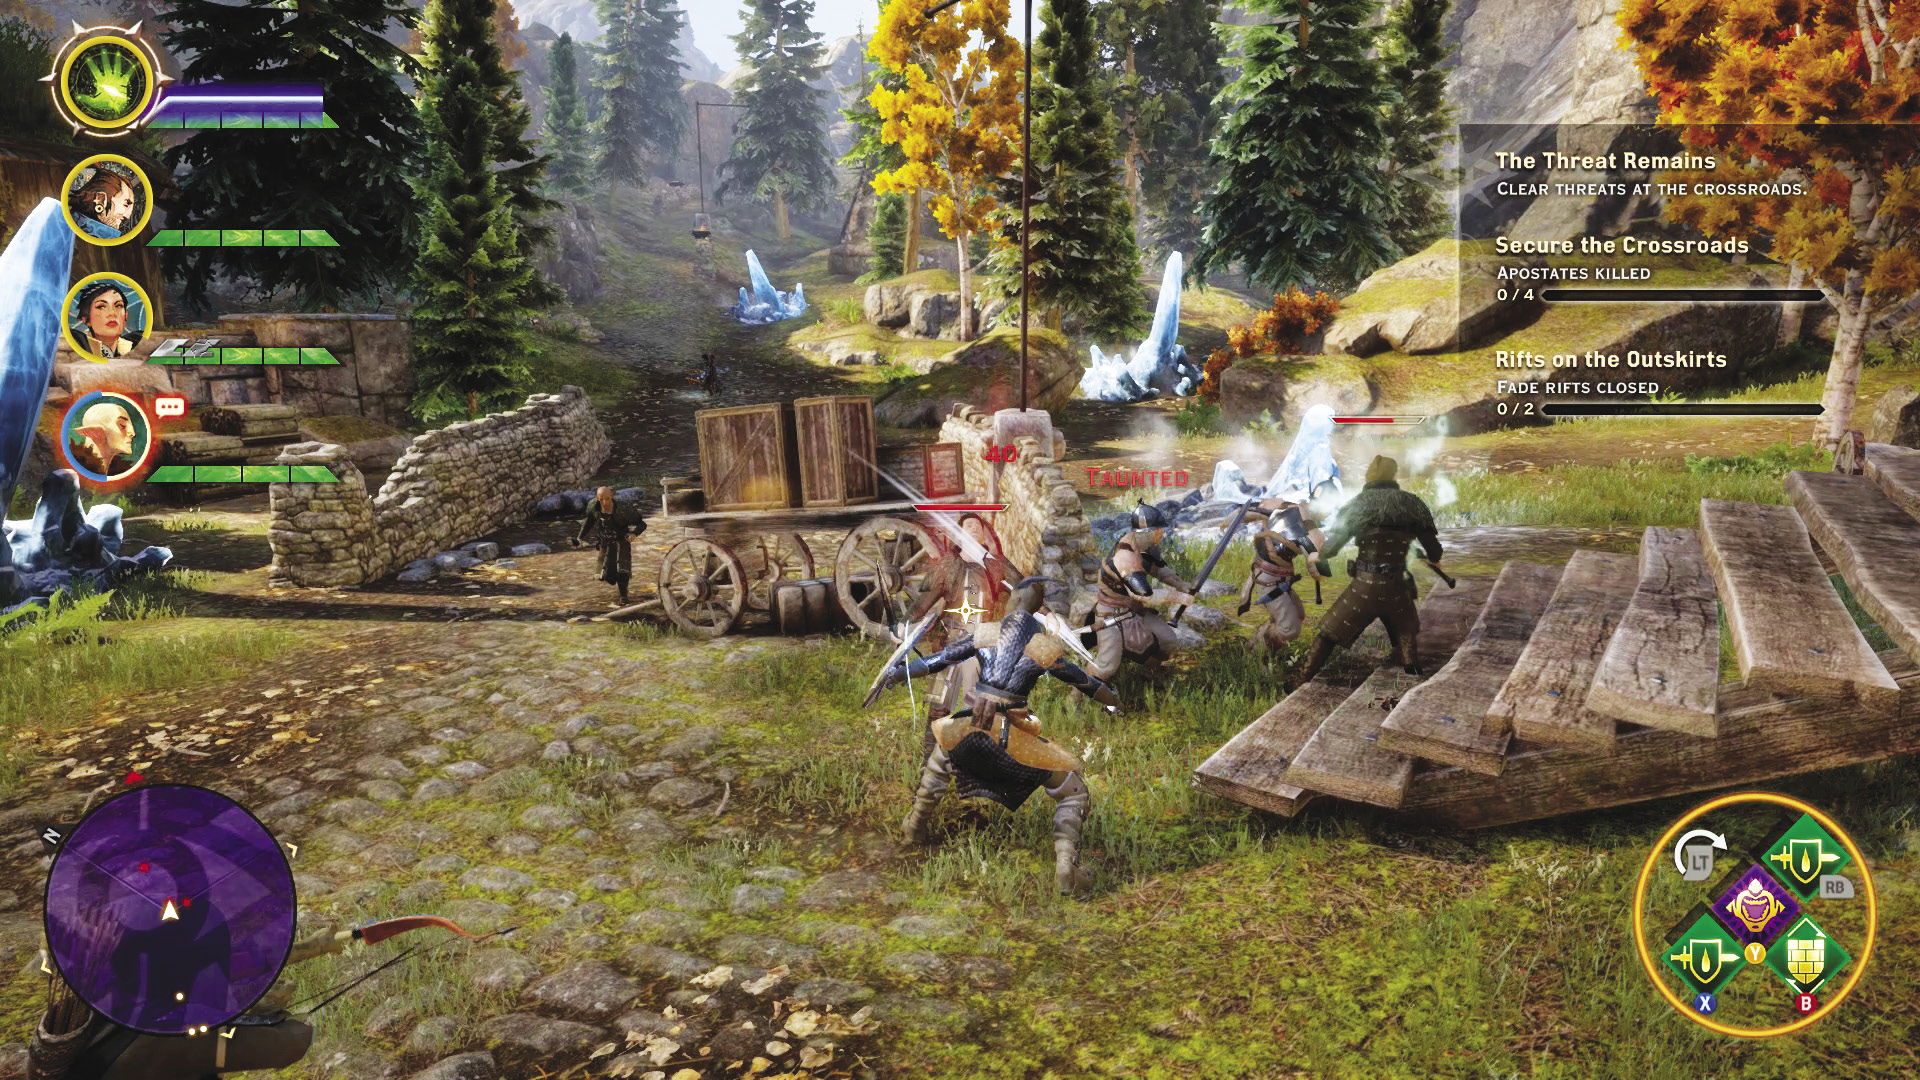
After you defeat the templars, rebel mages approach from the east. The group consists of two sellswords and two rebel spellbinders. Target and eliminate the charging sellswords first, using Cassandra to taunt them. The rebel spellbinders are a bit more dangerous, casting spells from a distance. These enemies are vulnerable to cold-based attacks but resistant to fire. Therefore, focus on using cold-based attacks to inflict bonus damage. Also, watch out for the fiery circular glyphs the rebel spellbinders cast on the ground. Think of these fiery glyphs as landmines—if any friendly character steps on one, the glyph explodes and deals heavy fire damage. Rebel spellbinders also have the ability to teleport in an effort to avoid incoming melee attacks. Your party members with ranged attacks have the best chance of taking these guys down.
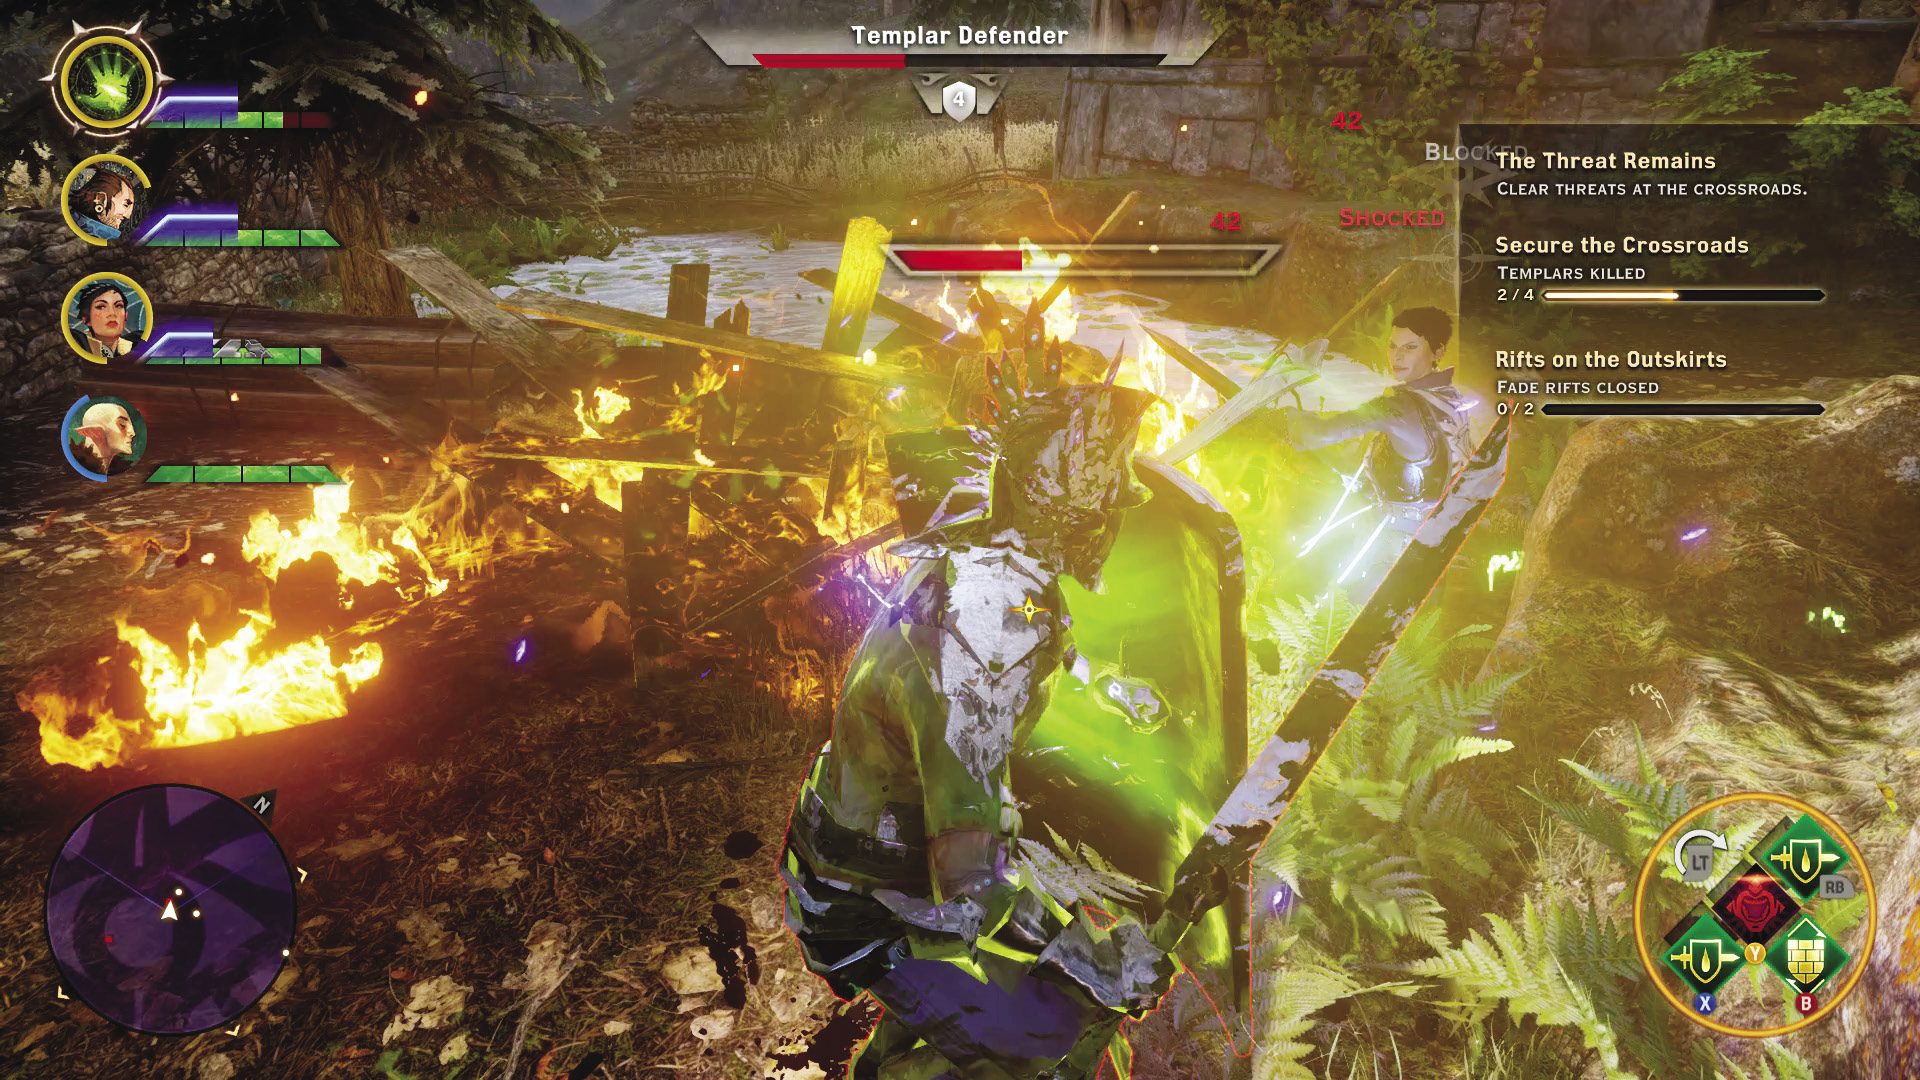
The third and final wave consists of three templar knights and one templar defender. Focus on the templar knights first, picking them off one by one. The templar defender is the most durable enemy you’ve faced yet. Equipped with a massive shield, the templar defender can block all frontal attacks. You need to find a way to flank him. Try to draw his attention with Cassandra’s Challenge, initiating it while she’s standing behind him—otherwise it will be blocked. Once Cassandra has taunted the templar defender, position the rest of your party so they can strike him from the back or sides, preferably forming a circular formation around him. While Cassandra’s attacks may cause no damage, any hits from the side or rear get through and inflict damage. Occasionally the templar defender will charge forward, knocking down anyone in his path. Don’t let these aggressive displays deter you. Keep taunting him and repositioning your party as necessary so they can score flanking strikes. Knockdown attacks are particularly effective, as the templar knight cannot deploy his shield while on the ground—hammer away at him from all angles as he struggles to get back on his feet.
Mother Giselle
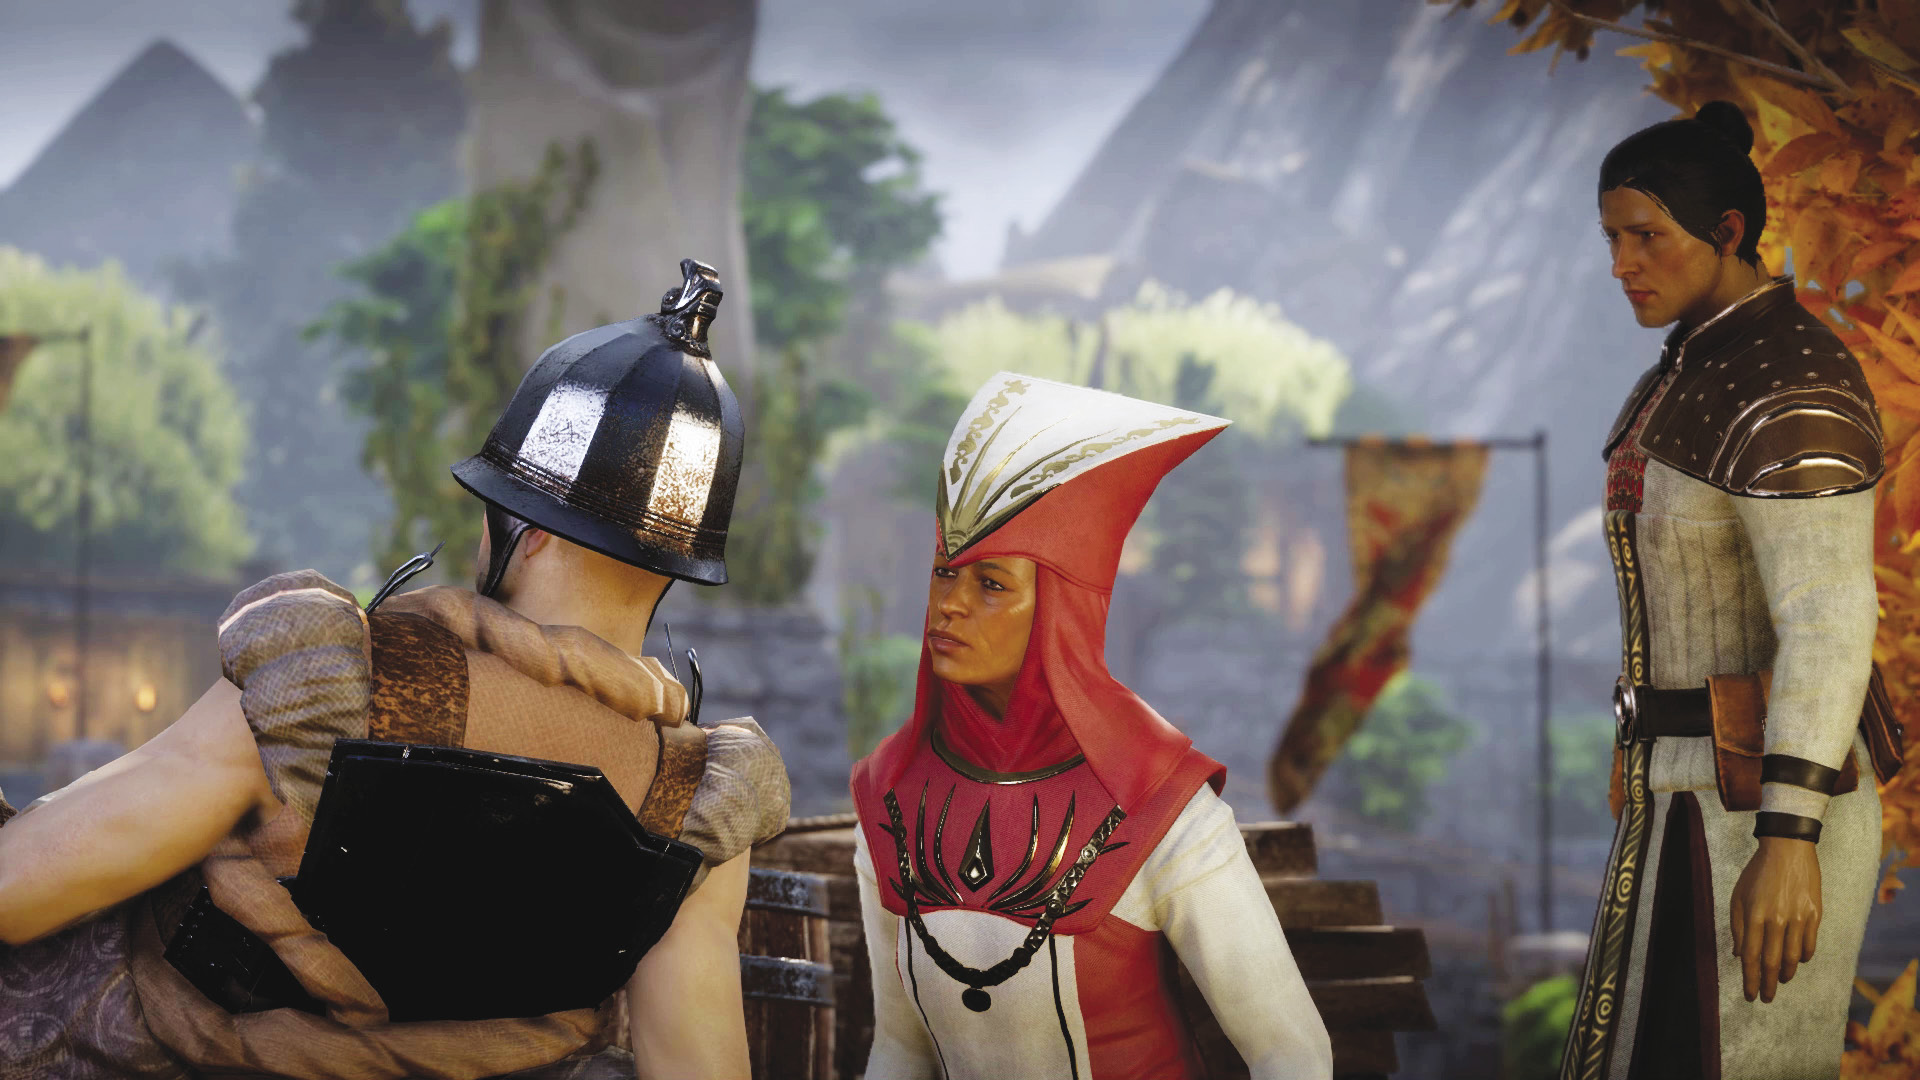
After defeating the templars and rebel mages at the Crossroads, your character strikes up a conversation with Mother Giselle. Despite her position as a Chantry cleric, Mother Giselle does not agree with the Chantry’s denouncement of you. She suggests seeking an audience with the remaining clerics and convincing them that you’re not a threat. In the meantime, Mother Giselle will go to Haven and supply Leliana with the names of Chantry clerics who will agree to meet with you.
Landmarks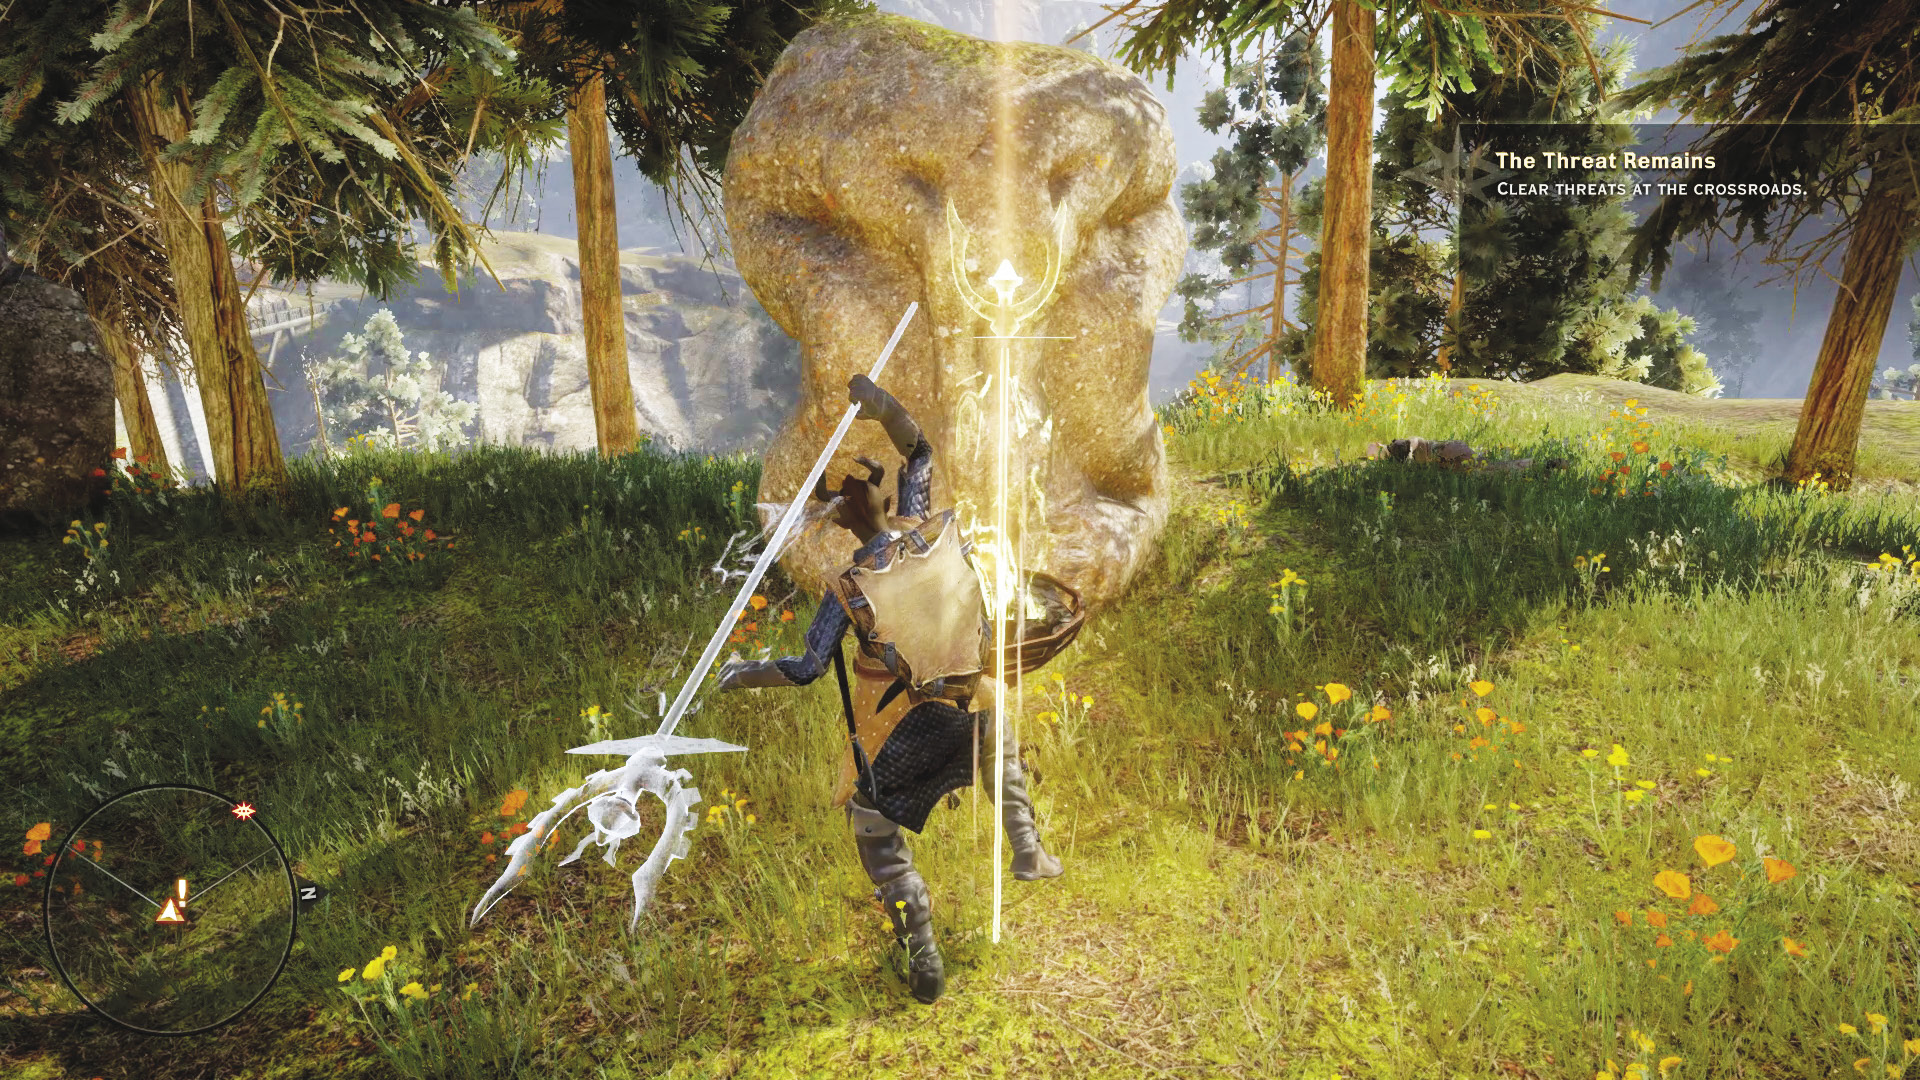
After speaking to Mother Giselle, claim the landmark (Saga of Tyrdda Bright-Axe, Avvar-Mother) nearby by planting an Inquisition banner. There are 17 landmarks in the Hinterlands. Each landmark unlocks a codex entry, providing more information on each area. Claiming all landmarks in a locale gives the Inquisition power. |
Corporal Vale
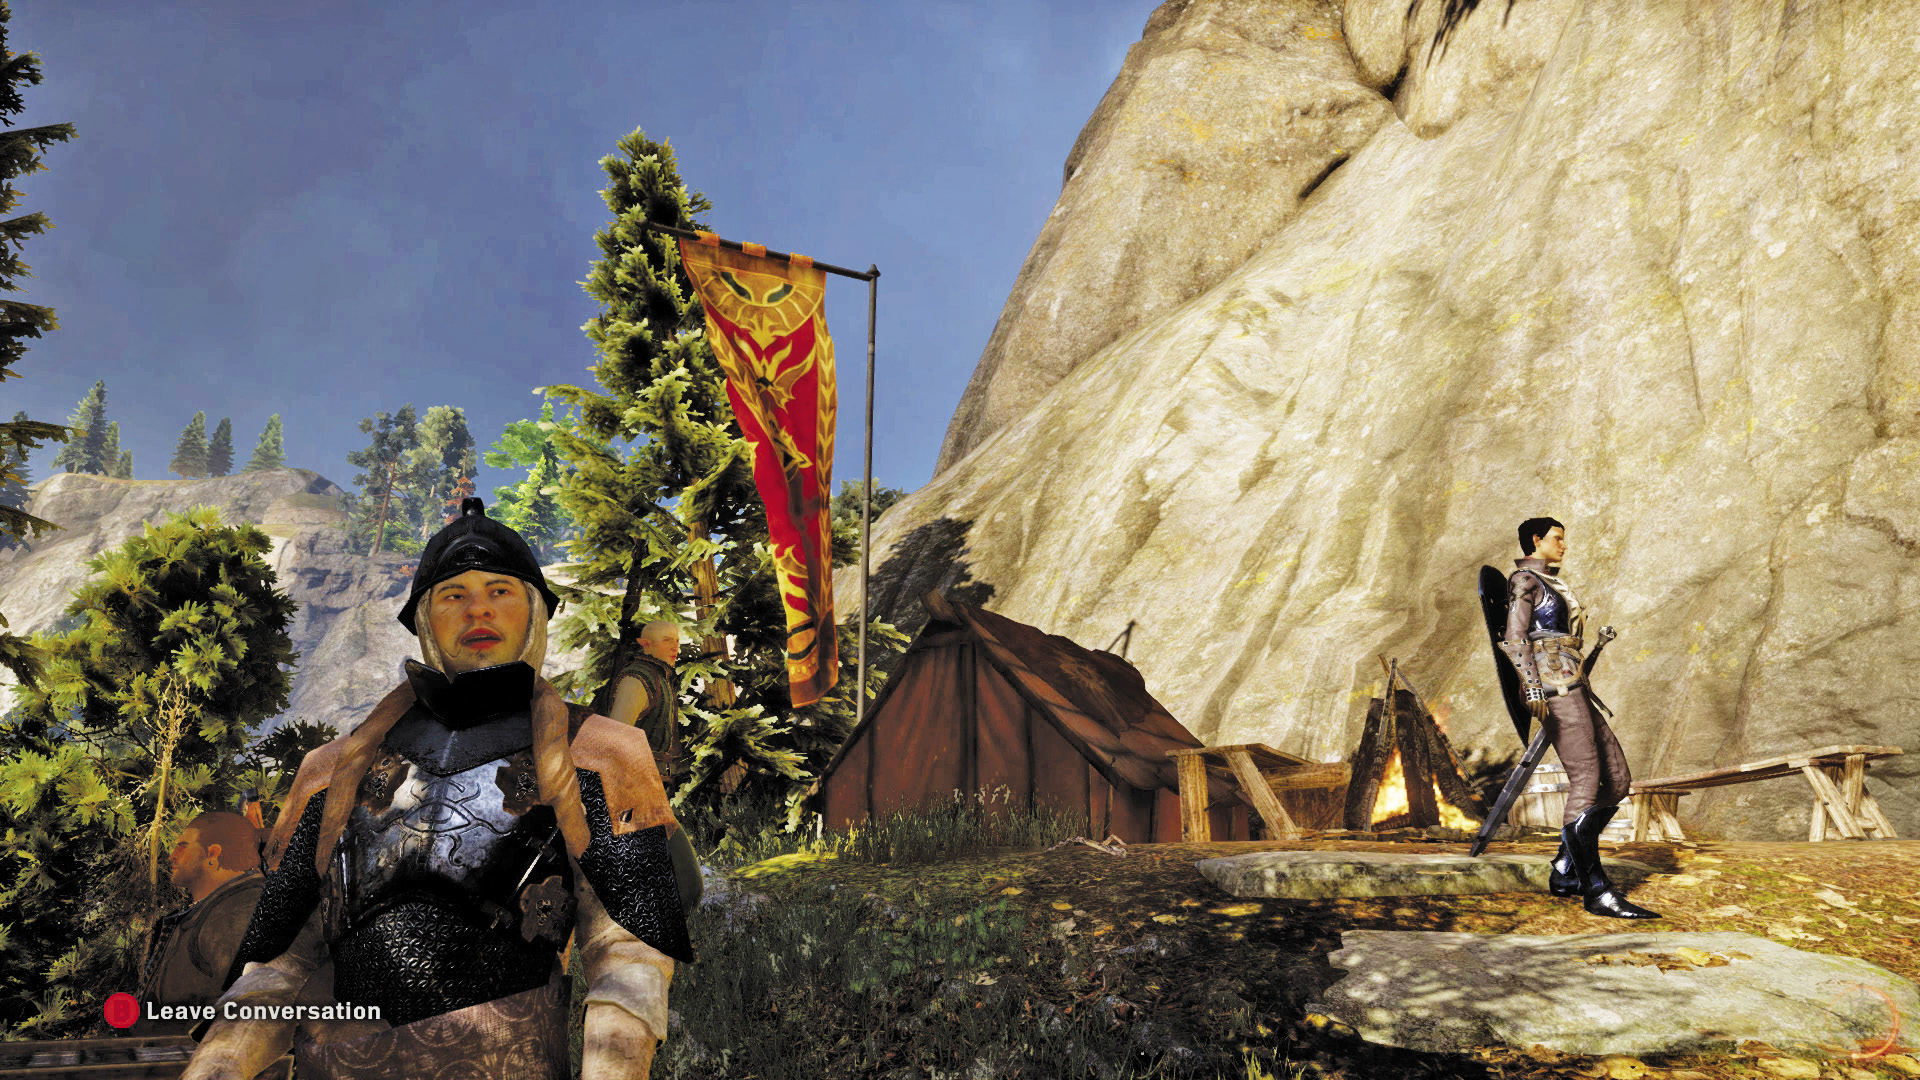
Next, seek out Corporal Vale—his position is marked on the compass and quest map. Corporal Vale is overseeing the Inquisition’s efforts in the Hinterlands. He’s grateful for your assistance at the Crossroads, but there’s more work to be done. The templars and rebel mages aren’t the only threat. Bandits have blocked the nearby road, making it difficult to deliver aid to the refugees.
Gaining Power
In an effort to stabilize the Hinterlands, you must acquire power and expand the reach of the Inquisition. A total of four power must be earned before you can address the chantry in Val Royeaux. How you gain power is entirely up to you. Establishing camps is the easiest way to gain power, earning you one power for each camp. There are also Fade rifts scattered throughout the Hinterlands—closing each rift earns you power. You can also complete quests to gain power. Once you’ve acquired at least four power, return to Haven.
Recommended Quests
| Quest/Activity | Locale | Power |
|---|---|---|
| Requisition for Weapons | Haven | 1 |
| Rifts on the Outskirts | The Hinterlands | 2 |
| Establish Upper Lake Camp | The Hinterlands | 1 |