
Dragon Age Inquisition Guide The Inquisitors Path What Pride Had Wrought
The Arbor Wilds
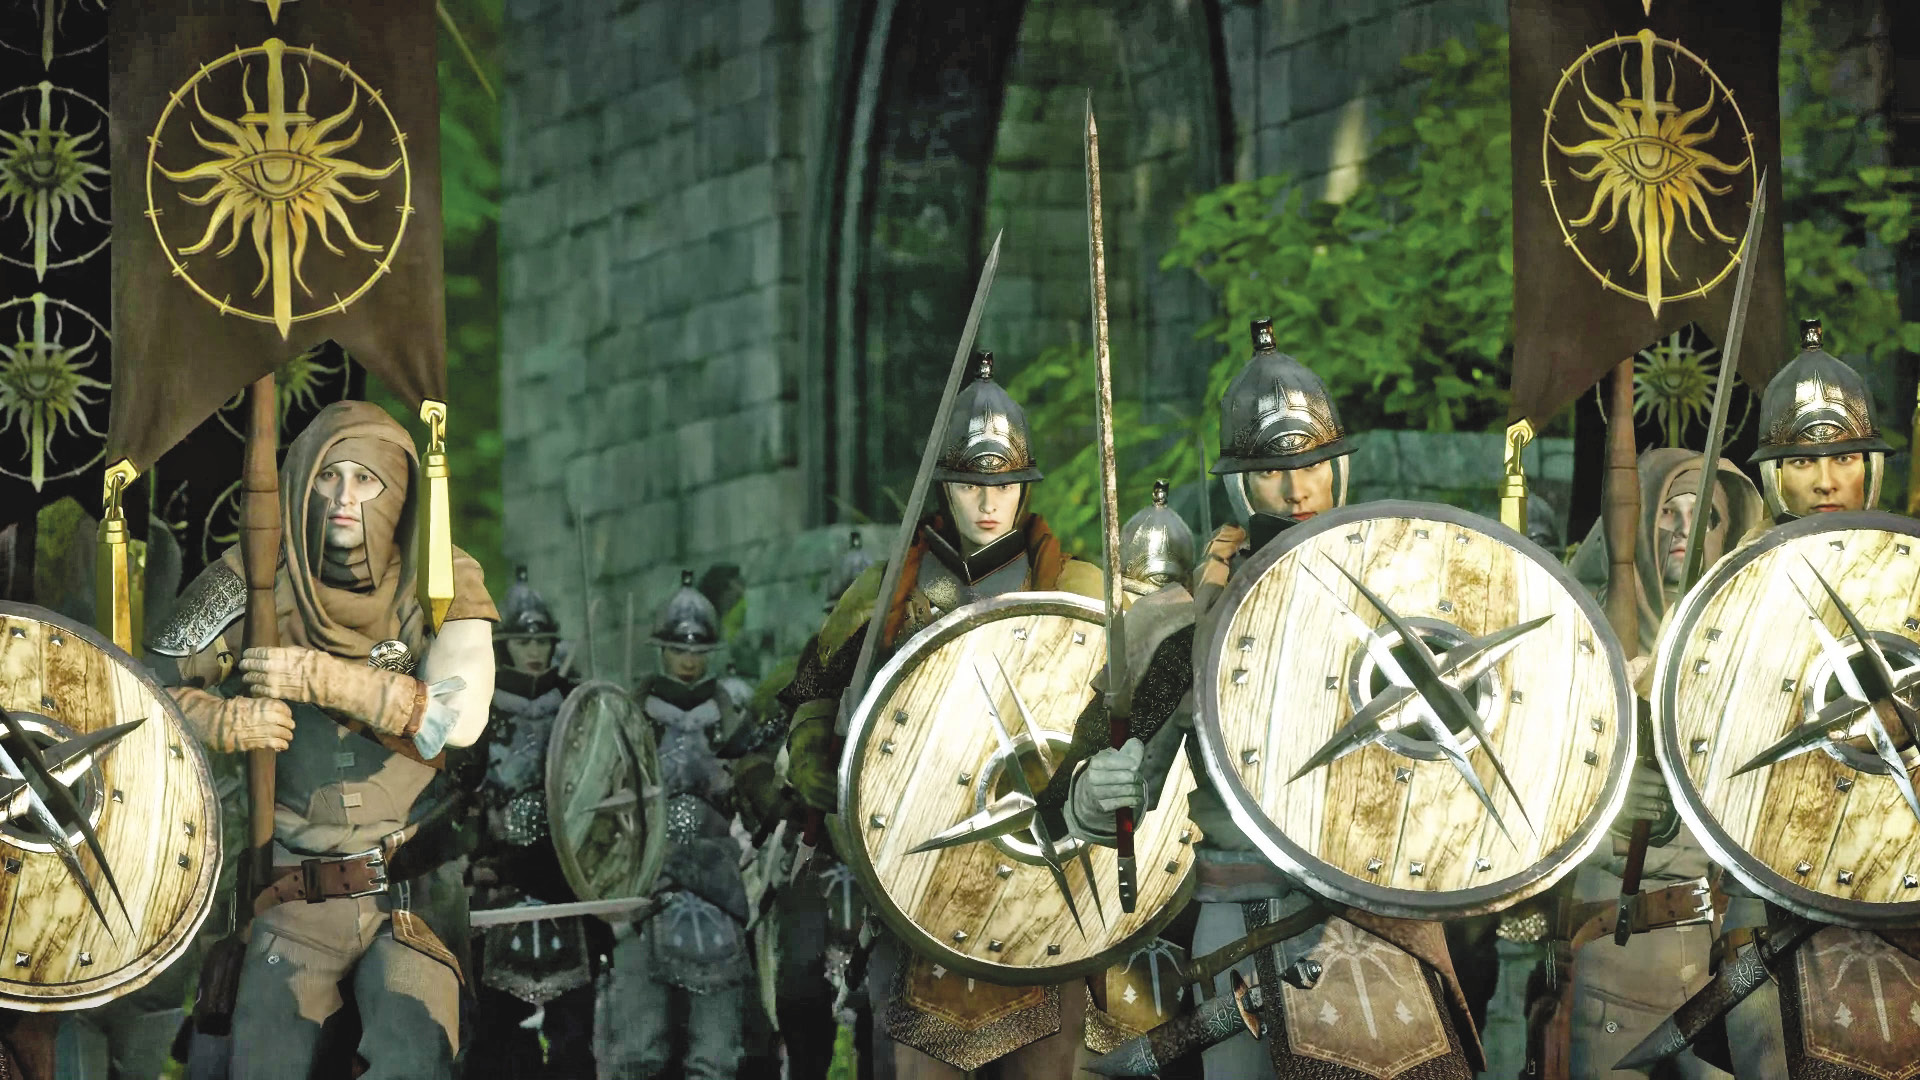
The Inquisition’s invasion of the Arbor Wilds is well underway by the time you and your party arrive. A scout reports that Corypheus has been spotted moving to an elven ruin to the north. Morrigan feels Corypheus is headed for the Temple of Mythal—the eluvian is probably contained within. You must reach this elven temple before Corypheus can secure the eluvian. Proceed to the first blockade, where Corypheus’s troops are making a stand. Fight your way past several red templars and red templar horrors along the way. You’ll be assisted by a few Orlesian troops.
First Blockade
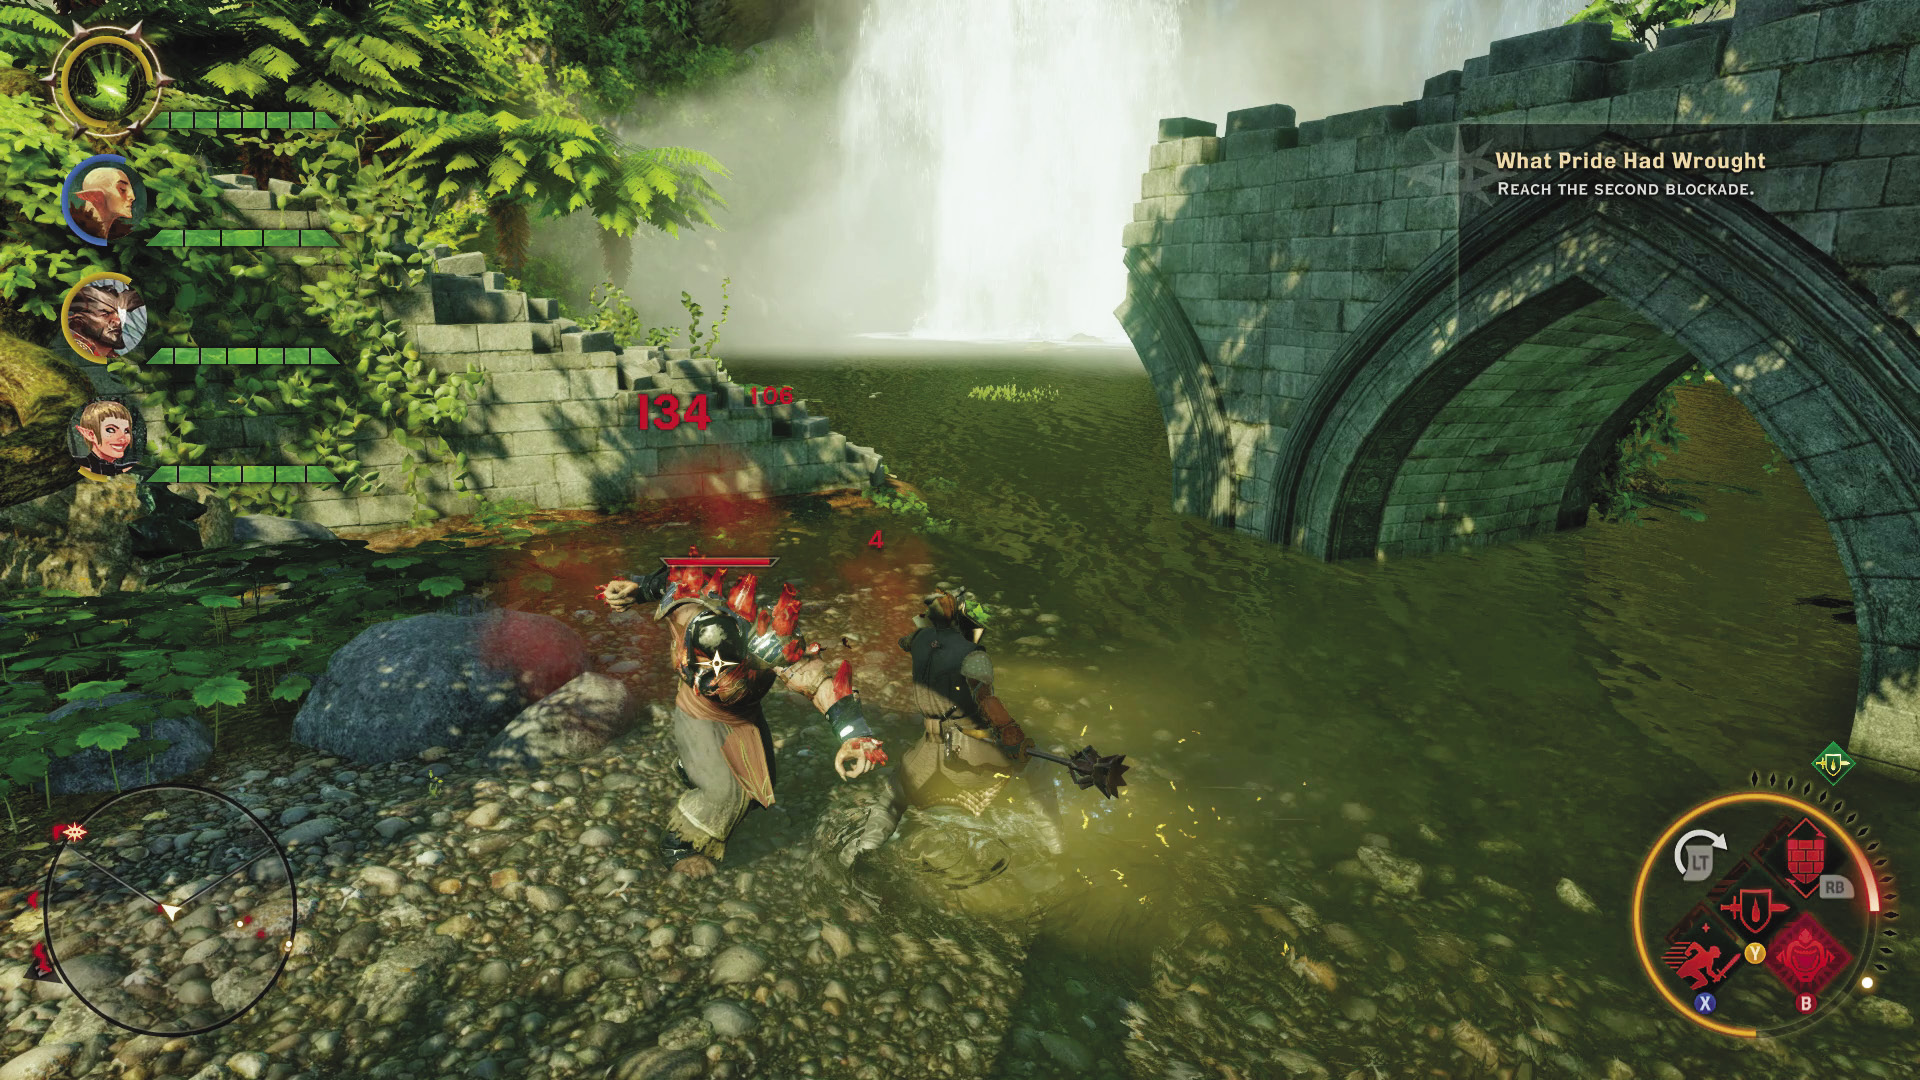
Red templars are defending the ruins of a stone bridge at the Great Waterfall. Initiate the fight with a powerful AoE attack—Mark of the Rift can wipe out almost every enemy here, assuming you ambush them early on. Be mindful of the archers posted on the bridge and surrounding ruins. Position your ranged party members on the bridge so they can rain down arrows and spells on the enemies in the shallow stream below. Once you’ve cleared out the western span of the bridge, watch out for more enemies positioned near the eastern span. There are some corrupted Grey Wardens in this second group.
Second Blockade
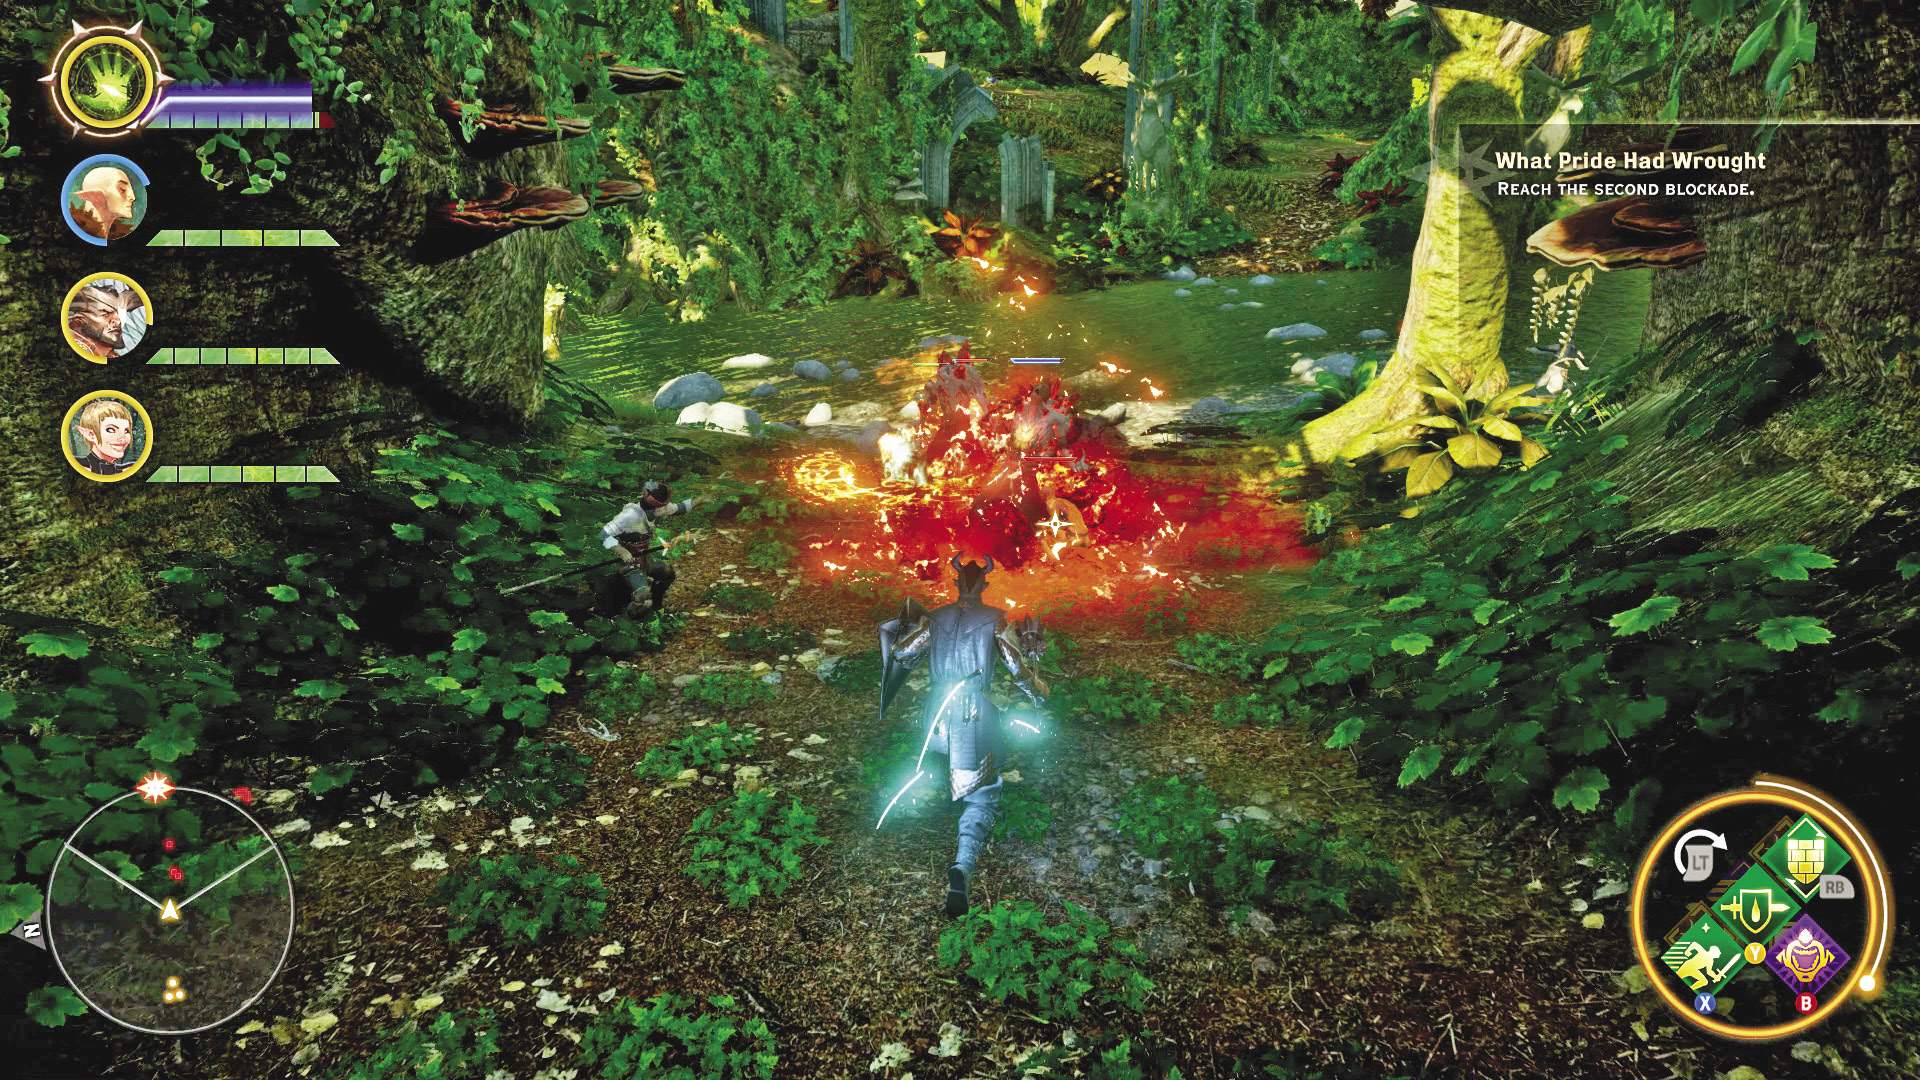
The red templars’ forward camp blocks your path to the second blockade. Once again, you have the chance to take these enemies by surprise. If possible, initiate the assault with a few overlapping AoE attacks—or send in a stealthy rogue to assassinate an enemy. But don’t neglect the archers posted around the camp’s perimeter; eliminate the archers and then claim their perches for your own ranged party members. Try to locate and identify the Sentinel shadow among this group—this highly mobile enemy is deadly when sneaking up on your party members. Gang up on the Sentinel shadow before eliminating the rest of the enemies.
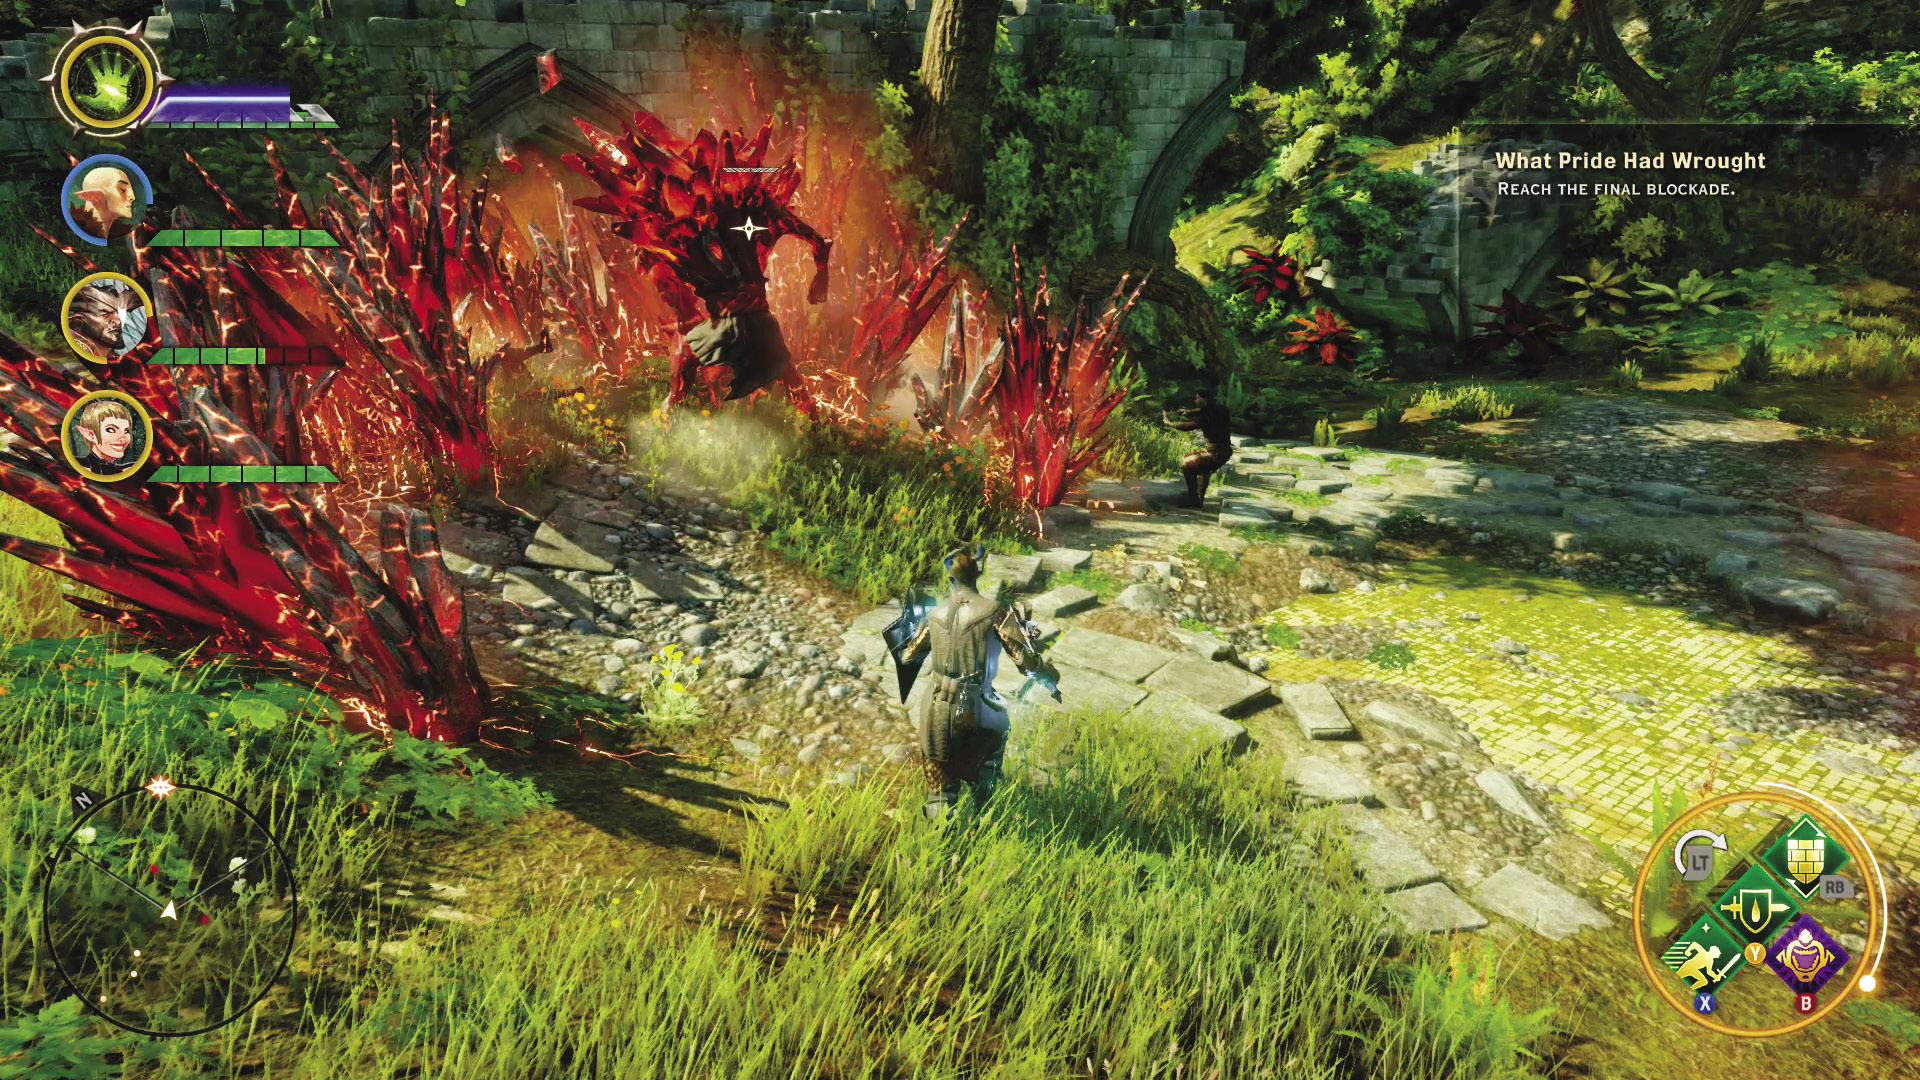
The second blockade is at the ruined archways. Here you encounter more red templars as well as two red templar behemoths—don’t let their size intimidate you. Despite their ability to generate guard, your party should have no problem whittling down their health. Attack primarily with your ranged party members, using the elevated positions along the nearby ruins to rain down arrows and spells.
Final Blockade
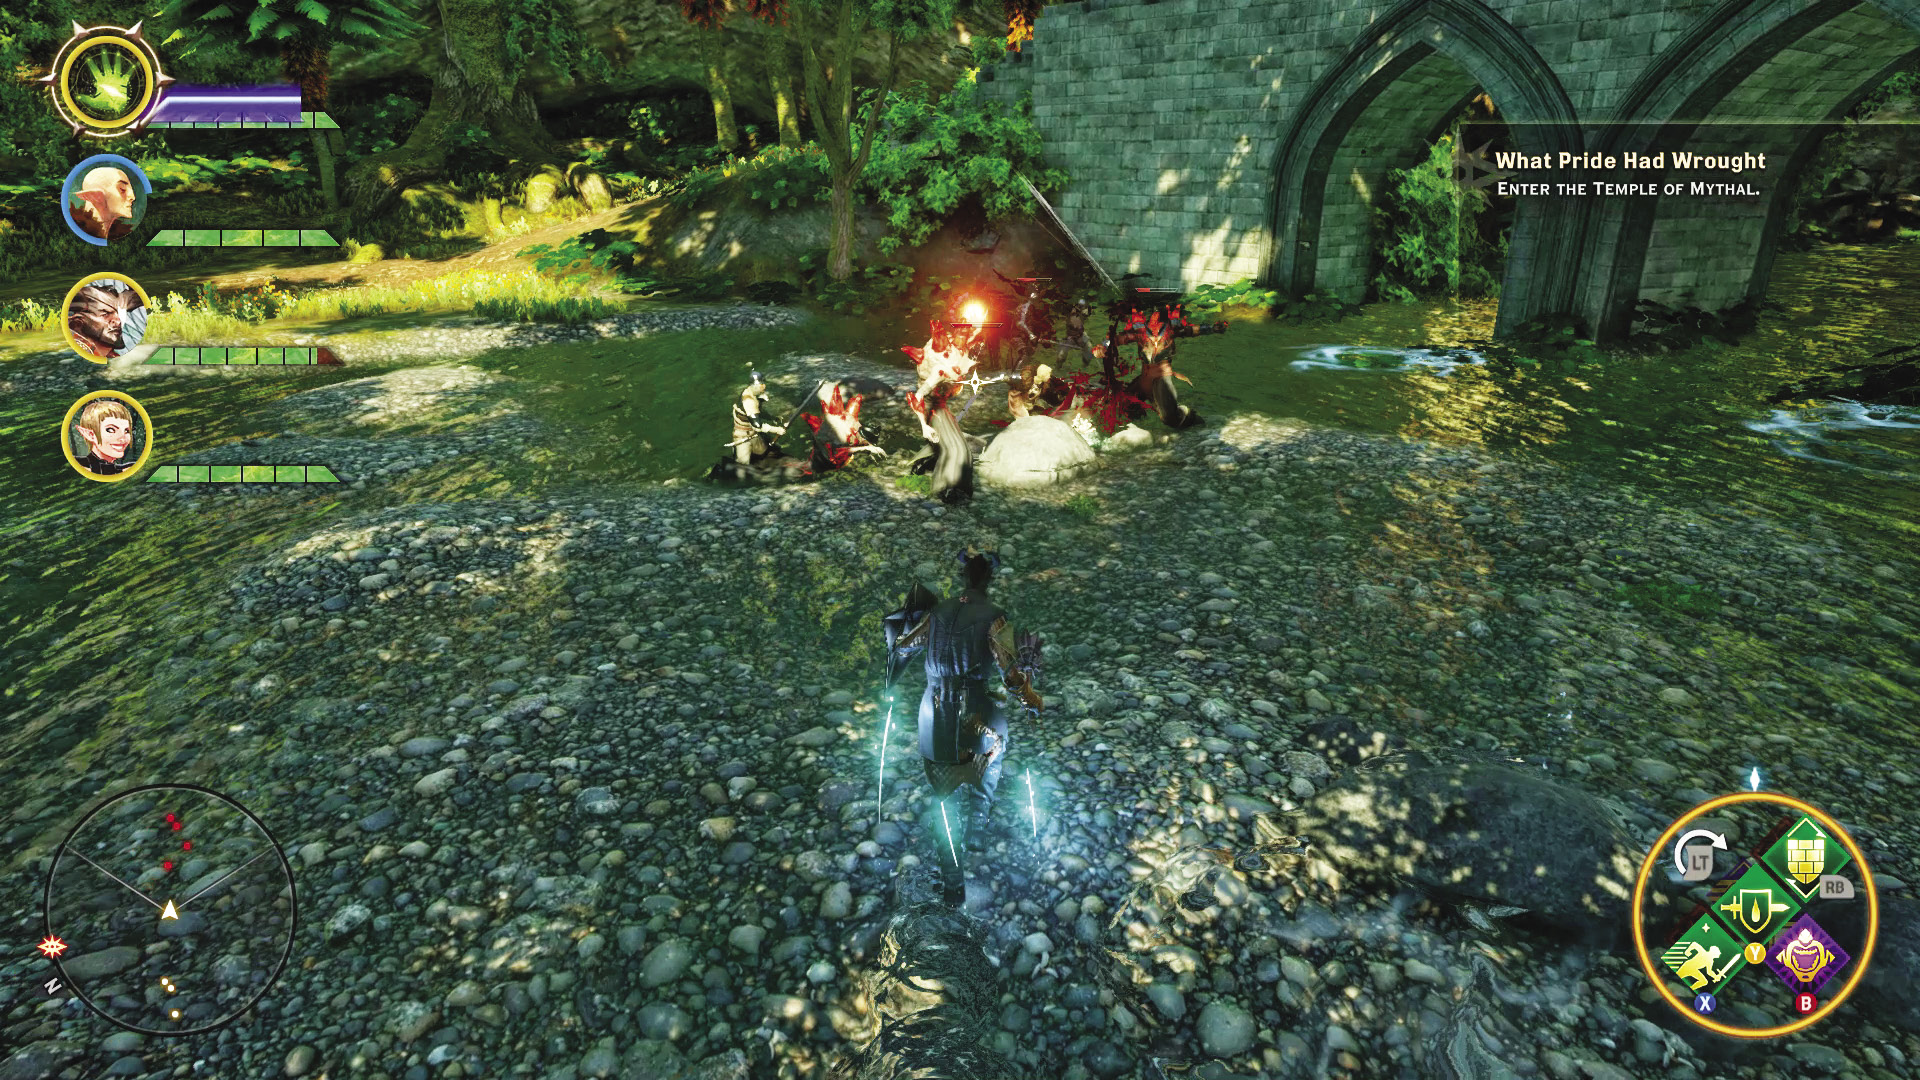
Expect heavy red templar resistance during your approach to the final blockade. When you reach the temple gates, position your ranged party members on the ruins, next to the Inquisition archers. This allows them to fire down on the senior Wardens and red templar horrors below with minimal fear of reprisal. Send your melee party members down into the shallow riverbed to engage the enemies at close range—Cullen and his men are already engaging them. If available, use Mark of the Rift to wipe out most of these enemies early on. Following the battle, travel north to enter the temple grounds. Heal and use the supply cache on your way in.
The Temple of Mythal
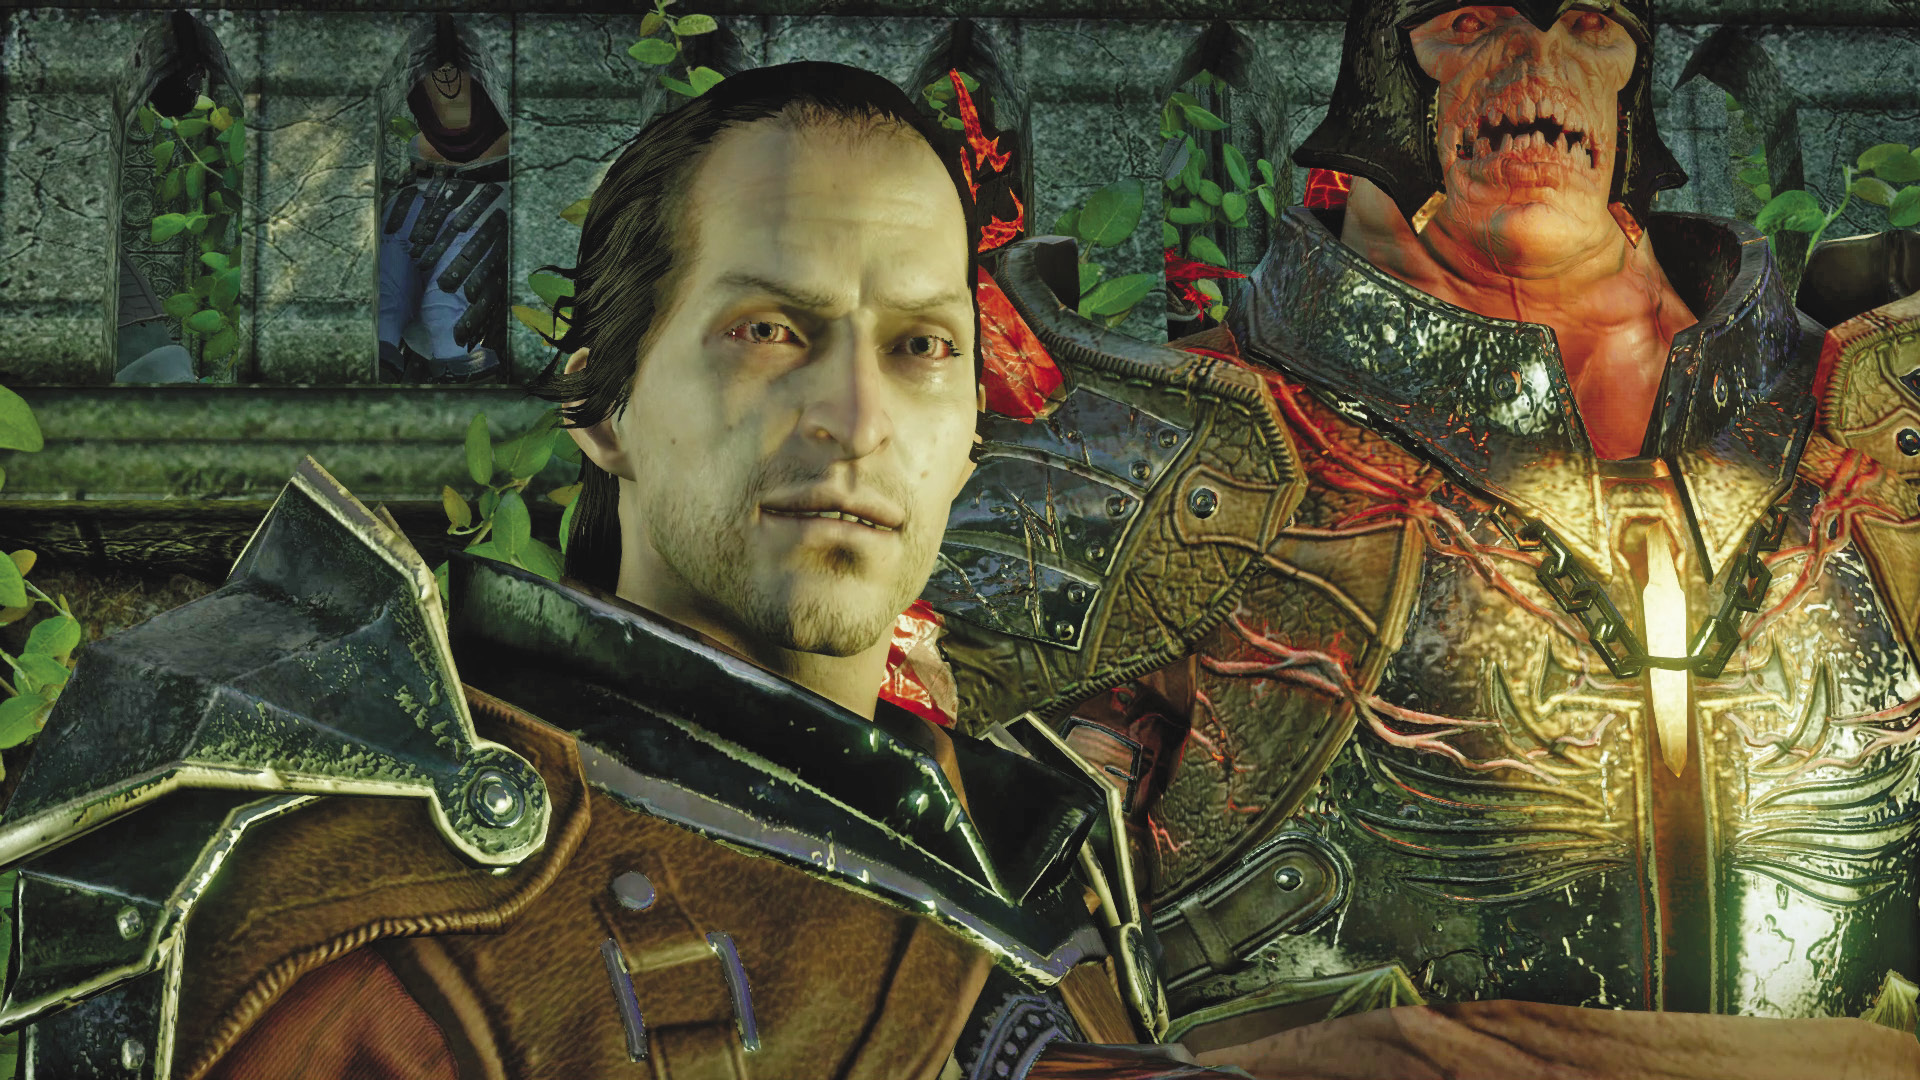
Your party looks on as Corypheus and your nemesis (Calpernia or Samson) attempt to cross a bridge leading to the Temple of Mythal. Corypheus is looking for something called the Well of Sorrows. Then something unexpected happens—Corypheus explodes after passing through a magic barrier placed at the bridge’s entrance. But he soon reemerges from the body of an unlucky Warden. With the magical barrier disrupted, the Inquisitor sees an opportunity and urges the rest of the party to cross the bridge and enter the temple’s courtyard—they manage to seal the doors to the courtyard just as Corypheus’s dragon attacks.
Outer Courtyard

Morrigan is uncertain what this Well of Sorrows is—perhaps Corypheus isn’t looking for the eluvian as she once thought. But it’s clear Corypheus’s life force can pass to any blighted creature, darkspawn, or Grey Warden. Approach the door to the temple. It can’t be opened yet, though—you must complete a ritual.
Temple Ritual
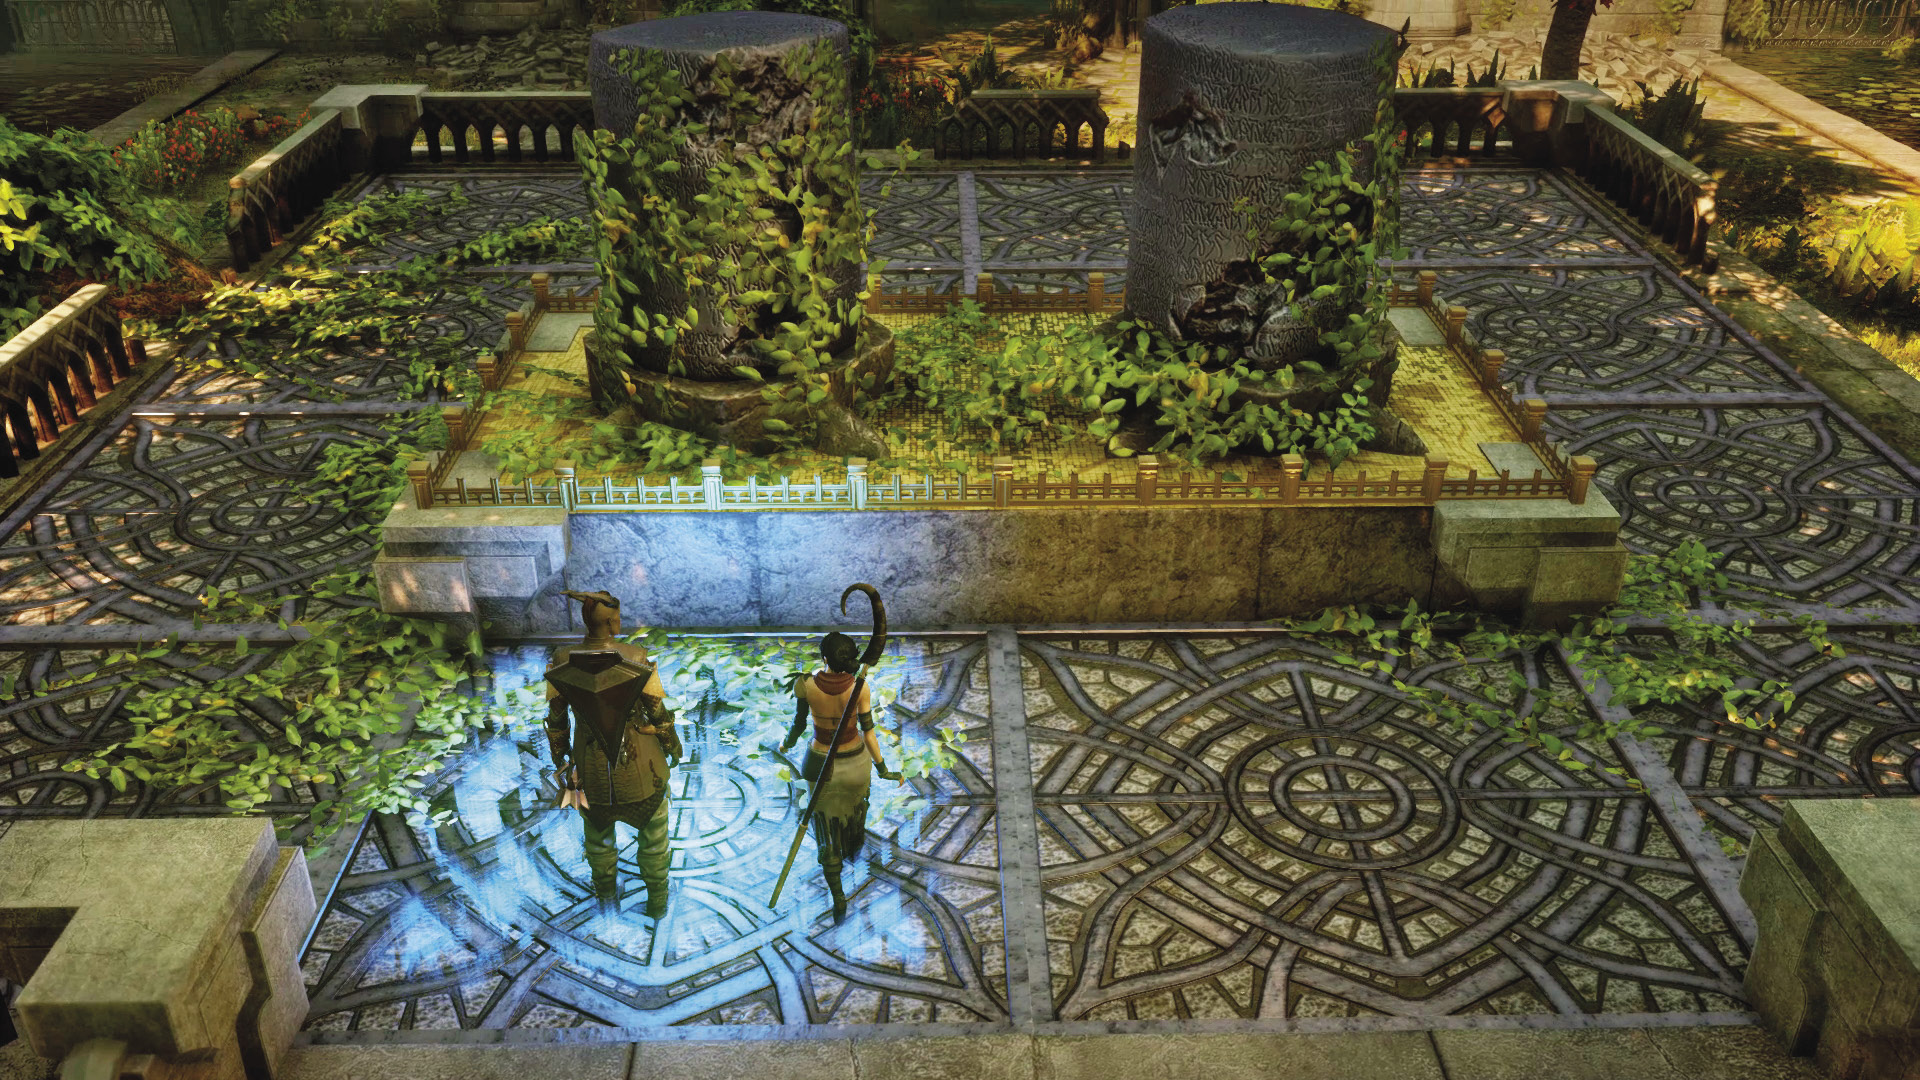
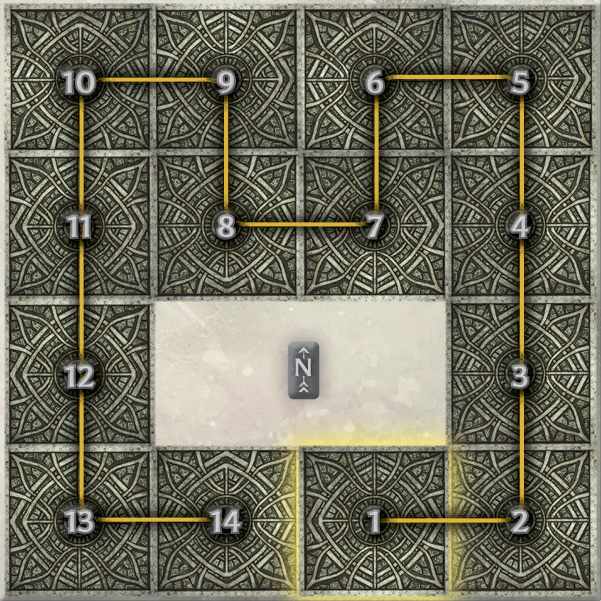
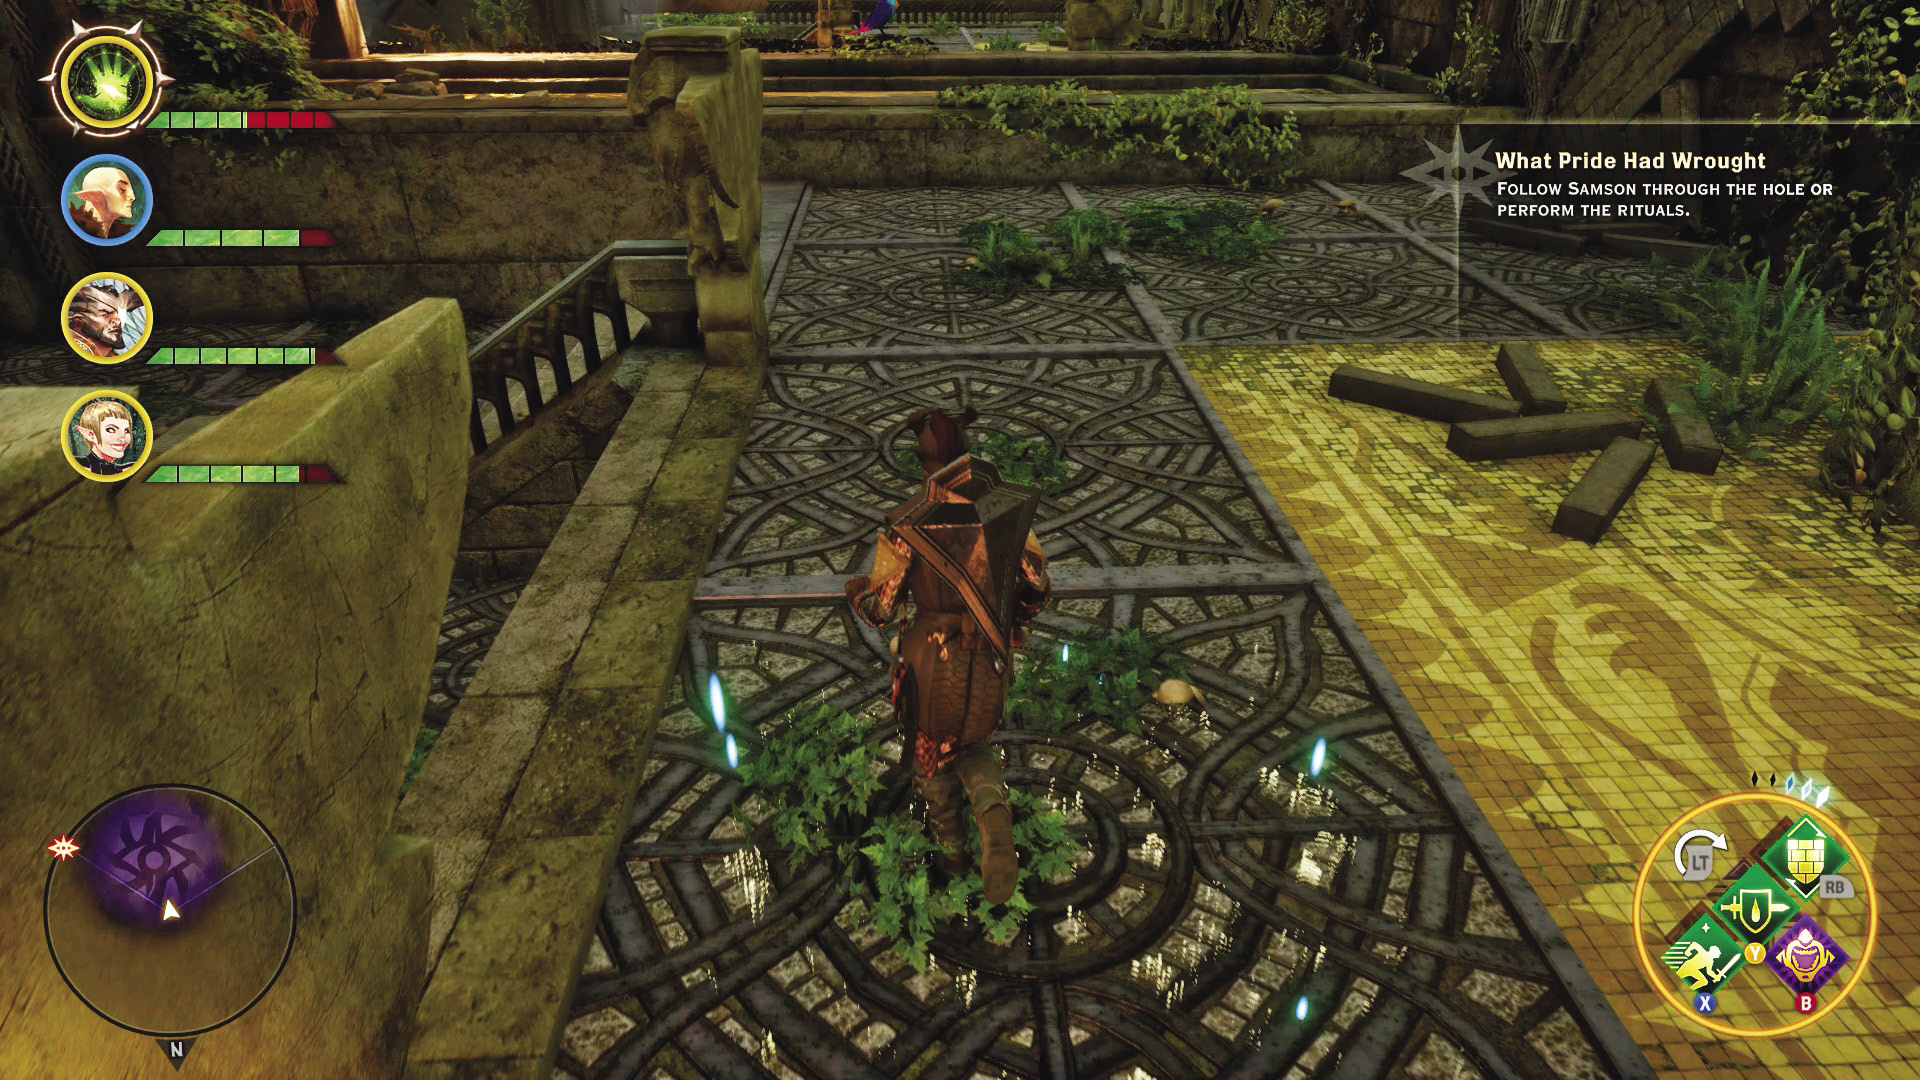
Approach the altar north of the temple’s entrance—the large tiles illuminate as you walk across them. You must illuminate all of the tiles surrounding the altar. But you can’t step on the same tile twice—yes, it’s a puzzle. Reference the accompanying diagram to solve it. Once all tiles are lighted, the door to the Hall of Shrines is unlocked.
Hall of Shrines
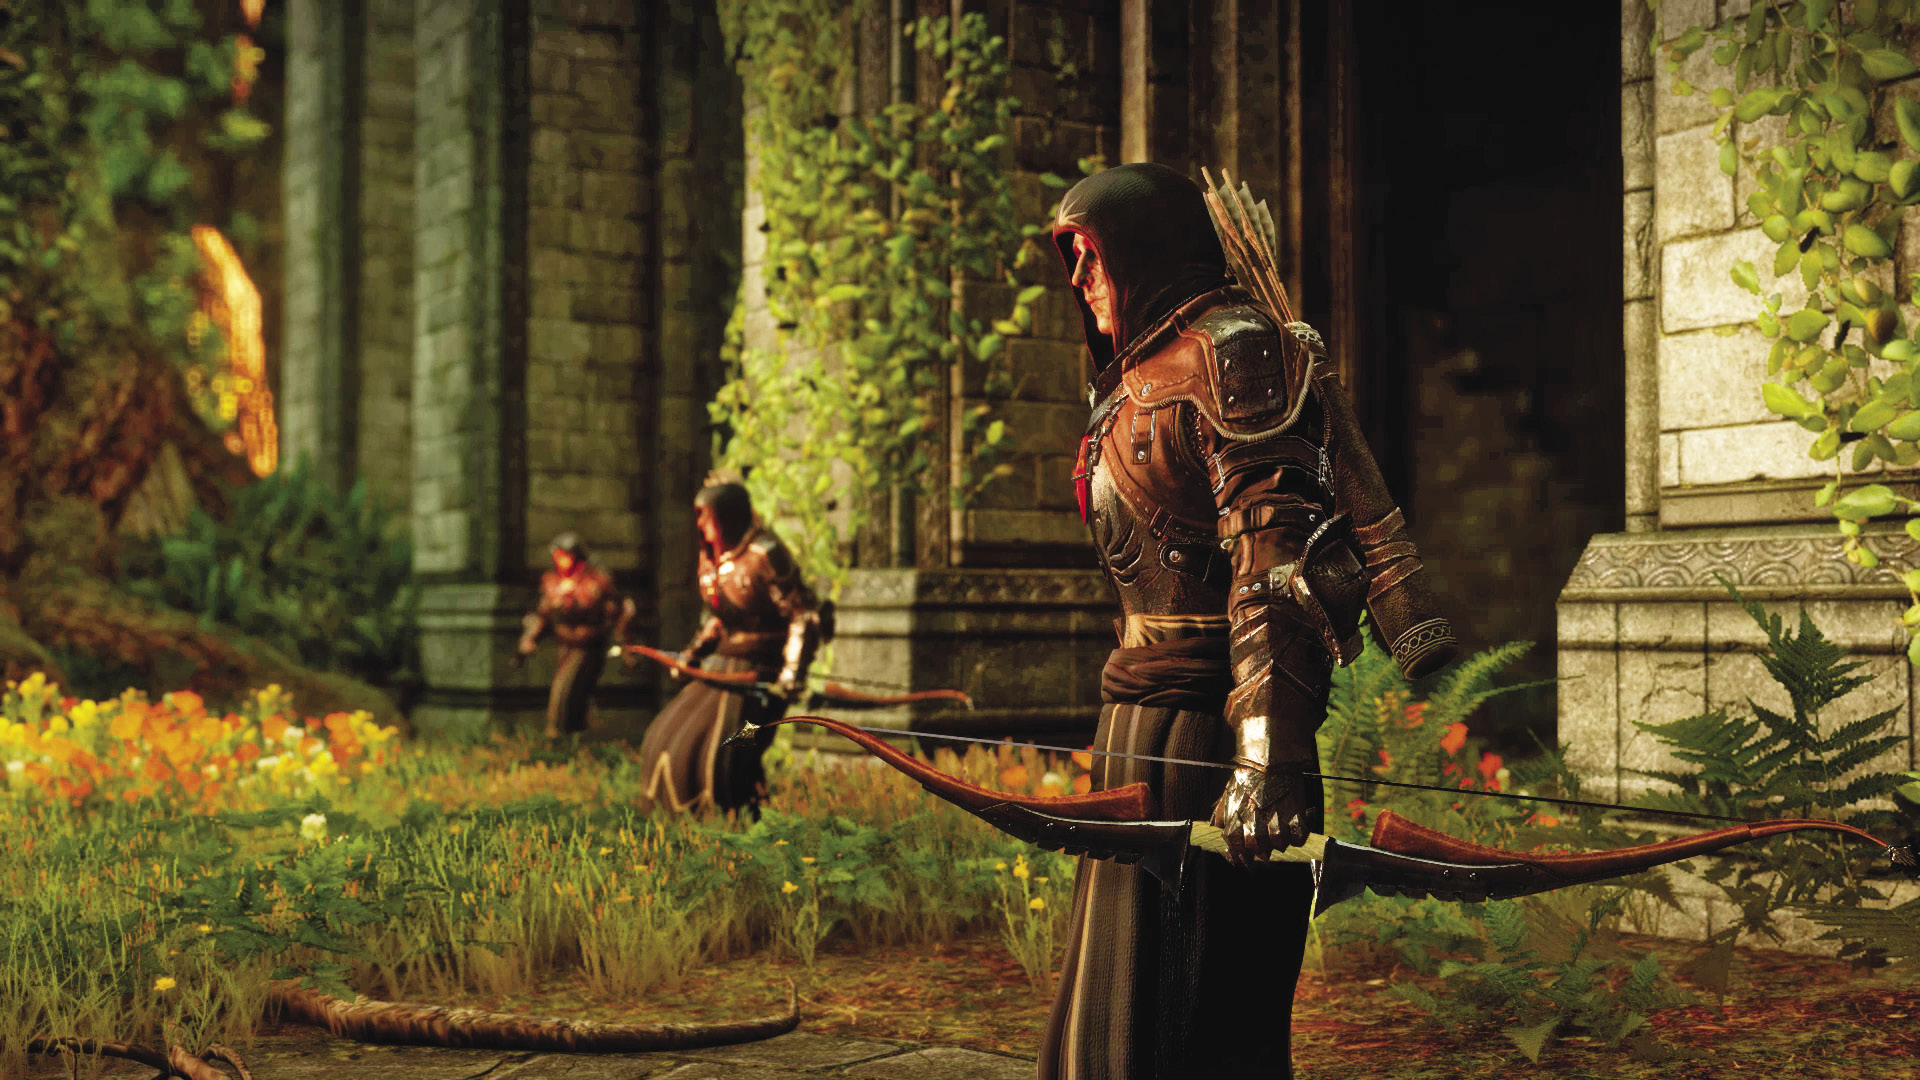
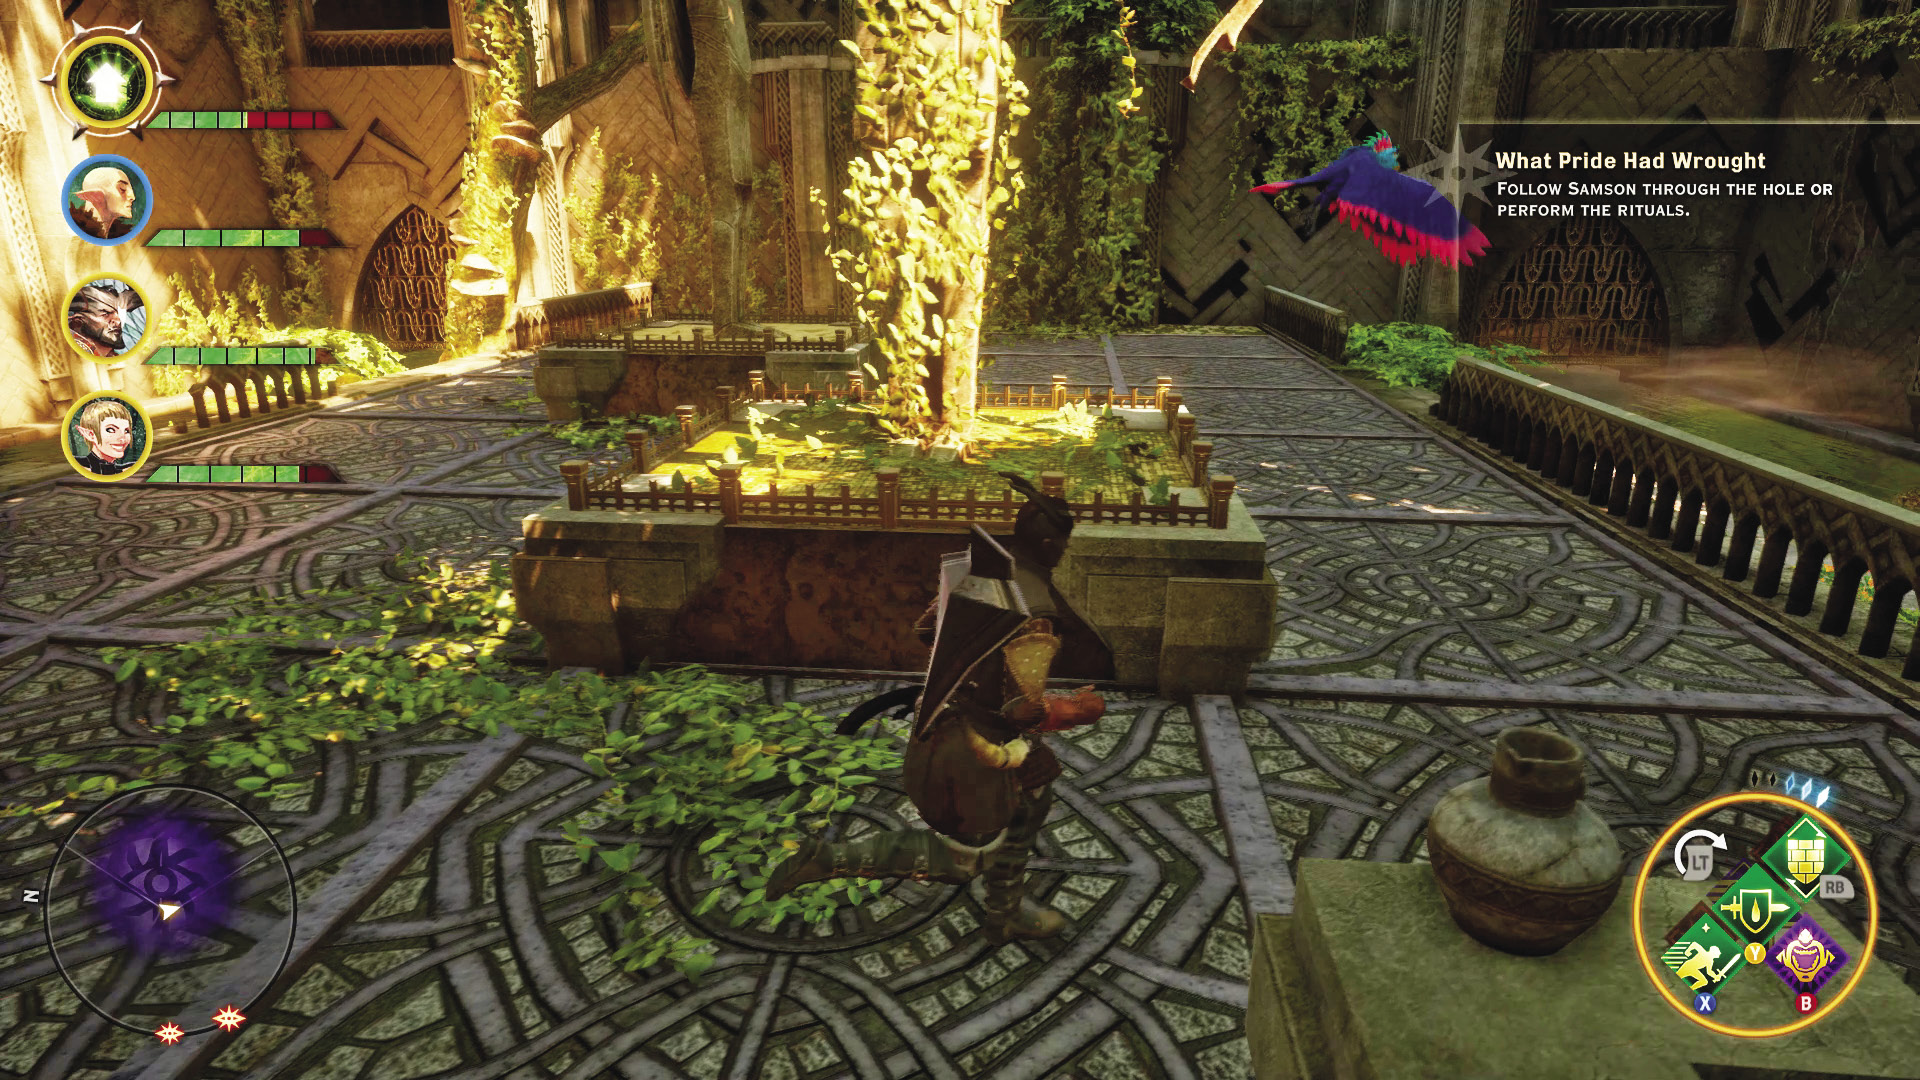
After passing through the door, prepare to engage more enemies on the other side. These are the minions of Calpernia or Samson, your nemesis. This group shouldn’t be a match for your party. Before chasing after Calpernia or Samson, Morrigan suggests entering the temple by performing a set of rituals. She feels this may be the key to reaching the Well of Sorrows before Corypheus does. Back at the altar, Morrigan deciphered some elven writing revealing more about the Well of Sorrows—it promises great power, but at a terrible price. At this point you have the option of following your nemesis through the hole in the floor or performing three rituals to gain access to the temple. Solas and Dorian will approve if you do all of the rituals, but everyone else prefers you take a shortcut to the inner sanctum via the hole in the floor. Solving the rituals, however, will make a confrontation with the temple’s guardians in the next section go more smoothly for you. Completing the rituals gives you access to the temple’s inner sanctum.
Western Ritual
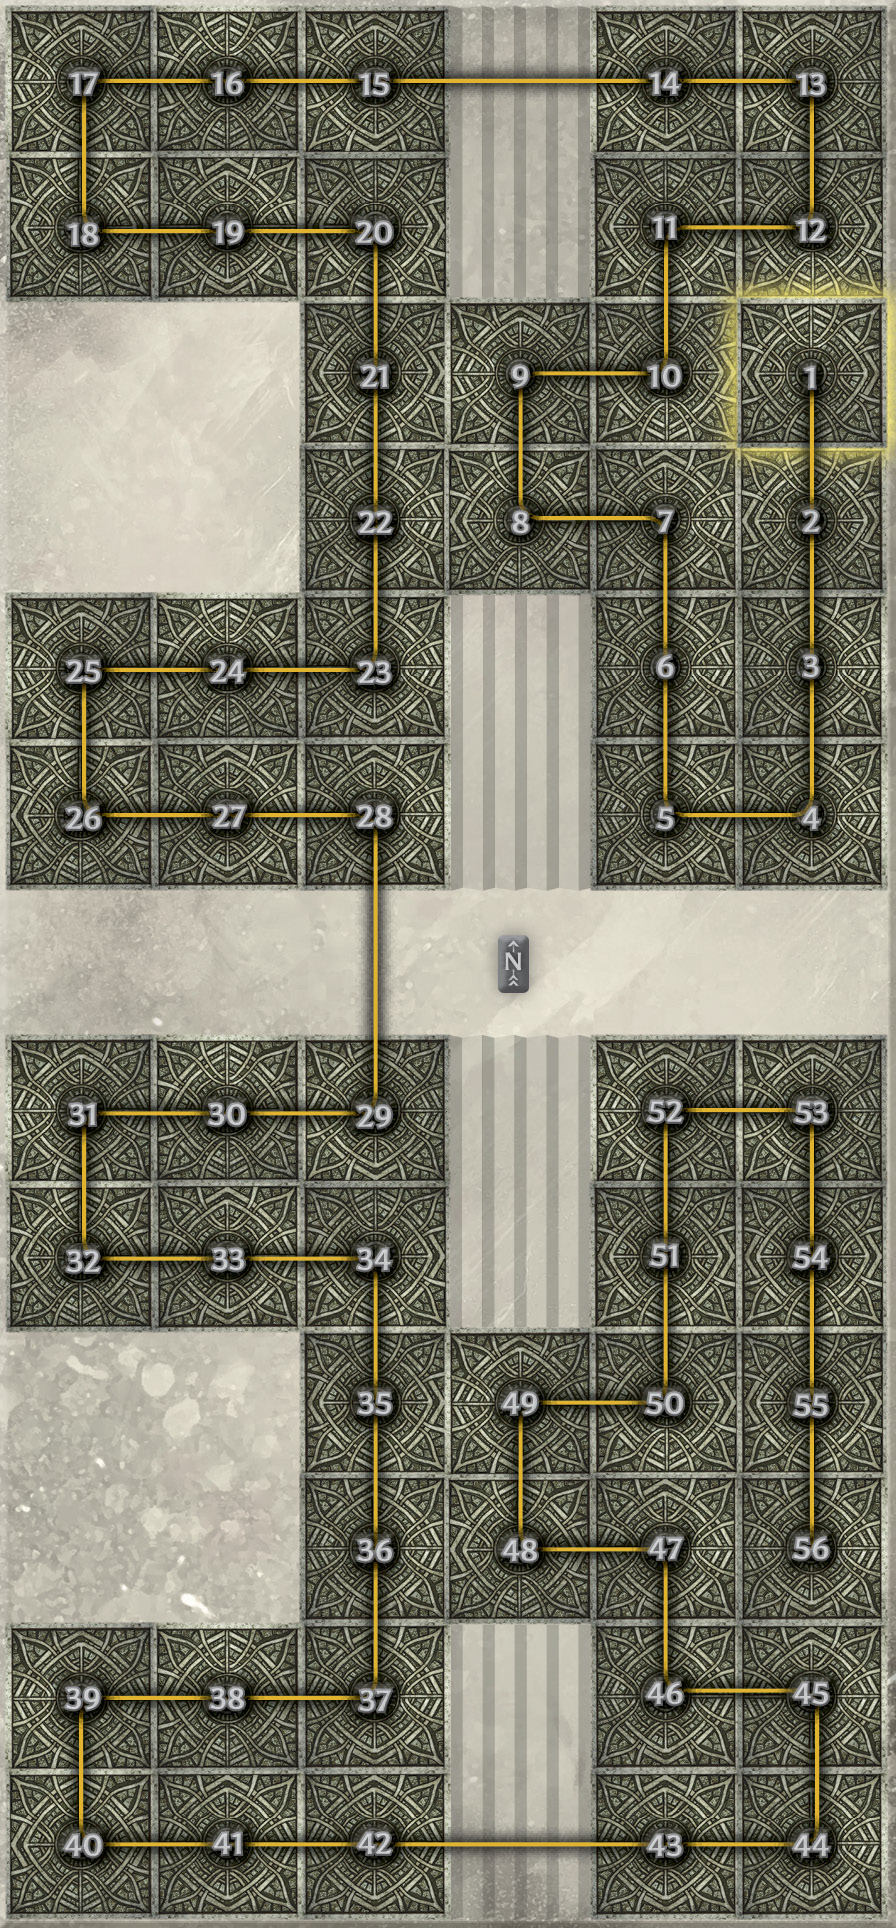
Start with this large ritual to the west. This puzzle is divided into a northern section and southern section, but both puzzles must be solved to complete the ritual. Start by working on the northern section first, completing it near the divider on the south side, at tile 28. Once the northern side is complete, jump onto the divider and proceed to the southern section of the puzzle. The second half of the puzzle is solved using a movement pattern similar to the first one—reference the diagram to avoid making a misstep. After completing this puzzle, return to the central courtyard (where you fought the enemies) and cross to the east side.
Eastern Ritual
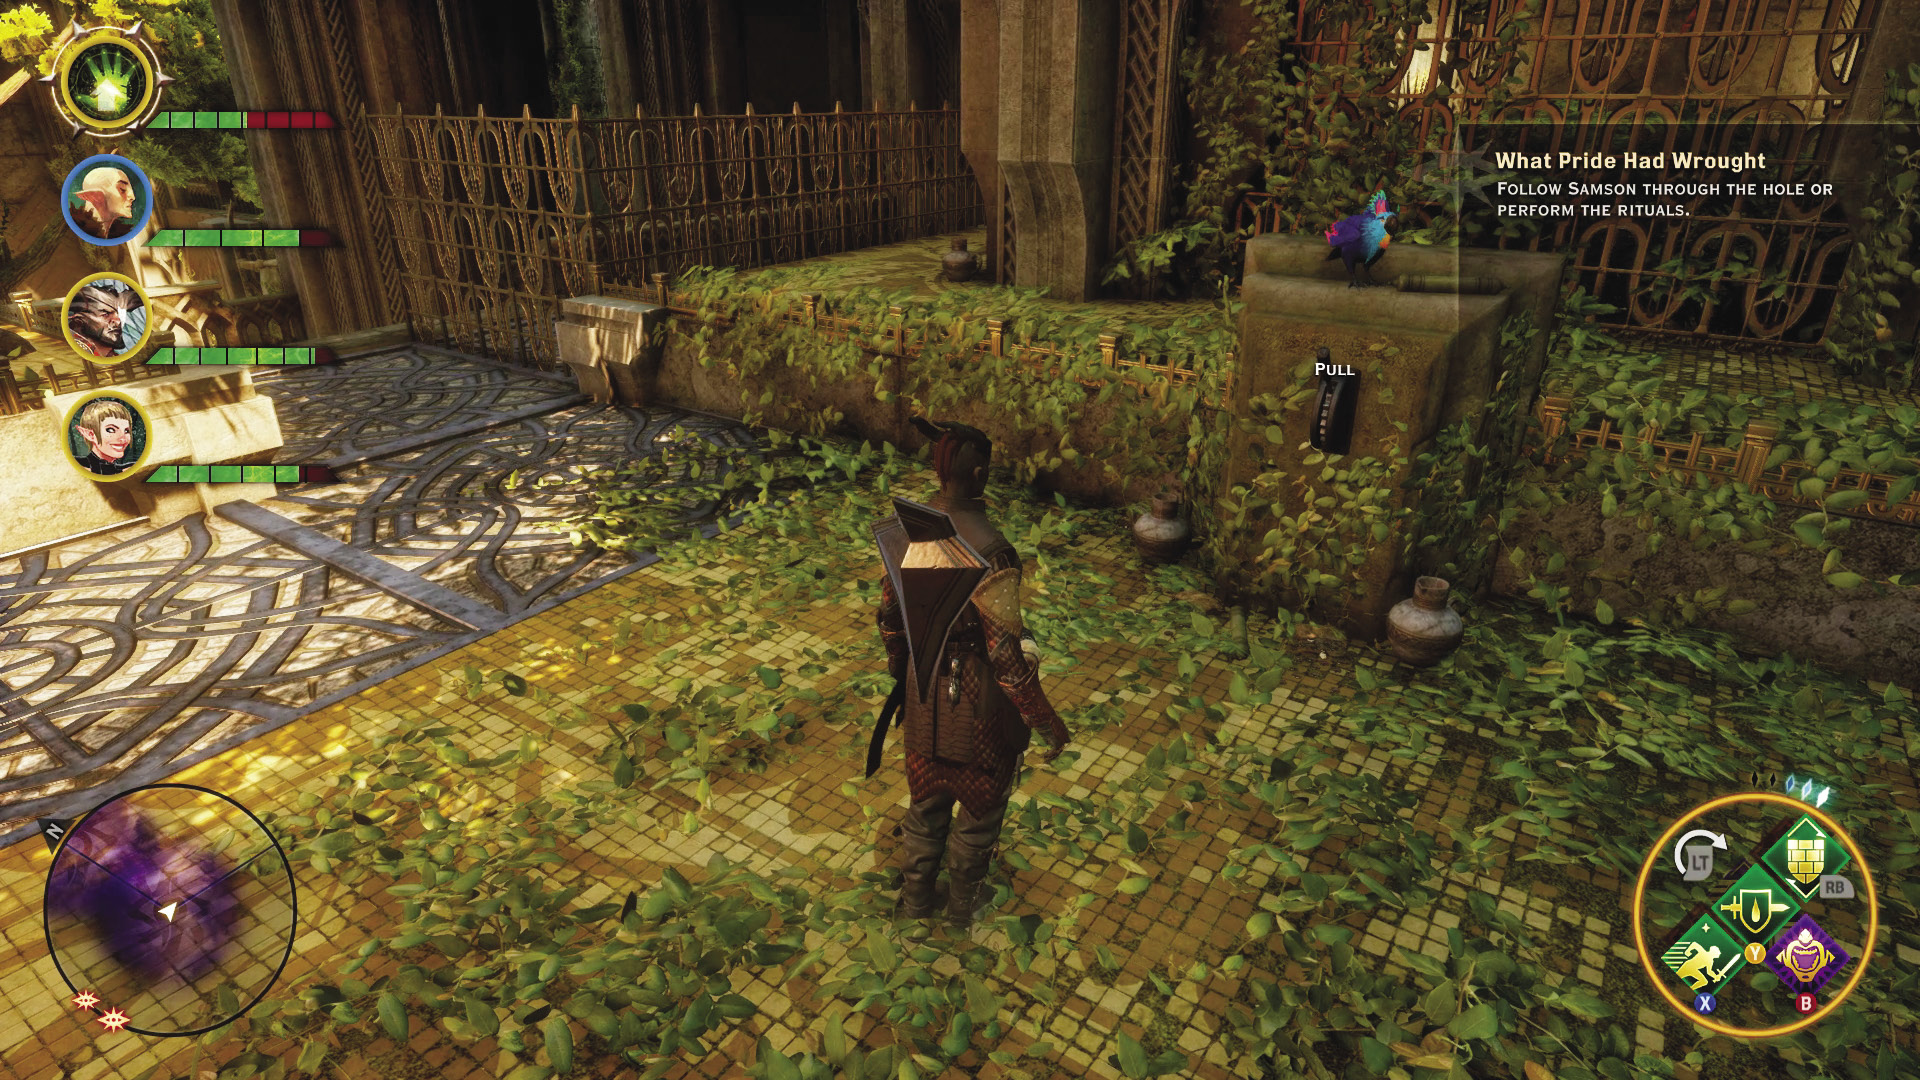
Although smaller, this puzzle is a bit trickier. Sections of this puzzle must be lowered and raised using a switch in the middle. Start by looping around the north side, then cross to the neutral platform after stepping on tile 10. On the platform, interact with the switch—this lowers tiles to the west and raises tiles to the east, allowing you to proceed. Step onto tile 11, to the north, and complete the eastern half of the ritual, as seen in the diagram. When you reach tile 30, step back onto the central platform and interact with the switch again, raising the tiles to the west. From the platform, step onto tile 31, to the west, and complete the ritual. Only one more to go.
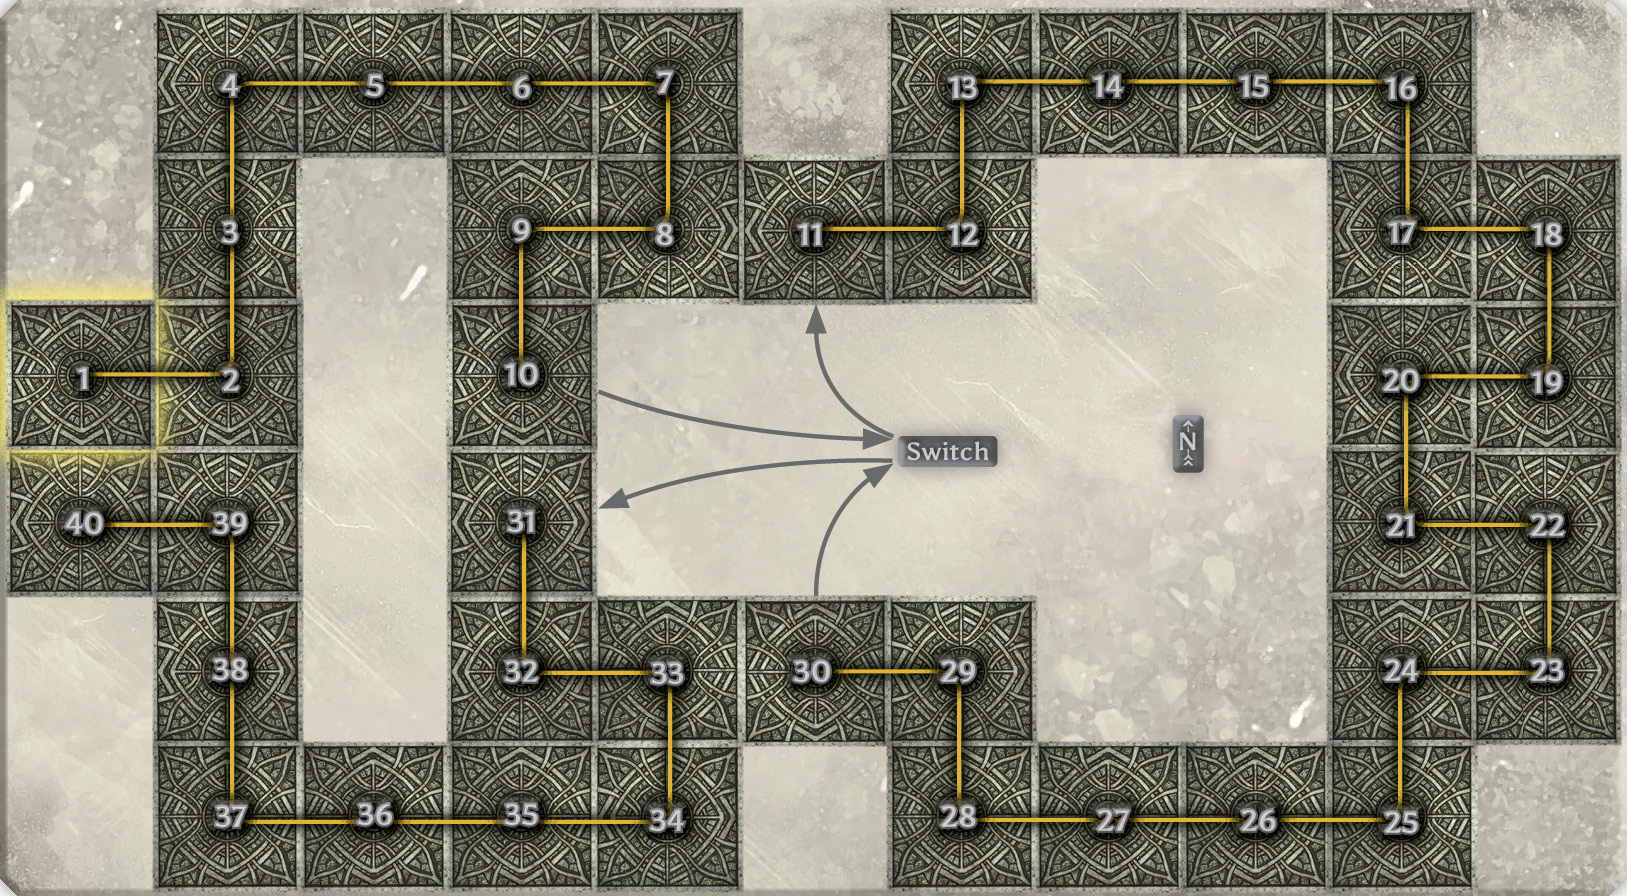
Northeastern Ritual
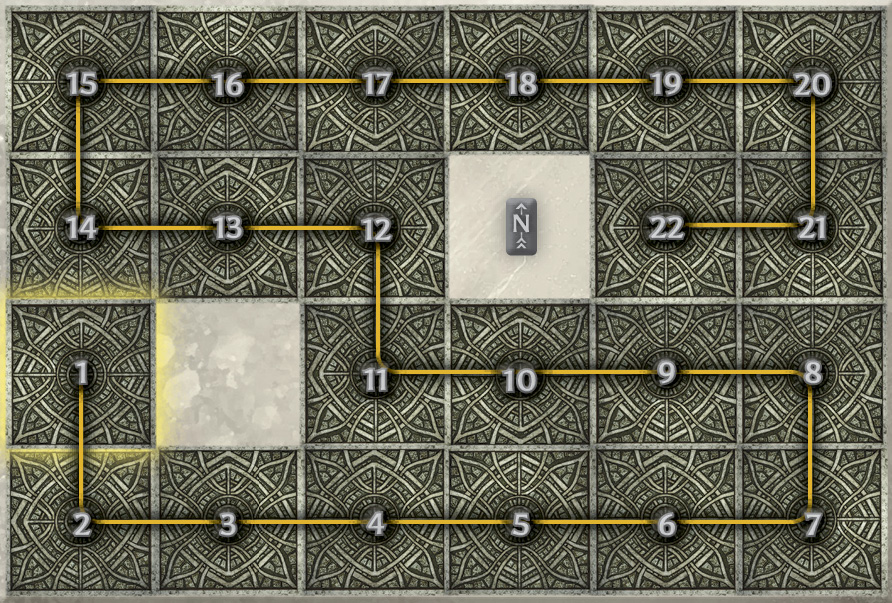
Don’t let the small size of this ritual fool you—it can be tricky. As long as you follow the zigzag path shown on the diagram, you’ll have no problem conquering this ritual. Like all the rituals, this puzzle can be solved in many ways. The three rituals can be completed in any order. Once all three are solved, the door to the inner sanctum unlocks. Time to go see what’s inside.
Inner Sanctum
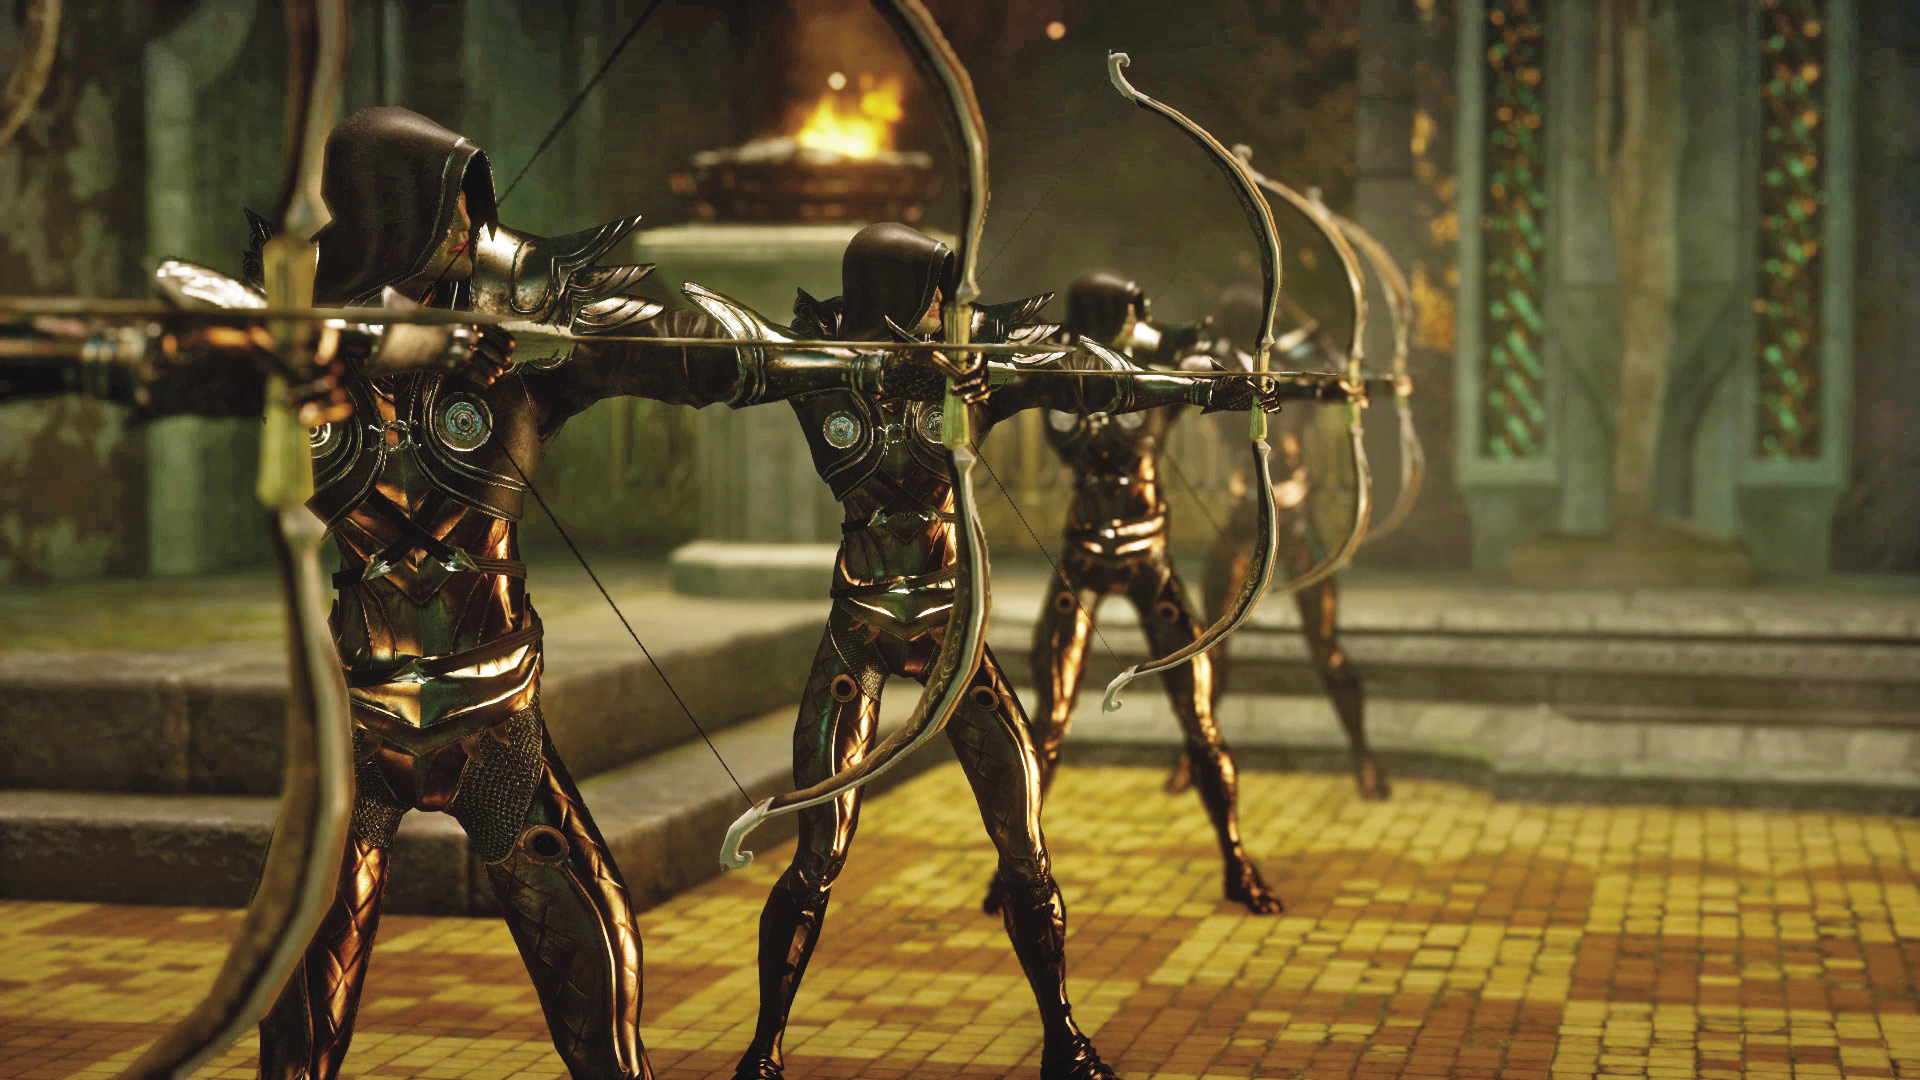
Your party is halted inside this chamber, surrounded by elven archers. But you don’t come under attack—at least not yet. Abelas, leader of this elven contingent, is responsible for guarding the temple from outsiders. Abelas is curious about your party’s intentions, but he’s unwilling to give you access to the Well of Sorrows, an object he calls the Vir’abelasan. Question Abelas about the Well of Sorrows and any other topics that interest you, but no matter how diplomatic your approach, you can’t convince Abelas to give you access to the well. If you did the rituals, Abelas at least agrees to help you drive Corypheus’s forces from the temple. If you took the shortcut, these Sentinel elves will turn hostile and attack.
Decision Point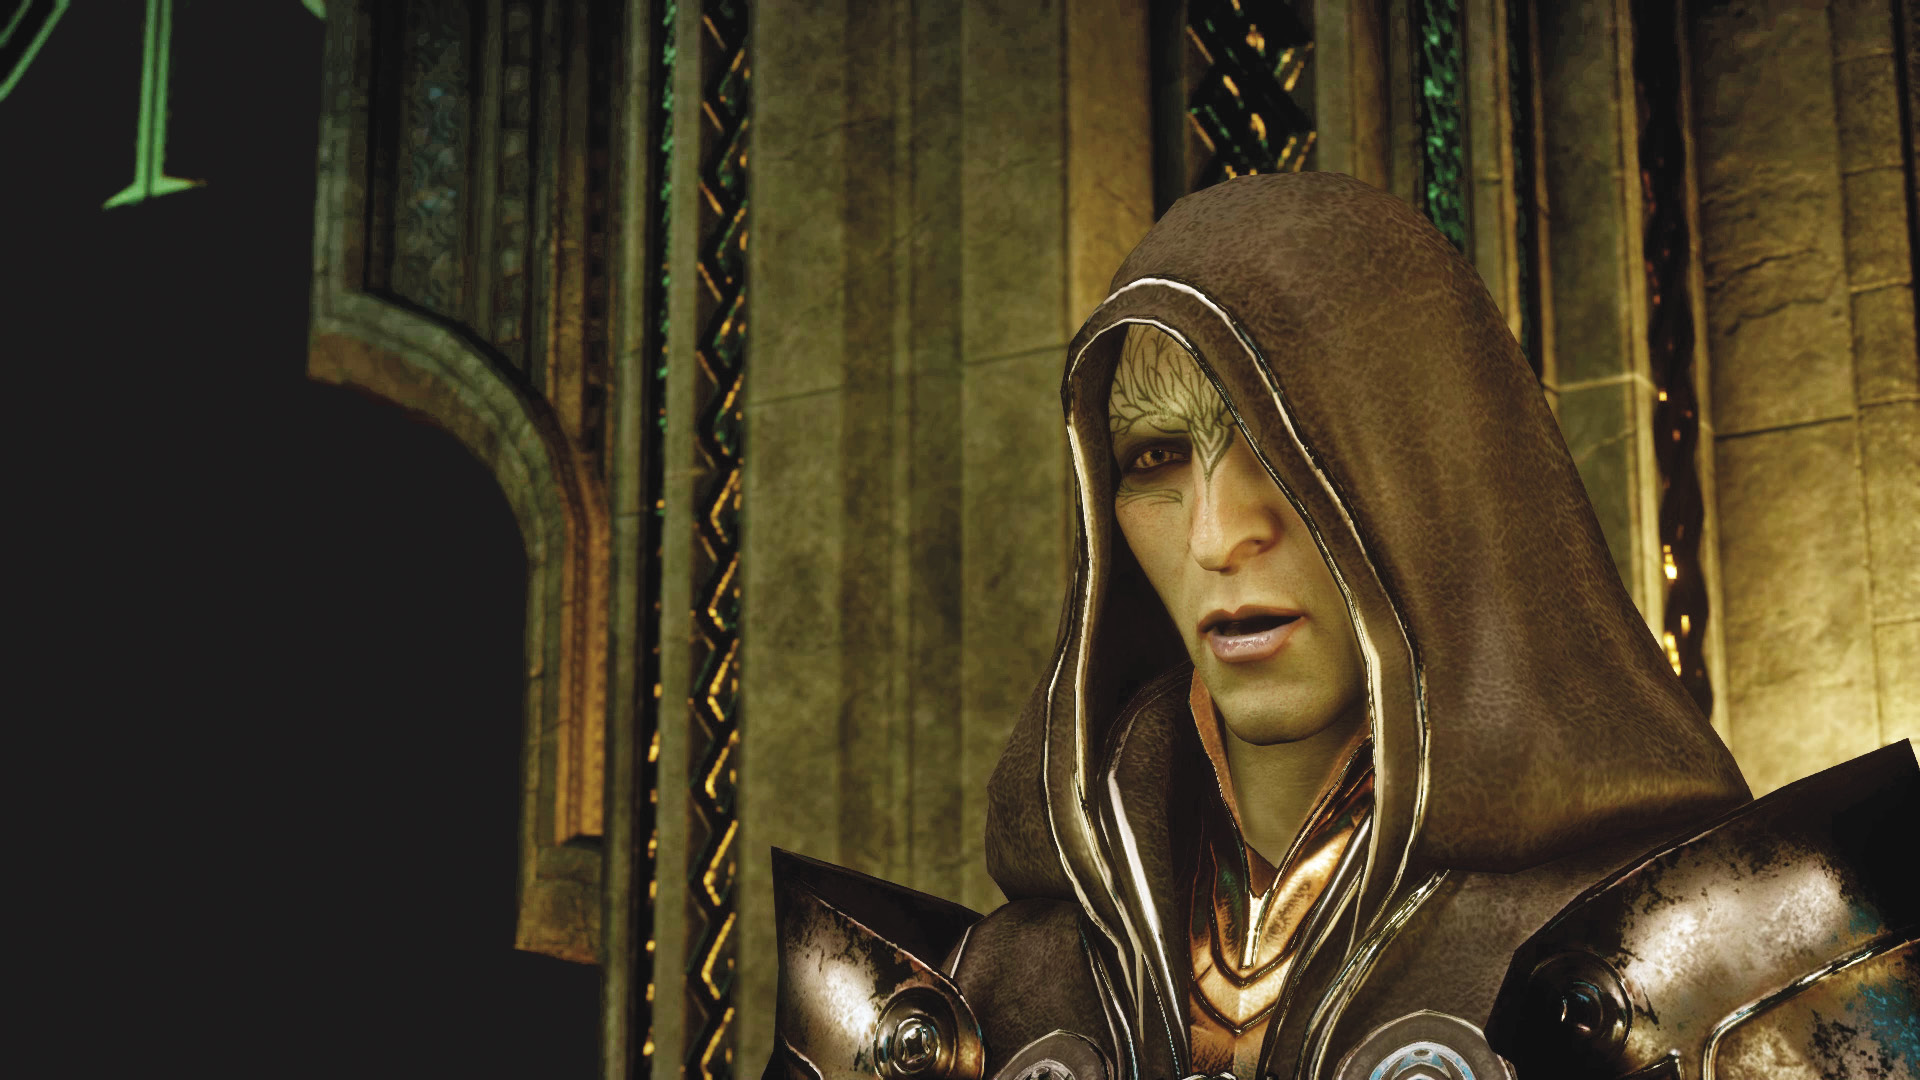 Abelas cannot be swayed to give you access to the Well of Sorrows, yet his offer to help you eliminate Corypheus’s army is too good to pass up. Morrigan realizes the weight of this predicament but stresses the importance of reaching the well. You can get everything here, assuming you did the rituals earlier and choose the proper reply—agree to ally with Abelas and you’ll eventually gain access to the well. If you refuse Abelas’s offer, or if you took the shortcut earlier, you’ll be forced to engage him and his elven Sentinels in combat through the rest of the temple, in addition to Corypheus’s forces. |
Approval: Abelas’s Offer
| Follower | Accept Alliance | Decline Alliance |
|---|---|---|
| Blackwall | — |   |
| Cassandra | — | — |
| Cole |    |
   |
| Dorian |    |
   |
| The Iron Bull |  |
 |
| Sera |   |
  |
| Solas |    |
   |
| Varric | — | — |
| Vivienne | — | — |
Temple Path
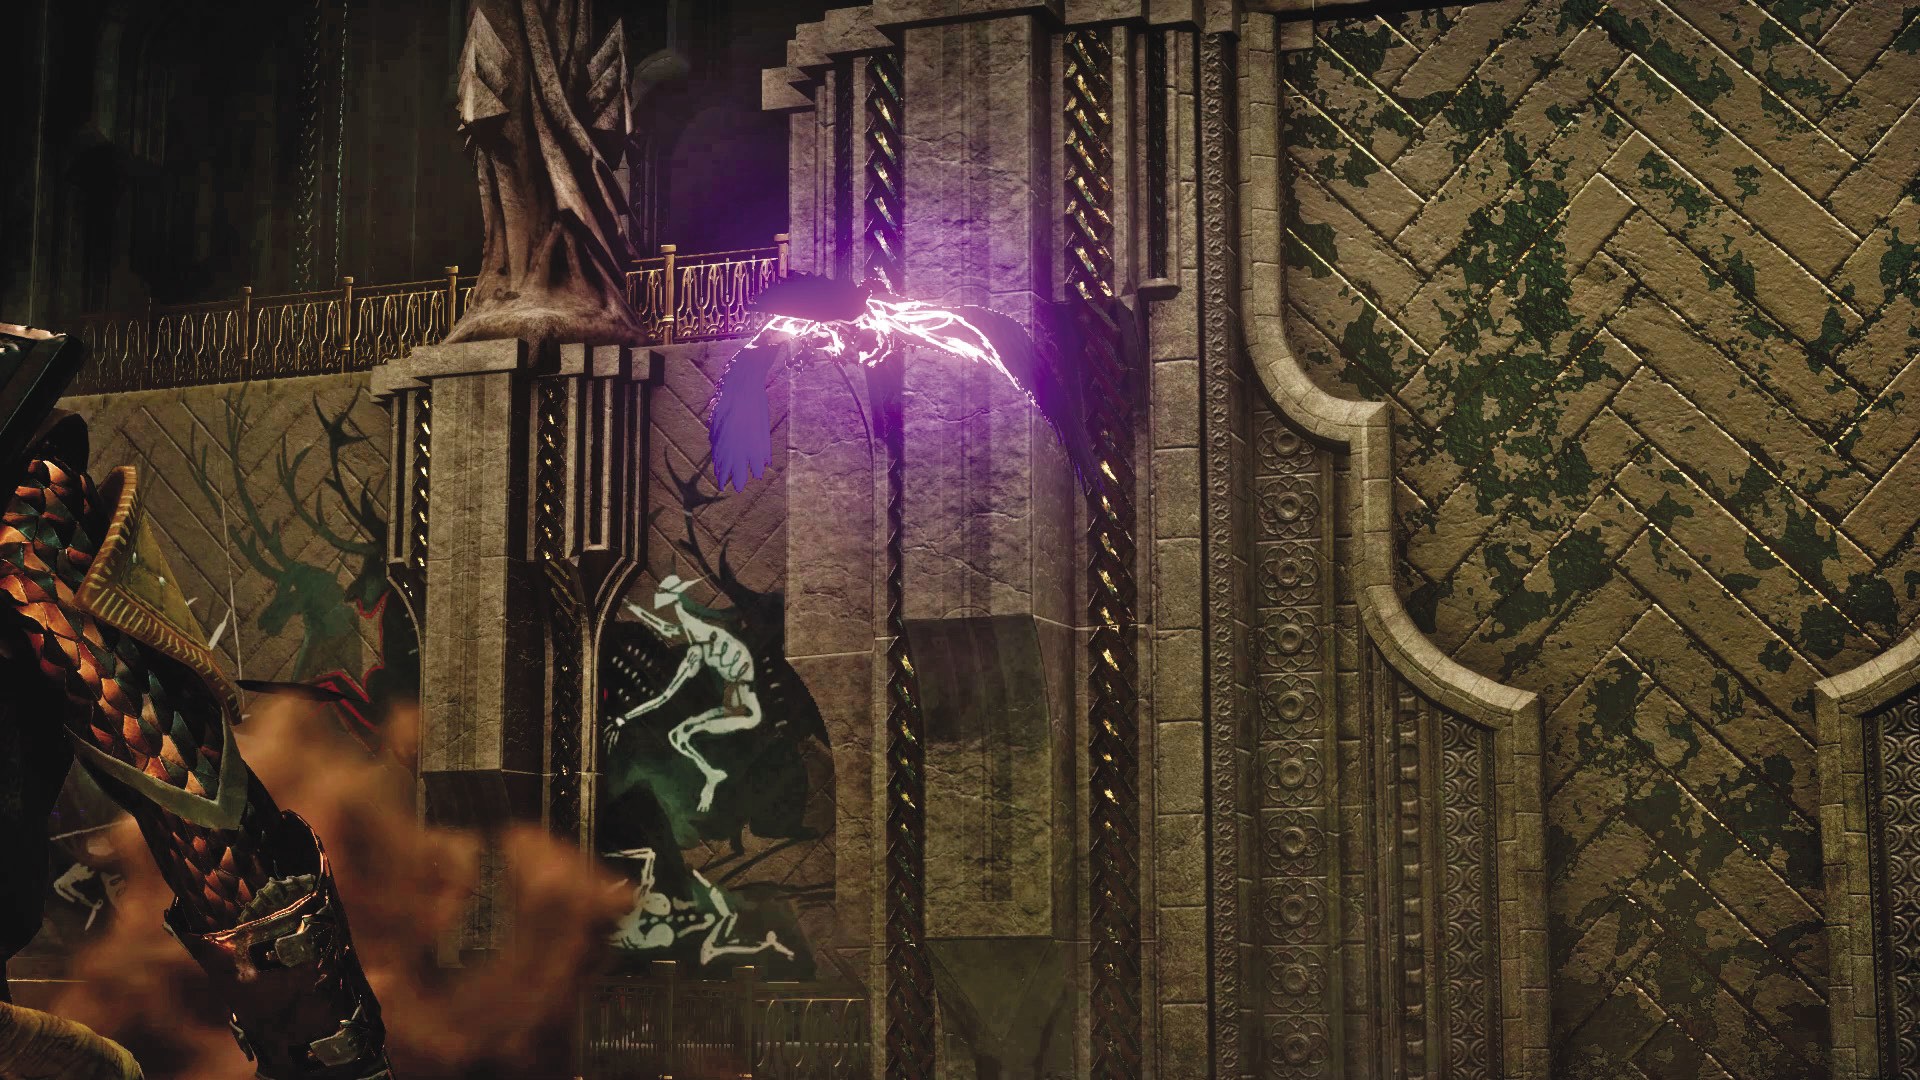
Following your decision, Abelas exits, vowing to destroy the Well of Sorrows before it can be desecrated by outsiders. Morrigan responds by transforming herself into a bird and chasing after Abelas. If you chose to ally with Abelas, you are prompted to follow an elven guide through the temple—she will lead you to the Well of Sorrows. The guide knows many shortcuts through the maze-like temple, revealing hidden doorways and passages. Keep up with the guide, but don’t miss the chance to search for loot along the way. At the end of the path, the guide even opens a secret loot chamber for you.
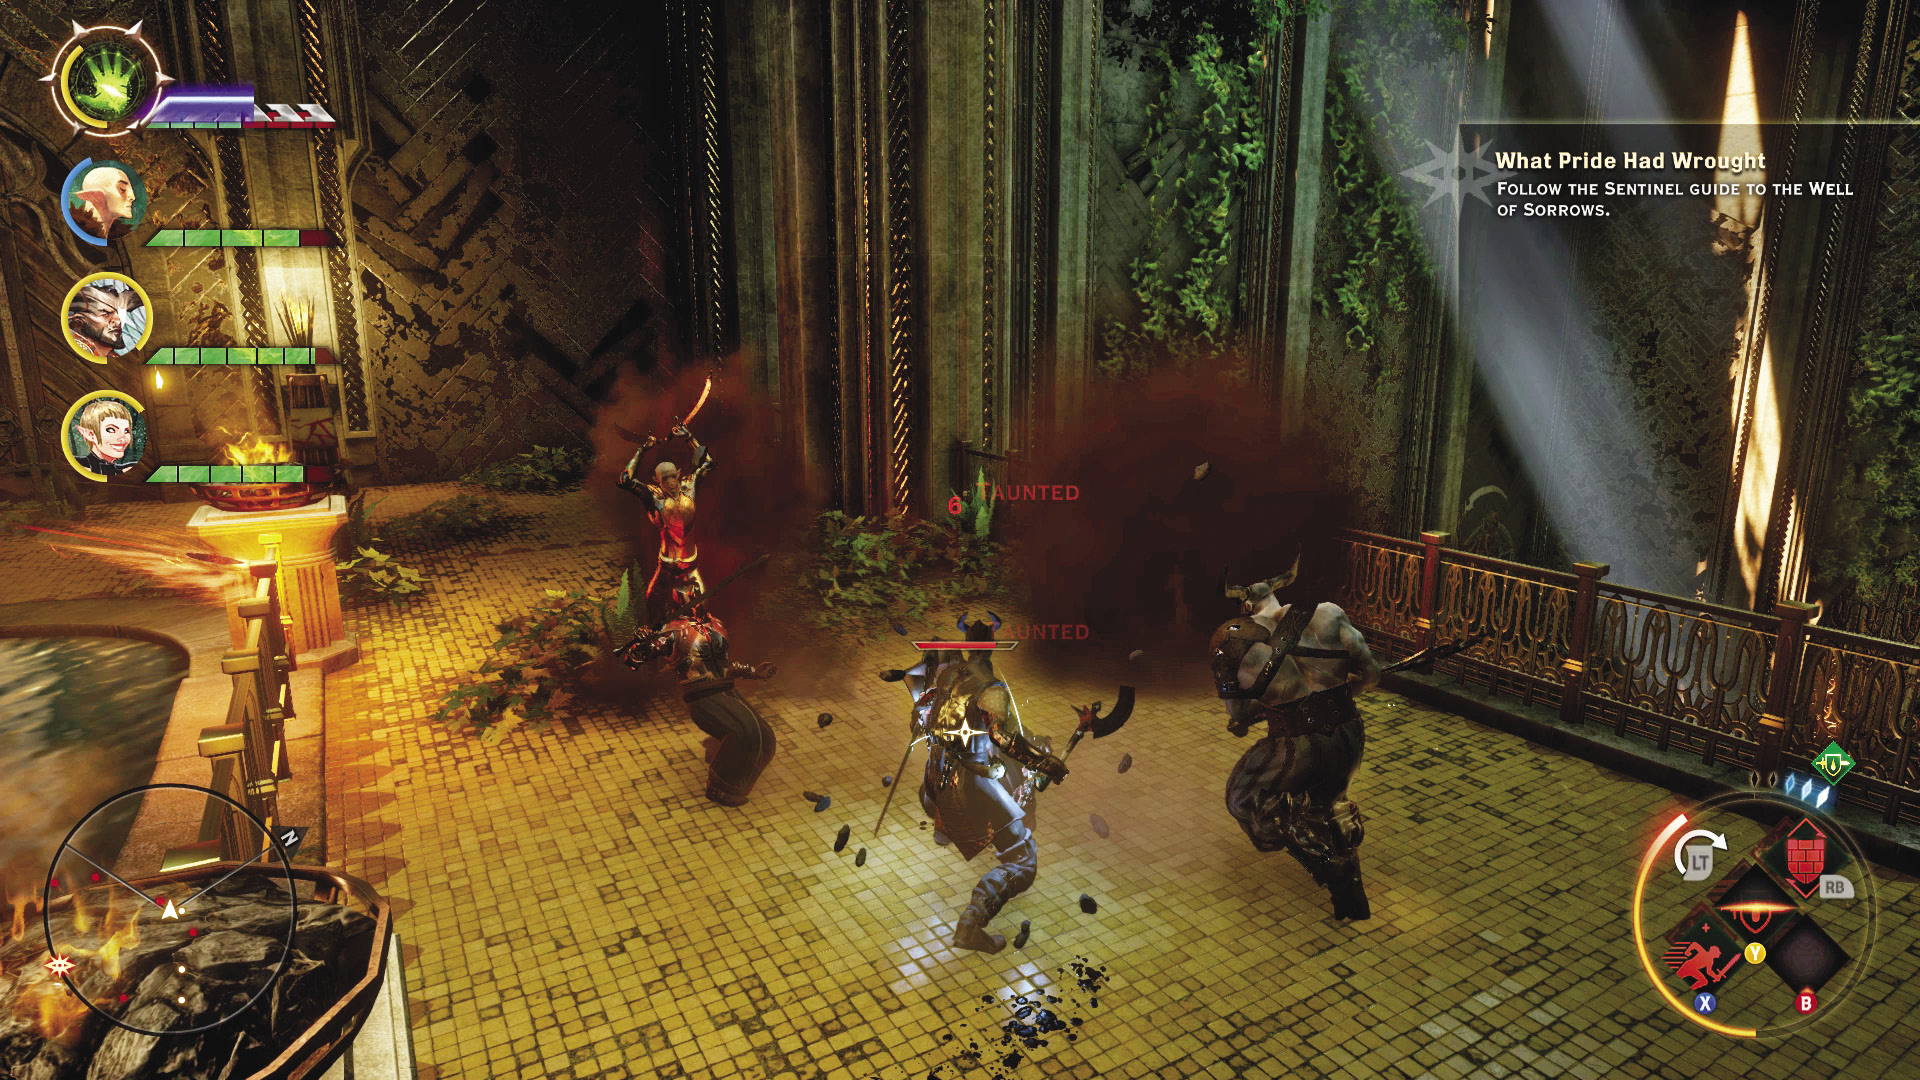
Soon after the guide stops, you can hear fighting nearby. Open the door to the east and join the fight as several Sentinels engage a group of Corypheus’s minions. If you allied with the Sentinels, this fight shouldn’t be a problem. If you haven’t, you’ll be fighting them and Corypheus’s forces in this area. Following the battle, exit through the doors to the south to reach the Well of Sorrows.
Well of Sorrows
Before you can reach the Well of Sorrows, you must first confront your nemesis. If you allied with the rebel mages, you’ll face Samson. Calpernia is your nemesis if you sided with the templars.
Samson Finale
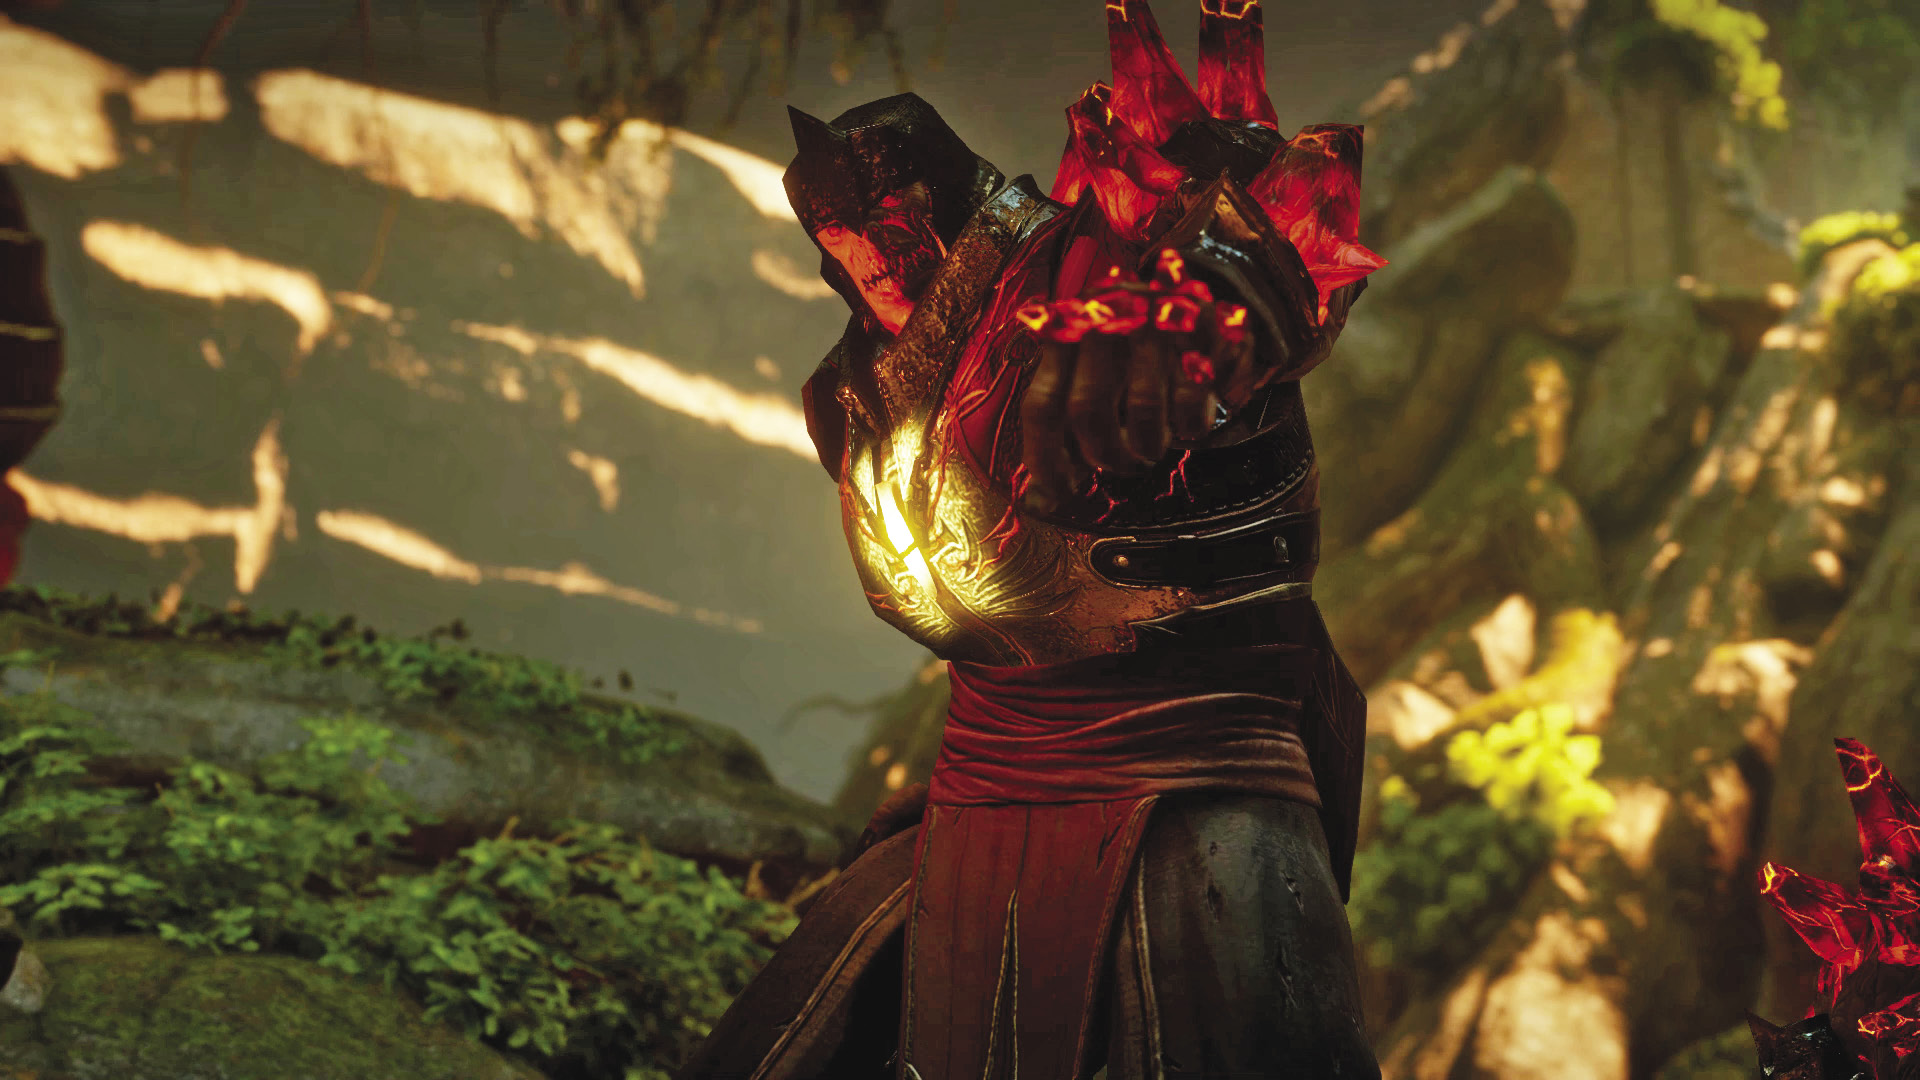
Upon exiting the temple, you discover Samson and his red templars have already reached the Well of Sorrows. Samson is eager to serve as a vessel, absorbing the wisdom offered by the well before turning it over to Corypheus. If you completed the Before the Dawn nemesis quest you have a chance in the conversation to make the next fight easier: When it appears, choose the option to use the rune Dagna prepared for you to break Samson’s armor. Samson is horrified as his armor is “depowered” and attacks, but he is now a weakened target in combat.
If you didn’t complete Before the Dawn, or if you ignore the choice to weaken Samson’s armor, you must defeat a fully charged Samson.

If you didn’t complete Before the Dawn, you must defeat Samson and his red templars in combat. During this battle, focus on eliminating the red templar horrors before going after Samson—consider casting Mark of the Rift while all of the enemies are clustered together to deal some heavy damage. When all other enemies have been defeated, focus on taking down Samson. Samson is equipped with heavy armor and can build guard. So utilize warrior abilities, like Shield Bash and Break Their Spirit (War Horn), which can help deplete Samson’s guard. Carrying a two-handed sword, Samson can perform some devastating attacks, including 360-degree spins, knocking down all enemies in his path. Keep your distance during these attacks to prevent getting knocked down. For best results, taunt Samson with your warriors while your ranged party members pour on attacks from a safe distance. Little by little, Samson’s guard and health will drop. Once he falls, Samson is taken into custody and can later be judged at Skyhold.
Calpernia Finale

Descend the steps to trigger a conversation with your nemesis, Calpernia. Loyal to Corypheus, Calpernia is committed to keeping the Inquisition away from the Well of Sorrows. As feared, Calpernia reveals that Corypheus is planning to use the well to enter the Fade. If you completed the Under Her Skin nemesis quest, you can convince Calpernia that she’s being played—that Corypheus actually plans to bind her. When you hand over the scroll with Corypheus’s binding ritual, Calpernia stands down, realizing you’re telling the truth. To avoid a fight with Calpernia, convince her to return to Tevinter.
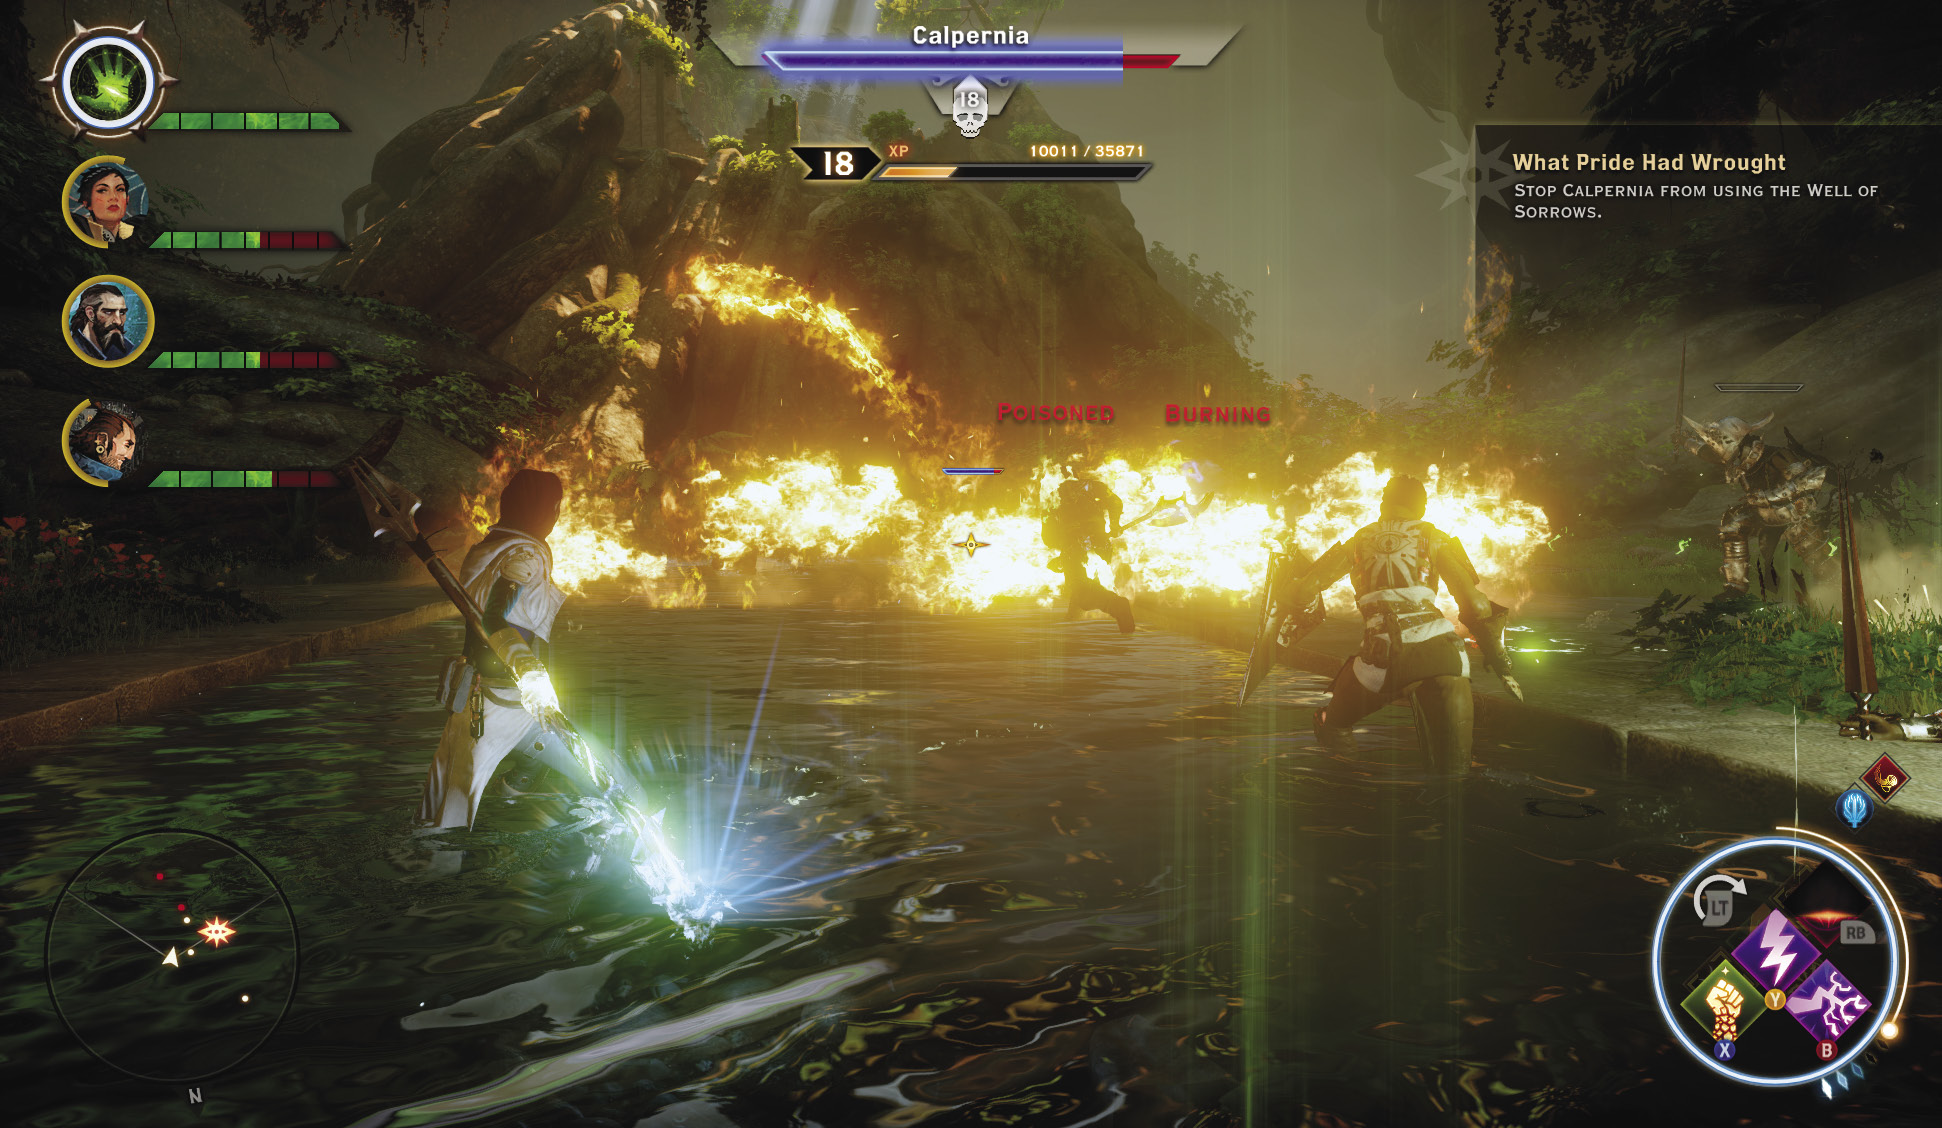
If you haven’t completed Under Her Skin or simply want to eliminate Calpernia, be prepared to fight her bodyguards, consisting of Venatori zealots and a Venatori mage. As soon as combat begins, enter the tactical camera and use Mark of the Rift on Calpernia and the nearby Venatori zealots—this is the best way to dish out some heavy damage, while eliminating most of Calpernia’s security detail. Calpernia is resistant to fire but vulnerable to cold-based attacks. She can also cast a barrier, significantly prolonging her lifespan. Freeze or chill Calpernia with spells, then focus on eliminating any surviving Venatori zealots and the Venatori mage. Once Calpernia’s barrier is weakened, she won’t last long. When the battle is over, Calpernia throws herself off a nearby cliff to avoid being killed by the Inquisition.
The Vir’abelasan

After you confront your nemesis, Abelas is seen racing to the Well of Sorrows. But Morrigan reaches the well first and blocks his path. Abelas reveals that the well contains the knowledge of all previous servants of Mythal. He fears this knowledge will be lost if an outsider touches the well. If you allied with him earlier, you can convince Abelas to relent and let you use the well, though he offers a warning before leaving—whoever drinks from the well will be bound forever to the will of Mythal. If you didn’t ally with Abelas, he attempts to destroy the well. Morrigan kills him before he can bring the temple down on you.
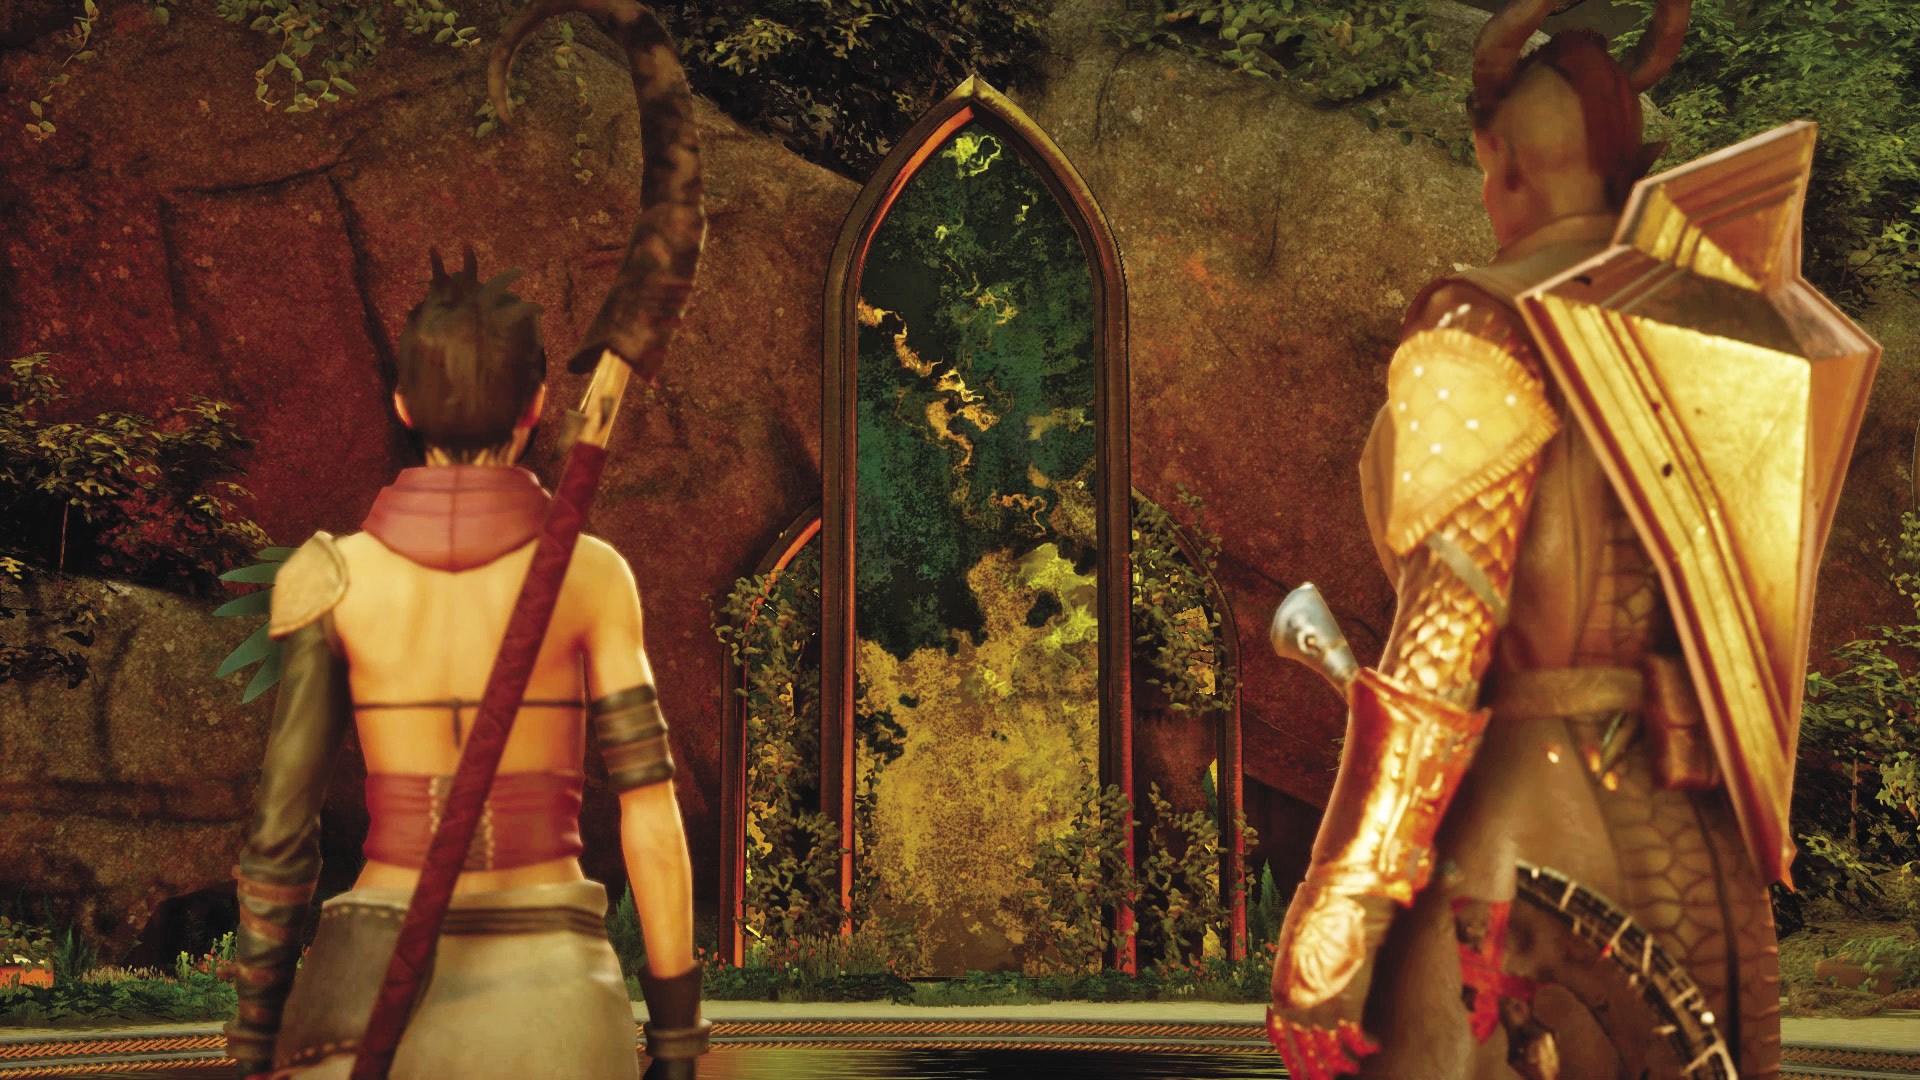
After Abelas is gone, Morrigan makes note of the intact eluvian near the well. She feels the well is the key necessary to access the eluvian. If the key is taken, the eluvian will no longer function. Morrigan is clearly attracted to the power of the Well of Sorrows, and she makes no secret of her desire to drink from it. Others in your party (notably Cassandra) are resistant to the idea of Morrigan drinking from the well—can Morrigan be trusted with this unknown power? Yet Morrigan persists, stating she is the most qualified to drink from the well.
Decision Point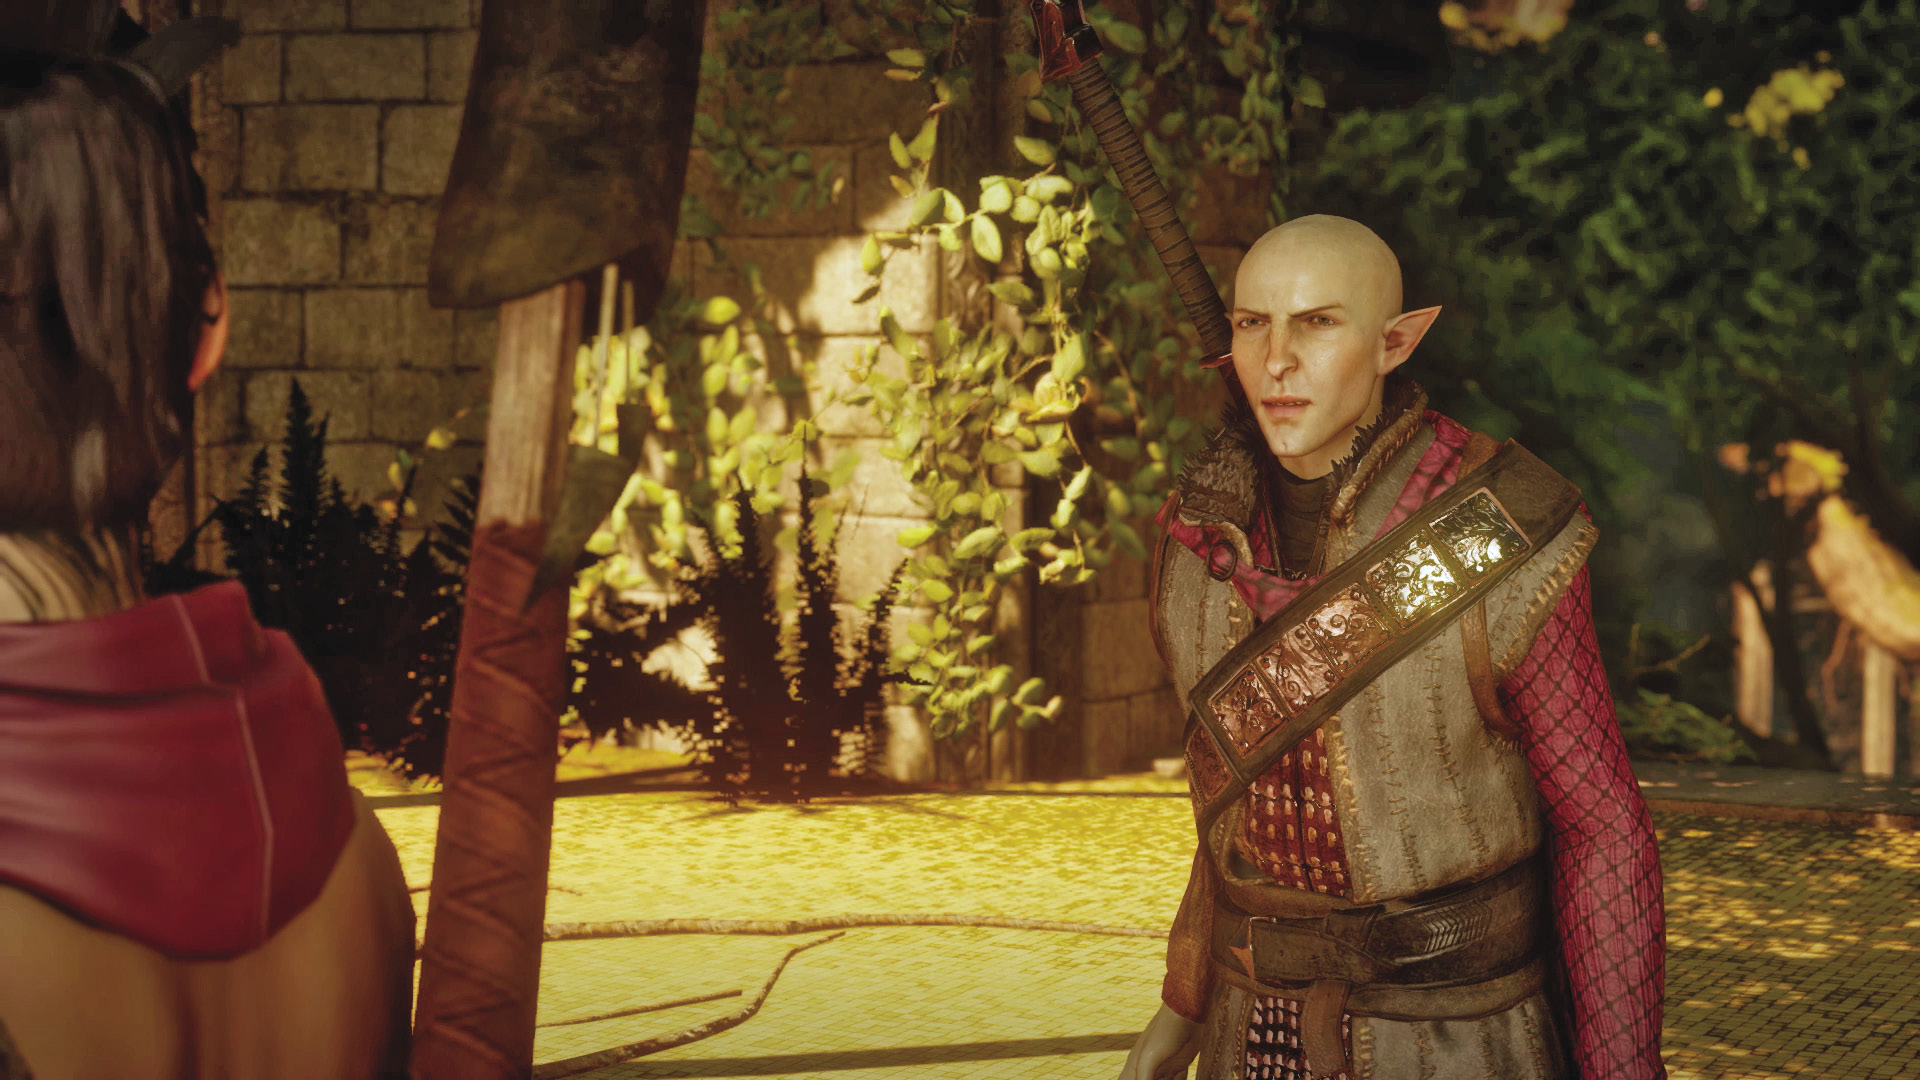 Morrigan makes a convincing argument for why she should be the one to drink from the Well of Sorrows. However, the final decision is up to you. As expected, your decision will have an impact on approval among your party members. Vivienne is outraged if you allow Morrigan to access the well’s power. But Sera is equally disgusted if you drink from the well. However, if the Inquisitor drinks from the well, you’ll have to tame an ancient dragon later, at the Altar of Mythal. If Morrigan drinks from the well, you won’t have to tame the ancient dragon later. |
Approval: Well of Sorrows
| Follower | Inquisitor Drinks | Morrigan Drinks |
|---|---|---|
| Blackwall |   (if not in a romance with Blackwall) (if not in a romance with Blackwall) |
  (if in a romance with Blackwall) (if in a romance with Blackwall) |
| Cassandra |   |
  |
| Cole | — | — |
| Dorian |  (or (or   if in romance) if in romance) |
  (or (or    if in romance) if in romance) |
| The Iron Bull |   |
  |
| Sera |    |
  |
| Solas |   |
  |
| Varric | — | — |
| Vivienne |    |
   |
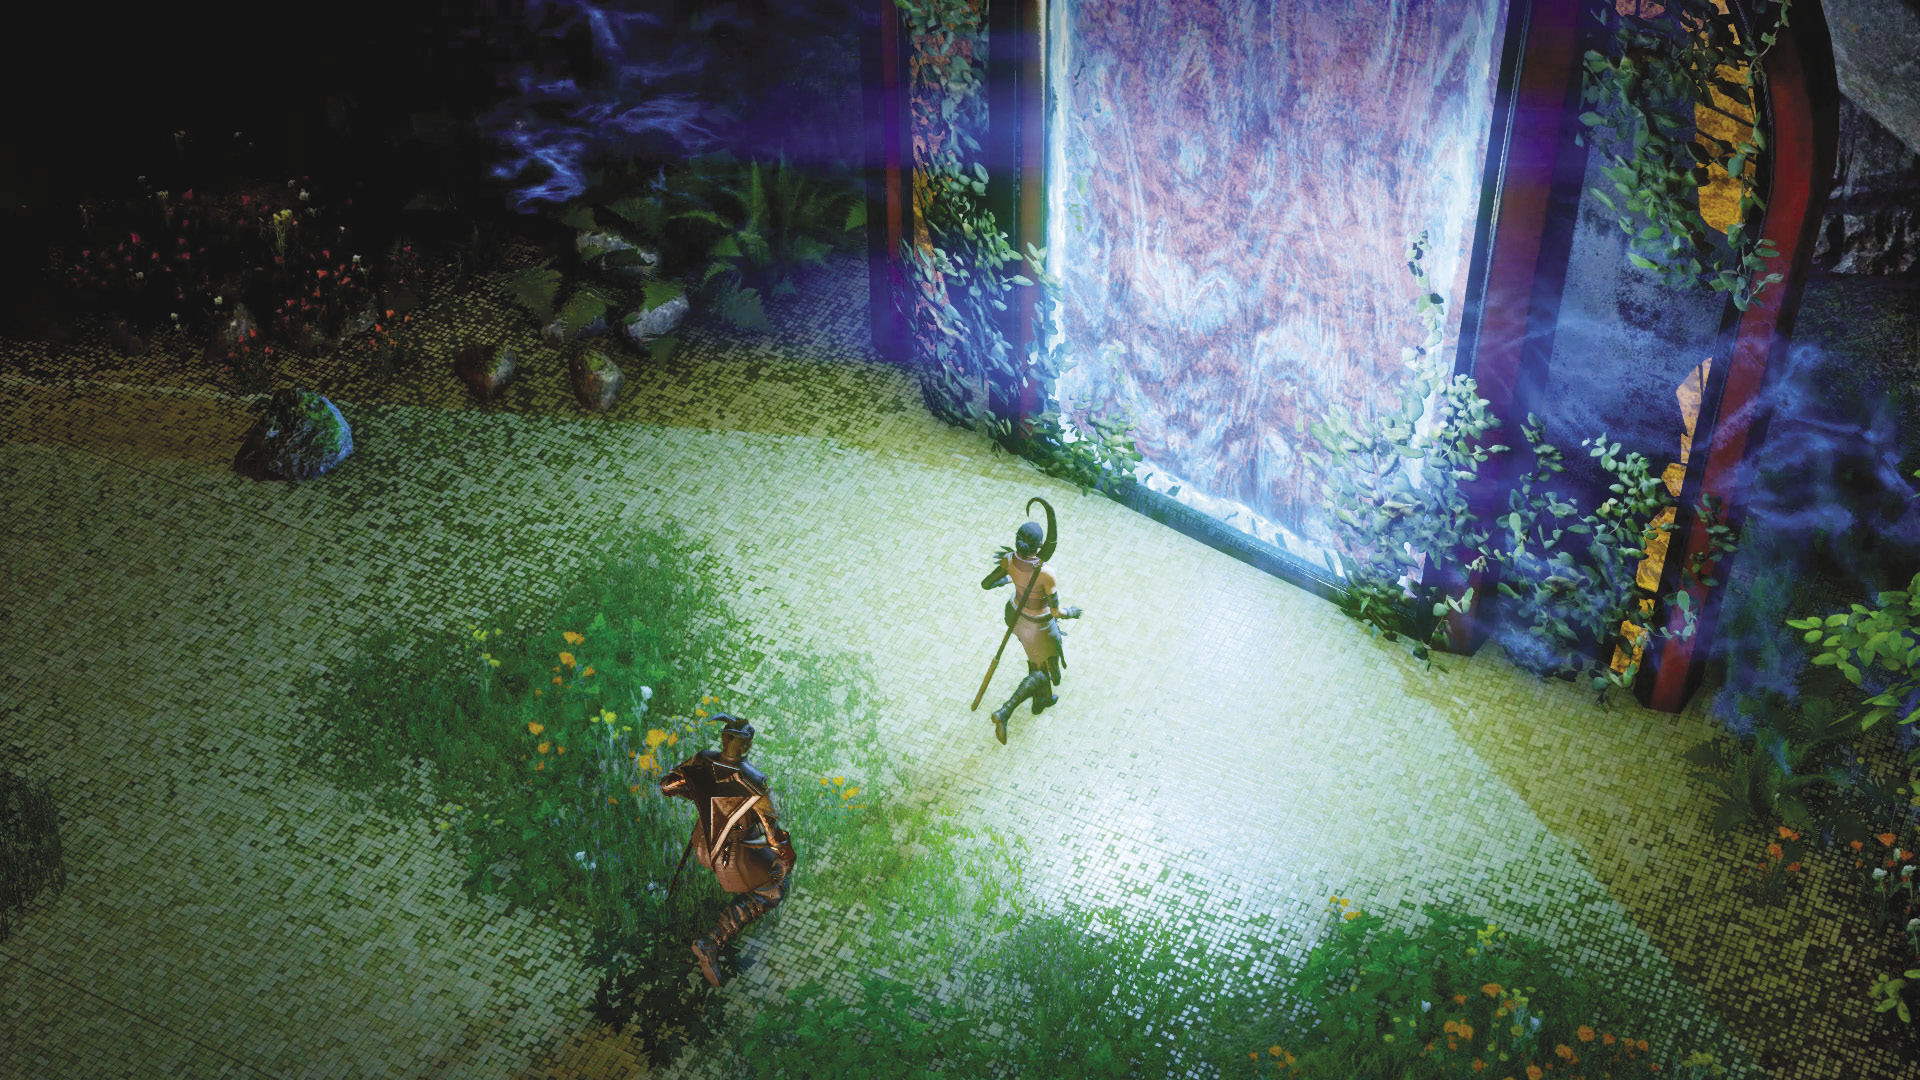
Whoever wades into the Well of Sorrows experiences strange visions. As the power of the well surges through their body, they collapse, losing consciousness. The party members rush to the aid of their unconscious comrade. But there isn’t much time to ask questions. Corypheus can be seen exiting the inner sanctum; he takes to the sky and rushes toward your party at the well. Morrigan urges everyone to race through the eluvian. While your party retreats, a mysterious figure arises from the water of the well, blocking Corypheus’s pursuit. This buys the Inquisitor enough time to escape through the eluvian. Once you’ve passed through the mirror it shatters, preventing Corypheus from chasing your party back to Skyhold.
The New Divine
At the conclusion of Dragon Age: Inquisition, a new Divine will be crowned. The choices made by the Inquisitor throughout the game will affect the future of the Sunburst Throne and the Orlesian Chantry. The candidates for the position are Leliana, Cassandra and Vivienne.
As Inquisitor, your support will be invaluable to anyone who desires to take the Sunburst Throne. Expressing support for a candidate in private conversations with her will unlock an operation on your war table. This operation will allow you to use the Inquisition’s influence to greatly sway the opinions of the Chantry’s clerics in favor of your chosen candidate. While there are three operations—one for each potential Divine—you can only complete one of them. Once your support is public, you cannot go back on your choice. Note that the operation itself does not completely decide who becomes Divine. It is not a guarantee, but simply one strong vote.
Other tips:
- Voicing support for a candidate will increase the chance that they will take the Sunburst Throne in the end.
- Having the same opinions as the character about the Chantry and faith will increase their chances. For instance, expressing your respect for the Chantry will increase Cassandra’s likelihood of ending up as Divine while expressing distaste for faith will decrease it.
Leliana as Divine
Leliana believes the Chantry has failed. She wishes to completely reform it, creating a new Chantry for a new age—one that teaches acceptance and love of all, that inspires and does not judge.
Outcomes that go against current Chantry doctrine and favor helping the disenfranchised will improve Leliana’s chances of becoming Divine.
Cassandra as Divine
Cassandra is one of the faithful. Her values are guided by Chantry teachings. She wishes to correct the worst faults of the Chantry while remaining true to its principles and doctrines.
Outcomes that preserve the Chantry’s structure while correcting the worst of its mistakes will improve Cassandra’s chances of becoming Divine.
Vivienne as Divine
Vivienne has fought against all odds to thrive in a world set against her. Losing the current system means losing everything she has worked for. She desires to maintain the status quo.
Outcomes that are in line with current Chantry doctrine and favor order will improve Vivienne’s chances of becoming Divine.