Prima Games eGuides
primagames.com Browse Redeem a code Help
Titanfall eGuide
Sign in My Guides

Sign in or create an account

We'll email you a link. No password needed, and if you don't have an account yet, the link makes one.

By creating an account or signing in, you agree to our Terms of Service and Privacy Policy.

Have a password?

Had an account on the old eGuides site, or a code from a printed guide? Help and troubleshooting

Sign in with a password

By signing in, you agree to our Terms of Service and Privacy Policy.

Check your email

A sign-in link is on its way. It works once and expires in 15 minutes. Open it and you're in, with an account if you didn't already have one.

Contents

  • Titans
    • Introduction
    • Titan Customization
    • Chassis
    • Primary Weapons
      • Triple Threat
      • Arc Cannon
      • Plasma Railgun
      • XO-16 Chaingun
      • Quad Rocket
      • 40mm Cannon
      • Introduction
    • Titan Ordnance
      • Multi-Target Missile System
      • Cluster Missile
      • Slaved Warheads
      • Rocket Salvo
      • Introduction
    • Titan Tactical Abilities
      • Tactical Abilities
      • Tier 1 Kits
      • Tier 2 Kits
    • Advanced Titan Customization
  • Quick Reference
    • Scoring
    • Progression and unlocks
    • Gen Progression
    • Challenges
    • Burn Cards
    • Achievements
    • Developer Tips
    • Meet The Pros
  • Behind the Scenes
    • Titanfall: Behind the Scenes at Respawn Entertainment
    • Starting from Scratch: Vince Zampella
    • Community: Abbie Heppe
    • Art: Joel Emslie
    • Game Design: Justin Hendry
    • Animation: Paul Messerly
    • Weaponry: Ryan Lastimosa
    • Audio: Erik Kraber
    • Source Engine and Matchmaking: Jon Shiring
    • Campaign: Steve Fukuda
  • Video
    • Training Ground (video)
    • Smuggler's Cove (video)
    • Rise (video)
    • Relic (video)
    • Overlook (video)
    • Outpost 207 (video)
    • Nexus (video)
    • Lagoon (video)
    • Fracture (video)
    • Corporate (video)
    • Colony (video)
    • Boneyard (video)
    • Angel City (video)
    • Airbase (video)
  • DLC
    • Frontiers Edge
      • Whats New
      • DIG SITE
        • Map Overview
        • Capture the Flag
        • Hardpoint
        • Last Titan Standing
      • HAVEN
        • Map Overview
        • Capture the Flag
        • Hardpoint
        • Last Titan Standing
      • EXPORT
        • Map Overview
        • Capture the Flag
        • Hardpoint
        • Last Titan Standing
    • Expedition
      • WAR GAMES
        • Last Titan Standing
        • Hardpoint
        • Capture the Flag
        • Map Overview
      • SWAMPLAND
        • Last Titan Standing
        • Hardpoint
        • Capture the Flag
        • Map Overview
      • RUNOFF
        • Last Titan Standing
        • Hardpoint
        • Capture the Flag
        • Map Overview
  • Training
    • Introduction
    • Controls
    • Interface
    • Welcome to the Frontier: Training
    • Pilot Fundamentals
    • Titan Fundamentals
    • Game Modes
    • Persistence and Progression
    • Advanced Combat Tactics
  • Introduction
    • The Frontier
    • History of the Conflict
    • The Militia
    • The IMC
    • Titanfall Tech
    • Campaign
  • Maps
    • Introduction
    • Demeter
      • Introduction
      • Map Overview
      • Attrition
      • Capture the Flag
      • Hardpoint Domination
      • Last Titan Standing
      • Pilot Hunter
    • Corporate
      • Introduction
      • Map Overview
      • Attrition
      • Capture the Flag
      • Hardpoint Domination
      • Last Titan Standing
      • Pilot Hunter
    • Colony
      • Introduction
      • Map Overview
      • Attrition
      • Capture the Flag
      • Hardpoint Domination
      • Last Titan Standing
      • Pilot Hunter
    • Boneyard
      • Introduction
      • Map Overview
      • Attrition
      • Capture the Flag
      • Hardpoint Domination
      • Last Titan Standing
      • Pilot Hunter
    • Angel City
      • Introduction
      • Map Overview
      • Attrition
      • Capture the Flag
      • Hardpoint Domination
      • Last Titan Standing
      • Pilot Hunter
    • Airbase
      • Introduction
      • Map Overview
      • Attrition
      • Capture the Flag
      • Hardpoint Domination
      • Last Titan Standing
      • Pilot Hunter
    • Relic
      • Introduction
      • Map Overview
      • Attrition
      • Capture the Flag
      • Hardpoint Domination
      • Last Titan Standing
      • Pilot Hunter
    • Overlook
      • Introduction
      • Map Overview
      • Attrition
      • Capture the Flag
      • Hardpoint Domination
      • Last Titan Standing
      • Pilot Hunter
    • Outpost 207
      • Introduction
      • Map Overview
      • Attrition
      • Capture the Flag
      • Hardpoint Domination
      • Last Titan Standing
      • Pilot Hunter
    • Nexus
      • Introduction
      • Map Overview
      • Attrition
      • Capture the Flag
      • Hardpoint Domination
      • Last Titan Standing
      • Pilot Hunter
    • Lagoon
      • Introduction
      • Map Overview
      • Attrition
      • Capture the Flag
      • Hardpoint Domination
      • Last Titan Standing
      • Pilot Hunter
    • Fracture
      • Introduction
      • Map Overview
      • Attrition
      • Capture the Flag
      • Hardpoint Domination
      • Last Titan Standing
      • Pilot Hunter
    • Rise
      • Introduction
      • Map Overview
      • Attrition
      • Capture the Flag
      • Hardpoint Domination
      • Last Titan Standing
      • Pilot Hunter
    • Runoff (Expedition)
      • Last Titan Standing
      • Hardpoint
      • Capture the Flag
      • Map Overview
    • Smugglers Cove
      • Introduction
      • Map Overview
      • Attrition
      • Capture the Flag
      • Hardpoint Domination
      • Last Titan Standing
      • Pilot Hunter
    • Swampland (Expedition)
      • Last Titan Standing
      • Hardpoint
      • Capture the Flag
      • Map Overview
    • Training Ground
      • Introduction
      • Map Overview
      • Attrition
      • Capture the Flag
      • Hardpoint Domination
      • Last Titan Standing
      • Pilot Hunter
    • War Games (Expedition)
      • Last Titan Standing
      • Hardpoint
      • Capture the Flag
      • Map Overview
  • Pilots
    • Introduction
    • Pilot Customization
    • Primary Weapons
      • Introduction
      • R-101C
      • EVA-8 Shotgun
      • Smart Pistol MK5
      • R-97 Compact SMG
      • Longbow-DMR Sniper
      • G2A4 Rifle
      • Hemlok BF-R
      • C.A.R. SMG
      • Spitfire LMG
      • Kraber-AP Sniper
    • Sidearms
      • B3 Wingman
      • Hammond P2011
      • RE-45 Autopistol
      • Introduction
    • Anti-Titan Weapons
      • Charge Rifle
      • Mag Launcher
      • Sidewinder
      • Archer Heavy Rocket
      • Introduction
    • Ordnance
      • Arc Mine
      • Satchel Charge
      • Arc Grenade
      • Frag Grenade
      • Introduction
    • Pilot Tactical Abilities
      • Tier 2 Kits
      • Tier 1 Kits
      • Tactical Abilities
    • Advanced Pilot Customization
  • Patch Notes
    • Patch Notes

Titanfall Guide › Training

Pilot Fundamentals

Completing the training is a good way to get your feet wet, but there’s still more to learn about being a Pilot. Here we take a look at some of the most fundamental aspects of playing as a Pilot, complete with some helpful tips from the developers at Respawn Entertainment.

Mobility
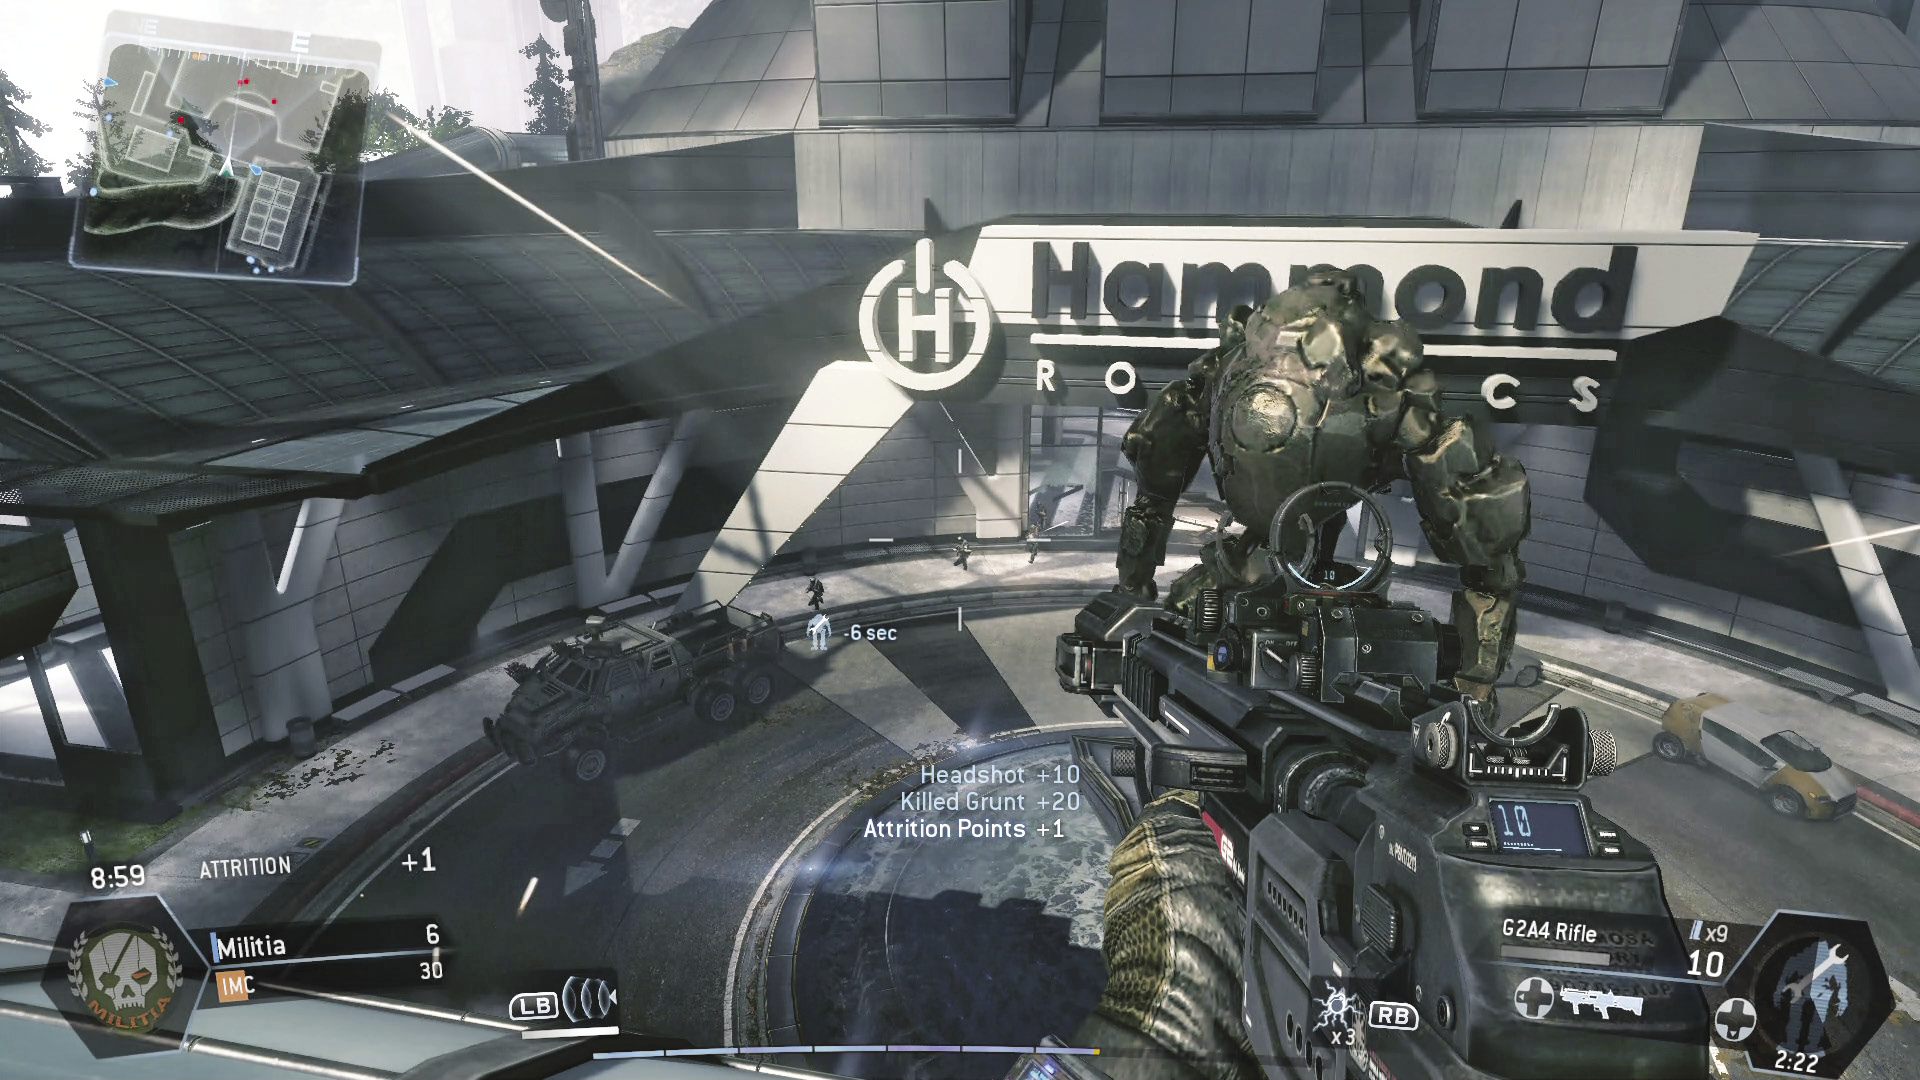
Wall running and double jumping are essential for taking the high ground.

Utilizing Jump Kits, Pilots have a distinct advantage on the battlefield, capable of wall running, wall hanging, and double jumping. While the basics of movement are covered during training, putting these moves into practice during combat takes some getting used to. For starters, look for opportunities to take the high ground. Advance to rooftops and other elevated positions to gain a better perspective of your environment. If you stay on the ground you’ll be at a serious disadvantage as enemy Pilots (and Titans) attack from above. Furthermore, moving on the ground (even when sprinting) is much slower than utilizing wall runs and other Jump Kit-assisted techniques.

Tip

Crouching is helpful for squeezing into tight spots. It also offers greater stability when firing a weapon—the reticle constricts while crouching, improving accuracy. So when accuracy counts, make a habit of dropping to a knee before firing.

Zip Lines

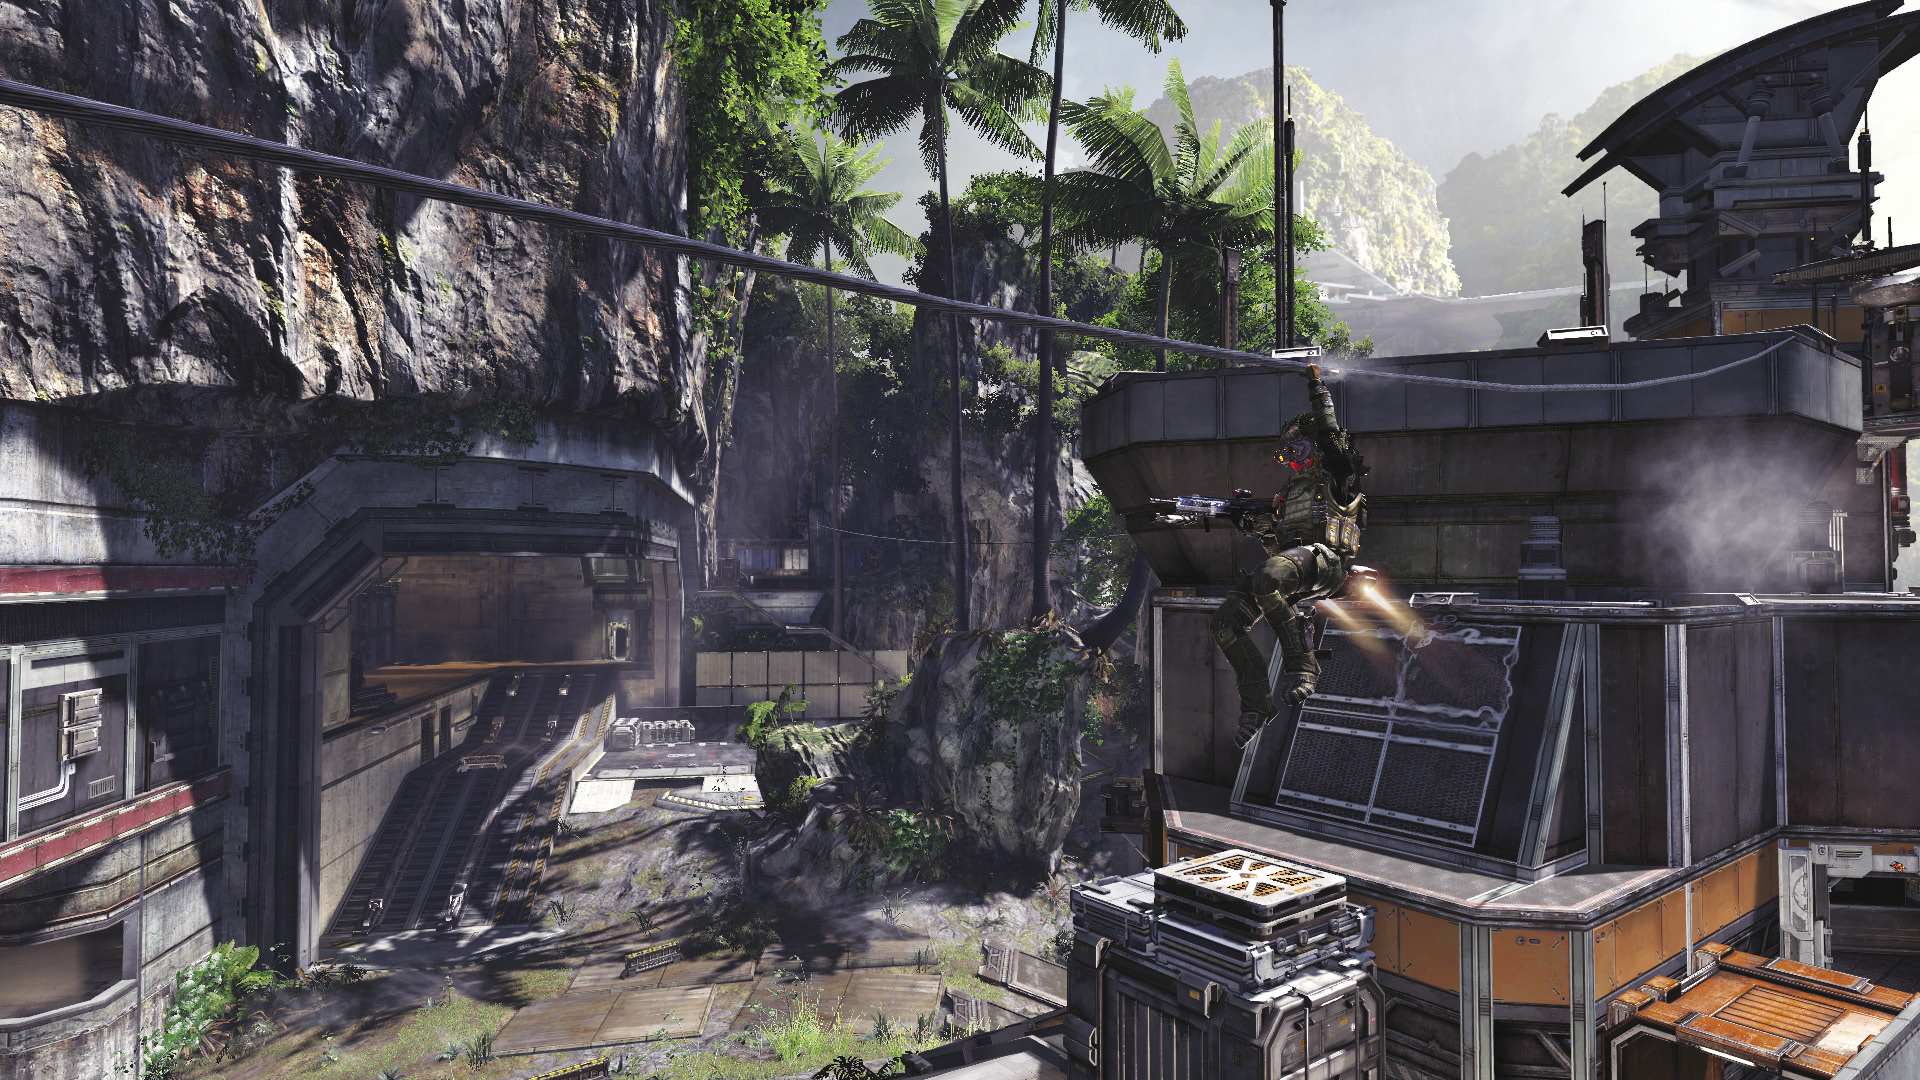
Zip lines are a fast way to move across a map, whether traveling up or down a cable.

Some environments feature zip lines, offering Pilots a speedy way to get around. When within close proximity to a zip line, attach to it by pressing the Reload button/key—you can even do this while in mid-air. The direction you’re facing when you attach to a zip line dictates the direction you’ll travel. But don’t let the angle of the zip line fool you. All zip lines are two-way linear paths, allowing you to travel up or down zip lines at a consistent speed. Zip lines are often arranged to offer quick movement from one side of a map to the other. Sometimes you may need to utilize multiple zip lines to cross an environment. Learning the zip line paths for each map can give you a huge advantage, allowing you quickly to flank the enemy team or a score a flag during Capture the Flag matches. While moving along zip lines is fast and efficient, you’re vulnerable to incoming fire. So avoid using zip lines in hotly contested areas, as you’re likely to draw fire from enemy Pilots and Titans—cloaking while speeding along a zip line makes you much tougher to spot.

DEVELOPER TIP

You move faster when running along walls than you do running on the ground. Use wall running to traverse through environments quickly.

Keep an eye open for wall running paths through maps. You’ll get to places faster and safer than running across open ground.

Shooting while wall running won’t cause you to lose any speed.

You can move quickly by “skipping” across the ground. This will preserve whatever speed you’ve built up to that point as a Pilot. To try this, jump away from a wall while wall running at a full sprint. Then, as your feet touch the ground, jump again. Each time your feet are about to touch the ground, as long as you are moving at a high speed, you can jump to “skip” along the ground, until you mistime your jump and slow down too much, or you come to a stop against some object.

There are two ways to dismount from a zip line. If you jump to detach, you will carry speed through the air. If you crouch to detach, you will drop like a rock. These methods can be used to keep enemies in pursuit guessing, in addition to giving you more maneuvering options to navigate the environment.

Hanging on to a wall high up while defending an objective can help you get the drop on unsuspecting enemies. To perform a wall hang, hold your aim control while in the middle of a wall run.

Enemy Titans can see your Jump Kit’s exhaust when you double jump while cloaked as a Pilot. Sometimes it’s best to avoid double jumping when cloaked, so as not to draw enemy attention.

Weapons

Each Pilot has an impressive arsenal of weapons at their disposal, including a primary weapon, a sidearm, an Anti-Titan weapon, and ordnance, such as grenades, mines, and explosive charges.

Primary Weapons and Sidearms
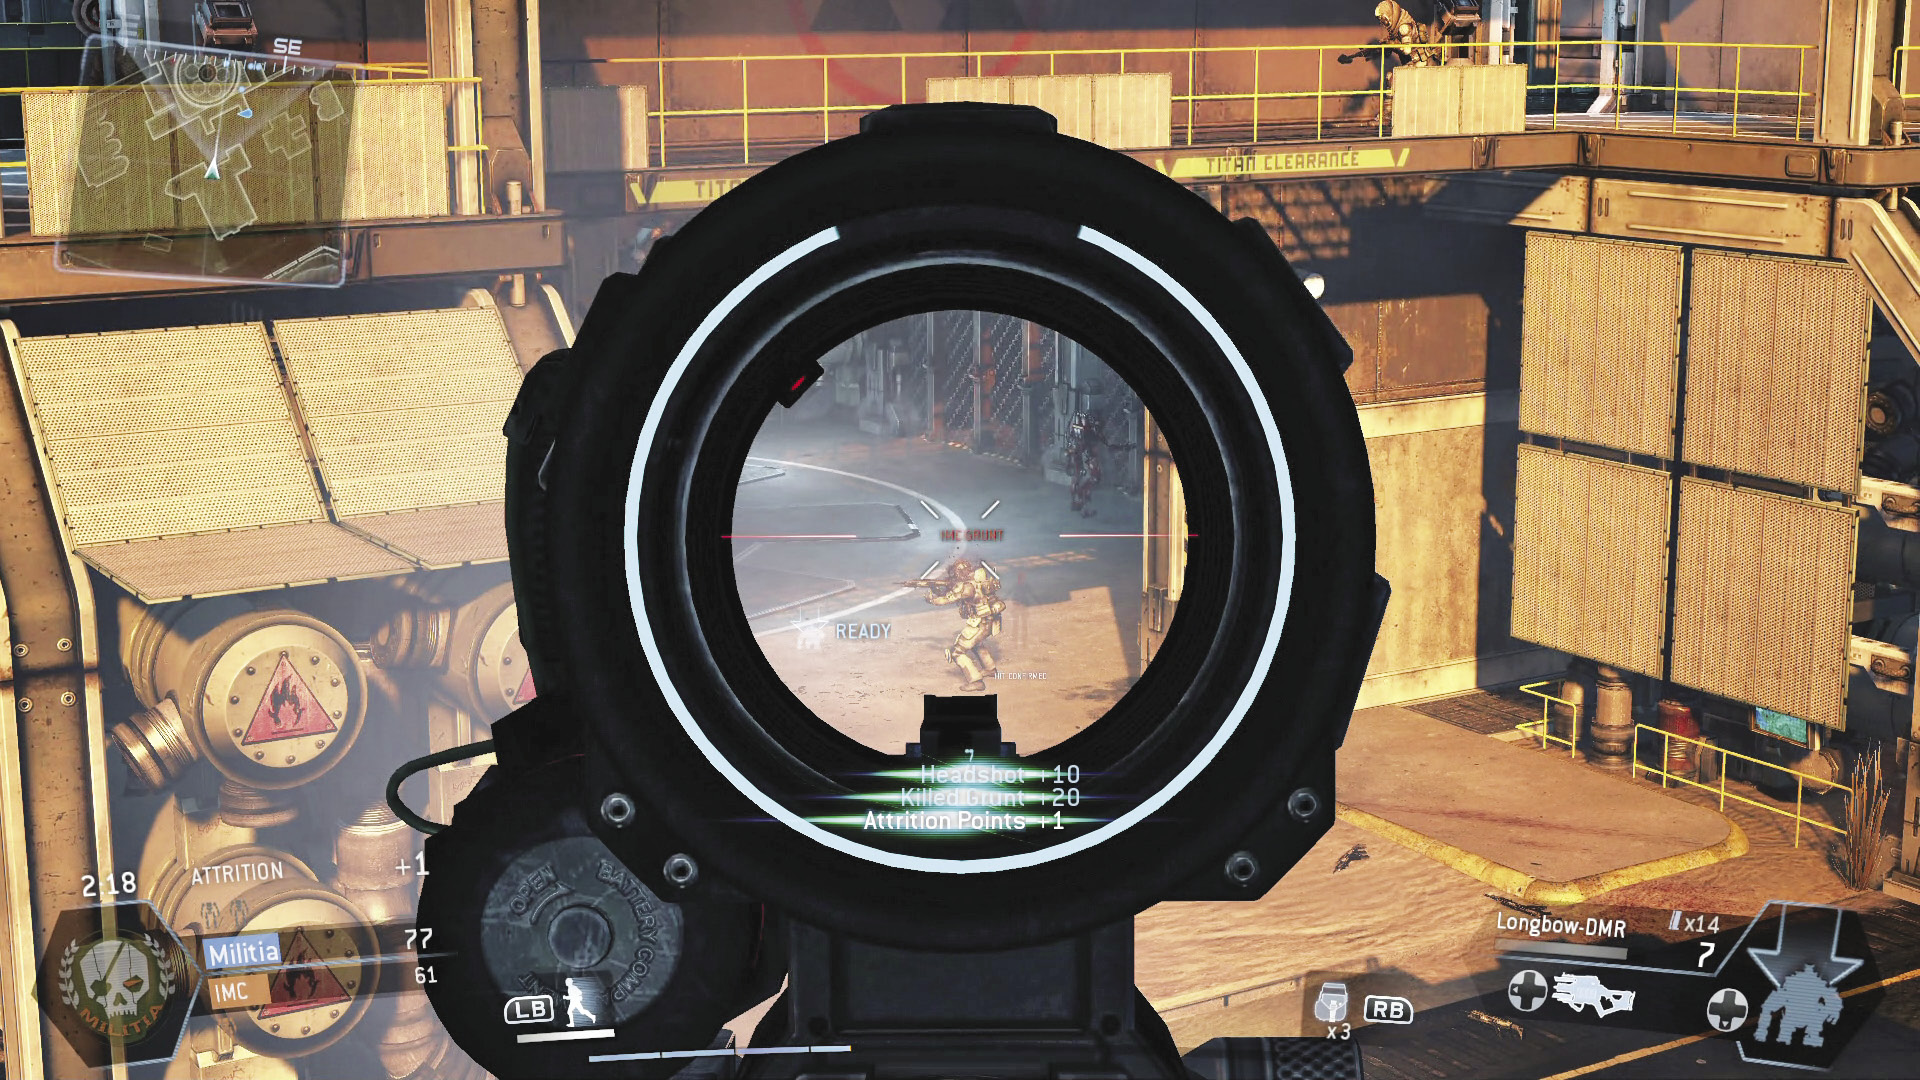
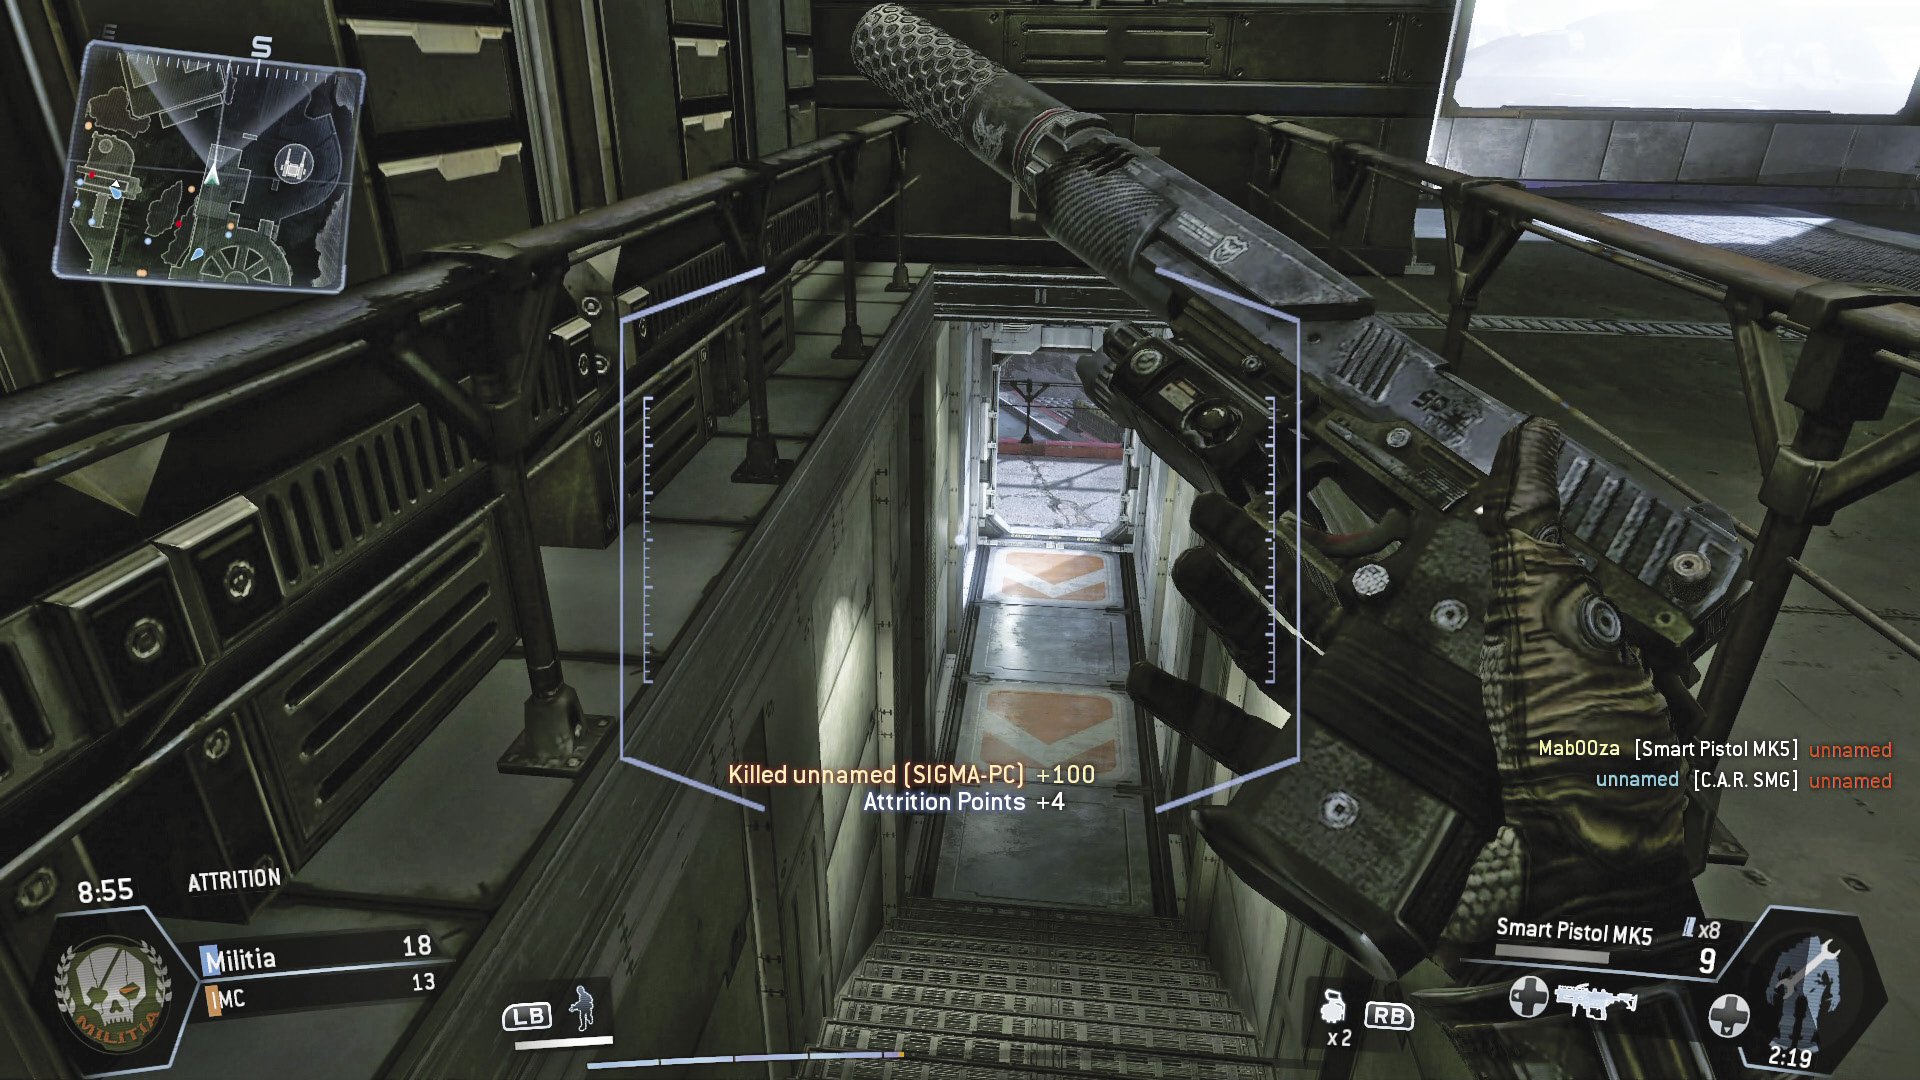
Take aim through your weapon’s sight for better accuracy, particular when engaging distant targets.

Although distinct, the primary weapons and sidearms all function similarly, firing cartridge-based projectiles. If you’re familiar with other FPS titles, the gunplay in Titanfall should feel very familiar. For best results, always take aim before firing, using the weapon’s iron sights or optical attachment to acquire your target—headshots inflict the most damage. Aimed fire is always more precise than shooting from the hip, greatly increasing your odds of hitting a target. However, there may be some instances where hip fire is preferred. Hip fire is less accurate, but allows for better tracking of moving targets in close-quarter fire fights—automatic weapons with high rates of fire and large magazine capacities are most effective when hip firing. Fire modes differ from firearm to firearm, with automatic, semi-automatic, and burst-fire weapons available. Experiment with different primary weapons and sidearms until you find a combination that works for you.

Tip

When selecting a sidearm, choose one that offsets the weaknesses of your primary weapon. For example, if choosing the EVA-8 Shotgun as your primary, consider opting for the B3 Wingman as your sidearm. While the shotgun is great for close-quarter fights, it lacks range, a deficiency the B3 Wingman makes up for.

Reloading

Scout your surroundings and check the minimap before reloading your primary weapon.

Eventually all firearms must be reloaded. Reloading should always be conscious decision and not a reaction. In these chaotic battles, you can’t afford to reload after each kill—this is a bad habit that will get you killed. Instead, keep an eye on your magazine status and consider reloading once its capacity dips below 50%. The frequency of your reloads are largely determined by your magazine capacity. But that shouldn’t be the only consideration. Only reload when you’ve reached cover and can safely swap out magazines. Also, overcome the urge to reload during heated close-quarter firefights. Instead, switch to your sidearm and finish the fight—it’s always faster to draw your sidearm than it is to reload your primary weapon.

Note

For a comprehensive analysis of every Pilot weapon, flip ahead to the Pilot Gear chapter.

Anti-Titan Weapons

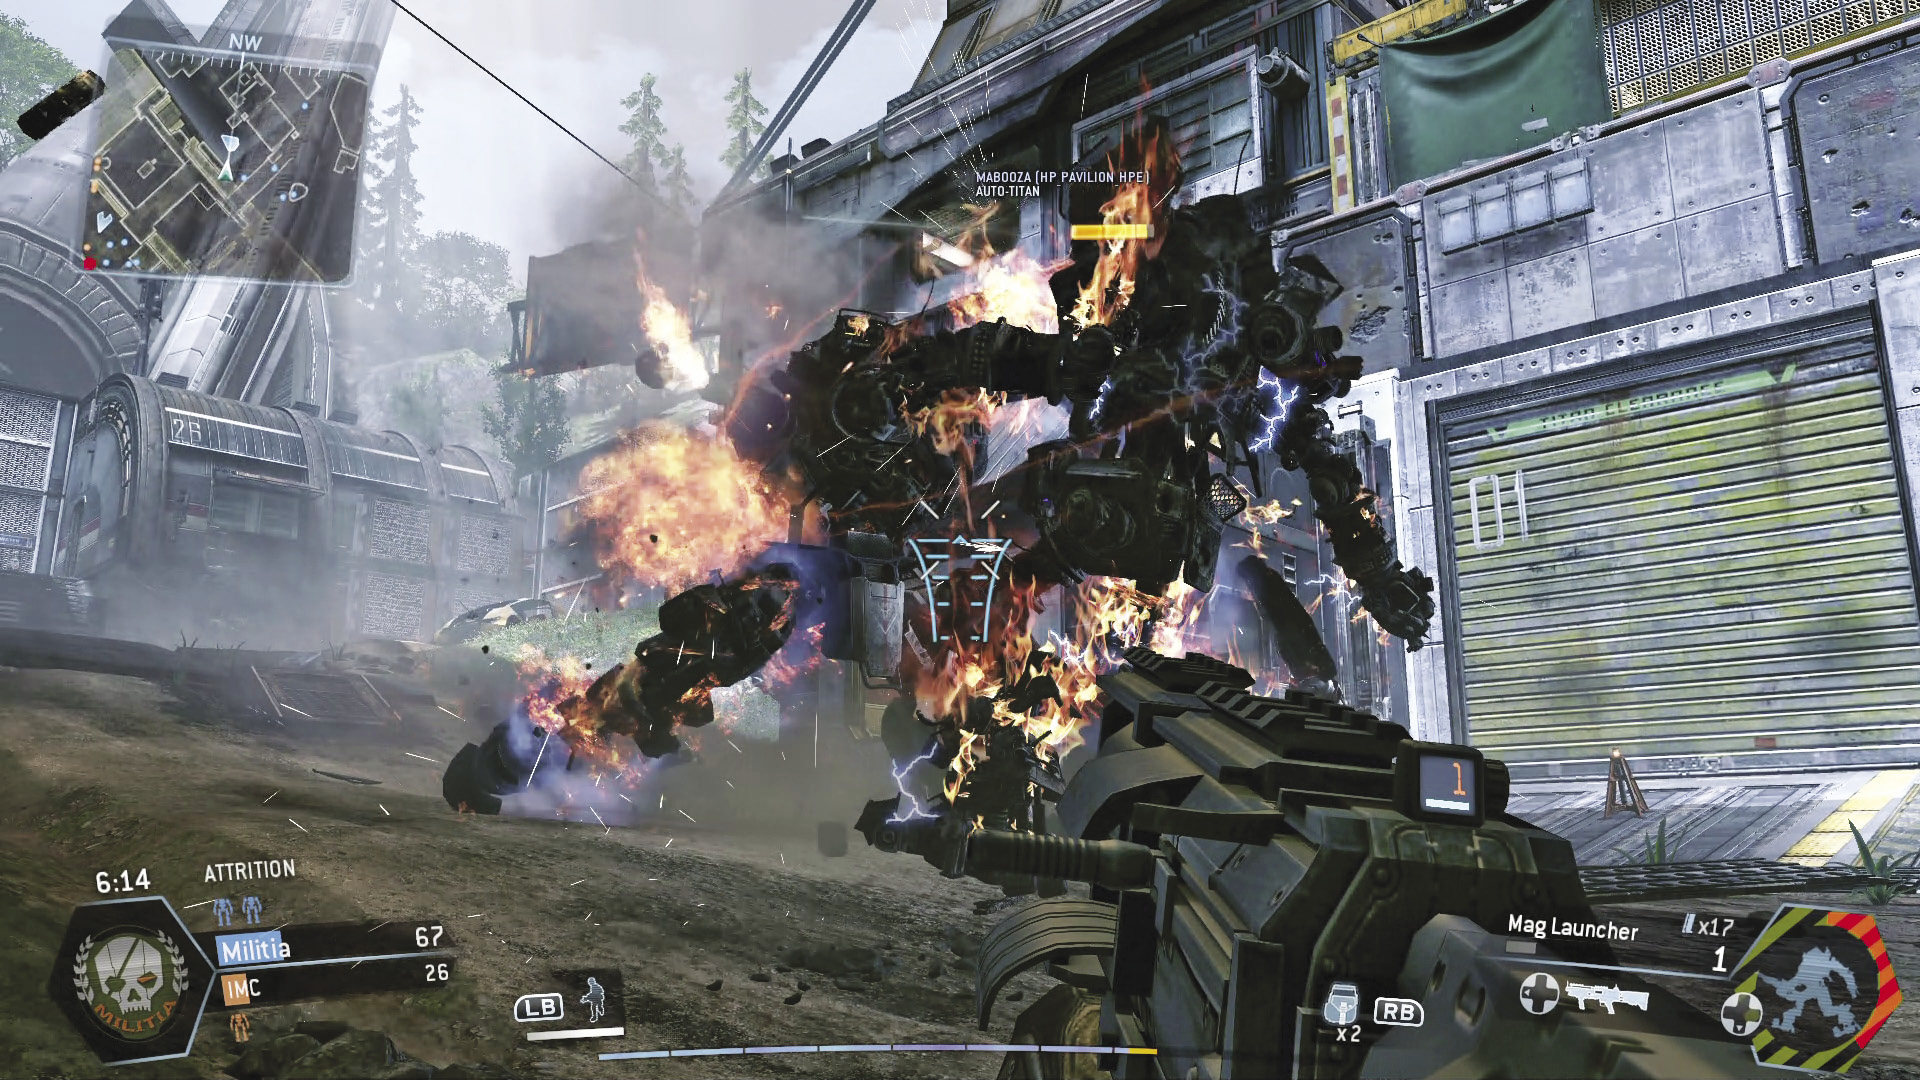
Wait until an enemy Titan is distracted before engaging it with an Anti-Titan weapon.

Even when enemy Titans come raining down, Pilots have a way to directly counter this threat. There are four Anti-Titan weapons to choose from, each with their own characteristics and functionality. But they’re all designed to inflict heavy damage against enemy Titans. Unlike the Titan-wielded weapons, Anti-Titan weapons inflict damage to a Titan’s shield and health simultaneously. If a Titan’s bodyshield is active, the bulk of the Anti-Titan weapon’s damage is dealt to the shield while a small percentage bleeds through and deals permanent damage to the Titan’s health. So no matter what condition a Titan is in, all hits by Anti-Titan weapons inflict permanent damage. But don’t expect to drop a Titan with one of these weapons. Instead, these weapons function best when deployed in a supporting role. So while a friendly Titan is engaging an enemy Titan, consider scoring a few hits with your Anti-Titan weapon to tilt the odds in your teammate’s favor.

DEVELOPER TIP

You can swap out your sidearm with another primary weapon if you pick it up off of a fallen enemy or friendly.

Rounds fired by the Mag Launcher will be drawn towards Spectres as well as Titans.

Cook your grenades for added control. You can do this by holding the grenade in your hand instead of releasing it immediately. To cook a grenade, hold the grenade-throw control without letting go. Timing a grenade properly can be risky, but if done properly, it is a very effective way to make a grenade explode exactly where and when you want it to.

Arc Mines are great for defending fixed positions, such as bases in Capture the Flag or the hardpoints in Hardpoint Domination.

Your ordnance and ammunition are automatically replenished when you embark into your Titan.

Hacking: The Data Knife

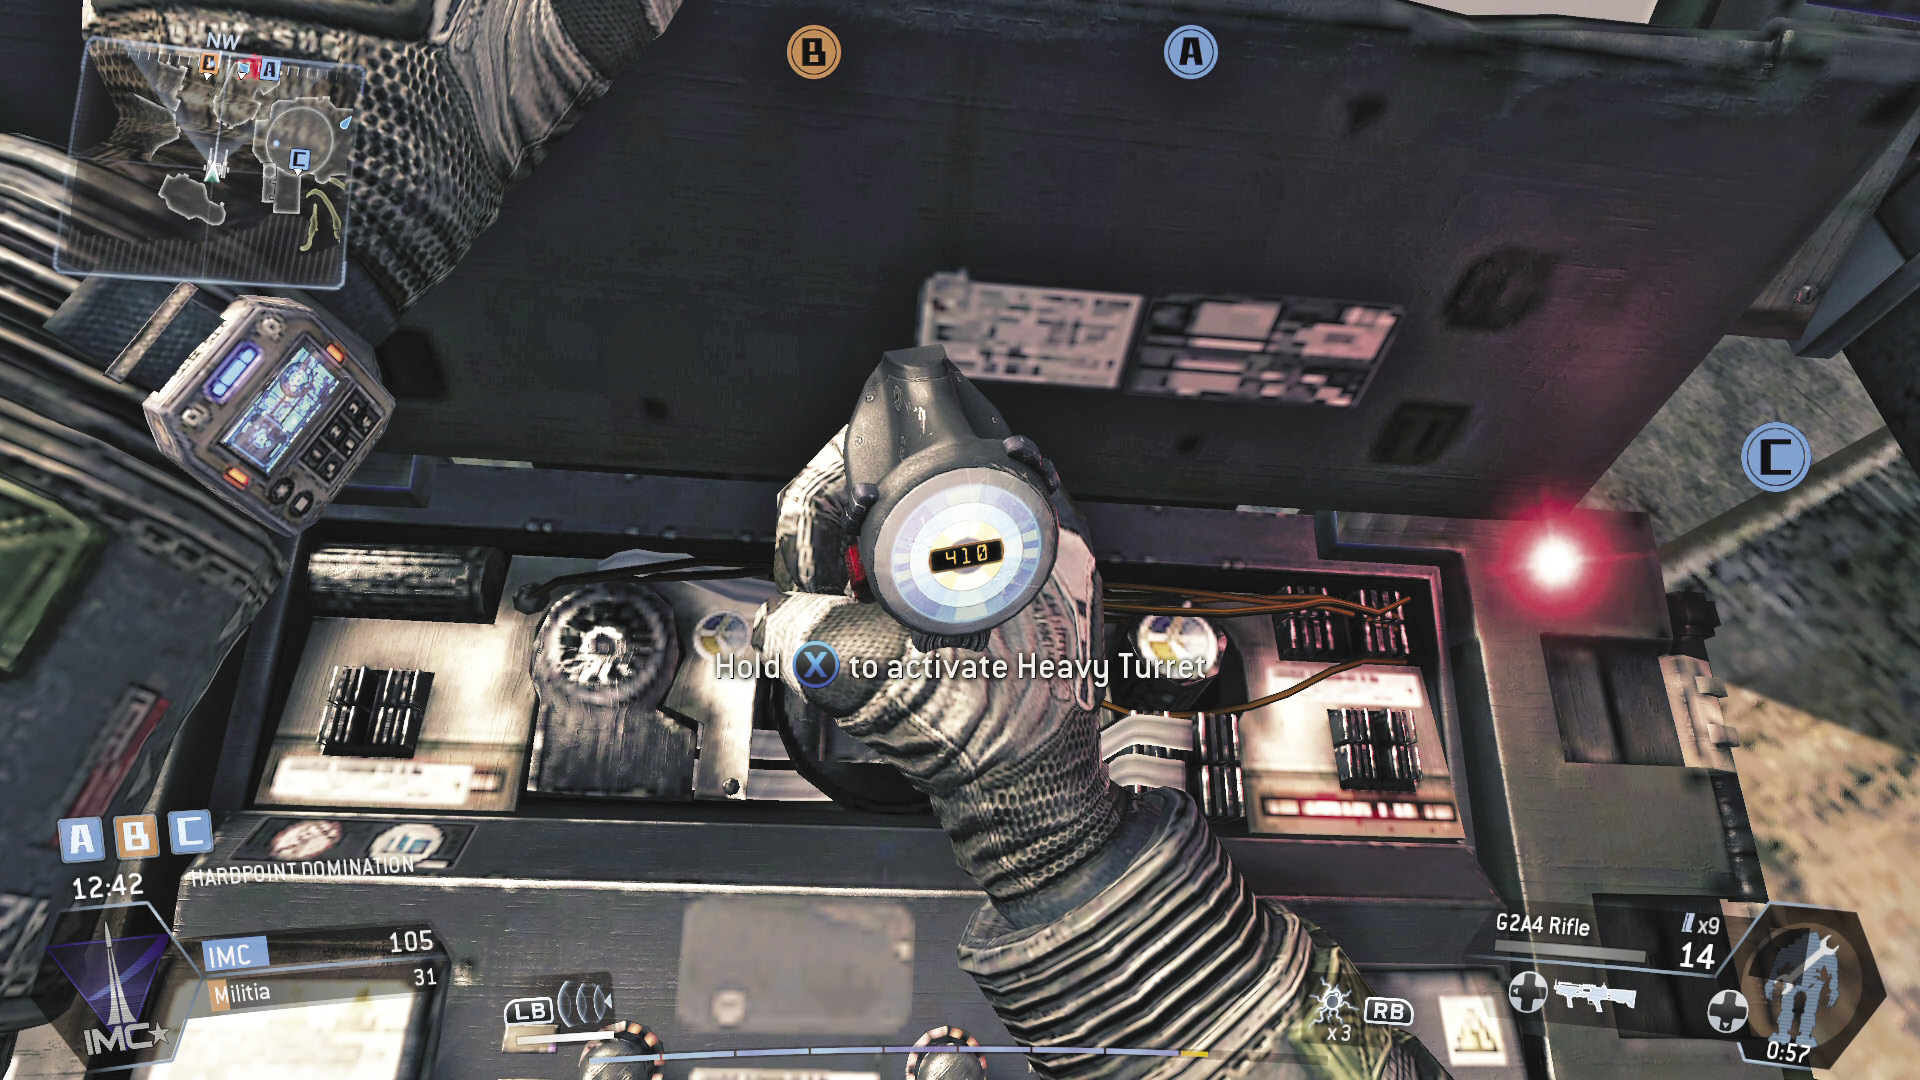
Hacking turrets and Spectres with the Data Knife leaves you vulnerable for a few seconds—have a teammate watch your back.

All Pilots are equipped with a Data Knife, a specialized bladed weapon designed to hack enemy systems. In battle, the Data Knife is used to hack turrets and enemy Spectres, reprogramming these assets to fight and score kills for you. To hack a turret, look for an upright console near its base. Interact with the console to initiate the hack—it takes several seconds to complete a hack, leaving your Pilot vulnerable. So make sure the area is clear of threats before attempting a hack. Once the hack is successful, the turret will automatically engage enemy units. Spectres are hacked in a similar fashion, but you must approach them from behind. When a Spectre is hacked, it follows you around the map and attacks enemy units. Hack multiple Spectres to create a small army of loyal robots.

DEVELOPER TIP

When hacking enemy Spectres, you will automatically convert any other Spectres within a short distance to join your team.

Hacking Spectres and turrets will help your team when in Attrition, and will earn you extra points.

You get kill credit for kills achieved by your hacked Spectres, turrets, Conscripted Grunts, and Auto-Titans—Grunts can be conscripted to fight for you by playing the Conscription Burn Card.

Tactical Abilities

Active Radar Pulse allows Pilots to detect enemies hidden behind walls and other obstructions.

Each Pilot can choose from three different Tactical Abilities. When activated, these abilities remain active for a few seconds, giving the Pilot a temporary tactical advantage. The Cloak ability renders a Pilot nearly invisible, allowing them to sneak around the battlefield. Titans and minions have a hard time detecting cloaked Pilots, but other Pilots can see a slight silhouette. The Stim ability boosts the Pilot’s speed and health regeneration for a few seconds, aiding in fight-or-flight situations. While Stim is active, a fast-moving Pilot can jump farther, allowing for greater parkour skills, perfect for retreating or chasing down enemy Pilots. The Active Radar Pulse ability is like x-ray vision for Pilots, illustrating the locations of enemy units on the HUD, even if they’re concealed behind walls and other pieces of cover. This versatile ability is perfect for getting the jump on enemies by anticipating their moves.

DEVELOPER TIP

The Smart Pistol MK5 locks on to cloaked Pilots slower than uncloaked Pilots. If you know your opponents are relying on the Smart Pistol, and they catch you in the open, try using the Cloak ability as a countermeasure. This will buy you some time to break line of sight and cancel the progress of any Smart Pistol lock-ons.

Rodeo

Although risky, rodeo attacks are a great way to heavily damage enemy Titans.

Pilots show no fear when facing down enemy Titans, sometimes resorting to risky rodeo attacks. During a rodeo attack, a Pilot leaps onto the top of a Titan and tears off the cranial hatch on the outer hull. With the Titan’s internal systems exposed, the Pilot can then attack these critical components directly with weapons. So how do you get on top of a Titan in the first place? The easiest way is to drop from above, leaping down from a nearby rooftop or other elevated position. But even if you’re on the ground, you can perform a rodeo attack. Double jump toward an enemy Titan, then press the Reload button/key as you make contact to initiate a grapple, causing your Pilot to automatically assume a position atop the Titan. Once in position, the cranial hatch is automatically torn free by your Pilot. As soon as the hatch is open, fire at the Titan’s internal systems using a primary weapon or sidearm—Satchel Charges are also very effective. However, exercise extreme caution when using explosives weaponry, like the Sidewinder or Mag Launcher Anti-Titan weapons, as the splash damage will kill you. Damage dealt in a rodeo attack depletes the Titan’s health, even if its bodyshield is still intact, making rodeo attacks extremely effective.

DEVELOPER TIP

The best time to jump onto an enemy Titan (also called a rodeo attack) is when it is busy fighting another Titan, or when the situation is very chaotic. Pilots inside their Titans are less likely to hear you jumping onto their Titans, or notice the warning display in their cockpits that tells them you’re on board.

Use rodeo to encourage the Titan’s Pilot to disembark and fight you on foot. Enemy Pilots inside their Titans receive a warning display when you expose the internal systems by pulling off the cranial hatch. They also receive the same warning if the hatch is already missing and you start inflicting internal damage with your weapon.

Satchel Charges do substantial damage when placed on enemy Titans during a rodeo maneuver. Toss multiple charges inside the hatch, then jump to safety before detonating the explosives.

You can hitch rides on friendly Titans. While you are riding on a friendly Titan, its bodyshield will protect you from incoming fire. Once the bodyshield is down, you will be susceptible to damage.

Don’t be afraid to ask a friend for help. Use team chat when you are being rodeo attacked by an enemy Pilot so that a friendly can easily shoot the Pilot off of your back.

When performing a rodeo attack, instead of reloading your primary weapon, switch to your sidearm instead to deliver more damage faster. You never know how much time you have on the back of an enemy Titan.

Some weapons are more effective when rodeo attacking than others. If you enjoy rodeo attacking Titans, try the Spitfire LMG with the Slammer mod.

Riding on the back of a friendly Titan will prevent enemies from being able to rodeo the Titan you’re on. Consider using friendly Titans as a springboard, jumping to new heights.

Titan Build Time

Dish out damage to enemy Grunts, Spectres, Pilots, and Titans to reduce your Titan’s build time.

Pilots always deploy to the battlefield first, while their customized Titan is still under construction. By default, it takes four minutes for a Titan to be constructed—this time is visible in the Build Timer, located in the lower-right corner of the HUD. However, you can reduce your Titan’s build time by damaging enemies. Damaging high-value targets, like enemy Pilots and Titans, greatly reduces build time while damaging lesser targets, like minions, results in a smaller time reduction. But every bit of damage counts, so don’t miss a chance to mow down enemy Grunts and Spectres. The more effective you are in combat, the less time you have to wait for your Titan.

DEVELOPER TIP

The Build Timer is located in the lower-right corner of your display. When you are a Pilot, this indicates the time remaining until your Titan is ready to call in. When you are a Titan, this indicates the time remaining until your Titan’s Core Ability is ready to use.

The Build Timer counts down on its own, but you can reduce the build time faster by inflicting damage to Titans and other enemies. Each hit earns a time reduction. These time reductions appear briefly to the lower left of your reticle each time you score a hit on an enemy.

You start earning build time progress towards earning your next Titan as soon as you’re out of your current Titan.

The damage inflicted by using Nuclear Ejection can give you a quick boost to building your next Titan when there are enemies nearby.

Titanfall

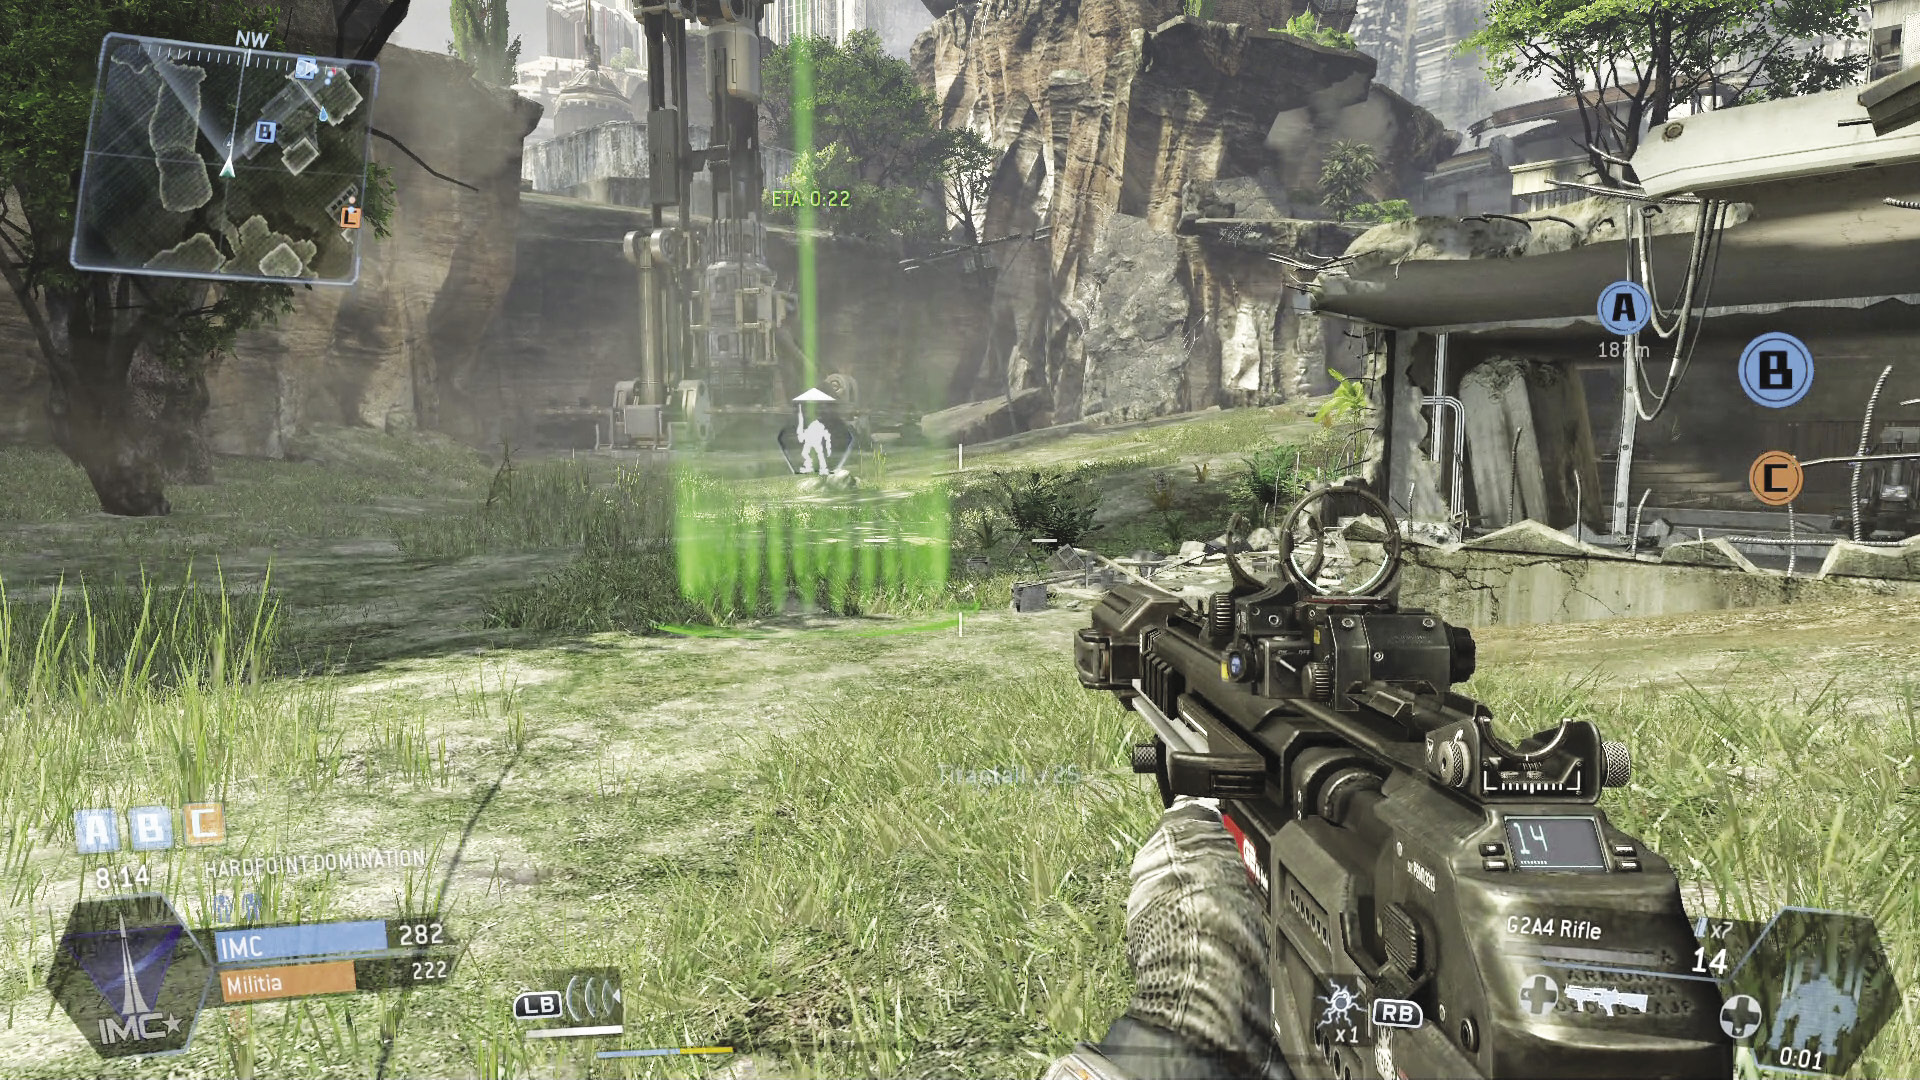
Once Titanfall is initiated, a green holographic ring on the HUD indicates where your Titan will arrive.

Titanfall isn’t just the name of the game. It’s the name of the iconic event when your Titan comes rocketing down to a planet’s surface. Once the Build Timer ticks down to zero, your Titan is ready for deployment. Titans can be deployed at any exterior spot on the map as long as there’s no overhead obstructions. Simply aim where you want your Titan to land and it will come crashing down within a few seconds. But before initiating Titanfall, look for tactical opportunities—an incoming Titan can crush your opponents, including enemy Titans. Try dropping your Titan on unsuspecting enemies. Also, choose your deployment area carefully. It’s best to deploy your Titan in a relatively safe spot of the map, allowing you to embark without incident. Or you can drop your Titan in unison with other friendly Pilots, allowing you to roam the map together—when it comes to Titan-on-Titan combat, it’s best to outnumber and overwhelm your opponents.

DEVELOPER TIP

The lower-left corner of your display shows how many Titans are active on each team. Titan icons appear above and below the team score indicators. You can also see how many Titans are standing by, ready to be called in by your team—these Titan icons are slightly faded in appearance. Use this information to gauge when to call in your Titan. Make sure you’re not too outnumbered to be effective. Try to coordinate Titan drops with your teammates to create a numerical Titan advantage against the enemy team.

You can quickly “wake” your Titan from its kneeling pose after Titanfall by putting it into Guard mode. When you do this and you hear the computer voice say, “Guard Mode”, your Titan is going active as an unmanned Auto-Titan.

Distracting an enemy Titan with Pilot fire can manipulate his movement and make it easier for your Titan to fall on it after you’ve initiated Titanfall.

By getting your Titan to you faster when you invoke Titanfall, the Warpfall Transmitter also improves your chances of crushing unsuspecting enemies.

Keep reading with a free account

The first 3 sections of Titanfall are open to everyone. An account opens the rest of it, and every other guide in the archive. It's free, and there's nothing to buy.

Bought guides on the old Prima Games site? Your account and every guide you own moved here, so there's nothing to buy again. Sign in.

Create a free account Or browse our free guides

PreviousWelcome to the Frontier: Training NextTitan Fundamentals