Prima Games eGuides
primagames.com Browse Redeem a code Help
Titanfall eGuide
Sign in My Guides

Sign in or create an account

We'll email you a link. No password needed, and if you don't have an account yet, the link makes one.

By creating an account or signing in, you agree to our Terms of Service and Privacy Policy.

Have a password?

Had an account on the old eGuides site, or a code from a printed guide? Help and troubleshooting

Sign in with a password

By signing in, you agree to our Terms of Service and Privacy Policy.

Check your email

A sign-in link is on its way. It works once and expires in 15 minutes. Open it and you're in, with an account if you didn't already have one.

Contents

  • Titans
    • Introduction
    • Titan Customization
    • Chassis
    • Primary Weapons
      • Triple Threat
      • Arc Cannon
      • Plasma Railgun
      • XO-16 Chaingun
      • Quad Rocket
      • 40mm Cannon
      • Introduction
    • Titan Ordnance
      • Multi-Target Missile System
      • Cluster Missile
      • Slaved Warheads
      • Rocket Salvo
      • Introduction
    • Titan Tactical Abilities
      • Tactical Abilities
      • Tier 1 Kits
      • Tier 2 Kits
    • Advanced Titan Customization
  • Quick Reference
    • Scoring
    • Progression and unlocks
    • Gen Progression
    • Challenges
    • Burn Cards
    • Achievements
    • Developer Tips
    • Meet The Pros
  • Behind the Scenes
    • Titanfall: Behind the Scenes at Respawn Entertainment
    • Starting from Scratch: Vince Zampella
    • Community: Abbie Heppe
    • Art: Joel Emslie
    • Game Design: Justin Hendry
    • Animation: Paul Messerly
    • Weaponry: Ryan Lastimosa
    • Audio: Erik Kraber
    • Source Engine and Matchmaking: Jon Shiring
    • Campaign: Steve Fukuda
  • Video
    • Training Ground (video)
    • Smuggler's Cove (video)
    • Rise (video)
    • Relic (video)
    • Overlook (video)
    • Outpost 207 (video)
    • Nexus (video)
    • Lagoon (video)
    • Fracture (video)
    • Corporate (video)
    • Colony (video)
    • Boneyard (video)
    • Angel City (video)
    • Airbase (video)
  • DLC
    • Frontiers Edge
      • Whats New
      • DIG SITE
        • Map Overview
        • Capture the Flag
        • Hardpoint
        • Last Titan Standing
      • HAVEN
        • Map Overview
        • Capture the Flag
        • Hardpoint
        • Last Titan Standing
      • EXPORT
        • Map Overview
        • Capture the Flag
        • Hardpoint
        • Last Titan Standing
    • Expedition
      • WAR GAMES
        • Last Titan Standing
        • Hardpoint
        • Capture the Flag
        • Map Overview
      • SWAMPLAND
        • Last Titan Standing
        • Hardpoint
        • Capture the Flag
        • Map Overview
      • RUNOFF
        • Last Titan Standing
        • Hardpoint
        • Capture the Flag
        • Map Overview
  • Training
    • Introduction
    • Controls
    • Interface
    • Welcome to the Frontier: Training
    • Pilot Fundamentals
    • Titan Fundamentals
    • Game Modes
    • Persistence and Progression
    • Advanced Combat Tactics
  • Introduction
    • The Frontier
    • History of the Conflict
    • The Militia
    • The IMC
    • Titanfall Tech
    • Campaign
  • Maps
    • Introduction
    • Demeter
      • Introduction
      • Map Overview
      • Attrition
      • Capture the Flag
      • Hardpoint Domination
      • Last Titan Standing
      • Pilot Hunter
    • Corporate
      • Introduction
      • Map Overview
      • Attrition
      • Capture the Flag
      • Hardpoint Domination
      • Last Titan Standing
      • Pilot Hunter
    • Colony
      • Introduction
      • Map Overview
      • Attrition
      • Capture the Flag
      • Hardpoint Domination
      • Last Titan Standing
      • Pilot Hunter
    • Boneyard
      • Introduction
      • Map Overview
      • Attrition
      • Capture the Flag
      • Hardpoint Domination
      • Last Titan Standing
      • Pilot Hunter
    • Angel City
      • Introduction
      • Map Overview
      • Attrition
      • Capture the Flag
      • Hardpoint Domination
      • Last Titan Standing
      • Pilot Hunter
    • Airbase
      • Introduction
      • Map Overview
      • Attrition
      • Capture the Flag
      • Hardpoint Domination
      • Last Titan Standing
      • Pilot Hunter
    • Relic
      • Introduction
      • Map Overview
      • Attrition
      • Capture the Flag
      • Hardpoint Domination
      • Last Titan Standing
      • Pilot Hunter
    • Overlook
      • Introduction
      • Map Overview
      • Attrition
      • Capture the Flag
      • Hardpoint Domination
      • Last Titan Standing
      • Pilot Hunter
    • Outpost 207
      • Introduction
      • Map Overview
      • Attrition
      • Capture the Flag
      • Hardpoint Domination
      • Last Titan Standing
      • Pilot Hunter
    • Nexus
      • Introduction
      • Map Overview
      • Attrition
      • Capture the Flag
      • Hardpoint Domination
      • Last Titan Standing
      • Pilot Hunter
    • Lagoon
      • Introduction
      • Map Overview
      • Attrition
      • Capture the Flag
      • Hardpoint Domination
      • Last Titan Standing
      • Pilot Hunter
    • Fracture
      • Introduction
      • Map Overview
      • Attrition
      • Capture the Flag
      • Hardpoint Domination
      • Last Titan Standing
      • Pilot Hunter
    • Rise
      • Introduction
      • Map Overview
      • Attrition
      • Capture the Flag
      • Hardpoint Domination
      • Last Titan Standing
      • Pilot Hunter
    • Runoff (Expedition)
      • Last Titan Standing
      • Hardpoint
      • Capture the Flag
      • Map Overview
    • Smugglers Cove
      • Introduction
      • Map Overview
      • Attrition
      • Capture the Flag
      • Hardpoint Domination
      • Last Titan Standing
      • Pilot Hunter
    • Swampland (Expedition)
      • Last Titan Standing
      • Hardpoint
      • Capture the Flag
      • Map Overview
    • Training Ground
      • Introduction
      • Map Overview
      • Attrition
      • Capture the Flag
      • Hardpoint Domination
      • Last Titan Standing
      • Pilot Hunter
    • War Games (Expedition)
      • Last Titan Standing
      • Hardpoint
      • Capture the Flag
      • Map Overview
  • Pilots
    • Introduction
    • Pilot Customization
    • Primary Weapons
      • Introduction
      • R-101C
      • EVA-8 Shotgun
      • Smart Pistol MK5
      • R-97 Compact SMG
      • Longbow-DMR Sniper
      • G2A4 Rifle
      • Hemlok BF-R
      • C.A.R. SMG
      • Spitfire LMG
      • Kraber-AP Sniper
    • Sidearms
      • B3 Wingman
      • Hammond P2011
      • RE-45 Autopistol
      • Introduction
    • Anti-Titan Weapons
      • Charge Rifle
      • Mag Launcher
      • Sidewinder
      • Archer Heavy Rocket
      • Introduction
    • Ordnance
      • Arc Mine
      • Satchel Charge
      • Arc Grenade
      • Frag Grenade
      • Introduction
    • Pilot Tactical Abilities
      • Tier 2 Kits
      • Tier 1 Kits
      • Tactical Abilities
    • Advanced Pilot Customization
  • Patch Notes
    • Patch Notes

Titanfall Guide › Maps › Overlook

Last Titan Standing

Tactics

  • The Arc Cannon or XO-16 Chaingun are great primary weapons on this map because you are able to wreck enemy Titans while still being able to pick off the hard-to-hit enemy Pilots ejecting from their Titans.
  • With so many corners around this map, Big Punch is an ideal Tier 2 Kit to take advantage of. You can surprise the enemy by dashing up and dealing a powerful melee attack the enemy can’t avoid.
  • Avoid getting bunched together around the Street area. This is a narrow passage, and if you group up with friendly Titans it becomes harder to escape as you will dash into one another.
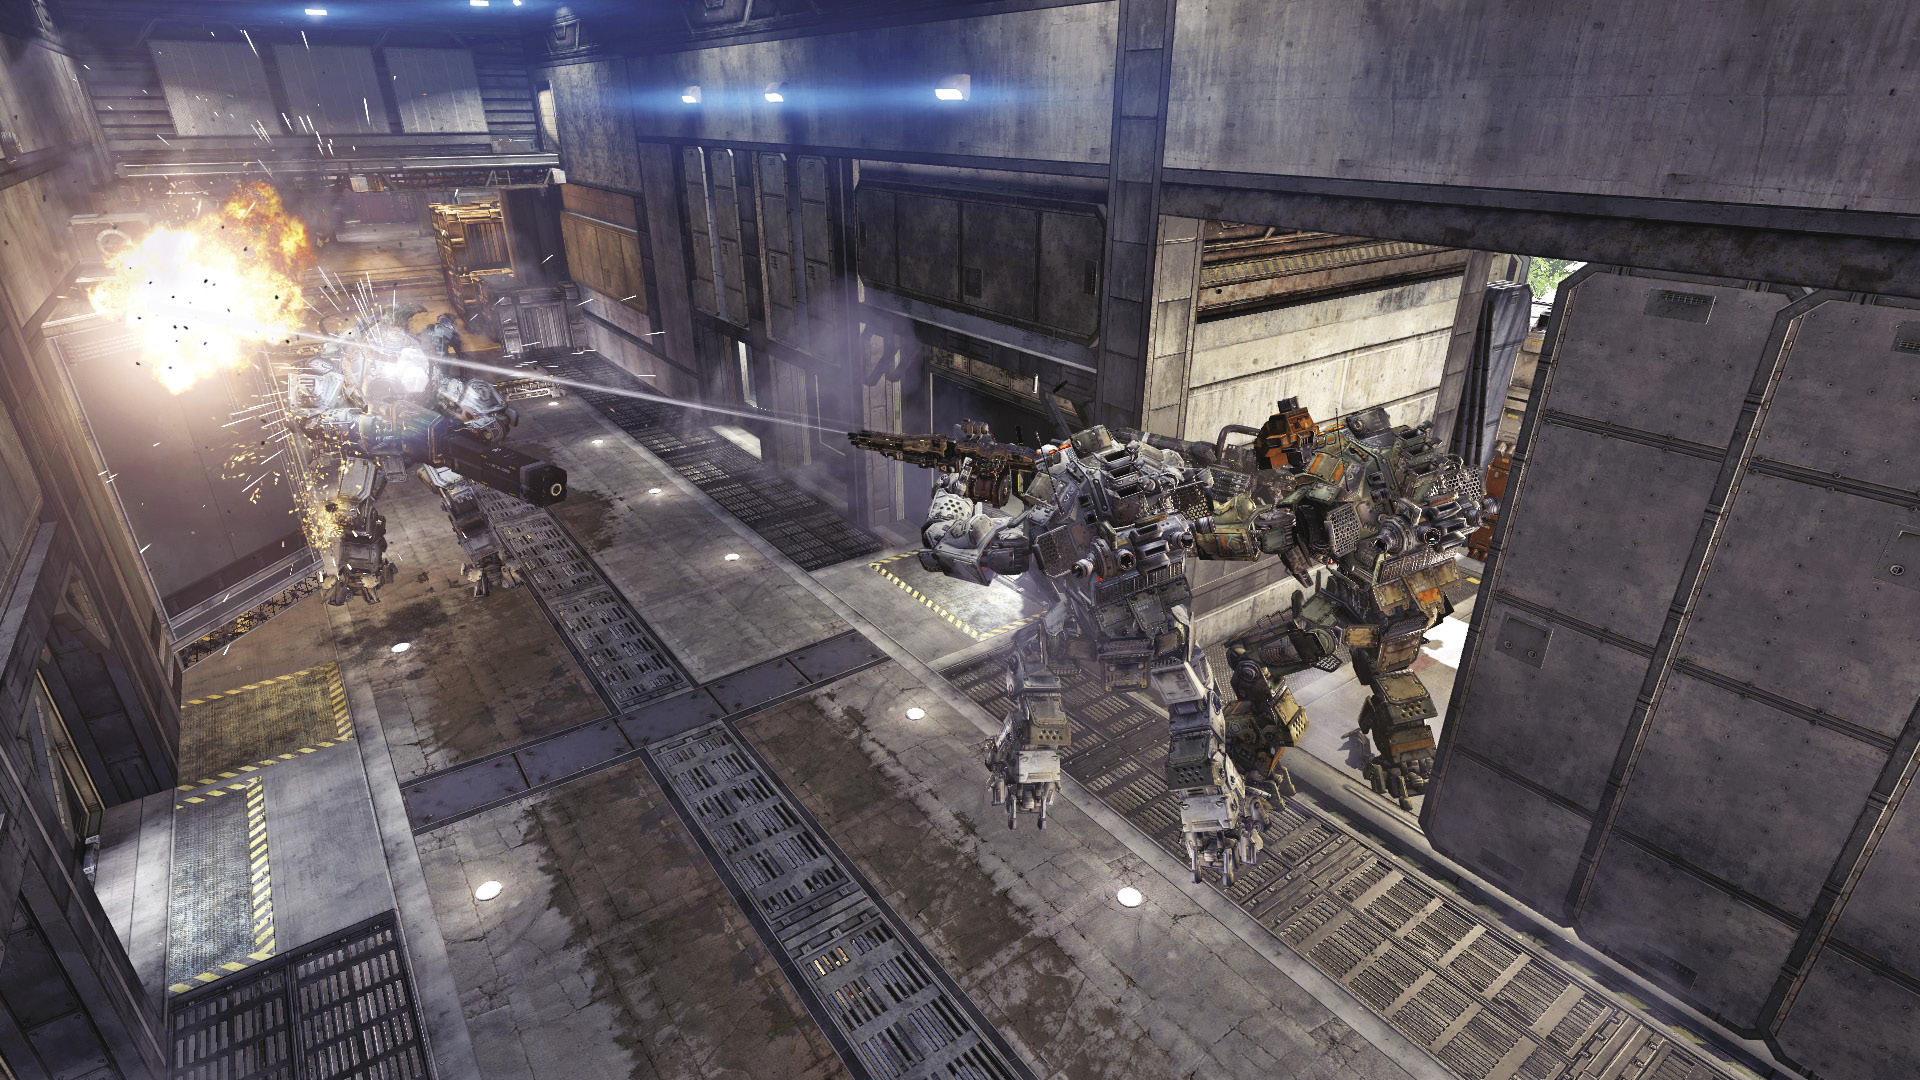
  • Most areas require you to walk up ramps or dash off ledges to reach lower areas quicker. Take this into consideration so you don’t get ambushed as soon as you walk up that ramp.
Pro Tip: Walshy

Save up your Vortex Shield when battling an enemy Titan. You always want to use your Vortex Shield after your opponent has used theirs. When the opponent thinks they are throwing all your bullets back, activate your Vortex Shield and send those bullets back again.

  • Controlling the V.T.O.L. and outside around Drainage Control is a solid setup. This allows teammates to always have an area to retreat towards. Be sure to use your dashes effectively and get behind cover when fired at.

Keep reading with a free account

The first 3 sections of Titanfall are open to everyone. An account opens the rest of it, and every other guide in the archive. It's free, and there's nothing to buy.

Bought guides on the old Prima Games site? Your account and every guide you own moved here, so there's nothing to buy again. Sign in.

Create a free account Or browse our free guides

PreviousHardpoint Domination NextPilot Hunter