
South Park: The Stick of Truth Guide Walkthrough Moving Day
New Quest: Detention Sentence
|
“Ya lookin’ for Craig? Well, he can’t play. He’s in detention. Something about flippin’ off the principal.” —Craig’s Dad |
SPOILER ALERT!Quest Breakdown Step 1: Speak with Craig’s dad and learn that Craig has detention. Step 2: Return to Cartman and get new orders. Step 3: Learn how to harness the power of Dragonshout. Step 4: Go to the elementary school. Step 5: Defeat all the hall monitors. Step 6: Retrieve the Bronze Key from the hallway by the principal’s office. Step 7: Retrieve the Silver Key from the faculty lounge. Step 8: Retrieve the Gold Key from Mr. Mackey’s office. Step 9: Defeat the Ginger Hall Disciplinarian. Step 10: Open the cafeteria and free the kids in detention. Step 11: Recruit Craig for Kupa Keep. |
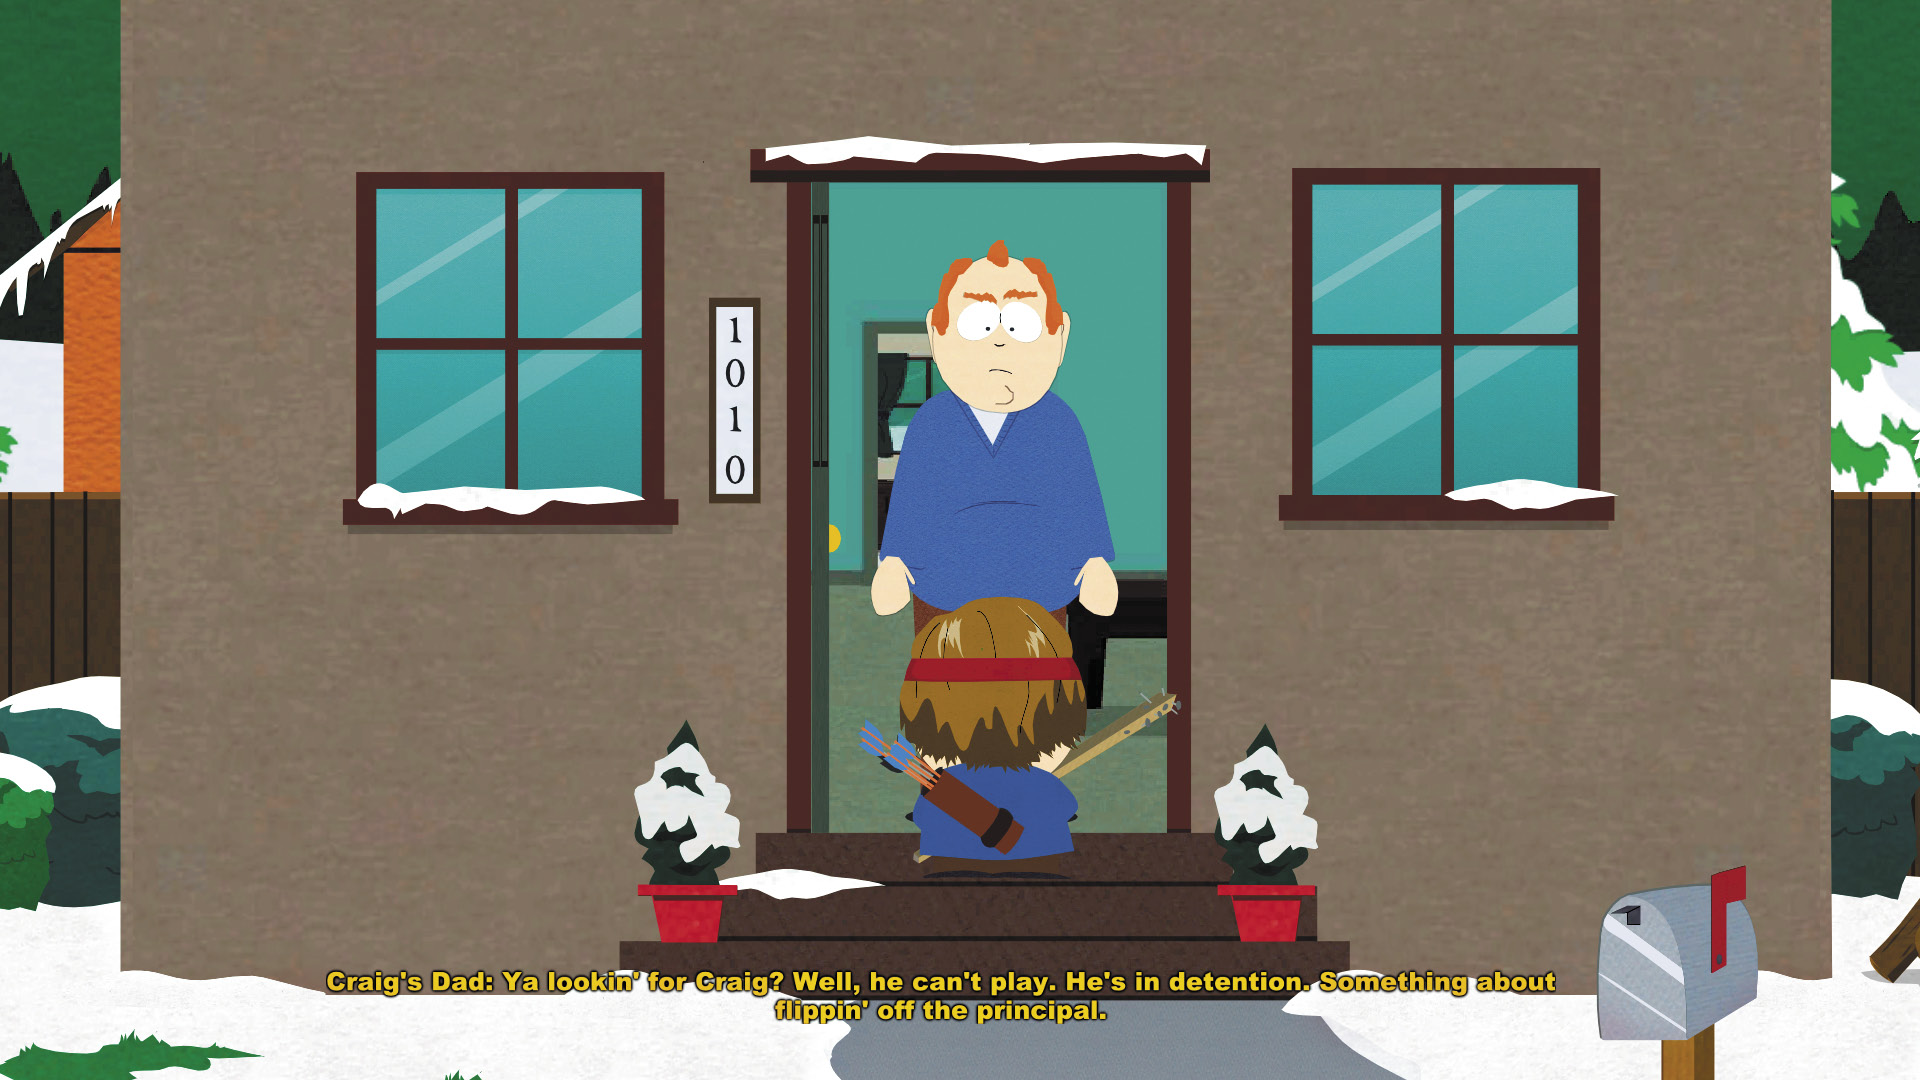
When you’re ready to recruit Craig, walk down the block to the left from your house and continue past the South Park sign until you reach a beige house, between the brown house to its right and the blue house to its left. Knock on the door and Craig’s dad answers.
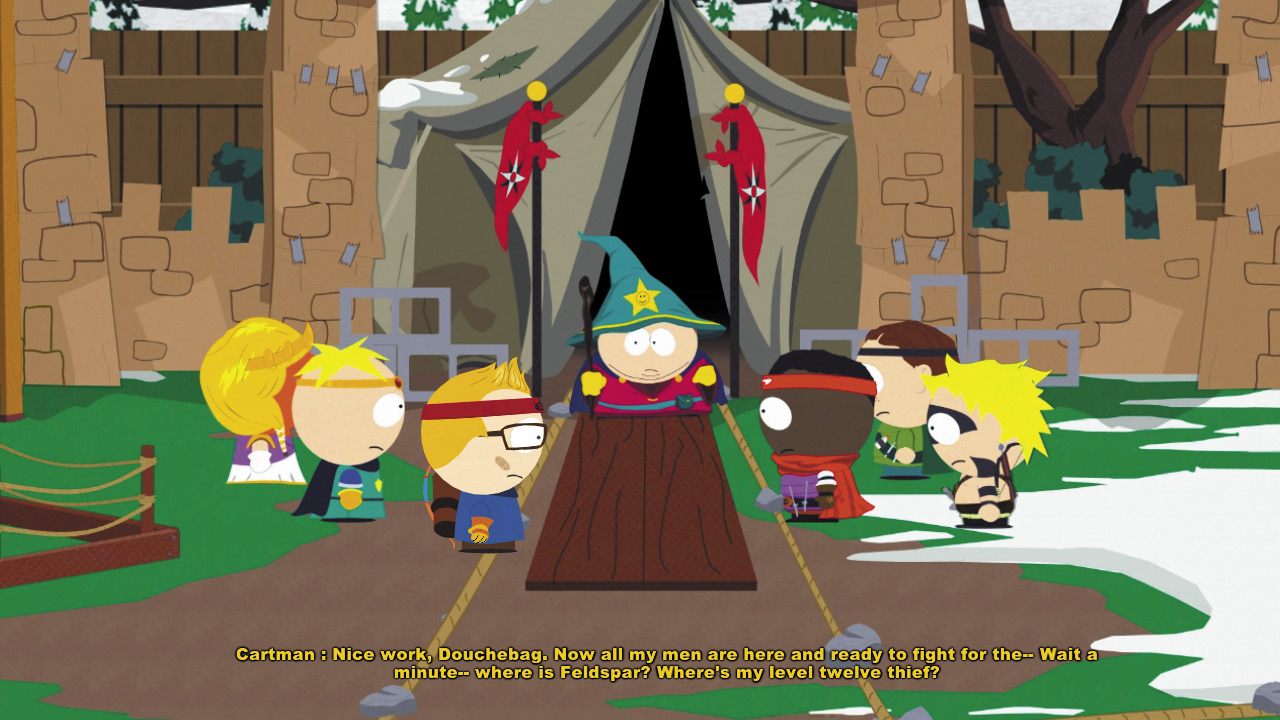
Craig’s dad tells you that Craig’s been pissing off the principal again, and he’s landed in detention. Return to Kupa Keep, where Cartman will notice his level 12 thief, Craig, is missing. Your next quest is to free Craig from detention in the school.
|
“Getting into trouble is a risk that Douchebag is willing to take.” —Cartman |
Mastering the Dragonshout
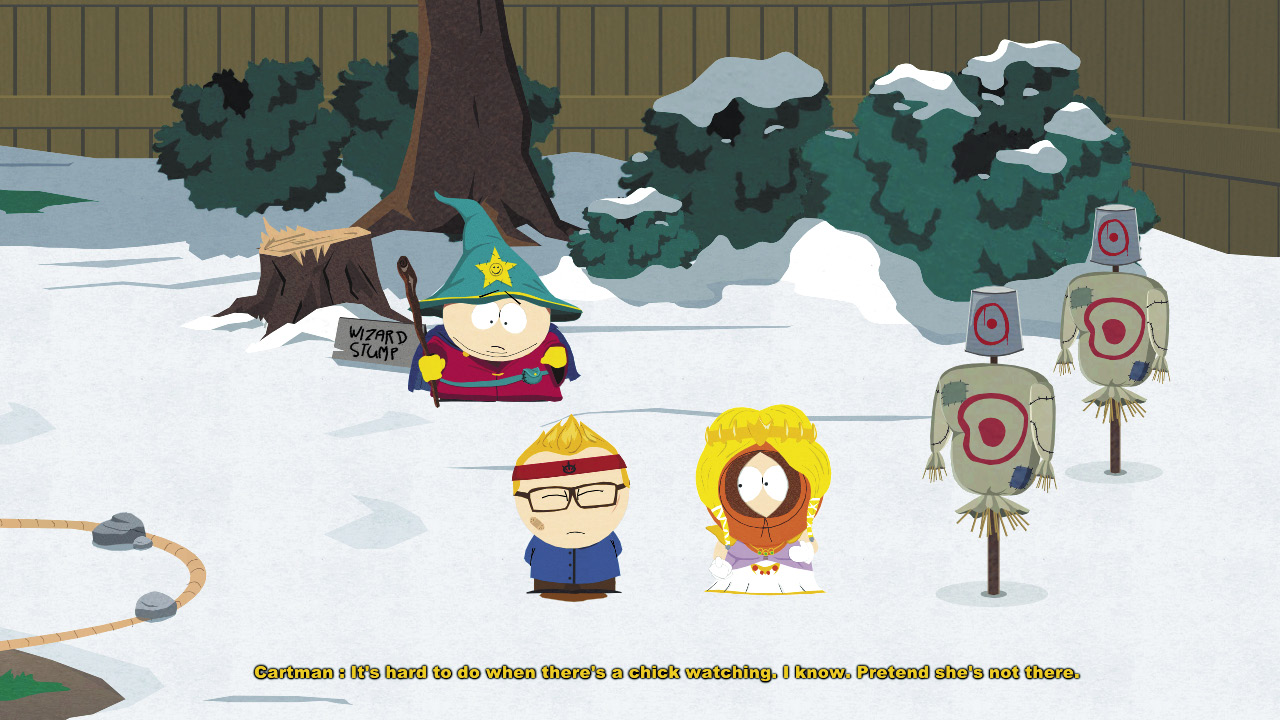
First, though, you have to learn how to conjure “magic” from your ass. A loud, wet, noxious fart is more than a gut-buster for your pals—when perfected, your exquisitely channeled gas becomes a powerful Dragonshout attack. Once you’ve splattered the target dummy and the innocent Princess Kenny with your Dragonshouts, listen to Cartman’s final parting words of wisdom: Never, ever drop one on someone else’s balls. Seriously.
Back to School
|
“I’ve got all the doors SEALED and I’ve got hallway monitors working overtime-nobody is gonna save your ass today, Craig!” —Mr. Mackey |

Use your Fast Travel Flags to jump close to the school in the western part of town and then walk the rest of the way to the building. Once you unfurl the school’s flag, you can hop back here quickly in the future.
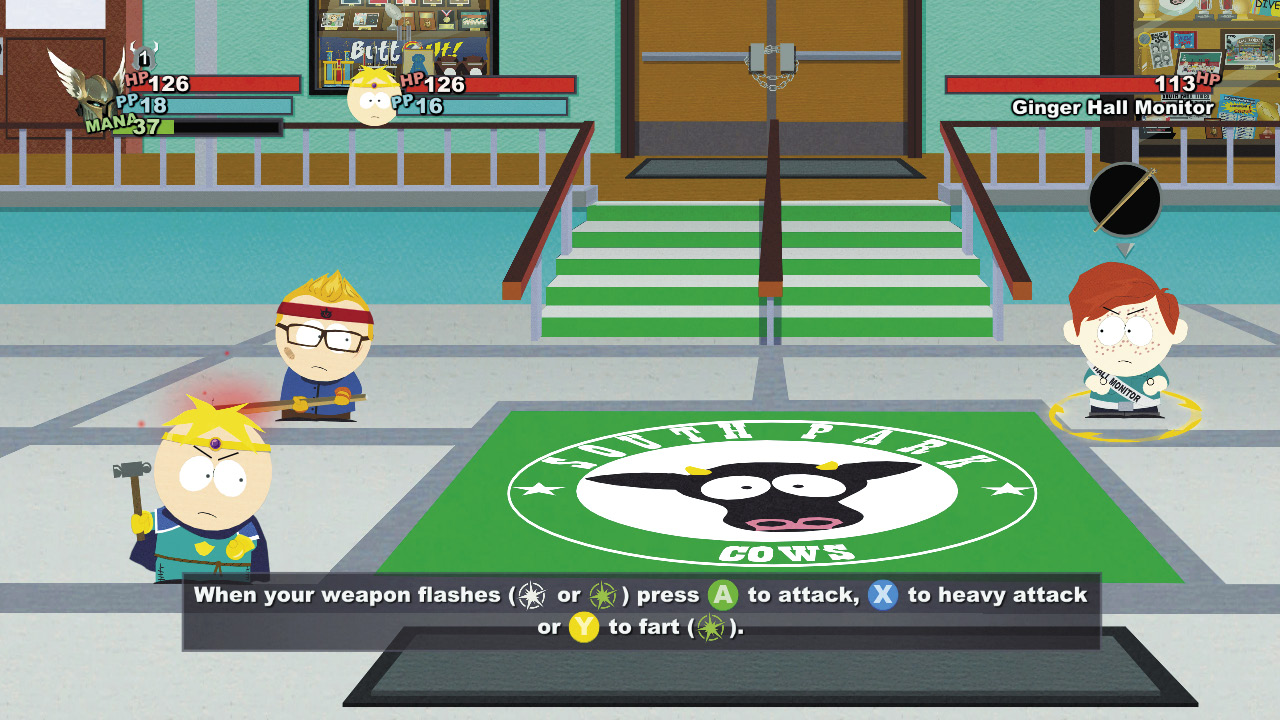
Mr. Mackey holds Craig hostage in the cafeteria. To bust him out, enter the school and confront the first Ginger Boy hall monitor in the lobby. Double team the Ginger Boy and bless him with dentures before his head hits the ground. The backpack on the steps behind him has even more loot.
 Loot Table: School (First Visit)
N = Not Junk / C = Collectable / Q = Quest Item / E = Equipment / D = Dye
| General Area | Location | Item | $$$ Value | N | C | Q | E | D |
|---|---|---|---|---|---|---|---|---|
| Lobby | Terrance & Phillip backpack | Health Potion (Small) | $0.20 | o | ||||
| Lobby | Terrance & Phillip backpack | Cure Potion | $0.20 | o | ||||
| Lobby | Terrance & Phillip backpack | Mana Potion (Small) | $0.30 | o | ||||
| Lobby | Terrance & Phillip backpack | Empty Glue Bottle | $0.05 | |||||
| Lobby | Terrance & Phillip backpack | Marker | $0.10 | |||||
| Lobby | Loot - Ginger Hall Monitor | Tuft of Ginger Pubic Hair (Strap-on) | $1.00 | o | o | |||
| Lobby | Loot - Ginger Hall Monitor | Cash | $0.50 | o | ||||
| Lobby | Loot - Ginger Hall Monitor | Mana Potion (Small) | $0.30 | o | ||||
| Lobby | Loot - Ginger Hall Monitor | Health Potion (Large) | $1.00 | o | ||||
| Lobby | Loot - Ginger Hall Monitor | GSM Button | $0.05 | |||||
| Lobby | Loot - Ginger Hall Monitor | No. 2 Pencil | $0.05 | |||||
| First Hallway | Locker under “Go Cows” banner | Power Potion | $0.40 | o | ||||
| First Hallway | Locker under “Go Cows” banner | Cash | $0.25 | o | ||||
| First Hallway | Locker under “Go Cows” banner | Toy Car | $0.15 | |||||
| First Hallway | Locker under “Go Cows” banner | Toy Truck | $0.20 | |||||
| First Hallway | Locker under “Go Cows” banner | Health Potion (Small) | $0.20 | o | ||||
| First Hallway | Second locker, bottom row | Mana Potion (Small) | $0.30 | o | ||||
| First Hallway | Second locker, bottom row | “What Happened To My School?” | $1.00 | |||||
| First Hallway | Second locker, bottom row | Highlighter | $0.80 | |||||
| First Hallway | Second locker, bottom row | Glee Wig (Hair) | $0.40 | o | o | |||
| First Hallway | Ceiling Vent | Poodlesaurus Rex (Chinpokomon) | - | o | o | |||
| First Hallway | Hall Monitor Locker | Cash | $0.60 | o | ||||
| First Hallway | Hall Monitor Locker | Mace of Restoration (Melee) | $4.40 | o | o | o | ||
| First Hallway | Hall Monitor Locker | Safety Scissors | $0.20 | |||||
| First Hallway | Hall Monitor Locker | Black Eye (Makeup) | $0.40 | o | o | |||
| Second Hallway | Loot - Ginger Hall Monitor outside office | Ginger Freckles (Makeup) | $0.40 | o | o | |||
| Second Hallway | Loot - Ginger Hall Monitor outside office | Cash | $0.60 | o | ||||
| Second Hallway | Loot - Ginger Hall Monitor outside office | Power Potion | $0.40 | o | ||||
| Second Hallway | Loot - Ginger Hall Monitor outside office | Bottle of Sunscreen | $0.20 | |||||
| Second Hallway | Loot - Ginger Hall Monitor outside office | Highlighter | $0.08 | |||||
| Hallway by Faculty Lounge | First locker, bottom row | Cash | $0.25 | o | ||||
| Hallway by Faculty Lounge | First locker, bottom row | Bottle of Sunscreen | $0.20 | |||||
| Hallway by Faculty Lounge | First locker, bottom row | Safety Scissors | $0.20 | |||||
| Hallway by Faculty Lounge | First locker, bottom row | Power Potion | $0.40 | o | ||||
| Hallway by Faculty Lounge | First locker, bottom row | Ginger Fro (Hair) | $0.40 | o | o | |||
| Janitor’s Room | Desk Drawer | Cash | $0.25 | o | ||||
| Janitor’s Room | Desk Drawer | Healer’s Patch (Patch) | $0.40 | o | o | |||
| Janitor’s Room | Desk Drawer | Bottle of Sunscreen | $0.20 | |||||
| Janitor’s Room | Desk Drawer | GSM Button | $0.05 | |||||
| Janitor’s Room | Desk Drawer | Ginger Bowltop (Hair) | $0.40 | o | o | |||
| Hallway by Principal’s Office | Loot - Ginger Hall Security | Dodgeball (Ranged) | $3.00 | o | o | o | ||
| Hallway by Principal’s Office | Loot - Ginger Hall Security | Cash | $0.60 | o | ||||
| Hallway by Principal’s Office | Loot - Ginger Hall Security | Power Potion | $0.40 | o | ||||
| Hallway by Principal’s Office | Loot - Ginger Hall Security | GSM Button | $0.05 | |||||
| Hallway by Principal’s Office | Loot - Ginger Hall Security | Highlighter | $0.08 | |||||
| Hallway by Principal’s Office | Terrance & Phillip backpack | Cash | $0.15 | o | ||||
| Hallway by Principal’s Office | Terrance & Phillip backpack | Revive Potion | $0.60 | o | ||||
| Hallway by Principal’s Office | Terrance & Phillip backpack | Speed Potion | $0.40 | o | ||||
| Hallway by Principal’s Office | Terrance & Phillip backpack | Cure Potion | $0.20 | o | ||||
| Hallway by Principal’s Office | Terrance & Phillip backpack | Ike’s Love Drawing | $0.30 | |||||
| Hallway by Principal’s Office | Locker under “Go Cows” banner | Cash | $0.35 | o | ||||
| Hallway by Principal’s Office | Locker under “Go Cows” banner | Phillip Action Figure | $0.30 | |||||
| Hallway by Principal’s Office | Locker under “Go Cows” banner | “What Happened To My School?” | $1.00 | |||||
| Hallway by Principal’s Office | Locker under “Go Cows” banner | Turd Sandwich Ballot | $0.15 | |||||
| Faculty Lounge | Loot - Ginger Hall Monitor | Glass Shard (Strap-on) | $0.40 | o | o | |||
| Faculty Lounge | Loot - Ginger Hall Monitor | Cash | $0.50 | o | ||||
| Faculty Lounge | Loot - Ginger Hall Monitor | Bottle of Sunscreen | $0.20 | |||||
| Faculty Lounge | Loot - Ginger Hall Monitor | Highlighter | $0.08 | |||||
| Faculty Lounge | Filing Cabinet | Cash | $0.20 | o | ||||
| Faculty Lounge | Filing Cabinet | Marker | $0.10 | |||||
| Faculty Lounge | Filing Cabinet | Highlighter | $0.08 | |||||
| Faculty Lounge | Filing Cabinet | No. 2 Pencil | $0.05 | |||||
| Faculty Lounge | Filing Cabinet | The Hammer | $0.80 | |||||
| Faculty Lounge | Filing Cabinet | Backdoor Tickler | $0.40 | |||||
| Faculty Lounge | Cabinet with potted plant | Francis Wig (Hair) | $0.40 | o | ||||
| Faculty Lounge | Cabinet with potted plant | Cash | $0.10 | o | ||||
| Faculty Lounge | Cabinet with potted plant | Picture of Mr. Adler’s Fiance | $0.20 | |||||
| Faculty Lounge | Cabinet with potted plant | Screwdriver | $0.30 | |||||
| Faculty Lounge | Cabinet with potted plant | Five-Fingered Fister | $0.50 | |||||
| Faculty Lounge | Cabinet with potted plant | Strange Tamer | $0.60 | |||||
| Mackey’s Office | Brown cabinet with potted plant | Cash | $0.15 | o | ||||
| Mackey’s Office | Brown cabinet with potted plant | Power Potion | $0.40 | o | ||||
| Mackey’s Office | Brown cabinet with potted plant | Marker | $0.10 | |||||
| Mackey’s Office | Brown cabinet with potted plant | Empty Glue Bottle | $0.05 | |||||
| Mackey’s Office | Cabinet with books | Health Potion (Small) | $0.20 | o | ||||
| Mackey’s Office | Cabinet with books | Highlighter | $0.08 | |||||
| Mackey’s Office | Cabinet with books | Pubes | $0.05 | |||||
| Mackey’s Office | Filing Cabinet | Marker | $0.10 | |||||
| Mackey’s Office | Filing Cabinet | Highlighter | $0.08 | |||||
| Mackey’s Office | Mackey’s desk | Charms Facepaint (Makeup) | $0.40 | o | ||||
| Mackey’s Office | Mackey’s desk | Strength Potion | $0.40 | o | ||||
| Mackey’s Office | Mackey’s desk | Cheerleader’s Patch (Patch) | $1.00 | o | o | |||
| Mackey’s Office | Mackey’s desk | Mr. Mackey’s Coffee Mug | $0.50 | |||||
| Mackey’s Office | Mackey’s desk | Intellilink Manual | $0.50 | |||||
| First Hallway | Loot - Ginger Hall Monitor Boss | Hall Monitor Locker Key | - | o | o | |||
| First Hallway | Loot - Ginger Hall Monitor Boss | Bubble Gum Wrapper (Patch) | $0.40 | o | o | |||
| First Hallway | Loot - Ginger Hall Monitor Boss | Cash | $2.00 | o | ||||
| First Hallway | Loot - Ginger Hall Monitor Boss | Strength Potion | $0.40 | o | ||||
| First Hallway | Loot - Ginger Hall Monitor Boss | Bottle of Sunscreen | $0.20 |
Beating Enemies without the Beats
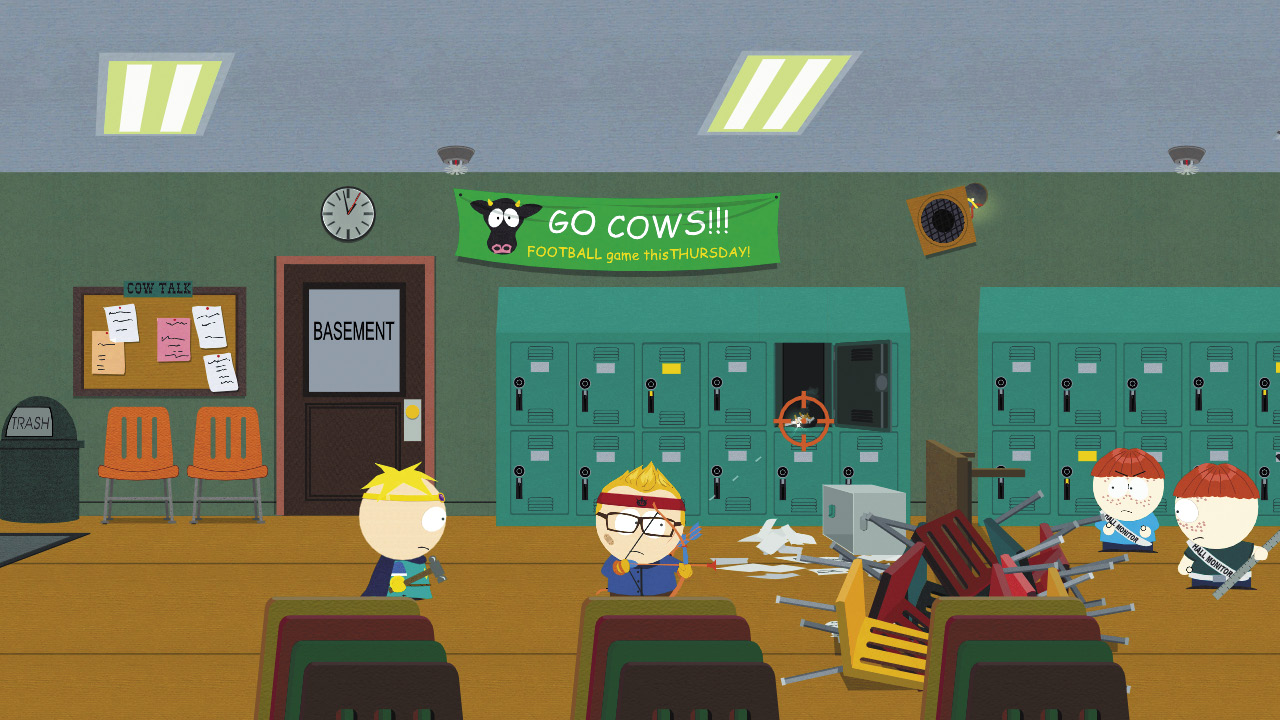
Go through the doors to your right. In the hallway, two more hall monitors block your way. You don’t have to fight them, though. Instead, shoot the lit cigarette hanging over the open locker and it will set the papers on the floor below on fire.
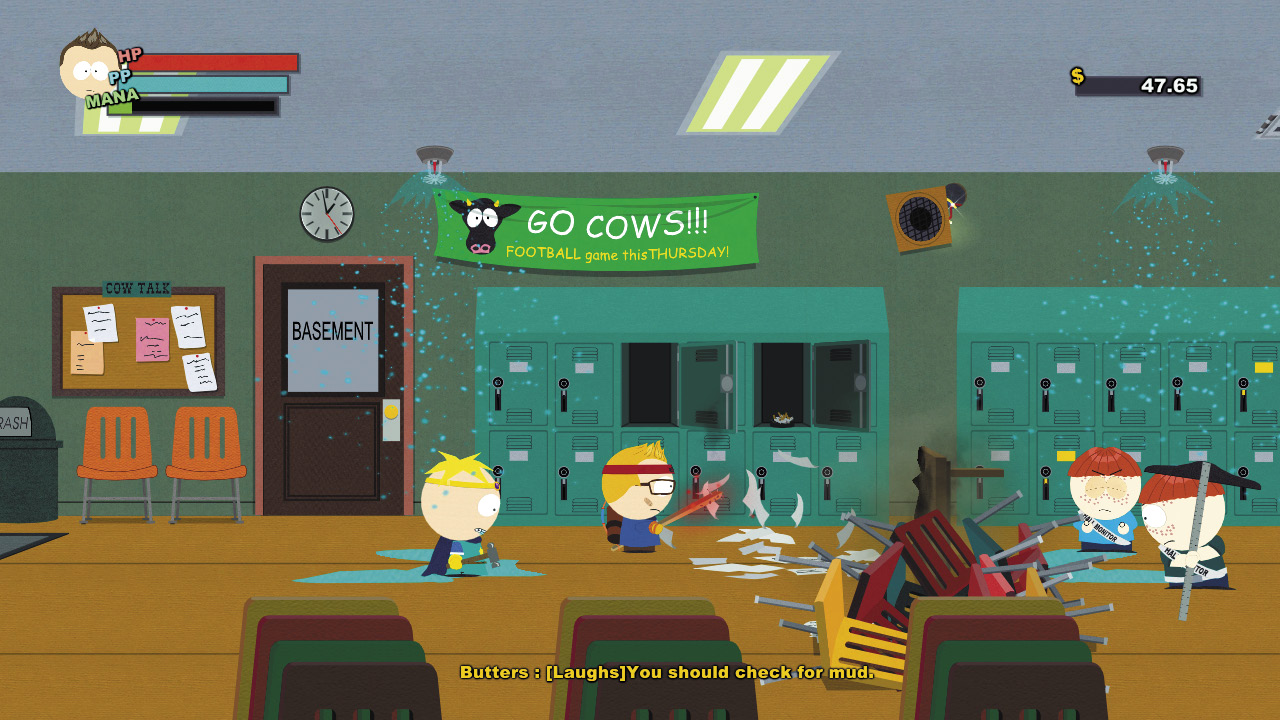
Dragonshout on the embers to send a flamethrower out your ass. It will destroy obstacles like the file cabinet and toast the hall monitors.
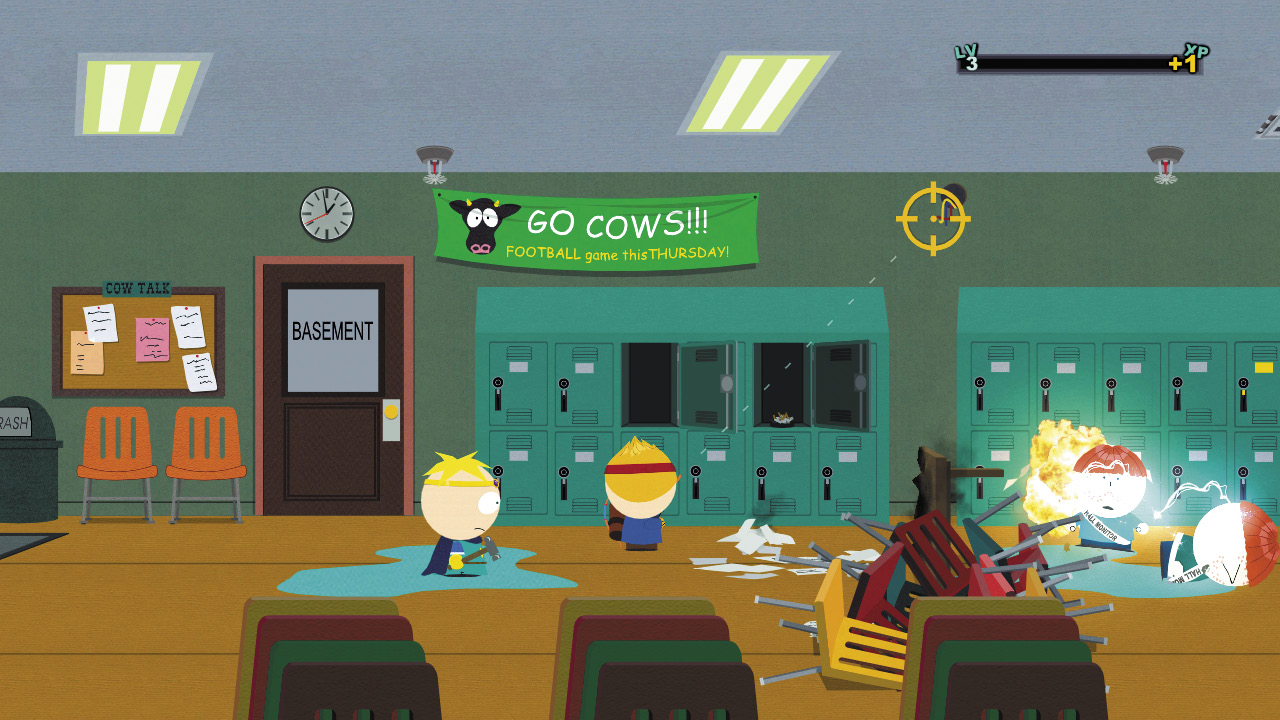
Or you can fry the hall monitors where they stand. Shoot the ceiling sprinkler to rain down water and then shoot he speaker above the Ginger Boys so that the electrical wires drop onto the puddle and electrocute the two hall monitors. No more problem.
The Three Keys
|
“You might as well give up because I have hidden the key somewhere and you’ll never find it in my office. Aw, dammit...” —Mr. Mackey |
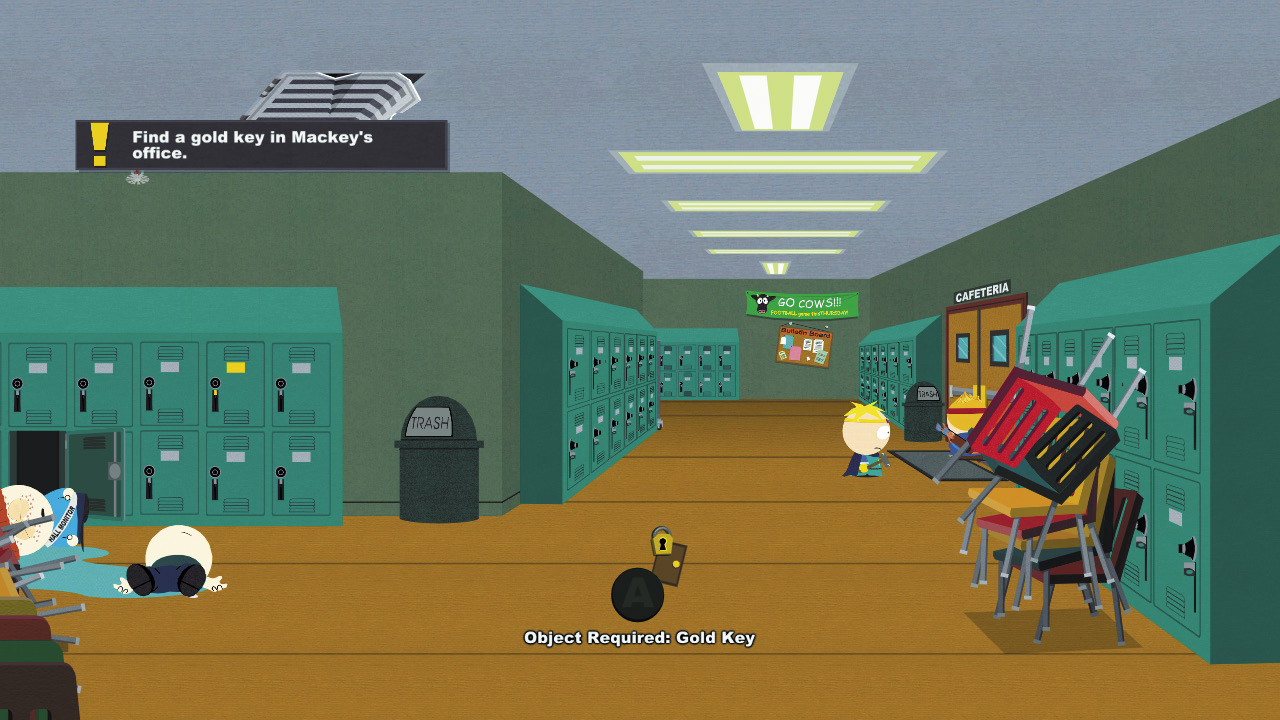
The cafeteria is around the next corner. Unfortunately, it’s locked, and you need the Gold Key to open the door. First, though, you need the Bronze Key and Silver Key.
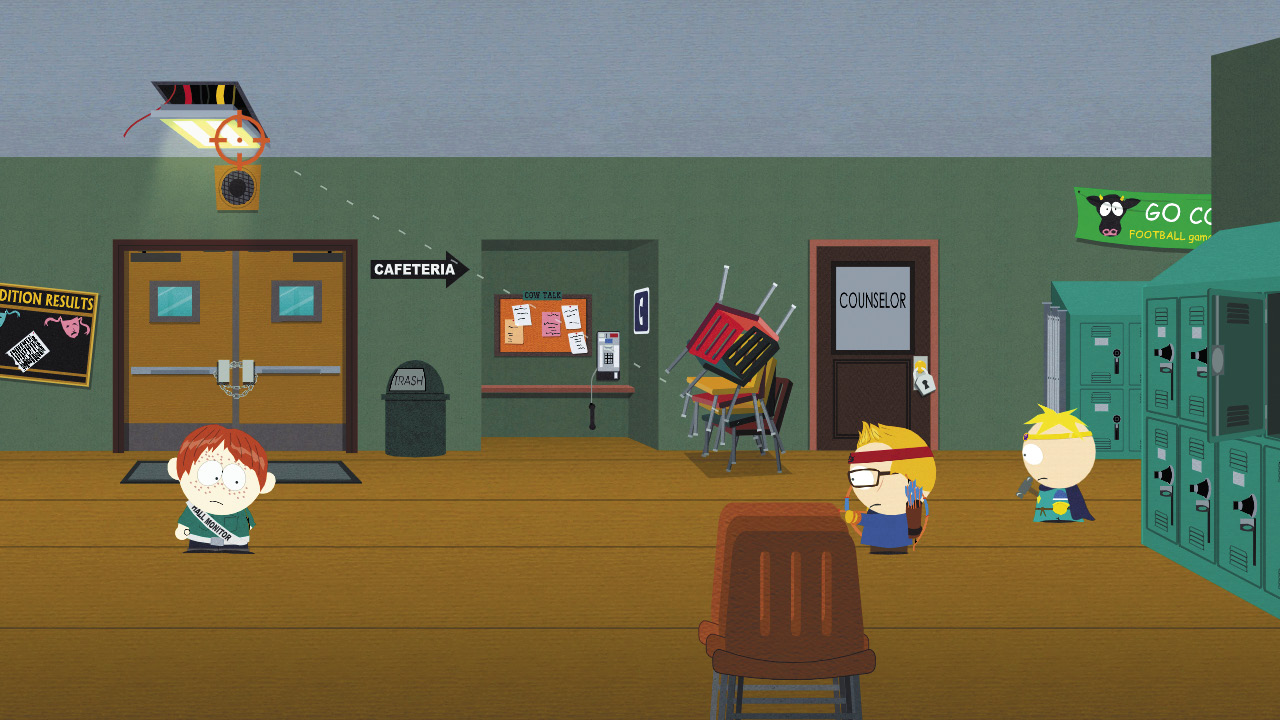
You run into another hall monitor in the hallway next to the counselors’ office. When the monitor paces in front of the locked double doors shoot the fluorescent light overhead to drop it on him for the takeout.
The Bronze Key
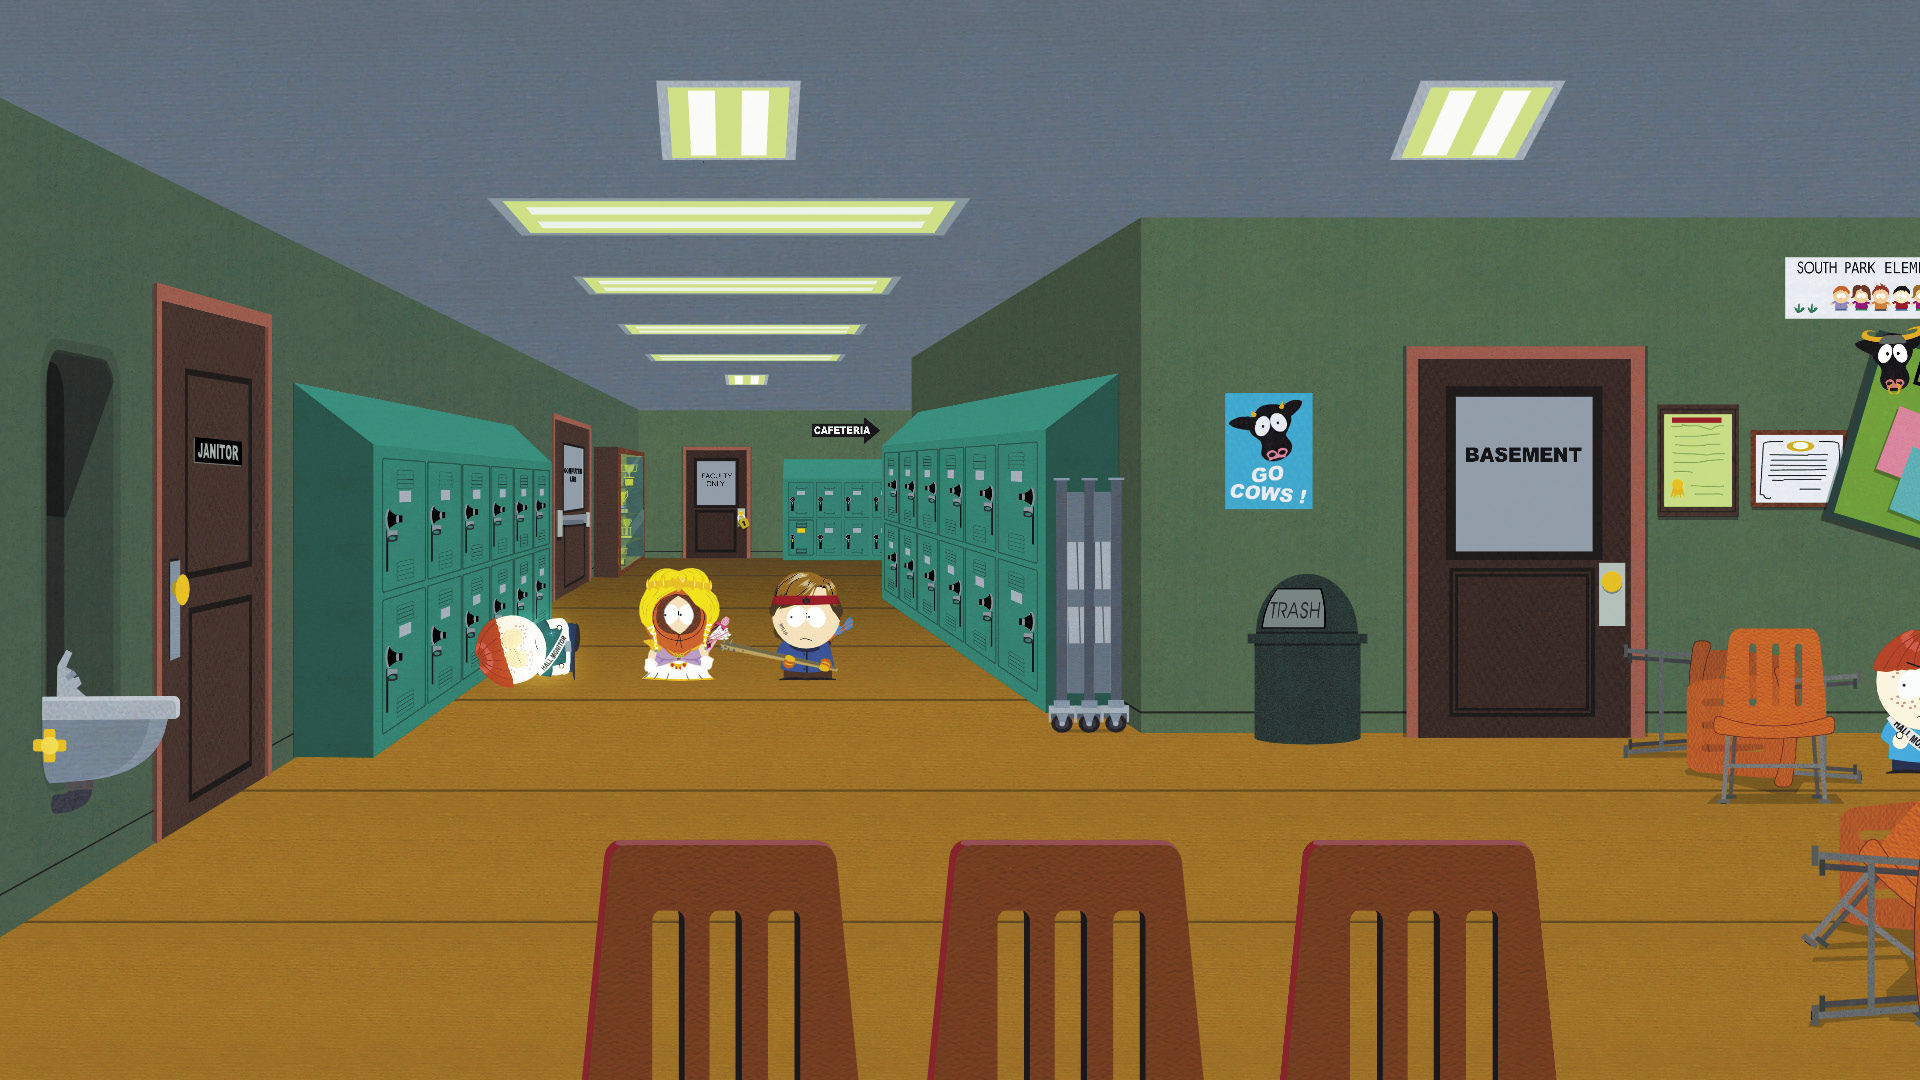
Check the faculty lounge door at the end of the hallway. It’s locked, and you need the Bronze Key to open it. Invite Kenny into your party before continuing down the hallway. You need the princess to open the metal gate ahead to meet up with the Ginger Boy wielding the protractor. Smack him around so hard he’ll be begging for Geometry class.
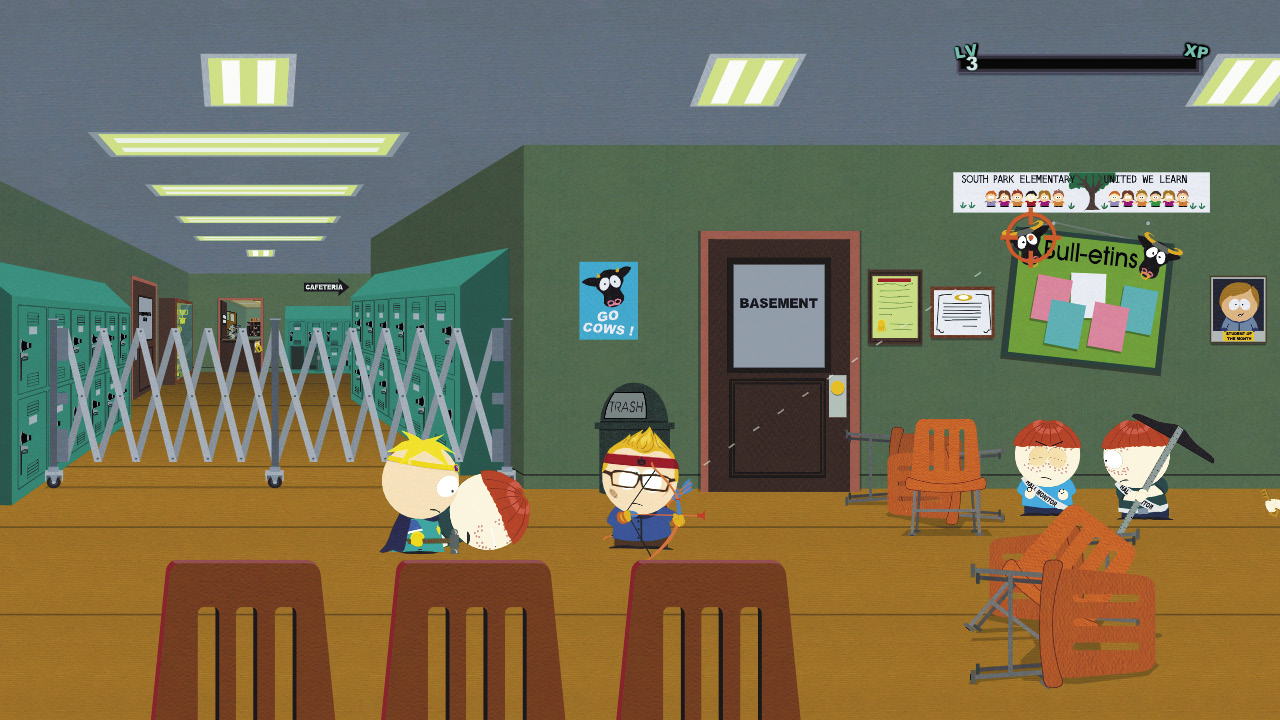
Watch the next set of hall monitors: One paces back and forth, while the second stands next to the bulletin board. Wait until the first one returns to the bulletin board, then shoot the top left corner so that the board falls and knocks out both Ginger Boys. Easy as pie.
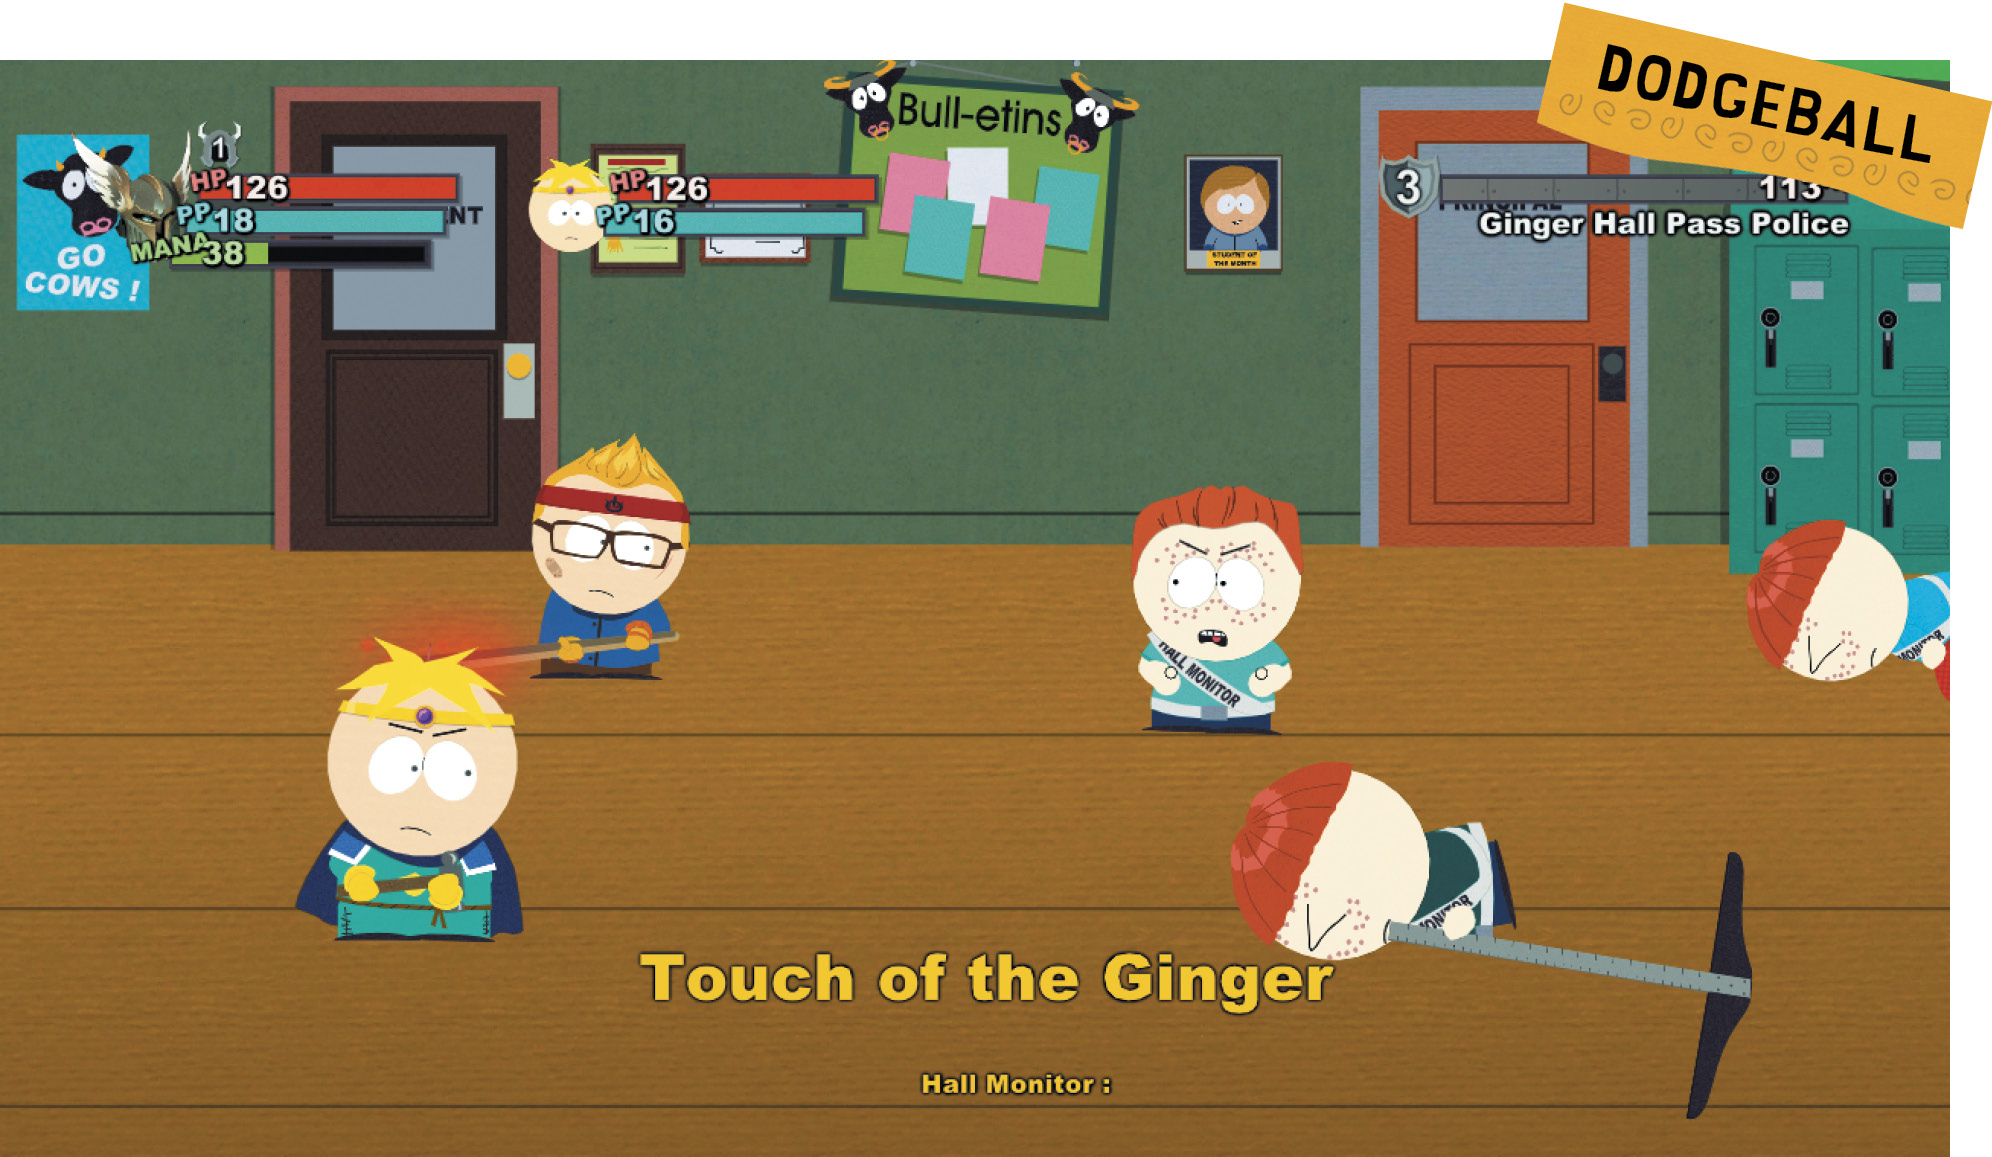
Pummel the last hall monitor the old-fashioned way: stick-with-nails to the head. You can destroy the Ginger Boy’s armor with three strikes of Kenny’s Bloody Club and let Butters give him holy hell with the hammer. Your reward: some loot and the Dodgeball, an upgrade to your Bow of Sucking.
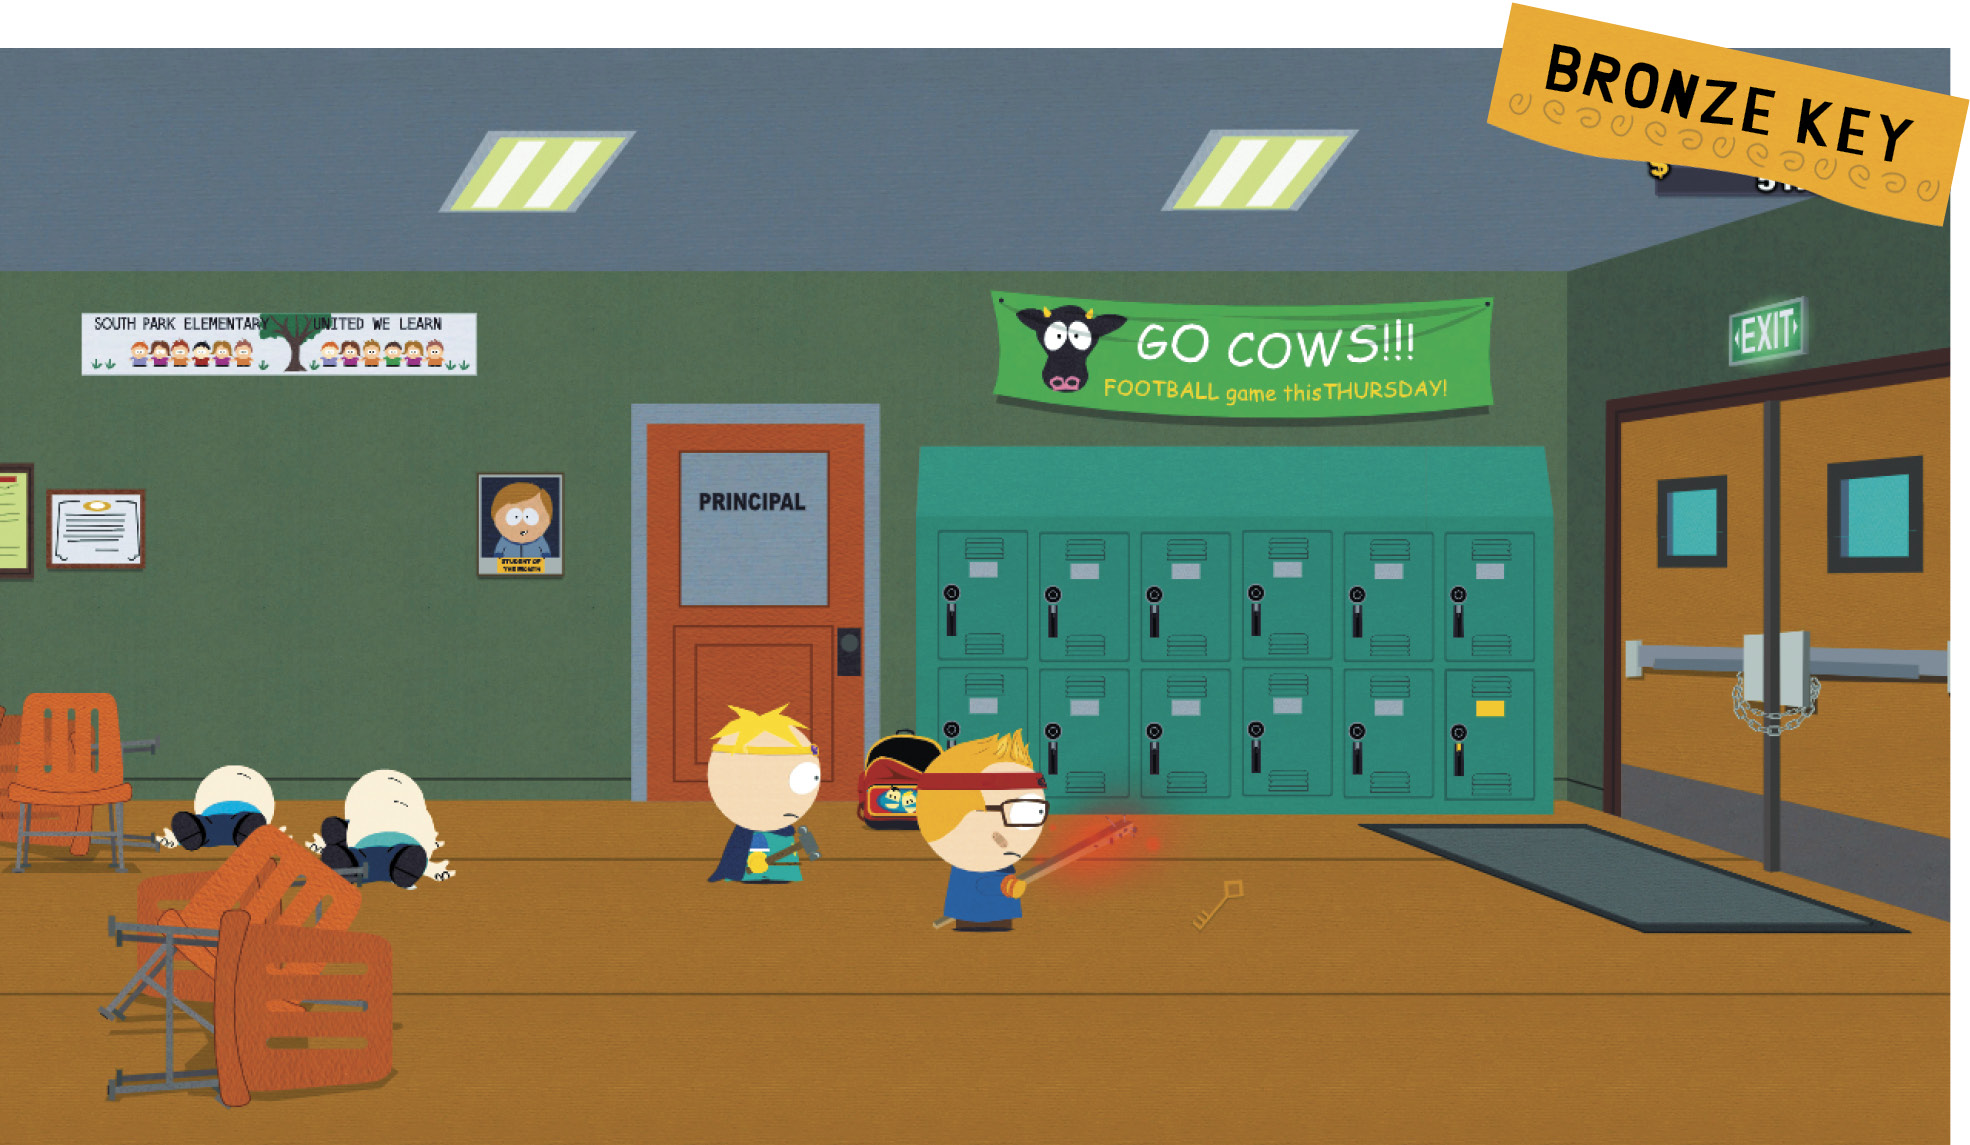
You automatically gain the Bronze Key in front of the principal’s office. Who needs a 12th-level thief to pick locks, anyway?
The Silver Key
|
“Now look, this is detention time, not time to play Dungeons and Dragons!” —Mr. Mackey |
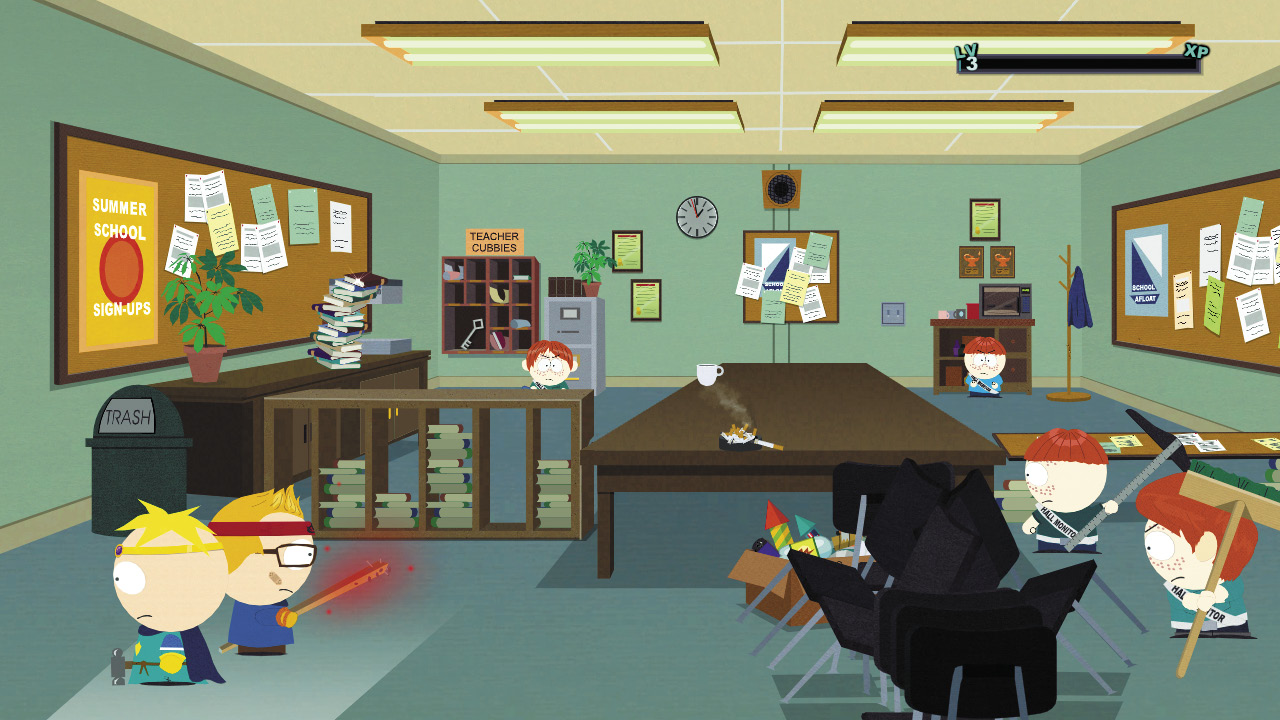
Four hall monitors defend the faculty lounge, but you don’t have to fight them all. Use the environment to your advantage and you can reach the Silver Key in the back corner easily.
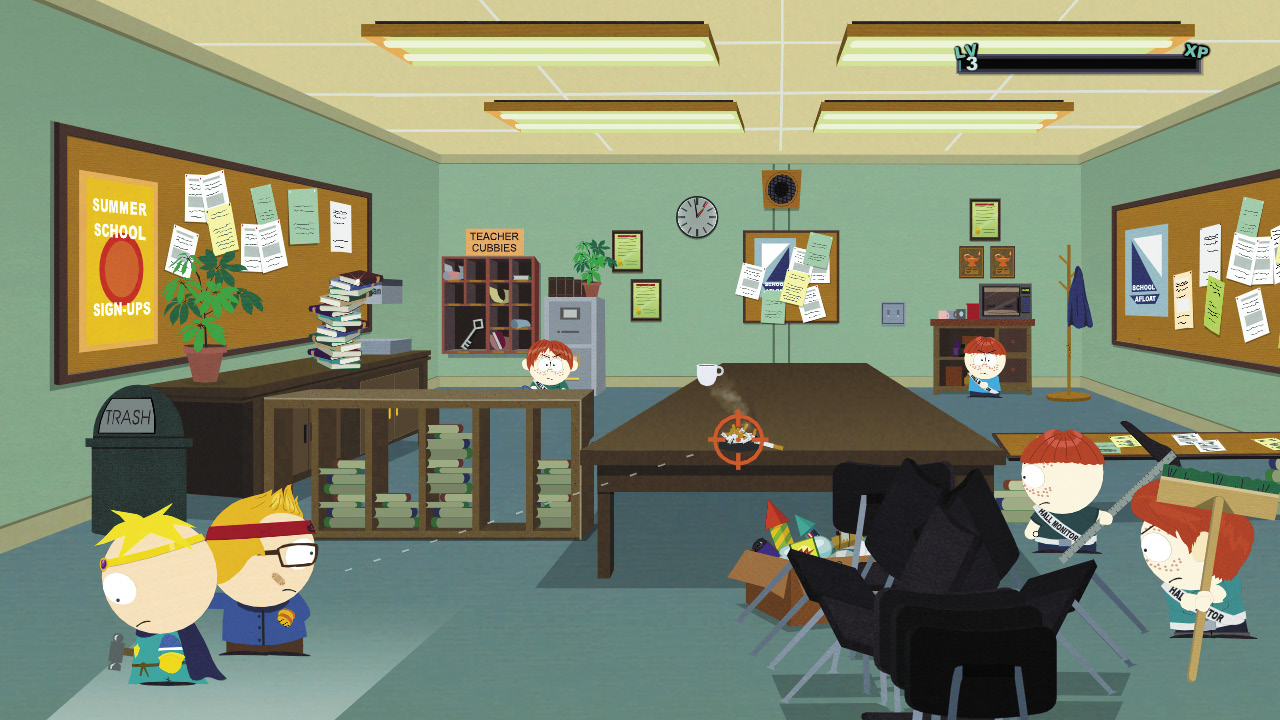
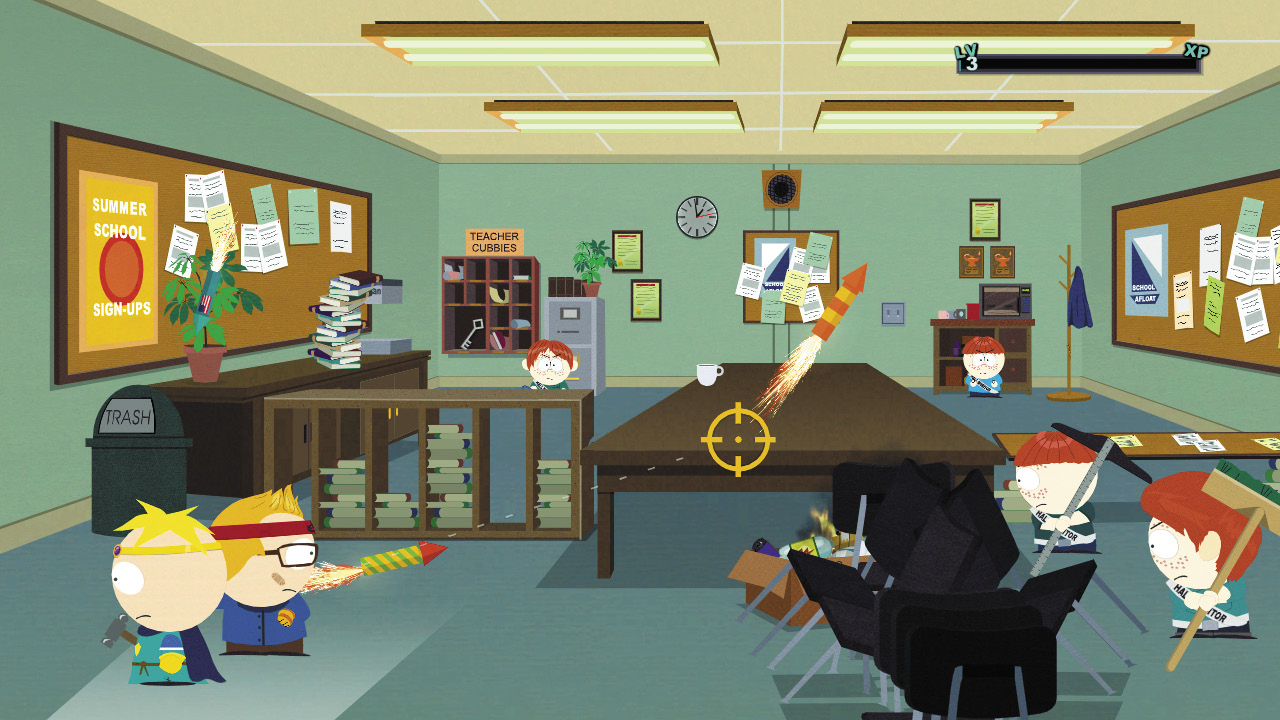
Aim at the lit cigarette on the table. You can knock it into the box of fireworks below and set off a kickass series of explosions. One of the rockets pegs the Ginger Boy in the back right corner, while another dislodges the ceiling light.
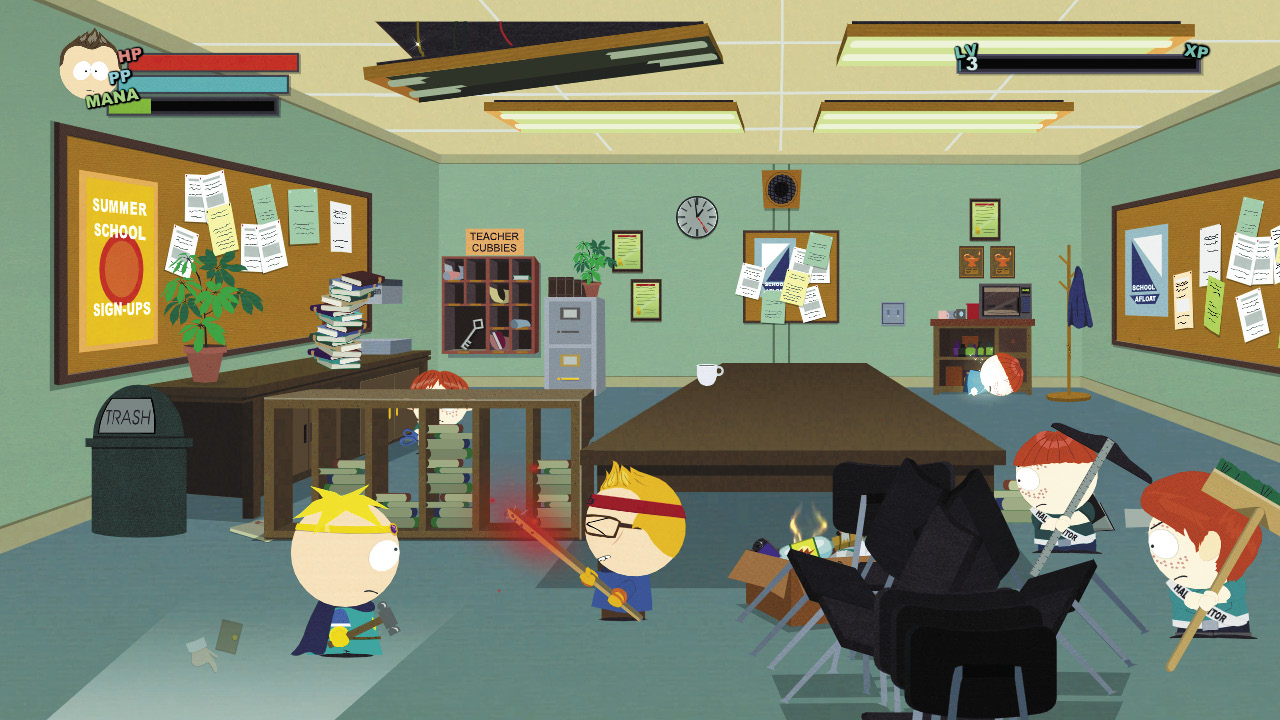
Dragonshout the burning fireworks box to send sheets of agonizing flames into the face of your opponent. The second and third Ginger Boys become crispy critters.
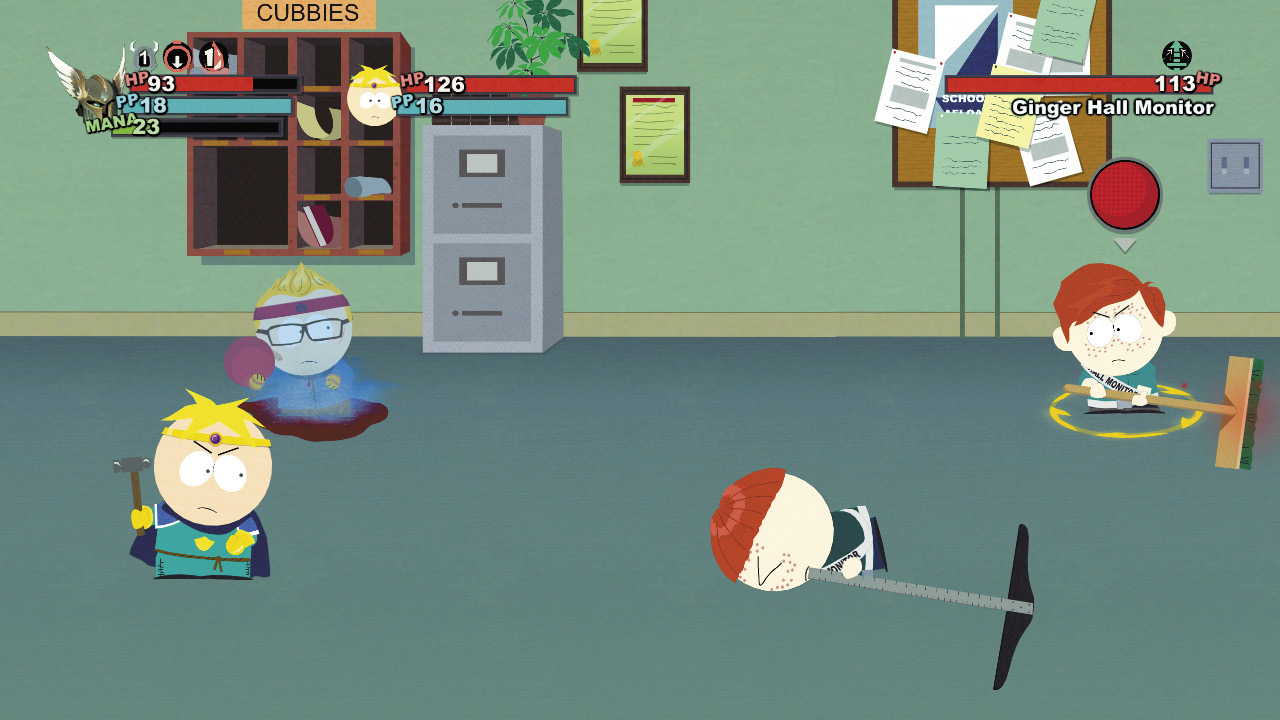
Pound the remaining Ginger Boy on the right side. He doesn’t stand a chance against Dodgeballs and smiting hammers.
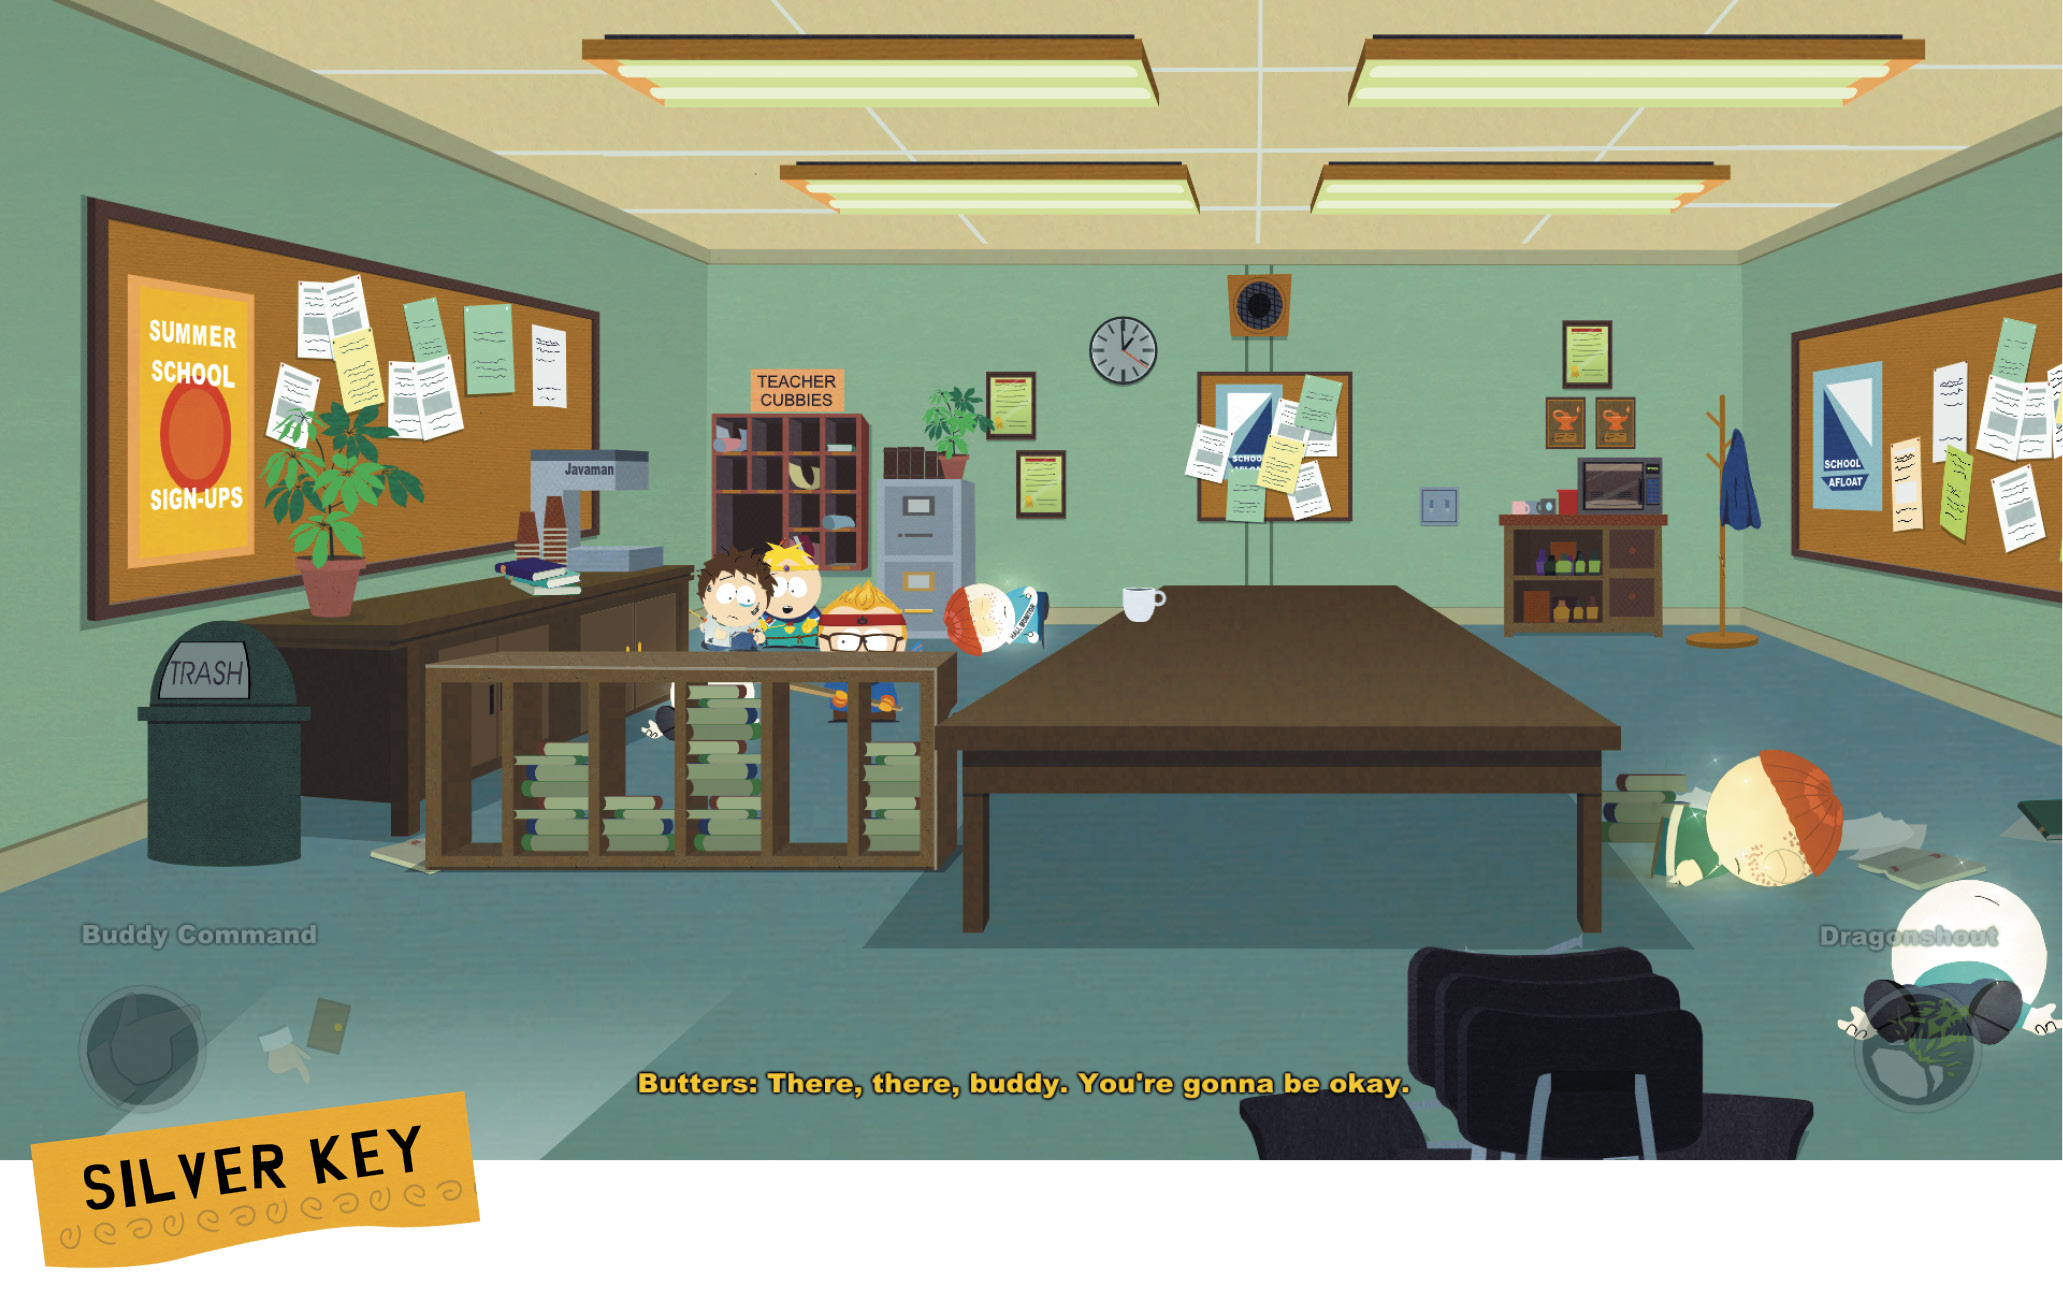
Alternatively, you can attack the left side. Shoot the stack of books on the counter to crush the last Ginger Boy. Command Butters to console the crying boy in the corner and he’ll give you the Silver Key.
The Gold Key
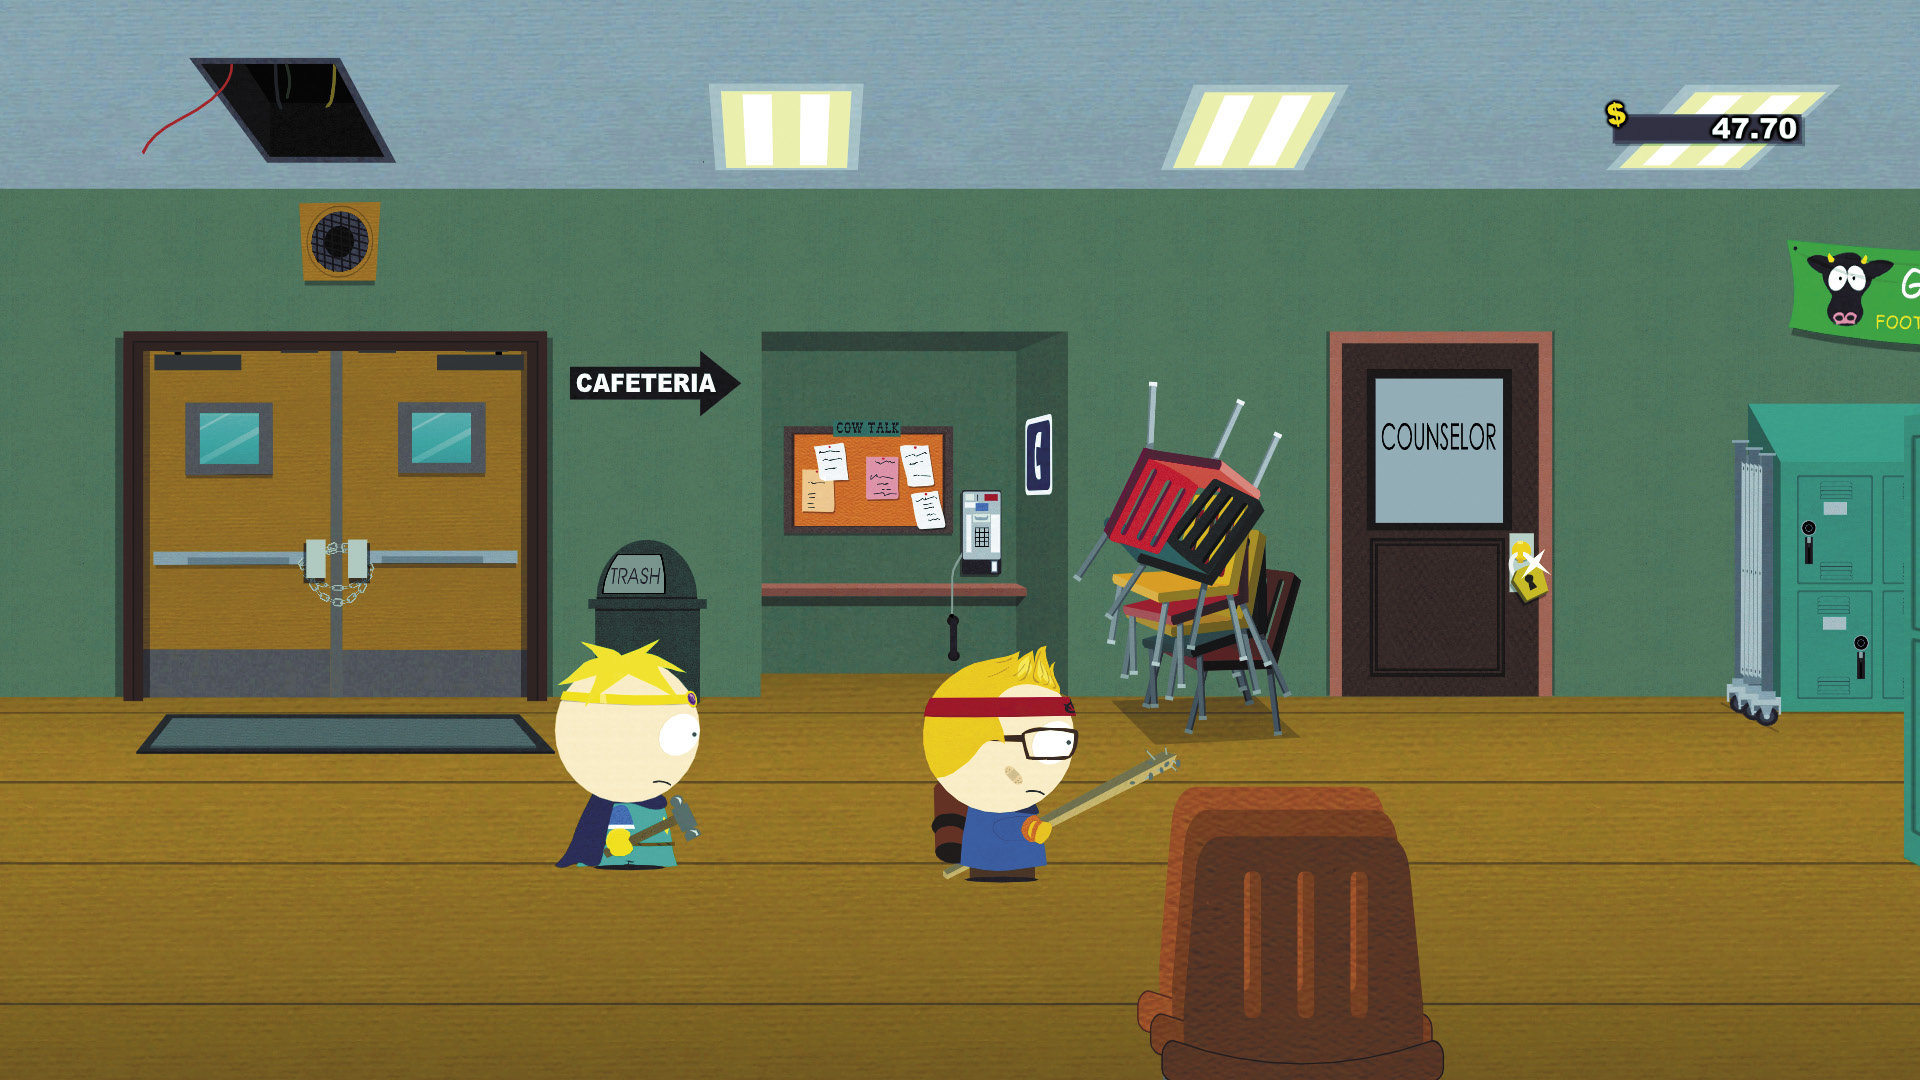
Head back to the locked counselor office. Use the Silver Key to open the door.
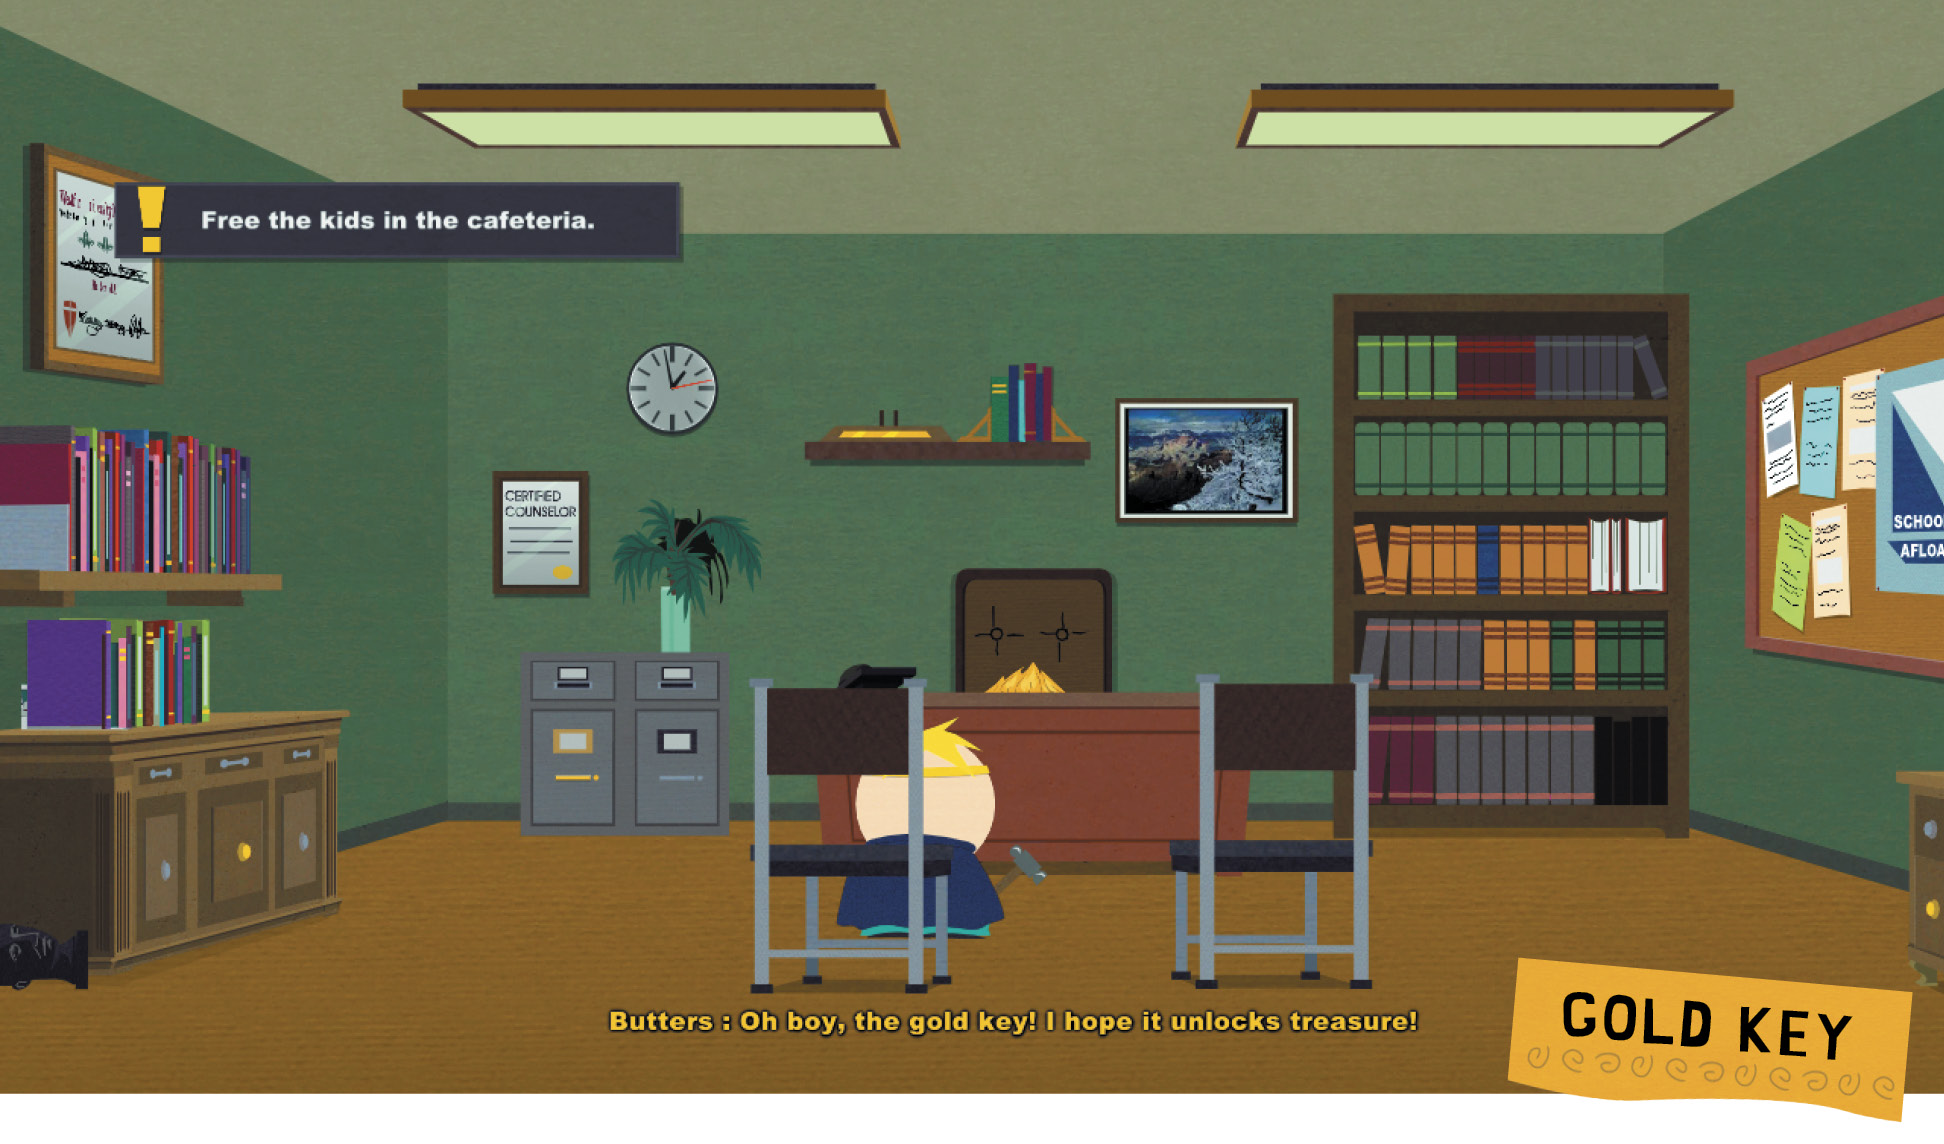
Enter Mackey’s and approach the shelf on the back wall. Shoot the Gold Key on the shelf and pick it up off the floor. You could melt it down for some sweet swag, but you’ll want to use it on the cafeteria doors instead.
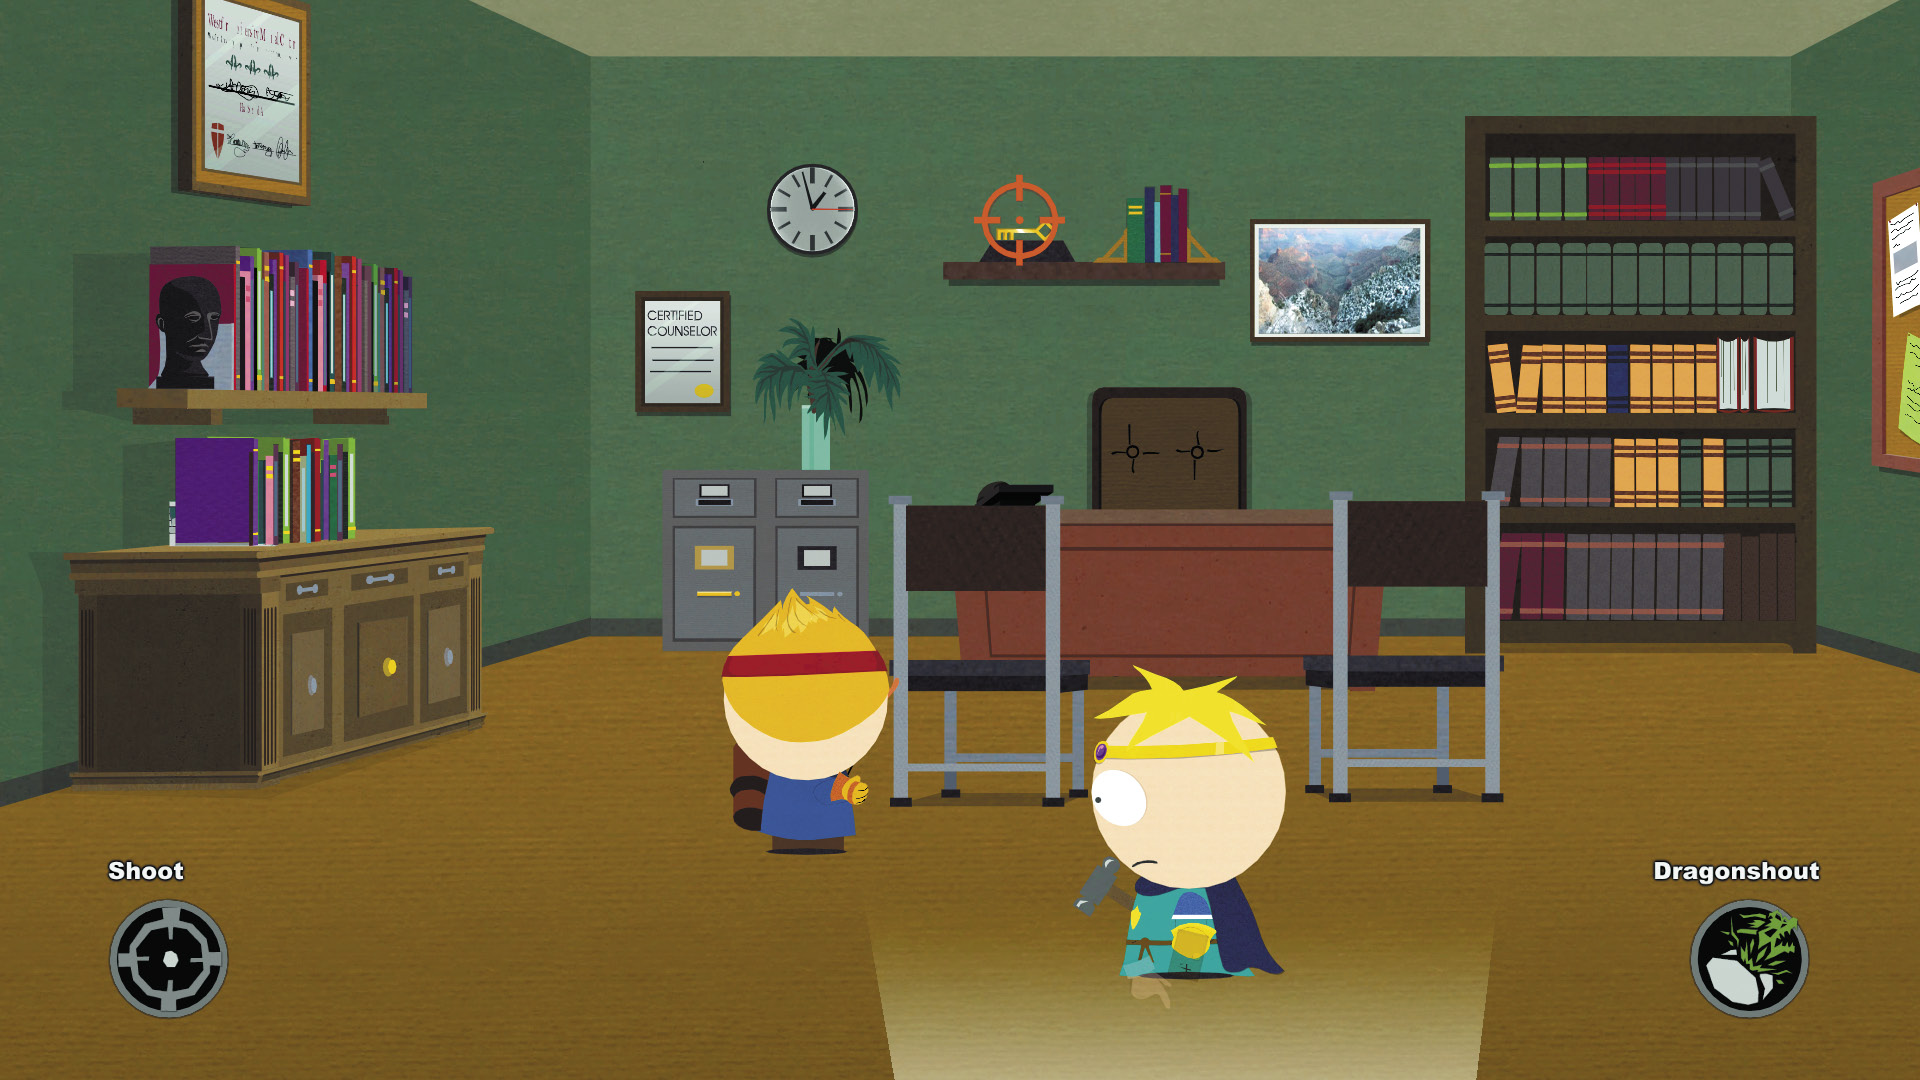
Trashing Mackey’s office is more than a therapy session. You can shoot the clock for a Cog-on-a-Spring, and besides knocking down the diploma, books, and bulletin board, you can raid the left cabinet, file cabinet under the clock, and right cabinet for loot.
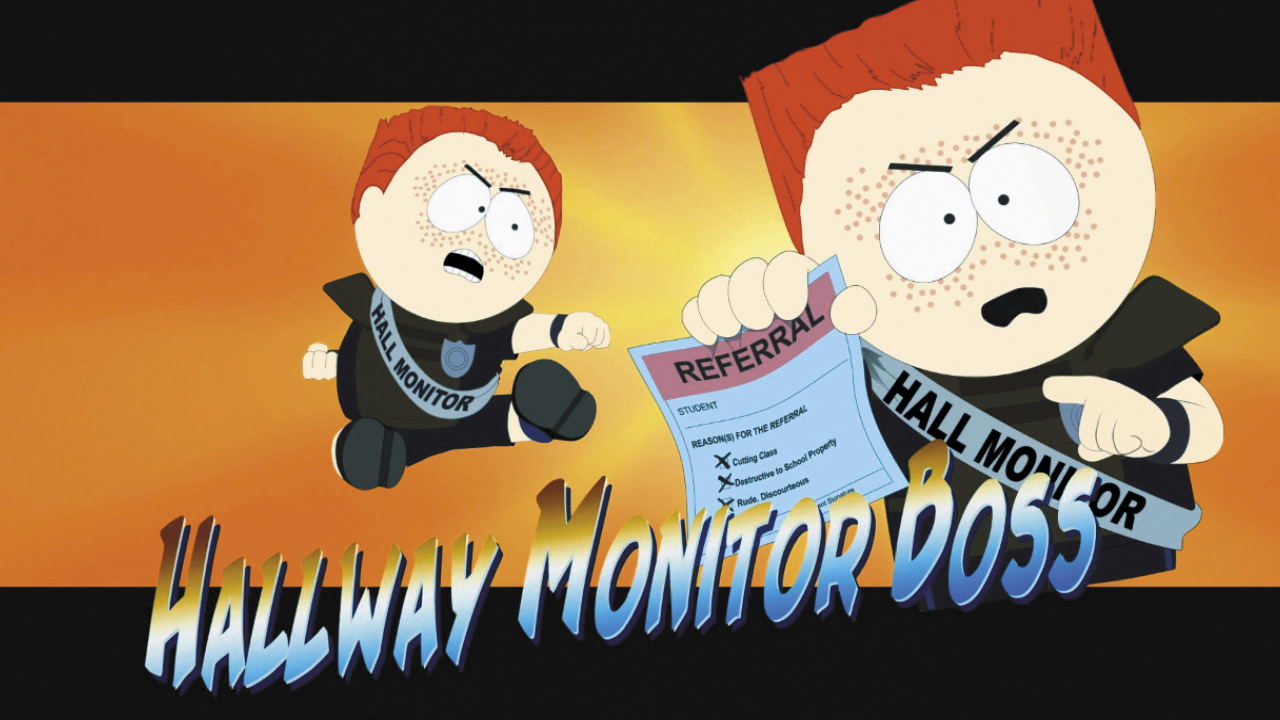
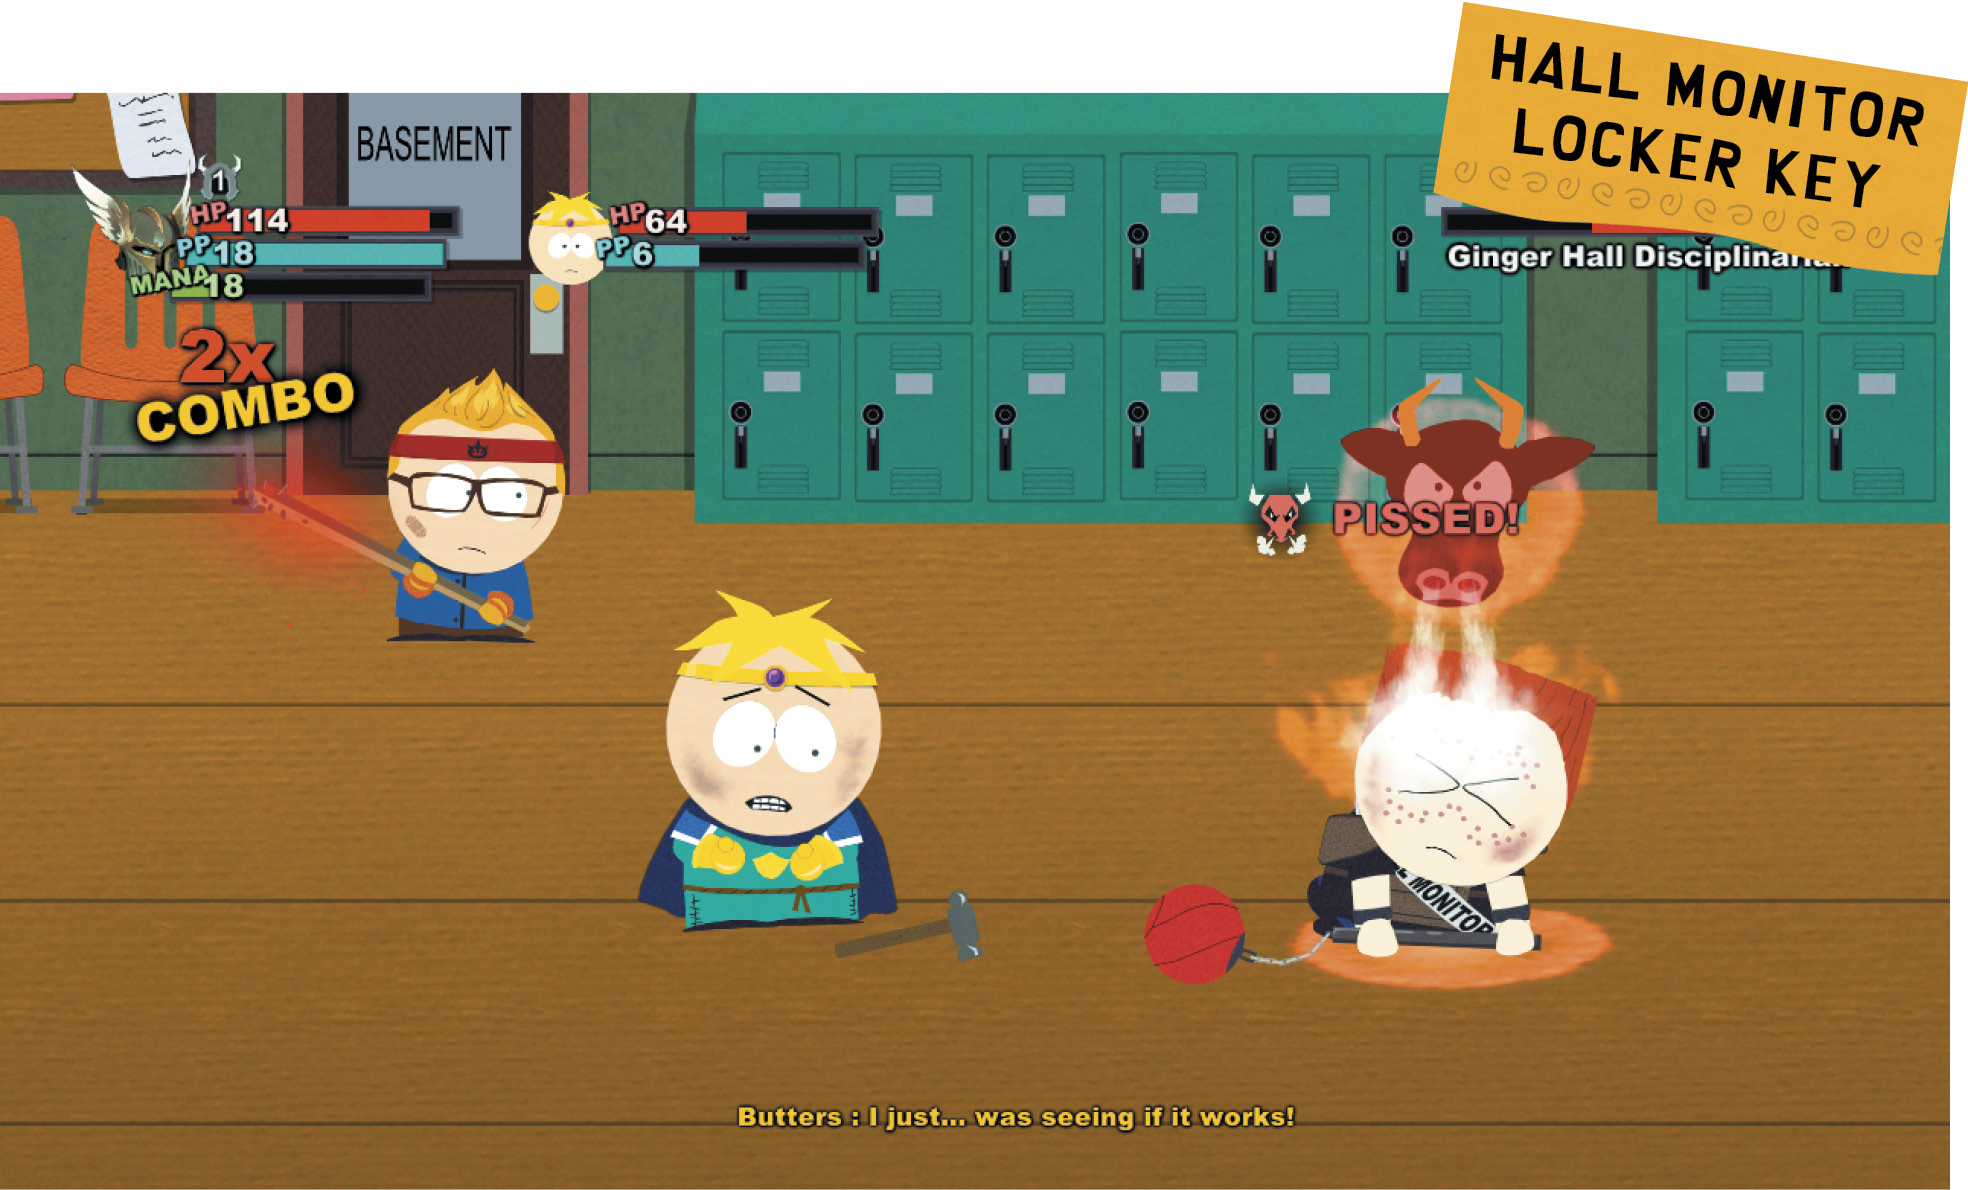
The Ginger Hall Disciplinarian slaps a referral on you as you try to enter the cafeteria. He brings two other Ginger Boy lackeys into the hall; you might have to snack on some Cheesy Poofs to keep battling. Tag team on the weaker Ginger Boys first, then go after the Ginger Hall Disciplinarian. Drive his flathead crewcut into the ground with a few of Butters’ well-placed hammer shots. Recover the Hall Monitor Locker Key from the broken bully.
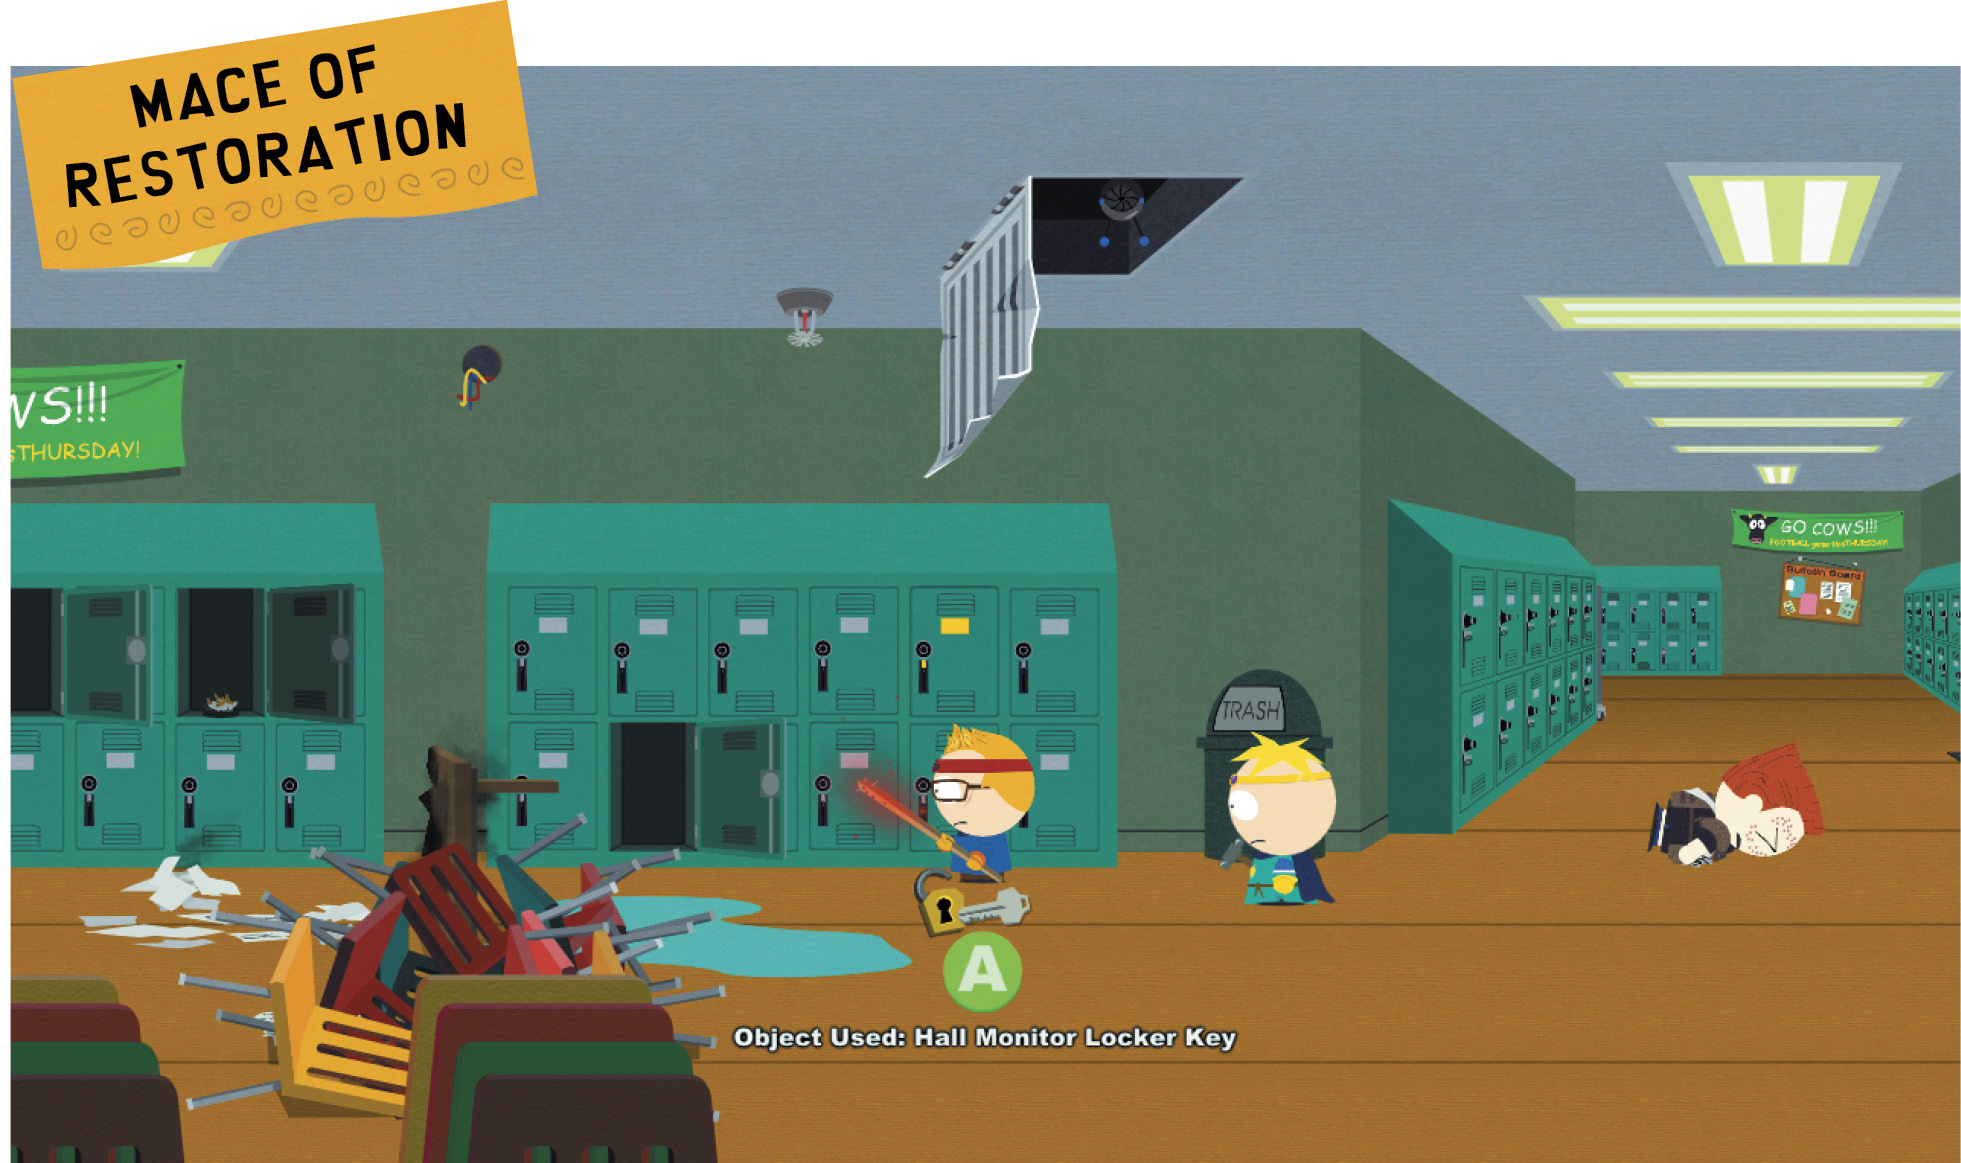
Unlock the locker around the corner with your new key. Pocket some cash, Safety Scissors, and the Mace of Restoration. As fun as it is to leave nail holes in an enemy’s spleen, upgrade to the Mace of Restoration for almost double damage and the spiffy Healing Strike ability.
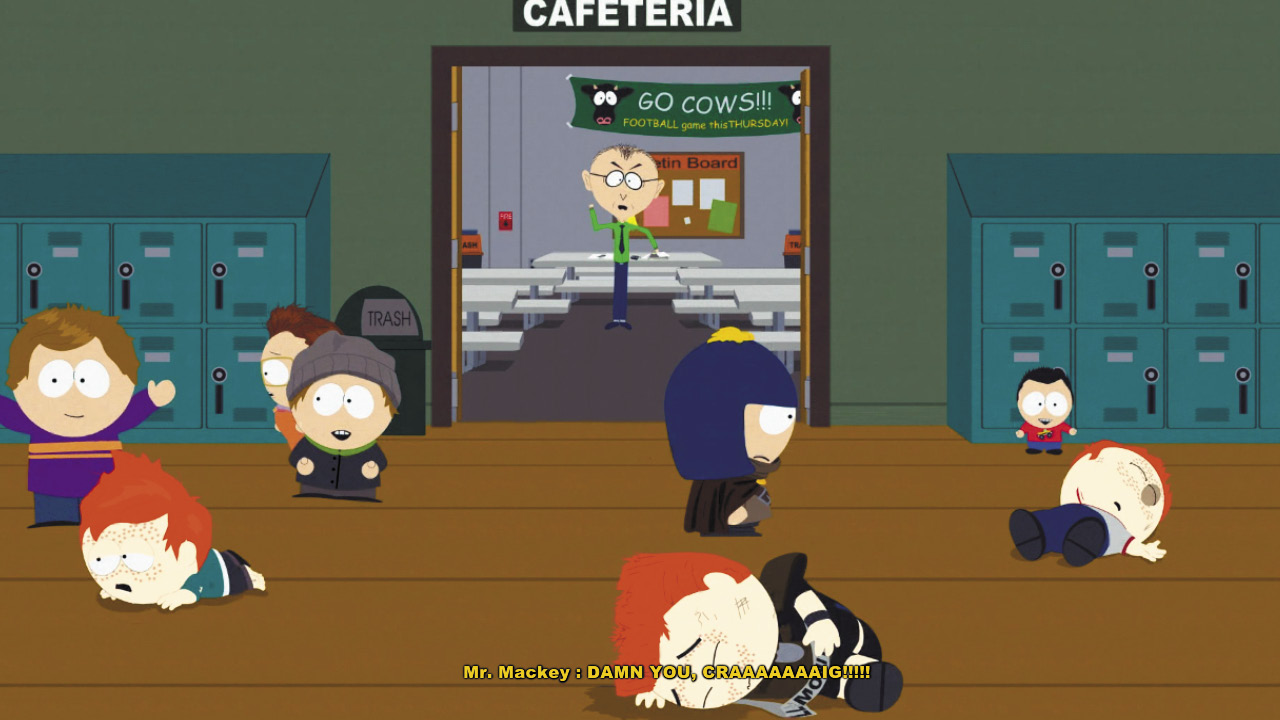
Use the Gold Key on the cafeteria door and bust Craig and all the others out of detention. You’ve now managed to recruit Craig and bring Mackey one step closer to a coronary.