
South Park: The Stick of Truth Guide Classes
Fighter
Strengths
Weaknesses
|
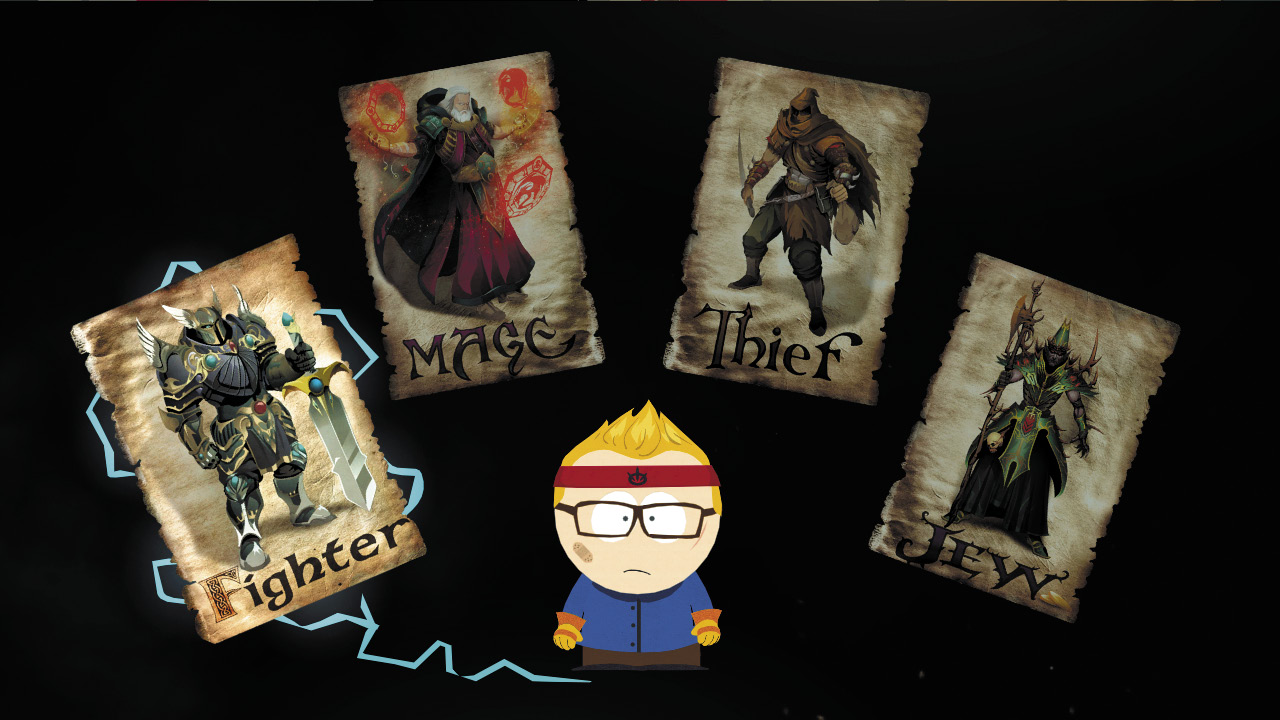
You swear off brass knuckles ’cause you want to see your own knuckles bloodied. You smoke a pack a day—all at once. You still like the feel of Kenny’s Bloody Club even when handed an Alien Ray Gun. You’re the tough guy of the bunch, the Fighter, the class that beats enemies till their mommas can’t recognize them.
Why Choose This Class
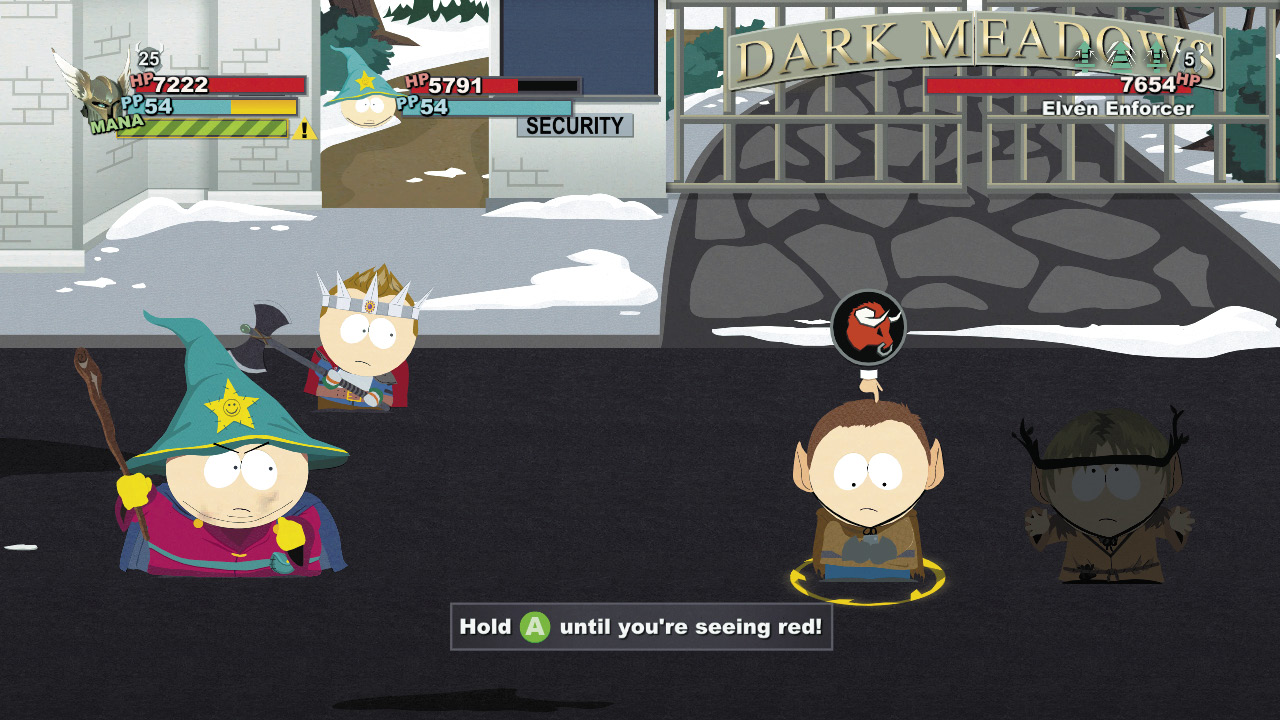
If you like to pound opponents with a Bull Rush or cause some pain with a baseball bat, you’ve picked the right class. The Fighter can lay the smackdown in melee and has a few tricks up his sleeve—a little Roshambo, anyone? Whether stunning a helpless dude or irritating the shit out of whole groups with your bull horn, the Fighter is more than a jackhammer, but he excels for sure when splitting skulls.
Special Abilities
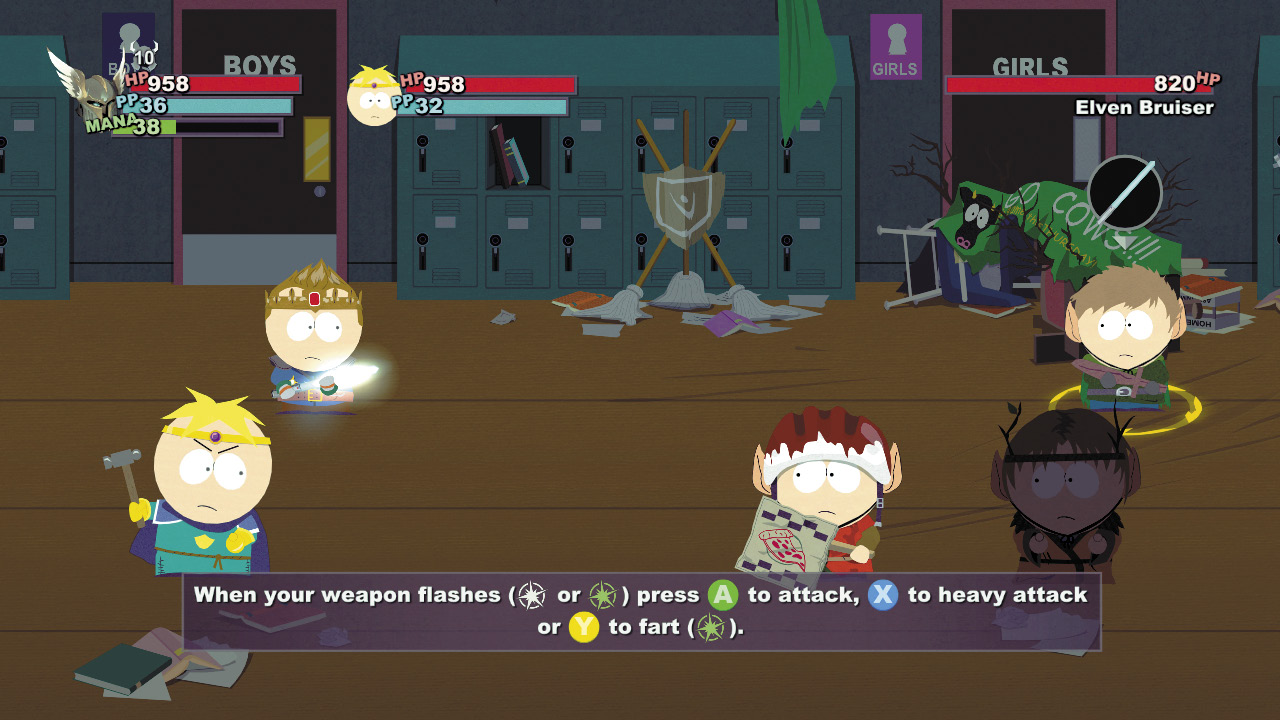
You are built to bully and bruise. Your early special abilities cause excessive damage, with some fun special effects, like stunning, haste, healing—oh, and vomiting—mixed in. Later special abilities target large groups with buff reductions and negative effects.
Assault and Battery
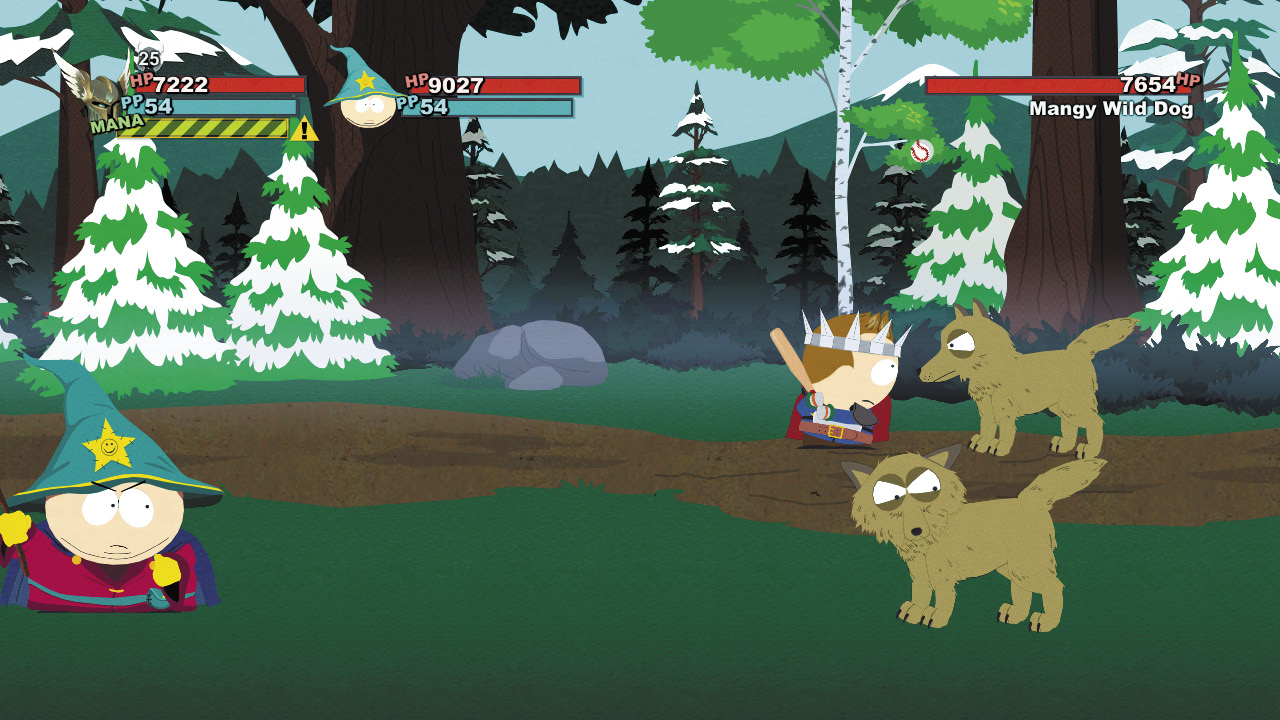
Play ball! Grab your bat and baseball and redefine the meaning of slugger. To activate Assault and Battery, you must throw the baseball up in the air and time your swing of the bat to connect as it drops back down. Do it correctly and you’ll hit an additional enemy. Assault and Battery II increases your damage, while Assault and Battery III increases damage if your opponent is already slowed or stunned. Assault and Battery IVcan restore a small of amount of HP for each hit. Assault and Battery V leaves no doubt that you’re the reigning MVP—each swing of the bat inflicts extra bleeding damage.
Roshambo
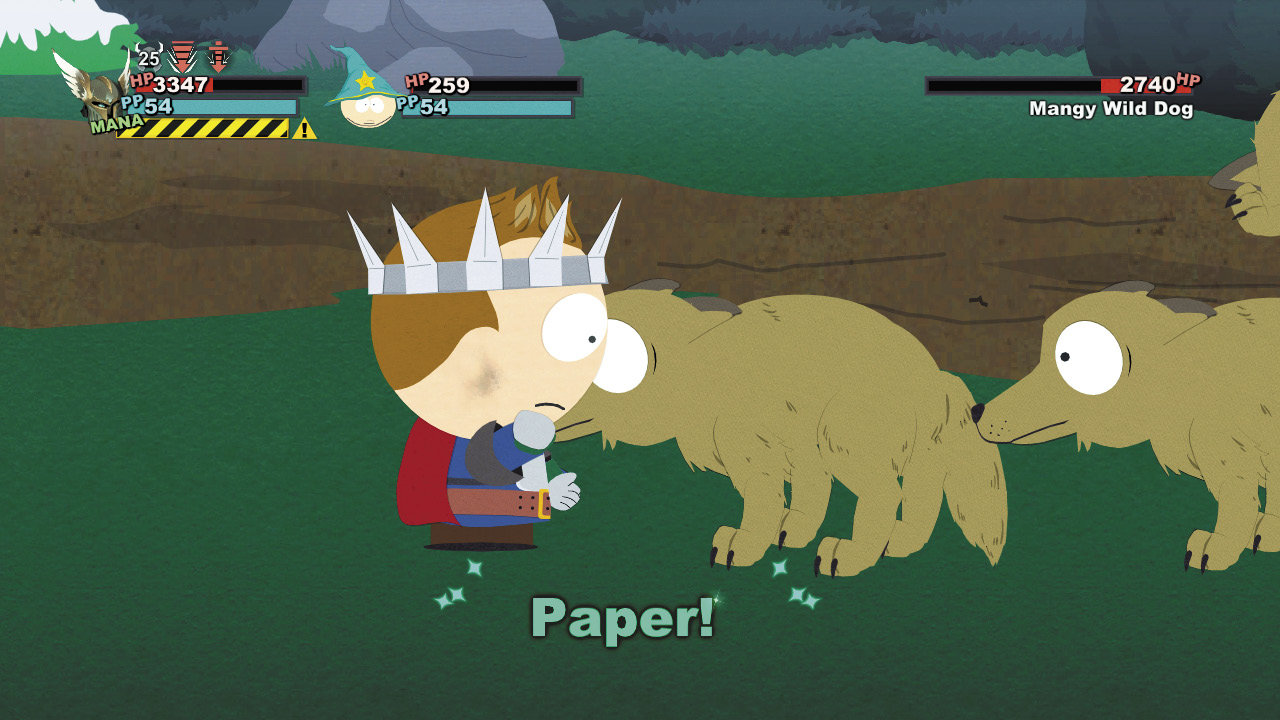
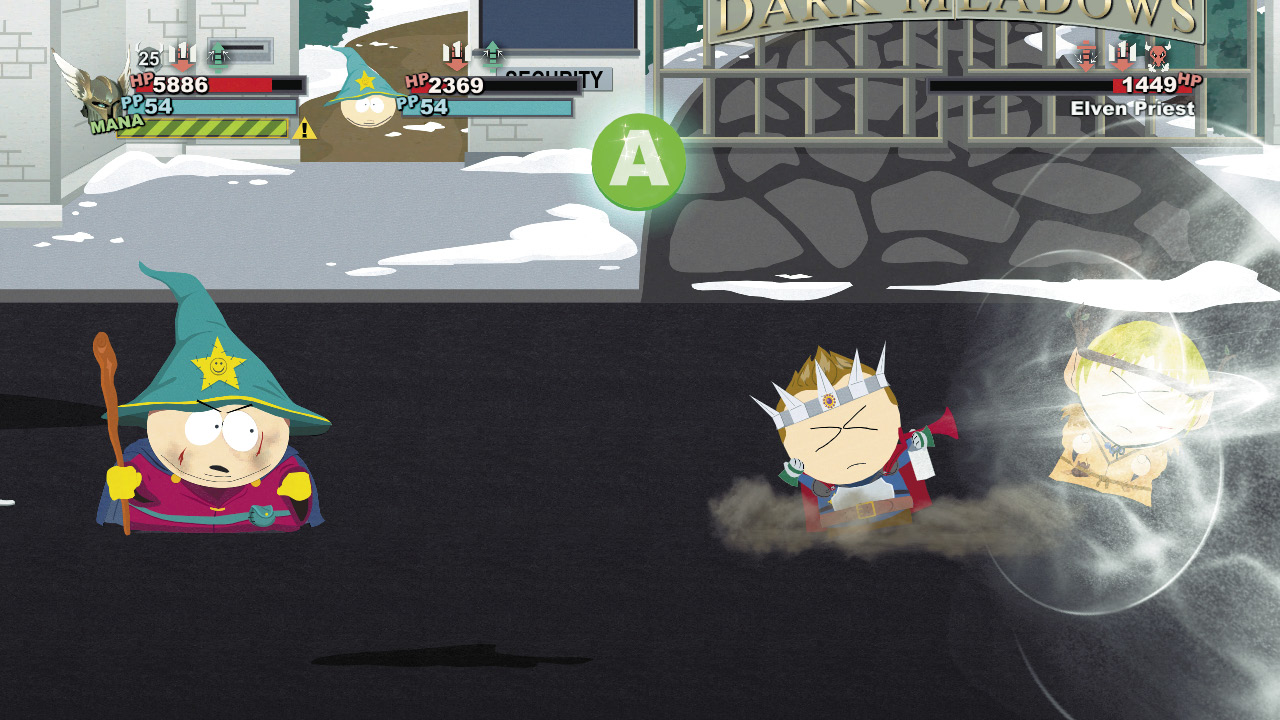
If you can time your rock-paper-scissors attack—hitting the button perfectly with each maneuver—you stun your opponent. This makes Roshambo your most powerful attack against a single opponent if you can execute it perfectly. Roshambo II delivers a follow-up kick that ignores armor and shields. The final three incarnations add effects on top of the stunning. Roshambo III makes all remaining enemies cower in terror and suffer a Defense Down debuff, but only if you knock out your target. Roshambo IV forces your opponent to vomit, adding a Gross Out effect to the stunning. Even better, Roshambo V delivers Gross Out to all enemies if you knock out your Roshambo target.
Bull Rush
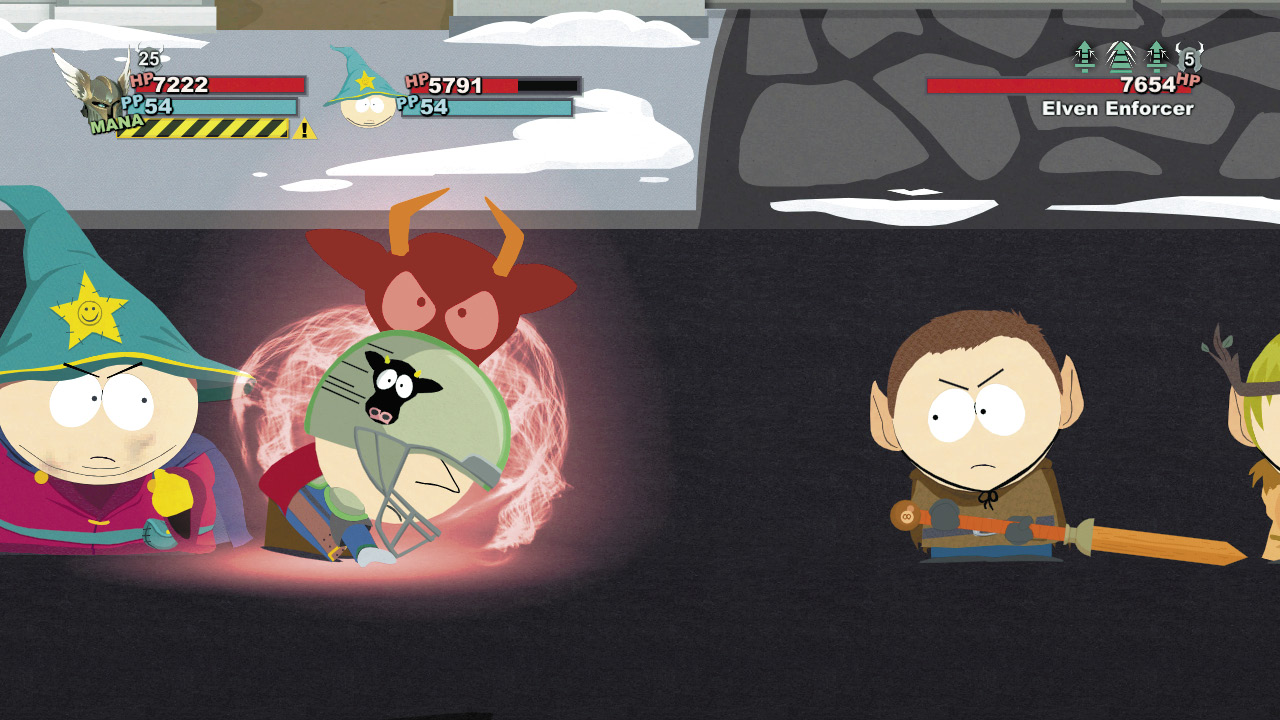
Charge into your opponents to strip armor and shields and leave them with a Defense Down penalty. Bull Rush is the optimal attack for those defensive enemies that look to take you deep into a fight. Bull Rush II increases your damage, and Bull Rush III increases damage based on your armor value. Give your opponent the shaft with an extra helmet spike for additional bleeding damage when you perfectly execute Bull Rush IV. Speed up your attacks with haste if you knock out your target with the final ability in the Bull Rush chain, Bull Rush V.
Horn of Irritation
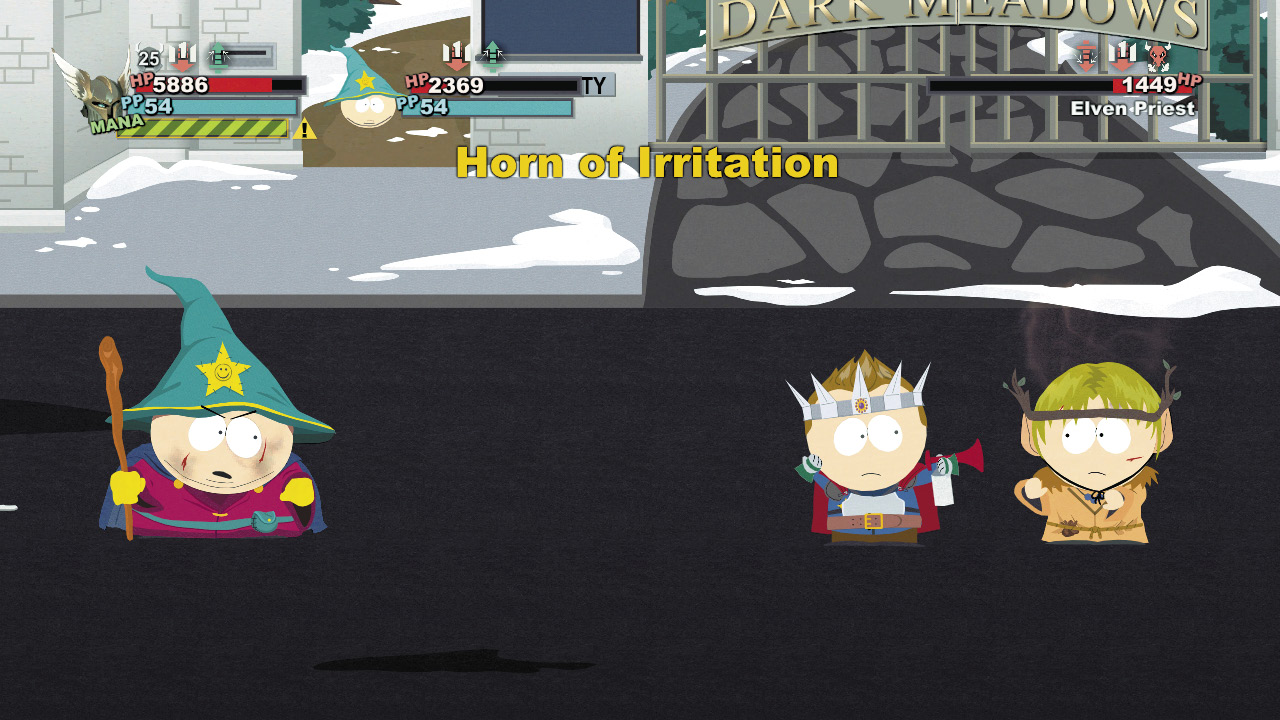
If you want to spare your partner, taunt your foes with Horn of Irritation and strip them of all benefit buffs in the process. Horn of Irritation II strips buffs from all enemies in the fight, while Horn of Irritation III reduces all your foes’ attack and defense values. Throw up a Horn of Irritation IV when you want to increase your team’s attack and ability damage. To make everything cheaper, purchase Horn of Irritation V.
Ground Stomp
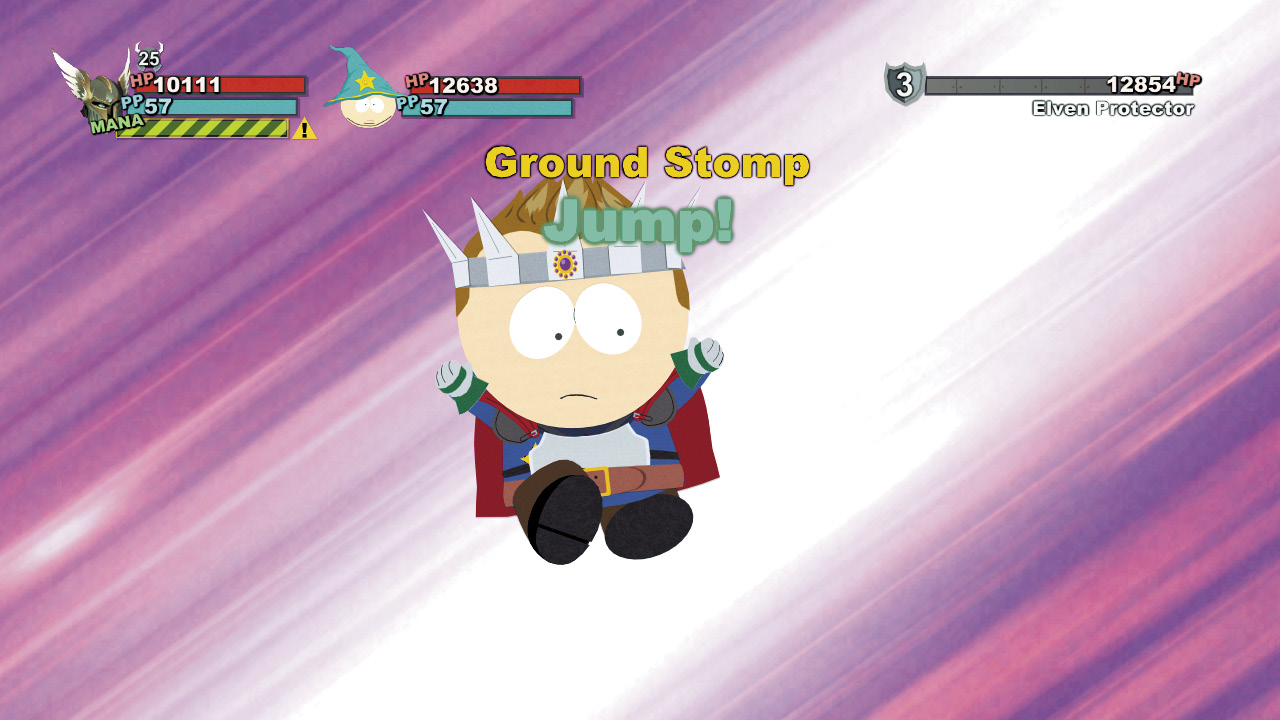
Your highest-level ability, Ground Stomp, allows you to crush all foes in the battle with a deadly aerial pounce that inflicts more damage if you time it right. Ground Stomp II deals extra damage based on your armor (it combos well with Bull Rush), and Ground Stomp III deals extra damage against your primary target. Inflict Attack Down on all your enemies with Ground Stomp IV and stun them for a turn with the awesome Ground Stomp V.
Fighter Special Abilities
| Ability | Description | Power Points | Level | |
|---|---|---|---|---|
|
Assault and Battery |
||||
|
|
Assault and Battery I |
Swing for the fences, dealing smash damage! When hit perfectly the ball can damage an additional enemy. |
6 |
1 |
|
|
Assault and Battery II |
Improved batting technique increases your damage. |
8 |
2 |
|
|
Assault and Battery III |
Stunned targets take additional damage from your baseball bat swings. |
10 |
3 |
|
|
Assault and Battery IV |
Each swing of the bat that connects restores a small amount of HP. |
12 |
4 |
|
|
Assault and Battery V |
Each swing of the bat now inflicts bleeding damage. |
12 |
5 |
|
Roshambo |
||||
|
|
Roshambo I |
A swift kick in the balls resolves a surprising number of disputes. Stuns your foe if done perfectly. |
11 |
2 |
|
|
Roshambo II |
If you successfully stun your target, you can now deliver a follow-up kick that will ignore armor and shields. |
14 |
2 |
|
|
Roshambo III |
If your Roshambo knocks out your targets, all remaining enemies cower in terror and suffer Defense Down. |
18 |
3 |
|
|
Roshambo IV |
Your perfect aim renders your foe vomiting in pain, inflicting Gross Out in addition to stun. |
23 |
4 |
|
|
Roshambo V |
If your Roshambo knocks out your targets, all remaining enemies suffer Gross Out. |
23 |
5 |
|
Bull Rush |
||||
|
|
Bull Rush I |
Charge headfirst into an enemy. If successfully performed, it strips armor and shields and leaves your foe with Defense Down. |
12 |
5 |
|
|
Bull Rush II |
Increases the damage of your Bull Rush move. |
14 |
6 |
|
|
Bull Rush III |
Deal an additional amount of damage based on your armor value. |
17 |
7 |
|
|
Bull Rush IV |
When perfectly executing your charge, you can now follow up with a helmet spike that deals additional bleeding damage. |
20 |
8 |
|
|
Bull Rush V |
Gain haste if Bull Rush knocks out your target. |
20 |
9 |
|
Horn of Irritation |
||||
|
|
Horn of Irritation I |
Strips buffs from your primary target while taunting all foes, forcing them to attack you without special abilities. |
16 |
8 |
|
|
Horn of Irritation II |
Horn of Irritation now removes buffs from all enemies in combat—not just your chosen target. |
17 |
9 |
|
|
Horn of Irritation III |
Your horn now deafens your foes, leaving them with reduced attack and defense. |
18 |
10 |
|
|
Horn of Irritation IV |
Your war cry of annoyance now rallies your team with increased attack and ability damage. |
19 |
11 |
|
|
Horn of Irritation V |
Greatly reduces the PP cost of using Horn of Irritation. |
10 |
12 |
|
Ground Stomp |
||||
|
|
Ground Stomp I |
Crush your foes with a deadly aerial pounce that hits all foes. Deals more damage if done perfectly. |
30 |
10 |
|
|
Ground Stomp II |
Learn to really throw your weight around, causing Ground Stomp to do extra damage based on your amount of armor. |
33 |
11 |
|
|
Ground Stomp III |
Inflict additional damage to your primary target. |
36 |
12 |
|
|
Ground Stomp IV |
Disorient your foes with your assault, inflicting Attack Down on all enemies. |
40 |
13 |
|
|
Ground Stomp V |
Causes Ground Stomp to rock enemies (literally), stunning them for a turn. |
40 |
14 |


Perks
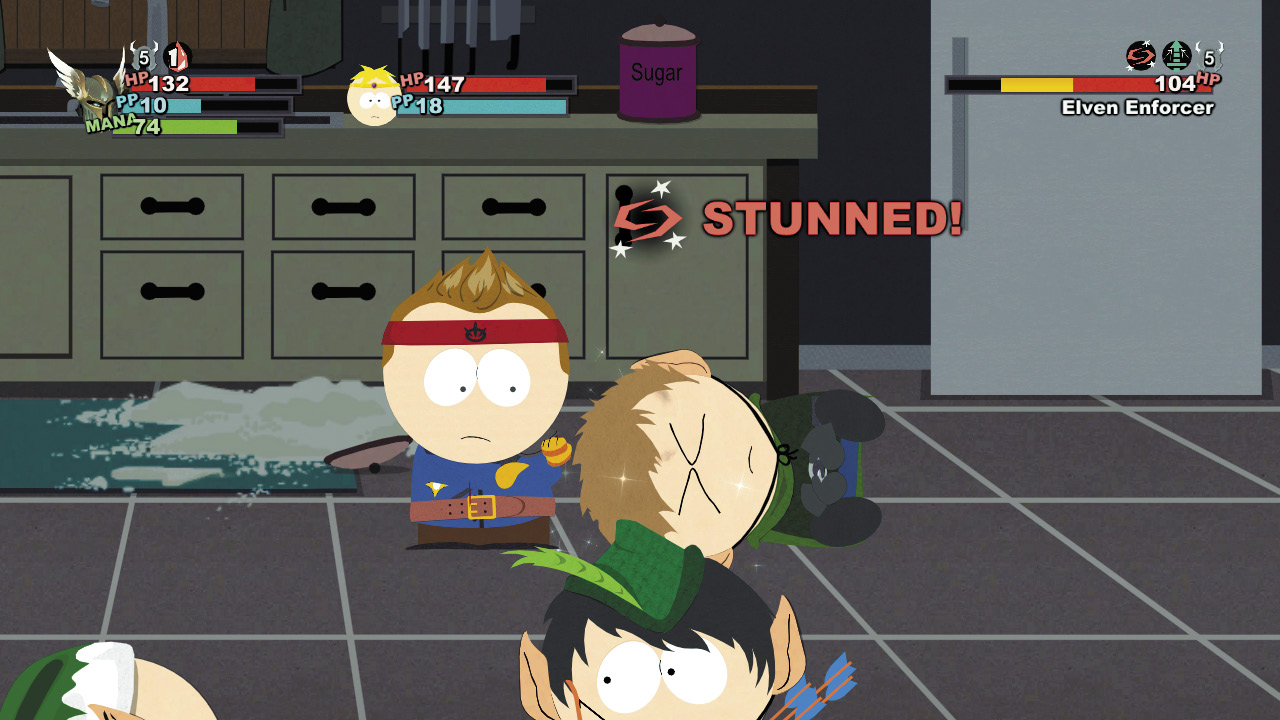
Necessary Roughness is a sweet perk if you plan on combining it with Roshambo; a 50 percent damage increase to stunned targets can make a huge difference against stronger opponents. Horn of Irritation becomes less dangerous when you taunt foes if you pick up Griefer and its ability to lessen damage against Pissed Off enemies. Mauler is a no-brainer: Your melee weapon attacks deal extra damage, and you love nothing better than breaking out the hand-to-hand hurt. If you plan on using bleeding abilities like Assault and Battery V and Bull Rush IV, look to purchase Bloodlust to pump up your damage even more.
Gear
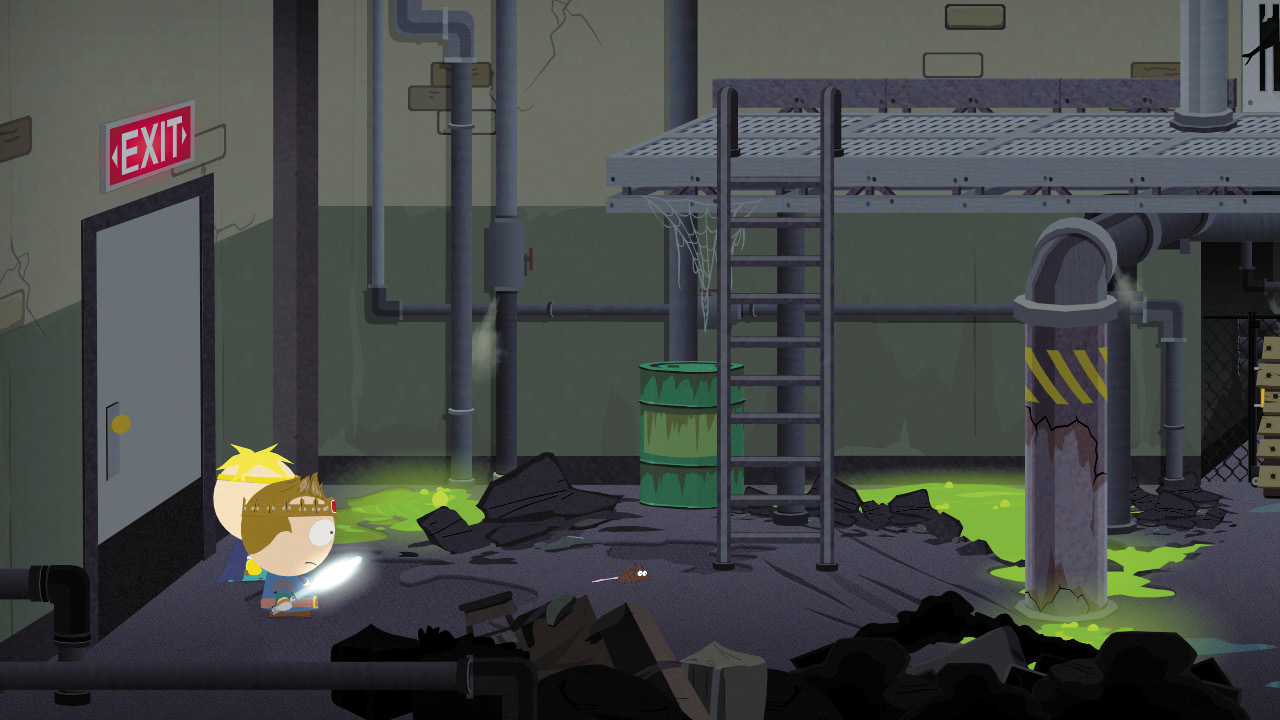
The Laser Sword inside of the Fourth Grade classroom of South Park elementary is your premiere melee weapon; once it’s claimed, you’ll likely rely on it the rest of the game. There are weapons that deal more damage per hit than the Laser Sword, but being imbued with Shock rated +100 fries most targets quickly. Aside from that, its Warrior’s Rage trait will earn you Attack Up for executing a Perfect Attack, making each strike more painful than the last. For that special Fighter pizzazz, check out the Barbarian Armor. Found in the Catacombs of Quebec up in Canada, it adds 110 armor, gives you Attack Up at the start of combat, and makes you look as buff as Conan—you know, the man-mountain not named O’Brien.
Combat Tactics
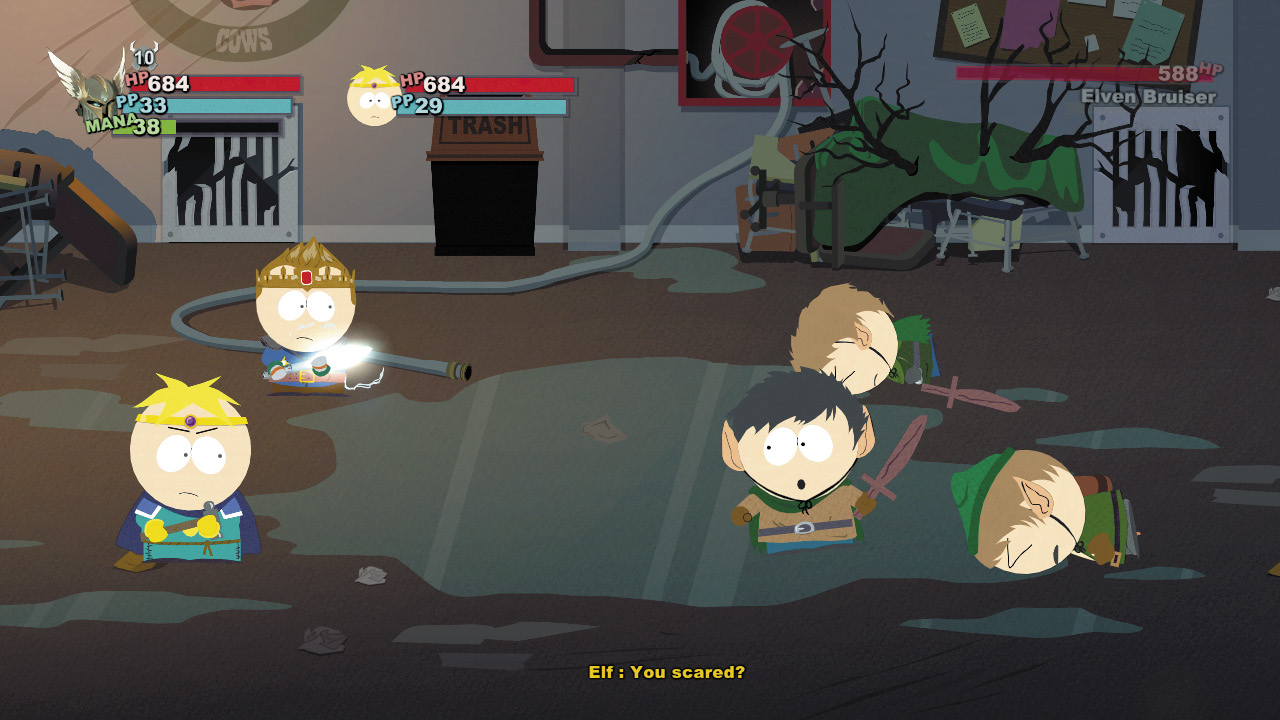
All battle scenarios assume you’re not taking on two clowns that can barely tie their shoes. Just use Perfect Attack and Perfect Block to crush that competition. The battle scenarios that follow give you tips for fighting bosses, mini-bosses, and annoying opponents that require more finesse and greater firepower.
Battle Scenario 1: Melee
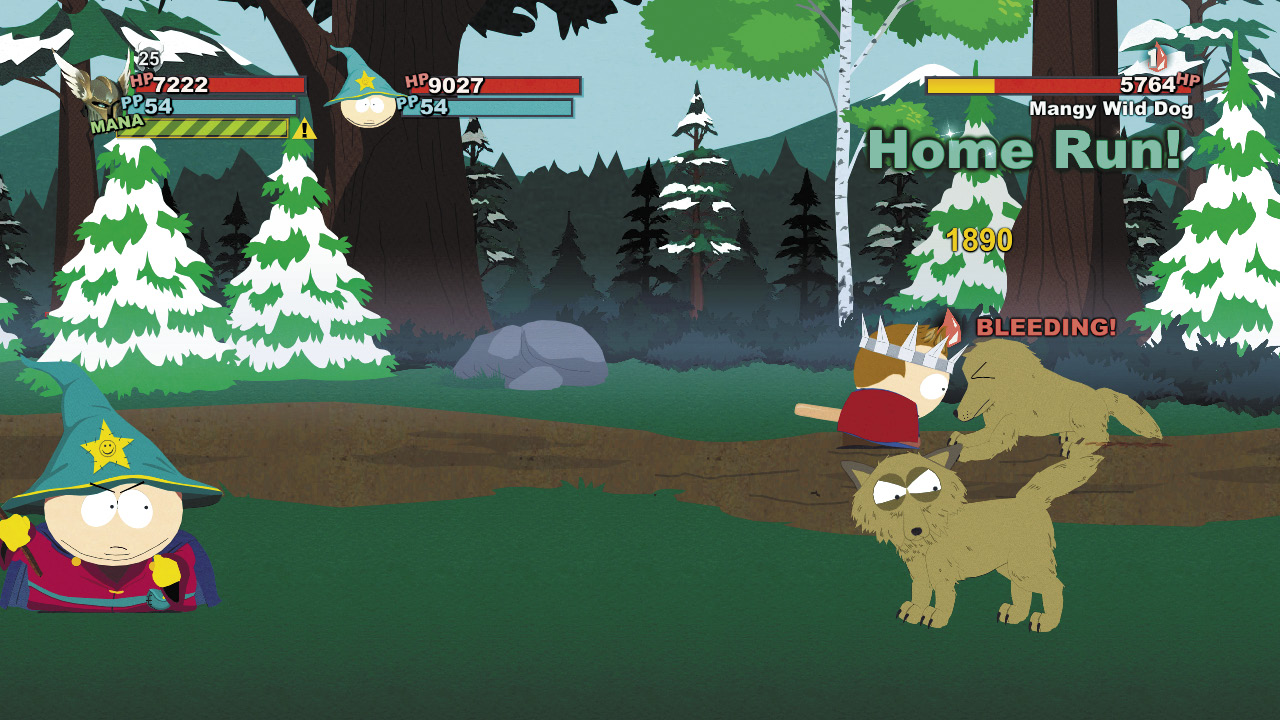
If you can time your button pushes well, Roshambo is the way to go. Stunning an opponent takes them temporarily out of combat; you can deal damage to them, and they miss attacks on you. Against a heavily armored enemy, Bull Rush and try to rank up to at least Bull Rush III so you can earn extra damage for the armor you’re wearing. Given a choice of melee targets, generally you want to pound the one with fewer hit points. If you can drop an enemy, there’s no chance of counterattack, which means less damage you have to withstand. If you know a target has a deadly special ability, then that foe should become the priority.
Battle Scenario 2: Ranged
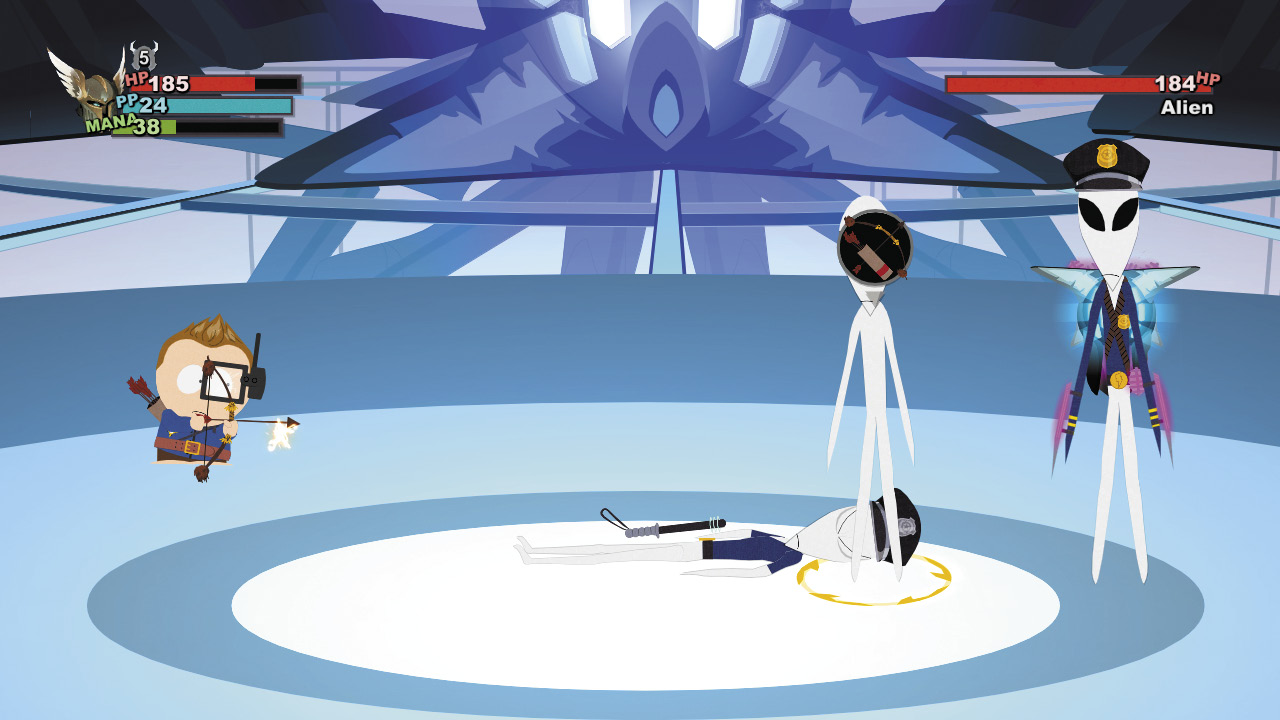
When you can reach the enemies in the back row, there are a few more decisions to make during combat. You rarely fight four or more foes, so the defended enemy (one not able to be hit by melee attack) will be your ranged target. Generally, ranged weapons deal less damage than melee weapons—you’re giving up damage to strike at difficult targets—but it’s worth concentrating on ranged foes to remove them from the fight if they have potent abilities (particularly those that raise the dead). It’s also possible to harass enemies by striking a foe with a single ranged attack to stack on a negative effect (say, Gross Out, to prevent healing) or to add an increased-damage effect such as burning or bleeding. While you switch to other enemies in the battle, the ranged foe continues to take damage from the damage effect.
Battle Scenario 3: Multiple Targets
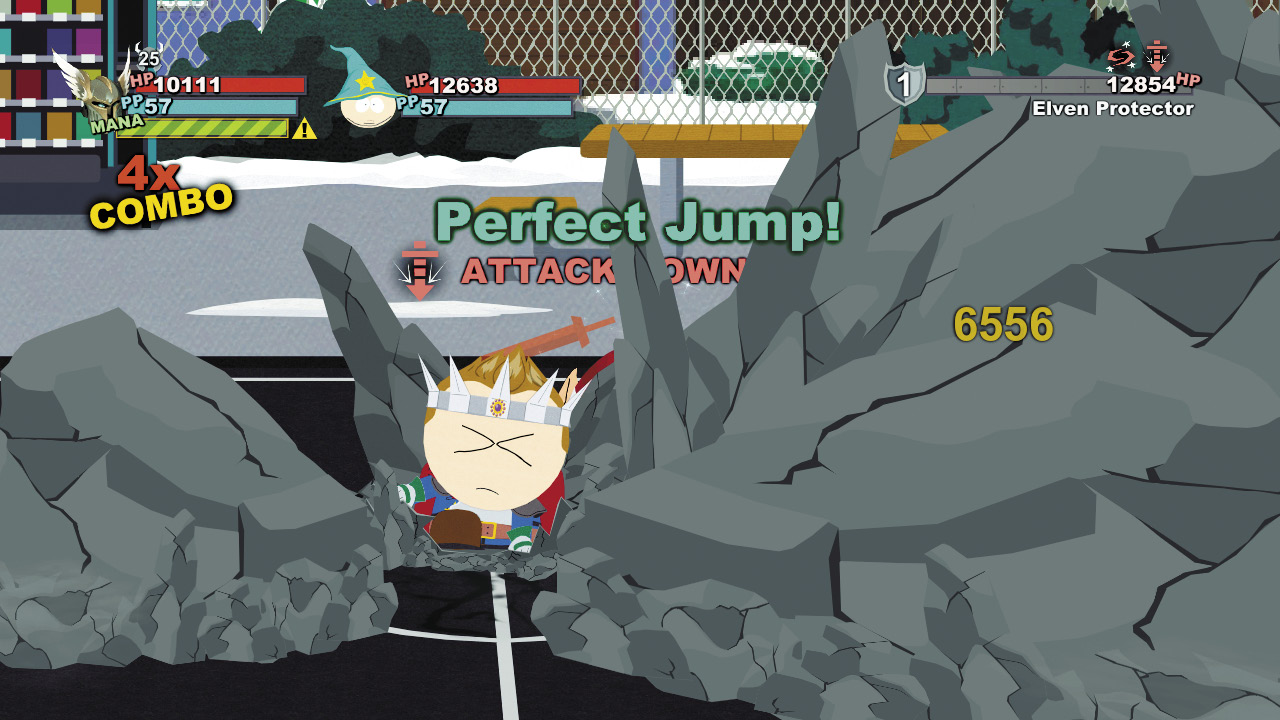
Once you have the proper gear, you should beat almost any group of two opponents. Fighting groups of three or four opponents gets tricky; most of the time you need to break out some of your multiple-target abilities to kill off more than one enemy at a time if you want to survive. The Fighter’s Horn of Irritation abilities will weaken multiple opponents, but it’s your Ground Stomp once you reach level 10 that will deliver major damage. At lower levels, you’ll have to rely on your buddy to help you out with crowd control. Jimmy’s Lullabye and Stan’s Whirlwind Slash, or even Cartman’s Flame Strike against the first two foes in a row, can even the playing field quickly for the home team.
Battle Scenario 4: All Out
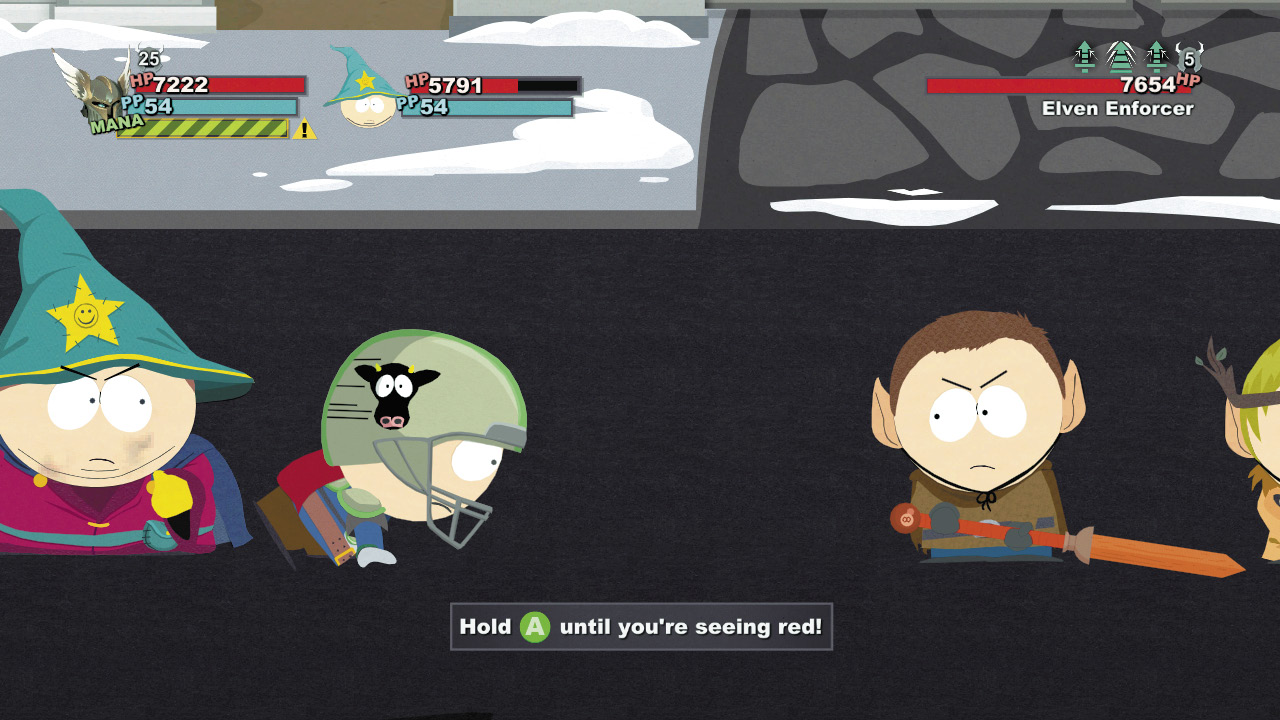
Your ultimate attack chain, assuming you have enough power points, goes something like this: Roshambo, Roshambo, Bull Rush, Assault and Battery, repeat until spent. Roshambo stuns your opponent if you time your rock, paper, scissors button mashes. Bull Rush inflicts moderate to heavy damage, and if you can reach Bull Rush V you can speed up your attacks with the haste effect. While your opponents are still recovering, whack them with Assault and Battery for even more damage and a chance at healing or bleeding if you’ve put enough points in. Repeat the process until you run out of PP, and under this barrage your opponent will barely be able to lift a finger against you while you’ll be able to break every bone in the body.