
South Park: The Stick of Truth Guide Walkthrough Holding the Stick
New Quest: Beat Up Clyde!
SPOILER ALERT! Quest Breakdown Step 1: Recruit the girls. Step 2: Return to the Elven Kingdom. Step 3: Infiltrate the Clyde’s fortress. Step 4: Destroy the Nazi Zombie Cows. Step 5: Defeat Craig. Step 6: Speak with Randy. Step 7: Get inside Mr. Slave. Step 8: Navigate Mr. Slave’s insides. Step 9: Disarm the Snuke. Step 10: Track down Clyde. Step 11: Defeat the Nazi Zombie Chef. Step 12: Knock off Clyde. Step 13: Face off against the government. |
Return to South Park and speak with Annie again. She takes you into the Pleases and Sparkles Club, where the girls use the translated medical records to determine that Heidi Turner was actually the two-faced bitch. Before you leave, they’ve already forgiven Heidi.
With the girls on your side, head back to the Elven Kingdom. Kyle rallies the troops, and humans, elves, and the occasional Vulcan march off to Clyde’s house in a mass horde.
Loot Table: Pleases and Sparkles Club
N = Not Junk / C = Collectable / Q = Quest Item / E = Equipment / D = Dye
| General Area | Location | Item | $$$ Value | N | C | Q | E | D |
|---|---|---|---|---|---|---|---|---|
| Clubhouse | Chest near Jessie | Valkyrie Headband (Head) | $7.00 | o | o | o | ||
| Clubhouse | Chest near Jessie | Valkyrie Armor (Body) | $10.00 | o | o | o | ||
| Clubhouse | Chest near Jessie | Valkyrie Gloves (Hands) | $4.00 | o | o | o | ||
| Clubhouse | On floor in front of chest | Mouse-tik (Chinpokomon) | - | o | o |
Pleases and Sparkles Boutique
| Item Type | Item | Lvl | Buy Value | Sell Value |
|---|---|---|---|---|
| Consumables | Health Potion (Small) | 0 | $1.00 | $0.20 |
| Consumables | Health Potion (Large) | 0 | $5.00 | $1.00 |
| Consumables | Cure Potion | 0 | $1.00 | $0.20 |
| Consumables | Power Potion | 0 | $2.00 | $0.40 |
| Consumables | Mana Potion (Small) | 0 | $1.50 | $0.30 |
| Consumables | Mana Potion | 0 | $5.00 | $1.00 |
| Consumables | Mana Potion (Large) | 0 | $7.50 | $1.50 |
| Consumables | Revive Potion | 0 | $3.00 | $0.60 |
| Consumables | Speed Potion | 0 | $2.00 | $0.40 |
| Consumables | Strength Potion | 0 | $2.00 | $0.40 |
| Consumables | Water Balloon | 0 | $1.50 | $0.30 |
| Weapons | Knead-ring, the Dough Hammer | 12 | $16.00 | $3.20 |
| Weapons | Fairy Princess Blade | 13 | $24.00 | $4.80 |
| Weapons | Fairy Princess Bow | 12 | $24.00 | $4.80 |
| Weapons | Chakram | 14 | $24.00 | $4.80 |
| Equipment | Stupid Spoiled Whore Gloves | 11 | $7.00 | $0.70 |
| Equipment | Stupid Spoiled Whore Hat | 11 | $11.00 | $2.20 |
| Equipment | Stupid Spoiled Whore Clothes | 11 | $22.00 | $4.40 |
| Equipment | Leather Gloves | 12 | $8.00 | $1.60 |
| Equipment | Leather Hat | 12 | $13.00 | $2.60 |
| Equipment | Leather Armor | 12 | $24.00 | $4.80 |
| Equipment | Fairy Princess Mittens | 14 | $10.00 | $2.00 |
| Equipment | Fairy Princess Tiara | 14 | $15.00 | $3.00 |
| Equipment | Fairy Princess Robes | 14 | $25.00 | $5.00 |
| Flair | Glitter Paint | 0 | $2.00 | $0.40 |
| Flair | Butterfly Face Paint | 0 | $2.00 | $0.40 |
| Flair | Pink Flowering Vines Facepaint | 0 | $2.00 | $0.40 |
| Flair | Red Flower Eyeshadow | 0 | $2.00 | $0.40 |
| Flair | Blue Flowering Vines Facepaint | 0 | $2.00 | $0.40 |
| Flair | Multicolored Flower Eyeshadow | 0 | $2.00 | $0.40 |
| Flair | Whore Makeup | 0 | $2.00 | $0.40 |
| Flair | Spoiled Whore Wig | 0 | $2.00 | $0.40 |
| Flair | Square Shades | 0 | $2.00 | $0.40 |
| Patches | Prenuptial Document | 13 | $10.00 | $2.00 |
Penetrating the Fortress

|
“What we do here now...will be written and sung about on YouTube for days to come!” —Cartman |
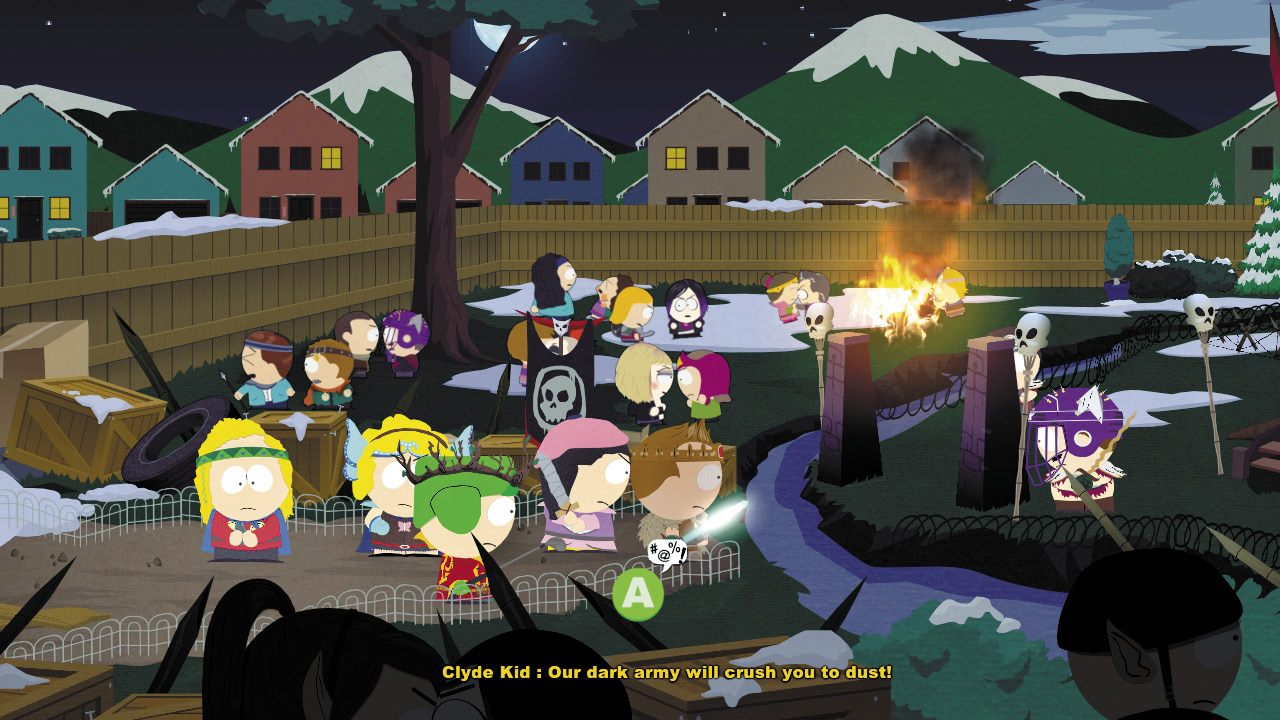
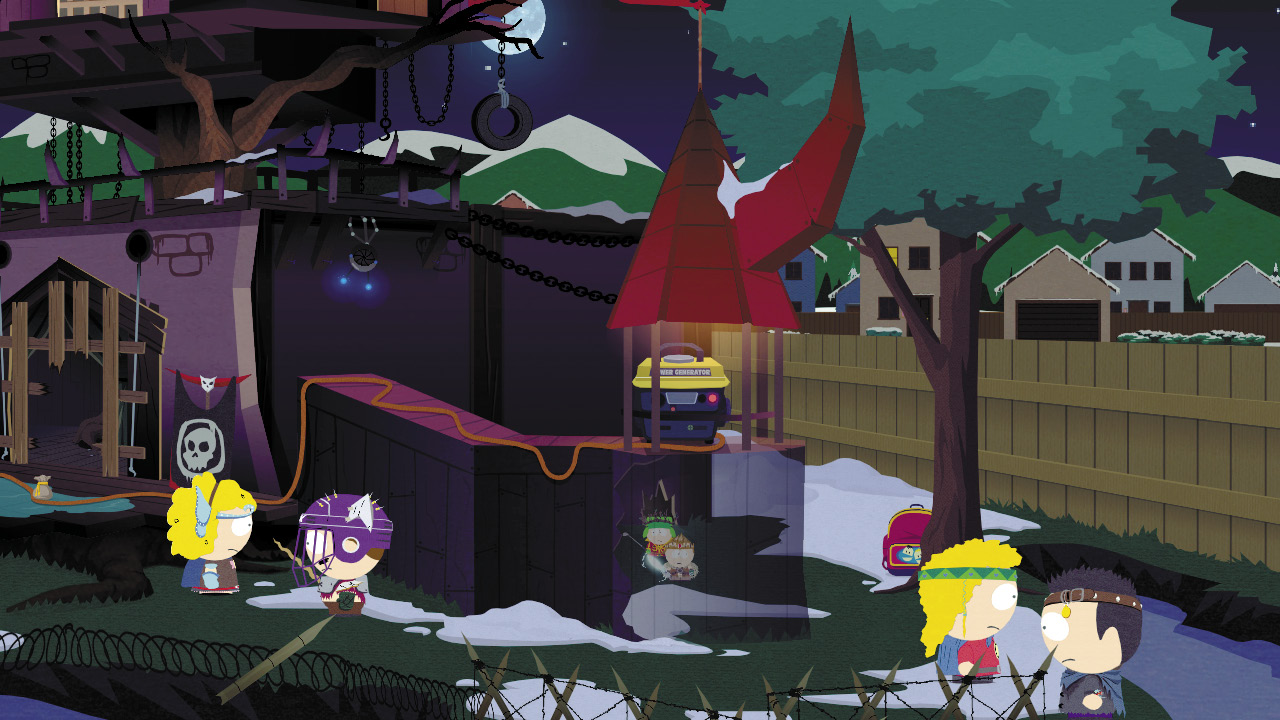
Rush off with the rest of your costumed buddies and barge past Clyde’s dad when he opens the door. A mass battle erupts in Clyde’s backyard between the forces of good (uh, you) and the forces of evil (anyone with sunken eyes and a swastika on the arm).
 Loot Table: Clyde’s Fortress
N = Not Junk / C = Collectable / Q = Quest Item / E = Equipment / D = Dye
| General Area | Location | Item | $$$ Value | N | C | Q | E | D |
|---|---|---|---|---|---|---|---|---|
| Backyard | Terrance & Phillip backpack | Cash | $0.75 | o | ||||
| Backyard | Terrance & Phillip backpack | Health Potion (Small) | $0.20 | o | ||||
| Backyard | Terrance & Phillip backpack | Power Potion (Large) | $2.40 | o | ||||
| Backyard | Terrance & Phillip backpack | Cure Potion | $0.20 | o | ||||
| Backyard | Terrance & Phillip backpack | Brutish Wig (Hair) | $0.40 | o | o | |||
| Gnome Tunnel | Gnome bag | Cash | $0.75 | o | ||||
| Gnome Tunnel | Gnome bag | Gnome Teeth | $0.10 | |||||
| Gnome Tunnel | Gnome bag | Dairy Council Patch (Patch) | $4.00 | o | o | |||
| Gnome Tunnel | Gnome bag | Health Potion (Large) | $1.00 | o | ||||
| First Level | Chest inside the Armory | Lawn Dart (Ranged) | $19.00 | o | o | o | ||
| First Level | Chest inside the Armory | Cash | $0.35 | o | ||||
| First Level | Chest inside the Armory | Spiked Wristband | $0.15 | |||||
| First Level | Chest inside the Armory | Screwdriver | $0.30 | |||||
| First Level | Chest inside the Armory | Berserker Patch (Patch) | $2.00 | o | o | |||
| First Level | Loot - Savage | Knight Gauntlets (Hands) | $7.00 | o | o | o | ||
| First Level | Loot - Savage | Cash | $0.90 | o | ||||
| First Level | Loot - Savage | Spiked Wristband | $0.15 | |||||
| First Level | Loot - Savage | Old Baseball Glove | $0.25 | |||||
| Third Level | Loot - Demolisher | Lightning Rod (Strap-on) | $4.00 | o | o | |||
| Third Level | Loot - Demolisher | Cash | $0.50 | o | ||||
| Third Level | Loot - Demolisher | Health Potion (Large) | $1.00 | o | ||||
| Third Level | Loot - Demolisher | Broken Chain | $0.10 | |||||
| Third Level | Chest in the right spire | Cash | $0.50 | o | ||||
| Third Level | Chest in the right spire | Clyde’s Rulebook | $0.30 | |||||
| Third Level | Chest in the right spire | Mana Potion (Large) | $1.50 | o | ||||
| Third Level | Chest in the right spire | Knight Helmet (Head) | $10.00 | o | o | o | ||
| Third Level | Bag in the left spire | Shard of the Dark Lord’s Crown (Strap-on) | $4.00 | o | o | |||
| Third Level | Bag in the left spire | Revive Potion | $0.60 | o | ||||
| Third Level | Bag in the left spire | Broken Chain | $0.10 | |||||
| Third Level | Bag in the left spire | Spiked Wristband | $0.15 | |||||
| Third Level | Bag in the left spire | Power Potion | $0.40 | o | ||||
| Craig’s Room | Loot - Craig | Brimstone (Strap-on) | $6.00 | o | o | |||
| Craig’s Room | Loot - Craig | Cash | $1.25 | o | ||||
| Craig’s Room | Loot - Craig | Mana Potion | $1.00 | o | ||||
| Craig’s Room | Loot - Craig | Mana Potion (Large) | $1.50 | o | ||||
| Craig’s Room | Loot - Craig | Spiked Wristband | $0.15 | |||||
| Craig’s Room | Loot - Craig | Baseball Card | $0.10 | |||||
| Craig’s Room | Chest on the upper balcony | Knight Armor (Body) | $15.00 | o | o | o | ||
| Craig’s Room | Chest on the upper balcony | Clyde’s Rulebook | $0.30 | |||||
| Craig’s Room | Chest on the upper balcony | Power Potion (Large) | $2.40 | o | ||||
| Craig’s Room | Chest on the upper balcony | Water Balloon | $0.30 | o | ||||
| Craig’s Room | Chest on the upper balcony | Cash | $2.50 | o |
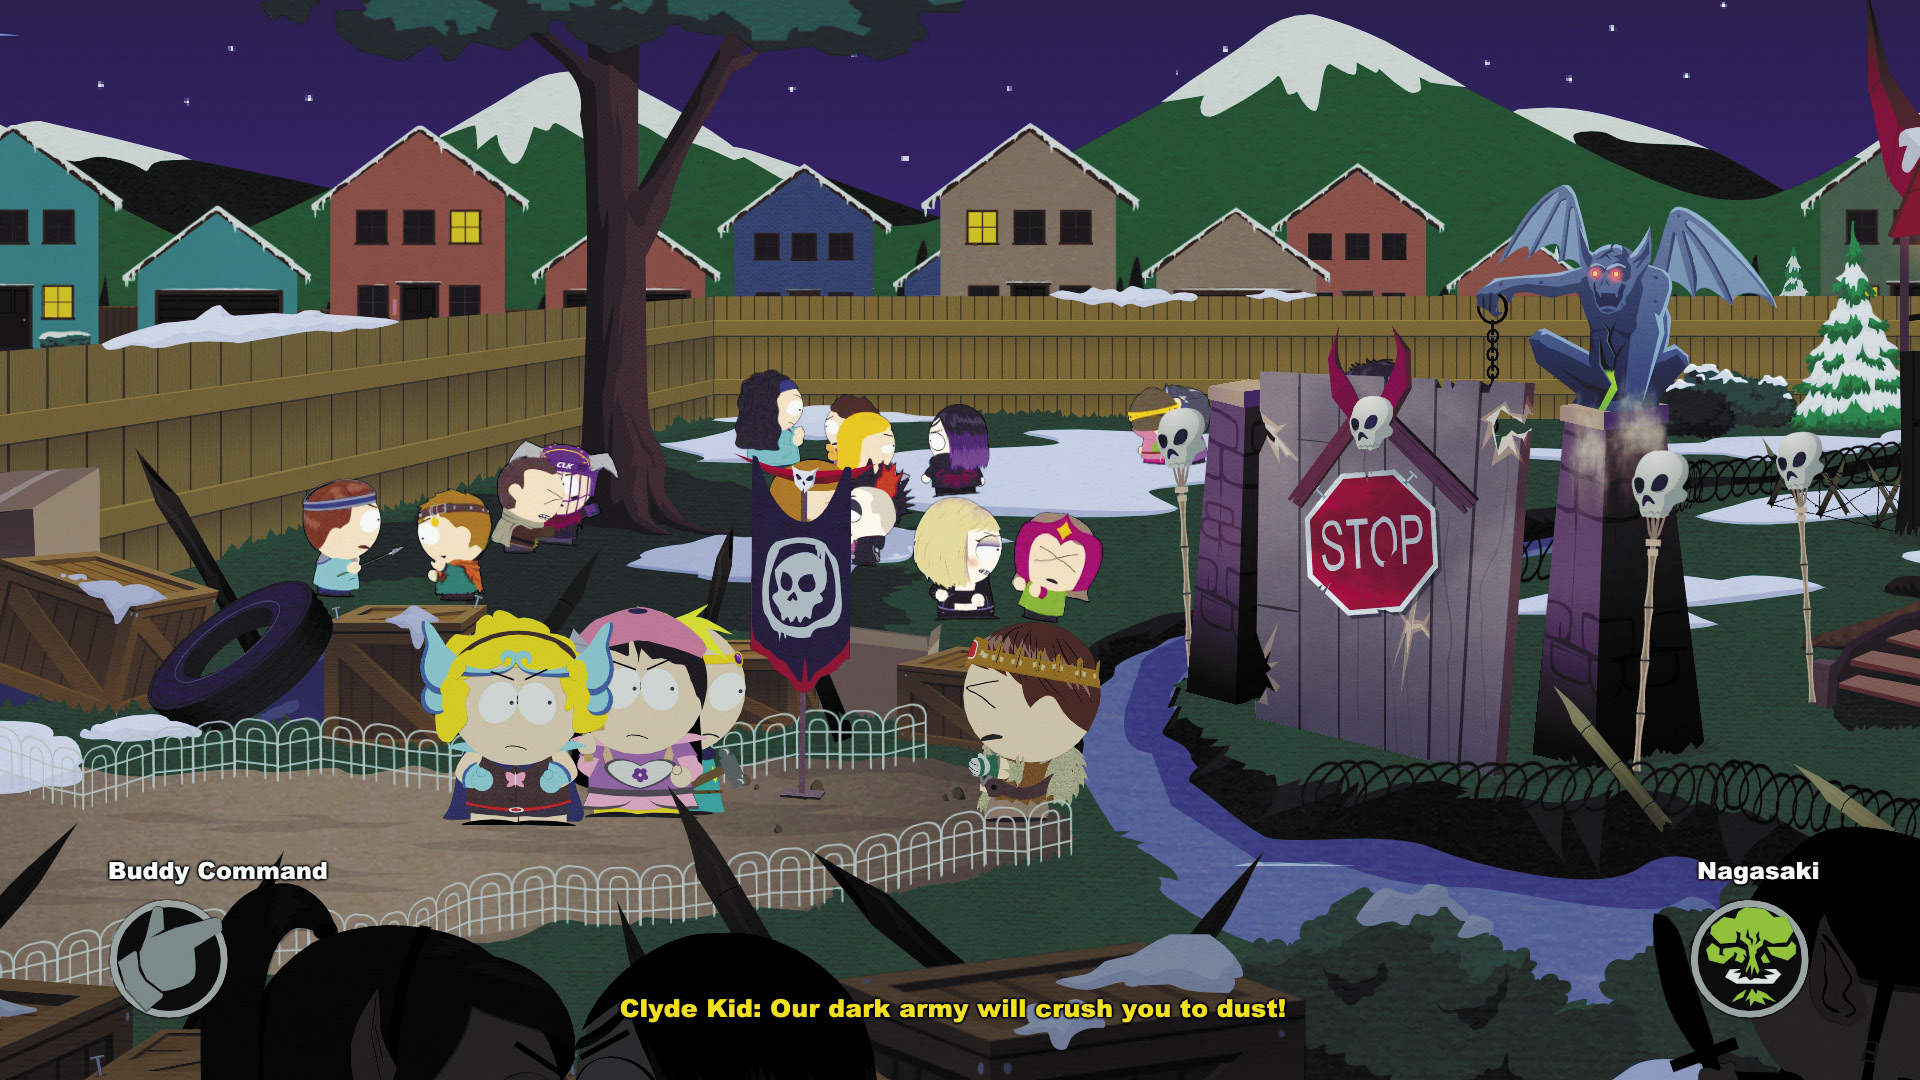
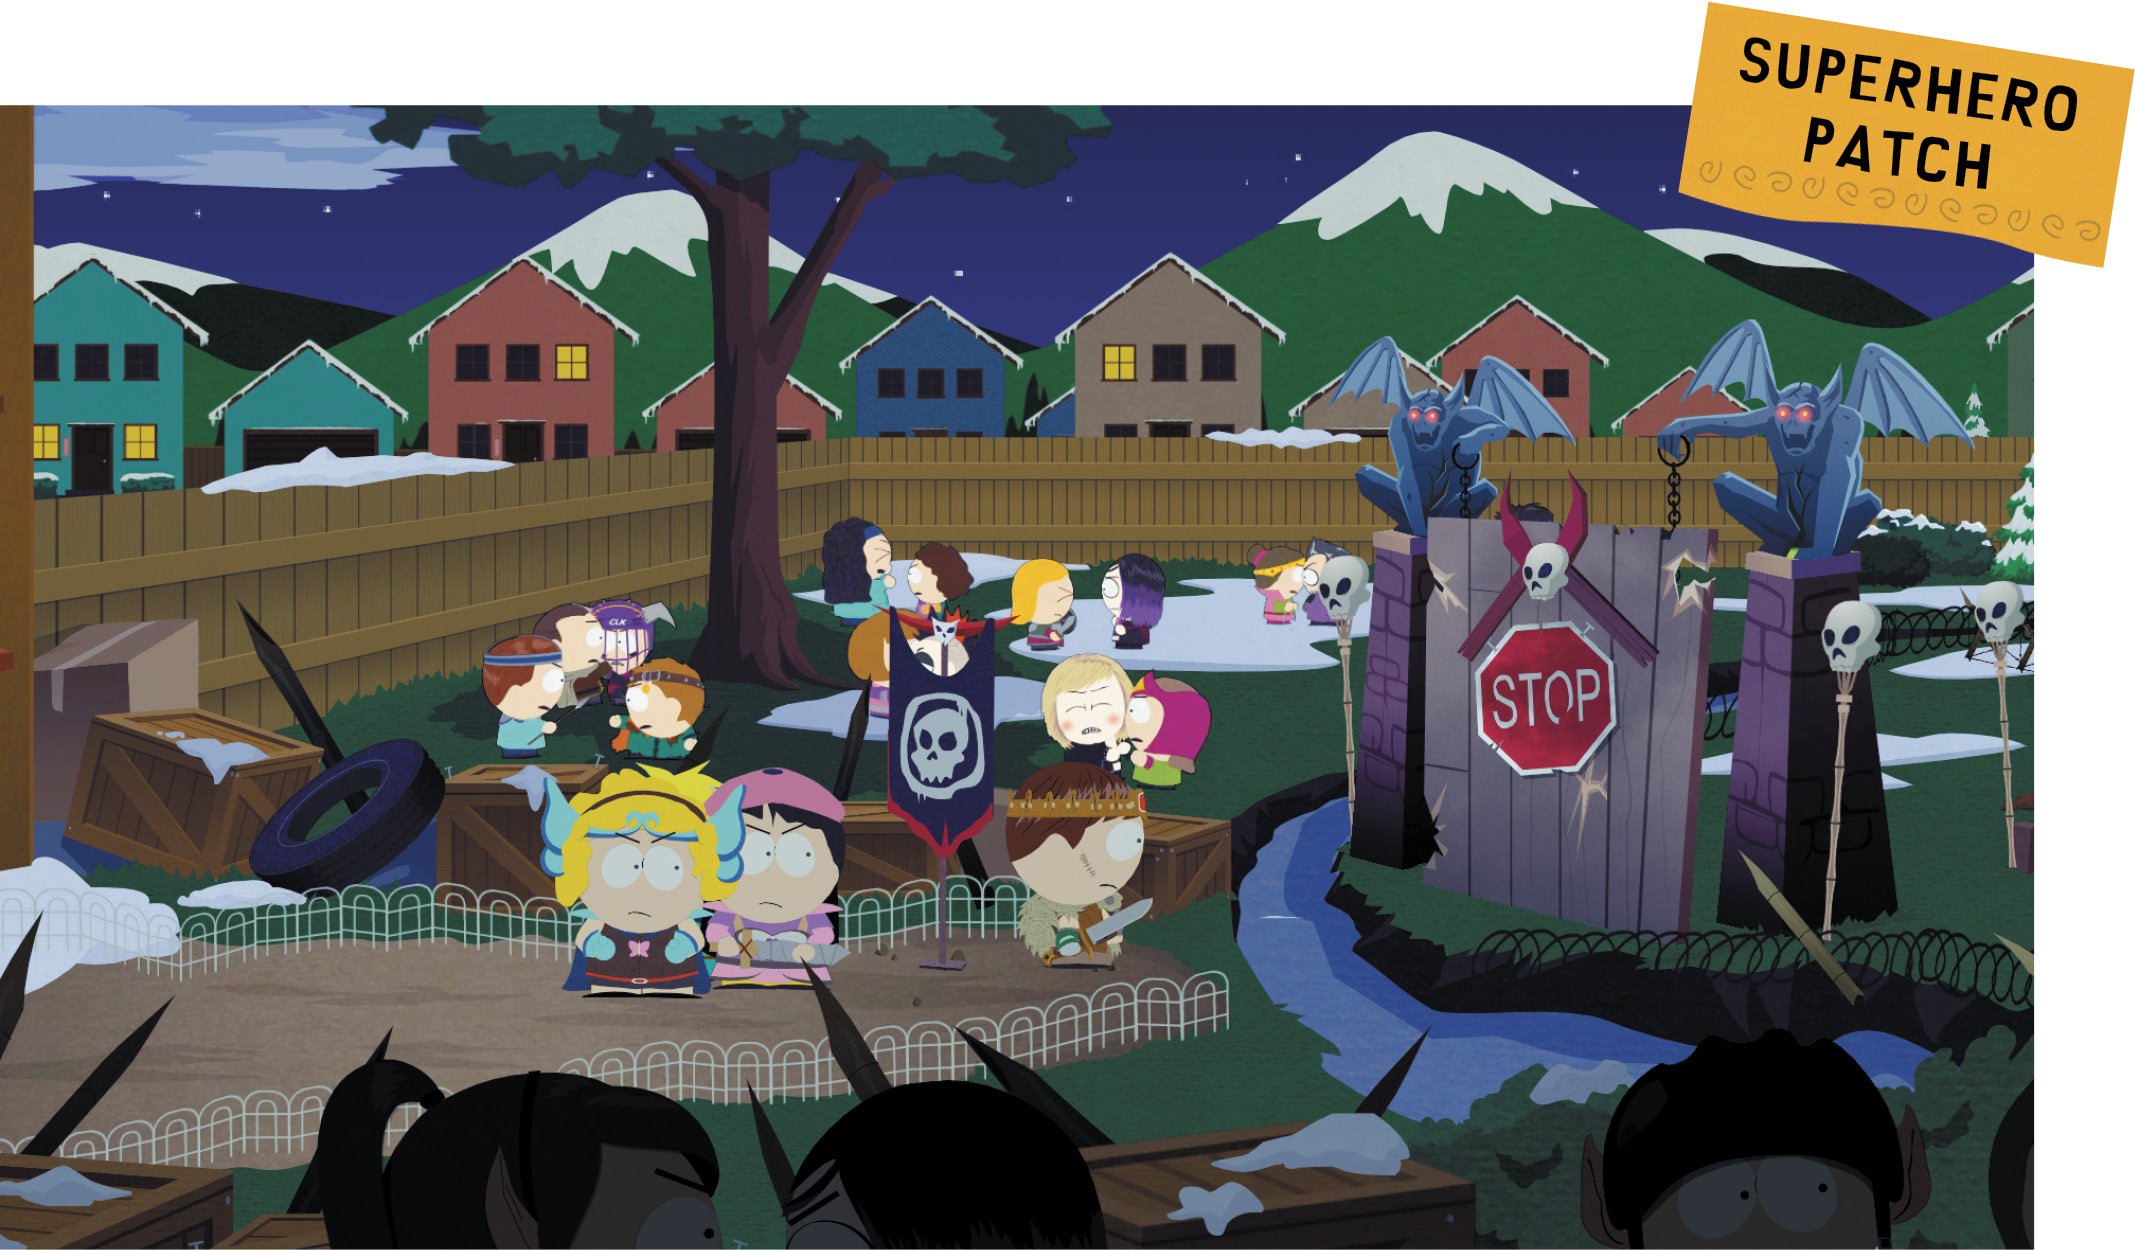
Order Butters to heal Wendy and she’ll reward you with the Superhero Patch. Use Nagasaki on the drawbridge to destroy the gargoyle on each side. You can now enter the fortress grounds.
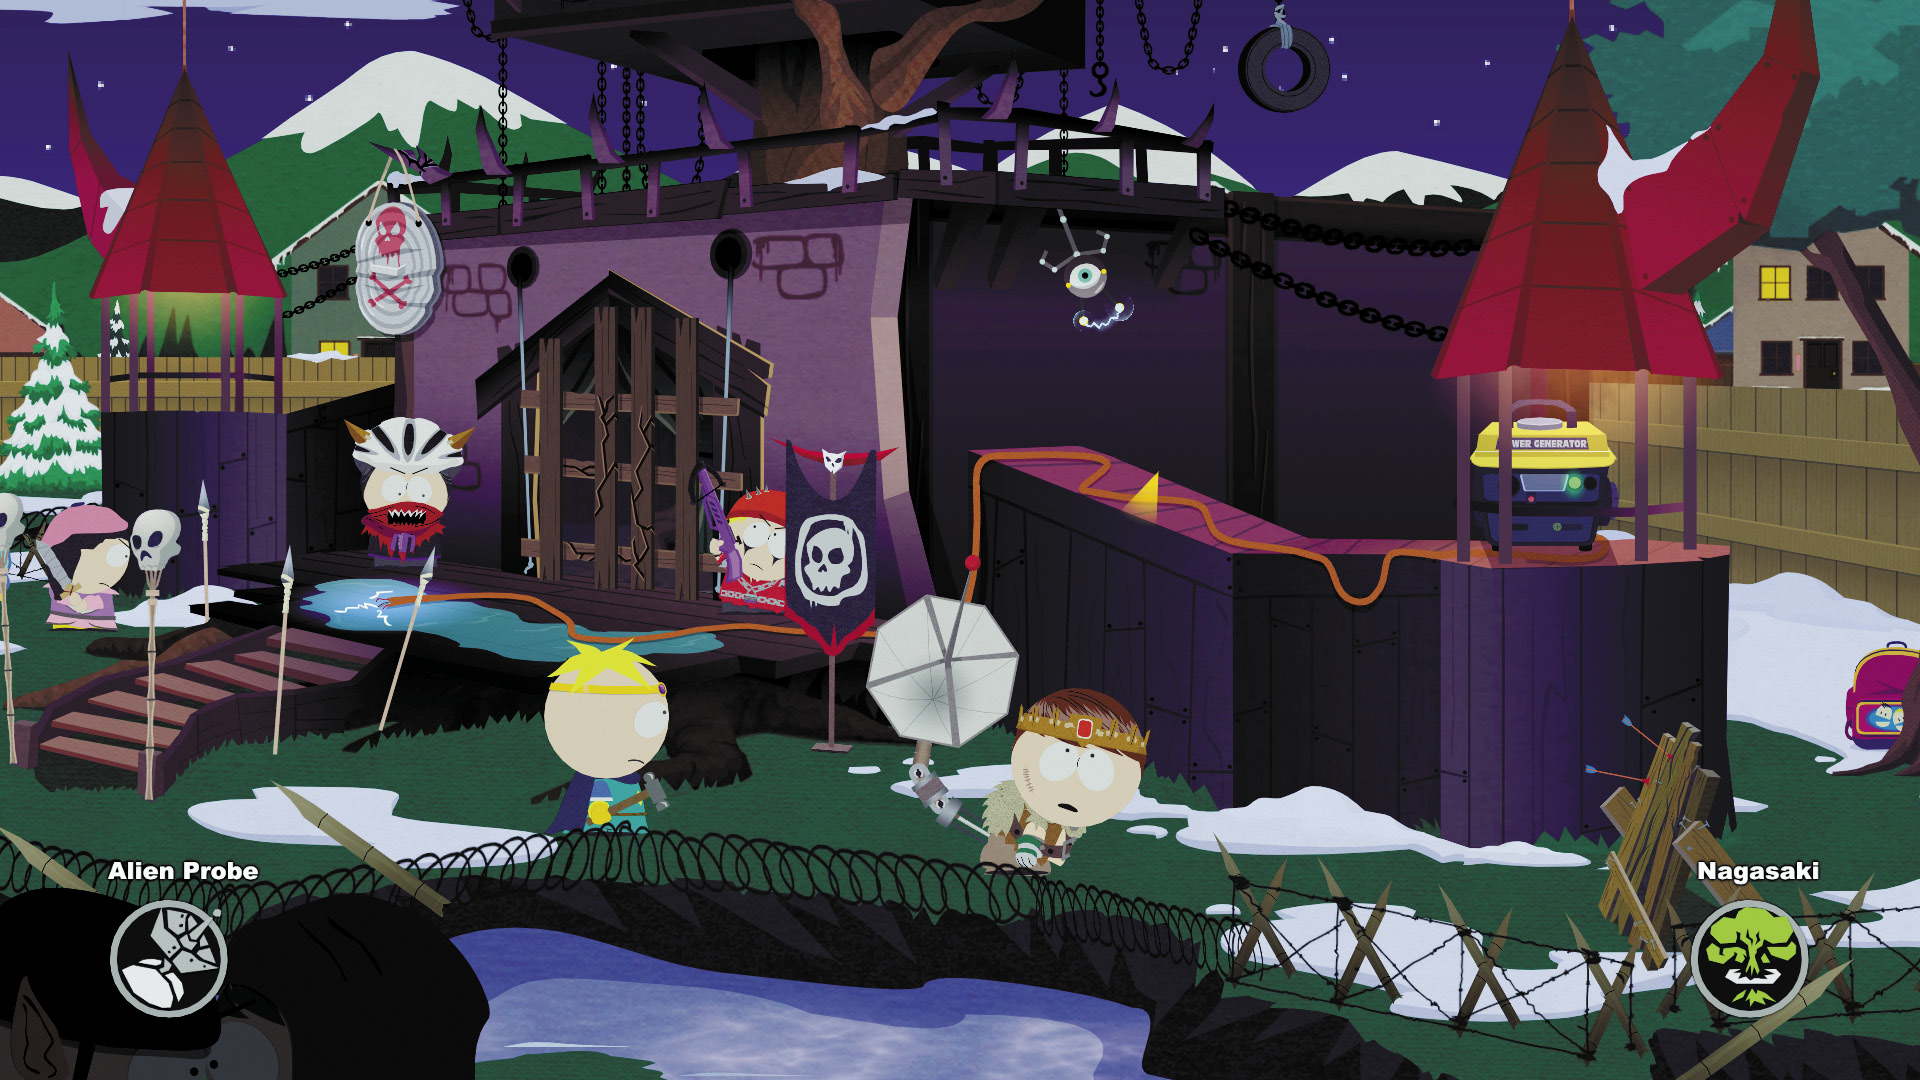
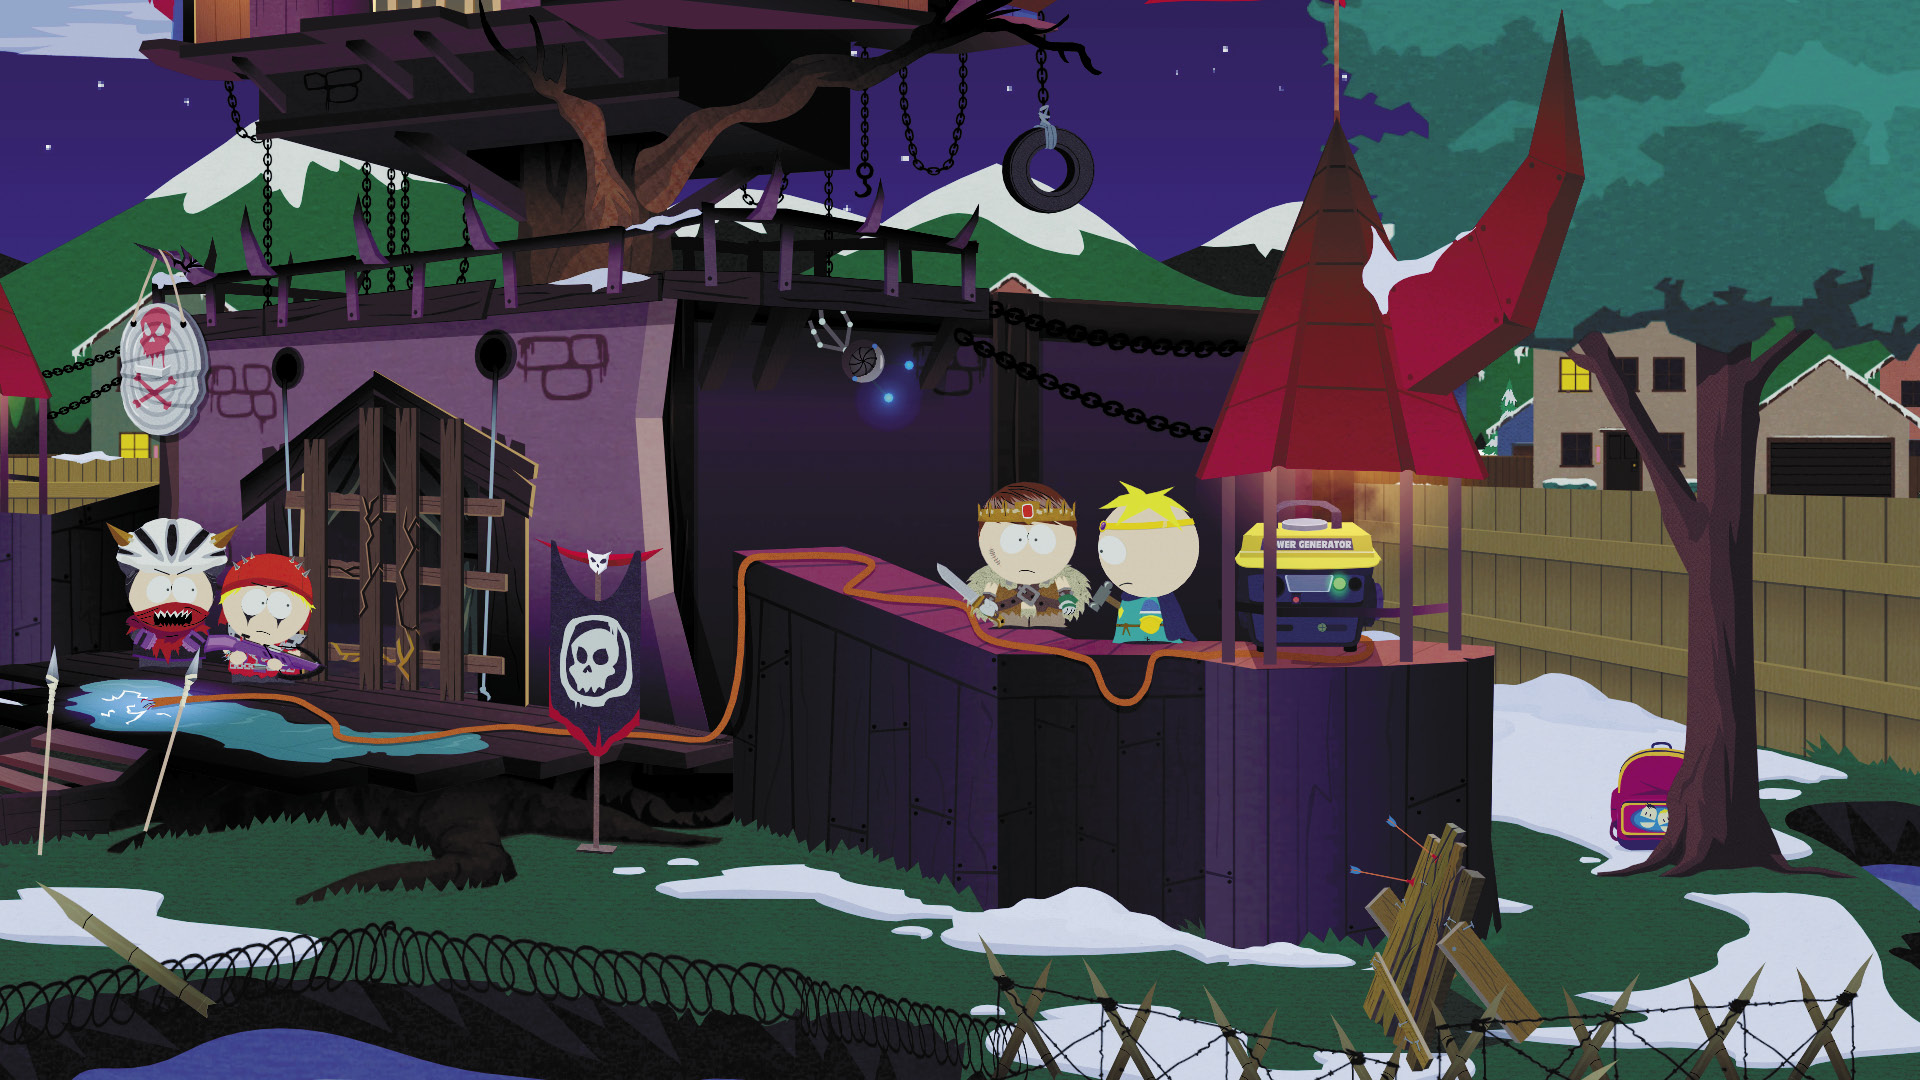
The puddle in front of the main gate is electrified. To shut it down, you need to deactivate the generator on the right side. Squeeze out your alien probe and use the robotic eye to teleport you up to the level with the generator. Pull the plug and shut off the power.
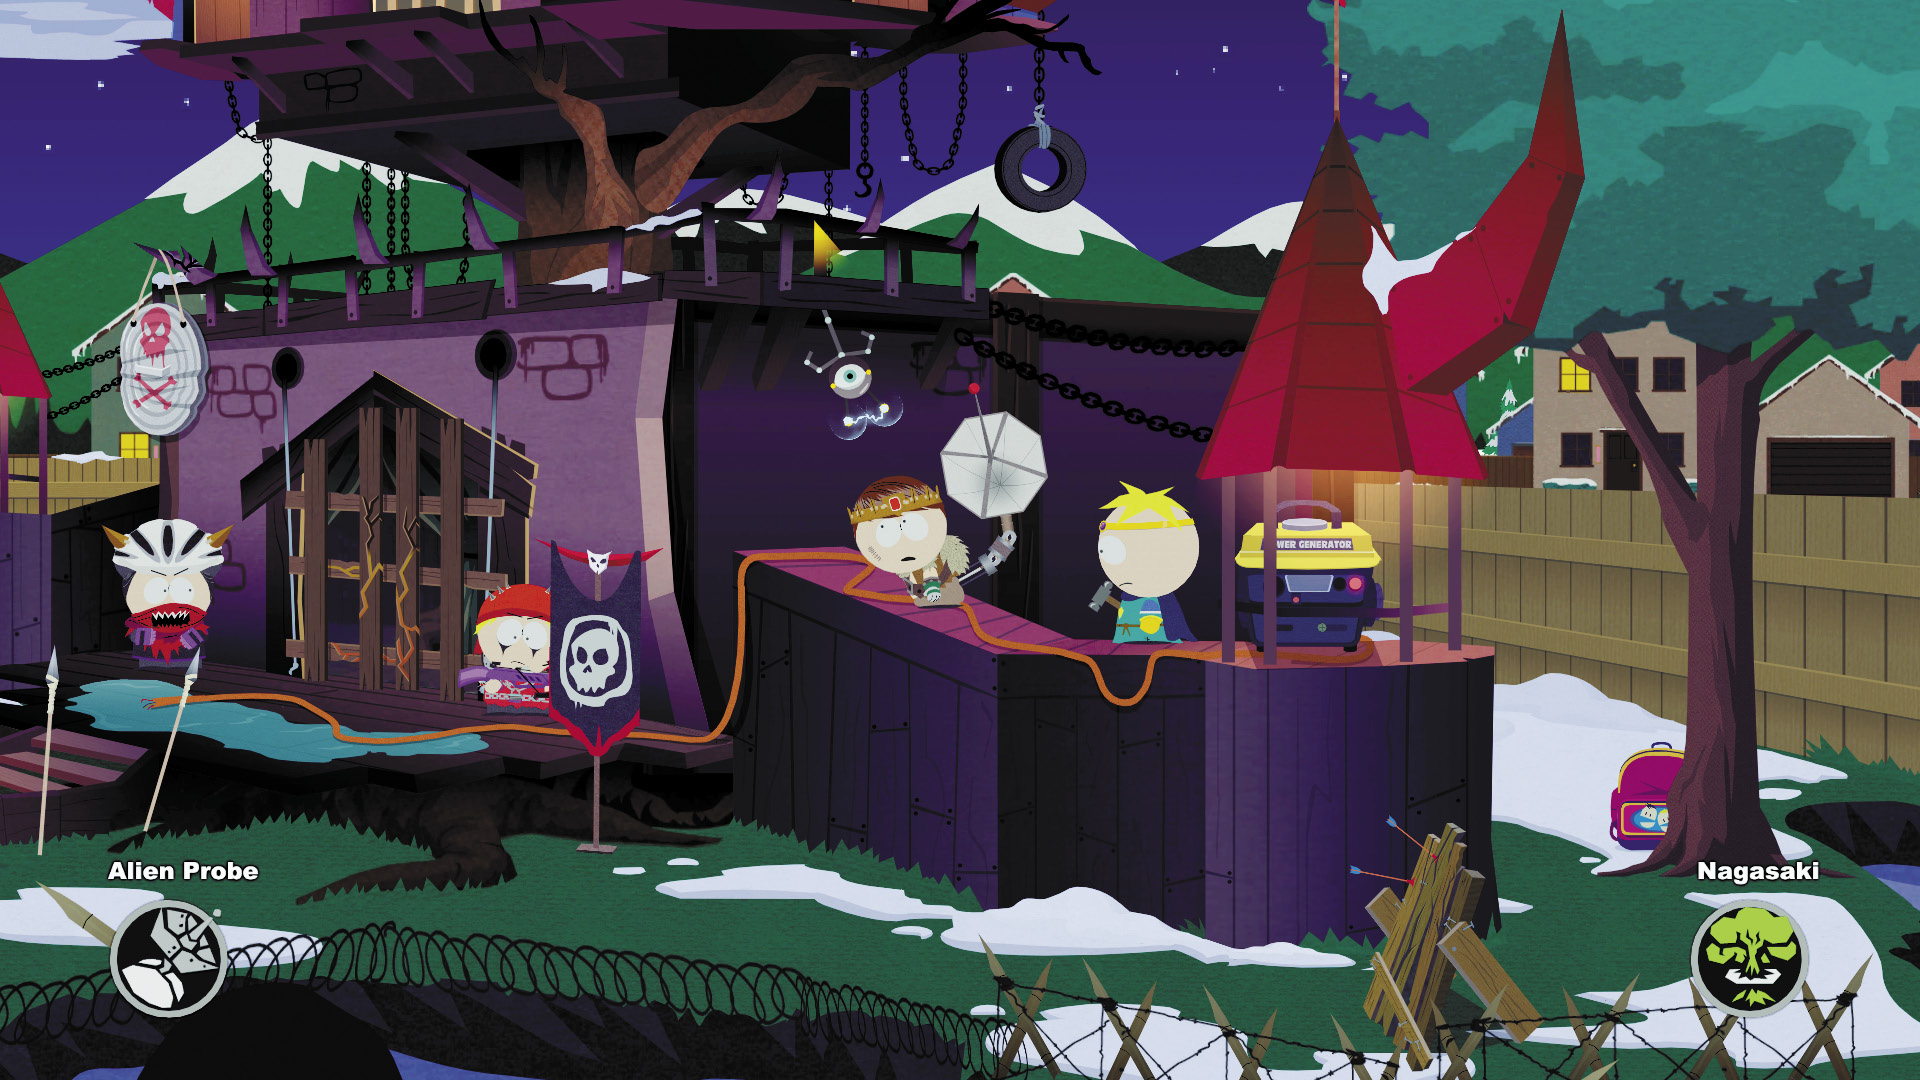
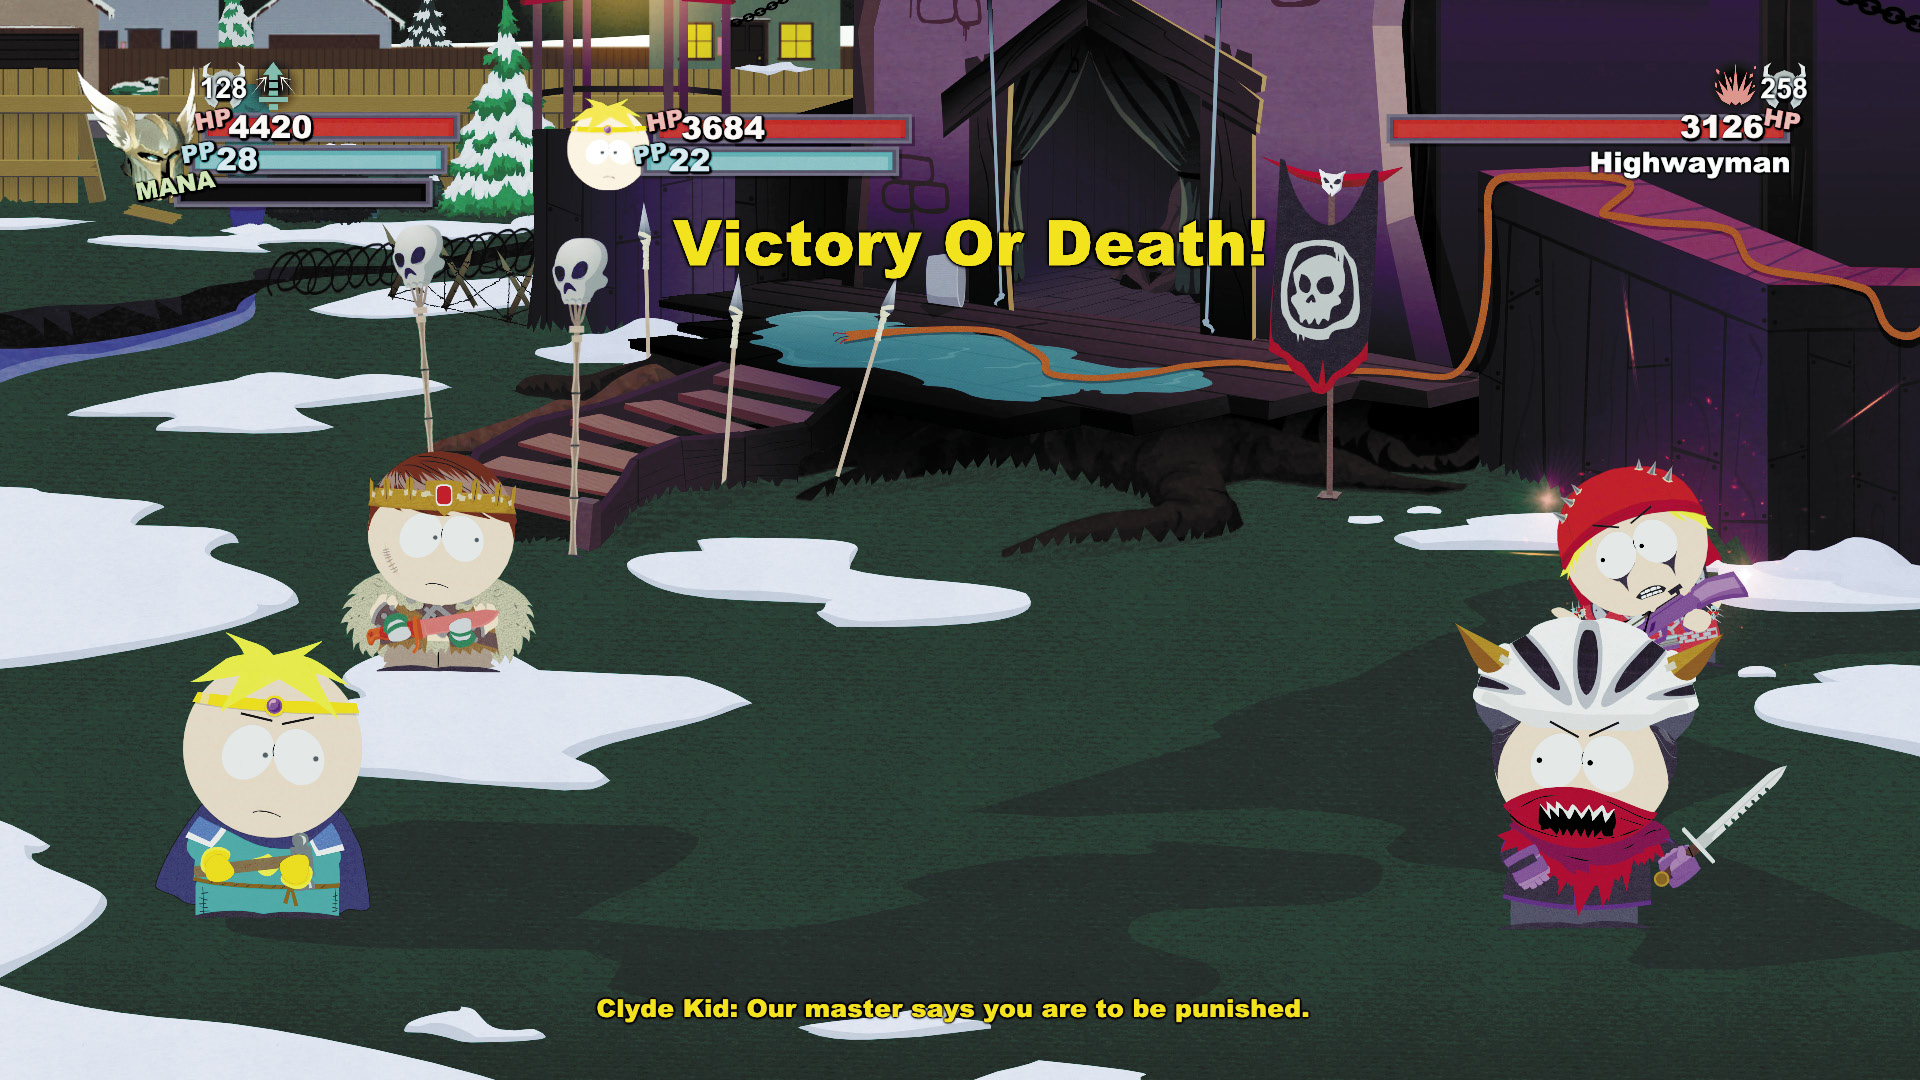
Use your alien probe to beam back down to the main gate. A Cutpurse and Highwayman guard the entrance, but they’re really no match for you and your special abilities. Strike true with combos and use Perfect Blocks when they counterattack to stay up on them in HP. Before long you’ll rob them of their will to live. Smash the main gate to enter the inner fortress.
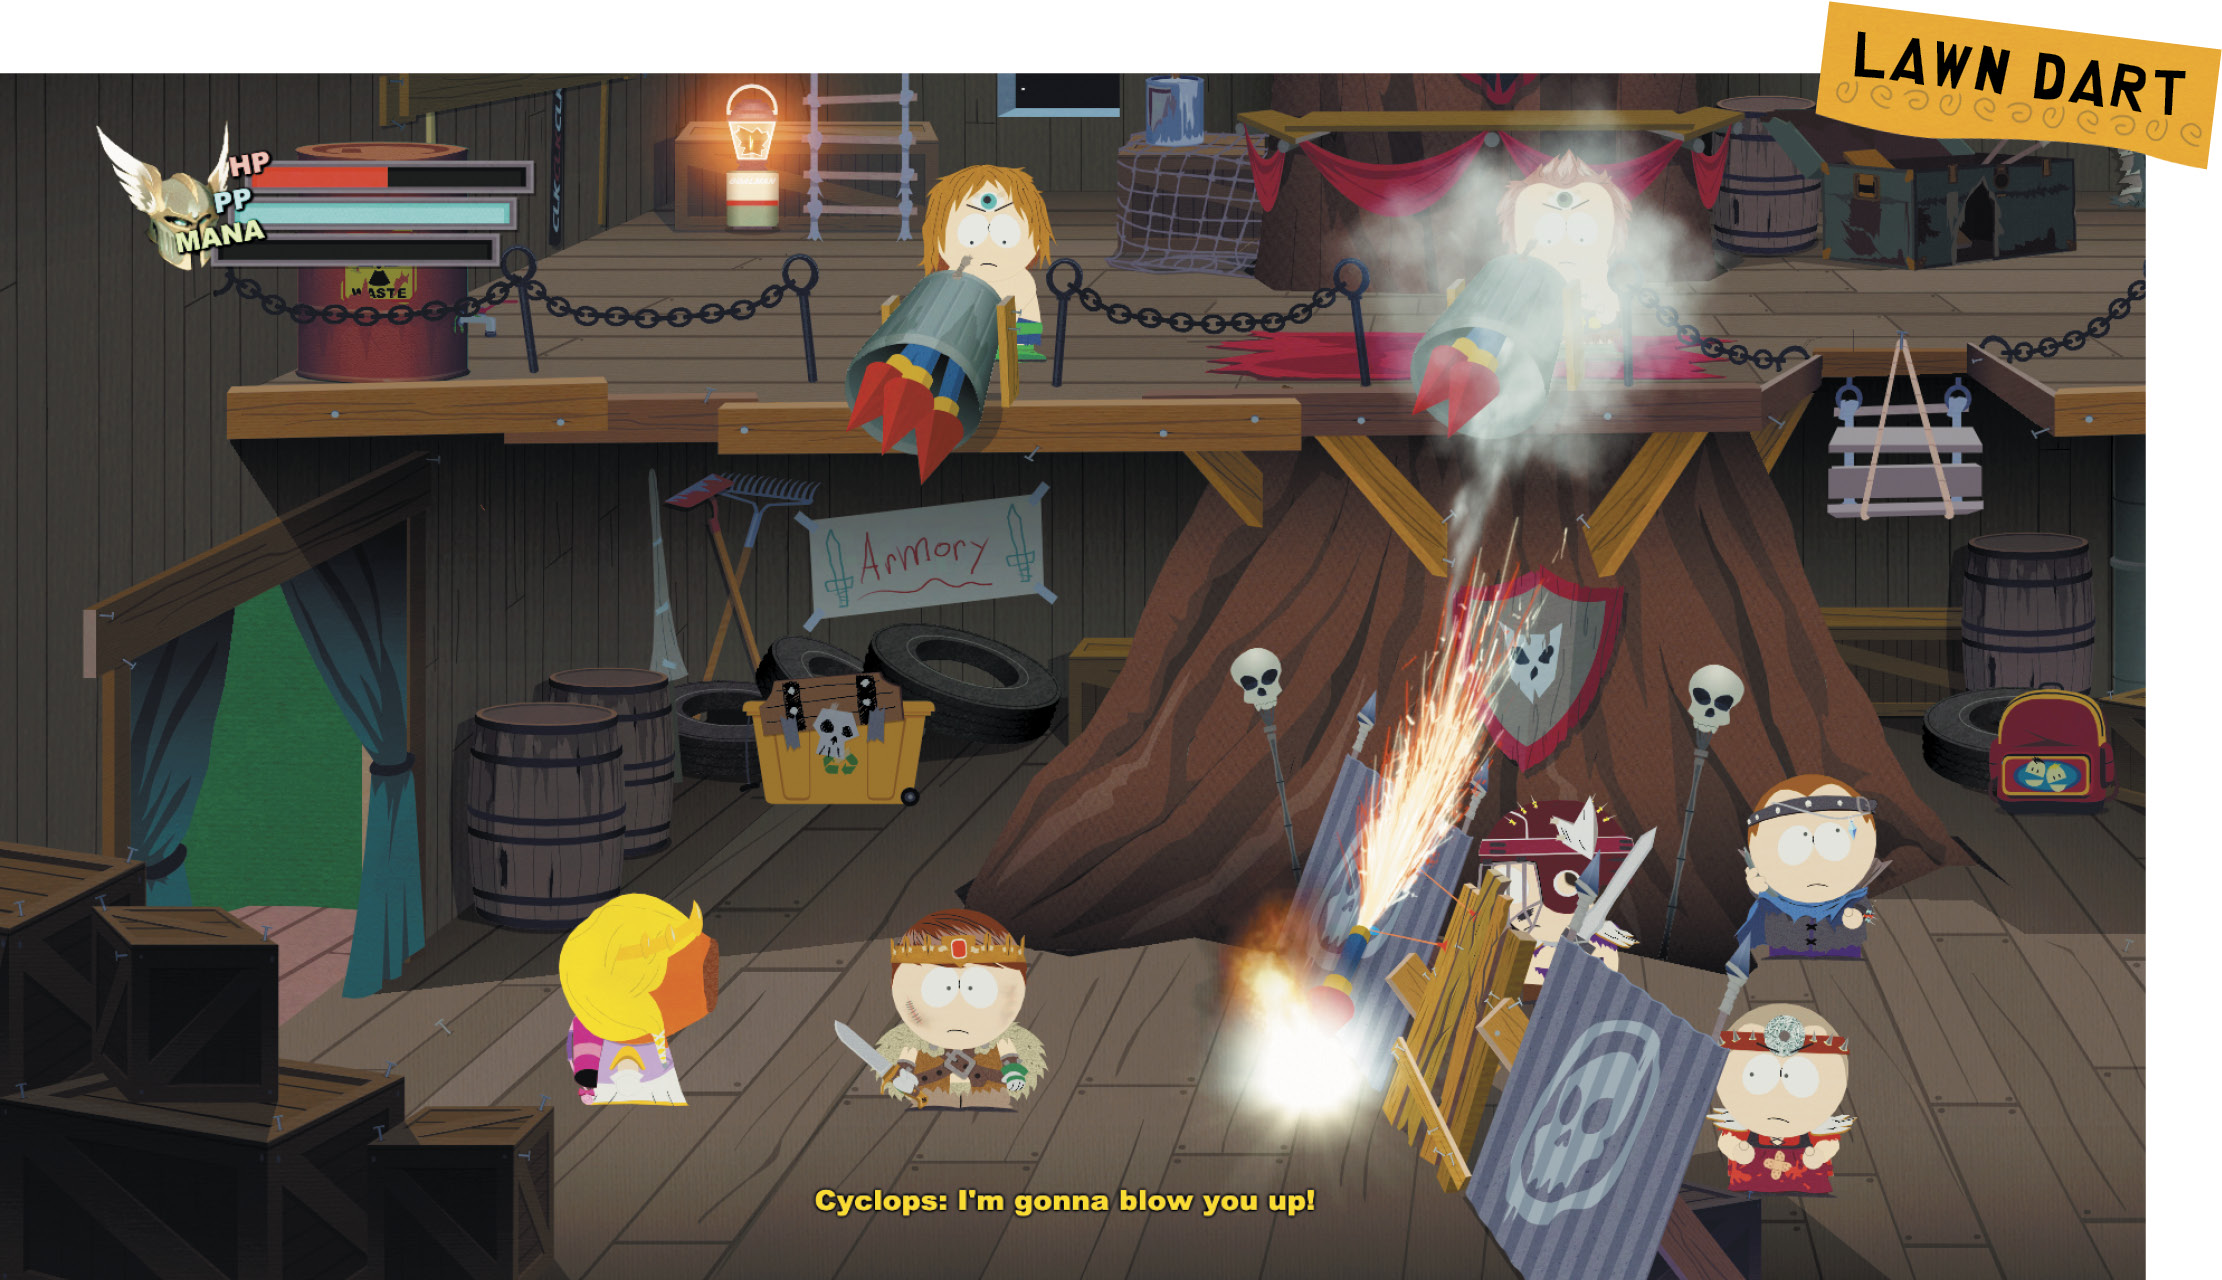
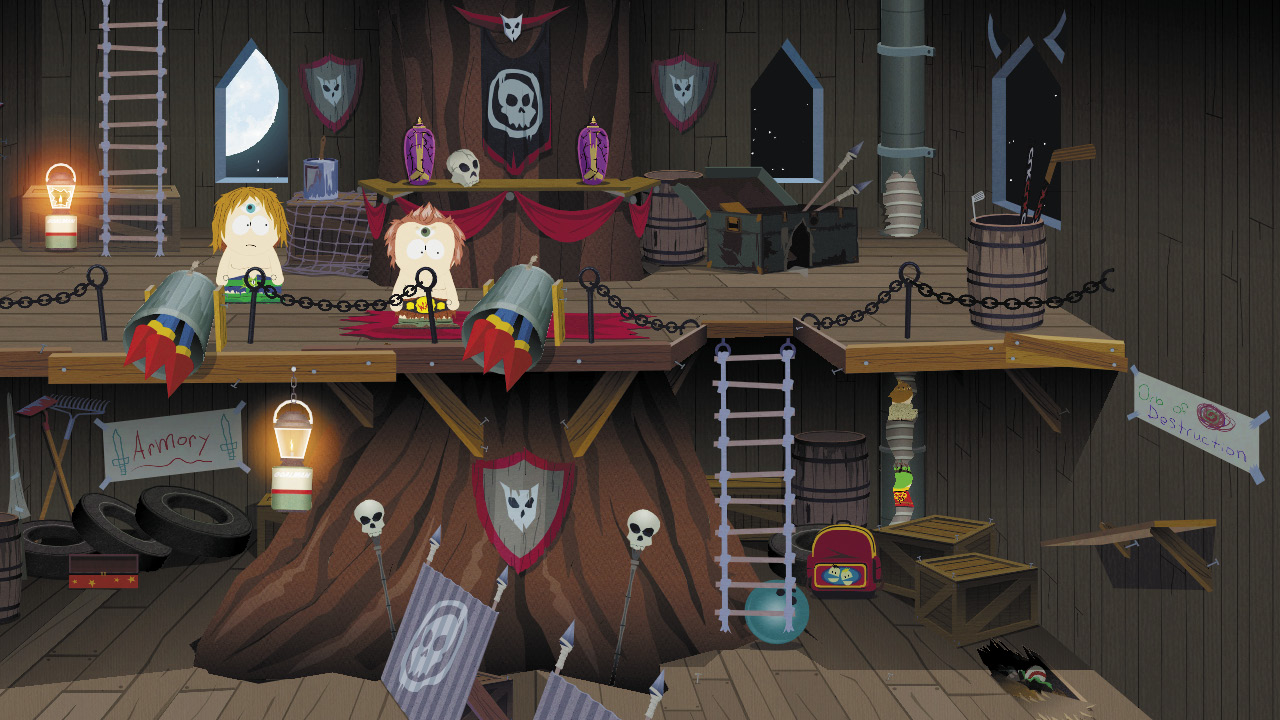
It gets tougher inside on the first floor. Two enemies man rocket launchers on the balcony above you, while a barricade prevents you from moving ahead too far. Immediately smash through the barricade to battle the enemies on the other side, or call forth Kenny to flash his boobs to lure the enemies past the barricade and into the rocket line of fire. Duck under the balcony to escape rocket fire and open the red toolbox for the Lawn Dart and other loot.
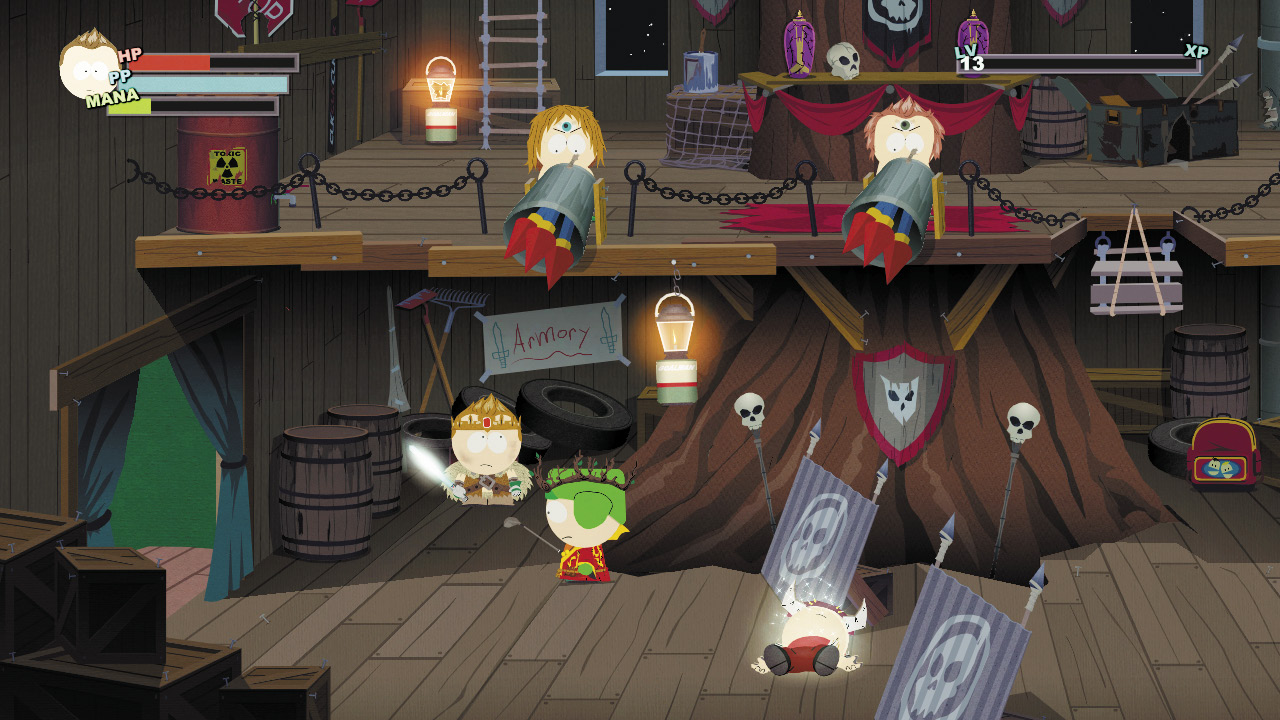
The barricade guards—a Shadow Knight, Black Wizard, and Dark Templar—charge you after their defense crumbles. Use ranged weapons or multiple-target special abilities to kill the Dark Templar first so he can’t raise anyone from the dead, then concentrate your remaining attacks on the other two.
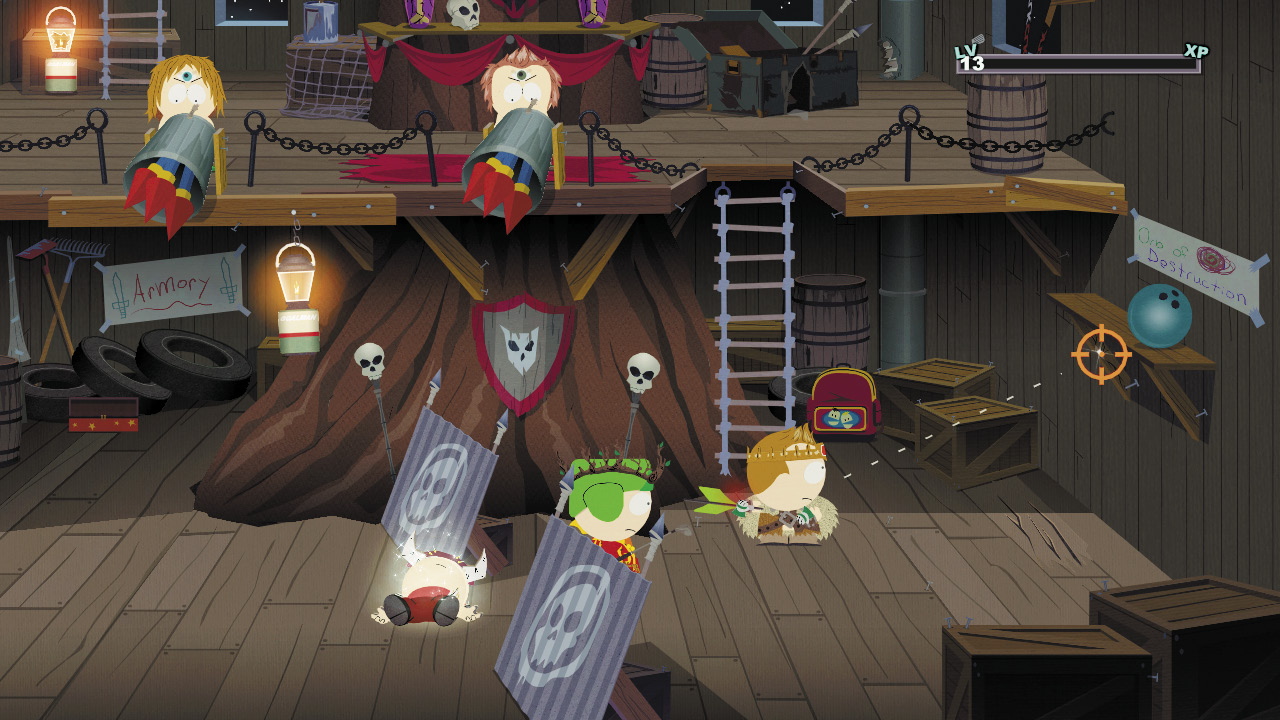
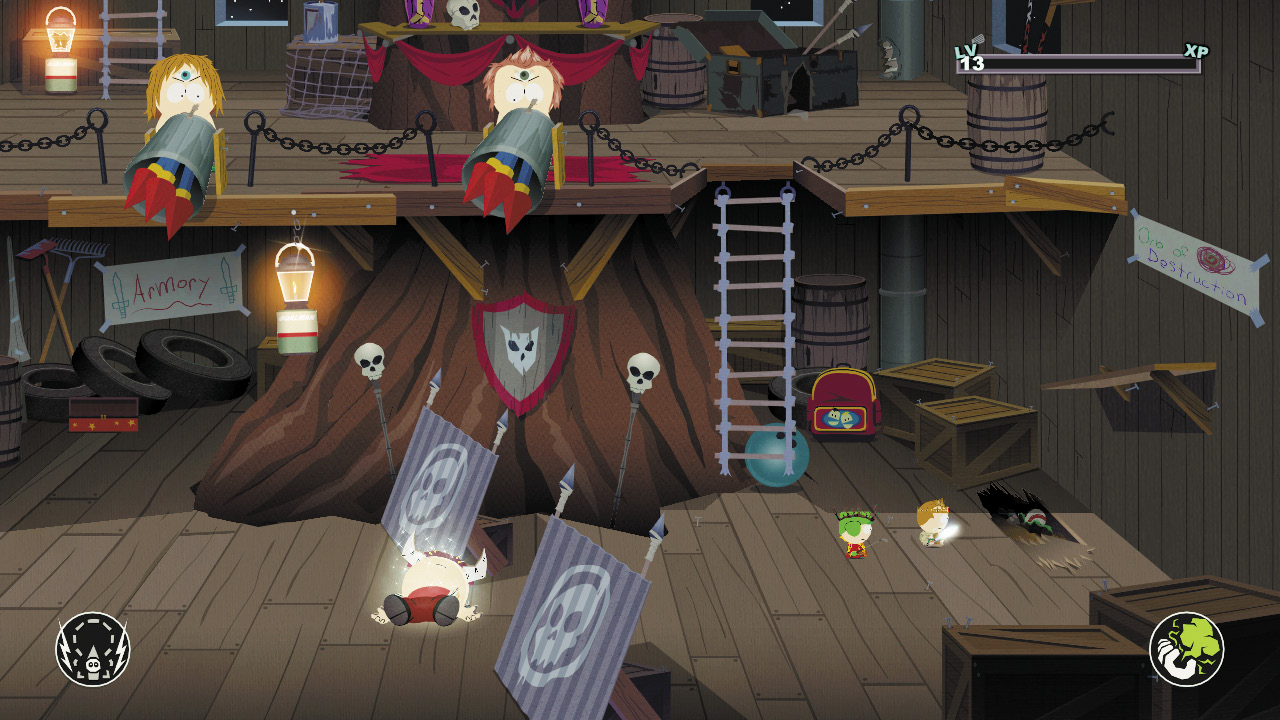
After you defeat the barricade guards, quickly move to the right side of the room, where you’re safe from the balcony rocket fire. To open the secret passage into the fortress, shoot the bowling ball on the shelf so that it rolls off and puts a hole in the floor. Use your Gnome Dust to shrink down and enter the new hole.
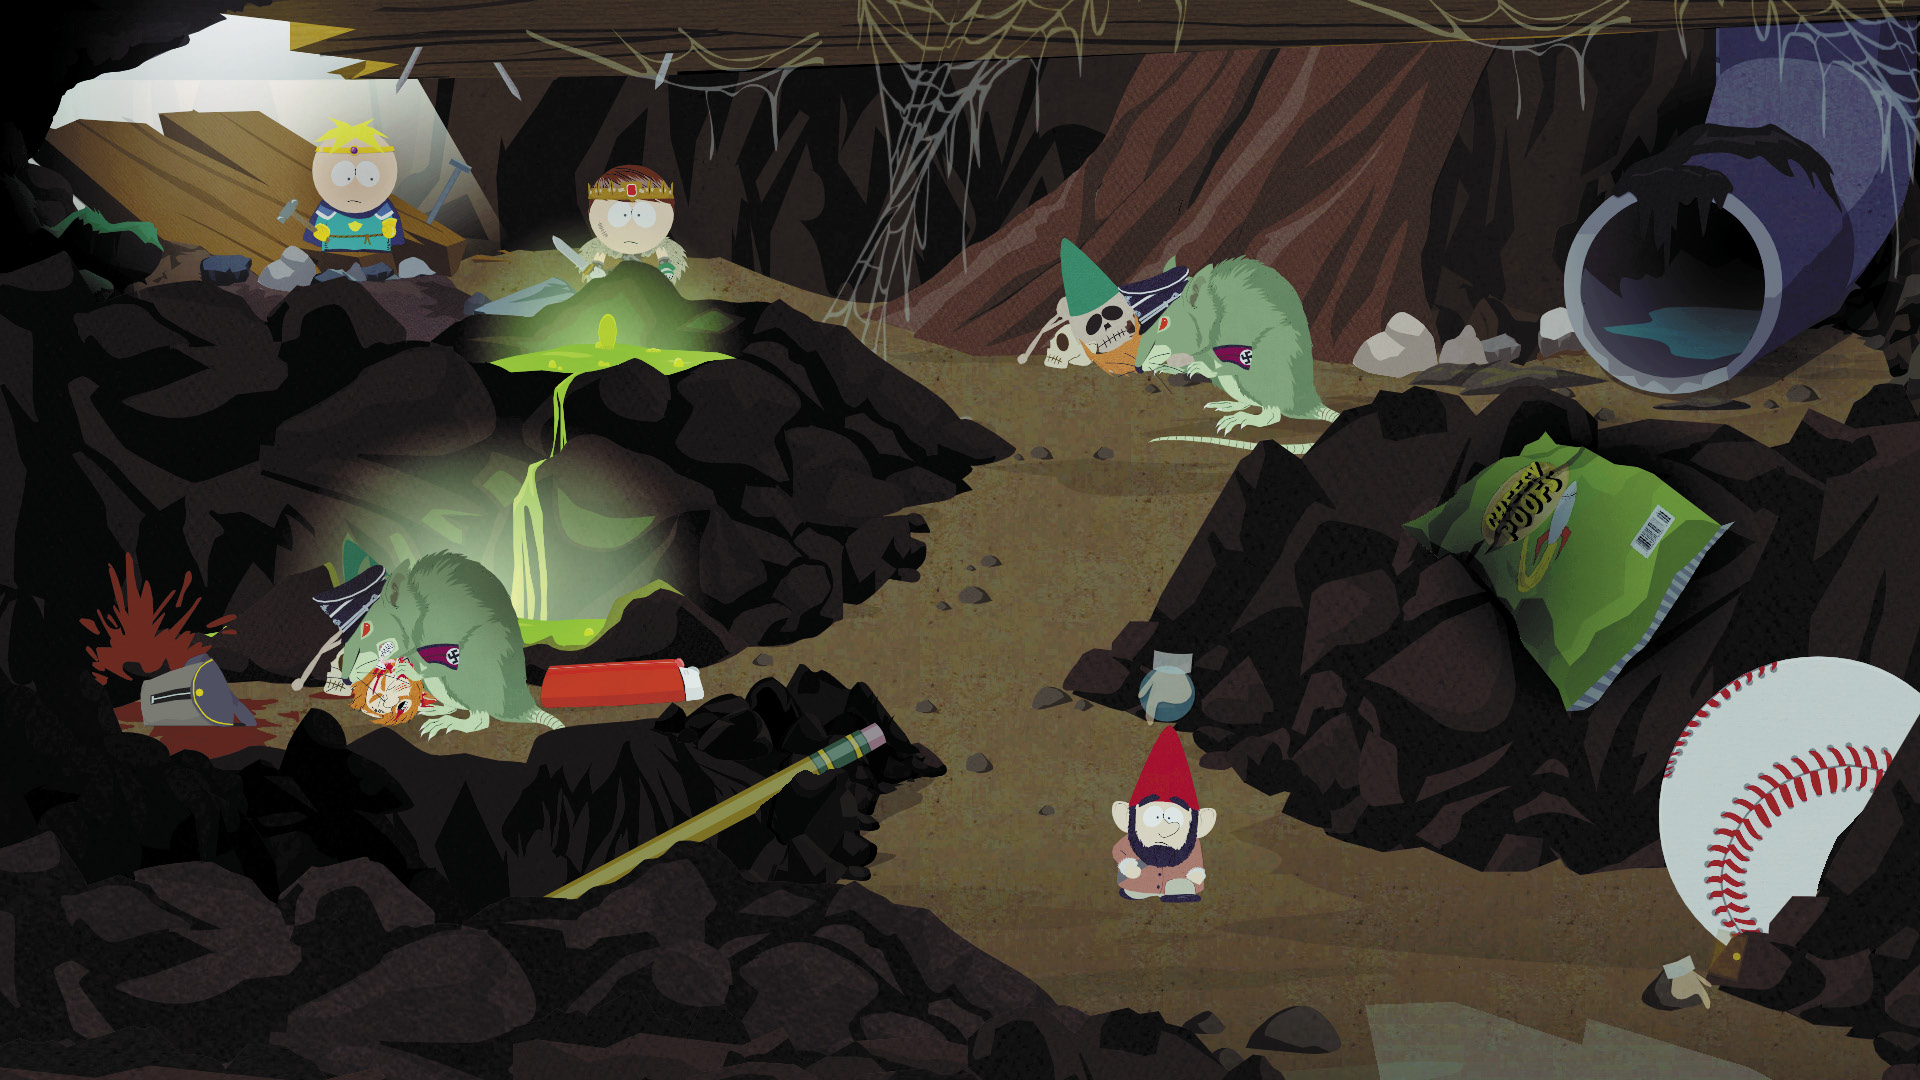
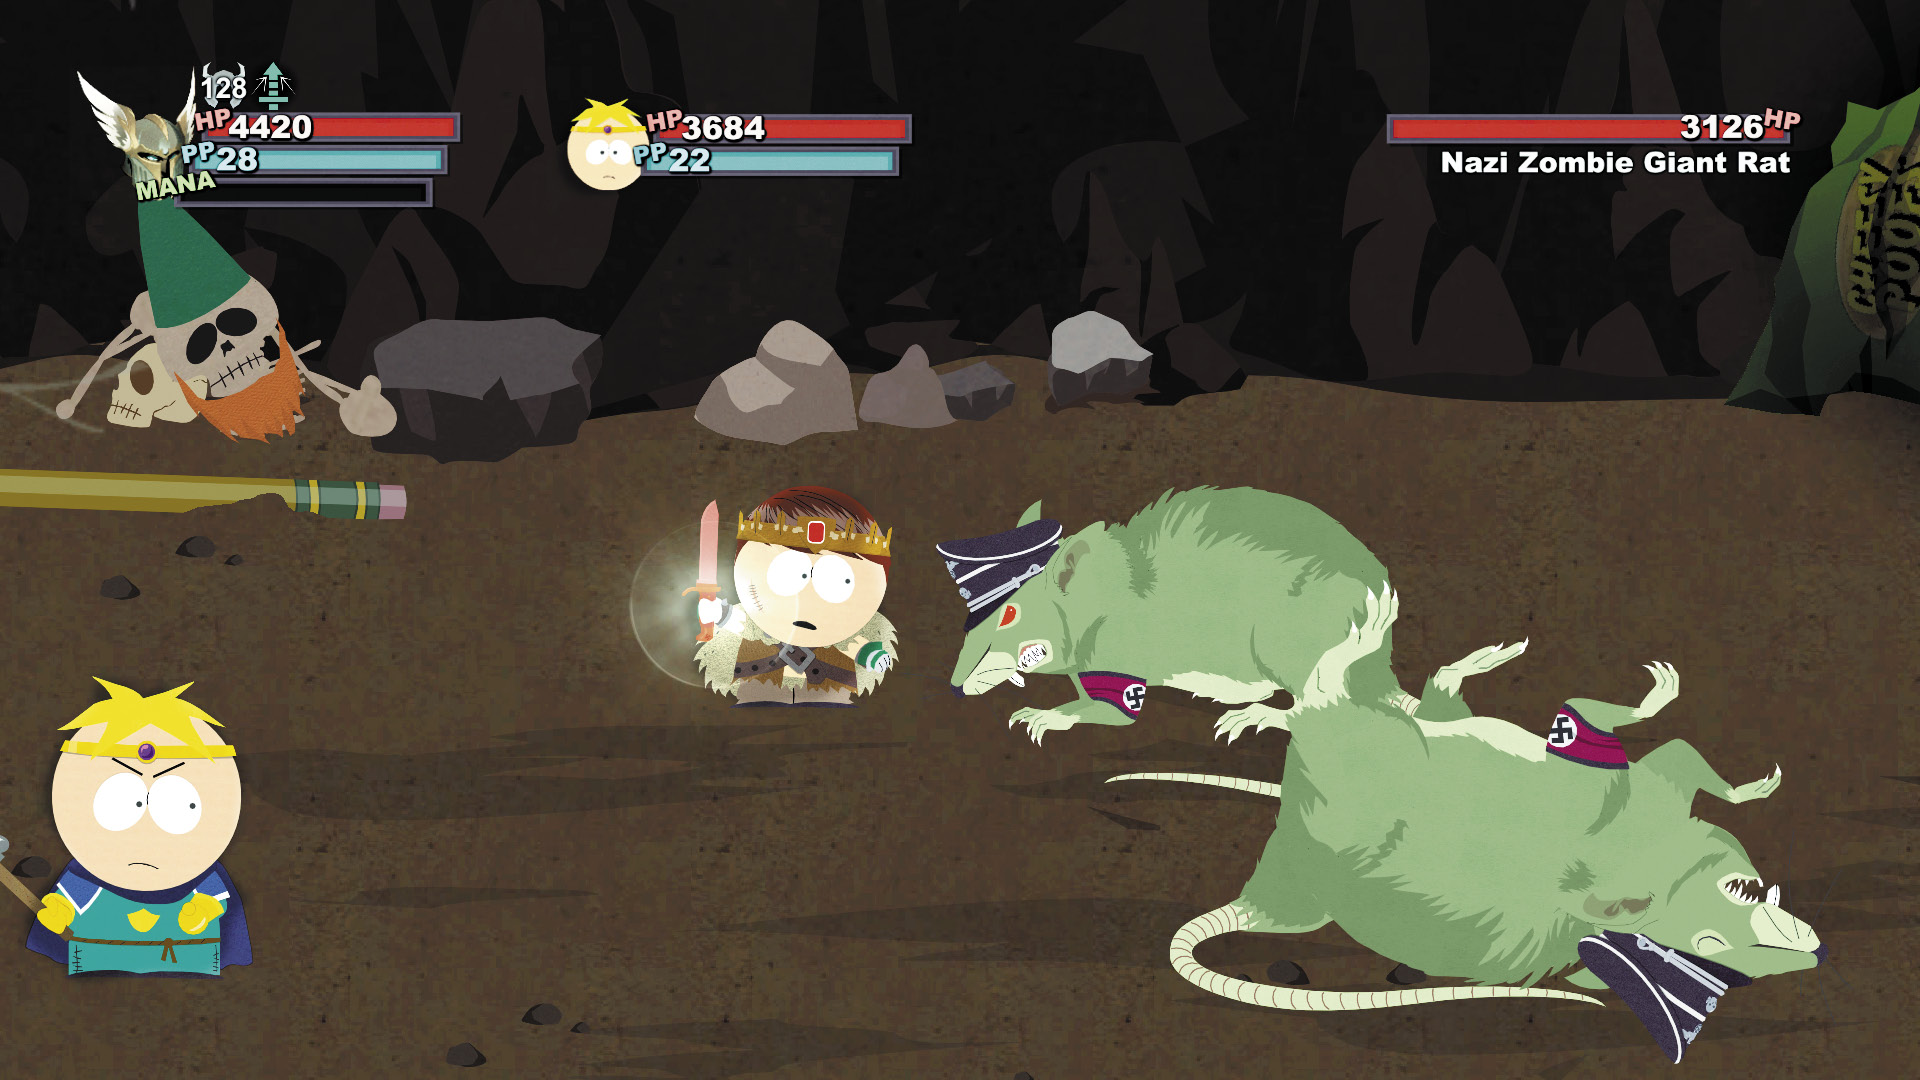
Nazi Zombie Giant Rats defend the secret passage, but you can eliminate one of them by shooting the red lighter. The explosion kills the Giant Rat on the lower section, leaving only one to snuff out—an easy task for veteran warriors of the battles of the Giggling Donkey and South Park Elementary. Grab the loot bag in the bottom left for the Dairy Council Patch and other loot.
The secret passage leads outside to the back of the fortress. Since you’ve already cleared the backyard, climb up the drainpipe and surprise the enemies manning the rocket launchers.
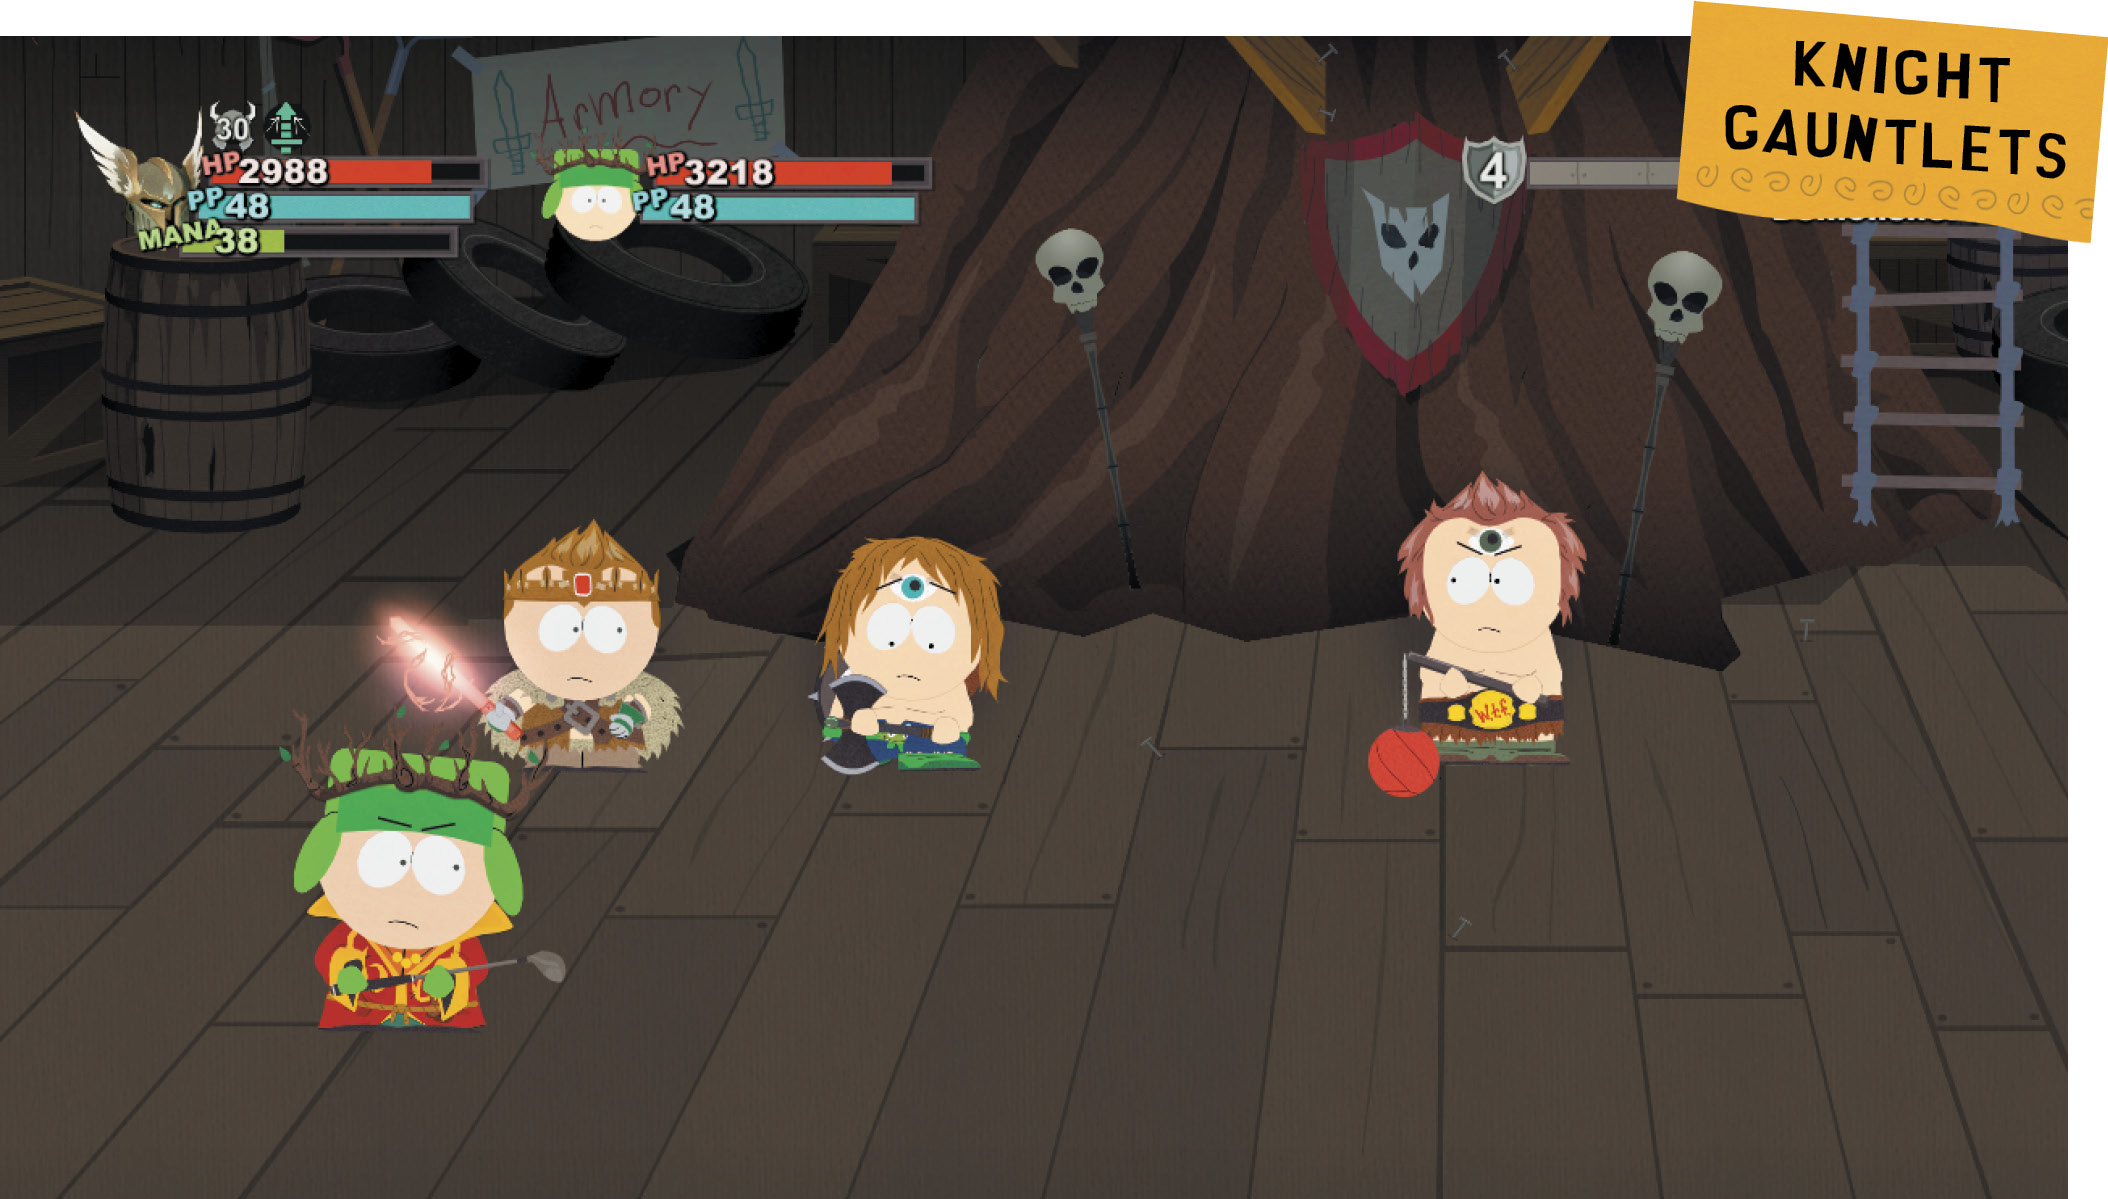
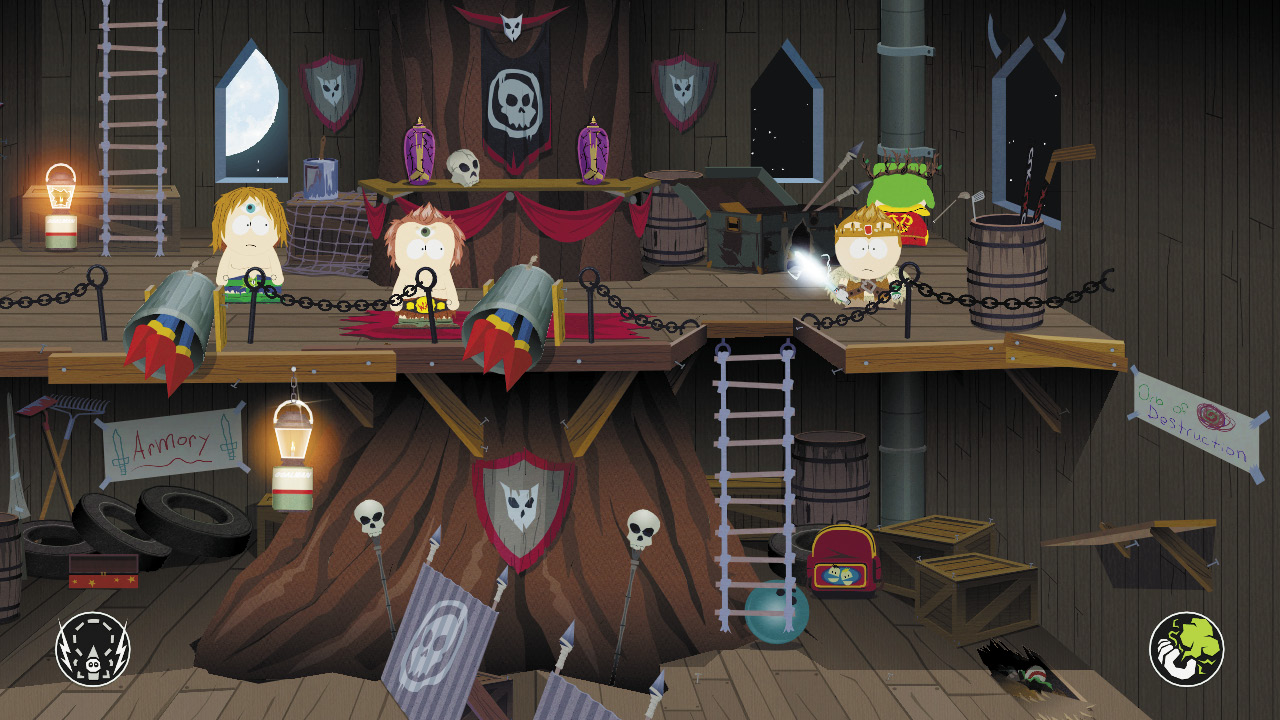
A Savage and a Demolisher fire the rocket launchers, but you can finally reach them up on the balcony. Target the weaker Savage first; he should drop quickly. The more durable Demolisher will take longer, but two-on-one should defuse his rocket-loving days. Gain the Knight Gauntlets from the Demolisher.
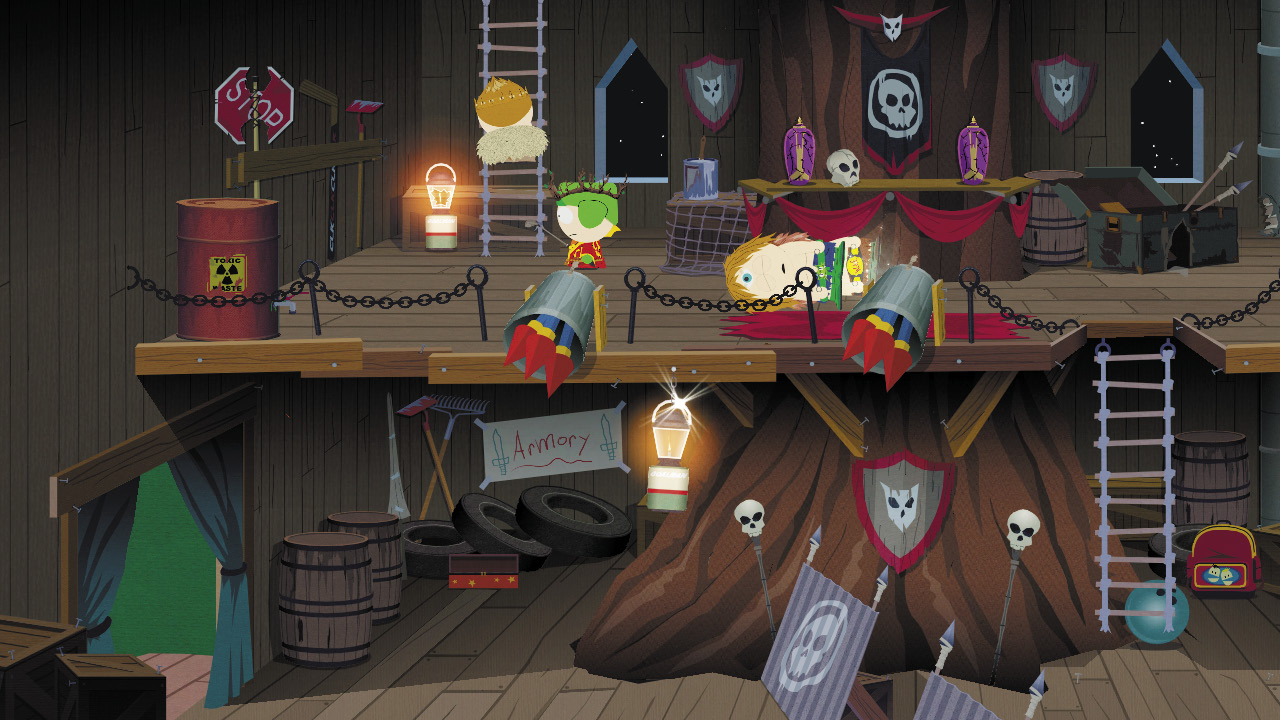
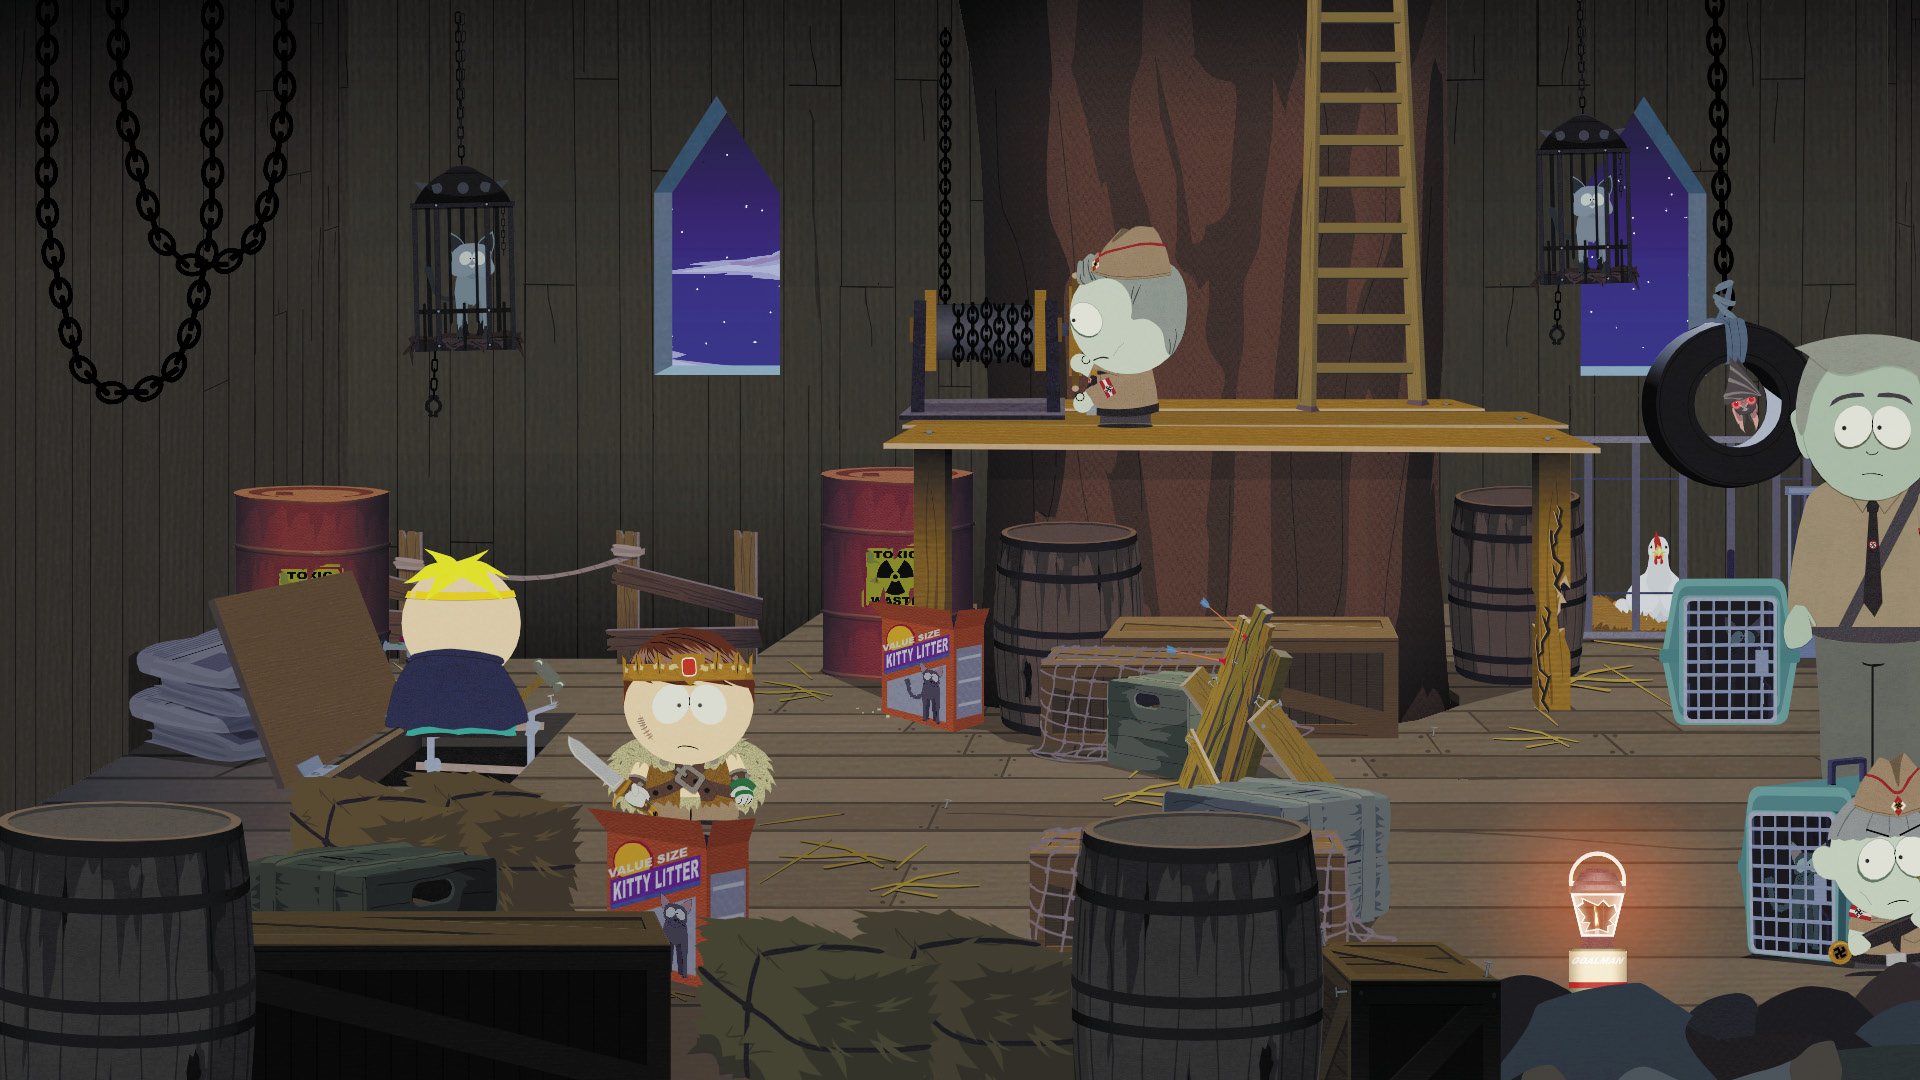
After you raid the bodies, climb the ladder on the left side of the balcony. You emerge on the second level, which is guarded by a Nazi Zombie Adult and some of his kids.
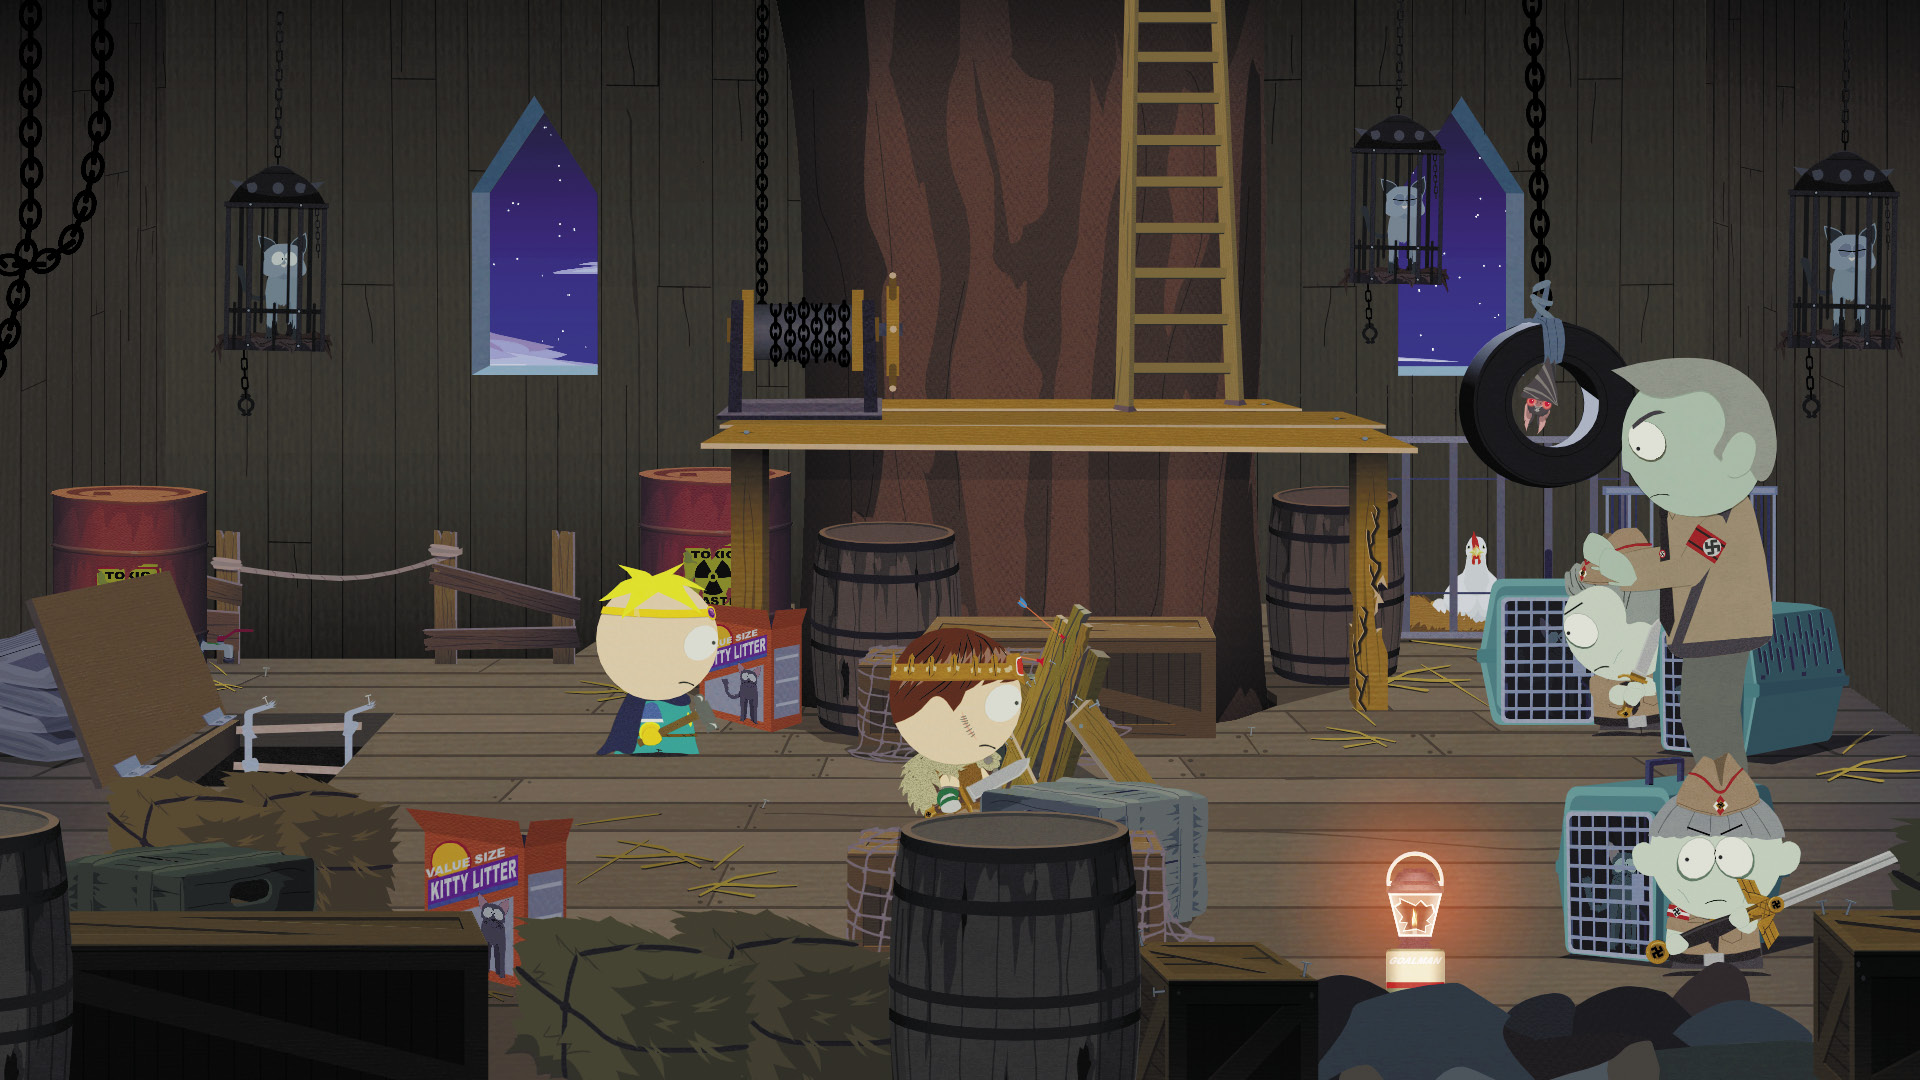
Smash through the wooden barrier in the center of the room and make quick work of the Nazi Zombie Kids with your special abilities.
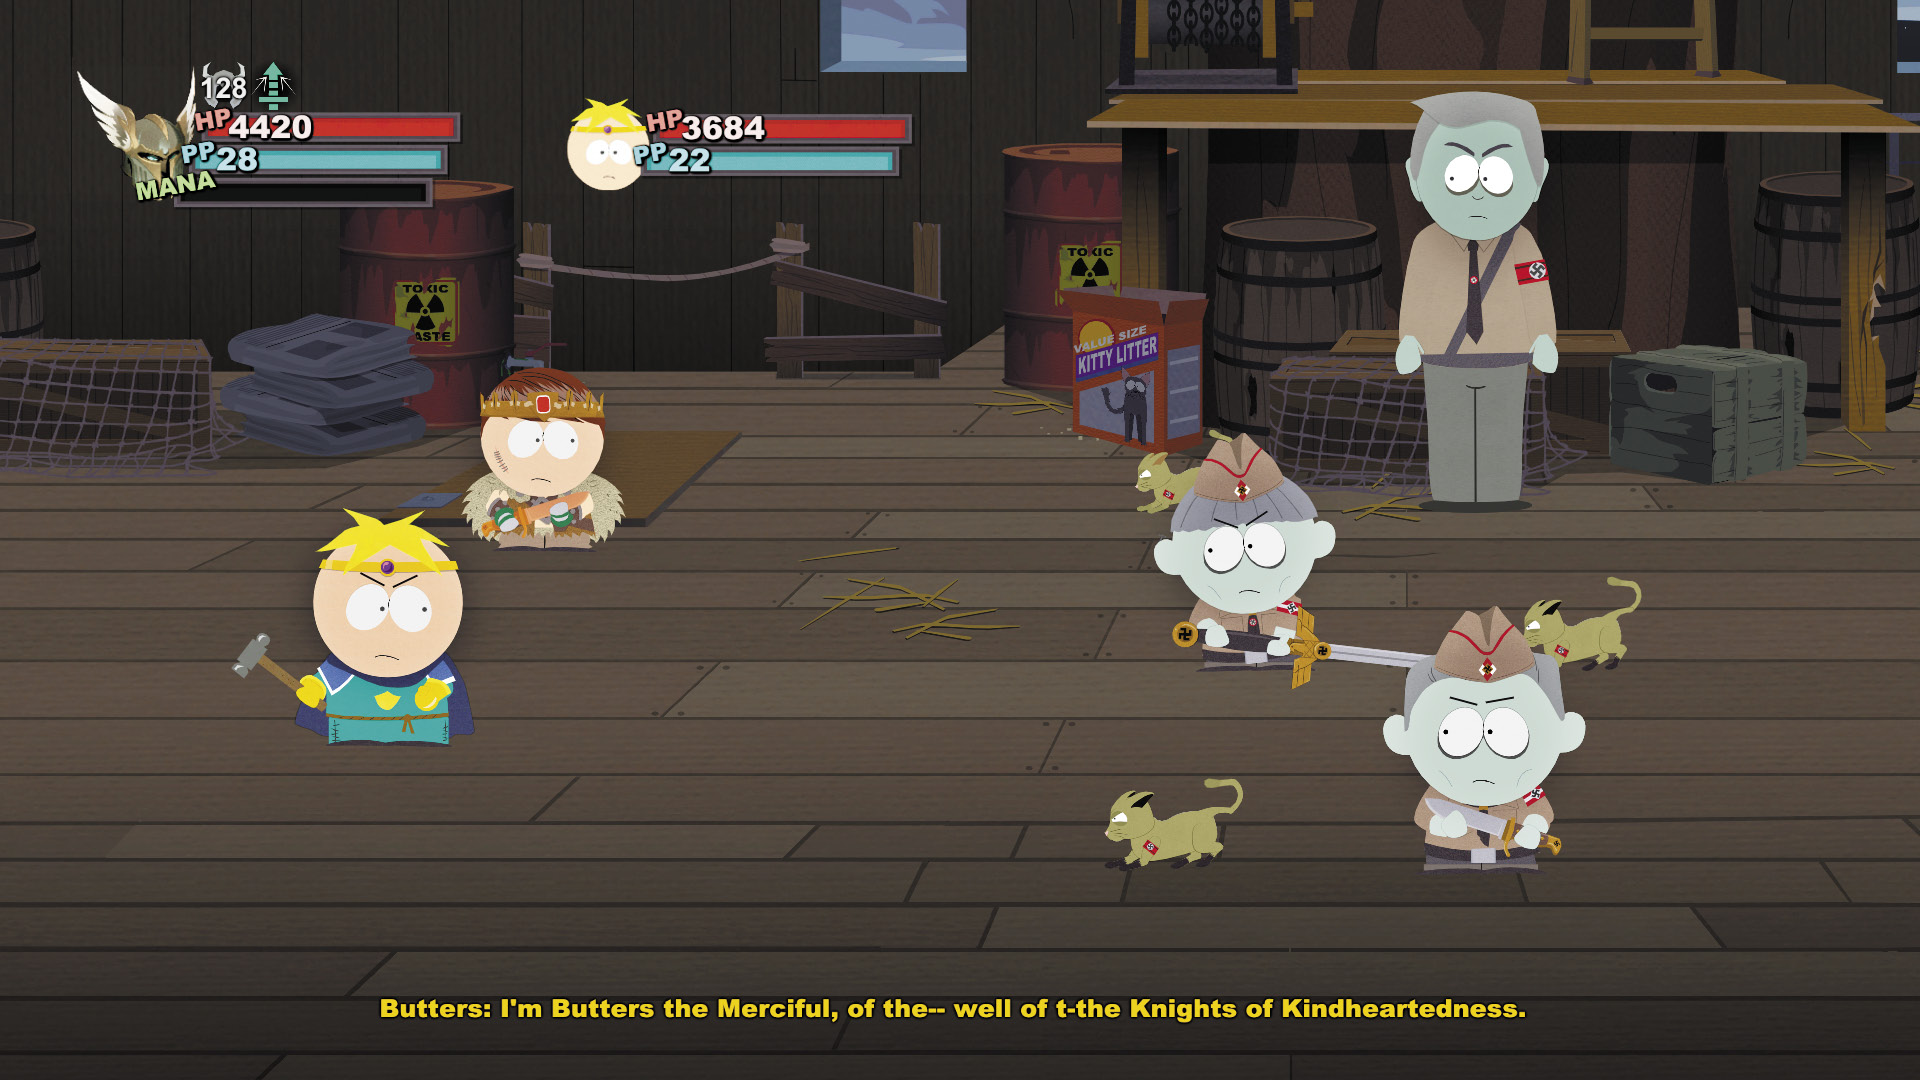
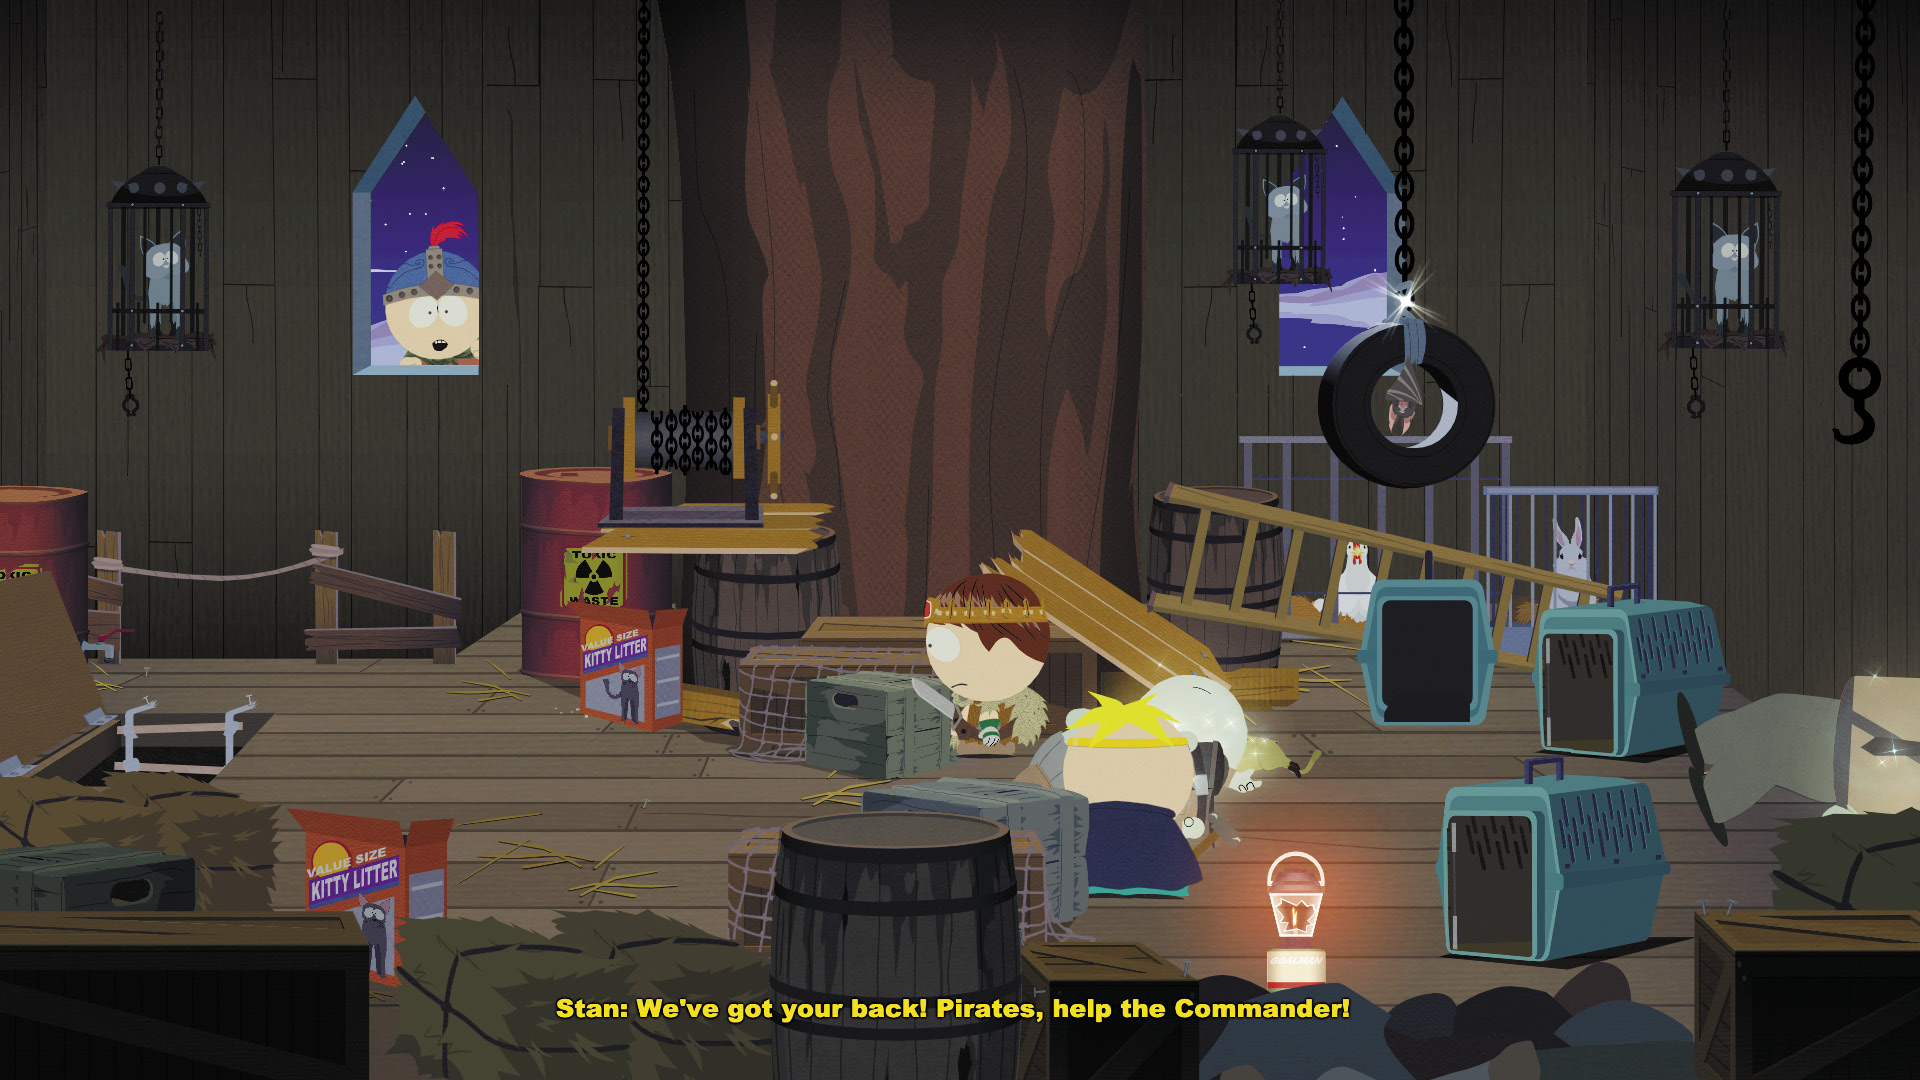
Stand under the right side of the Nazi Zombie Adult’s platform and break out your Nagasaki attack. Create a ferocious rumble until the whole platform shatters and the Nazi Zombie Adult falls to his doom. Stan swings in to the window with the help of your pirate friends and lowers a rope ladder for you to limb up to the third level.
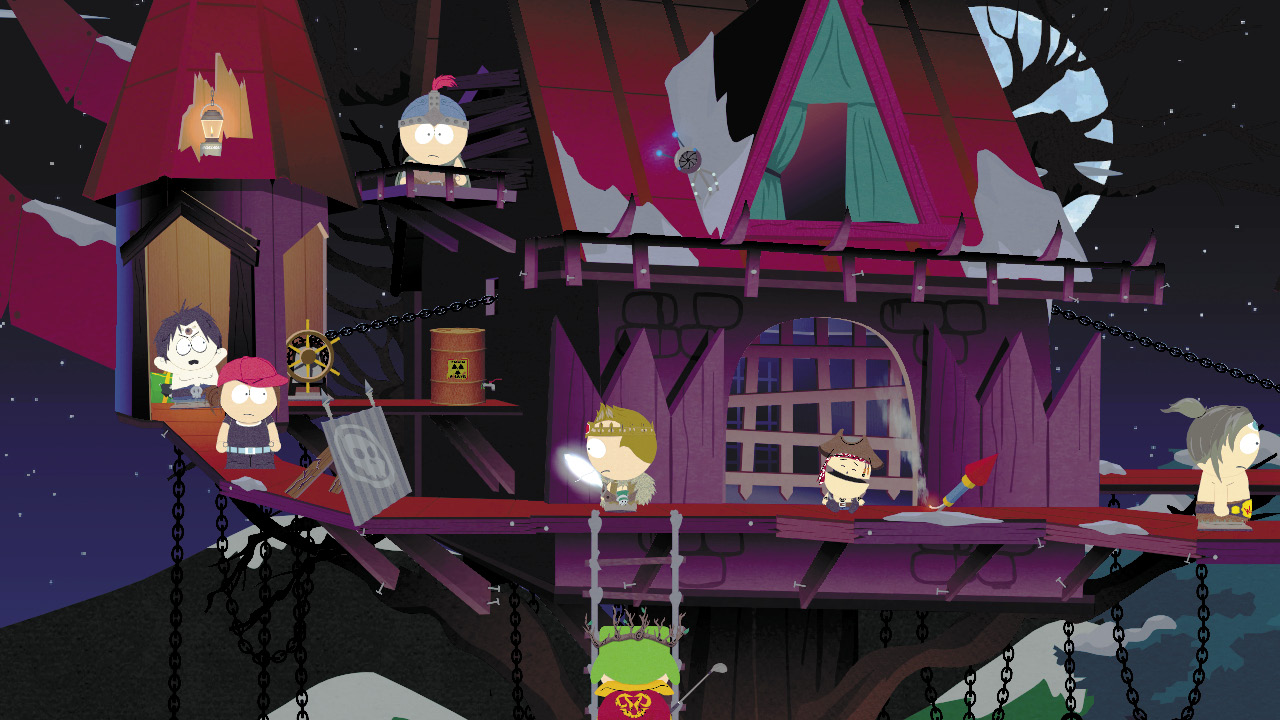
The gatehouse on the third level is closed. To raise it, you must turn a wheel on either side of the level. Unfortunately, the wheels are barricaded by uptight allies of Clyde.
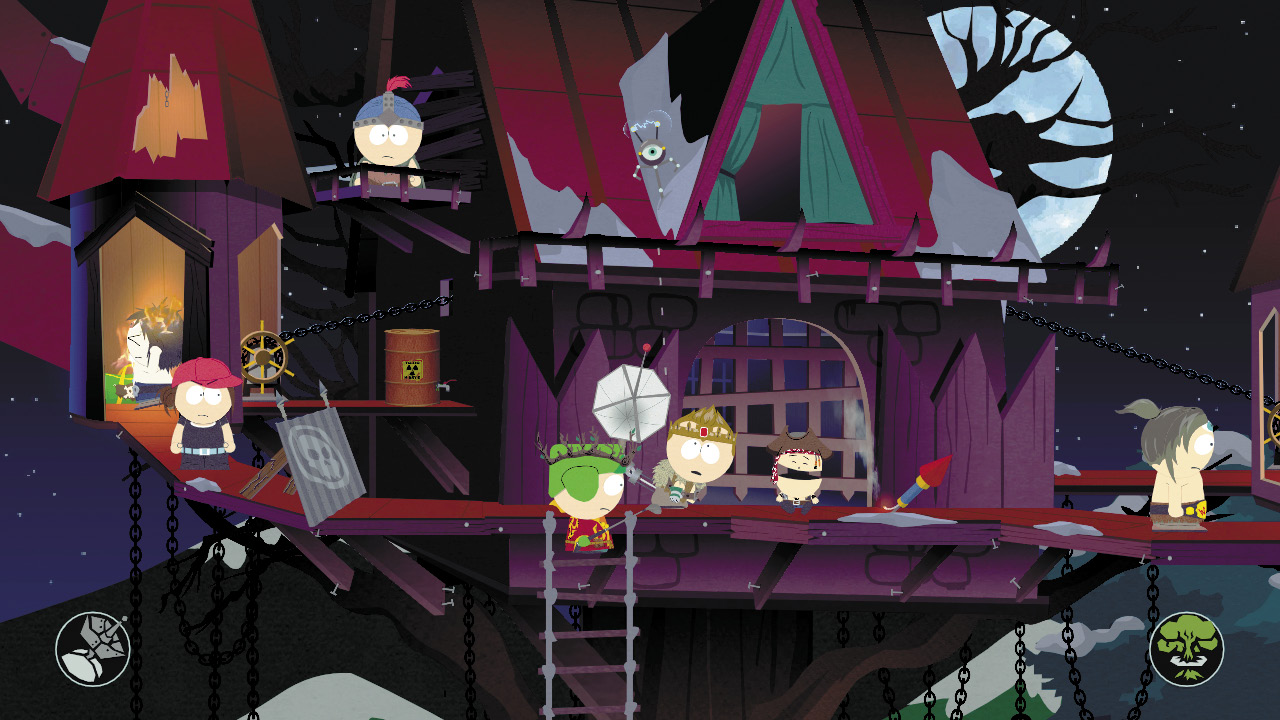
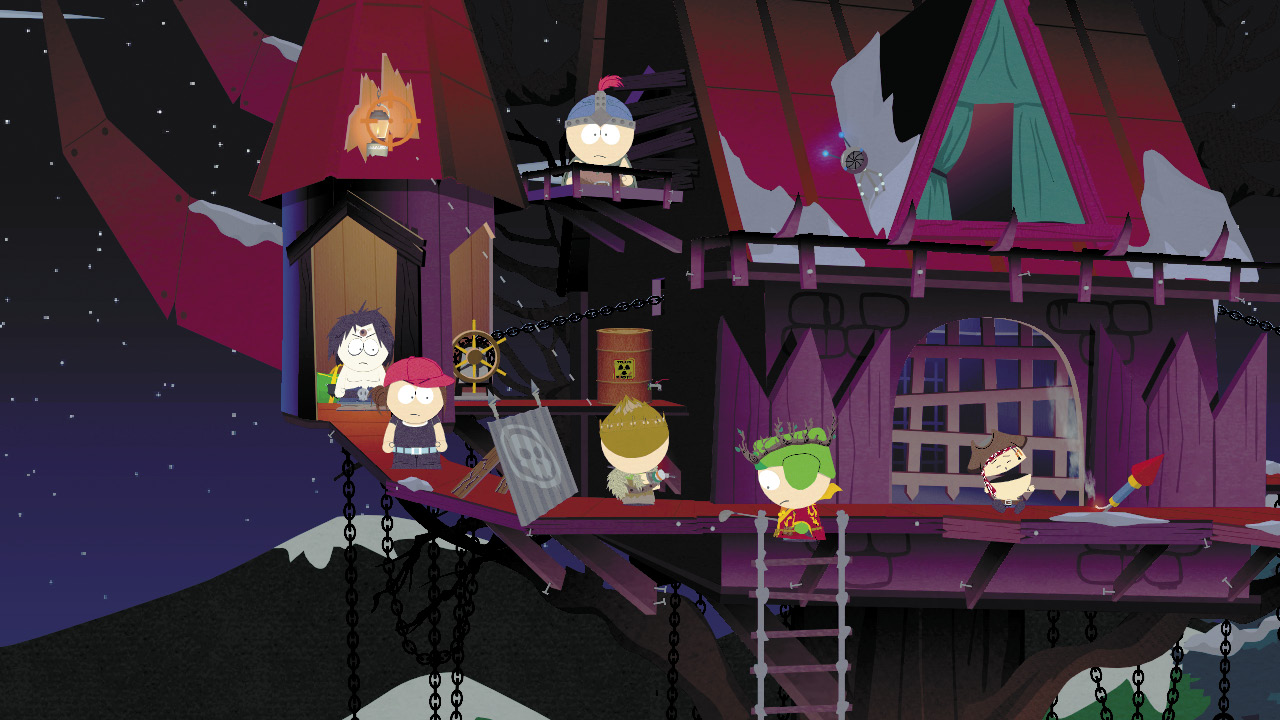
On the left side, target the hole in the tower and shoot the lantern inside. It drops into the tower room and sets one of the enemies on fire. Use your alien probe to teleport past the barrier and attack the remaining Savage and Bully Girl. Illustrate for them the real definition of “bully.”
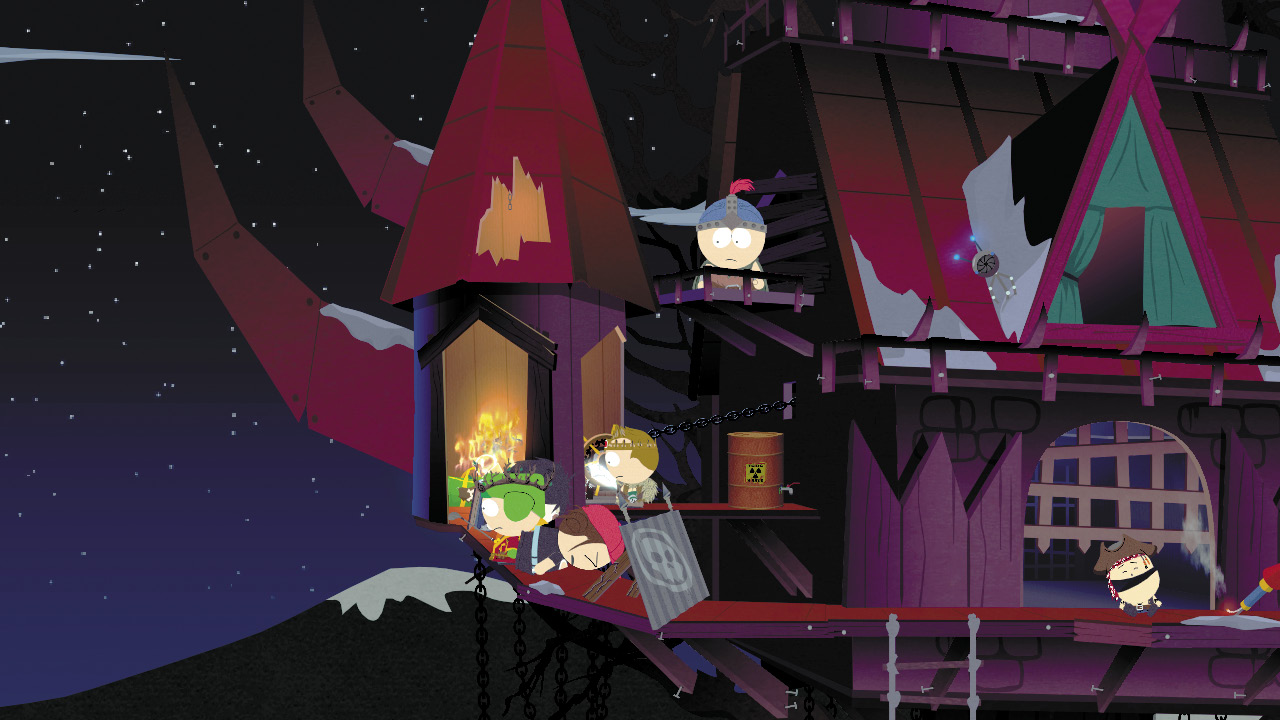
Turn the wheel on the catwalk next to the tower. The gate rises halfway; you need to finish raising the second half.
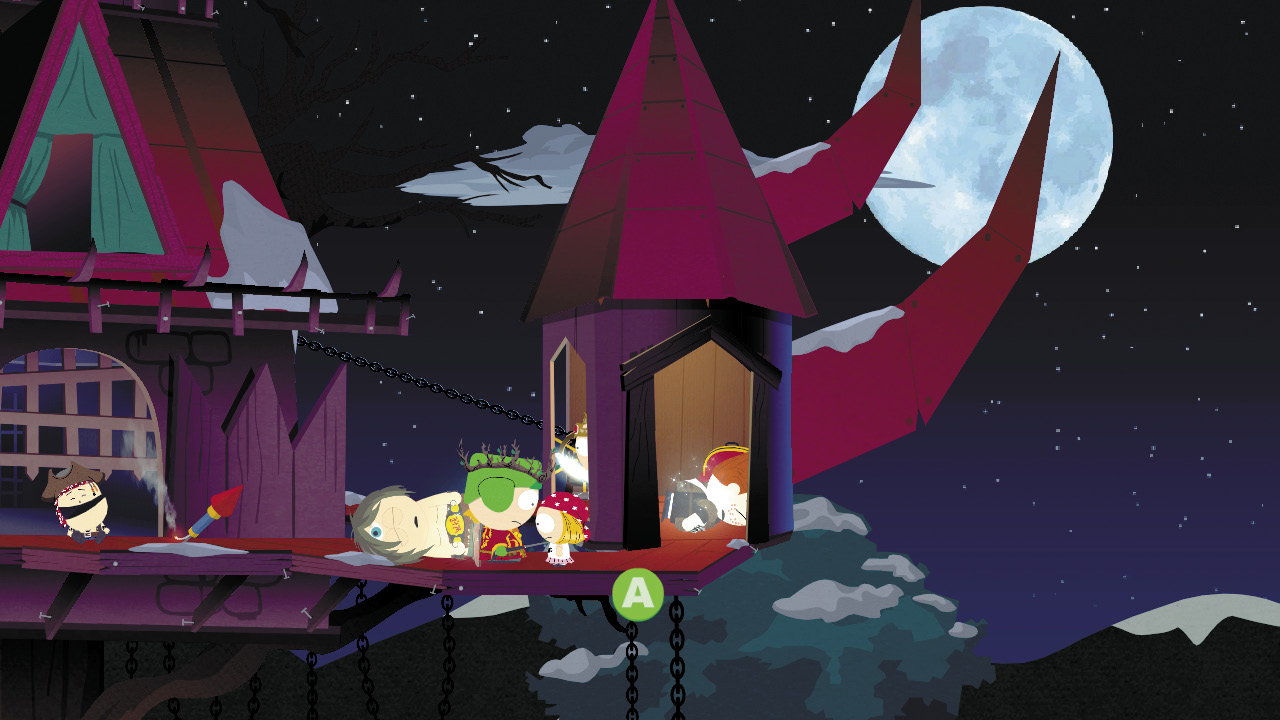
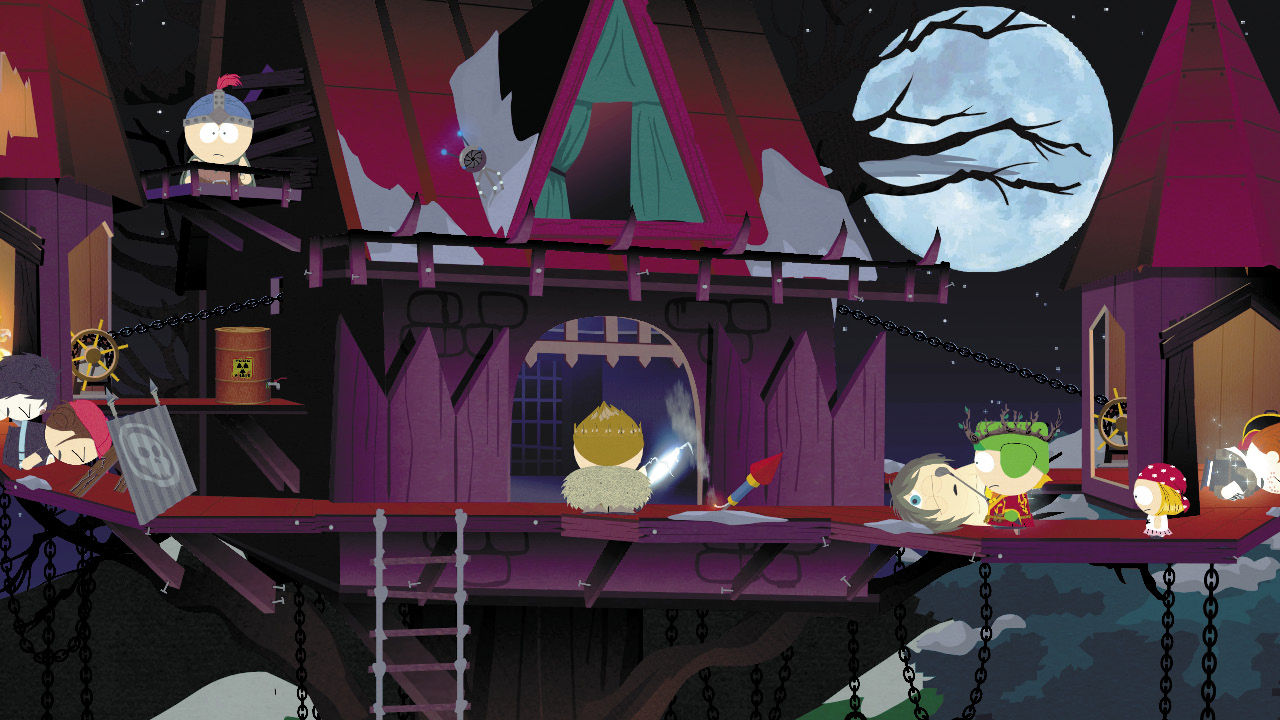
Take care of the enemies on the right side. After you stack up their corpses like cordwood, turn the second wheel. The gate fully opens and you can enter the most bizarre stable you’ve ever seen.
Extreme Cow Tipping
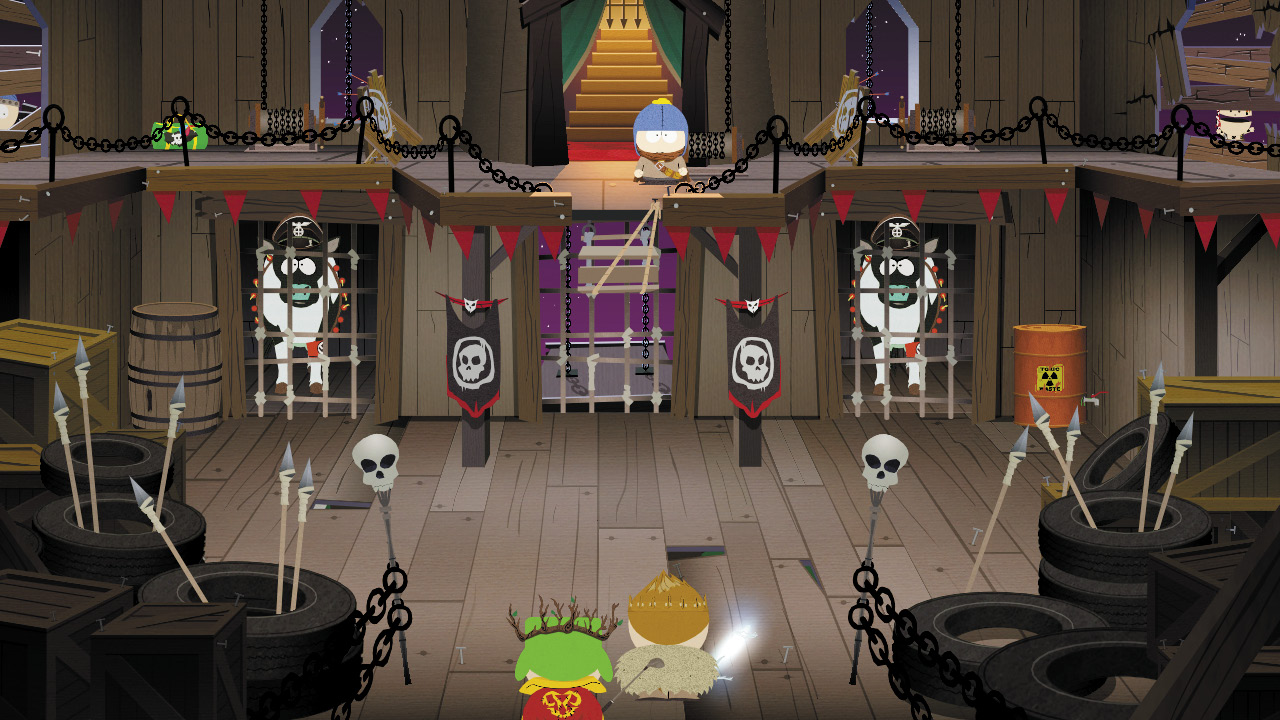
Clyde’s second-in-command, Craig, stands guard on a balcony overlooking a stable for Nazi Zombie Cows wearing officer hats on their heads and swastika armbands on their legs. Shortly after you enter, Craig tries to work the winch that lowers the rope ladder to your level, but he has trouble at first. You have a few seconds to act; if you don’t destroy the cows while in their cells, they will join the attack when Craig finally drops the ladder.
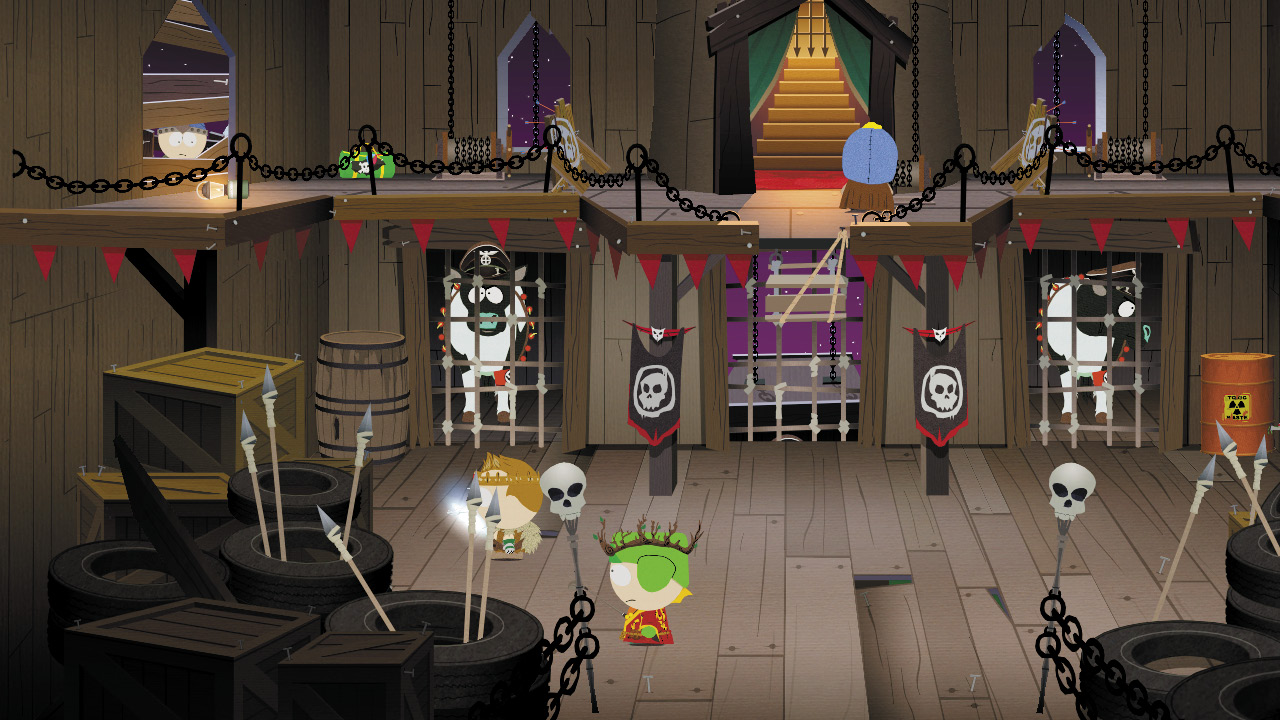
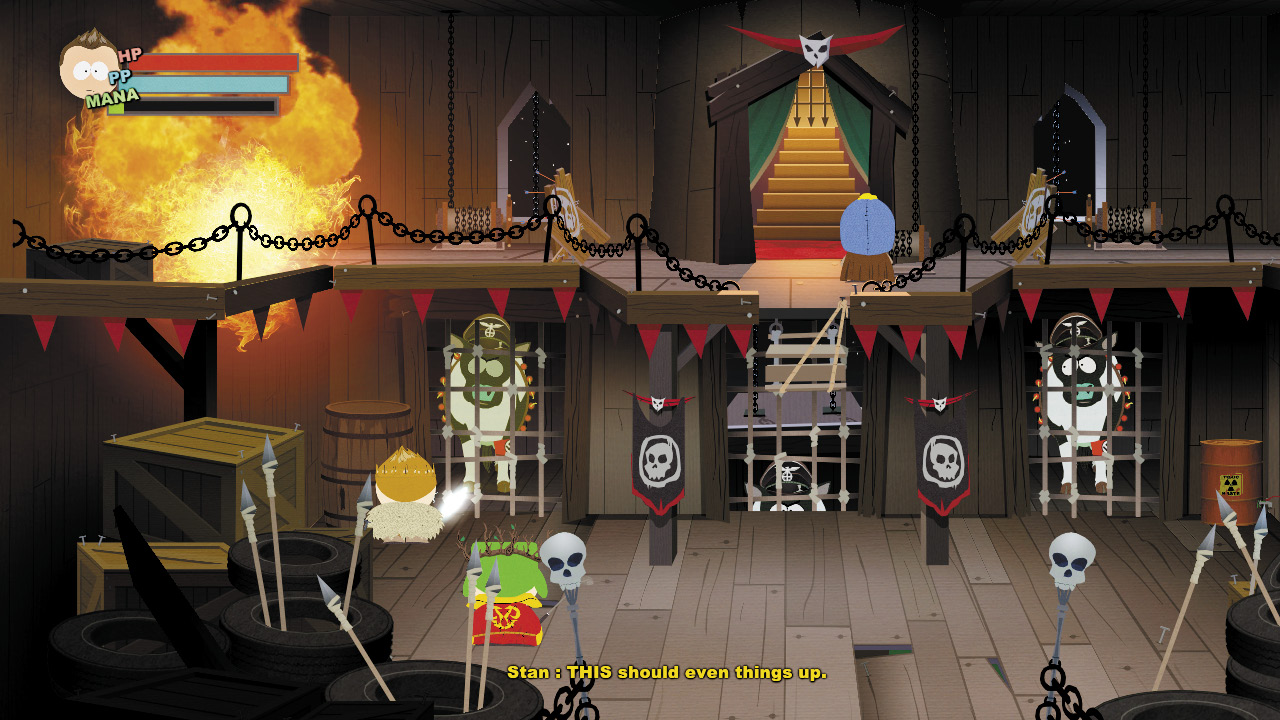
As Craig fiddles with his winch, cut to your left and shoot the lantern on the balcony. Cup-a-Spell the flame in the broken lantern to blow open the planks on the window. This allows Stan to slip in and eliminate the first Nazi Zombie Cow.
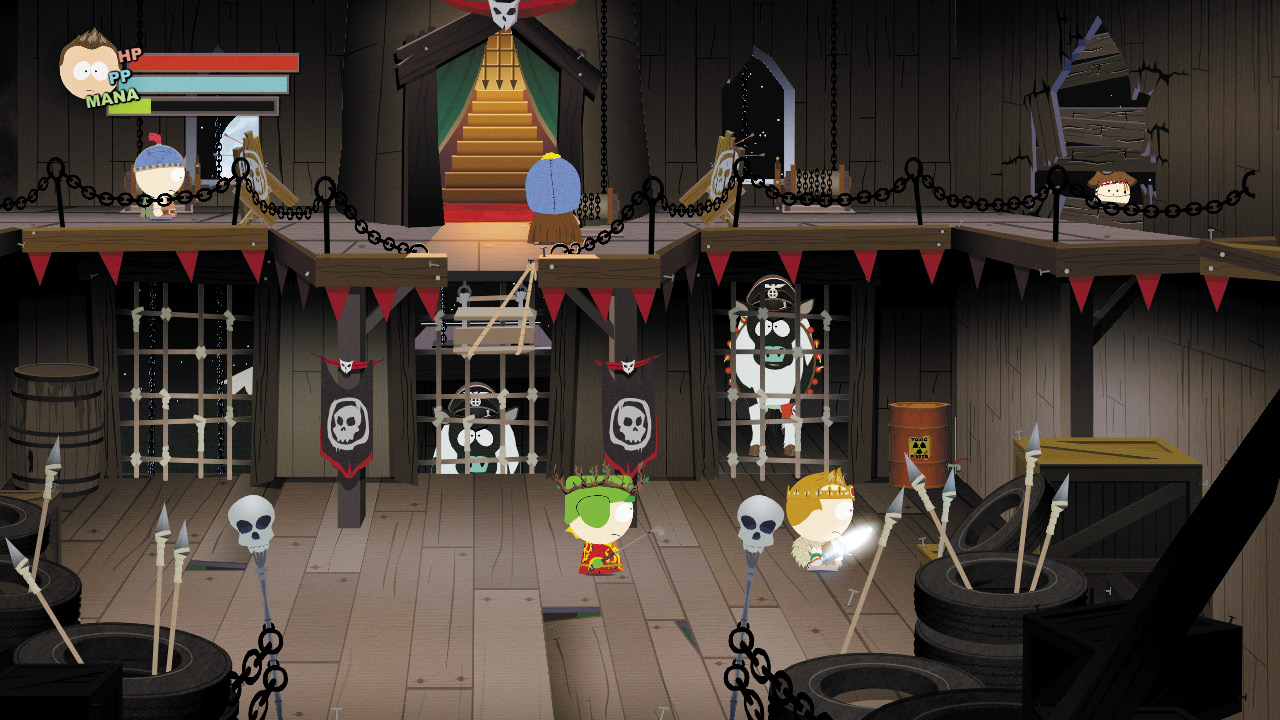
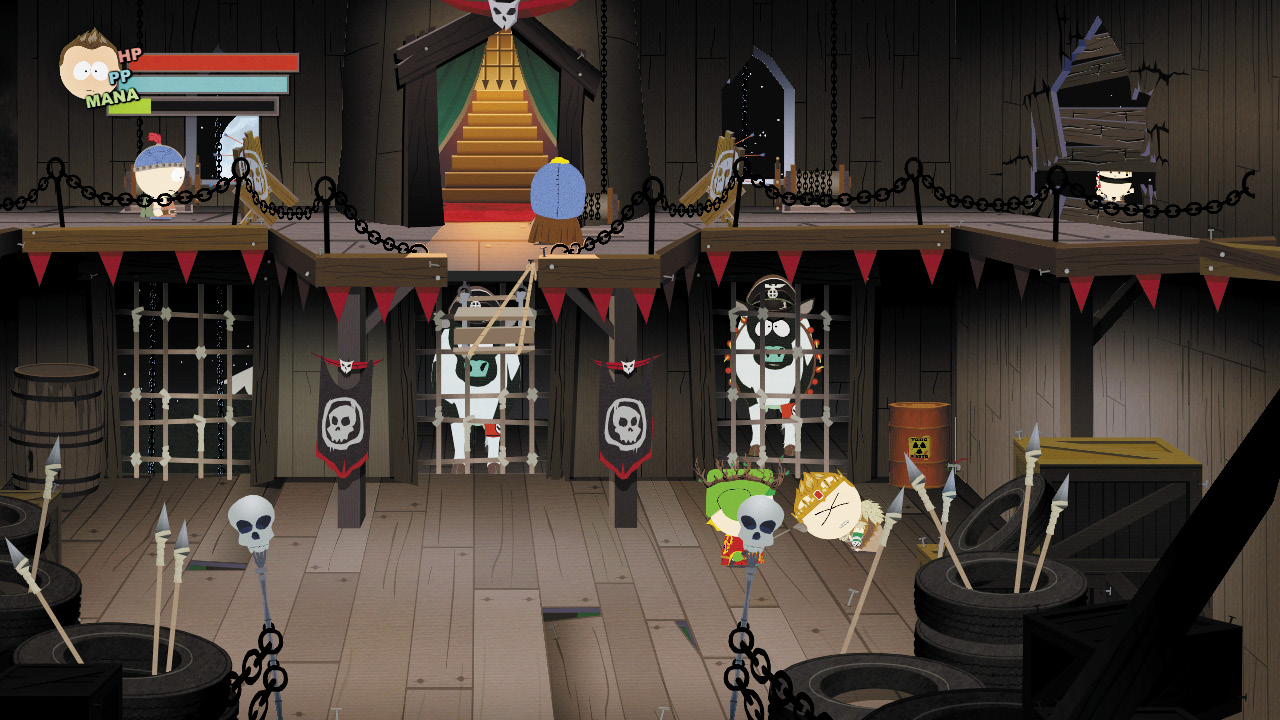
Quickly cross to the right side of the room and look for Ike in the balcony window. Tap into the power of Nagasaki to shatter the planks on Ike’s window and let him in. After Ike lights the ropes on fire, Cup-a-Spell the flames to eliminate the second Nazi Zombie Cow.
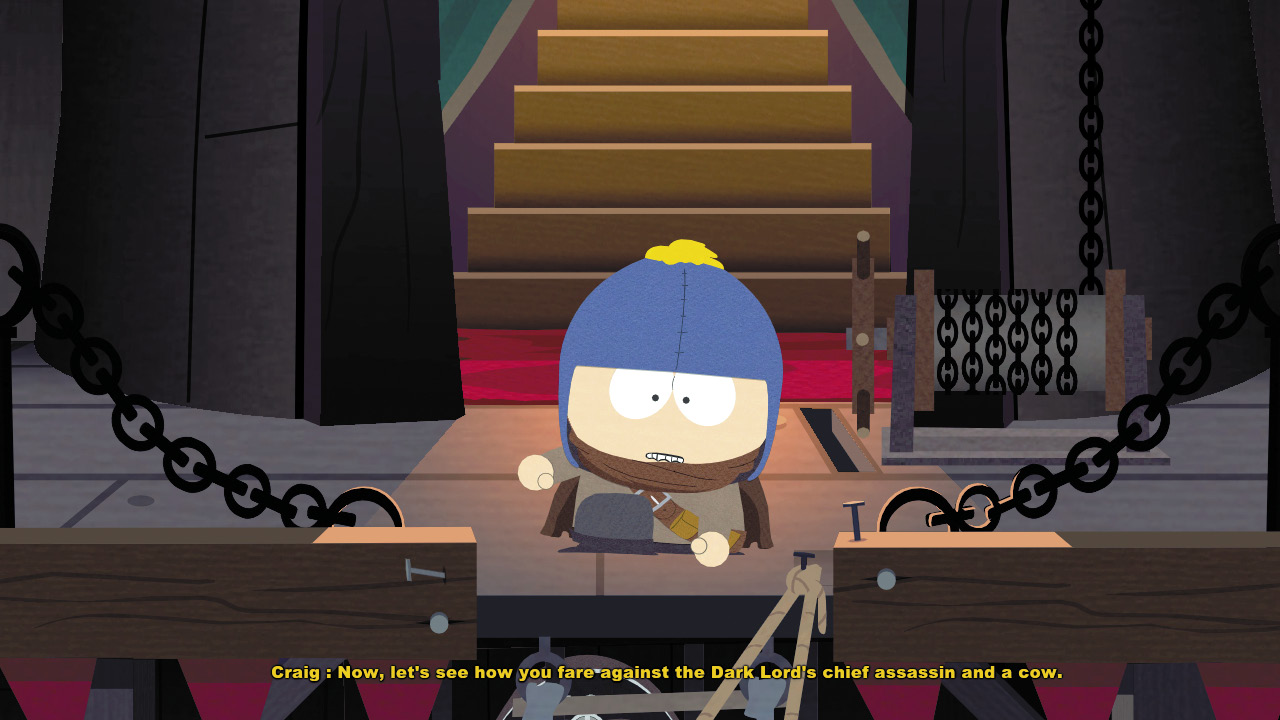
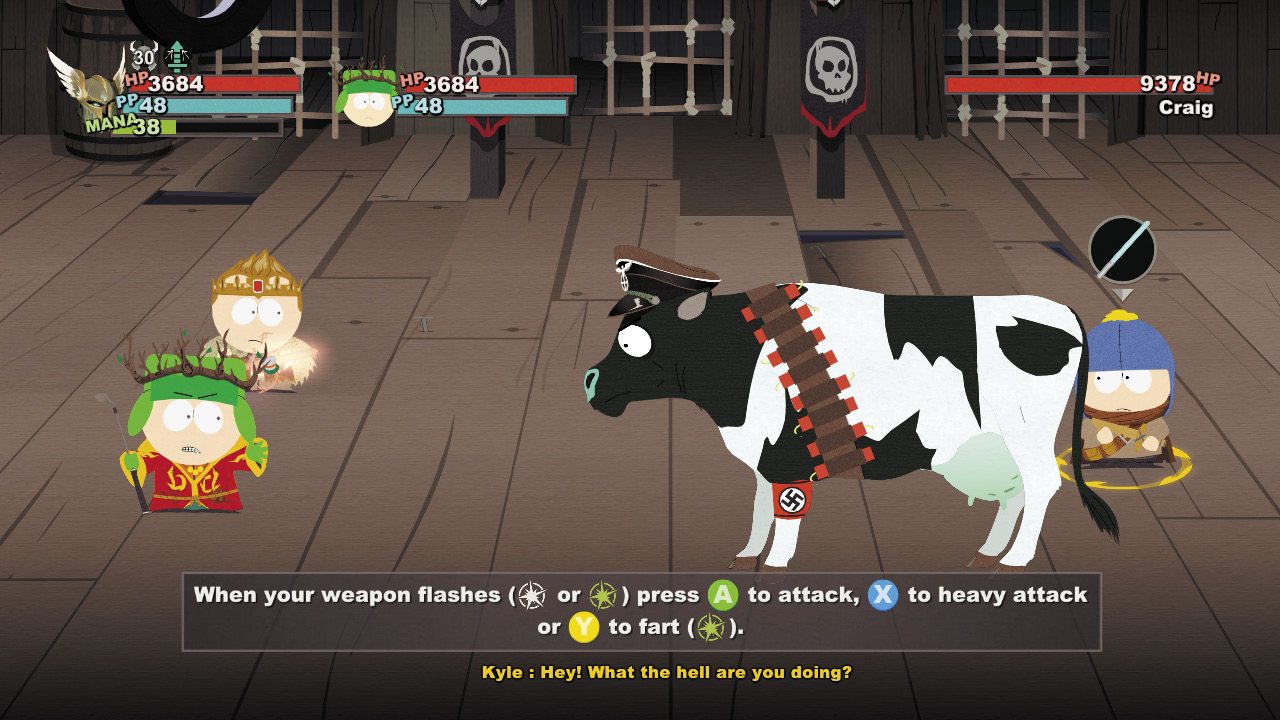
Craig finally gets the rope ladder down and attacks with the remaining Nazi Zombie Cow. Make hamburger meat out of the cow with your first attack volley, then dial up the potency on your next series of attacks on Craig. Snack to stay high on HP while whittling Craig’s HP down.
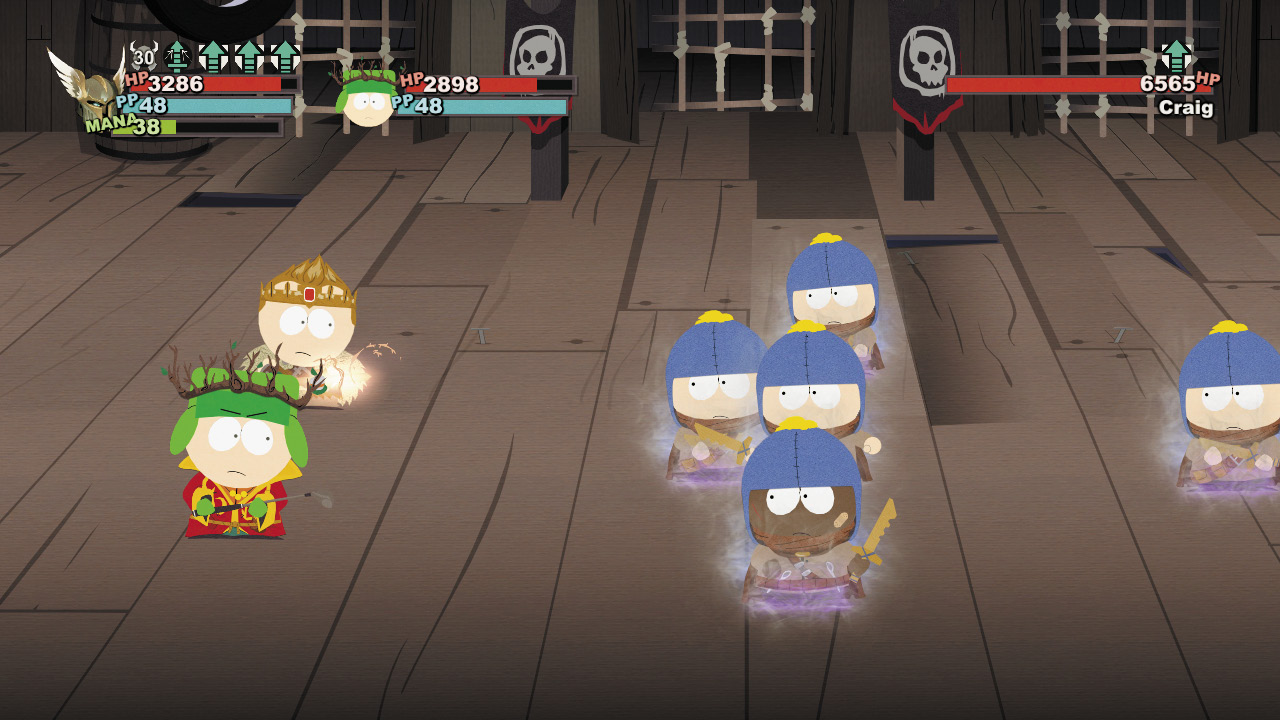
Craig will split into four other selves midway through the fight. Because you were only focusing on single targets earlier in the fight, you should have special abilities left that target multiple opponents. Hit the Craig clump with the multiple-target abilities and cut the fake Craigs down one by one until only the original remains. Finish off Craig before he can second-guess his second-in-command role.
|
“Now, let’s see how you fare against the Dark Lord’s chief assassin and some cows.” —Craig |
Slave Labor
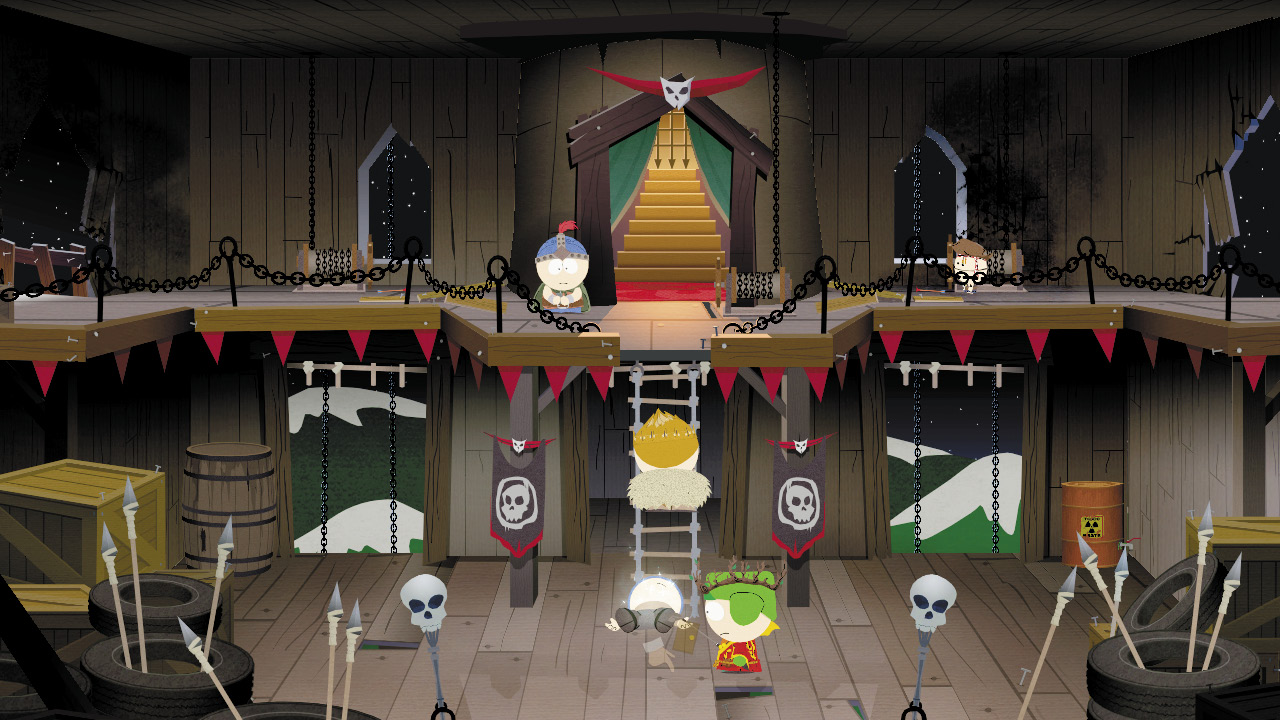
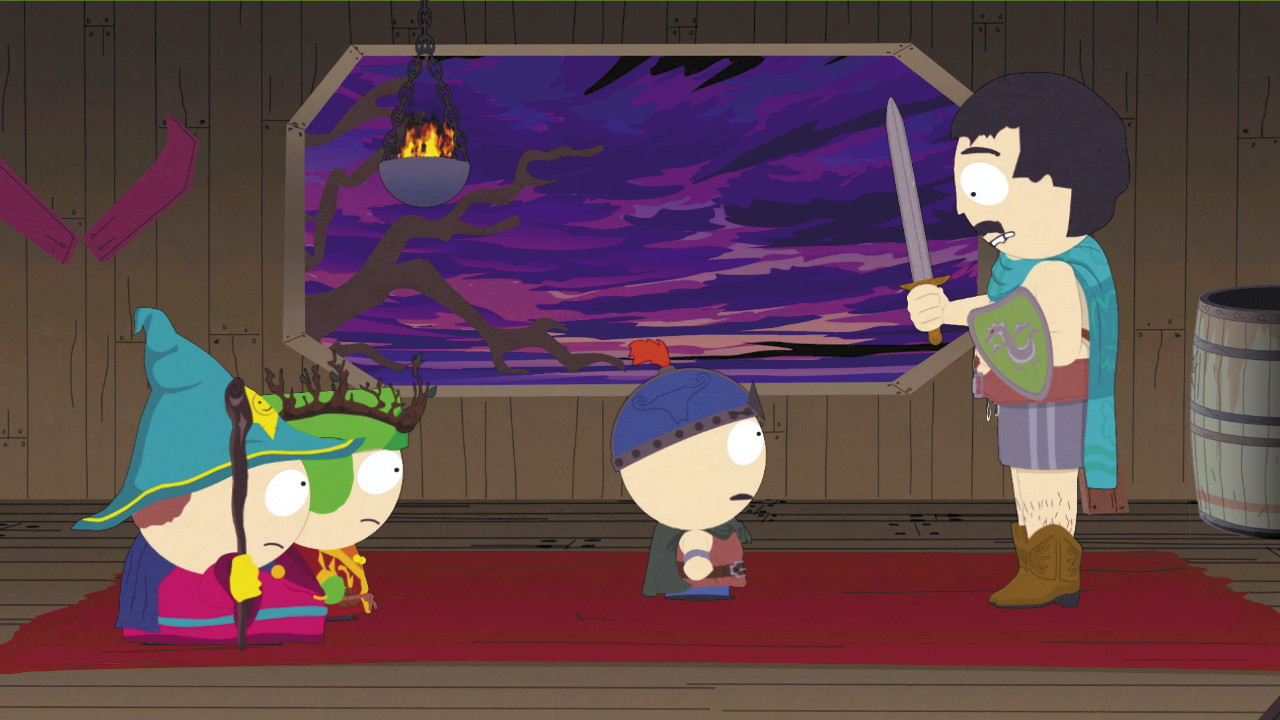
Climb the central ladder and continue into the next room. Randy, dressed in a gladiator’s outfit, meets up with you and explains that Snukes that can explode all of South Park have been implanted in Mr. Slave’s ass. He needs an expert in shrinkage and the gluteus maximus: you.

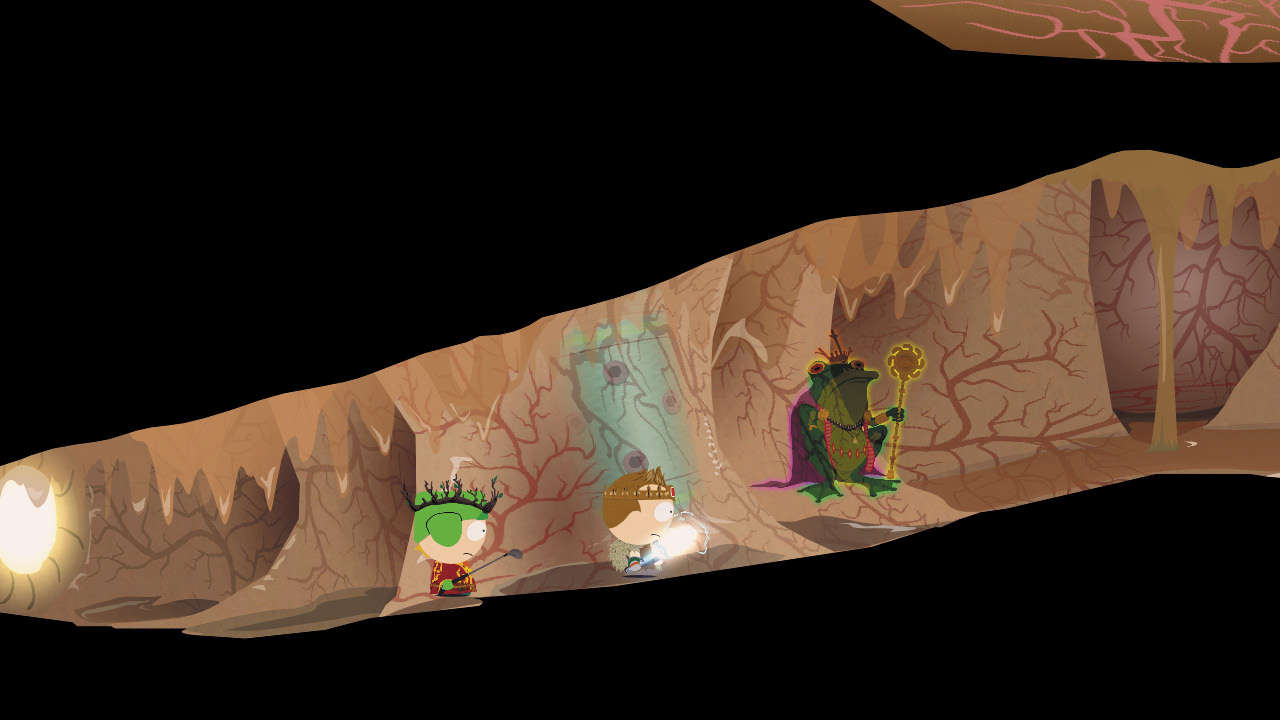
While everyone is thinking about who can disarm the nukes, shrink down with your gnome dust and approach Mr. Slave, who happily lets you crawl up his butt. Continue up the colon to the right and look for the mysterious Frog King.
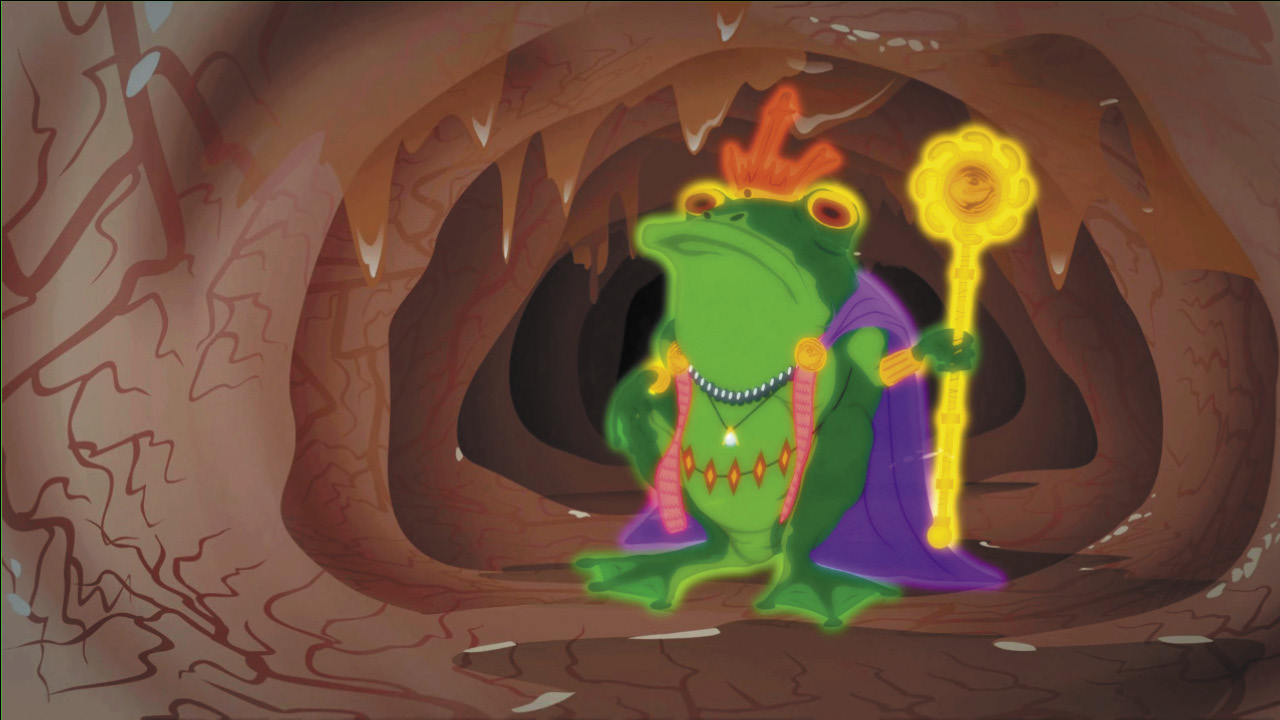
The Frog King warns you that your journey inside Mr. Slave is a dangerous one. The way back is blocked by the large sphincter, and you must make haste to the large intestine.
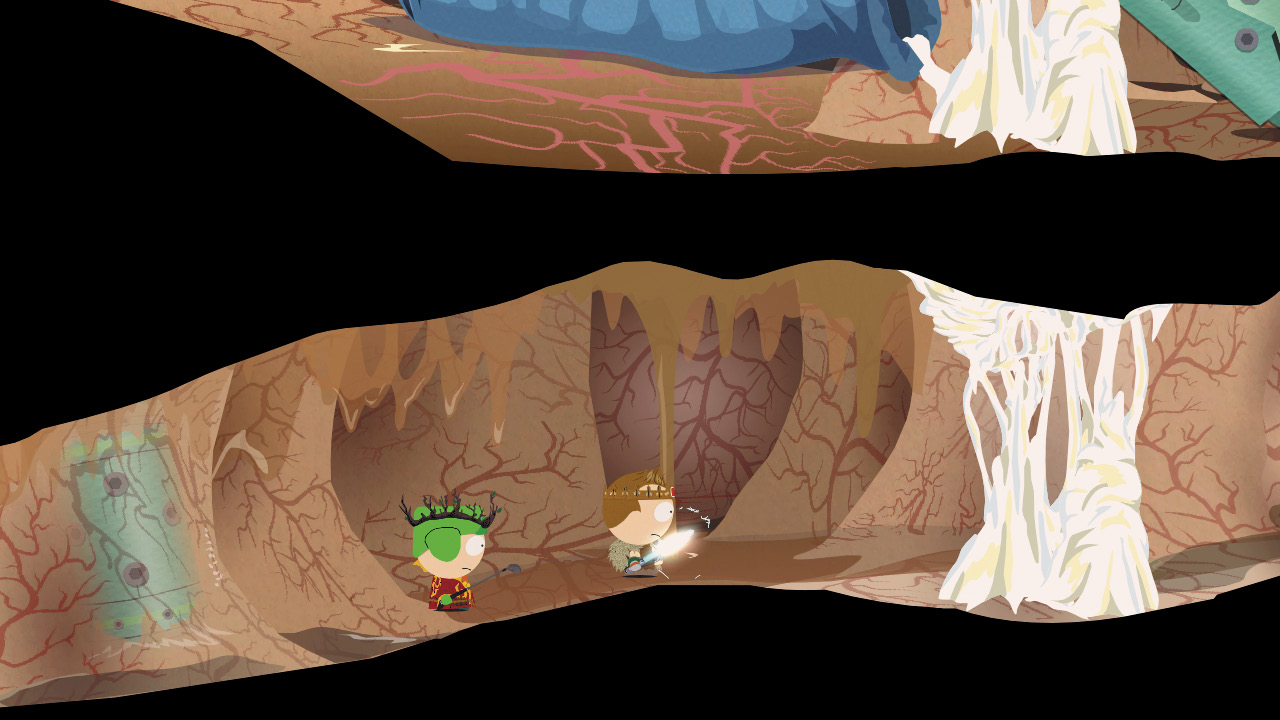
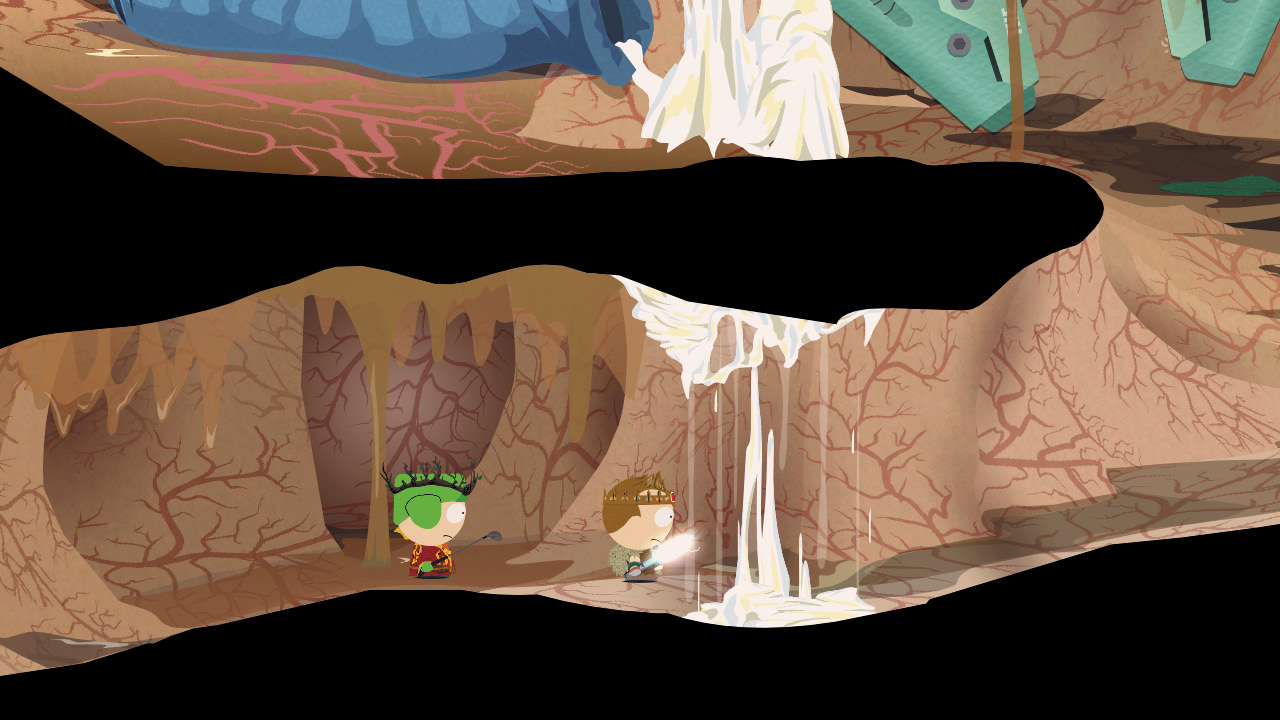
Work your way through the body cavity until you reach the first semen wall. As with all semen walls, hack away at the gooey membrane until it puddles at your feet and you’re free to carry on.
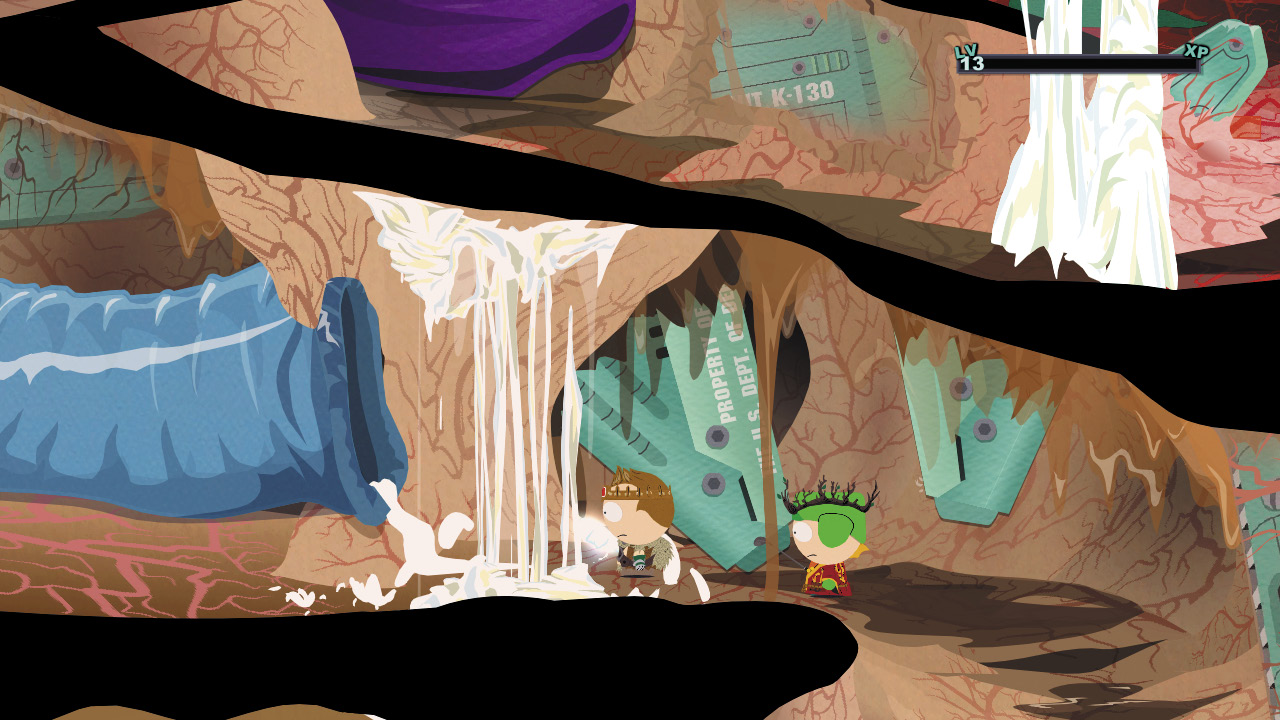
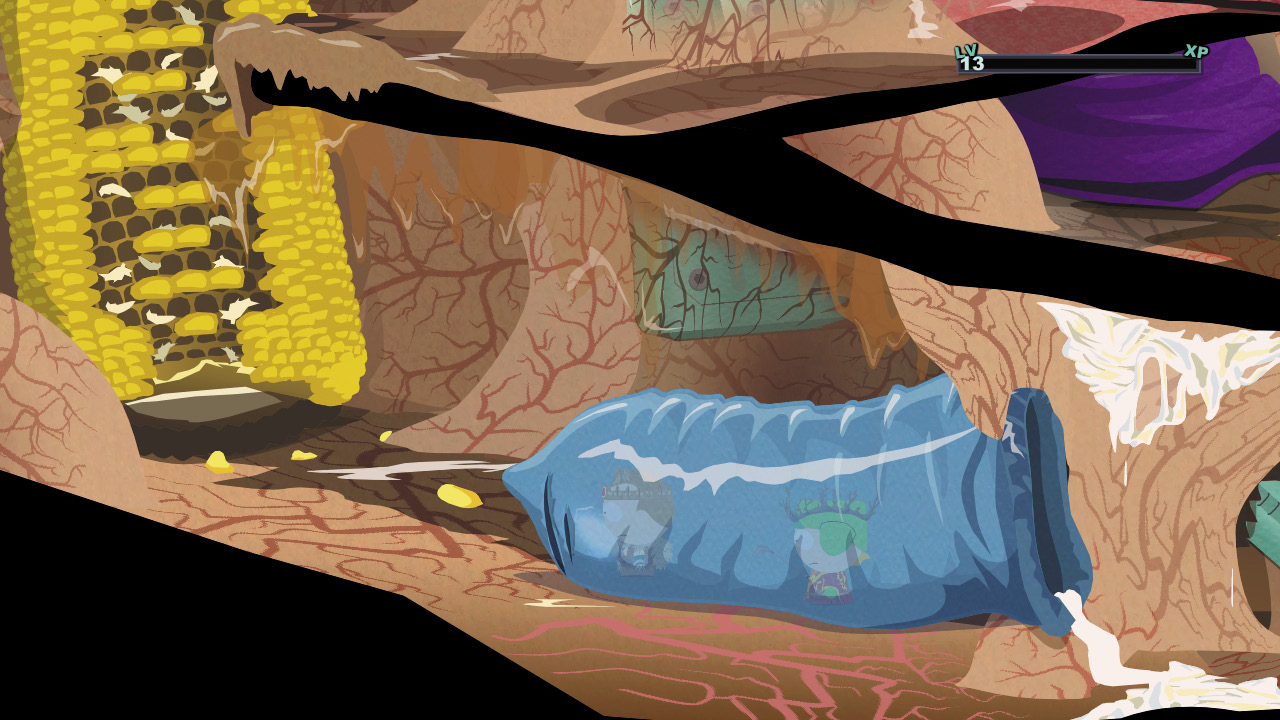
Cut through the next semen wall and, steeling your nerve, slip into the used blue condom. Hack at the tip to puncture the condom and walk through to the other side.
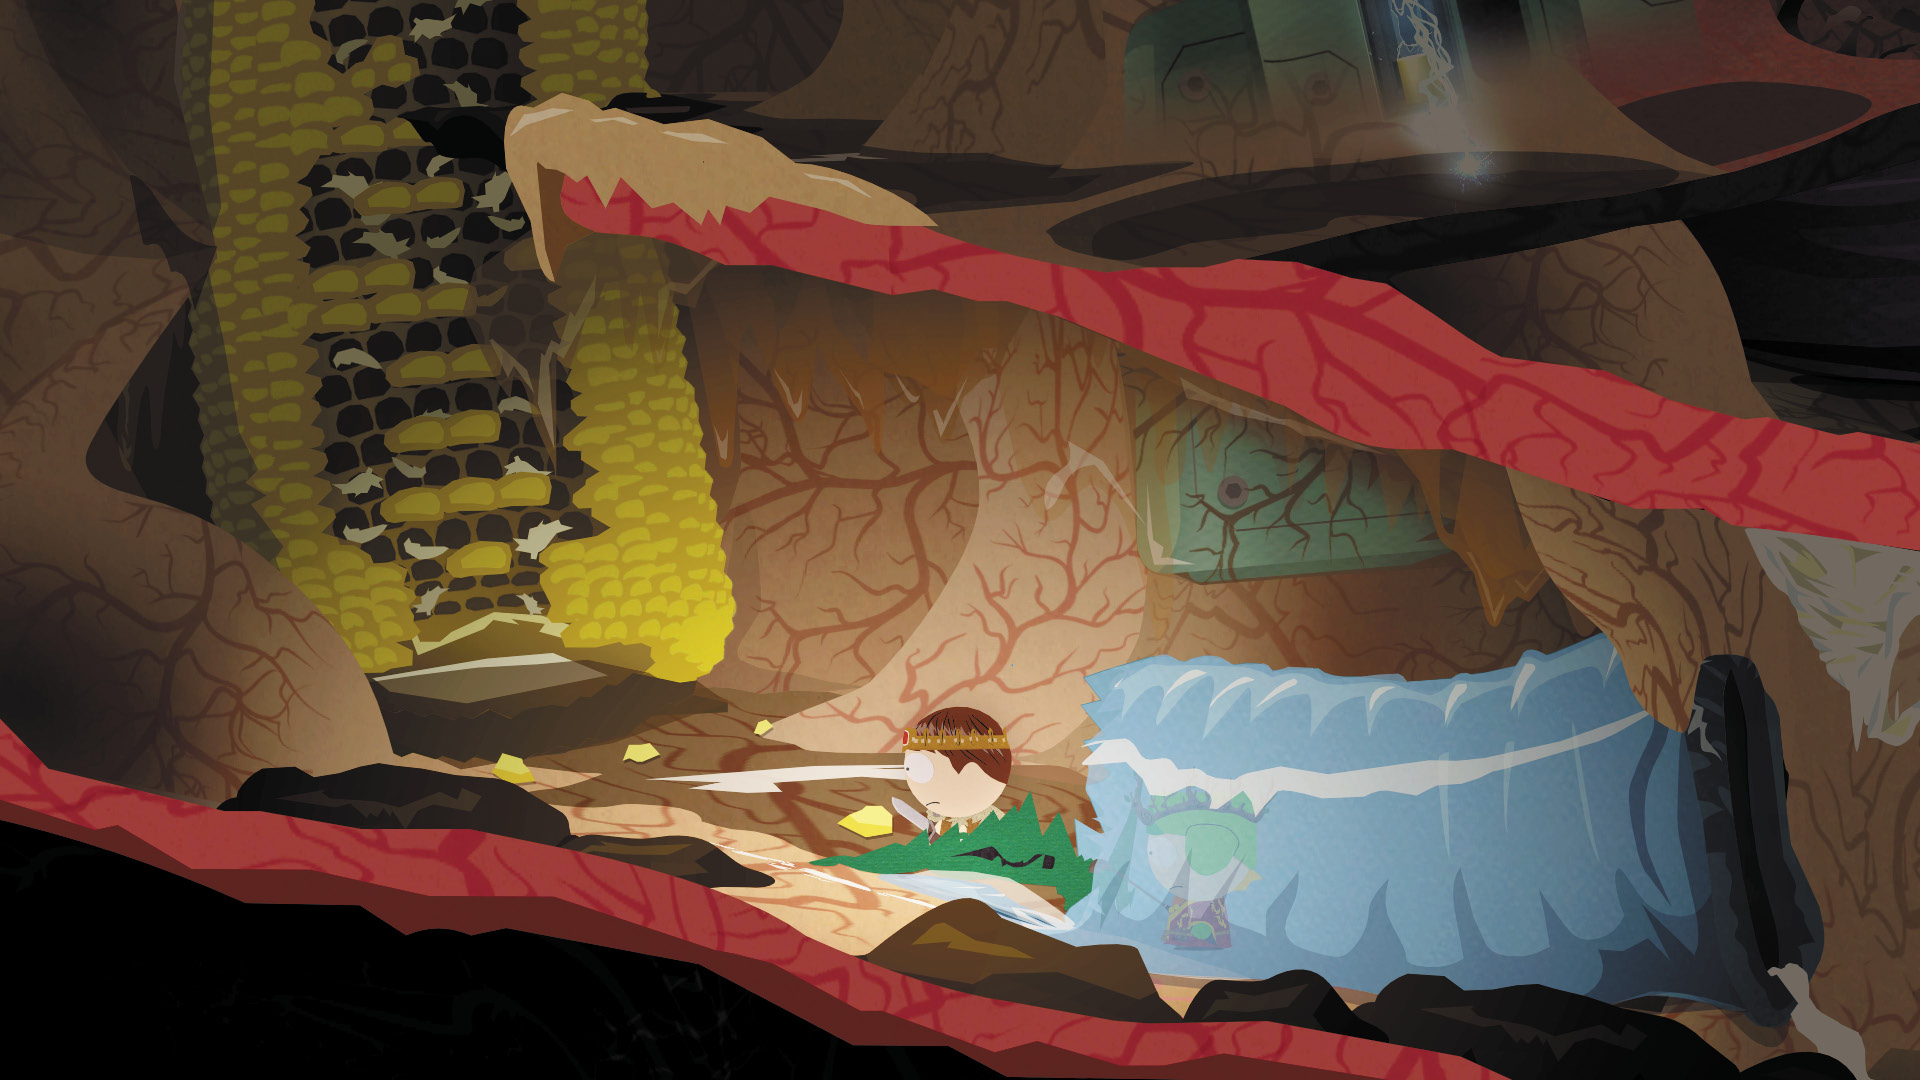
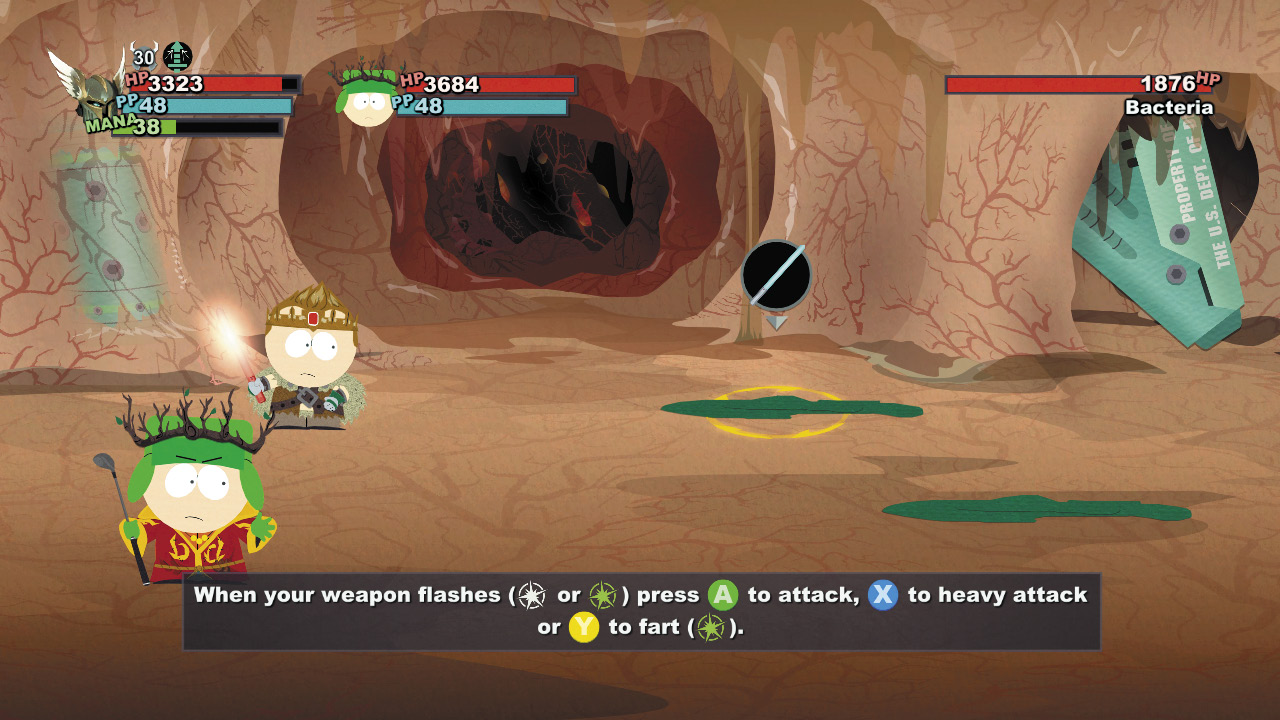
As you exit the blue condom, green Bacteria will shuffle over and attack you. The Bacteria will try to infect you through direct contact or rain down germs on your head, but if you block well you can counterattack with more than enough force to cure what ails you.
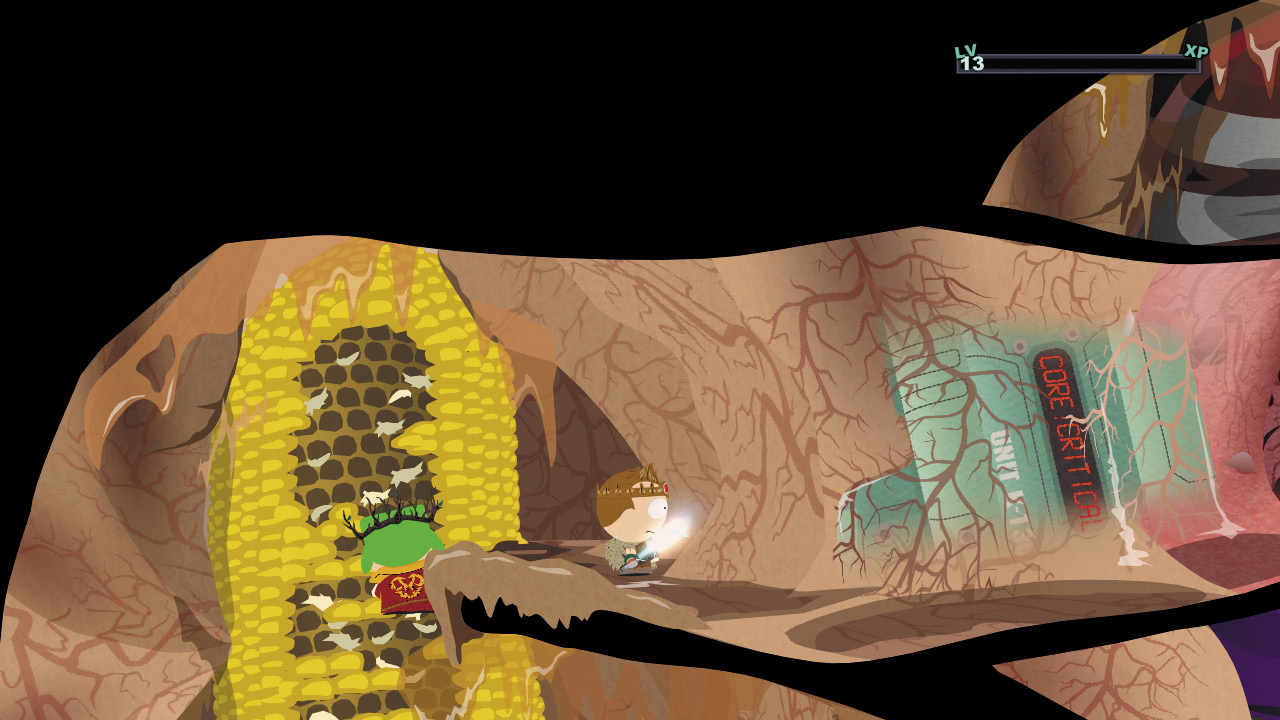
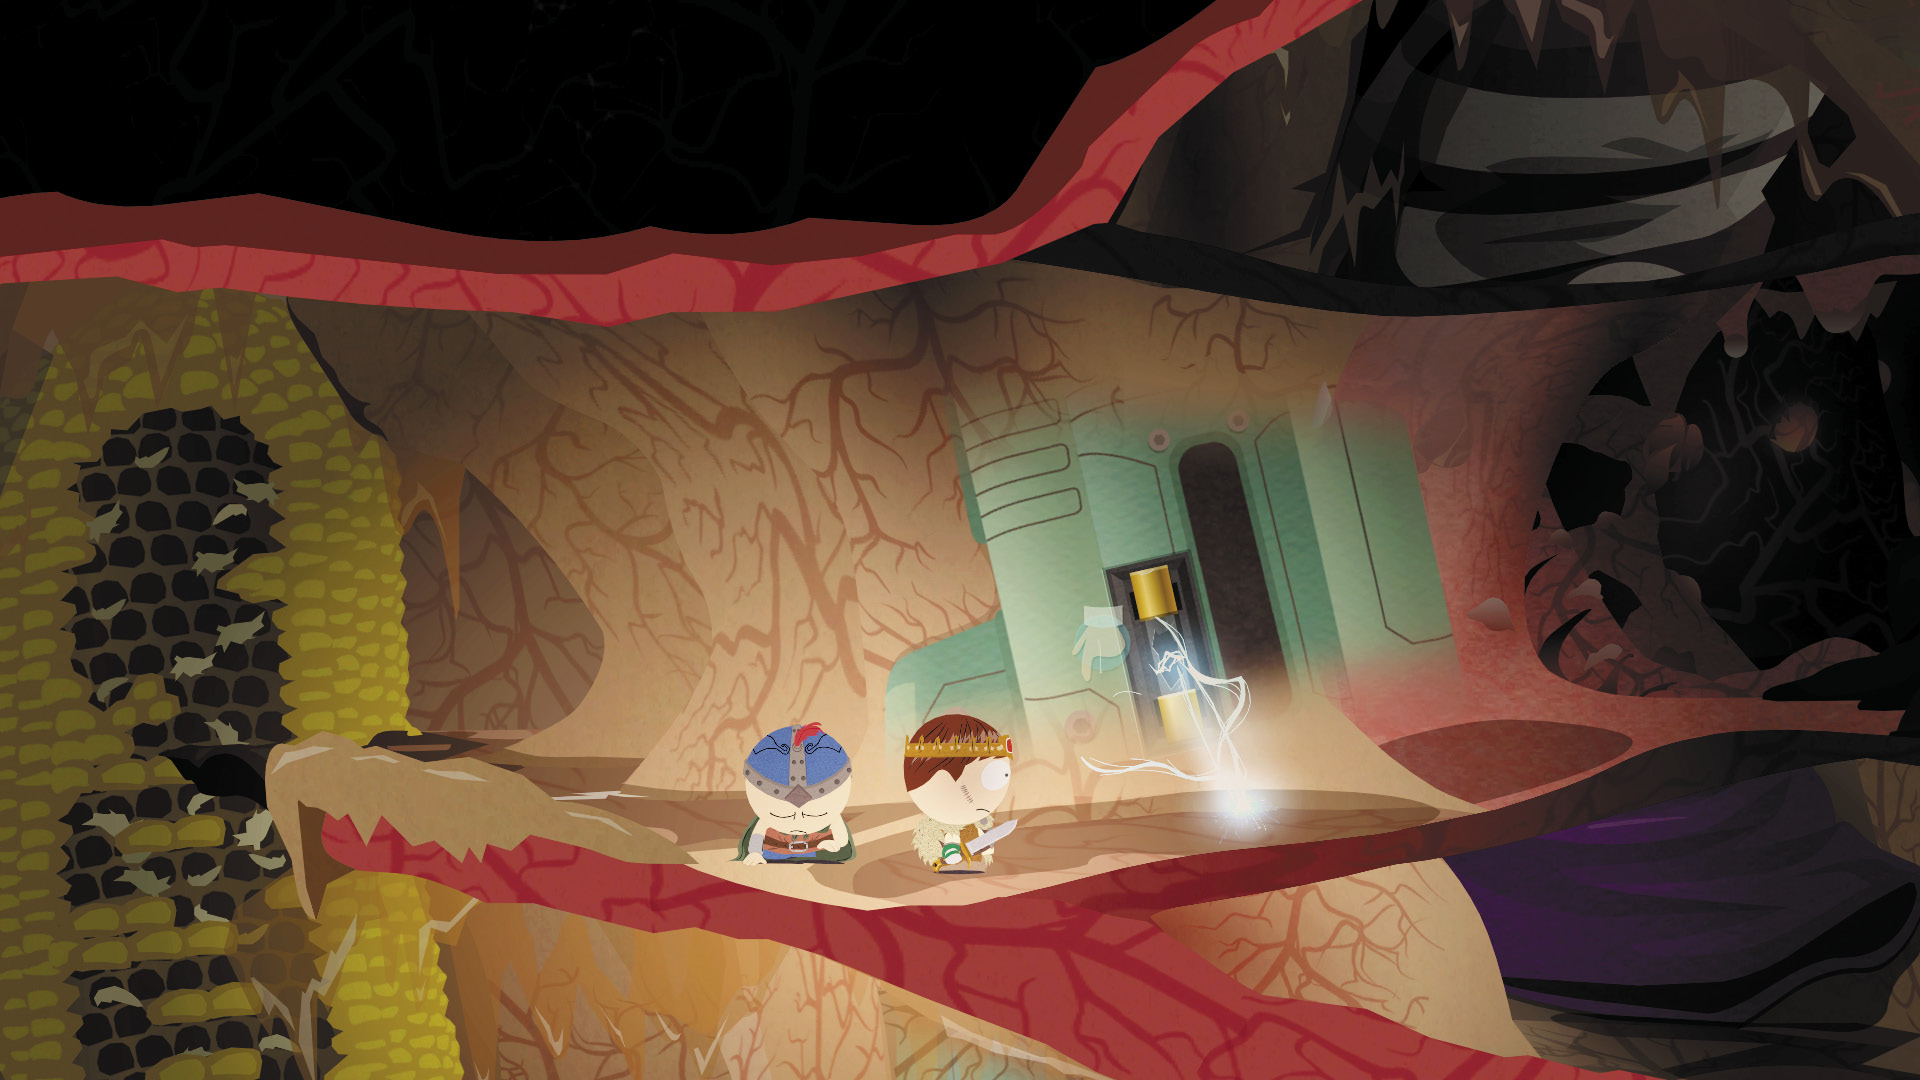
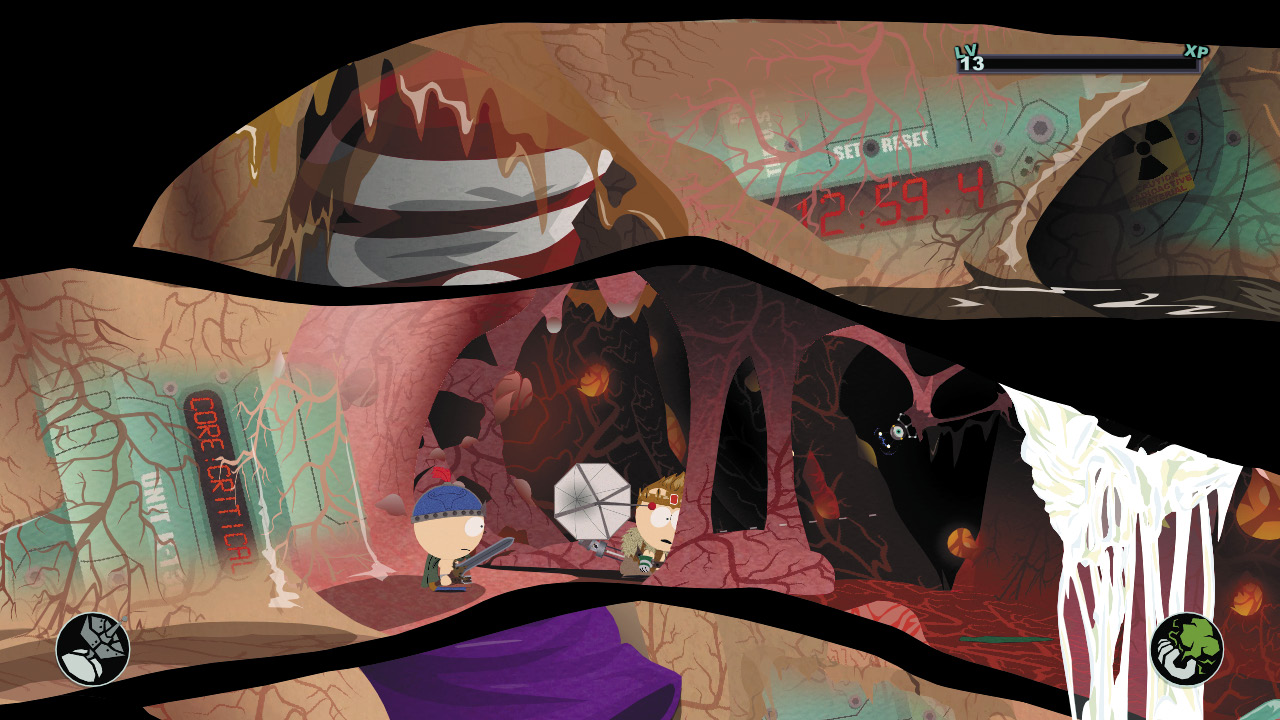
Climb up the half-chewed corncob to the next level and command Stan to short out the part of the Snuke that is shooting out electricity. Shoot the red gland to reveal a robotic eye, then use your alien probe to teleport to the far side.
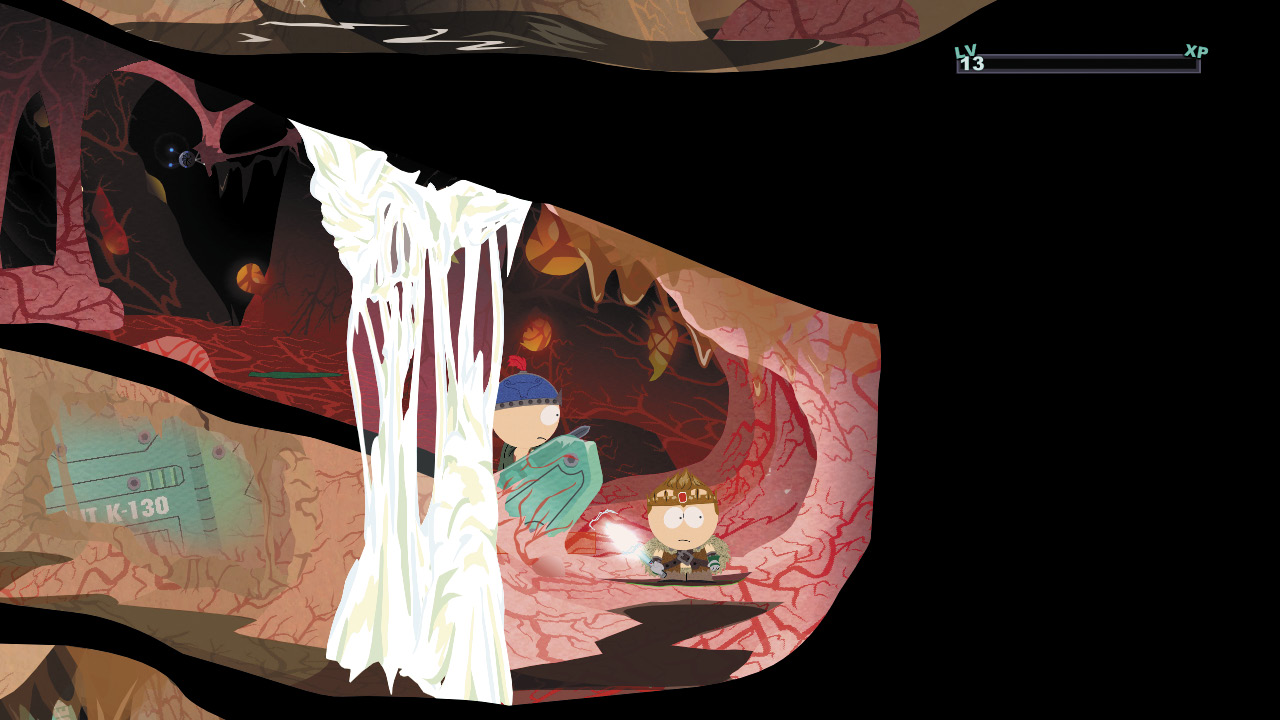
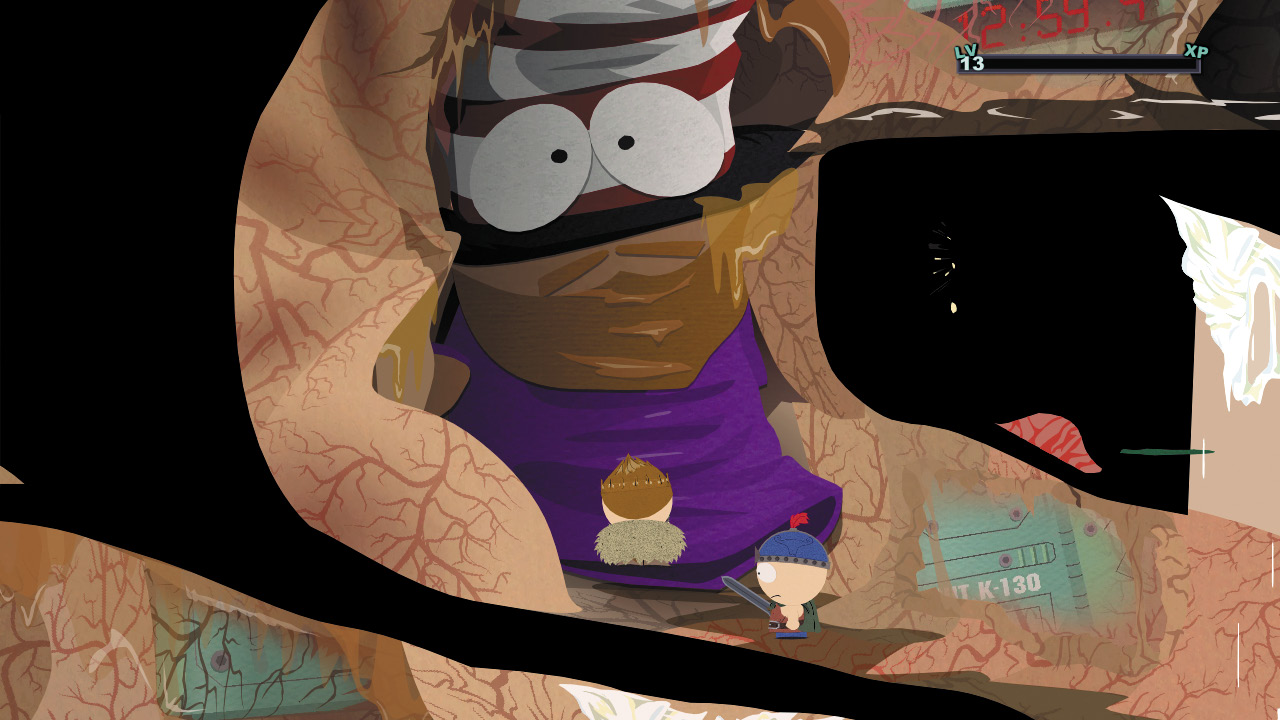
Beat up the Nazi Zombie Bacteria and circle down to another semen wall. Cut through it to reach the other side. Continue onward to the far end and climb up Mr. Hat to reach the next level.
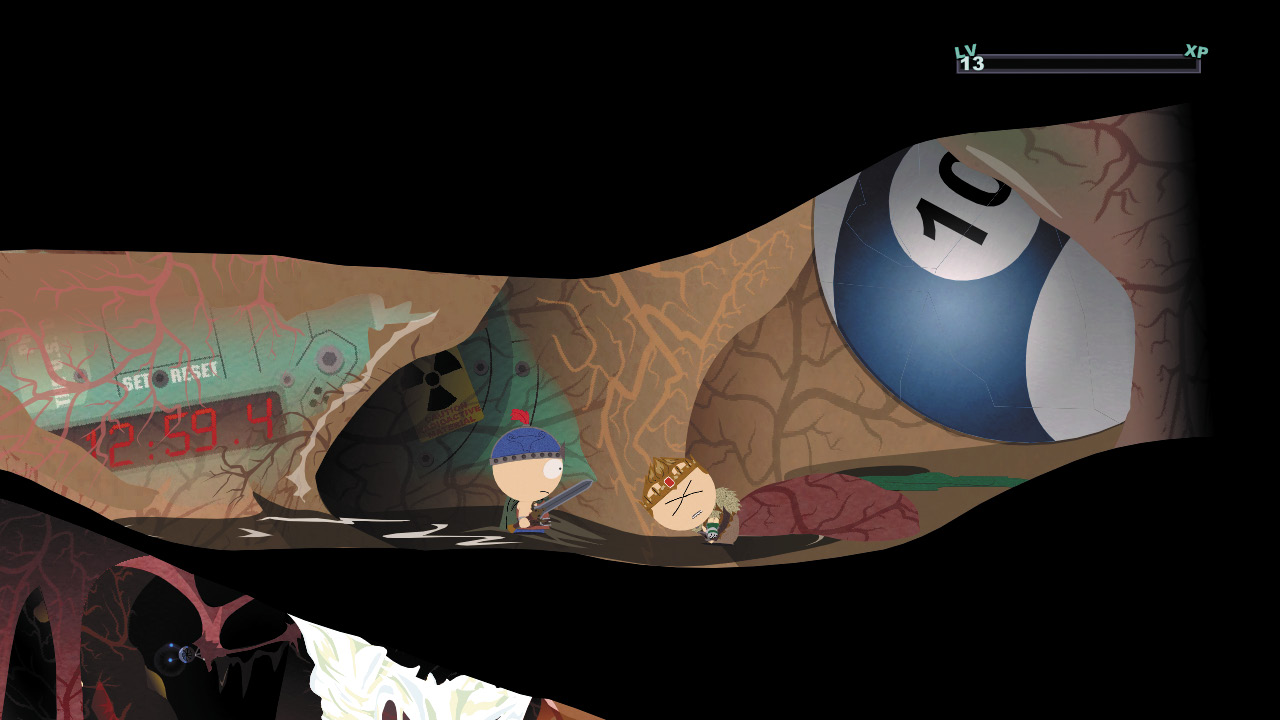
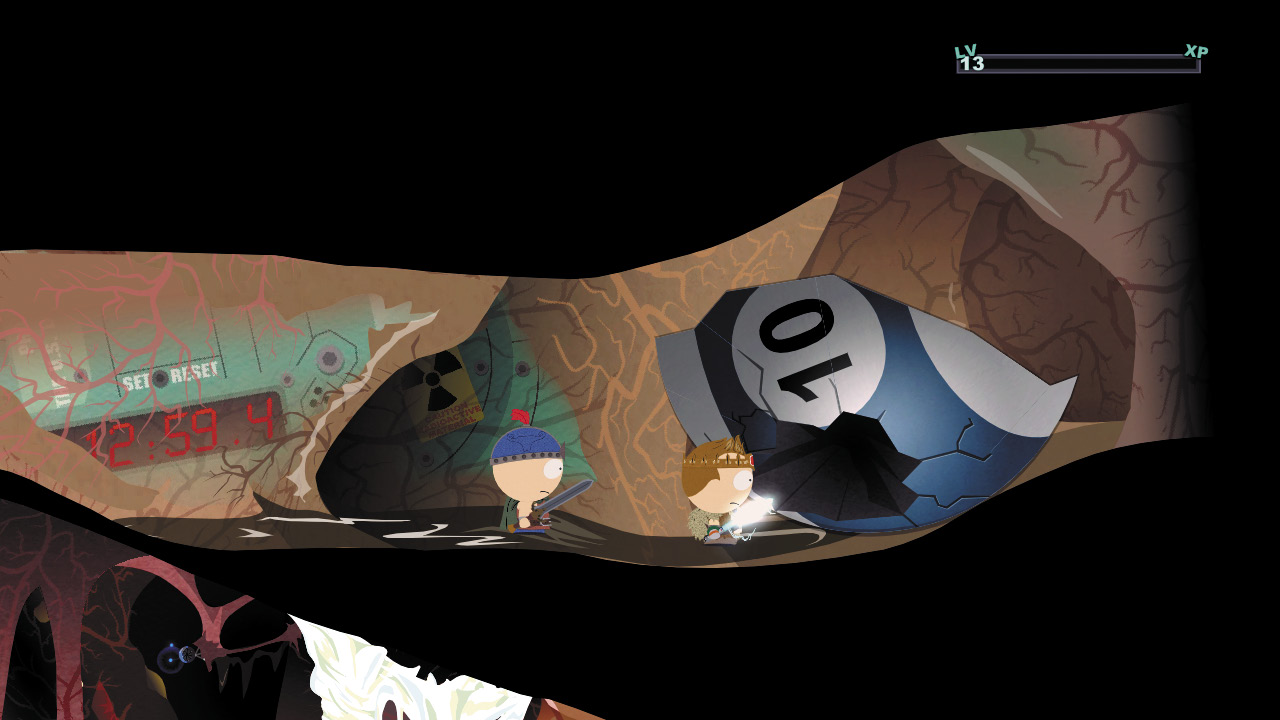
The next section is blocked by a pool ball. You can only dislodge it with your Nagasaki ability. Get the pool ball shaking until it fractures and you can cut through the hole in its stripe.
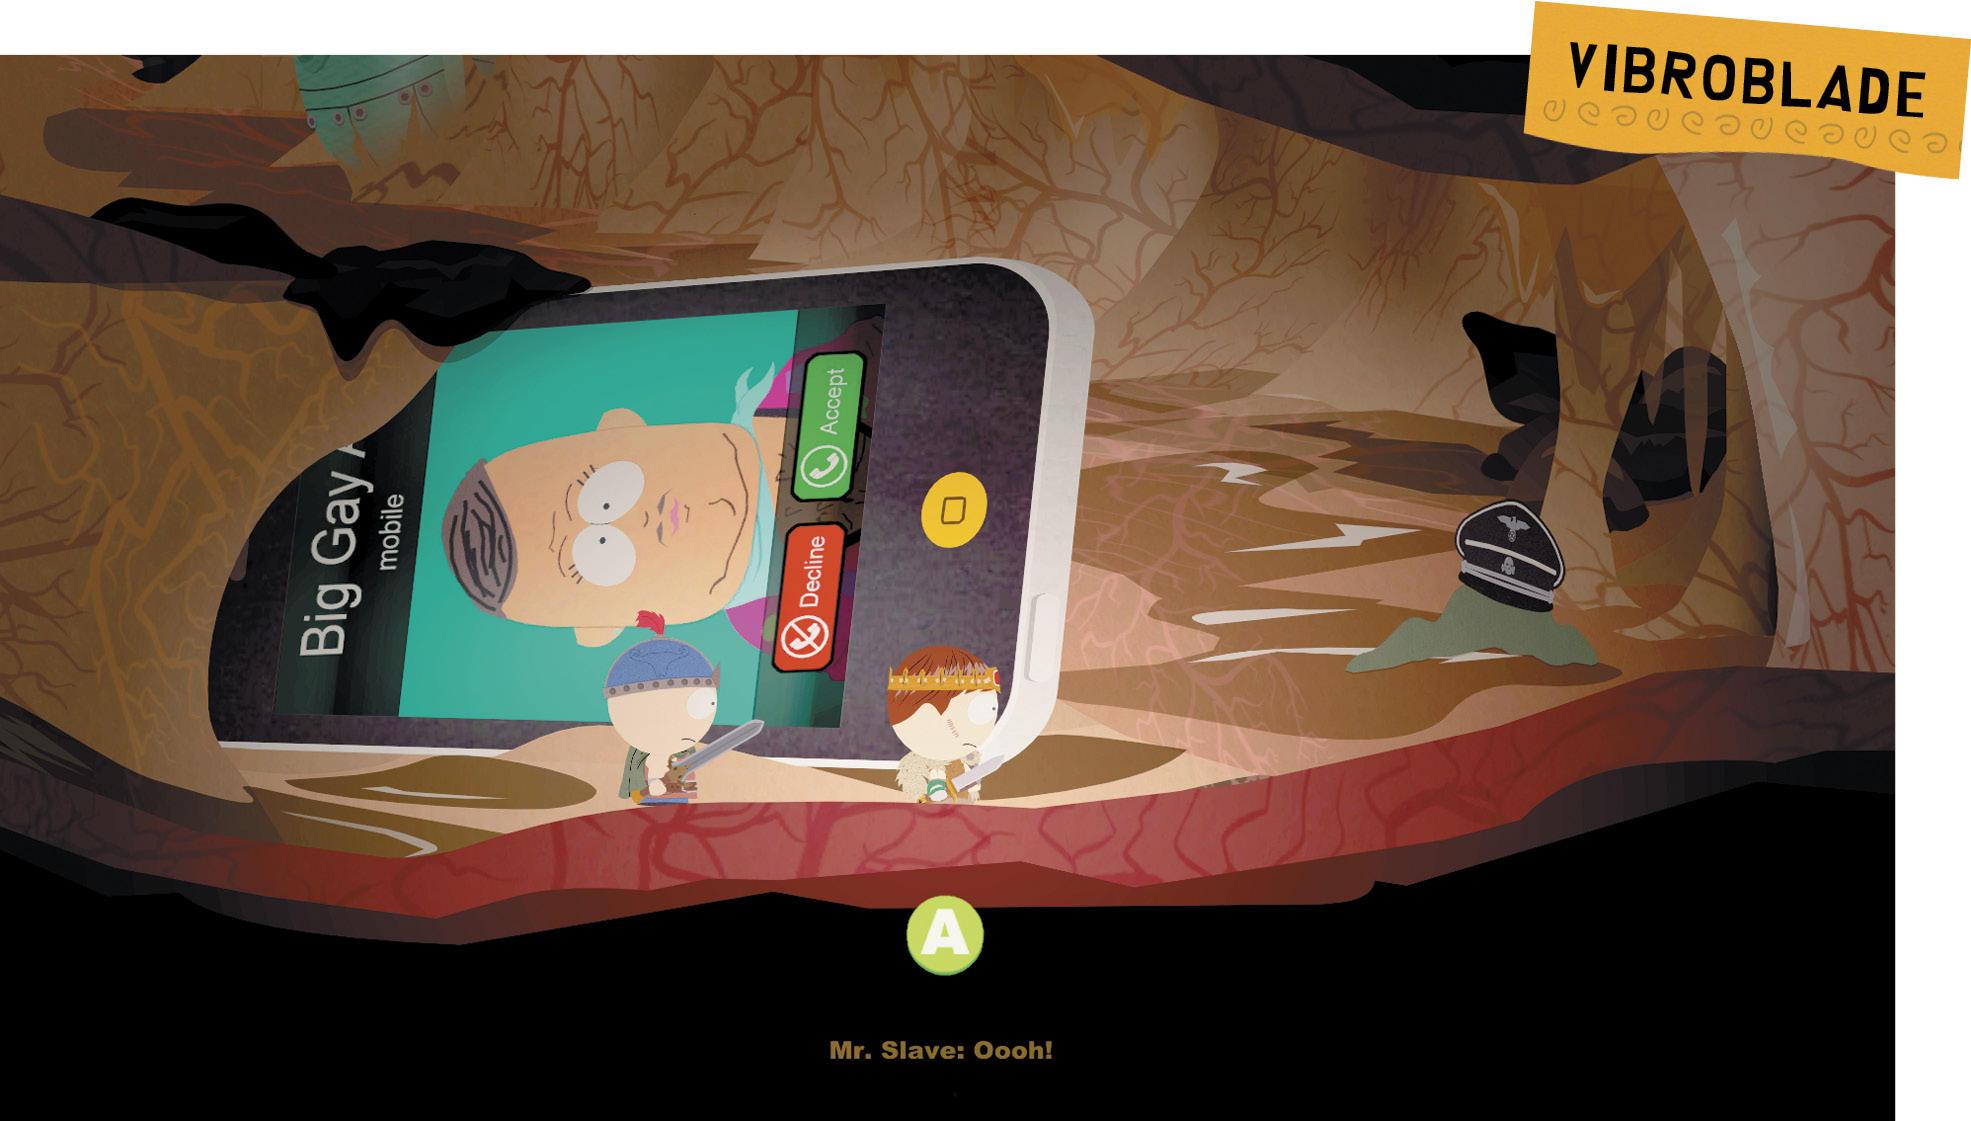
Nazi Zombie Bacteria swarm you in the body cavity with the cell phone stuck in the wall. As Big Gay Al calls in on the cell phone, Nazi Zombie Bacteria attack. Recover the Vibroblade from the Nazi Zombie Bacteria at the end of the battle, and answer Big Gay Al’s call to gain another friend.
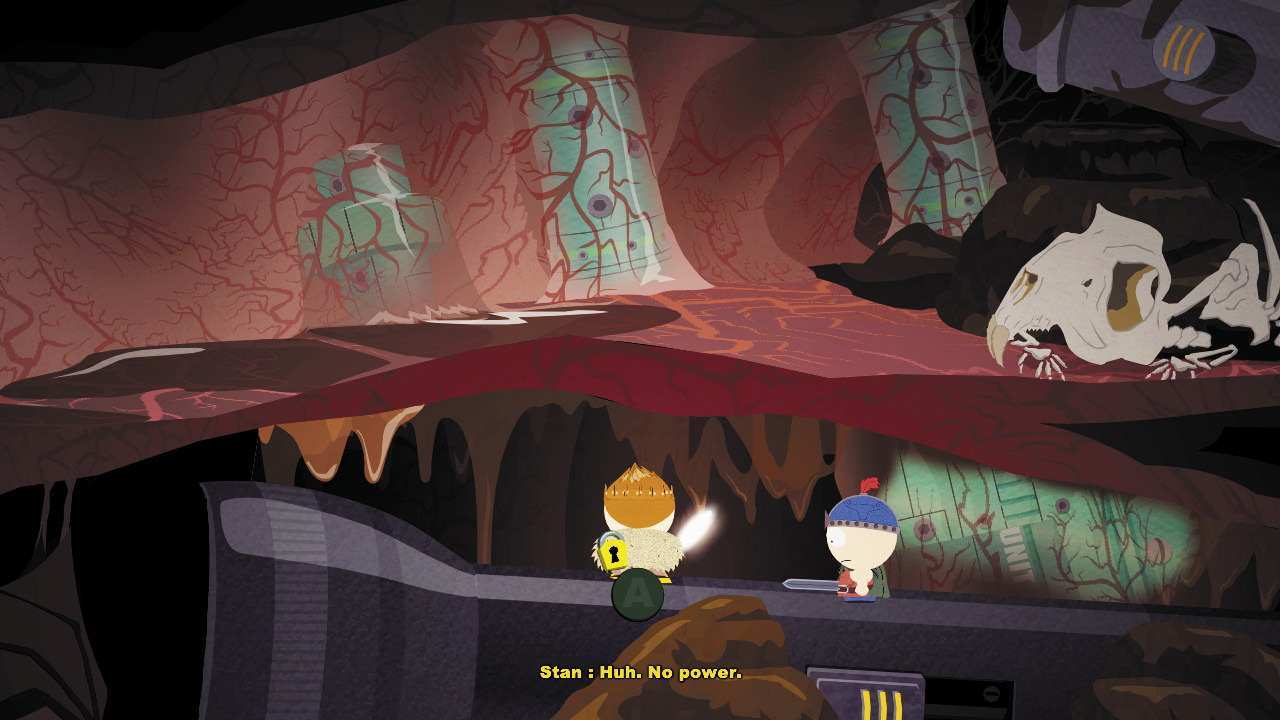
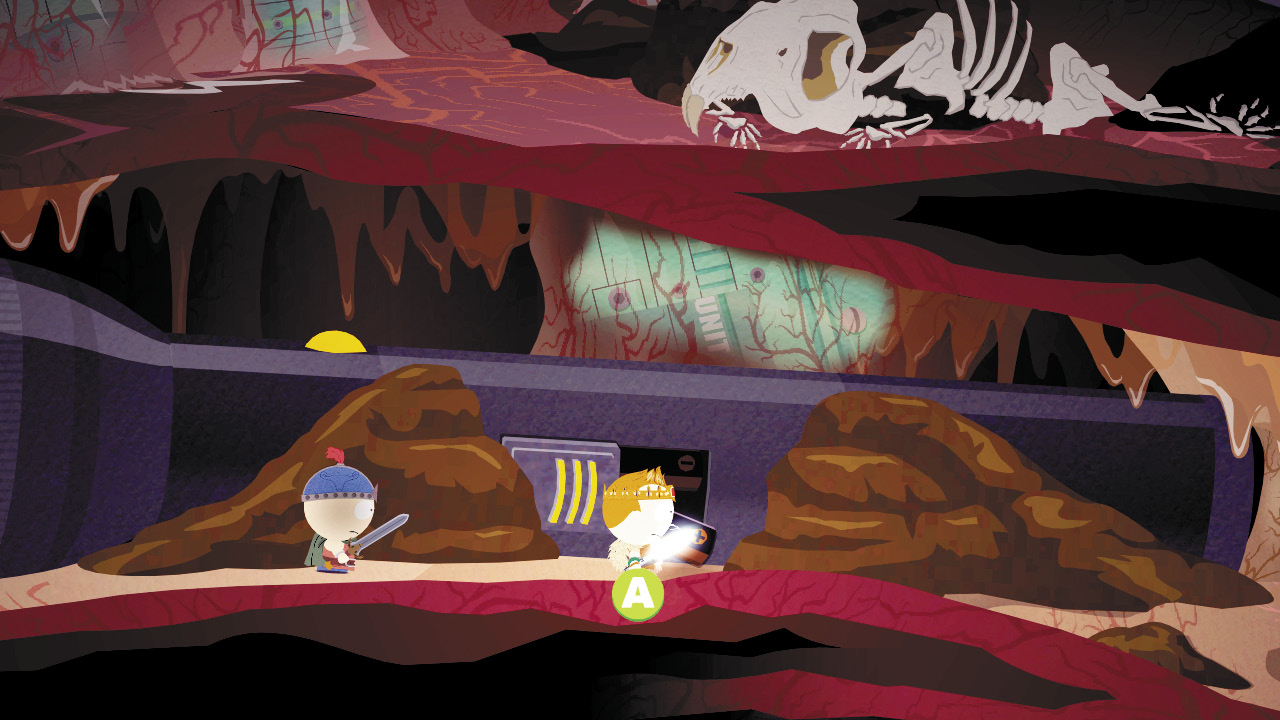
Climb atop the flashlight lodged in next section. It won’t turn on until you drop down to the battery compartment and stick in the batteries.
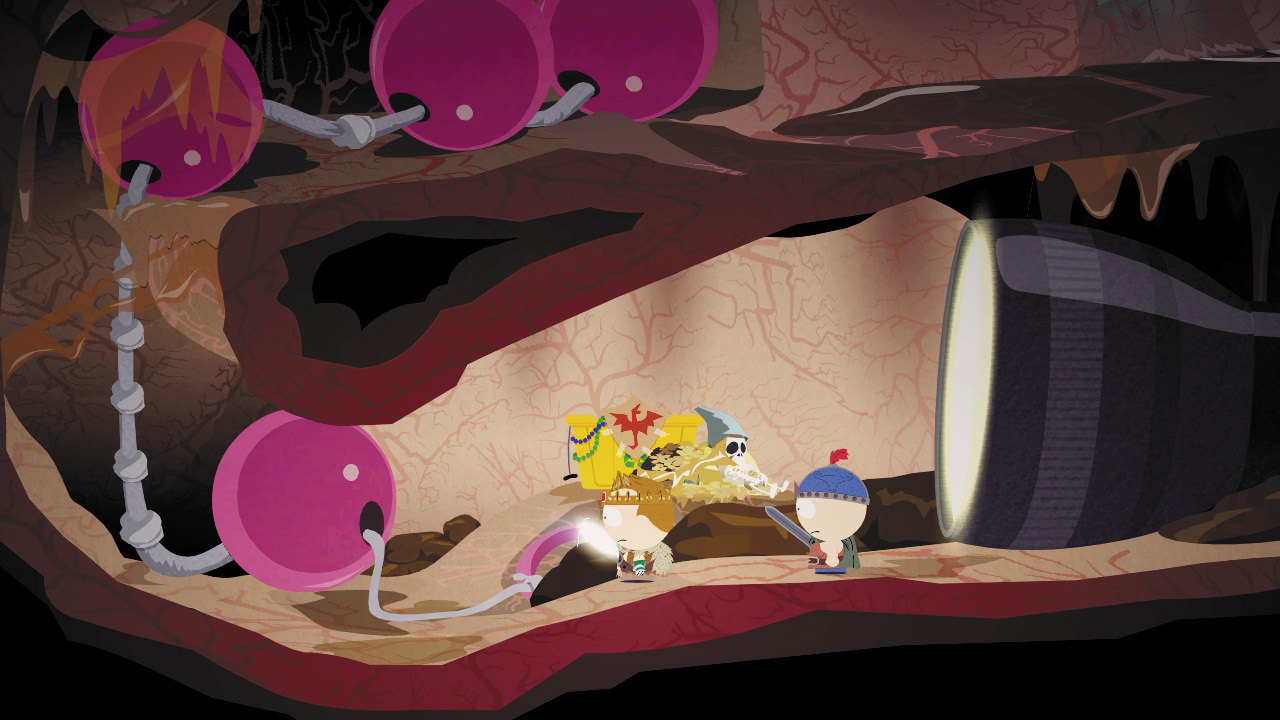
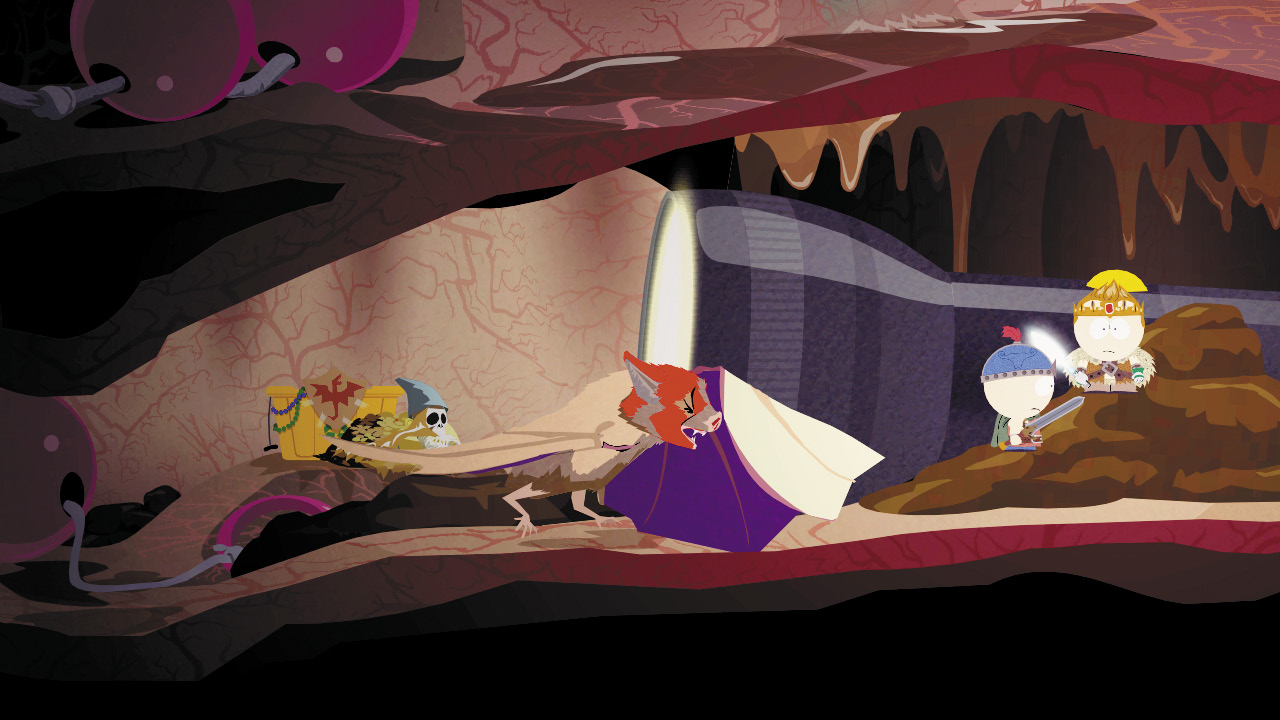
Turn the flashlight on. The sudden light disturbs a bat, who flies out of Mr. Slave’s ass and escapes.
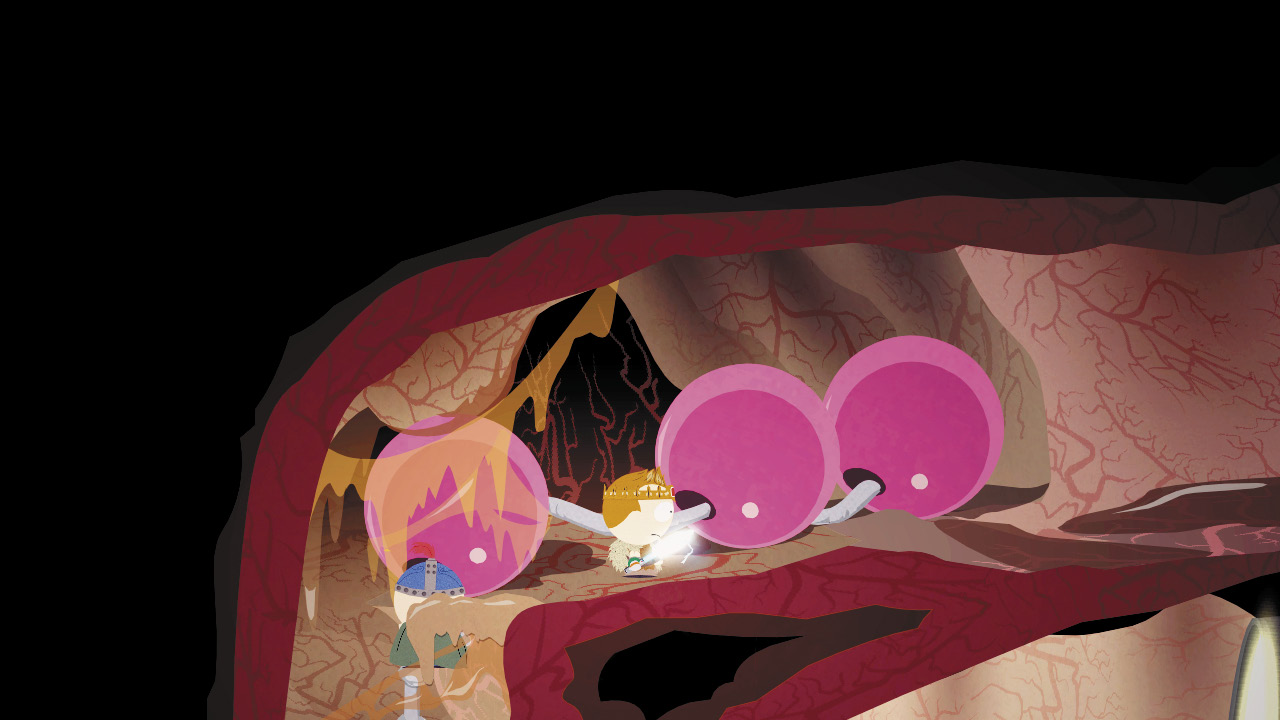
Collect the loot in the chest in front of the flashlight and then climb up the large, pink anal beads. Though your mind wants to think of the dark gooey substance on the beads as chocolate syrup, it’s not. Better not to think too hard at all.
 Loot Table: Mr. Slave's Ass
N = Not Junk / C = Collectable / Q = Quest Item / E = Equipment / D = Dye
| General Area | Location | Item | $$$ Value | N | C | Q | E | D |
|---|---|---|---|---|---|---|---|---|
| Large Intestine | Loot - Nazi Zombie Bacteria near phone | Vibroblade (Melee) | $33.80 | o | o | o | ||
| Large Intestine | Loot - Nazi Zombie Bacteria near phone | Fungus Patch (Patch) | $2.00 | o | o | |||
| Large Intestine | Loot - Nazi Zombie Bacteria near phone | Cash | $0.60 | o | ||||
| Large Intestine | Loot - Nazi Zombie Bacteria near phone | Health Potion (Small) | $0.20 | o | ||||
| Large Intestine | Loot - Nazi Zombie Bacteria near phone | Armband | $0.30 | |||||
| Large Intestine | Loot - Nazi Zombie Bacteria near phone | Glowing Goo | $0.35 | |||||
| Large Intestine | Loot bag near phone | Health Potion (Large) | $1.00 | o | ||||
| Large Intestine | Loot bag near phone | Mana Potion (Large) | $1.50 | o | ||||
| Large Intestine | Loot bag near phone | Strength Potion | $0.40 | o | ||||
| Large Intestine | Chest near flashlight | Cash | $1.10 | o | ||||
| Large Intestine | Chest near flashlight | Condom Cap (Head) | $4.00 | o | o | o | ||
| Large Intestine | Chest near flashlight | Ghost Pepper (Patch) | $2.00 | o | o | |||
| Large Intestine | Loot - SWAT Marksman | Tactical Armor Pad (Patch) | $4.00 | o | o | |||
| Large Intestine | Loot - SWAT Marksman | Cash | $0.50 | o | ||||
| Large Intestine | Loot - SWAT Marksman | Power Potion | $0.40 | o | ||||
| Large Intestine | Loot - SWAT Marksman | The Poop that Took a Pee | $0.60 | |||||
| Stomach | Loot bag | Revive Potion | $0.60 | o | ||||
| Stomach | Loot bag | Brown Badge of Courage (Patch) | $4.00 | o | o | |||
| Stomach | Loot bag | Torn Condom | $0.07 |
Sparrow Prince and Catatafish
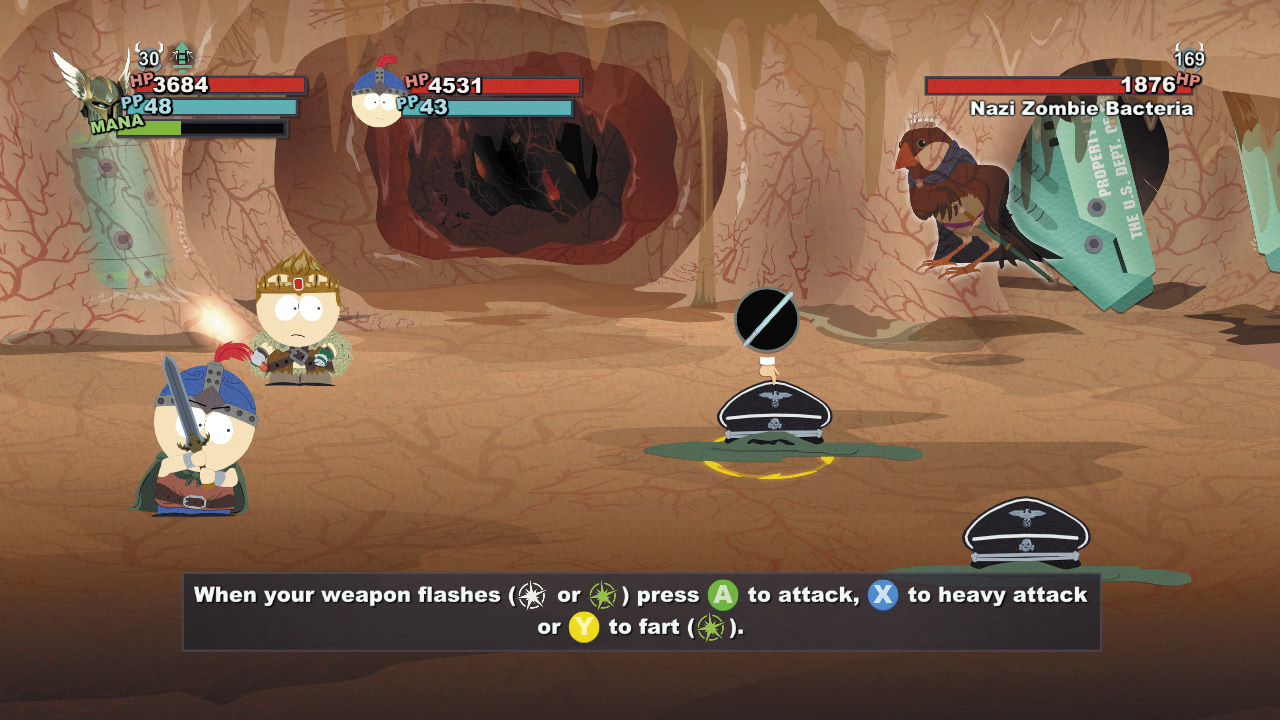
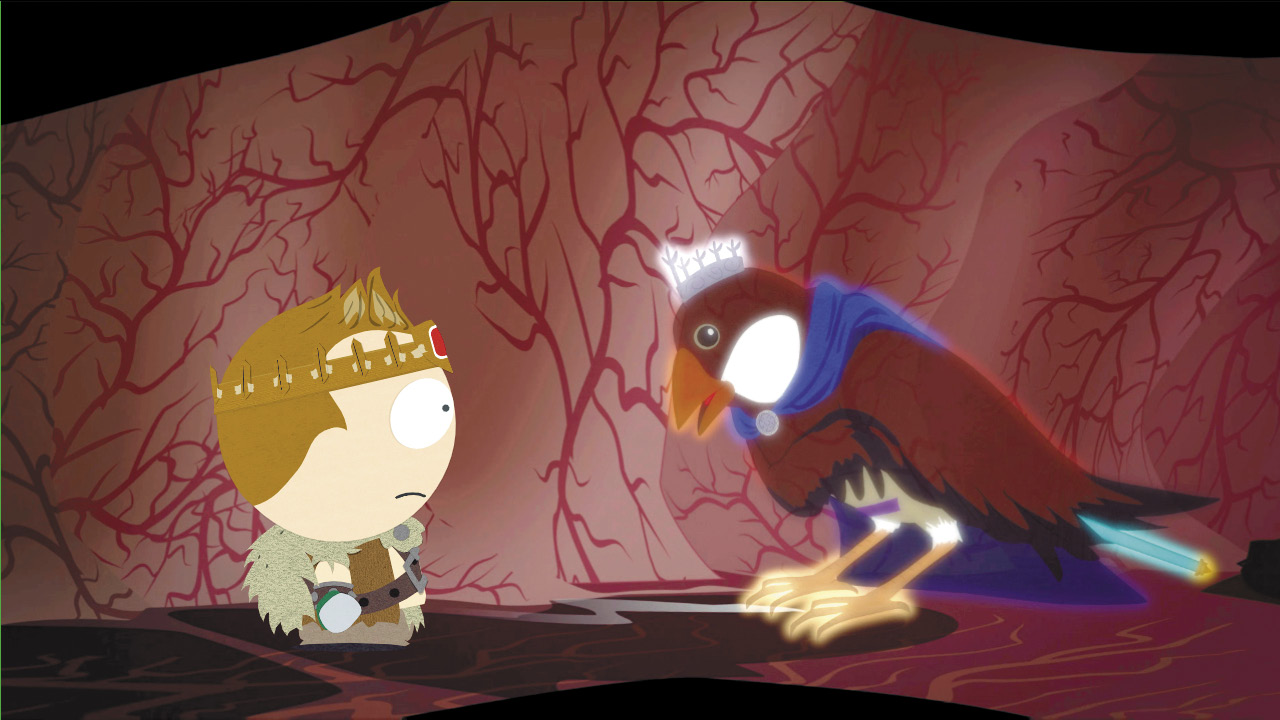
You meet up with the Sparrow Prince in the next section. You must defeat the Sparrow Prince and his Nazi Zombie Bacteria lackeys to continue. Kill the Bacteria first to get them out of the way. The Sparrow Prince’s death will take some time. Throw everything you’ve got at him until the only throne he’s likely to see soon is a flush down the toilet.
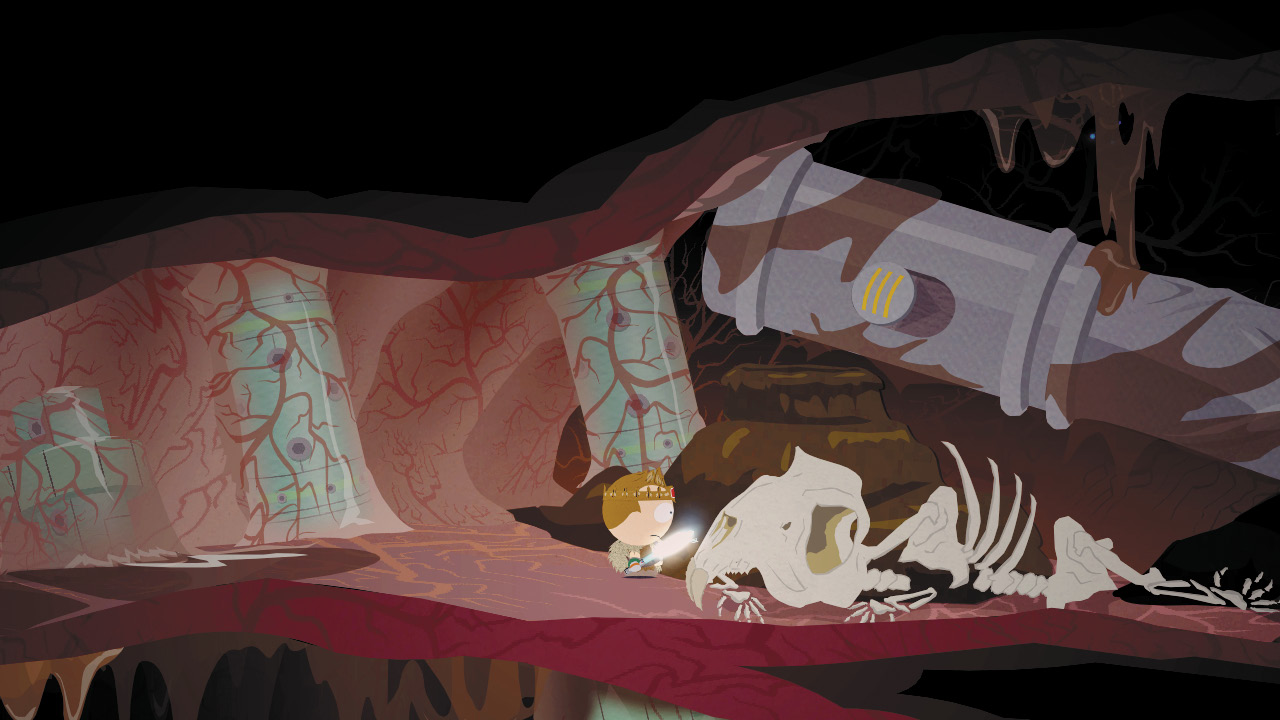
Walk forward until you reach the gerbil bones. Give a nice crack to shatter them into pieces and continue to the dildo.
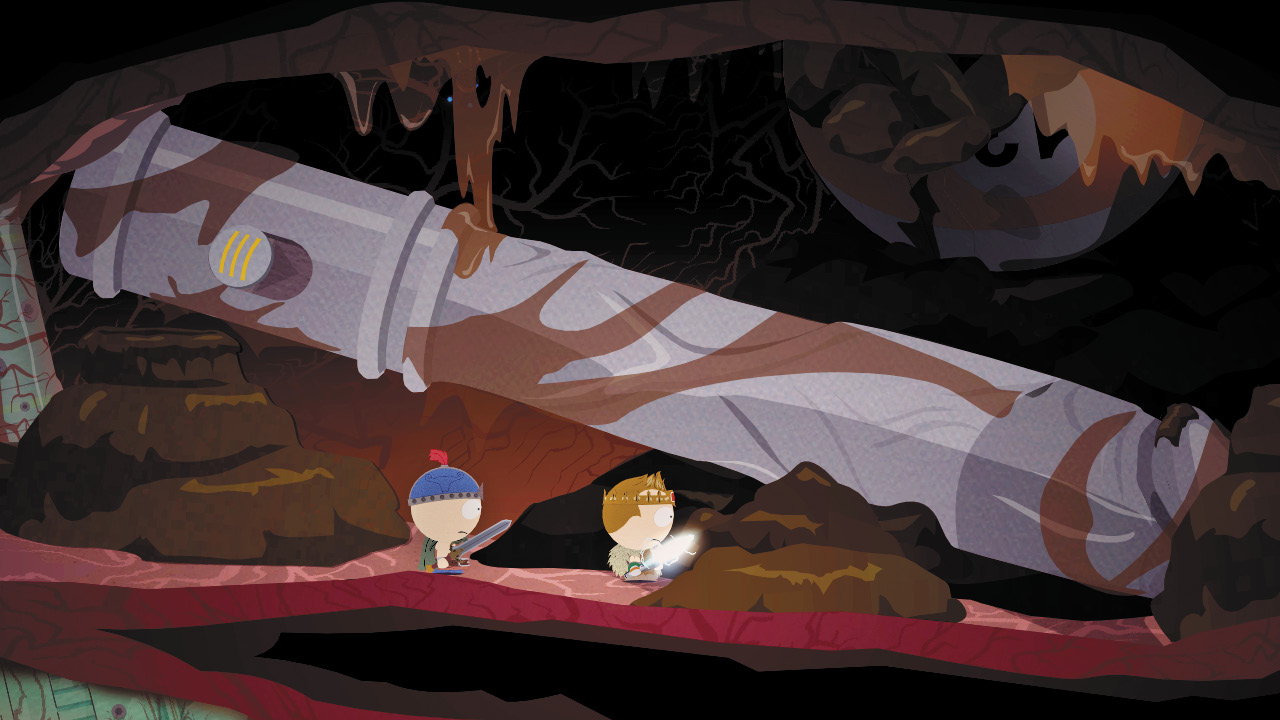
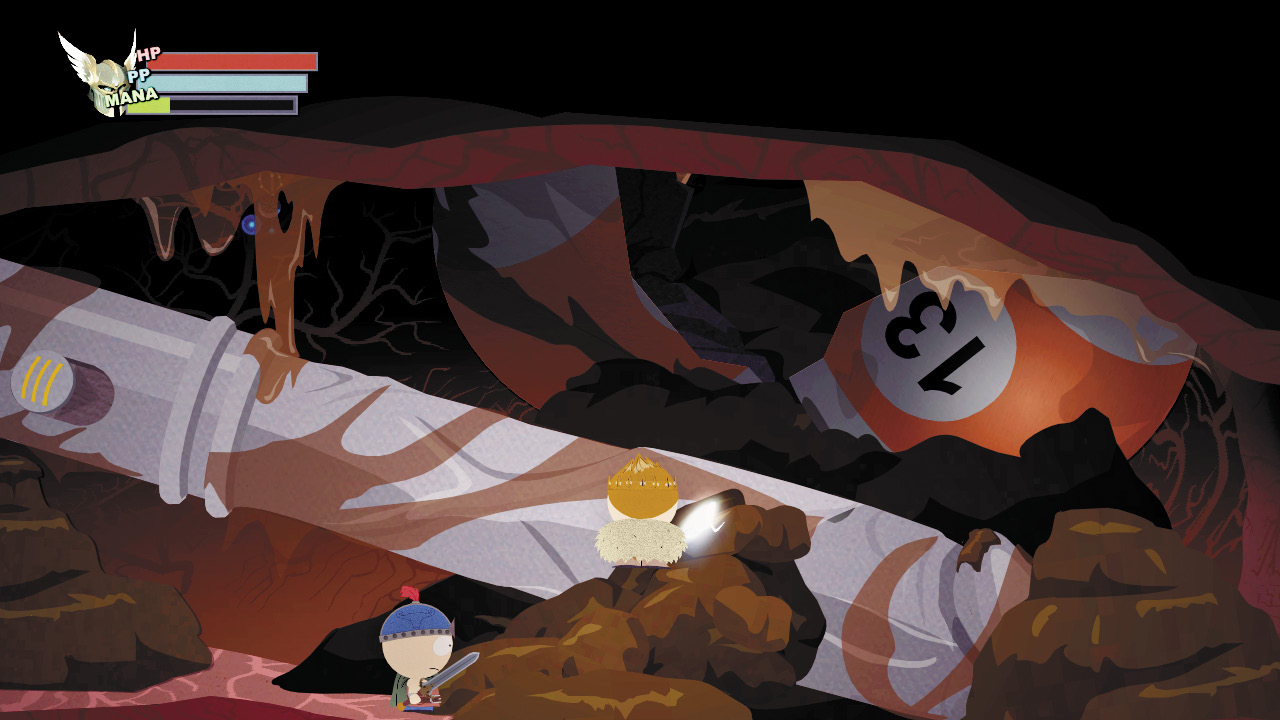
You can’t get atop the dildo until you dislodge some of the shit it’s stuck in. Lucky for you, Mr. Slave has another pool ball wedged into his vast rectum. Nagasaki the pool ball to split it open and create a new ramp for you to climb up on the dildo.
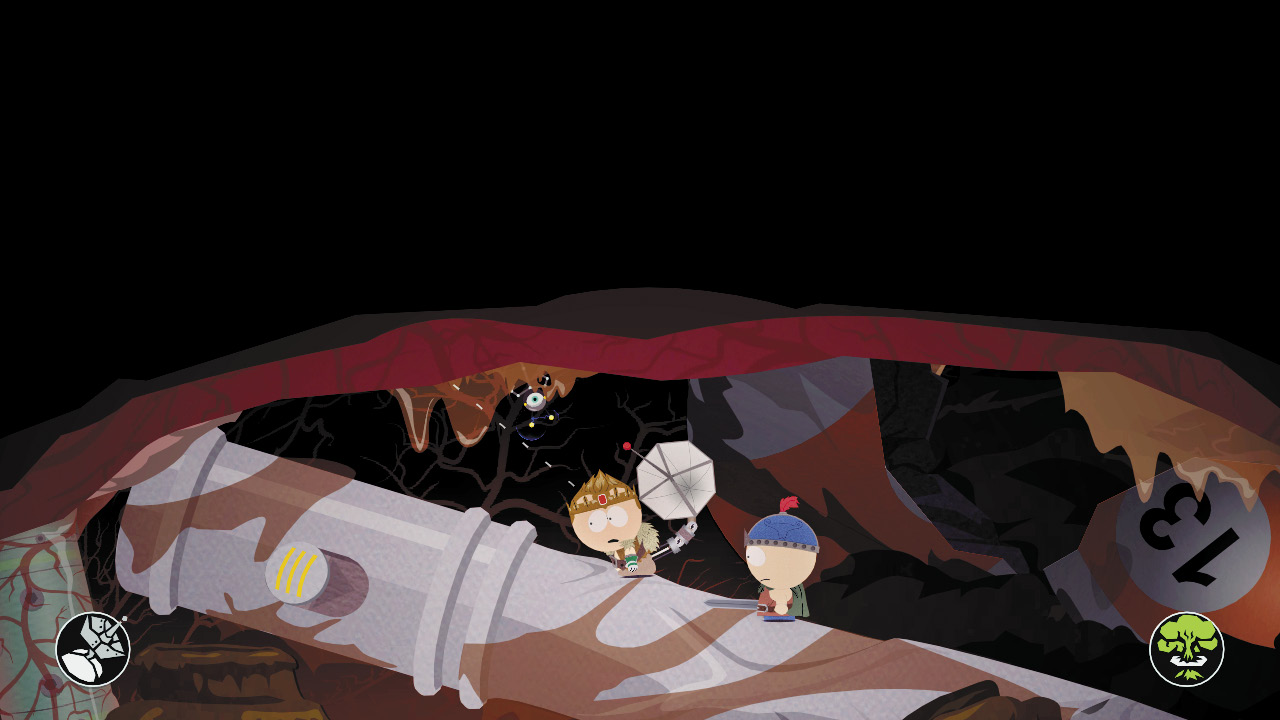
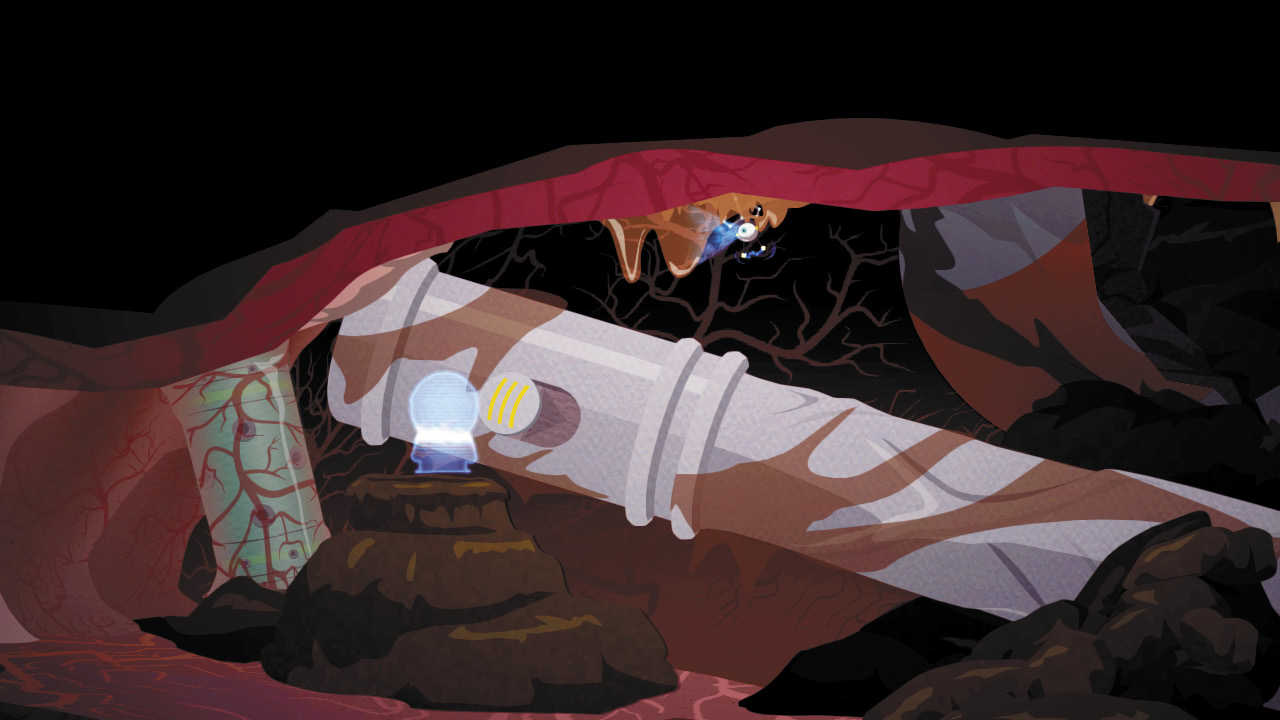
Hit the semen hanging in front of the robotic eye at the top of dildo. Use your alien probe to beam down to the ledge next to the dildo’s switch.
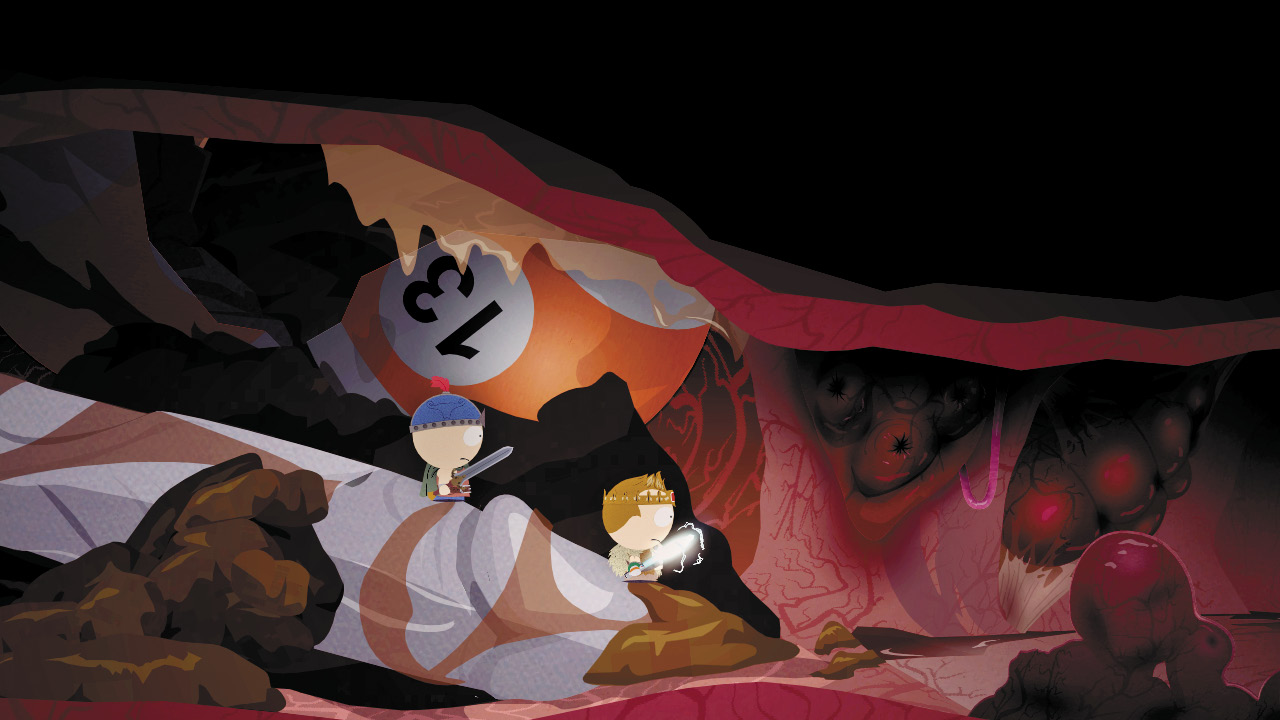
Turn the dildo on. It burrows through the blockage and creates a new passage for you to try. Put as much distance as you can between this ugly scene and the next section ahead.
|
“Yeah, but how come we always get the shit jobs. Go clean up the barracks, go round up the civilians in their home. Go up a gay man’s butthole and guard against intruders. Fuckin’ sucks.” —Government Guard |
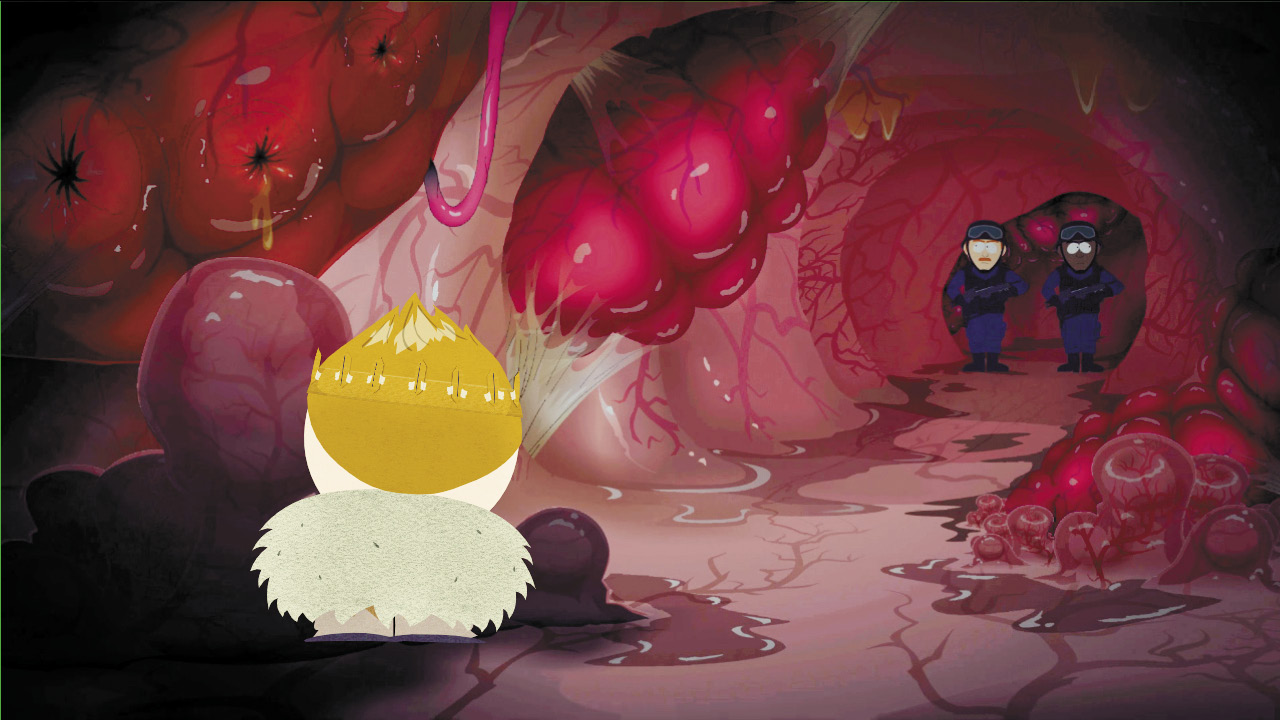
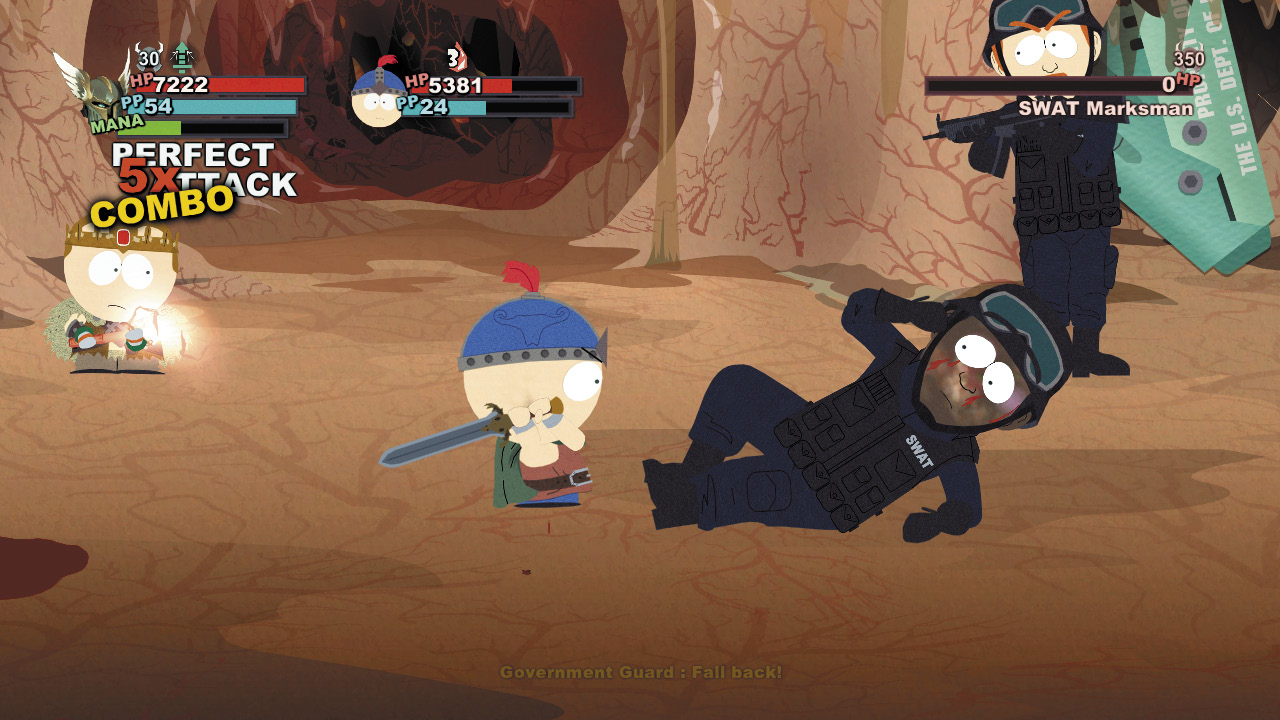
Two SWAT Marksmen intercept you as you near the Snuke. They aren’t happy to be here, and they’re going to be less happy when you give them a thrashing.
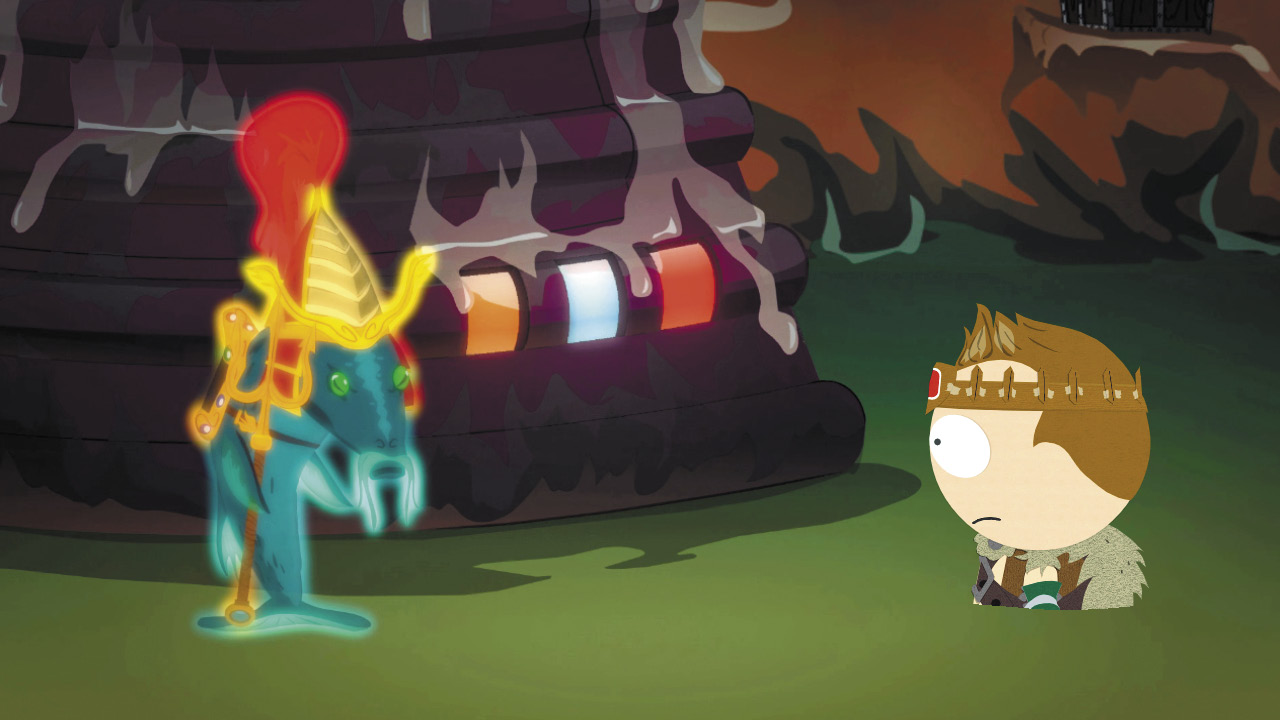
Continue into the stomach. Catatafish appears and tells you that he was unsuccessful in turning off the trigger on the Snuke’s thermonuclear device, so it’s up to you. No pressure, dude.
Disarm or Die
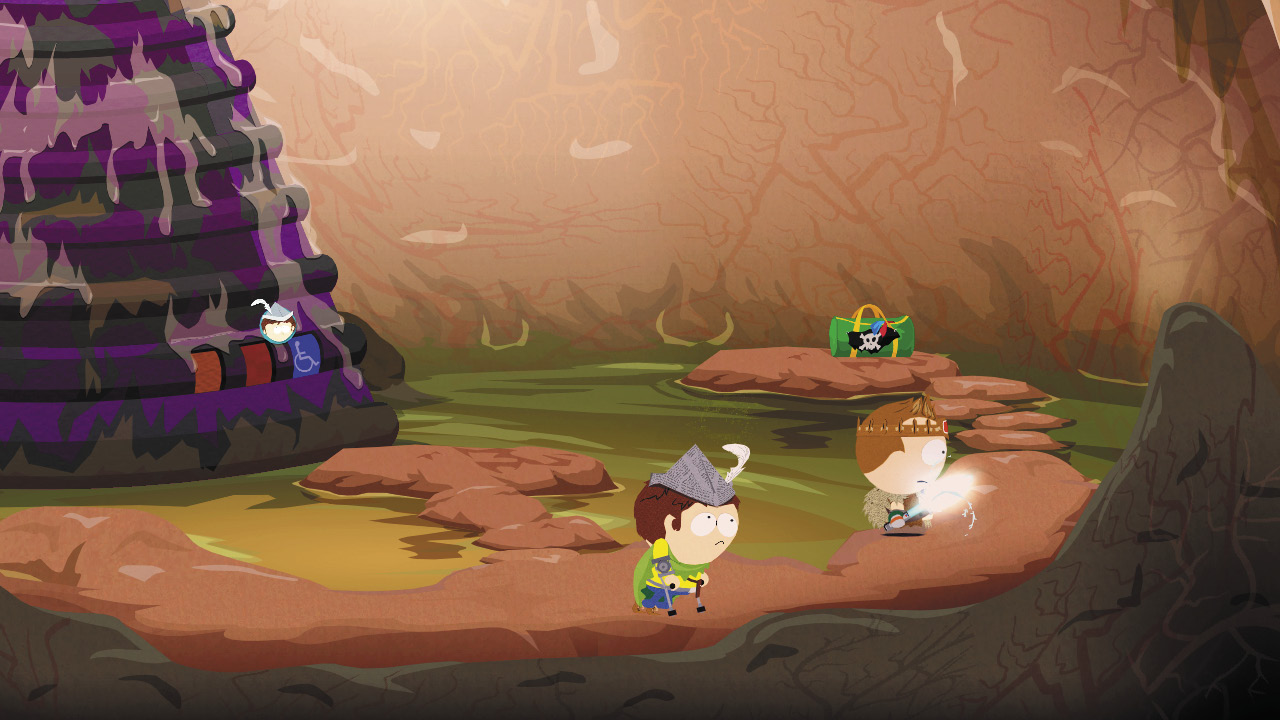
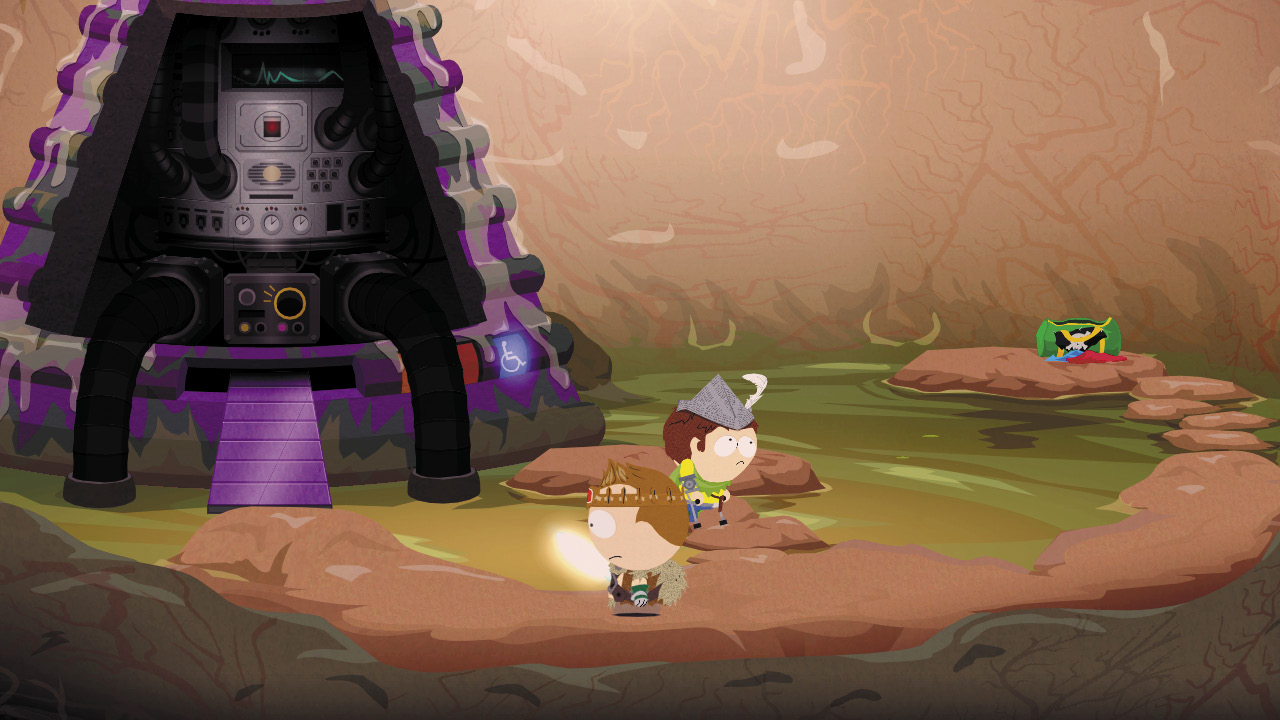
Call Jimmy into your party and command him to access the handicap button on the Snuke. The ramp lowers so you can access the deactivation controls. Might as well dump the loot in the nearby duffel bag into your pockets; it may be the last loot you see if you do this next bit wrong.
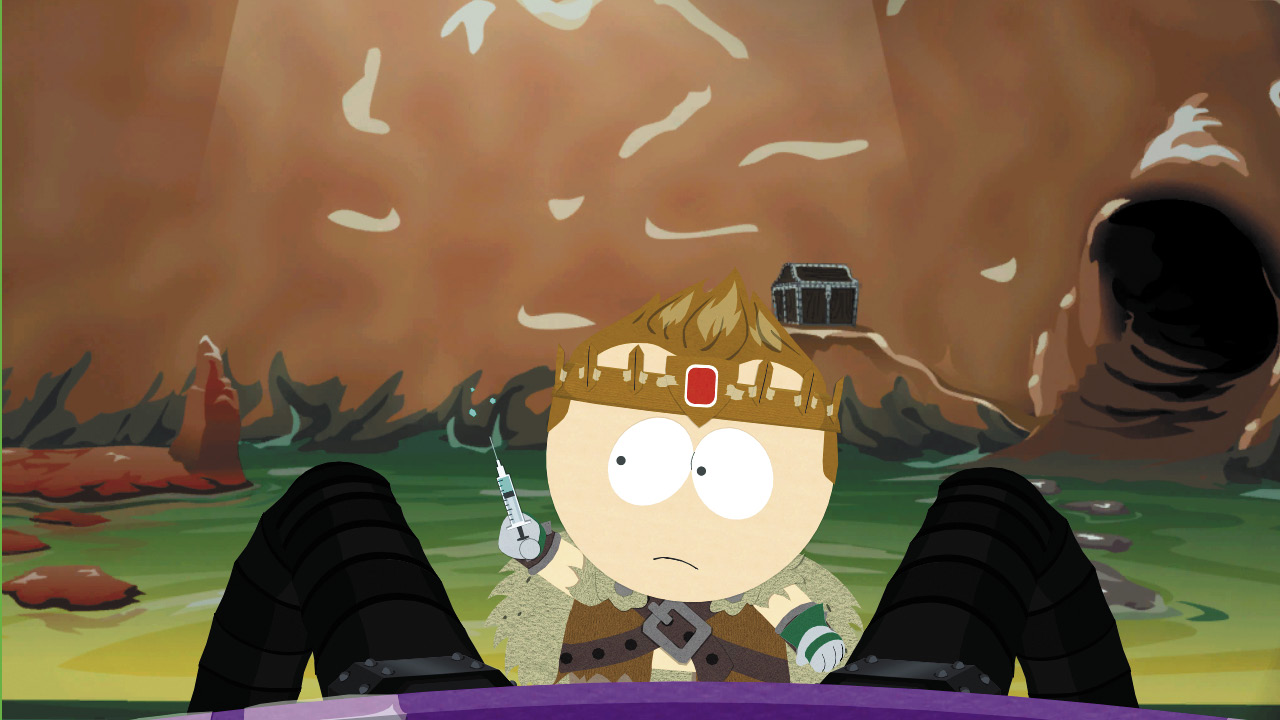
As in the abortion mini-game you practiced on back in the clinic, you must administer a needle to the Snuke’s innards. Stick it in when your gauge is in the safe zone.
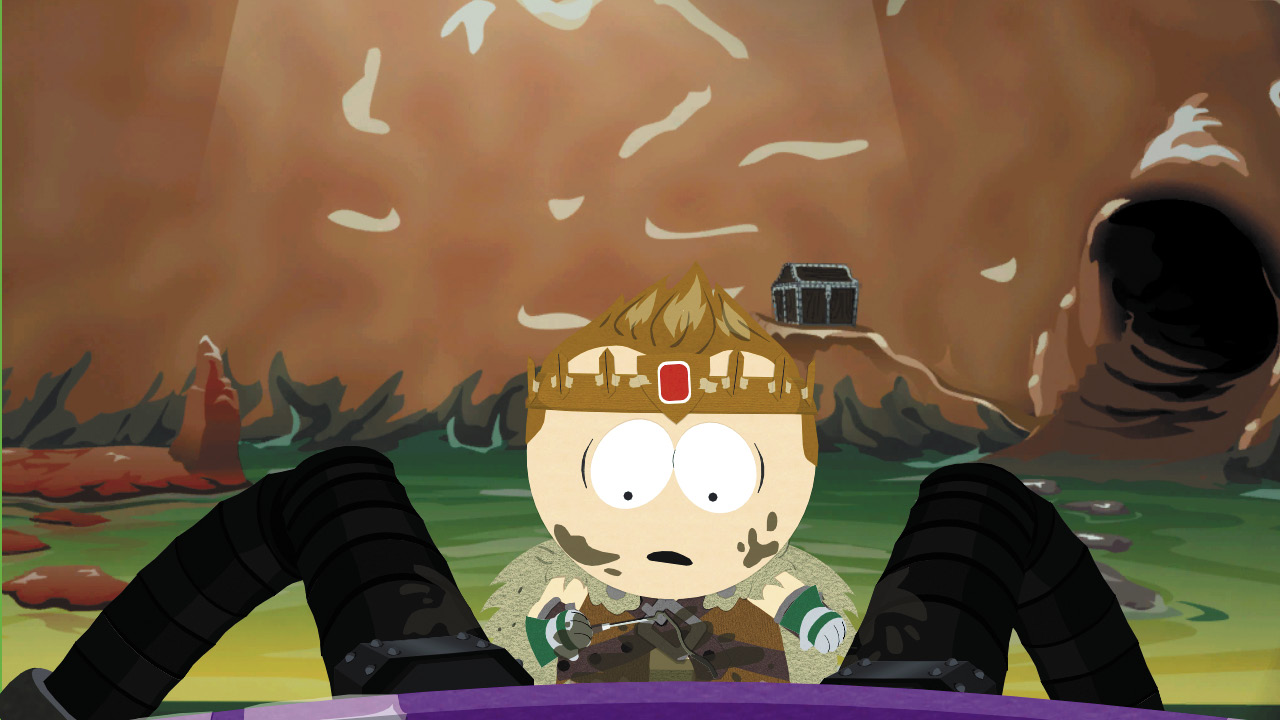
Again, tap into your training as an abortion doctor and wiggle the stick around in the Snuke until your meter is full. Two procedures down, one to go. Just don’t make a mistake now.

Wait, that’s not supposed to happen! If you accidentally set off the Snuke, boom—it’s game over. Reload and try again with steadier hands.
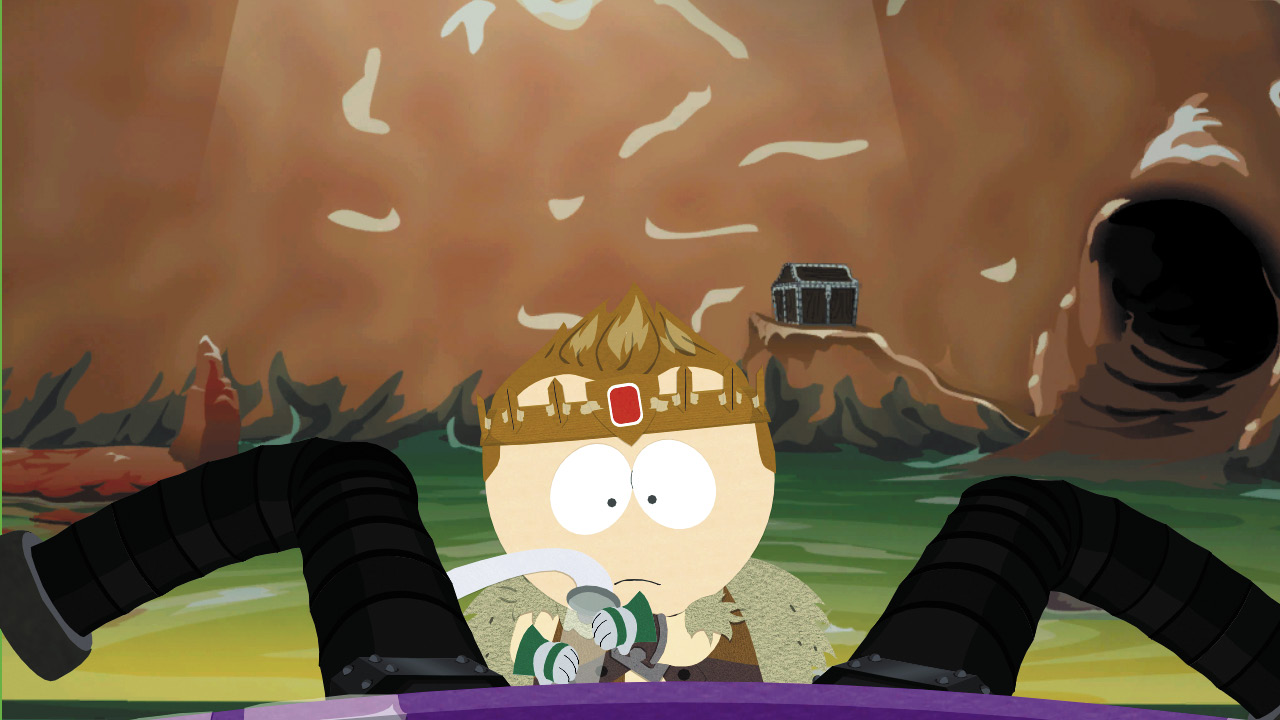
Vacuum out the Snuke for the third procedure. Stop each time a chip gets stuck in the vacuum.
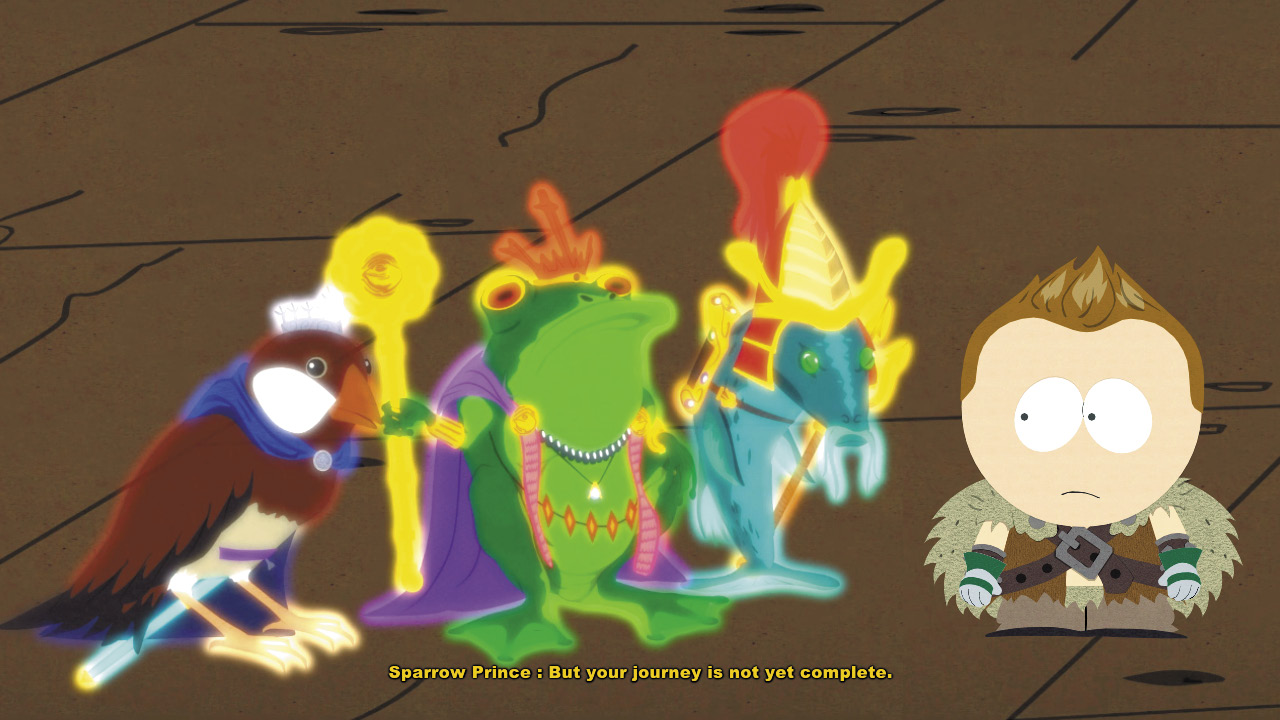
Perform all three procedures well and you not only deactivate the Snuke, but you get shot out Mr. Slave’s ass to freedom. The three strange, glowing animals congratulate you and warn of further dangers ahead.
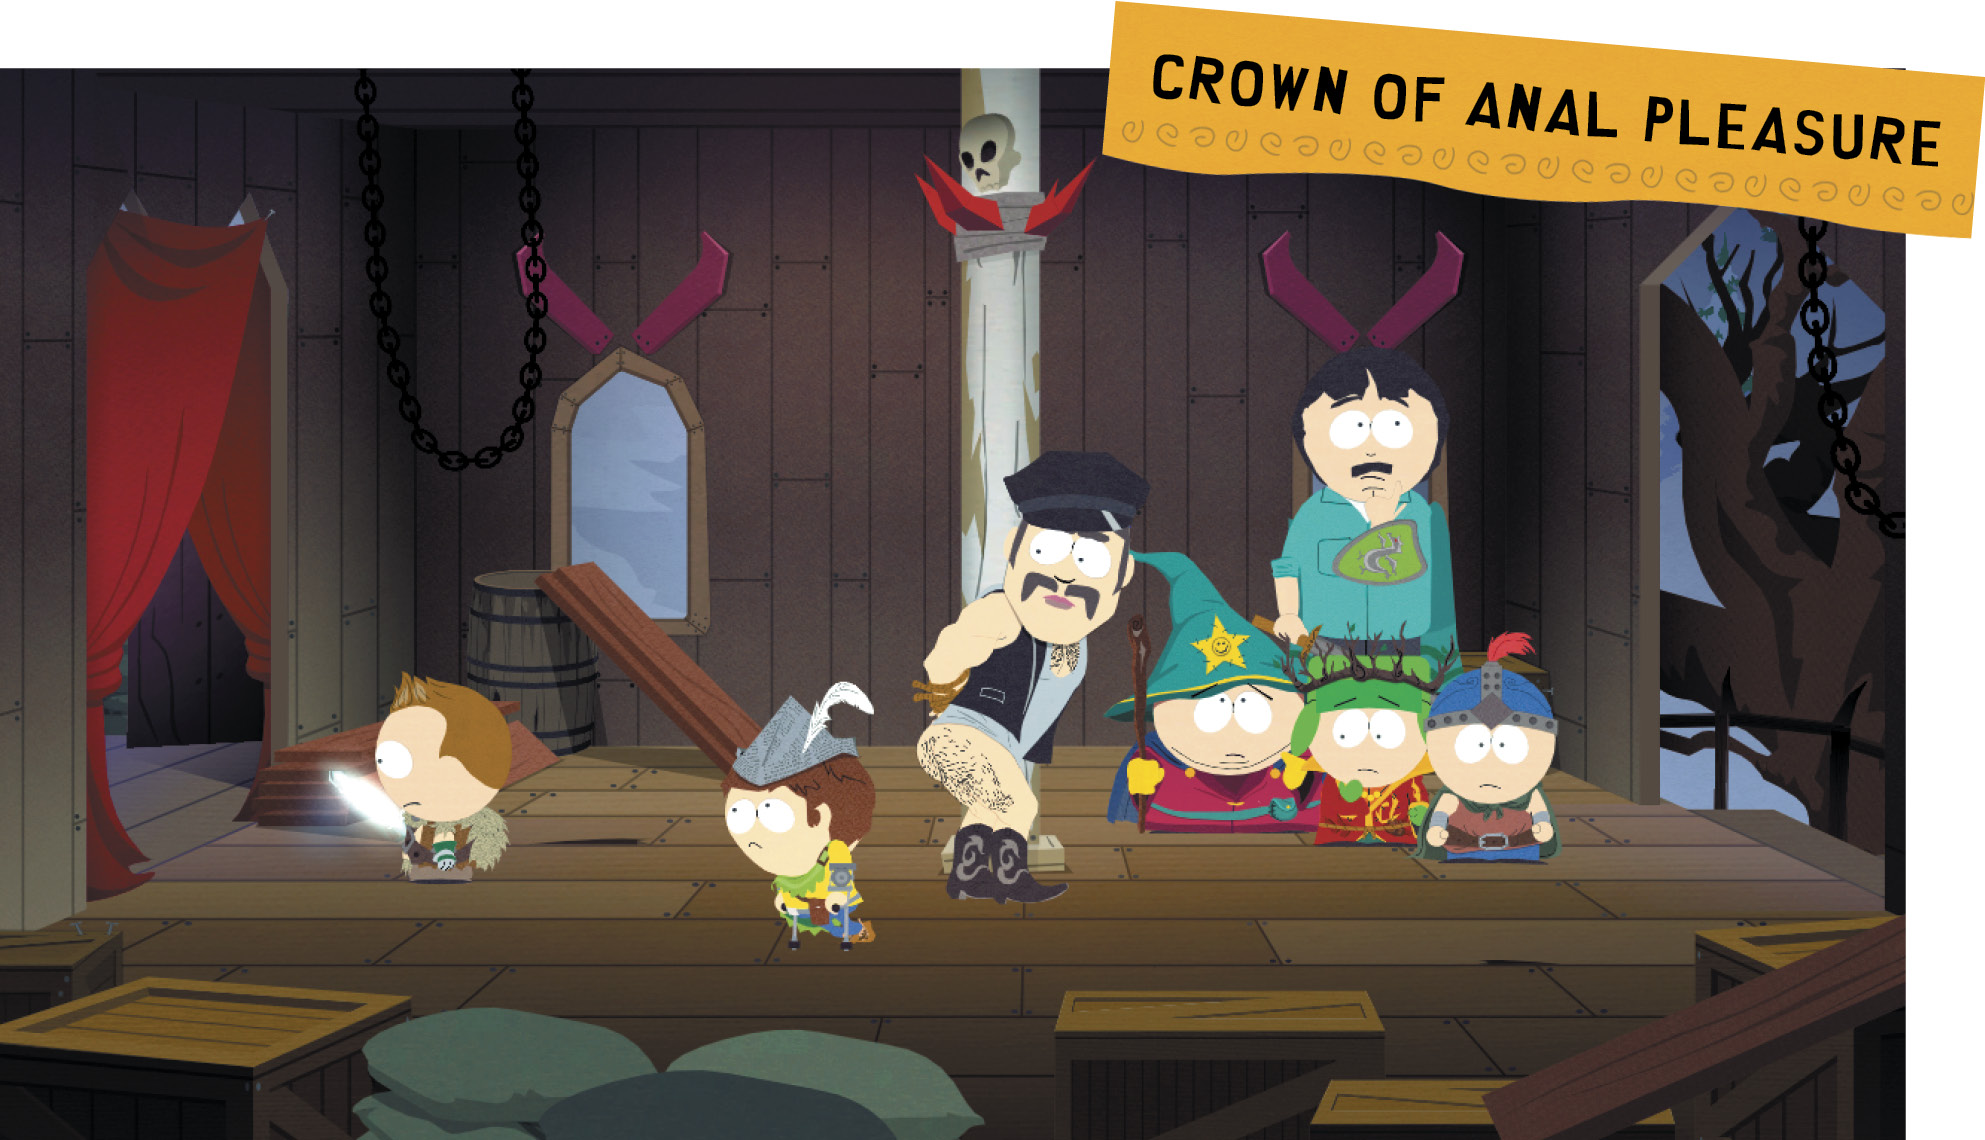
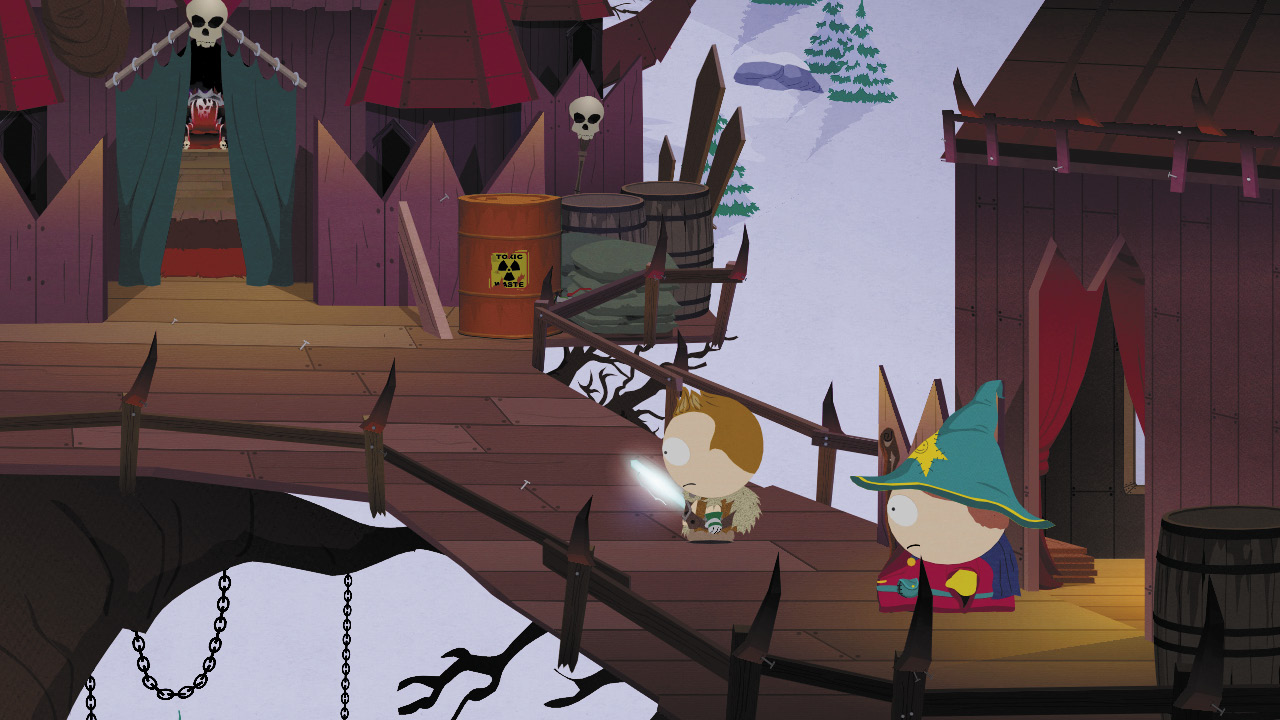
You all decide it’s time to put an end to Clyde’s mischief. Exit to the left and take the catwalk outside to the green curtains that open into the throne room. For escaping Mr. Slave’s ass, you are awarded the Crown of Anal Pleasure, one of the highest armor ratings for a helm in the game.
Beat Up, Clyde! No, for Real This Time!
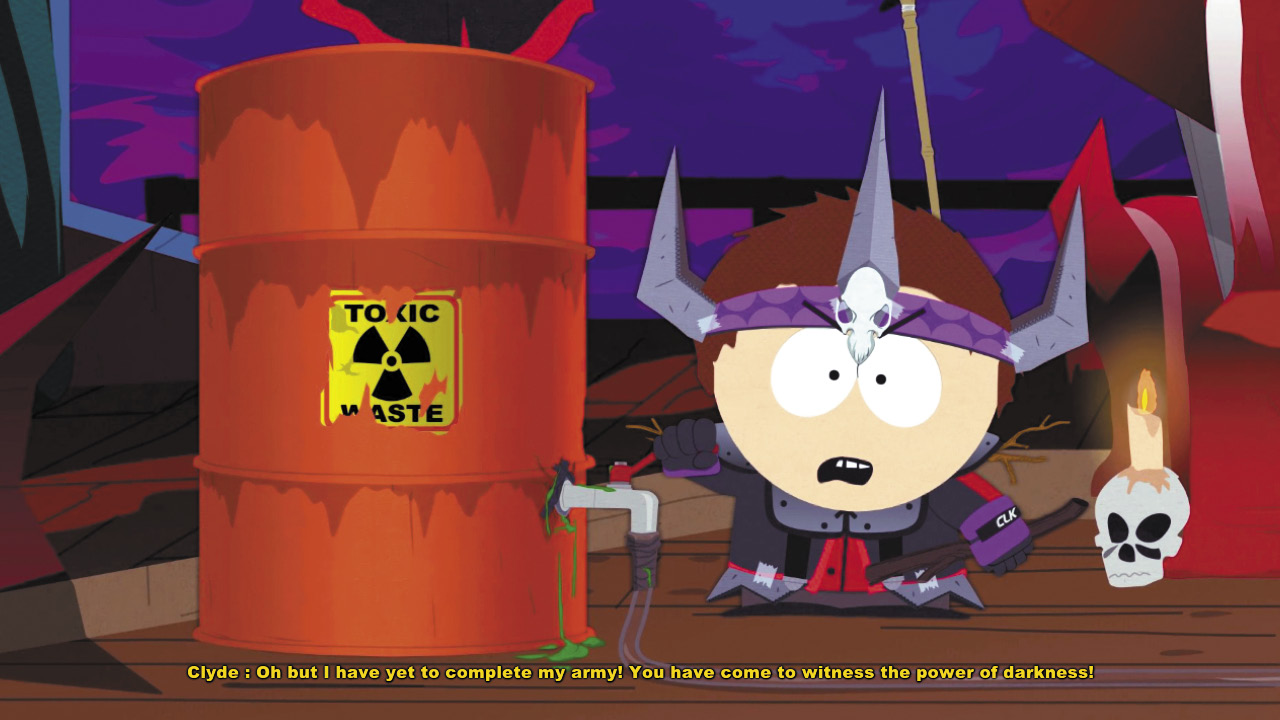
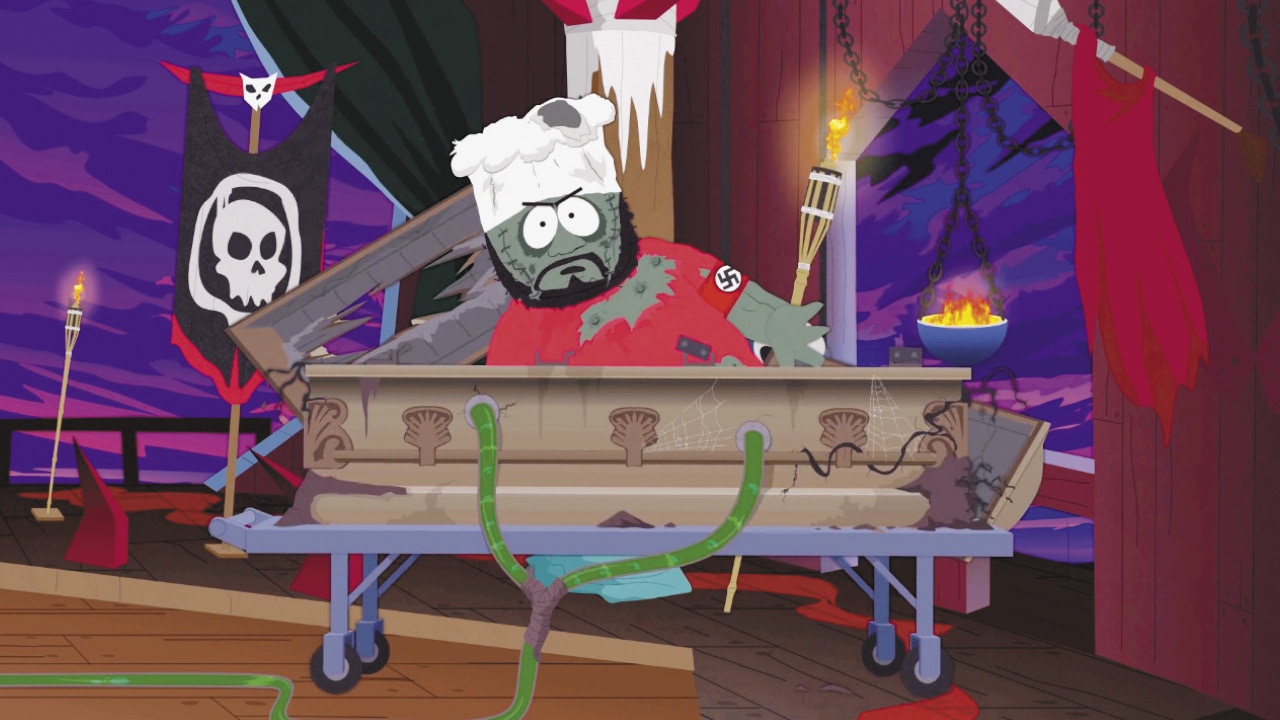
You finally corral Clyde in his throne room. He plans to use his Taco Bell sauce to turn the world into his personal army of darkness. When you explain to him that the green sauce isn’t from Taco Bell, he thinks you’re fools and pumps it into a nearby coffin. Out pops Nazi Zombie Chef to battle for him.
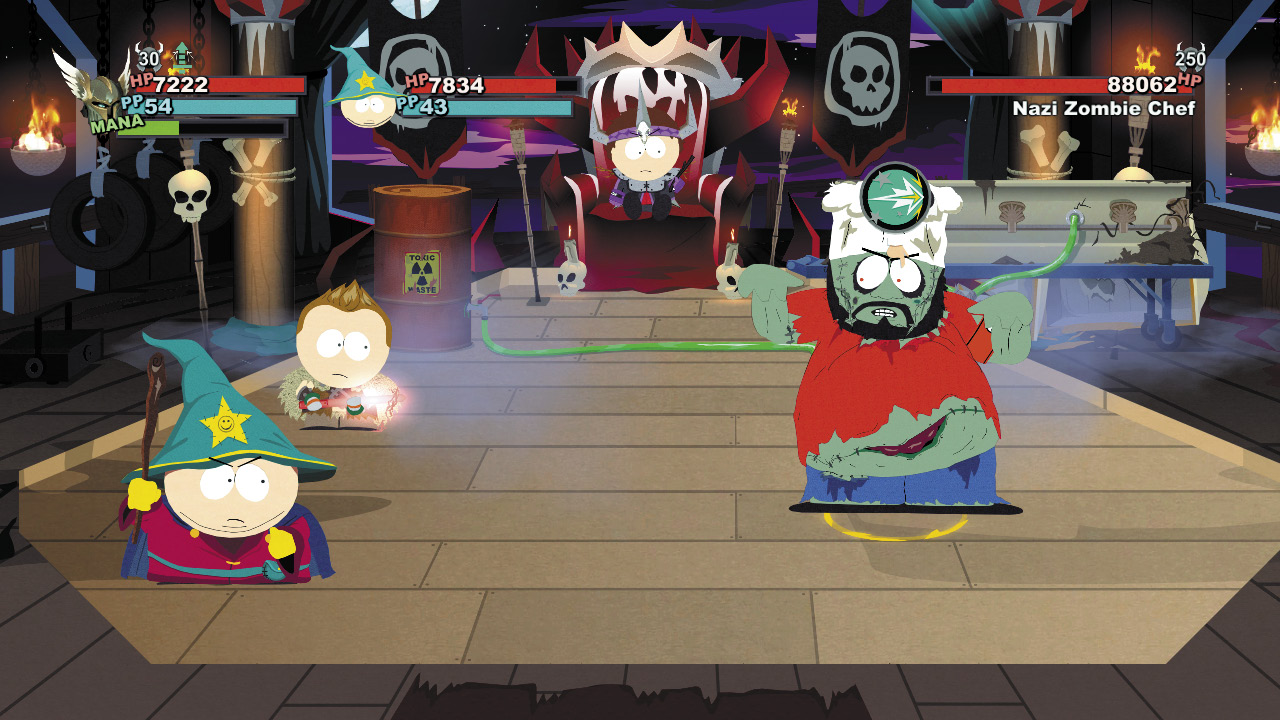
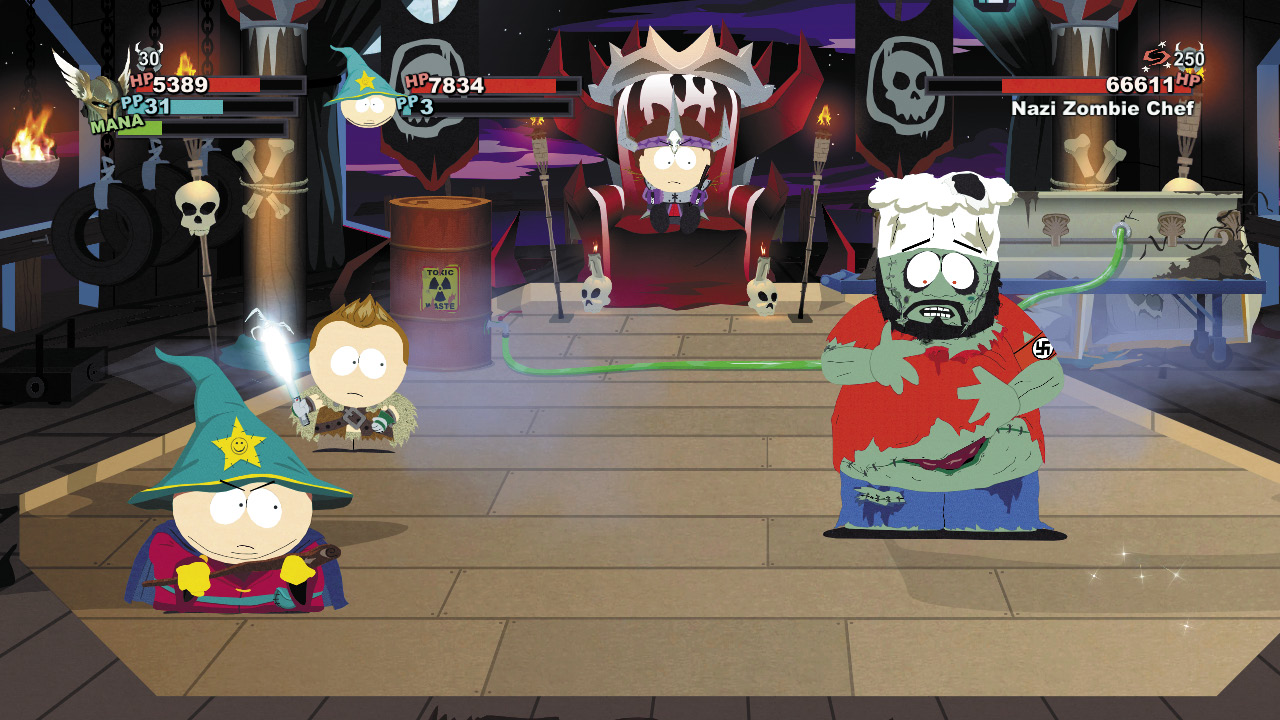
When we say Nazi Zombie Chef has a lot of hit points, we mean a lot, as your whole gang combined wouldn’t have as many as he does and only two of you are allowed to fight him. You may want to choose Cartman to deliver some of those mind-numbing Curses or his patented super-flaming ass attacks. Chow down on snacks to stay in the fight, and pile on all your special attacks to chip away at Chef’s HP. You will be drained down to almost nothing by the time you beat him.
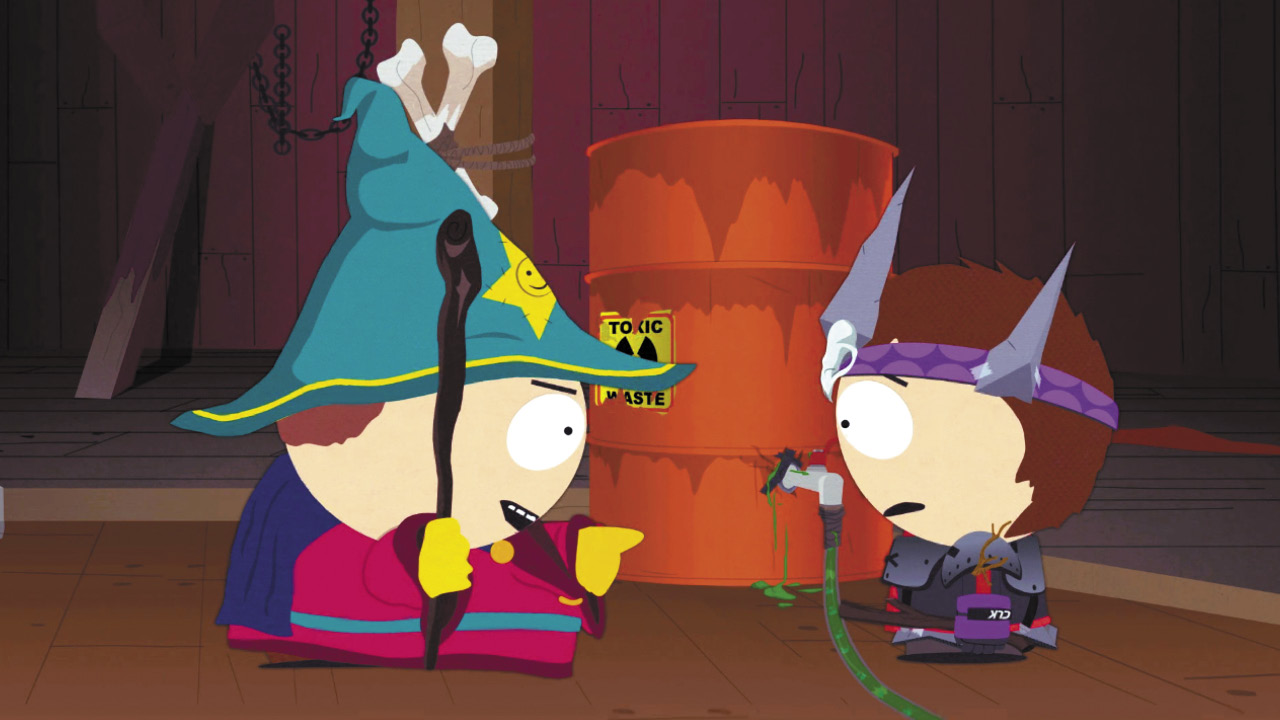
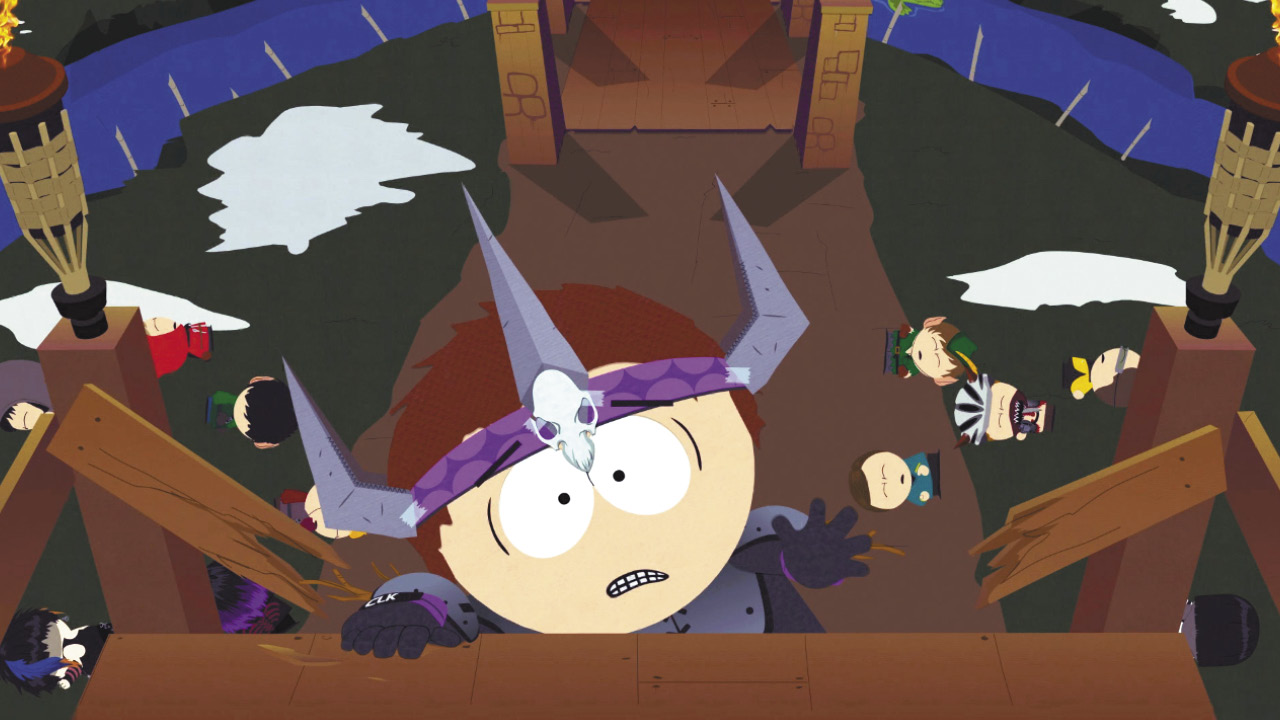
After you soufflé Chef, Cartman gets in Clyde’s face. They have a heated argument and Cartman punts Clyde over the balcony. Clyde manages to grab on momentarily before falling to his death in the backyard.
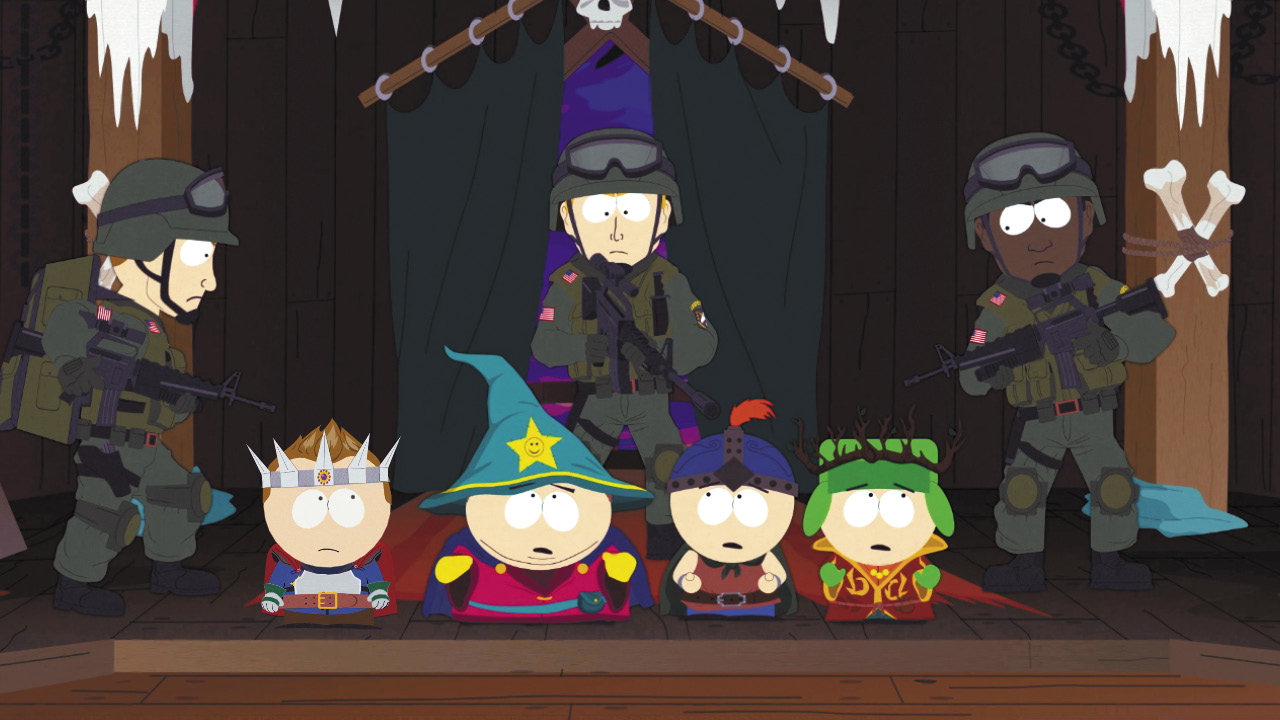

Just as you’re leaving the fortress, spotlights shine on you and highly trained military commandos surround you. The government reveals that you are the Dragonborne, a kid of unknown power and plenty of drama. Big Bad Government Guy also reveals that he now has the Stick of Truth and he’s not letting you go until you tell him how to use it.
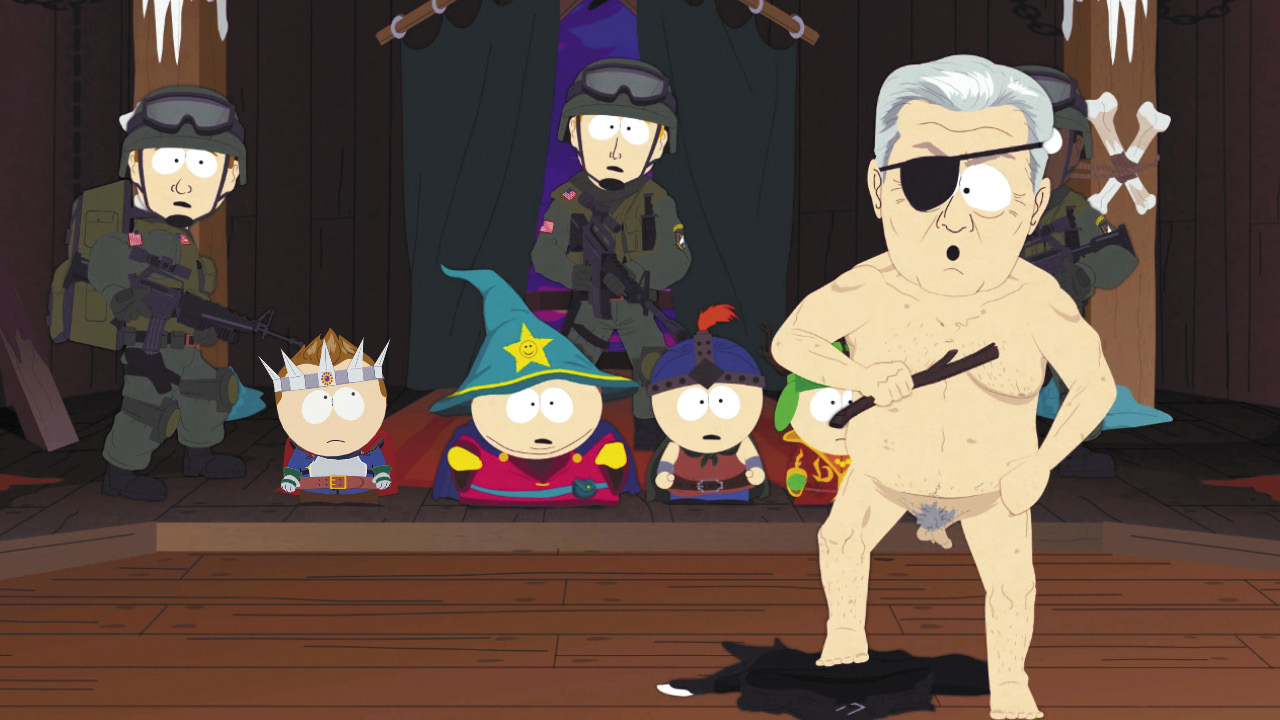

When Big Bad Government Guy is told how powerful the Stick is, he strips down naked and starts dancing around like a drunken pirate who just scored the lost treasure of Atlantis. He’s power-mad and asks for anyone to give up their loyalties to their friends and side with him. No one does—until Kenny steps over to his side.

We also get a guest appearance by Morgan Freeman, who narrates the whole story behind Kenny’s connection to the Stick of Truth. It was more pleasant when he talked about penguins.