
Sunset Overdrive Official Strategy Guide Weapons
Weapon Amps
Overcharge isn’t just good for turning the entire population of a small city into ravening mutant glob-beasts. It has many other uses around the home, including blatantly illegal weapon modification, and Floyd’s figured out how to make it work for you. Weapon Amps give a weapon a chance to provide additional benefits, such as enemies suffering status effects, exploding on death, or dropping more currency.
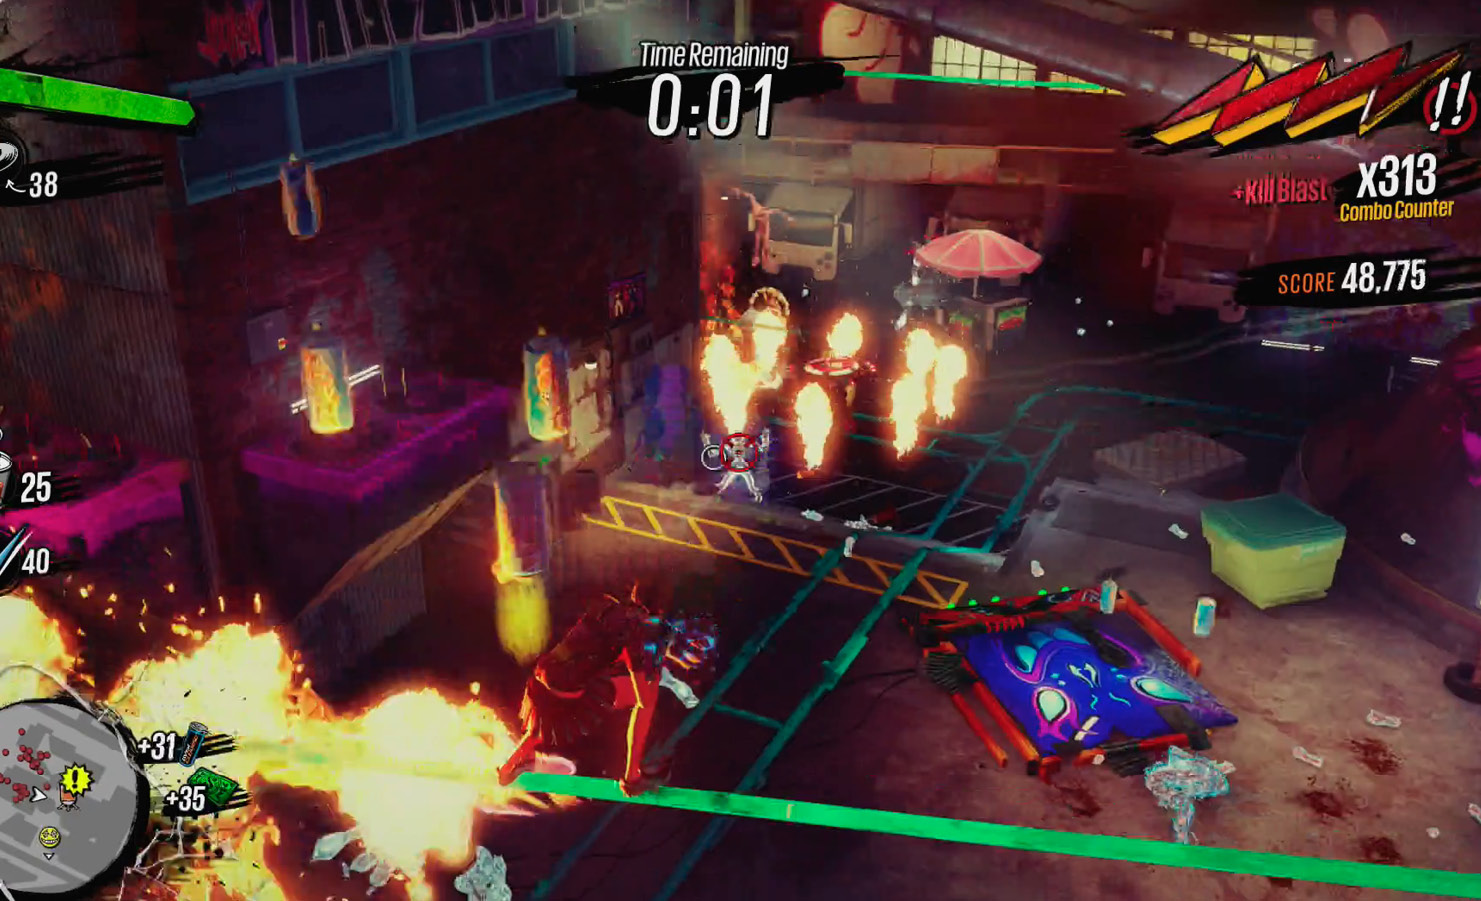
Once one of your weapons reaches level 2, it acquires an Amp slot, which you can use to install a single Weapon Amp. Any one Amp can only be placed on a single weapon at a time, and when the Amp is active, the weapon will glow appropriately.
You can get Weapon Amps by buying them from Floyd or as rewards from various story missions. In the former case, as with normal Amps, Floyd accepts various collectibles—Fizzie Balloons, Toilet Paper, Shoes, Neon Signs, or Camera Lenses—as collateral towards Weapon Amps.
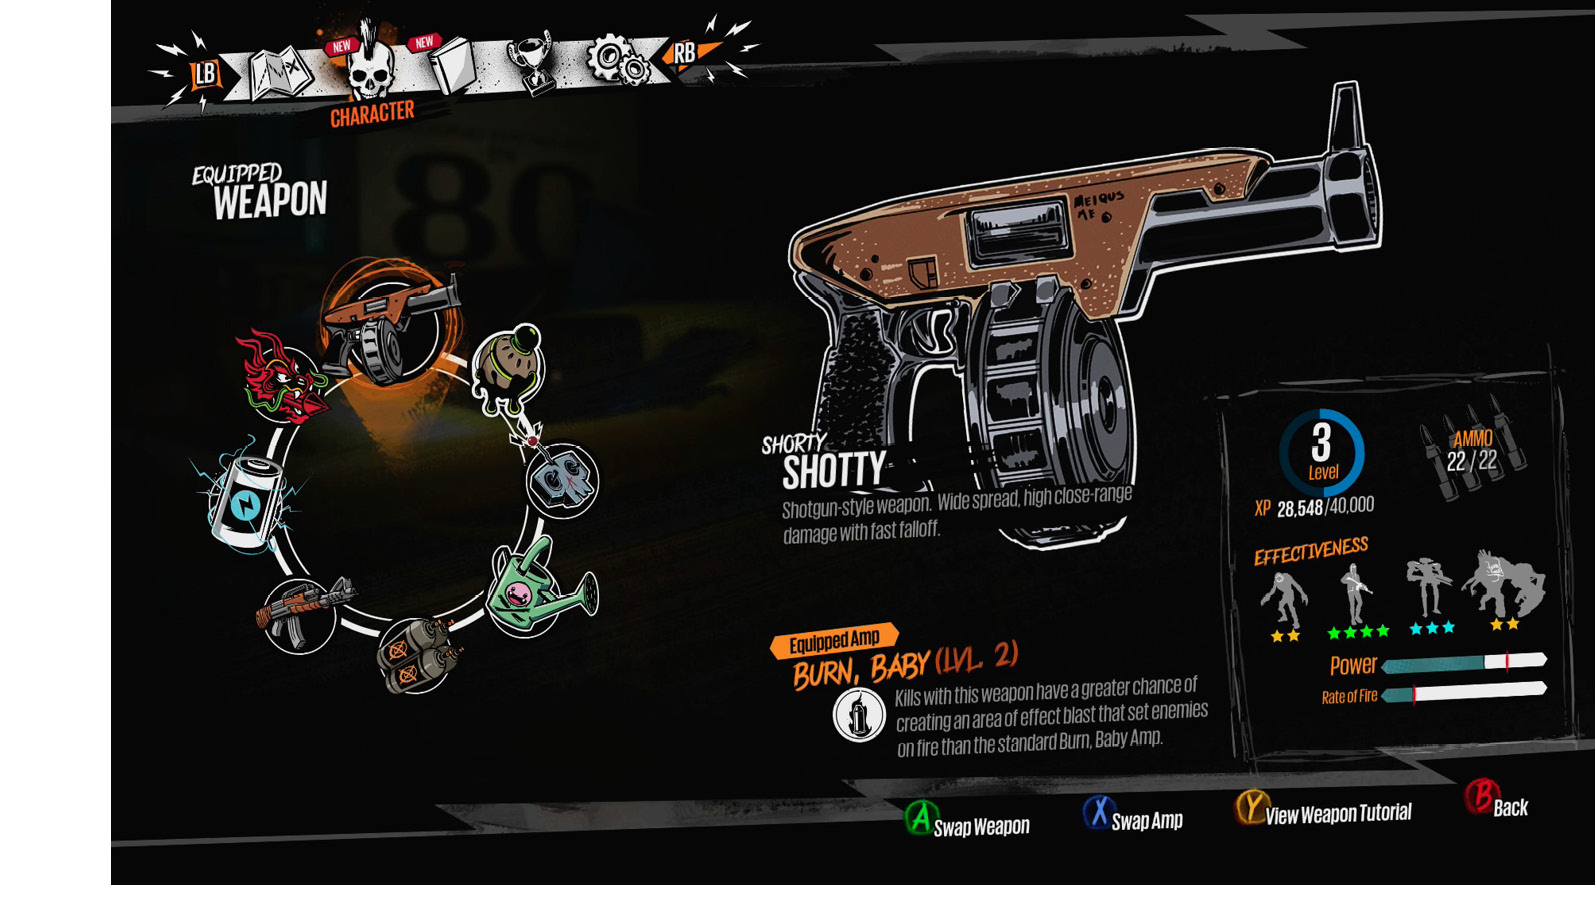
Each Weapon Amp enters your possession at level 1, and most can be upgraded to level 2. (The exceptions are cosmetic Amps like Bloom and Party All The Time, which are already as good as they’re going to get.) For some Amps, an upgrade will require you to make an expensive purchase from Floyd; for others, you’ll need to win the upgrade as a reward from Chaos Squad. In either case, a level 2 Amp often represents a slightly higher chance that an Amp will kick in, as opposed to the immediate multiple benefits you get from leveling a weapon. You should not feel convinced that you have to level up a Weapon Amp unless you really enjoy using it.
If you look at some of the entries below, the base chance of certain Amps’ activation may seem low. Keep in mind, however, that each Amp has a certain amount of “RNG protection” built into it. Every time you fulfill an Amp’s activation conditions and it does not go off, the Amp’s chance of activation gains a cumulative bonus until it goes off, at which point it resets to its base probability.
Weapon Amps are optional but often hilarious, and the right combinations of Amps and weapons can lead you to high scores and massive carnage. As with weapons, you should feel free to experiment as you explore the city, as once you have a Weapon Amp, it costs nothing for you to place or remove it from a given gun.
Stun Rounds
|
Complete “Amp It Up.” |
|
|
Level 2 |
Purchased from Floyd for 50 Fizzie Balloons. |
Enemies struck by fire from this weapon may receive an electric shock, which stuns them for a few seconds. The base chance of getting stunned starts at 13% and can go all the way up to 100%. At level 2, the base chance improves to 16%.
Bear Force One
|
Complete “Amptastic!” |
|
|
Level 2 |
An enemy that’s killed by this weapon may turn into a primed TNTeddy, which subsequently explodes. This is amazing if you’re firing into a tightly-packed crowd of OD—particularly if you’re using the TNTeddy at the time, which creates an effect we have affectionately nicknamed “Bearception”—but doesn’t do any real good against single, isolated targets. It’s more fun than anything else, which makes it a good fit for the Awesomepocalypse.
Burn, Baby!
|
Complete “Midnight Brew.” |
|
|
Level 2 |
Purchased from Floyd for 55 Toilet Paper. |
An enemy killed by this weapon has a base 15% chance to detonate in an area-of-effect blast that can set other nearby enemies on fire. At level 2, the chance it’ll occur and the radius of the explosion both increase.
Recycler
|
Purchased from Floyd for 15 Shoes. |
|
|
Level 2 |
There’s a base 15% chance that a weapon equipped with Recycler will automatically recover any expended ammunition, reloading itself. This goes up to 20% at level 2.
Party All The Time
|
Purchased from Floyd for 25 Camera Lenses. |
|
|
Level 2 |
— |
When you kill enemies with this weapon, they explode into a shower of glitter and/or confetti. Imagine their surprise.
Grind to Win
|
Purchased from Floyd for 20 Camera Lenses. |
|
|
Level 2 |
A weapon equipped with Grind To Win inflicts a base of 33% more damage while you’re grinding, which can go up to as much as 75% more damage depending on your Style level. At level 2 of the Amp, the bonuses go up to 50% and a full 100%.
Fear the Reaper
|
Complete “Concertpocalypse.” |
|
|
Level 2 |
An enemy killed with this weapon has a very low chance (5-10%) to spawn a bloody Reaper, which attacks nearby hostile targets and inflicts heavy damage. It only lasts a few seconds and doesn’t move, so there are always going to be times when something dies in the middle of nowhere and the Reaper just stands there like a dope for a while before despawning, but a Reaper in the right spot can devastate a pack of enemies. A level-2 Reaper has a slightly higher chance to appear (7.5-12.5%).
Rocket Man
|
Purchased from Floyd for 10 Toilet Paper. |
|
|
Level 2 |
Being struck with fire from a weapon with Rocket Man may cause the target to spawn a fan-like spread of explosive rockets, which work like the secondary detonation from the Hair Spray Bomb. The chance per hit to activate Rocket Man is relatively low, but when it does go off, you get to watch in awe as an entire street blows up. With the level-1 version of the Amp, you get 4 rockets; at level 2, you receive 6.
Since Rocket Man fires off of individual hits rather than a kill, it’s best employed on low-damage automatic weapons like the High Fidelity or AK-FU.
Moving Menace
|
Purchased from Floyd for 10 Neon Signs. |
|
|
Level 2 |
While you’re grinding or bouncing off of objects, a weapon equipped with Moving Menace does at least 20% more damage, capping out at a 30% bonus at higher Style levels. Level 2 increases the base bonus to 33% and caps it at 50%.
Winter is Coming
|
Complete “Hepcat’s Late-Night Special.” |
|
|
Level 2 |
An enemy struck by this weapon may erupt into a blast of ice, freezing itself and any enemies within a short distance, similar to a Freeze Bomb or the explosion from a dying Gunker. This effect has an internal 2-second cooldown.
Suck
|
Purchased from Floyd for 25 Toilet Paper. |
|
|
Level 2 |
Enemies killed by a weapon with this Amp have a higher chance to drop health. At level 1, Suck increases the odds of a health drop by 10% and can go as high as 25%; at level 2, this goes up to 20% and caps at 40%. If you’re having a hard time with a new enemy or a particularly nasty stretch of the city, this is a good Amp to throw on high-damage weapons like the Hair Spray Bomb.
Shock Therapy
|
Purchased from Floyd for 20 Fizzie Balloons. |
|
|
Level 2 |
An enemy killed by a weapon with the Shock Therapy Amp has a base 15% chance of exploding into an electrical field, shocking and stunning any other opponents caught in the blast. This chance goes up to a base of 20% if you upgrade the Amp to level 2.
Bloom
|
Purchased from Floyd for 20 Fizzie Balloons. |
|
|
Level 2 |
— |
Projectiles fired from a weapon with the Bloom Amp will cause flowers to sprout at the point of impact. Floyd’s kind of a weird guy.
Hater
|
Complete “Ferry to Nowhere.” |
|
|
Level 2 |
On hit, an enemy struck by fire from a Hater-enhanced weapon may turn red and essentially switch teams, ignoring you and attacking other hostile enemies in the area. If enough enraged OD get together in the same place, they may get so angry that they literally explode into a cloud of red smoke. Hater has a surprisingly low chance to work, starting at 7% at level 1.
Stylin’
|
Purchased from Floyd for 30 Shoes. |
|
|
Level 2 |
Kills with this weapon generate an additional 25% Style. At level 2, the multiplier increases to 40%.
Second Amendment
|
Purchased from Floyd for 35 Camera Lenses. |
|
|
Level 2 |
Enemies killed with this weapon have a base 10% chance to drop ammunition for this weapon, which goes up to 20% if you upgrade the Amp to level 2.
Mine All Mine
|
Purchased from Floyd for 25 Toilet Paper. |
|
|
Level 2 |
An enemy killed with this weapon may drop Overcharge, even if it ordinarily wouldn’t. The chance of it doing so is somewhat rare (it starts at 2% with a level-1 Amp), which makes Mine All Mine less a farming tool and more of a value add.
Twist of Fate
|
Purchased from Floyd for 35 Fizzie Balloons. |
|
|
Level 2 |
An enemy killed with this weapon may—wait for it—detonate in a two-story-tall mushroom cloud, inflicting heavy damage to all enemies nearby. Yeah.
You have a base 5% (7.5% at level 2) chance of triggering a Twist of Fate and the effect has an 8-second internal cooldown. You’ll just be going along, minding your own business, and suddenly you’ve killed everything on the street. You’re now a nuclear power! Congratulations.
Make It Rain
|
Purchased from Floyd for 25 Neon Signs. |
|
|
Level 2 |
— |
Hits on enemies with this weapon can make them spawn dollar bills.