
Sunset Overdrive Official Strategy Guide Missions ACT 4
4-2: Awesomesmithing
Downtown, Old Factory District
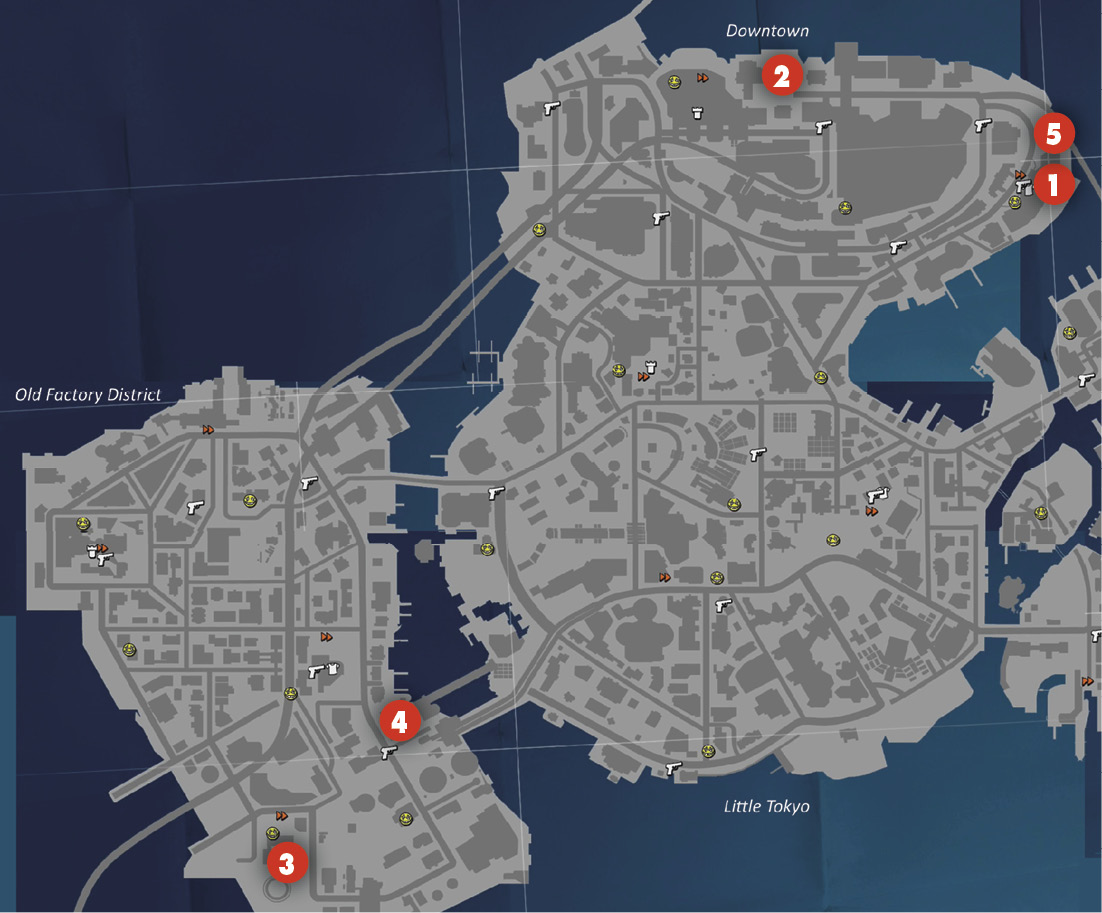
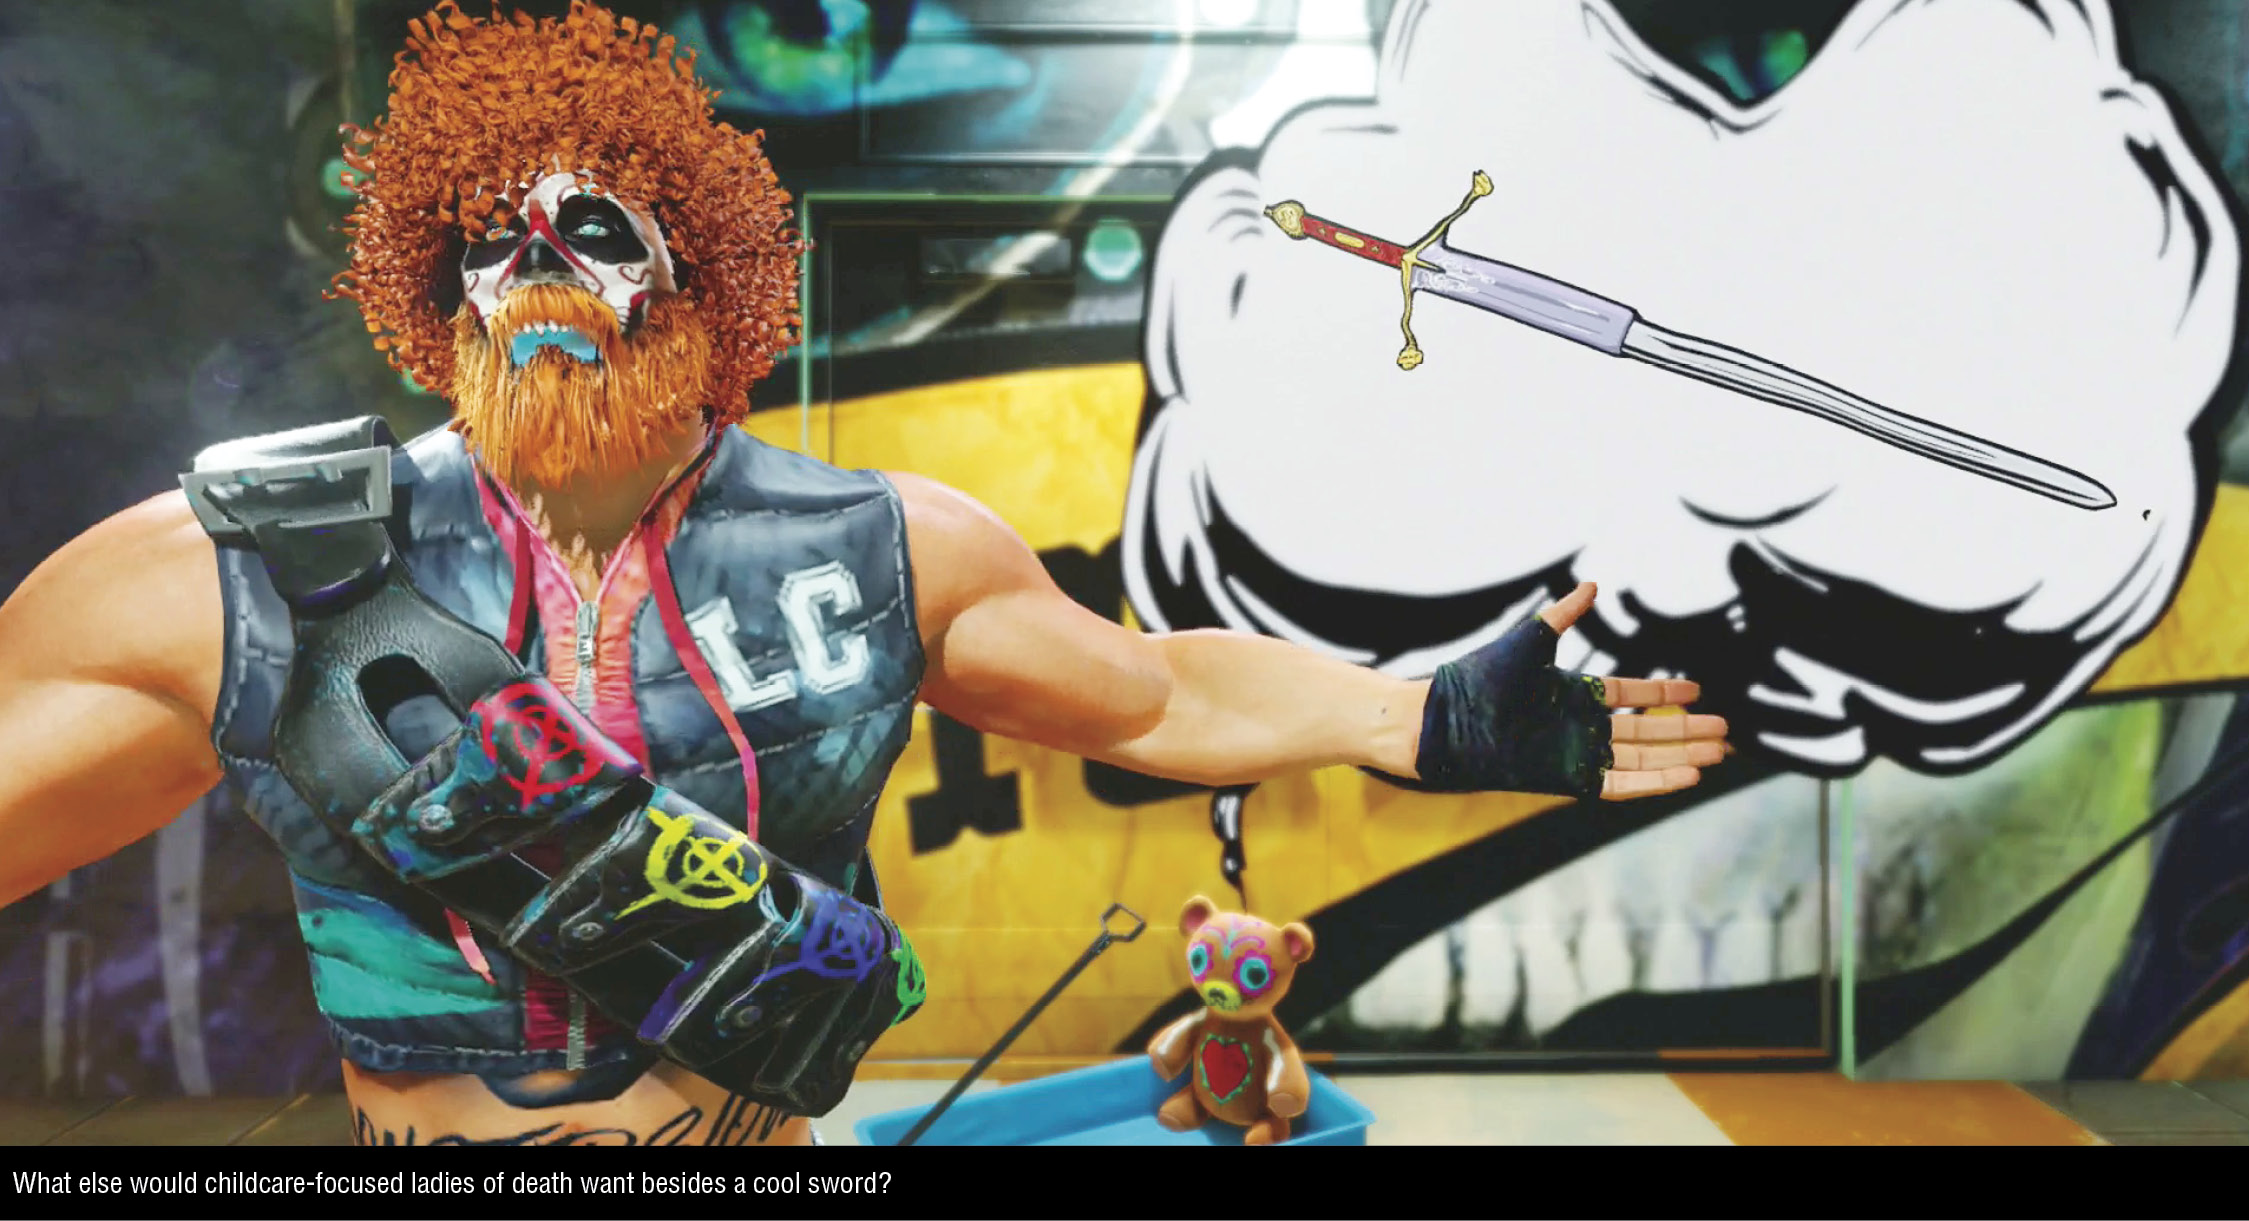
 Running through ideas to impress Las Catrinas, your hero arrives quickly at an unimpeachable solution: acquire an awesome sword for the cheerleader assassins! 4Kim has a lead on where the coolest sword in town is, and it isn’t somewhere you might expect, like the Japanese Heritage Museum; no, the best sword in town was owned by a Fizzco executive (who else) who lived in one of the upscale high-rises in Downtown.
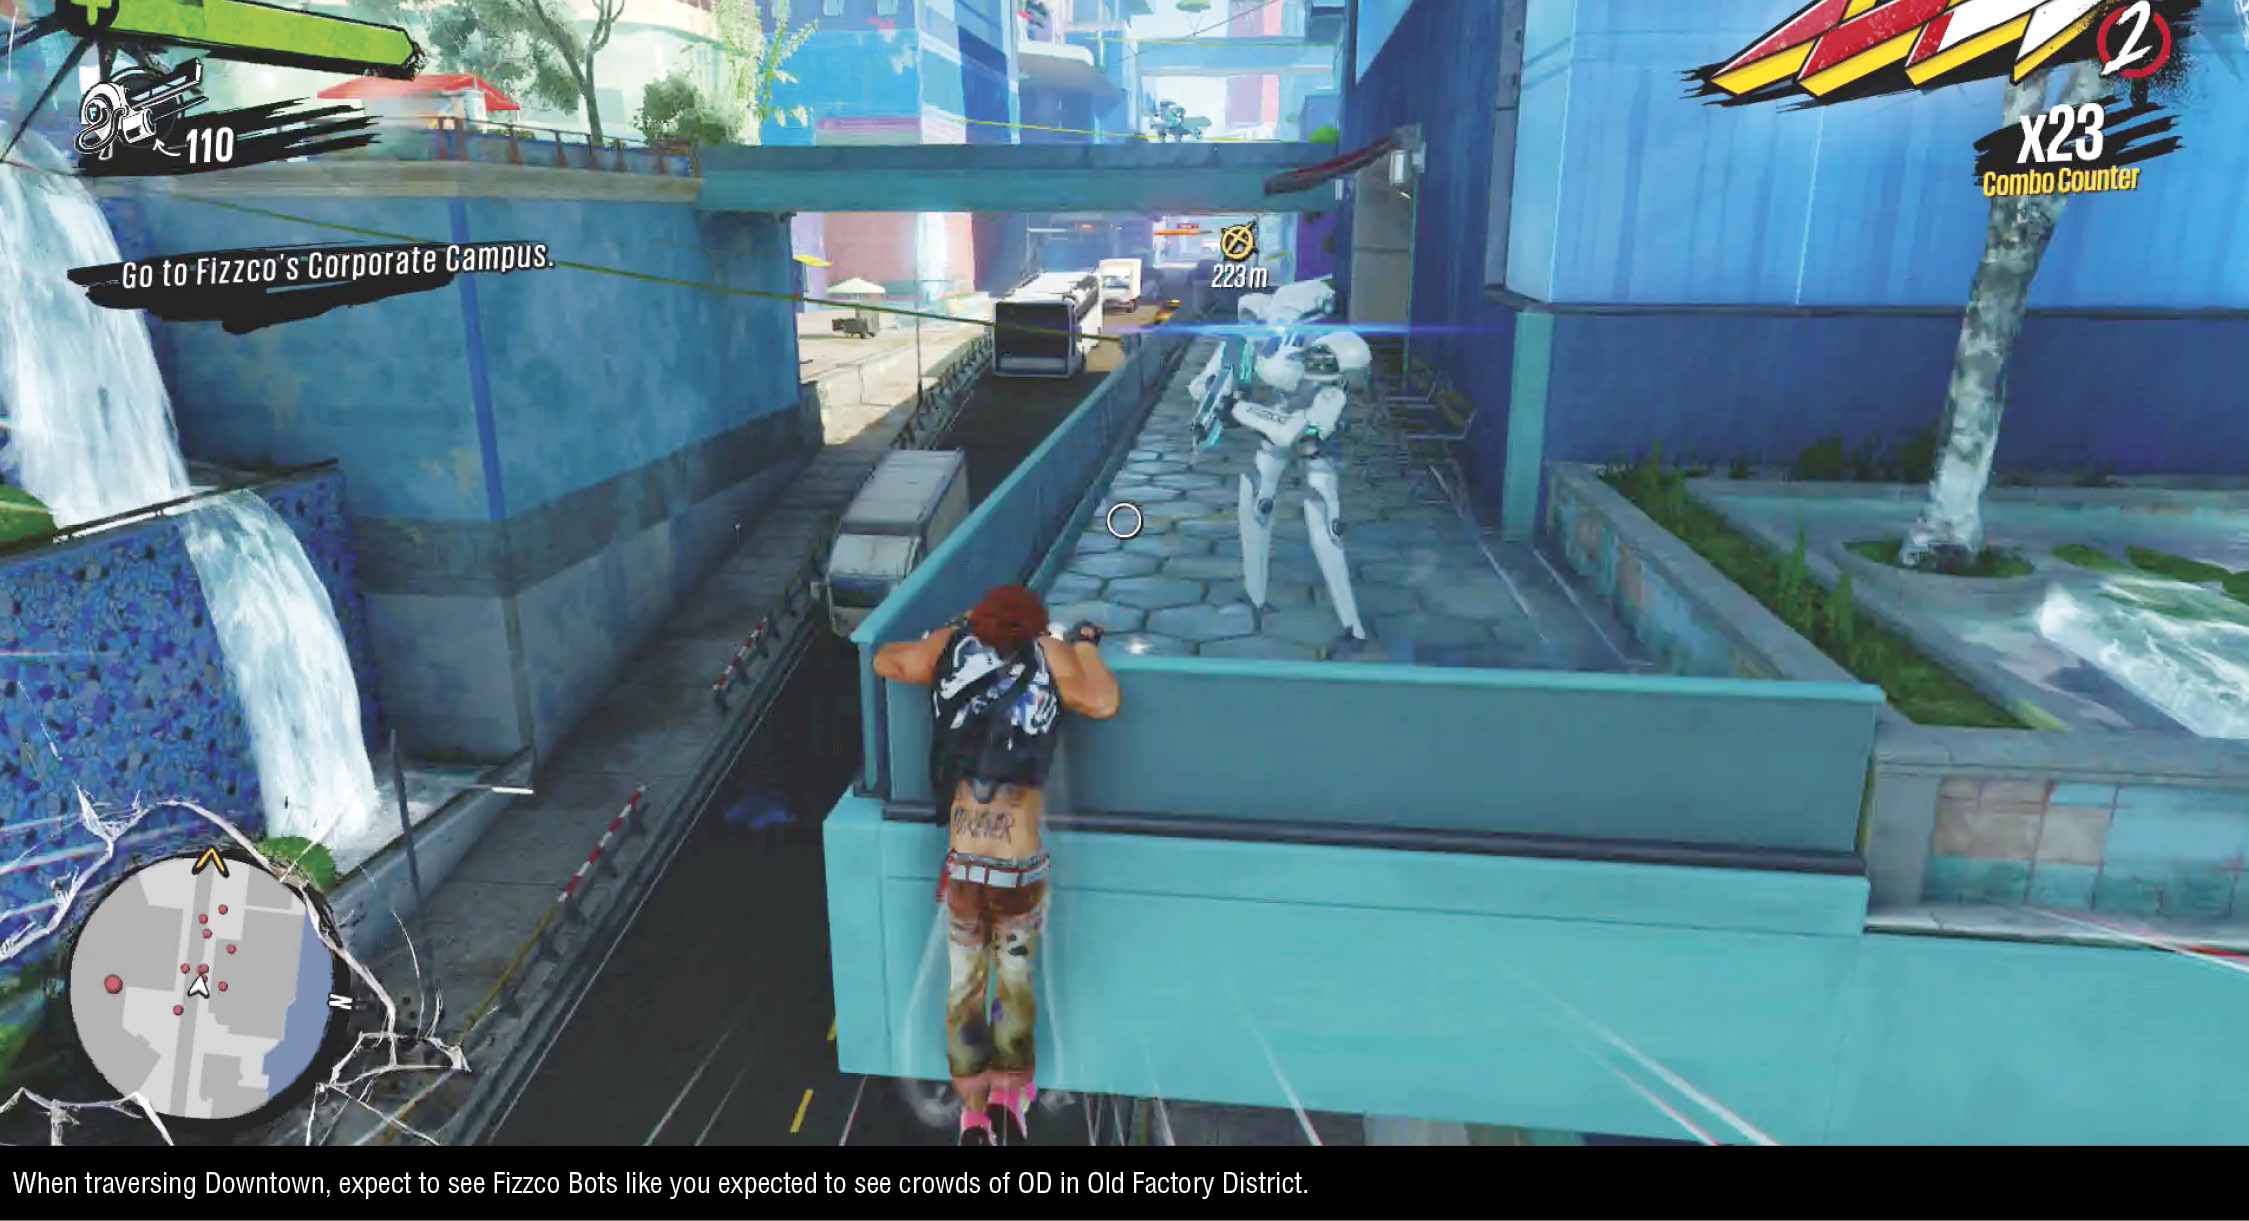
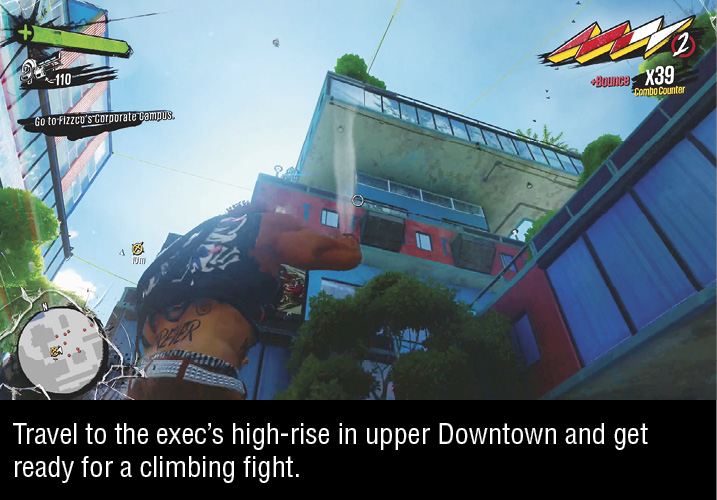
 One of the luxury towers on the north side is your destination. Approach the north building at ground level and you’ll see what you’re up against: a tower climb past lots of Fizzco security in order to check out the guy’s penthouse garden. Use Taunt Bots liberally if you’re having problems holding onto health while fighting the robots, and be ready to hold A and tap X repeatedly sometimes if robot attacks unexpectedly knock you off a high-altitude grind or vault point—there’s no shame in mashing a little bit to recover your position, whereas it’s certainly quite annoying to have to climb all the way up again. Use position to your advantage; there’s nothing stopping you from grinding out of sight around a corner for a breather, letting the Fizzbots come to you on your terms. Use the minimap to help locate any robots you’re having trouble finding, and clear them all out of the area to safely access the roof.
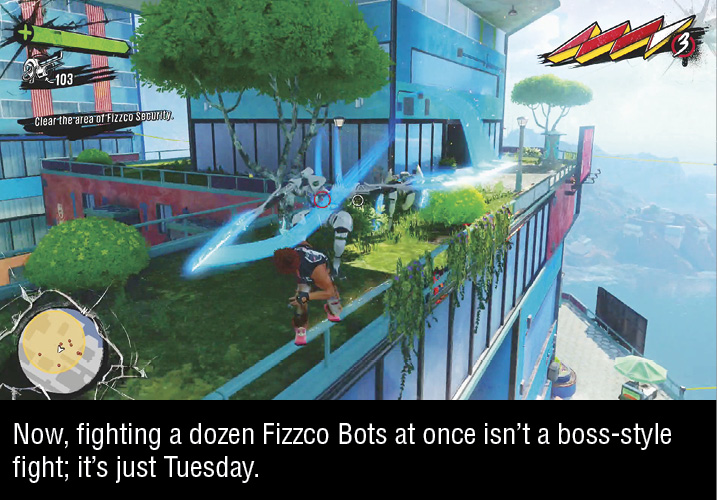
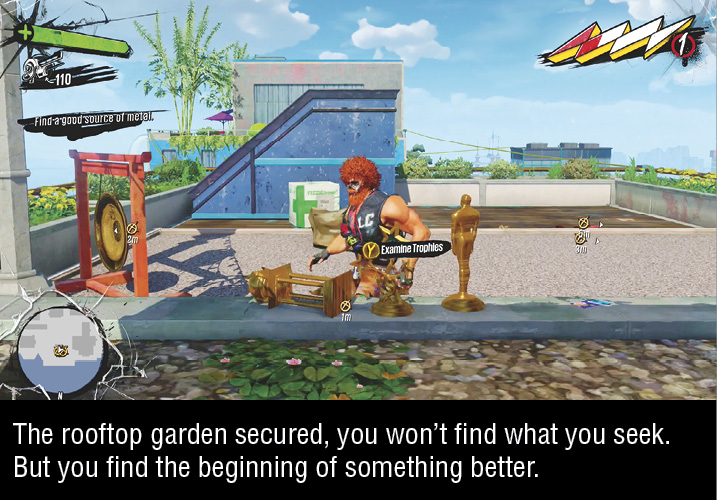
The exec has flown the coop, taking his priceless sword of uncertain origin with him. He did, however, leave behind his super-titanium business trophies. A quick consult with Wendy the blacksmith reveals that these, plus a sufficiently hot forge, could be used to craft an epic sword right here in Sunset City. The nuclear power plant in Old Factory District might be just such a place…
 Travel (or fast travel) to the power plant, which is all the way across town to the southwest. You’ll discover an unwelcome but perhaps not unexpected presence there, though for once it’s OD occupying a structure and not Scabs. Perhaps the OD are drawn to the abnormally high temperature? Turn the heat up a little more for them and clear them out so you can craft upon this thermonuclear forge in peace. The many minor OD aren’t a problem by now, or you wouldn’t have survived this long in the Awesomepocalypse, but the Spawner and trio of leaping, slashing Muggers might be a bit of a problem. Be opportunistic when fighting Muggers, waiting for them to miss an attack and leap to a new tracking spot so you have the most time to aim at them and fire.
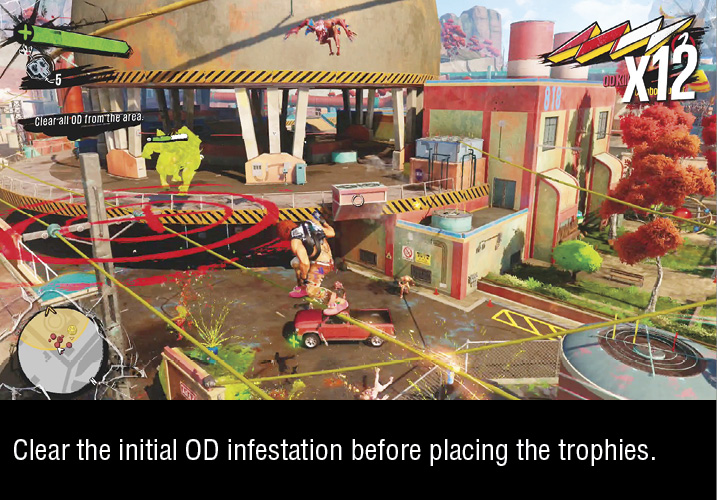
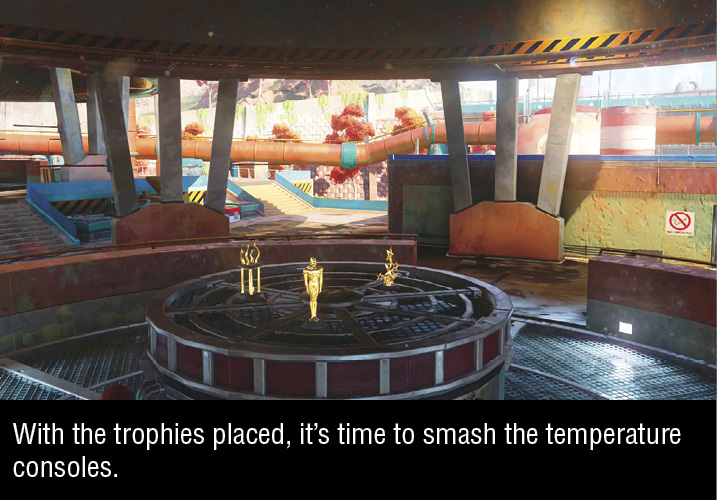
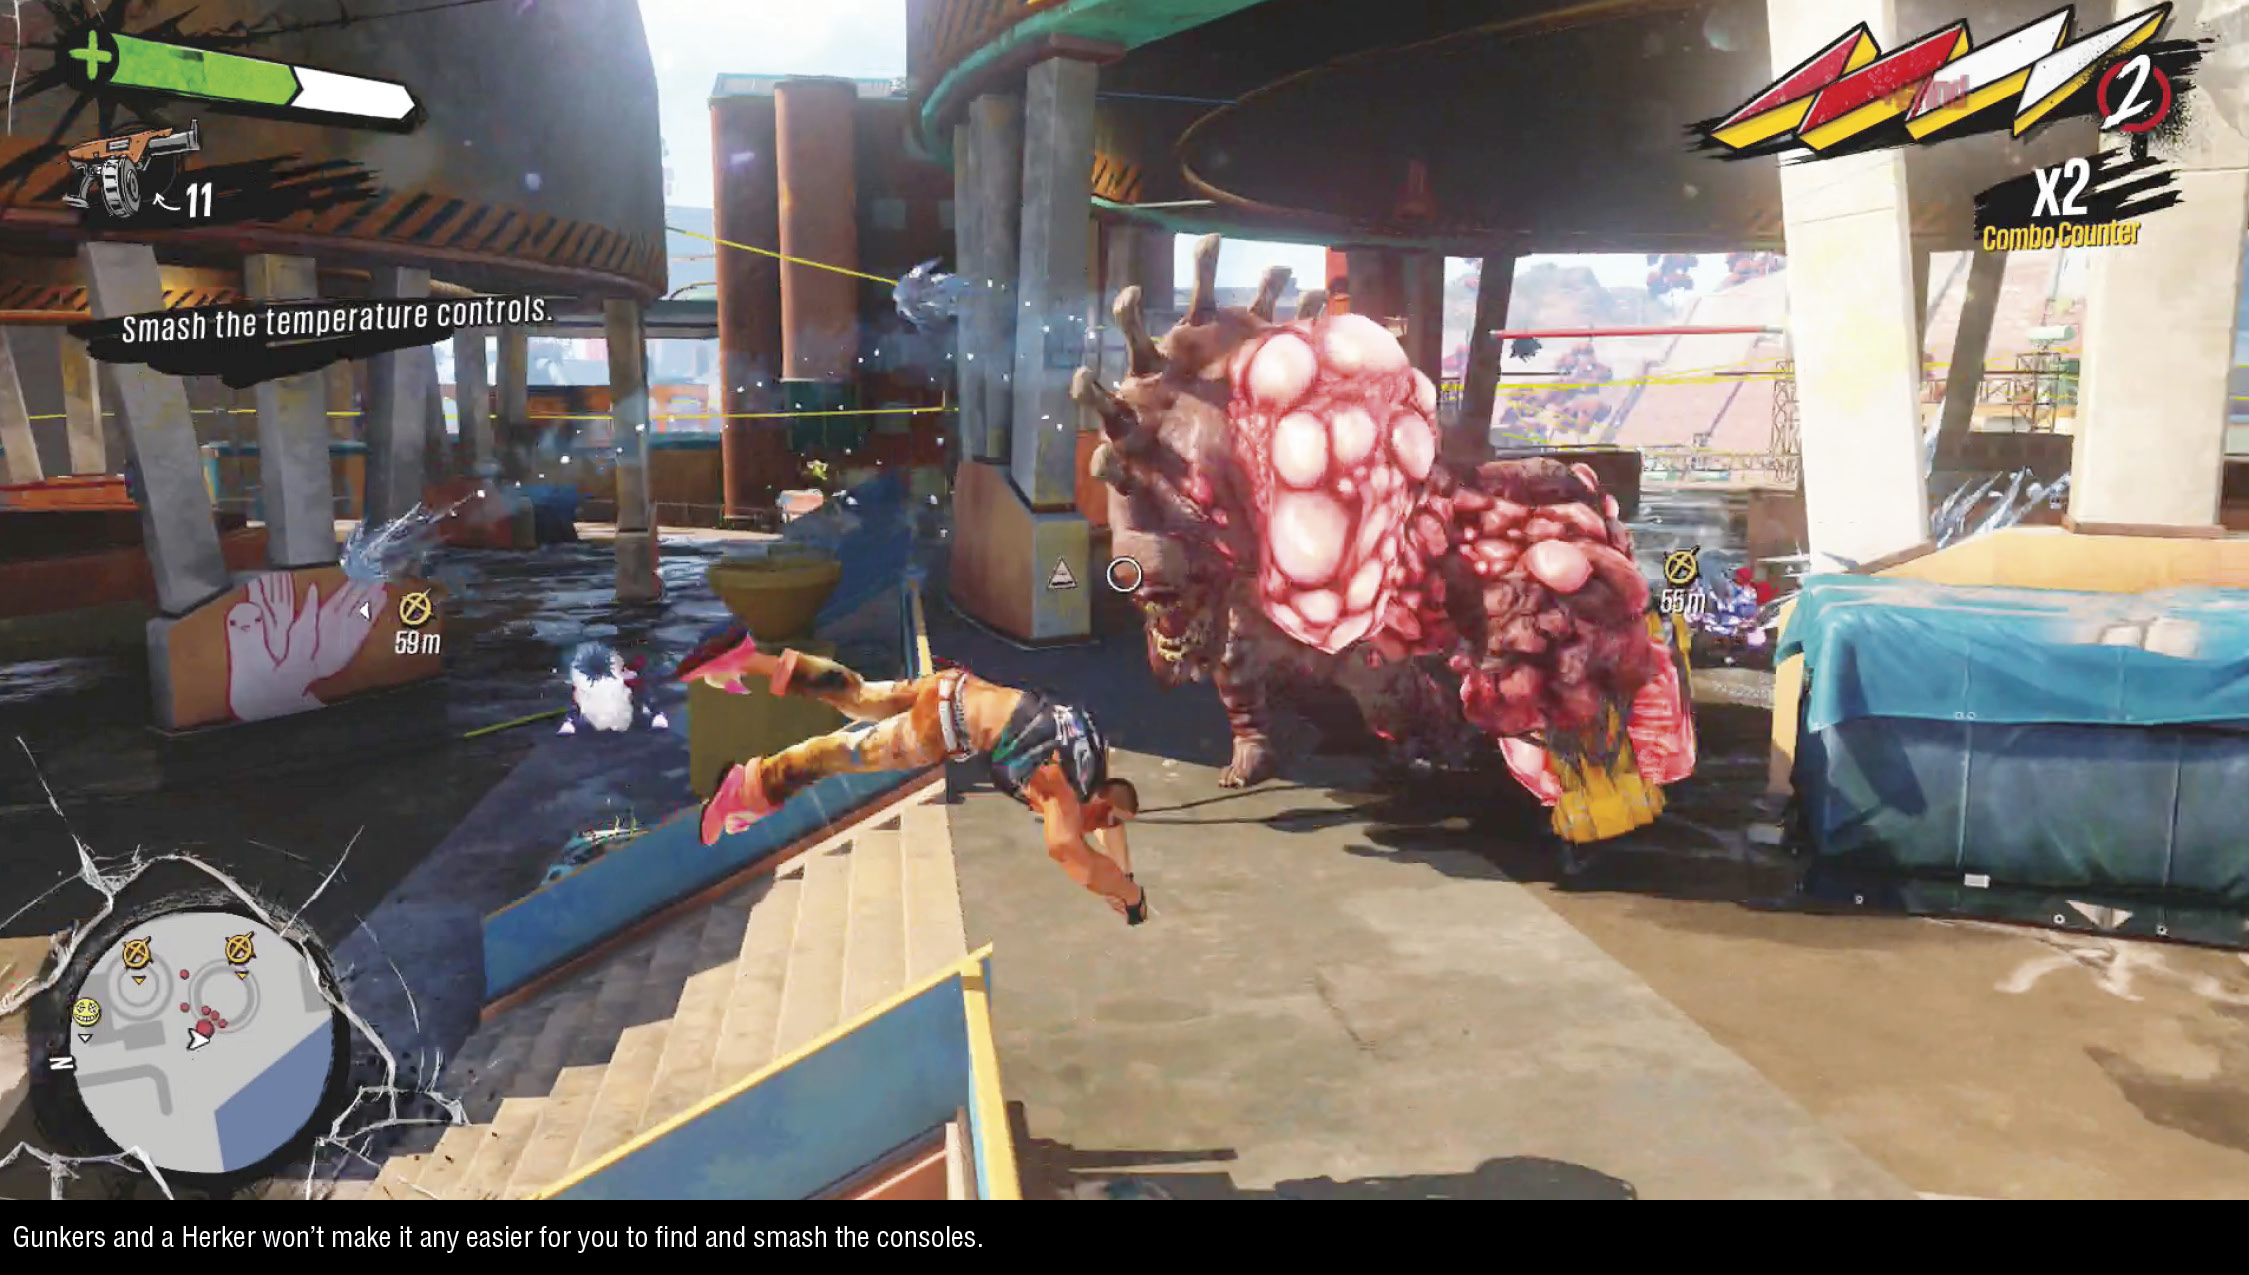
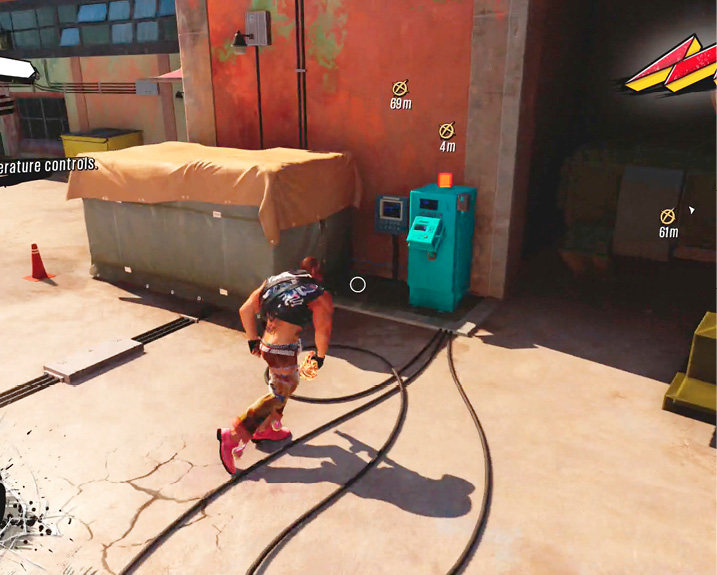
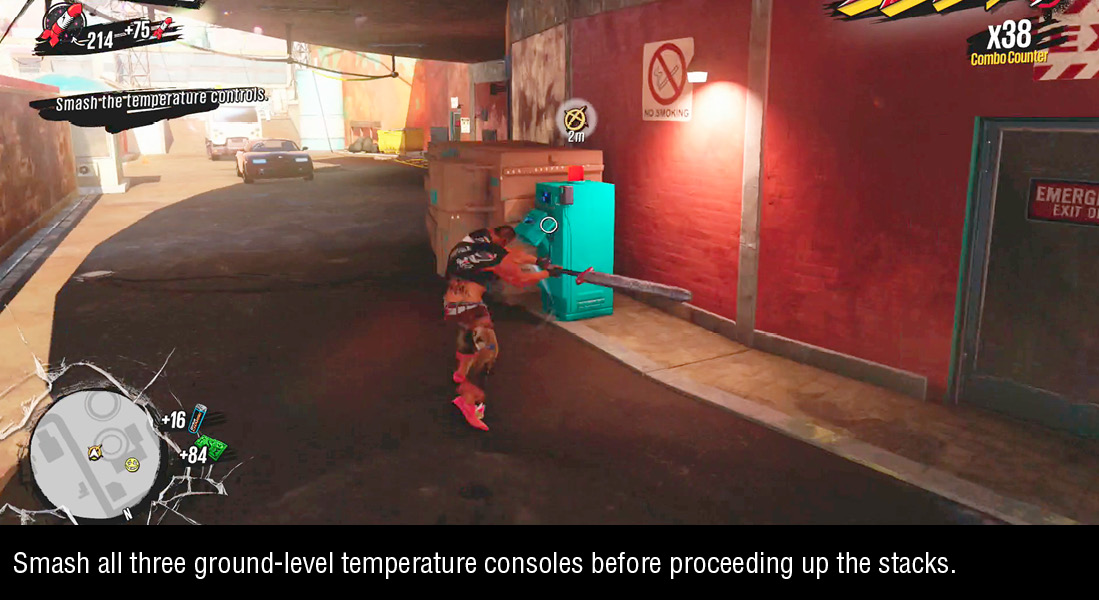
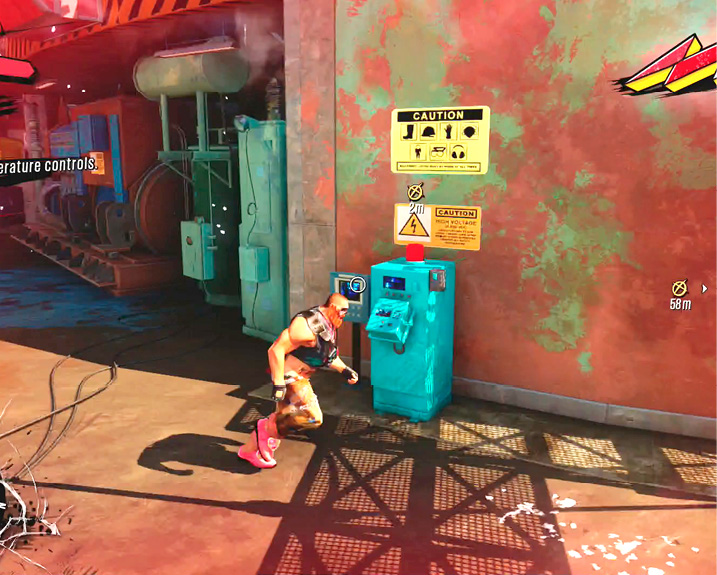
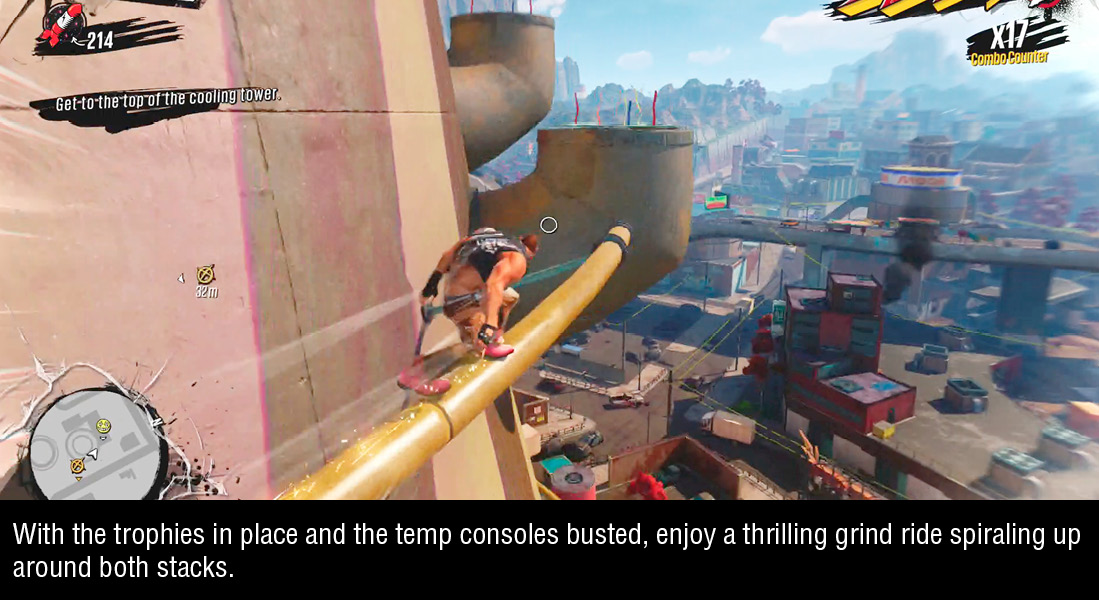
When the Muggers and Spawner are gone, you’re free to place the super-titanium trophies on the steam vent under one of the main stacks of the plant. With the trophies in place, it’s time to break the plant’s three temperature control consoles to get the heat high enough to melt them down. A Herker and additional OD, including Gunkers and Blowers, emerge from the ground, repopulating the area as you search for the temperature consoles. Bust the three consoles, and then clear out the OD. Now get on top of the stacks.
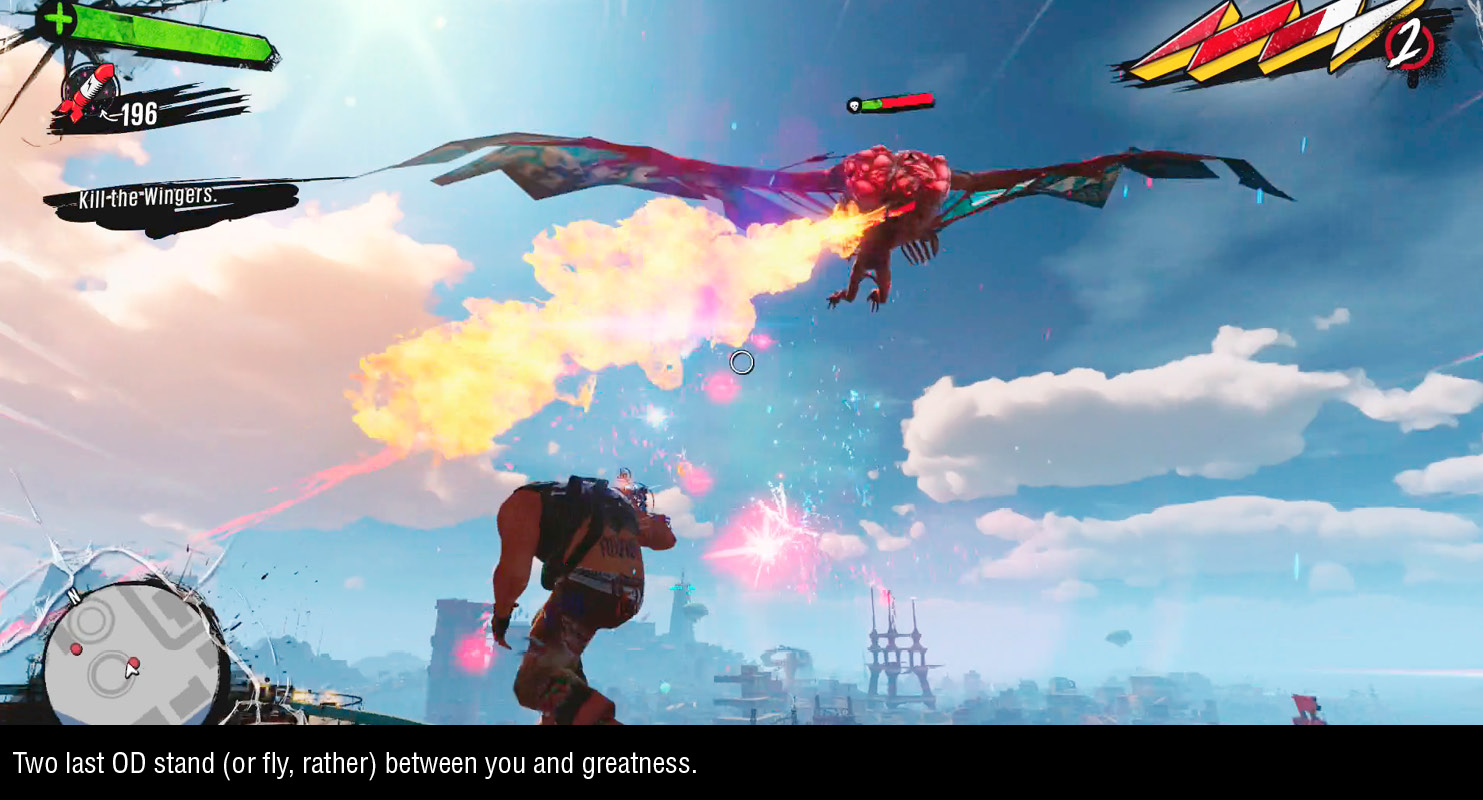
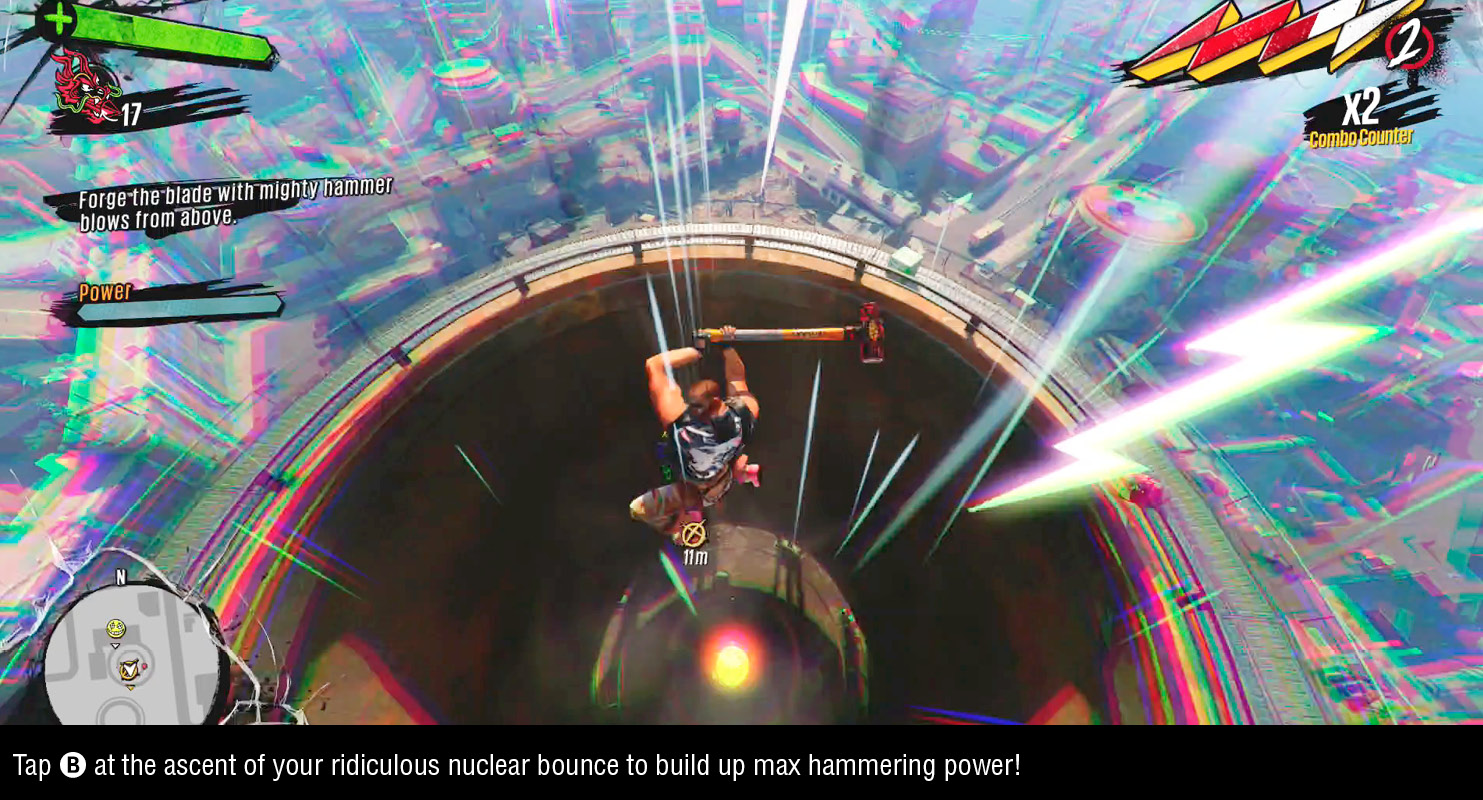
At the top of the stacks, you’ll find yet more harassment: two Wingers at once! You can grind the inner and outer rails of the stacks, but two Wingers can manage to foul up just about any grind lines. Deploy three Turret Copters then draw down on the Wingers with Captain Ahab for best results. Once the Wingers are dead, you’re free to meet your destiny: dive bomb straight down the northern stack onto the makeshift forge!
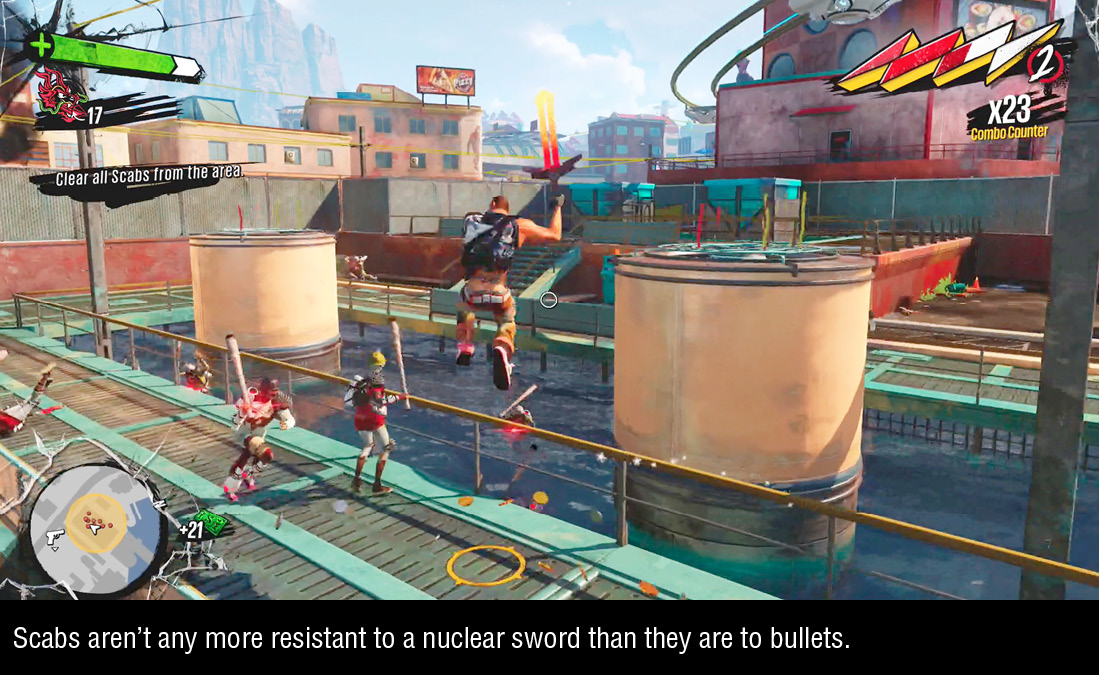
 Freshly forged, the sword is too hot to be stable, and your melee swings will give off intense heat and flames. You’ll need to douse it in a suitable body of nearby water to cool it off and set the forge. The water treatment plant just northeast from here will work just fine. This place is controlled by Scabs, so you’ll have to carve and cauterize up the lot of them with your new flaming nuclear sword. Once the Scabs are all burnt up, splash the sword into the water treatment plant’s pool and then head back to the hospital in Downtown to present this awesome offering: Excalamune.
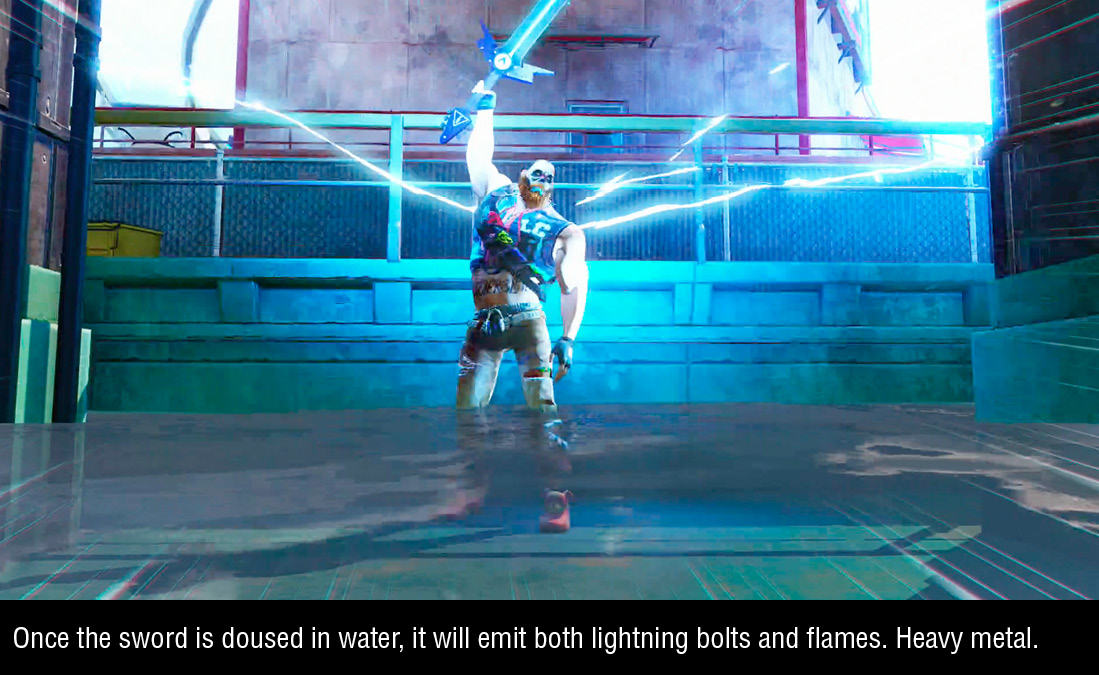
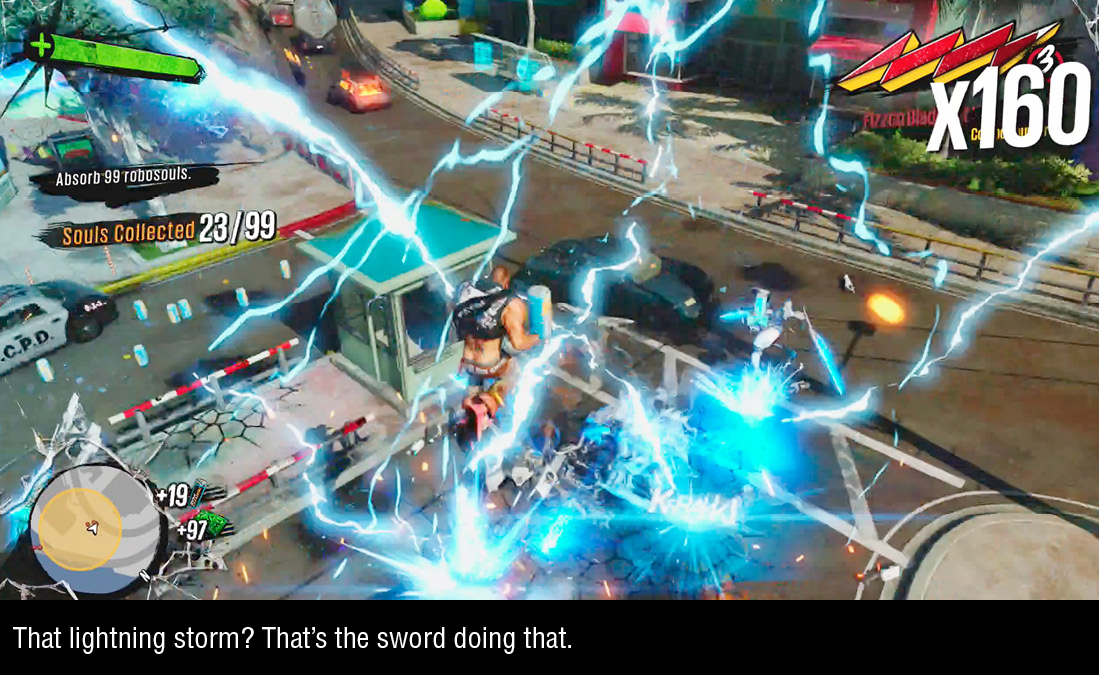
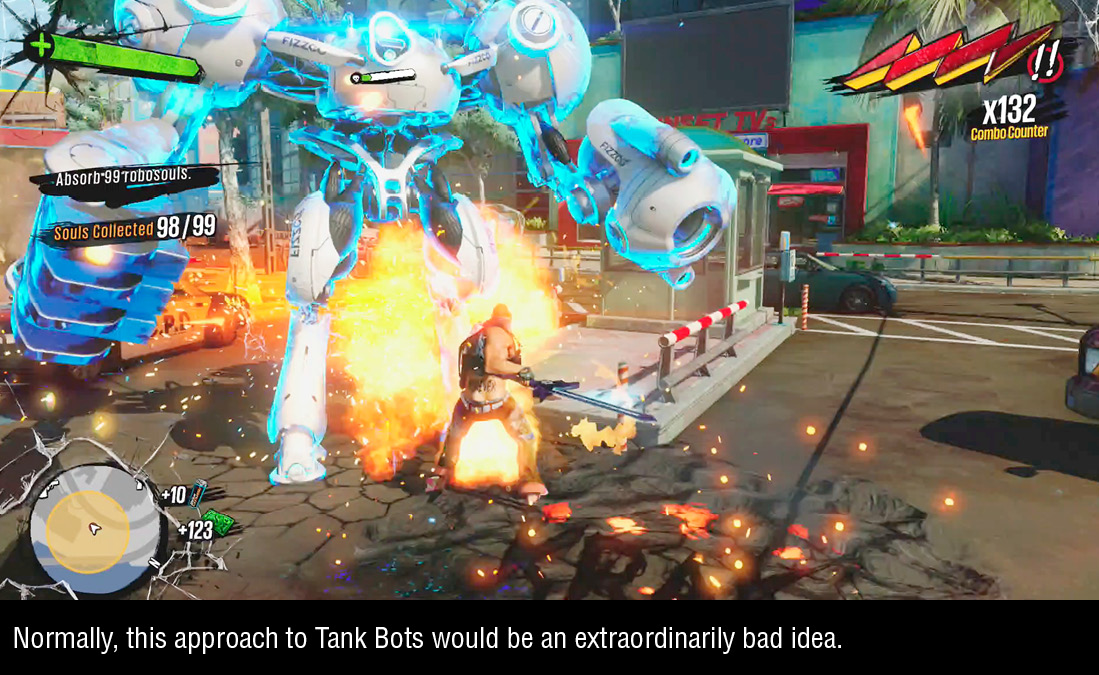
 Back near the hospital, it’s time to demonstrate the awe-inspiring power of this sword by taunting Fizzco forces and eviscerating dozens upon dozens of them. Going after tons of robots with melee attacks is usually very close to suicide-by-Bot, but in this case, it’s Fizzco’s forces that don’t know what they’re getting into. Excalamune combines fire and electric elements in one weapon, and regularly causes a calamity of flames and lightning strikes in the immediate vicinity. With Excalamune in hand, you’ll slice through 99 Fizzco Bots like they were 99 motionless OD grunts. Once you’ve hacked up all the automatons, there’s nothing left to do but return to Las Catrinas in the hospital and bask in their adulation.
Rewards
Two Hat Jack starts selling Charge Beam after this Mission for the low, low price of 100,000 Overcharge. It’s an unwieldy weapon to use compared to many, but incredibly powerful, and if you can control the beam, it’s worth the outlay. If you can keep the beam trained on a target, the Charge Beam has the highest damage-per-second of any gun. The Quest “Fizzco: The Secret Ingredient” becomes available (provided you did the Quests leading up to it), along with these Challenges: Glider Challenge #4, Points Challenge #6, Traversal Challenge #14, and Weapon Challenge: Excalamune. Finally, while you get to keep Excalamune, it’s just cosmetic; Las Catrinas have disabled the blade’s astonishing abilities since you’ve proven you can’t be trusted with such power.