
Sunset Overdrive Official Strategy Guide Missions ACT 3
3-2: The King's Feast
Harbor
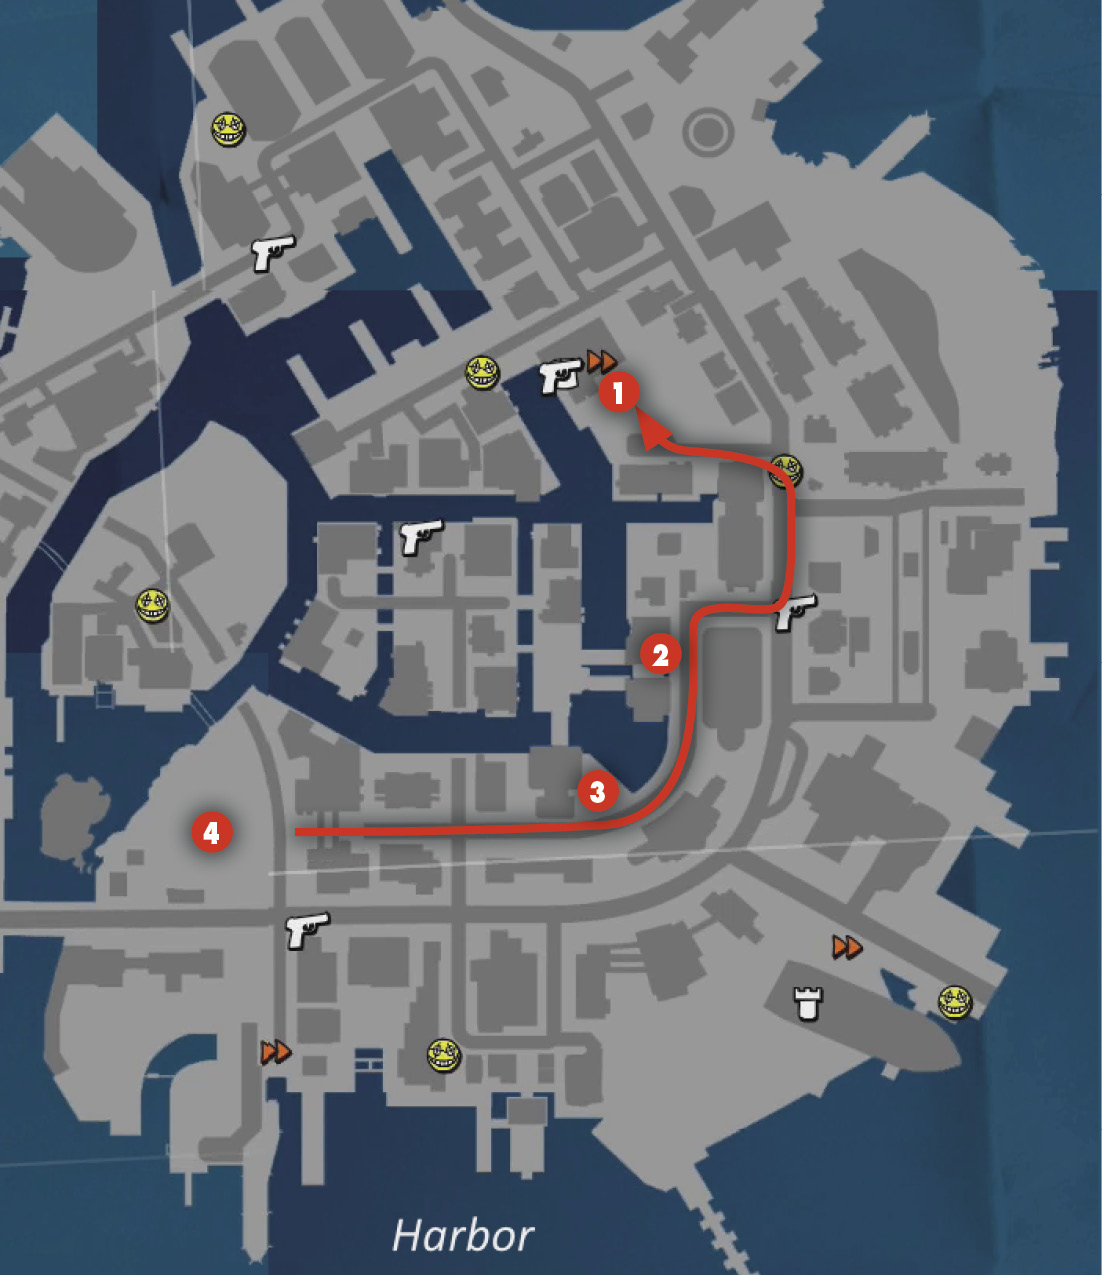
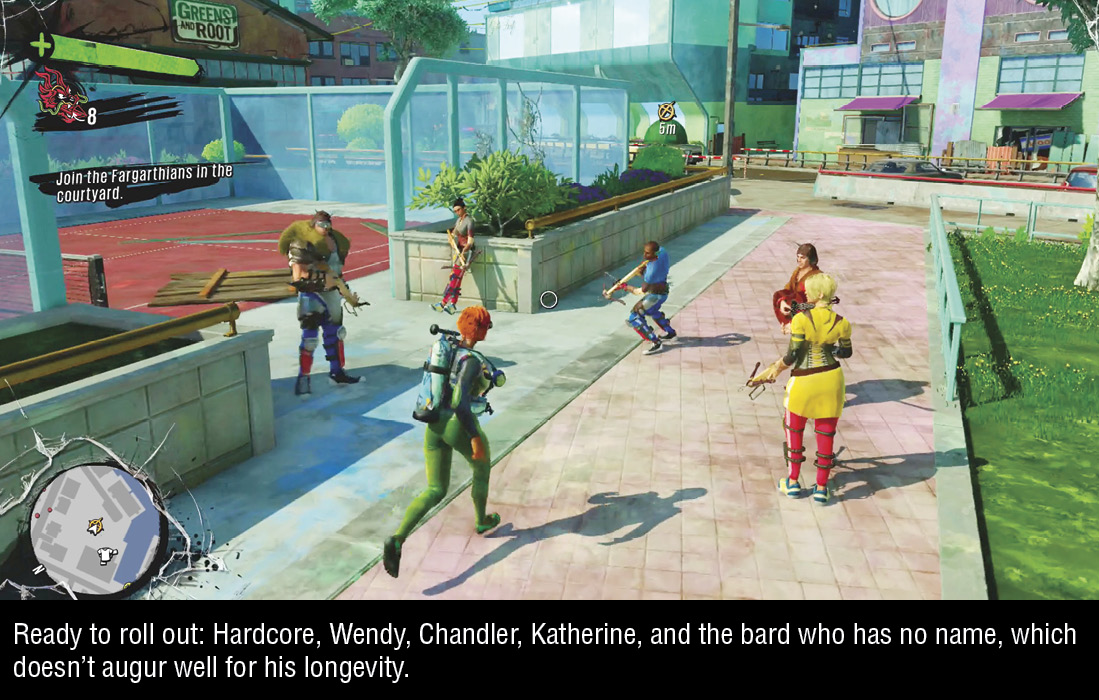
 Master Chandler informs you the Fargarth food stores were raided a couple weeks ago, just after the disaster started. Without nutrition, sickly-weak Ignatius isn’t getting any better. Chandler proposes that the assembled Fargarths journey alongside your hero into the “Forest of Fargarthia” to collect vittles for Ignatius’s restoration. You’ll depart forthwith, relying on strength in numbers. Like 4Kim before them, the Fargarths are all able battle companions, and you can enjoy the carnage they contribute rather than worry constantly about their well-being. After speaking with Chandler to start the Mission, convene with the Fargarths outside.
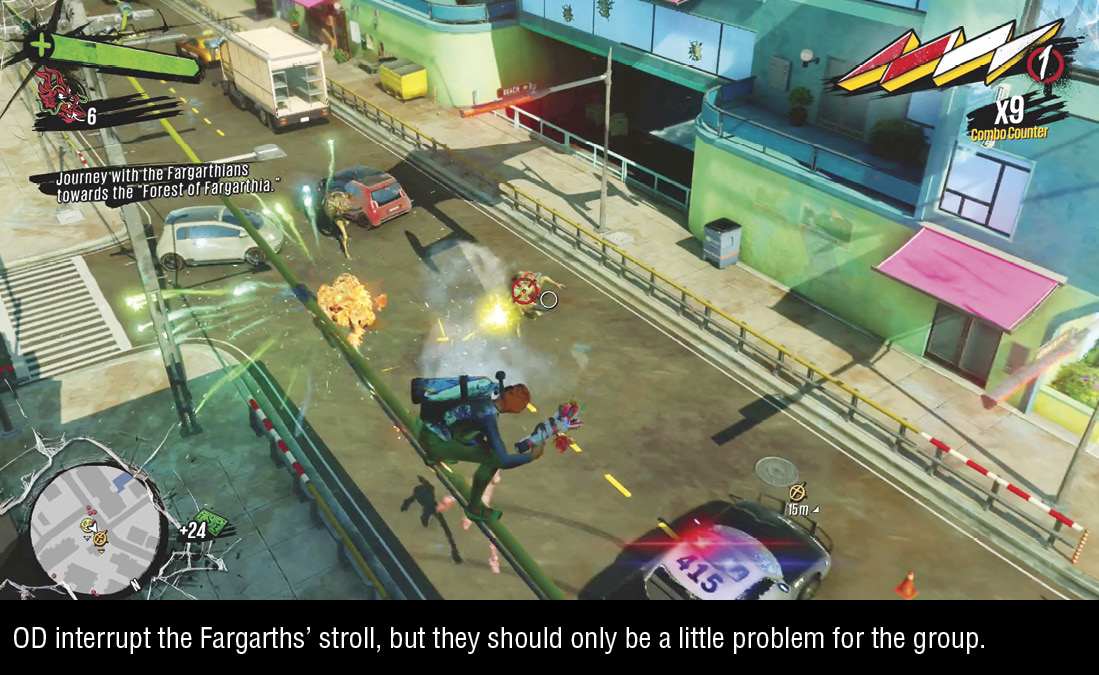
You’ll follow Chandler and company, fighting off minor OD on the road along the way. If you’ve picked up the One-Handed Dragon, you can test its supremacy against fleshy targets, along with its very generous auto-aim and tracking abilities. You’ll head generally due south in the Harbor, stopping in a couple places for particularly heavy battles.
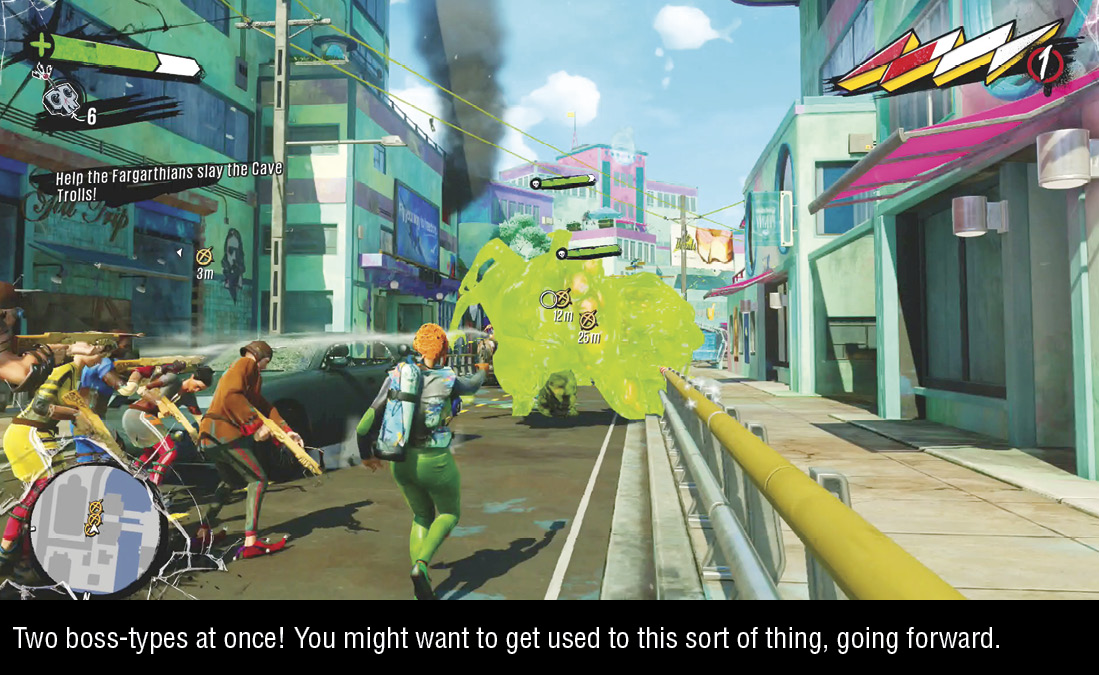
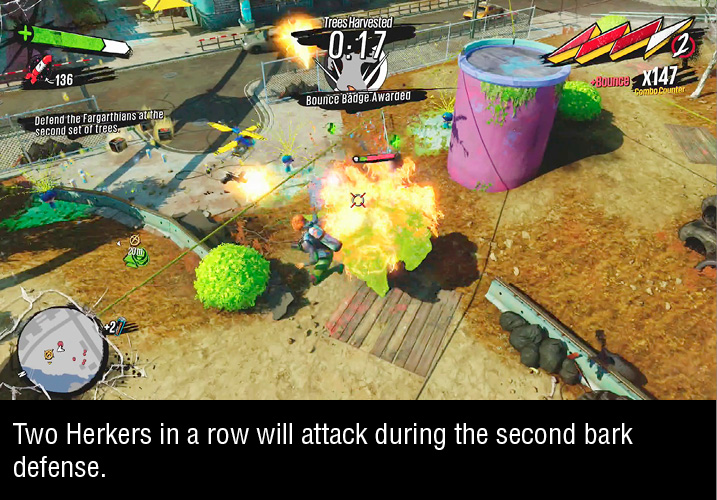
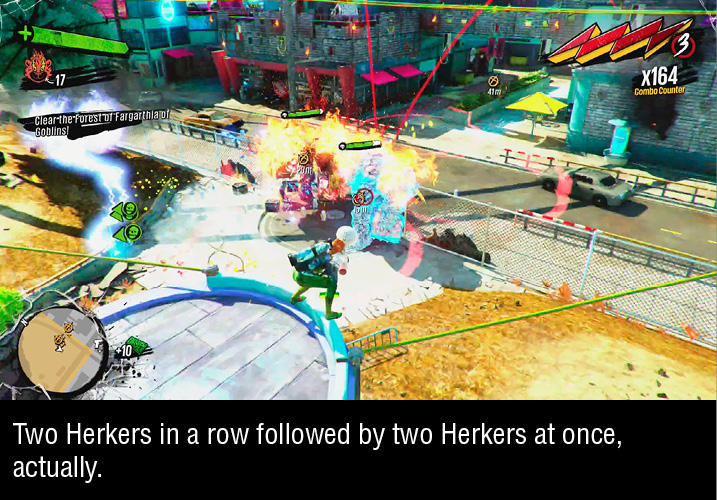
 The first big surprise occurs when making a left turn to head due south on a road leading to the Forest of Fargarthia. Not one but two Herkers erupt from under the street and rush the group. While the Fargarths are strong fighters and very sturdy, they aren’t immortal; eliminate the Herkers quickly with serious weapons and keep an eye on the Fargarths’ health bars, conveniently found above their heads. You should be fairly comfortable fighting Herkers by now; you know you can’t go toe-to-toe with them up close, and you know to dodge their rock tosses from afar. In between, plug away with weapons good against boss-type monsters specifically (Dirty Harry, The Dude, Captain Ahab, and ProPain Launcher), or weapons that simply have consistently solid damage output (explosives and deployables, basically). Herkers are susceptible to being frozen or shocked, so if you can apply either status effect, you’ll remove a Herker from the fight while making it a sitting duck.
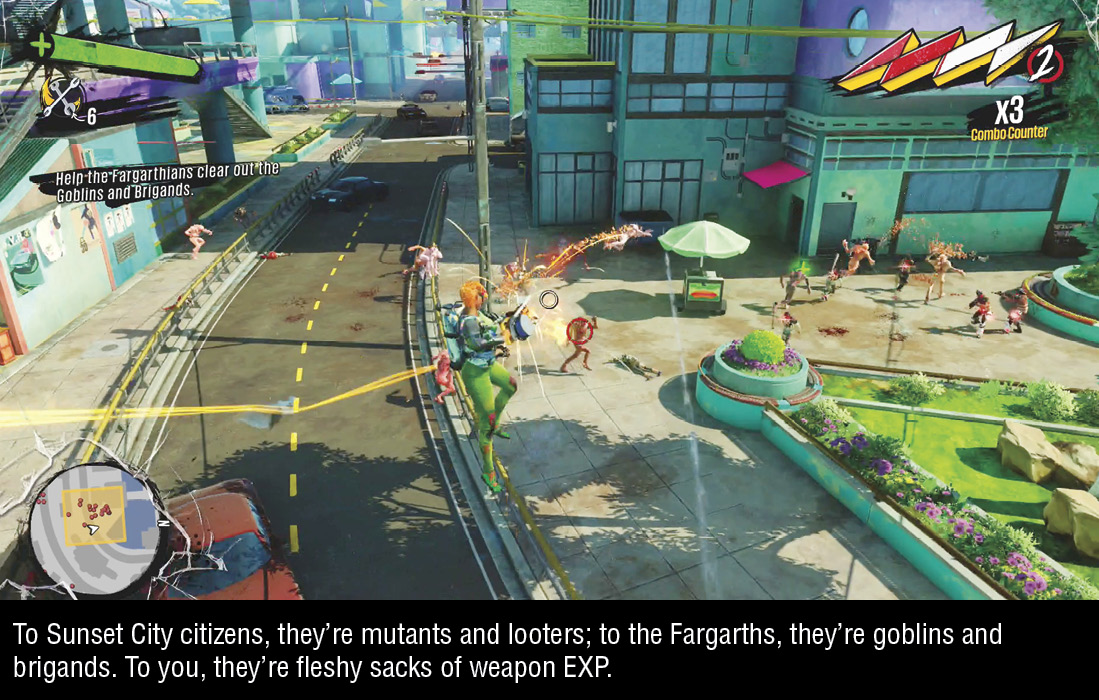
 Around the bend south from the double Herker assault, the group will come upon a full-scale battle between mutants and looters. The Fargarths will verily serve as spoiler to both sides, so intrude alongside the LARPers and wipe out the OD and Scabs. The high number of minor enemies here favors a weapon like Murderang, High Fidelity, or Hairspray Bomb, where spraying in any direction will probably hit something. The One-Handed Dragon, with its homing flares and fiery explosions on kill, also makes a surprisingly effective tool against groups of weak adversaries. When the enemies on the streets are wiped out, the Fargarths are free to proceed west, to the forest.
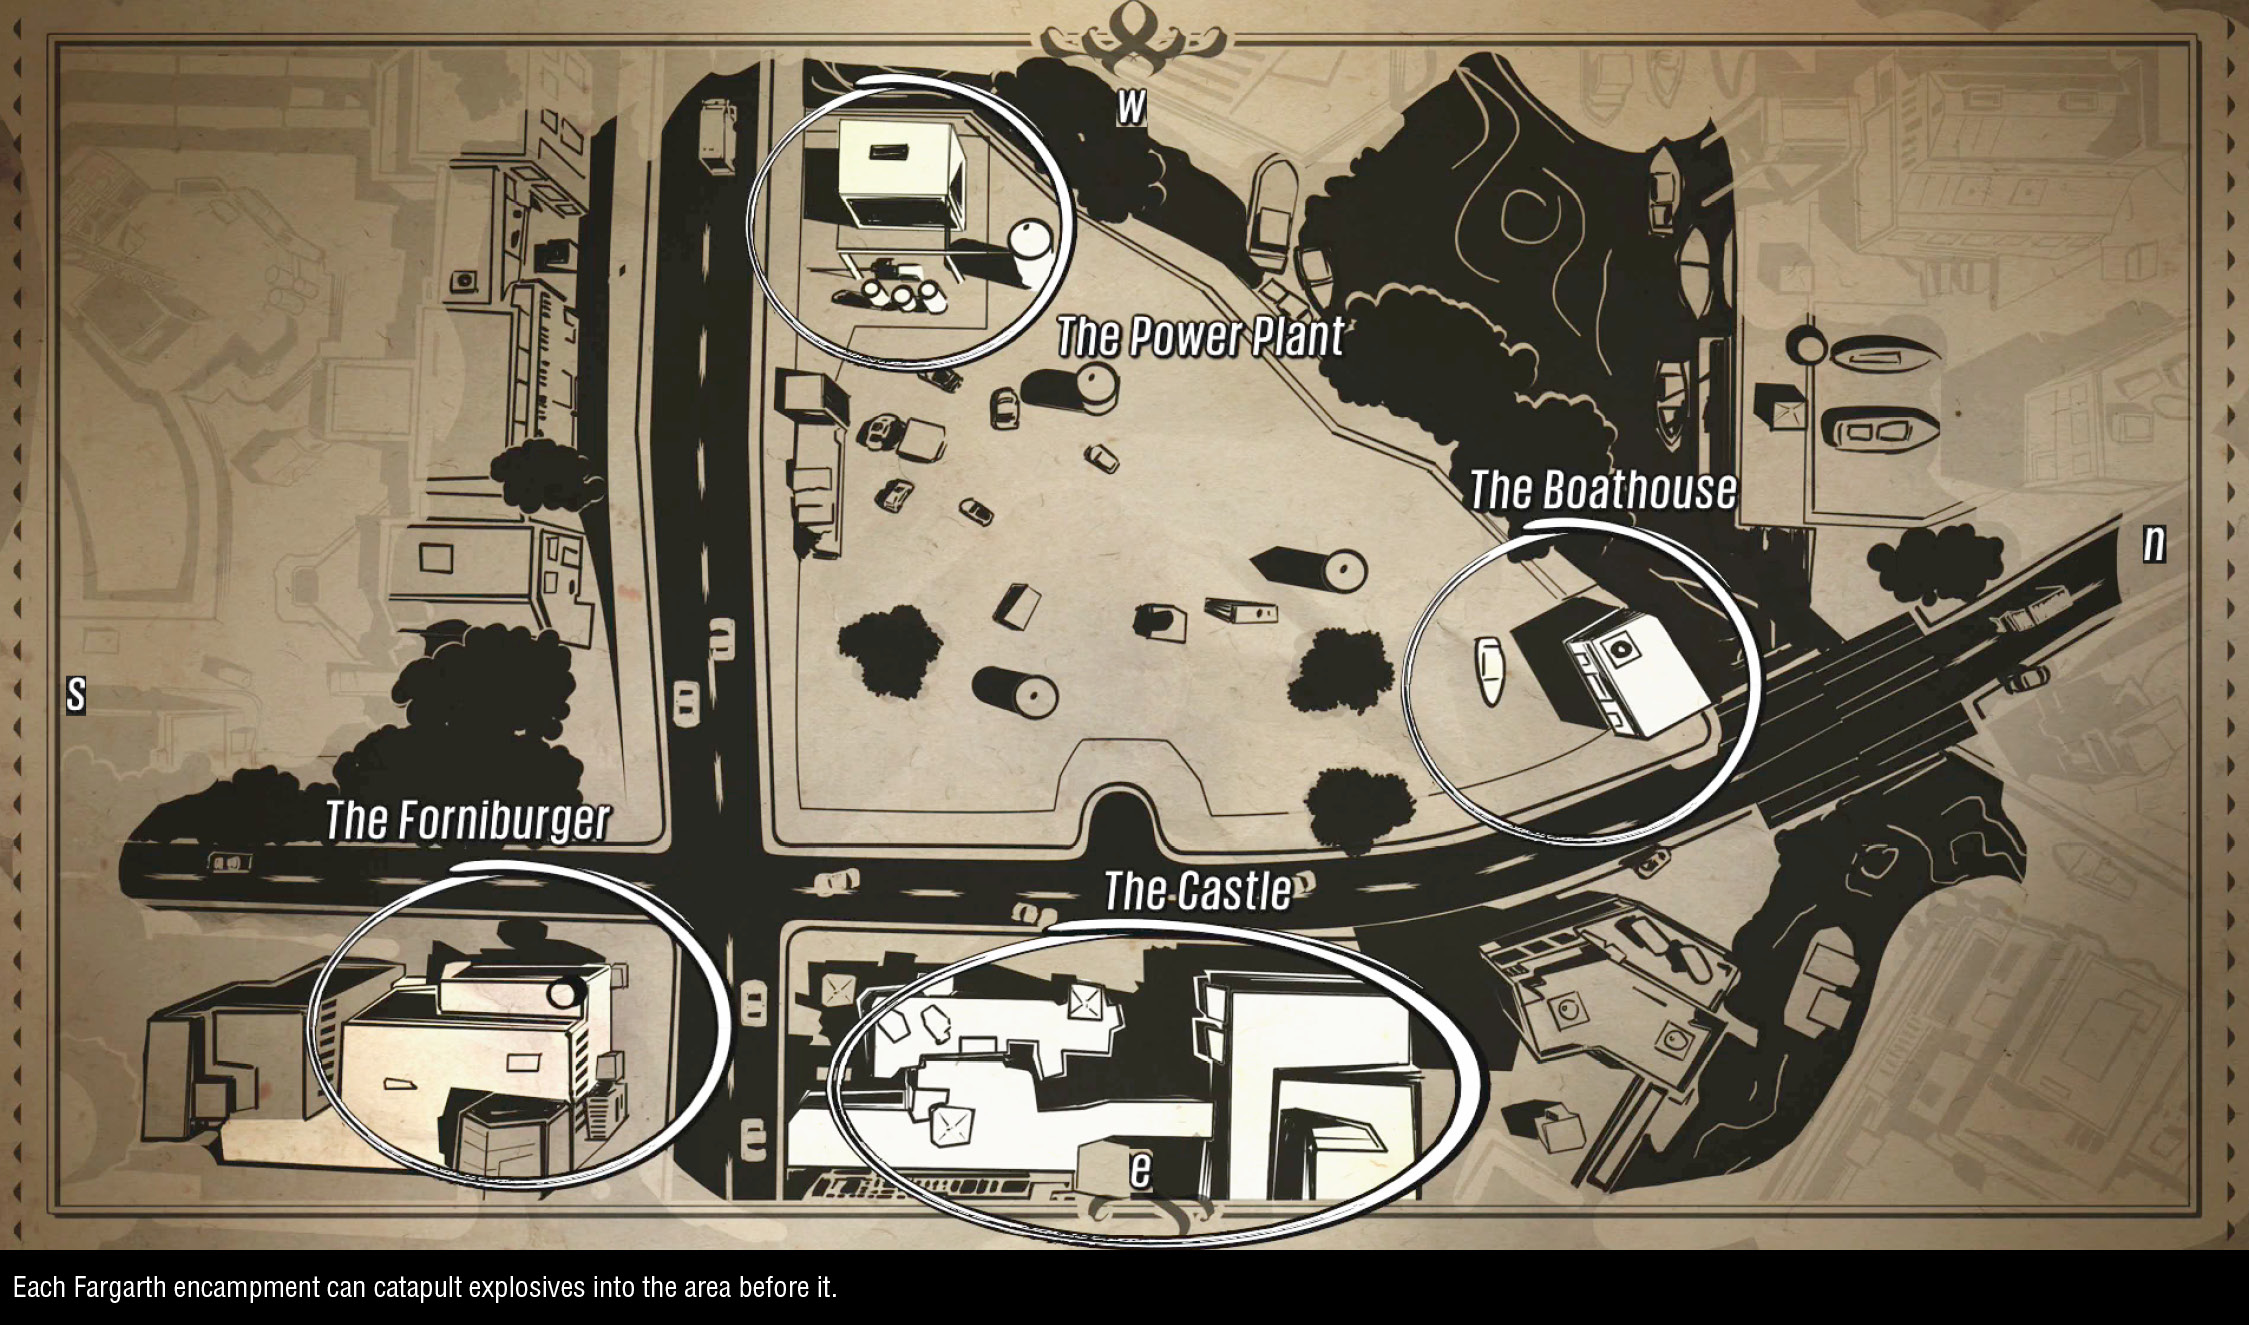
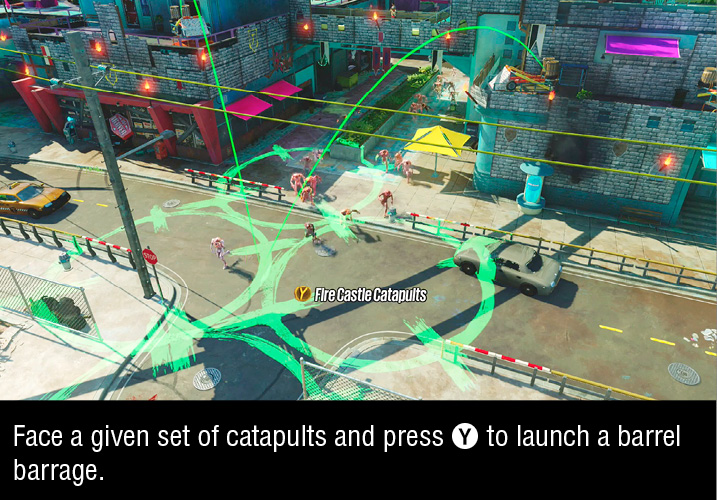
 Behold, the beautiful Forest of Fargarthia! Chandler and his troops discover that previous Fargarths sent to harvest a bark remedy for King Ignatius have fallen victim to local OD attacks. In their memory, you’ll have to cover the Fargarths as they attempt a bark harvest. You won’t have to do it without assistance, though. First and foremost, the Fargarths have set up catapults that cover a large portion of the area. Catapults can be fired in from four locations, covering each quadrant of the forest. To order a set of catapults be launched, simply face that direction (the road will light up green when catapults are ready) and press Y. While catapults are loading, the aim indicators will be red.
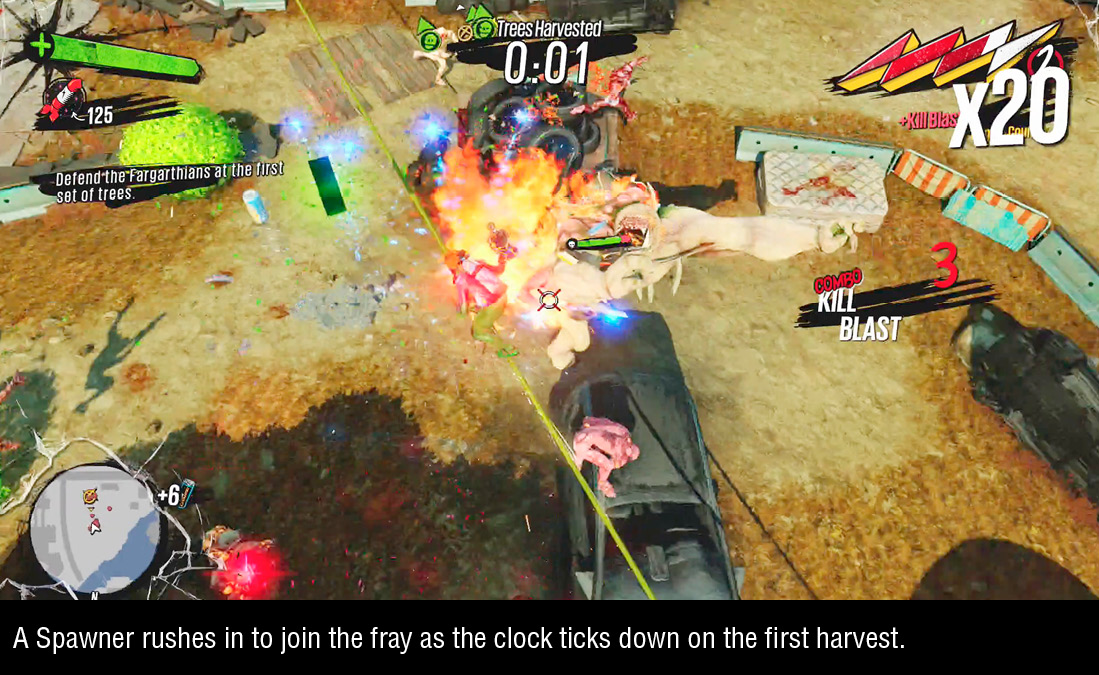
The Fargarths begin by scratching at the southern grove of trees. Enemies can come from all directions, and Wendy (the most reluctant of the Fargarths) will call out the vector of new swarms. If you pay attention to Wendy and to the minimap, you can find entire groups of OD you can wipe out all at once with catapult launches. You’ll have to hold out for two minutes while the harvest is underway. If the Fargarths themselves come under attack, kill their assailants posthaste. These LARPers aren’t fragile, but they aren’t invulnerable either. Eventually, a Spawner attacks alongside the normal hordes of OD. Use the wires above the area to keep out of reach of grabbing OD and lay into them from above.
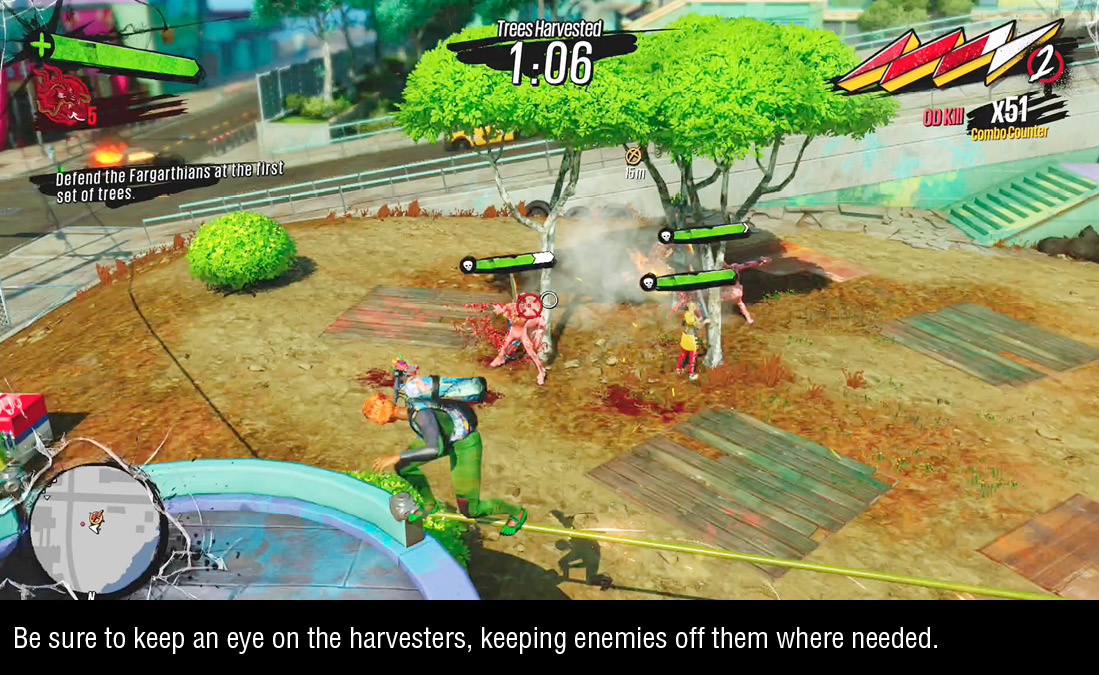
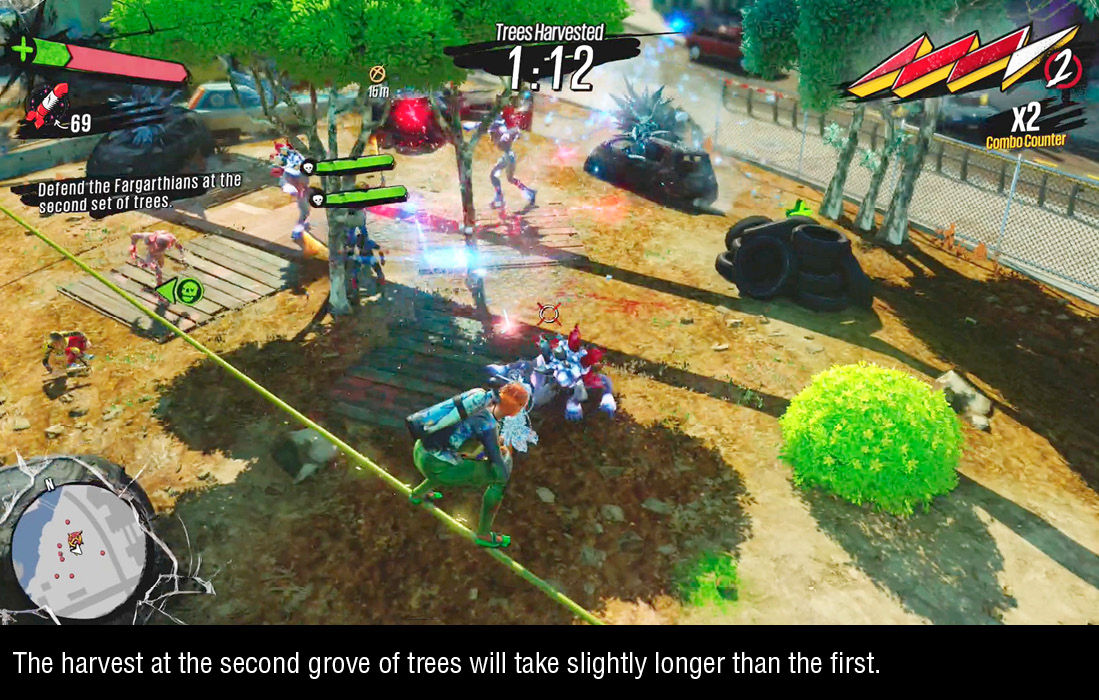
Once the two minutes have elapsed, the Fargarths will move north to a second grove of trees. They’ll start scratching away here too, debarking these trees as another swarm of OD arrives. This harvest lasts two minutes and thirty seconds, and the OD here are more numerous and aggressive. You’ll find far more Gunkers mixed in, potentially wrecking your grinding paths above, so dispatch the icy blue OD as soon as you see them. Continue protecting the Fargarths if they come under assault, and watch out for the Herker who crashes the bark party at about the 1:30 mark.
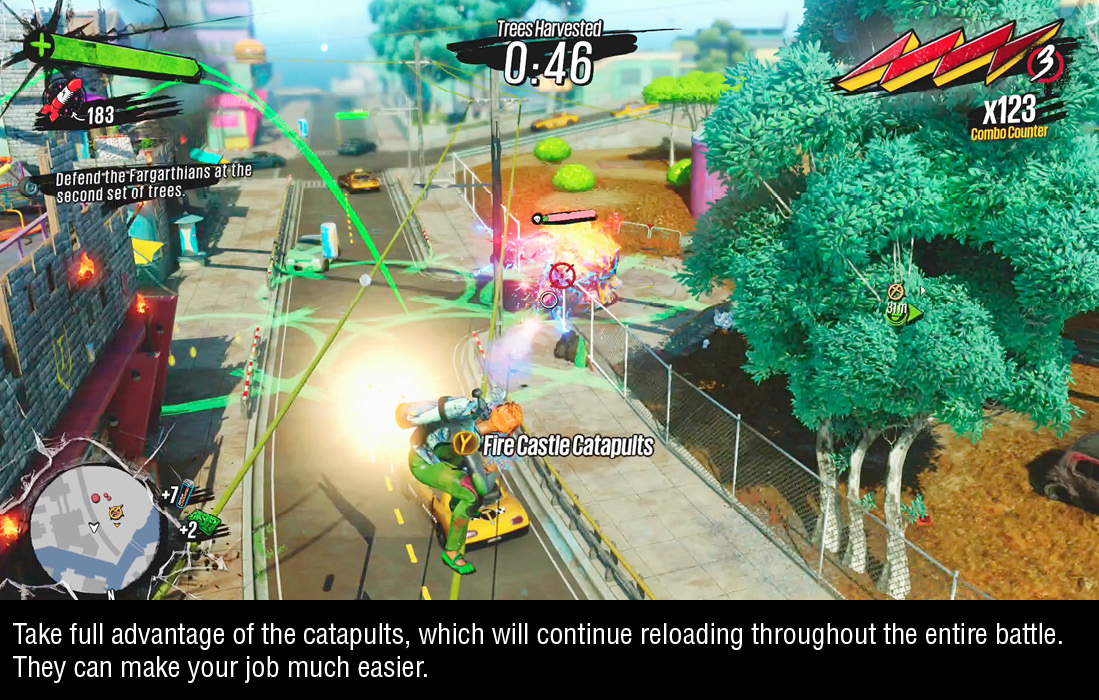
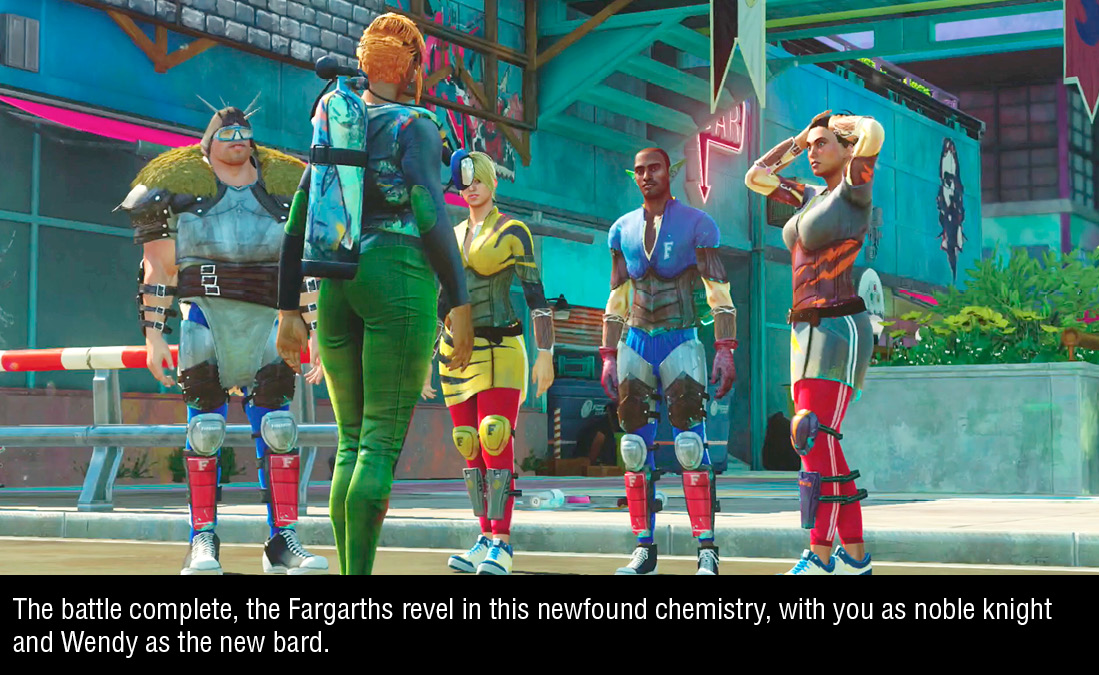
You’re in for a few surprises when that first Herker dies. Another Herker shows up alongside OD helpers almost immediately. Kill this second Herker and—surprise—two Herkers show up to show you who means business. On the streets, you had the Fargarths to help you kill two Herkers at once, but here, you’ll just have… oh, no, wait, you still have the Fargarths helping you here. They set up the catapults, after all. Keep the Fargarths safe through the 2:30 harvest and then mop up whichever enemies are still alive at the end (probably just the two straggling Herkers) to complete the Missions.
Rewards
Completing this Mission opens up the “Fizzco: The International Conspiracy” Quest and Challenge: Smash Fizzco Stuff #2. (Really, in a certain sense, the entire game is “Smash Fizzco Stuff.” But here’s one of the Challenges about it.) Two Hat Jack will also begin selling another deployable: Taunt Bot, a hologram decoy that attacks enemies who get close. Captain Ahab only works as a decoy against OD, but Taunt Bot works against all enemies. Especially as boss-types show up more frequently and Fizzco gets more ruthless, it never hurts to provide foes with something else to shoot at. Taunt Bot also has a low Overcharge cost compared to some of Two Hat Jack’s offerings, like Hairspray Bomb, Fizzbot Rifle, or Charge Beam.