
Sunset Overdrive Official Strategy Guide Amps
Overview
Floyd is into some weird stuff, and since you’ve got nothing better to do, you’re now his guinea pig. The upshot to this arrangement, as Floyd explains early in the game, is that you get to use Amps—a particular brand of mad science that uses the power of Overcharge to give you a variety of customizable abilities.
You have a total of five Amp slots that you can trade out at any time from the Start menu. Two of those slots can be filled with Hero Amps; the rest are for Dive Bomb, Epic, and Melee Amps, one of which can be equipped at a time.
Acquisition
You receive a handful of Amps as rewards from missions, typically when you’re defending Floyd’s vats. The rest can be “purchased” through Floyd in exchange for the various collectible currency items hidden throughout Sunset City: Toilet Paper, Shoes, Neon Signs, Fizzie Balloons, and Camera Lenses.
Style
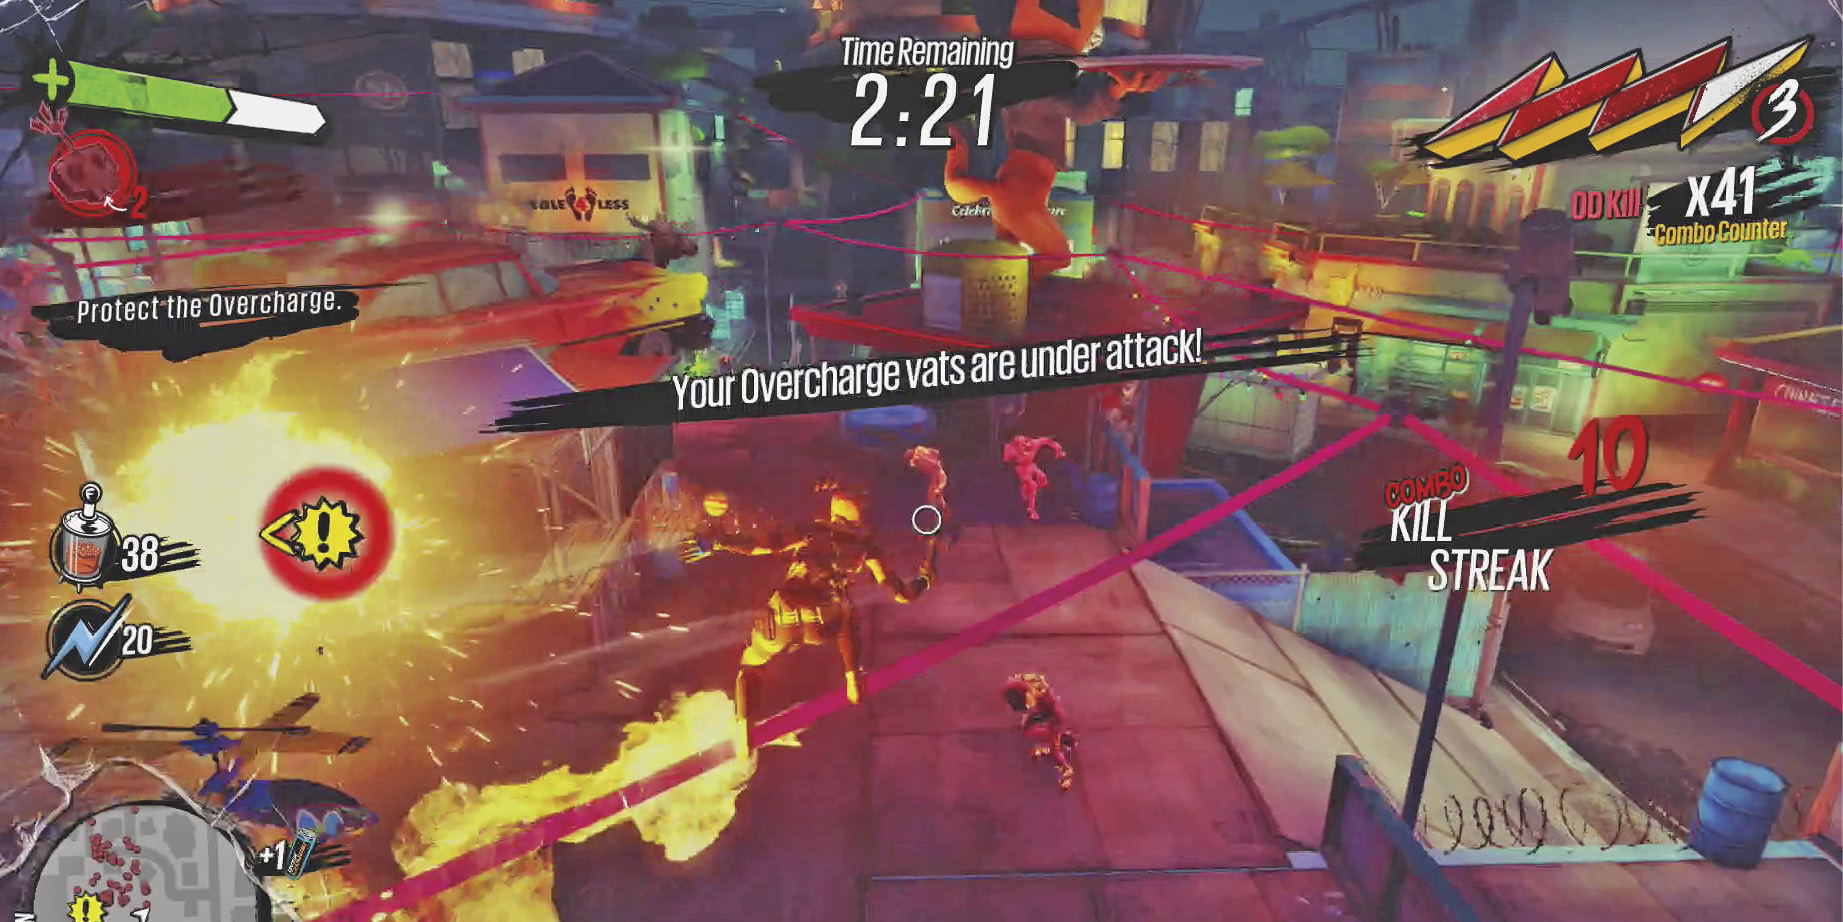
Amps have no effect if you’re just standing around somewhere. For some highly-scientific reason, they only work if you manage to reach and maintain an appropriate level of Style.
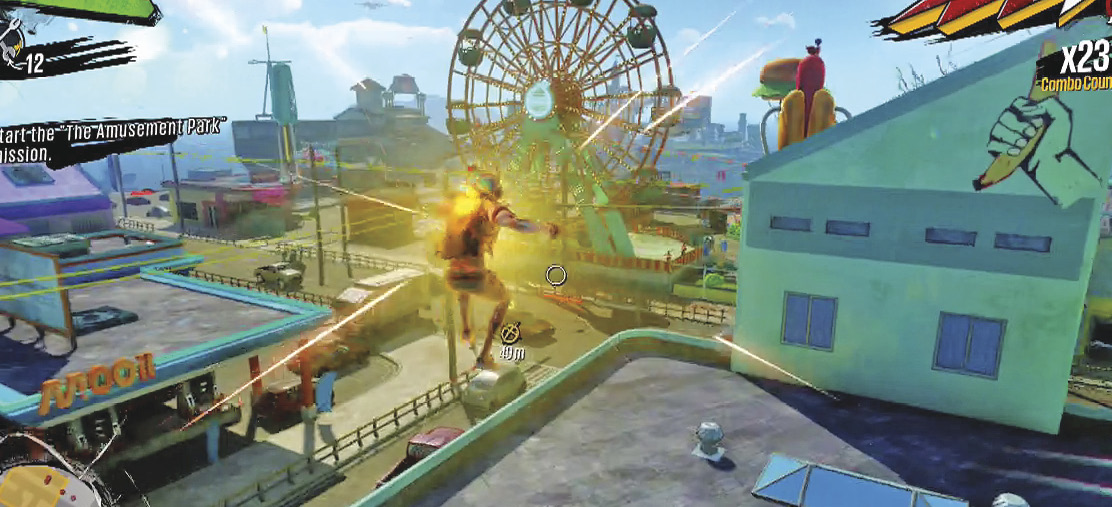
At Style level 1, Hero Amps activate. At Style level 2, Melee and Dive Bomb Amps kick in, along with Weapon Amps. At level 3, Epic Amps activate. While a lot of Amps have an internal cooldown between uses, they do not have an actual cost as long as you maintain the level of Style required for them to activate.
Several Amps only work under certain conditions, such as if you’re grinding or bouncing. If you have one of those Amps equipped, you’ll glow whenever those conditions are met. For example, if you’re using the Air Power Amp, you’ll glow whenever you’re in mid-air.
Leveling Up
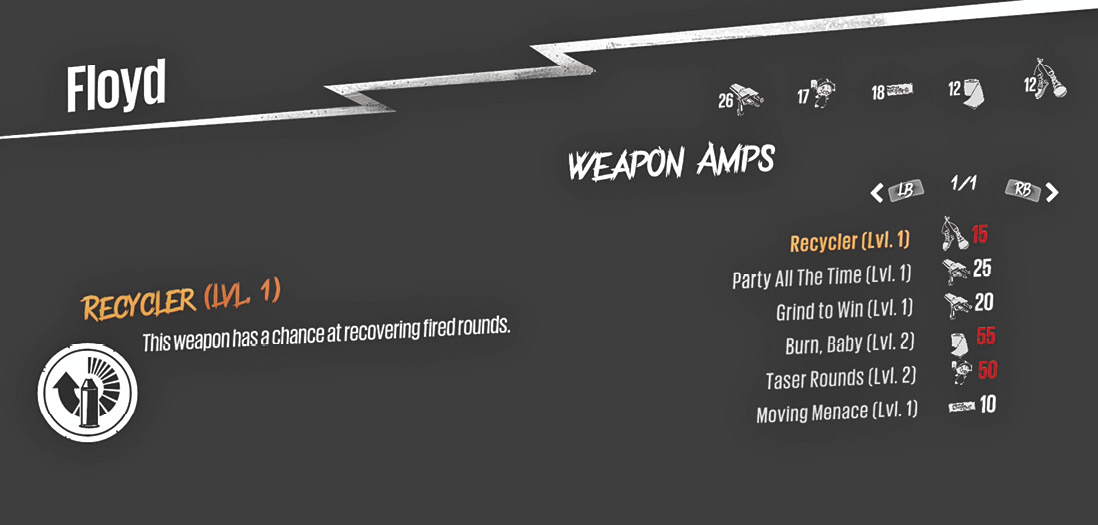
A freshly-acquired Amp is level 1, and as with Weapon Amps, you can upgrade an Amp to level 2 in one of two ways. With most Amps, their level-2 version can be won as a prize from the spinners after a successful round of Chaos Squad.
For the rest, once you’ve bought or found an Amp, you can buy its upgrade from Floyd. These will typically cost 50 or more collectibles.
Melee
These Amps convey an additional effect to your basic melee swing, adding extra damage or elemental attacks.
Fired!
|
Complete “Amptastic!” | |
|---|---|
|
Level 2 |
You launch a fireball in the direction you’re facing whenever you swing your melee weapon. Enemies struck by the fireball take 20-40 damage and get set on fire, suffering 100 damage/second. At level 2, the fireball’s direct damage is doubled and it becomes roughly 25% bigger.
This adds a lot of extra damage to the swing, especially against OD, but it’s difficult to aim.
Roid Rage
|
Purchased from Floyd for 10 Shoes. | |
|---|---|
|
Level 2 |
An enemy you kill with your melee attack explodes, which knocks down and damages any other enemies caught in the blast radius.
Twister Spin
|
Complete “Hepcat’s Late-Night Special.” | |
|---|---|
|
Level 2 |
When you swing your melee weapon, you also spawn a tornado that flies forward in the direction you’re facing. Enemies caught in the tornado take light damage and are knocked away.
Un-Defibrillator
|
Complete “Concertpocalypse.” | |
|---|---|
|
Level 2 |
Your melee attack has a base 33% chance (50% at level 2) to send out an electric shockwave, dealing 50 damage to any enemies it hits.
Hero
This is a broad category of Amps that exist to make you awesome in a protagonist-y sort of way. You can equip up to two Hero Amps simultaneously, with the second Amp going in the “Extra Hero” slot.
Damage Dodge Roll
|
Complete “Awesomepocalypse.” | |
|---|---|
|
Level 2 |
Purchase from Floyd for 50 Camera Lenses. |
When you roll, either as a dodge or after taking a long fall, you’re automatically surrounded by a short-range aura that knocks down and inflicts 20-60 damage to any enemy you hit. At level 2, the aura expands slightly and the damage doubles.
This isn’t quite as good as it sounds. Even upgraded, the aura only extends about a yard away from your character, so if you’re thinking about bowling over entire crowds of OD, this is not the Amp for you. There’s a fairly long period of time where it’s the only Hero Amp you have, though, so it’s better than nothing.
Personal Space
|
Complete “Midnight Brew.” | |
|---|---|
|
Level 2 |
A standard enemy that hits you with a melee attack takes 60 damage and goes flying. This effect has a 3-second internal cooldown (2 seconds at Amp level 2), and while it’s not great if you’re in the middle of a mob of OD, it’s very helpful on those occasions where you’re exploring and an OD comes out of nowhere.
Sadomasochist
|
Purchased from Floyd for 10 Toilet Paper. | |
|---|---|
|
Level 2 |
If you drop below 50% health with this Amp equipped, you receive a 15% bonus to all damage you inflict, which goes up to 50% if you achieve max Style.
If you’re below 25% health, you inflict 30% more damage, and 100% at max Style.
When you upgrade the Amp to level 2, the bonuses increase to 25%, 60%, 40%, and 250%, respectively.
If you’re willing to live dangerously, Sadomasochist can provide a massive boost to your damage output, particularly in conjunction with certain Overdrives. It’s a useful part of a “glass cannon” character build.
Spread the Love
|
Purchased from Floyd for 10 Fizzie Balloons. | |
|---|---|
|
Level 2 |
You leave a trail behind you as you move which lingers for 5 seconds. If an allied player stands or runs along the trail, they recover 15 health per second, or 30 at max Style. At level 2, the trail lasts 1 more second and restores an additional 5 health per second, which goes up to 50 health/second at max Style.
This and the Health Tag Amp are good in Chaos Squad (if you’d like to turn yourself into a kind of field medic). You can withdraw to the safer parts of your base and provide on-demand medical care for wounded teammates. It’s not spectacular and the healing limits your movement, but it’s better than nothing and can save somebody from having to respawn.
$Magnet$
|
Purchased from Floyd for 20 Neon Signs. | |
|---|---|
|
Level 2 |
— |
You can pick up health, ammo, cash, and Overcharge drops from an extra 5 meters away, which goes up to 8 meters at max Style.
Air Power
|
Complete “Ferry to Nowhere.” | |
|---|---|
|
Level 2 |
You receive a 25% boost to any damage you inflict while you’re in mid-air. At max Style, the boost increases to 50%; with an upgraded version of the Amp, the boost goes up to 50%/100%.
Screw the Fourth Wall
|
Purchased from Floyd for 25 Shoes. | |
|---|---|
|
Level 2 |
— |
You acquire your own personal, disembodied announcer, who gives you a shout-out when you do particularly amazing things. This has no other function.
Epic
It is difficult to describe this category any more efficiently than the word “epic” already conveys.
Bounce-Splosion
|
Complete “Amptastic!” | |
|---|---|
|
Level 2 |
When you use any object to bounce—cars, bus stops, air vents, crates, etc.—you also generate 6 bombs that go off at the base of that object, similar to the secondary detonation from the Hair Spray Bomb. Each bomb inflicts up to 75 damage in a 2.5-meter radius from the point of impact. At max Style, you produce 2 more bombs, and all bombs deal 100 damage.
With the level-2 version of this Amp, the Bounce-Splosion spawns 8 bombs for 100 damage each; each of which creates explosions with a 3-yard radius. At max Style, you produce 2 more bombs, and all deal 150 damage.
Chance of Lightning
|
Complete “Hepcat’s Late-Night Emporium.” | |
|---|---|
|
Level 2 |
Purchased from Floyd for 60 Neon Signs. |
While this Amp is active, you acquire a 20-meter perimeter around yourself in which everything has a random chance to get hit by bolts of lightning. Each lightning bolt only inflicts mild damage and a short stun to its target—a base of 15 at the first level of the Amp, capping out at 50 with a level-2 Amp at max Style—but it can be a useful source of additional firepower.
It Burns
|
Complete “Ferry to Nowhere.” | |
|---|---|
|
Level 2 |
The ground at or near your feet turns to lava, igniting and damaging any enemies that get close to it. This works if you’re on foot or on grind rails that are close to the ground (such as train tracks) and can deal a lot of damage to a crowd. The tradeoff is that you’re often much closer to the enemy than you’d like to be, and It Burns doesn’t inflict enough damage—at level 2, with maxed Style, it inflicts 125 damage a hit—to be worth making yourself that vulnerable. That said, there are parts of the city, particularly in the Old Factory District, where you aren’t given that many choices.
Grind the Lightning
|
Complete “Concertpocalypse. ” | |
|---|---|
|
Level 2 |
As you grind, you generate electricity that can jump to and shock enemies on either side of you. Each time an enemy is struck by the electrical arc, it can jump to other nearby targets much like the Shocker’s beam.
The damage from Grind the Lightning is minor at best—it caps out at 70 per hit, if you’re using the upgraded Amp at max Style—but it allows you to stun an entire street full of enemies by grinding past them. It sets them up neatly for follow-up attacks and can be used as a powerful form of crowd control in the most dangerous parts of the city. It’s also handy in several of the Weapon Challenges.
FI-YAH!
|
Purchase from Floyd for 15 Shoes after “Amptastic!” | |
|---|---|
|
Level 2 |
FI-YAH! is available relatively early, giving you a second choice for your Epic Amp slot besides Bounce-Splosion. While you grind with high Style, gouts of flame spurt out either side of your grind (or undergrind) contact point, raining down on any enemies below and behind you. Considering that Sunset City is completely covered in grind-able spots, that Scabs and OD are both vulnerable to fire (OD moreso, but Scabs are still human, and humans don’t tend to like being covered in fire), and that Scabs and OD are most of the enemies you’ll encounter in the game, this Epic Amp can serve you very well for a long time. It even dovetails nicely with certain weapons or weapon Amps: freeze a crowd with Freeze Bomb just before you grind over them, or grind over a group of foes all jiggering in electric shock from Stun Rounds.
Smite
|
Season Pass. | |
|---|---|
|
Level 2 |
Sometimes you just need a little help from above. Slap on this Epic Amp and watch as your enemies puff into a cloud of smoke courtesy of those ethereal forces who probably have better things to do than help you knock off a few foes. But, let’s not complain.
Dive Bomb
These Amps provide extra effects to your basic Dive Bomb attack, used by swinging your melee weapon while you’re in mid-air. Dive Bombs can do a surprising amount of damage on their own, but with a Dive Bomb Amp, they become lethal.
While Dive Bomb Amps have their own slot on your Amps screen, Floyd sells them in the same menu as Melee Amps.
Seismic Smash
|
Complete “Midnight Brew.” | |
|---|---|
|
Level 2 |
Purchased from Floyd for 55 Shoes. |
For raw damage, this is a difficult Amp to beat, particularly given how early you get it. With this Amp equipped, a successful Dive Bomb causes you to fire a wave of force in the direction you’re facing, which is 1.5 meters wide and travels 15 meters before disappearing. Any enemies caught in the shockwave take 120 damage, which is enough to splatter standard OD or Scab Rushers.
While the Seismic Smash has a 2-second internal cooldown, it’s one of the most satisfying Amps in the game. Dive Bombs are already surprisingly powerful, but if you watch your positioning, you can use the Smash to ensure a one-hit kill on anything up to a Rifle Bot.
Shrapnel Smash
|
Purchased from Floyd for 10 Camera Lenses. | |
|---|---|
|
Level 2 |
Sometimes, you just want to kill everything. With this Amp, a successful Dive Bomb causes you to radiate a wave of shattered glass in every direction away from the point of impact, hitting any enemies within 16 meters for 50 damage. Upgrading the Amp to level 2 adds 25 damage and 8 yards to the Shrapnel Smash, letting you tear apart entire rooftops.
Damage Tag
|
Purchased from Floyd for 20 Toilet Paper. | |
|---|---|
|
Level 2 |
Following a Dive Bomb, the area you hit is covered by a patch of graffiti for the next 10 seconds. You or any friendly players in the area receive a flat 200% increase to all damage you inflict while standing in the graffiti (or 250% at level 2). At max Style, the damage bonus doubles.
While standing still at any point in time runs contrary to absolutely everything the rest of the game has been telling you, the multiplier from Damage Tag is high enough that it might be worth it, particularly in defense maps during Chaos Squad. It’s going to be down to whether or not it’s worth it to leave yourself open to fire from Wingers or Gunkers in exchange for bringing the hammer down on some unfortunate OD.
Health Tag
|
Purchased from Floyd for 35 Neon Signs. | |
|---|---|
|
Level 2 |
As with the Damage Tag Amp, this allows you to create a patch of graffiti at the site of a Dive Bomb that lasts 10 seconds. You or any allies who stand on the patch will regenerate 15 health per second while it lasts, and 30 per second during max Style. At level 2, the health gain goes up to 20 health per second, and 50 during max Style.
You can stack the health gain from the Spread the Love Amp with this to form a handy source of regeneration, which can be useful if you want to play field medic during Chaos Squad. The health gain works slowly enough that it’s difficult to use for your own benefit unless you’re standing in a safe place, but if it’s all you’ve got, it’s better than nothing.